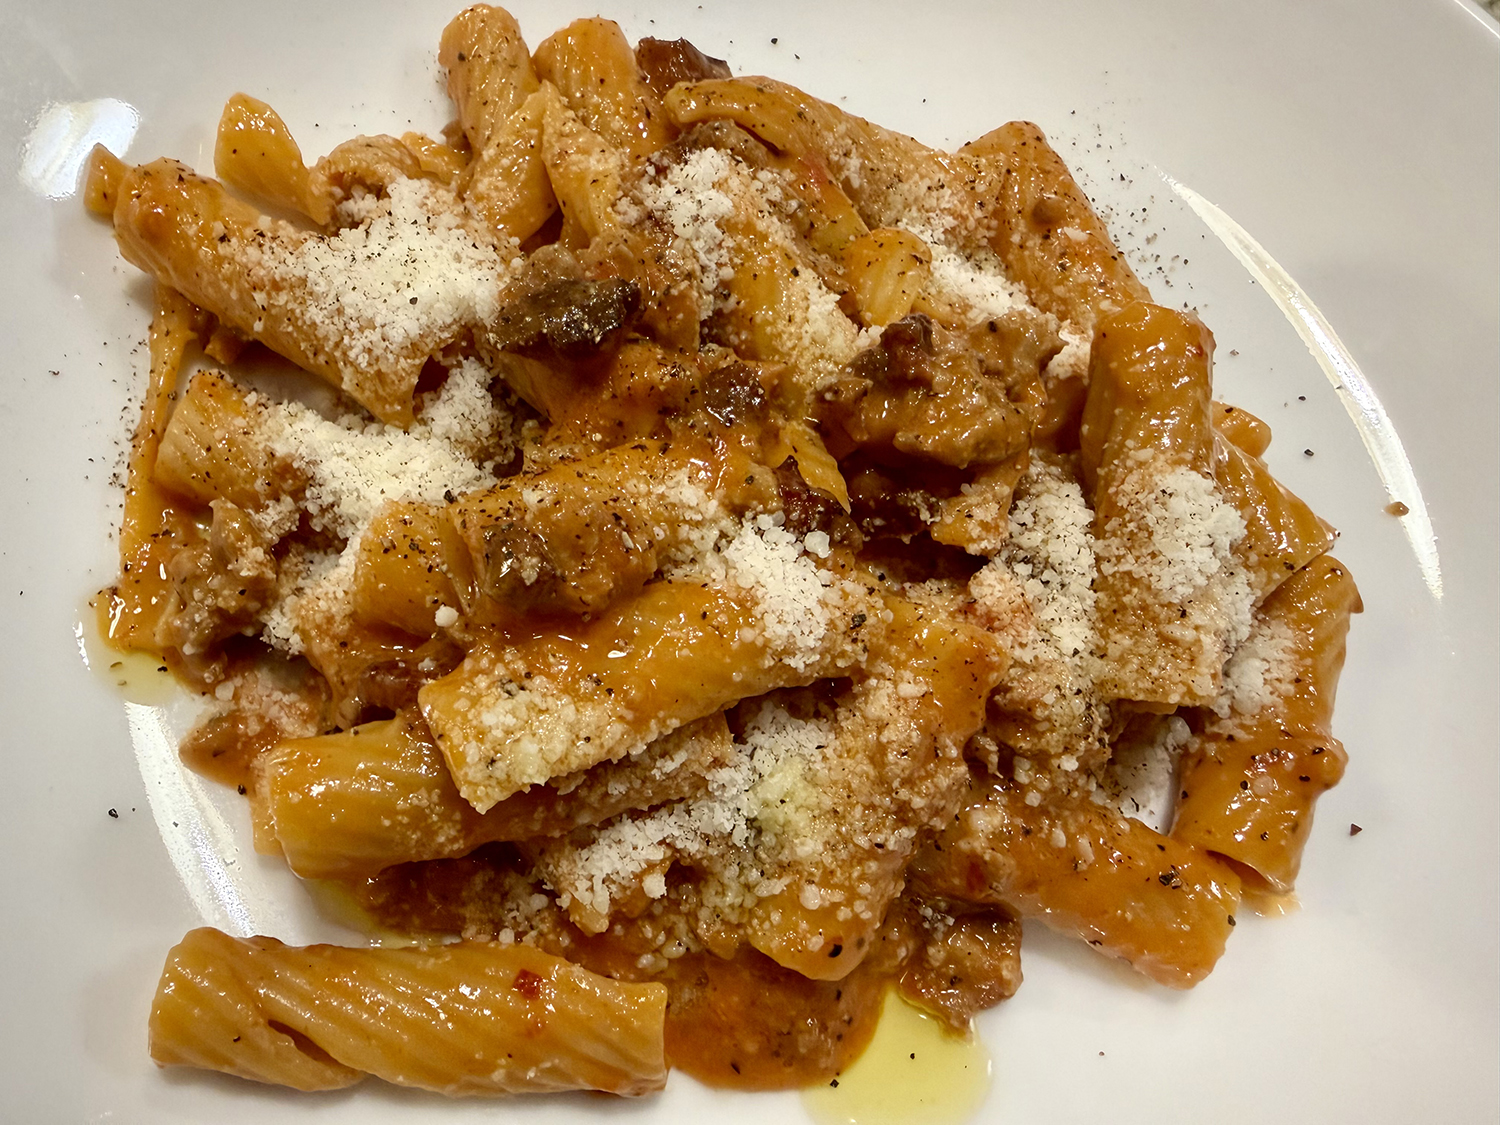
Rigatoni alla zozzona is a classic Roman pasta dish—a mashup of cheesy, porky, egg-rich carbonara and spicy, tomatoey all’Amatriciana. The sauce requires only a handful of simple ingredients, almost no knife work and comes together speedily. What possessed me to try this? Don’t know, don’t care… would make it again in a heartbeat.
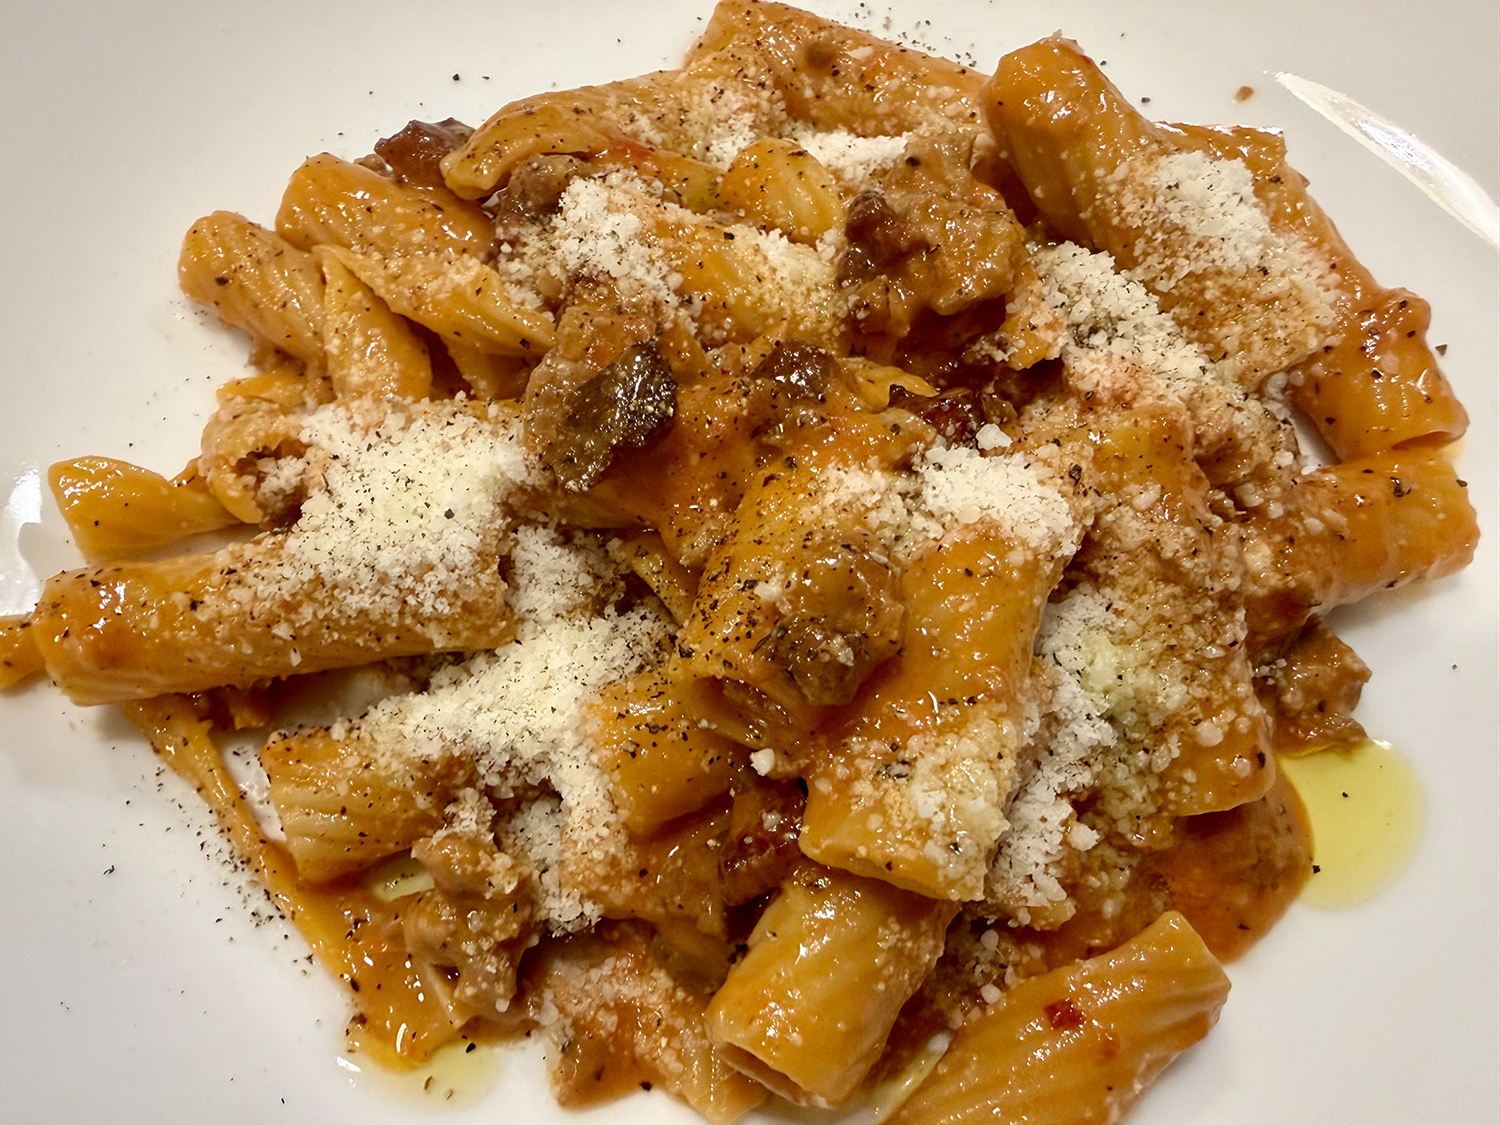
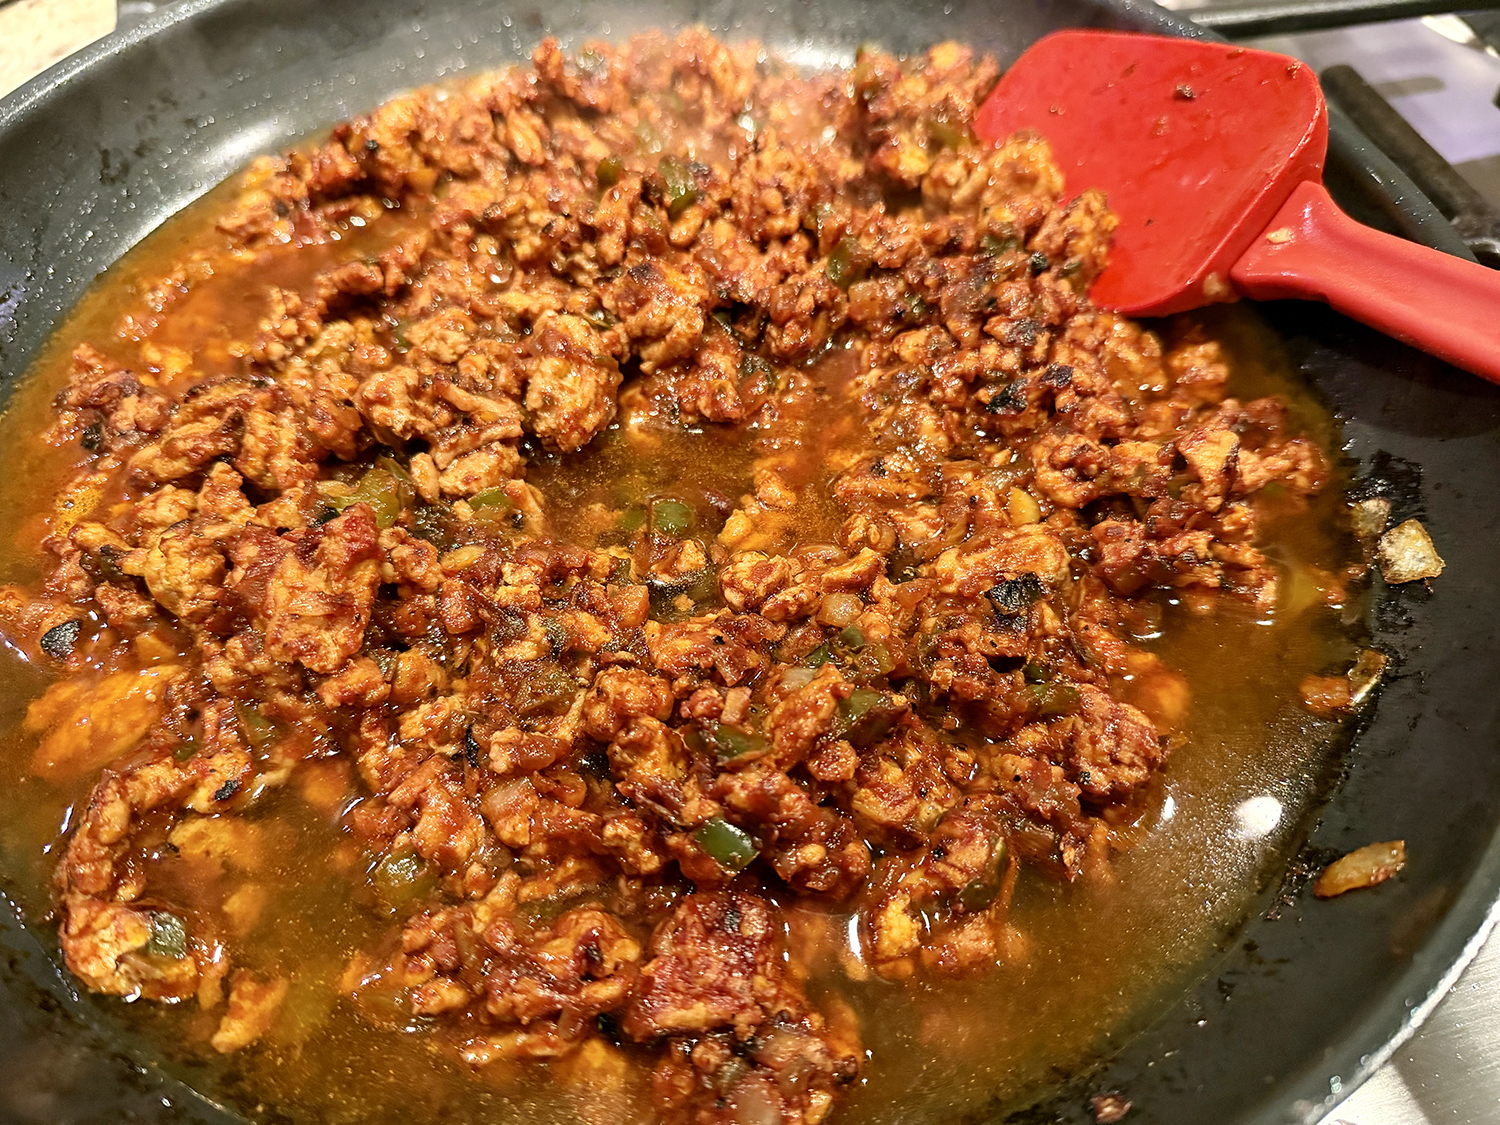
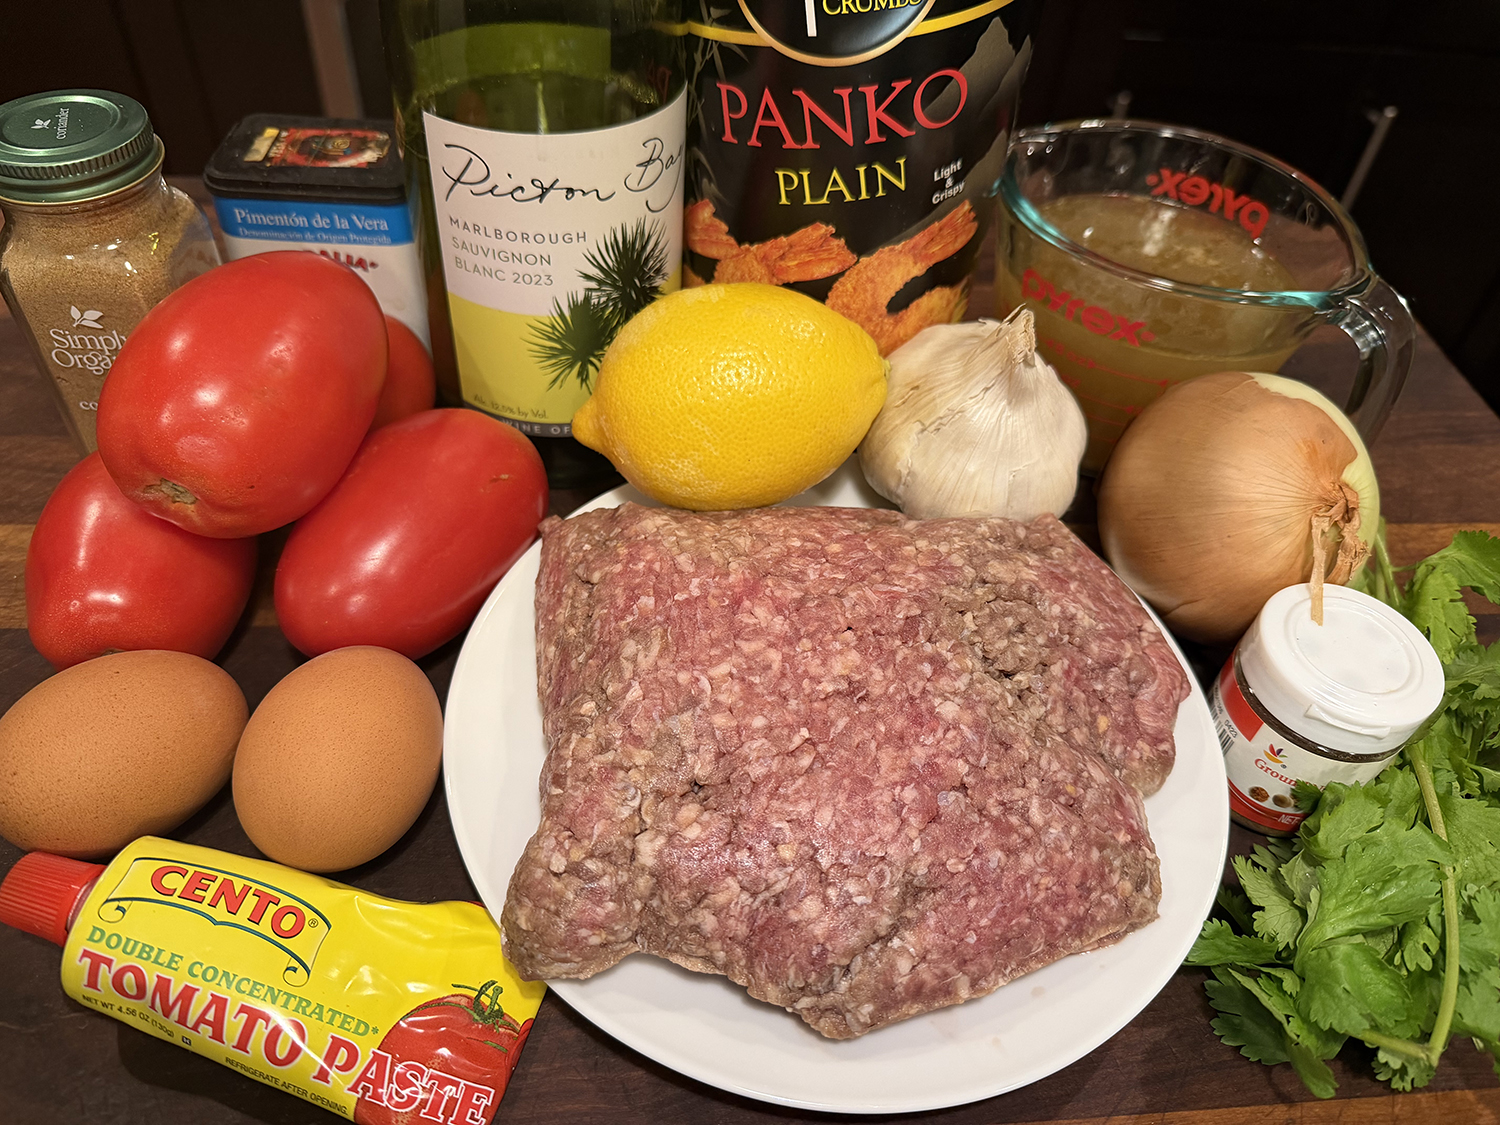
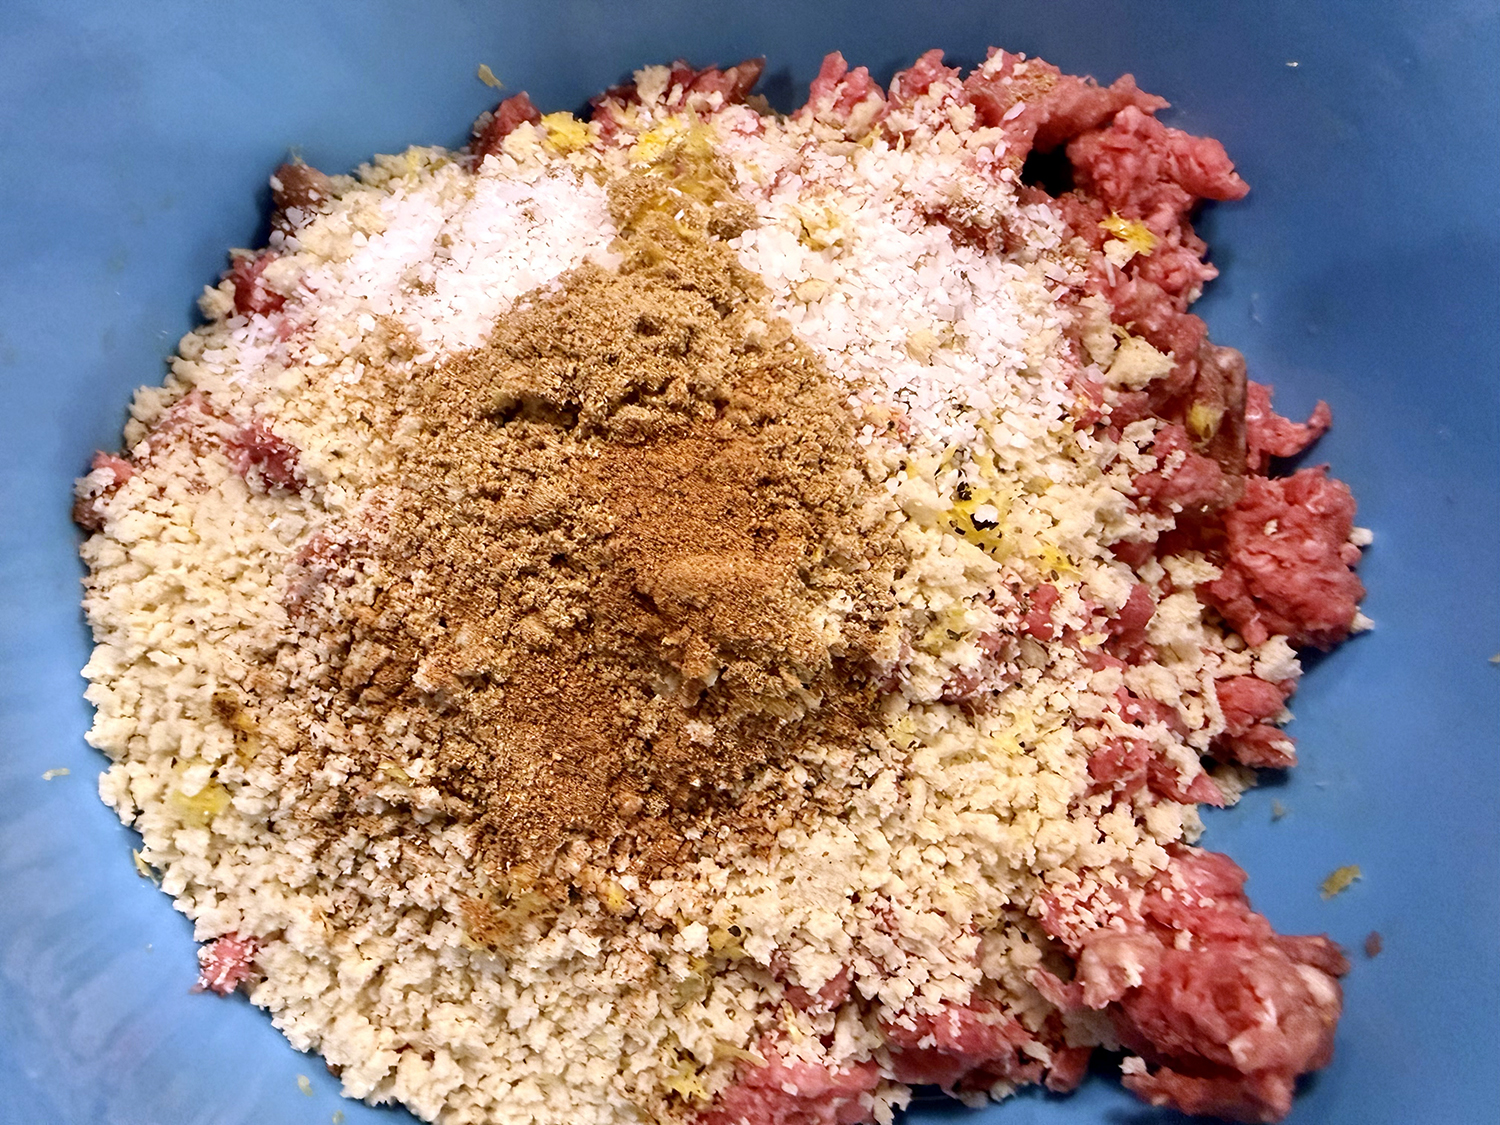
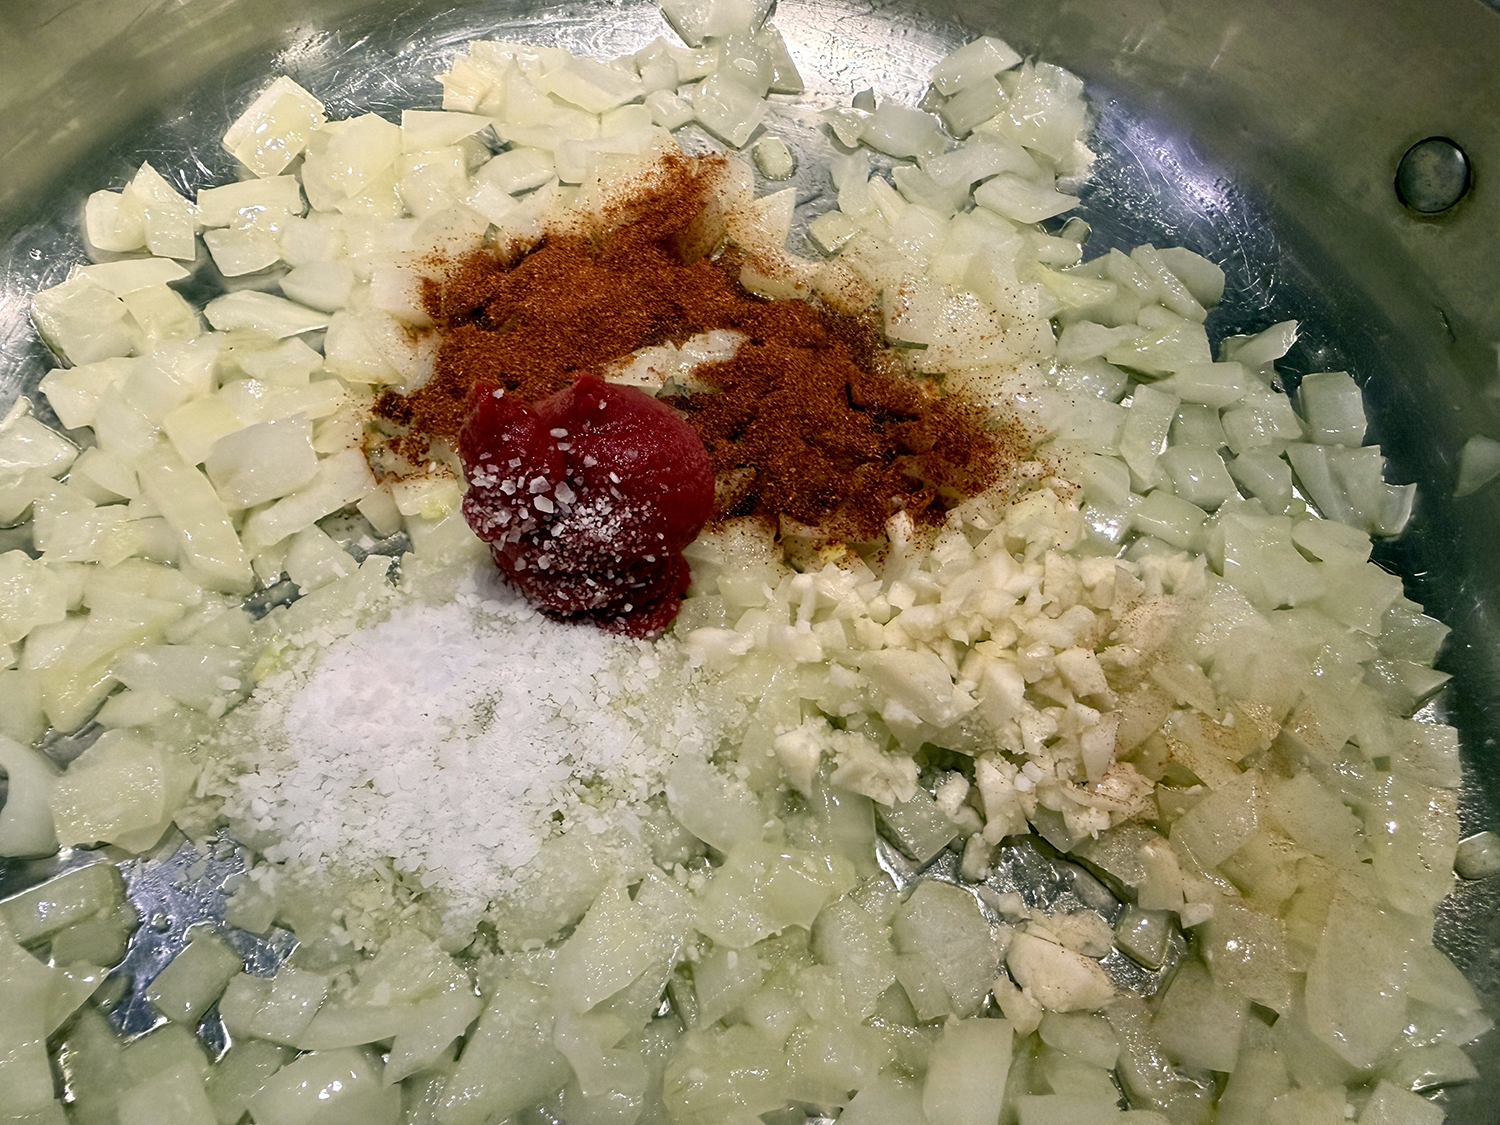
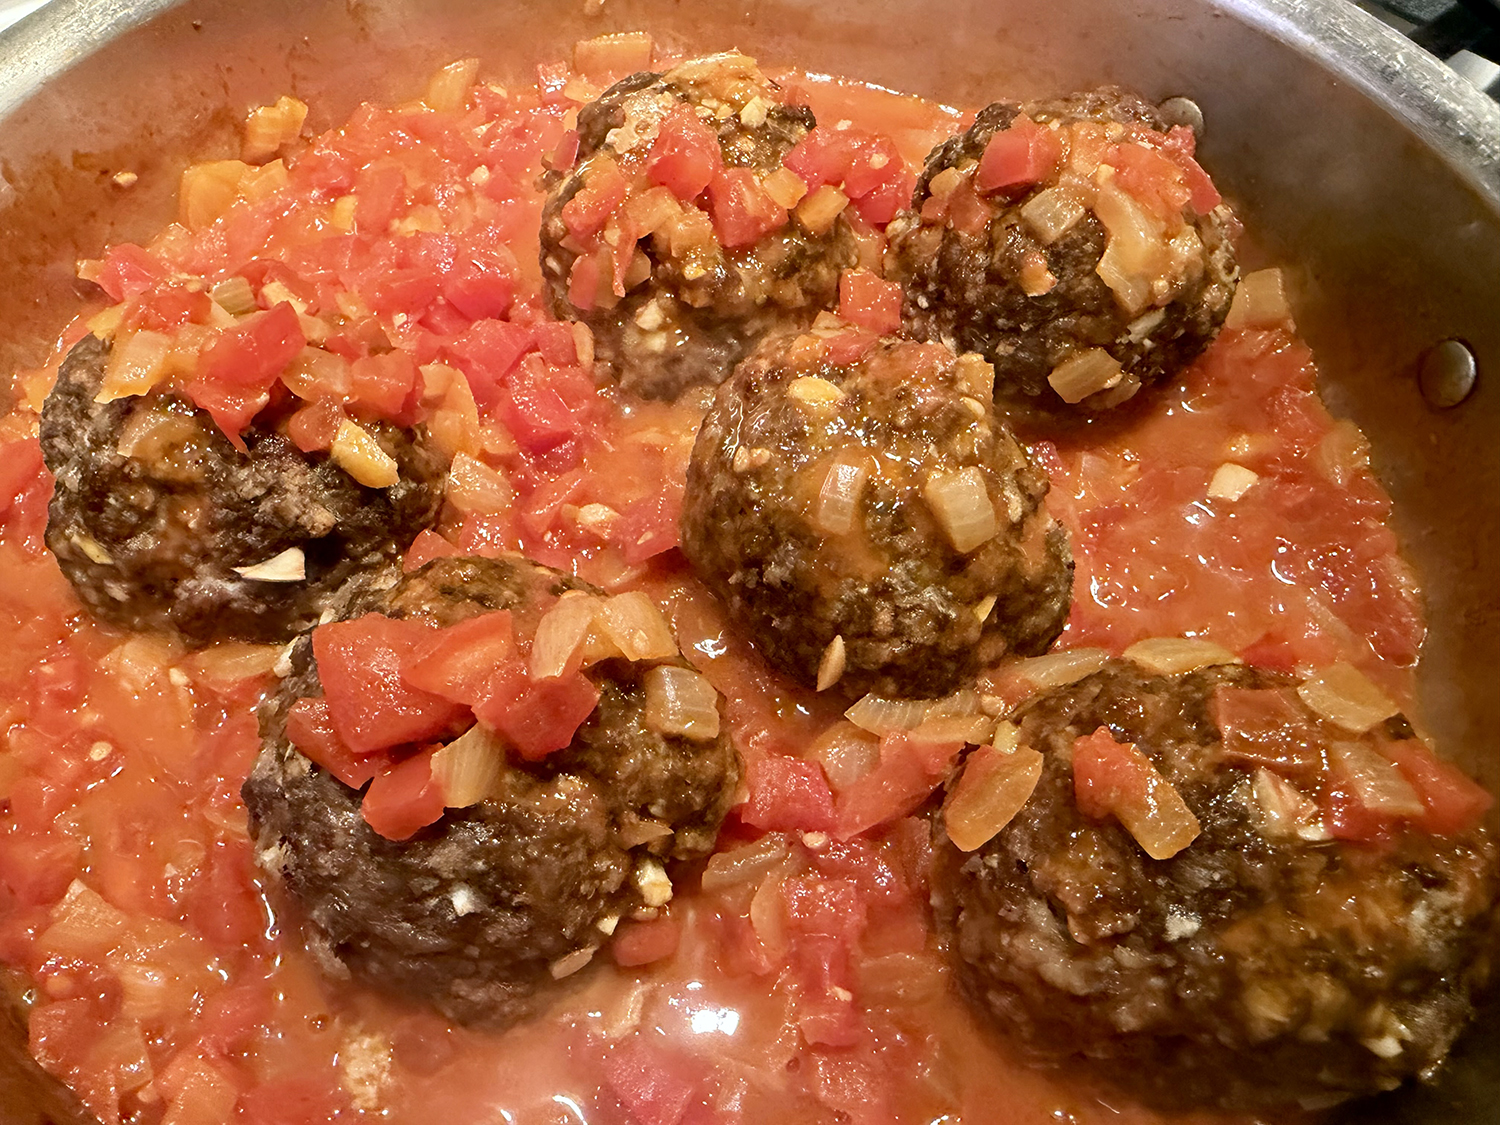
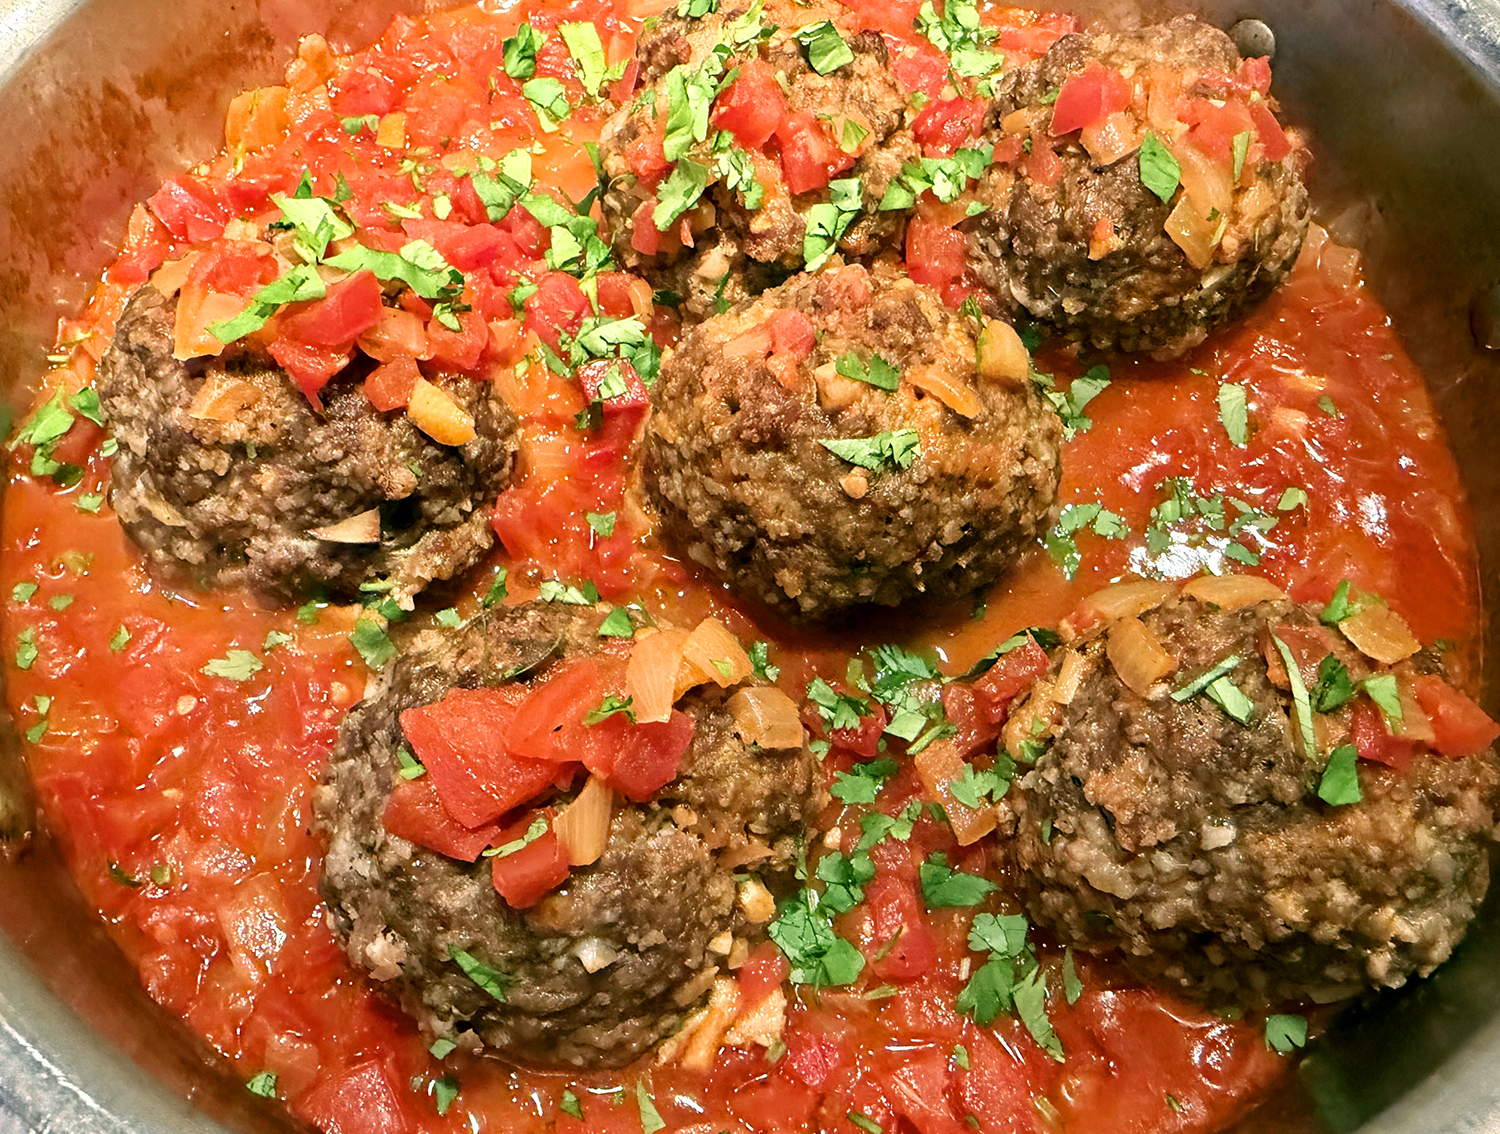
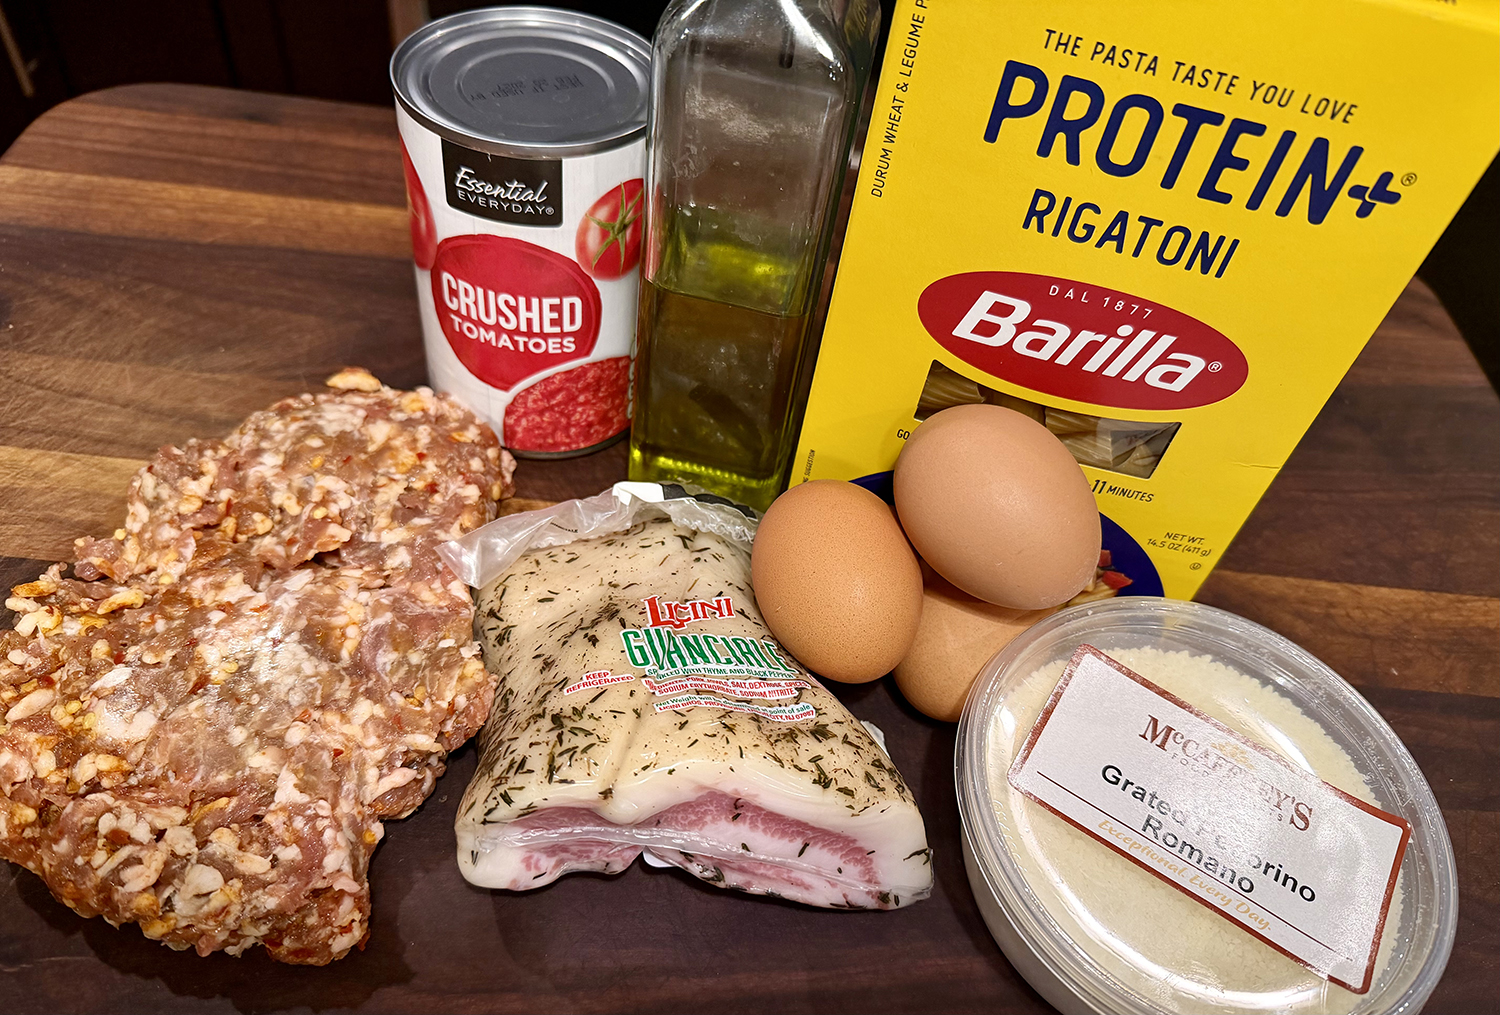
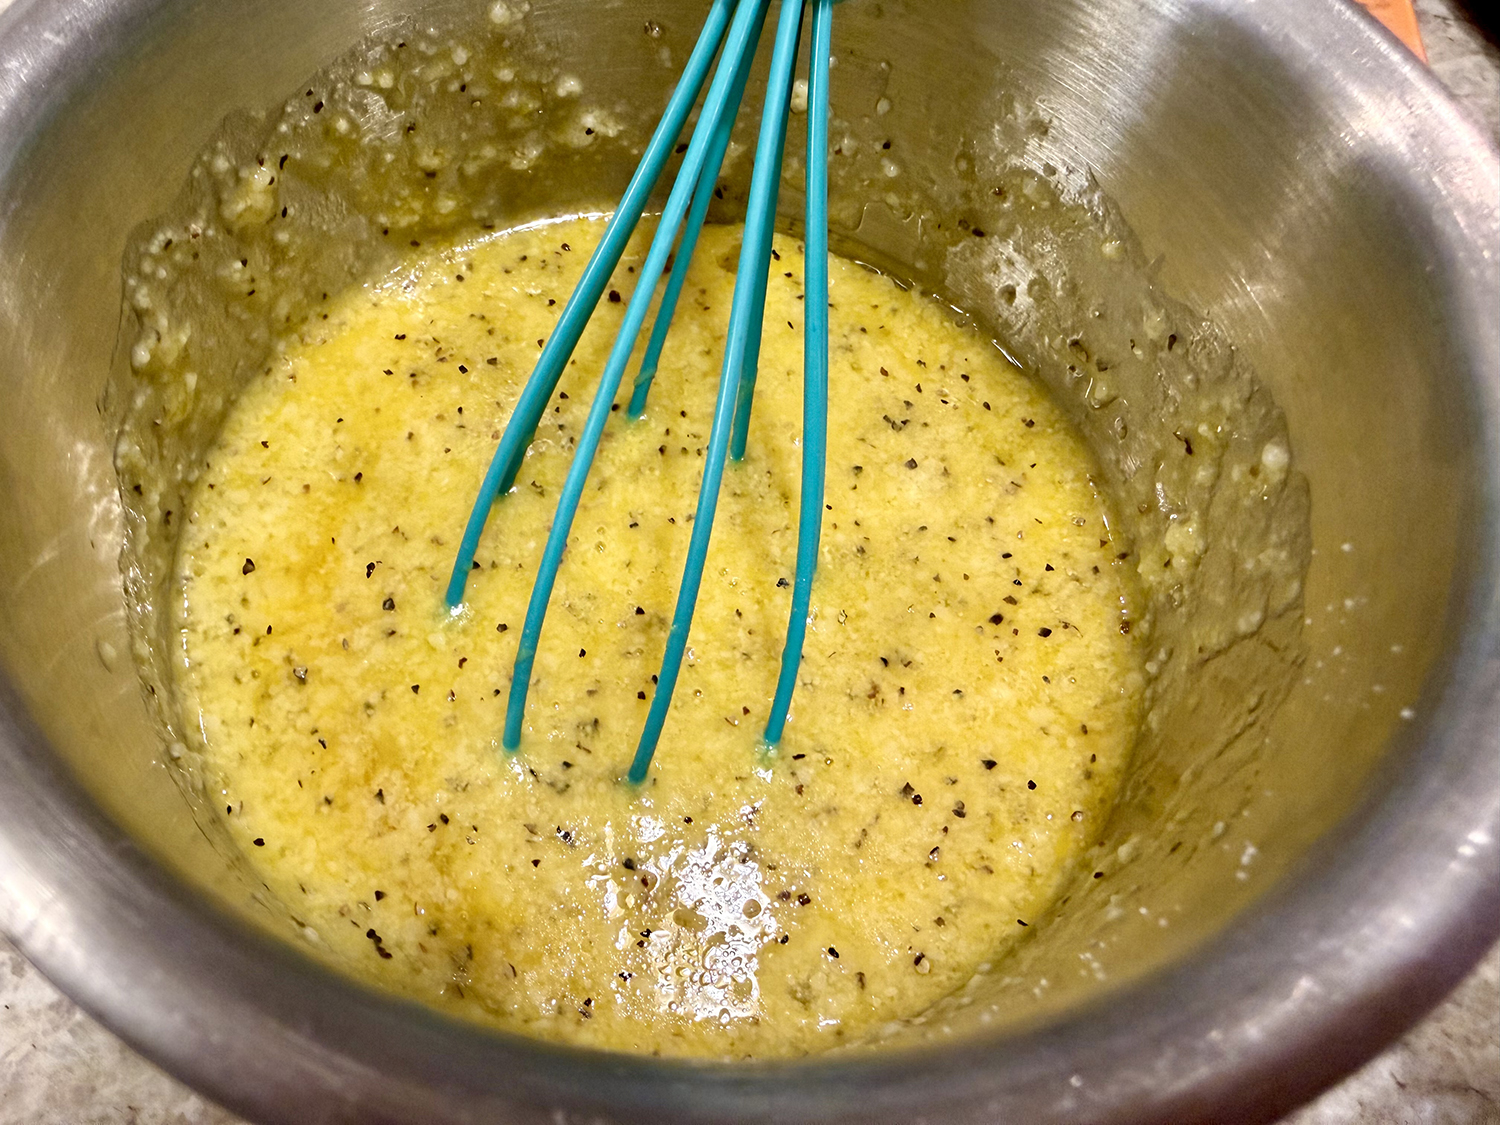
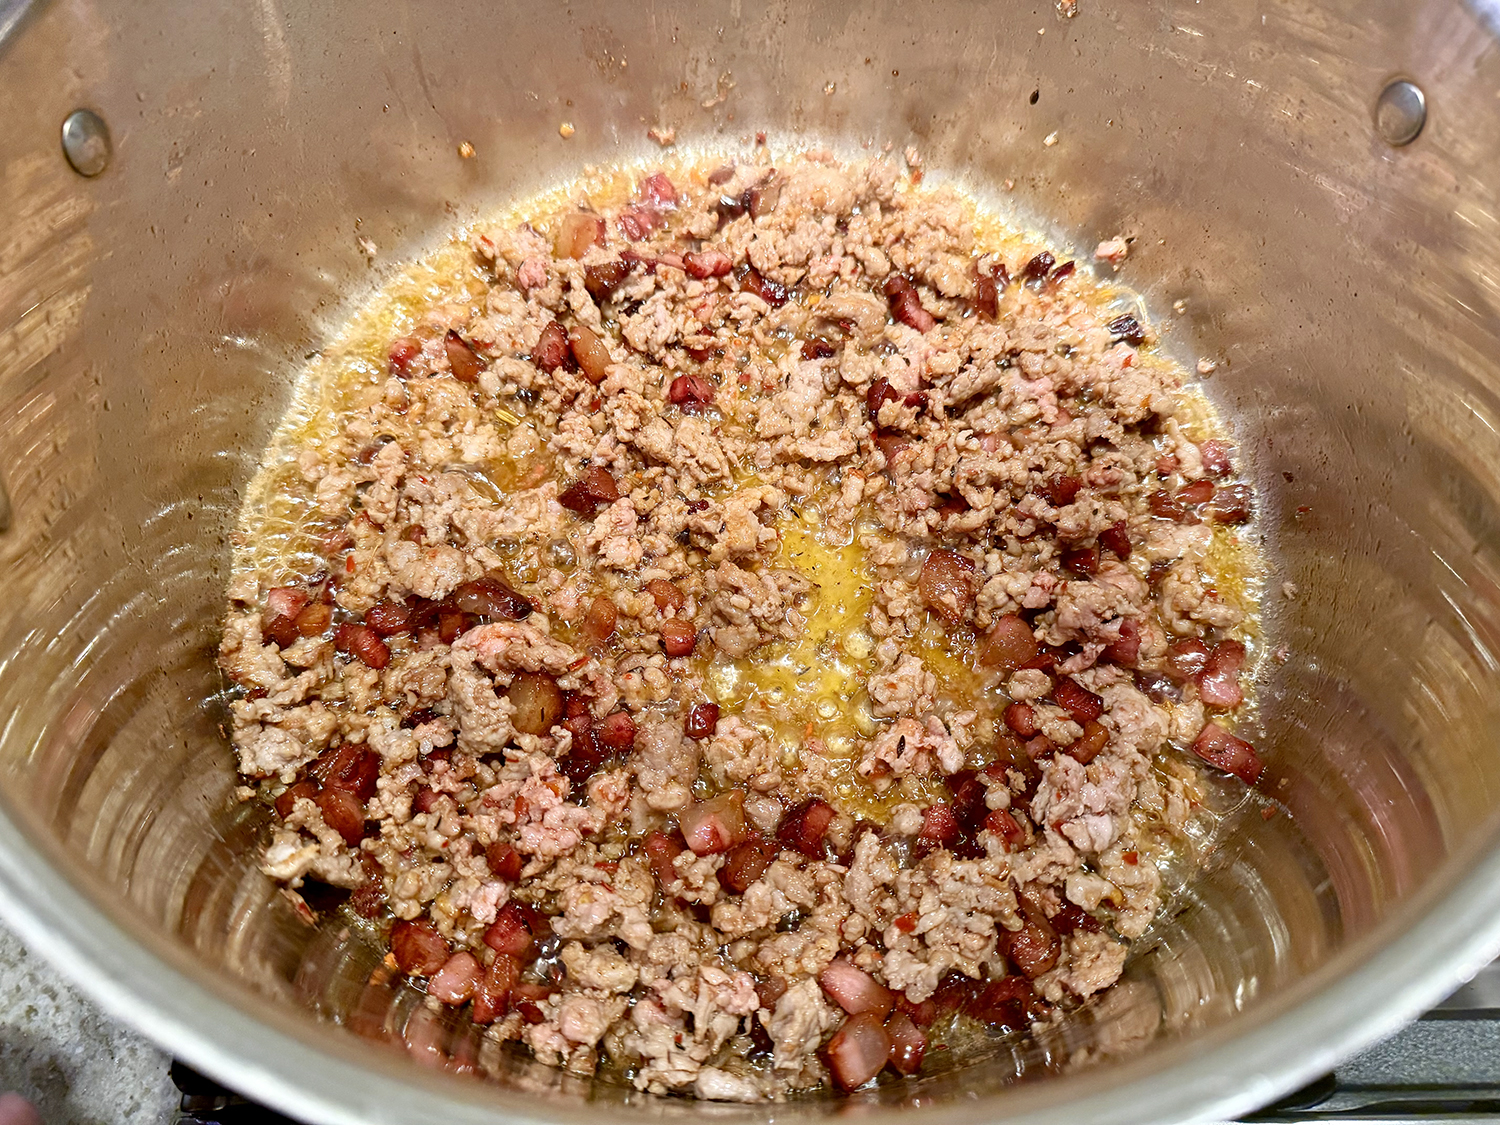
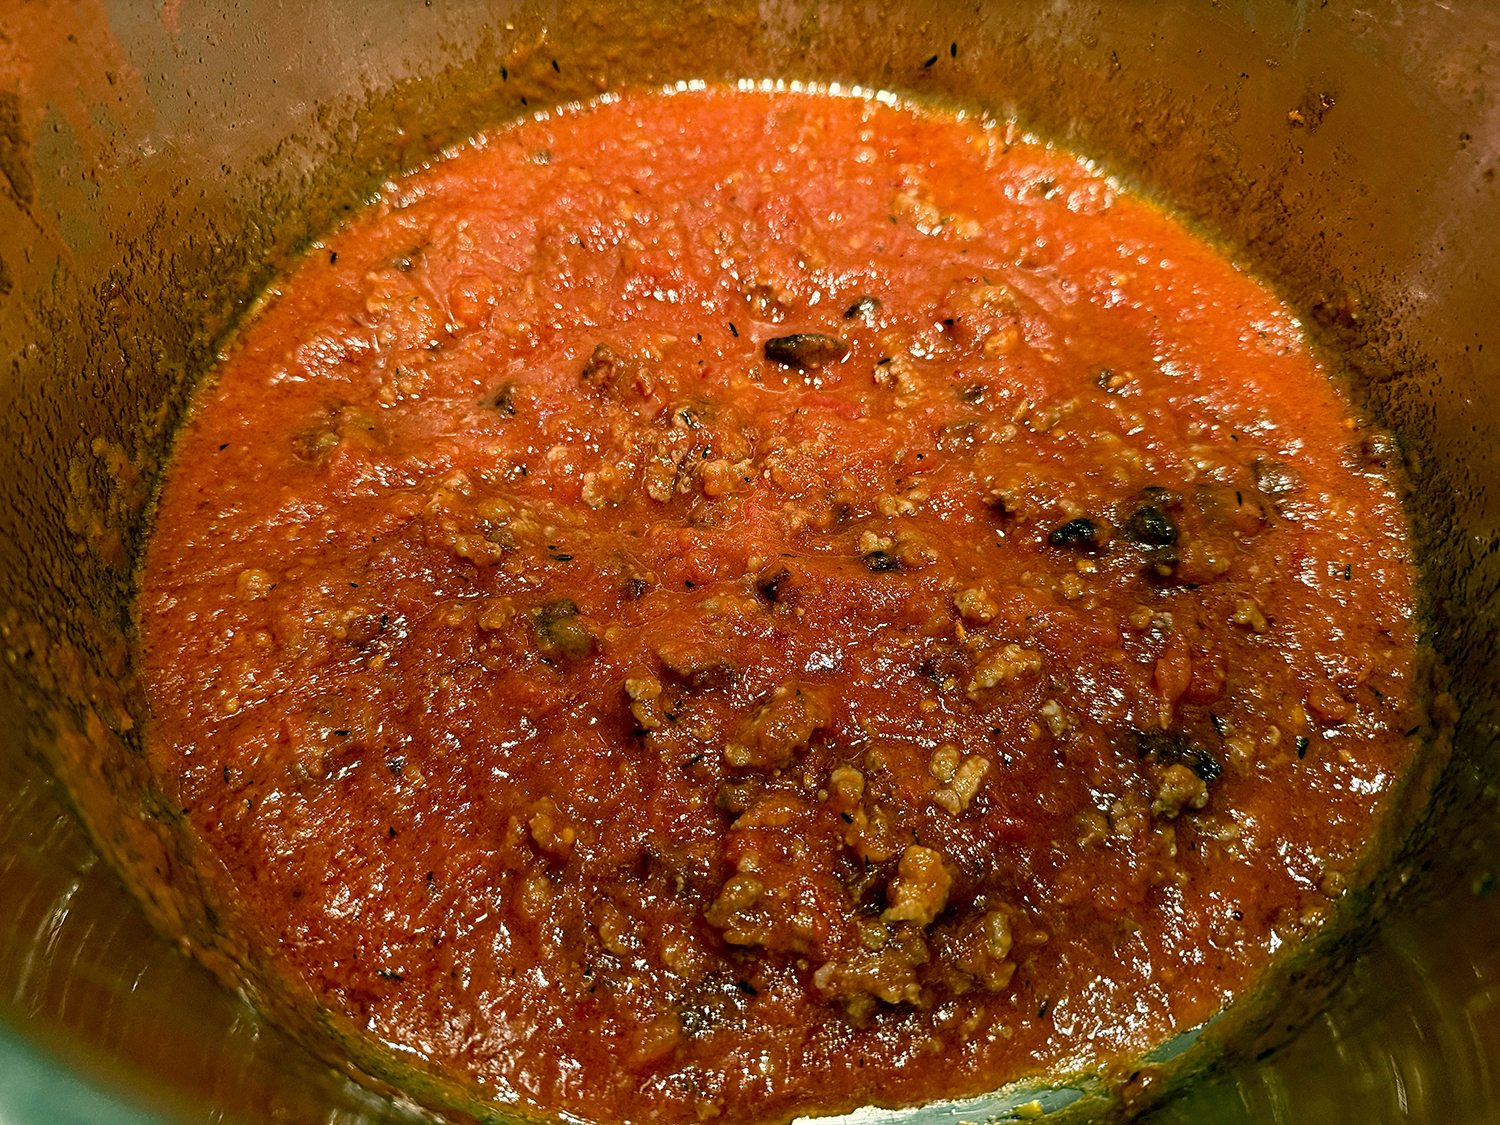
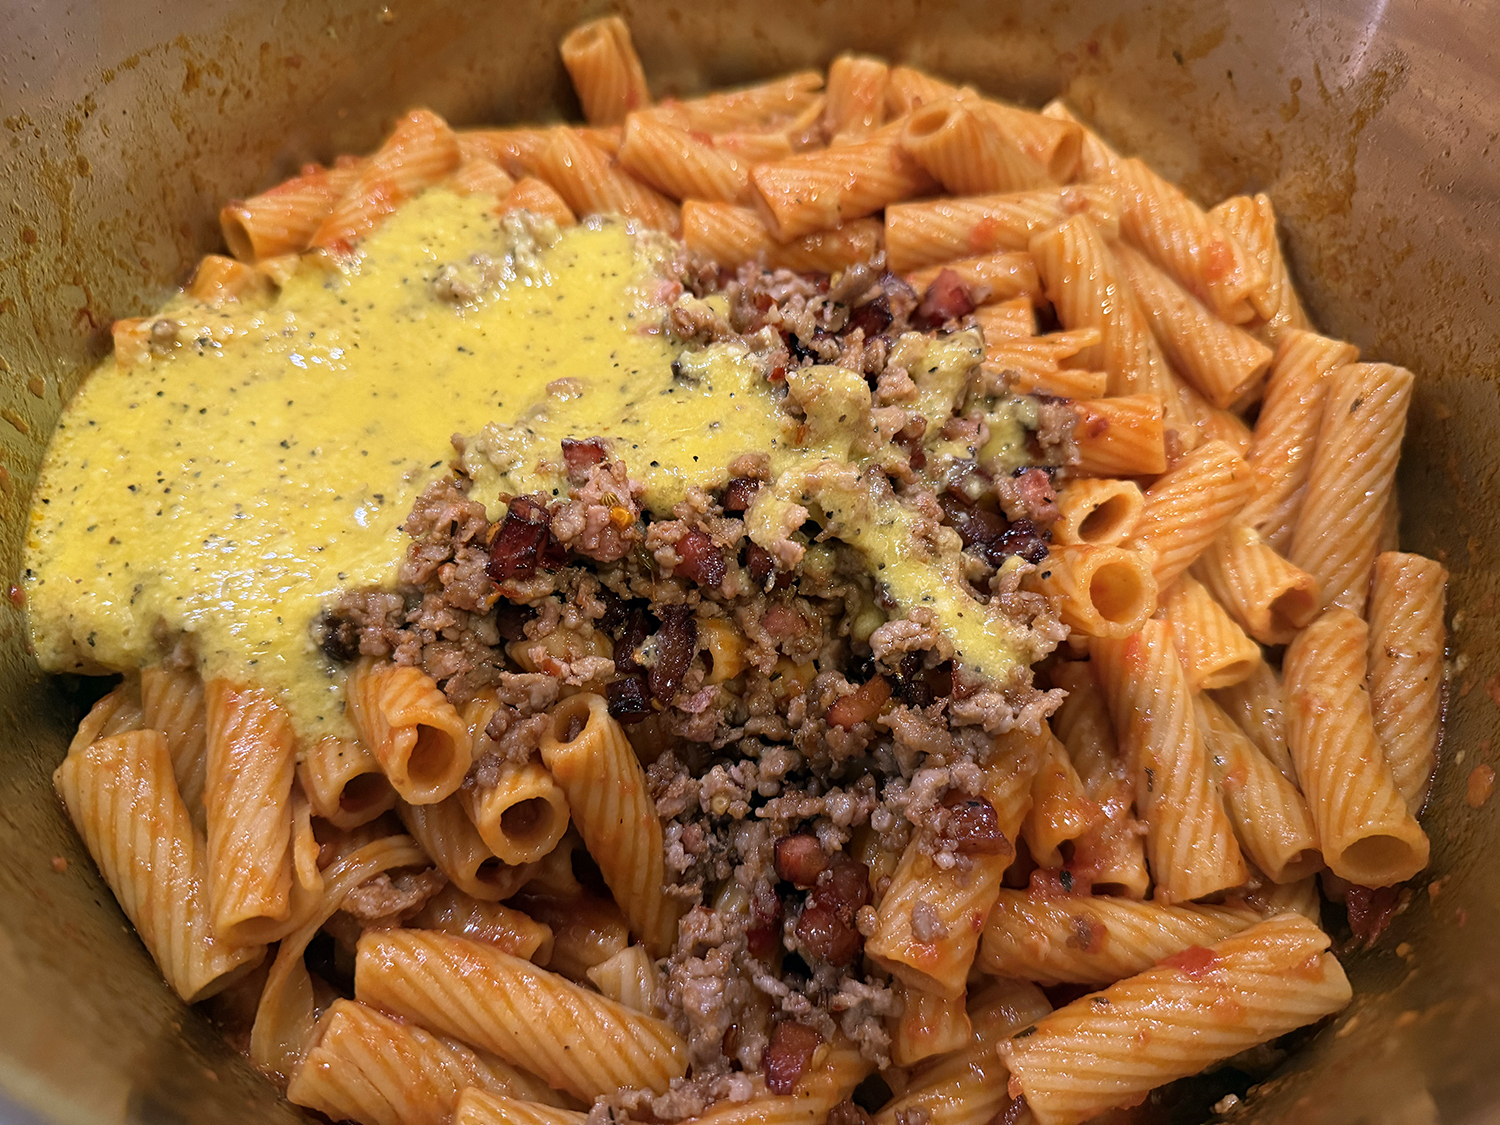
It begins with spicy Italian sausage and cured pork cooked in olive oil; we’re using guanciale (pork jowl), but pancetta is equally good and easier to source. Canned crushed tomatoes simmer with the pork, creating a savory-sweet sauce. Eggs beaten with pecorino and a little reserved pasta water are added at the end; gentle residual heat cooks everything just enough so it has a rich velvetiness.
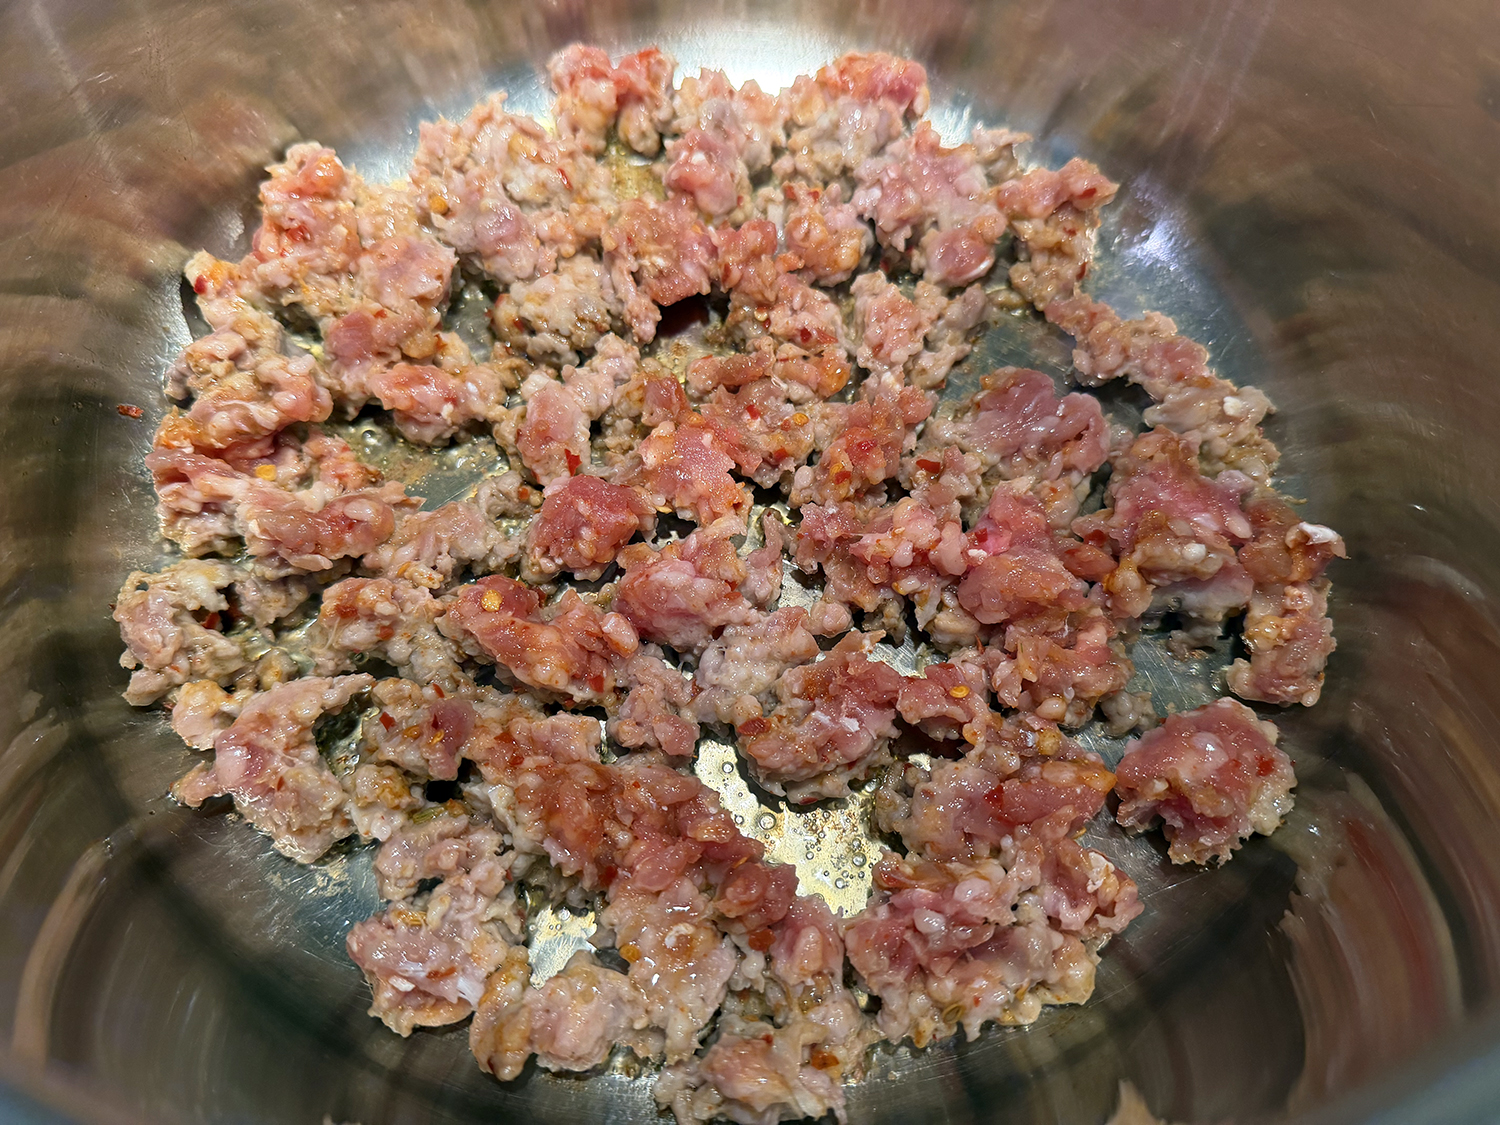
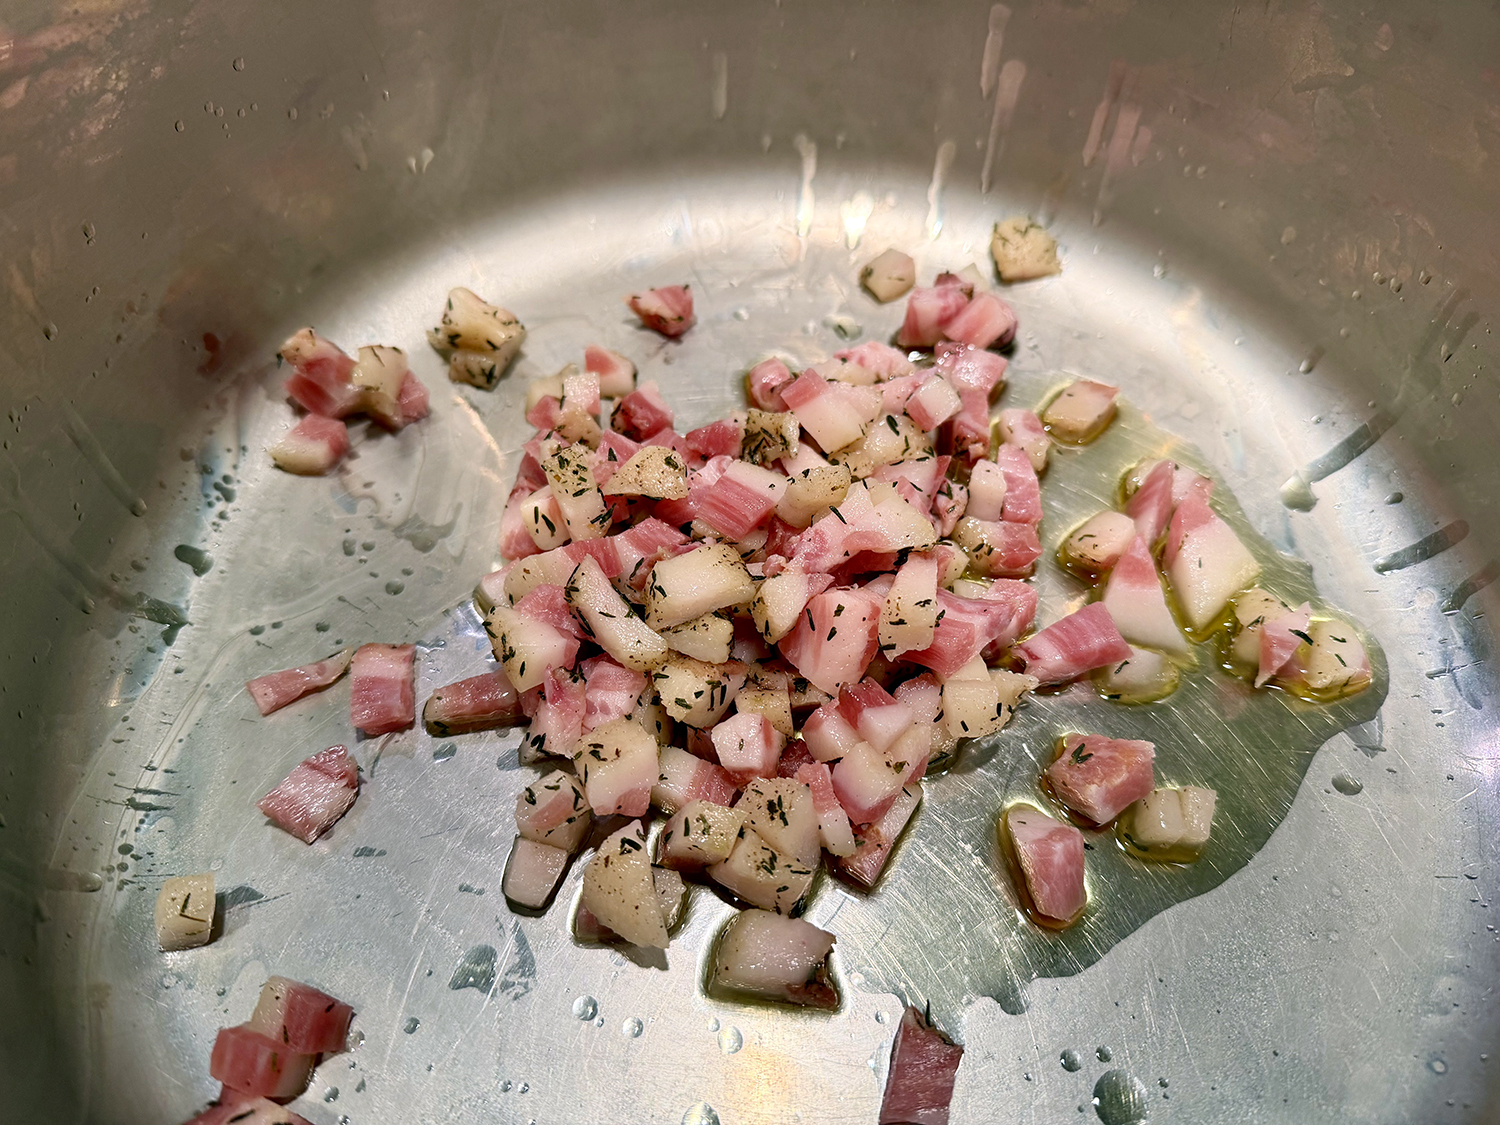
Though guanciale may be an unfamiliar word for native English speakers (pronounced: gwaan-CHAA-lei), there’s nothing difficult about eating the rich and salty Italian cured meat. This cut of meat resembles bacon in that it’s fatty, often gets served thinly sliced, and a little bit goes a long way. It was our first experience cooking with it, and won’t be the last.
Pork cheeks can be obtained raw, but most guanciale is cured, and the flavor permeates each bite and gives the sauce an umami richness and a bit of a salty, velvety backbone.
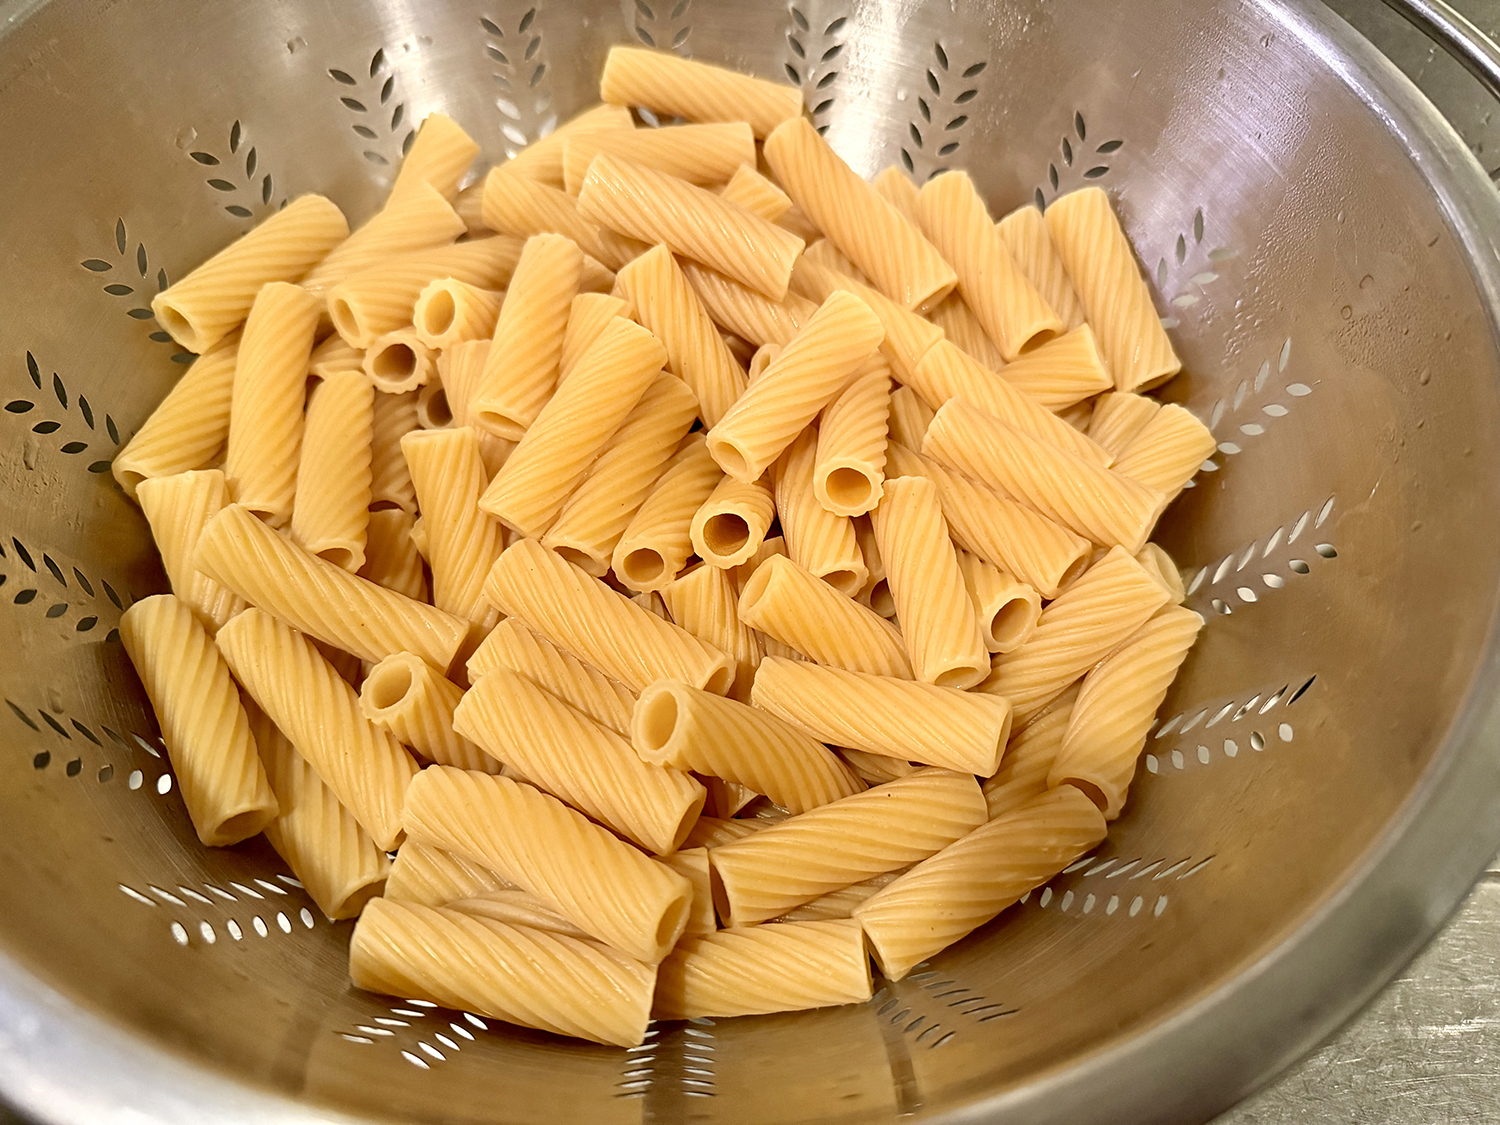
Keep in mind, you don’t want to boil the pasta until al dente. Drain it when it’s just shy of al dente, as it will finish cooking directly in the sauce. Also, be sure to reserve some of the cooking water before draining the pasta; you will need it to make the sauce. And what a sauce it is!
NOTE: Don’t add the ¼ cup reserved pasta water to the egg mixture before the water has had a chance to cool slightly. If it’s scalding hot, it will curdle the eggs.
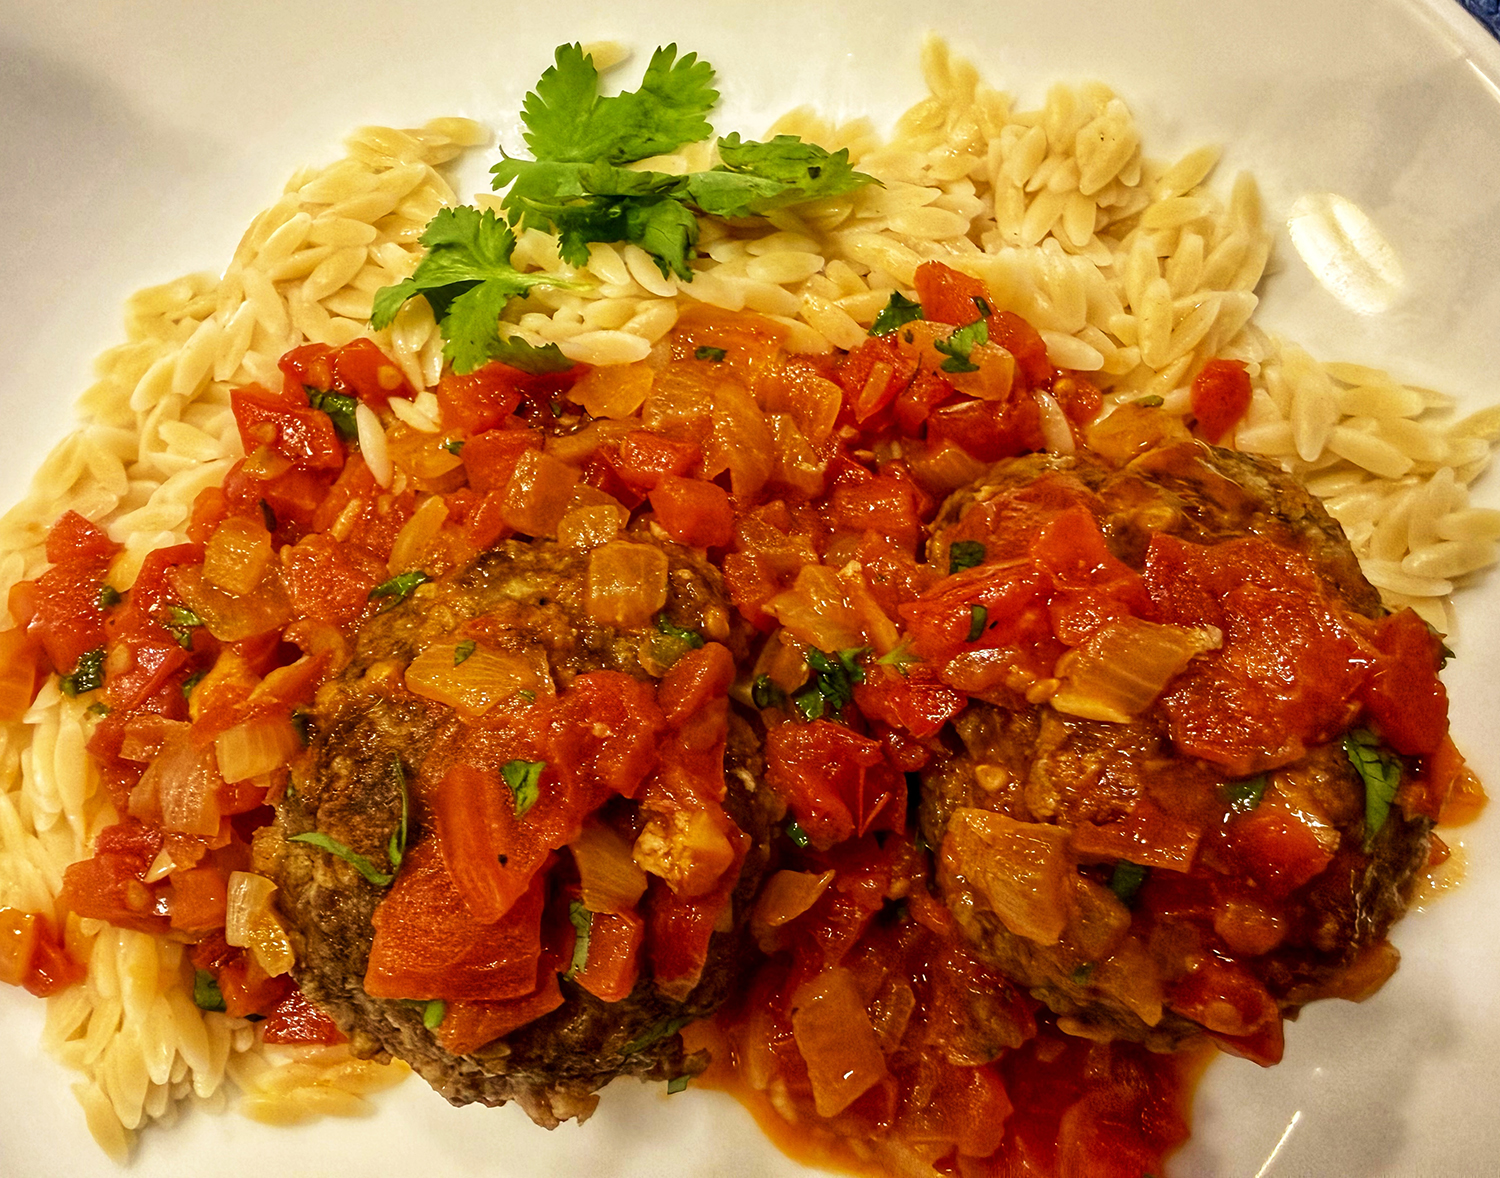
WOW, this was more amazing than we thought it would be! Very few ingredients pack a HUGE punch. Now if you can’t take the heat, use sweet Italian sausage instead of hot. It is very rich and would make a nice first course if served in small portions. If you plan to serve as the main course, complete the meal with a side salad and/or a green vegetable such as broccoli rabe.
Rigatoni alla Zozzona
Ingredients
- 1 lb. rigatoni
- Kosher salt and ground black pepper
- 3 Tbsp. extra-virgin olive oil, divided, plus more to serve
- 4 oz. pancetta or guanciale, chopped
- 8 oz. hot Italian sausage, casings removed
- 1 14½-oz. can crushed tomatoes (1½ cups)
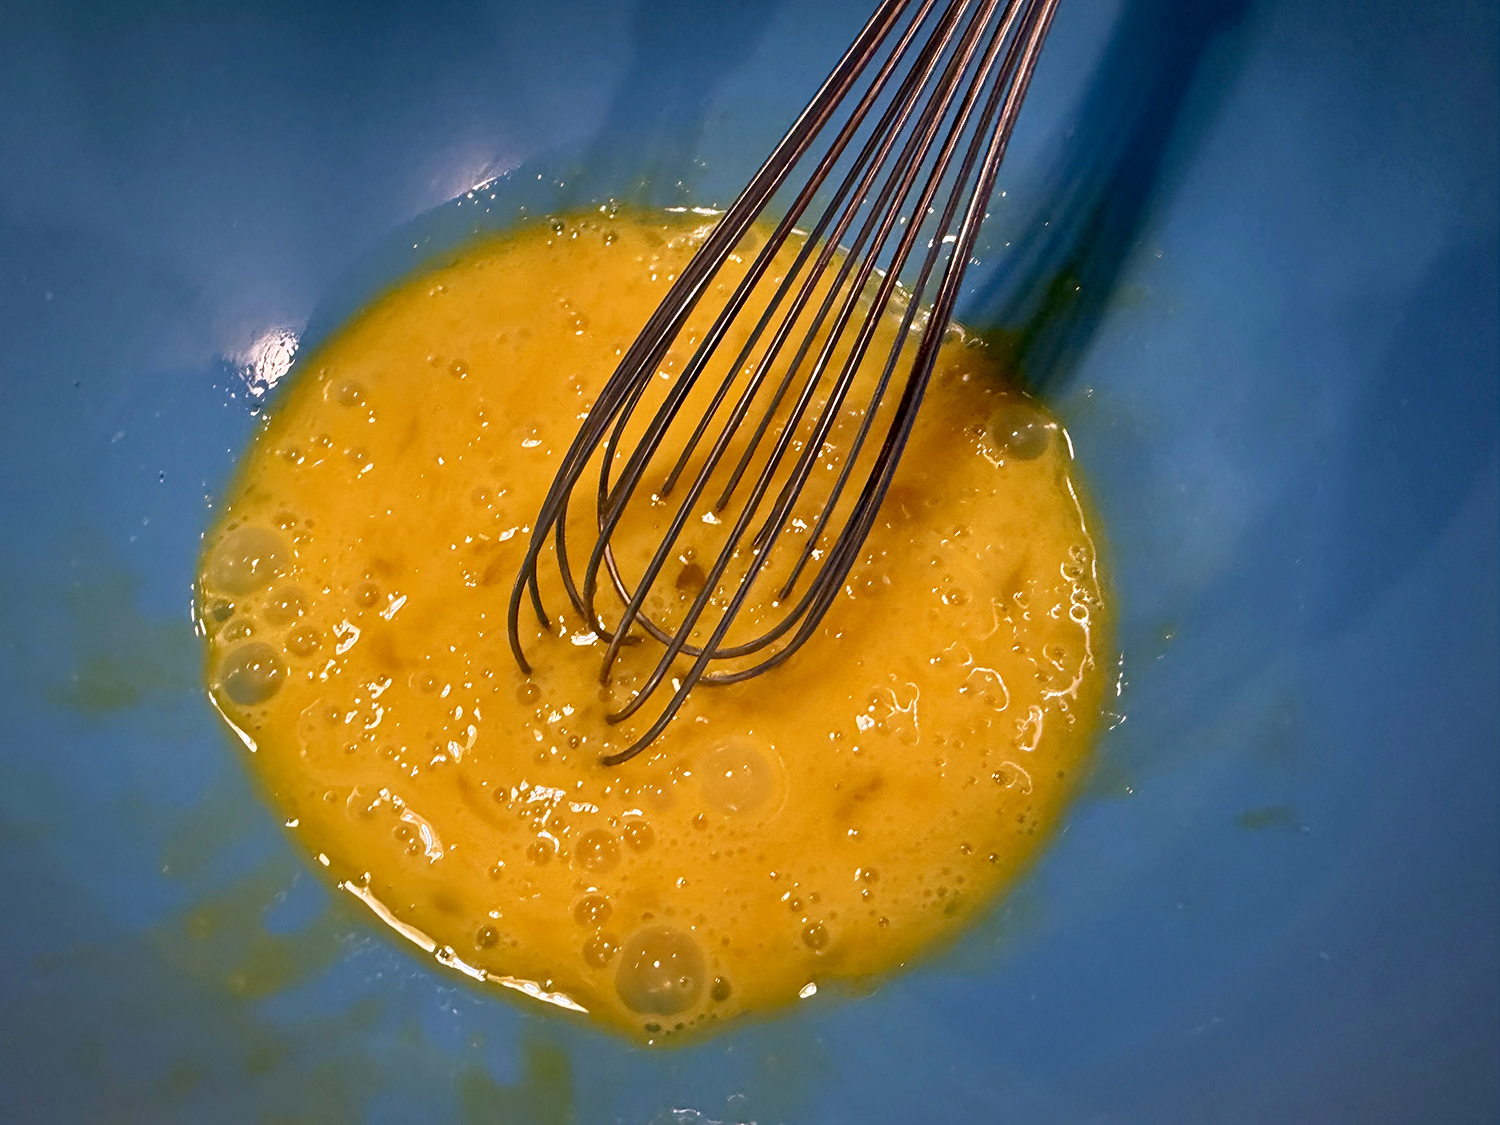
- 1 large egg, plus 2 large egg yolks
- 1 oz. finely grated pecorino Romano cheese (½ cup), plus more to serve
Directions
- In a large pot over medium-high, bring 3 quarts water to a boil. Add the pasta and 1 tablespoon salt, then cook, stirring occasionally, until just shy of al dente. Reserve about 2 cups of the pasta cooking liquid, then drain; set aside.
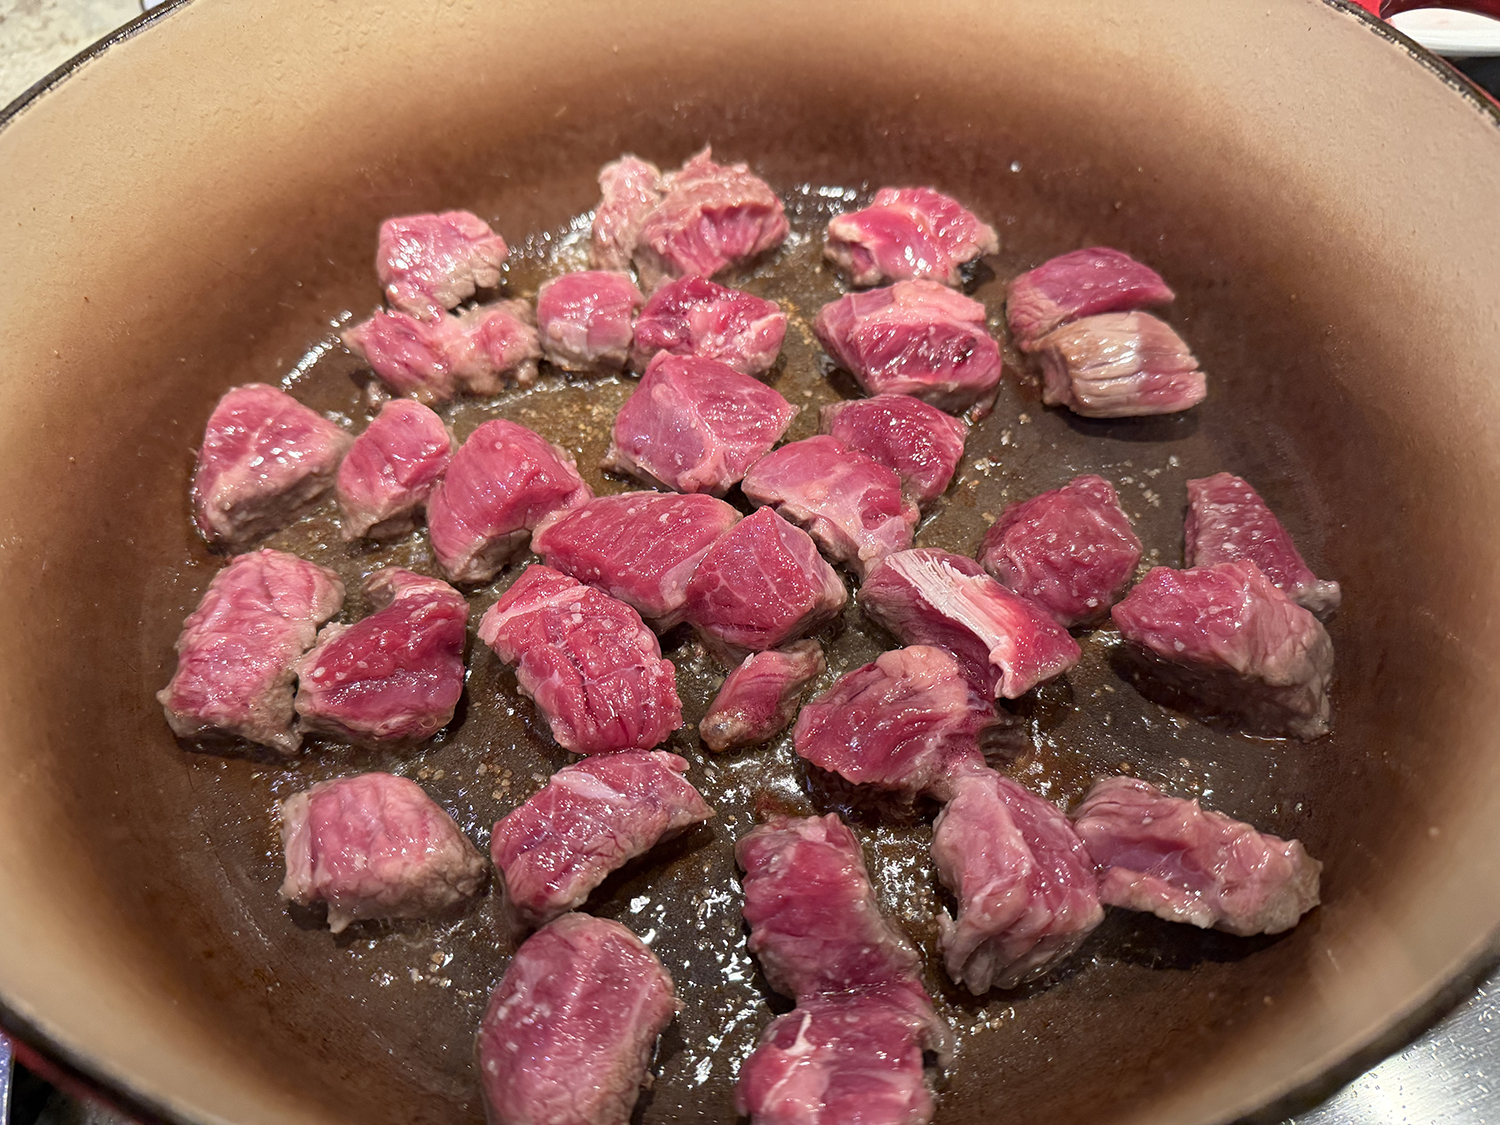
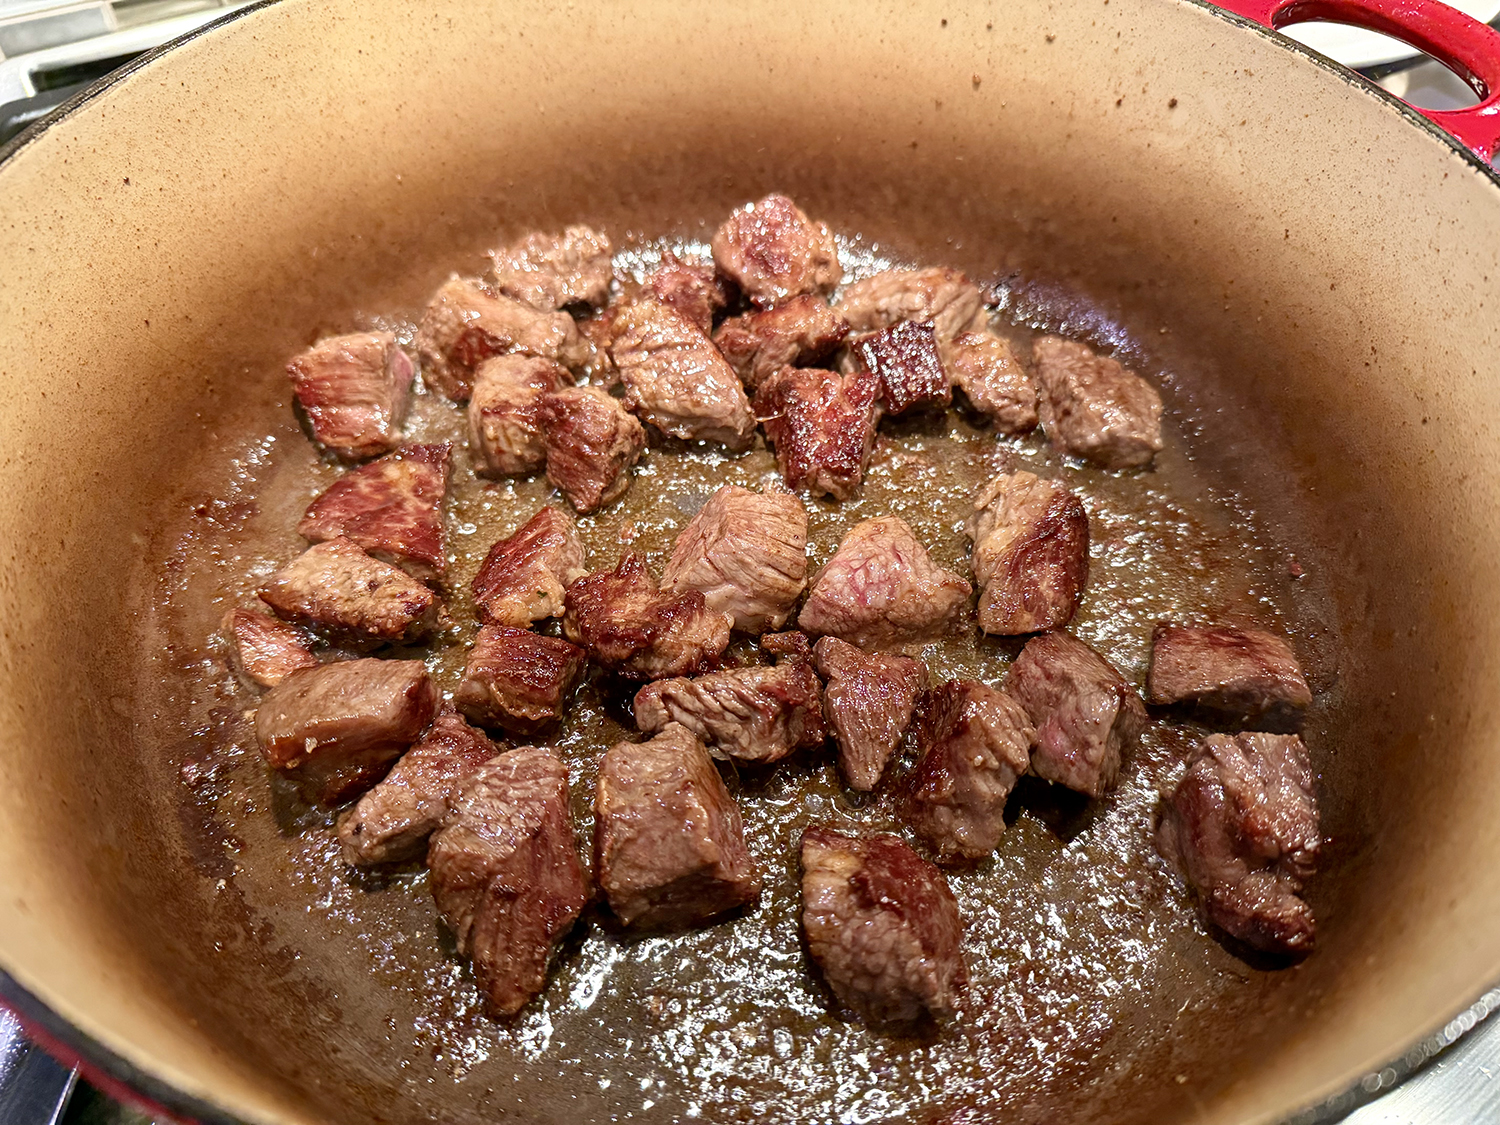
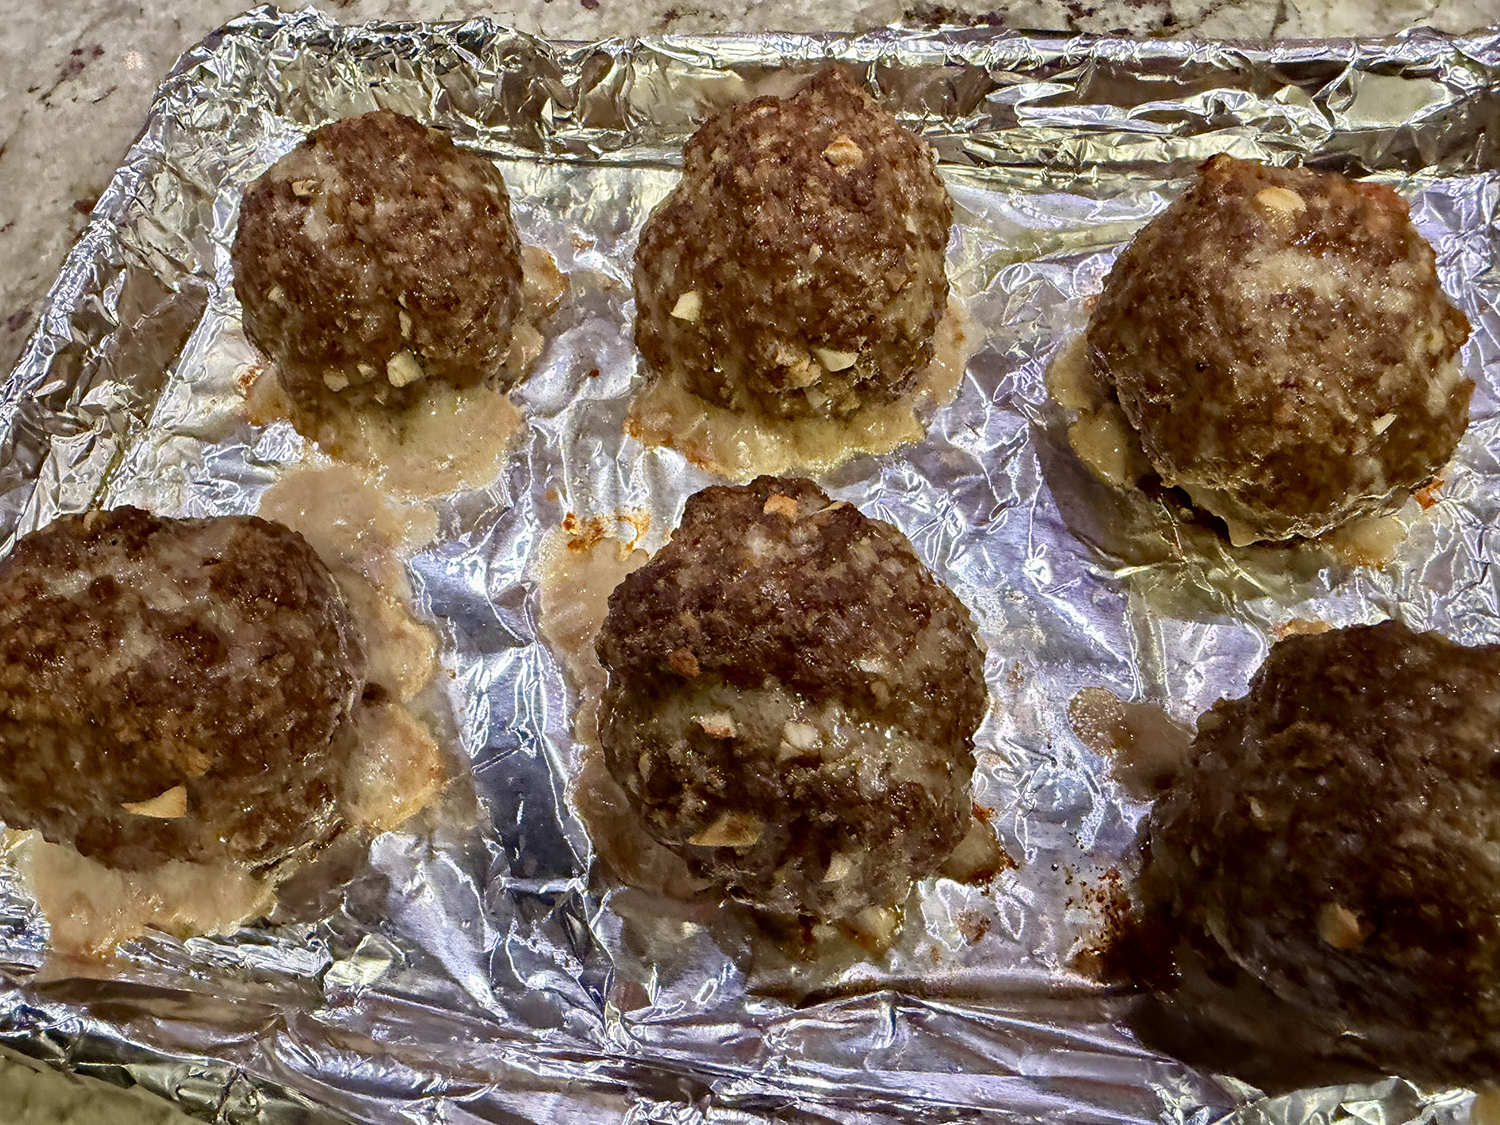
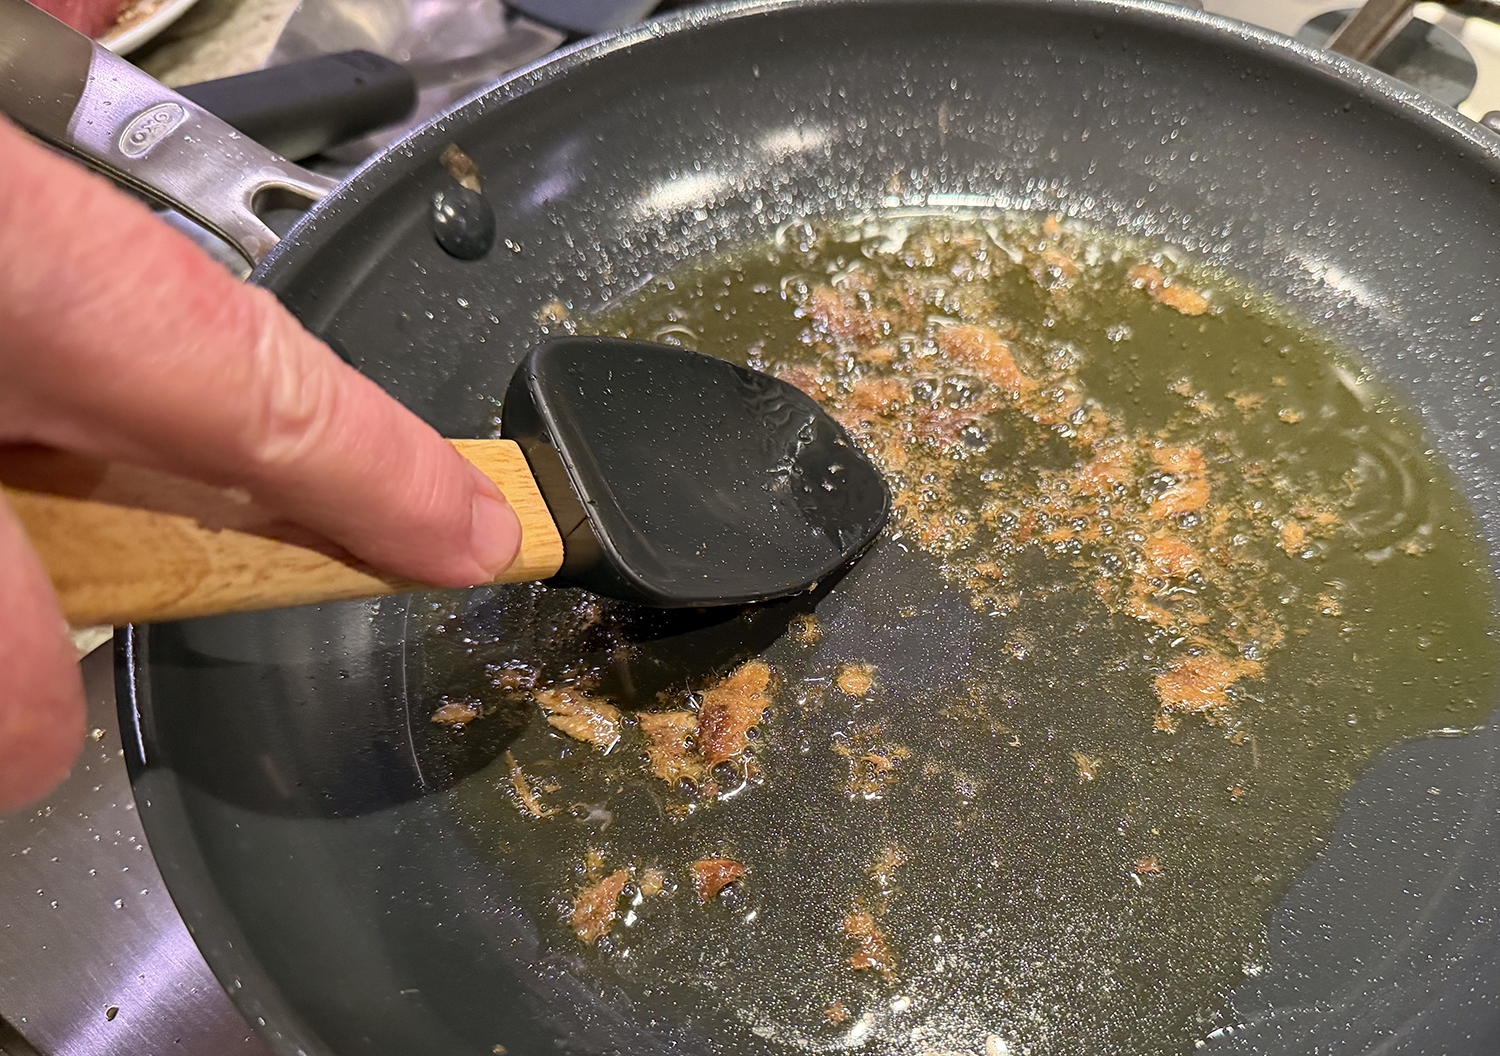
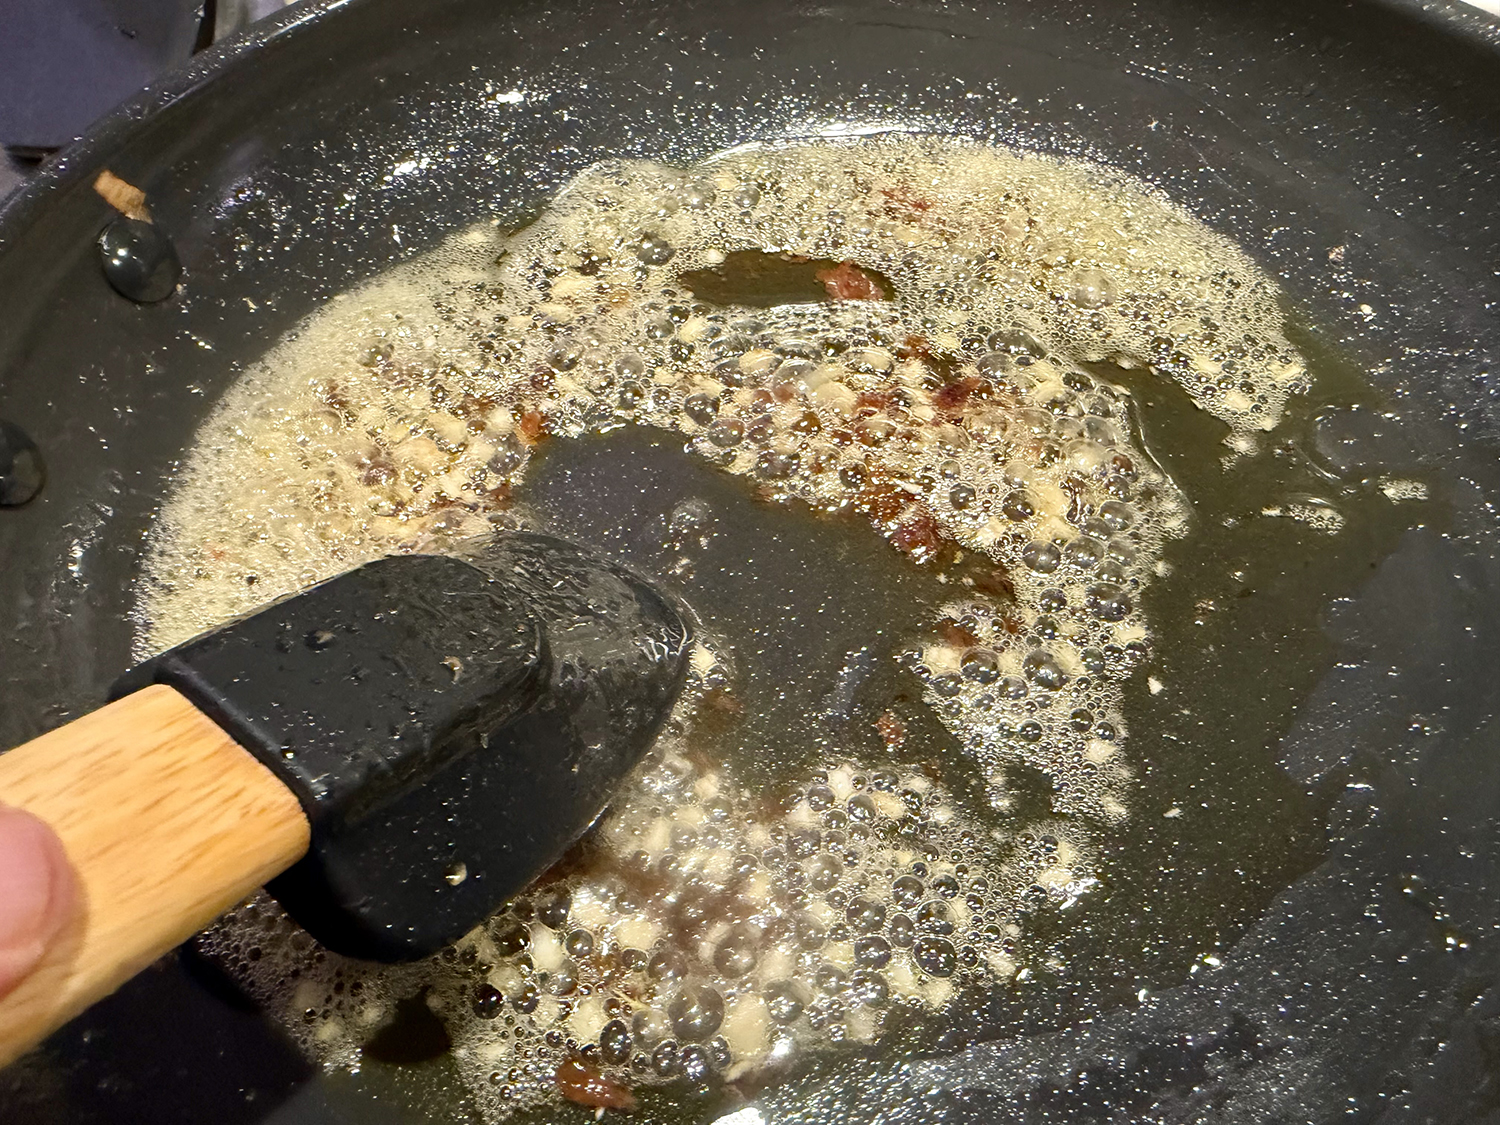
- In the same pot over medium-high, combine 1 tablespoon oil and the pancetta. Cook, stirring, until it has rendered some of its fat and begins to brown, about 2 minutes. Add the sausage and cook, breaking it into small pieces, until browned, about 3 minutes. Using a slotted spoon, transfer half of the pancetta-sausage mixture to a small bowl; set aside.
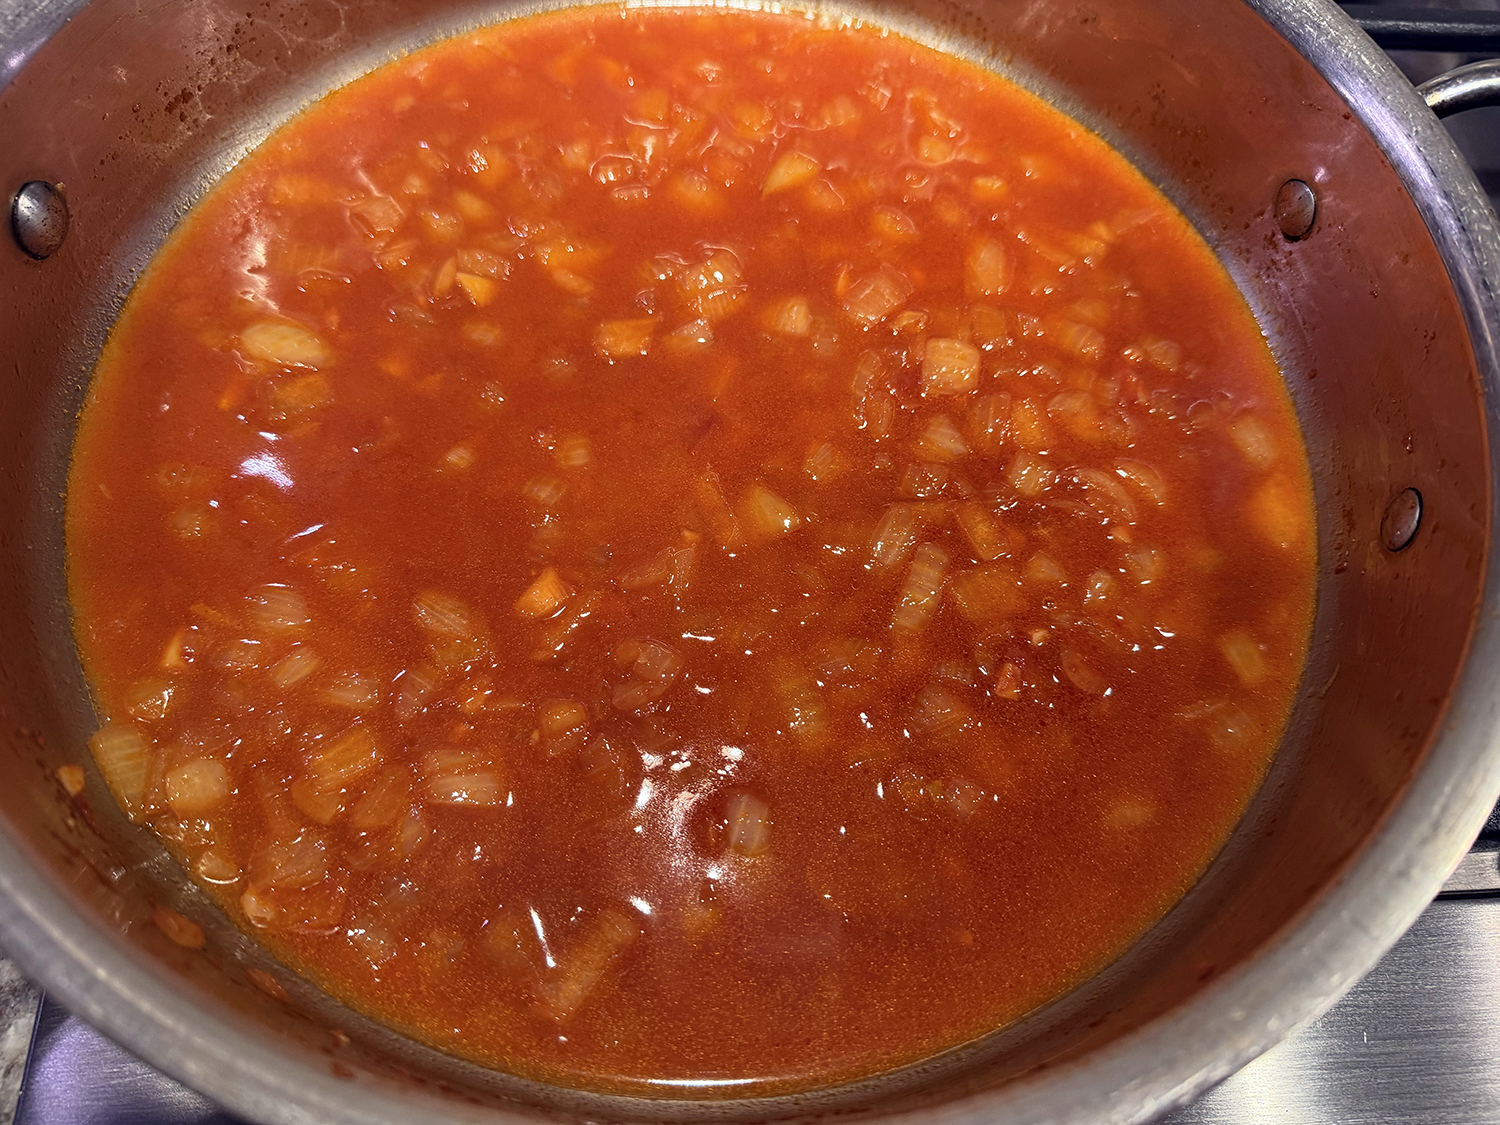
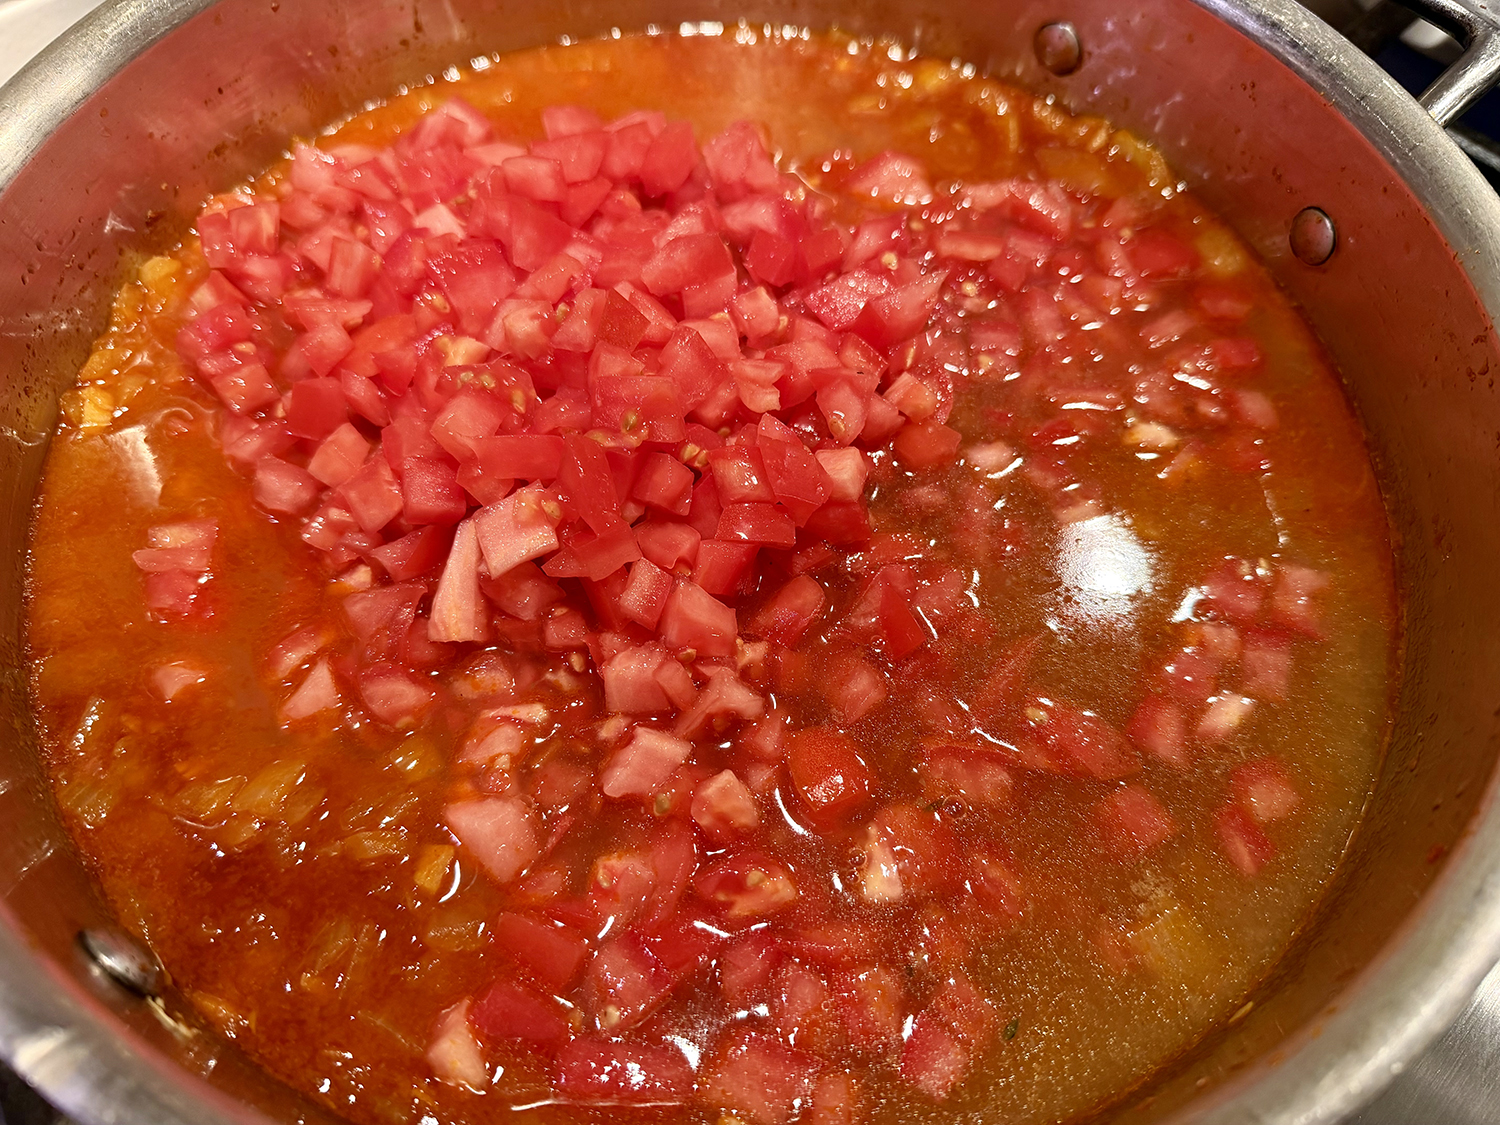
- Into the pancetta-sausage mixture in the pot, stir the tomatoes. Bring to a simmer over medium and cook, stirring, until thickened, 6 to 8 minutes. Stir in 1 cup of the reserved pasta water, then the pasta. Cook, stirring and tossing, until the pasta is al dente, 3 to 5 minutes. Meanwhile, in a small bowl, whisk together the remaining 2 tablespoons oil, the egg and yolks, pecorino, 1 teaspoon pepper and ¼ cup of the reserved pasta water.
- Remove the pot from the heat. Add the egg mixture and reserved pancetta-sausage mixture. Stir until the sauce thickens slightly and clings to the pasta, about 2 minutes. If needed, add reserved cooking water 1 tablespoon at a time to adjust the consistency. Taste and season with salt. Serve sprinkled with additional pepper and cheese and drizzled with additional oil.
Recipe by Courtney Hill for Milk Street