This hearty stew is made for cool weather. It is an investment in time, but will be at the ready to eat anytime of day or night with a quick warm up on the stove top or in a microwave. To bulk it up even more, serve with a slice of nice toasted garlic bread.
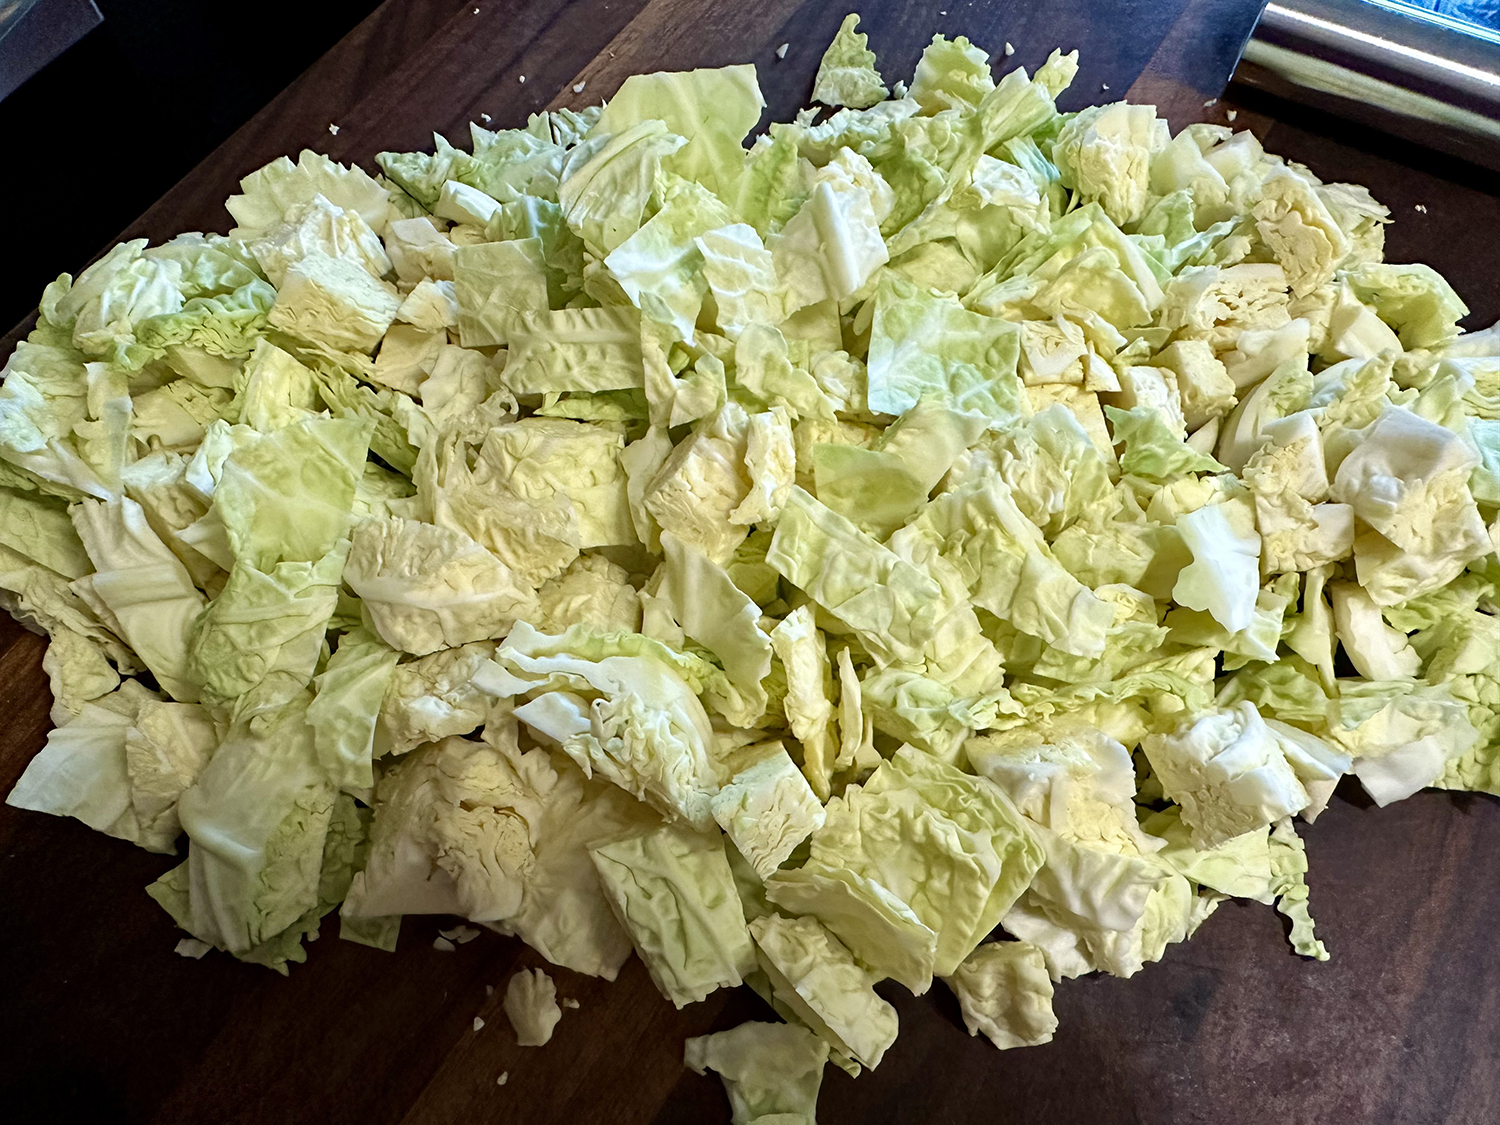
Think of all the healthy veggies that add nutrients and fiber. Take cabbage for example. Cabbage’s impressive advantages stem from its nutritional composition, which includes a diverse range of antioxidants and phytochemicals. The high levels of folate, antioxidants, fiber, and anti-inflammatory properties aid in the battle against cancer and that’s just to get started!

Your beans will have a creamier texture if soaked overnight for this recipe. If you’re short on time, quick-soak them: Place the rinsed beans in a large heat-resistant bowl. Bring 2 quarts of water and 3 tablespoons of salt to a boil. Pour the water over the beans and let them sit for 1 hour. Drain and rinse the beans well before proceeding with step 2.
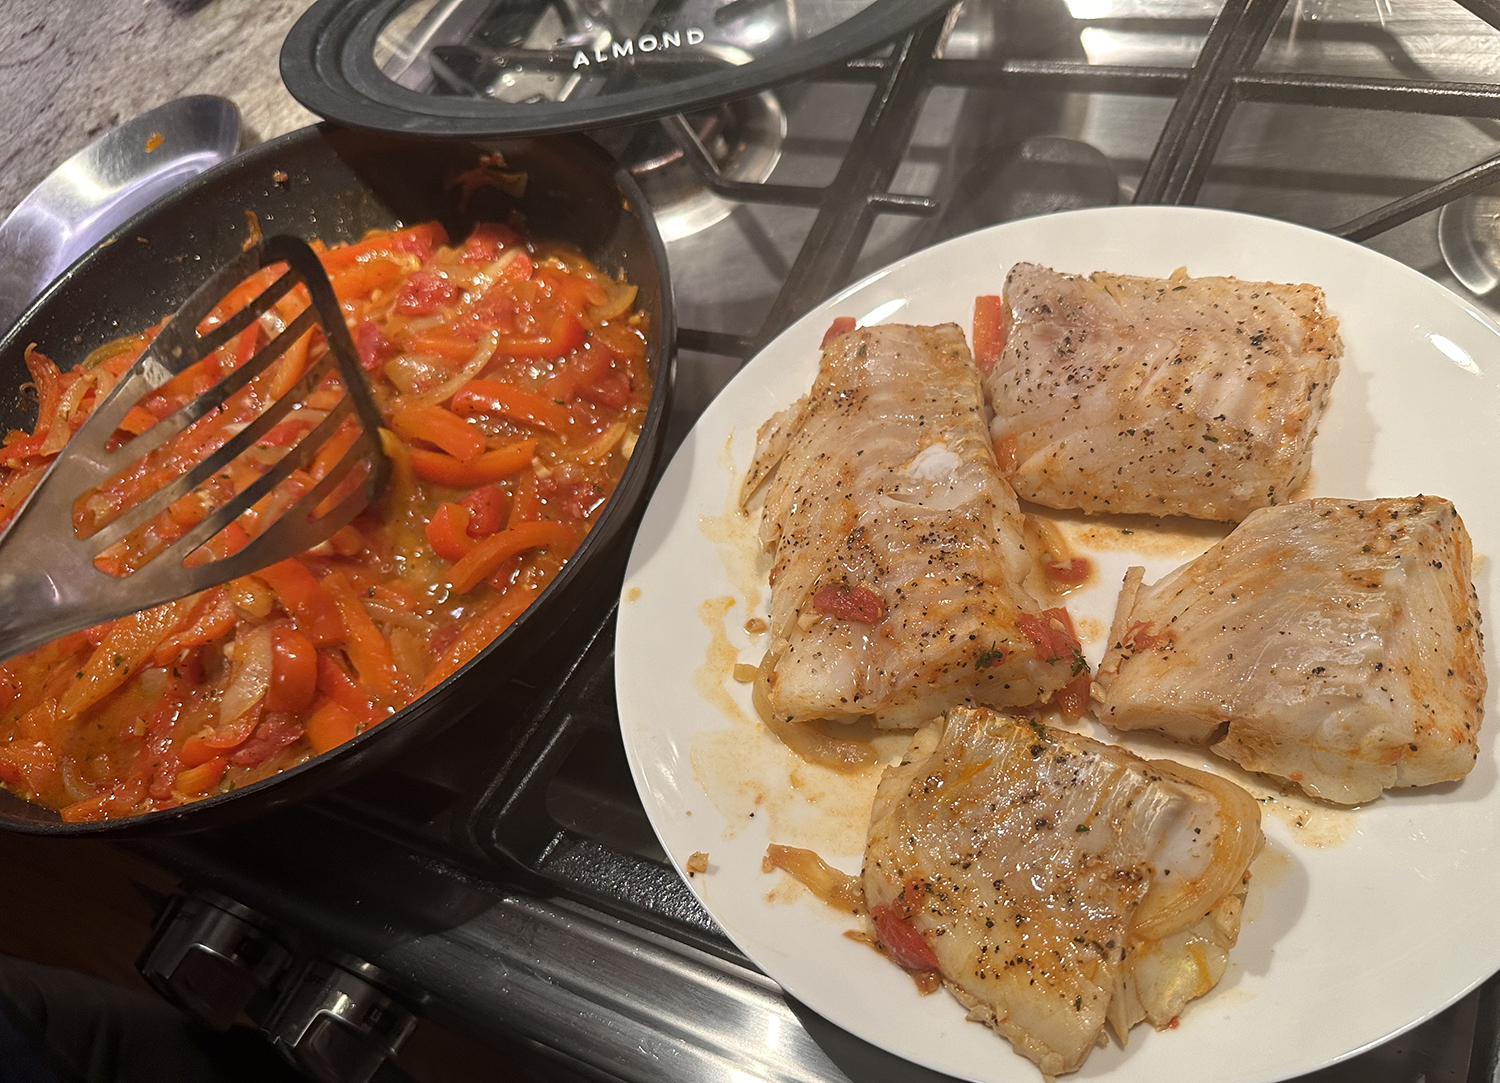
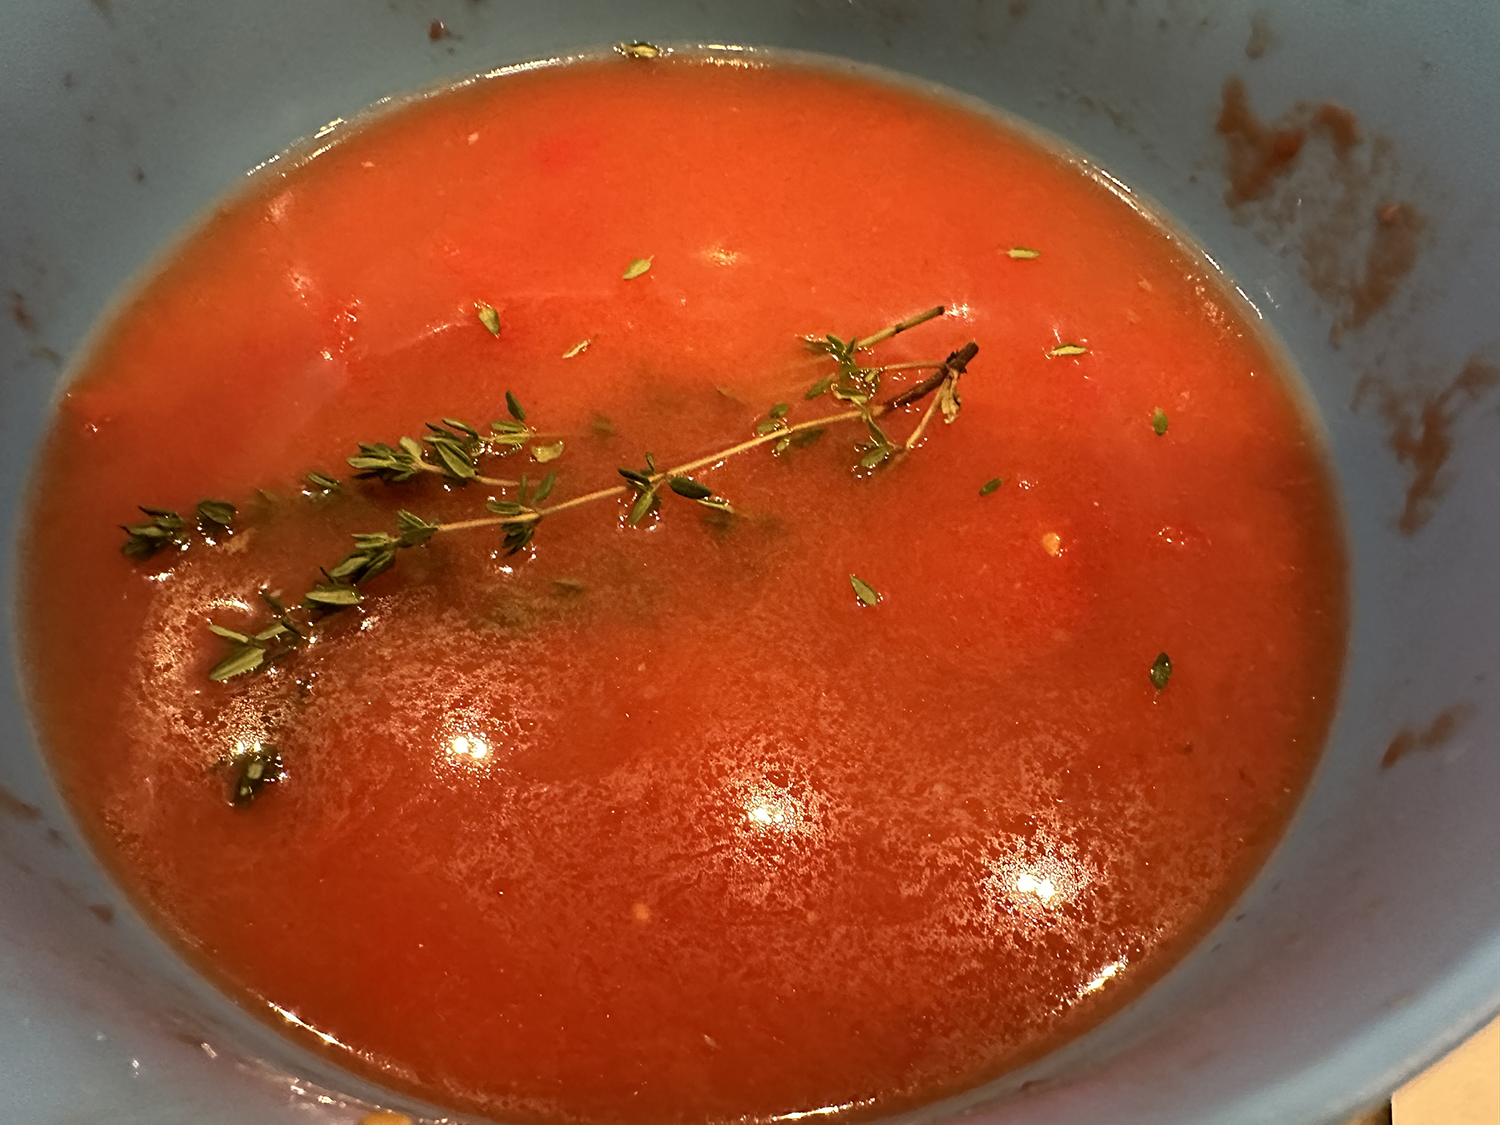
Don’t forget to add the last two items, apple cider vinegar to brighten the dish, and the thyme bundle for an added depth of flavor.

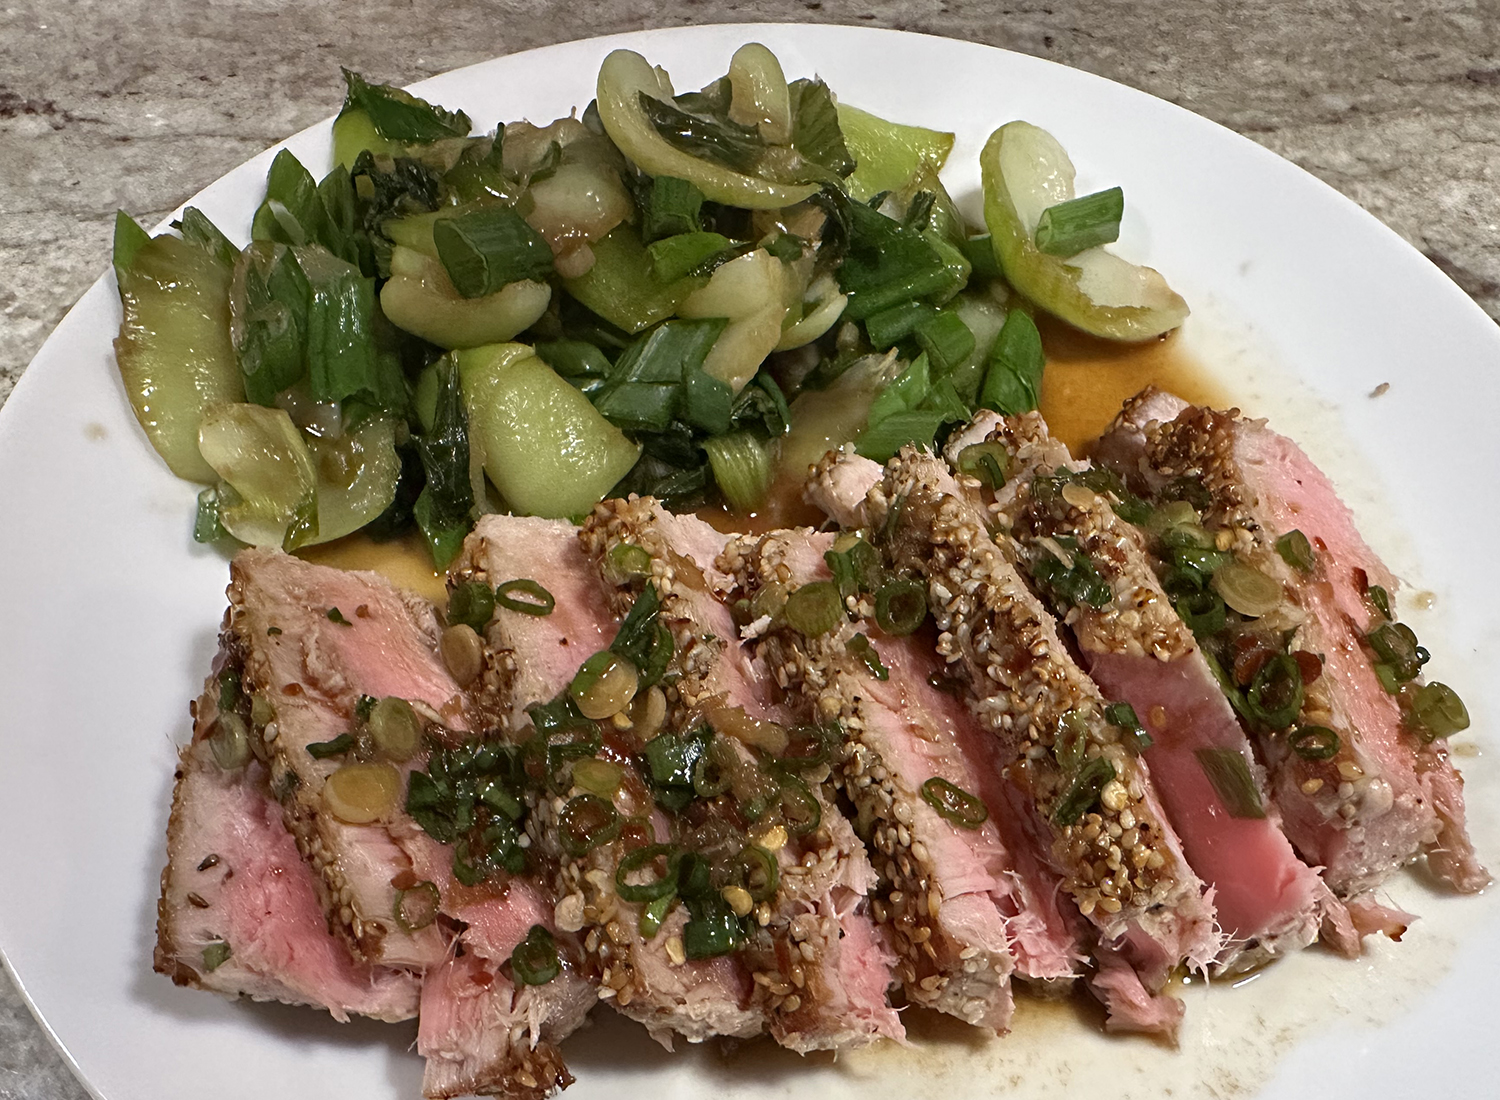
Hearty Hungarian-Style Stew with Pork and Cabbage
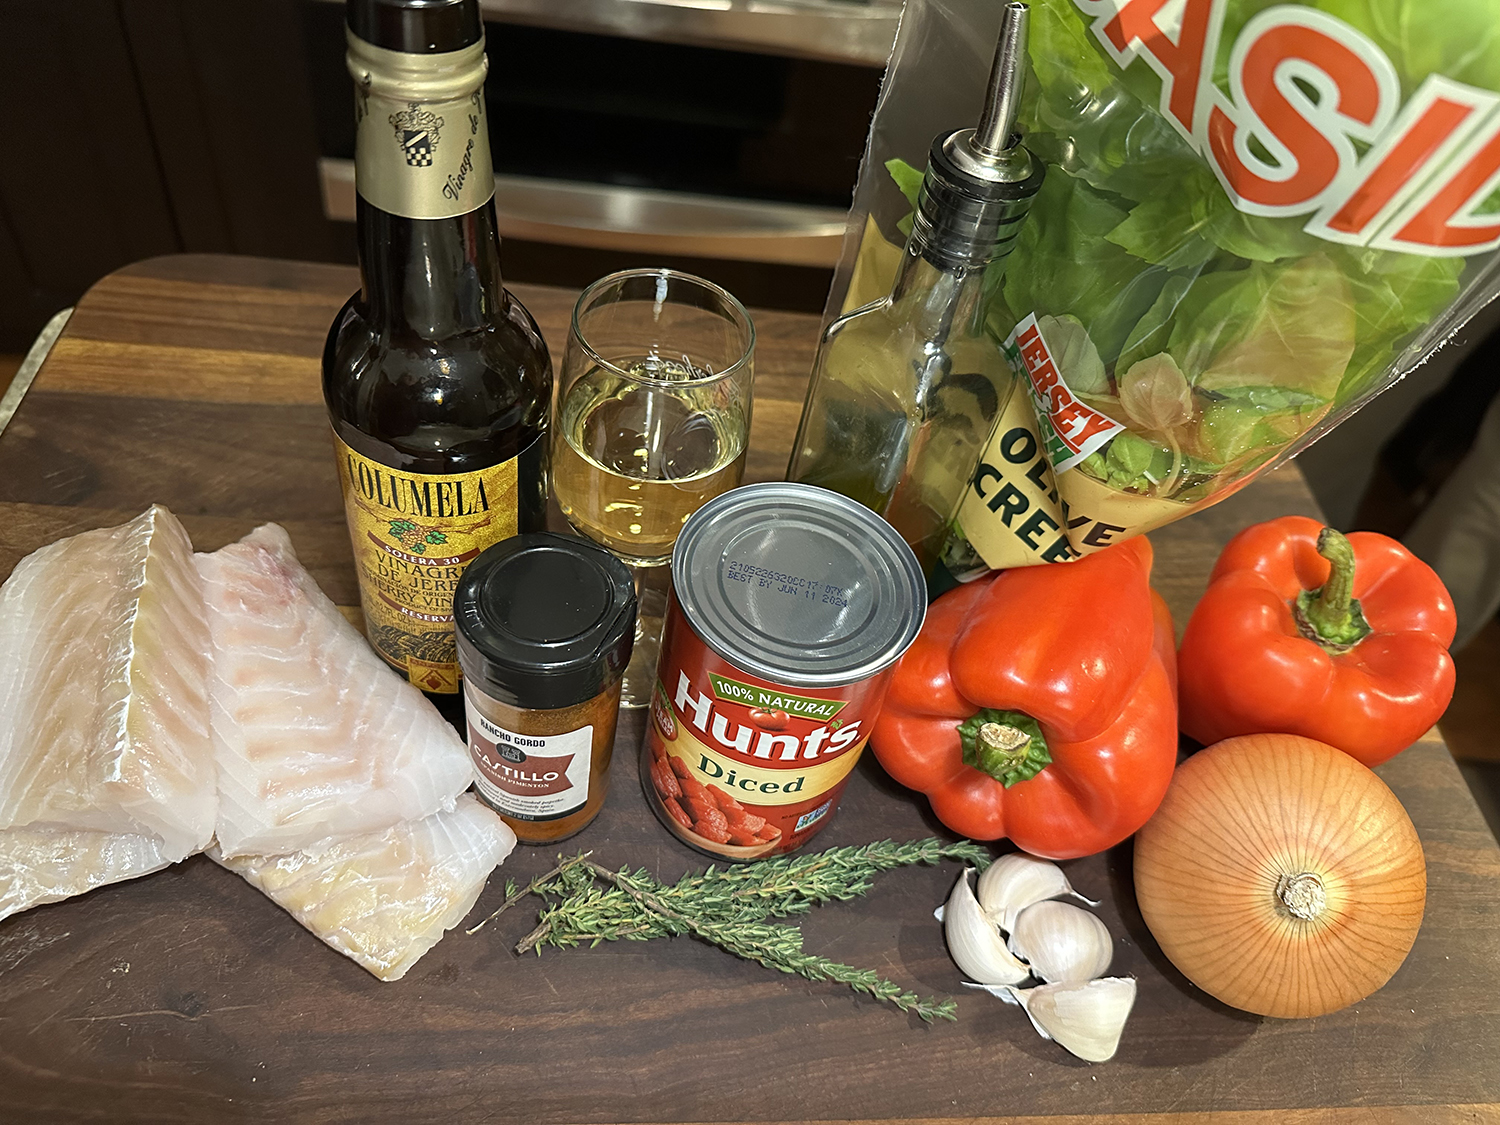
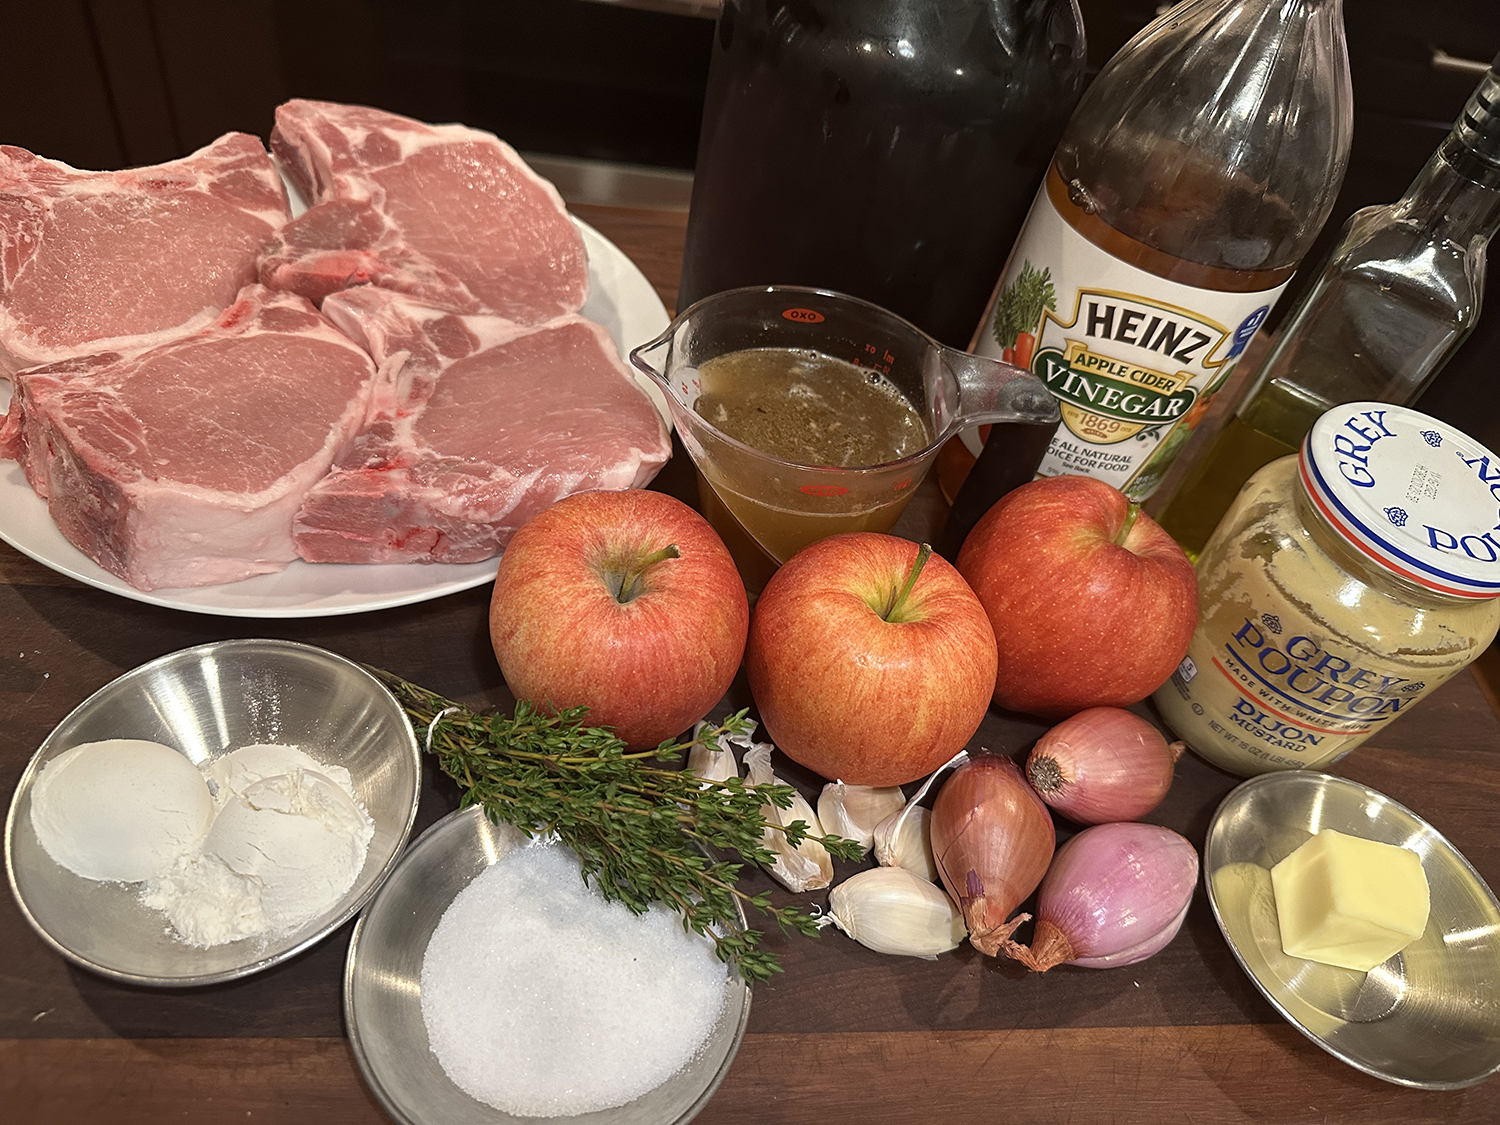
Ingredients
- 1 lb. dried cannellini or other white beans, rinsed and picked over
- 1 Tbsp. extra-virgin olive oil, plus extra for drizzling
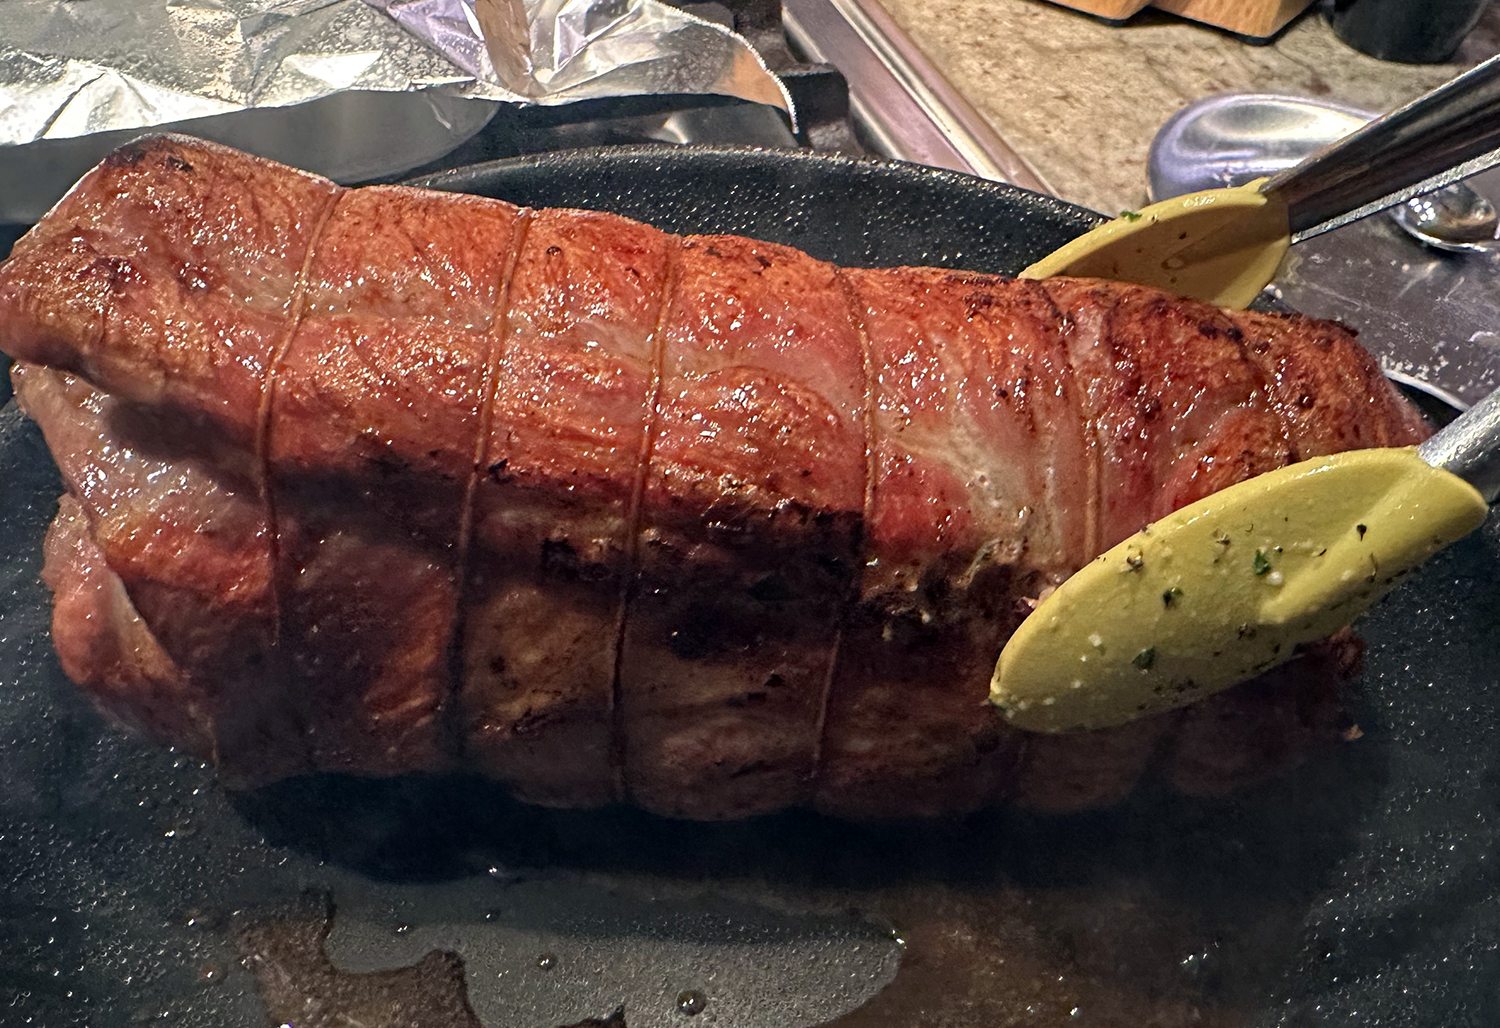
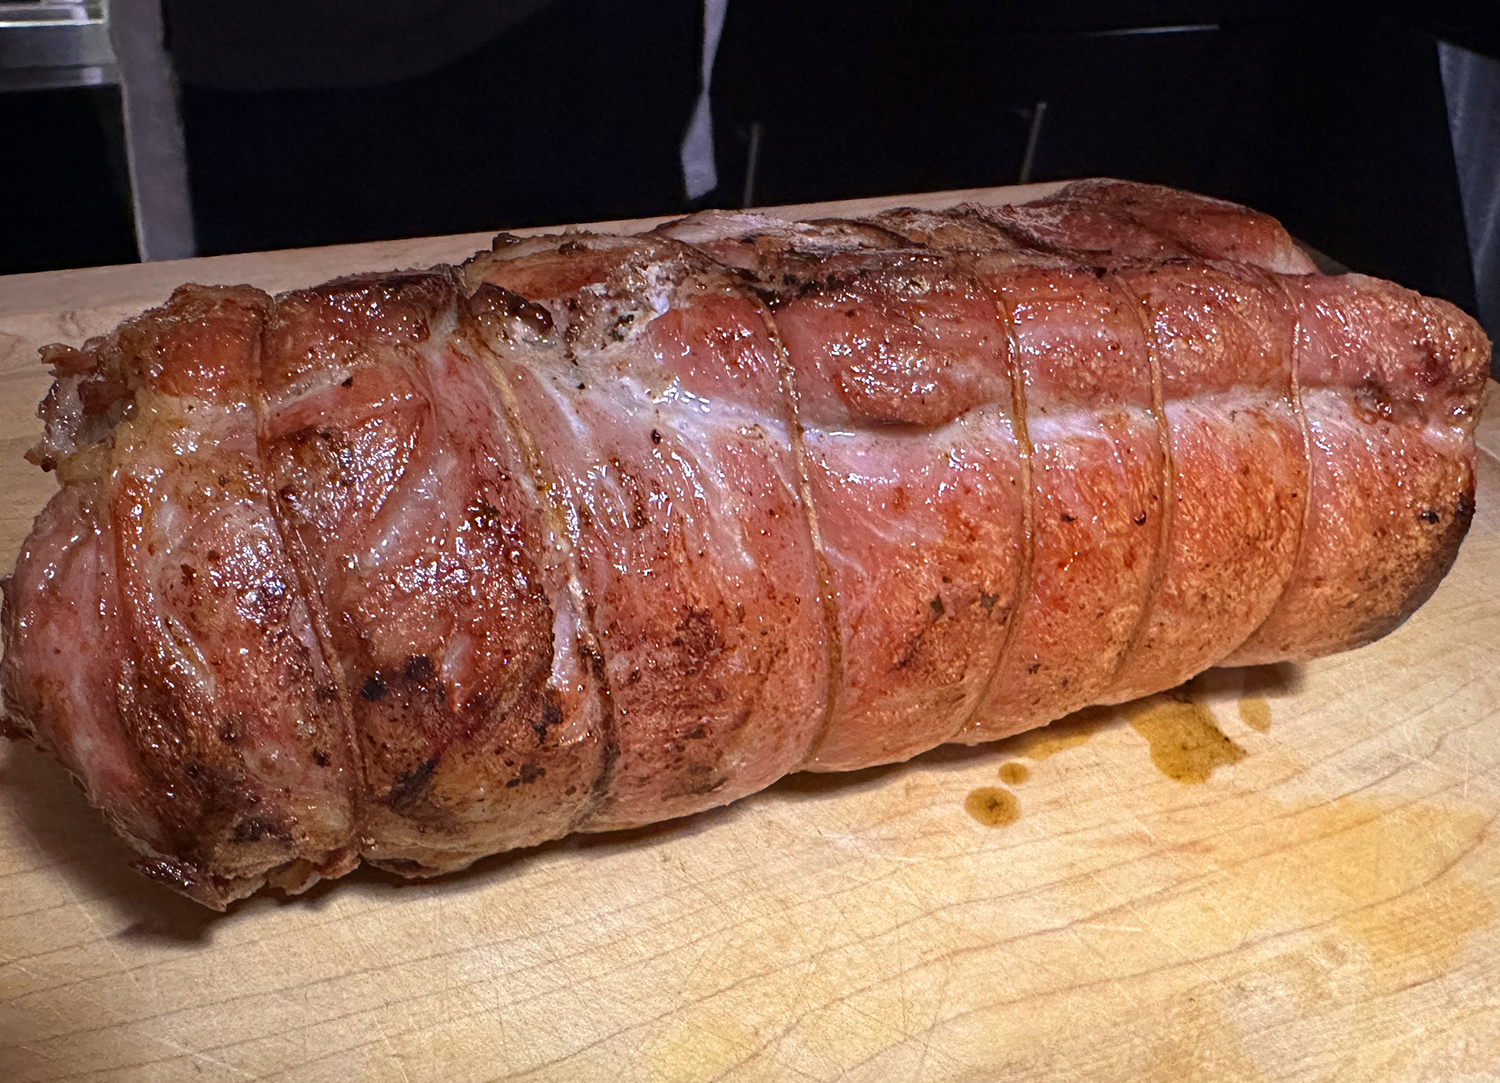
- 1 1/2 lbs. pork shoulder, trimmed of excess fat and cut into 1-inch pieces
- 1 large onion, chopped medium (about 1 1/2 cups)
- 2 medium celery ribs, cut into 1/2-inch pieces (about 3/4 cup)
- 2 medium carrots, peeled and cut into 1/2-inch pieces (about 1 cup)
- 8 medium garlic cloves, peeled and crushed
- 4 cups chicken broth
- 4 cups water
- 2 bay leaves
- 1/2 medium head savoy cabbage, cut into 1-inch pieces
- 1 can diced tomatoes, (14.5-oz.)
- 1 tsp. hot Hungarian paprika
- 2 Tbsp. sweet Hungarian paprika, or more to taste
- 2 tsp. dried marjoram
- 1 tsp. dried dill
- 5 sprigs fresh thyme, tied into a bundle
- 2 Tbsp. apple cider vinegar
- Ground black pepper, to taste


Directions
- Dissolve 3 tablespoons salt in 4 quarts cold water in large bowl or container. Add beans and soak at room temperature for at least 8 hours and up to 24 hours. Drain and rinse well.
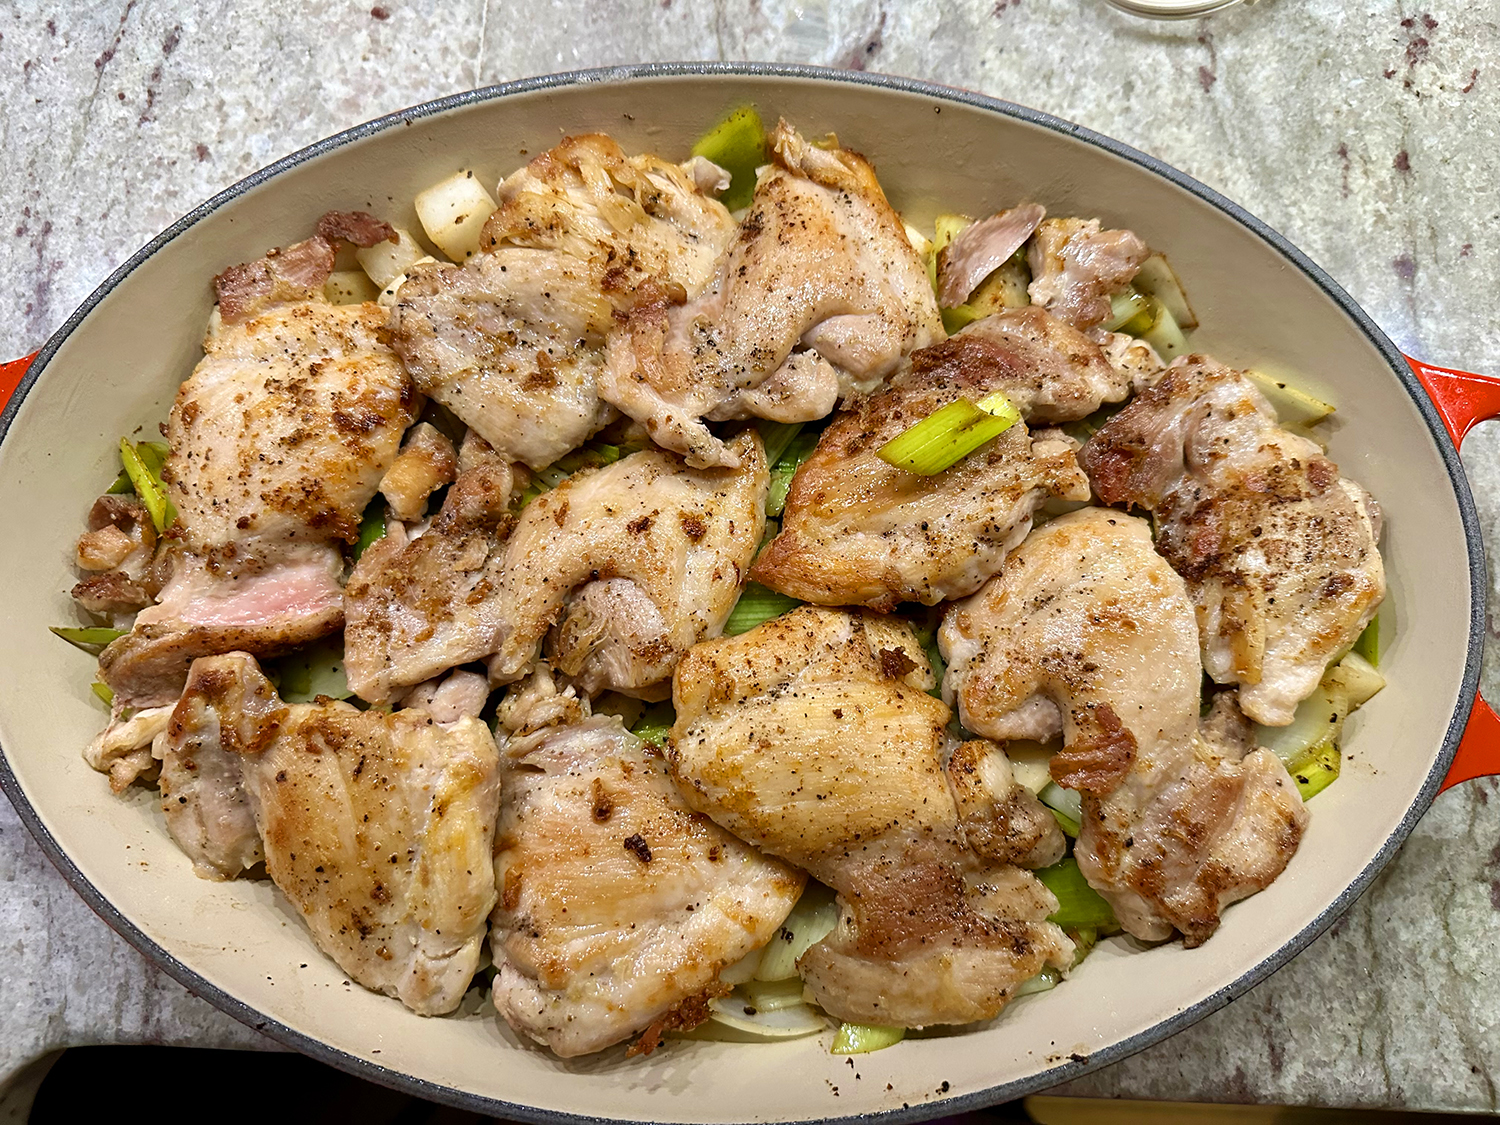
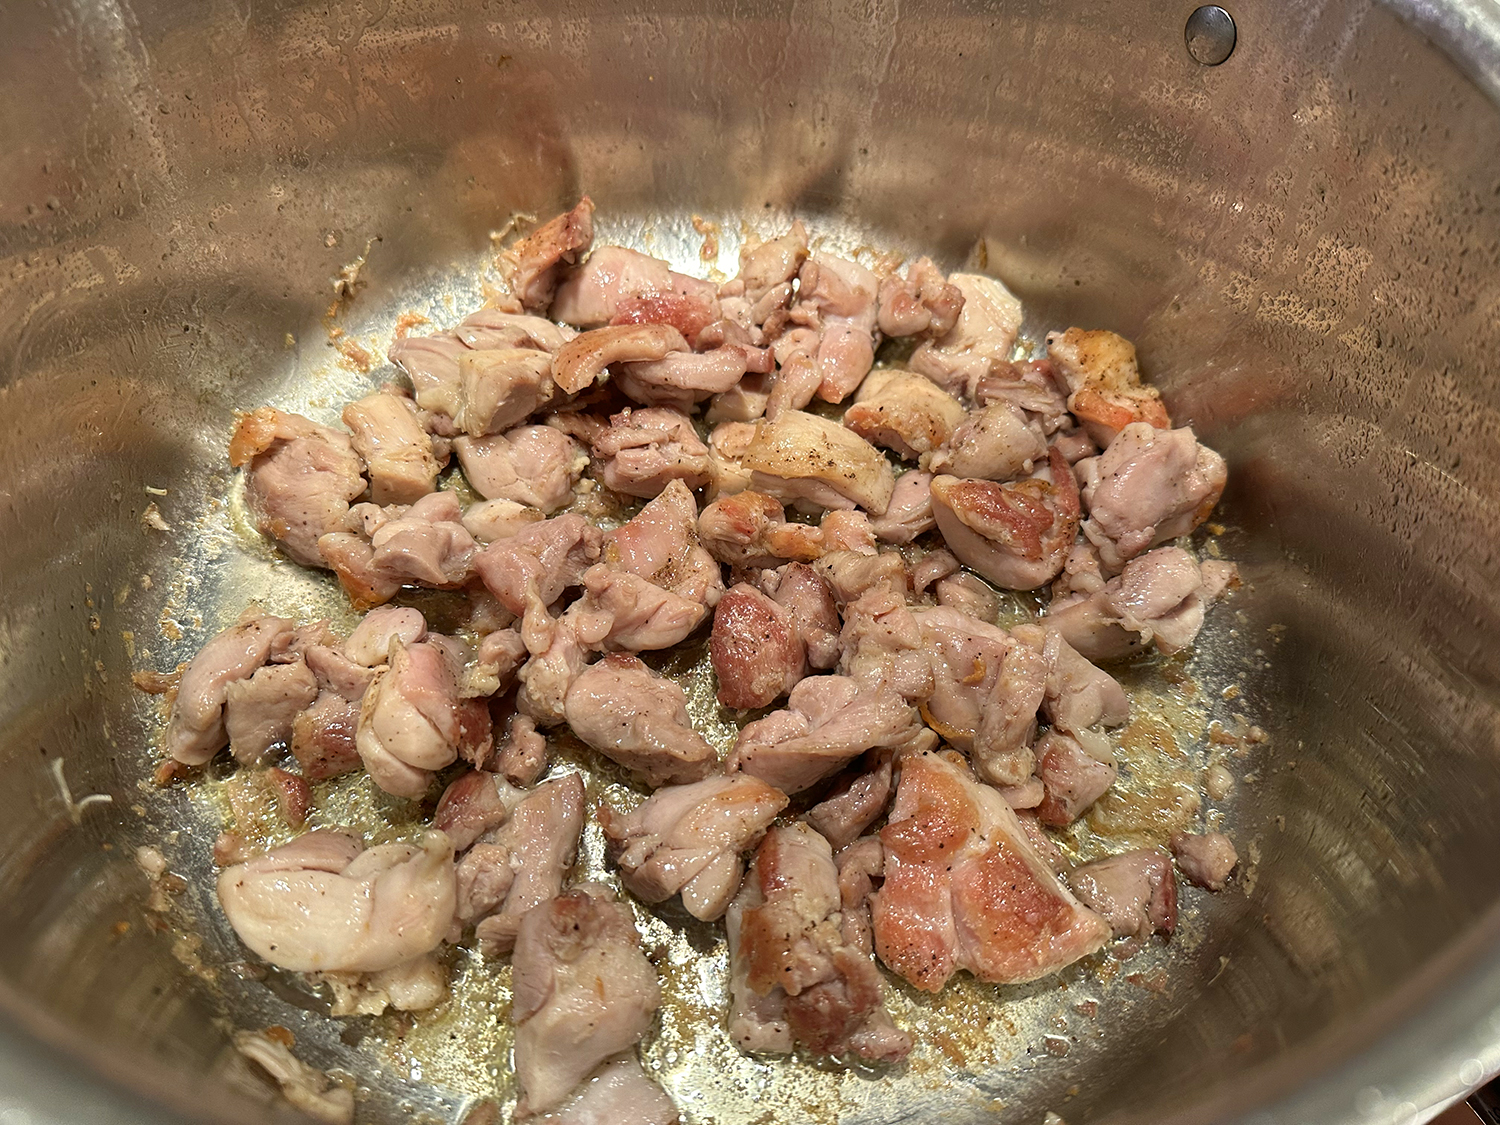
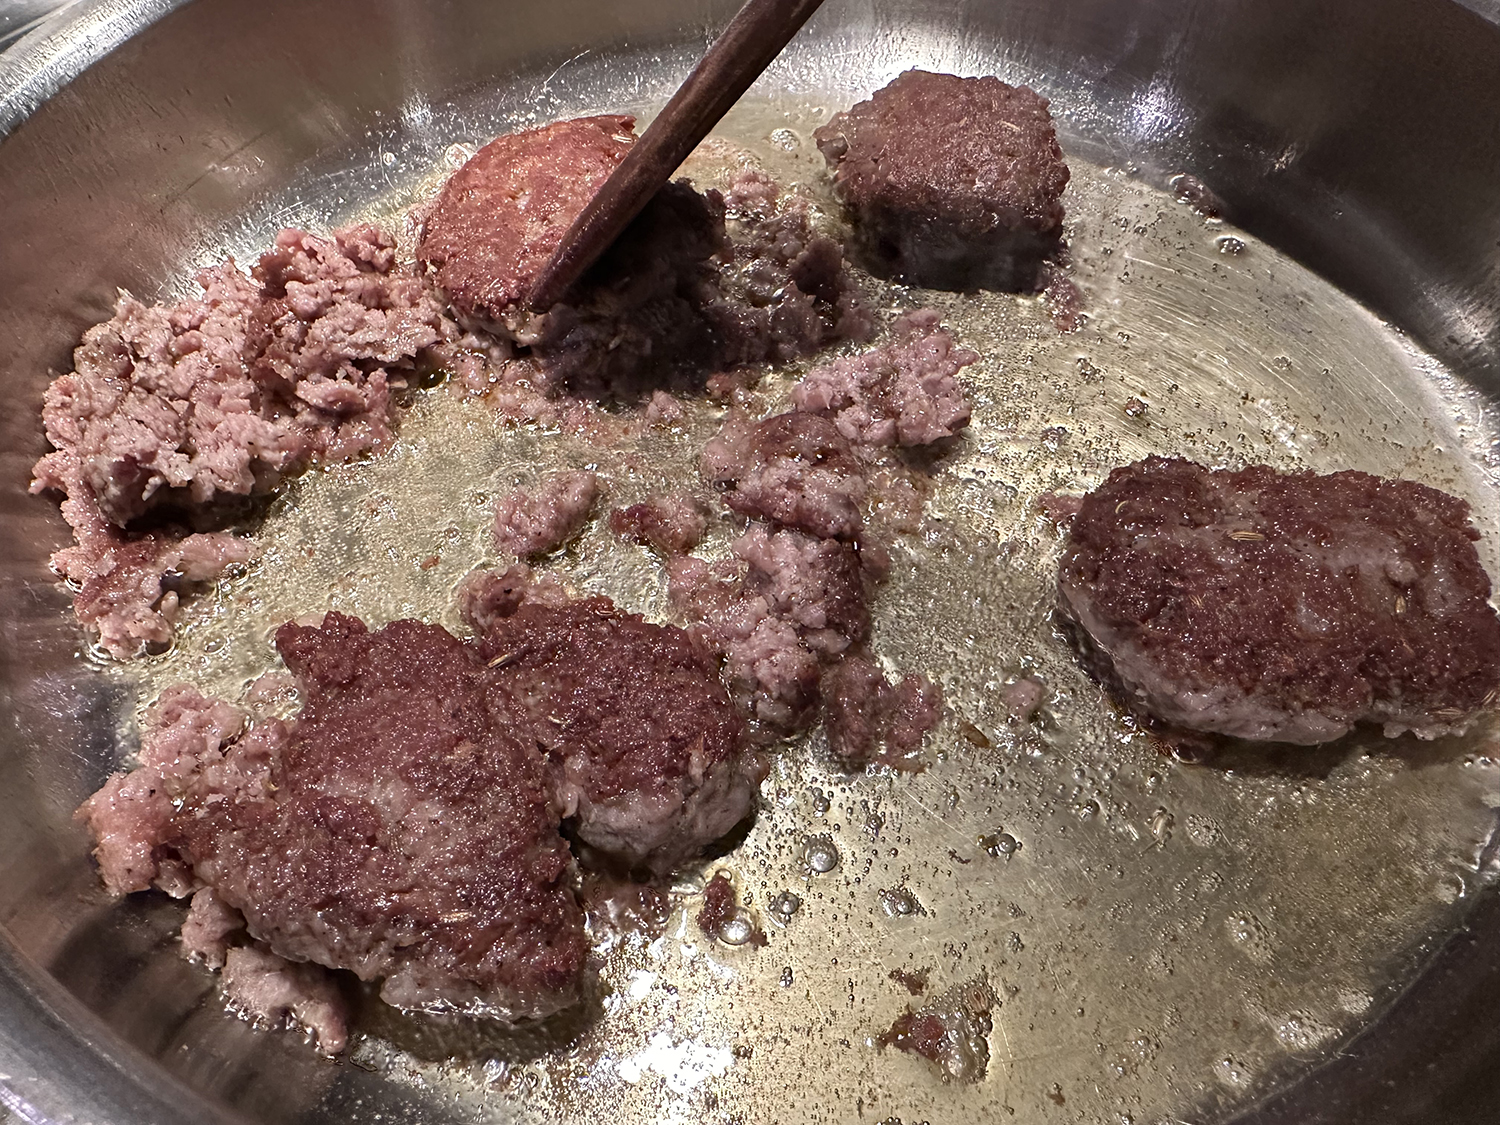
- Adjust oven rack to lower-middle position and heat oven to 250 degrees. Heat oil in large Dutch oven over medium-high heat. Add pork shoulder and brown on all sides, about 8 minutes. Transfer pork to a plate and place in set aside.
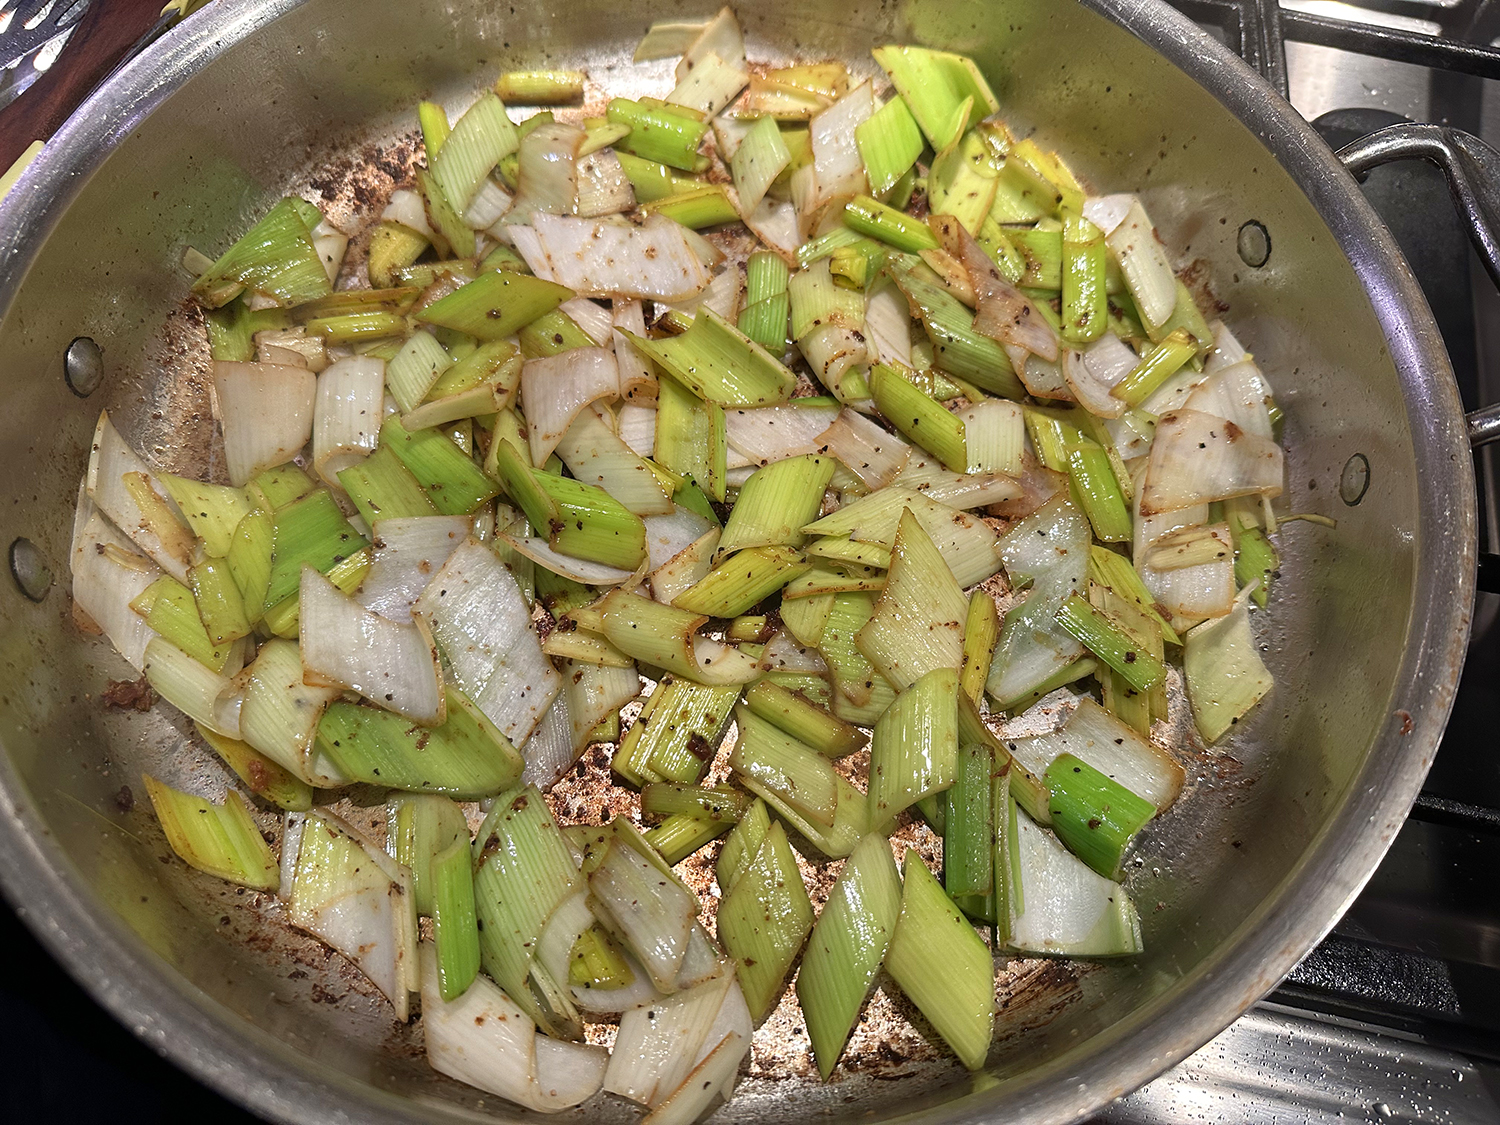
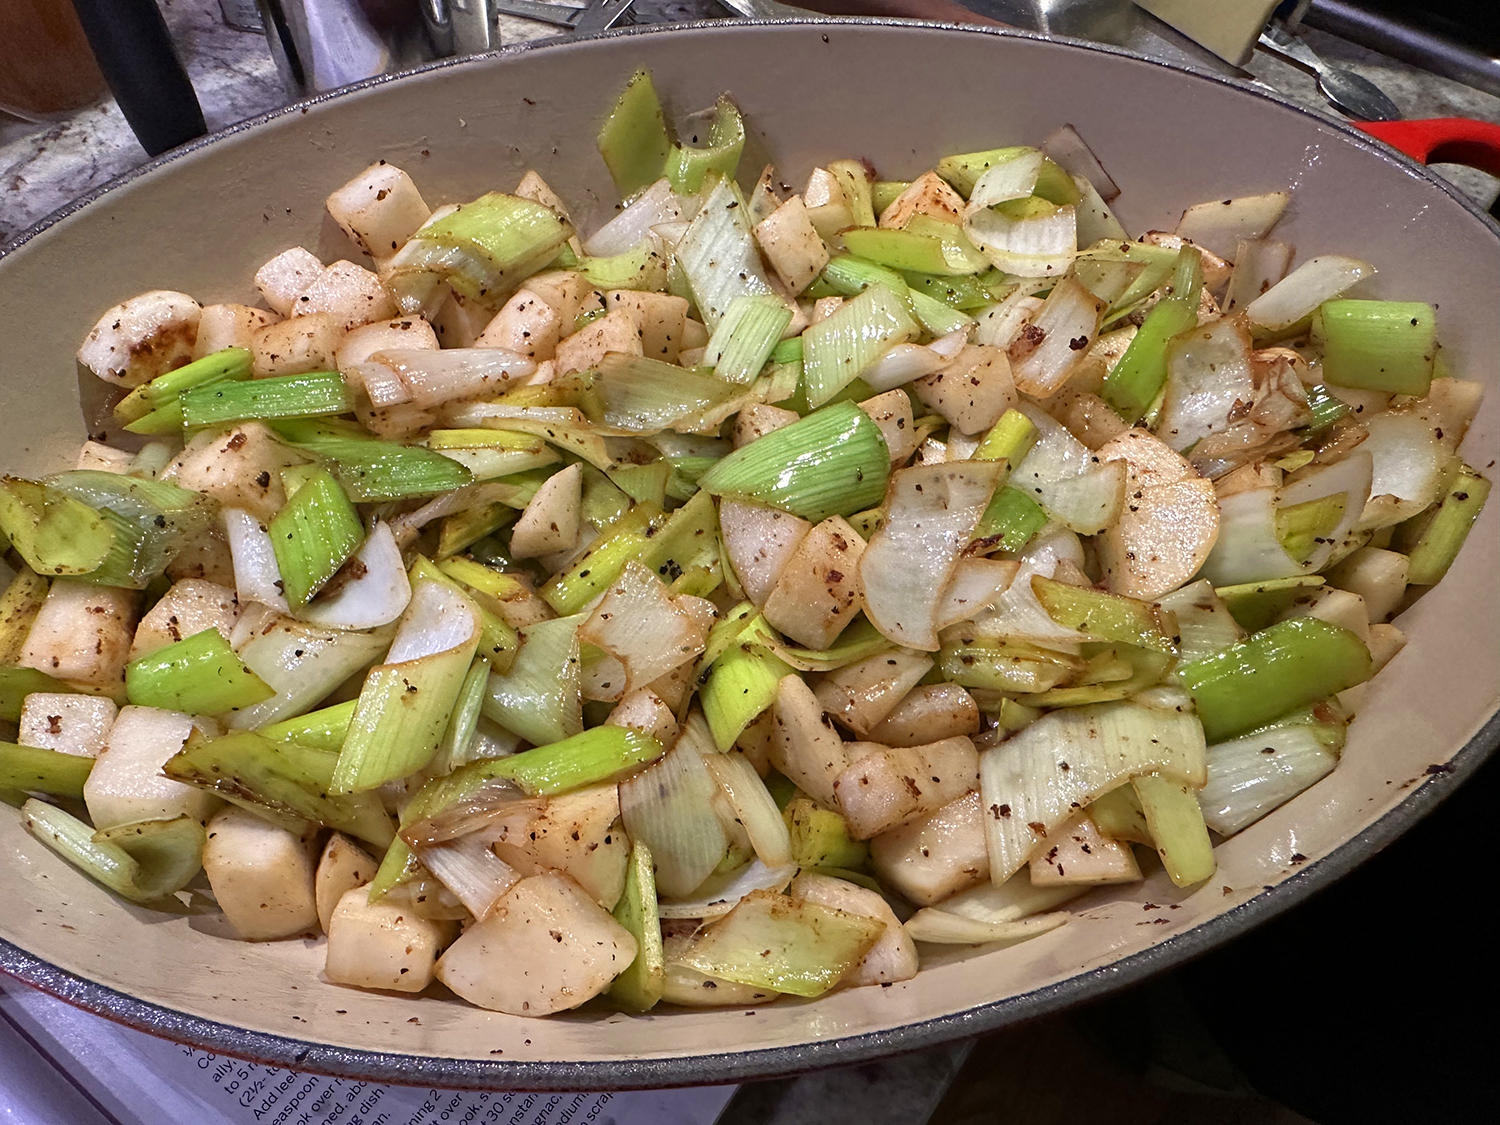
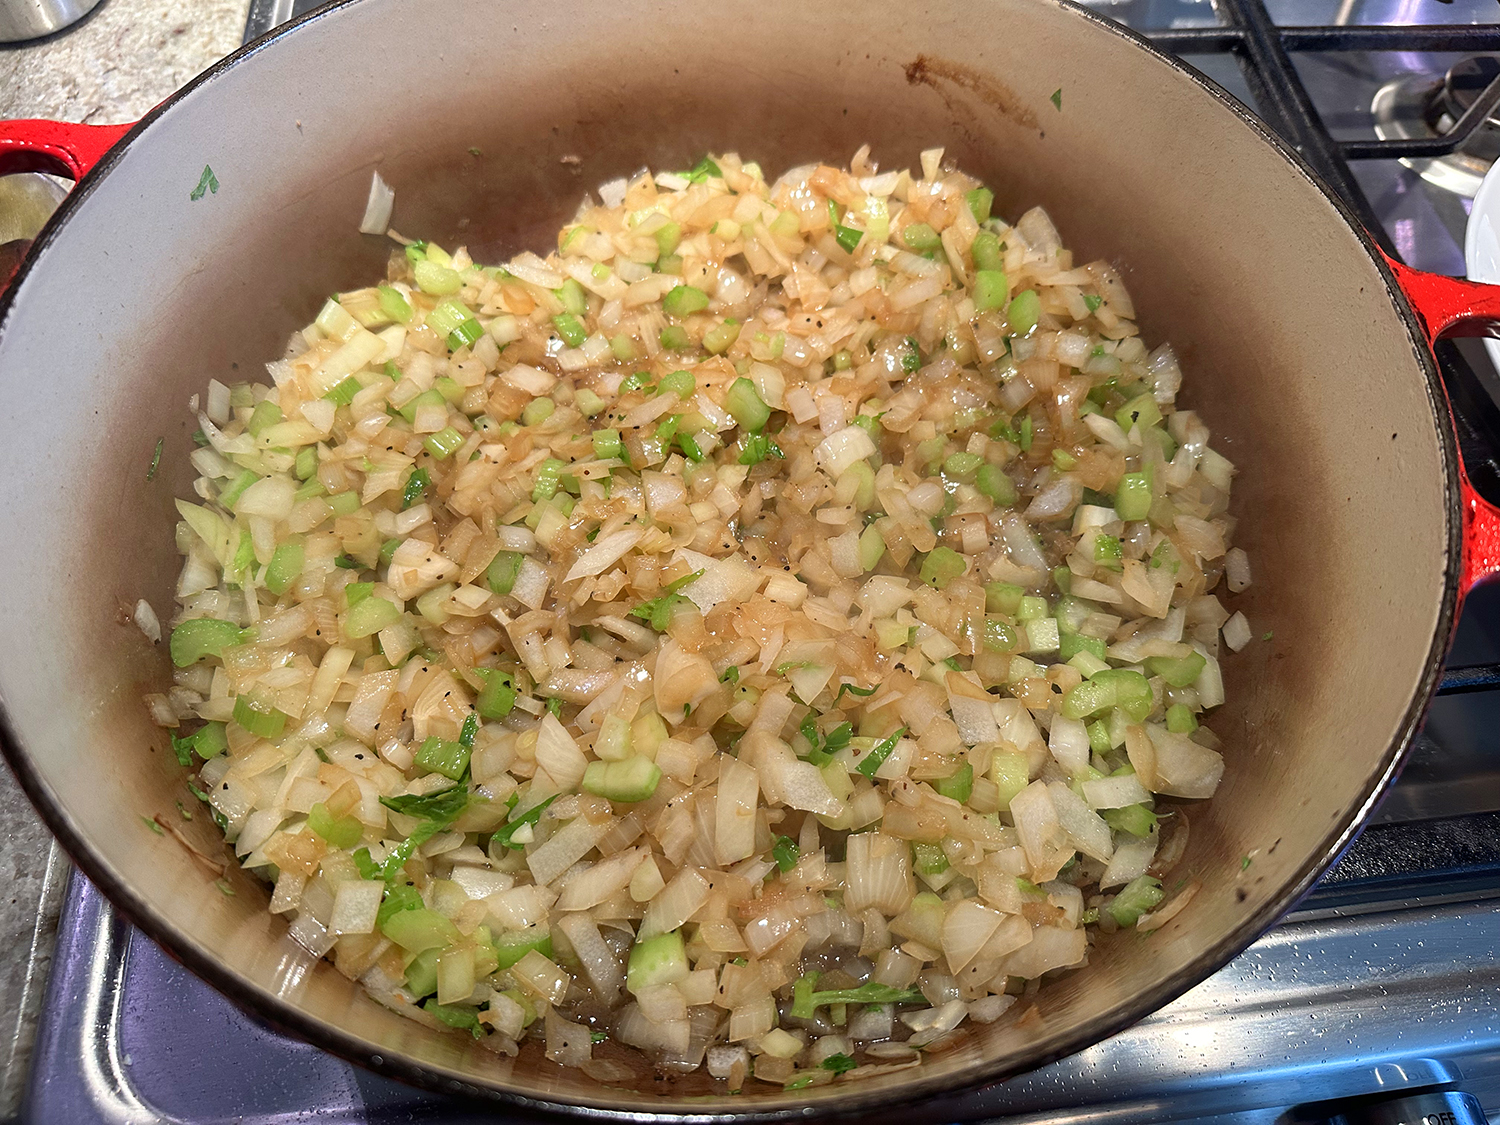
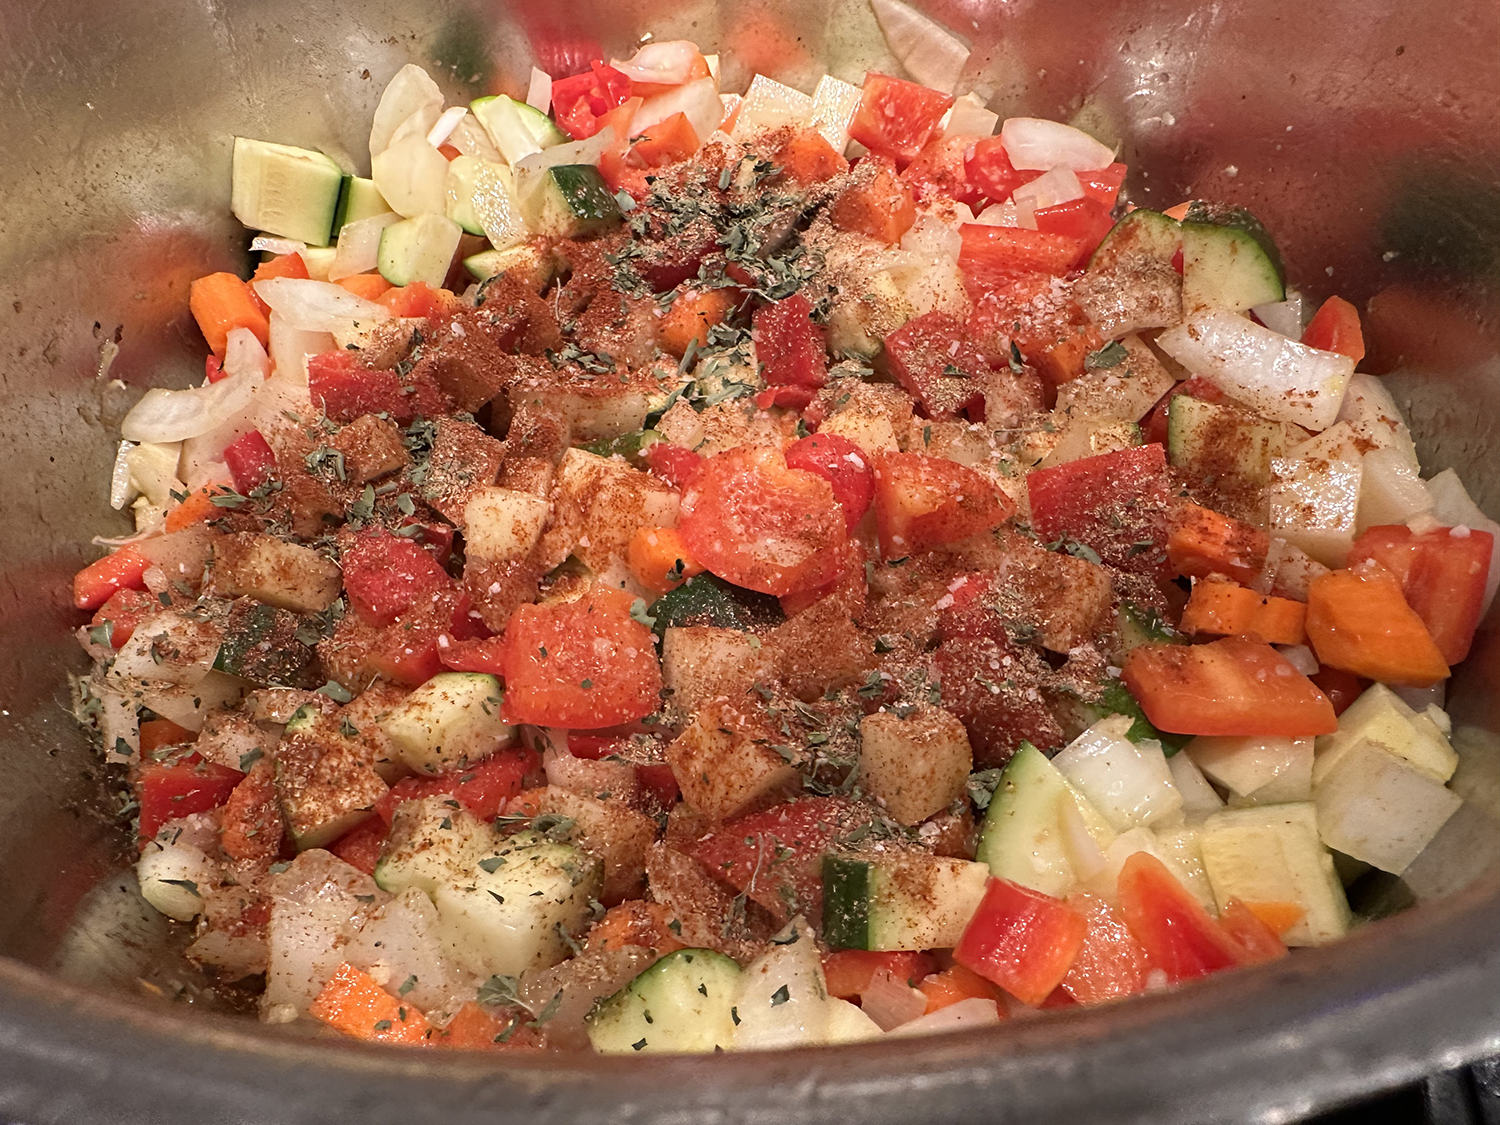
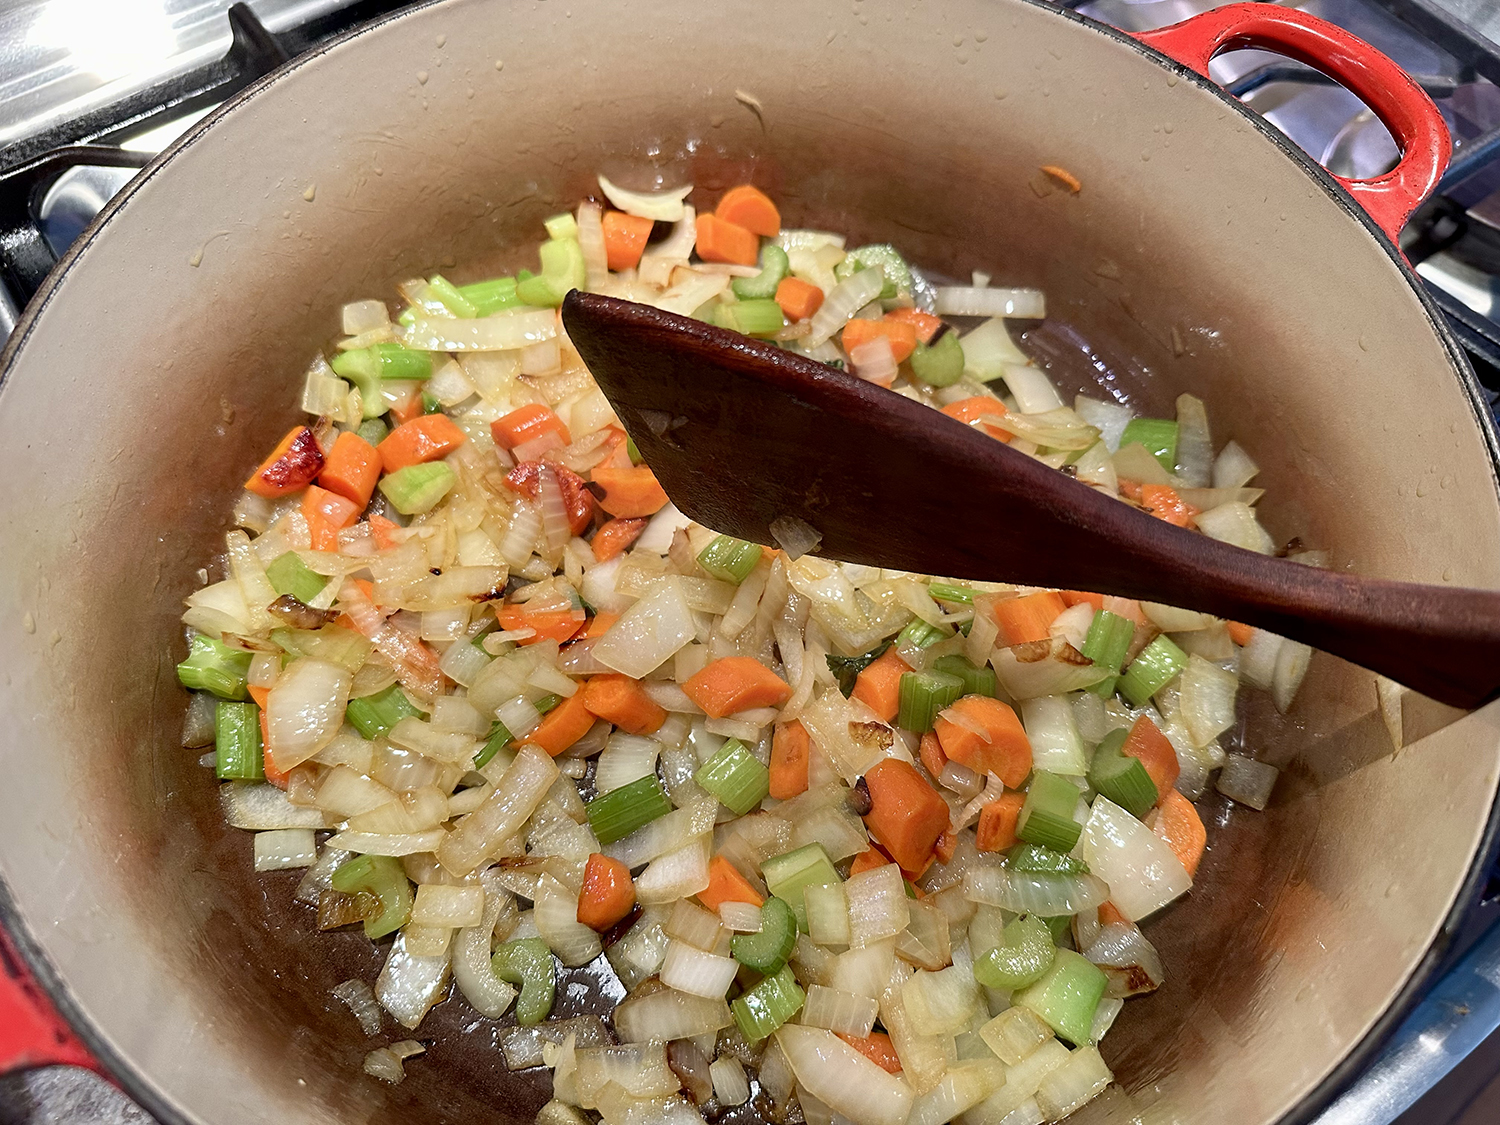
- Reduce heat to medium. Add onion, celery, and carrots. Cook, stirring occasionally, until vegetables are softened and lightly browned, 10 to 16 minutes.
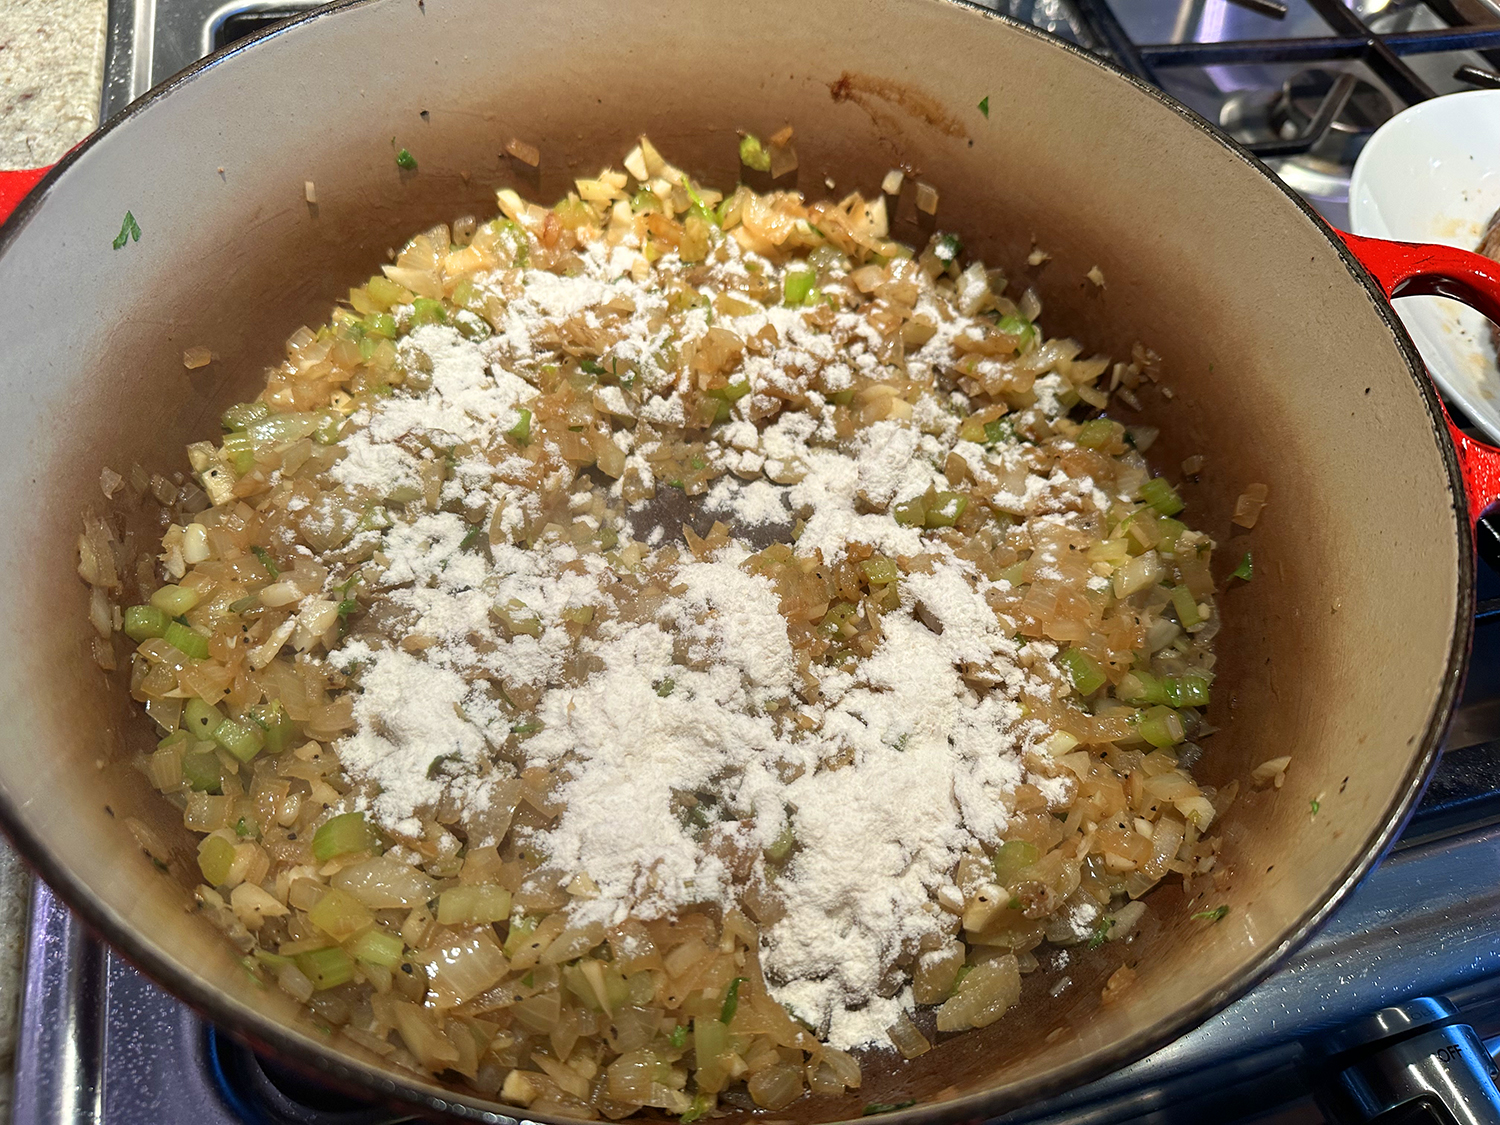
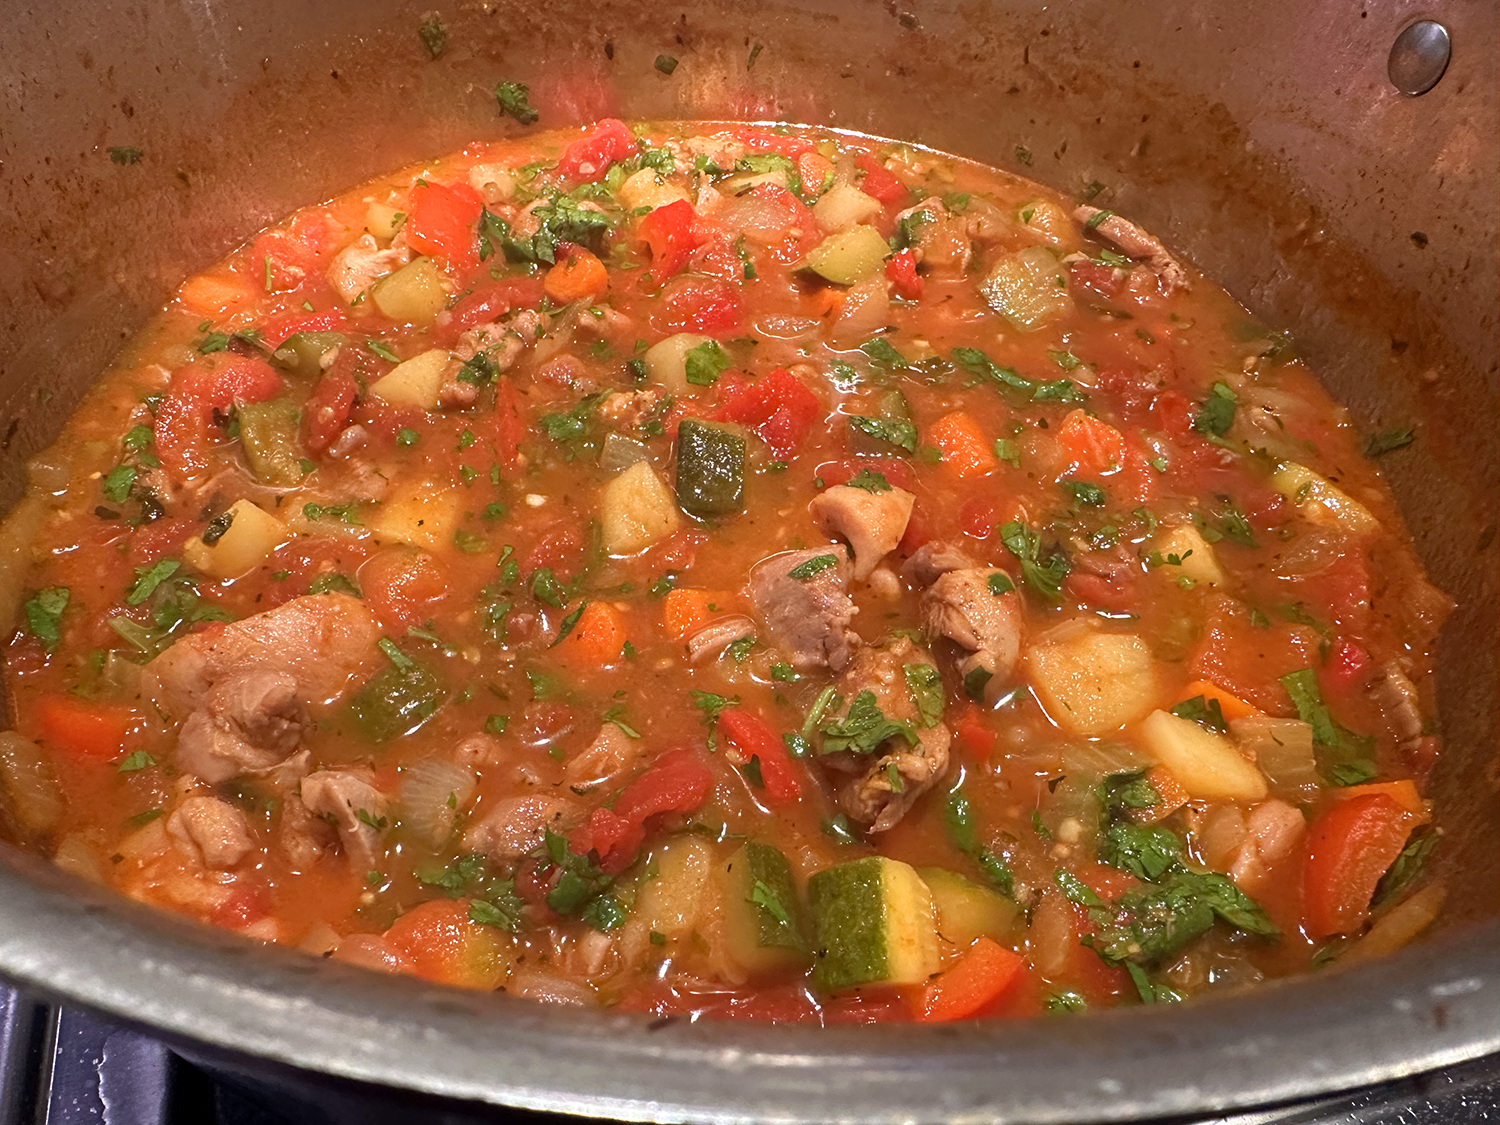
- Stir in garlic and cook until fragrant, about 1 minute. Stir in broth, water, bay leaves, pork (along with any juices on the plate), and soaked beans. Increase heat to high and bring to simmer. Cover pot, transfer to oven, and cook until beans are almost tender (very center of beans will still be firm), about 1 hour.
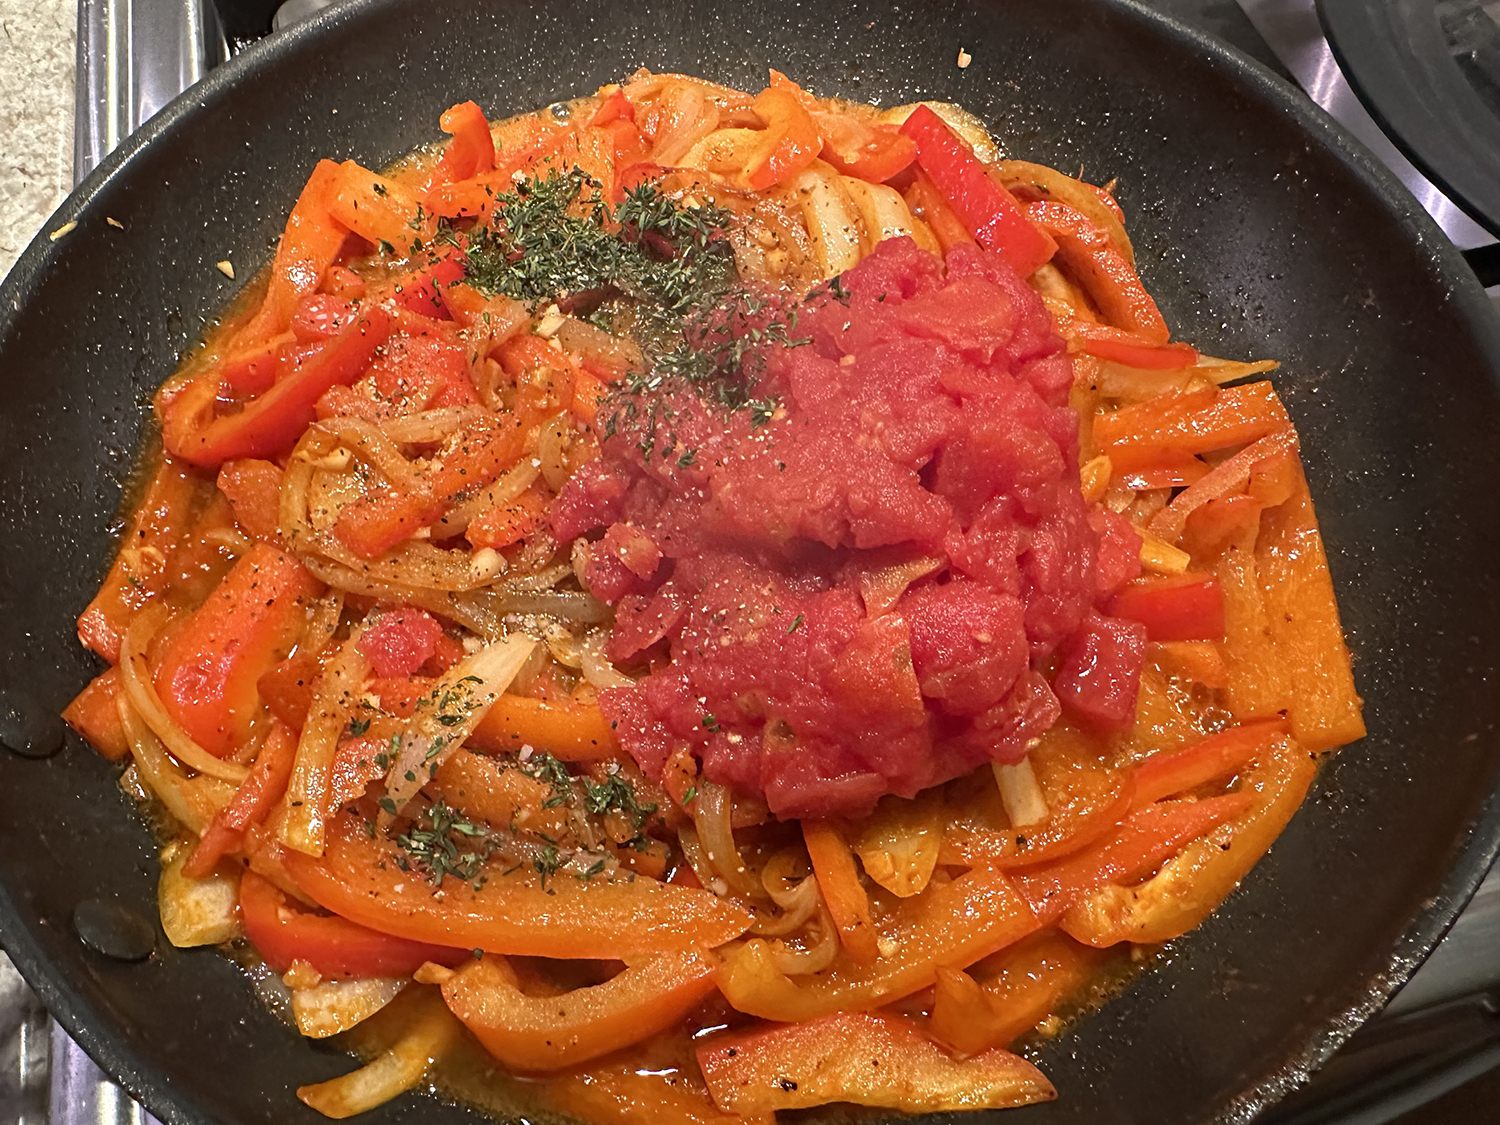
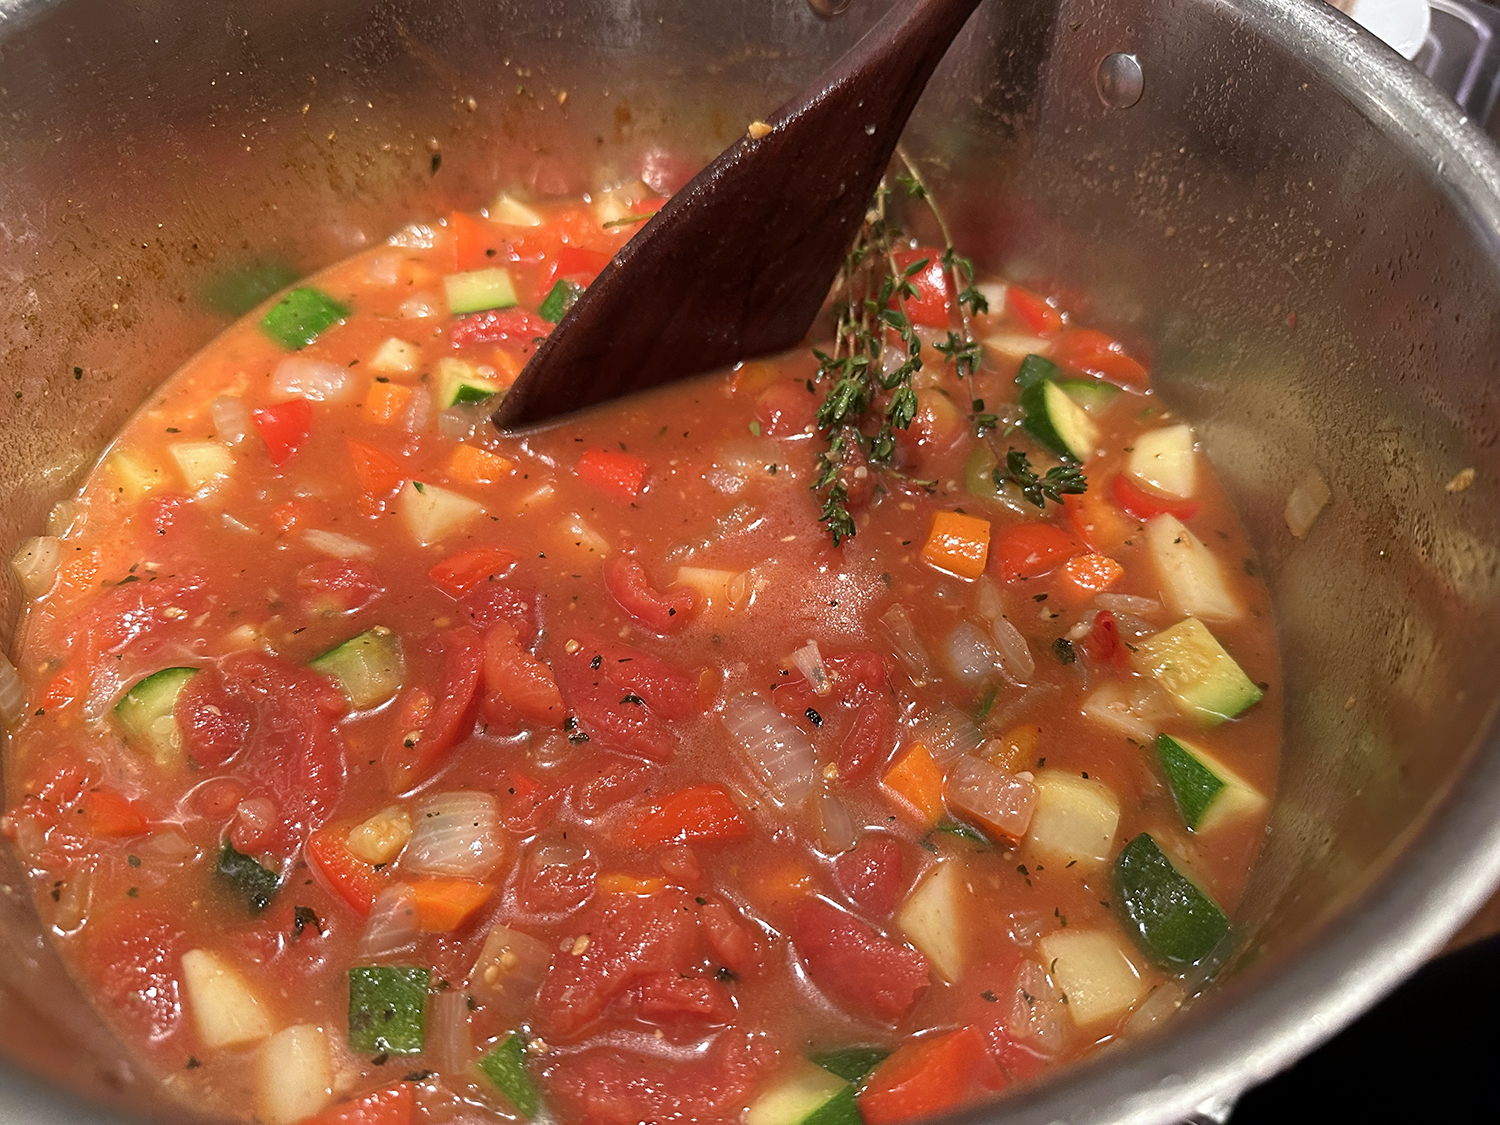
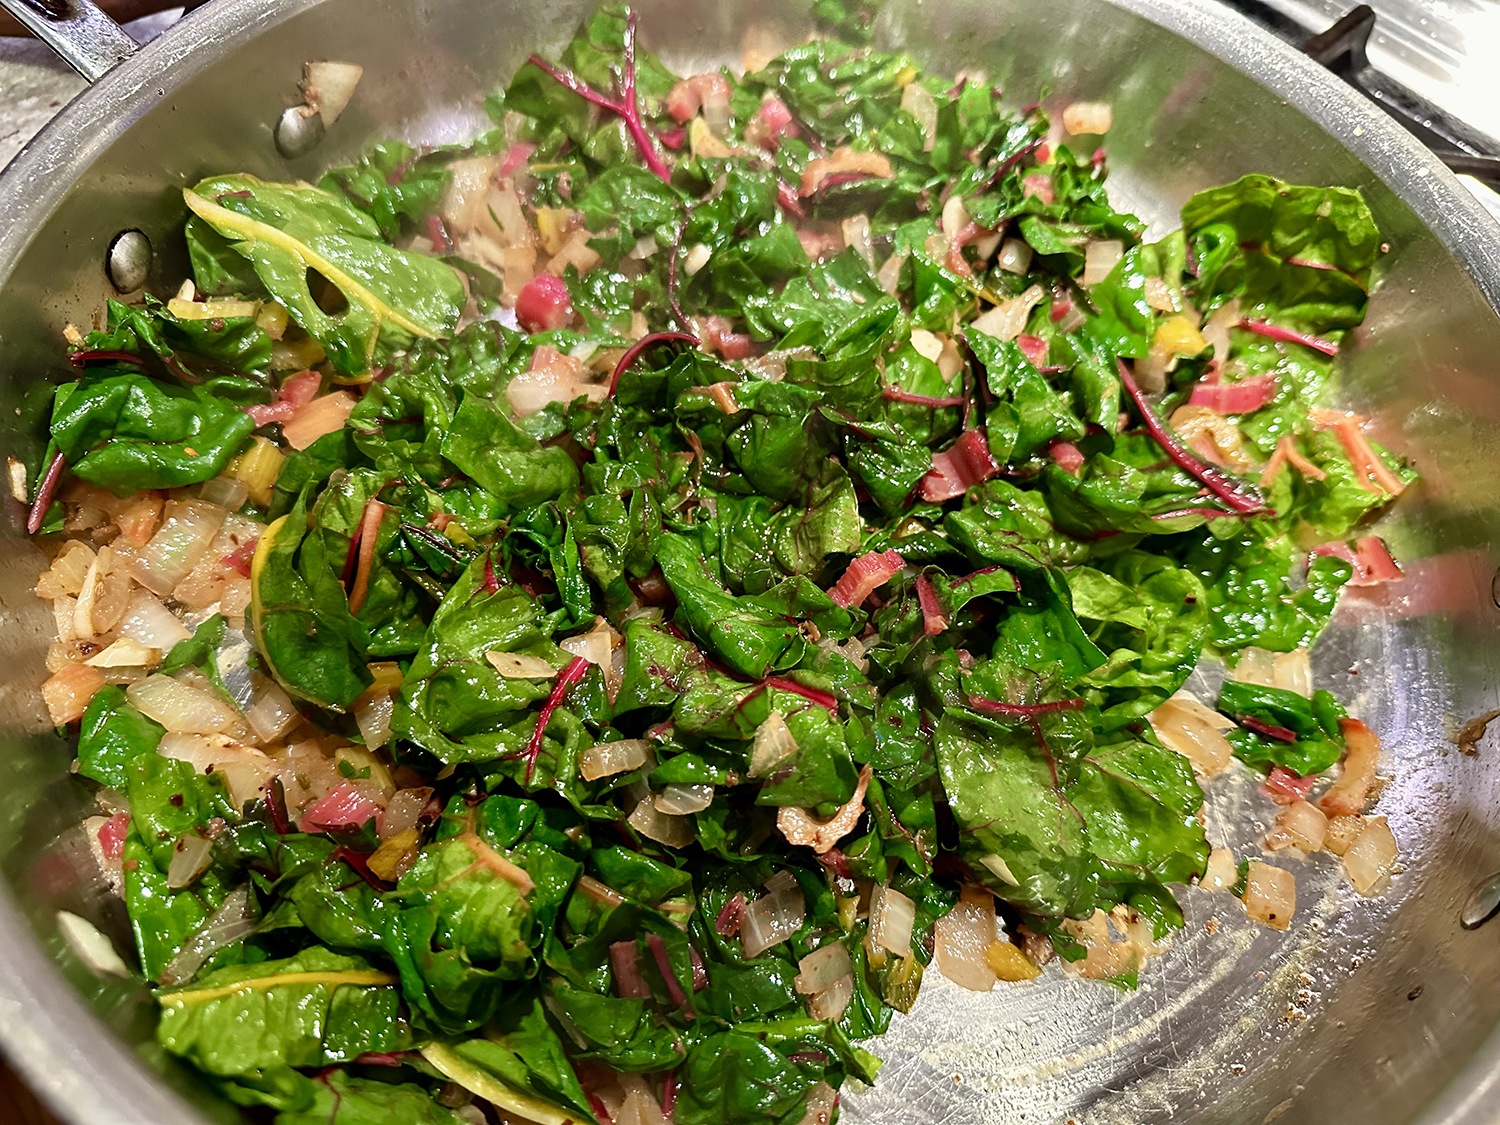
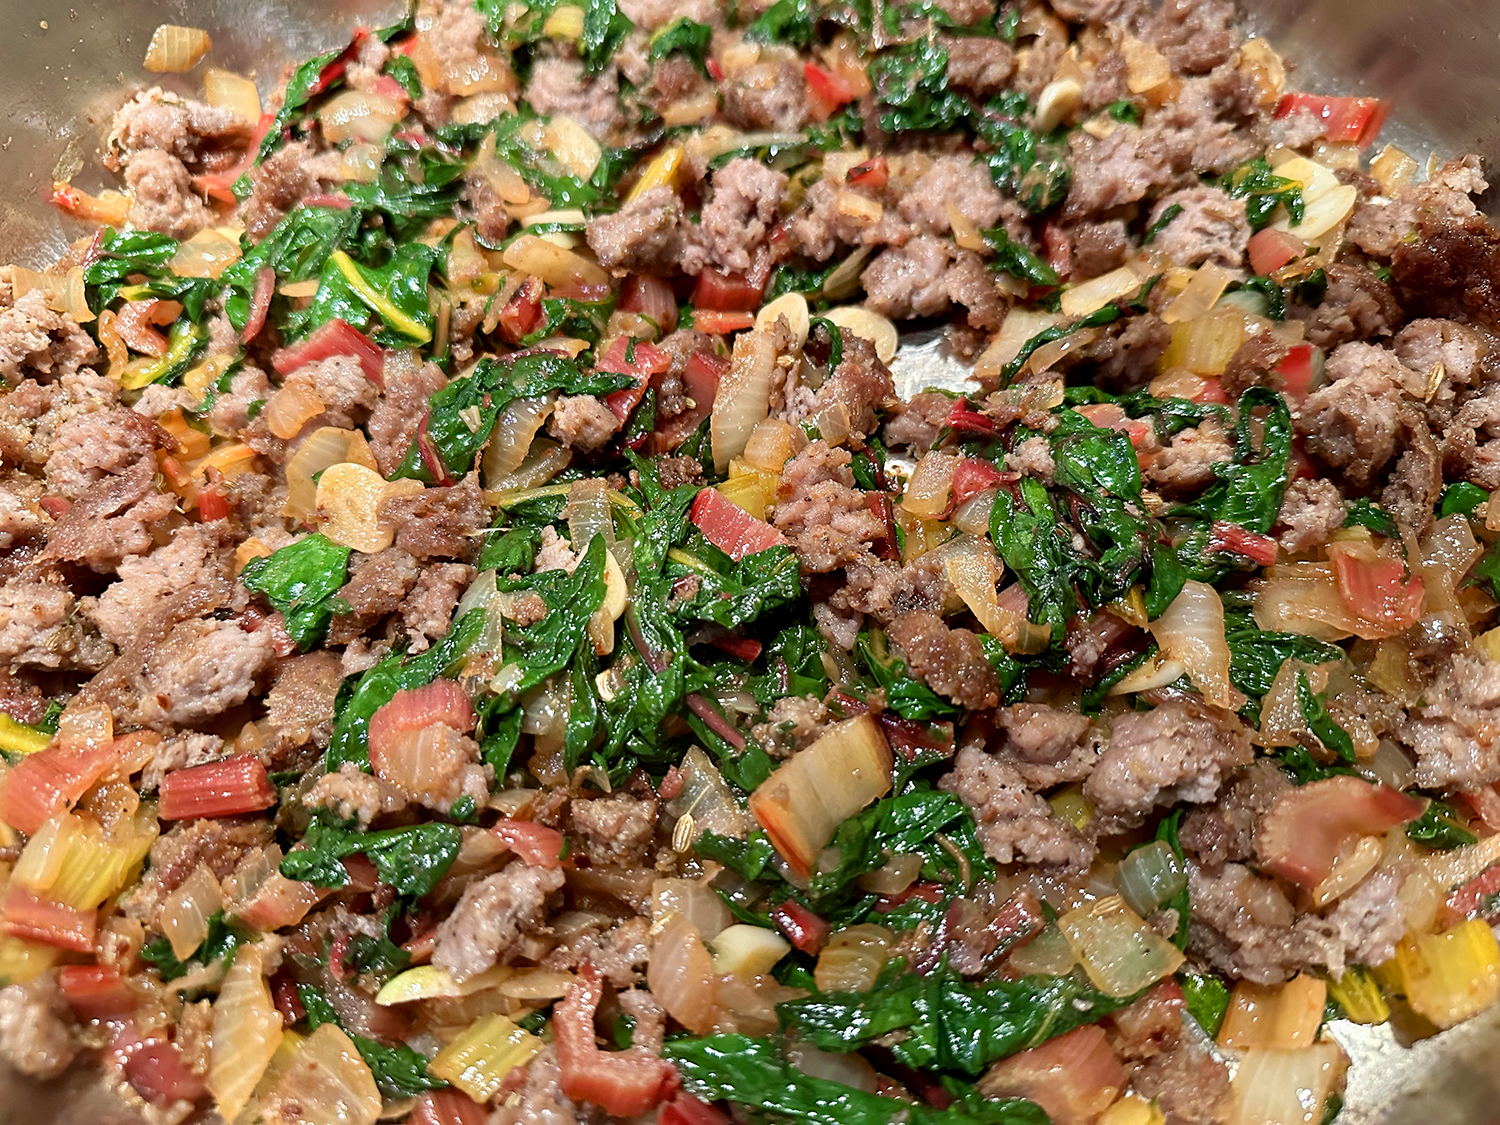
- Remove pot from oven and stir in cabbage, tomatoes with their juices, hot and sweet paprika, marjoram, and dill. Cover pot, return pot to oven and continue to cook until beans and greens are fully tender, 45 minutes to one hour longer.
- Remove pot from oven and stir in the apple cider vinegar, and submerge thyme bundle in stew. Cover and let stand 15 minutes. Discard bay leaves and thyme bundle and season stew with salt and pepper to taste. If desired, use back of spoon to press some beans against side of pot to thicken stew.
Loosely adapted from an America’s Test Kitchen recipe