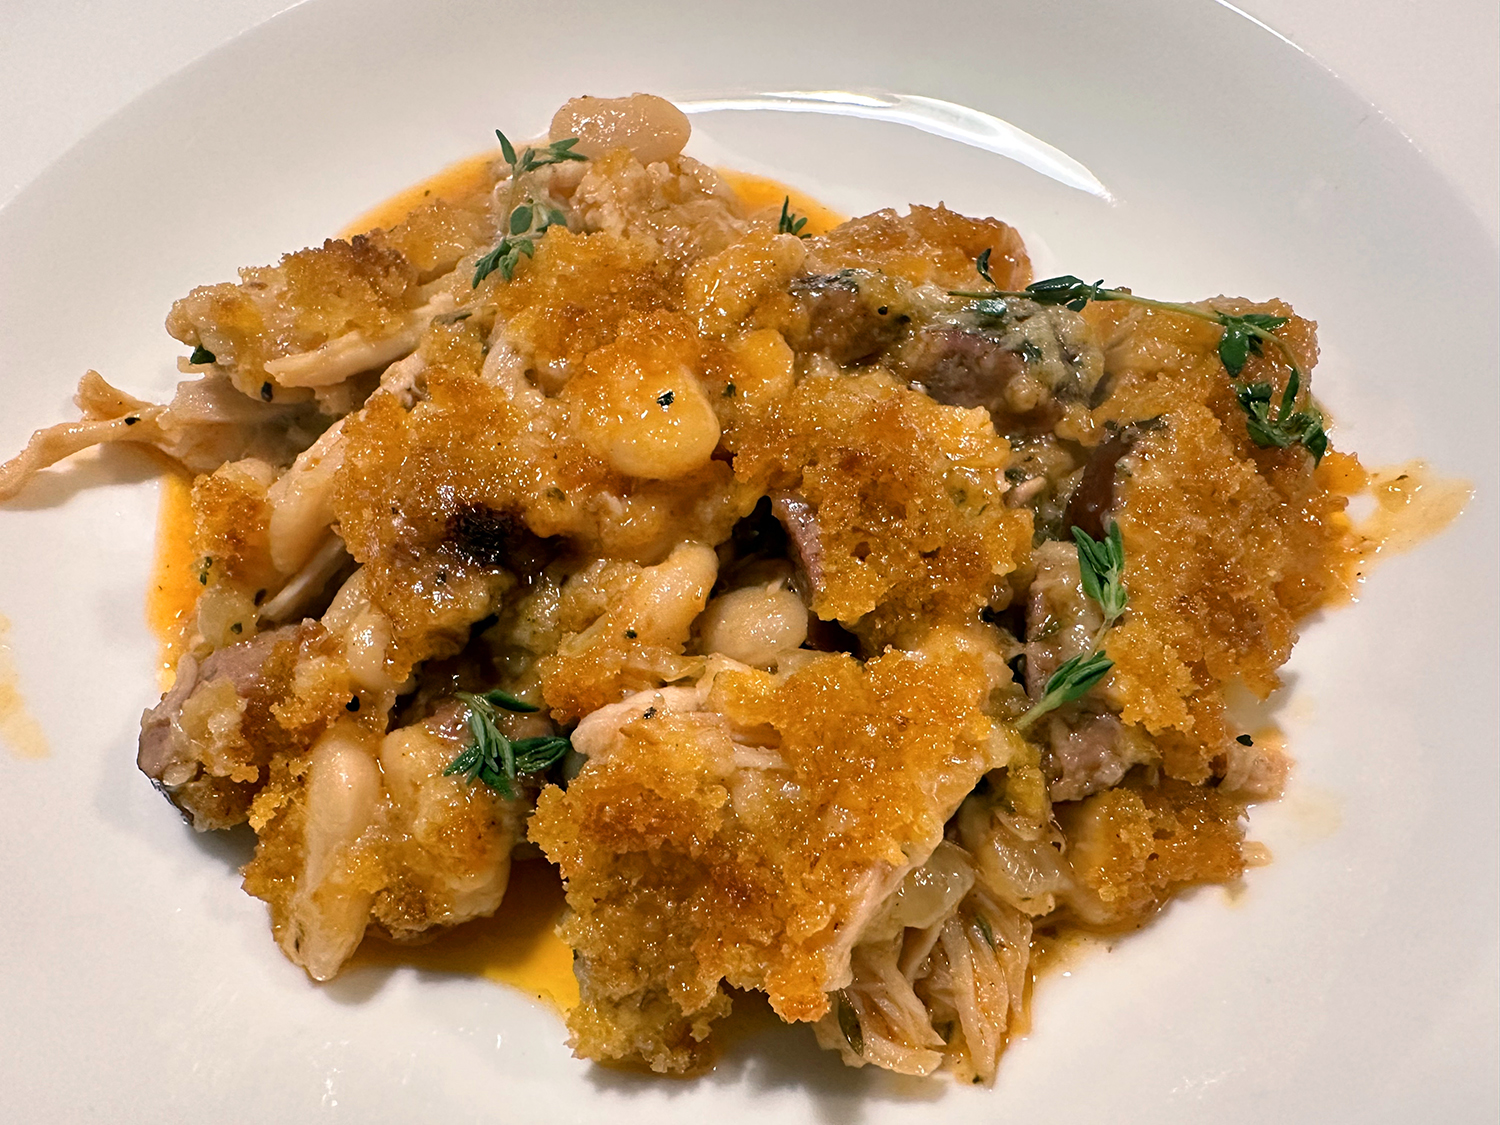
There is nothing better than a warm and comforting stew on a cold day, it takes all the chills out of your body and fills you with nothing but comfort. However, this tuna stew is equally welcome on a bright Spring Day. And since The Hubs loves all-things Spanish, making the dish was a no-brainer.

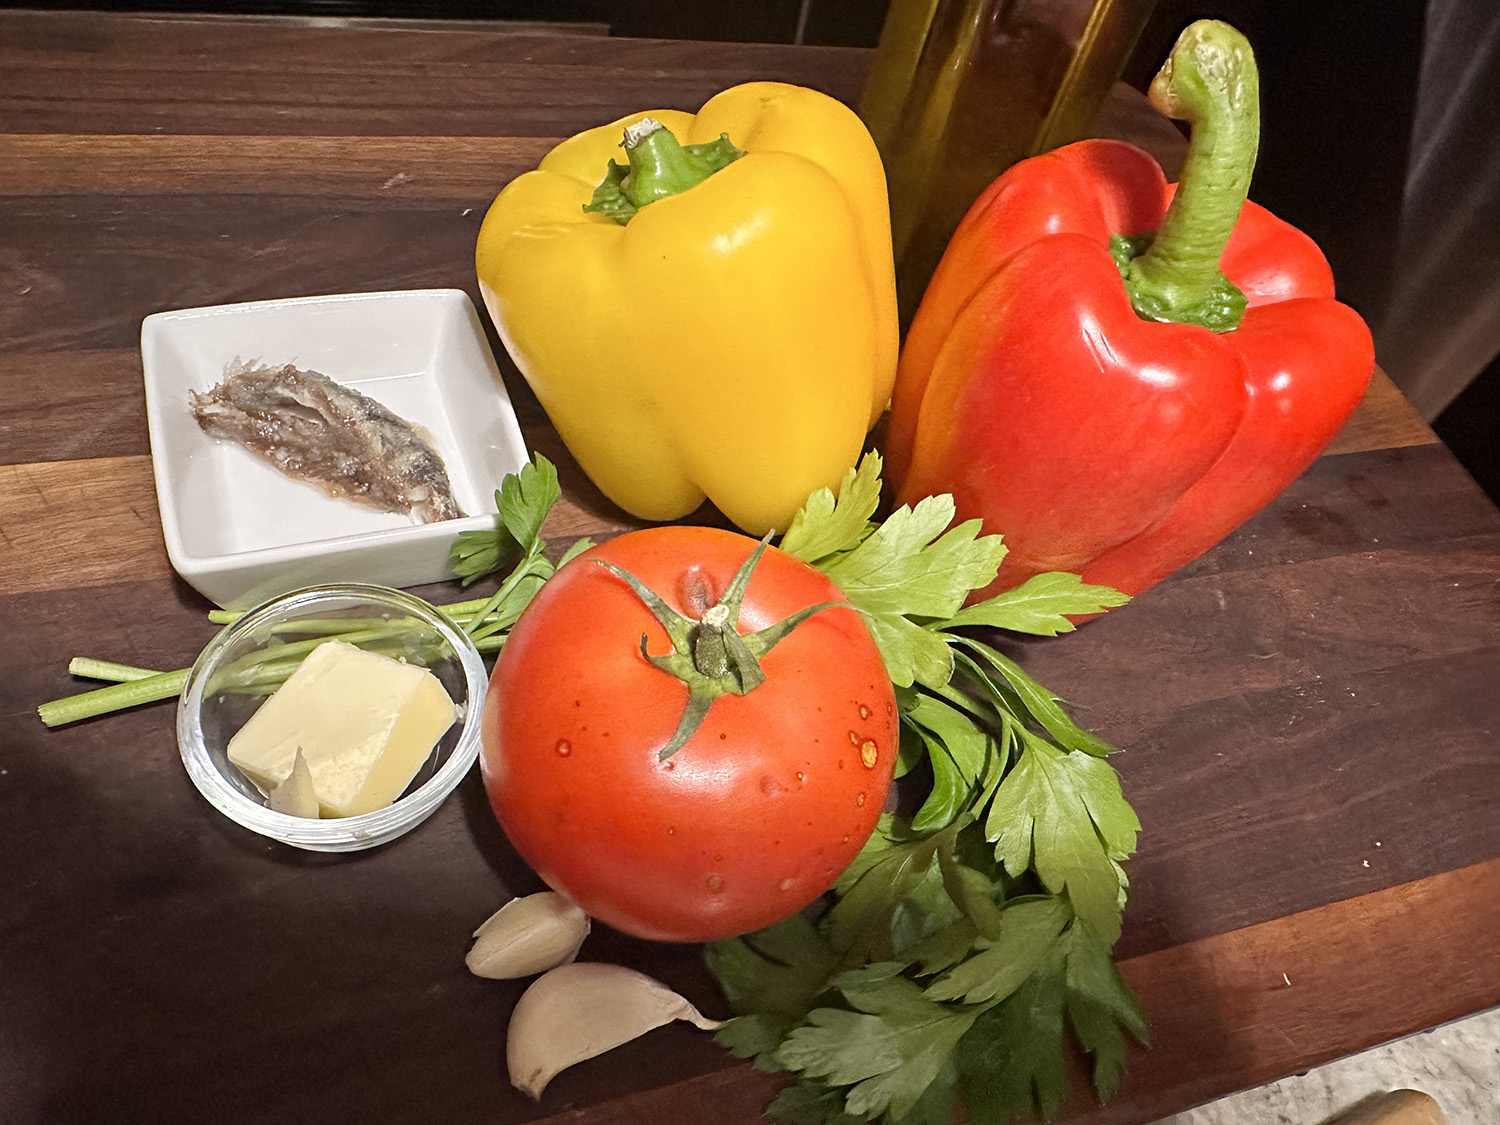
Marmitako is really quite simple to make and you don’t need any special equipment, just a standard stock/braising pot, and most importantly, fresh ingredients. With a recipe this simple, it is always important to use the freshest and highest of quality ingredients, it truly does make a difference in the overall flavor.
We made numerous changes to the original recipe, which included doubling most of the vegetable ingredients. Some of the timing was altered also to cook the potatoes 5 minutes longer, and the tuna cubes 5 minutes less. All of the changes are noted below.

Marmitako - Basque Tuna Stew
Ingredients
- 2 fillets fresh tuna
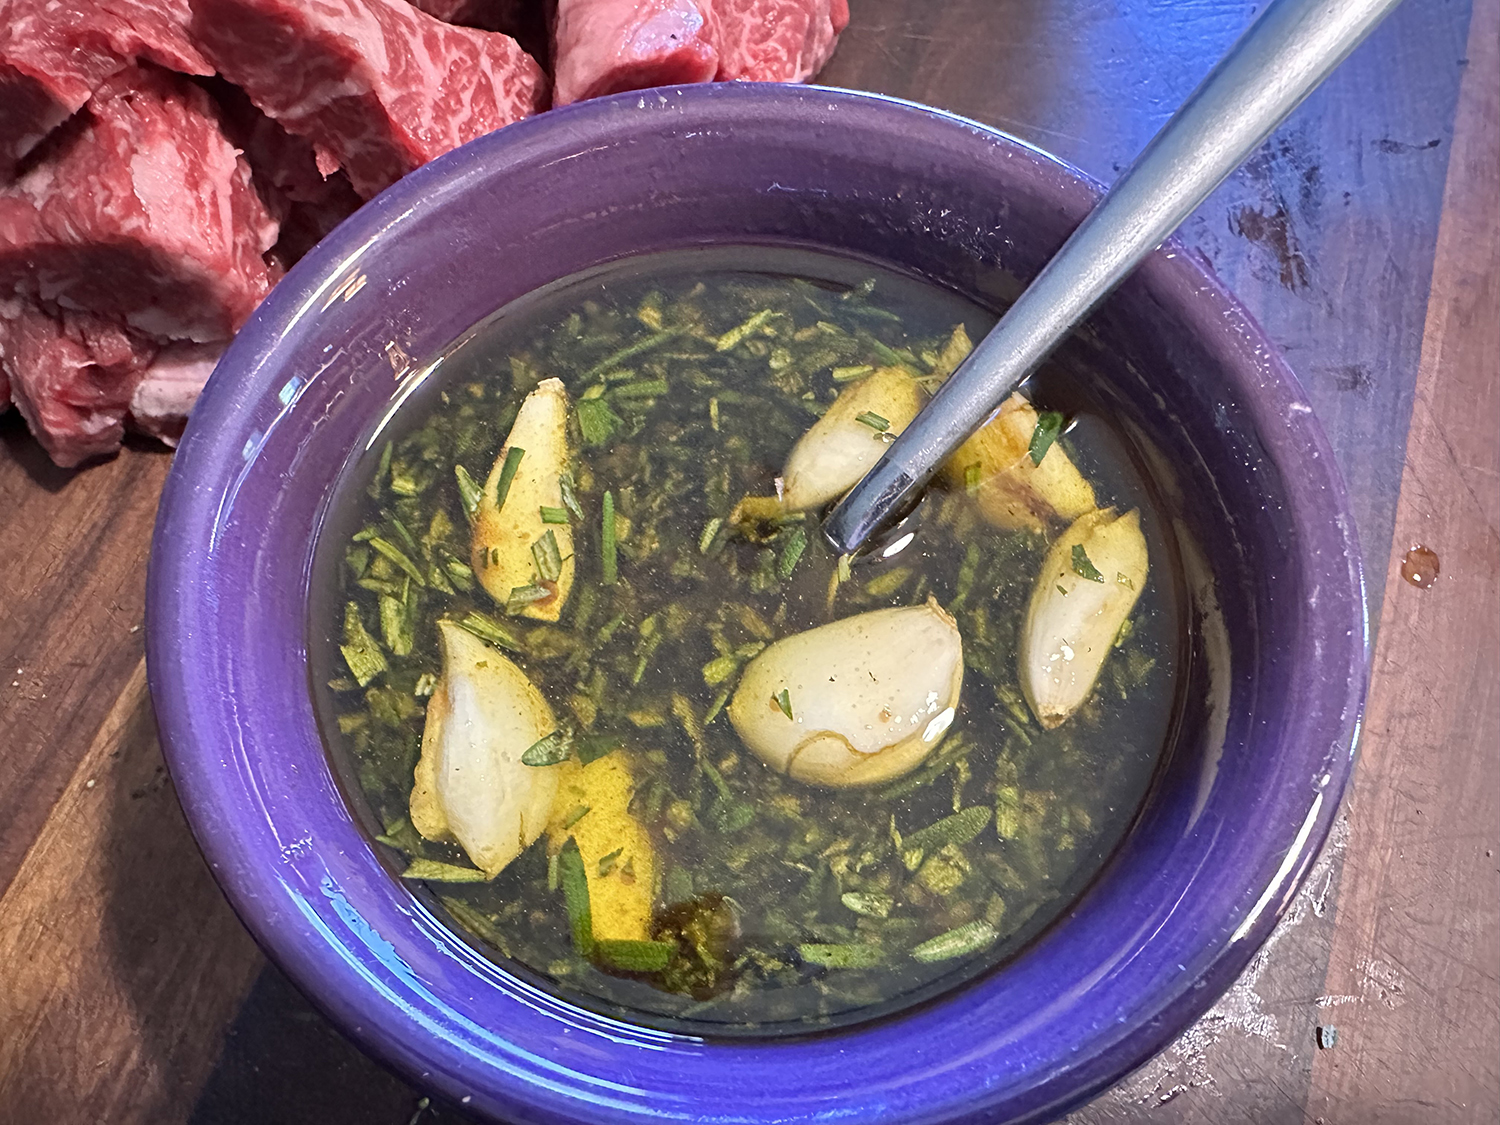
- 1/4 cup extra virgin Spanish olive oil
- 4 cloves of garlic
- 1 onion
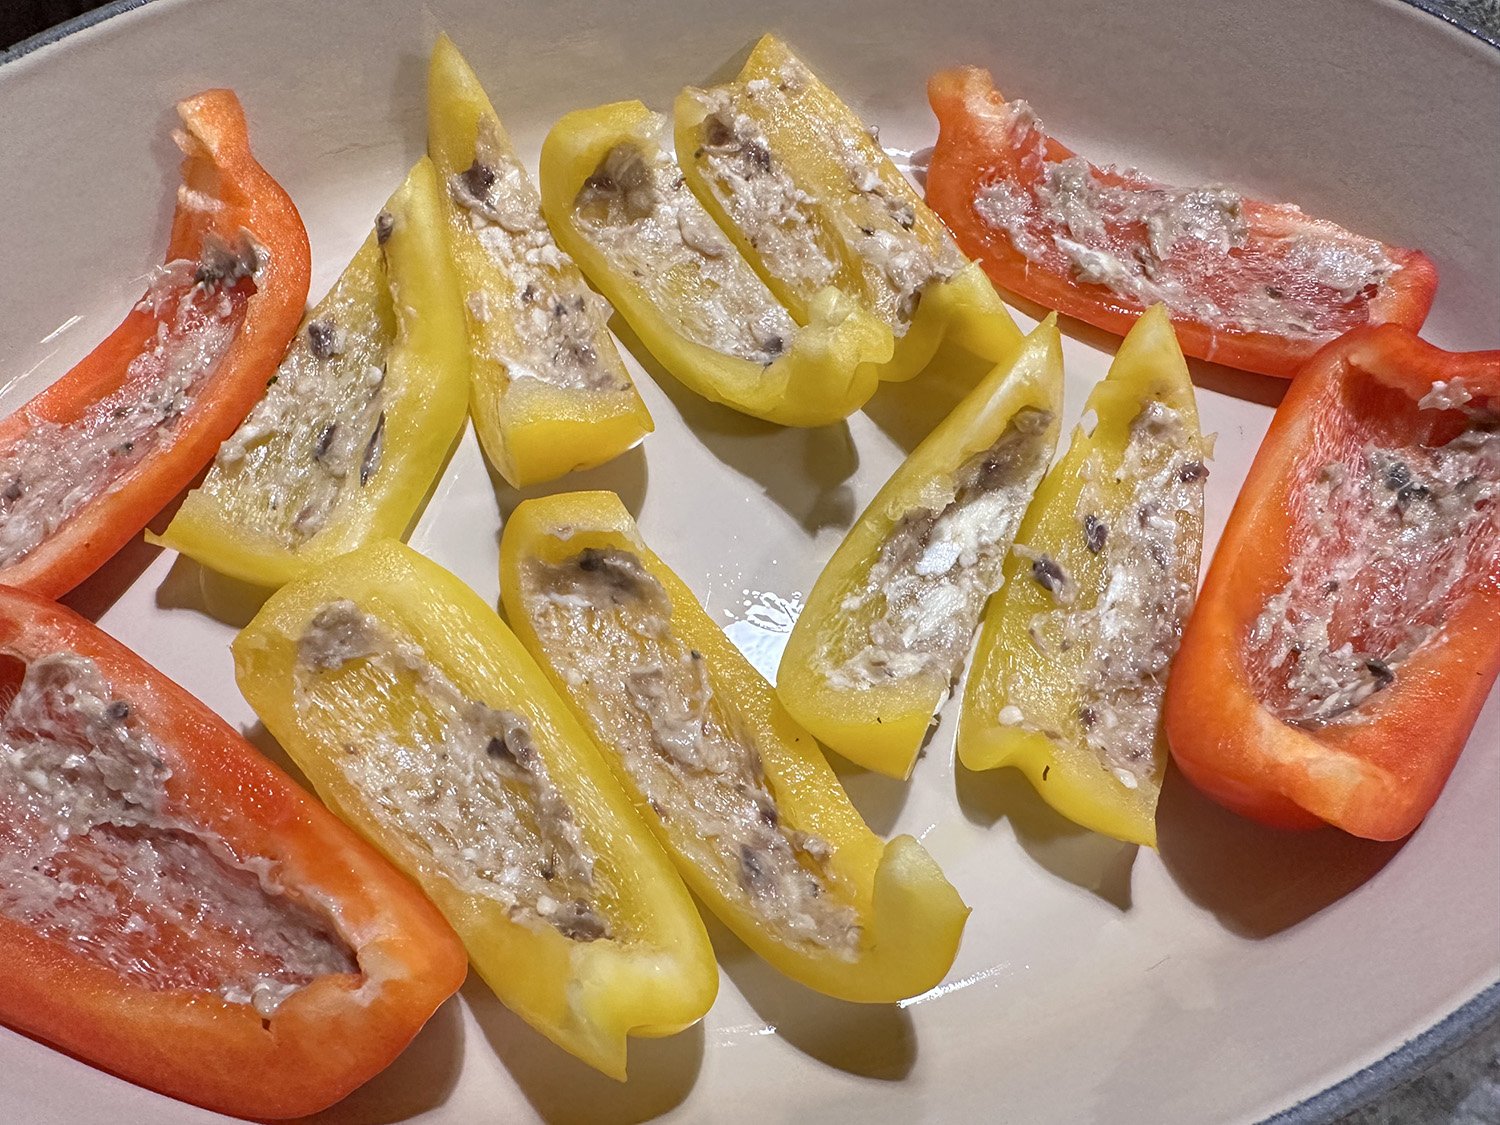
- 1 red bell pepper
- 1 green bell pepper
- 2 medium Yukon gold potatoes
- 1 can fire-roasted diced tomatoes
- 1/2 tsp. dried thyme
- 1/2 tsp. smoked paprika
- 1/2 cup white wine
- 2 1/2 cups fish broth, preferably homemade
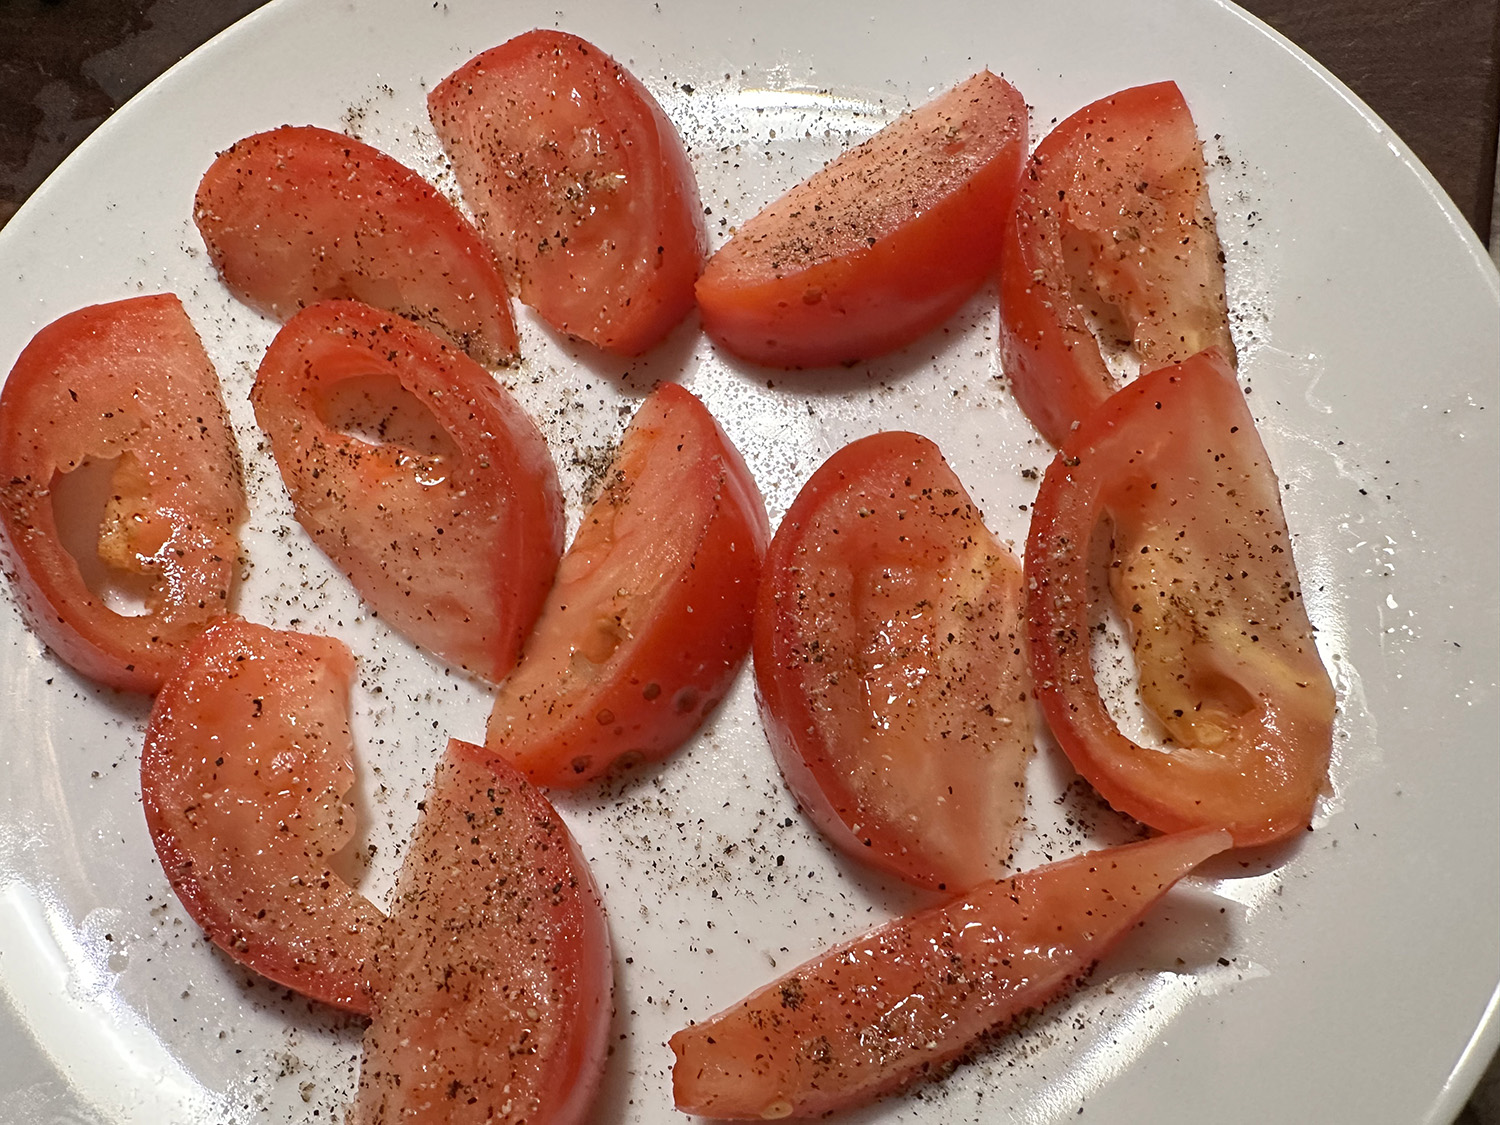
- Sea salt
- Freshly cracked black pepper
- Fresh parsley


Directions
- Begin by cutting all the vegetables first, 4 minced cloves of garlic, diced onion, diced red bell pepper, dice green bell pepper and cut 2 medium Yukon gold potato into 1/2-inch cubes.
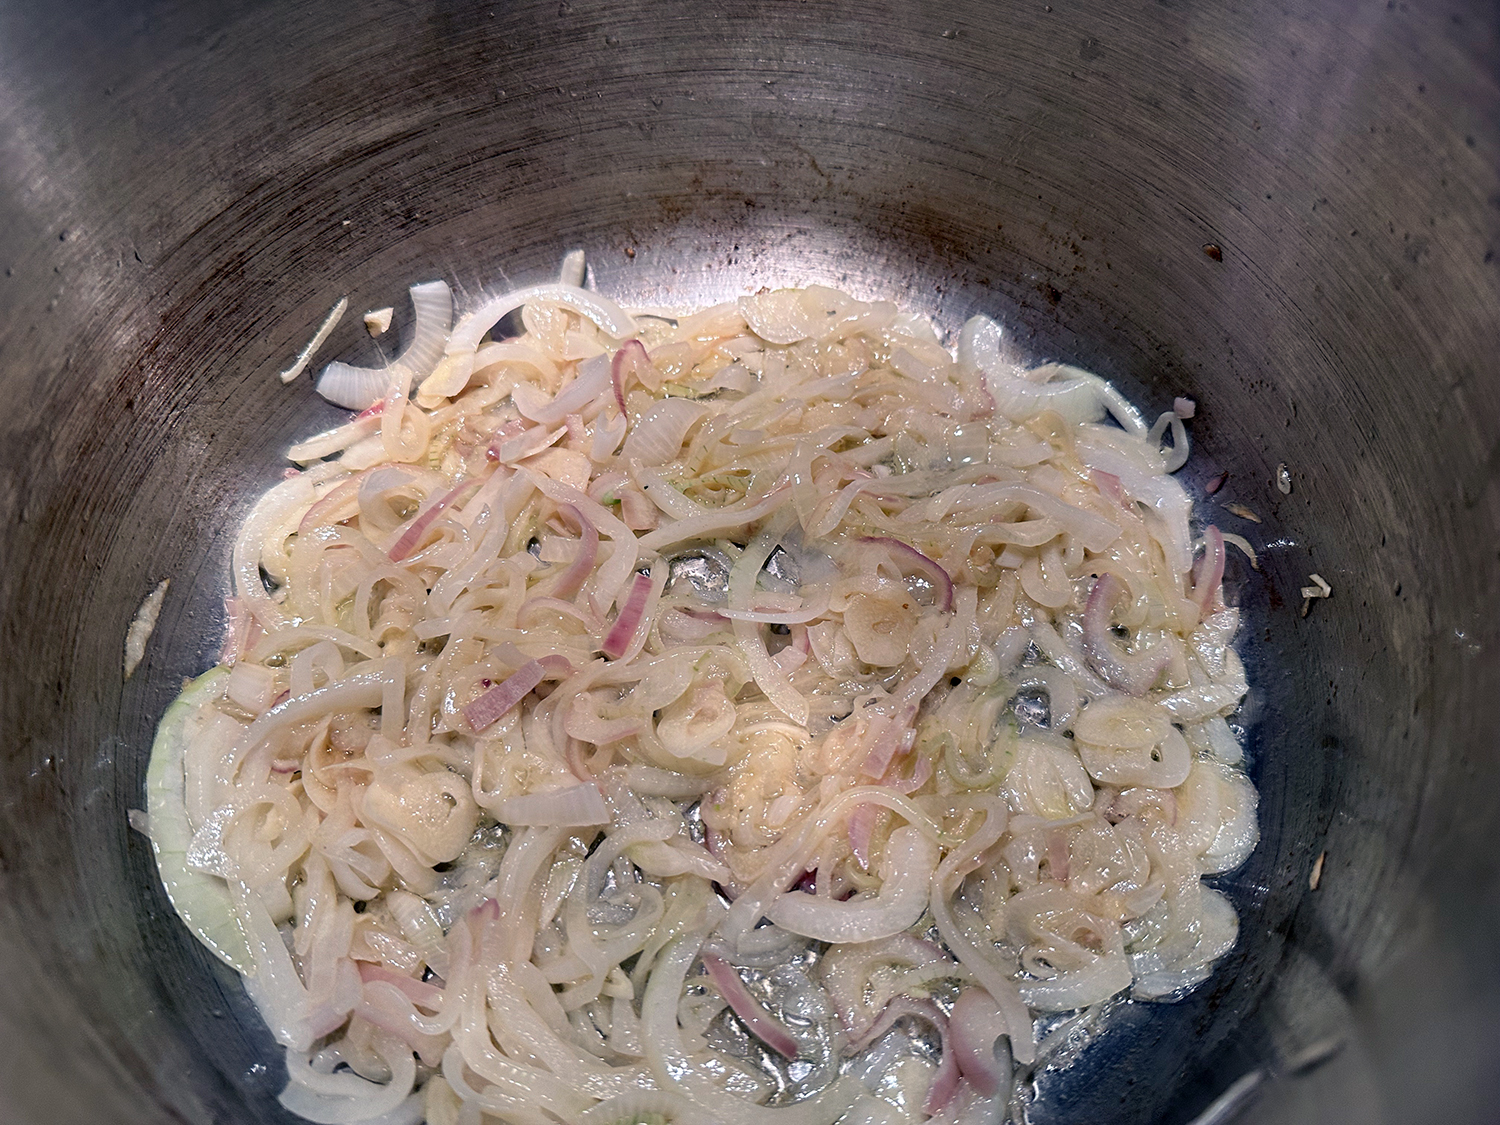
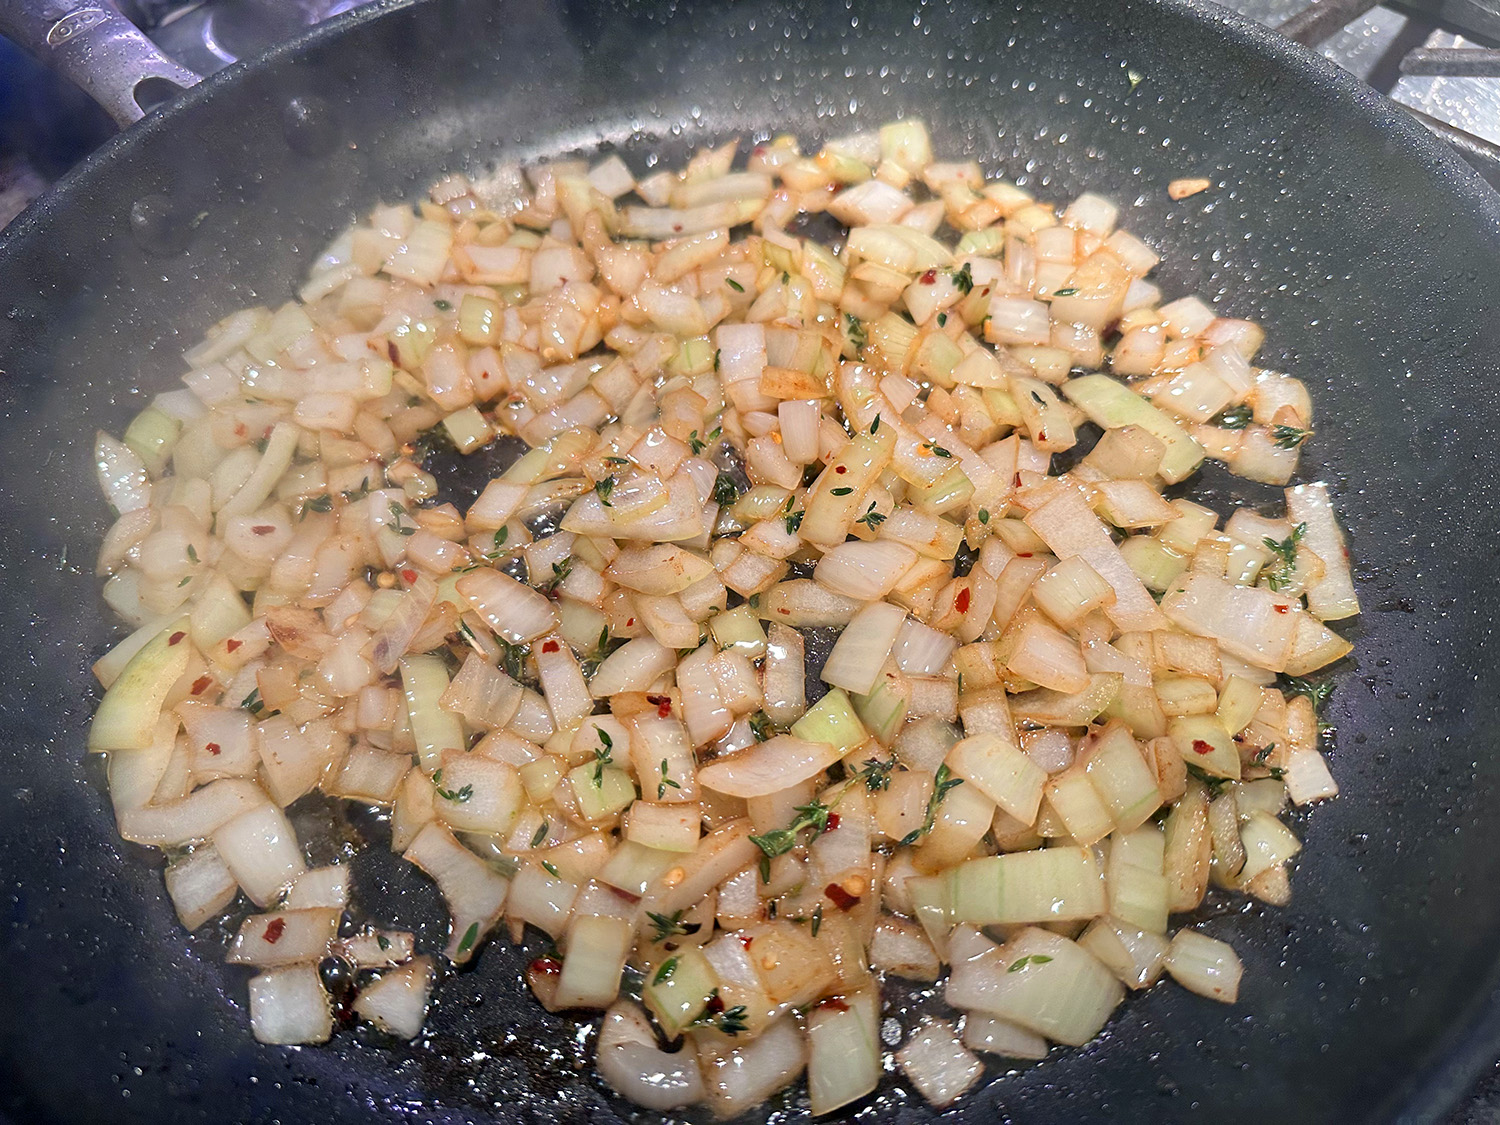
- Heat a large stock pot with a medium heat and add a 1/4 cup of extra virgin Spanish olive oil, once the oil gets hot add the diced onions and minced garlic, mix with the oil and cook for about 4 minutes, then add the diced bell peppers, mix and cook for another 5 minutes, then add the cubed potatoes, mix and cook for another 2 minutes, then add 1 cup of diced tomatoes, season everything with a generous pinch of sea salt, freshly cracked black pepper, 1/2 teaspoon of dried thyme and 1/2 teaspoon of smoked paprika, mix everything together and cook for 2 minutes.
- Turn the fire up to a HIGH heat and add 1/2 cup of white wine, about 4 minutes after adding the white wine add 2 1/2 cups of fish broth, once it comes to a boil, place a lid on top and lower the fire to a LOW heat.
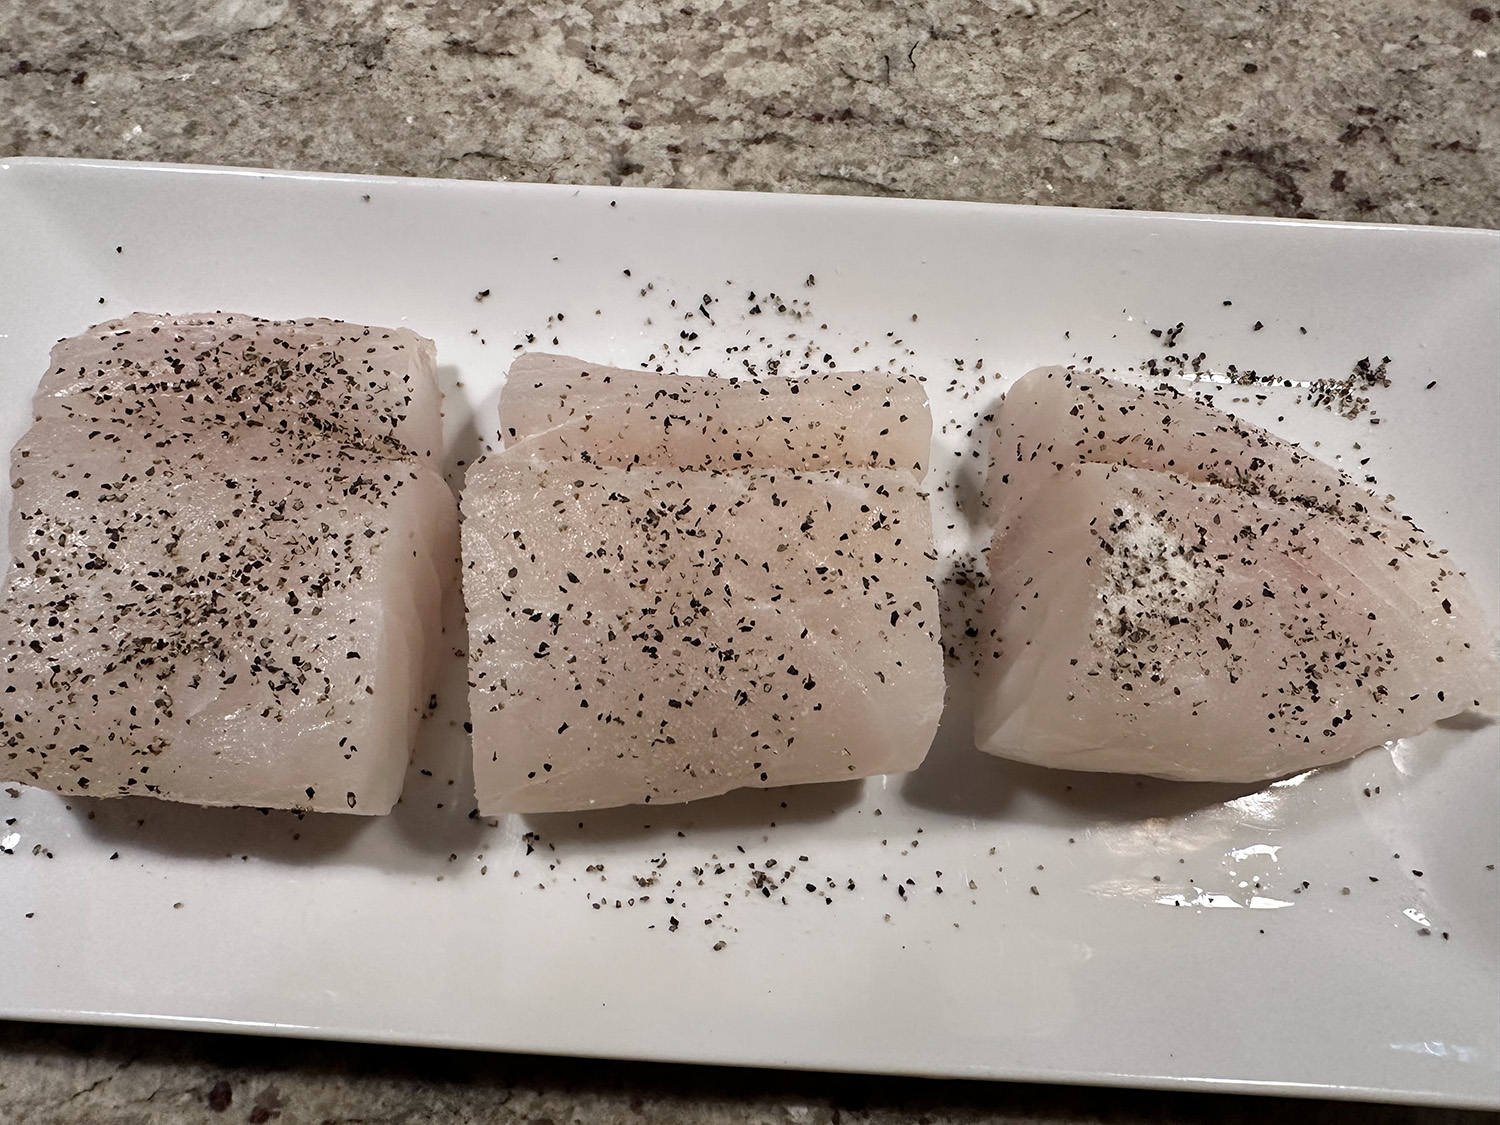
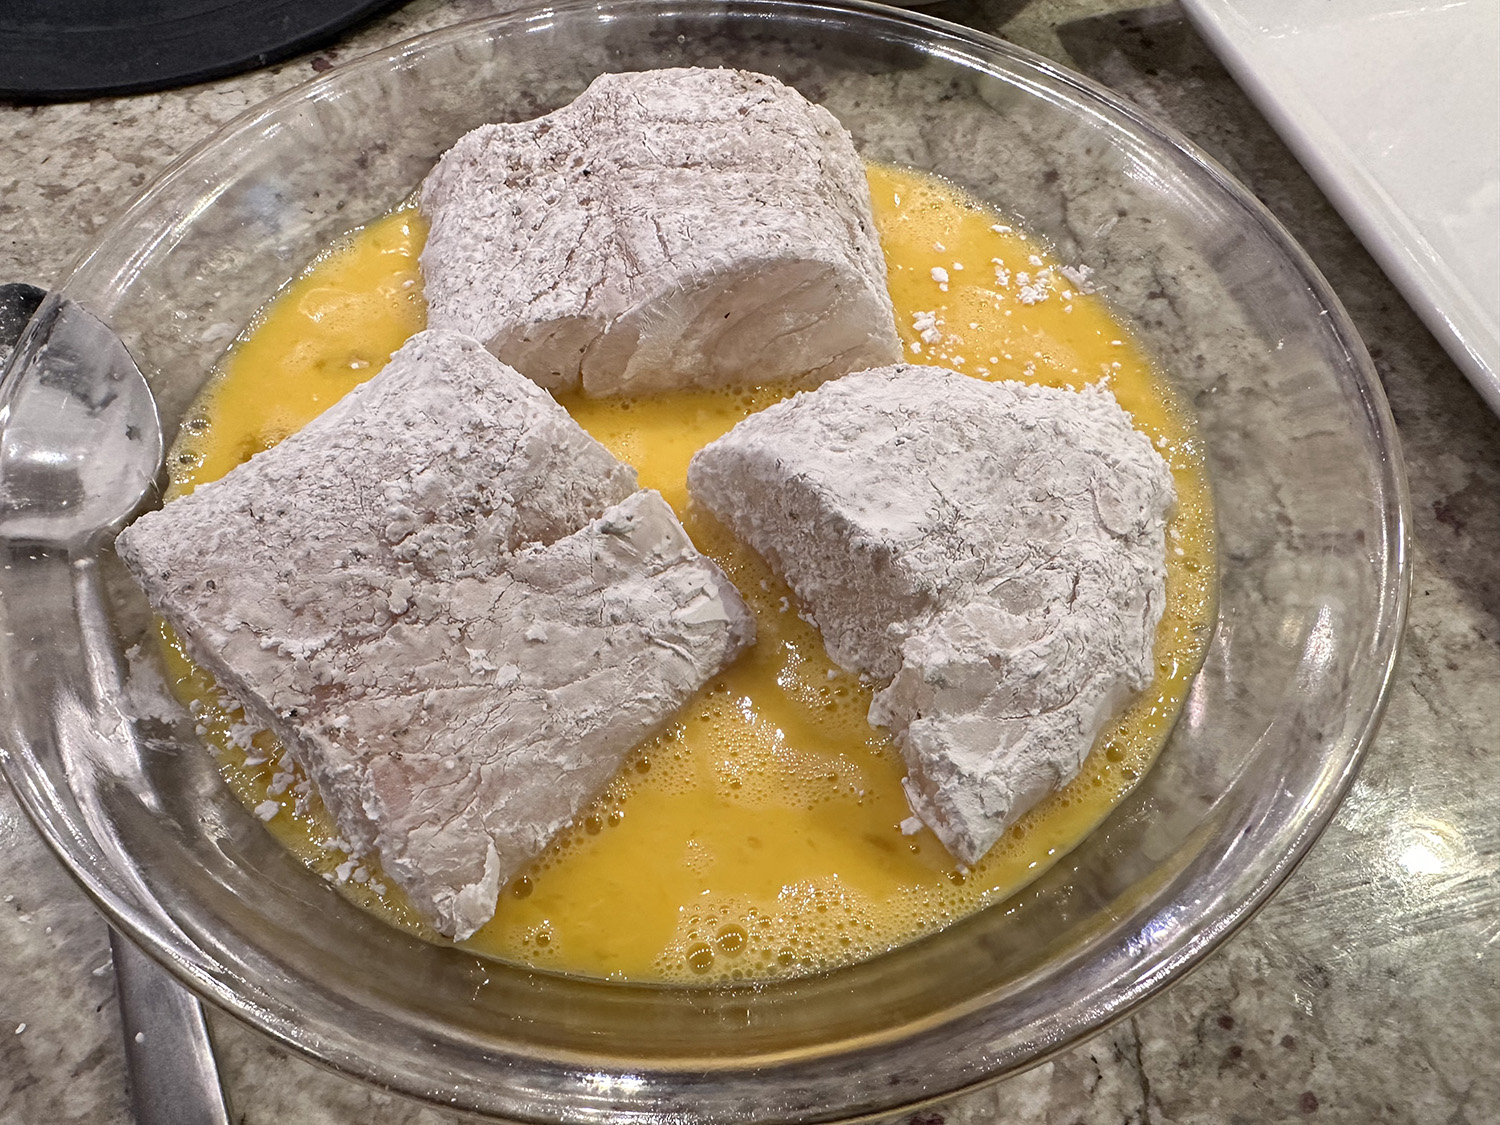
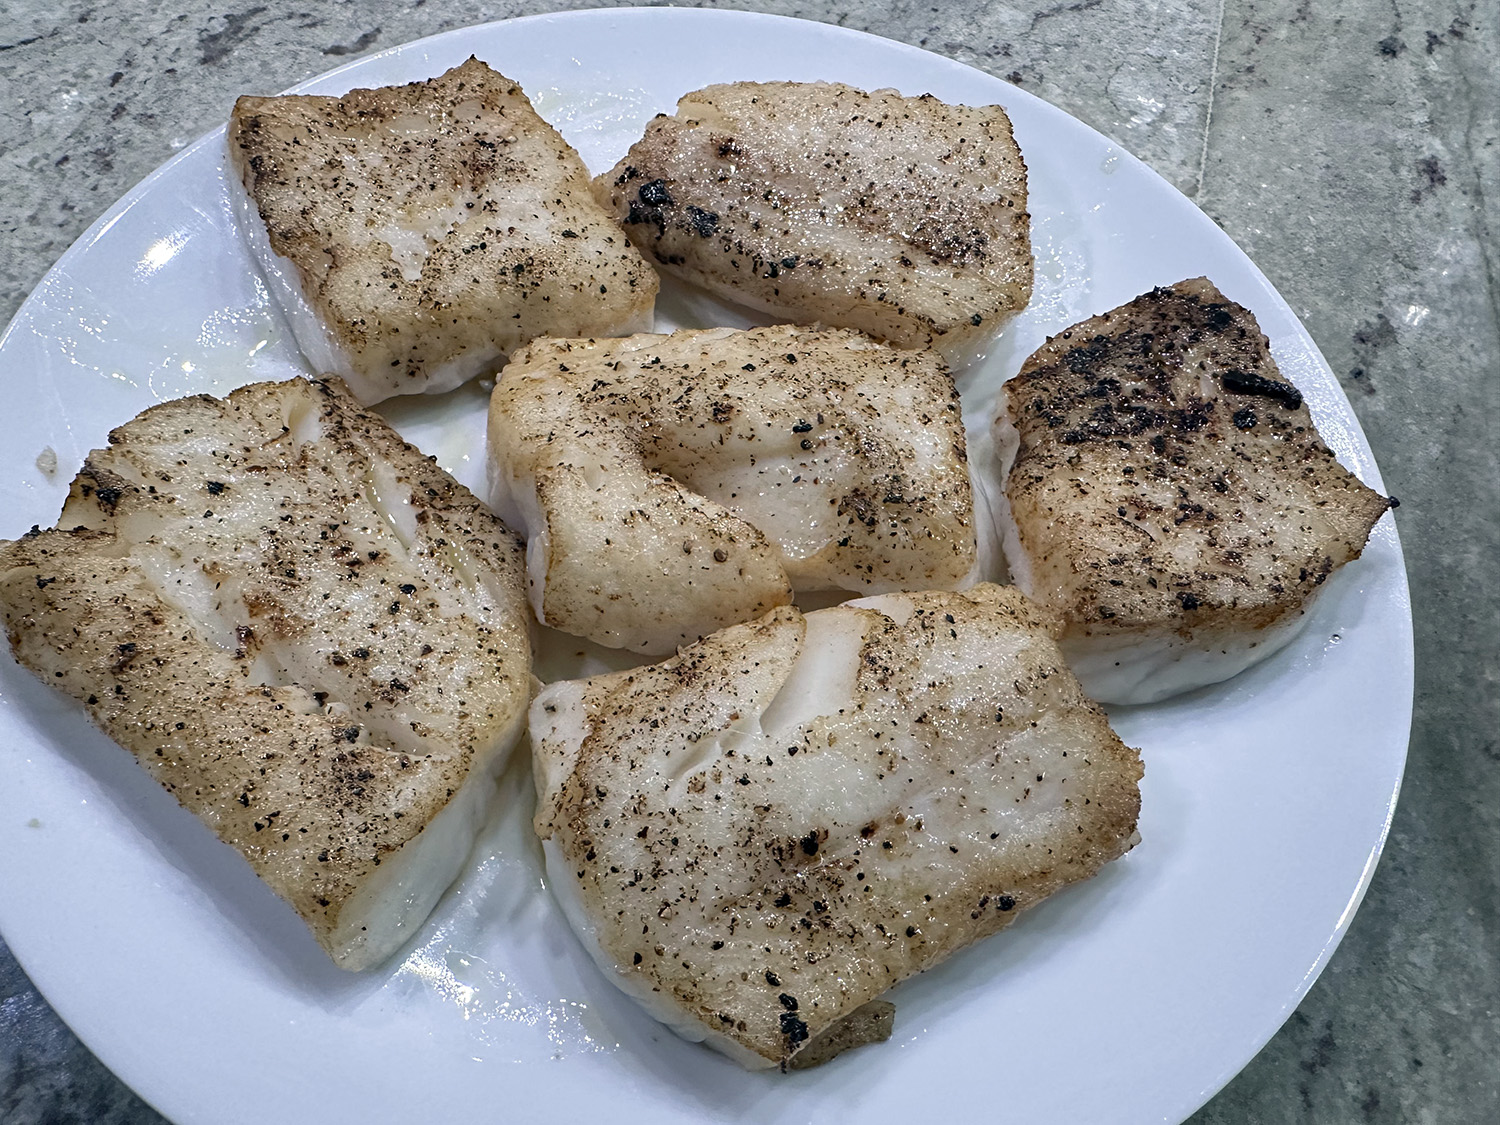
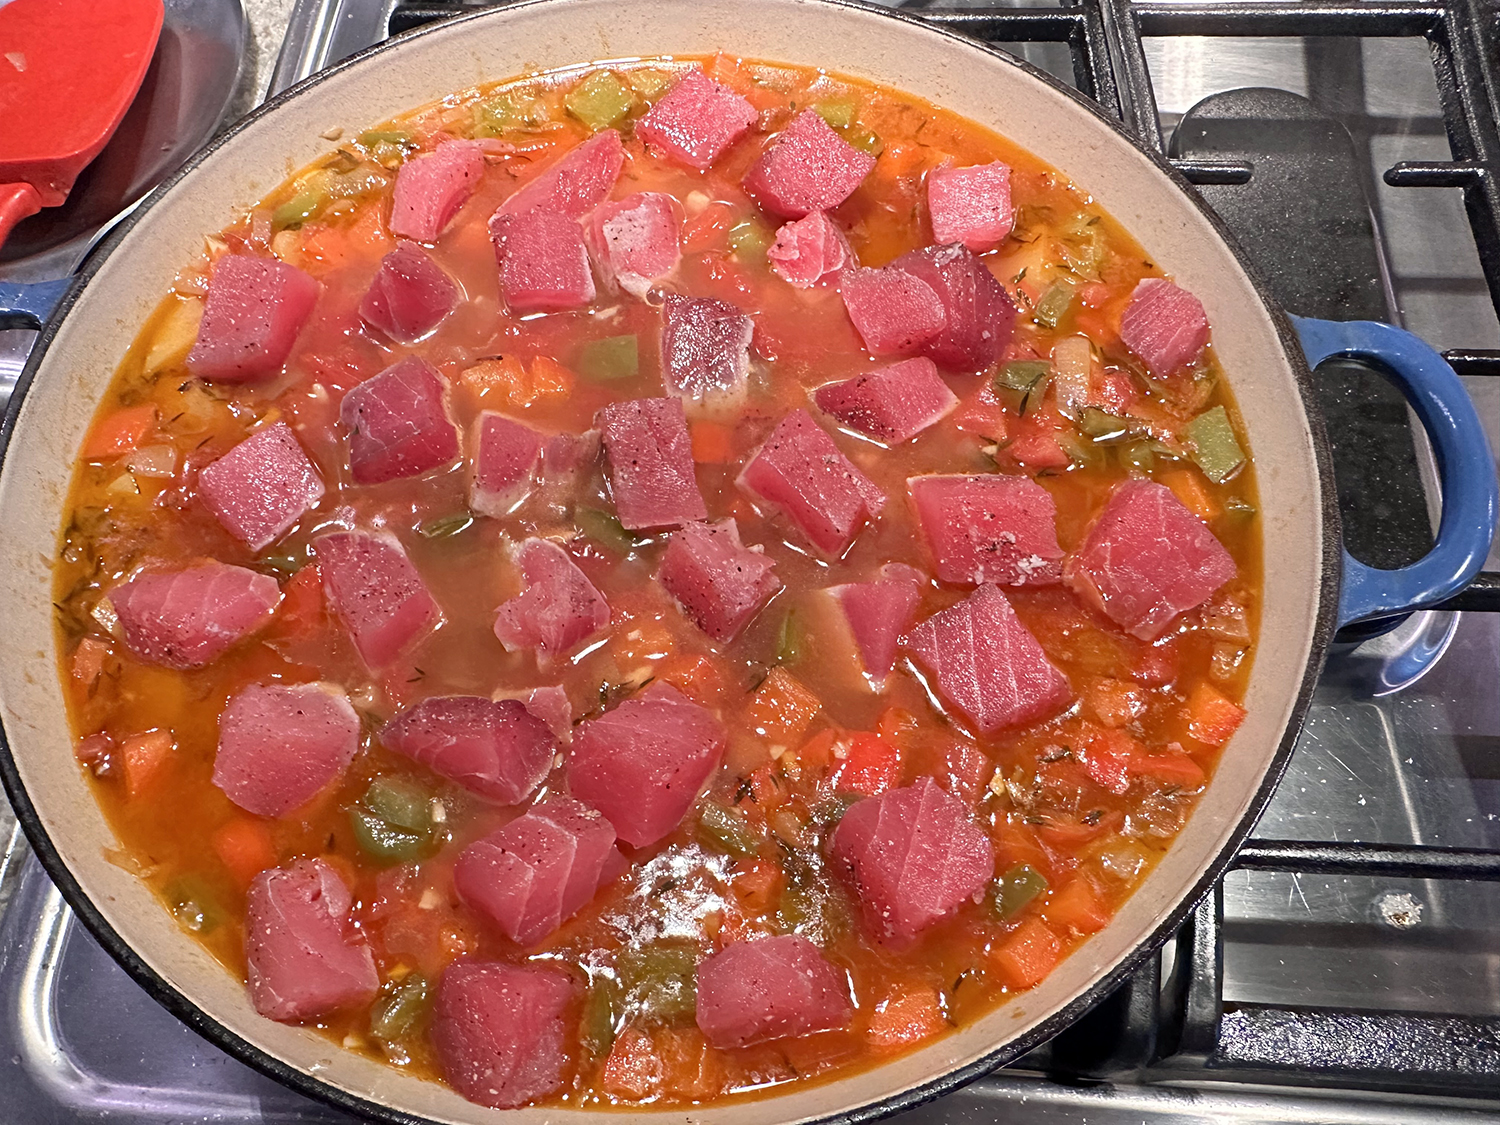
- While the stew is simmering, season 2 fresh tuna fillets with sea salt and freshly cracked black pepper on both sides, then cut each one into 1/2 inch cubes.
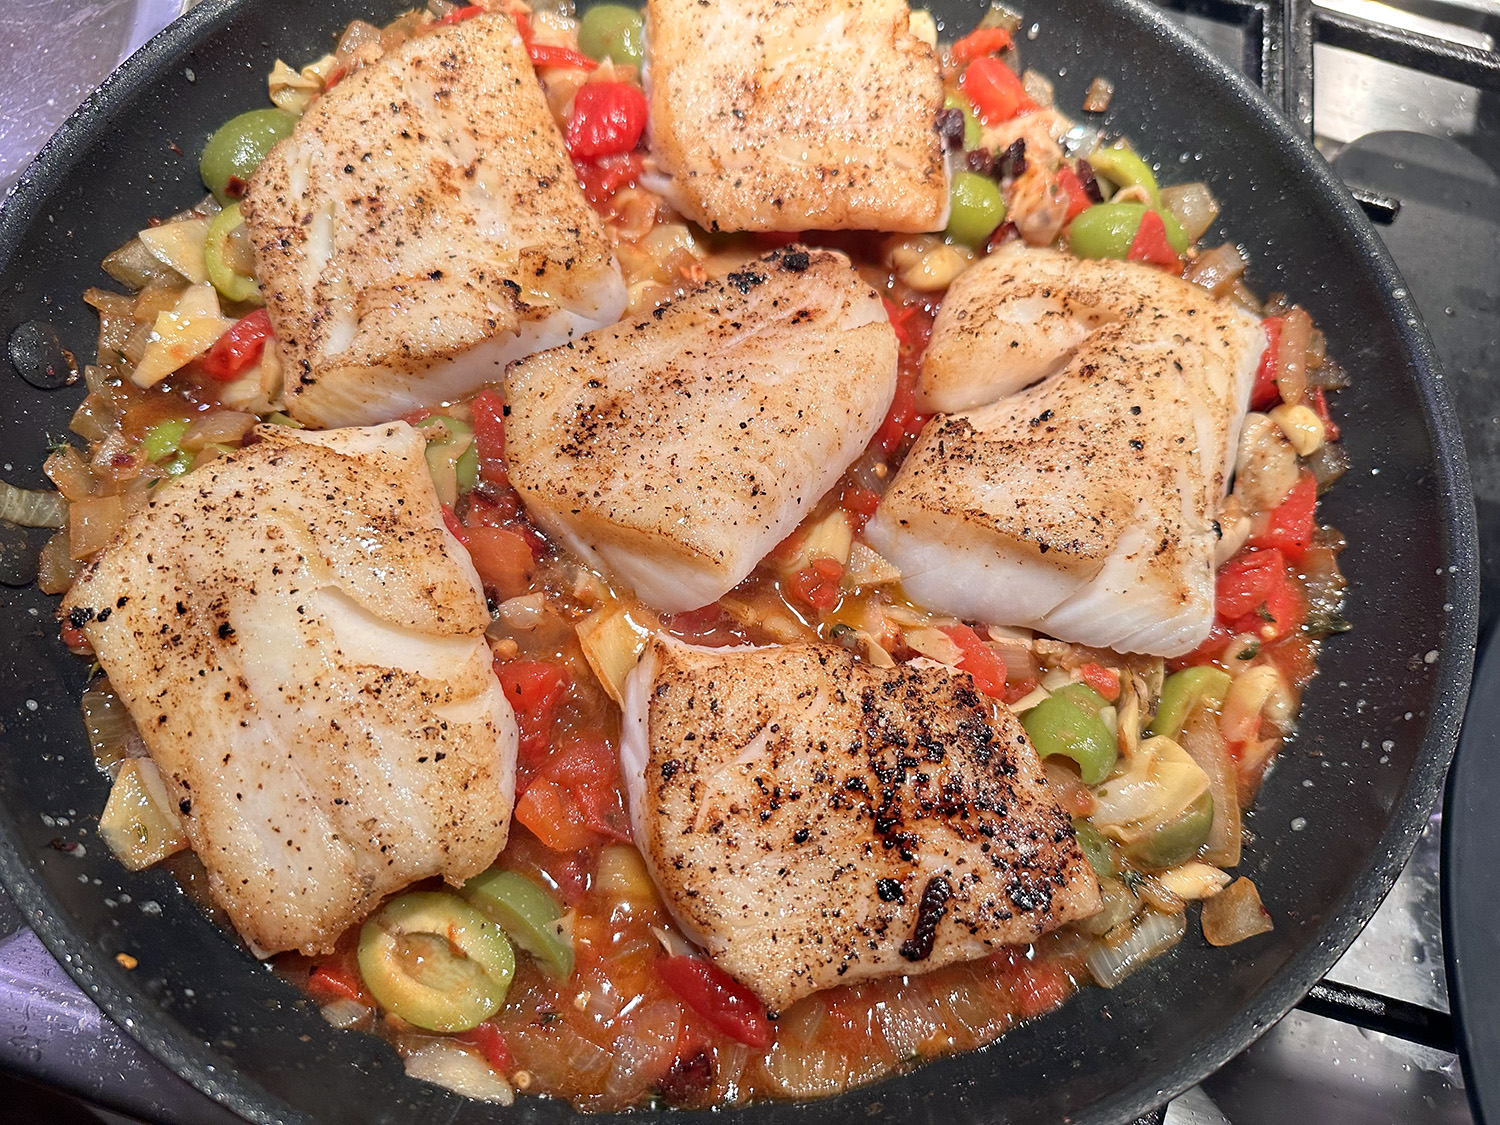
- After leaving the stew to simmer for 25 minutes, add the cubed tuna to the stock pot, mix it with the rest of the ingredients, place the lid back on top and cook for another 5 minutes.
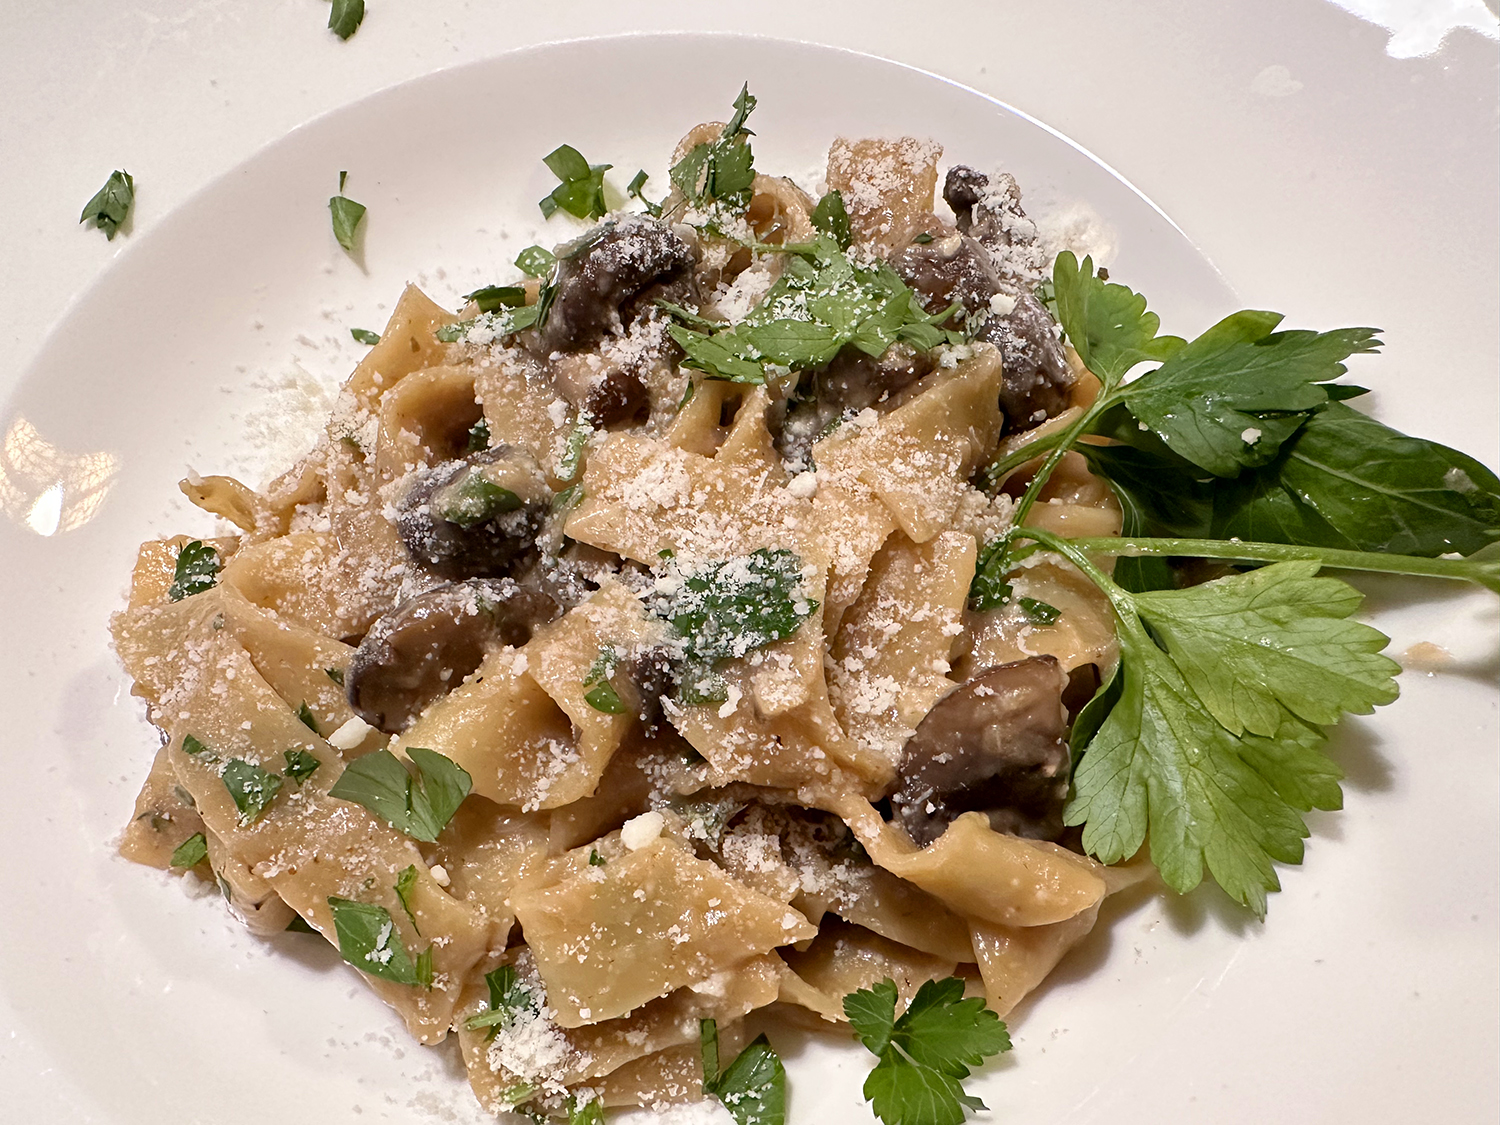
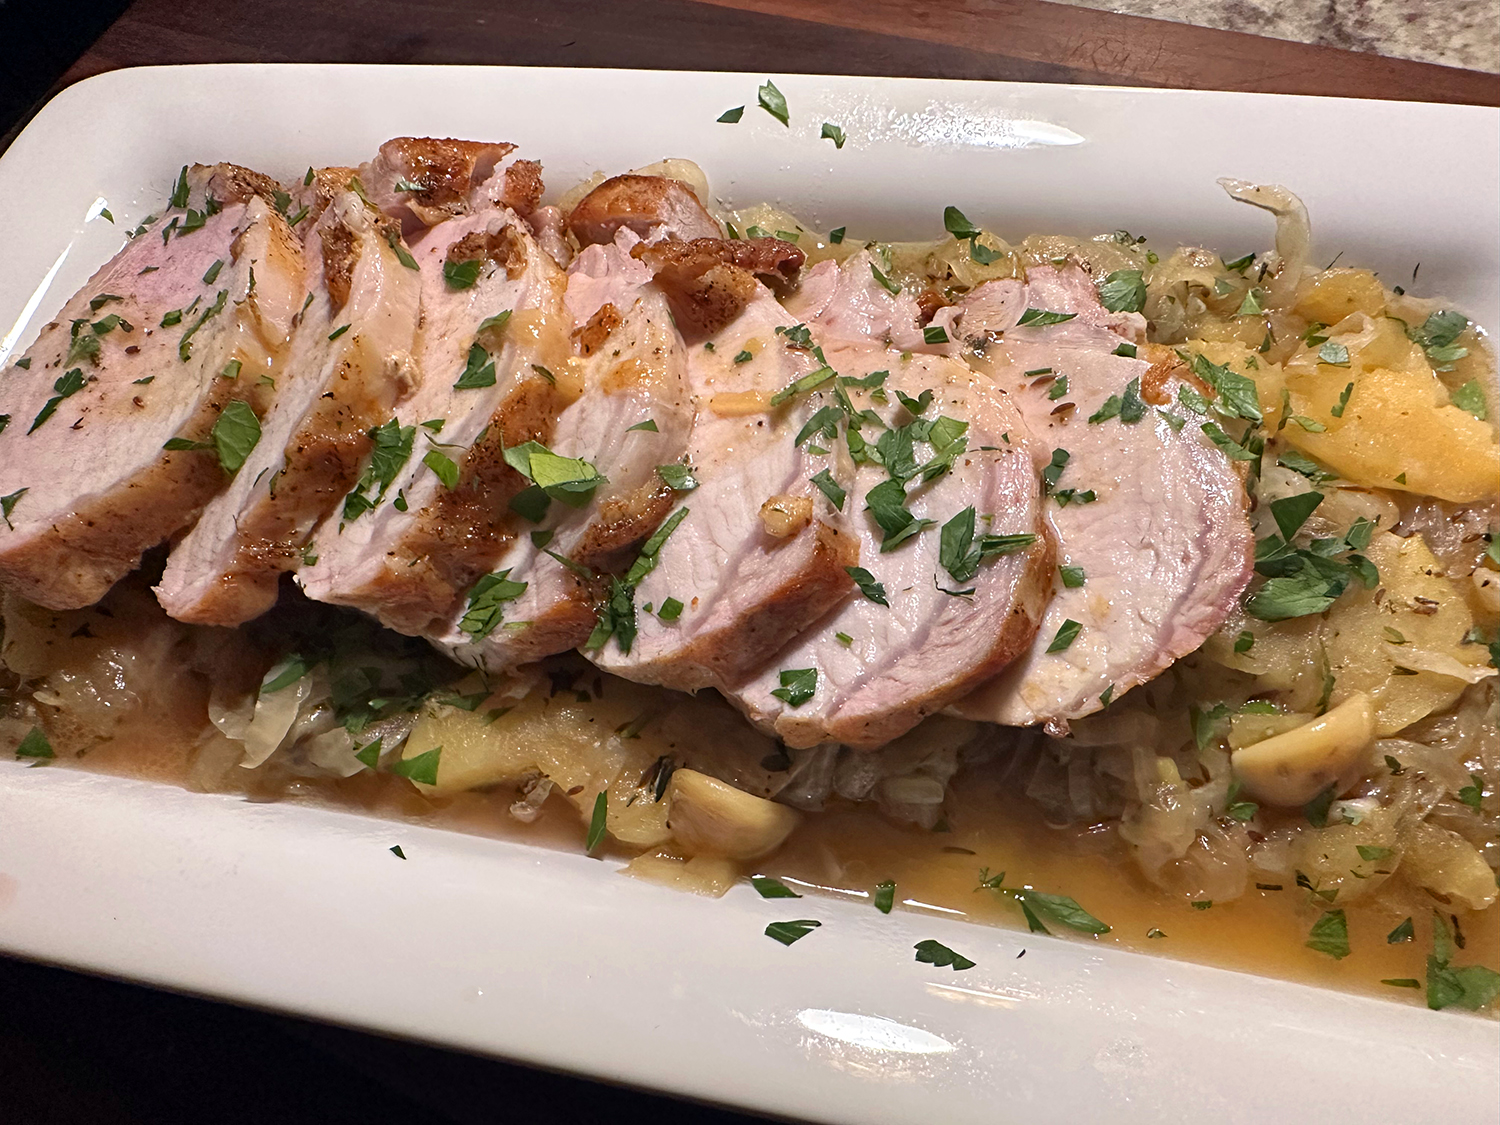
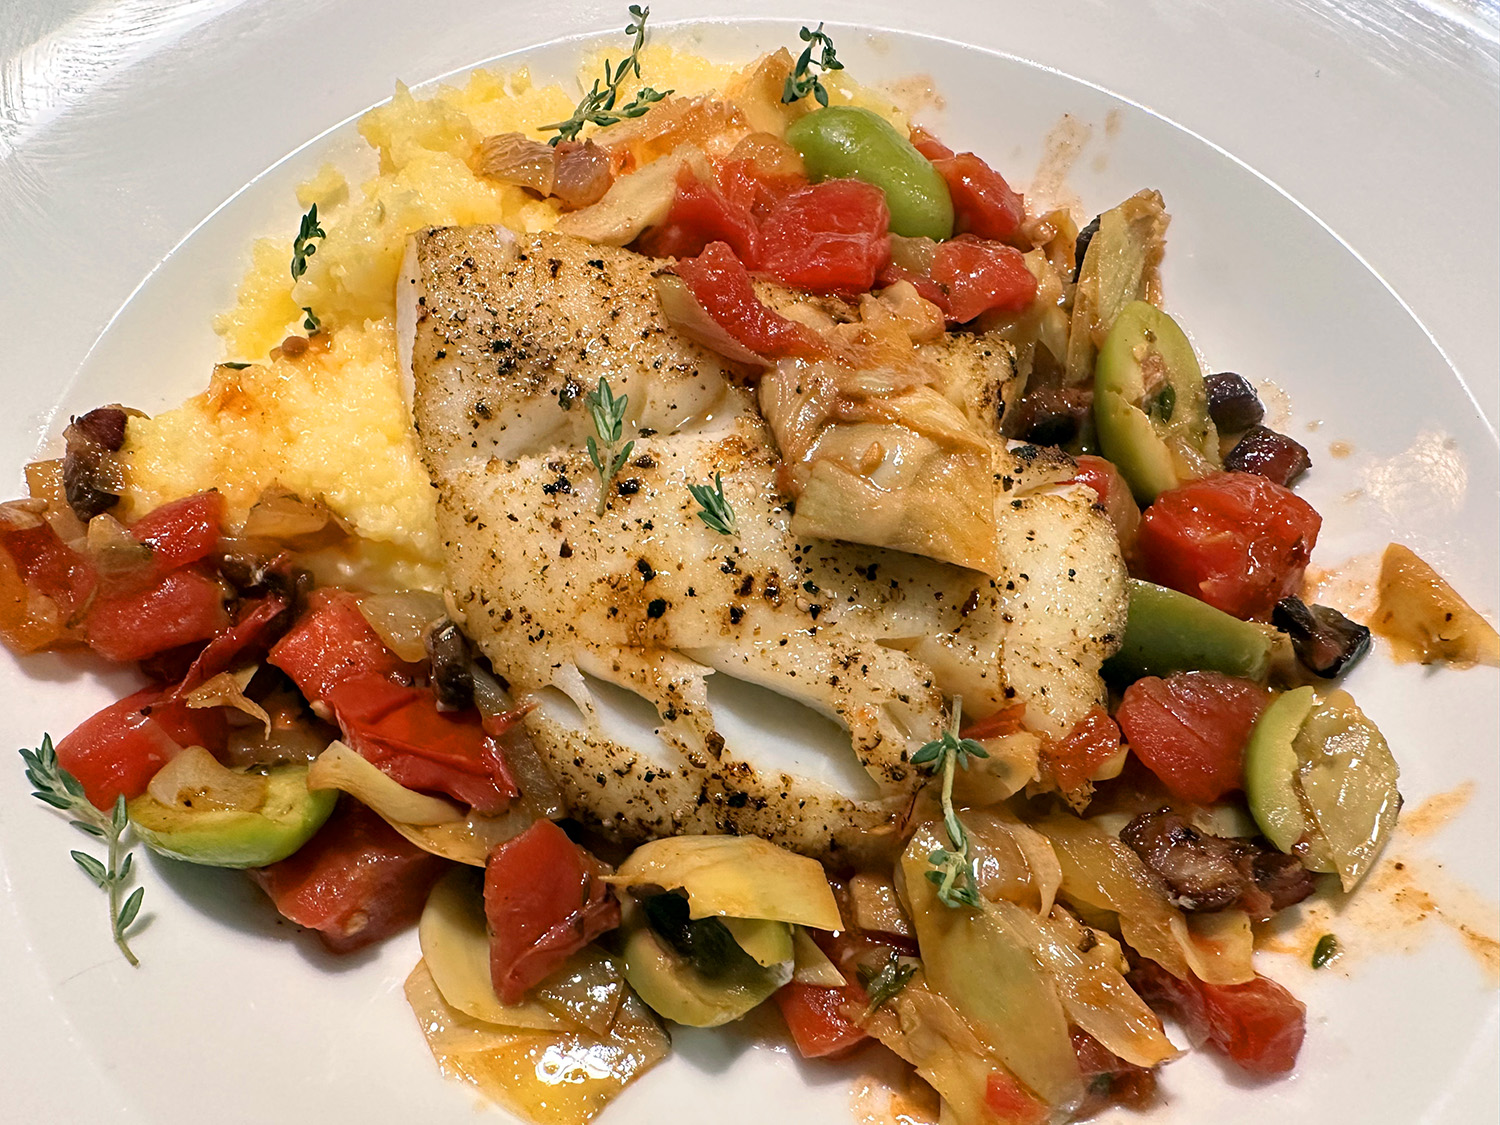
- Transfer the tuna stew into shallow bowls and garnish each one with fresh parsley
Adapted from a recipe from Spain on a Fork