Milk Street borrows from Colombia’s take on guacamole—spiked with both lime juice and vinegar as well as fresh chilies—to create an easy, no-cook sauce for salmon fillets. A fresh tomato-cilantro salsa finishes the dish, adding a bright, acidic note to balance the rich, savory fish.
Don’t shy away from using the habañero chili. Its fruity flavor pairs perfectly with the avocado. It does give bold spiciness to the sauce, but the richness of the salmon keeps the heat in check. The recipe makes enough avocado salsa, so you could easily by 2-pounds* of salmon or more to feed more dinner guests.
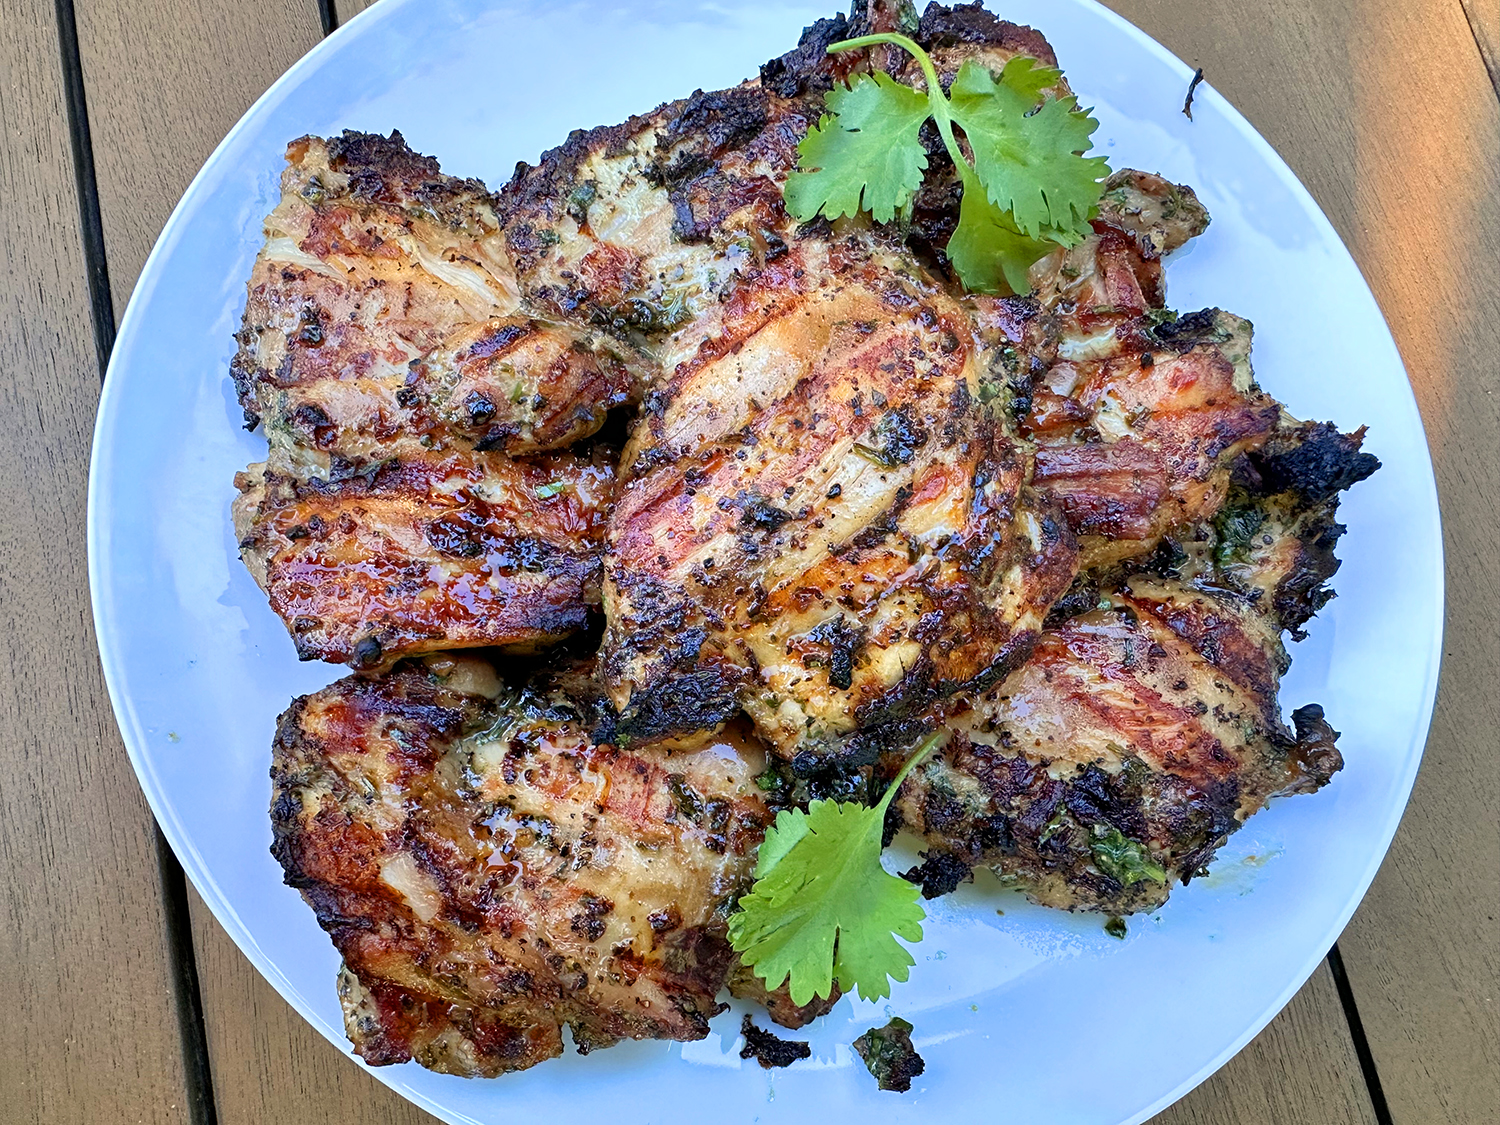
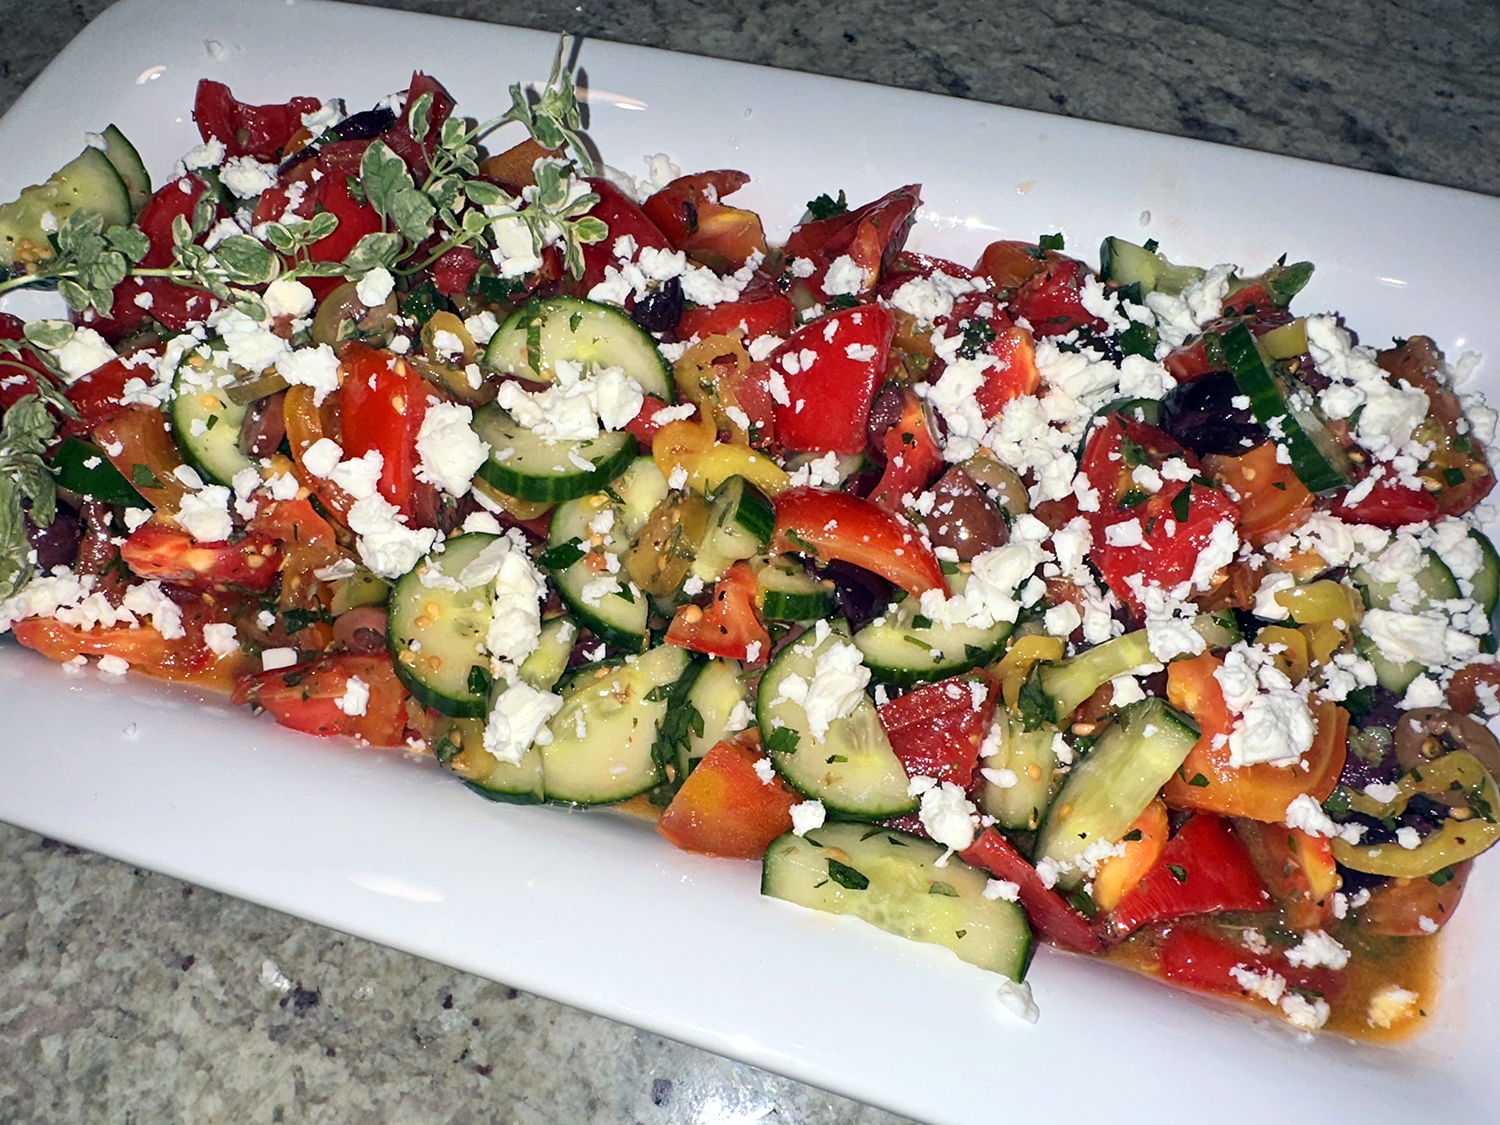
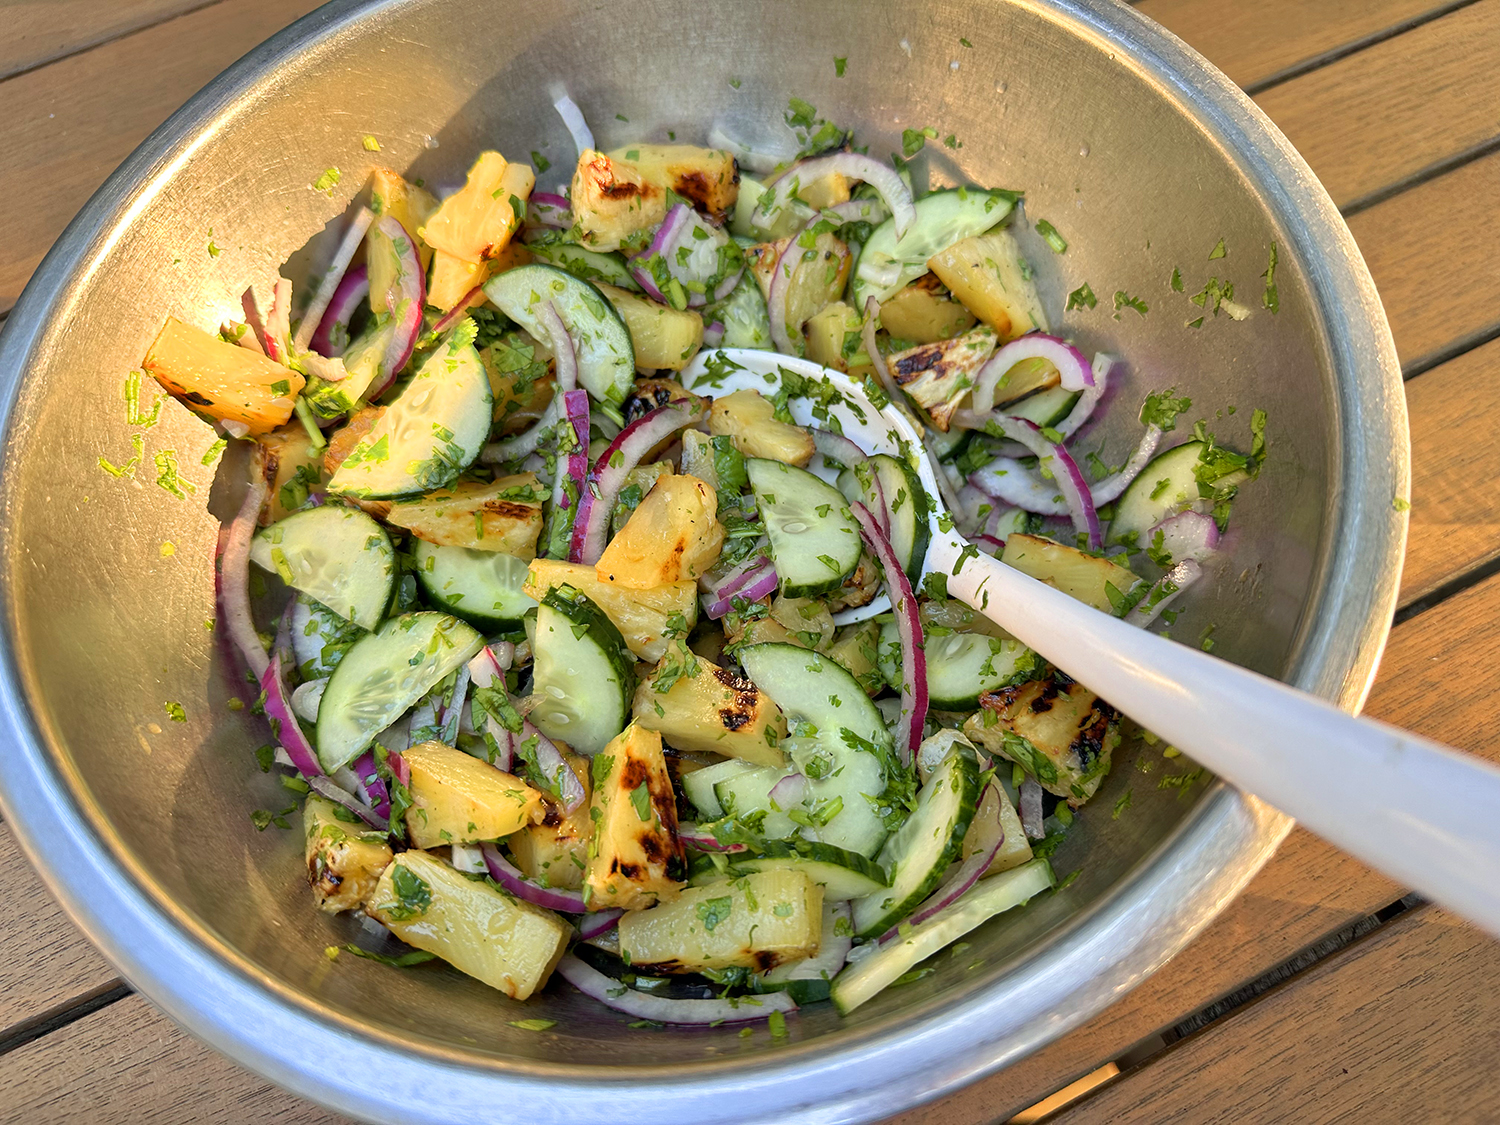
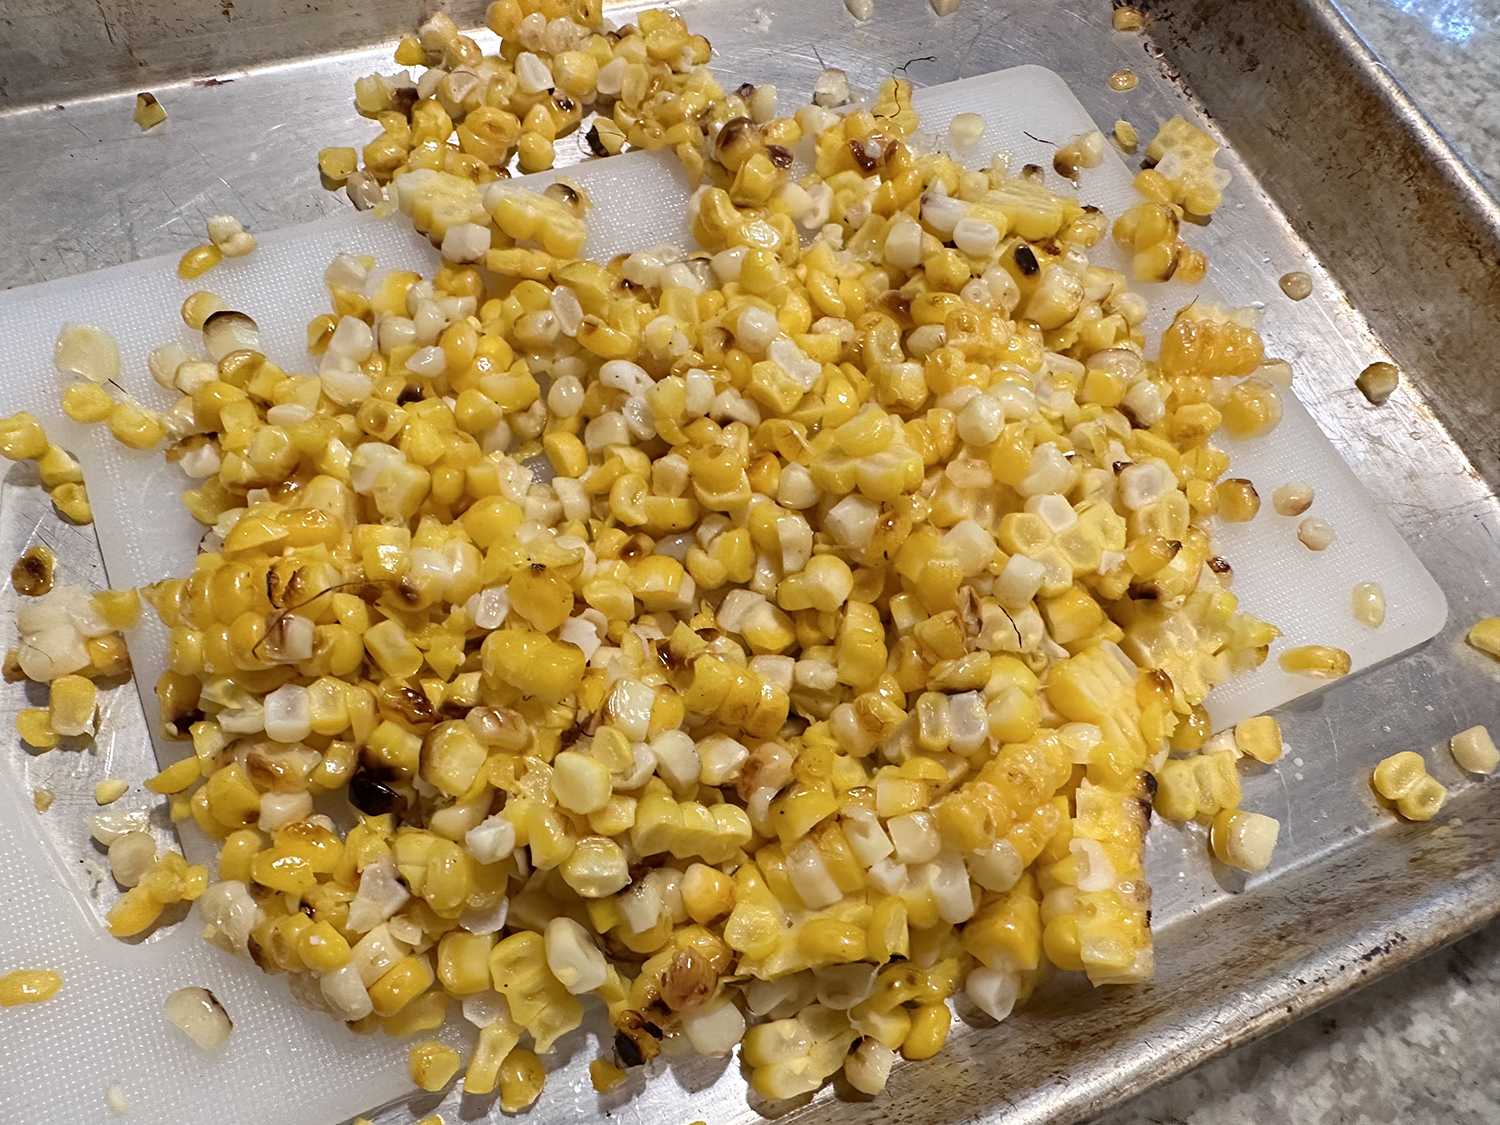
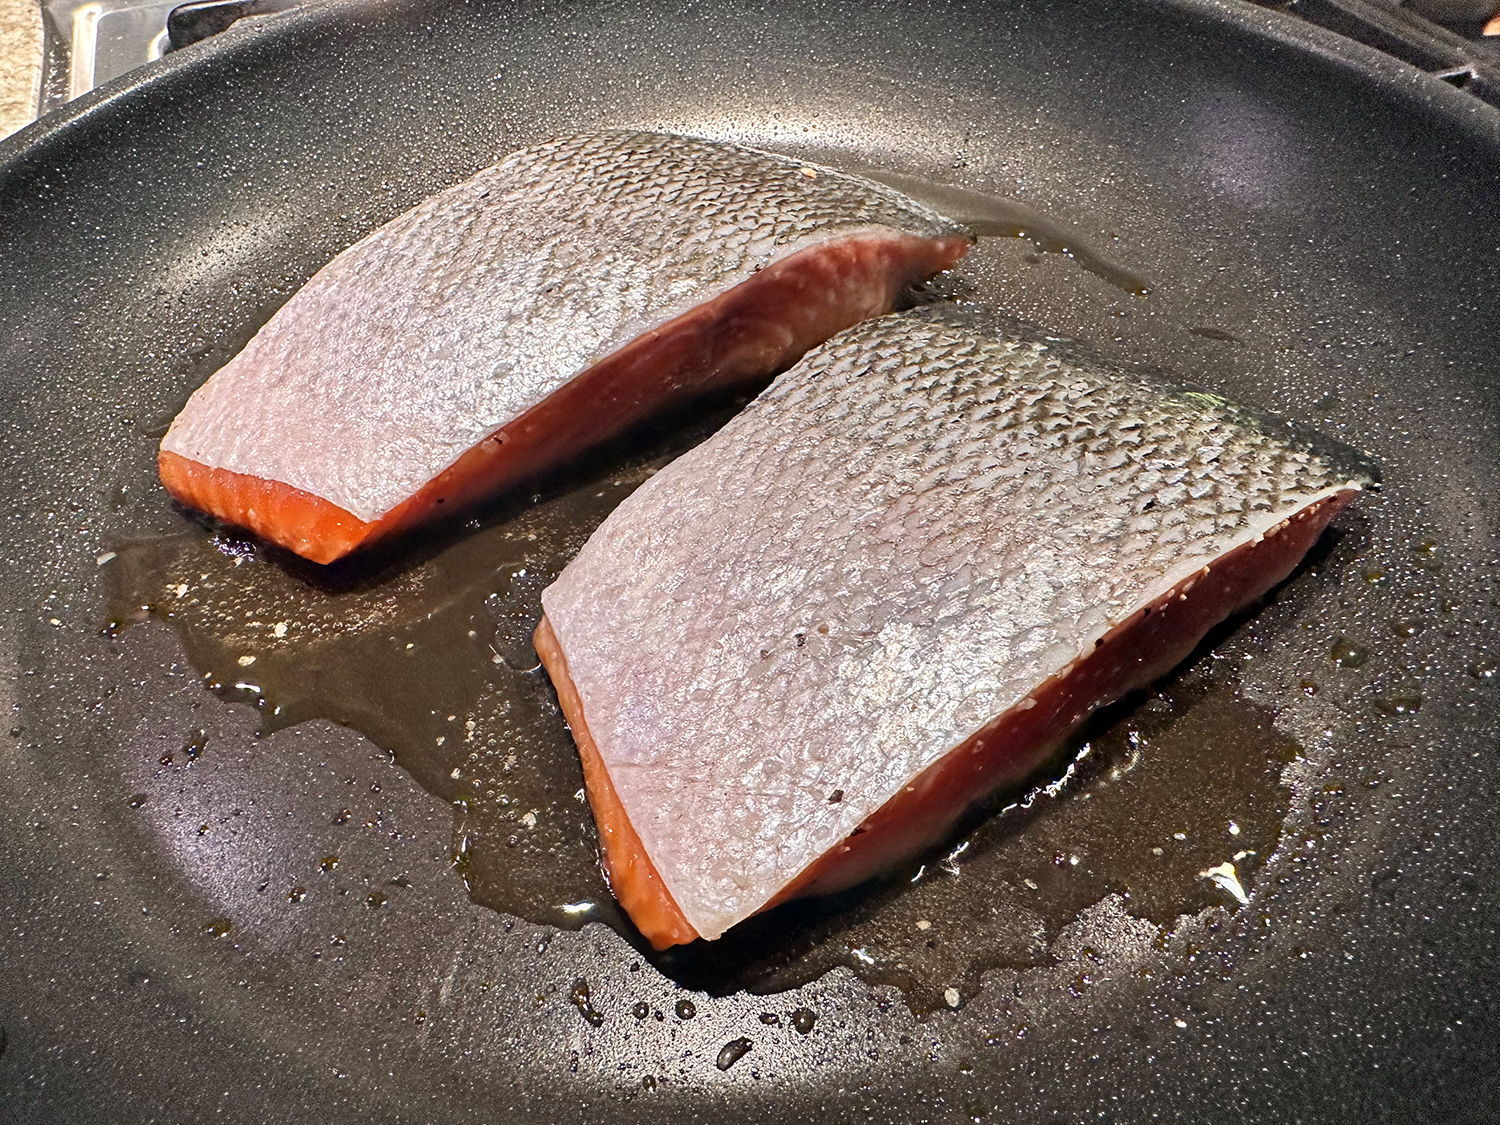
For just the two of us, we purchased a one-pound piece of organic salmon and split it into two filets. Fresh corn on the cob and a hefty side salad rounded out the healthy, flavorful meal.

Seared Salmon with Avocado Sauce and Tomato-Cilantro Salsa
Ingredients
- 1 1/2 cups cherry or grape tomatoes, roughly chopped
- 5 Tbsp. lime juice, divided, plus lime wedges, to serve
- Kosher salt
- 2 scallions, cut into 1-inch lengths
- 1 Anaheim chili, stemmed, seeded, cut into rough 1-inch pieces
- 1 habañero chili, stemmed and seeded
- 2 Tbsp. white vinegar
- 1 1/2 cups fresh cilantro leaves and tender stems, divided
- 1 ripe avocado, halved, pitted, peeled and chopped
- 4 6-oz. center-cut salmon fillets (each 1 to 1¼ inches thick), patted dry
- 1 Tbsp. grapeseed or other neutral oil
- 2 Tbsp. salted butter


Directions
- In a medium bowl, toss the tomatoes with 1 tablespoon of the lime juice and a pinch of salt. Set aside.
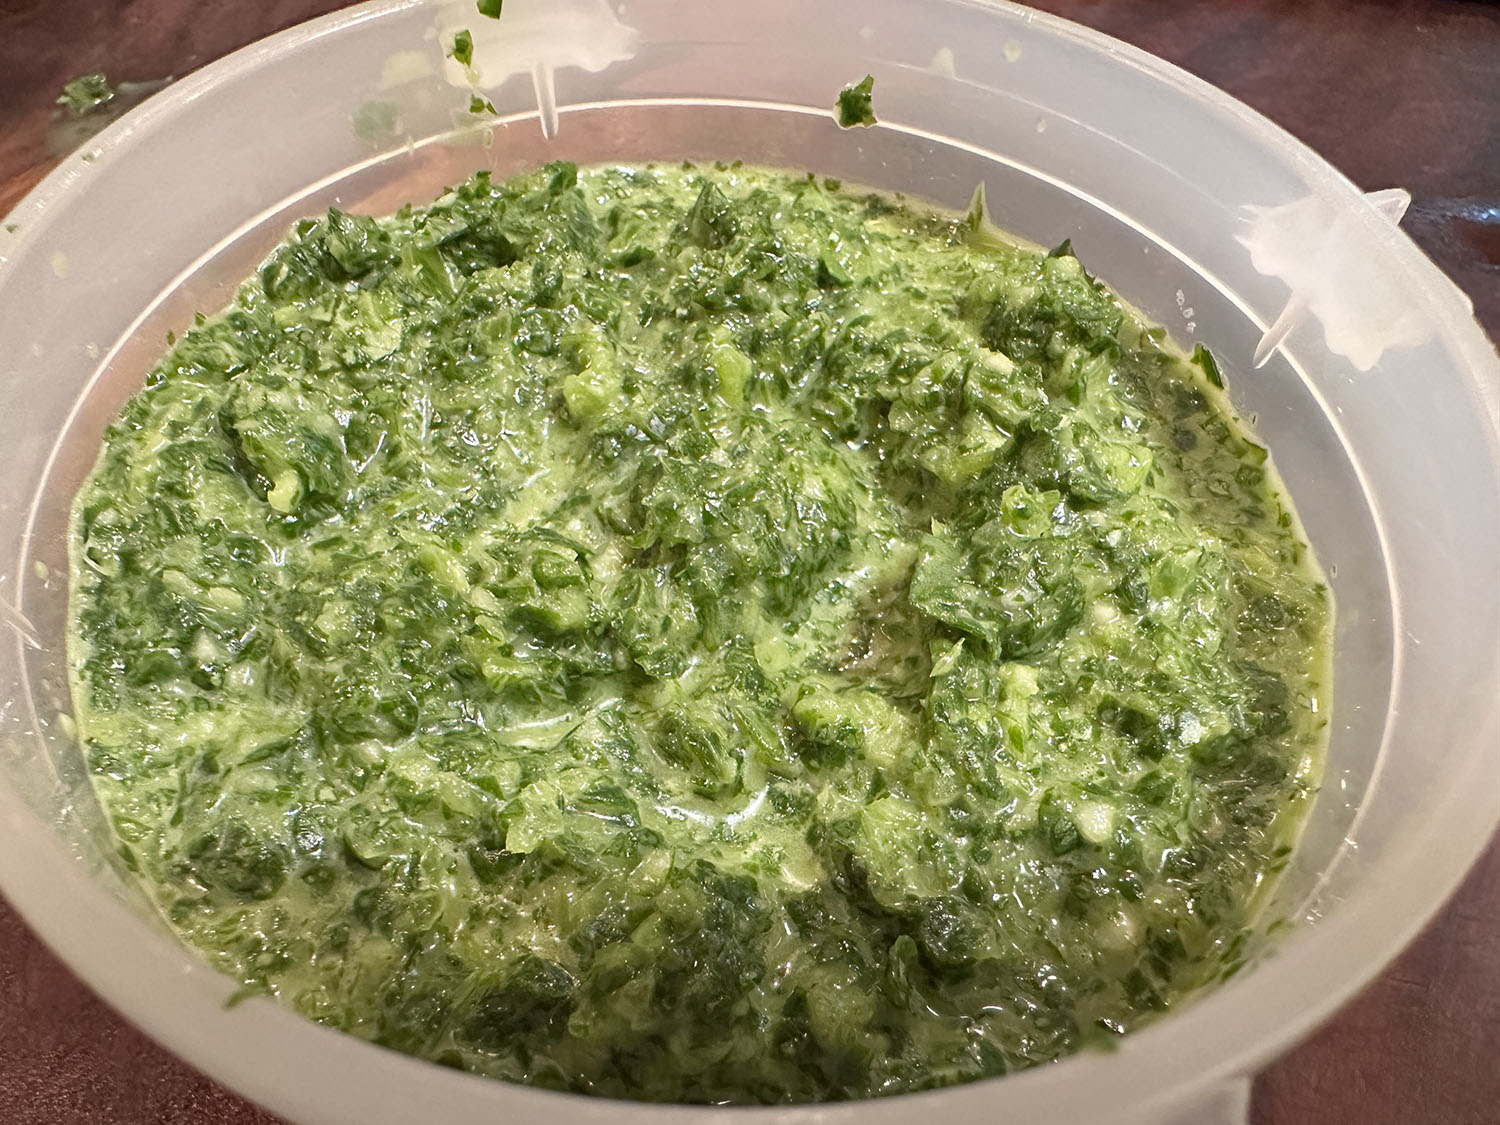
- In a blender, combine the scallions, both chilies, vinegar, 2 tablespoons of the remaining lime juice and ½ teaspoon salt. Blend until smooth, about 30 seconds. Add ¾ cup of the cilantro and the peeled avocado.
- With the blender running, stream in 3 tablespoons water and blend until smooth and creamy, about 1 minute, scraping the blender jar as needed; if needed, add up to 1 tablespoon more water to achieve the correct consistency. Set aside.
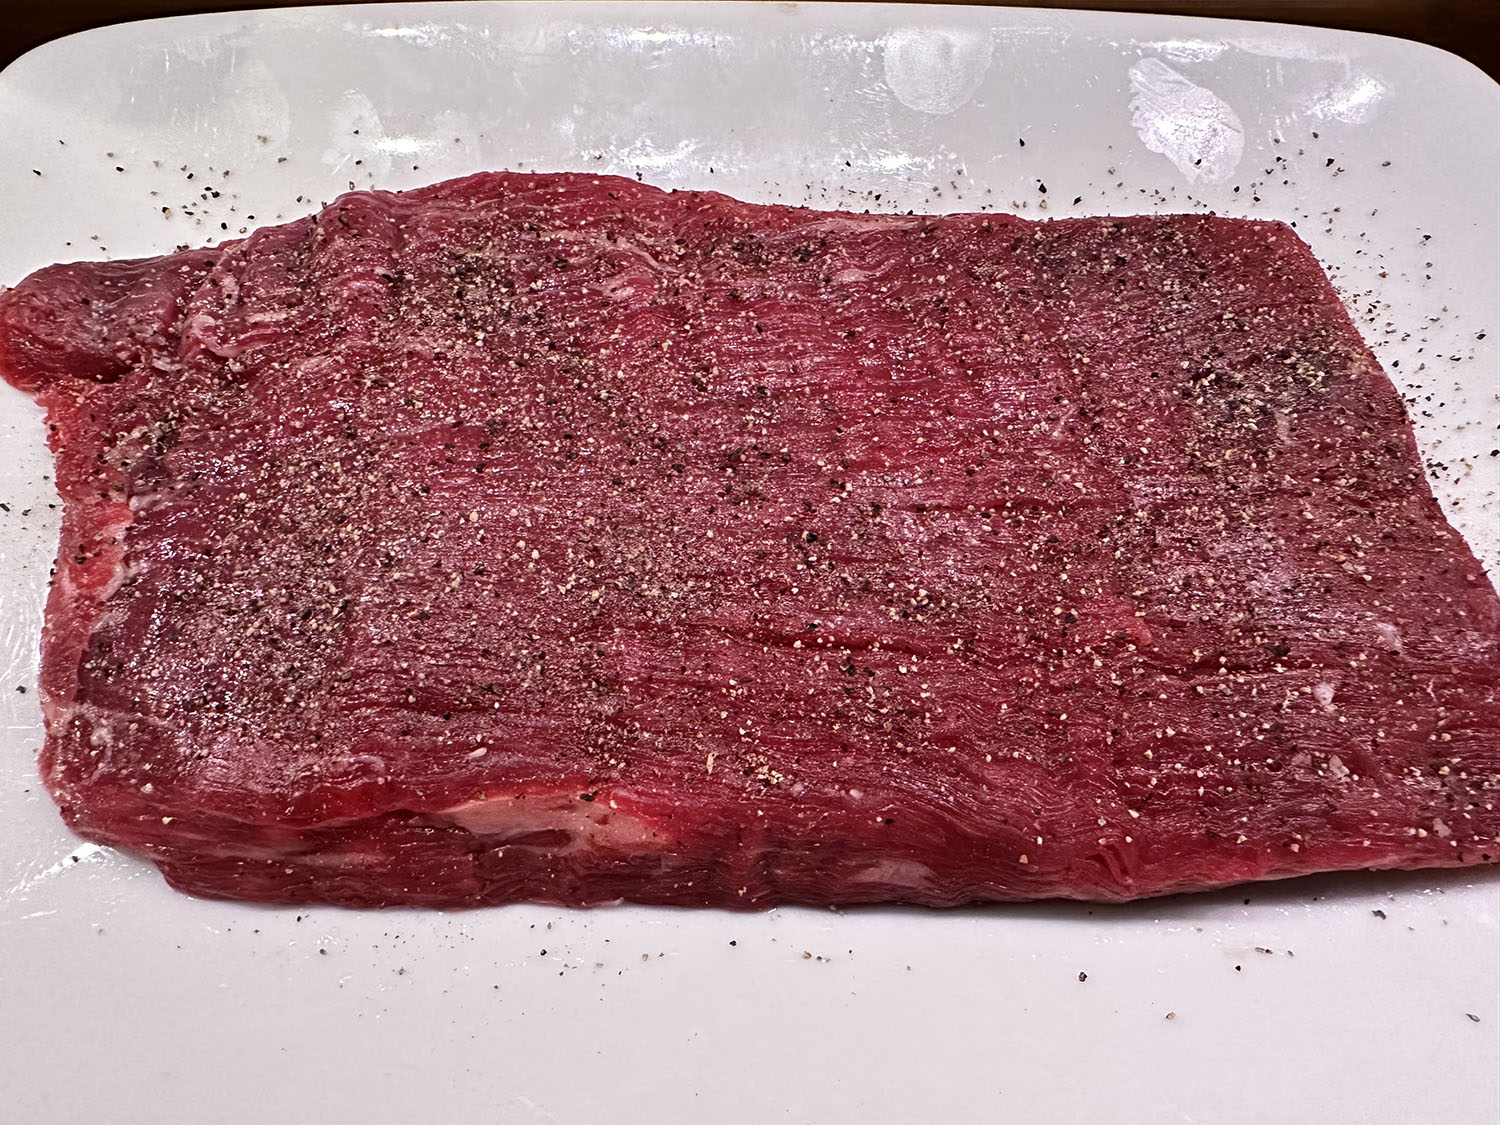
- Season the salmon on both sides with salt. In a 12-inch nonstick skillet over medium-high, heat the oil until shimmering. Add the fillets flesh side down, reduce to medium and cook until golden, about 4 minutes.
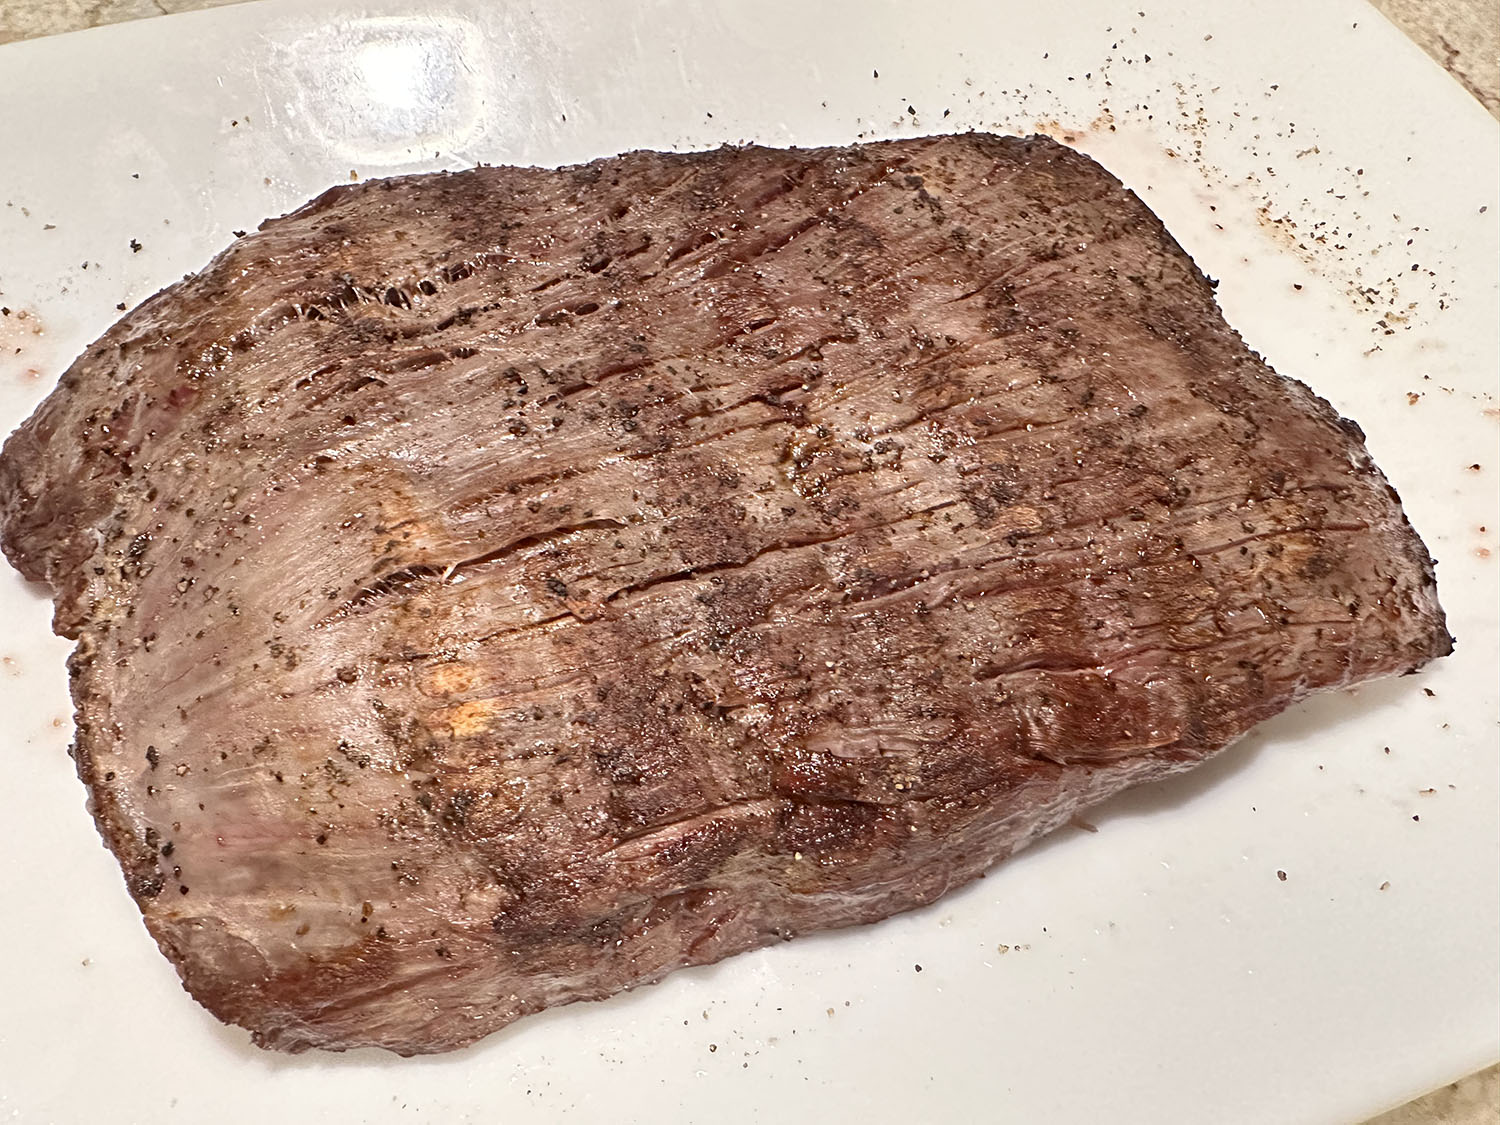
- Using a wide metal spatula, flip the fillets, add the butter and increase to medium-high. Once the butter stops foaming, spoon it over the fillets, adjusting the heat to prevent the butter from burning.
- Cook and baste the fish until the thickest parts reach 115°F to 120°F, or are nearly opaque when cut into, 2 to 3 minutes. Pour the remaining 2 tablespoons lime juice into the pan and baste the fillets once or twice more.
- With a wide metal spatula, transfer the fillets to individual plates. Spoon about 2 tablespoons avocado sauce over each fillet.
- Add the remaining ¾ cup cilantro to the tomatoes and toss, then spoon over the salmon. Serve the remaining avocado sauce on the side, along with lime wedges.
Recipe from Milk Street