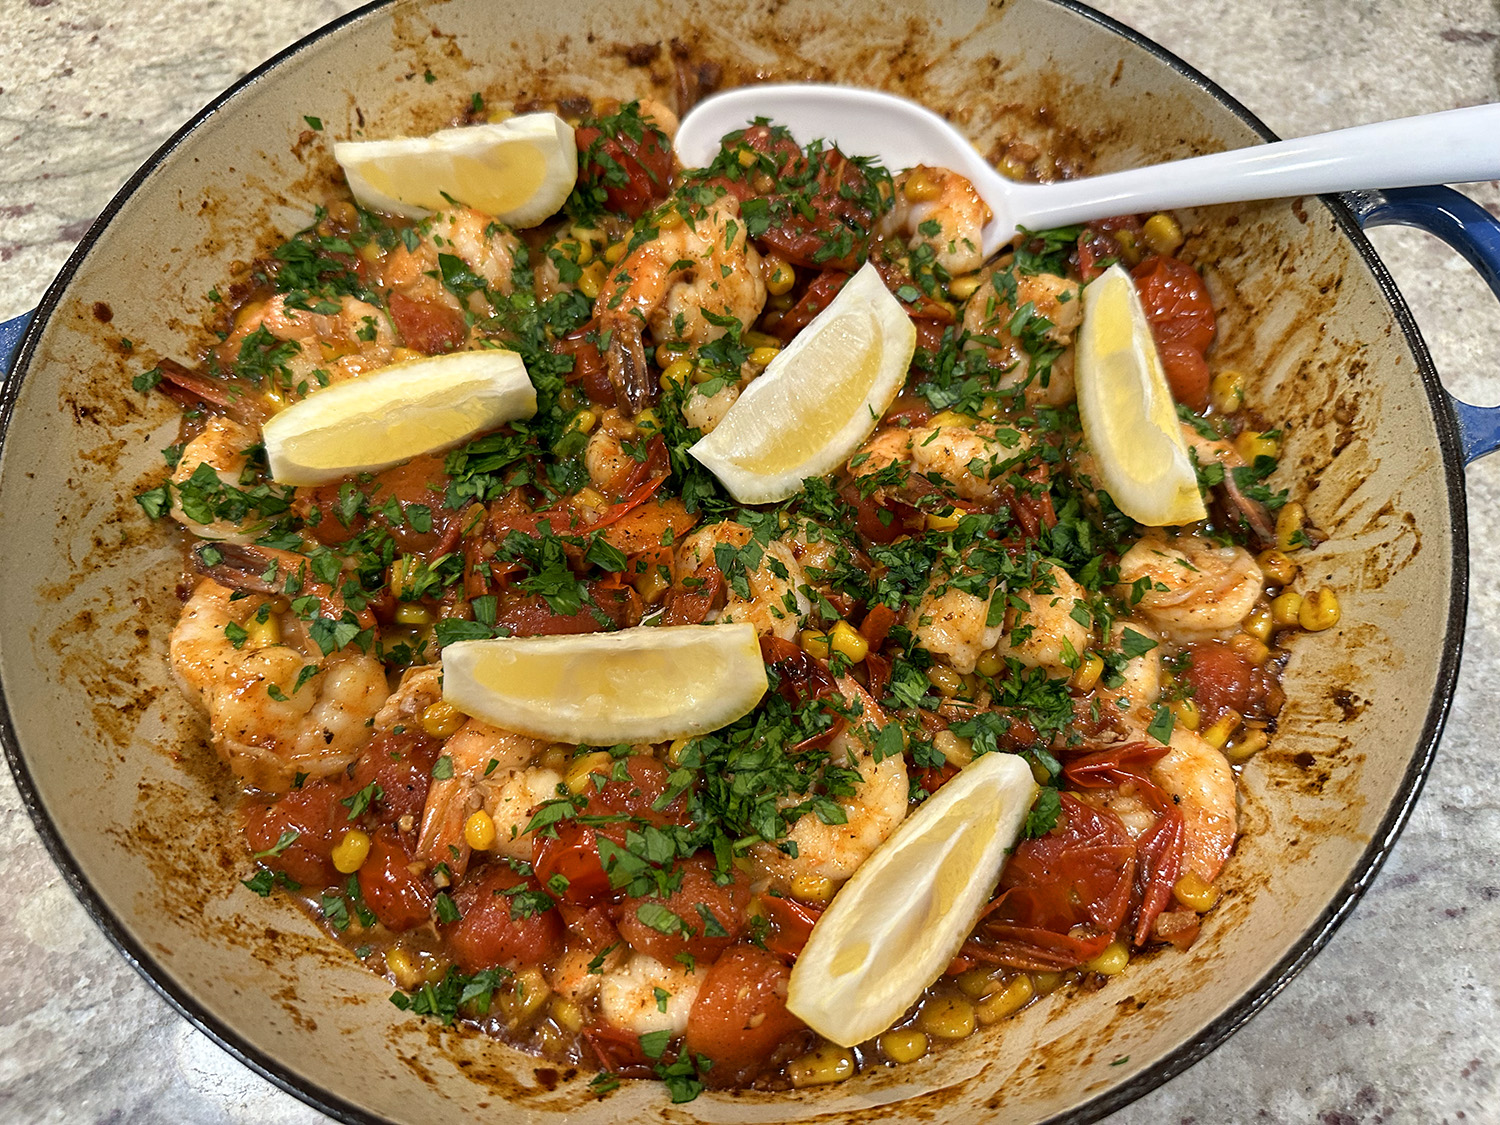
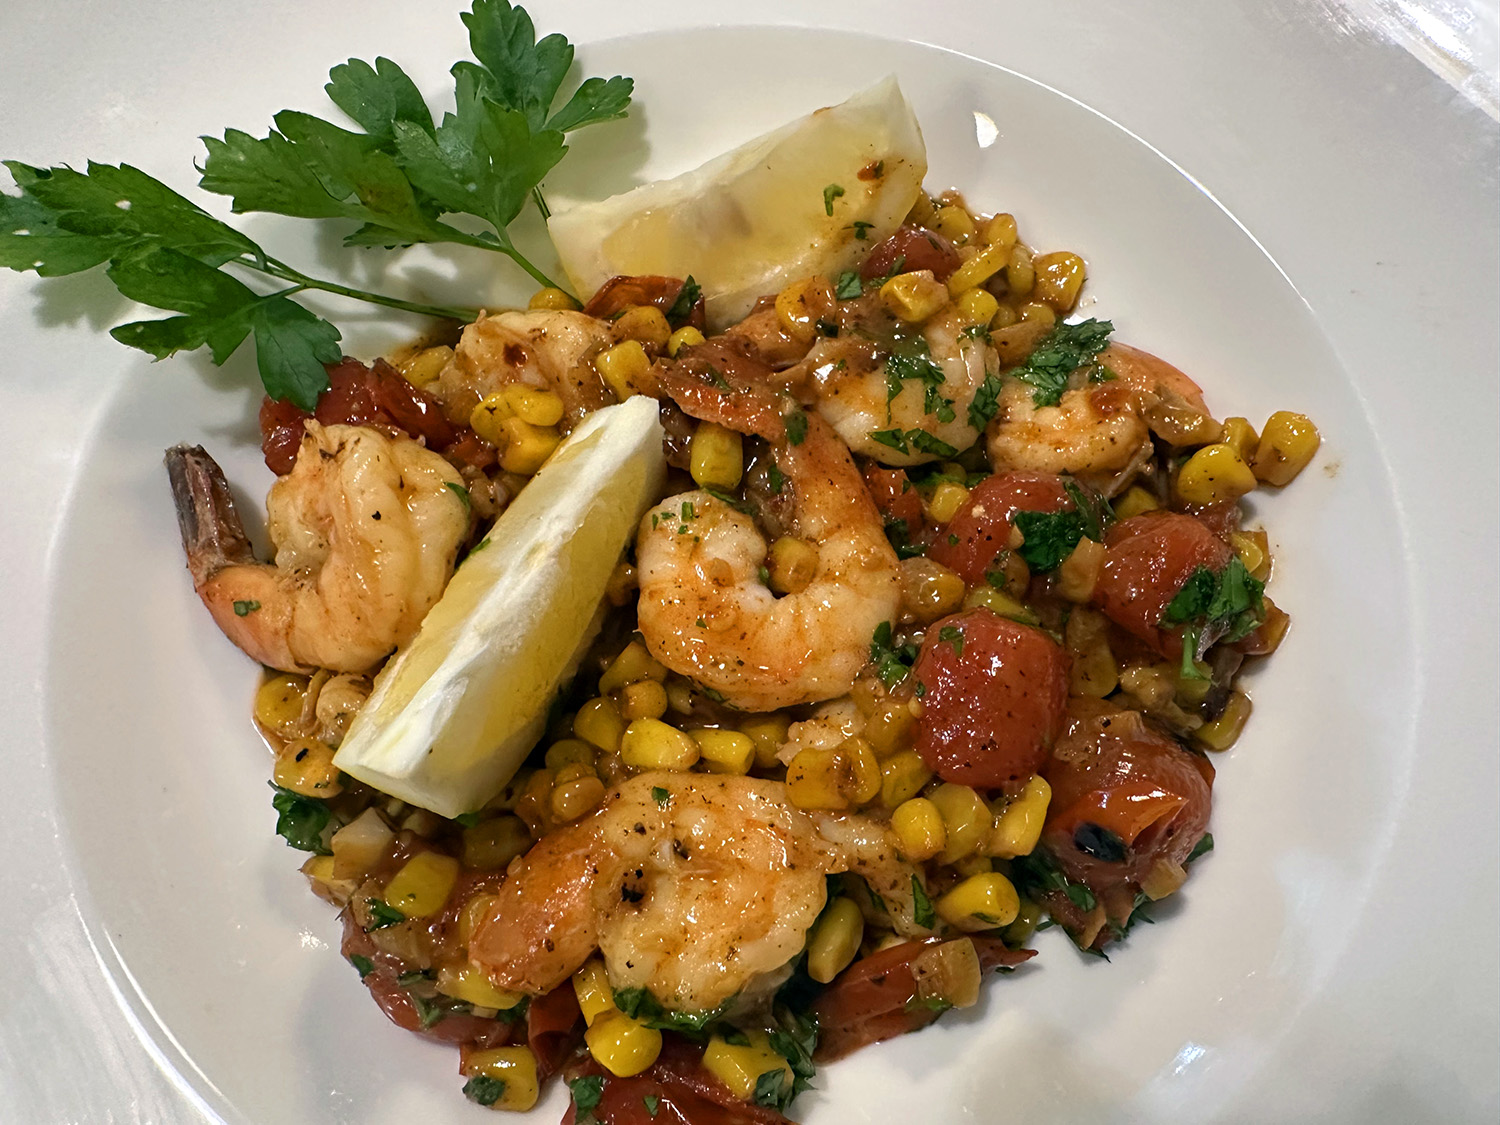
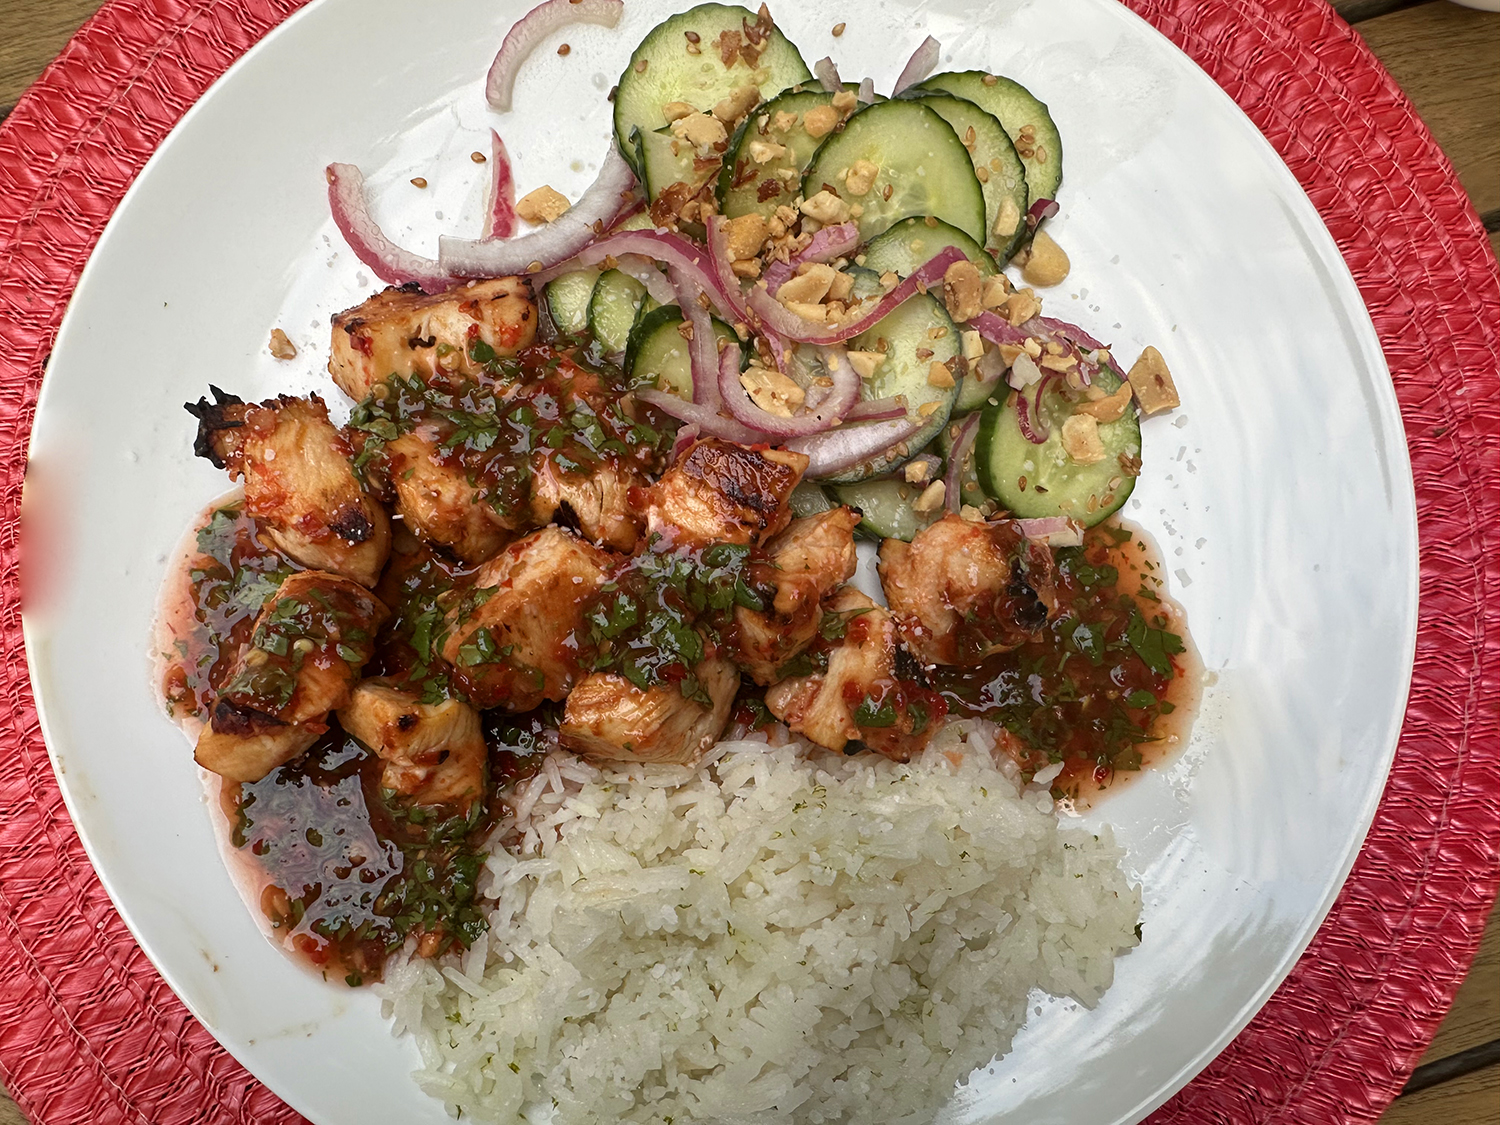
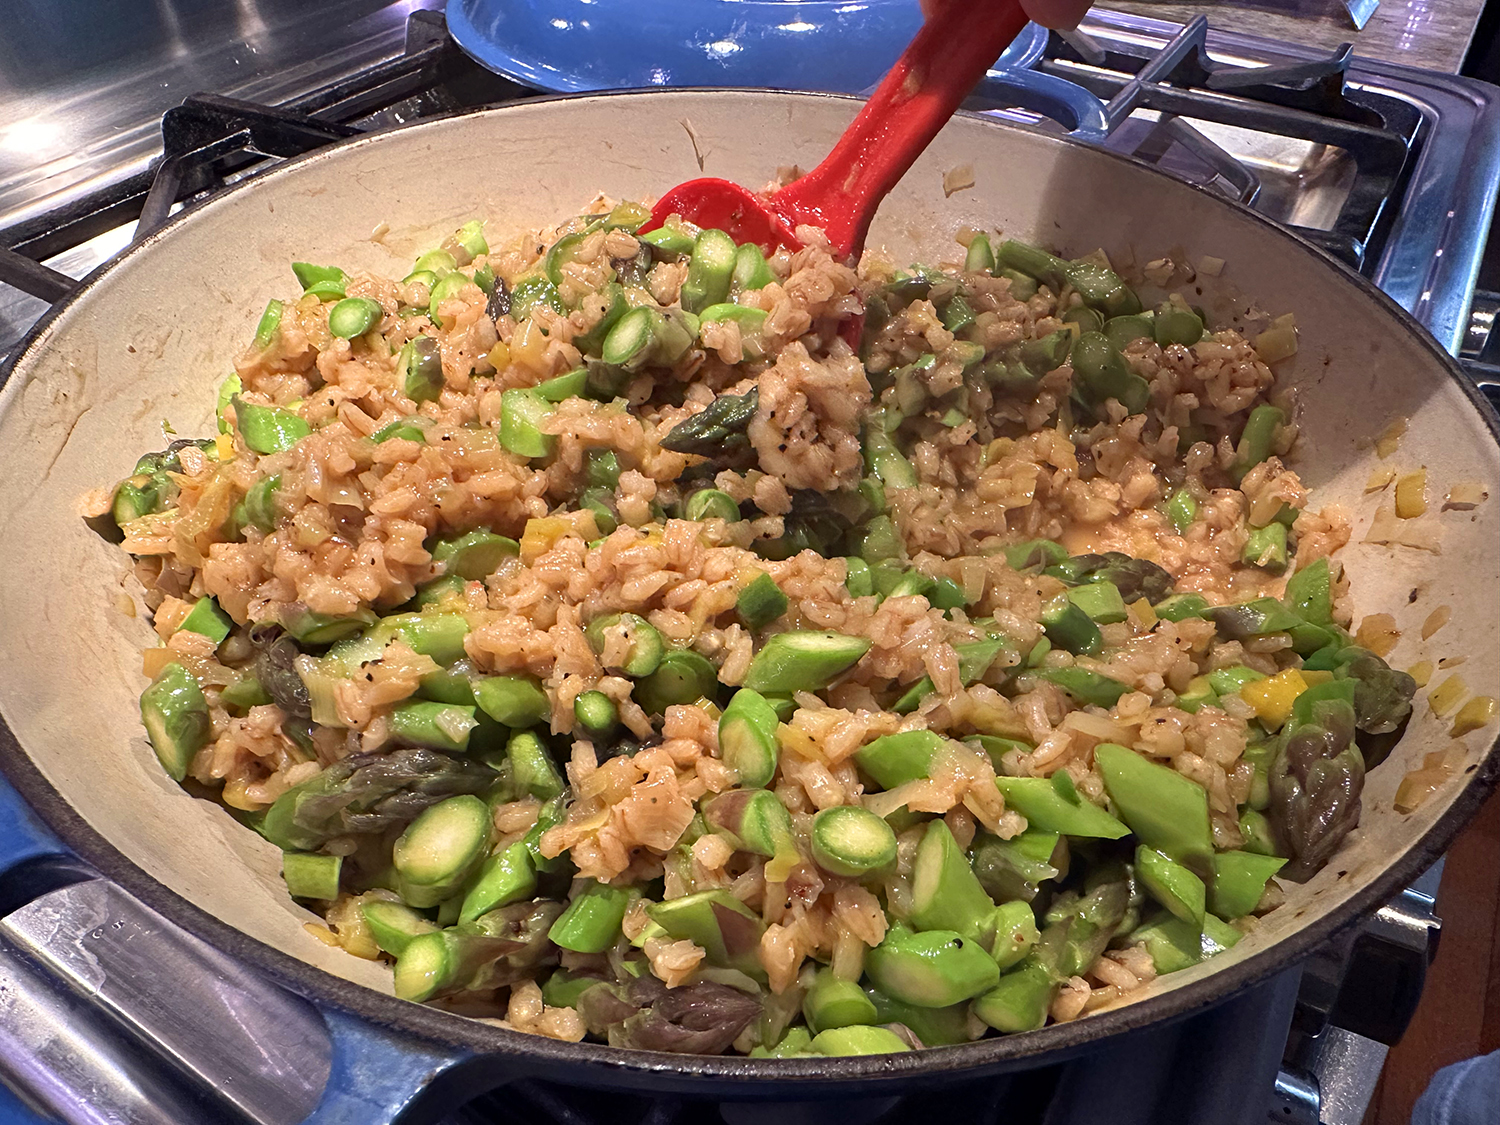
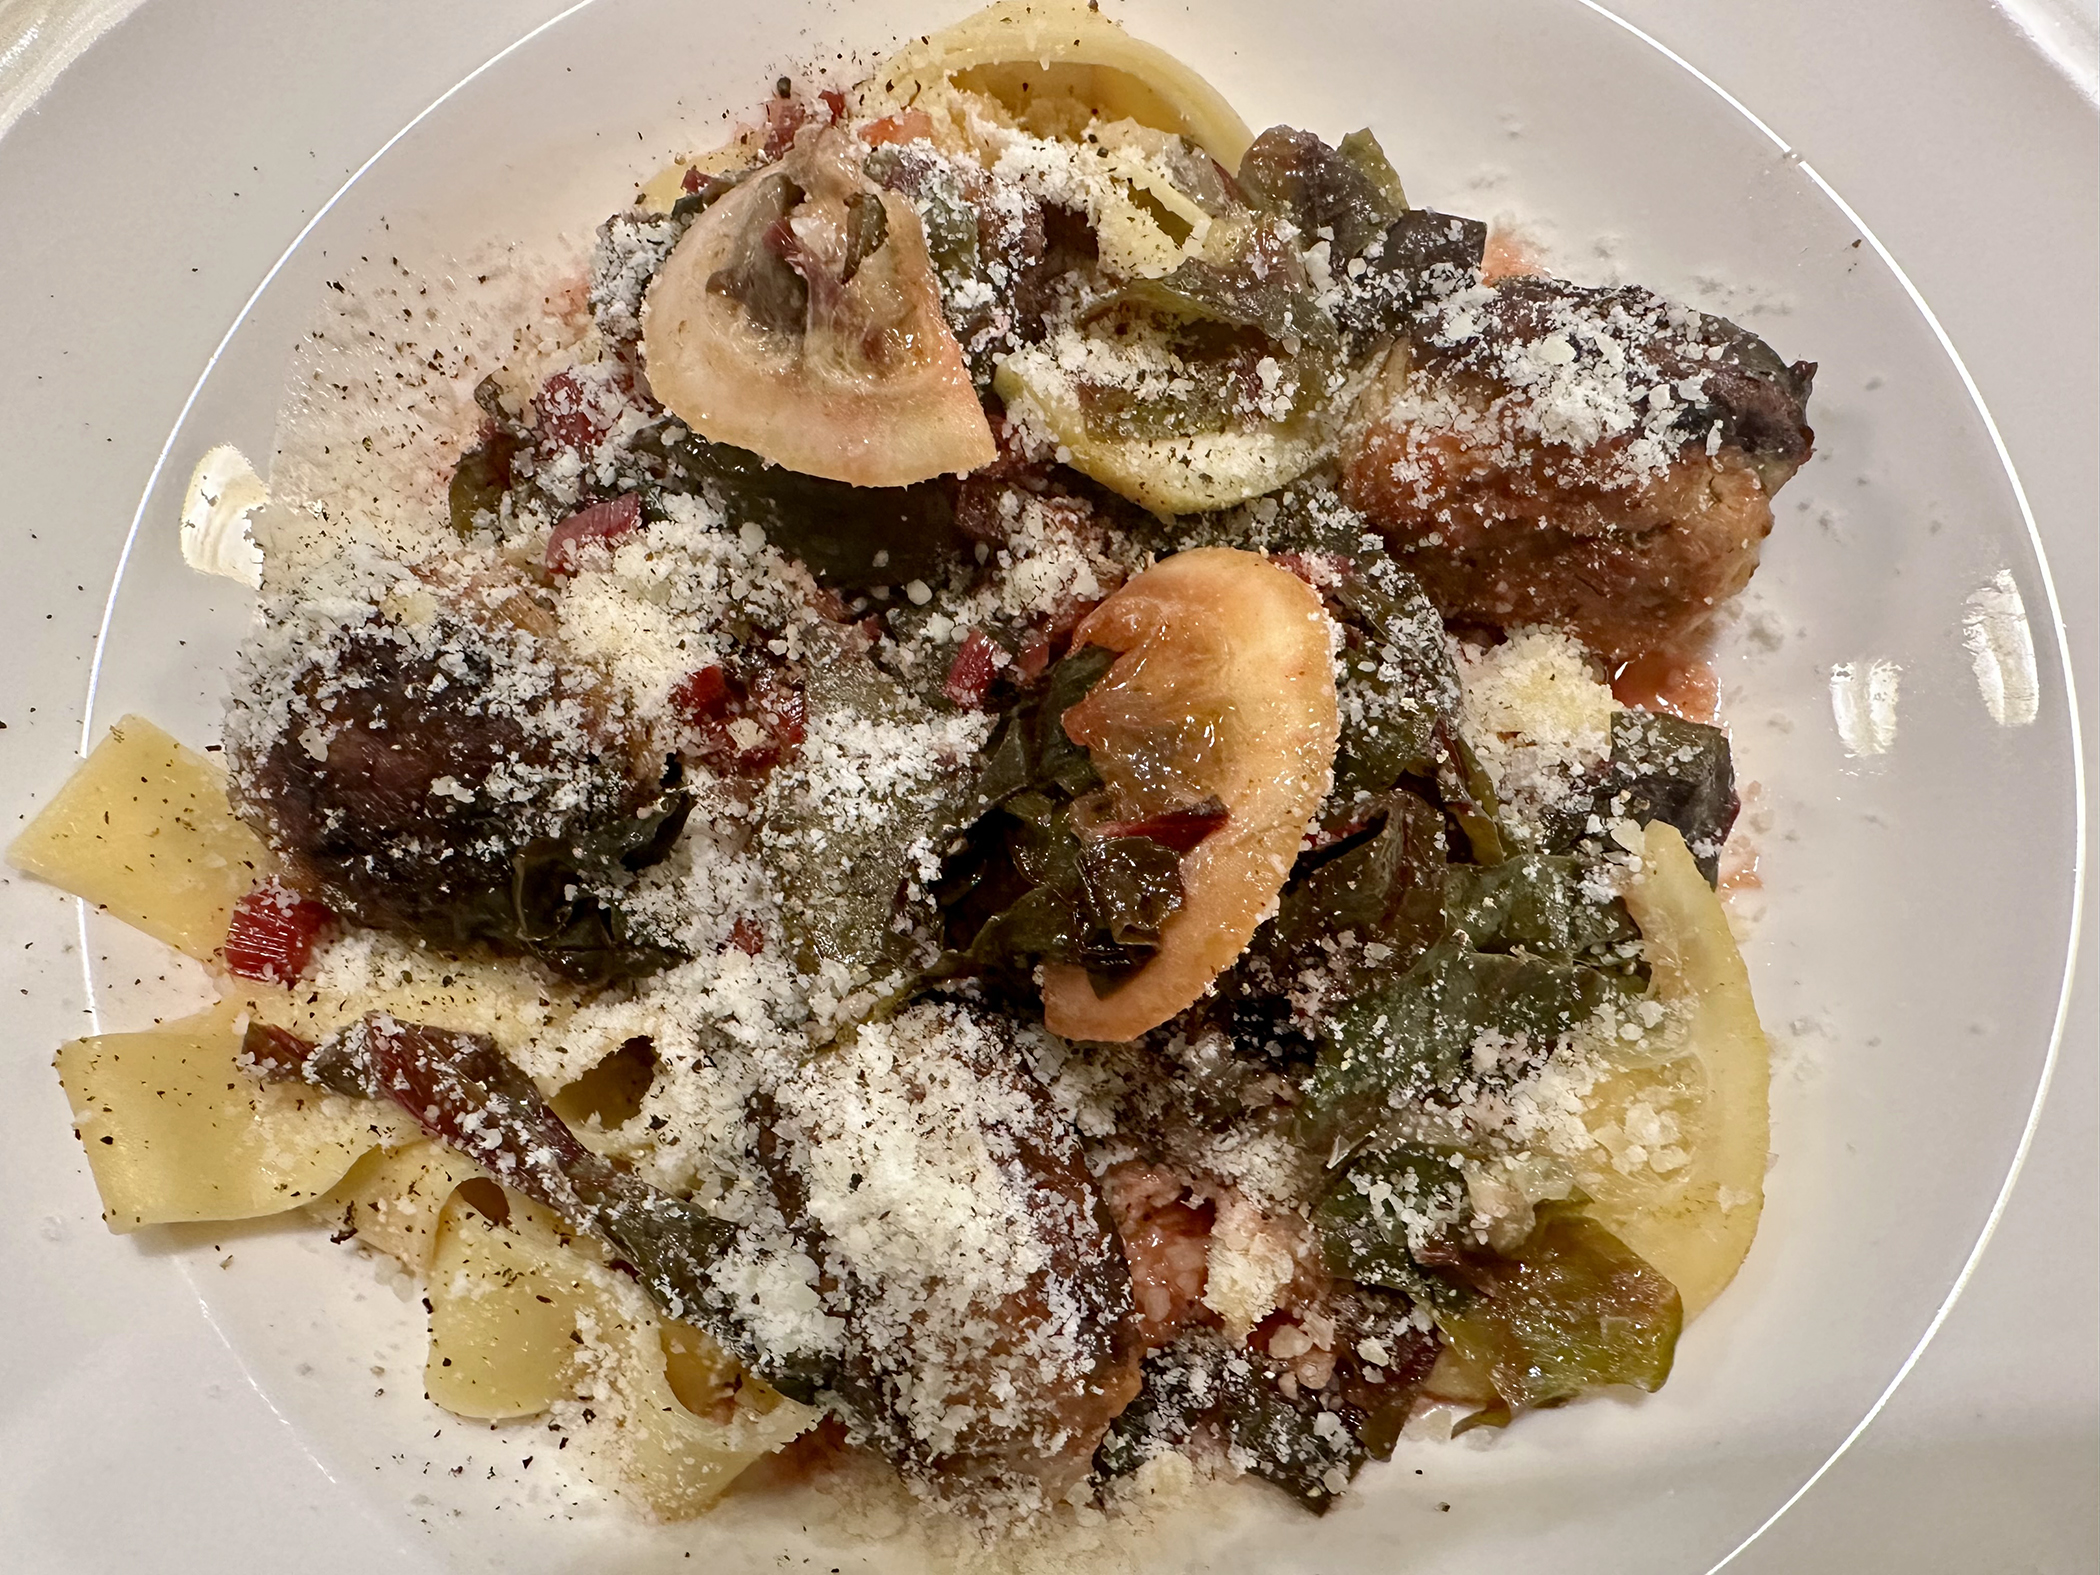
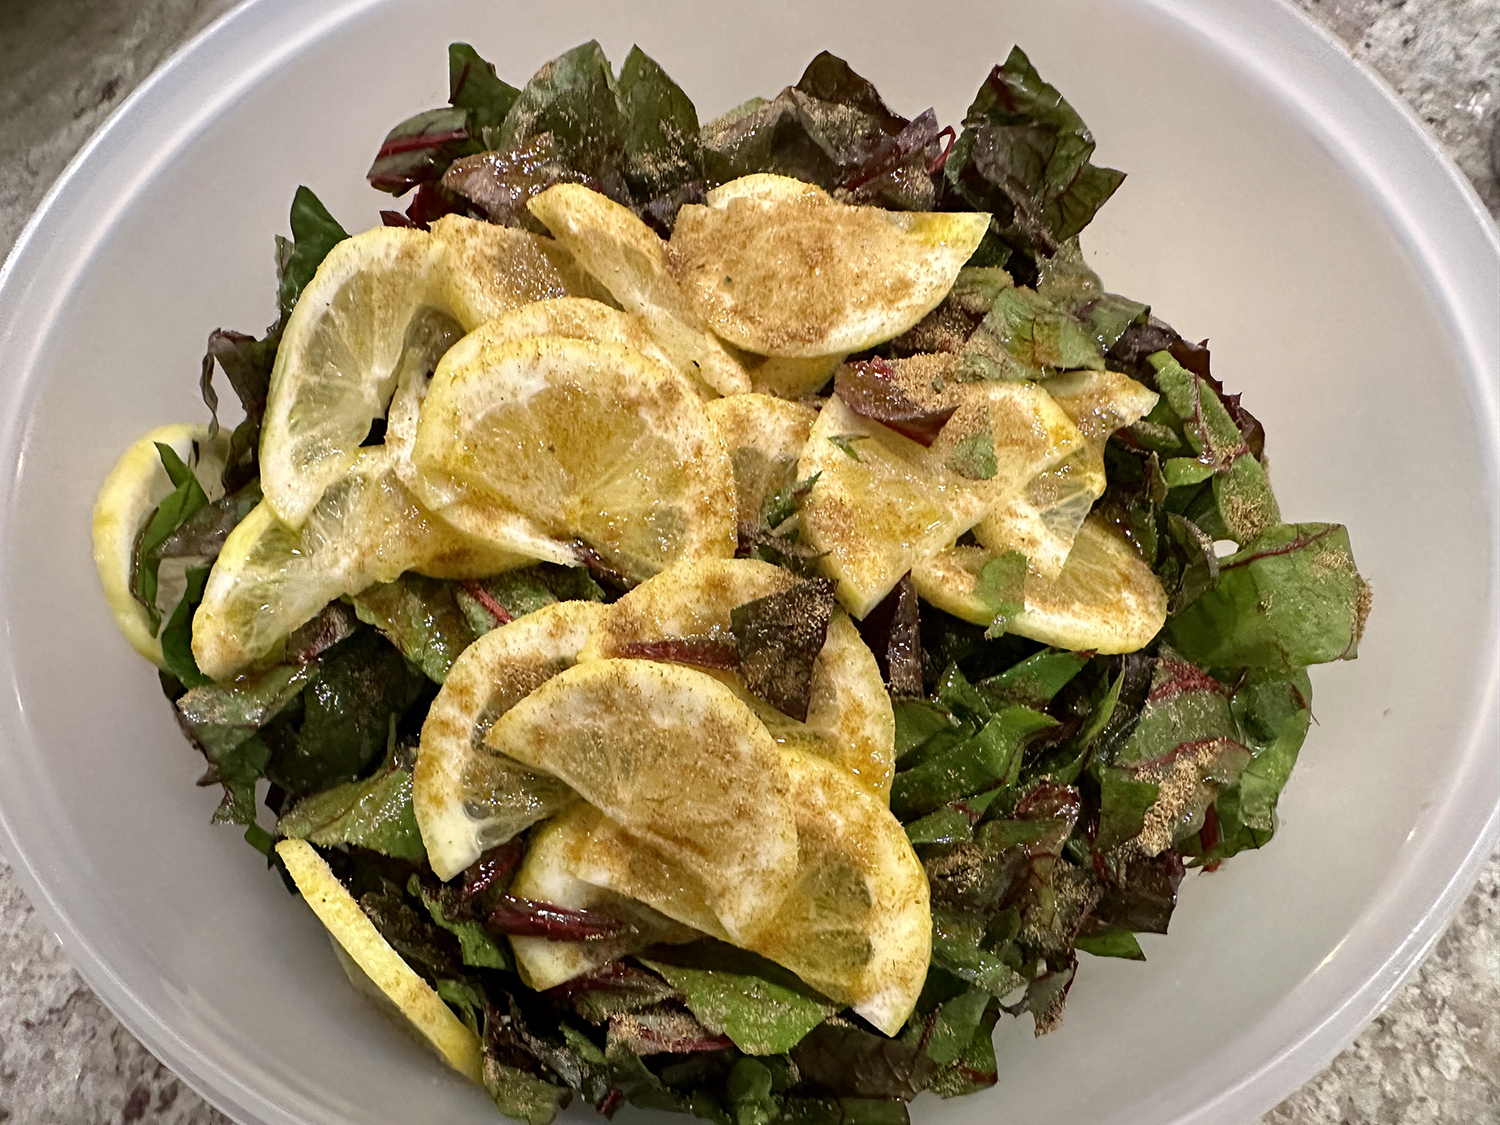
In a word, DELISH! With a 5-star rating out of 736 reviews, and the list of great ingredients, this recipe was a no-brainer for us. And on a hot summer day, you are using the oven for only 5 minutes or so.
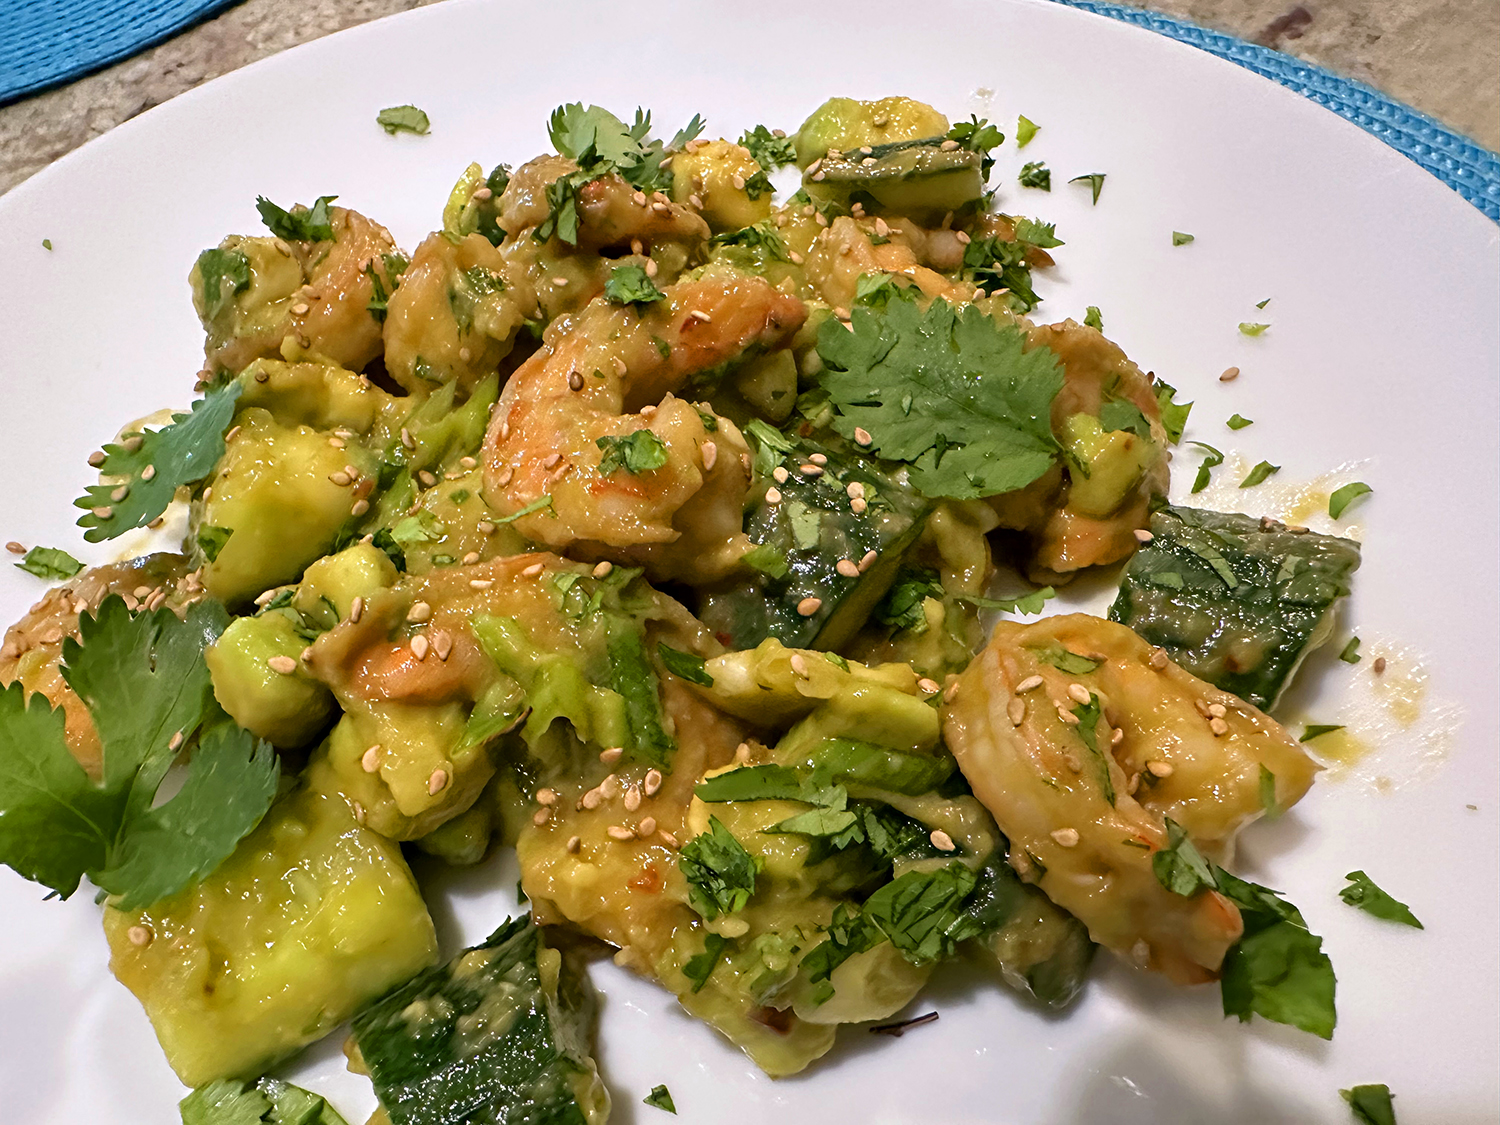
Smashed, salted cucumbers form the base of cooling summer salads in many parts of Asia, whether dressed with rice vinegar and soy sauce or spicy Sichuan peppercorns, chiles and peanuts. This version pairs smashed cucumbers with avocados for creaminess, along with briny shrimp steamed with sesame oil.

We loved the dish but felt the amount of chili crisp could have been increased, so next time we’ll add a full tablespoon instead of a mere teaspoon. Served with rice or flatbread, it makes a light summer meal, but you can serve it on its own as an appetizer, to open for grilled or roasted meat or fish.

Smashed Cucumber, Avocado and Shrimp Salad
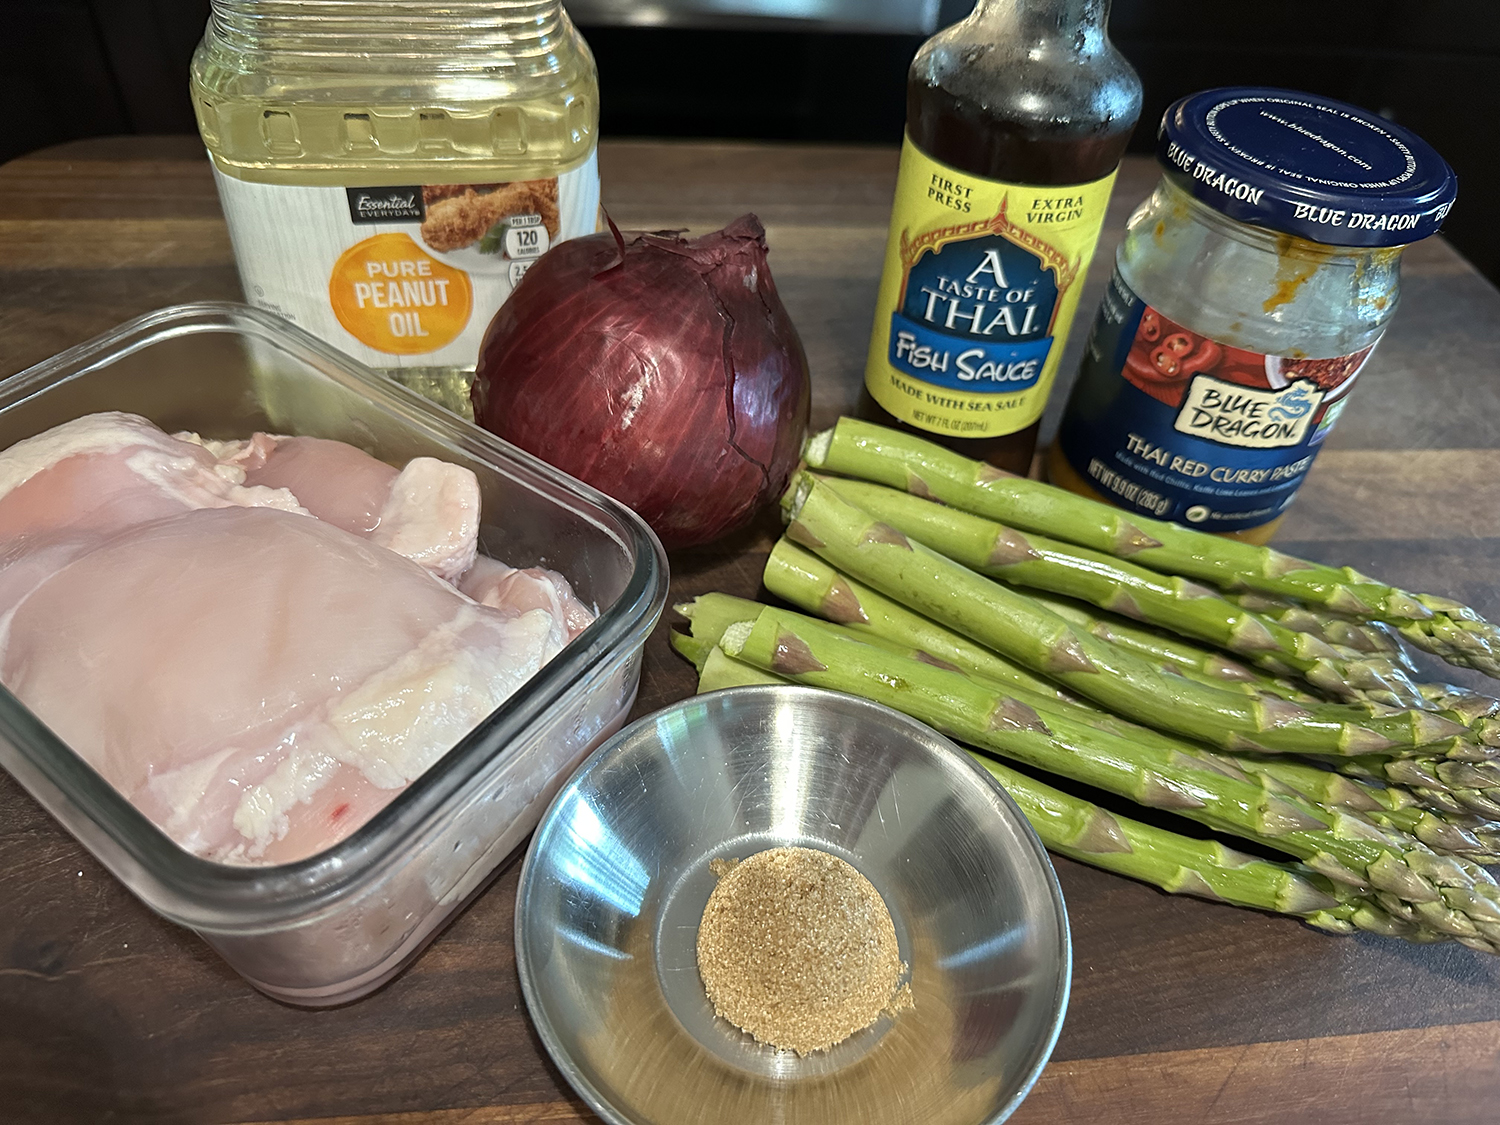
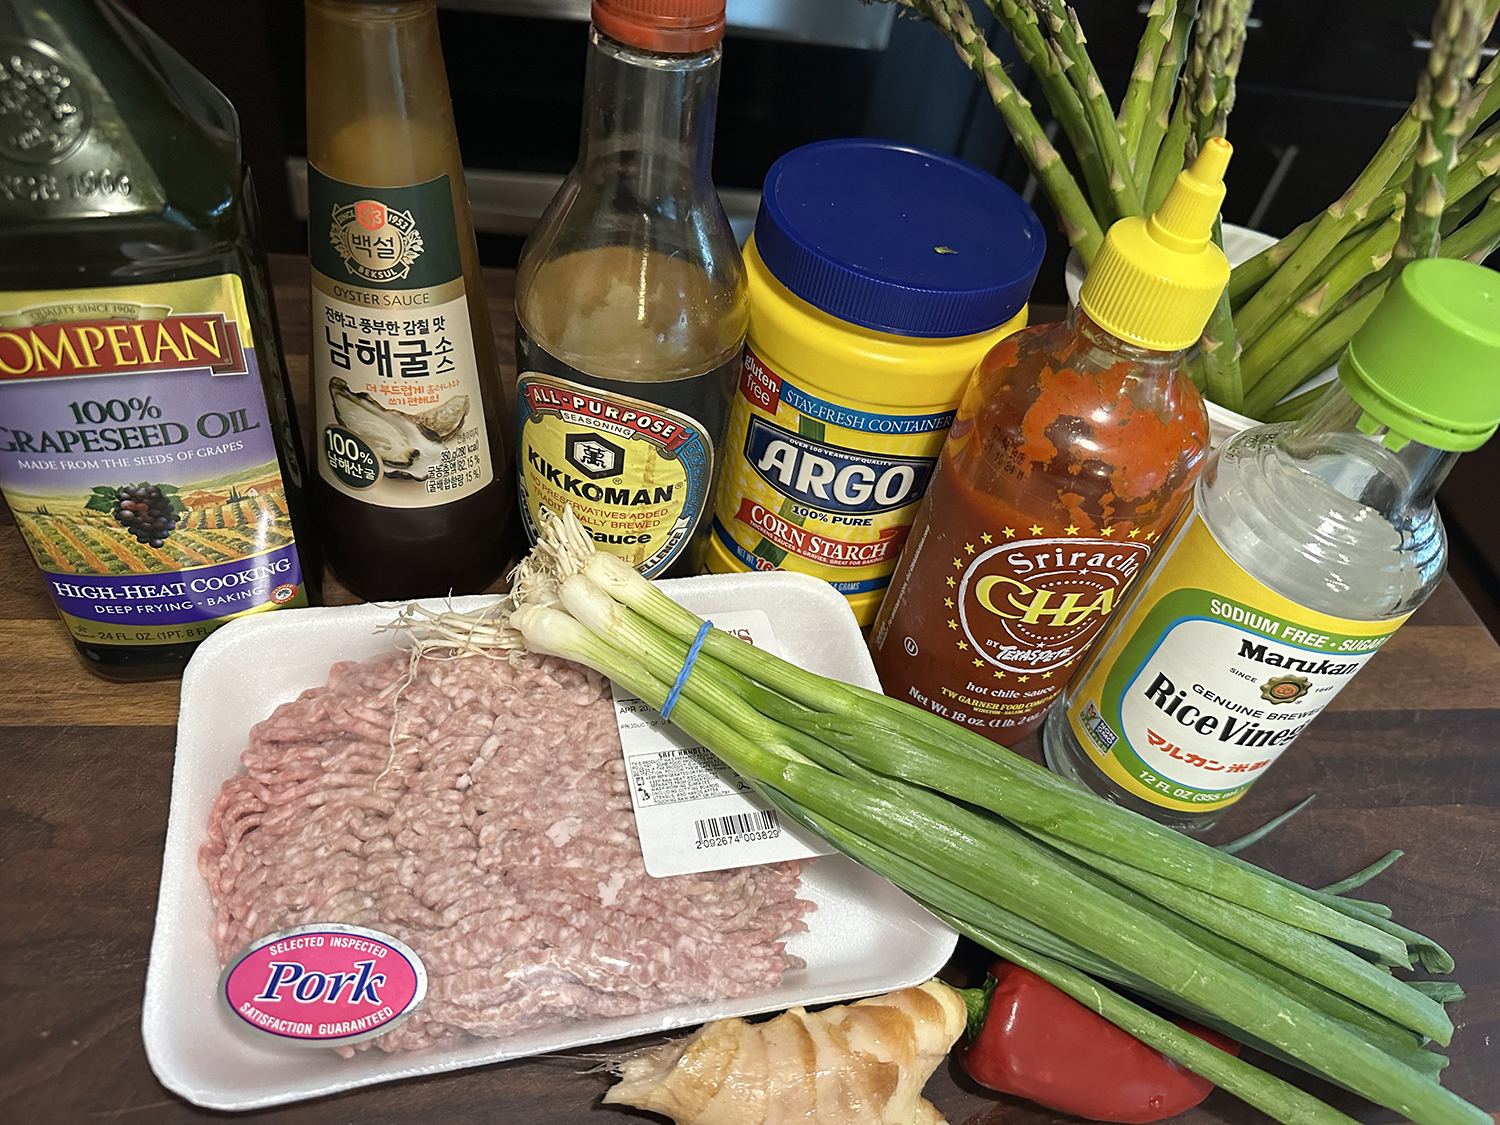
Ingredients
- 1 lb. English, Persian or Kirby cucumbers, rinsed and dried
- ¼ tsp. fine sea or table salt, more to taste
- ¼ tsp. granulated sugar
- 2 Tbsp. soy sauce
- 1½ Tbsp. olive oil
- 3 tsp. toasted sesame oil
- 1 tsp. chili crisp, more to taste
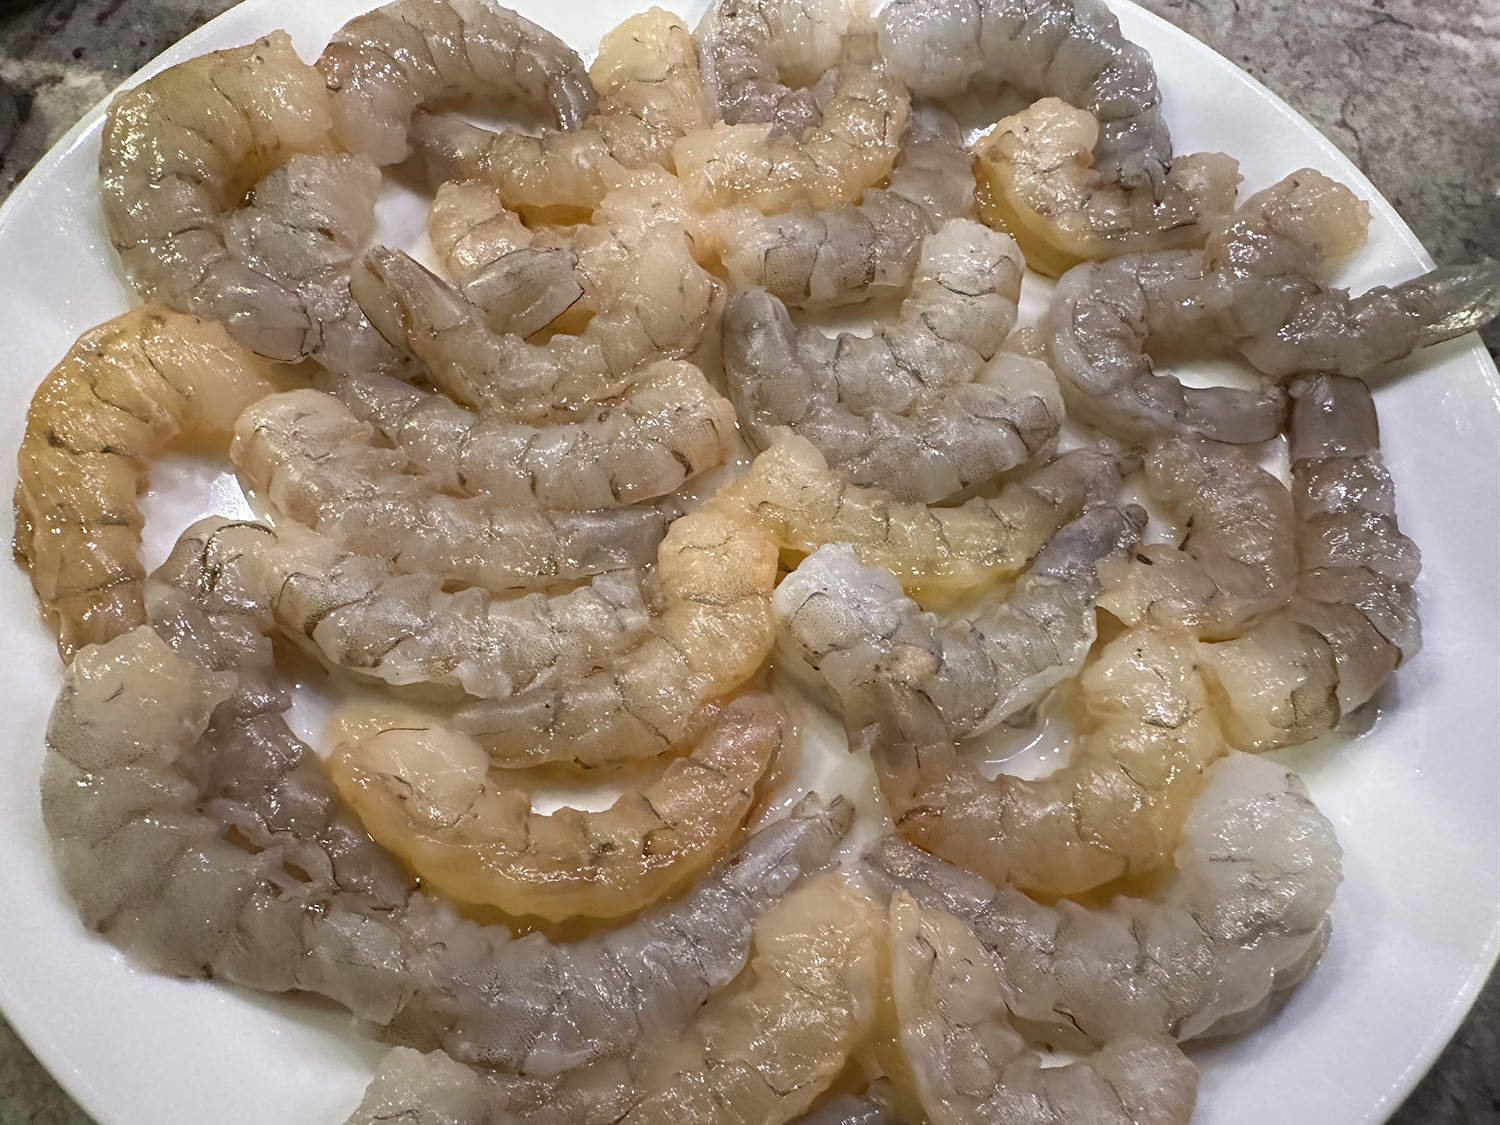
- 1 lb. large shrimp, peeled and deveined if you like
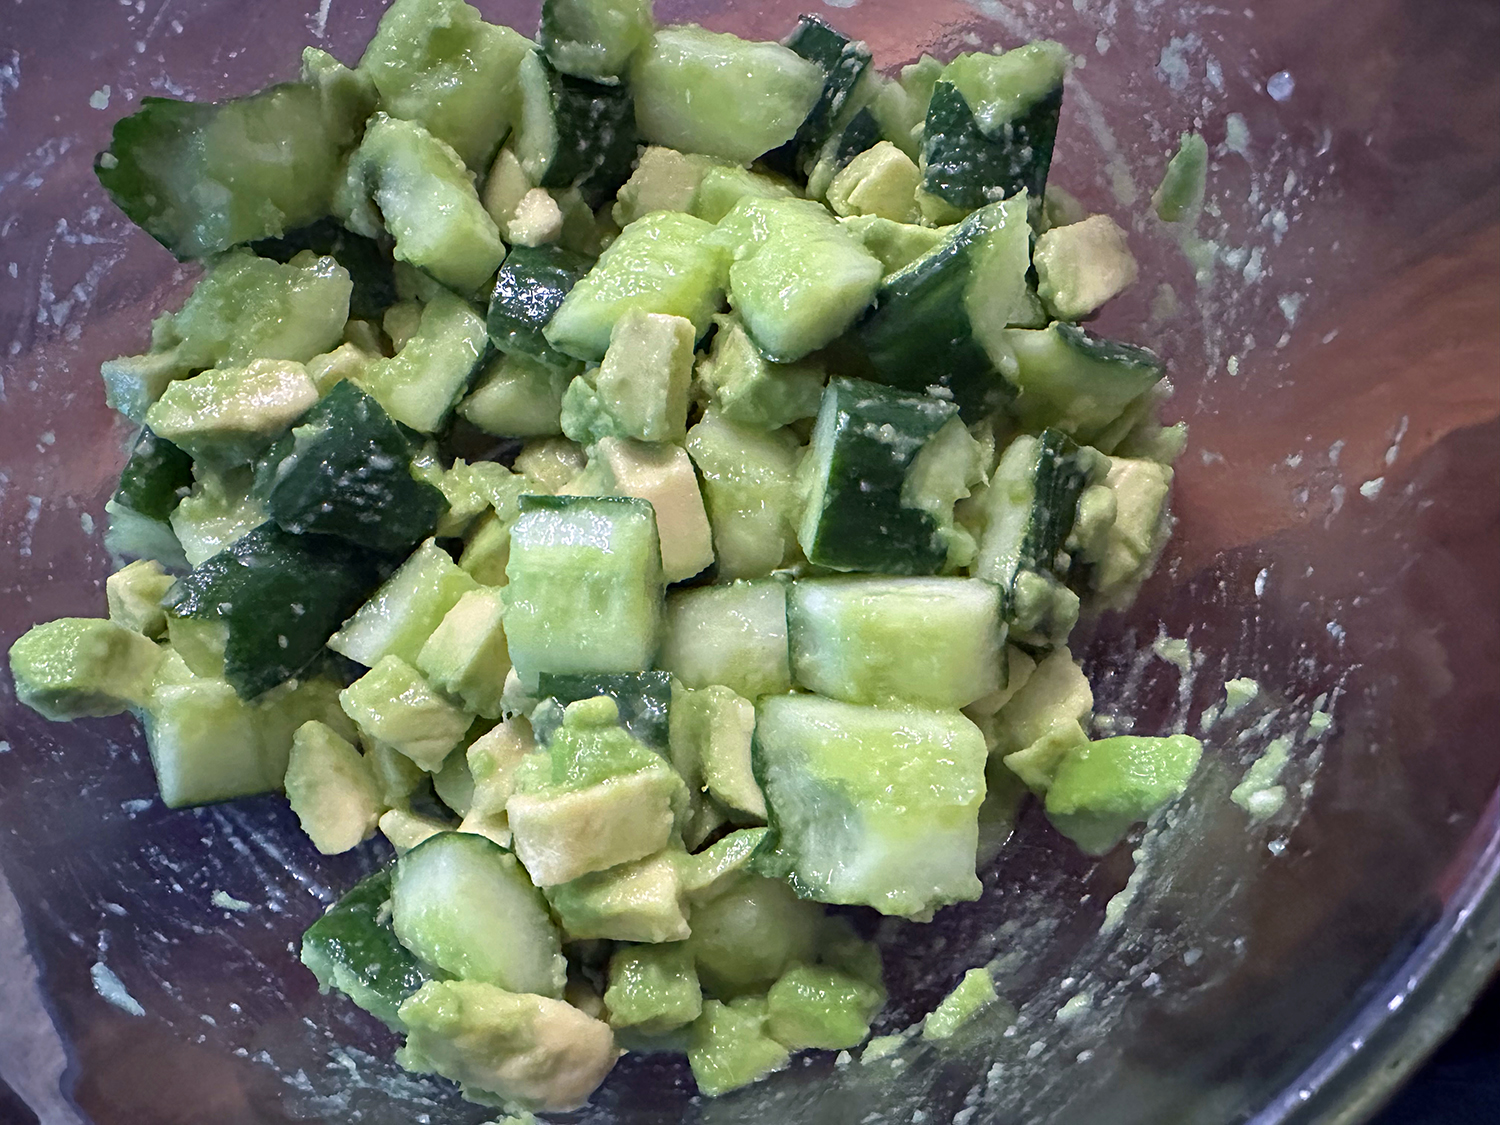
- 2 large ripe avocados
- 2 Tbsp. rice wine vinegar, more to taste
- 2 scallions, thinly sliced
- 2 tsp. toasted white sesame seeds, for garnish (optional)
- ¼ cup chopped cilantro, for garnish


Directions
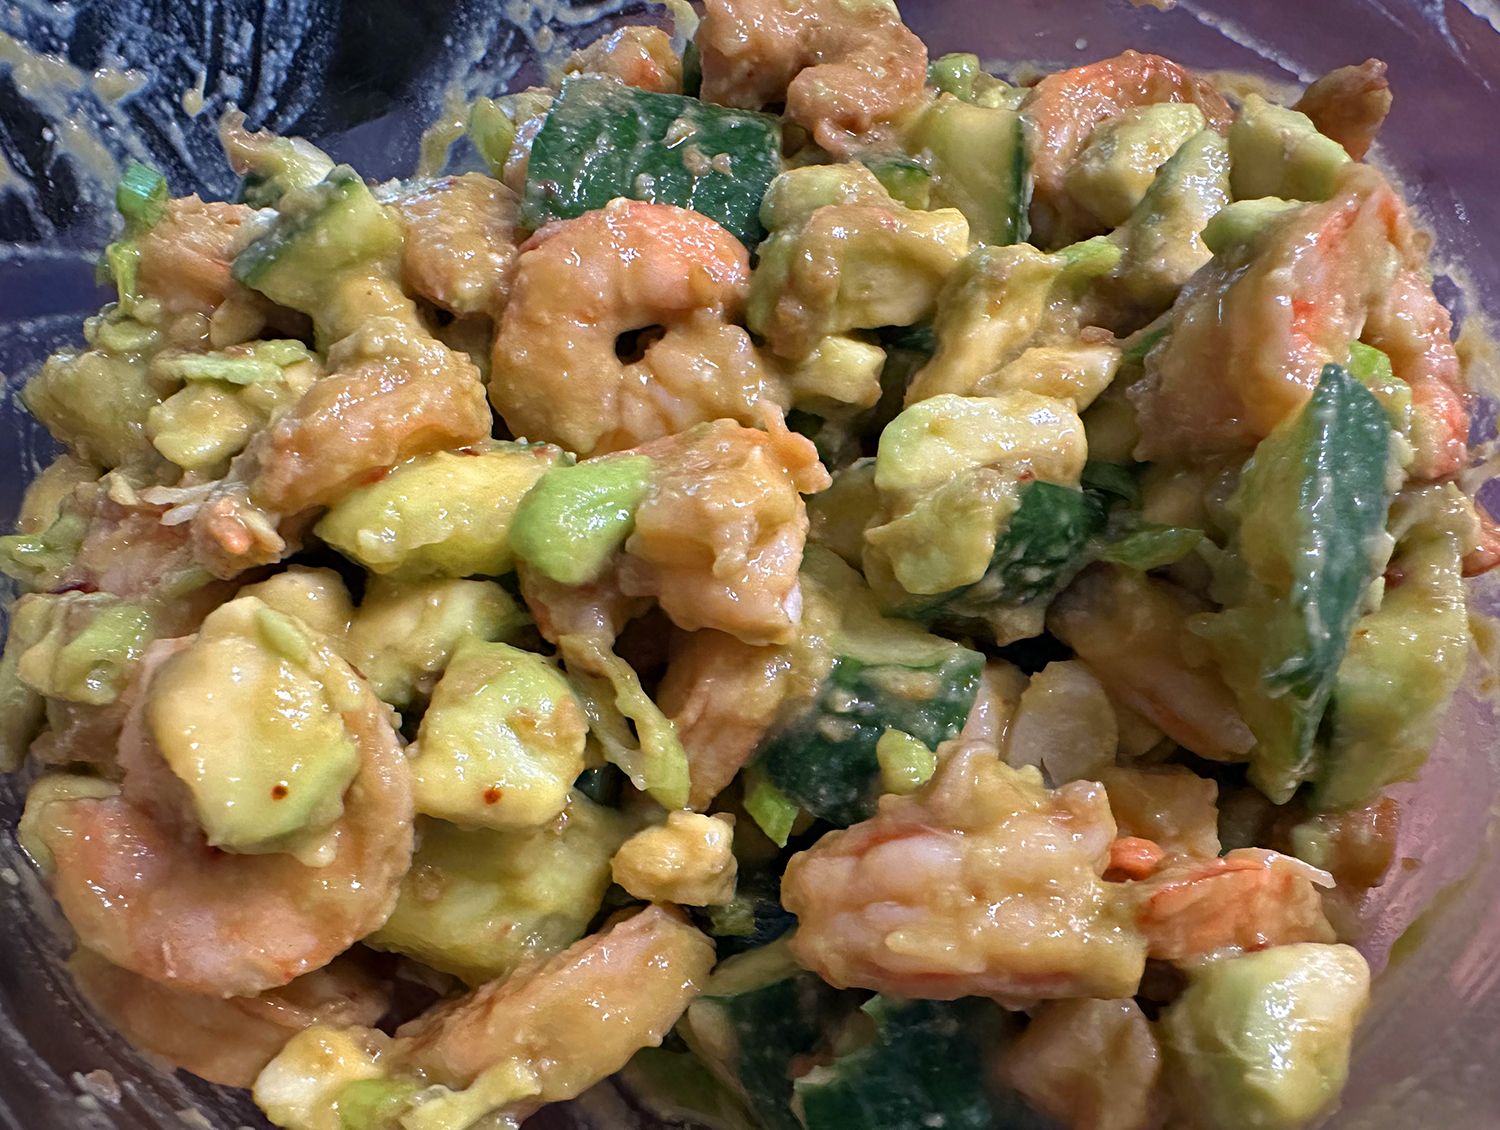
- Cut cucumbers crosswise into pieces about 4 inches long. Cut each piece in half lengthwise. Place each cucumber piece cut side down. Lay the blade of a large knife on top of the cucumbers and, with your other hand, push down lightly to crack the cucumber skins and break down their flesh (or use a rolling pin to lightly smack the cucumbers). Break (or slice) into bite-size pieces. (Ragged is good here; it helps the flesh absorb the dressing.)
- Add cucumber to a colander, and toss with salt and sugar. Let sit for 15 to 30 minutes, or until the pieces have released their moisture. Toss a couple of times while draining.
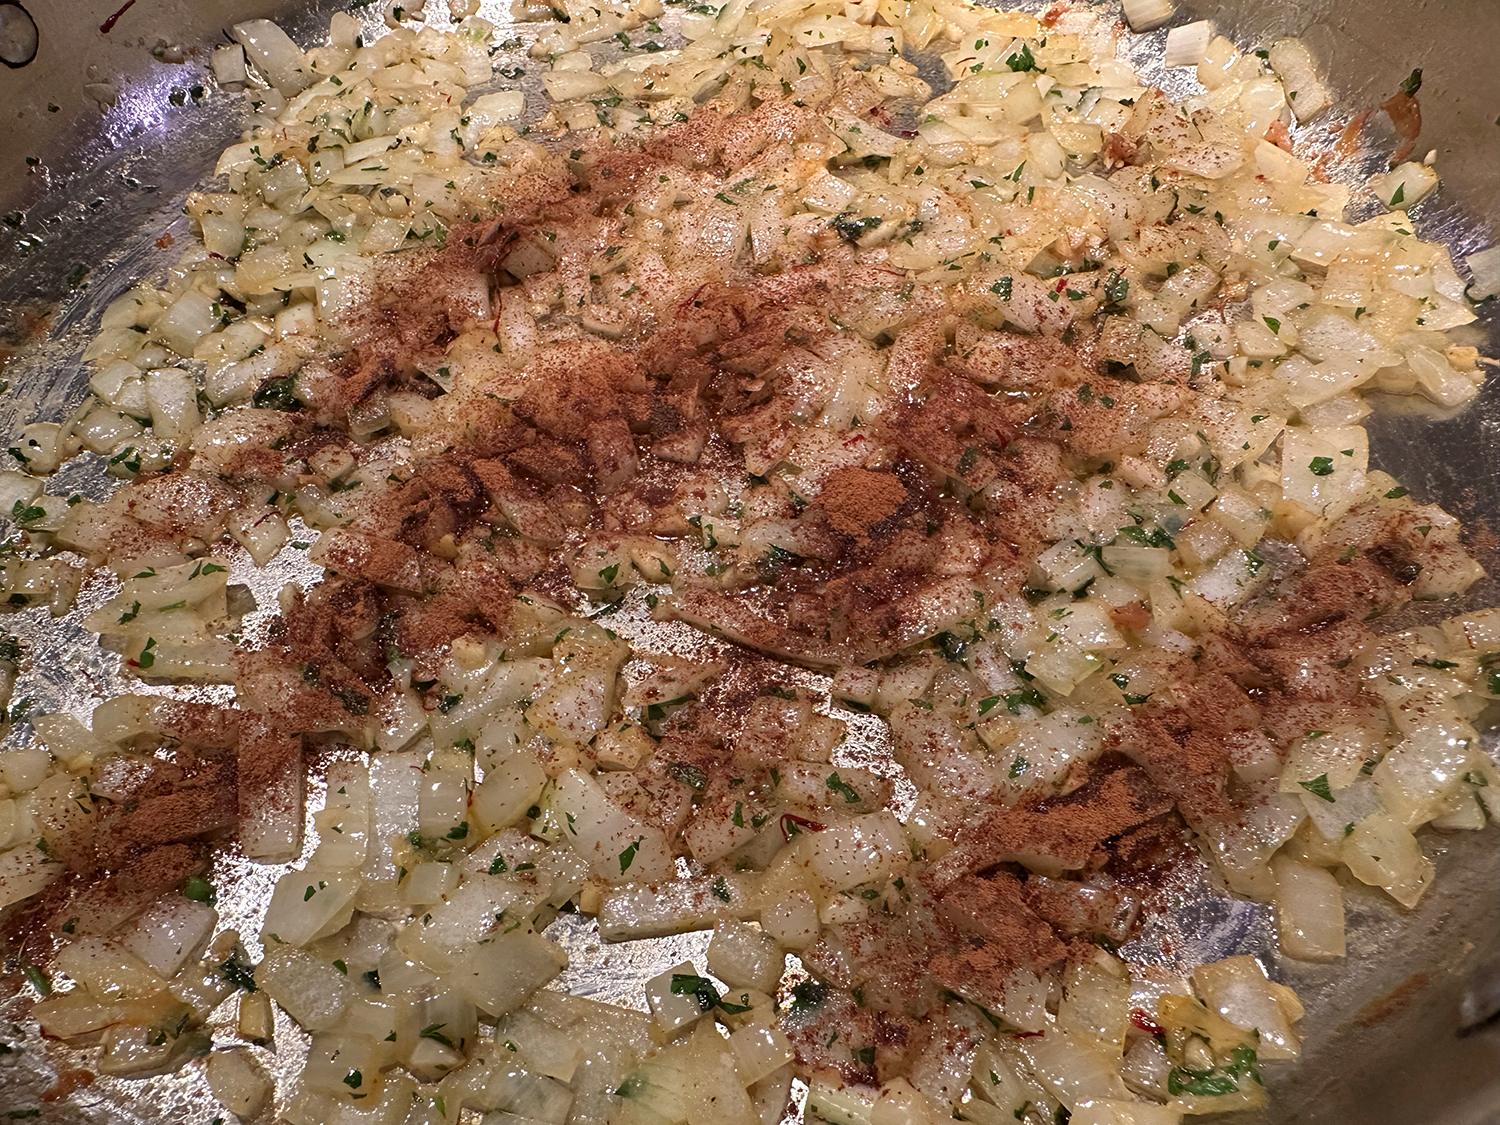
- Meanwhile, in a medium bowl, whisk together 1 tablespoon soy sauce, olive oil, 2 teaspoons sesame oil and the chili crisp. Set aside.
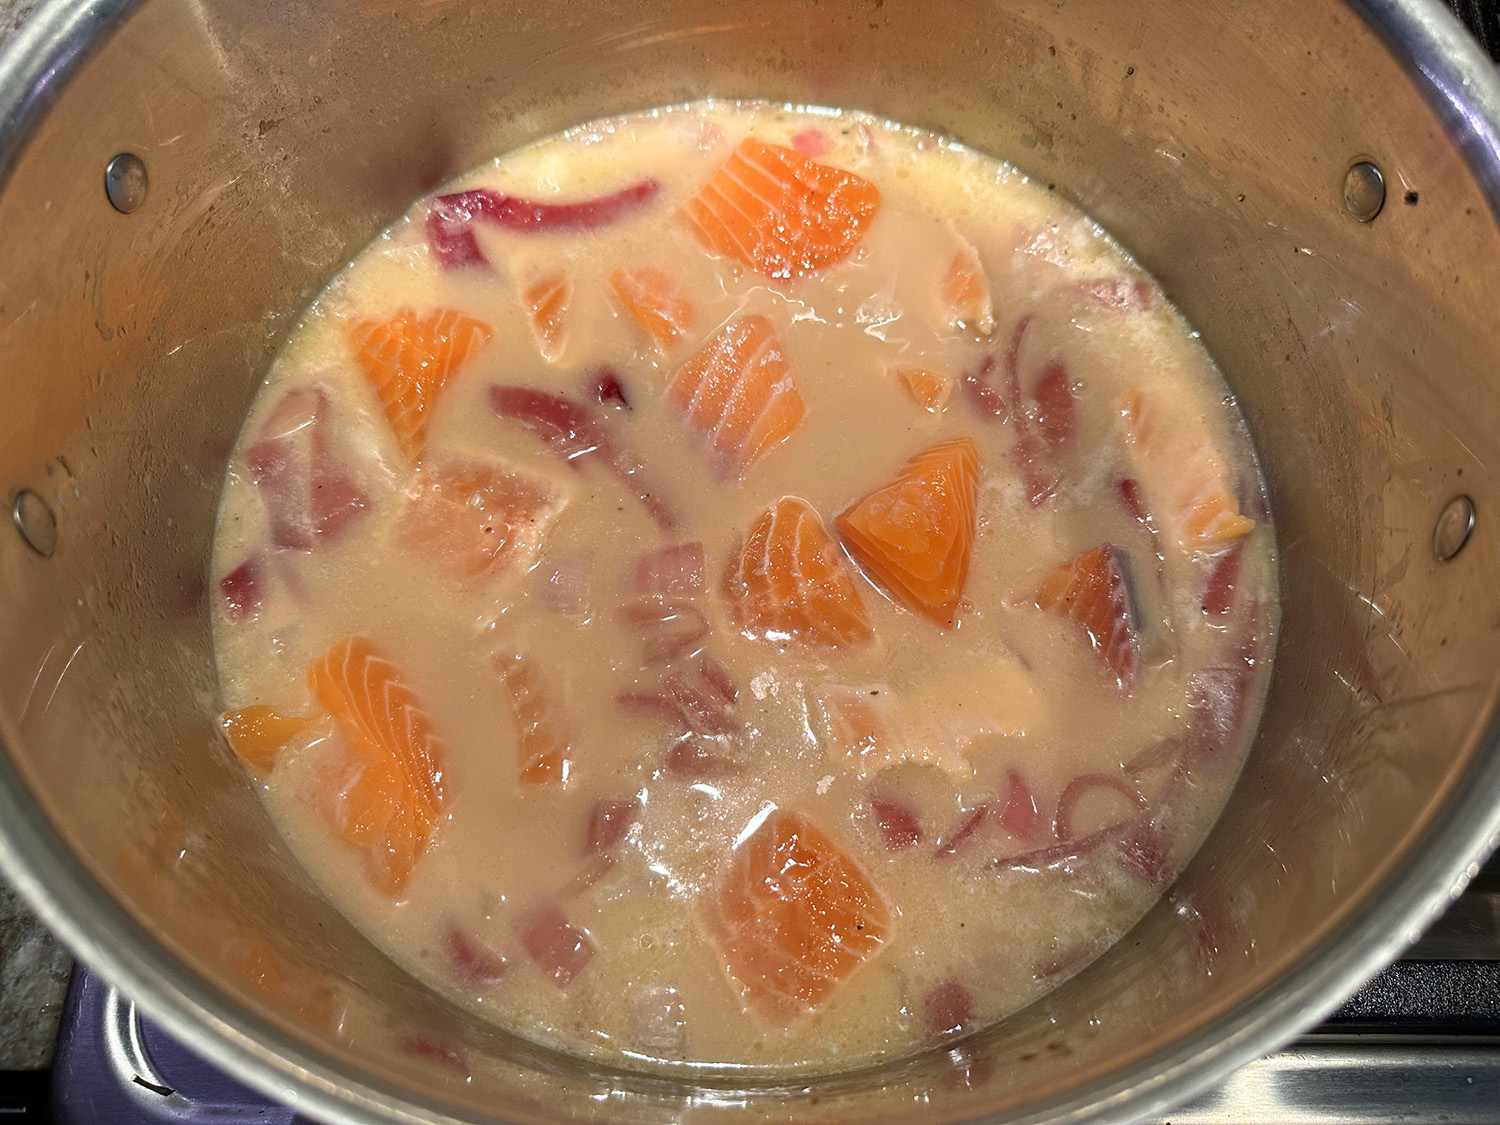
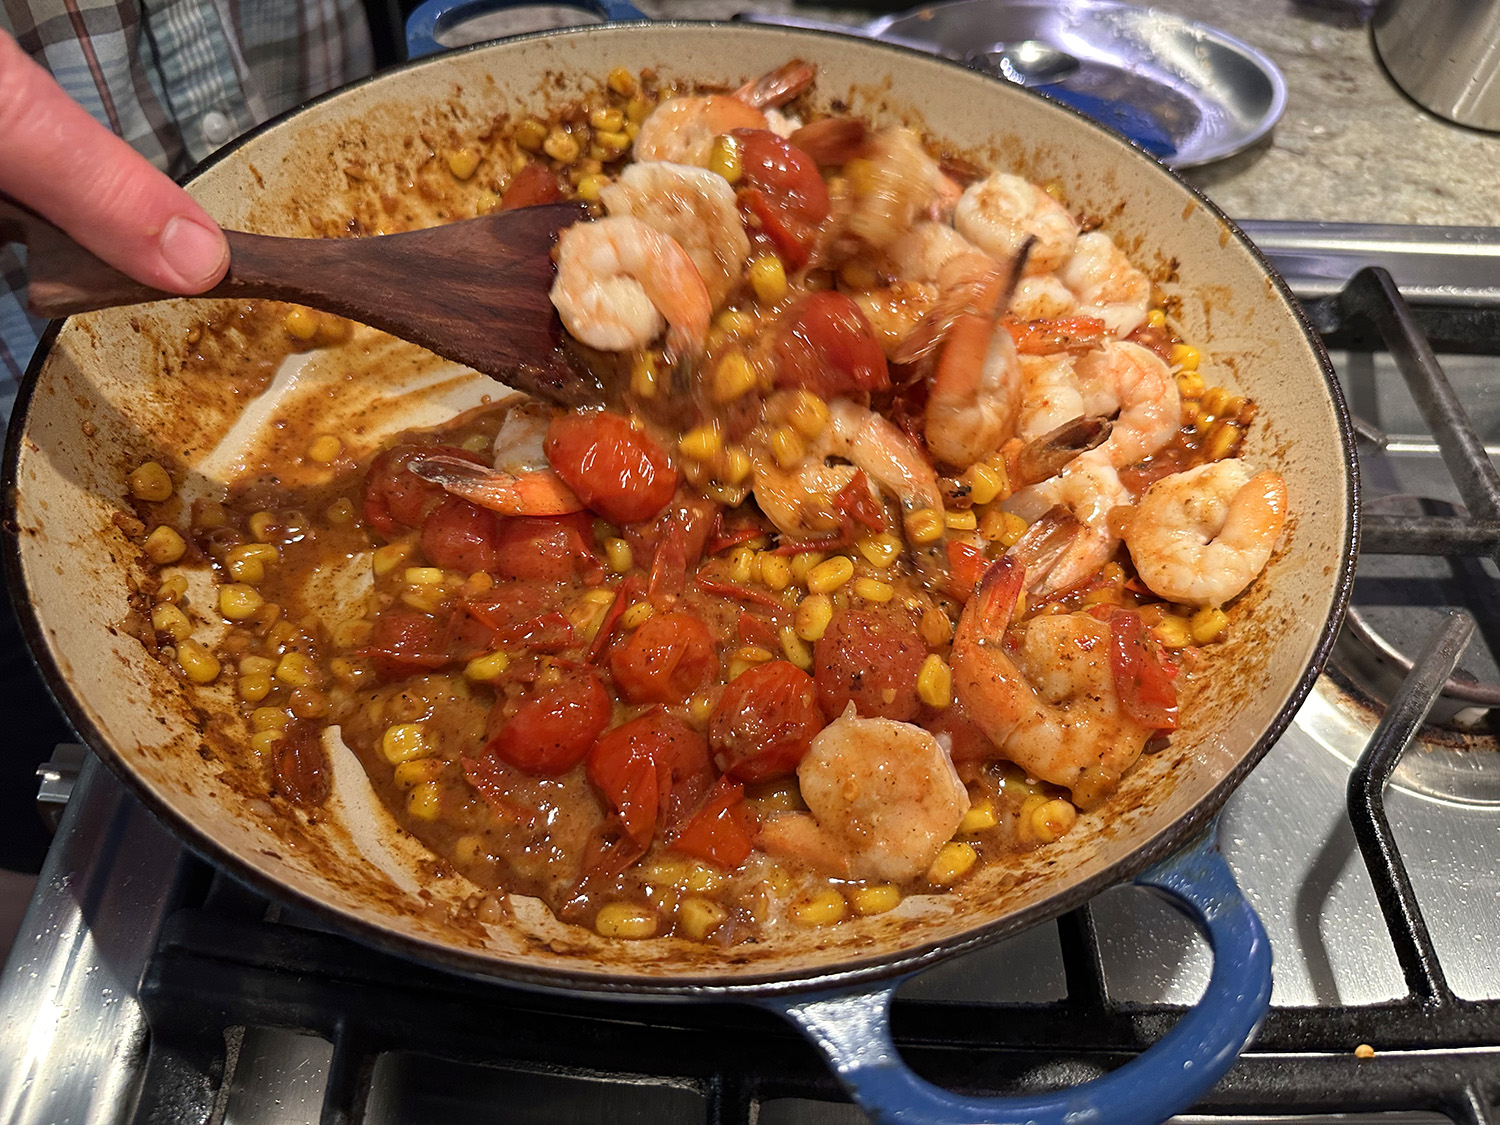
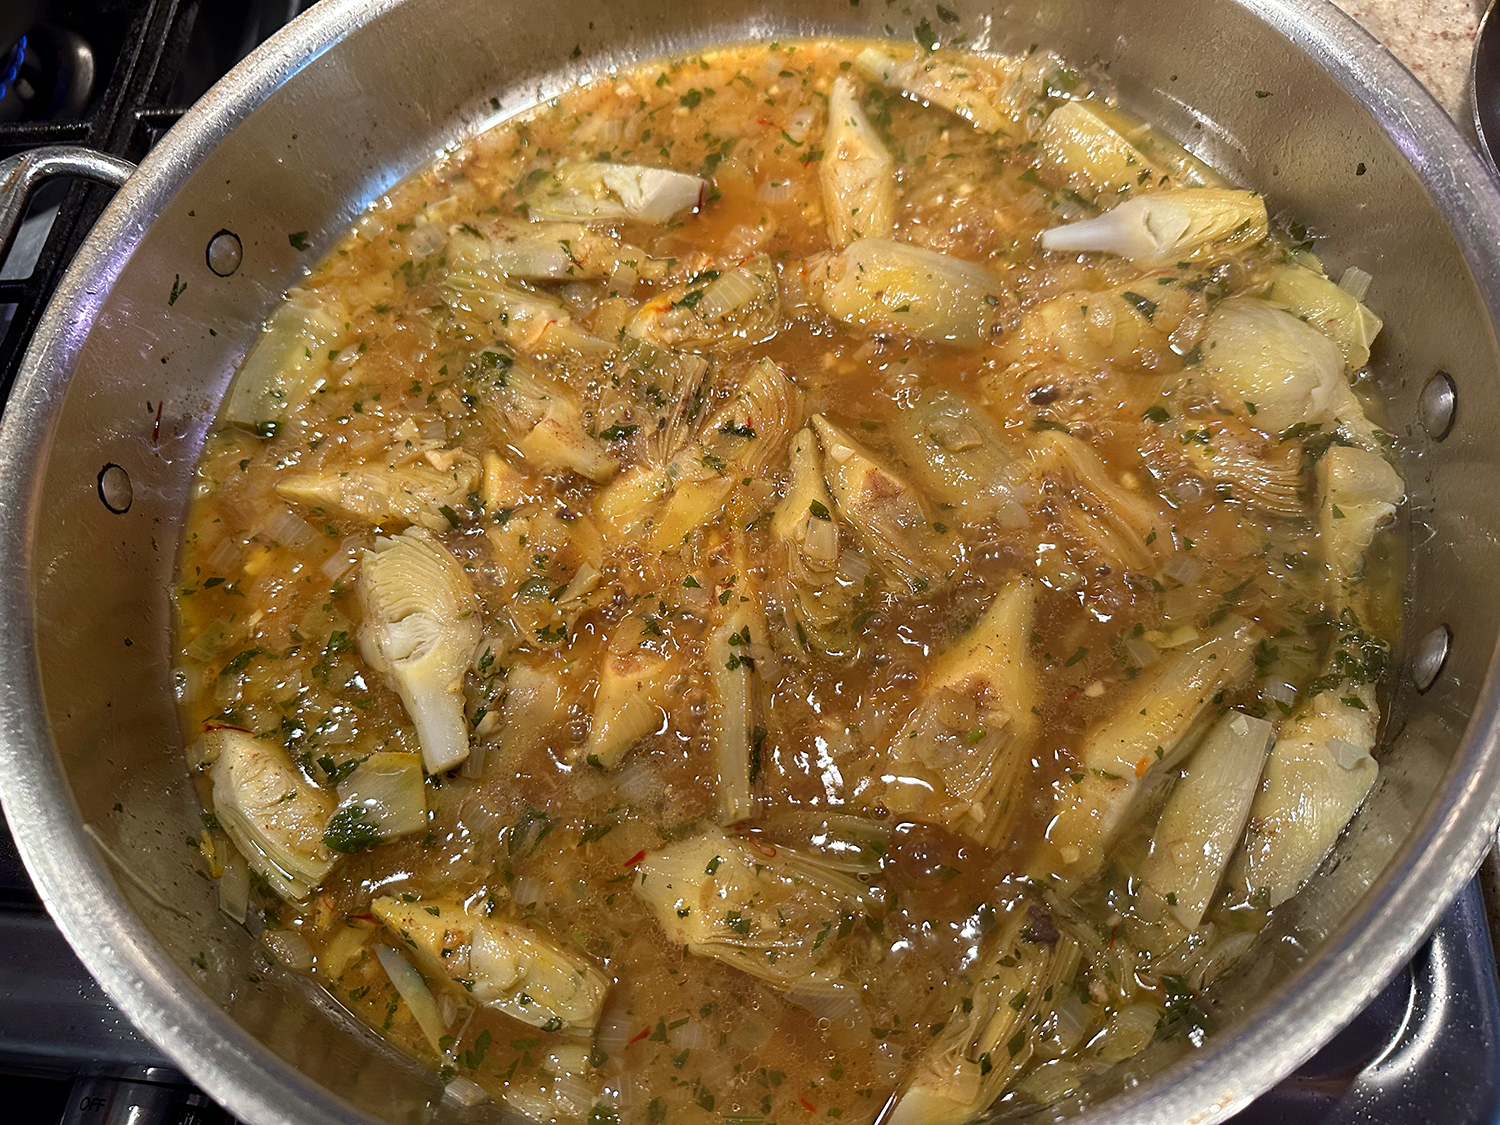
- Cook the shrimp: In a large skillet over medium heat, combine shrimp with 1 tablespoon water, remaining 1 tablespoon soy sauce and 1 teaspoon sesame oil. Cover the pan and let the shrimp steam until pink and just cooked, 3 to 4 minutes, adding more water, 1 tablespoon at a time, if the pan looks dry. Use a slotted spoon to transfer the shrimp to the bowl with the chile crisp dressing and toss well.
- Pit and peel the avocados. Cut flesh into ½-inch pieces. Add to a large bowl and toss with the rice wine vinegar until well coated. Add the drained cucumbers, tossing gently to combine.
- Add the shrimp and all of its dressing and the scallions to the cucumber and avocado mixture. Stir gently until combined and the avocado begins to break down and look creamy, but some pieces still remain intact.
- Taste and add more rice wine vinegar and salt, if needed. Garnish with sesame seeds and cilantro.
Recipe courtesy of Melissa Clark for NYTimes Cooking