With over 16,600 5-star reviewer ratings, this recipe sounded like a win-win, and it was! According to NYTimes Cooking, the universal appeal of shrimp scampi they say, isn’t the shrimp but the pan sauce: garlicky butter lightened with white wine and bursts of lemon, parsley and red-pepper flakes. Scampi is often tossed with pasta or served with crusty bread, but this version instead uses quick-cooking orzo.

It simmers directly in the pan sauce, imparting a starchy gloss — and soaking up the garlicky scampi flavors. Toss the shrimp with some garlic, lemon zest and red-pepper flakes to marinate while the pasta gets a head start on the stove, then simply toss the shrimp on top of the orzo to steam. It all comes together in a flash, and feels effortless. Pair this dish with Caesar salad, steamed broccoli or arugula, or bask in its simple comfort, straight from a spoon.
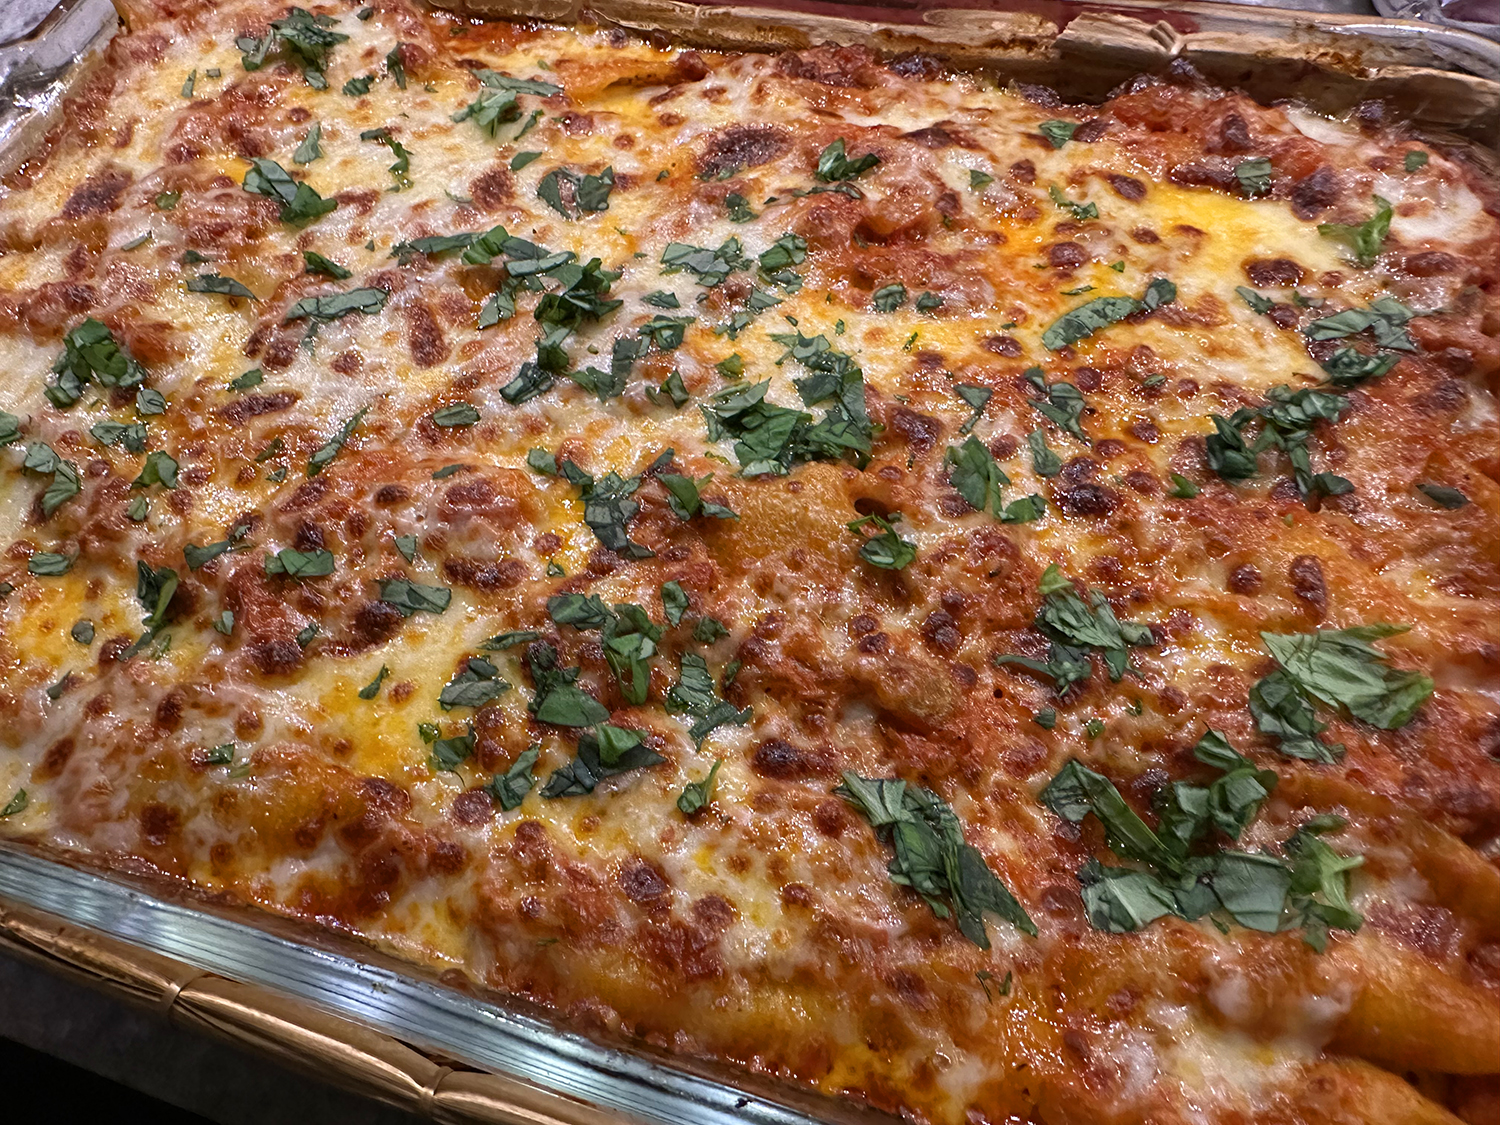
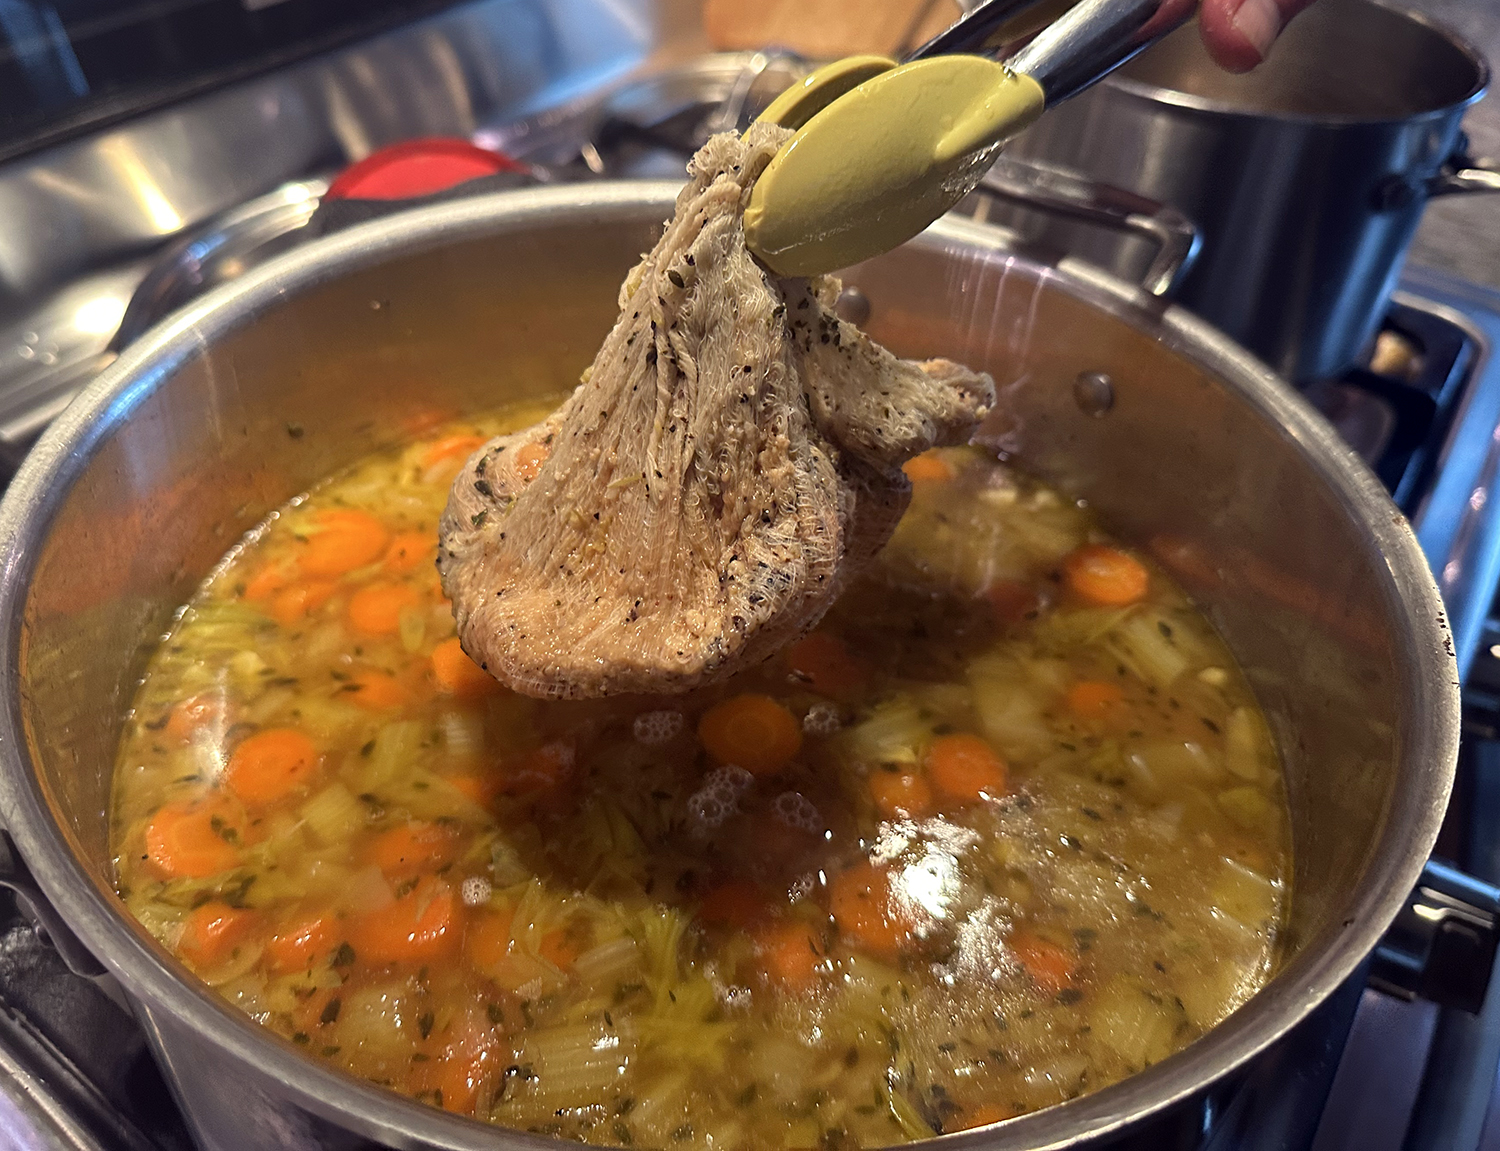
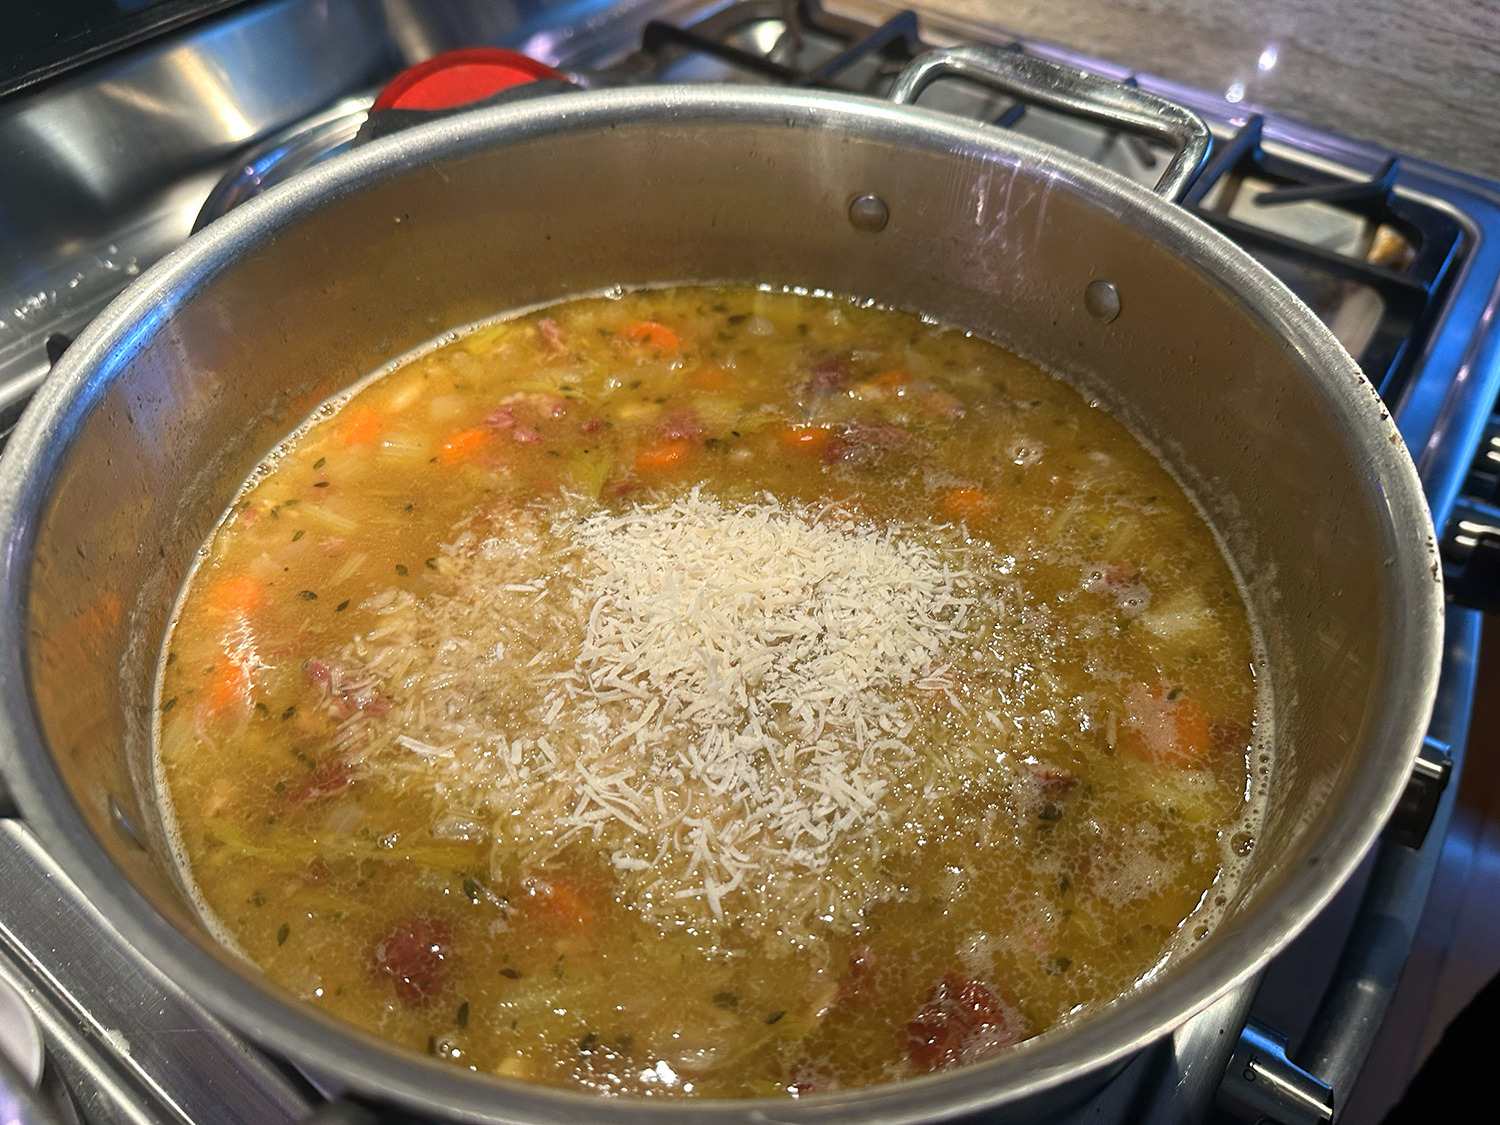
Whichever liquid you choose, make sure it is boiling. We had homemade seafood stock on hand so we opted for that which makes a huge difference in amping up the depth of flavor. (Clam broth would also be a great choice.) In lieu of parsley, which we were fresh out of, we included chopped fresh basil.
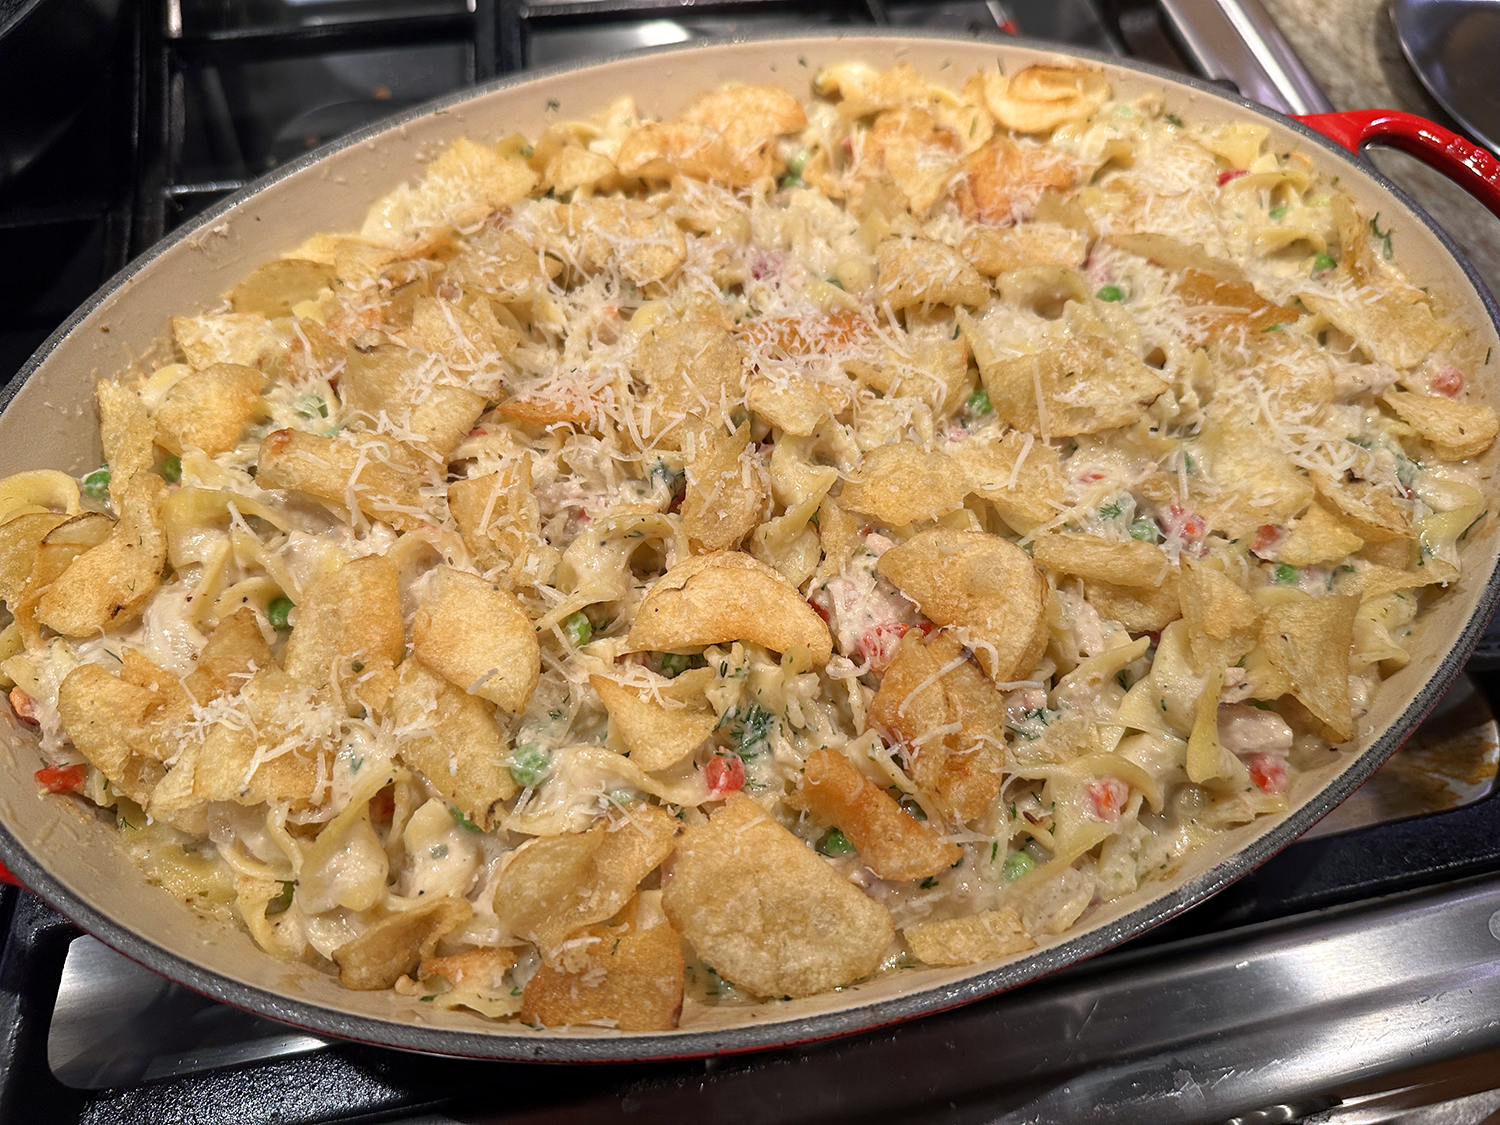
Both the orzo and the shrimp had to be cooked a few minutes longer than suggested. But once the dish rested for a couple of minutes off the heat at the end, everything came together perfectly.

Shrimp Scampi with Orzo
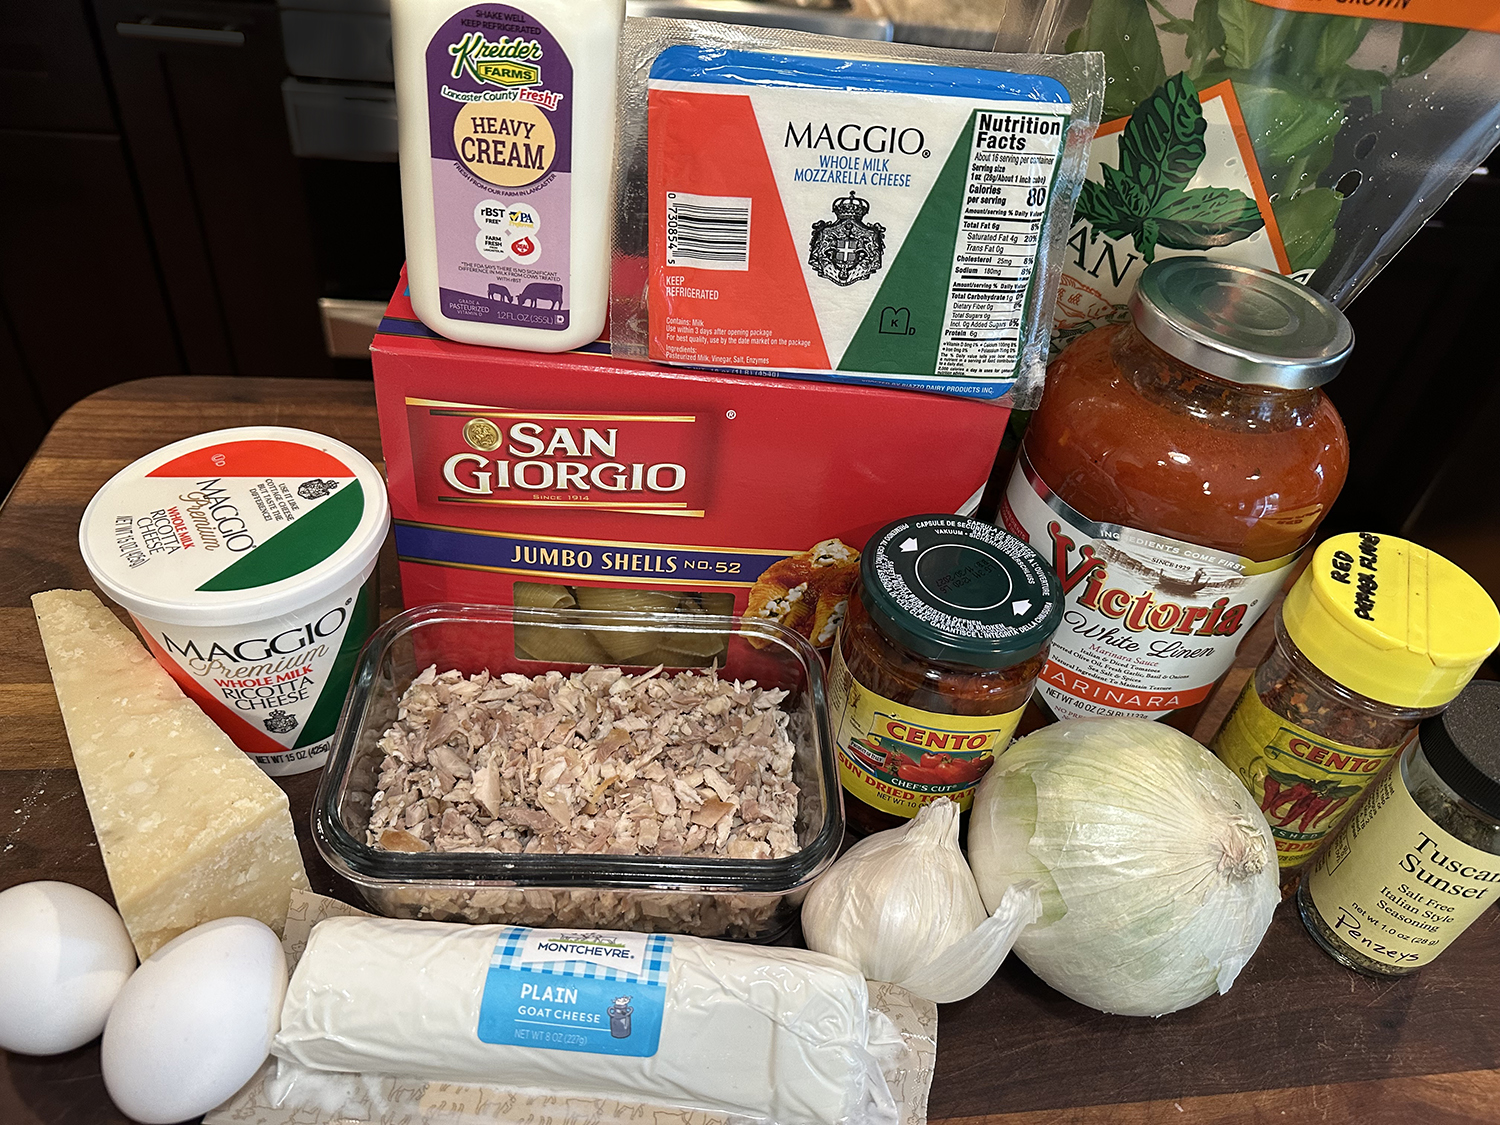
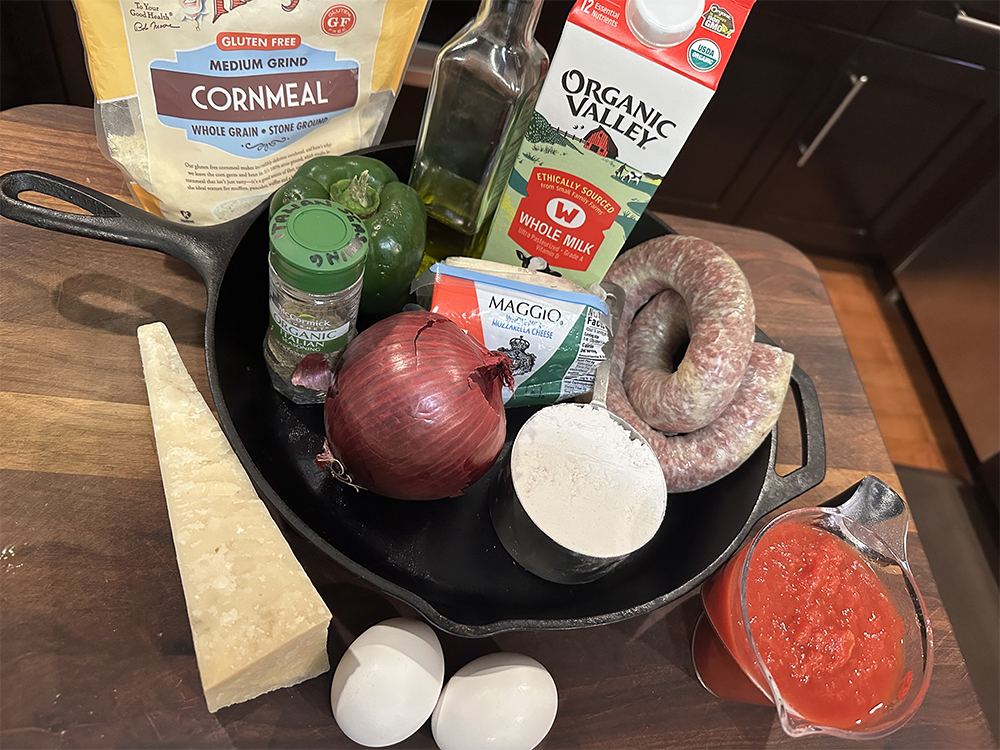
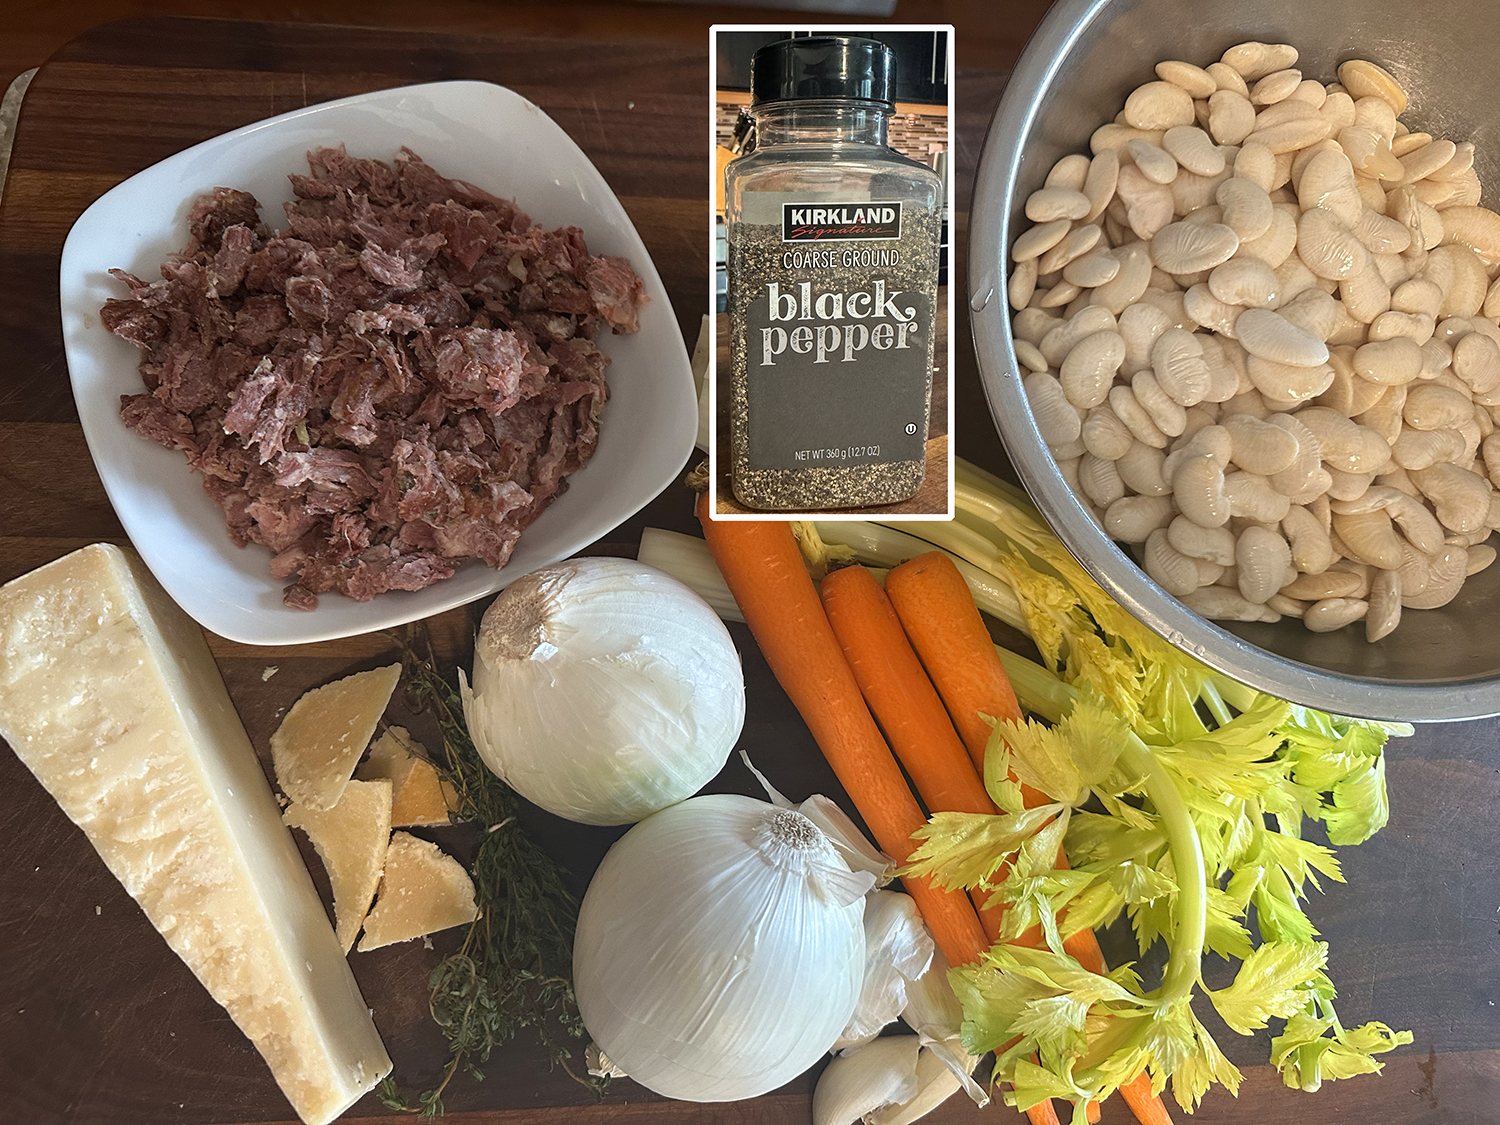
Ingredients
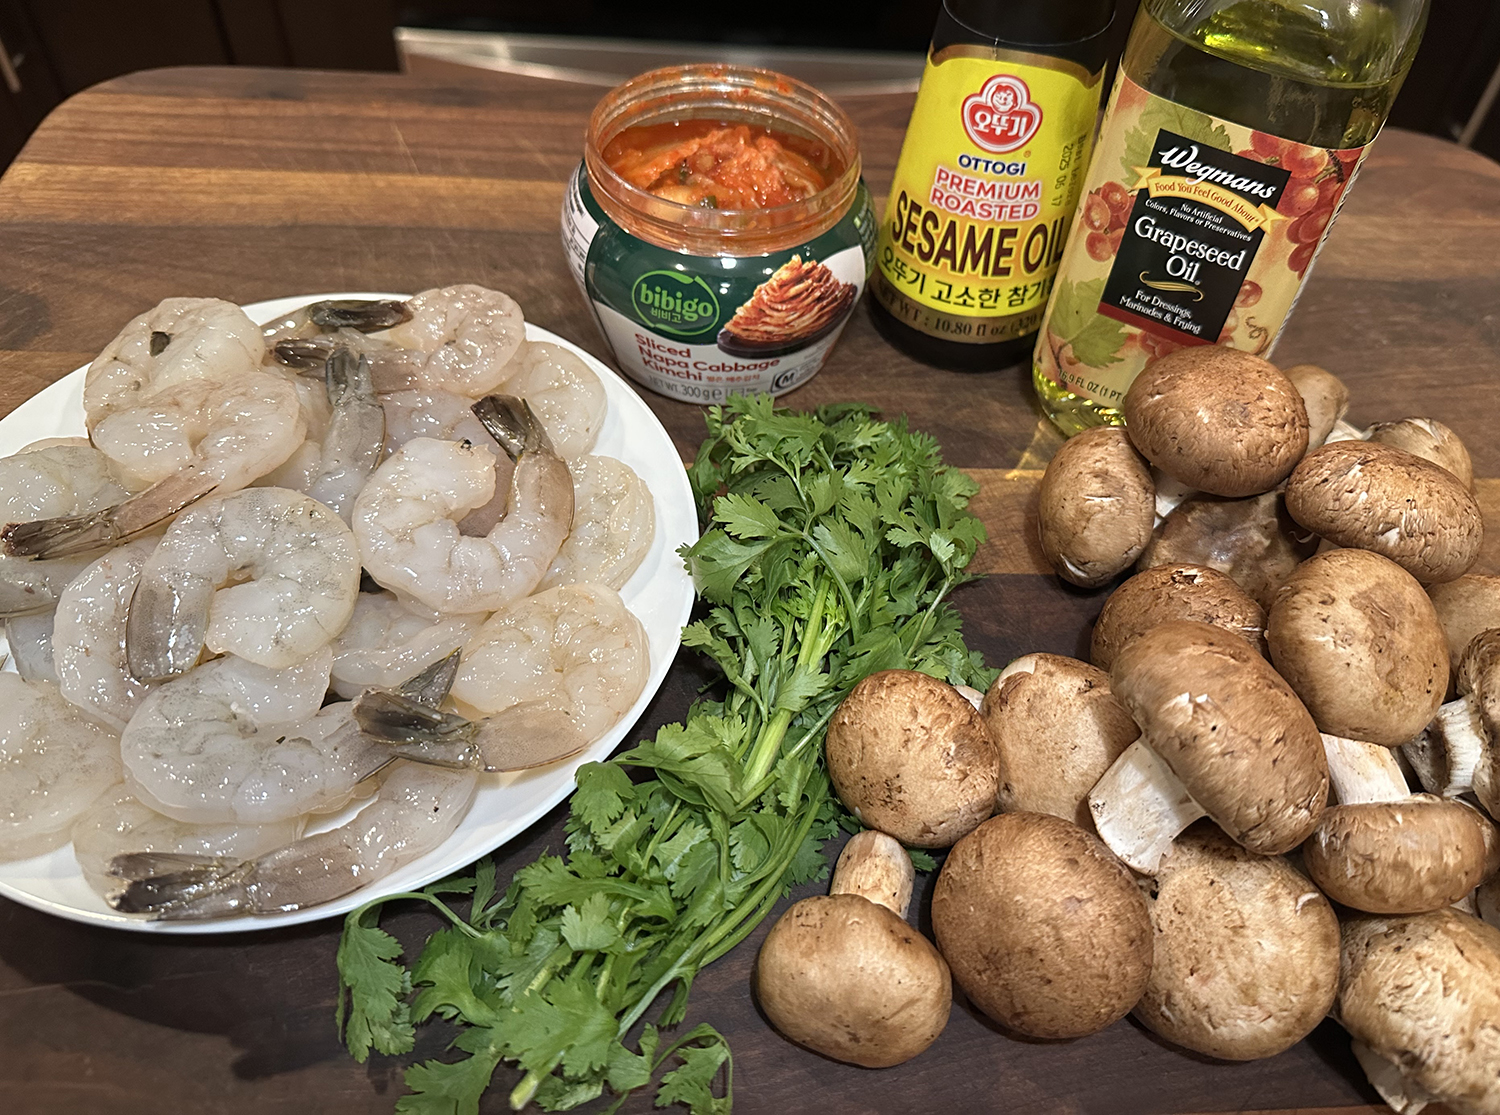
- 1 lb. large shrimp, peeled and deveined
- 3 Tbsp. extra-virgin olive oil
- 1 Tbsp. lemon zest, plus 1 tablespoon juice (from 1 lemon)
- ½ tsp. red-pepper flakes
- Kosher salt and black pepper
- 4 garlic cloves, minced
- 2 Tbsp. unsalted butter
- 1 cup orzo
- ⅓ cup dry white wine
- 2 cups boiling water, seafood stock, clam broth or chicken stock
- 3 Tbsp. finely chopped parsley, or parsely


Directions
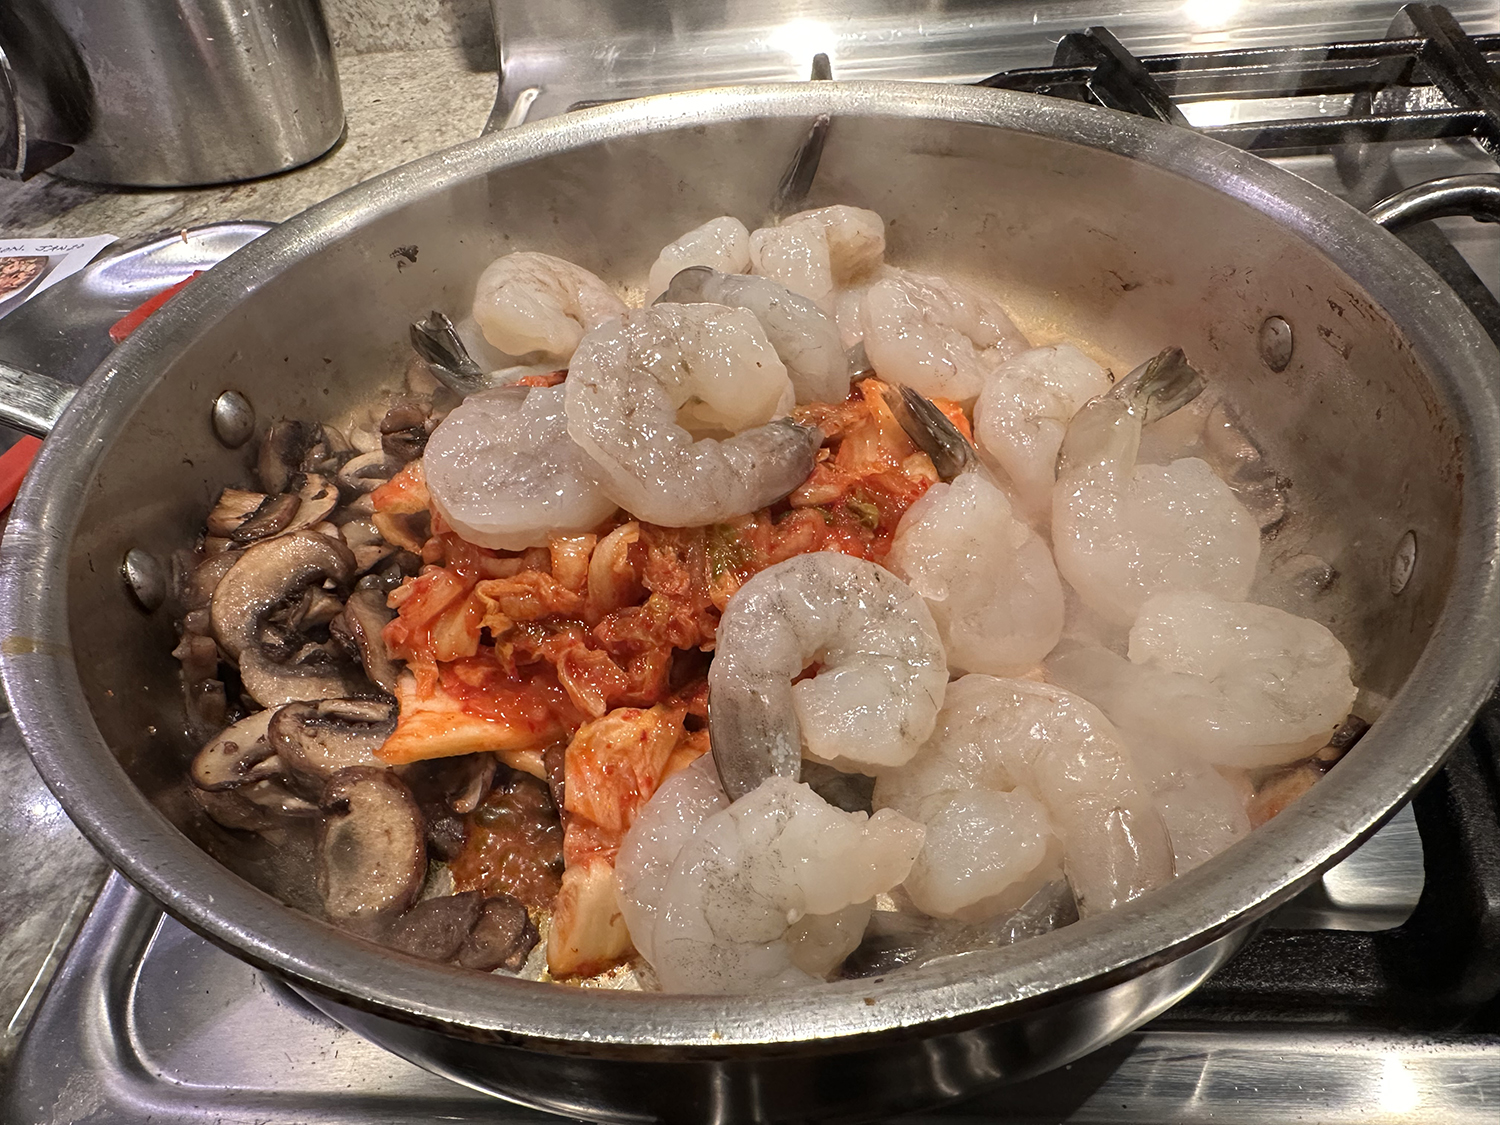
- In a medium bowl, stir together shrimp, 1 tablespoon olive oil, lemon zest, red-pepper flakes, ½ teaspoon salt, ¼ teaspoon pepper and half of the garlic. Set aside to marinate. (This step can be done up to 1 hour in advance.)
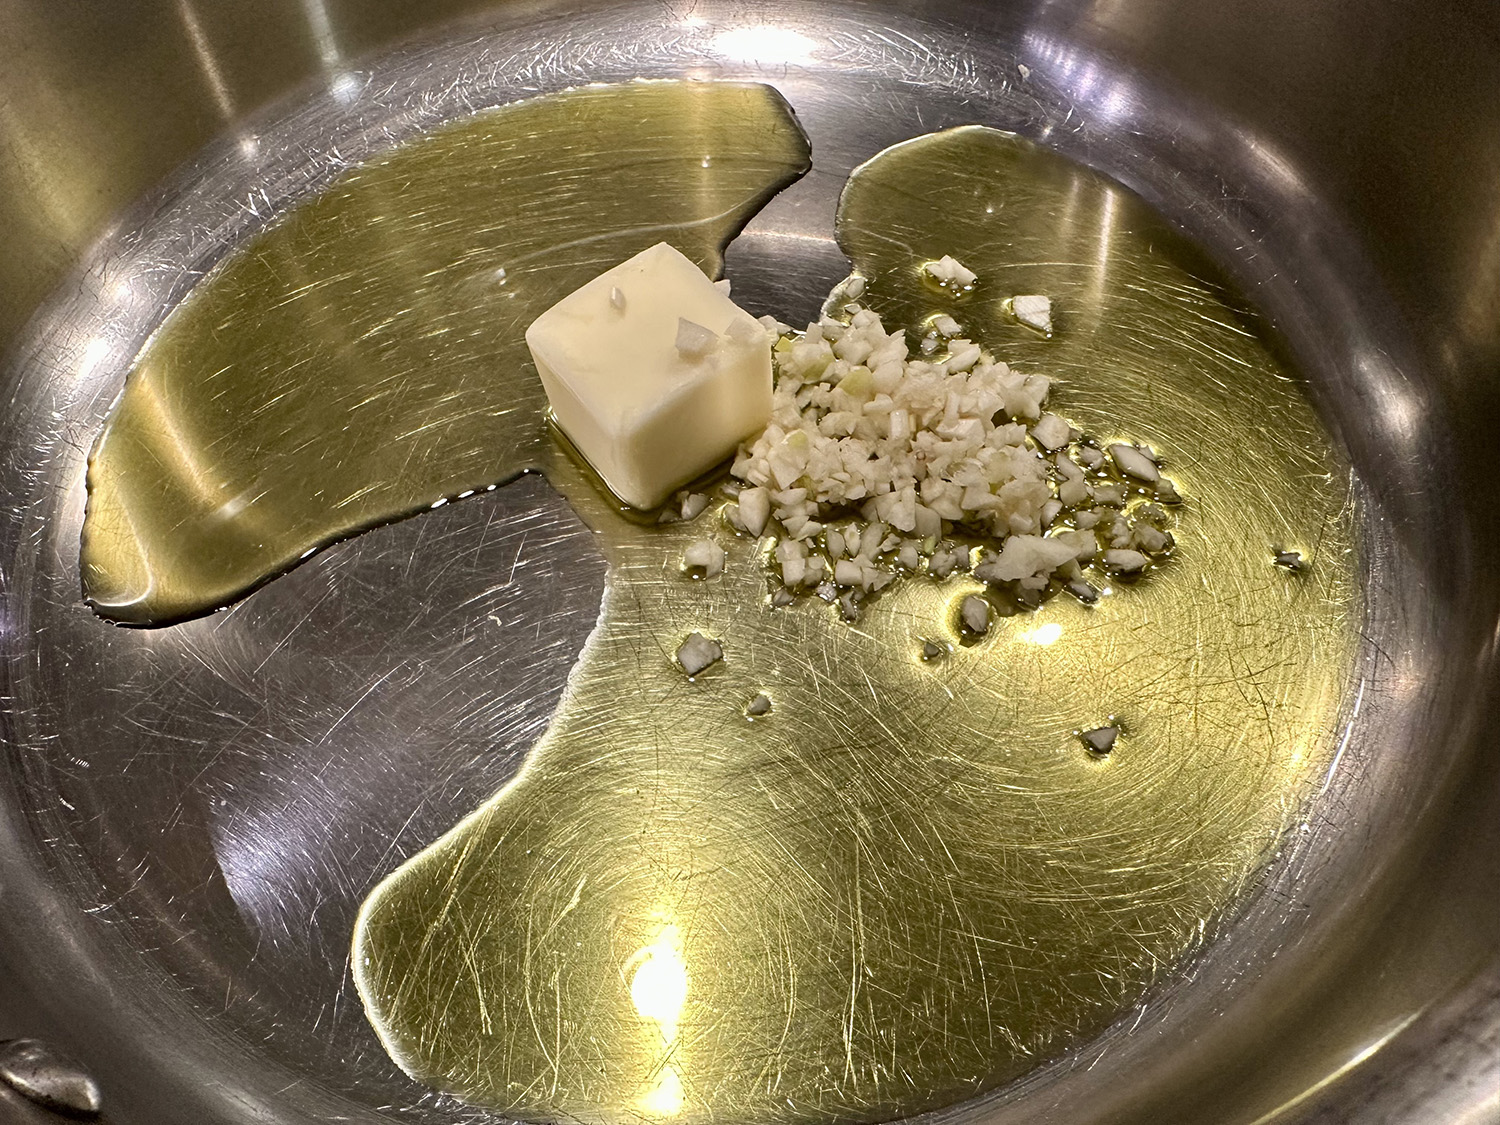
- Add butter, remaining 2 tablespoons olive oil and remaining garlic to a medium skillet set over medium heat. When the butter starts to bubble, add the orzo and ½ teaspoon salt and cook, stirring often, until the orzo is toasted, about 2 minutes, adjusting the heat as necessary to prevent the garlic from burning. Carefully add the wine — it will bubble — and stir until absorbed, about 1 minute. Stir in boiling liquid, reduce heat to low, cover, and cook until orzo is al dente, about 12 minutes.
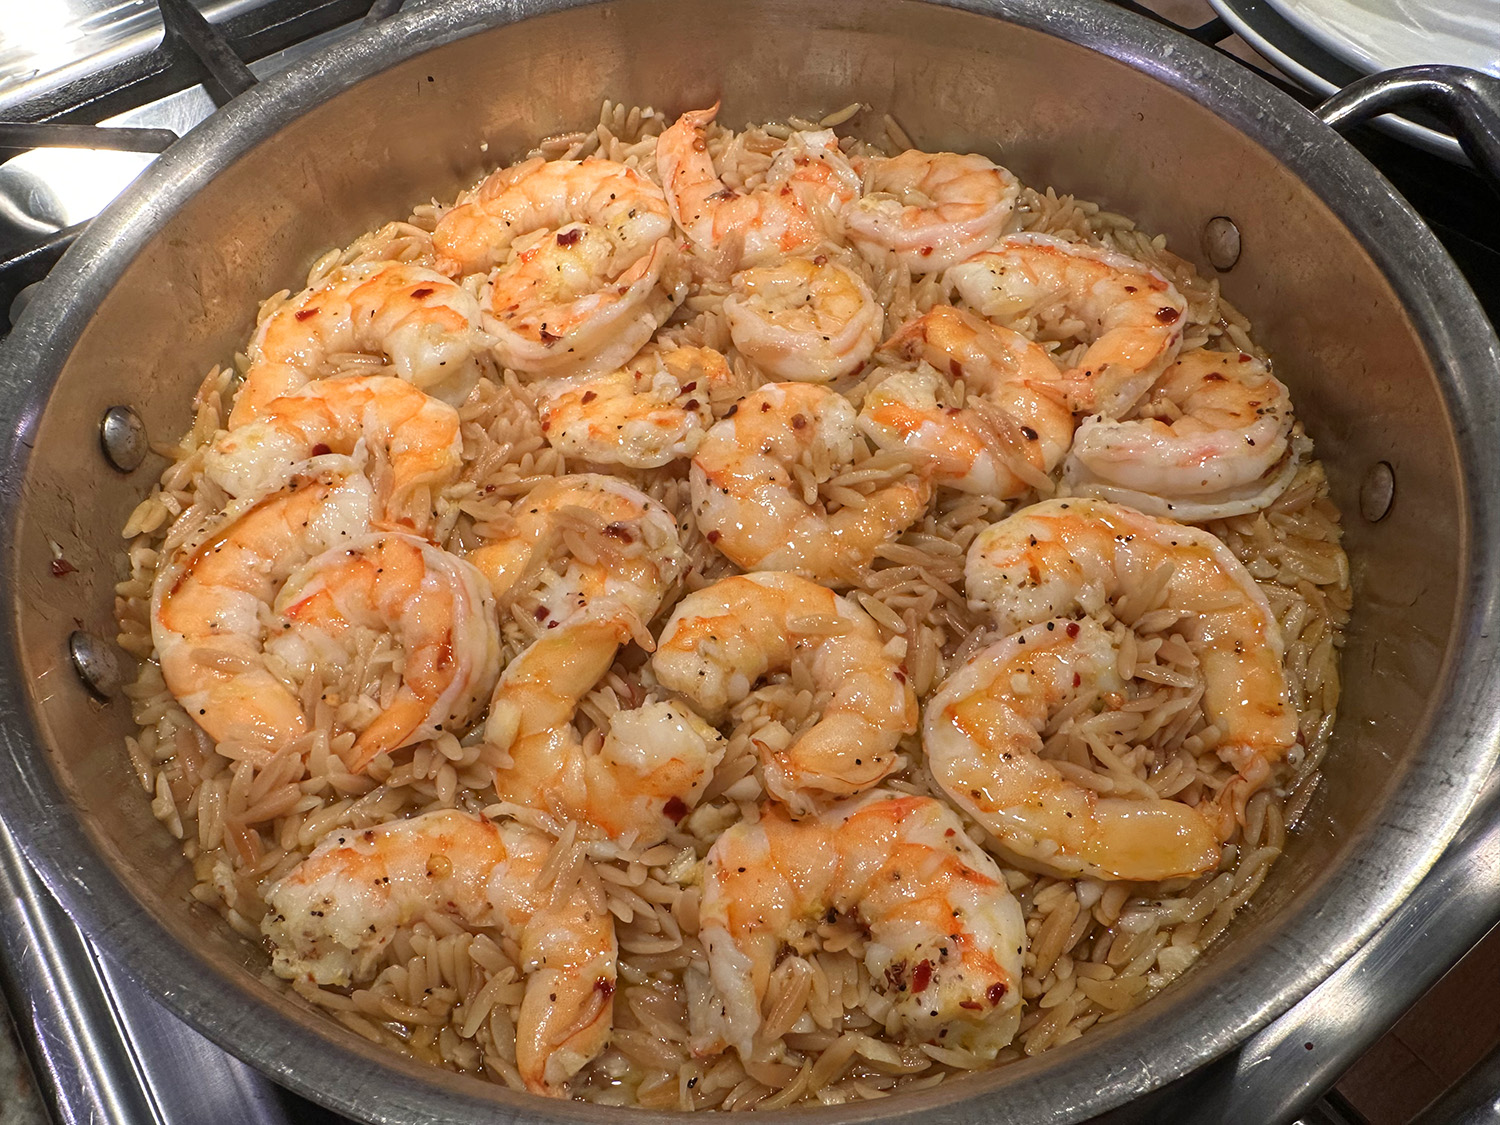
- Add the shrimp in a snug, even layer on top of the orzo, cover, and cook until all the shrimp is pink and cooked through, 2 to 4 minutes. Remove from heat and let sit, covered, 2 minutes.
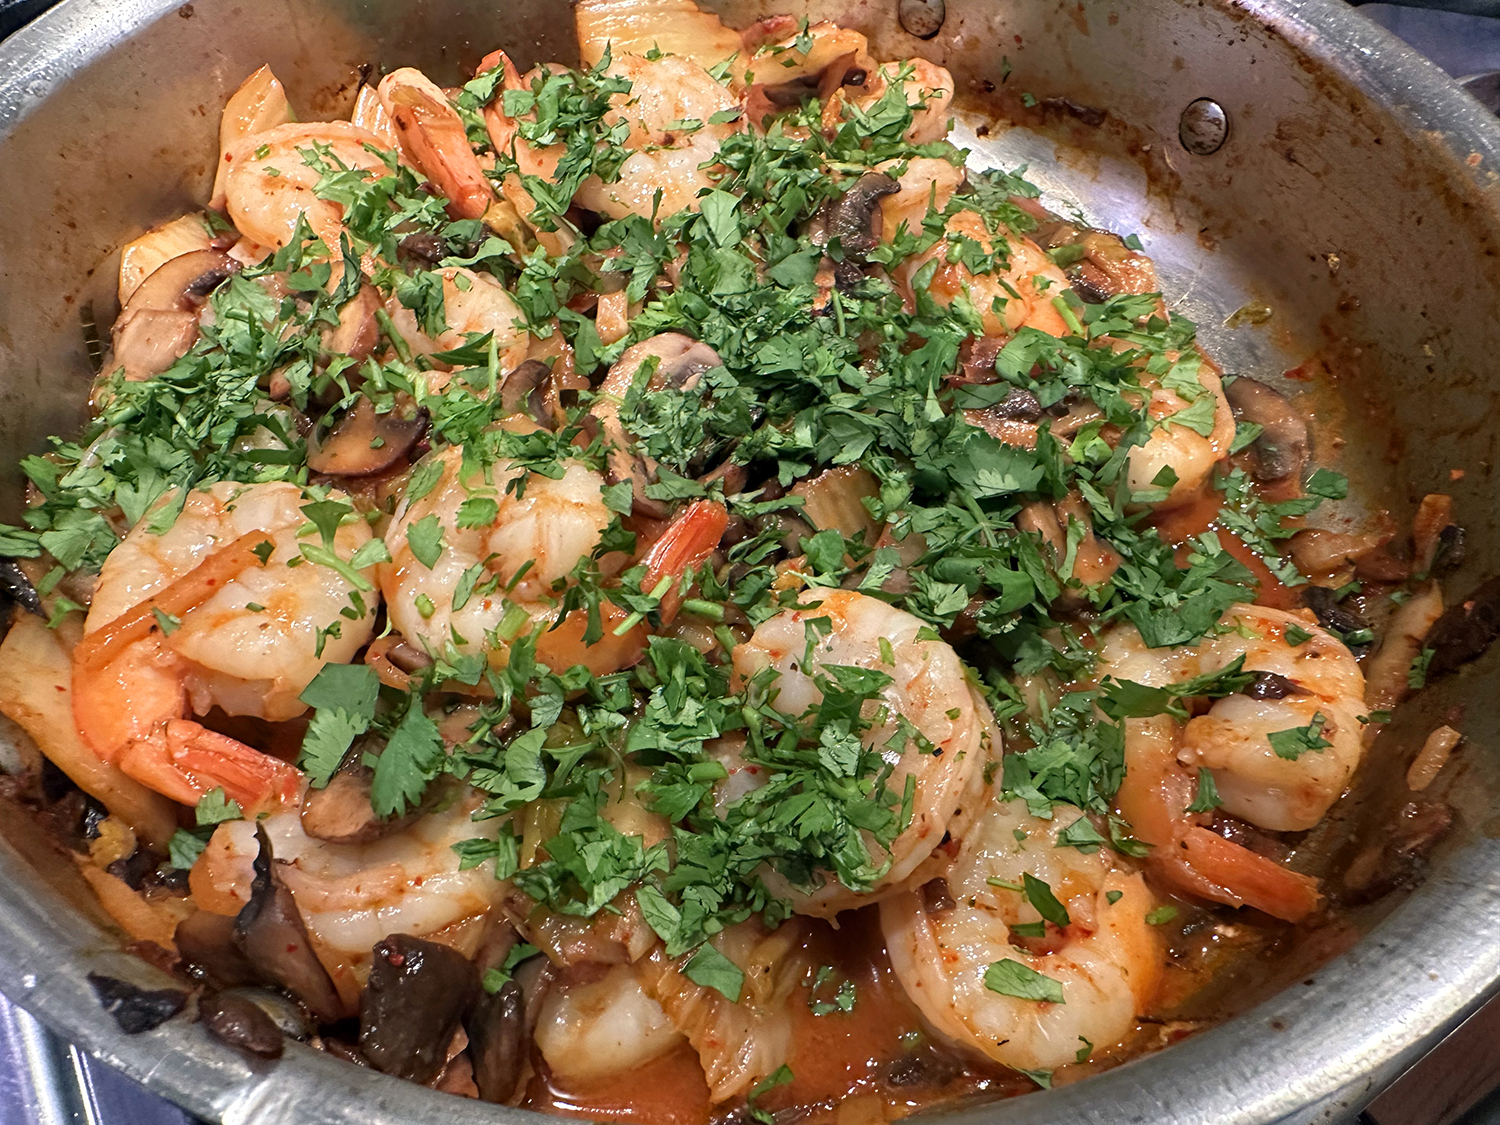
- Sprinkle with parsley and lemon juice, season with salt and pepper, and serve immediately.
Recipe by Ali Slagle for NYTimes Cooking