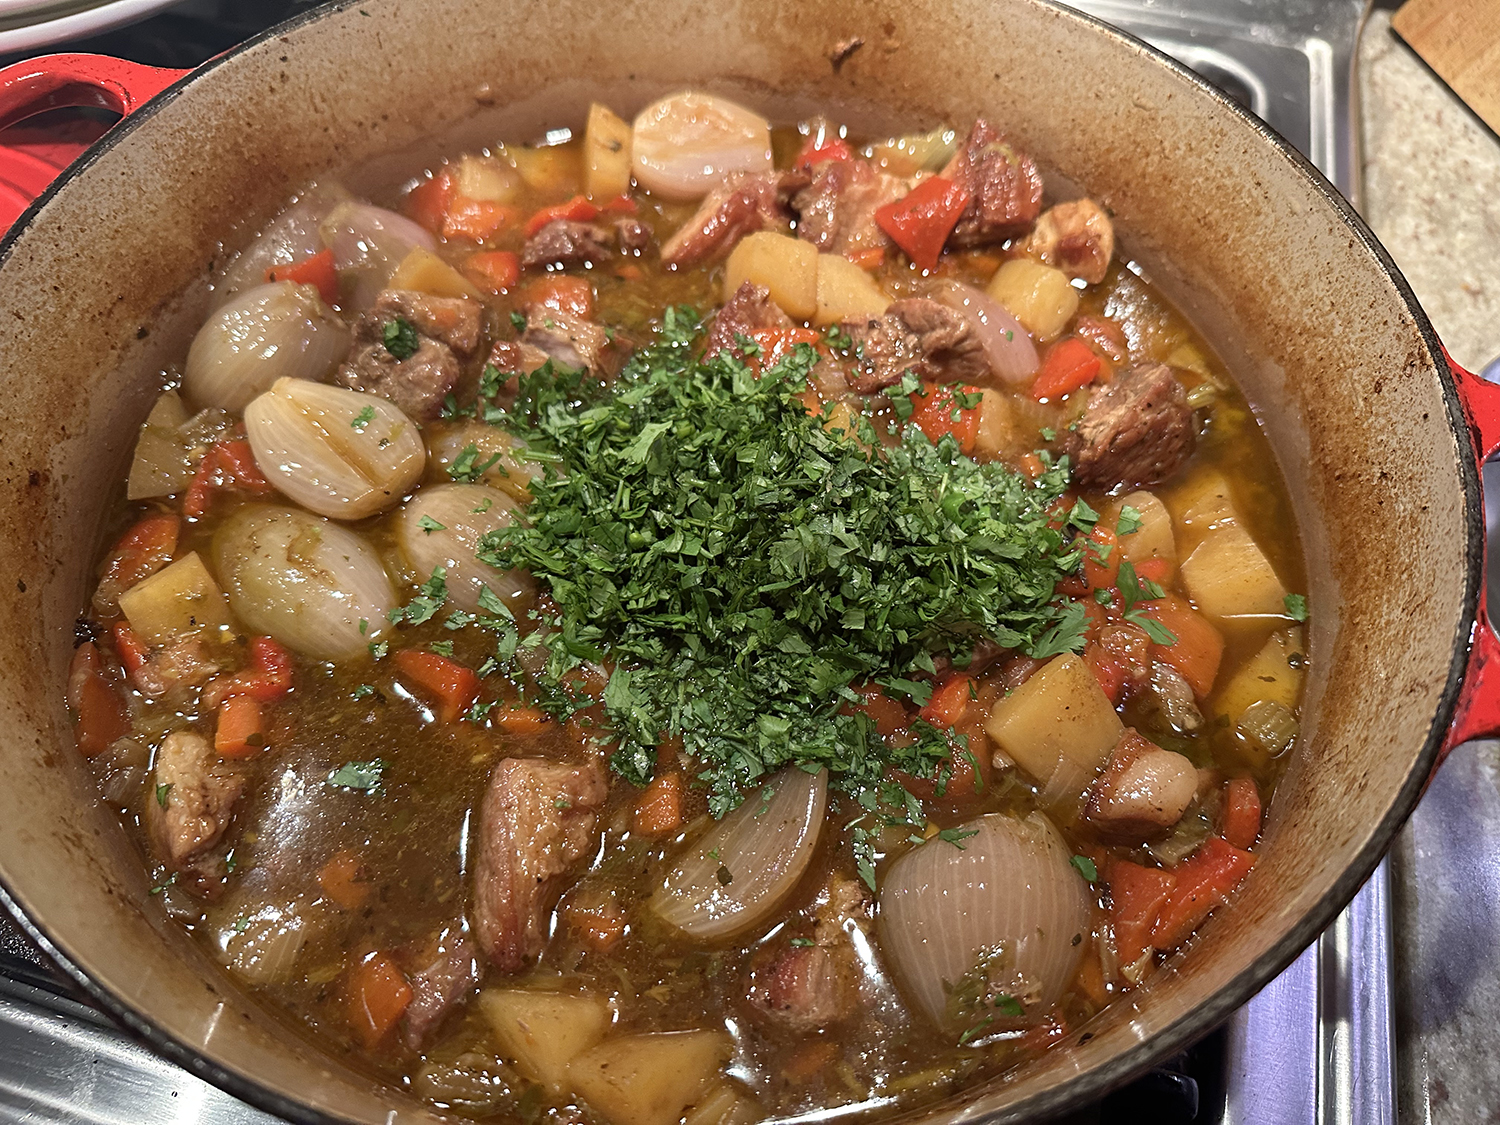
For a quick, creamy pasta dish that delivers the same comfort and satisfaction as risotto, start by toasting orzo in butter with shallots and garlic and then douse the lot with wine, which is quickly absorbed by the pasta, infusing it with flavor.
To make the dish pescatarian, we swapped out a combination of shellfish stock and vegetable broth for the chicken stock. We also included lemon zest into the orzo for a brighter note.

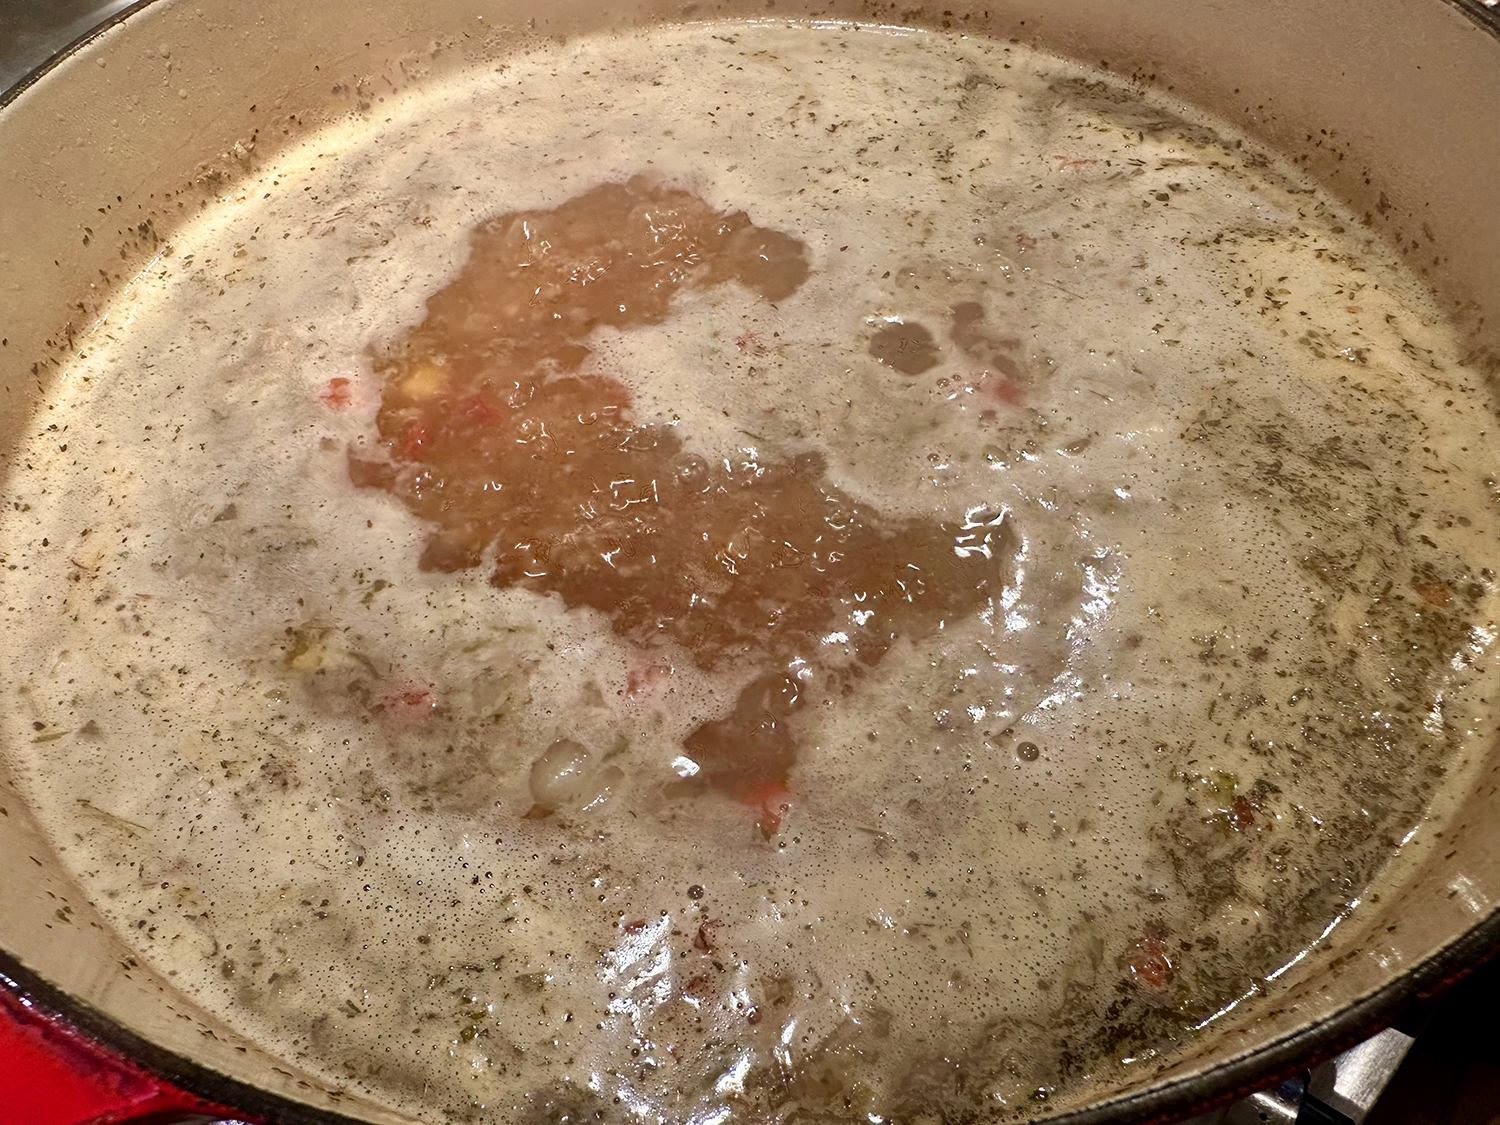
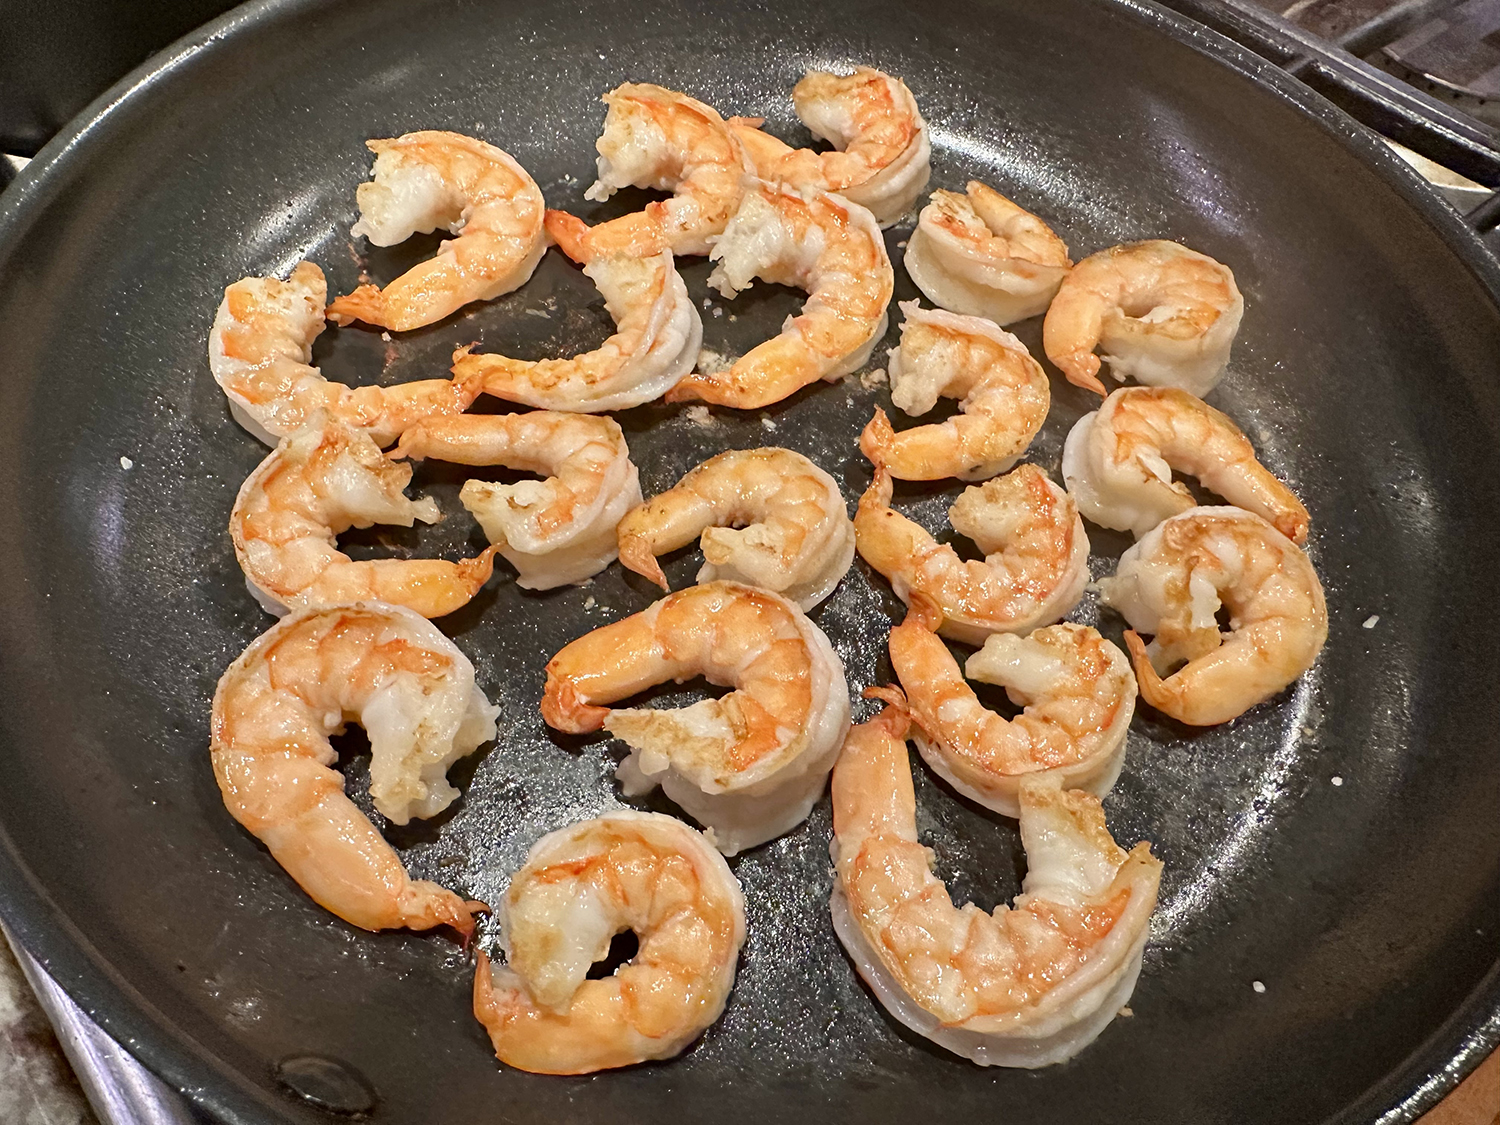
Vigorously simmering the orzo in diluted broth hydrates it while adding subtle depth. Stirring the pasta occasionally releases its starches, creating a velvety texture. The process is so hands-off, you are able to simultaneously prepare a quick topping. The shrimp is quickly seared and then tossed with a potent garlic-butter scented with a slightly spicy red pepper.
A small amount of tomato paste adds savory notes and helps the sauce coat the shrimp. A shower of chopped mint provides a fresh finish.
NOTE: If pul biber and Aleppo pepper are unavailable, substitute 2 teaspoons paprika and ⅛ teaspoon cayenne pepper.
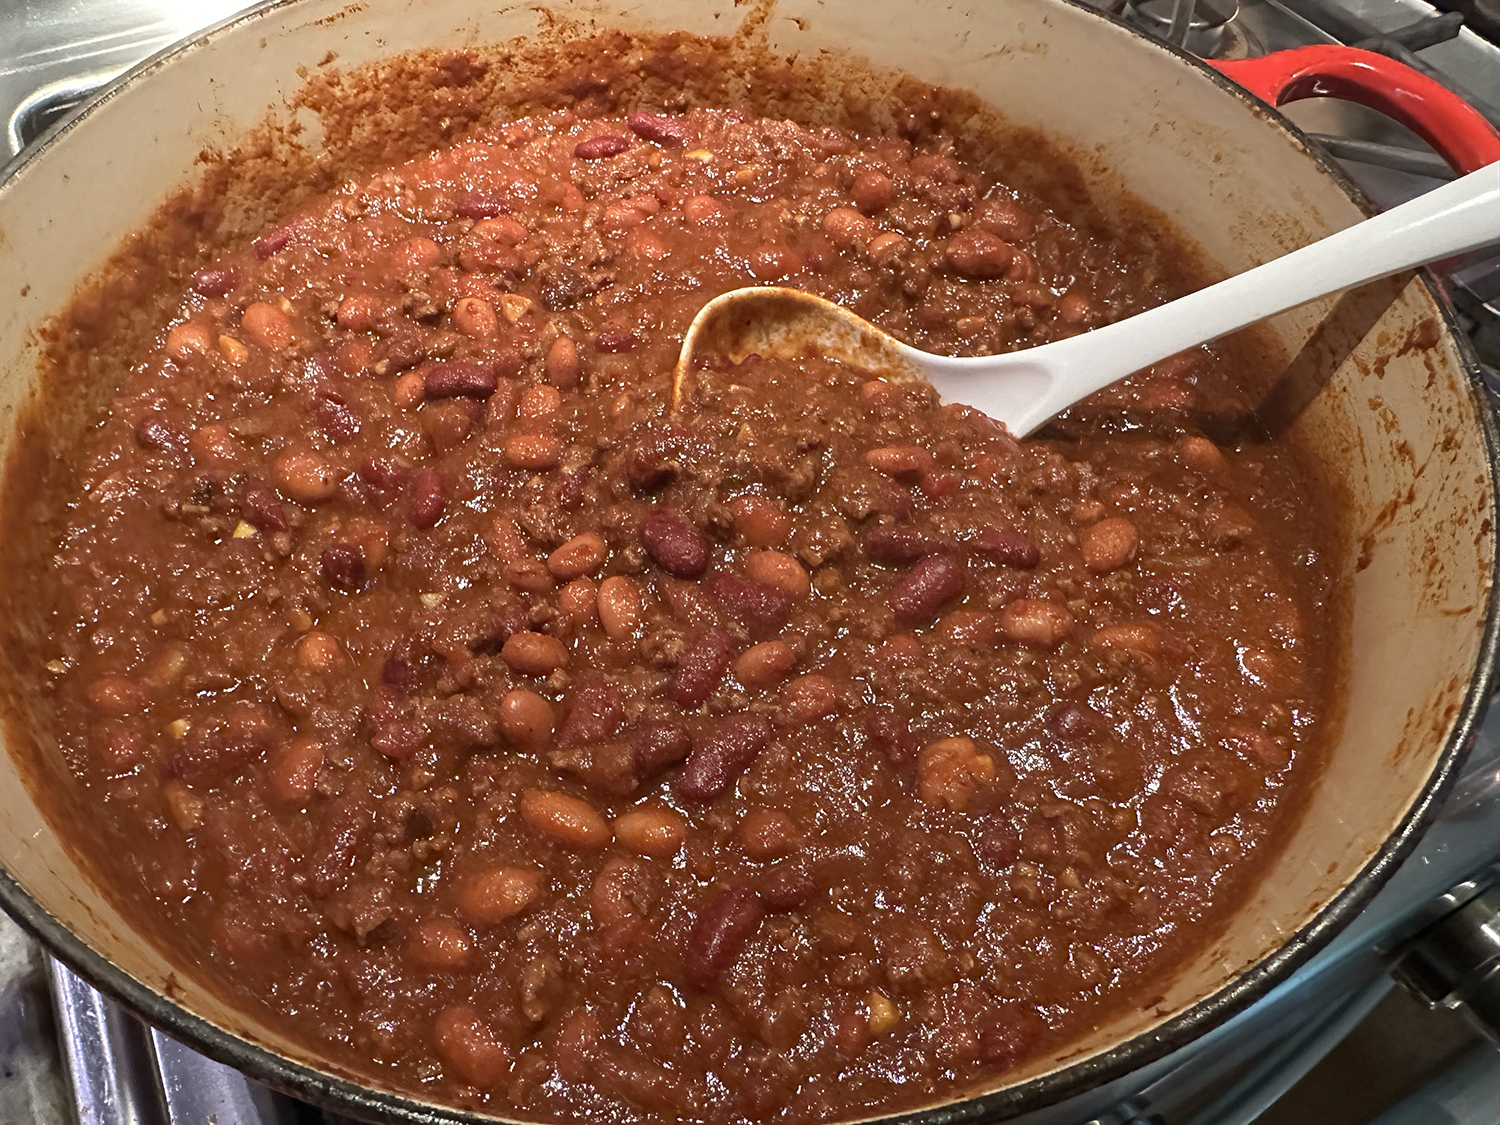
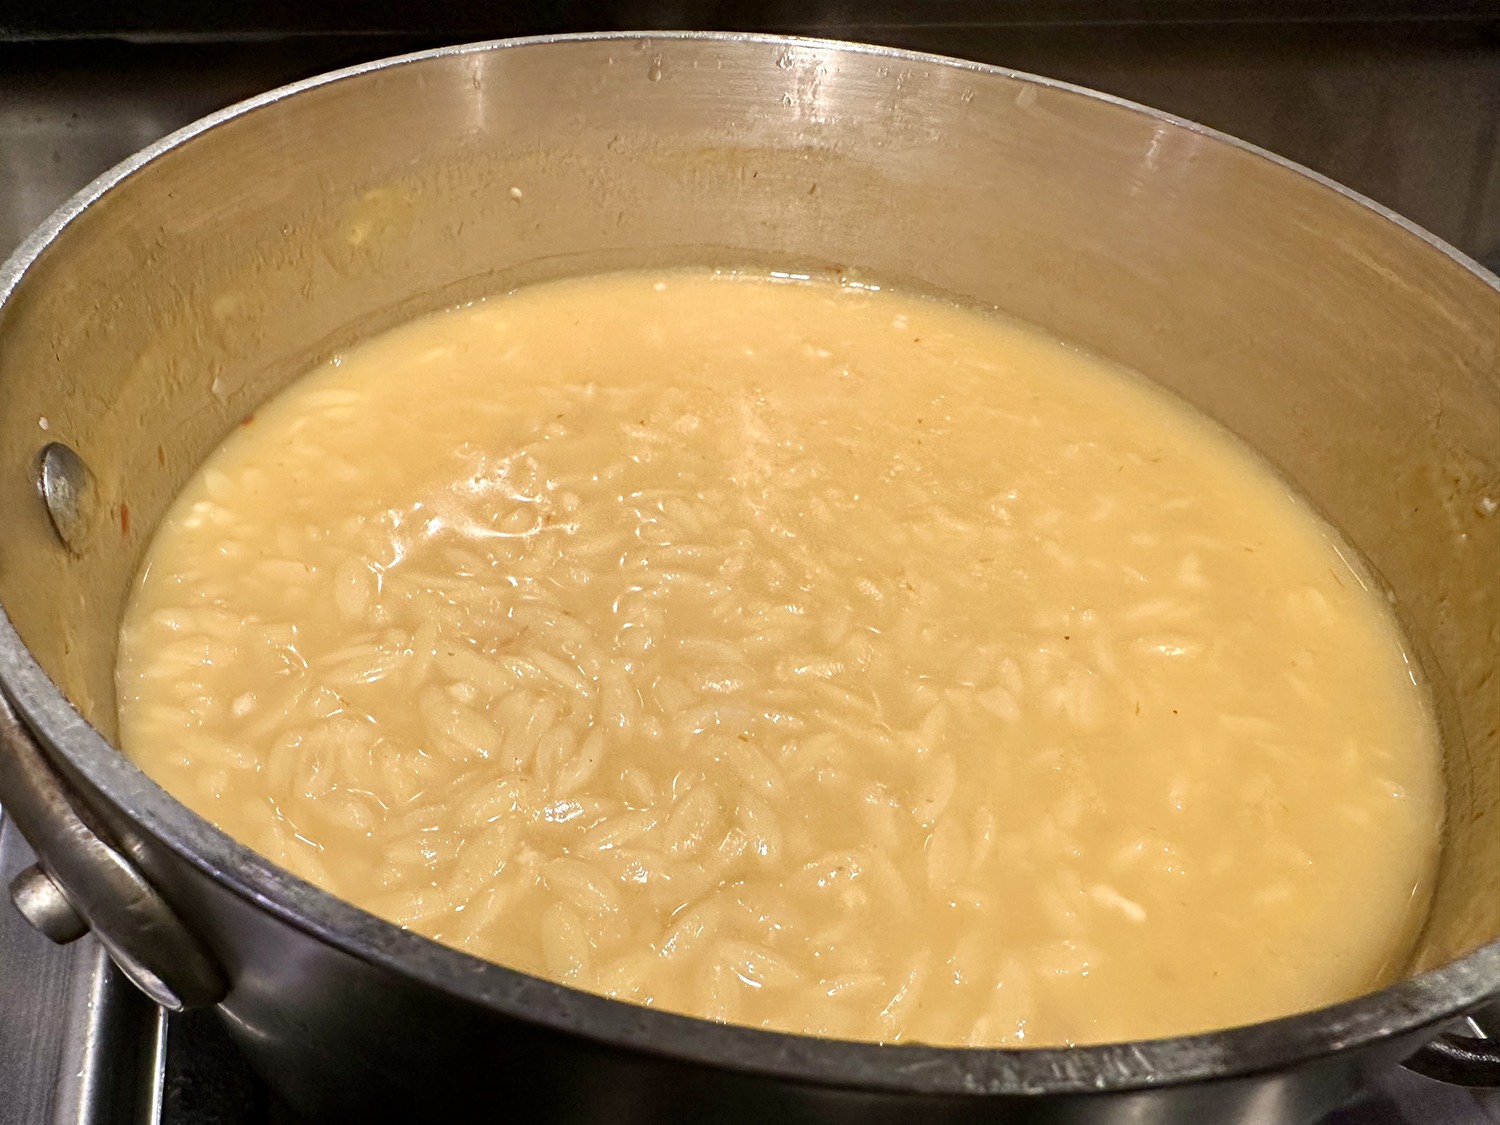
*Many recipe reviewers, including ourselves, found the finished orzo to be too soupy. Instead of starting with 3 cups of water as noted in the list of ingredients, use 1 or 1 1⁄2 cups at first, adding more as need to get the al dente consistency. When plating, we used a slotted spoon to separate the the orzo from some of the liquid.
FYI: If you’re reluctant to uncork a bottle of white wine only to use a small amount for any recipe, dry vermouth is a convenient, inexpensive alternative. It’s fortified with high-proof alcohol that inhibits the growth of vinegar-producing microbes that can spoil wine, so an open bottle will last for a few months in the refrigerator.

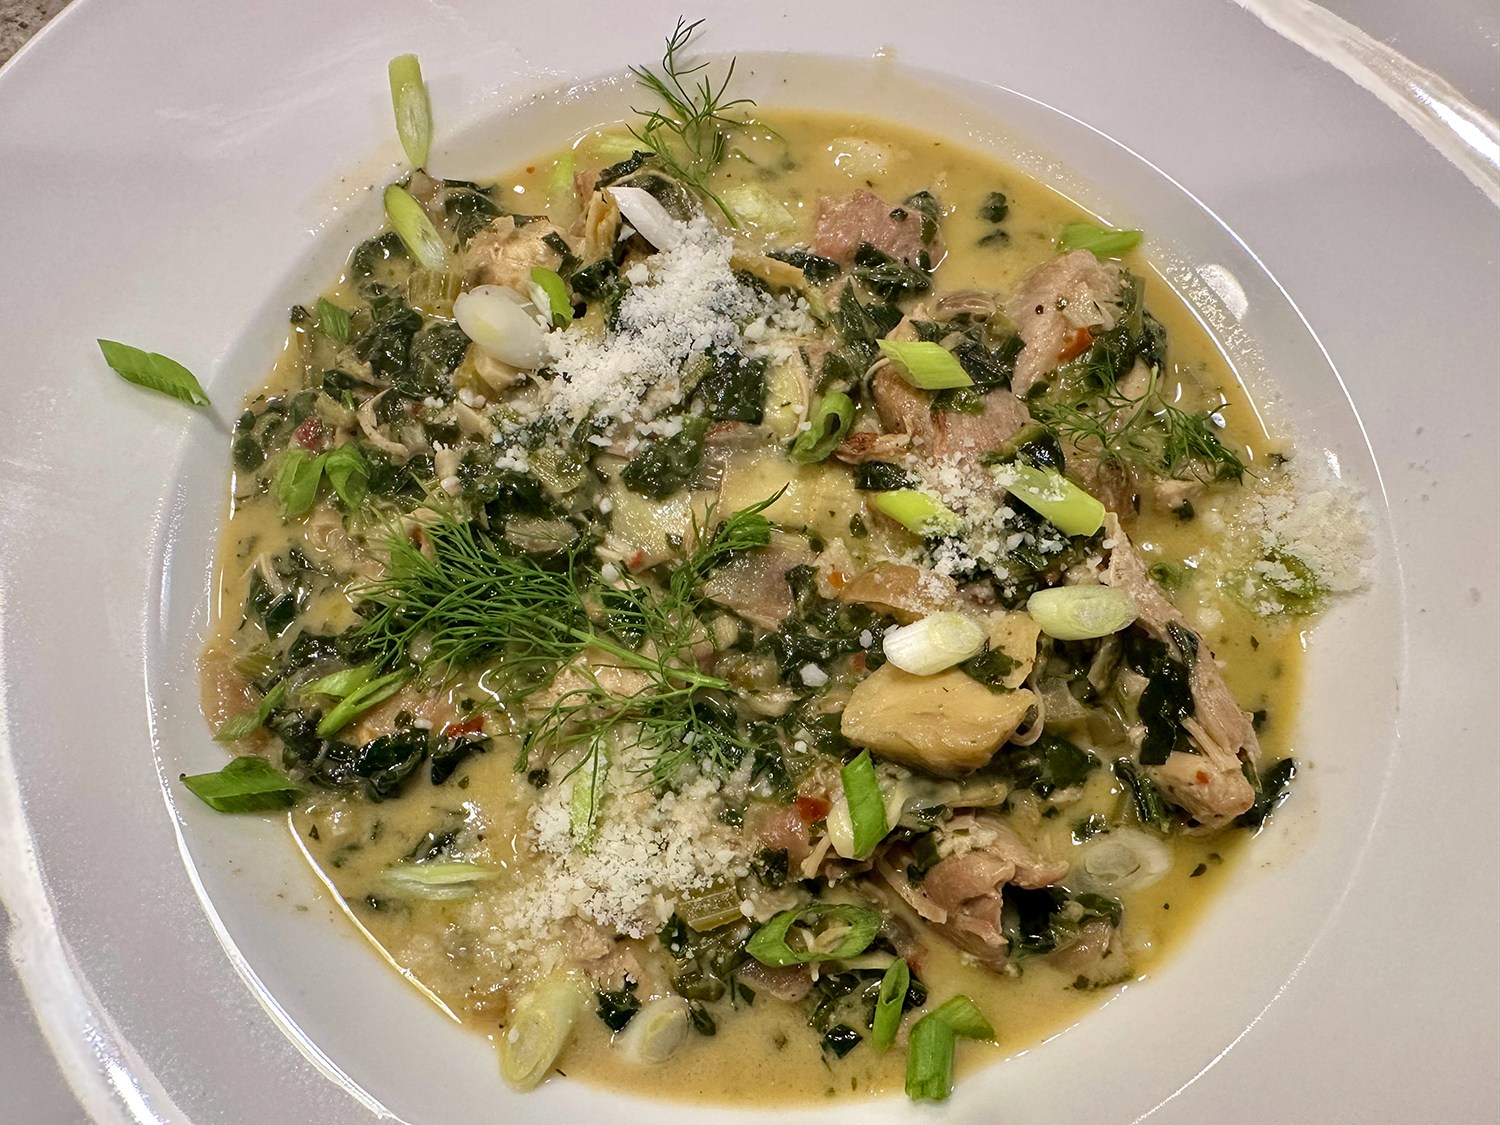
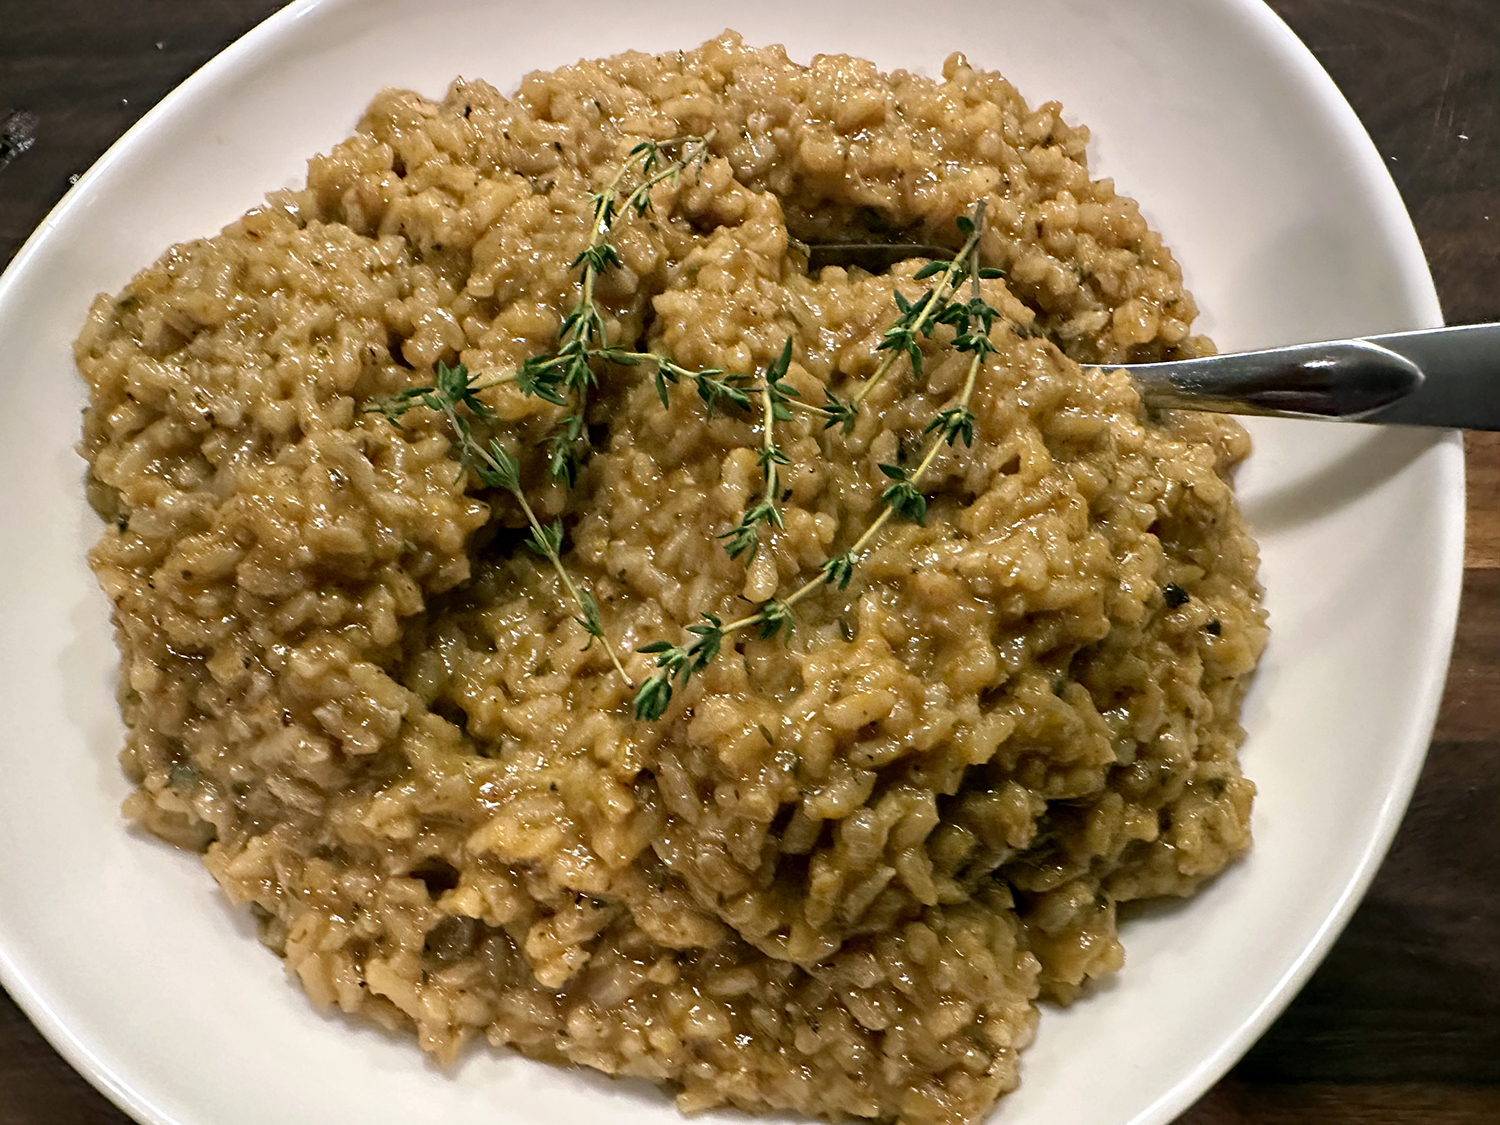
Creamy Saffron Orzo with Spiced Garlic-Butter Shrimp
Ingredients
- 6 Tbsp. unsalted butter, divided
- 1 large shallot, minced
- 1½ tsp. table salt, divided
- 1 tsp. plus 1 Tbsp. minced garlic, divided
- ¼ tsp. saffron threads, crumbled
- 1½ cups orzo
- ½ cup dry white wine or vermouth
- 3 cups water* (see head note)
- 2 cups chicken broth, or shellfish stock, preferably homemade
- 1 Tbsp. pul biber or ground dried Aleppo pepper
- 1 Tbsp. tomato paste
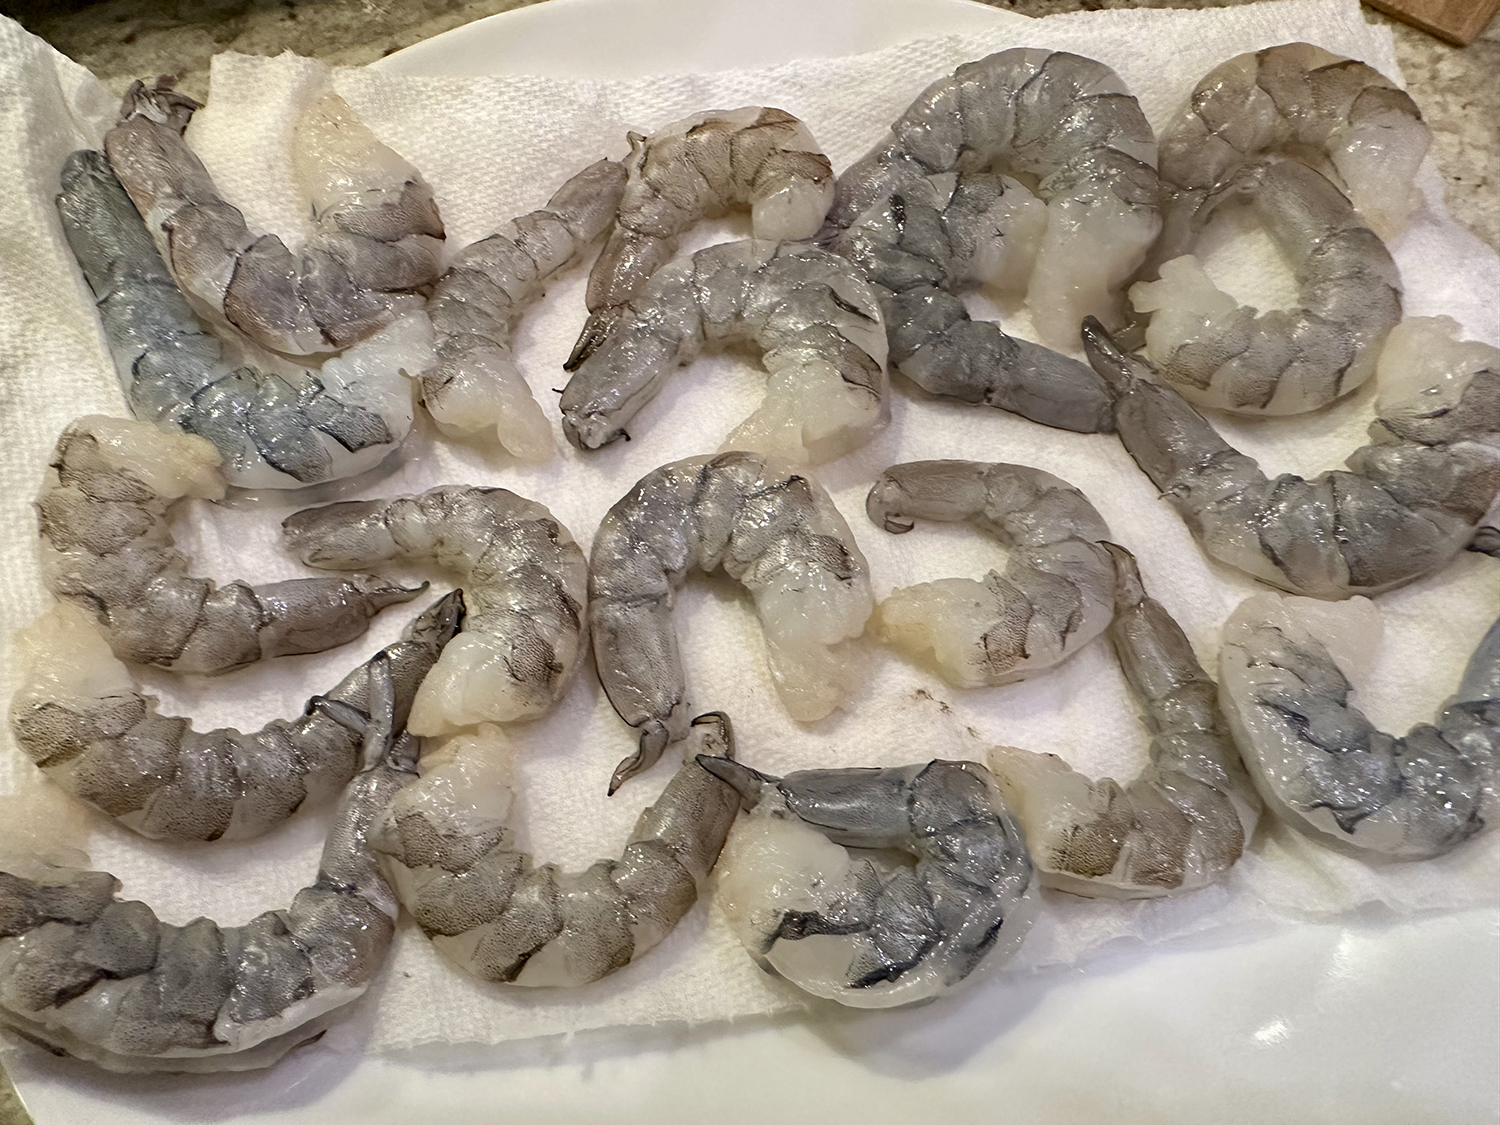
- 1 lb. large shrimp (26 to 30 per lb.), peeled, deveined, and tails removed
- 1 tsp. vegetable oil
- 3 Tbsp. chopped fresh mint
- Lemon wedges
- Zest of half a lemon


Directions
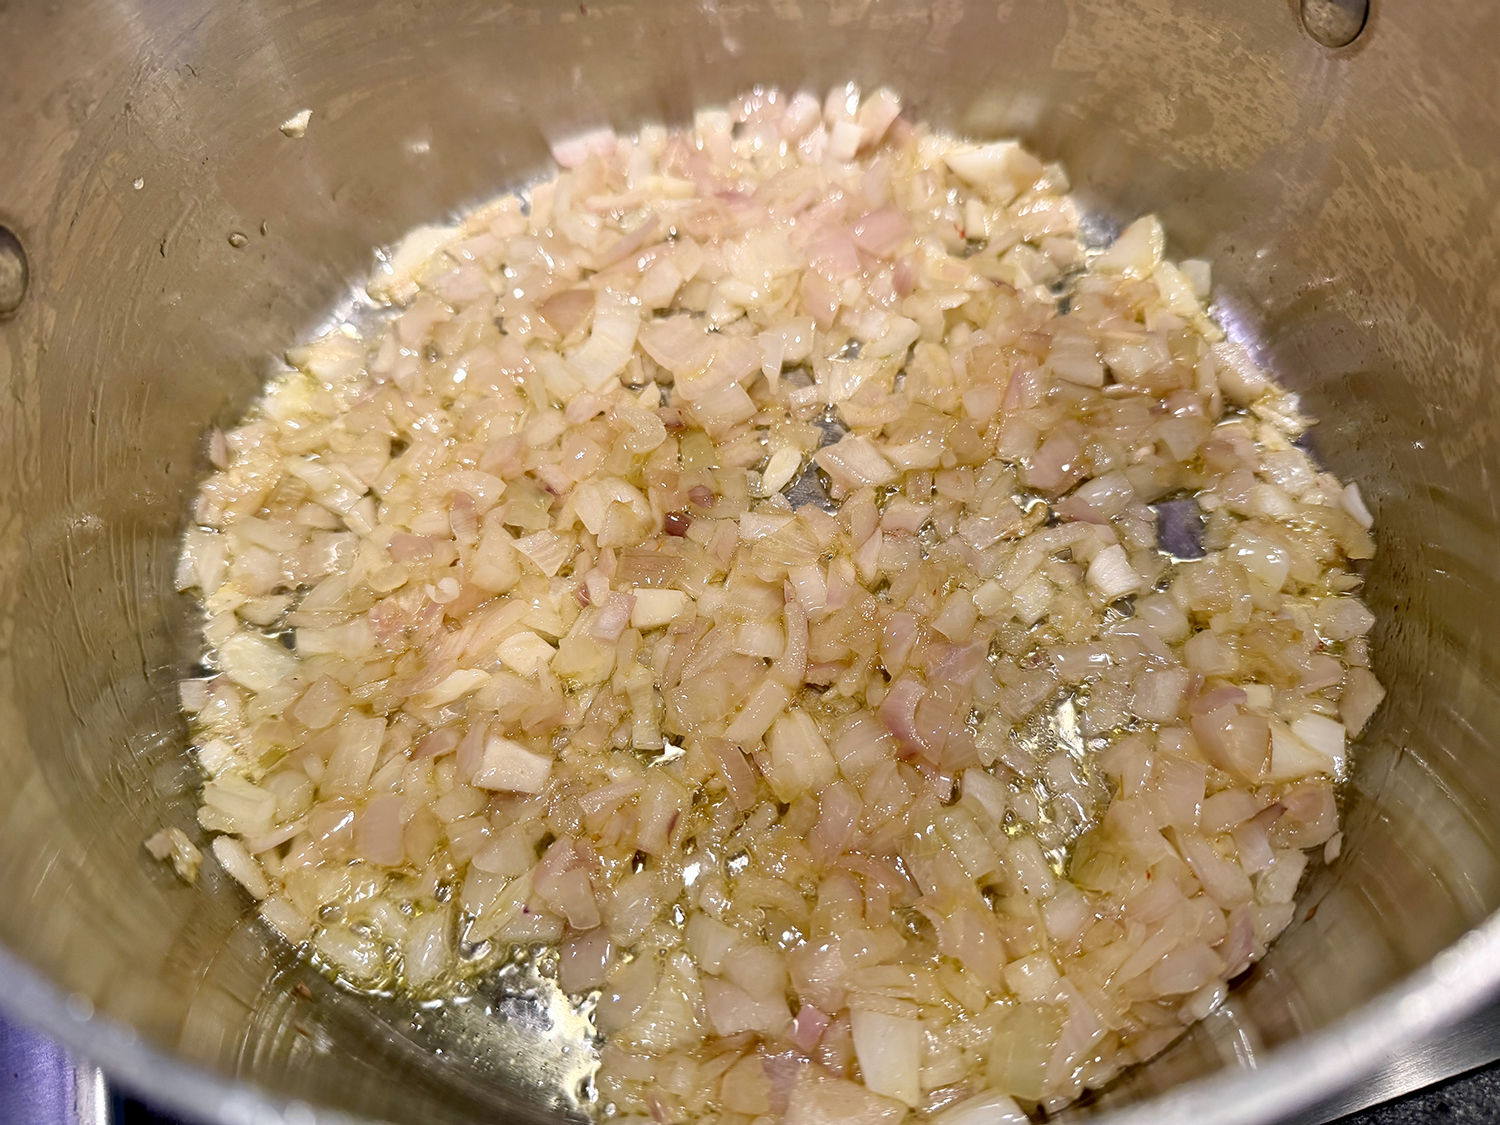
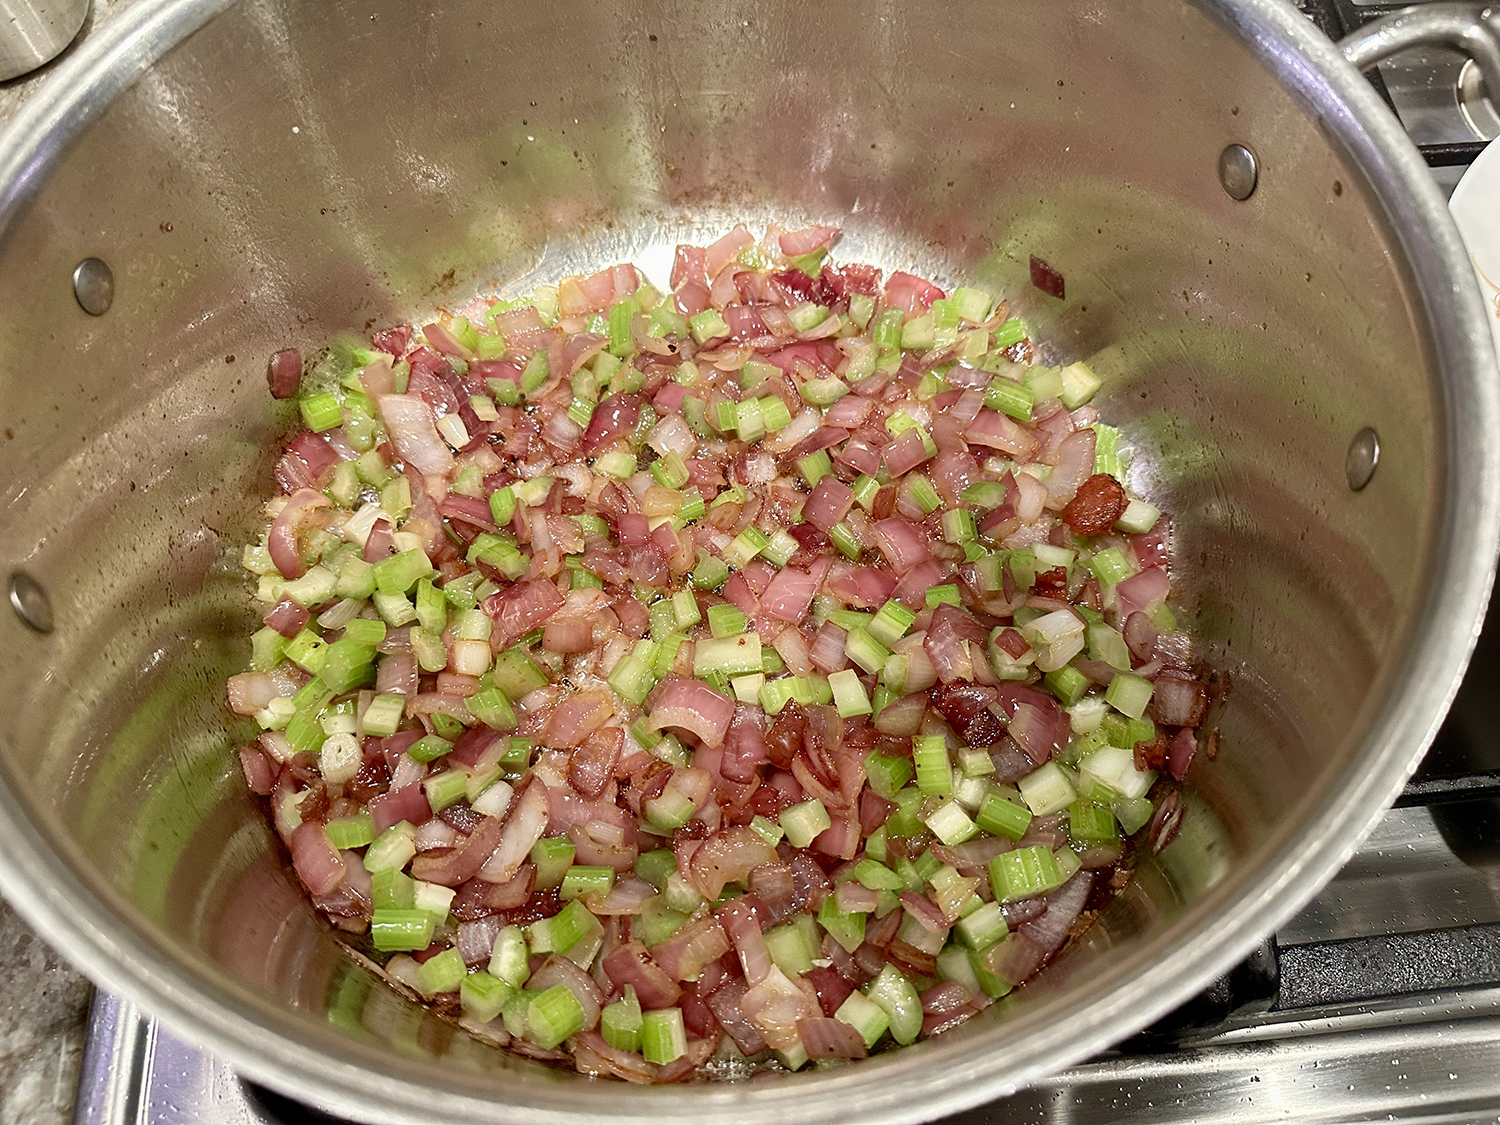
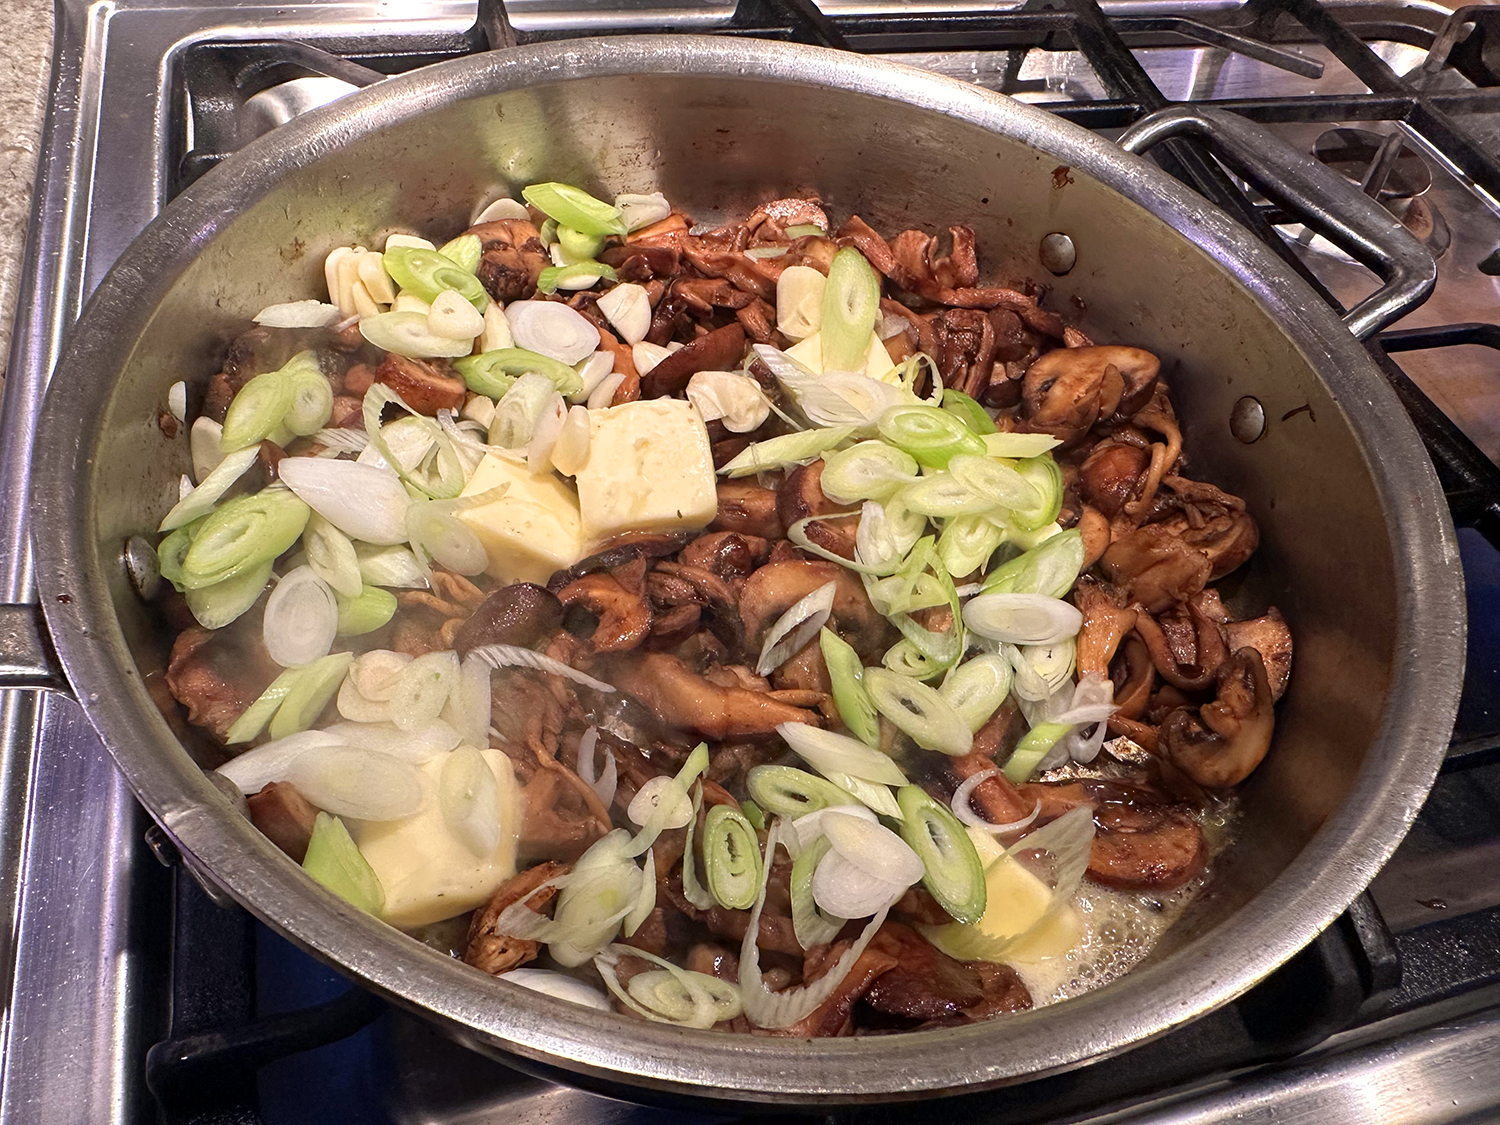
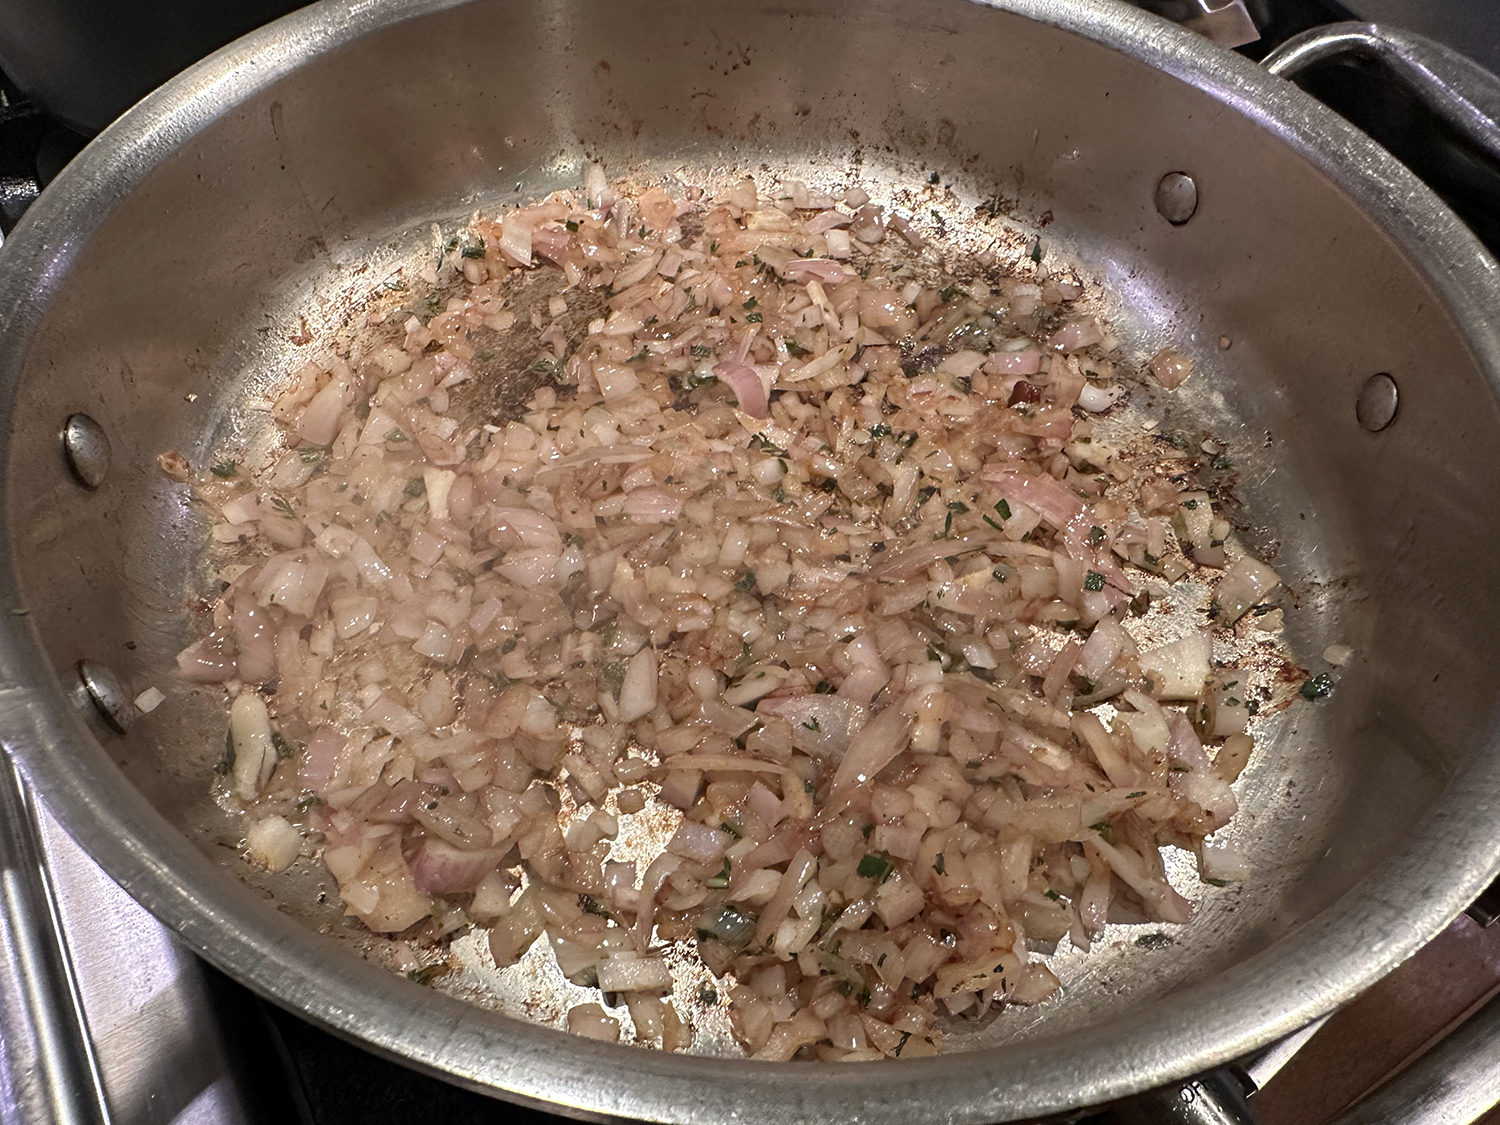
- Melt 2 tablespoons unsalted butter in medium saucepan over medium heat. Add 1 minced large shallot and 1¼ teaspoons table salt; cook, stirring frequently, until shallot is softened but not browned, 3 to 5 minutes.
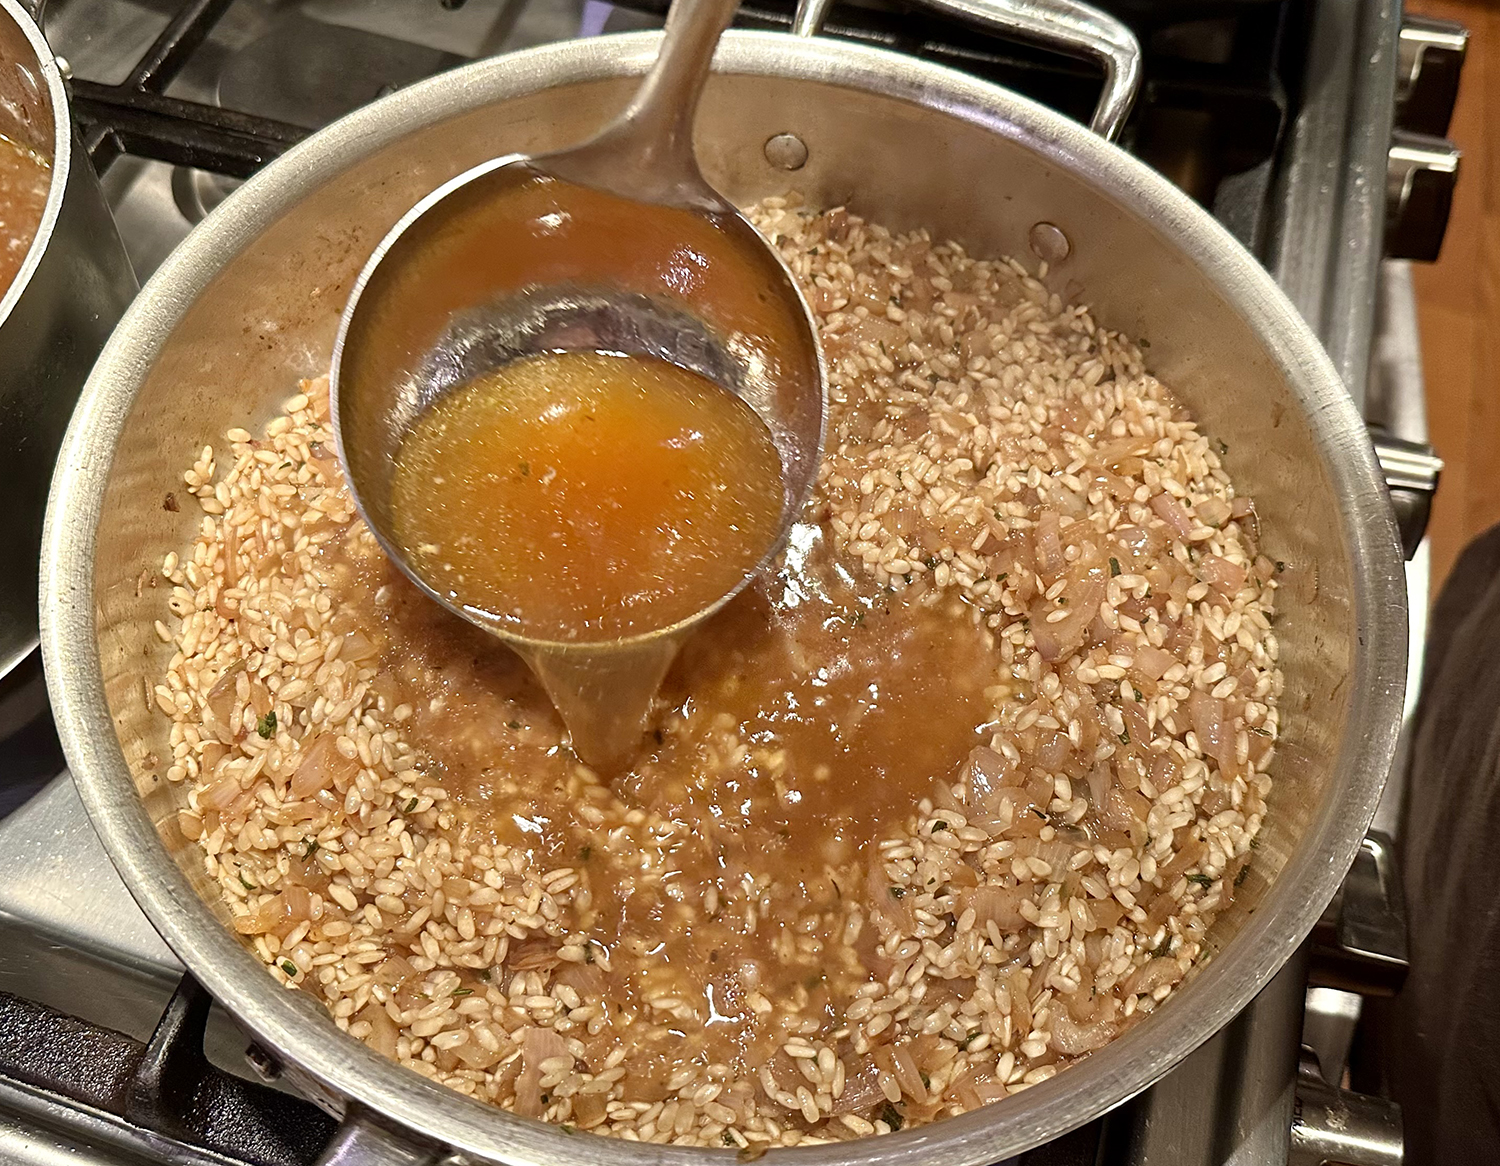
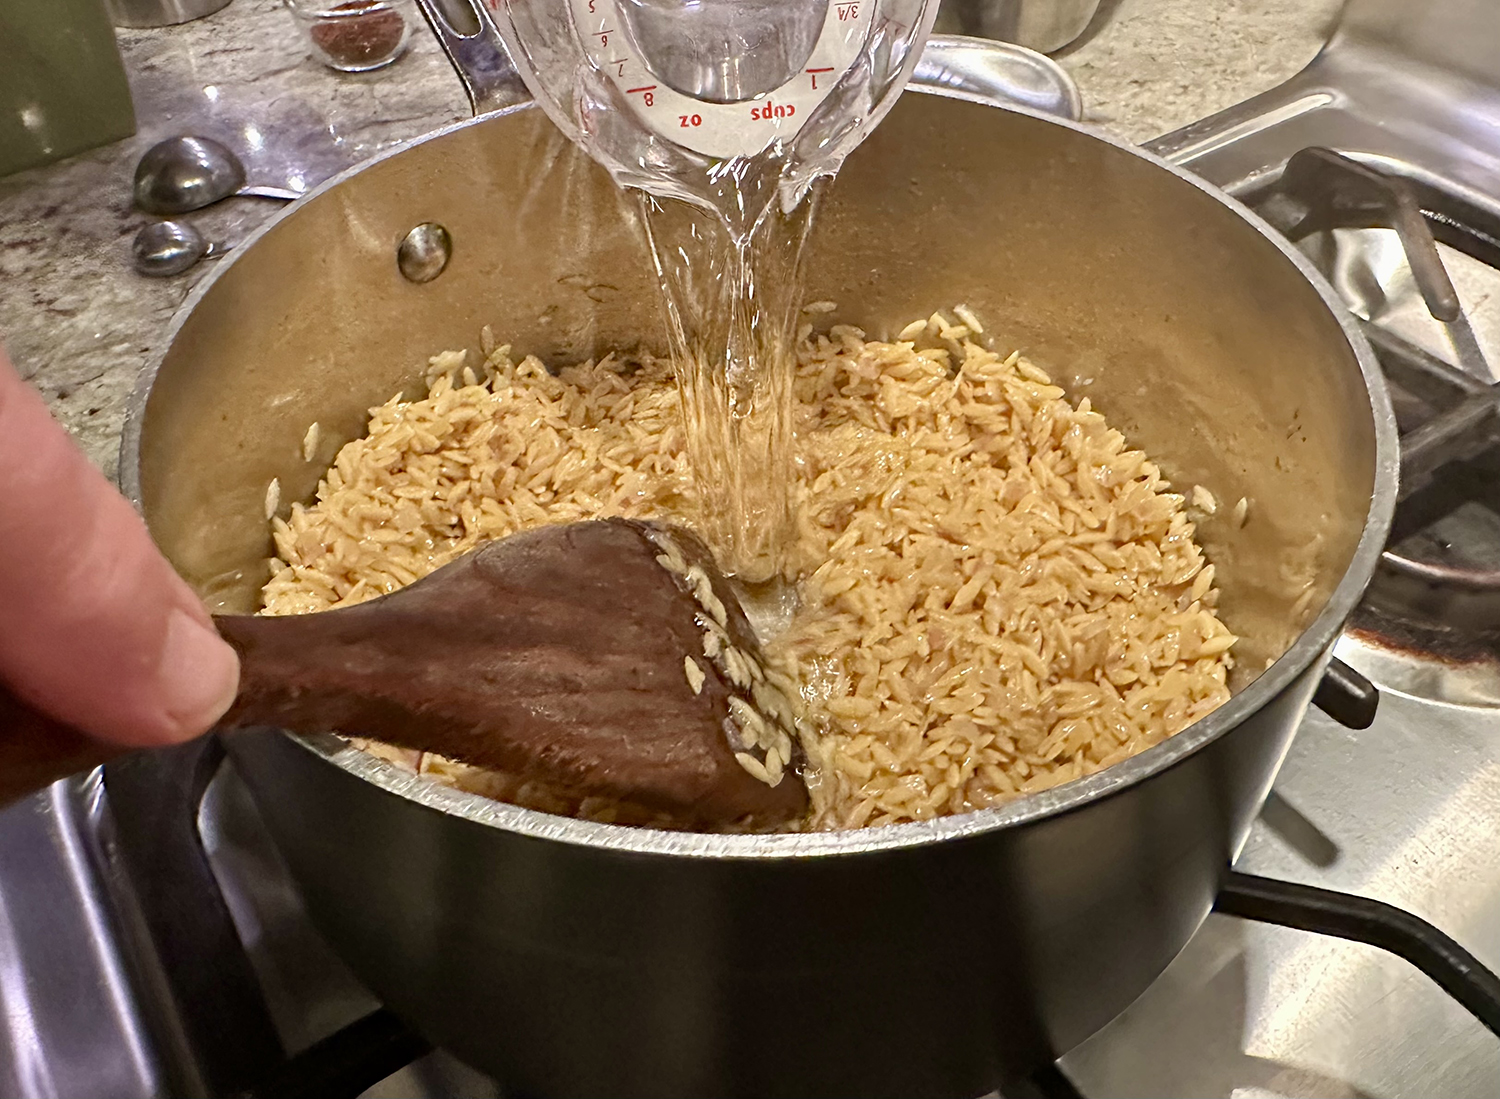
- Add 1 teaspoon minced garlic and ¼ teaspoon saffron threads, crumbled, and cook until fragrant, about 30 seconds. Add 1½ cups orzo and stir until evenly coated. Add ½ cup white wine and cook, stirring constantly, until fully absorbed, about 30 seconds.
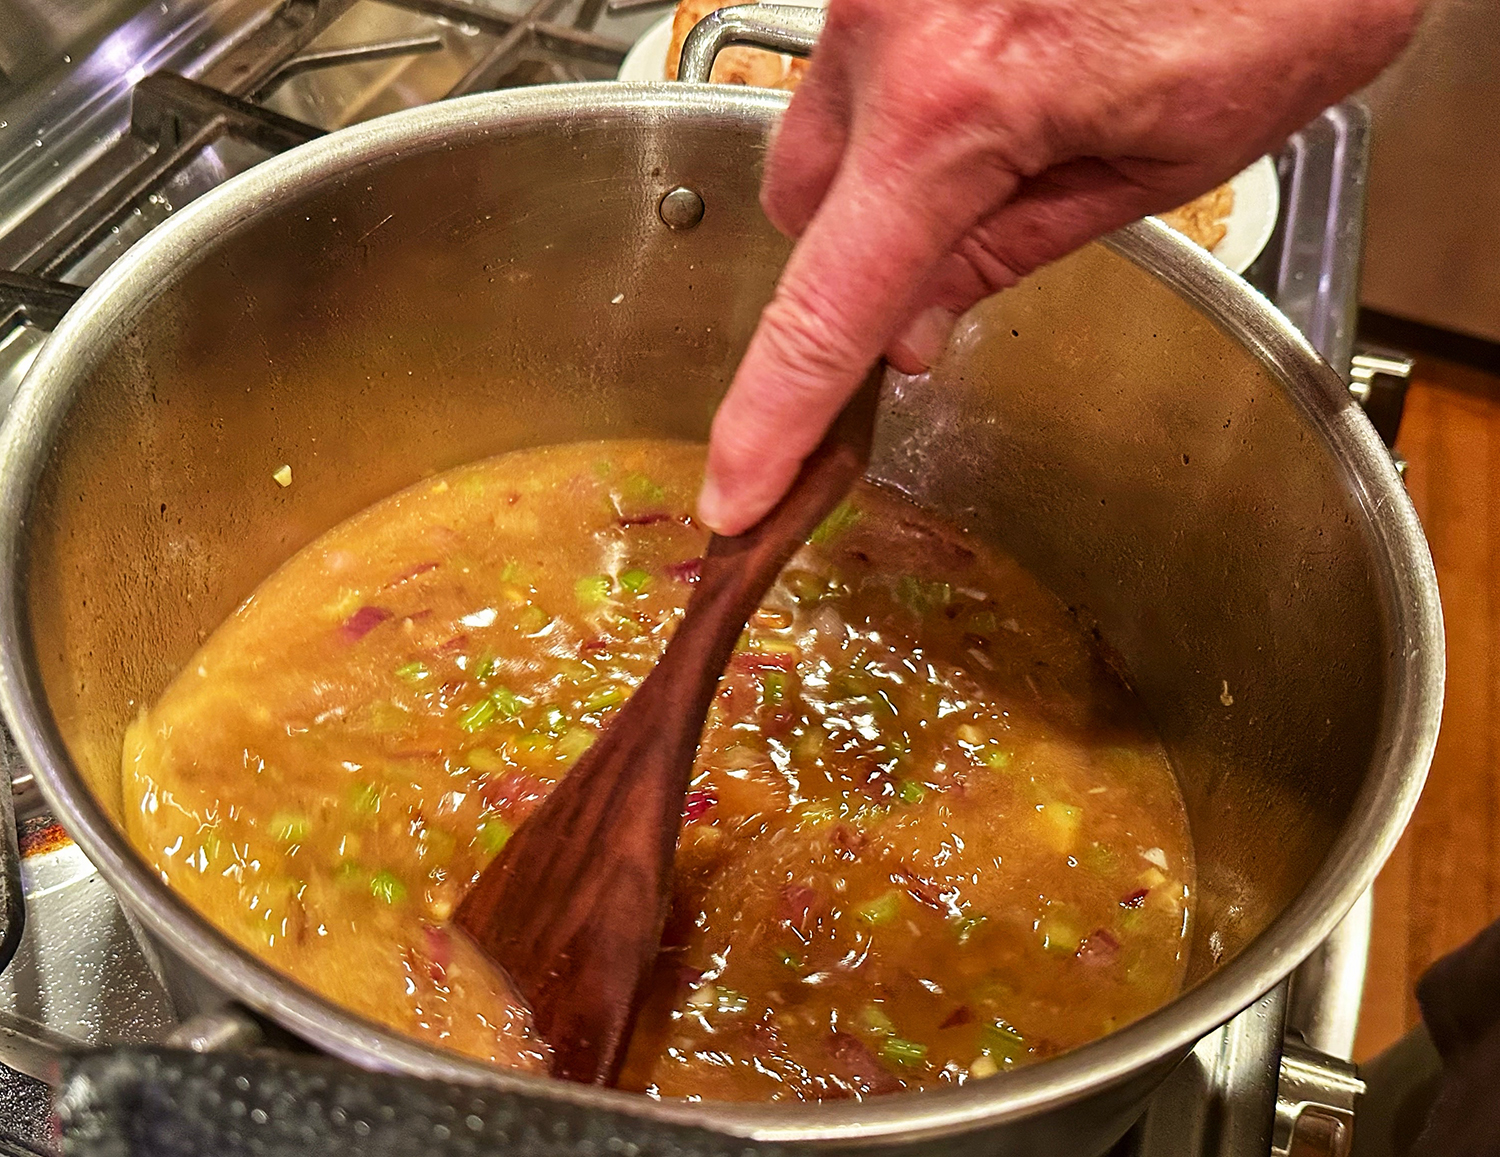
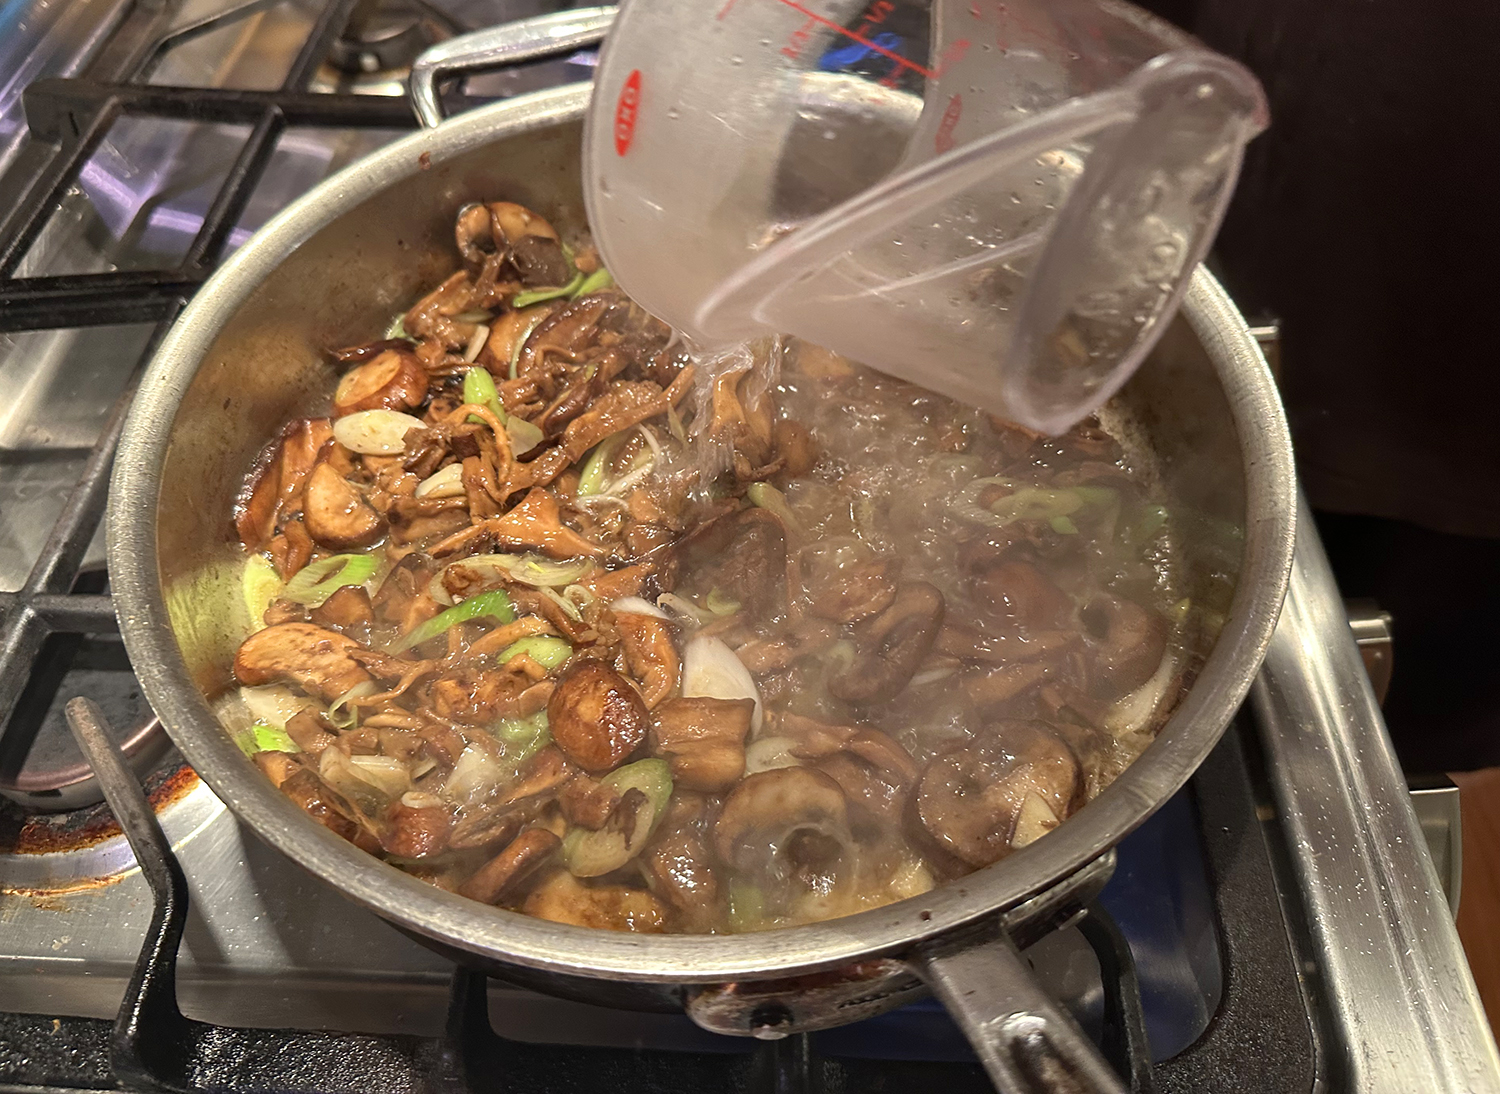
- Stir in water (see head note) and 2 cups chicken broth. Increase heat and bring to boil; reduce heat to maintain vigorous simmer and cook, stirring occasionally, until liquid is reduced and thickened, and orzo is al dente, about 15 minutes (if orzo starts to stick toward end of cooking time, reduce heat and stir more frequently). Stir in lemon zest. Season with salt to taste.
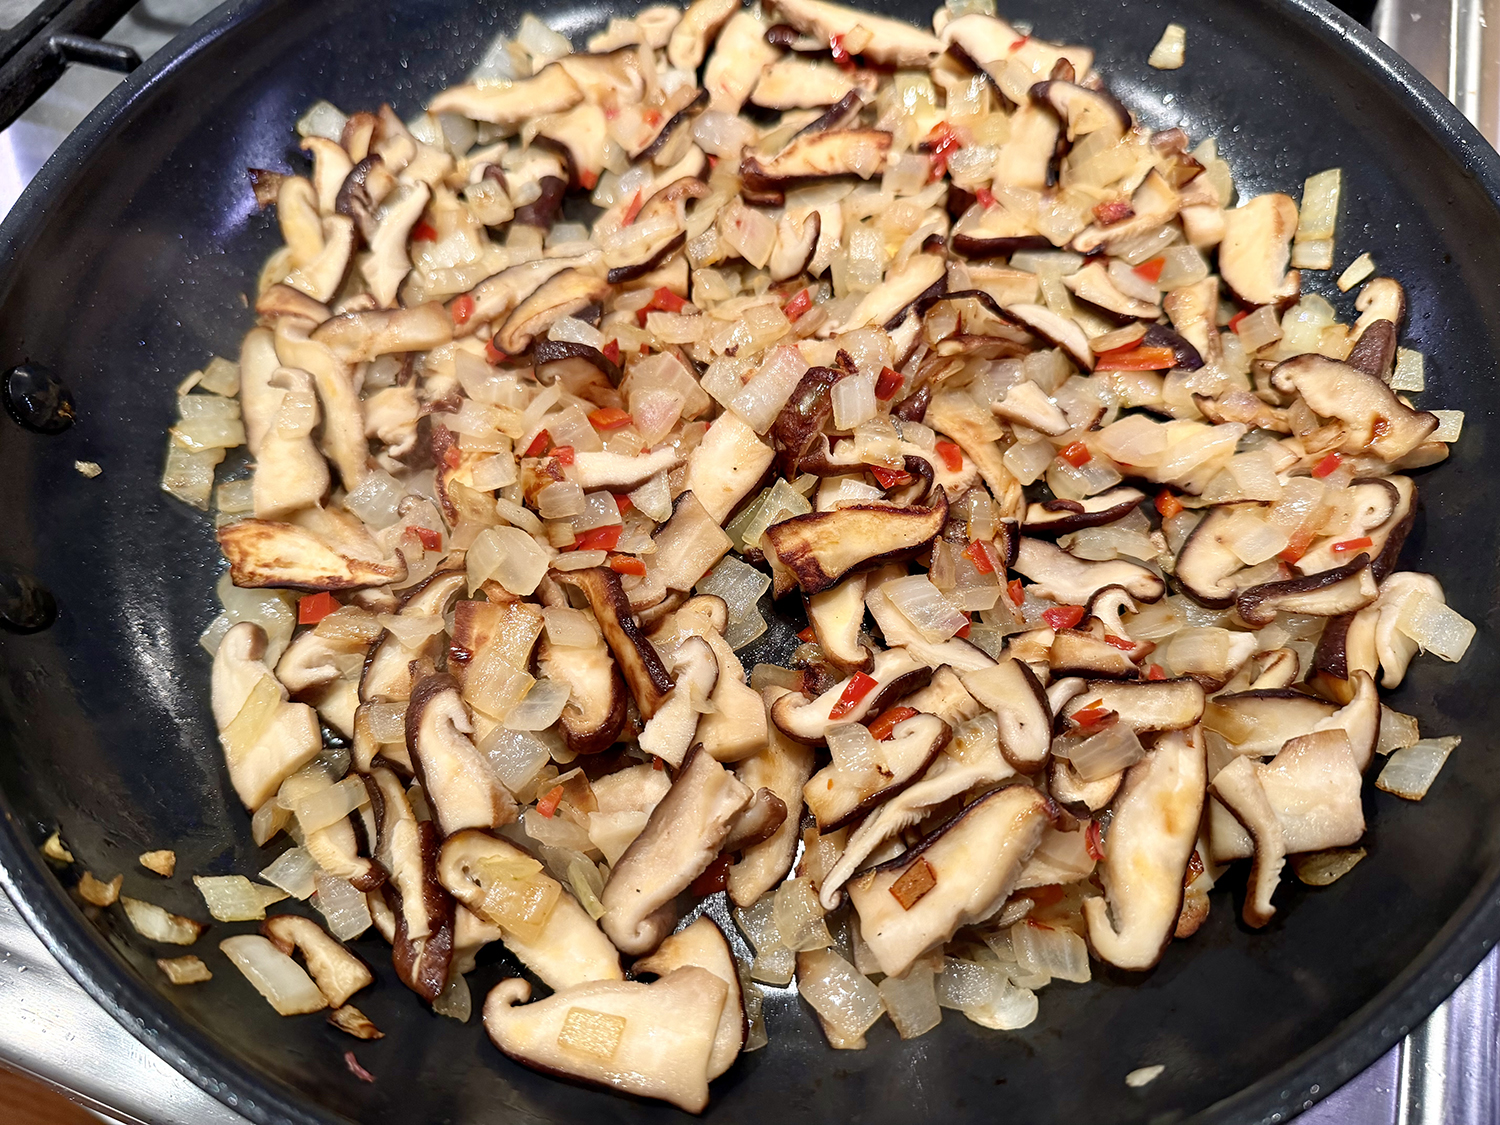
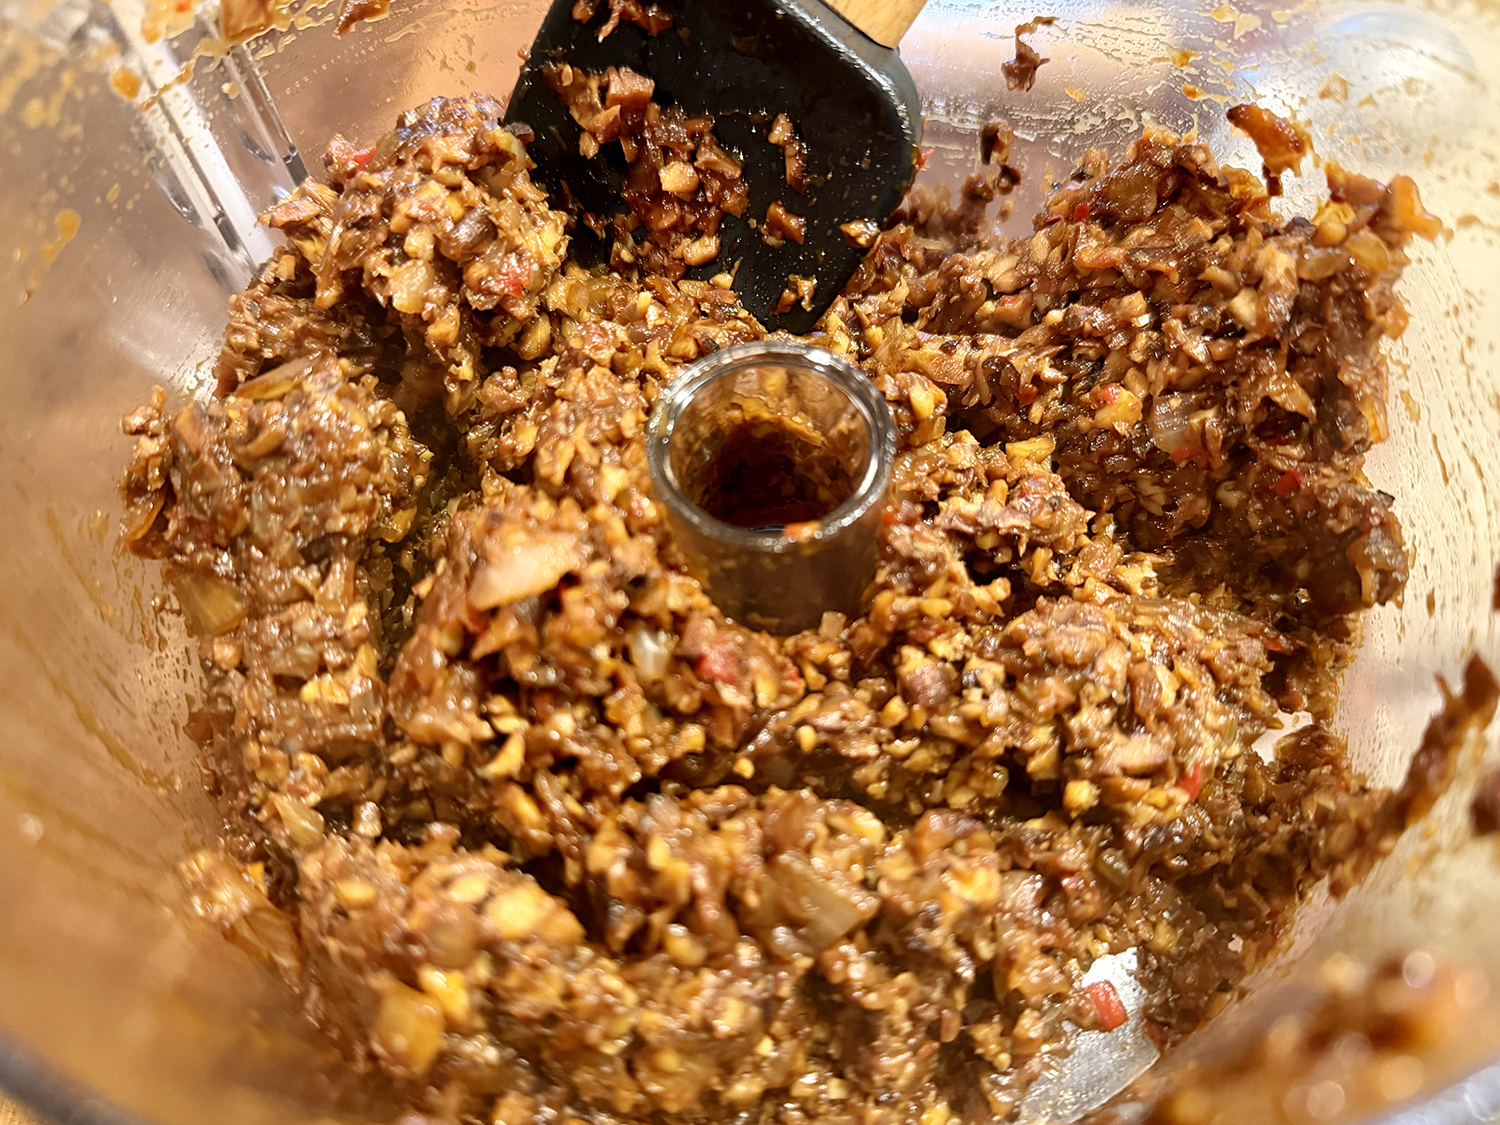
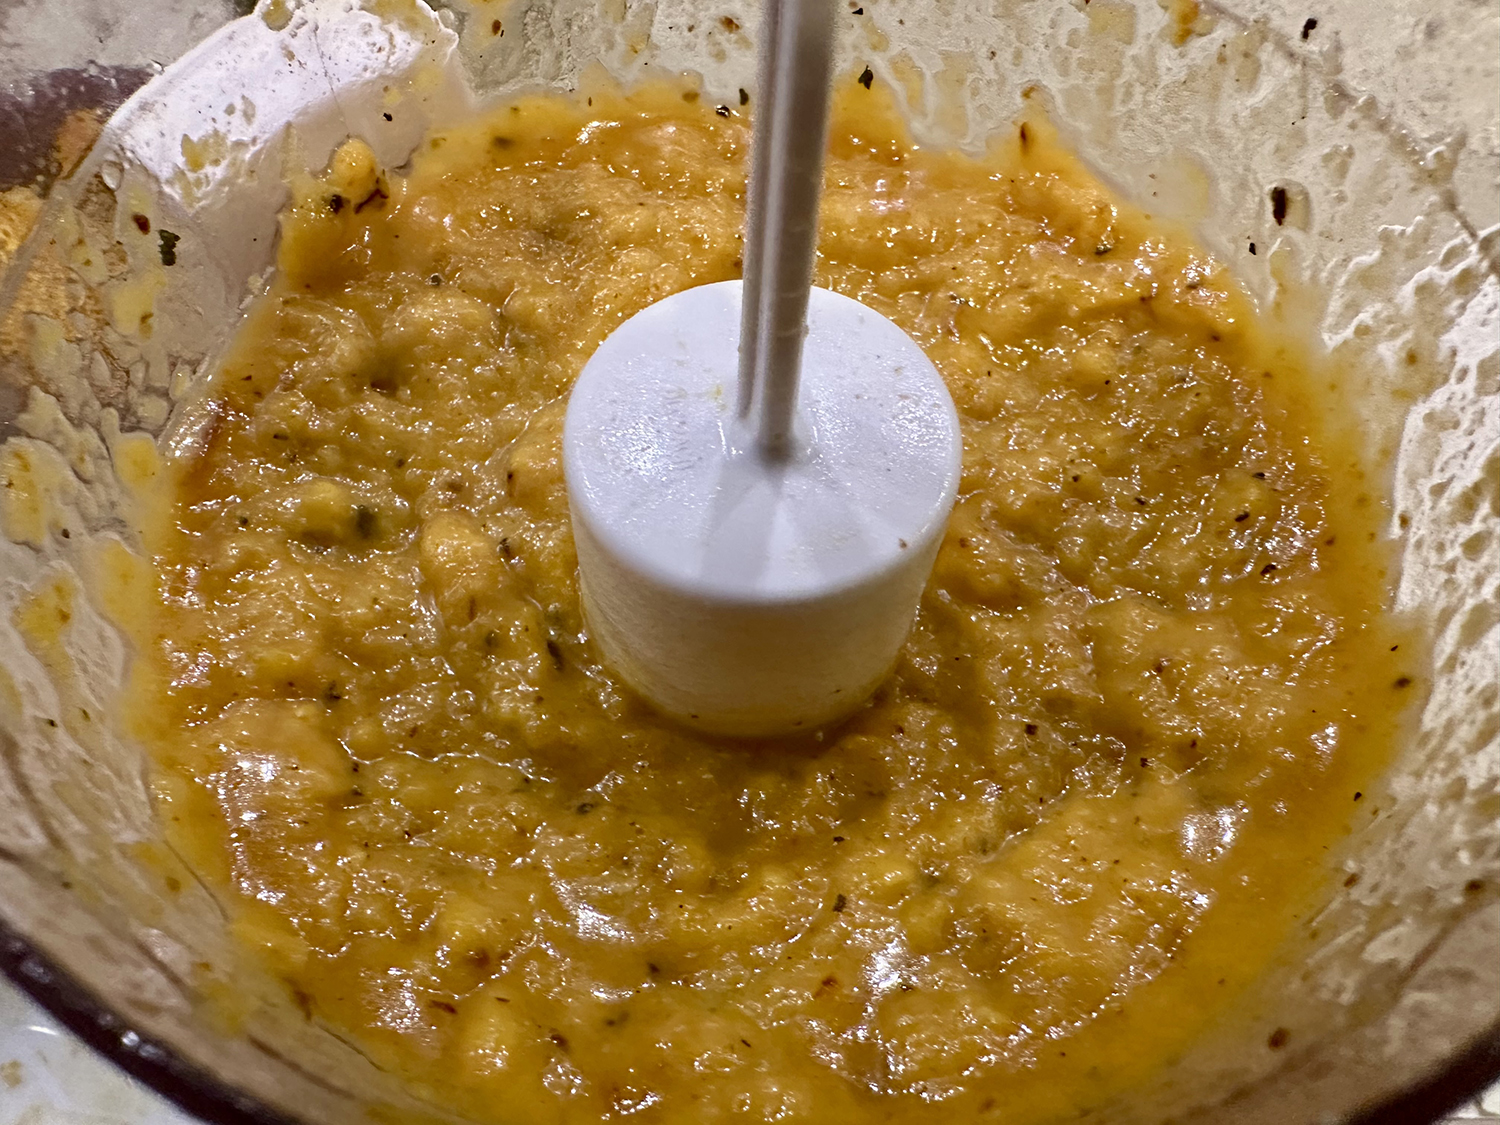
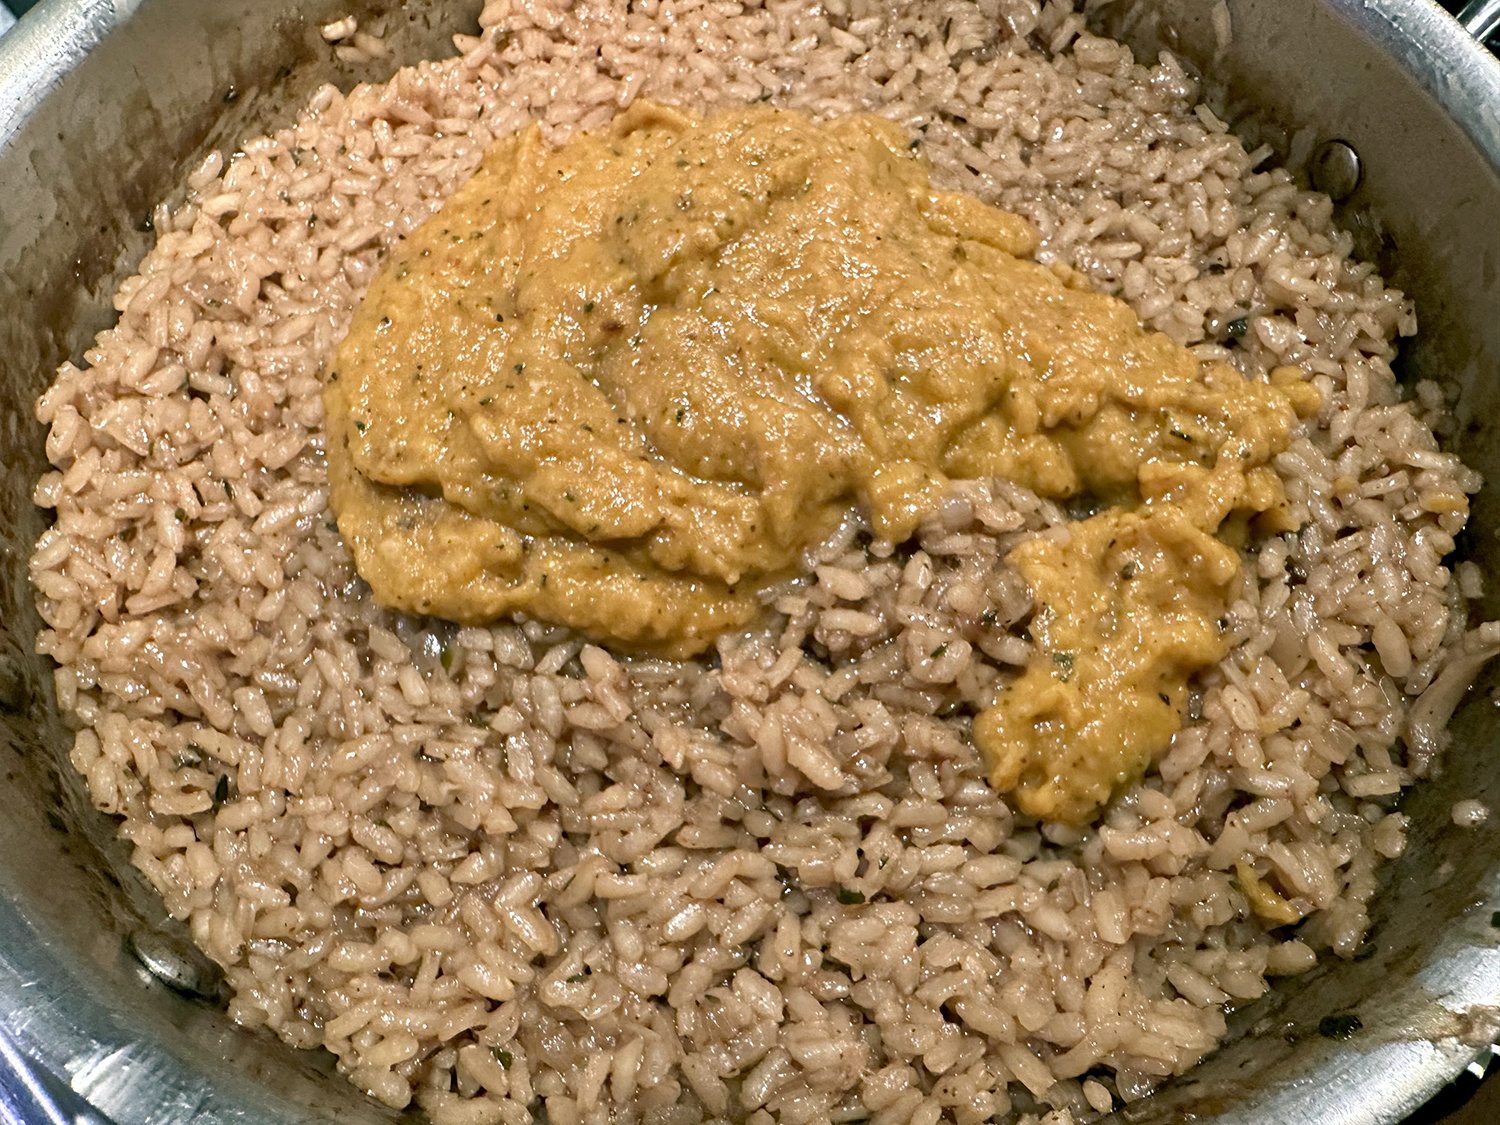
- Meanwhile, melt remaining 4 tablespoons butter in 12-inch nonstick skillet over medium-low heat. Add 1 tablespoon pul biber and remaining 1 tablespoon minced garlic and cook, stirring constantly, until fragrant, about 30 seconds. Stir in 1 tablespoon tomato paste until fully combined. Transfer to small bowl and set aside. Wipe out skillet with paper towel.
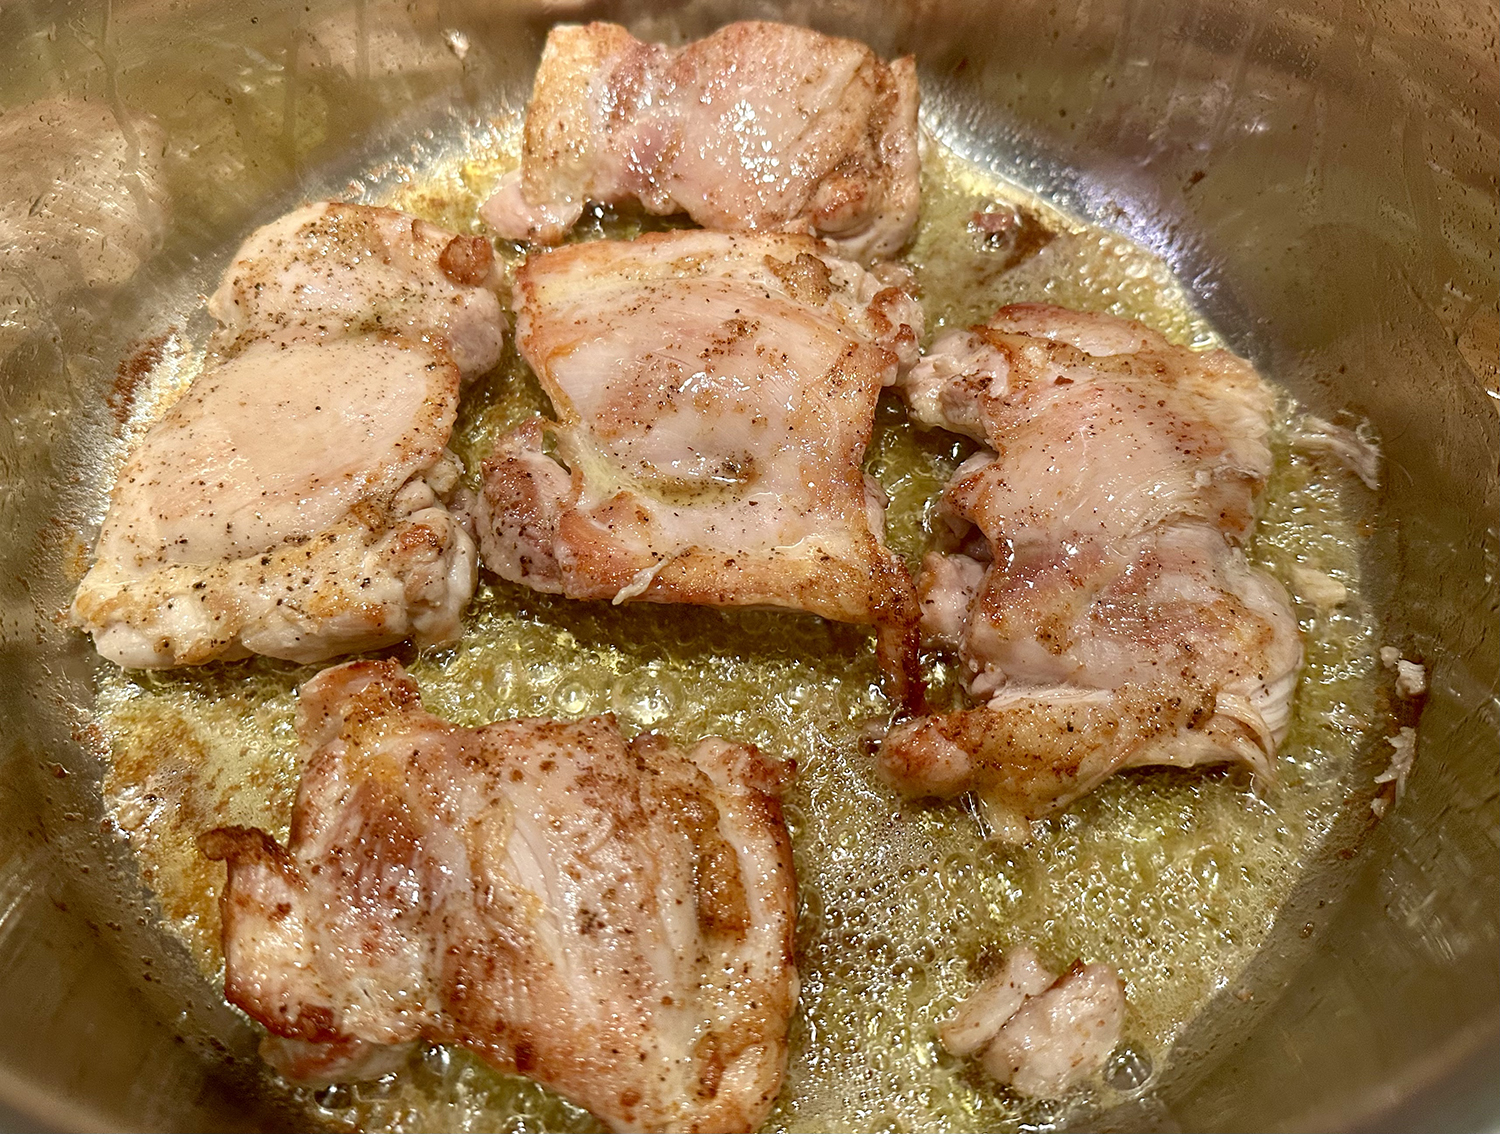
- Pat 1 pound shrimp, peeled, deveined, and tails removed, dry with paper towels. Combine shrimp, 1 teaspoon vegetable oil, and remaining ¼ teaspoon salt in now-empy skillet and toss to coat. Spread into even layer. Cook over high heat until edges turn pink, 3 to 4 minutes. Remove skillet from heat. Working quickly, use tongs to flip each shrimp. Let stand until second side is opaque, about 2 minutes. Add butter mixture to skillet and stir until shrimp is coated.
- Transfer orzo to wide serving bowl. Top with shrimp; sprinkle with 3 tablespoons chopped mint; and serve, passing lemon wedges separately.
Recipe by Andrea Geary for Cook’s Illustrated