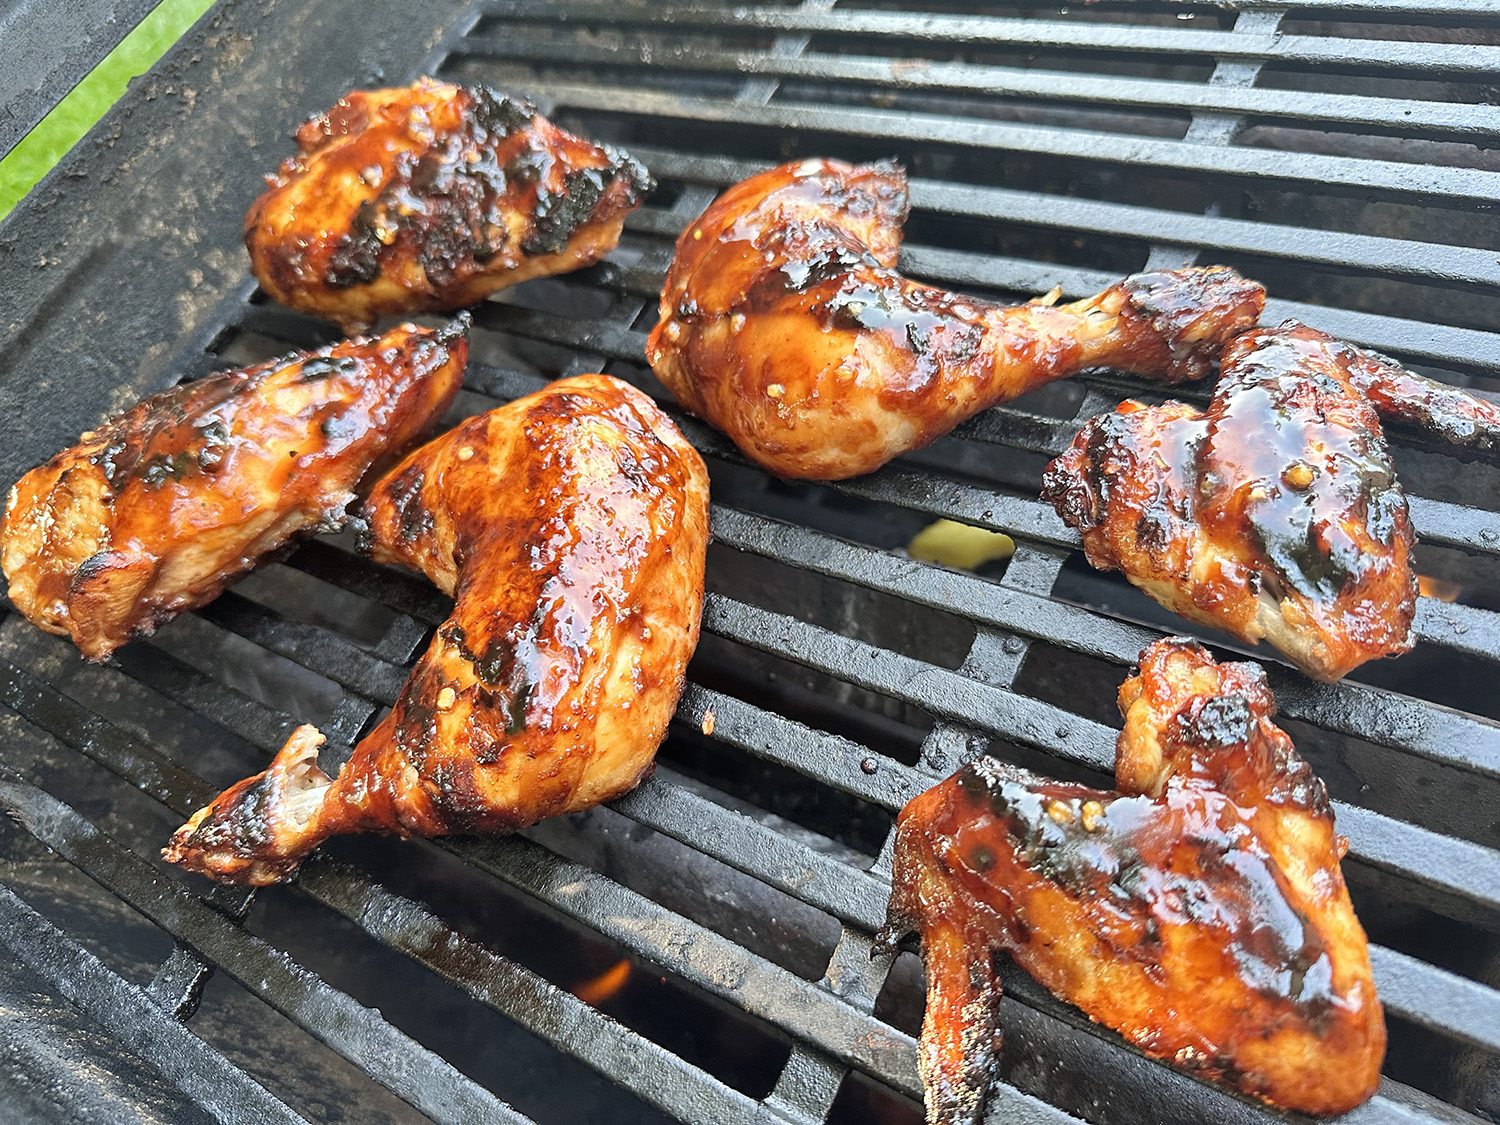
Here, ‘tandoori’ refers to the yogurt-based, aromatically spiced marinade that can be used on grilled, broiled, or baked meat. You can adjust the spices to your own personal preferences. Serve with flatbread or rice and cilantro chutney (recipe below).
It becomes an easy weeknight meal if you prep the lamb in the marinade the night before.

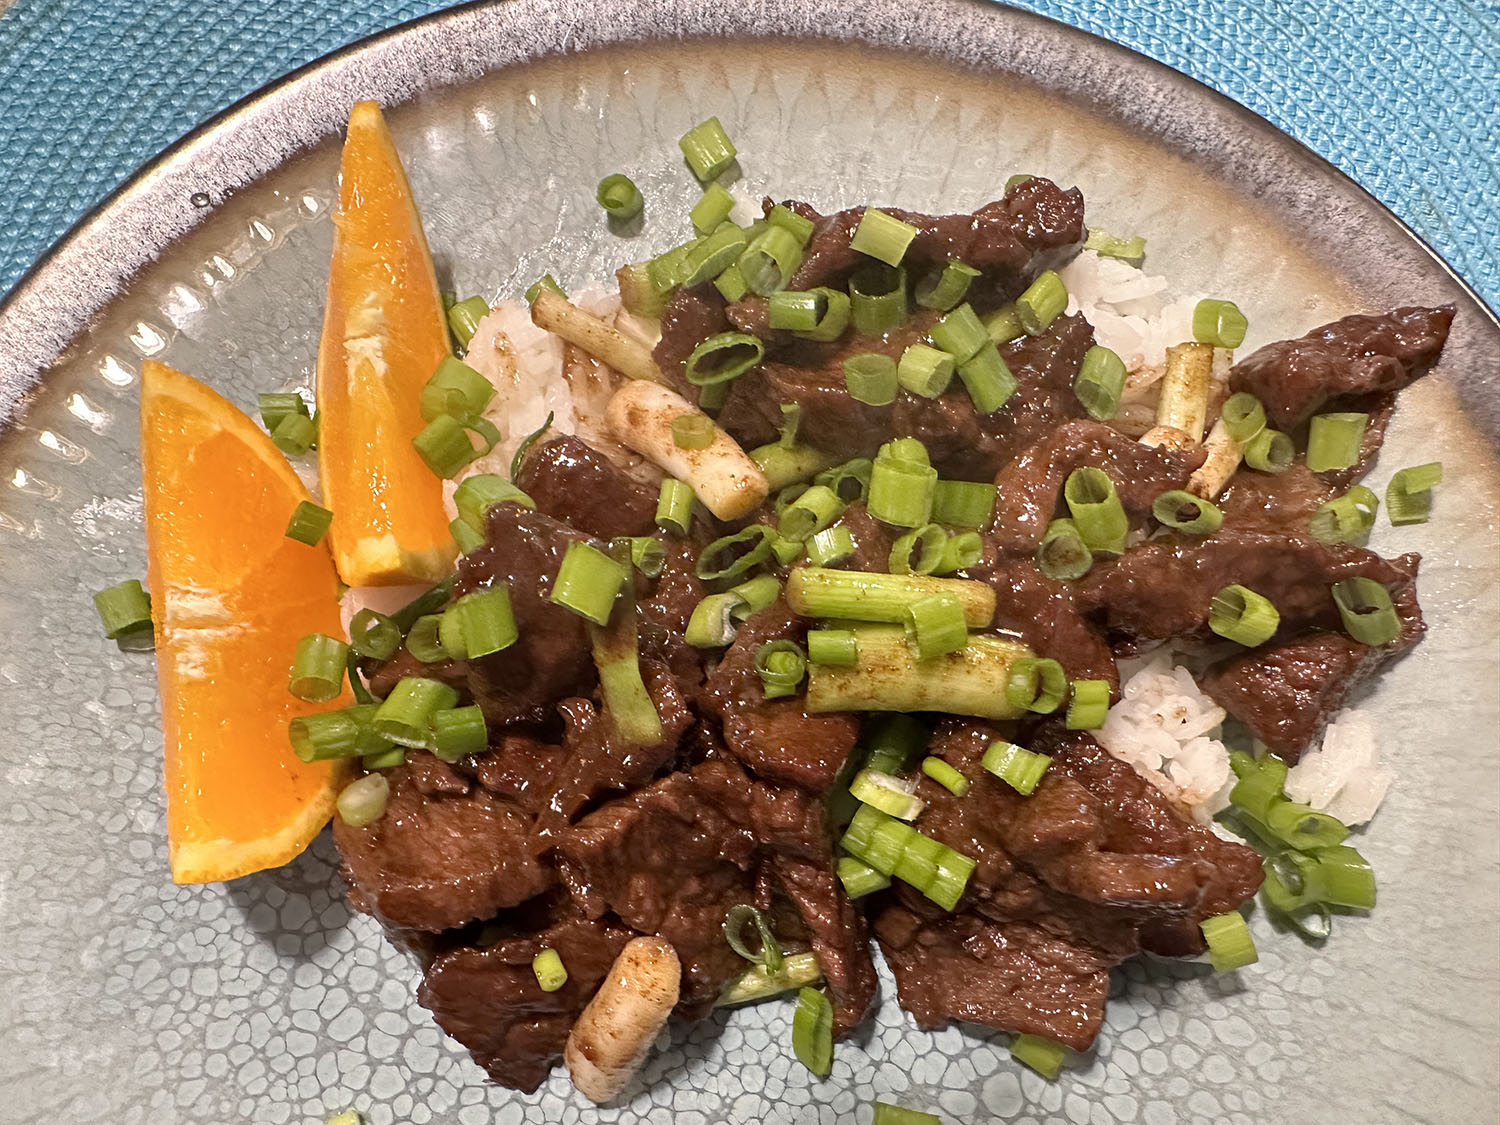
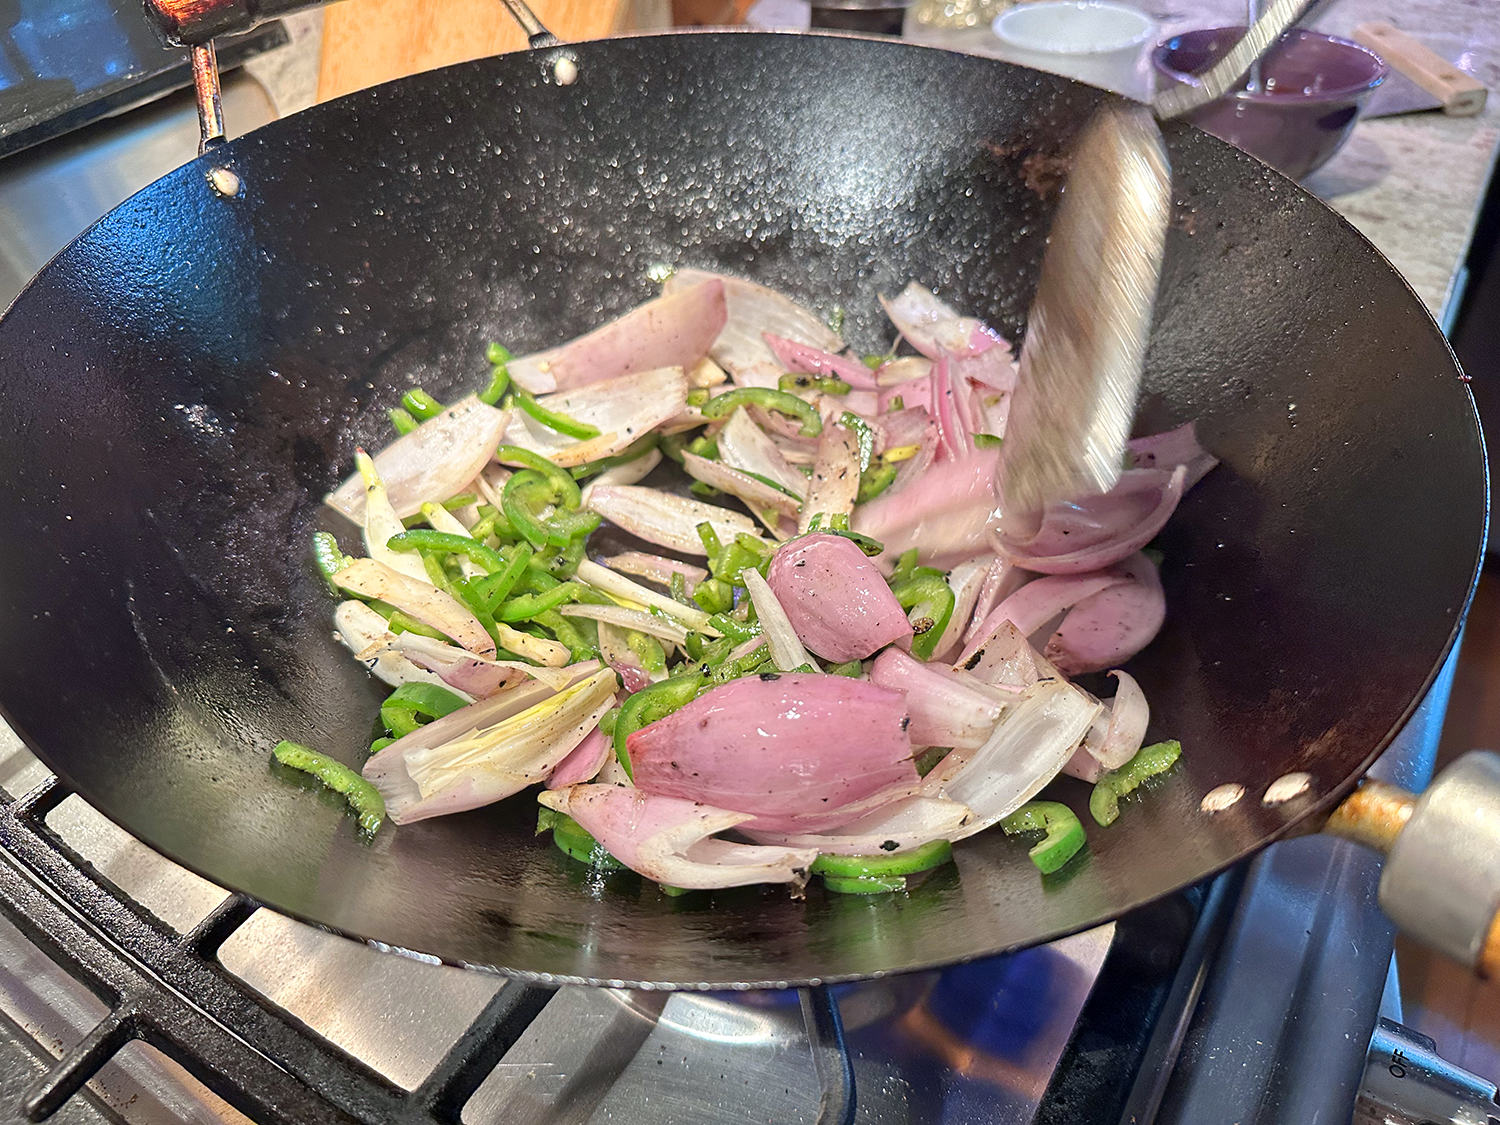
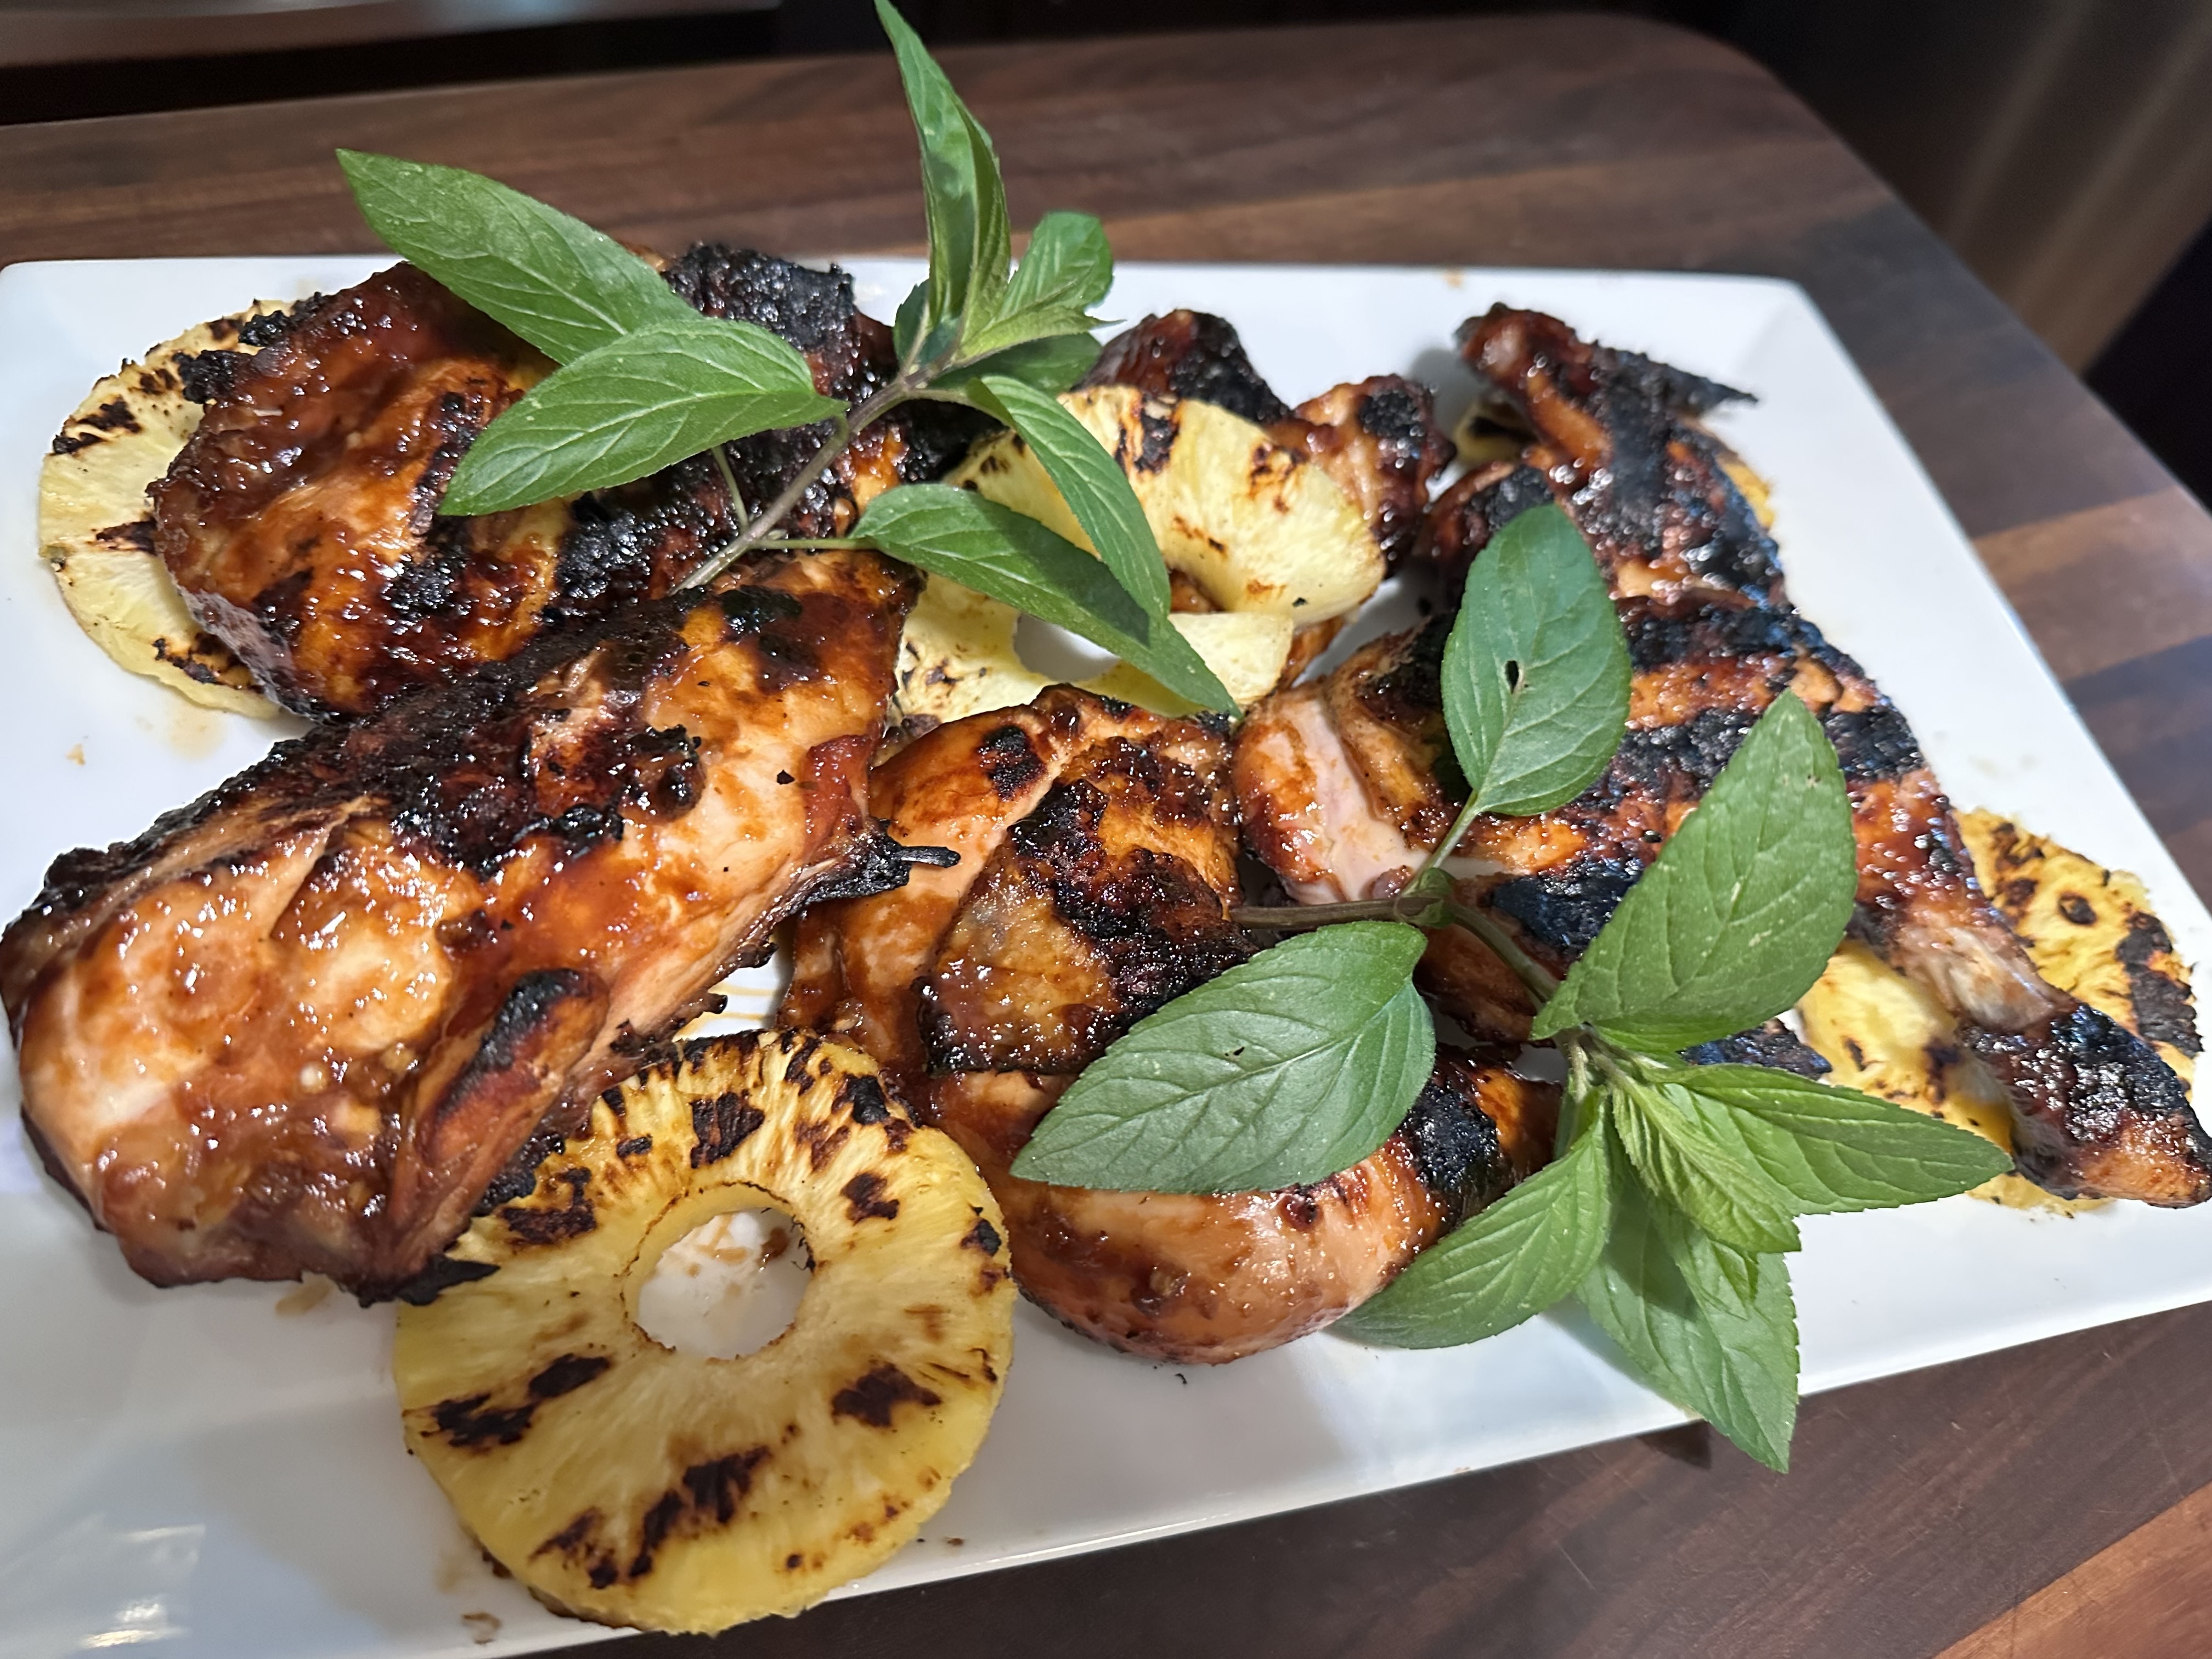
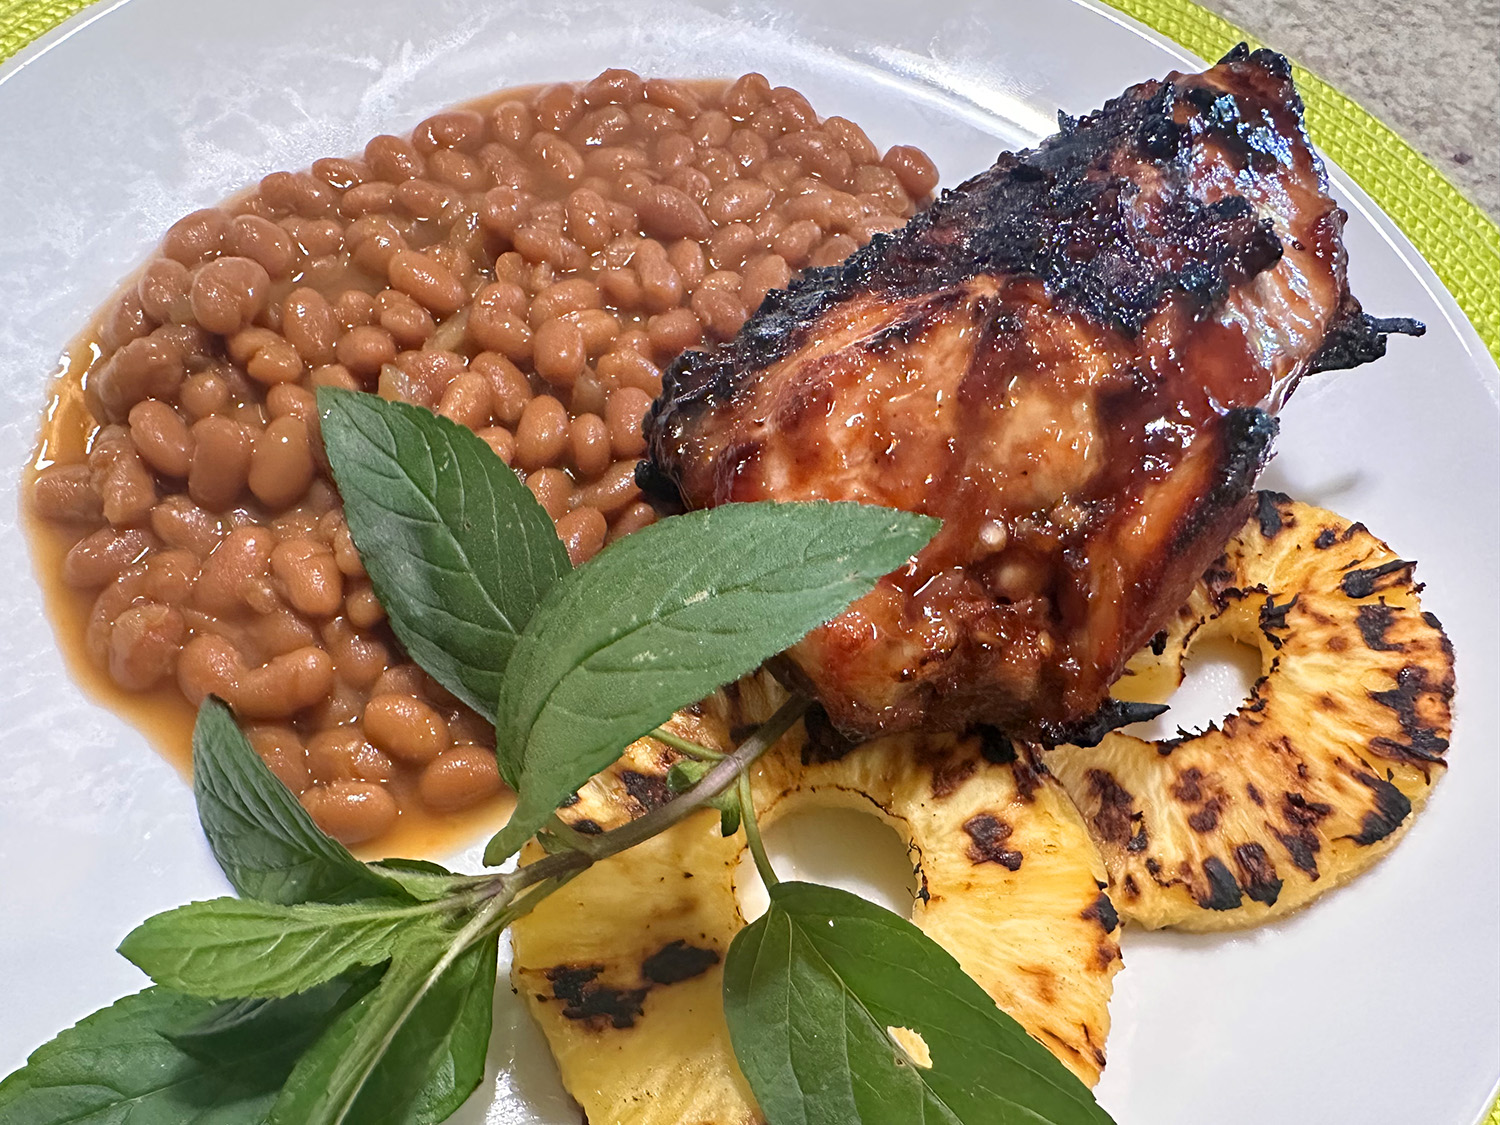
As a side, you may want to pair the lamb with steamed rice, red onion slices, and or grape tomatoes for a pop of color. Since fresh corn was available, we opted for that as our starch. Although optional, the cilantro chutney also adds additional color and a welcome fresh, citrusy taste.

Grilled Tandoori Lamb with Cilantro Chutney
Ingredients
- 1 cup plain yogurt
- ½ cup lemon juice
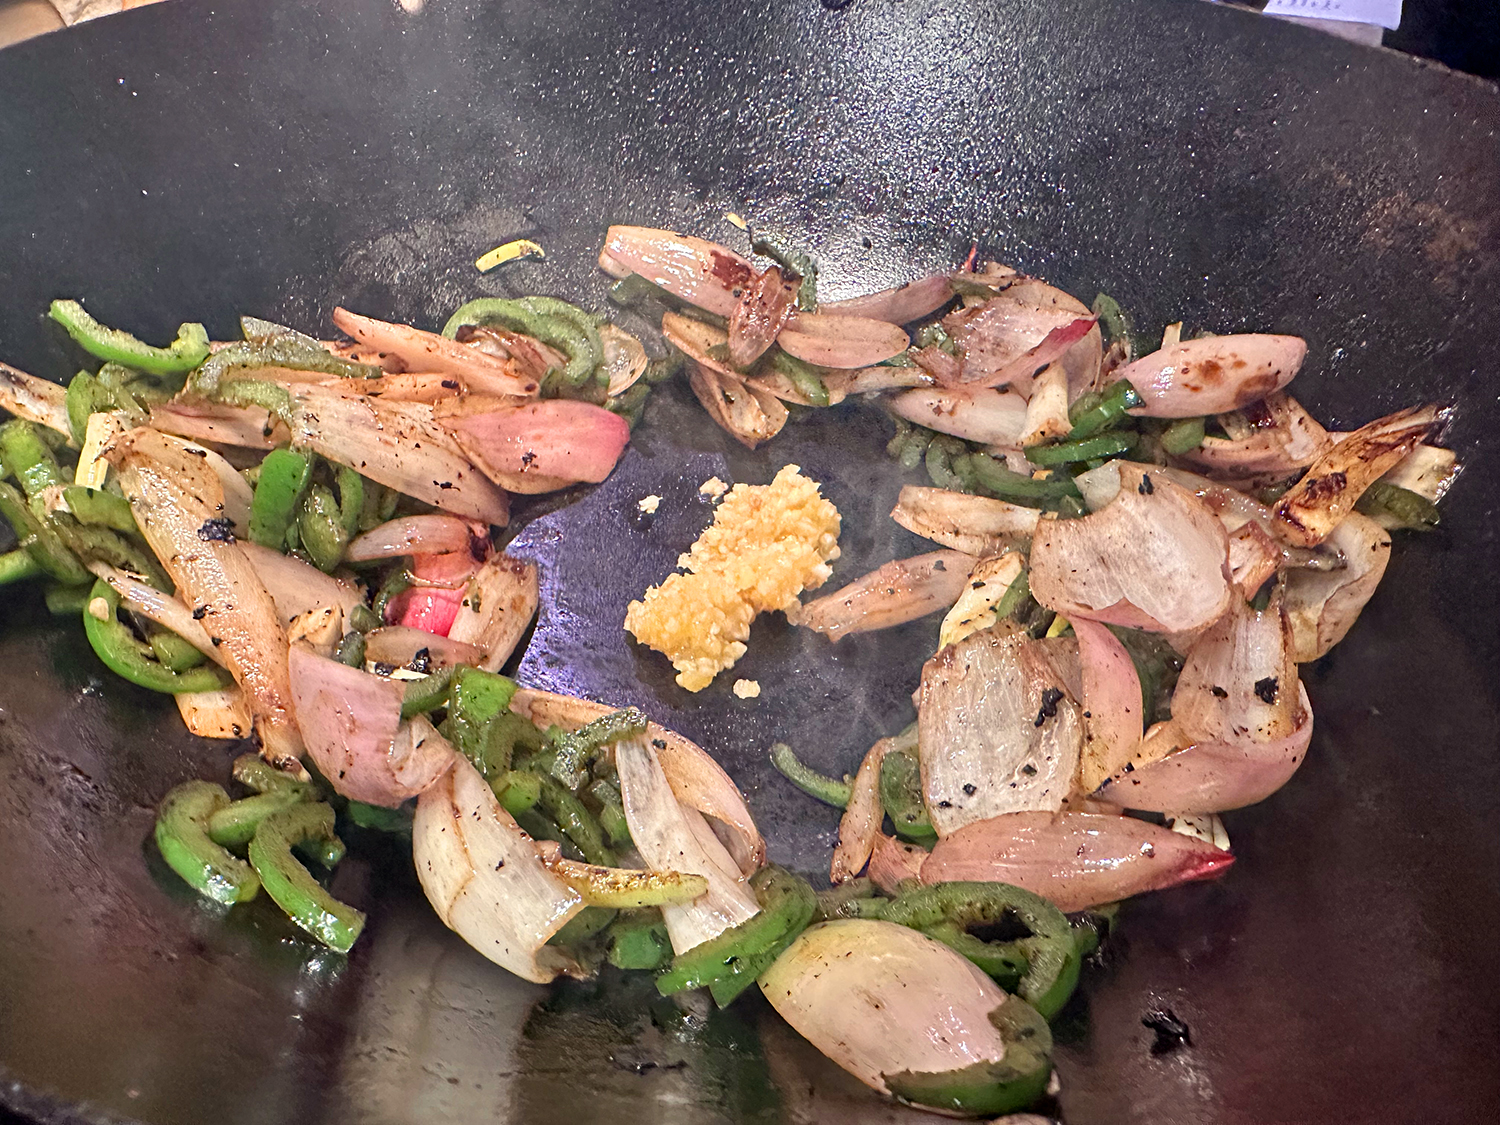
- ¼ cup finely minced onion
- 2 cloves crushed garlic
- 1 Tbsp. freshly grated ginger
- 2 tsp. garam masala
- 2 tsp. paprika
- 1 tsp. ground cumin
- ½ tsp. turmeric powder
- ½ tsp. cayenne pepper
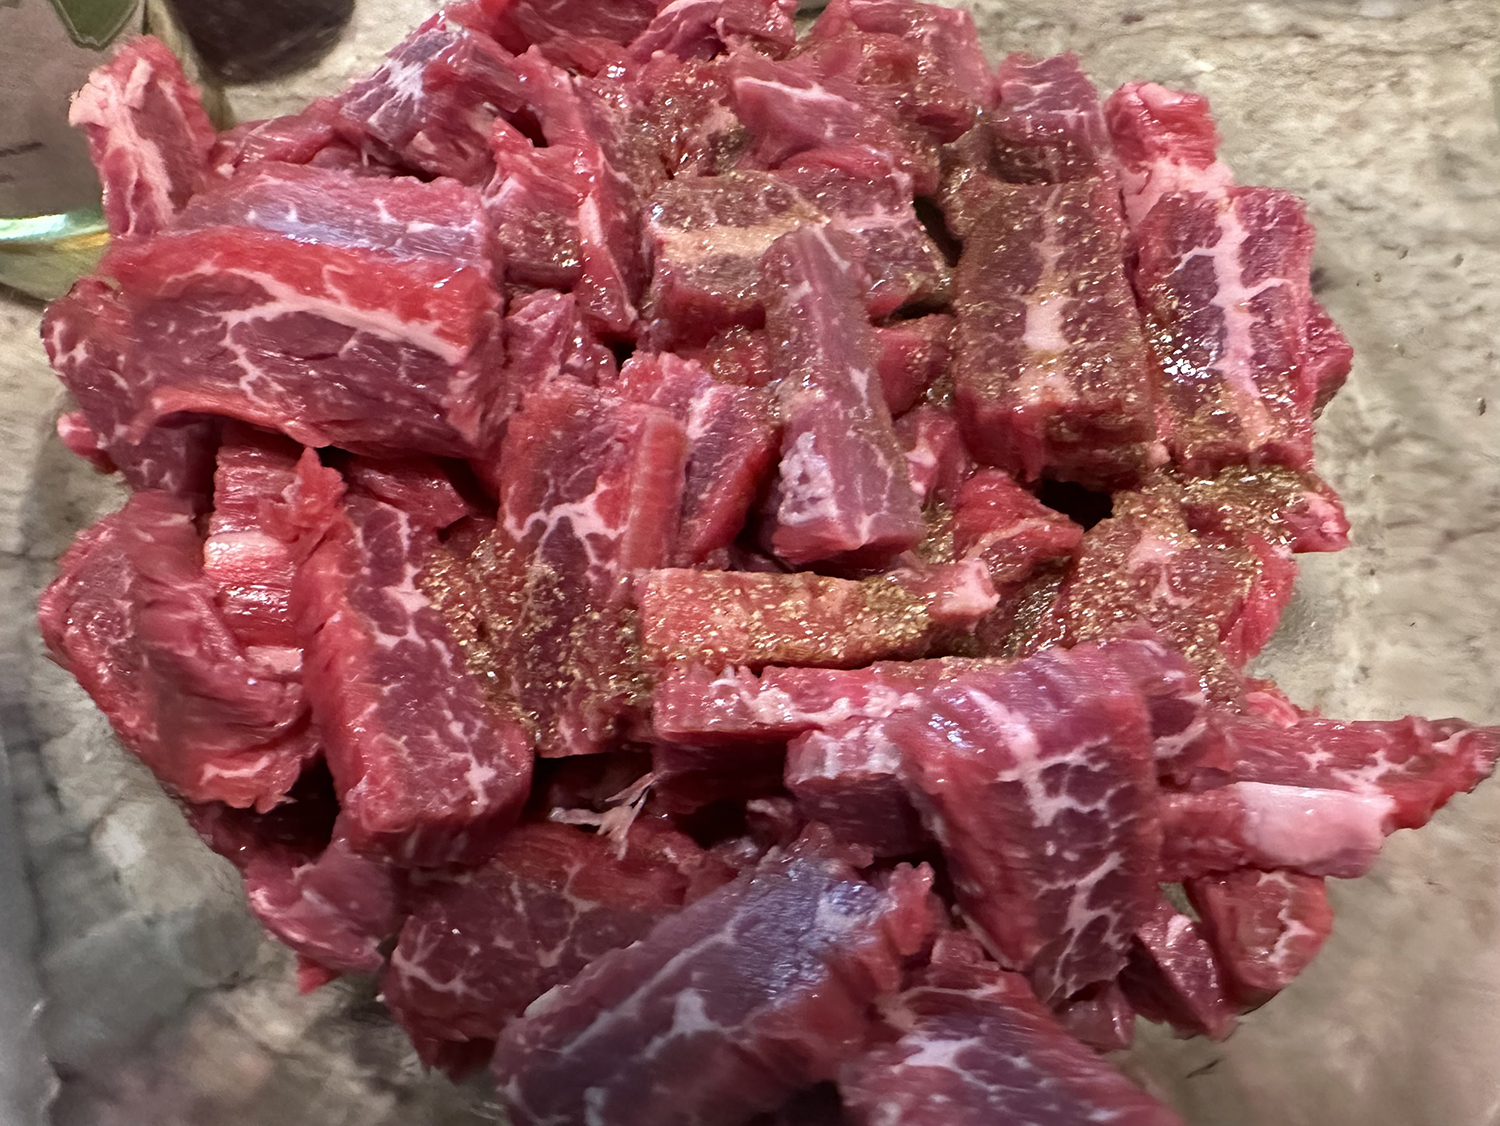
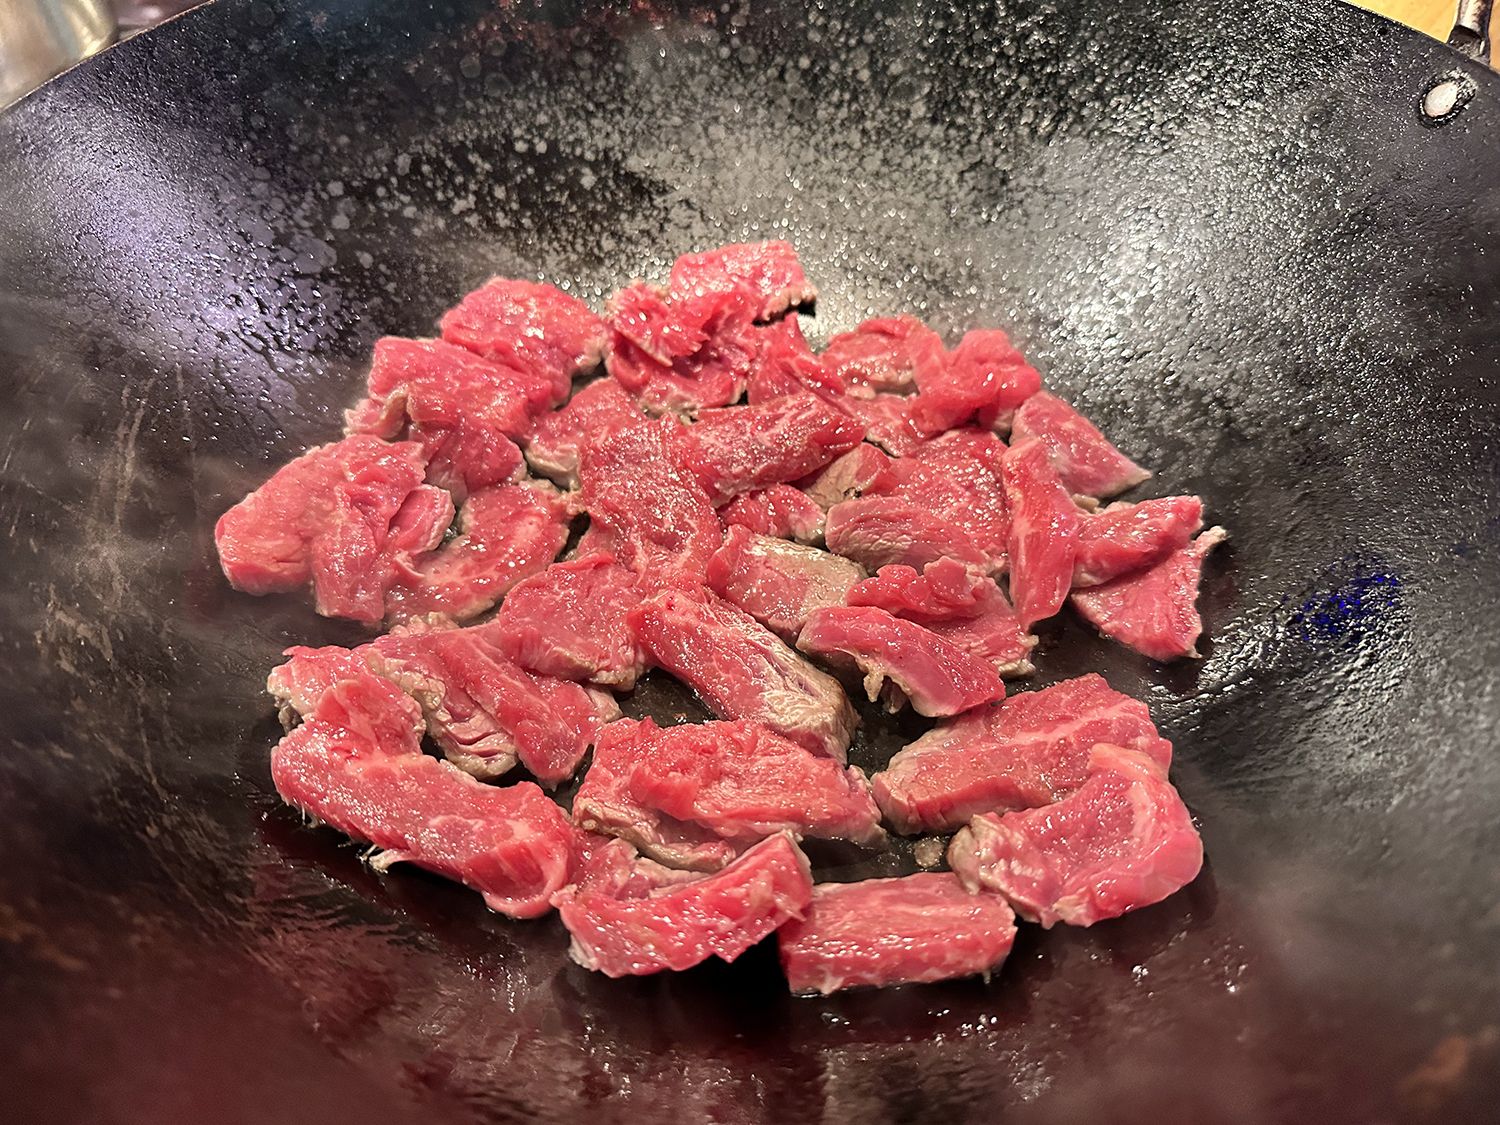
- 2 lbs. boneless lamb shoulder, cut into 2 inch pieces
- 2 tsp. kosher salt, divided
- 1 Tbsp. vegetable oil
- ½ cup chopped cilantro
- 4 small fresh lemon wedges


Directions
- Whisk yogurt, lemon juice, onion, garlic, ginger, garam masala, paprika, cumin, turmeric, and cayenne pepper together in a bowl until combined.
- Toss lamb and salt into marinade; mix until lamb pieces are coated evenly. Cover mixture with plastic wrap and refrigerate overnight, or at least 4 hours.
- Skewer lamb pieces so they barely touch. Wipe off excess marinade with a paper towel. Brush with vegetable oil and sprinkle with salt.
- Preheat grill for medium heat and lightly oil the grate.
- Grill skewers on medium heat until lamb springs back to the touch, about 5 to 7 minutes on each side.
- Garnish with red onions, lemon wedges, and chopped cilantro as desired.
Recipe courtesy of allrecipes.com
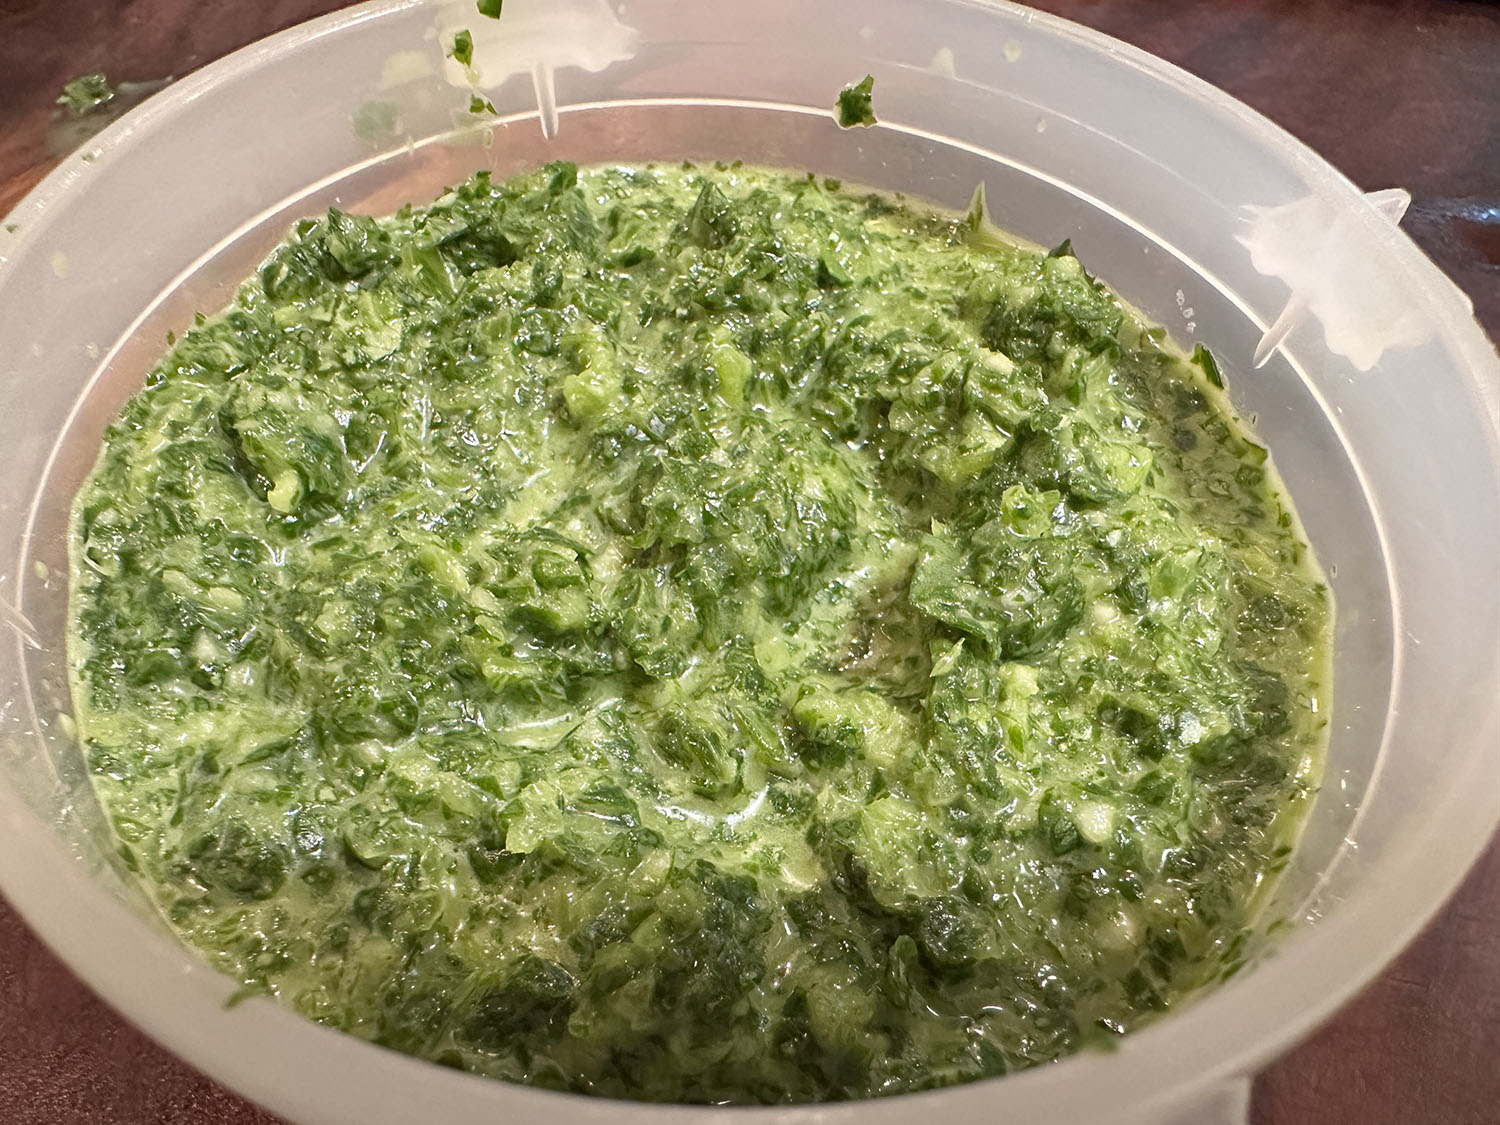
Spicy Cilantro Chutney
Spicy Cilantro Chutney
Ingredients
- 1 bunch cilantro (about 2 cups), thick stems removed
- 1 jalapeño, seeded, coarsely chopped
- 1 garlic clove, smashed
- 1 tablespoon fresh lime juice
- 1 tablespoon vegetable oil
- Kosher salt


Directions
Pulse cilantro, jalapeño, garlic, lime juice, and oil in a food processor until very finely chopped; season with salt. Chutney can be made 2 days ahead.
Recipe courtesy of Bon Apétit