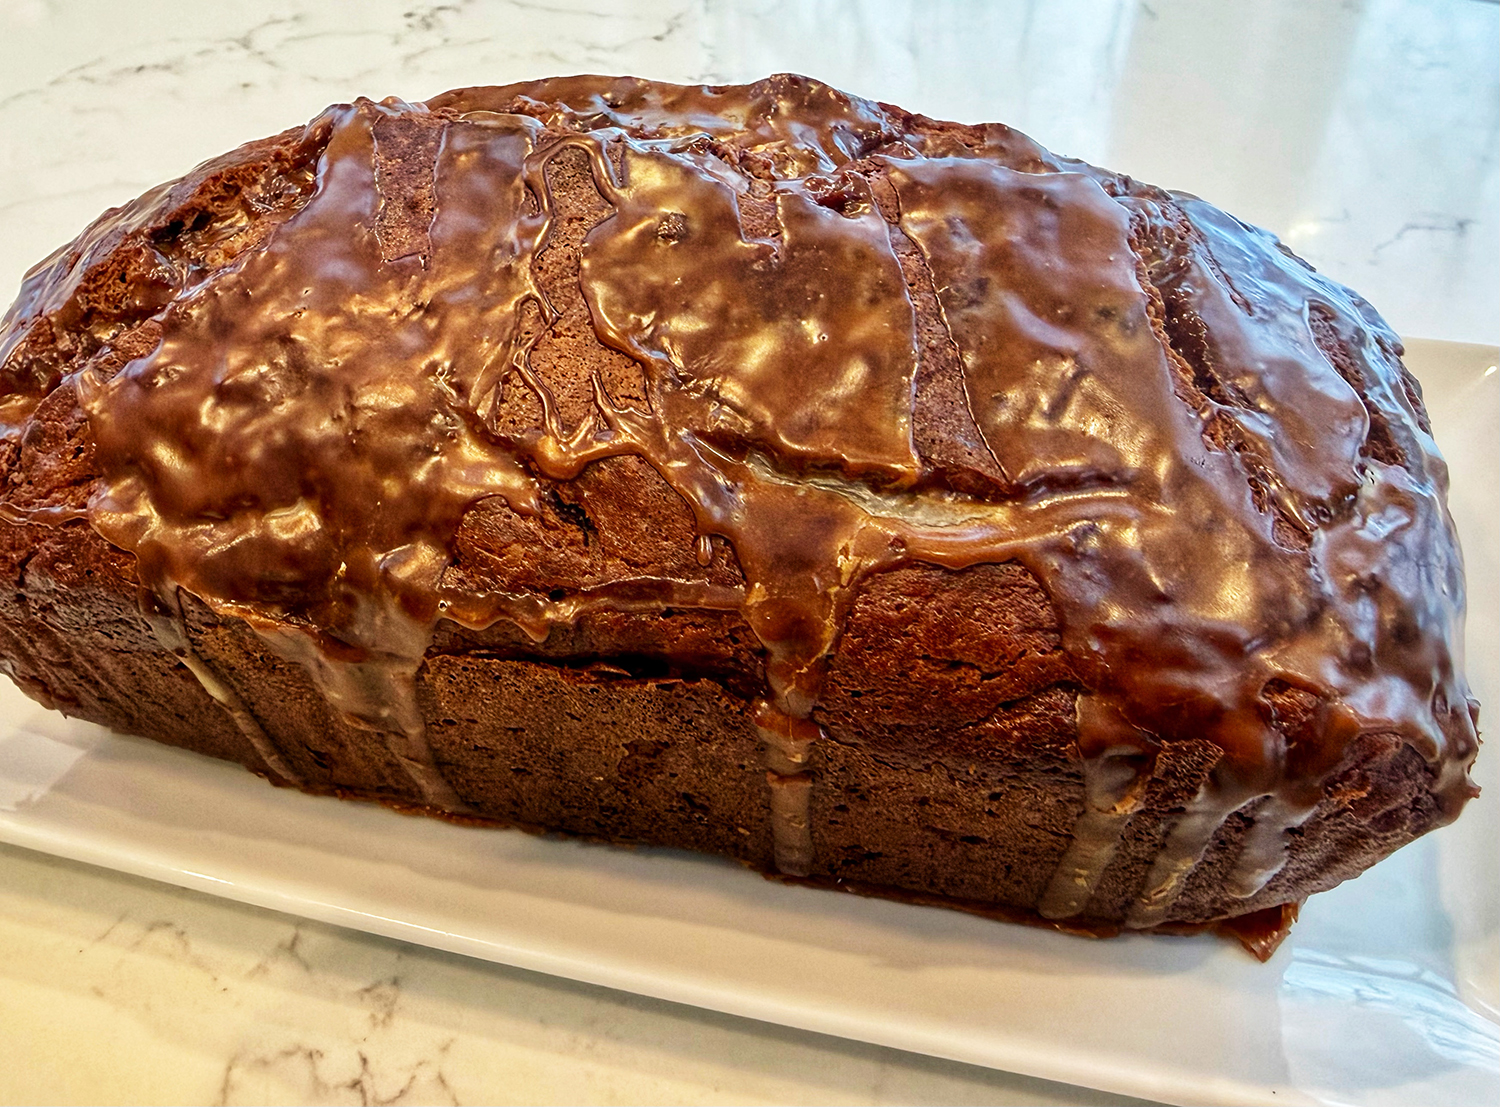
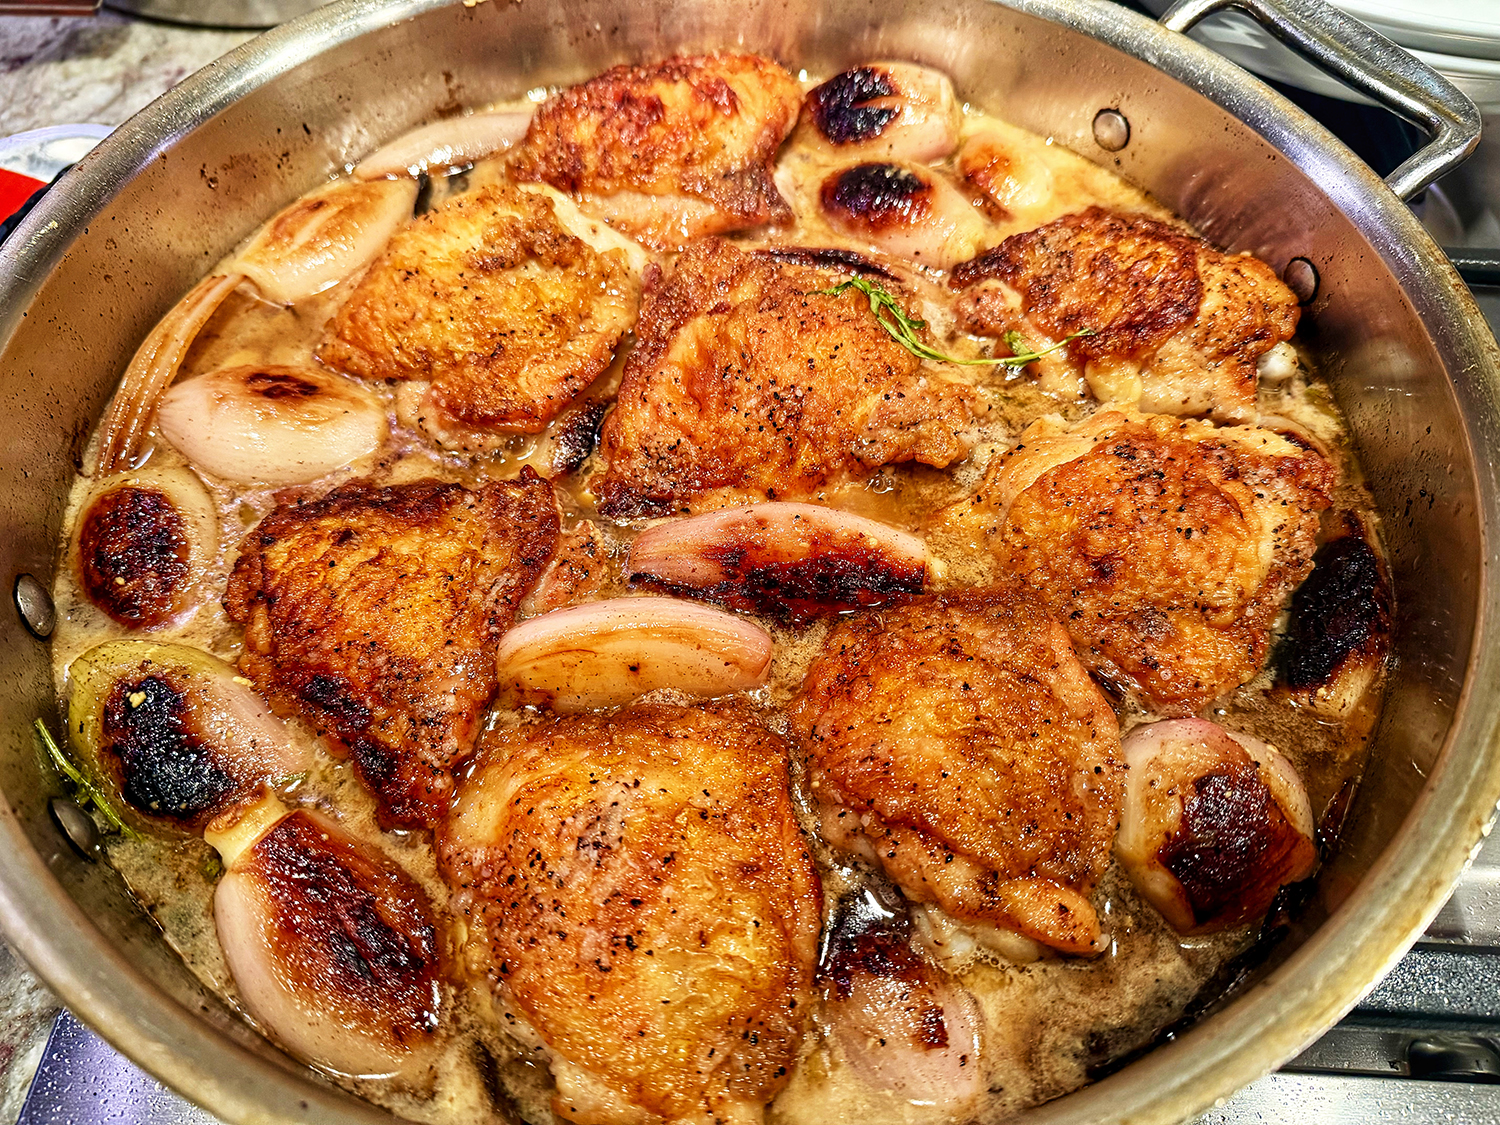
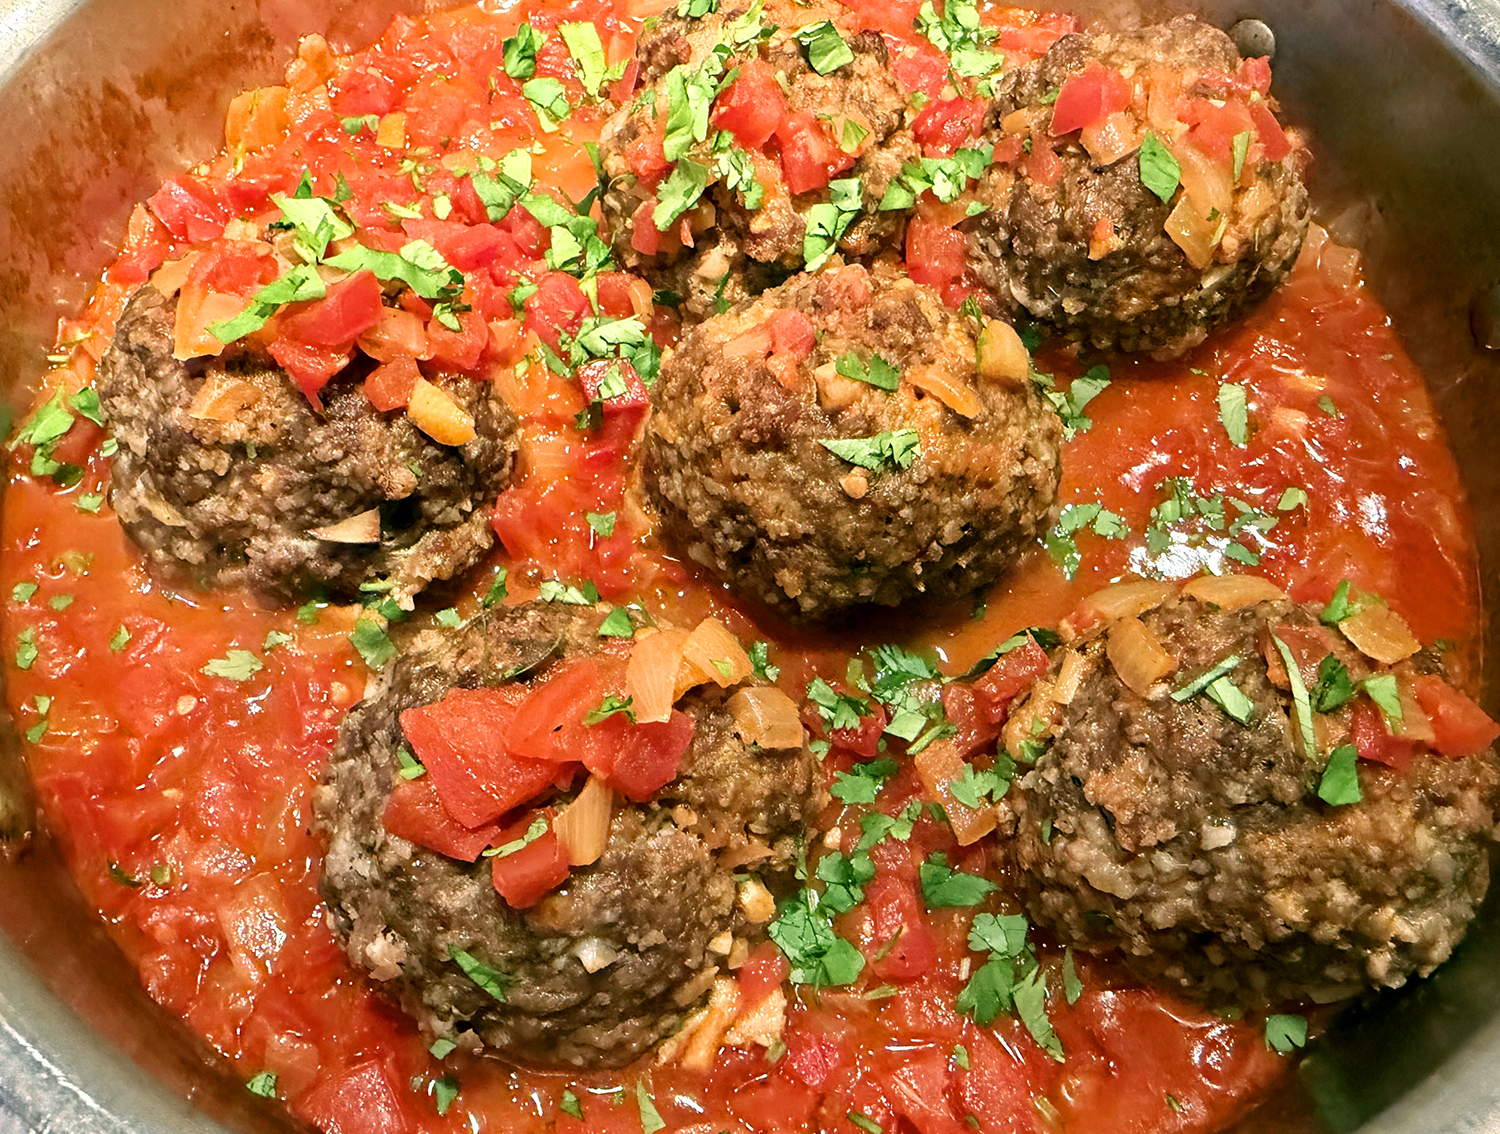
Healthy, nutritious and delicious. Court-bouillon is a richly flavored Creole and Cajun seafood stew, and it’s quite different from the more delicate French broth of the same name. The base of this hearty stew is a combination of roux, the Creole trinity (bell pepper, onion and celery), crushed tomatoes and seafood stock. It’s traditionally prepared with redfish, though you’ll find recipes that incorporate a variety of seafood.
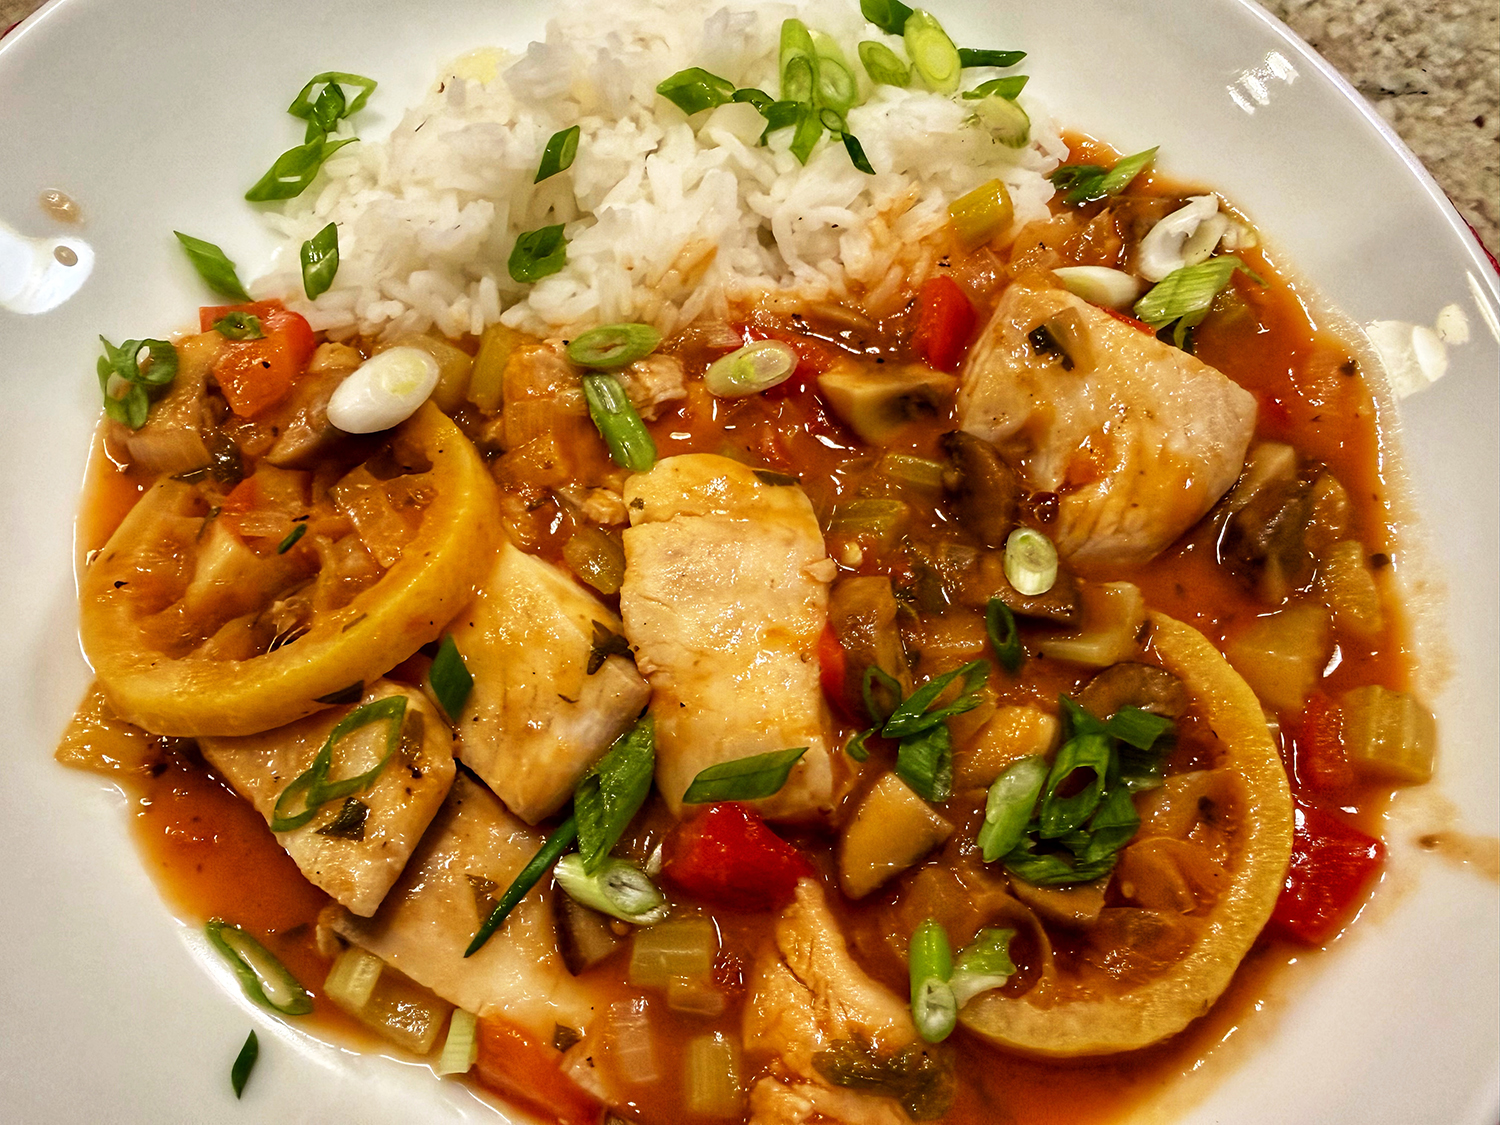
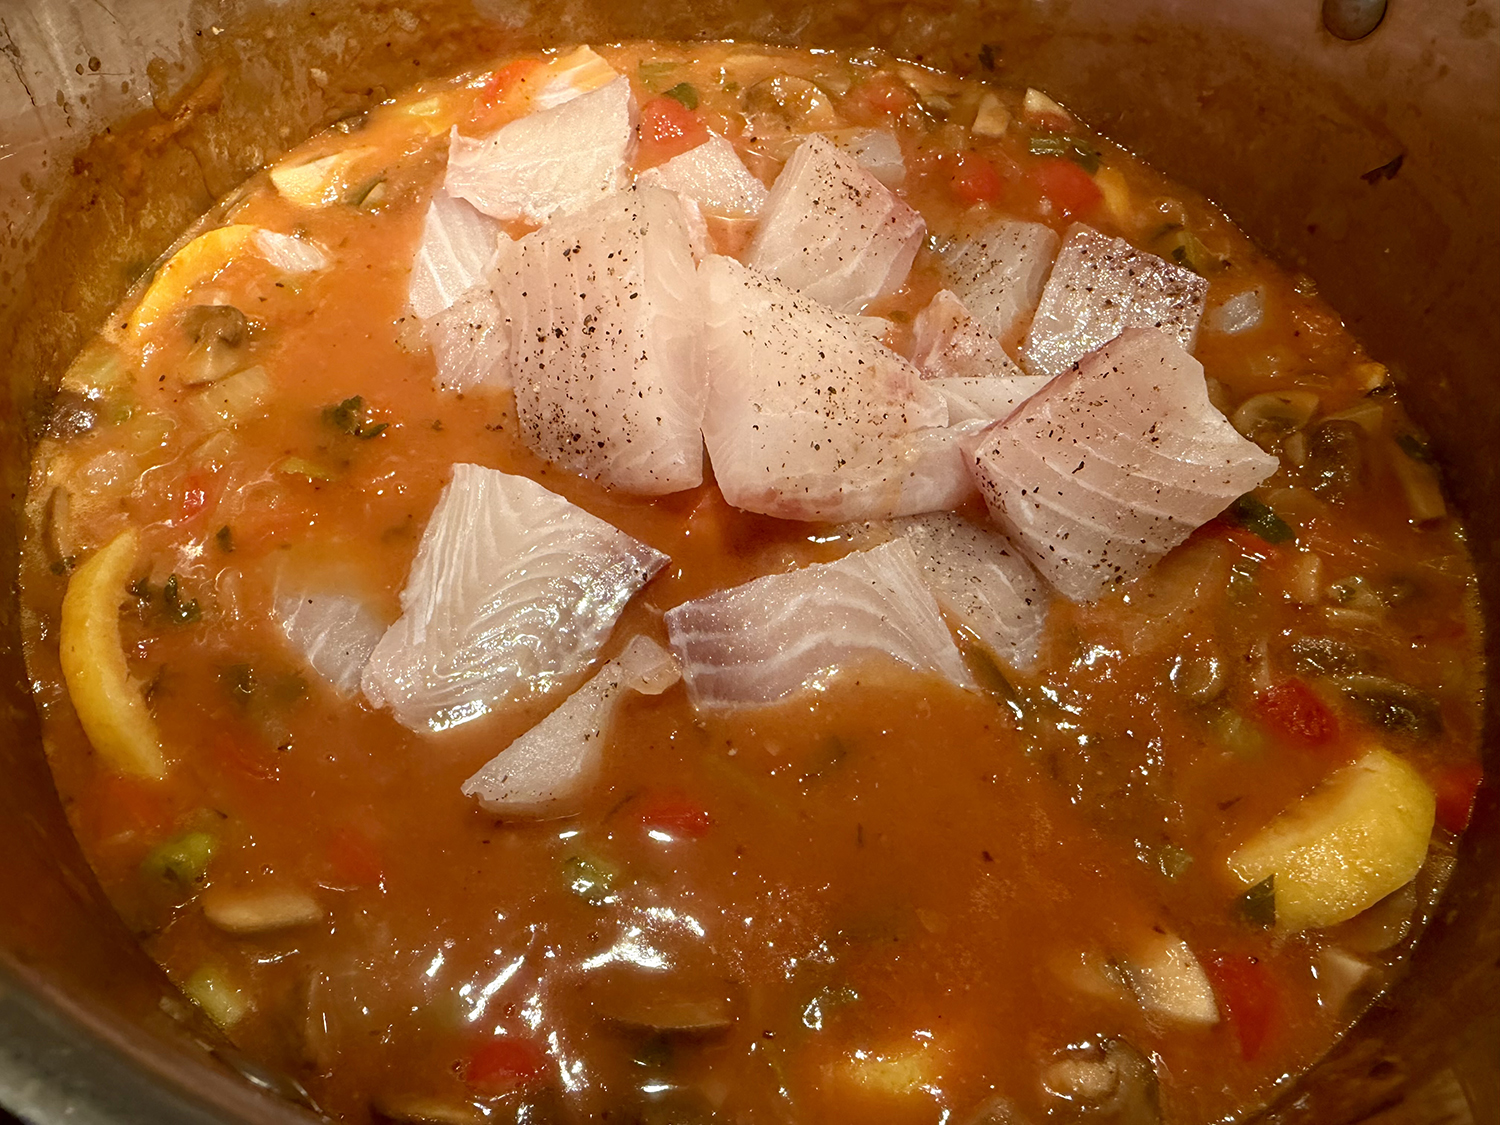
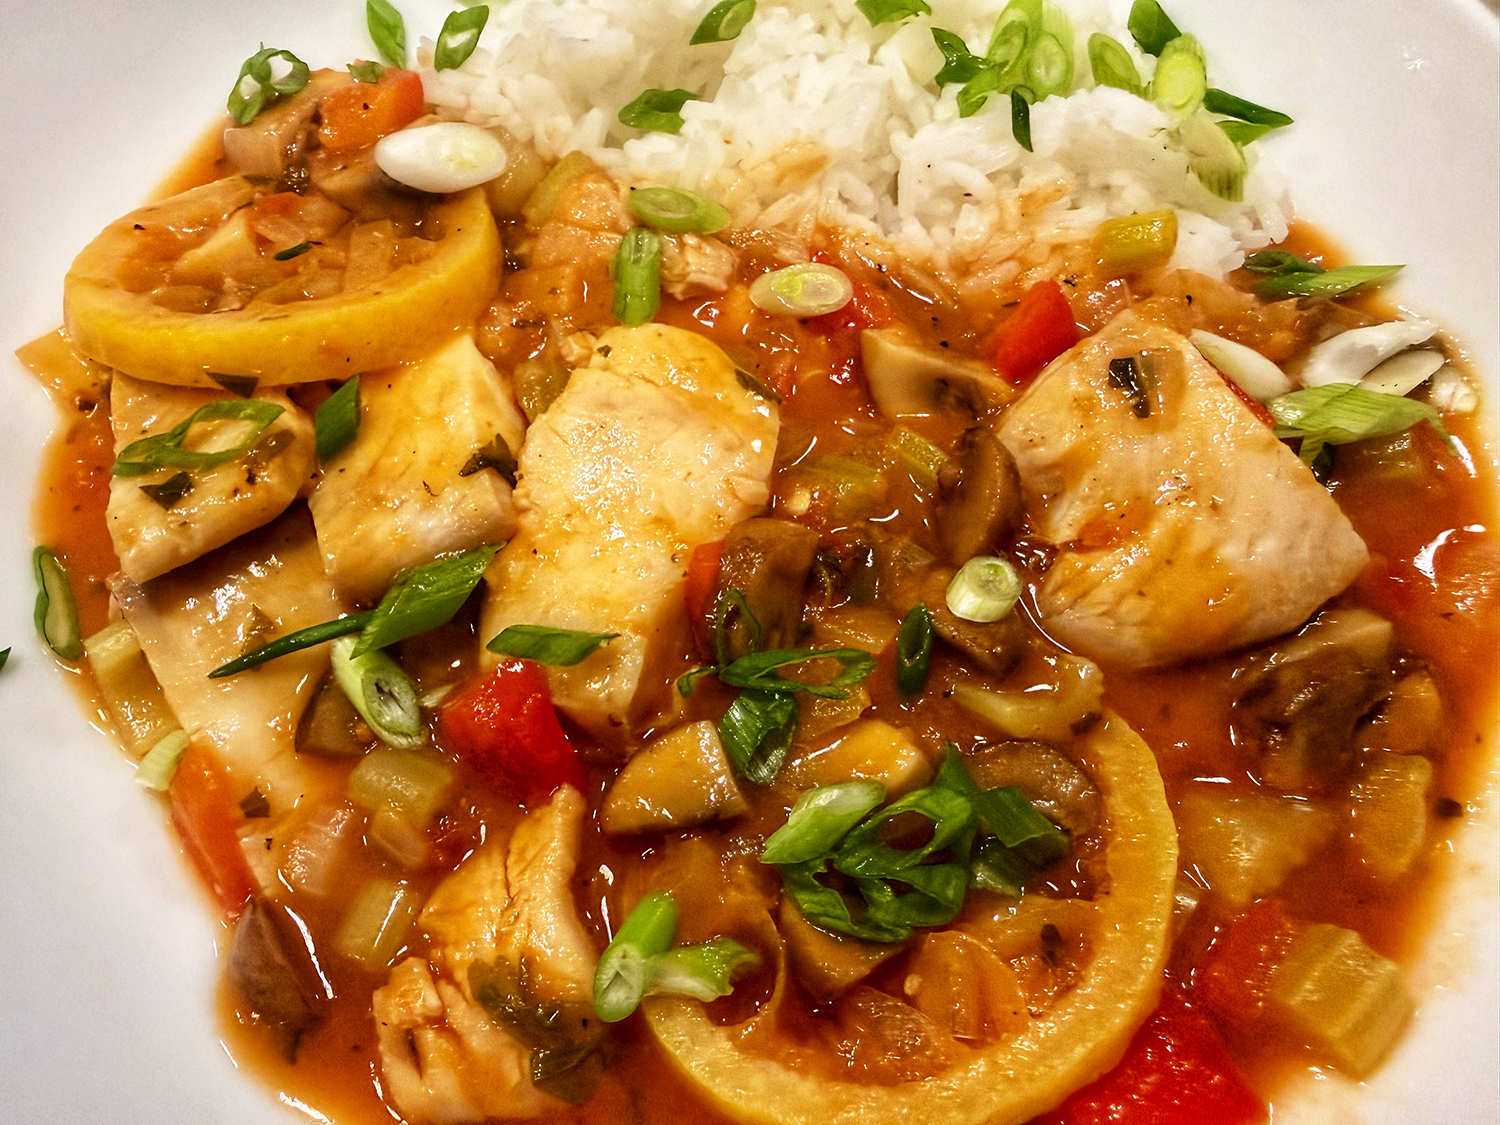
Here, mild tilapia (our choice) or cod are poached in the tomato broth, contributing flavor and savoriness. The slices of lemon that are stewed alongside add citrusy bursts that enhance the fish and broth, and are a hallmark of this dish. The original recipe calls for 2 large lemons. This may be a bit too tart for some, so use only one large lemon, or two small if that’s the case.
If you have any leftovers, remove the lemon slices, otherwise when you reheat, the stew could become bitter. Using homemade shellfish stock is your best bet for the most flavor and health benefits. Even as leftovers, the stew was delicious!
Court-Bouillon (Louisiana Seafood Stew)
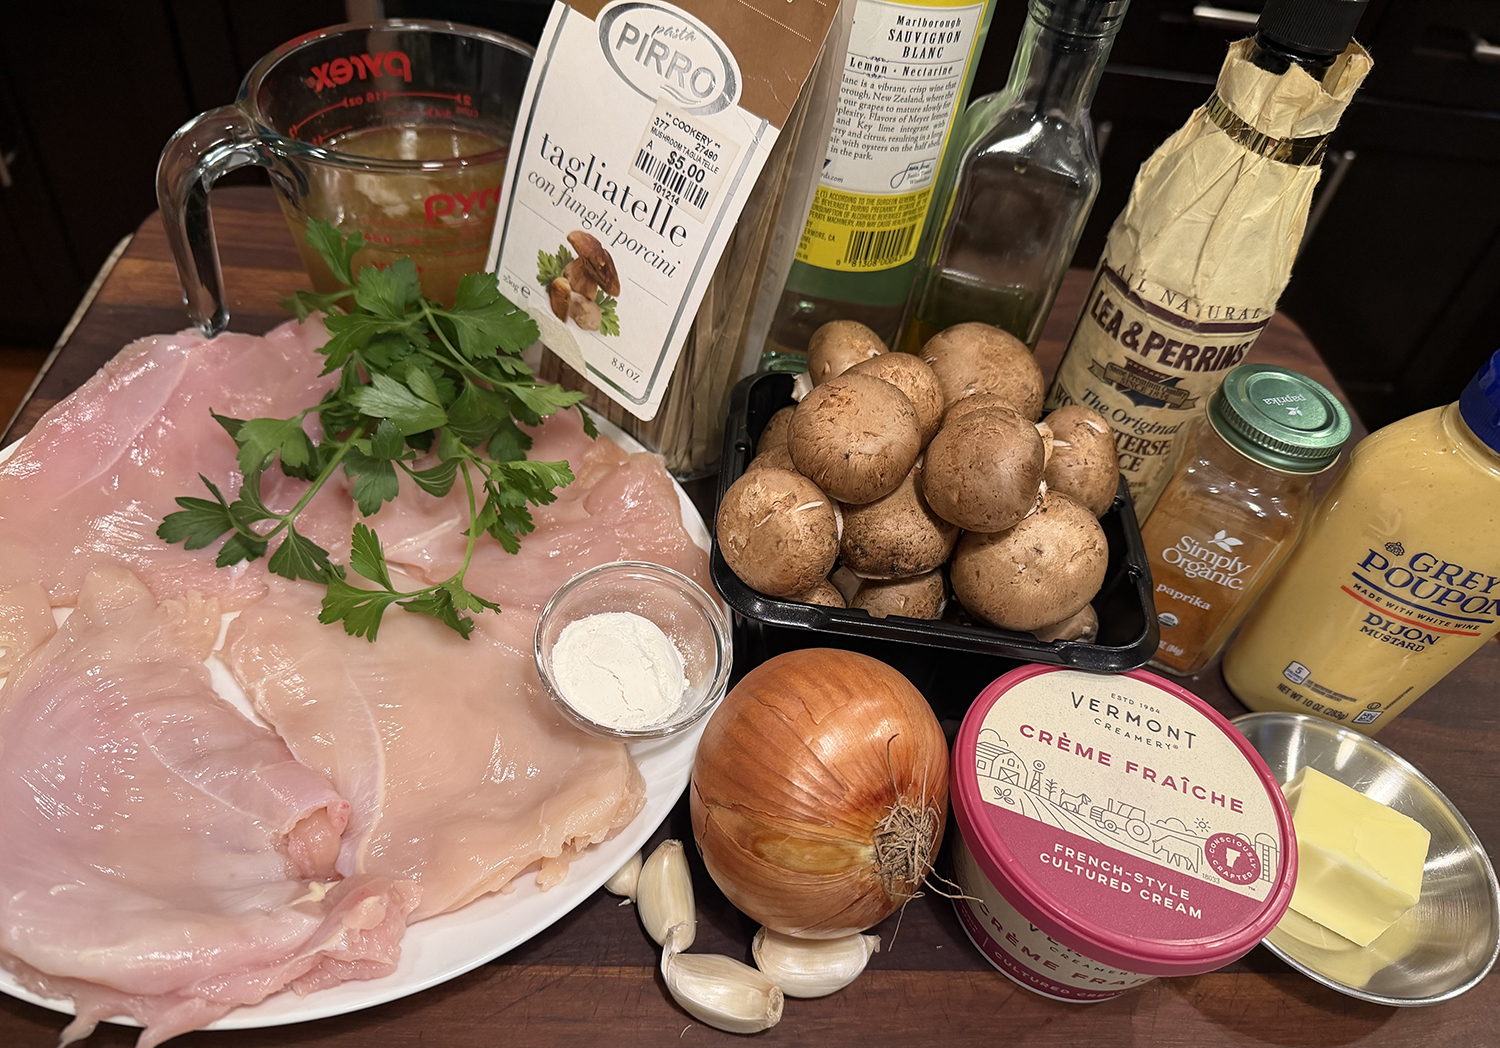
Ingredients
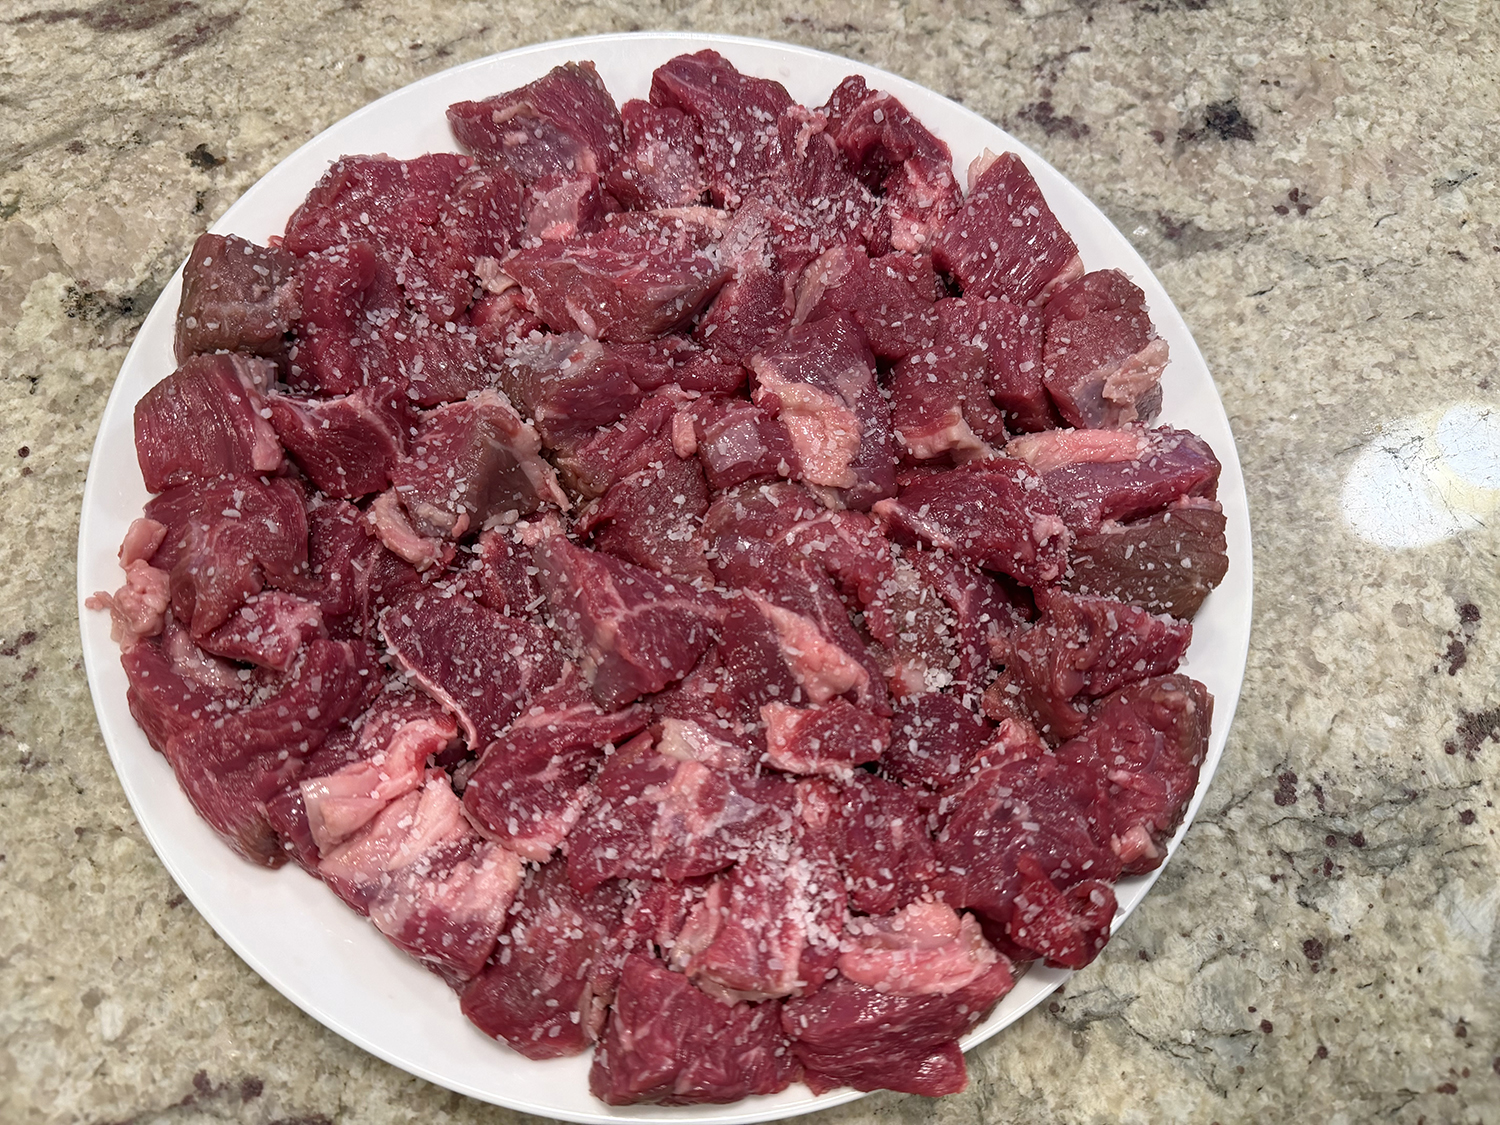
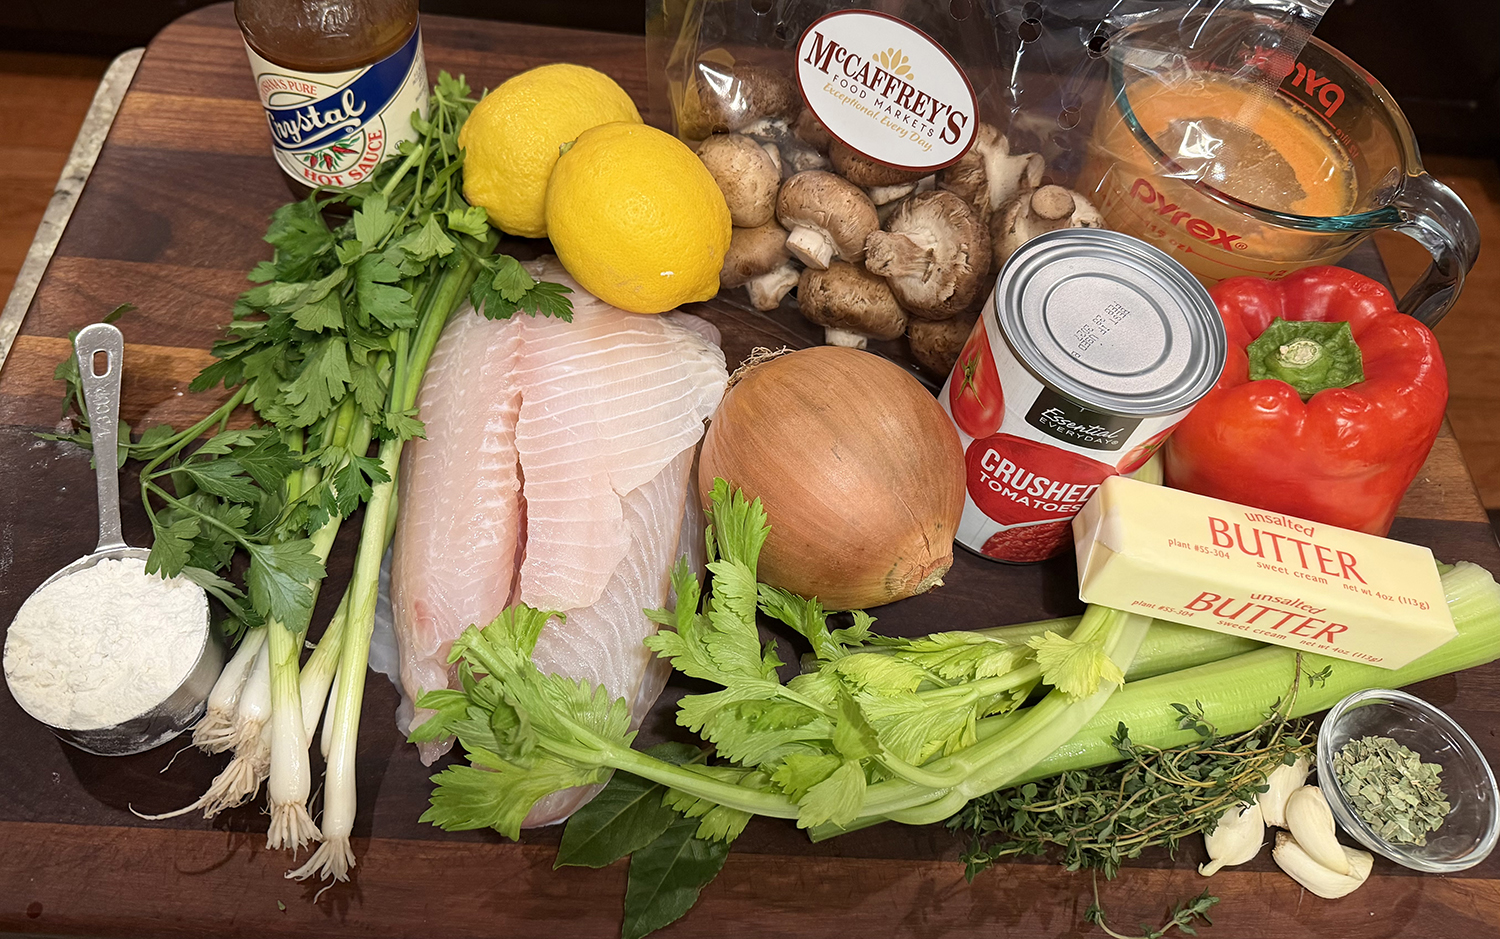
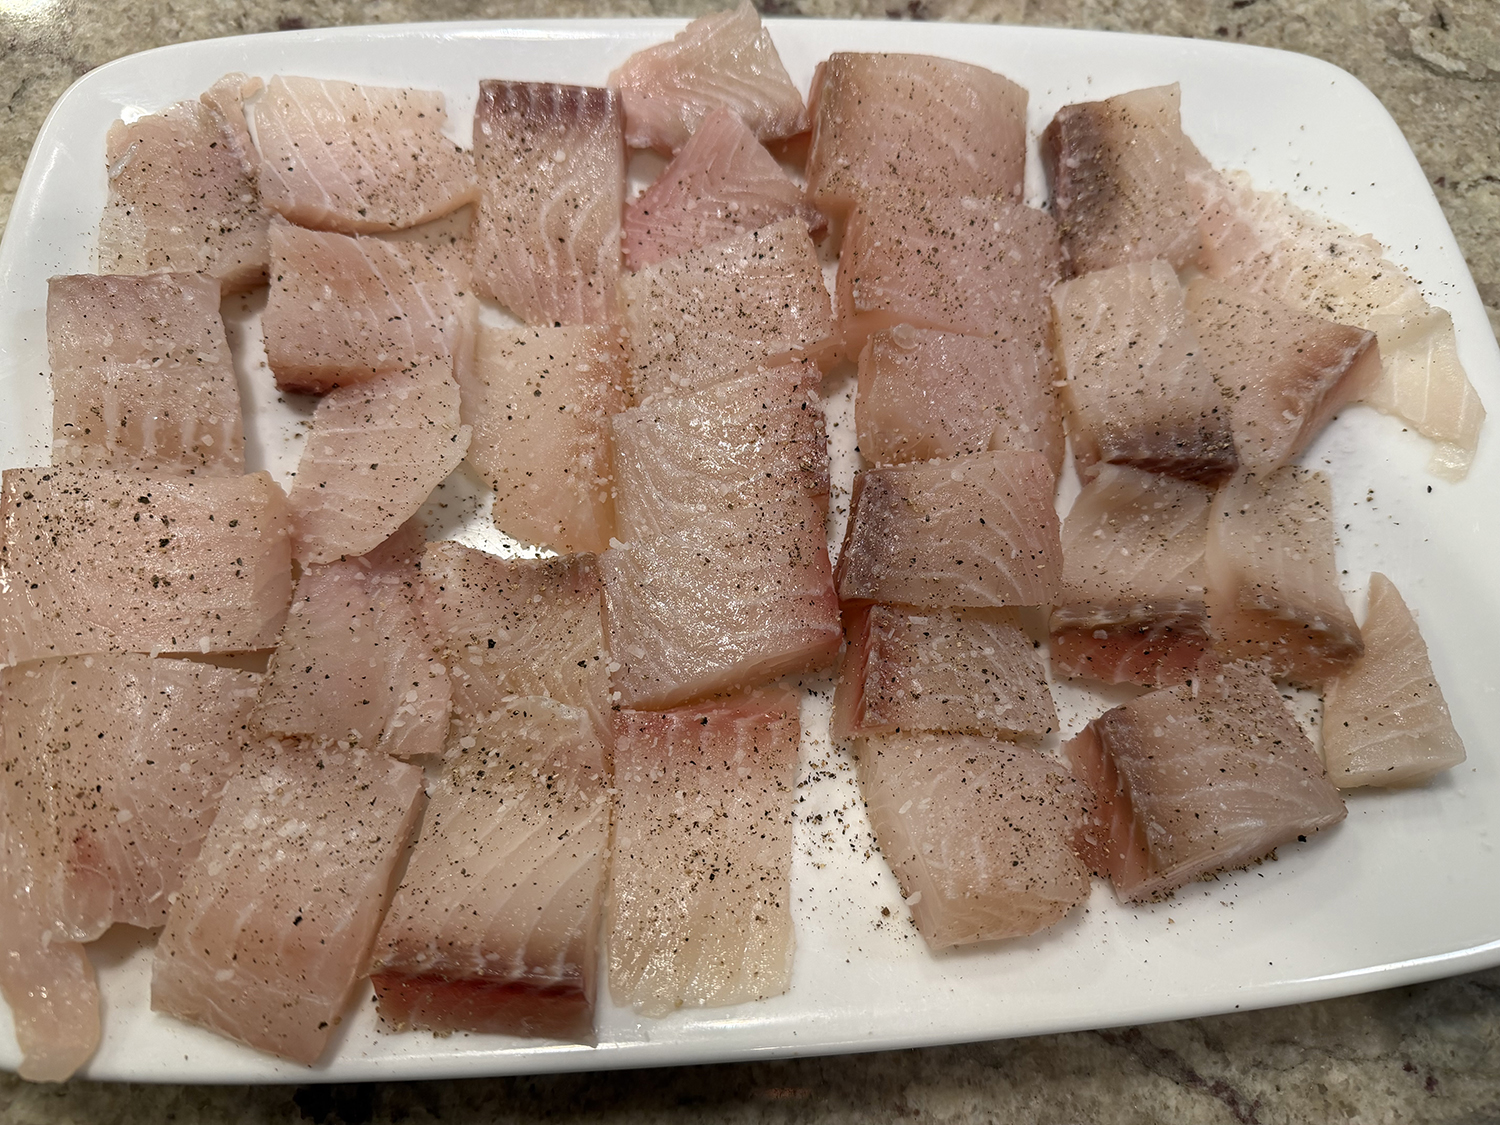
- 1½ lbs. firm white skinless fish fillets, such as tilapia or cod
- Salt and black pepper
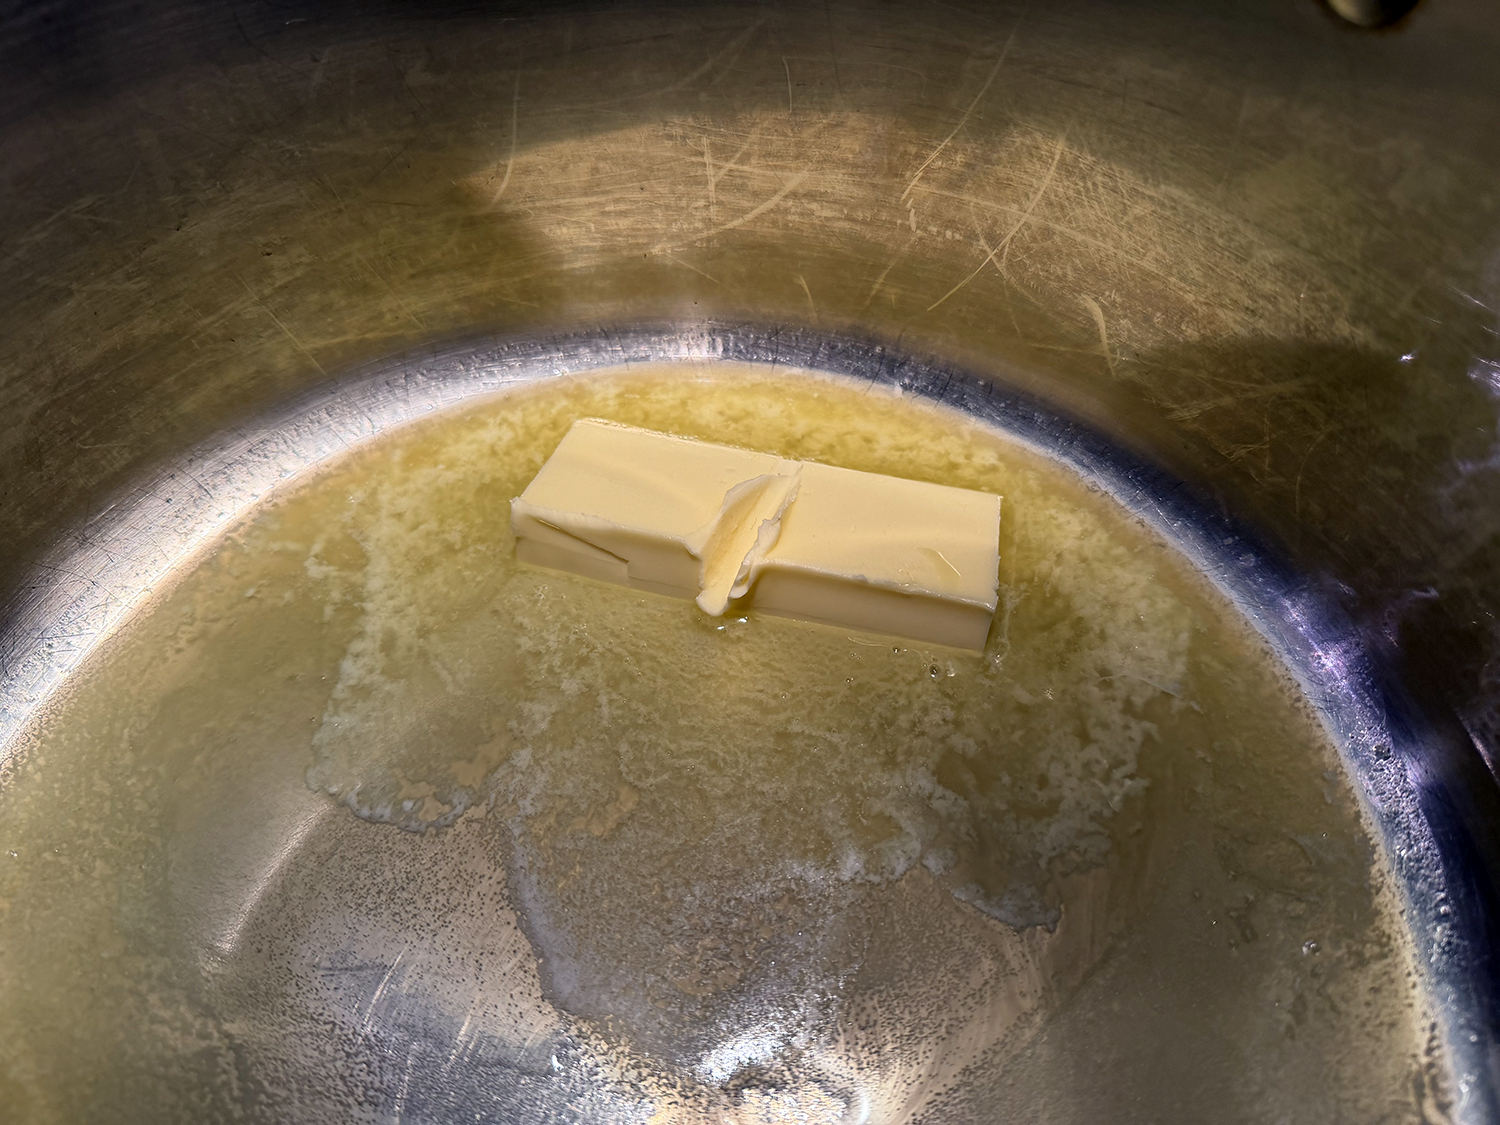
- 6 Tbsp. unsalted butter
- ⅓ cup all-purpose flour
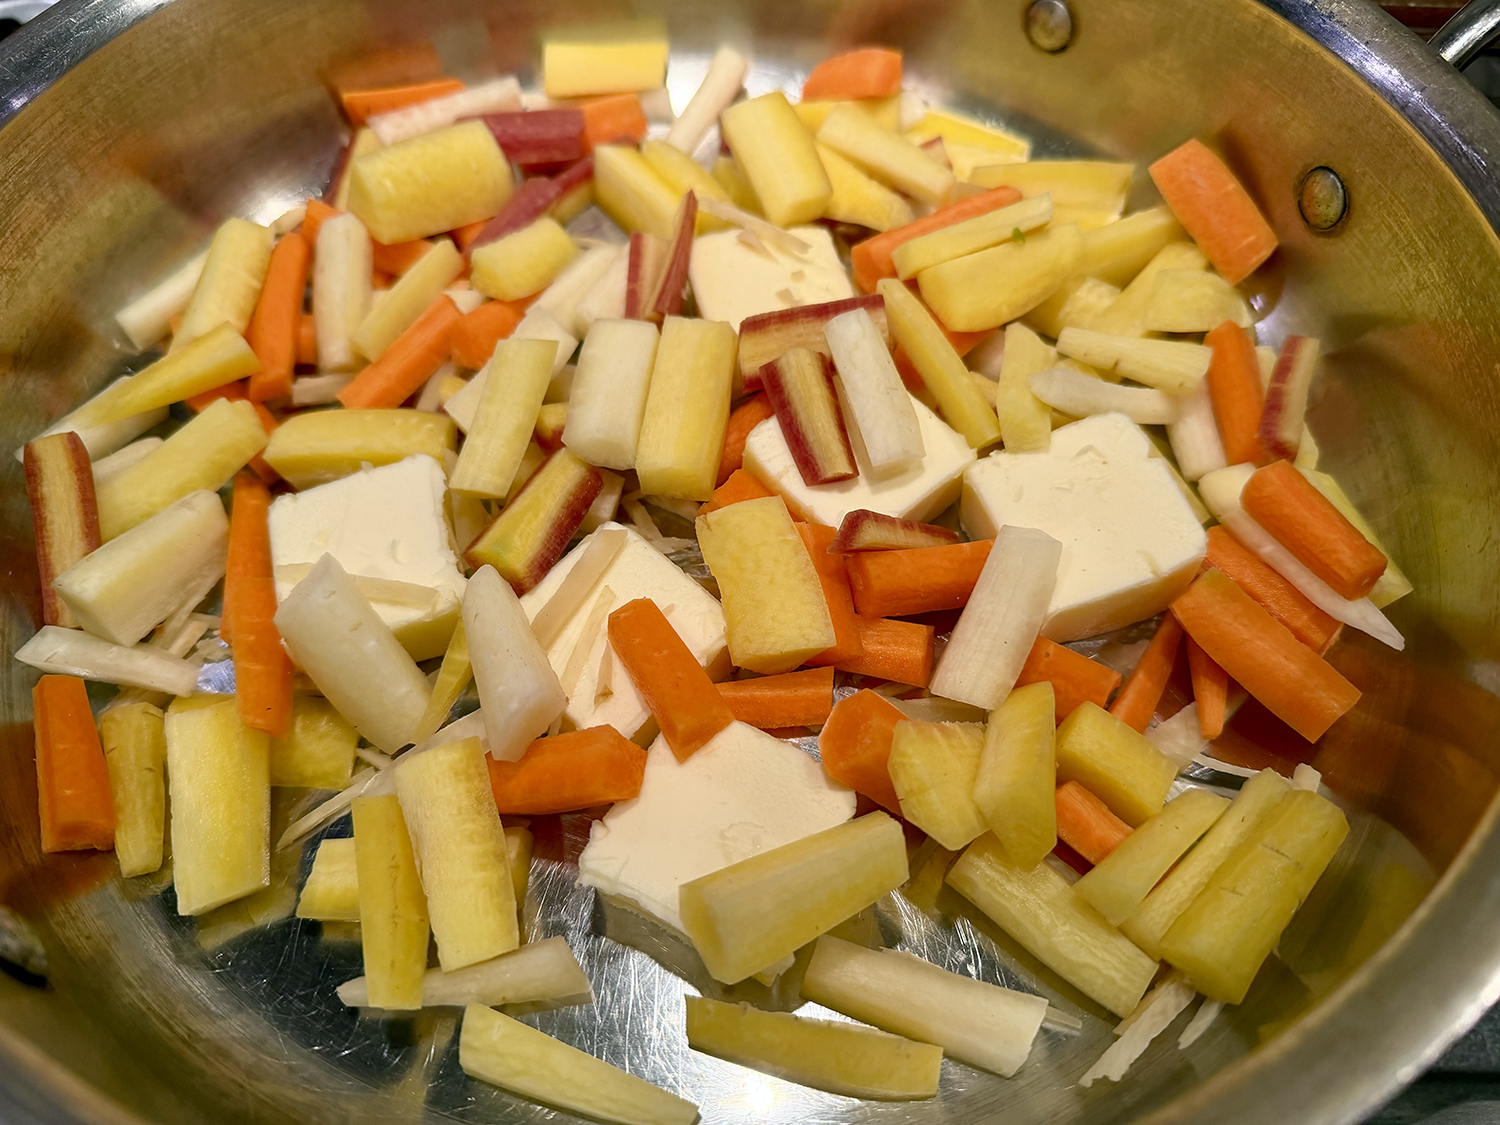
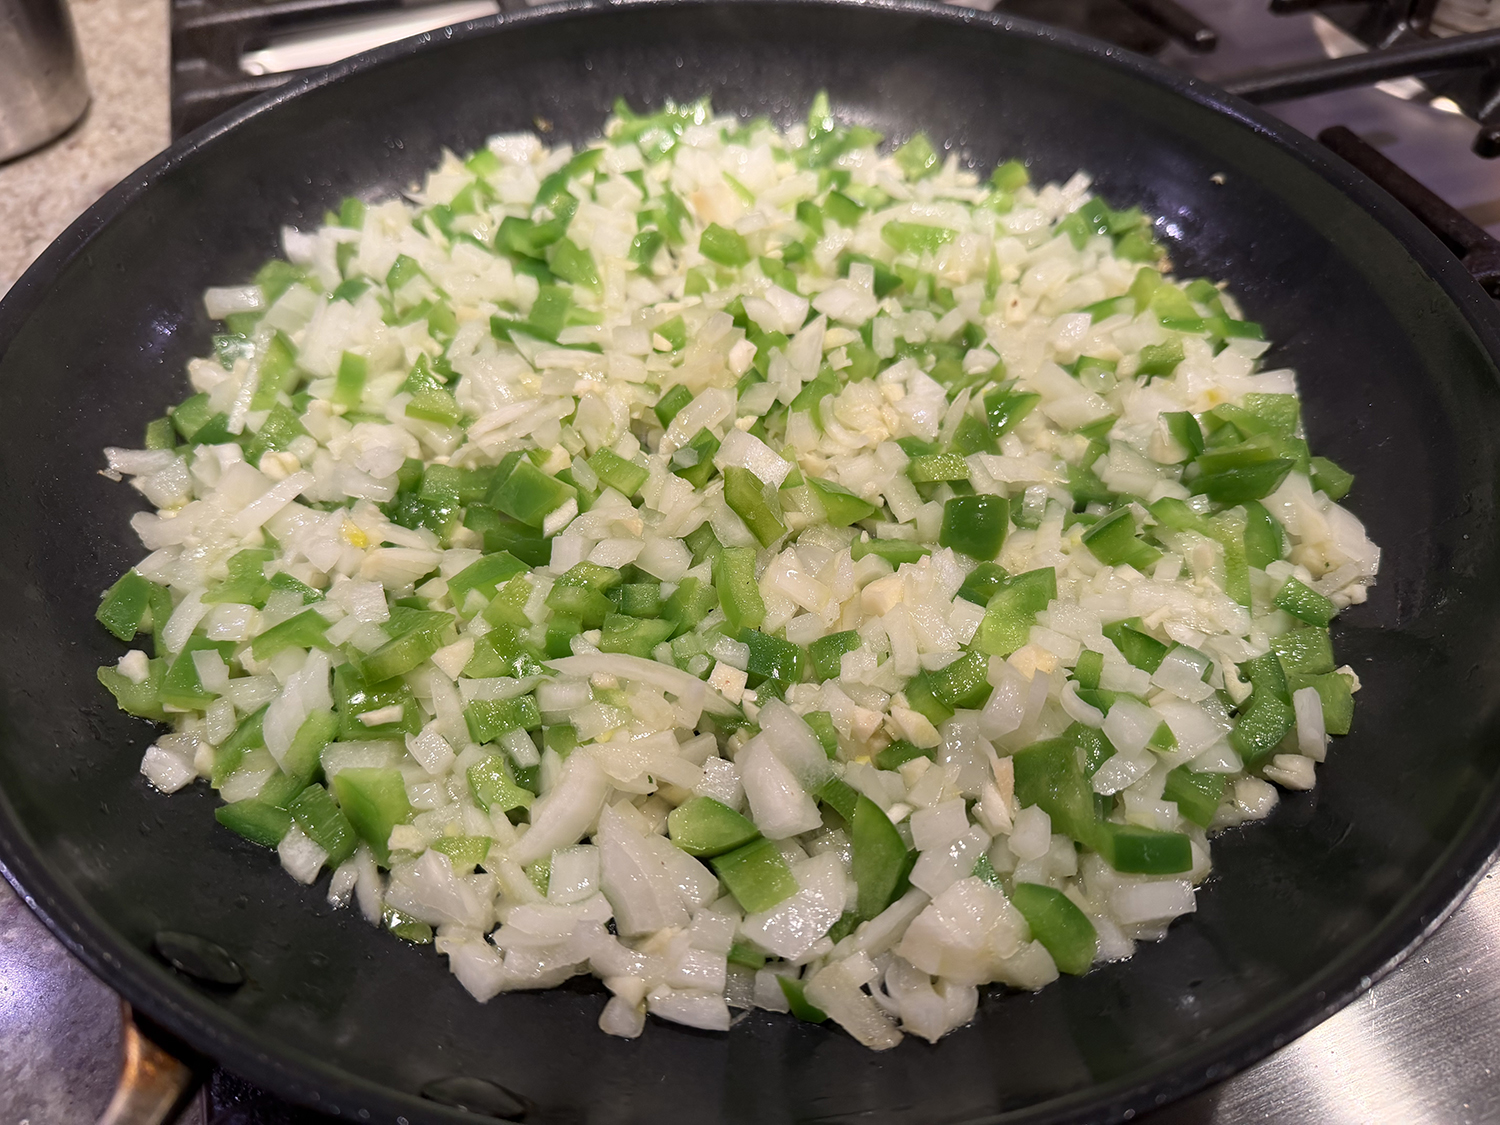
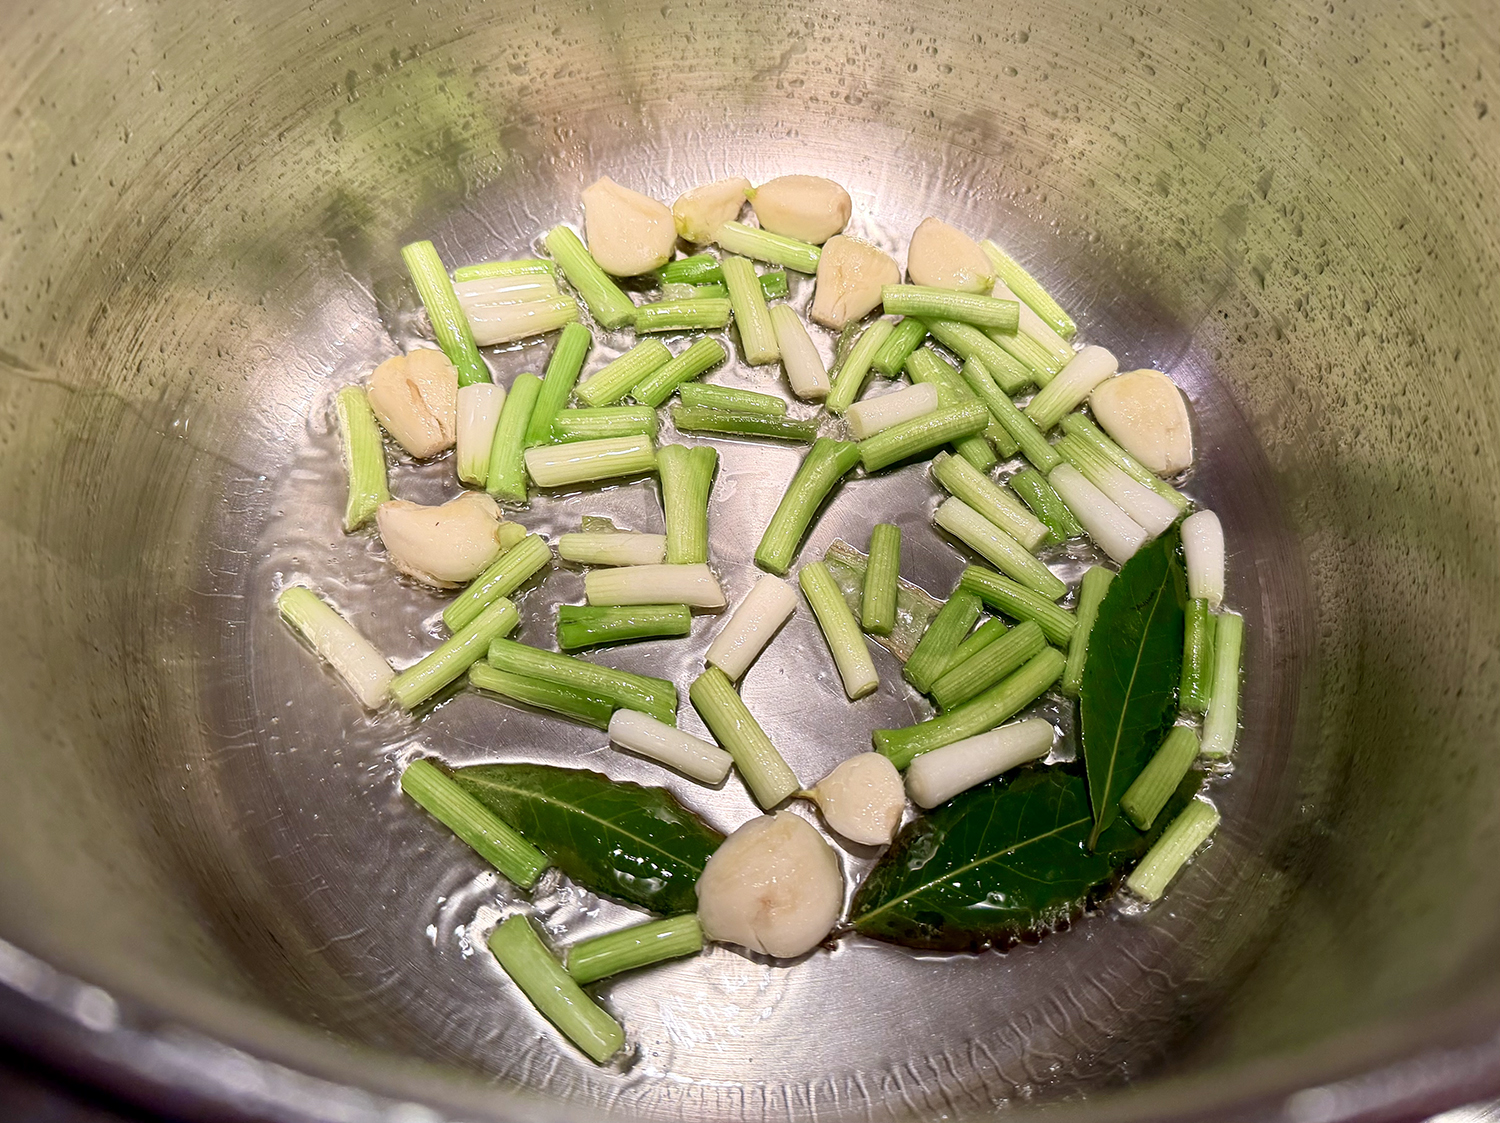
- 1 large yellow onion, chopped
- 3 celery stalks, chopped
- 1 small green bell pepper, seeded and roughly chopped
- 8 oz. mushrooms, roughly chopped
- 4 garlic cloves, minced
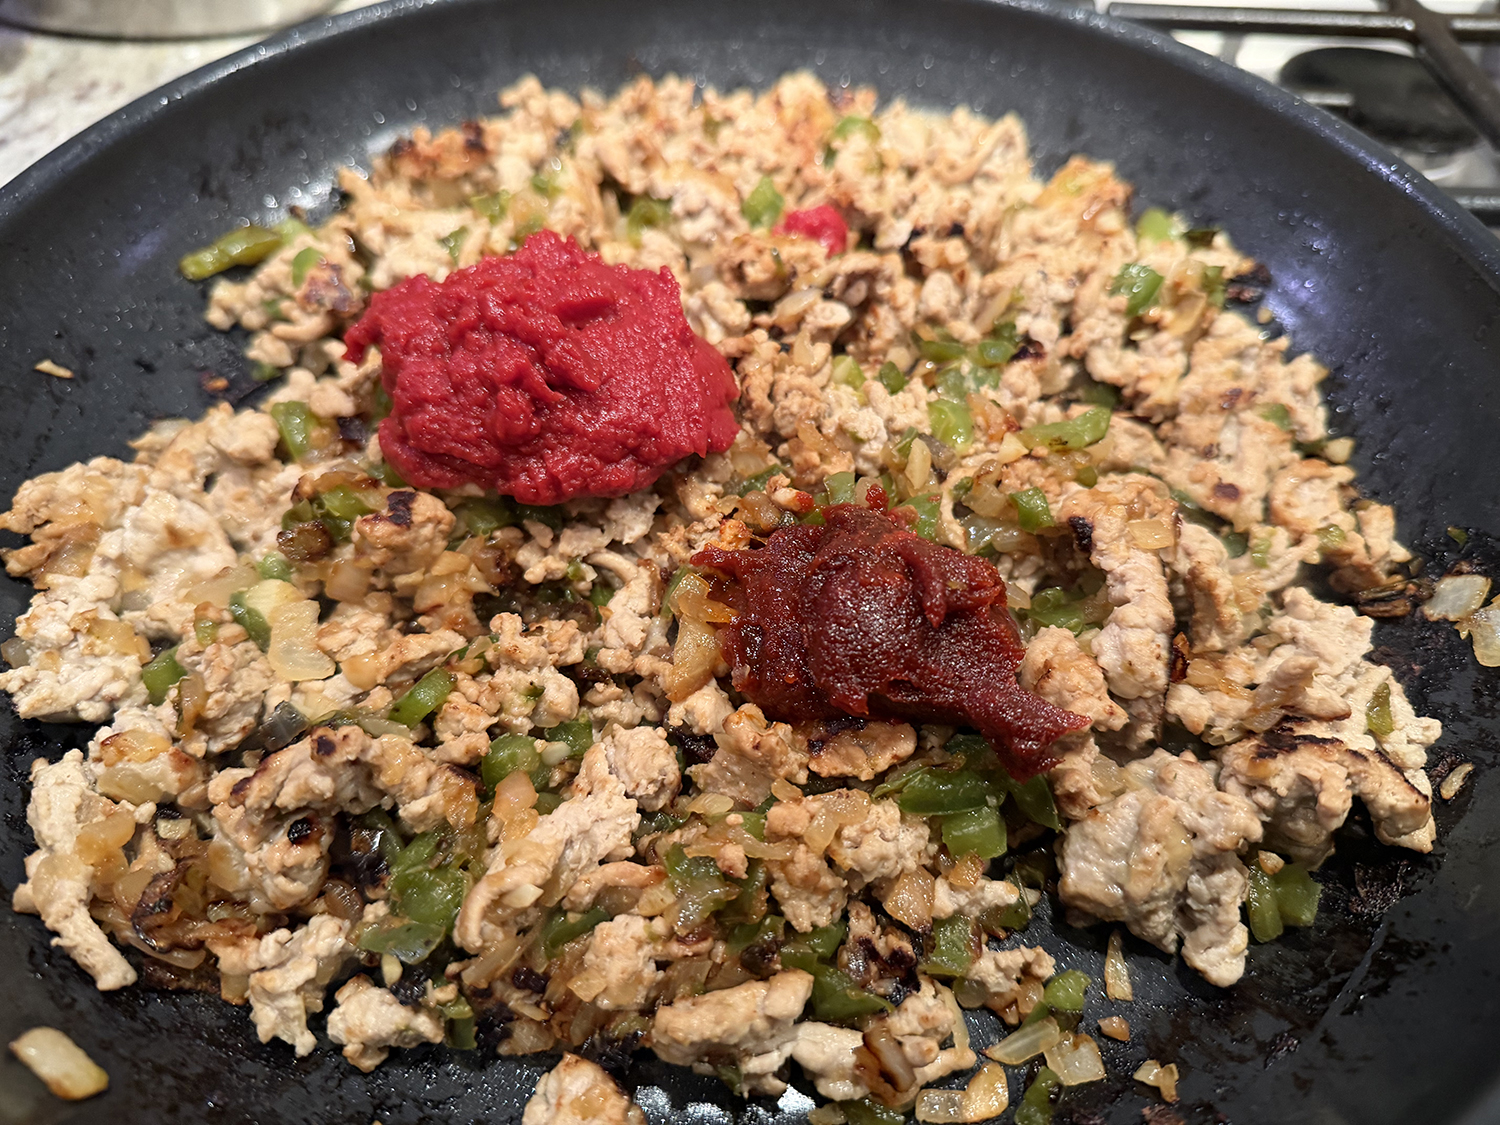
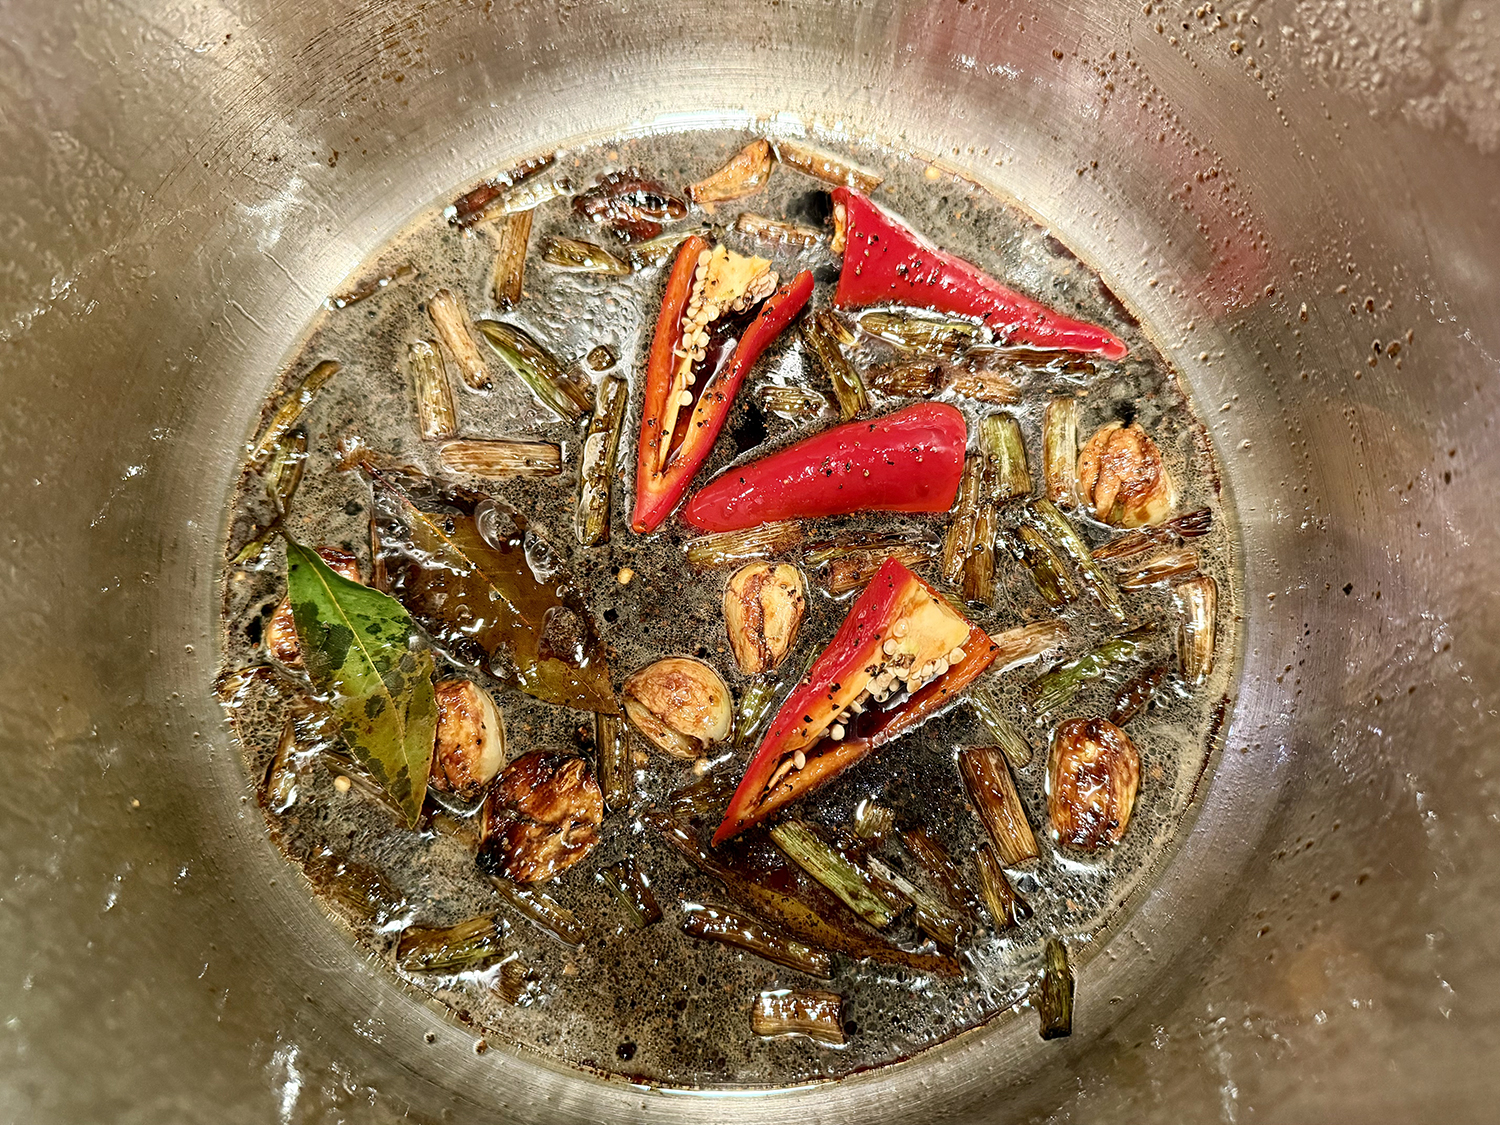
- 1 (15-oz.) can crushed tomatoes
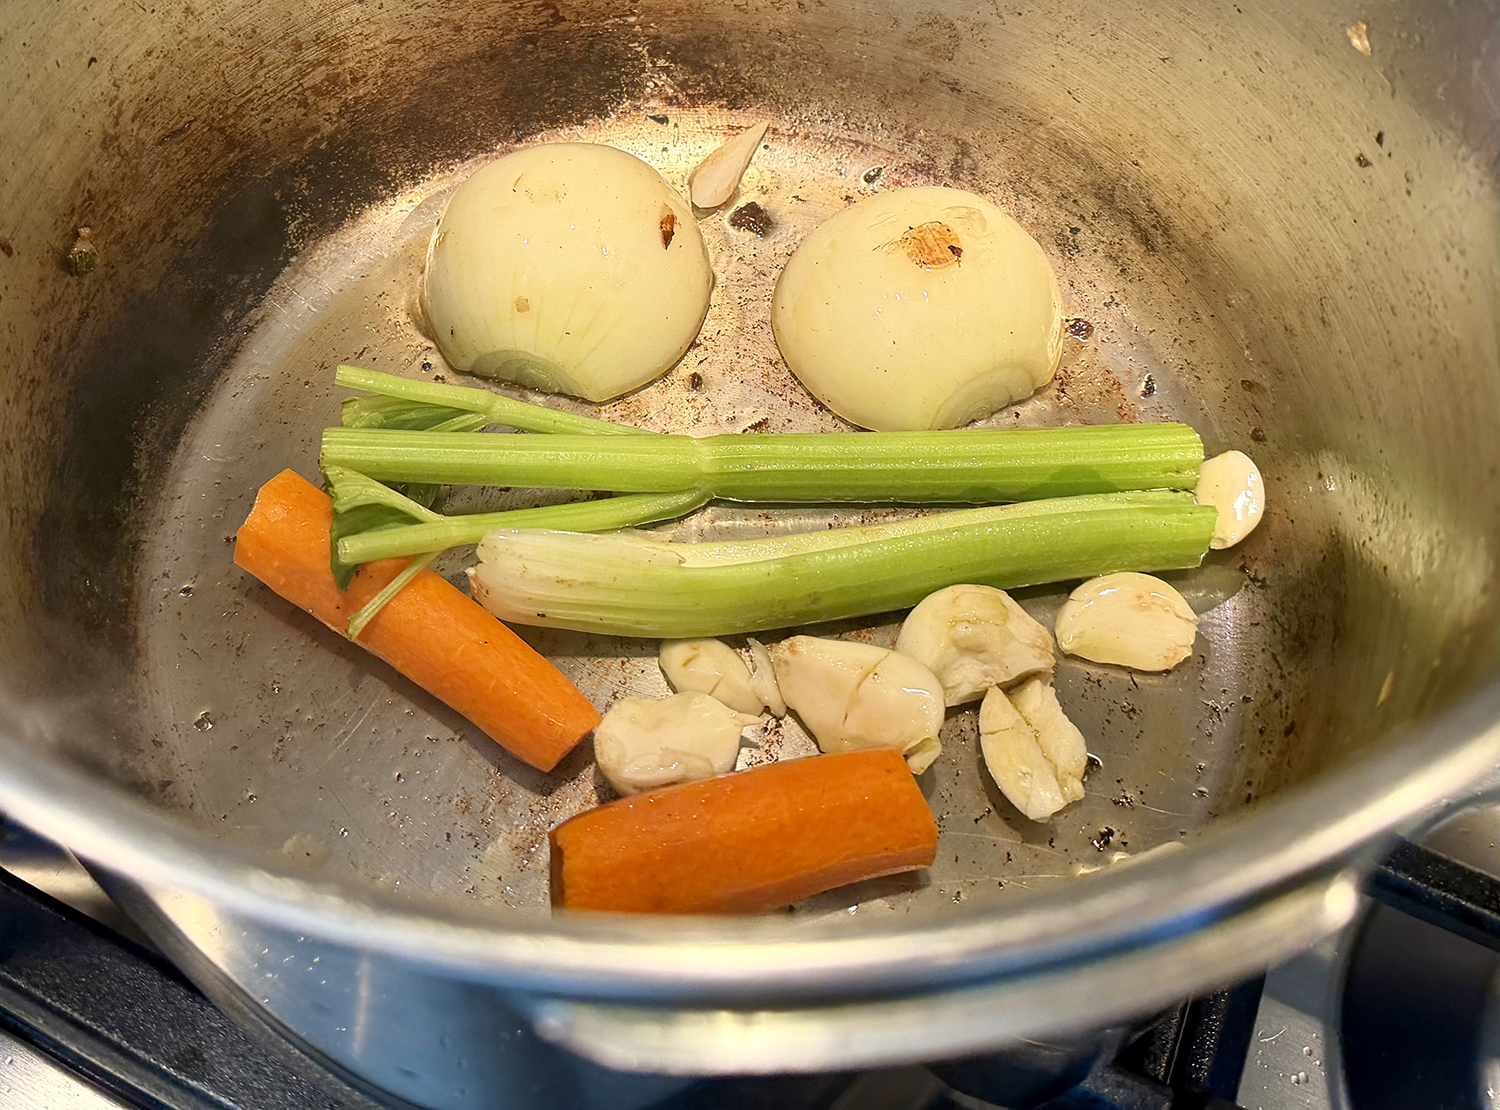
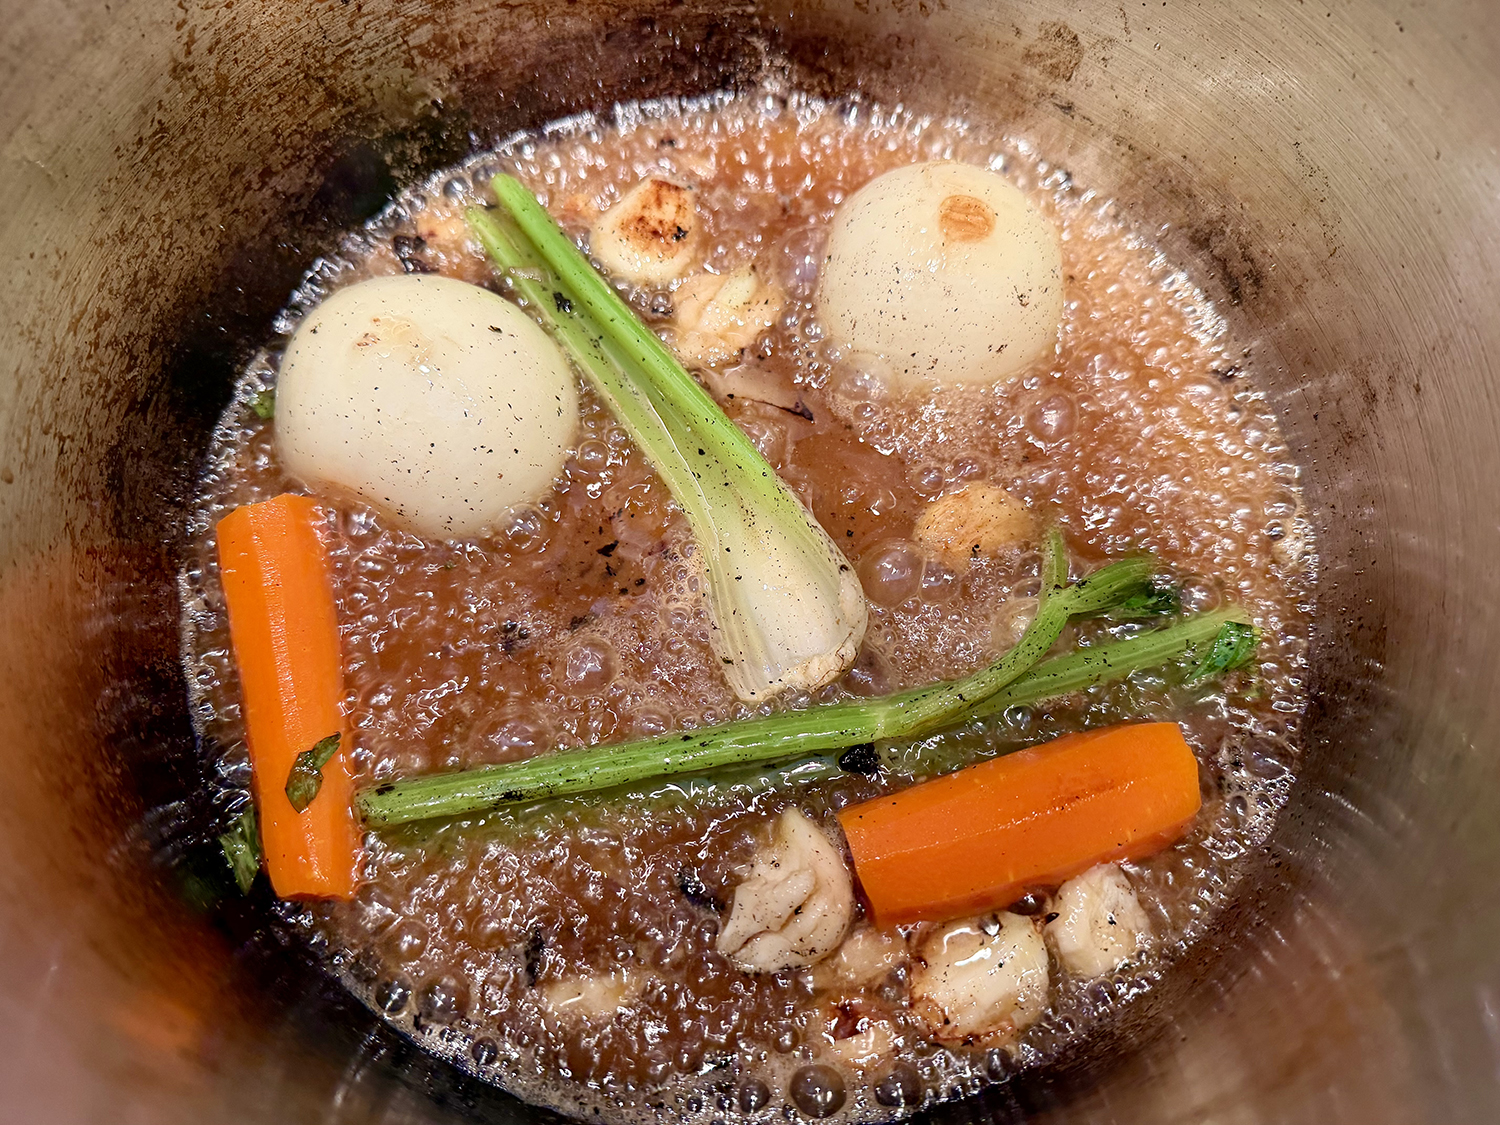
- 2 cups seafood stock , preferably homemade
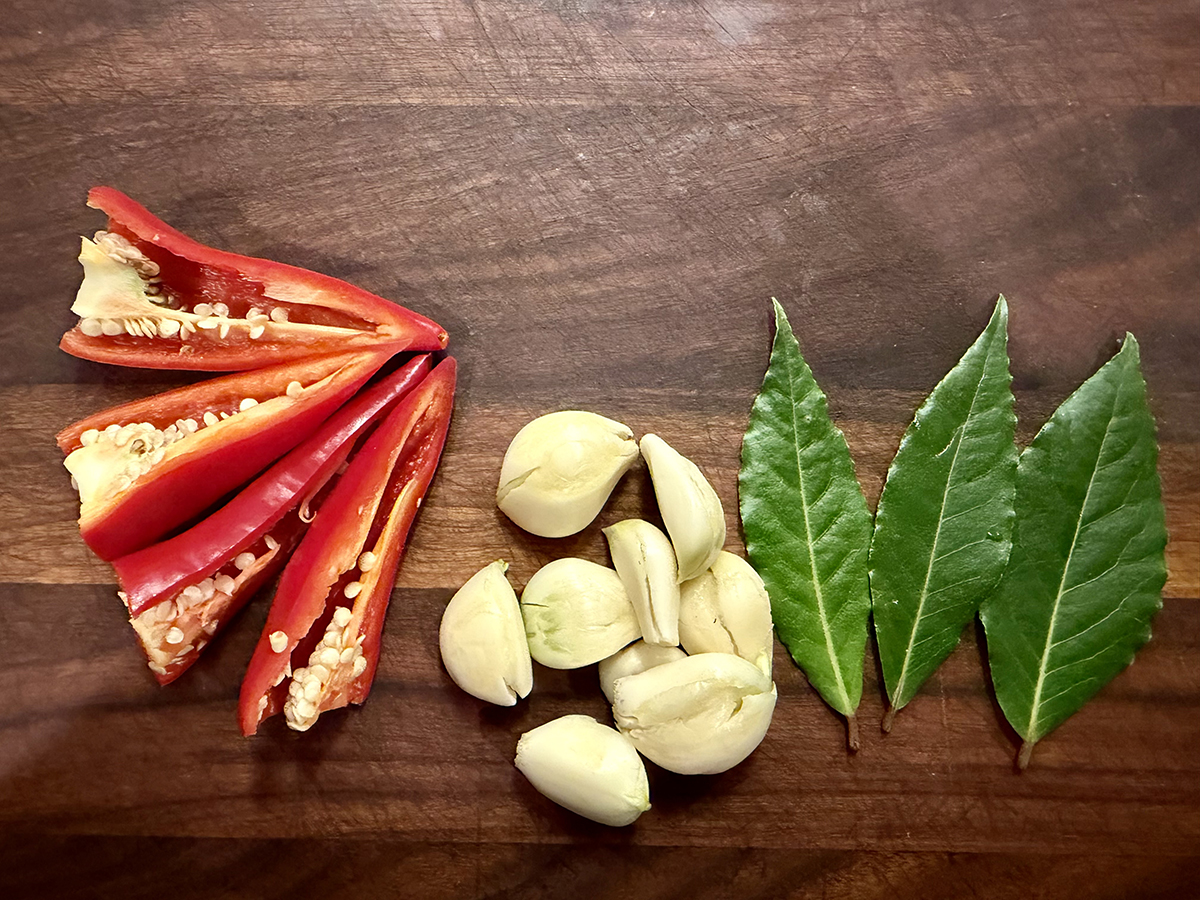
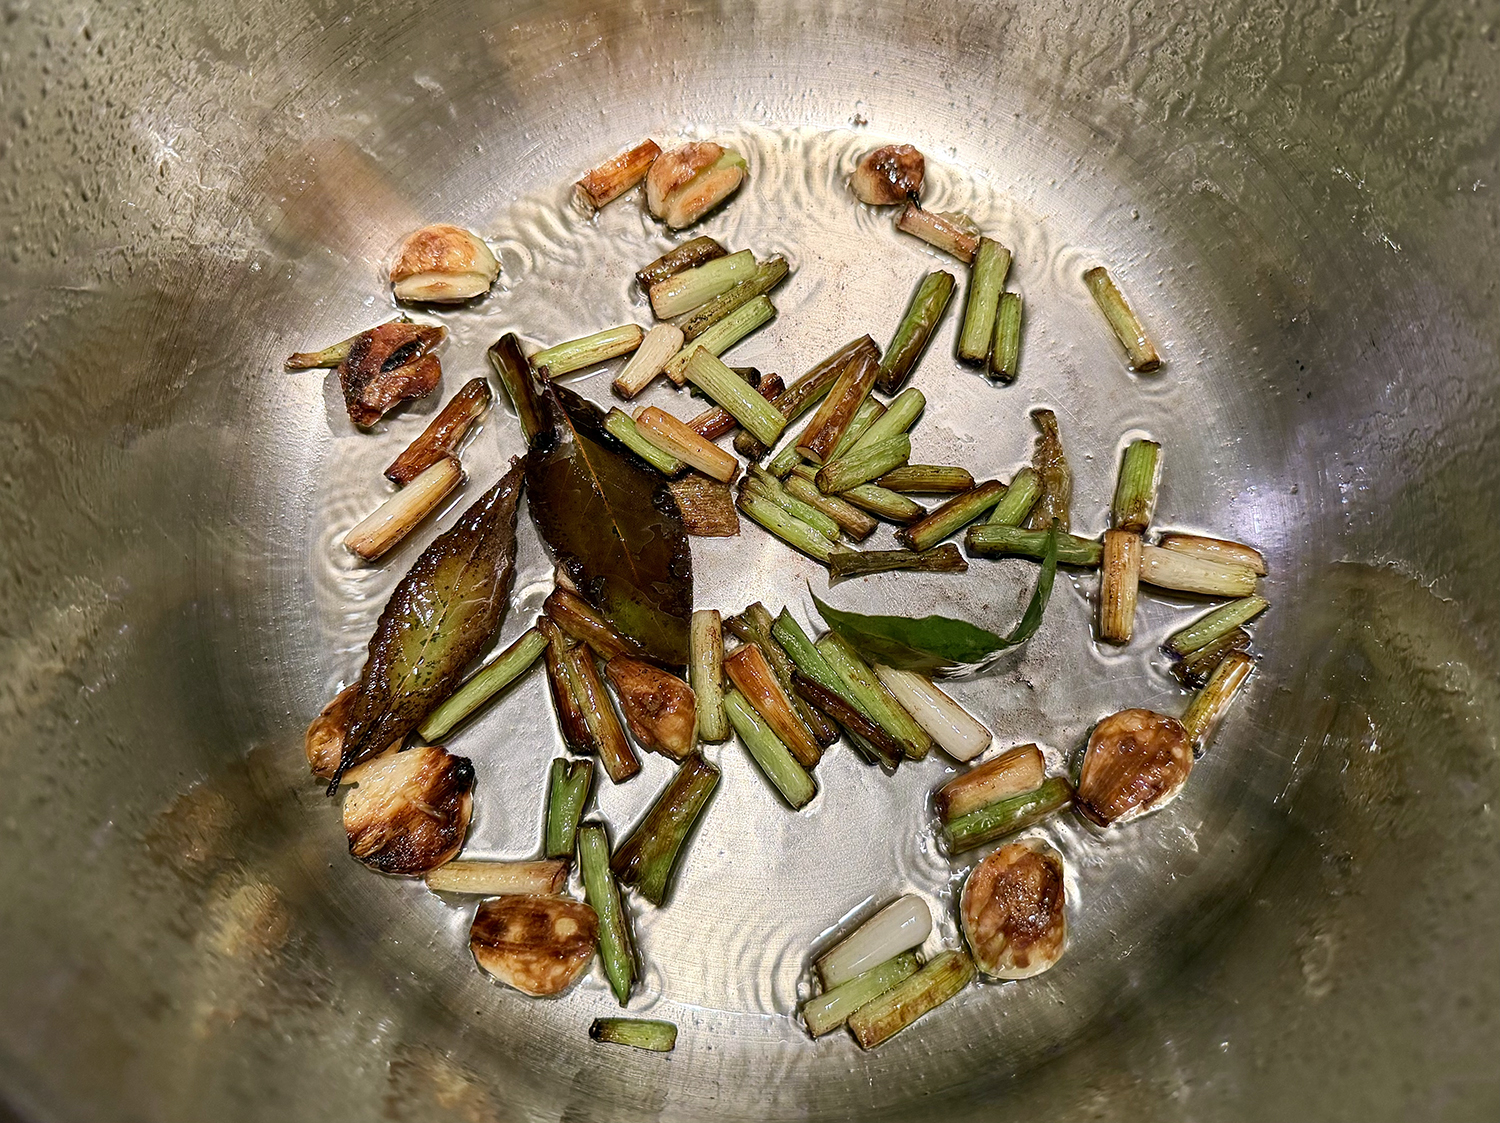
- 2 bay leaves
- 4 thyme sprigs
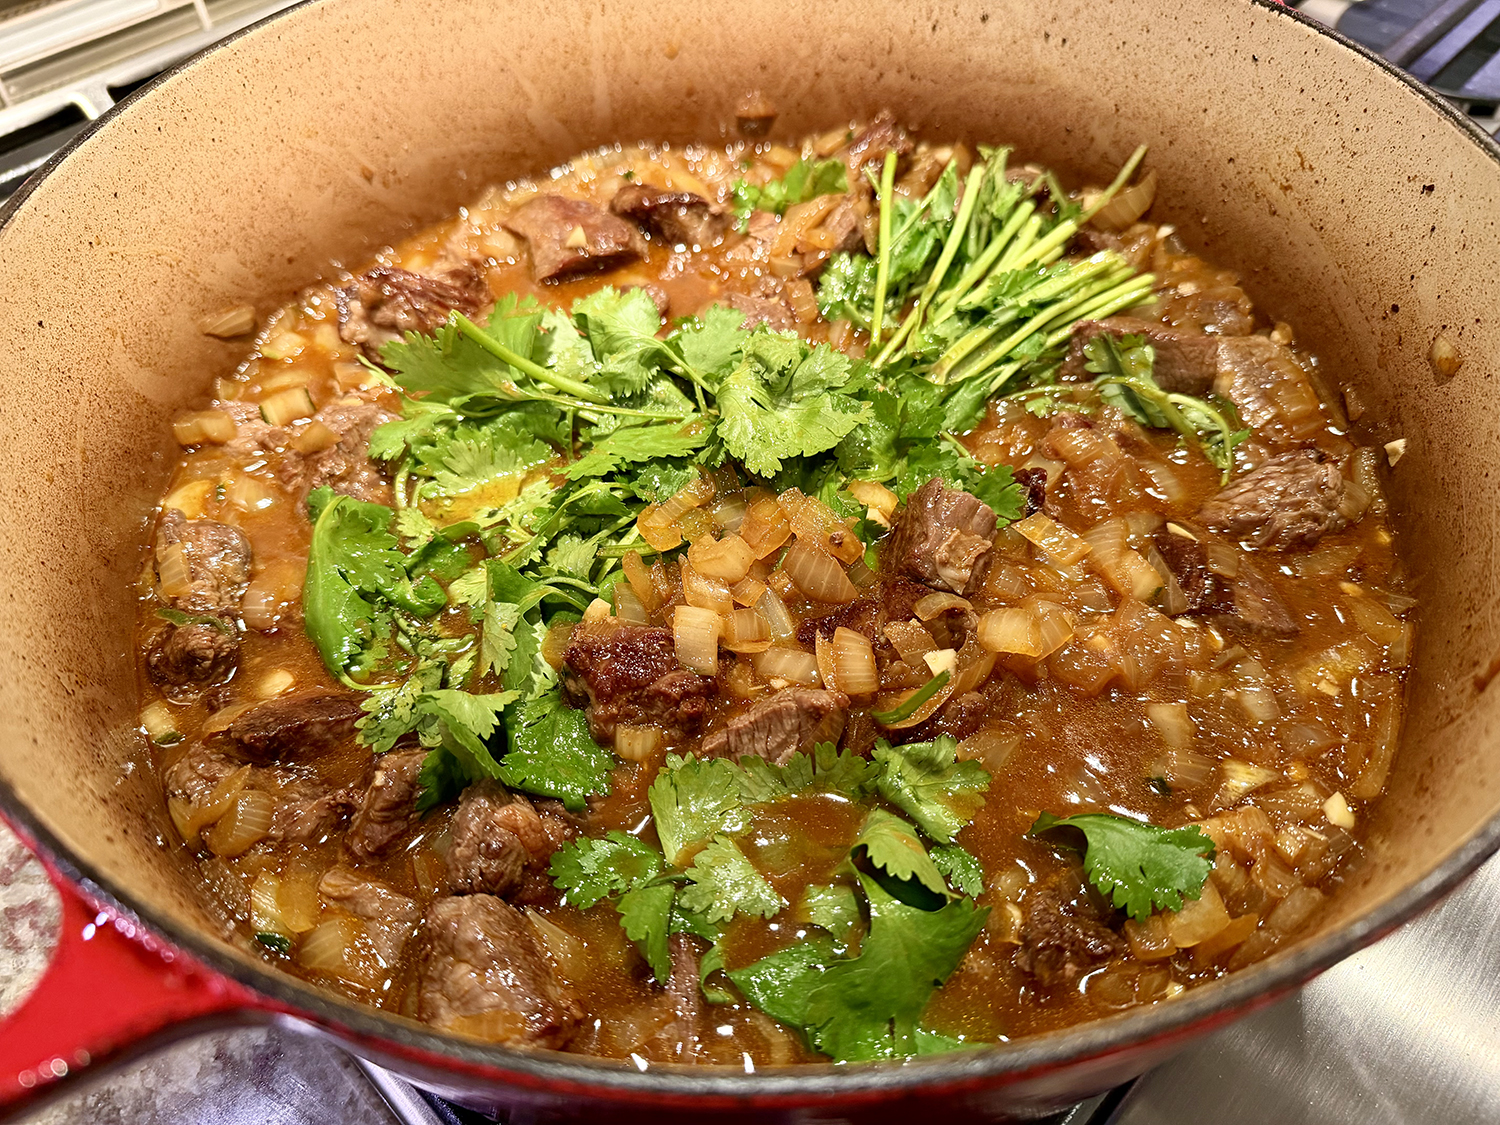
- 2 lemons, sliced and seeds removed
- ⅓ cup chopped flat-leaf parsley leaves and tender stems, plus more for serving
- ⅓ cup chopped scallions, plus more for serving
- 1 tsp. dried basil
- 1 to 2 tsp. hot sauce, to taste, such as Crystal Louisiana Hot Sauce
- Cooked rice (optional), for serving

Directions
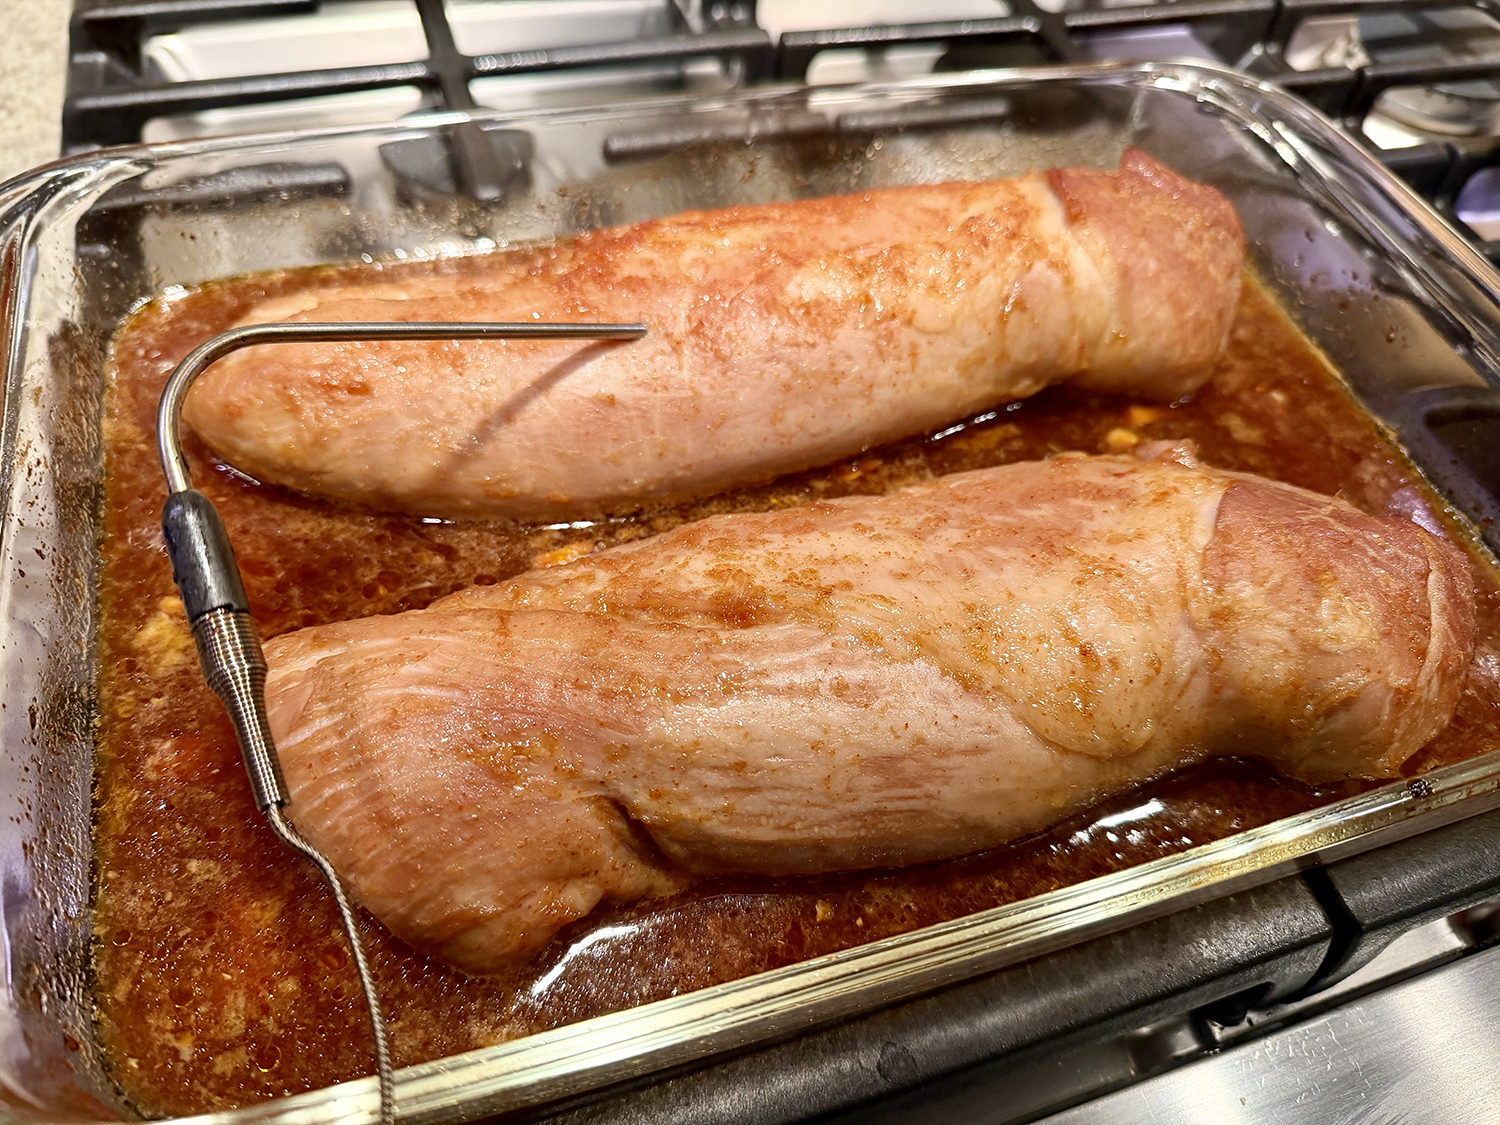
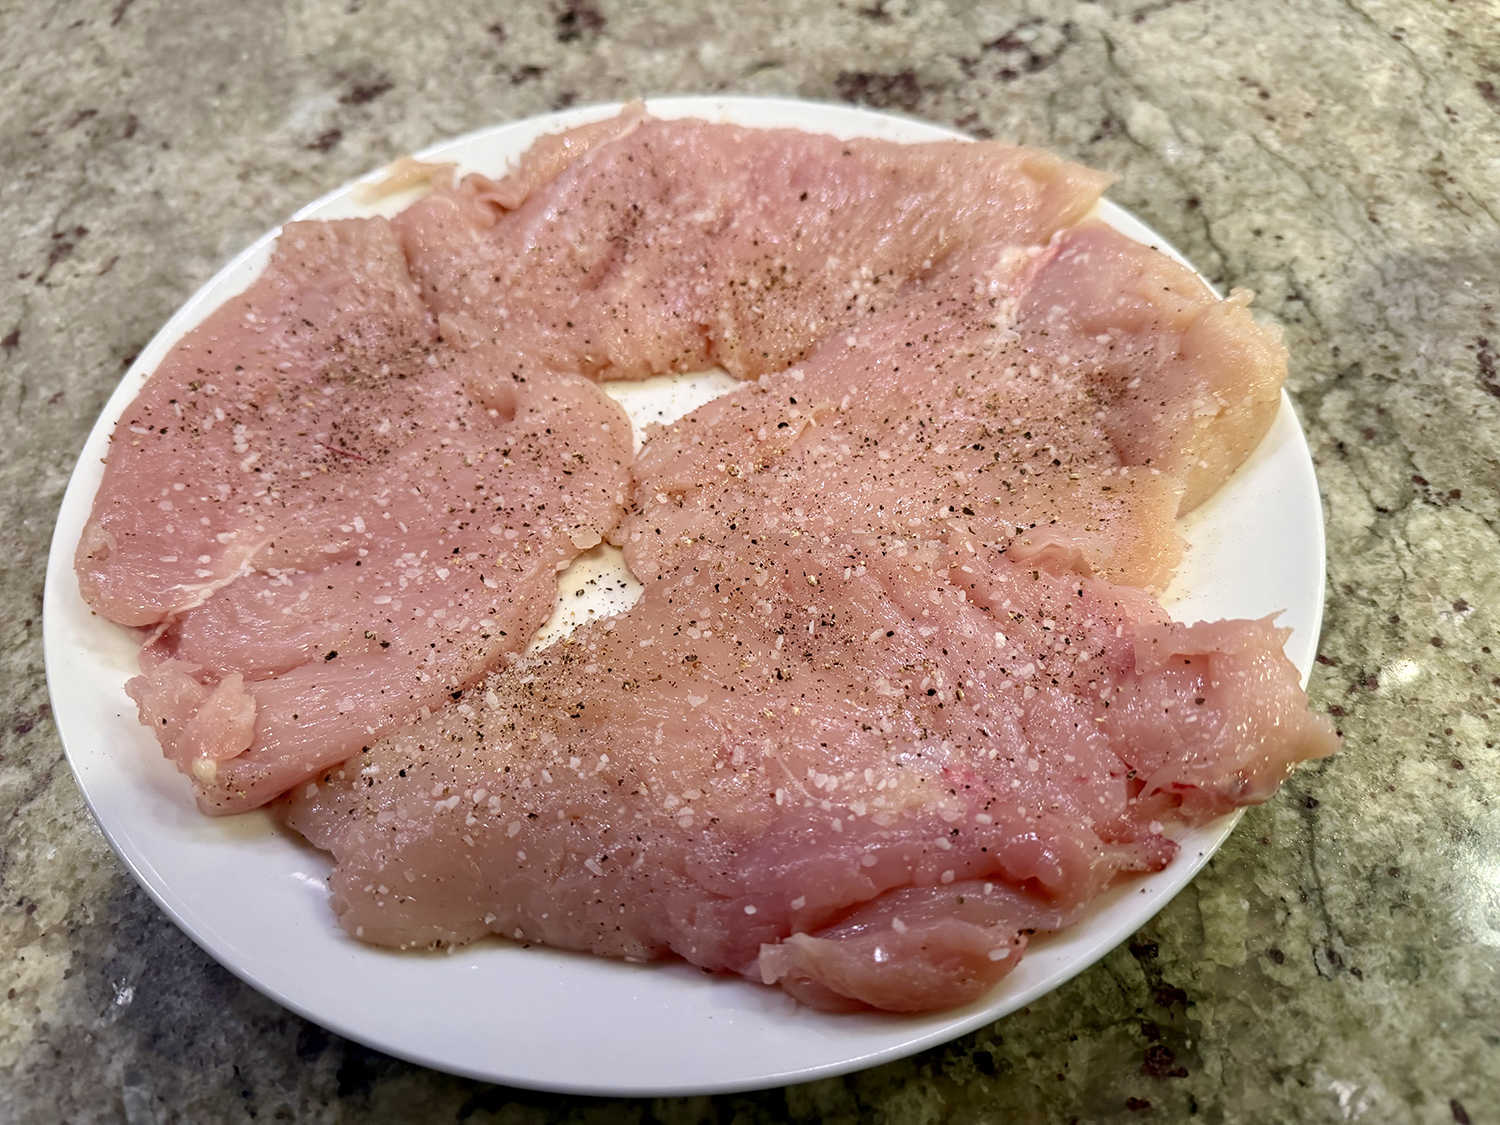
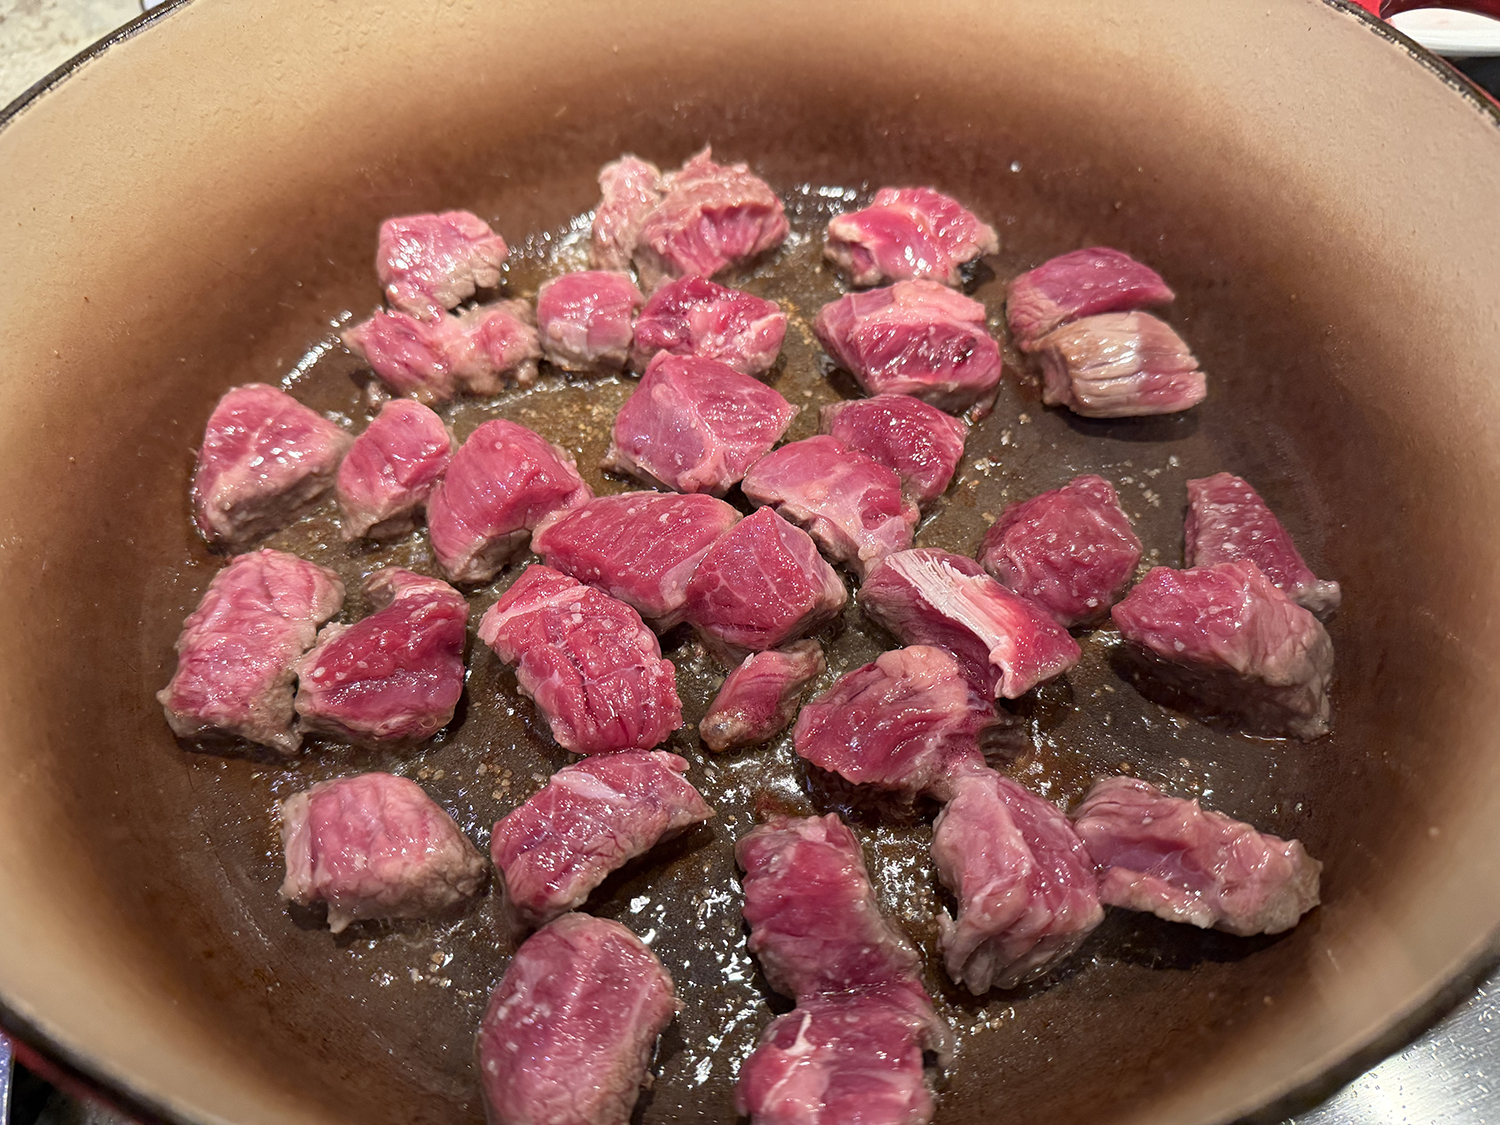
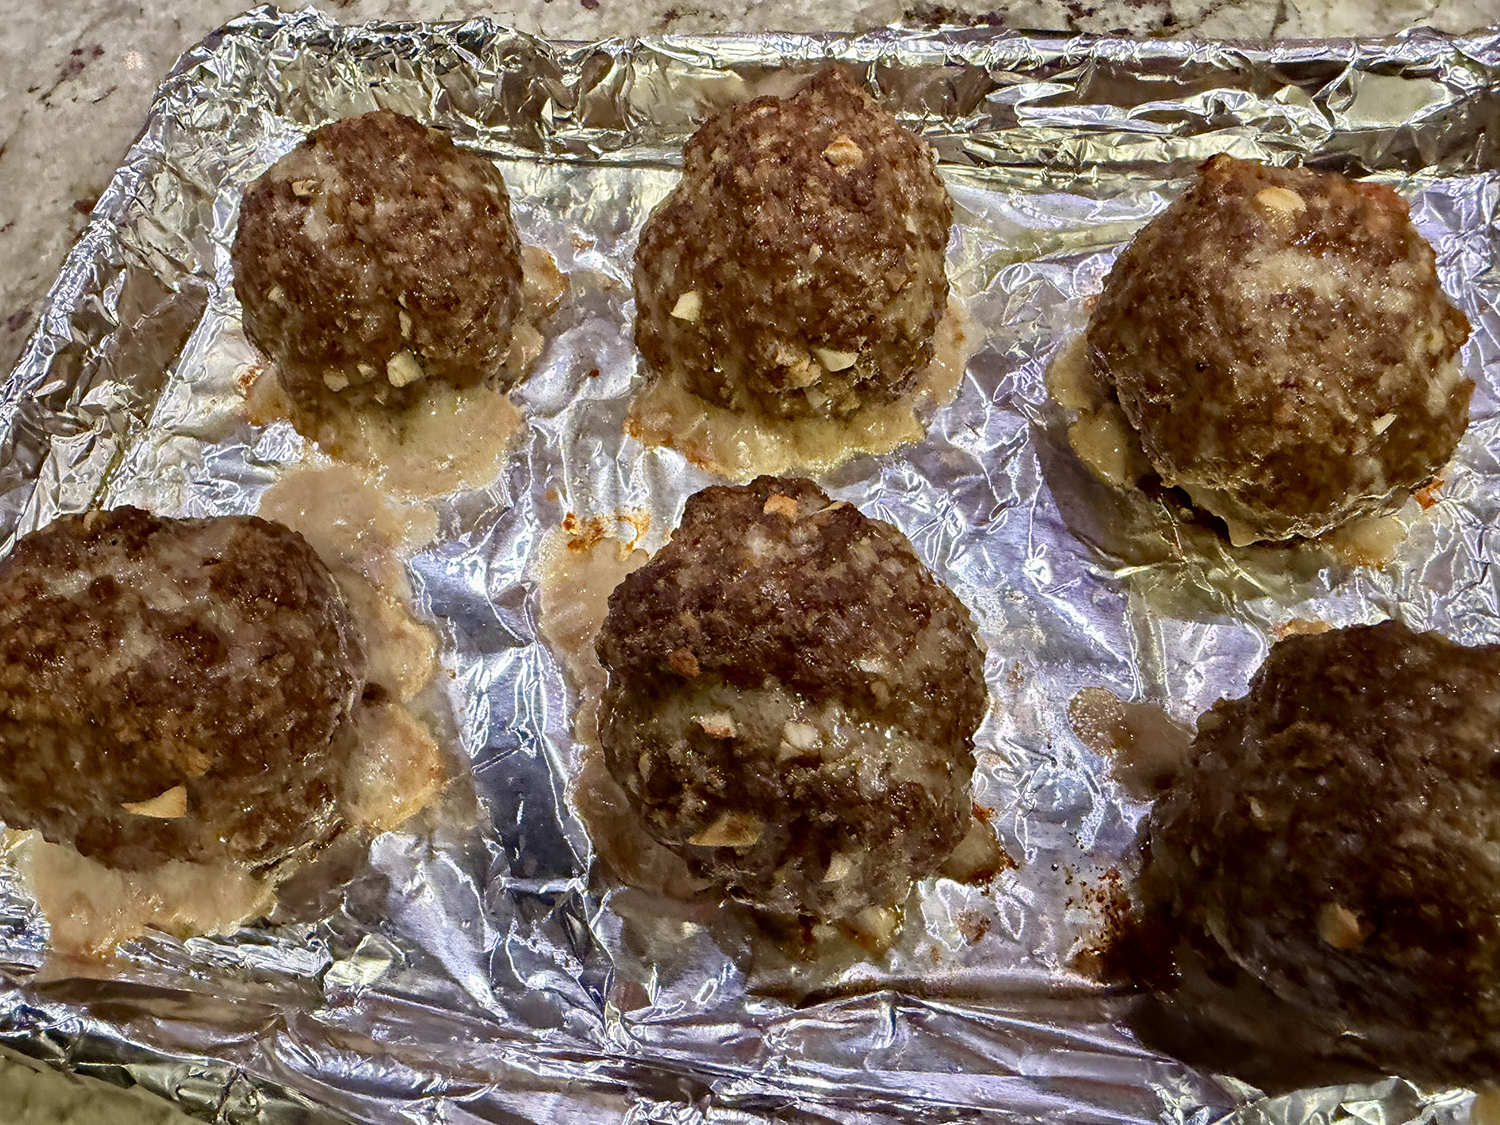
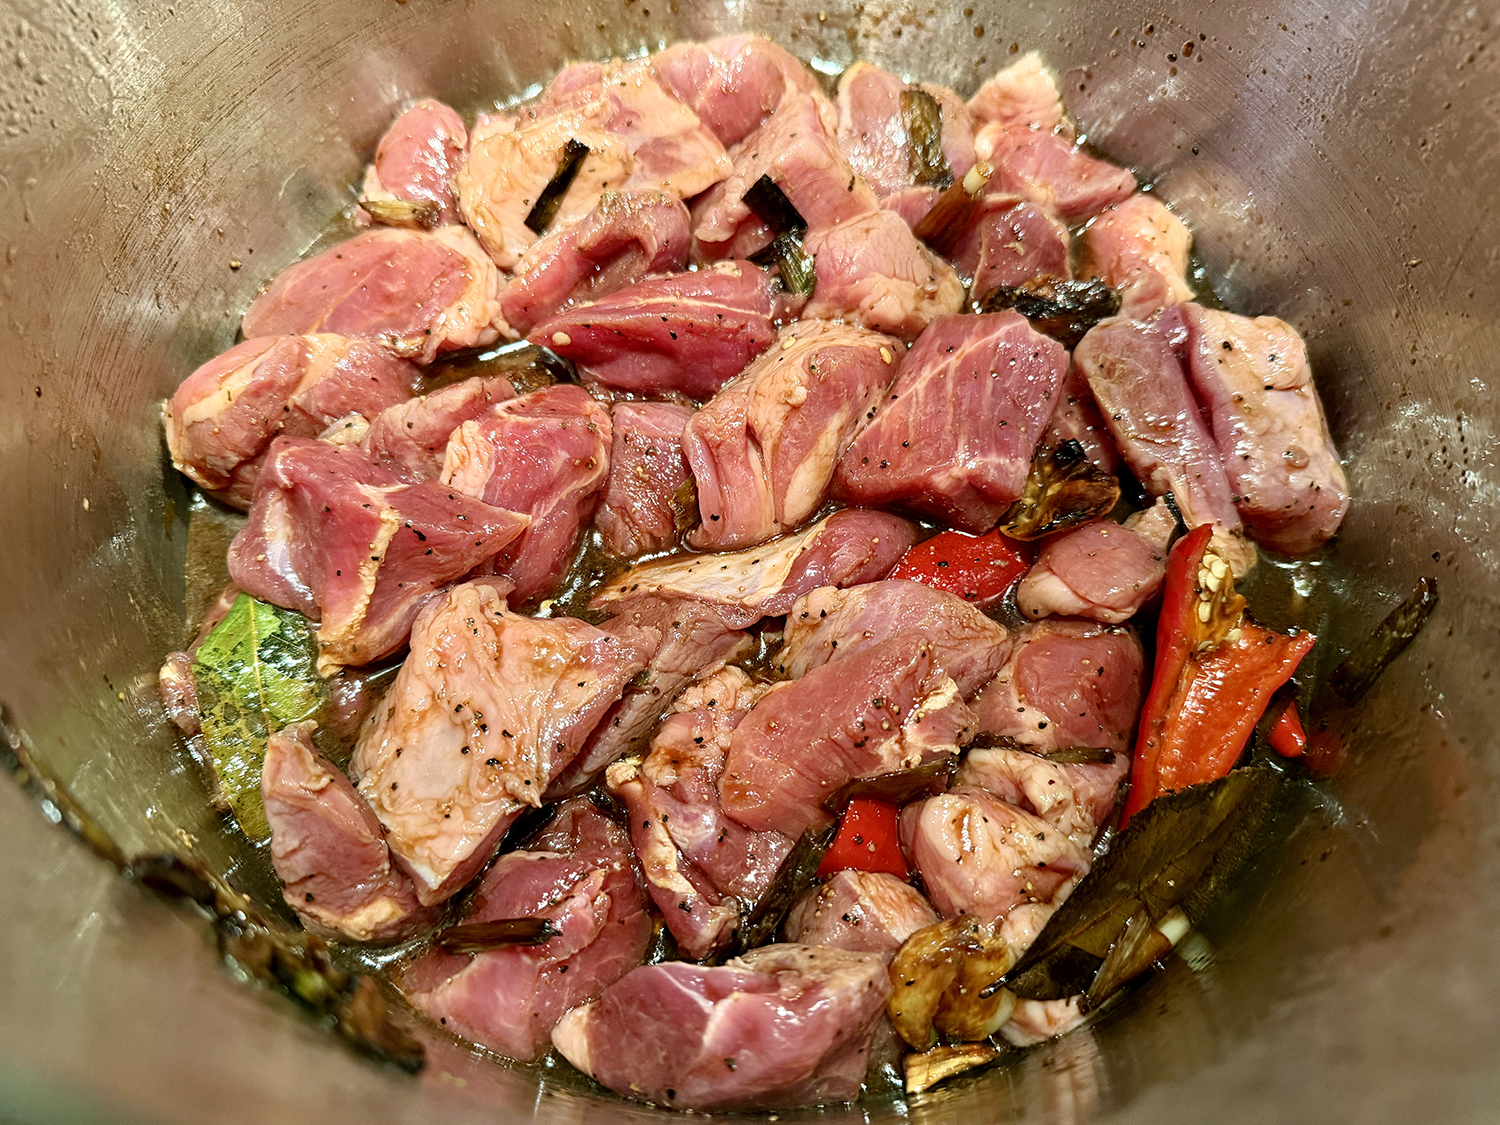
- Cut the fish into 2-inch pieces. Season all over with salt and pepper. Cover and set in the refrigerator while preparing the stew.
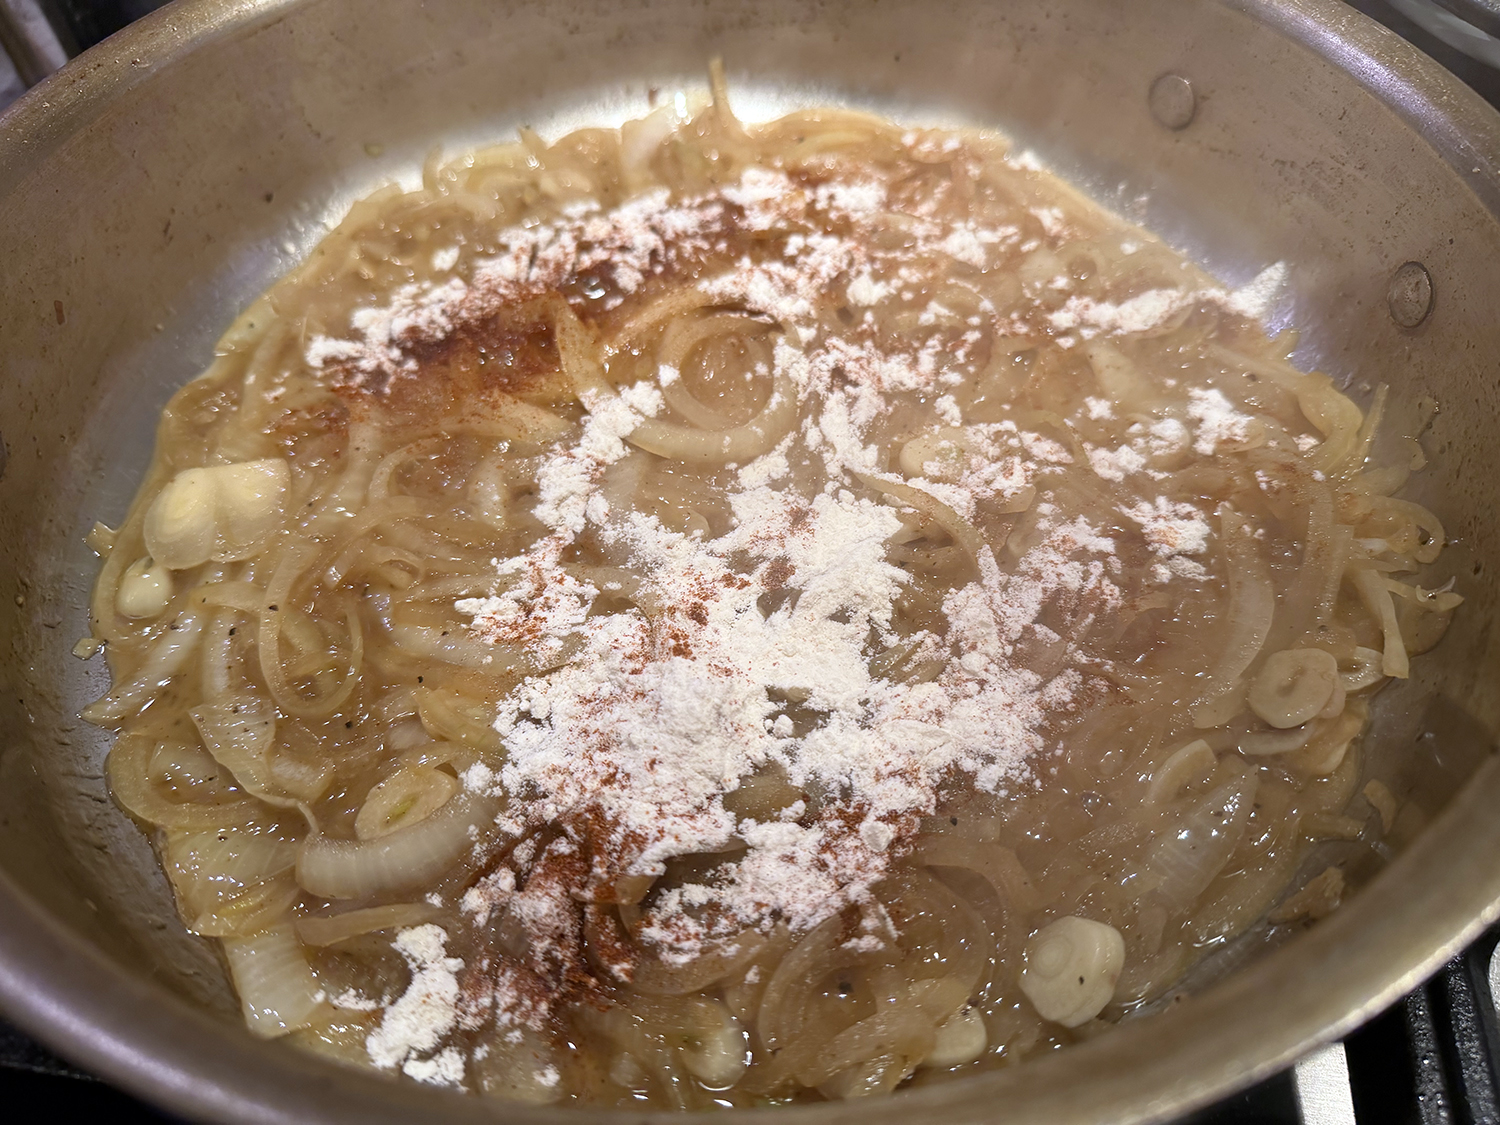
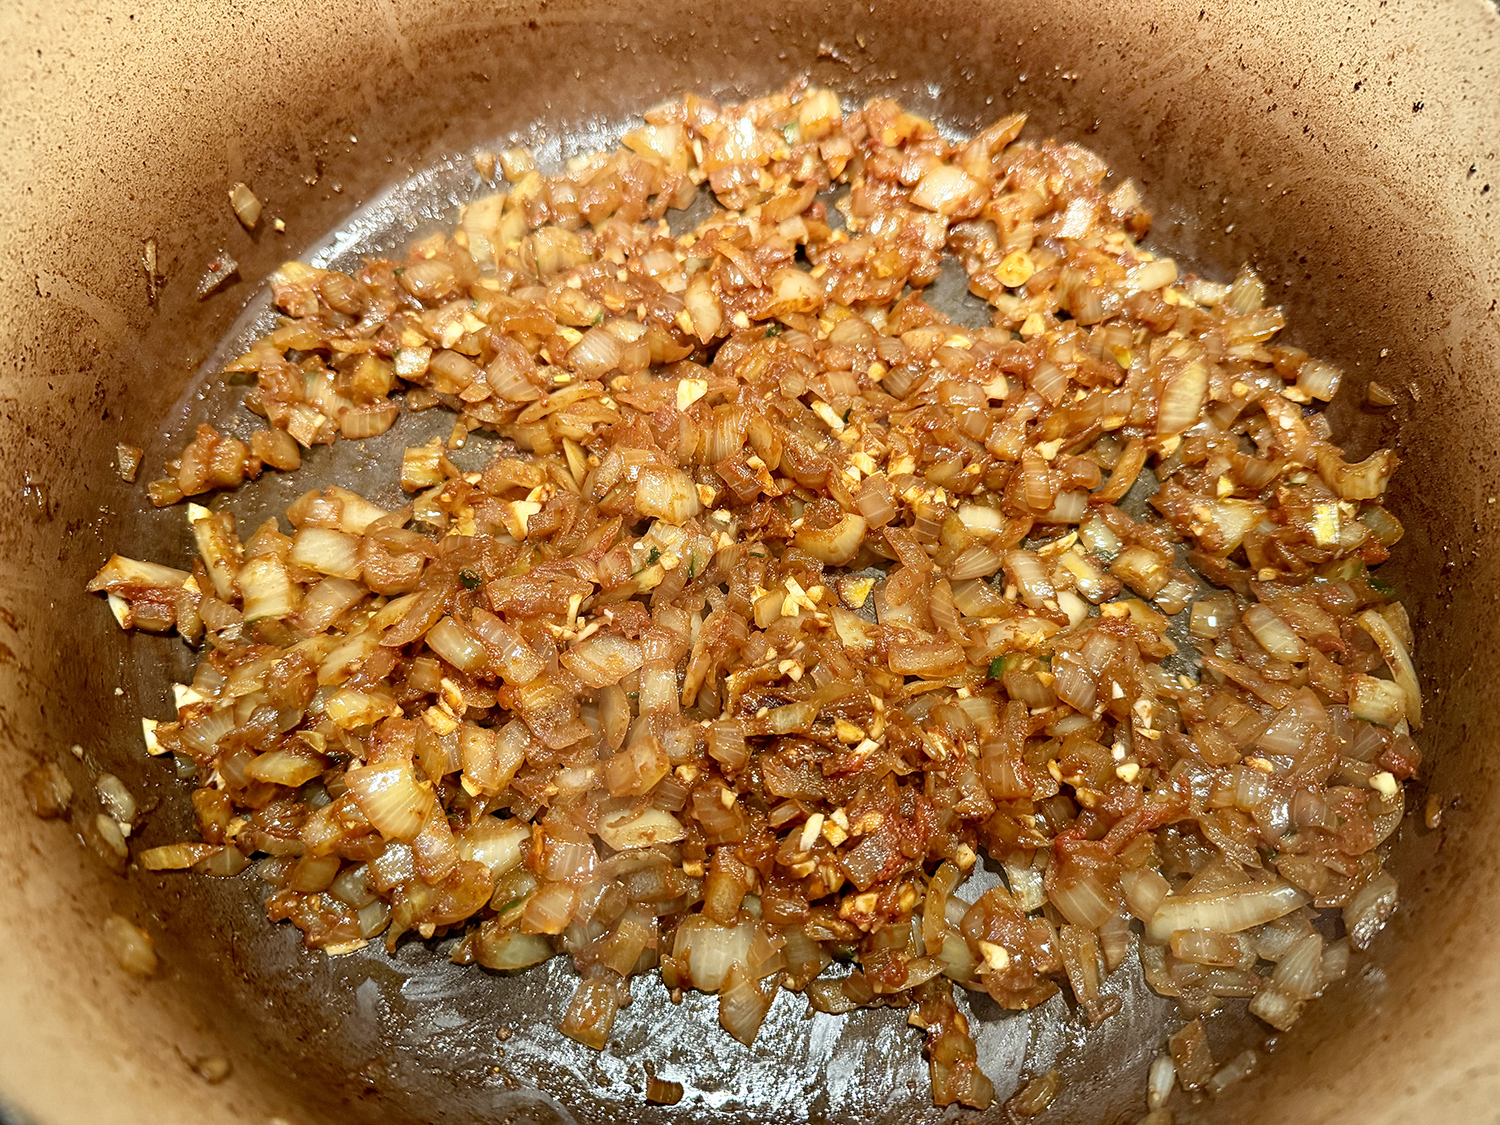
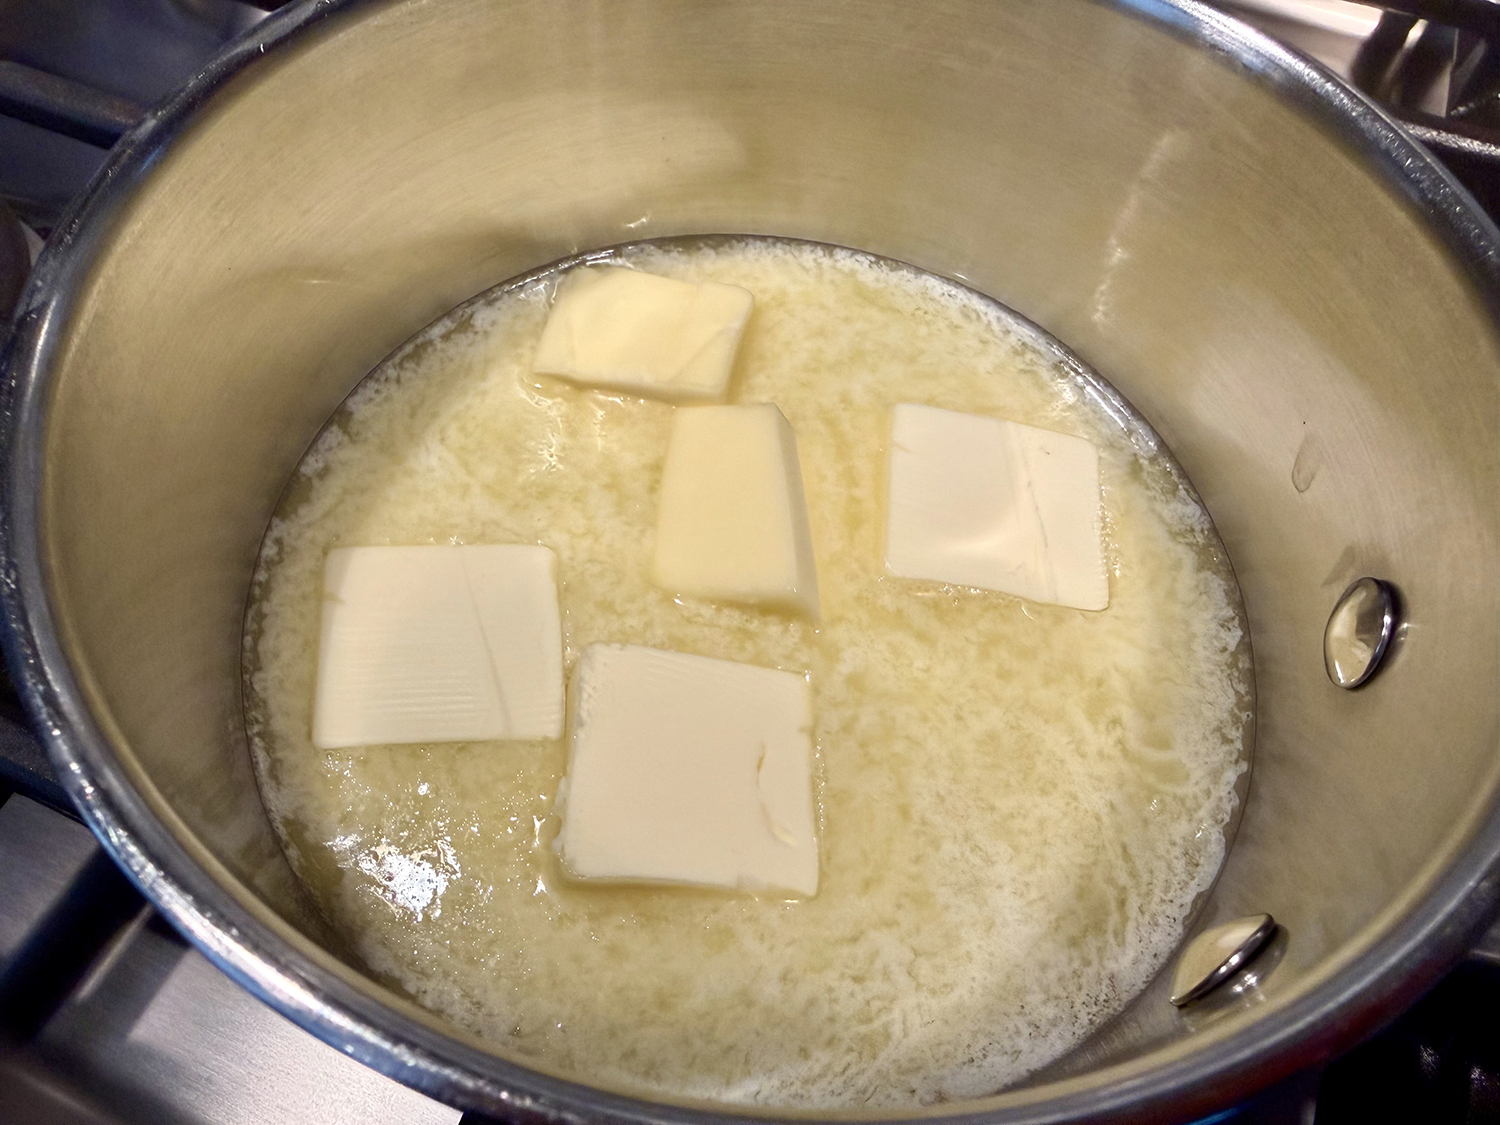
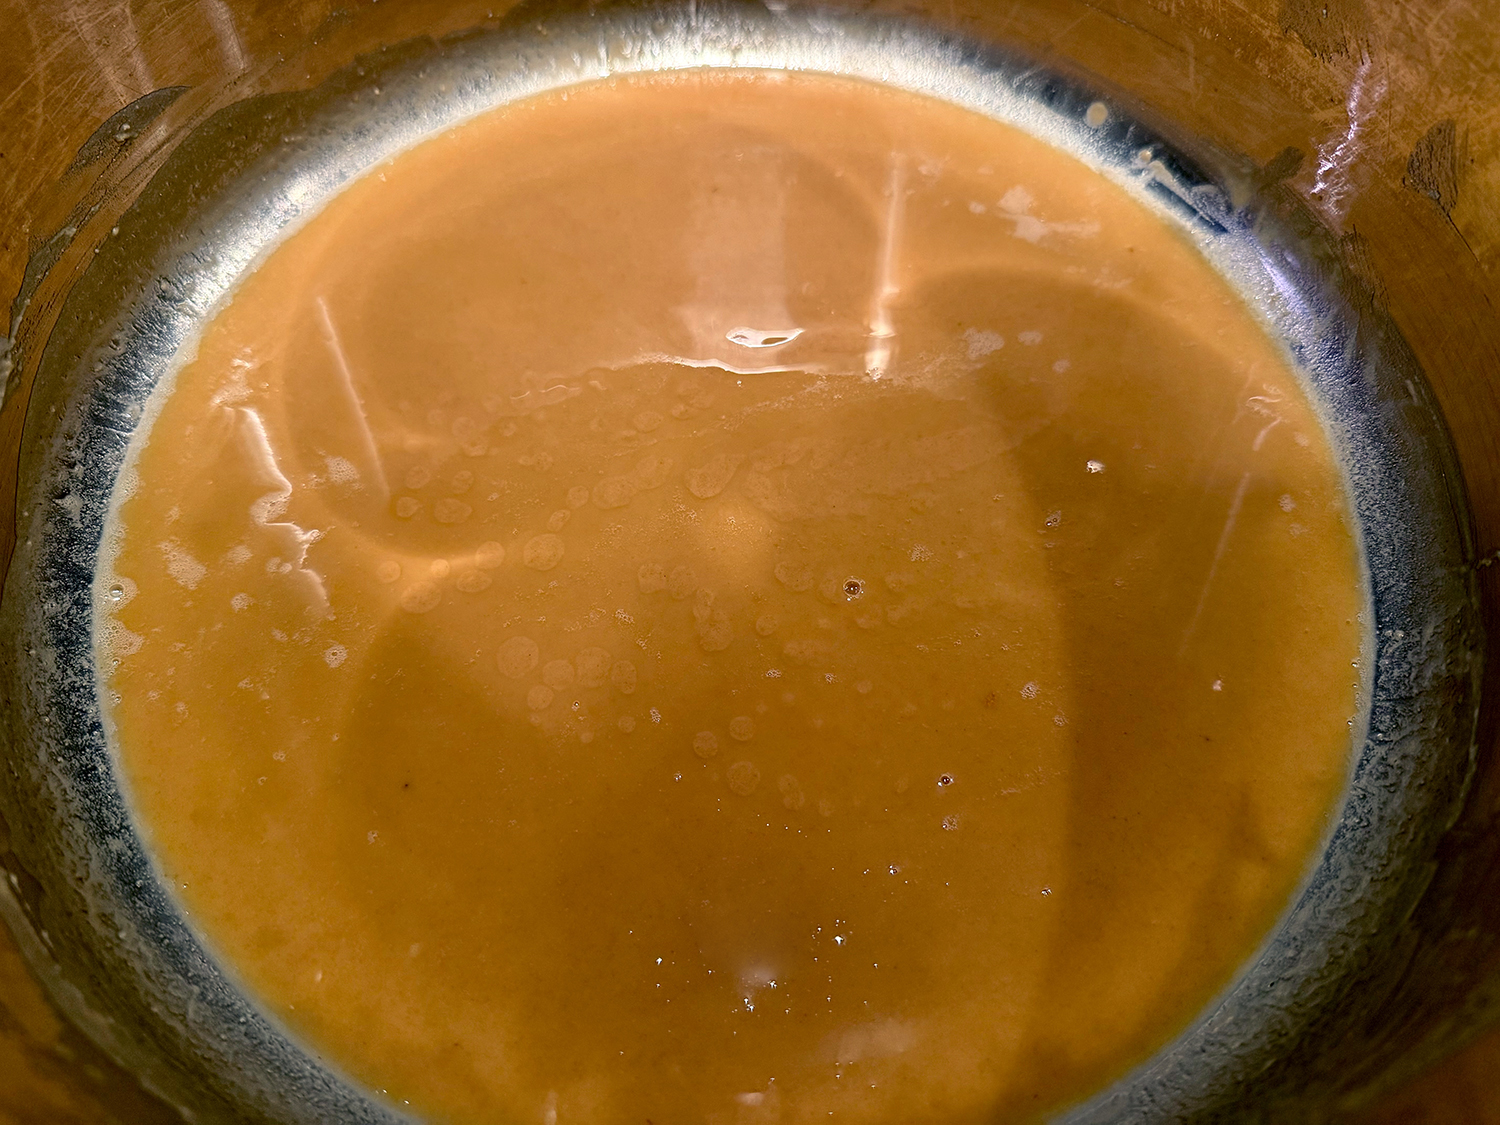
- In a Dutch oven or large, heavy skillet, melt the butter over medium-low heat. Sprinkle the flour on top and stir constantly with a wooden spoon until a roux the color of peanut butter forms, about 10 minutes.
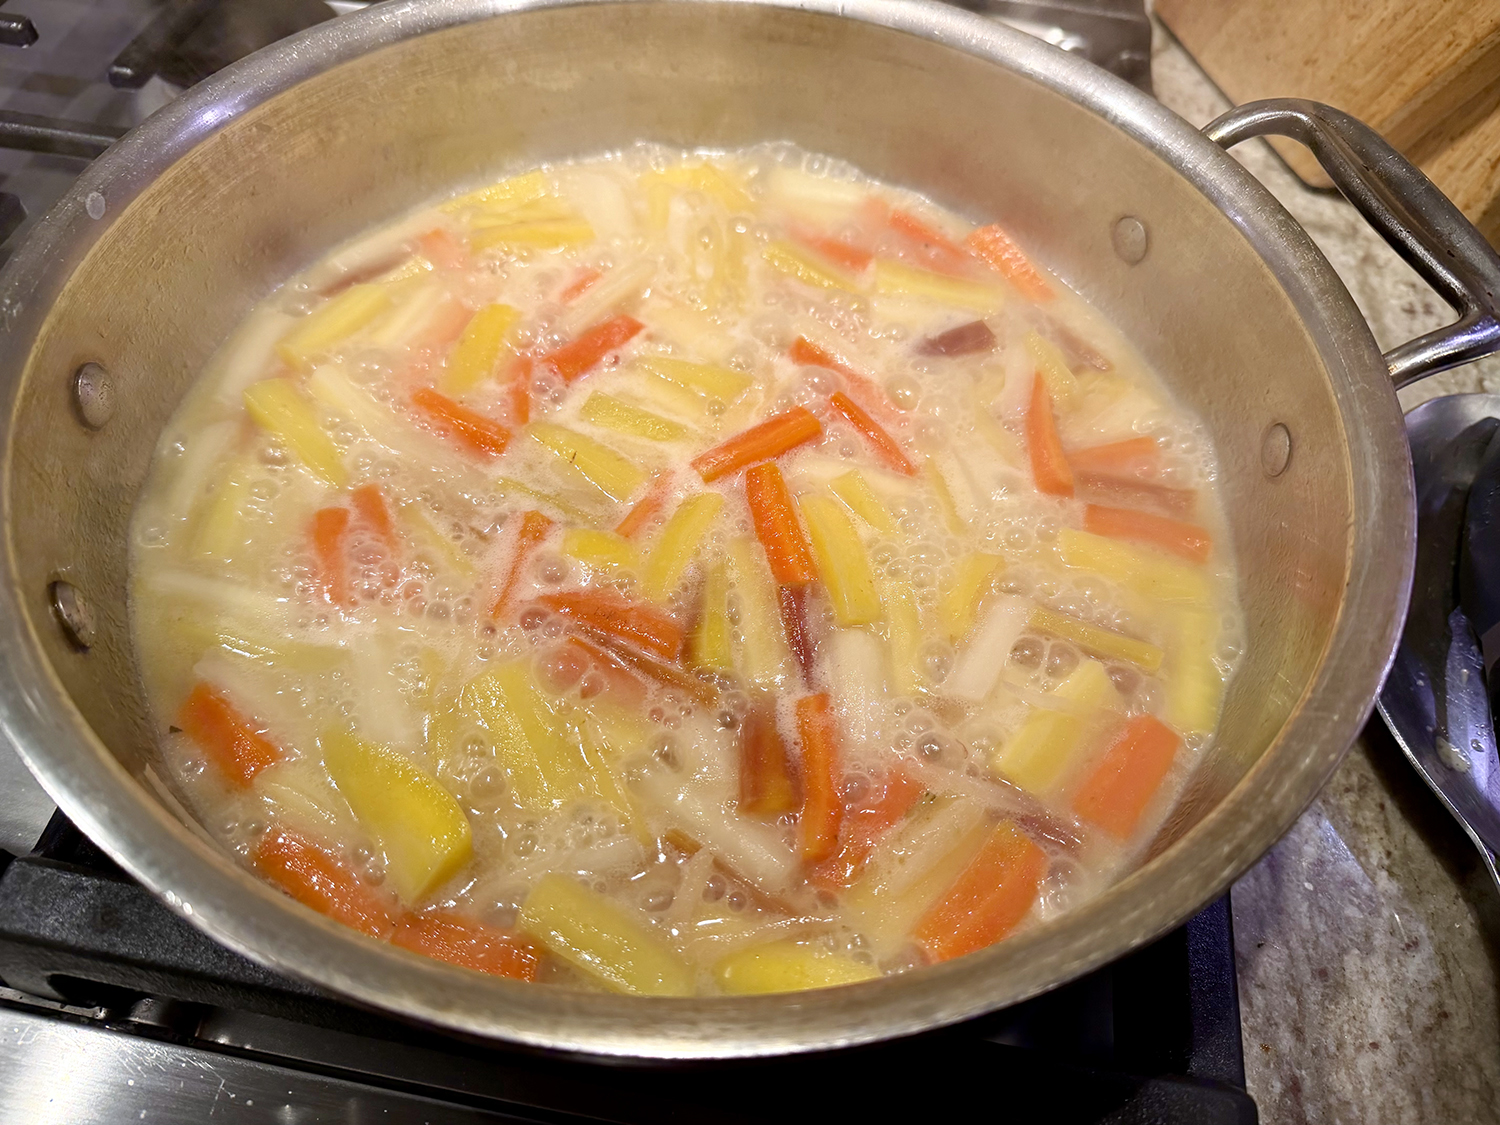
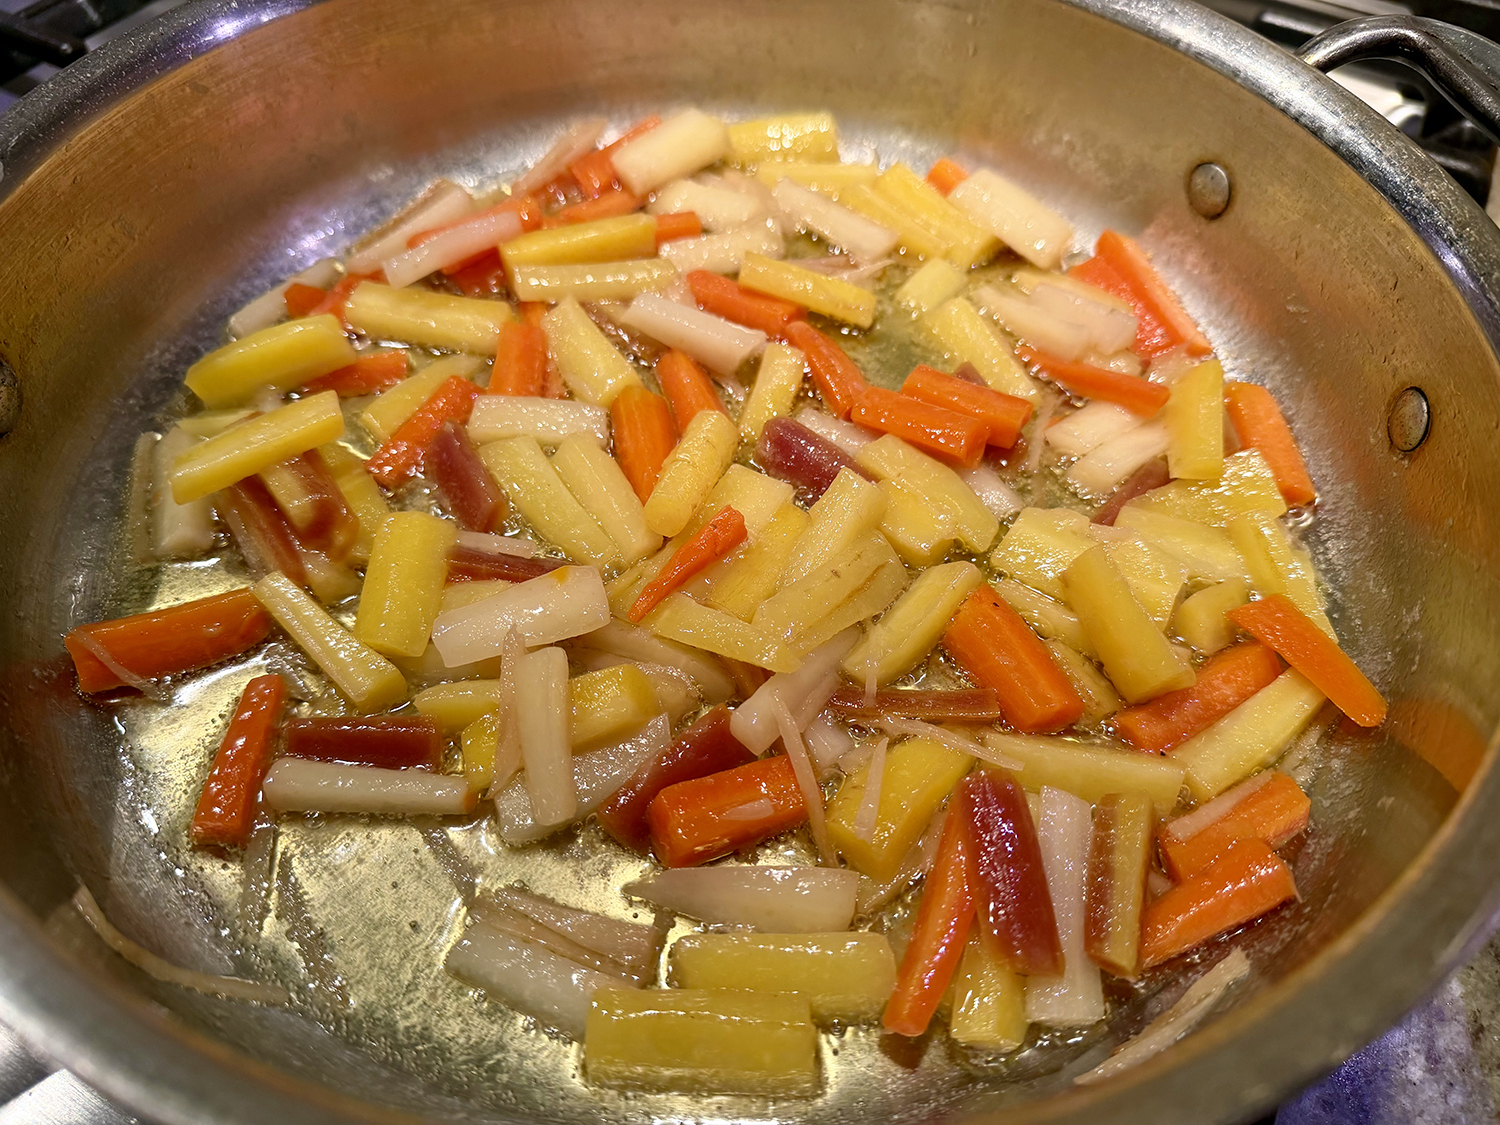
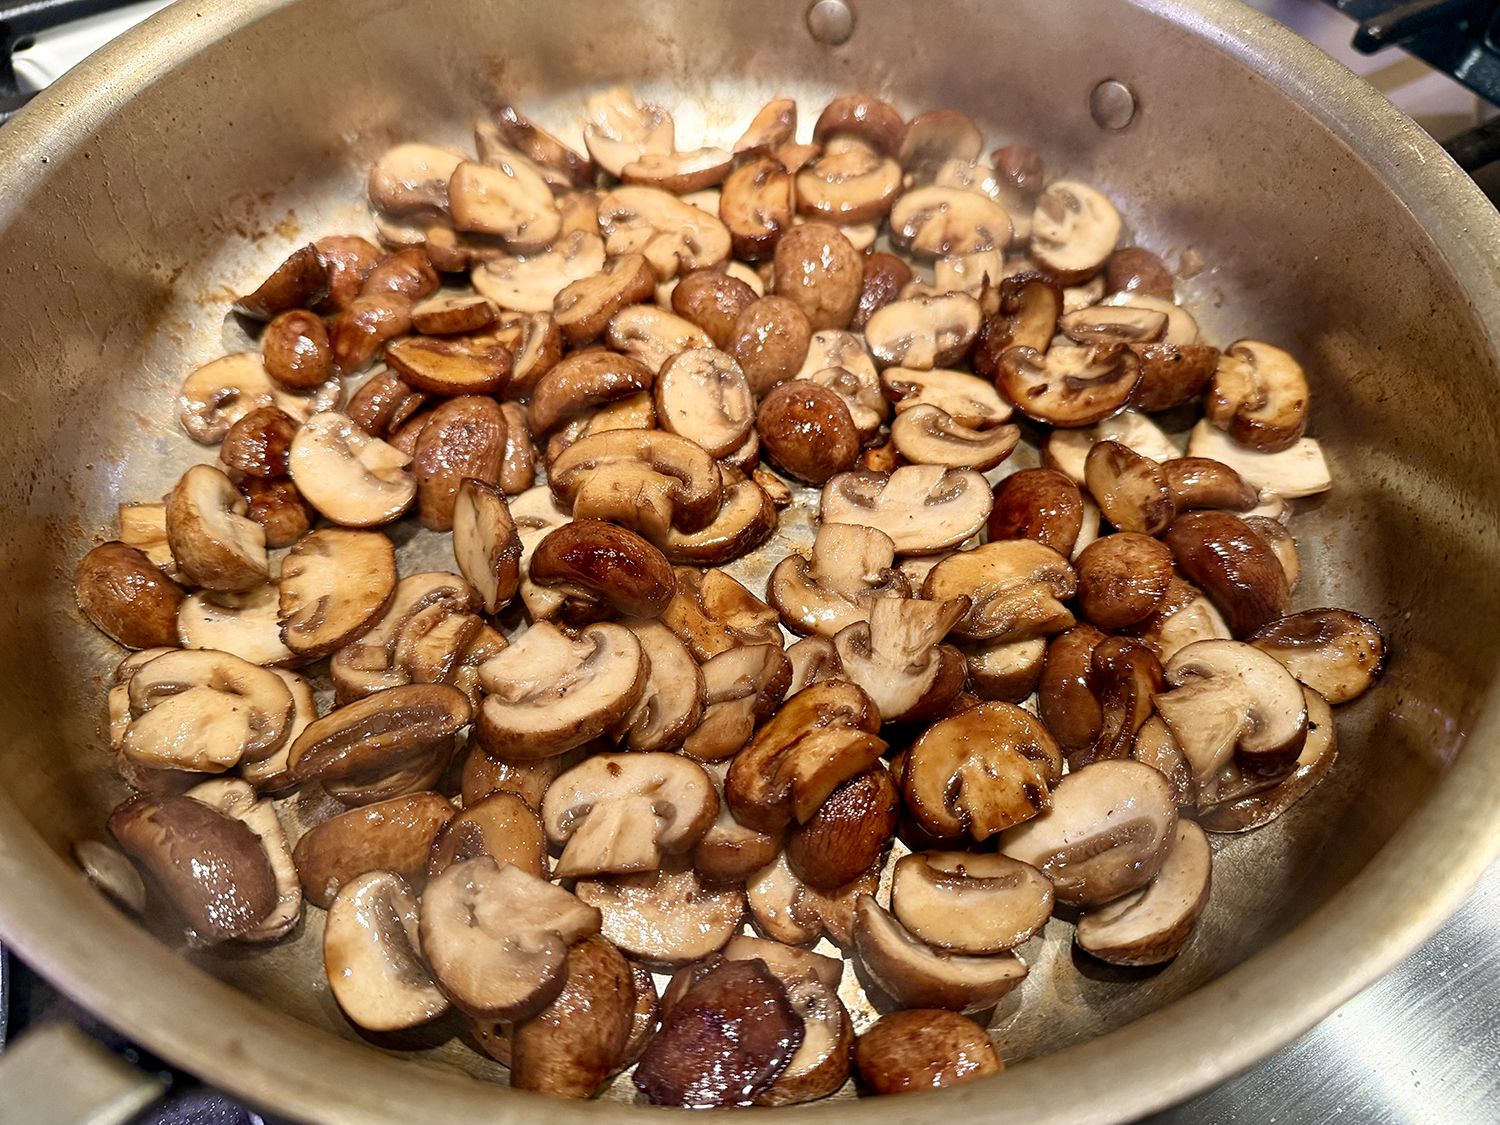
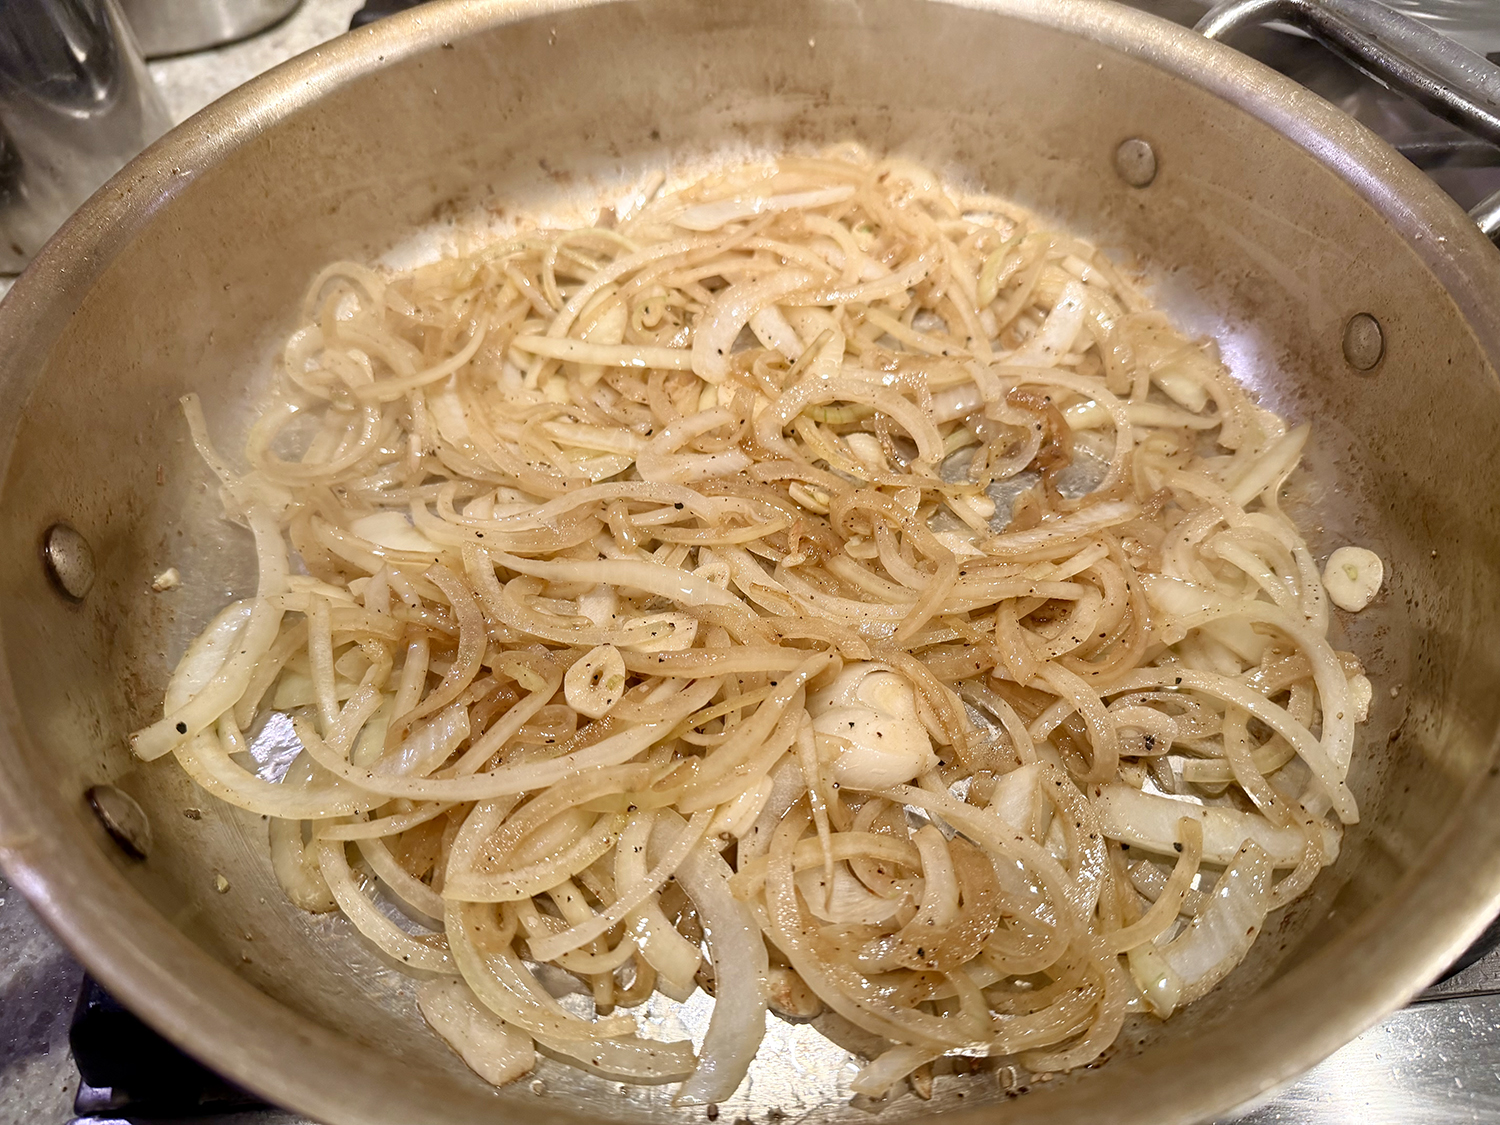
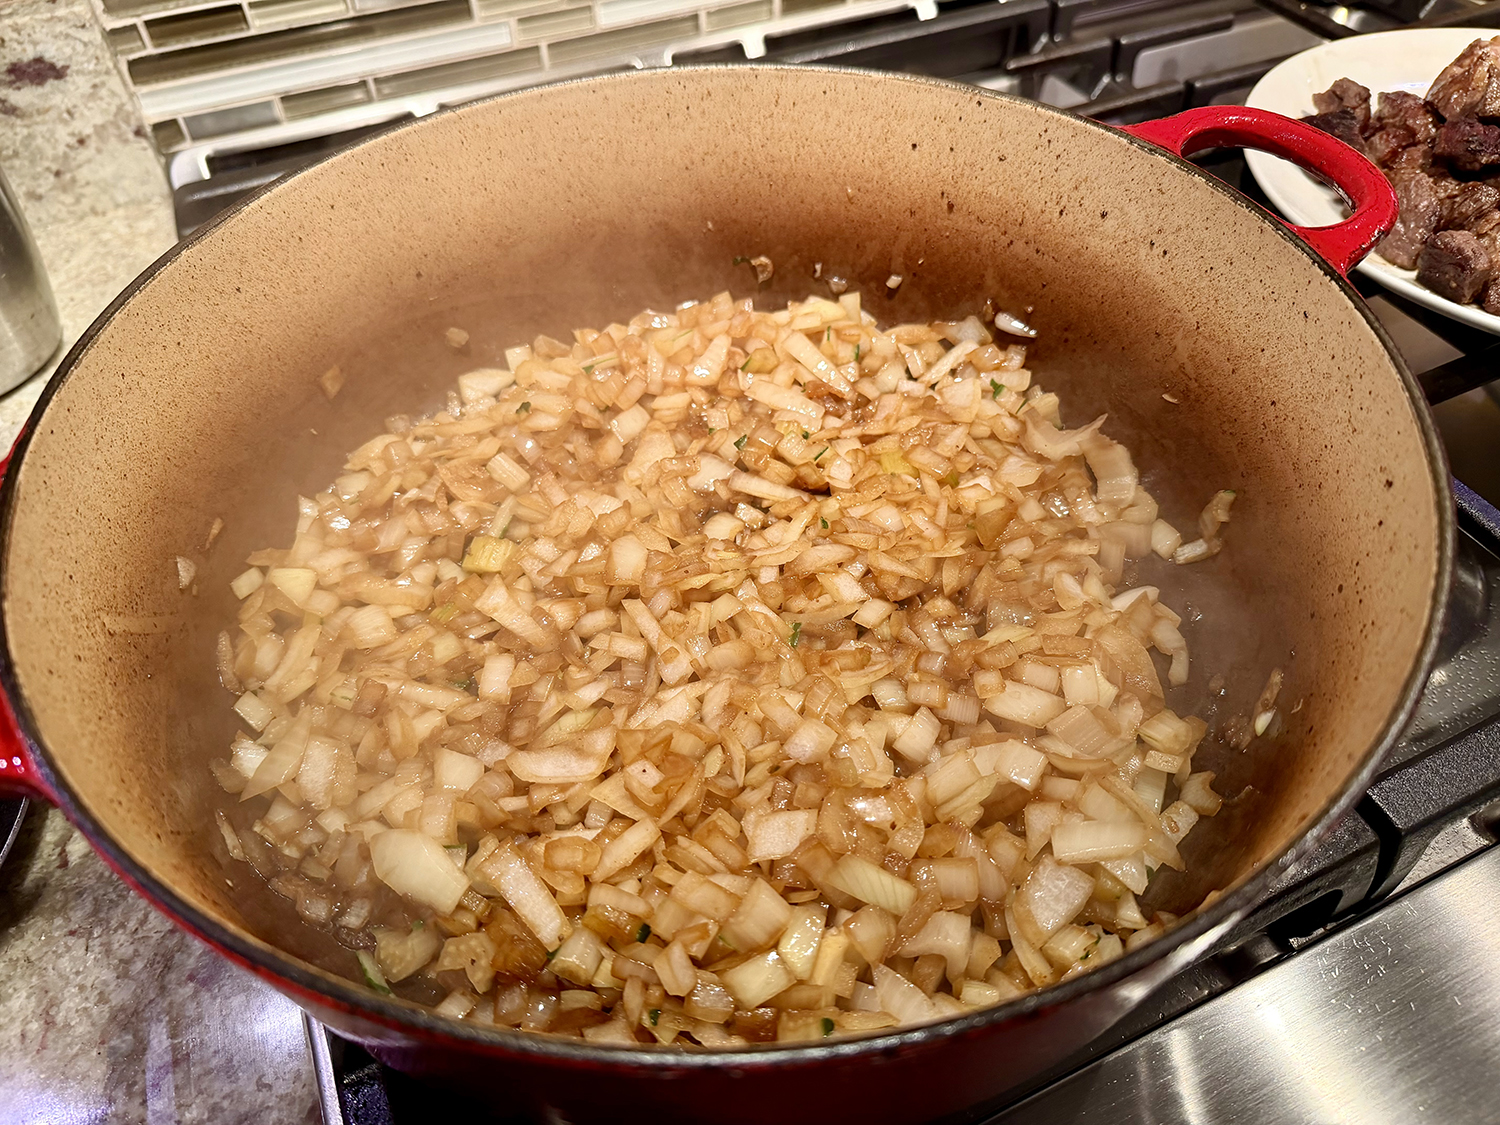
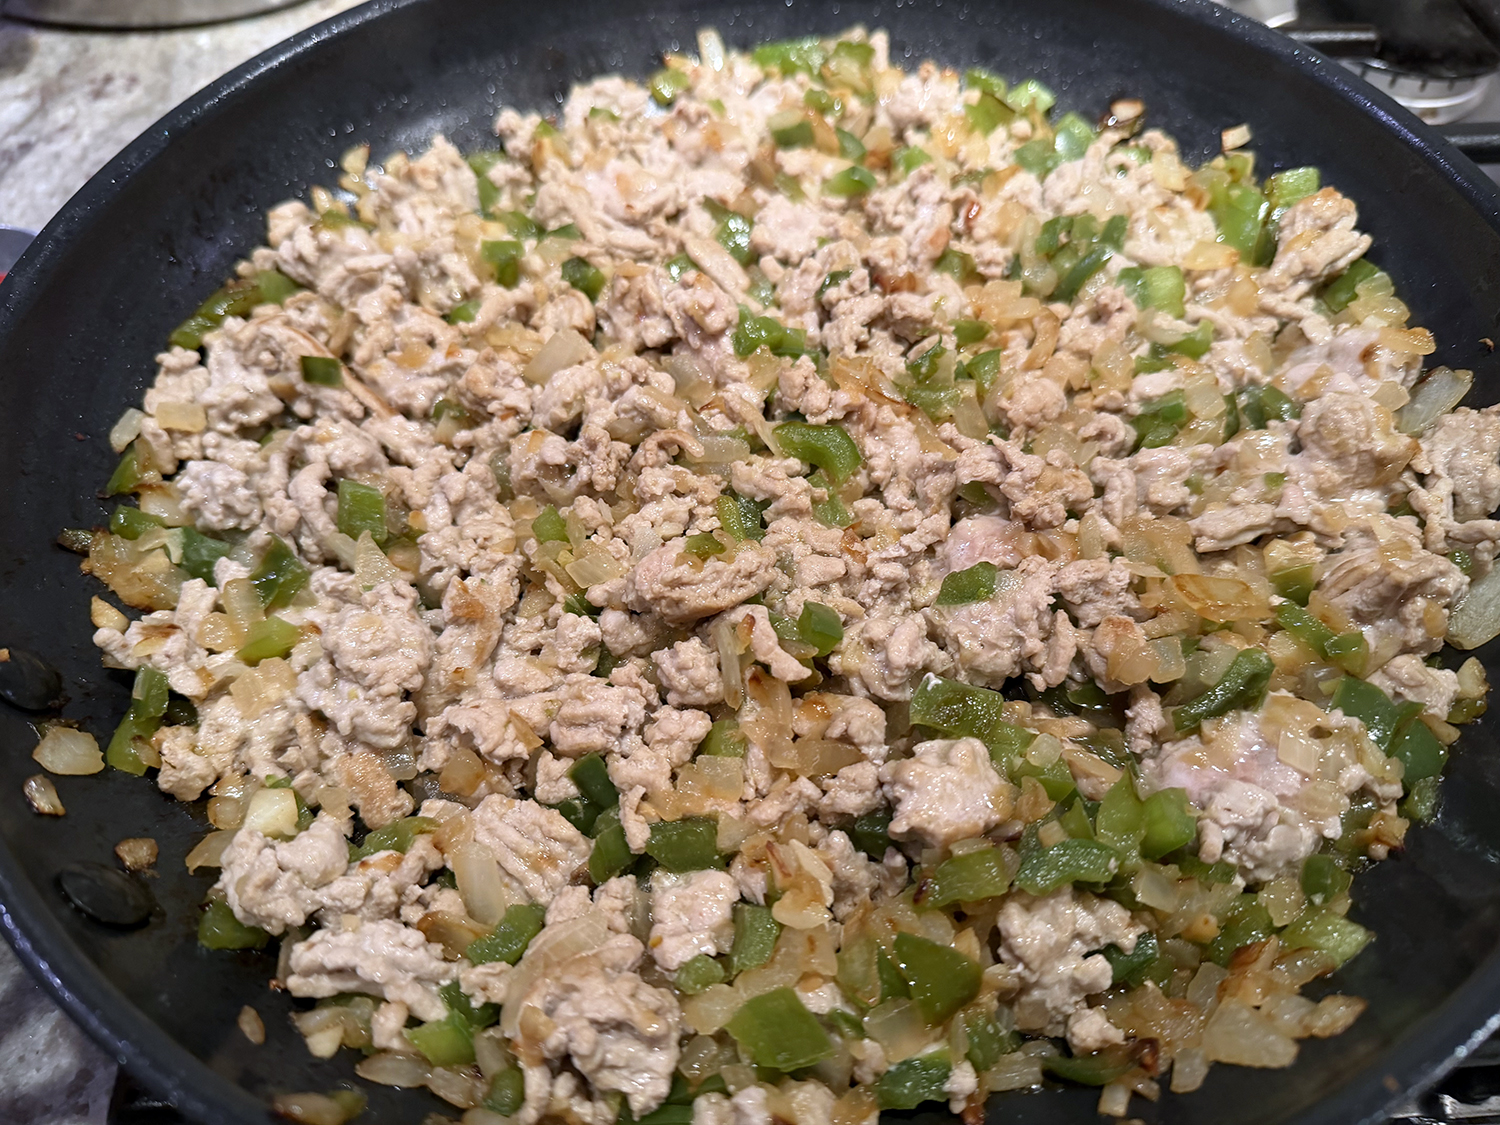
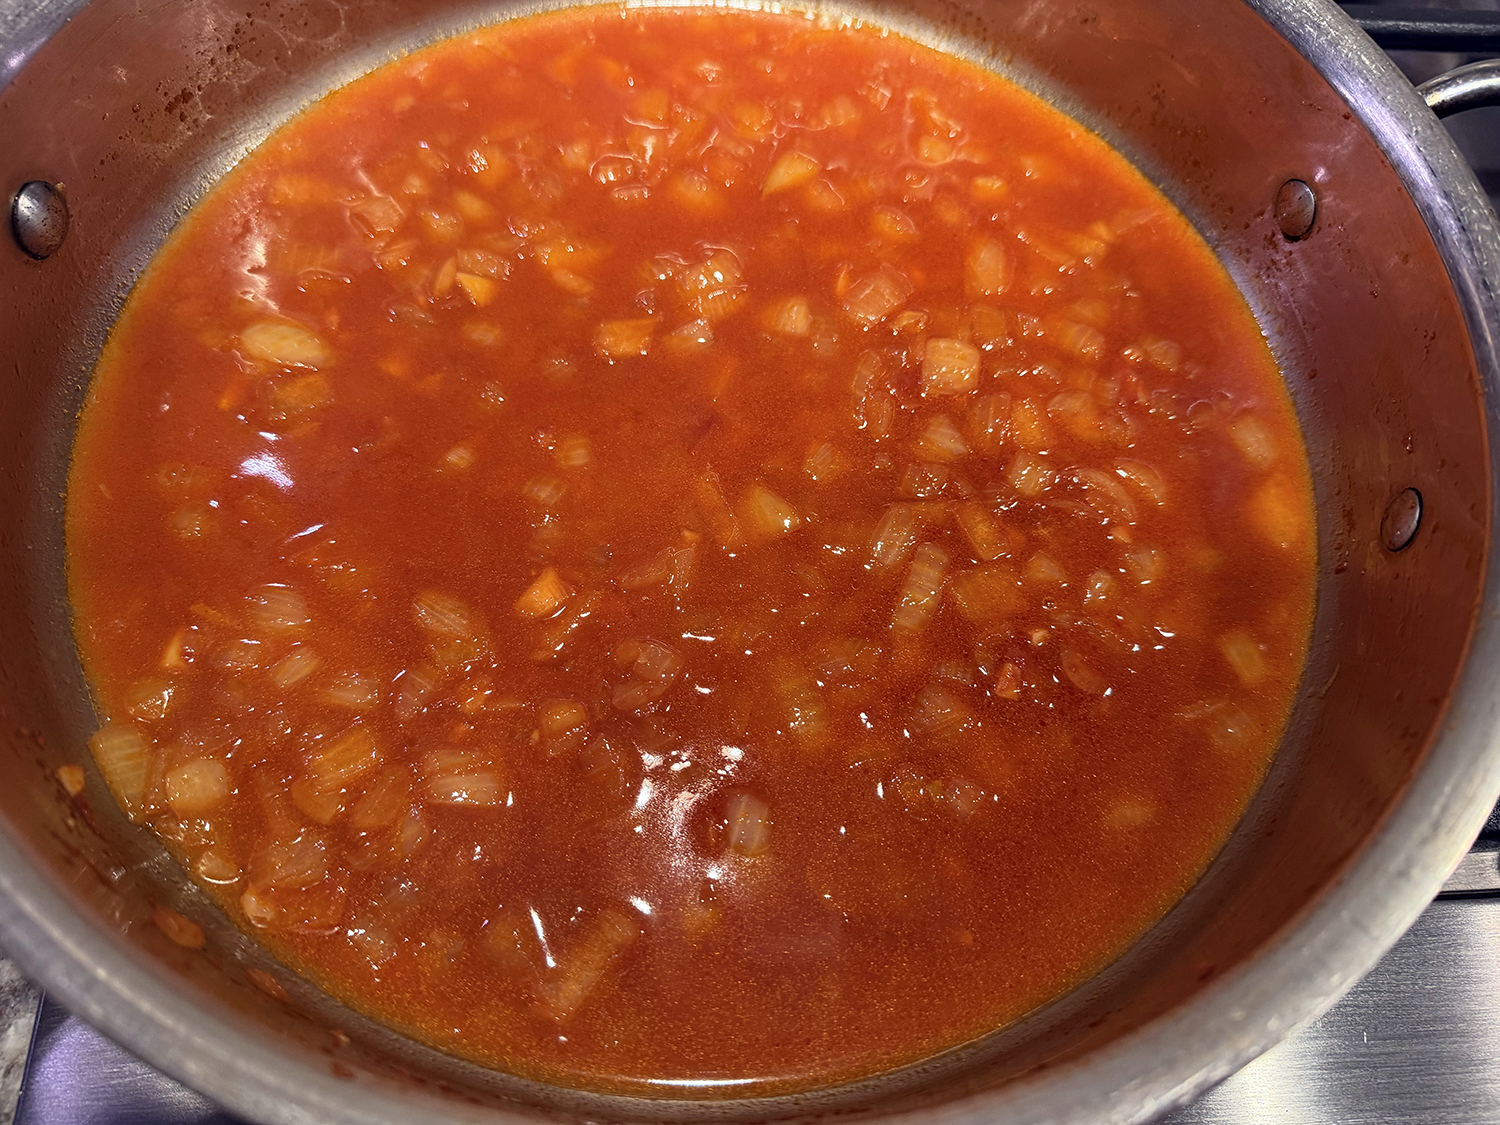
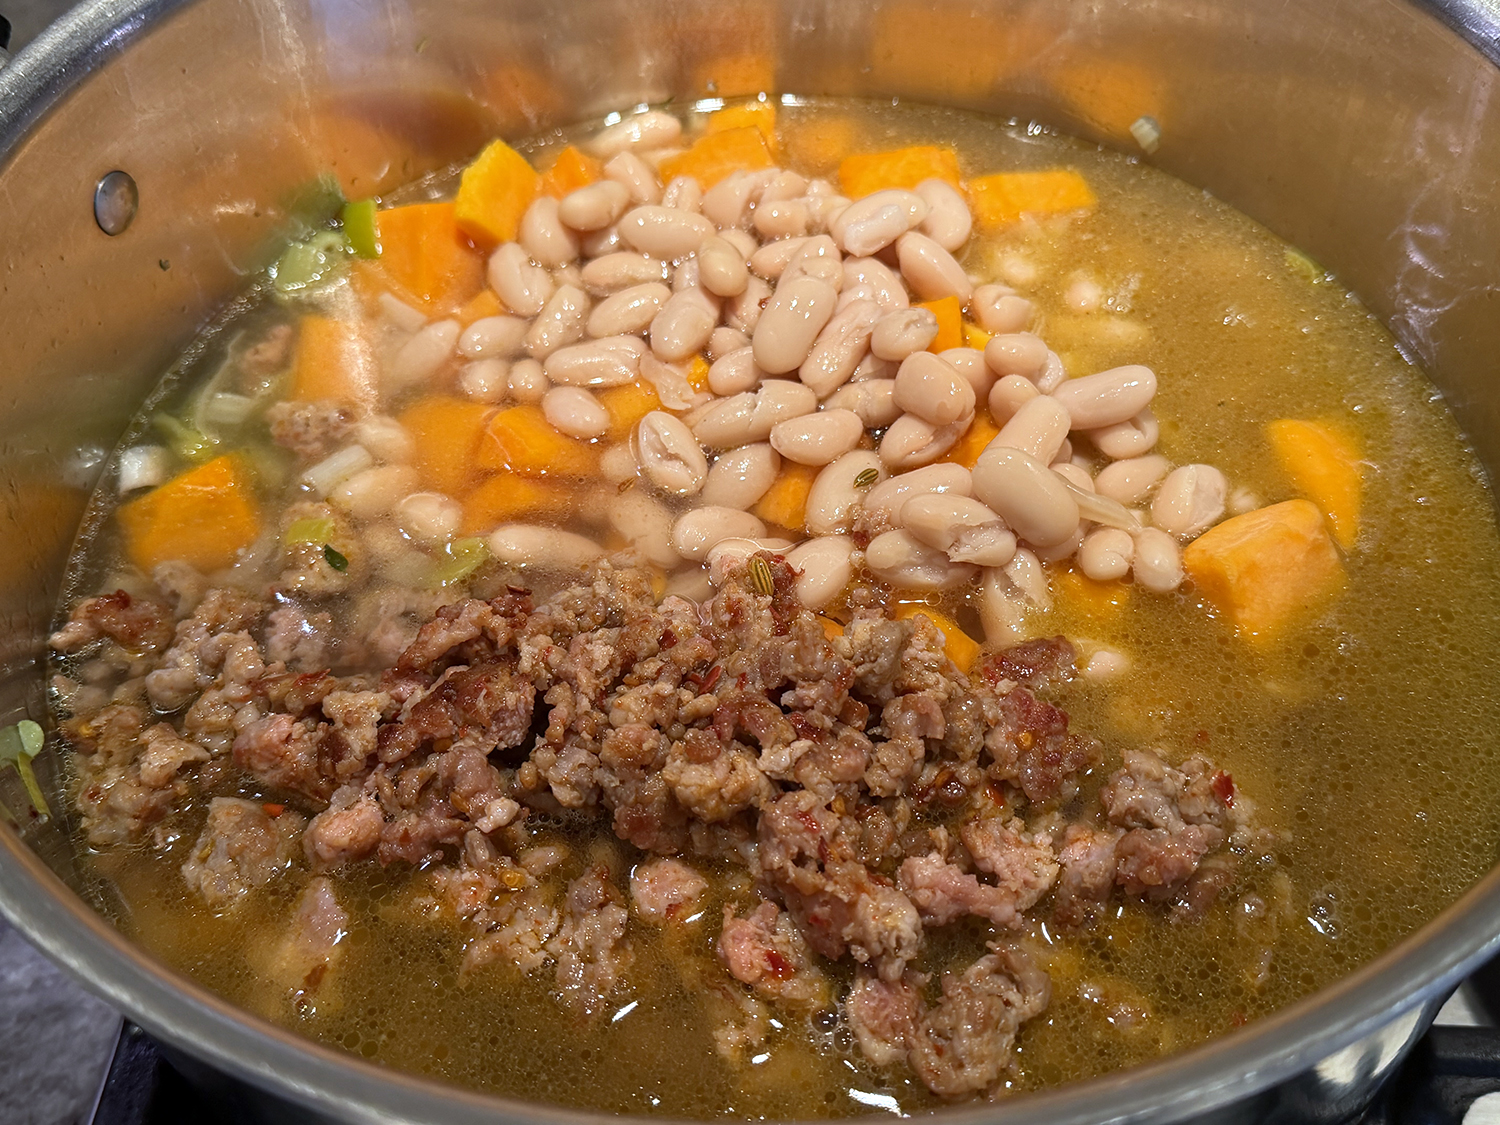
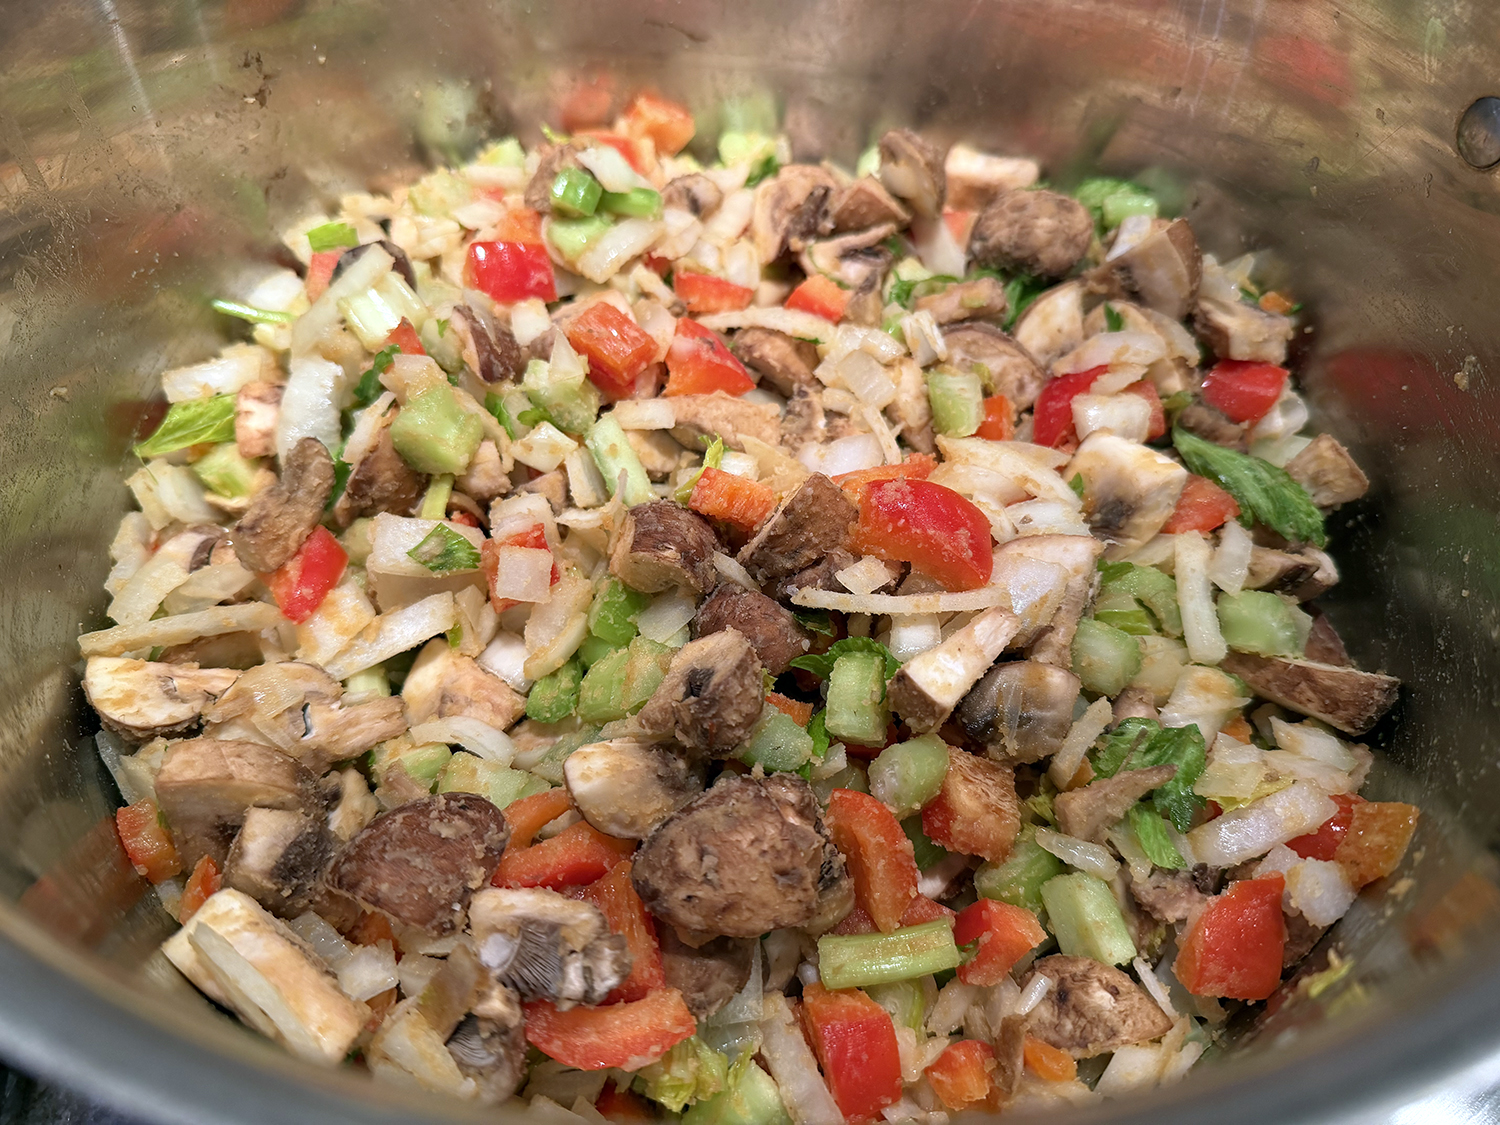
- Add the onion, celery, bell pepper and mushrooms, plus a large pinch of salt. Increase the heat to medium and cook until softened, stirring occasionally and scraping the bottom of the pot as necessary, about 8 minutes. Stir in the garlic and cook until fragrant, 1 to 2 minutes. Stir in 1 teaspoon salt and ½ teaspoon pepper.
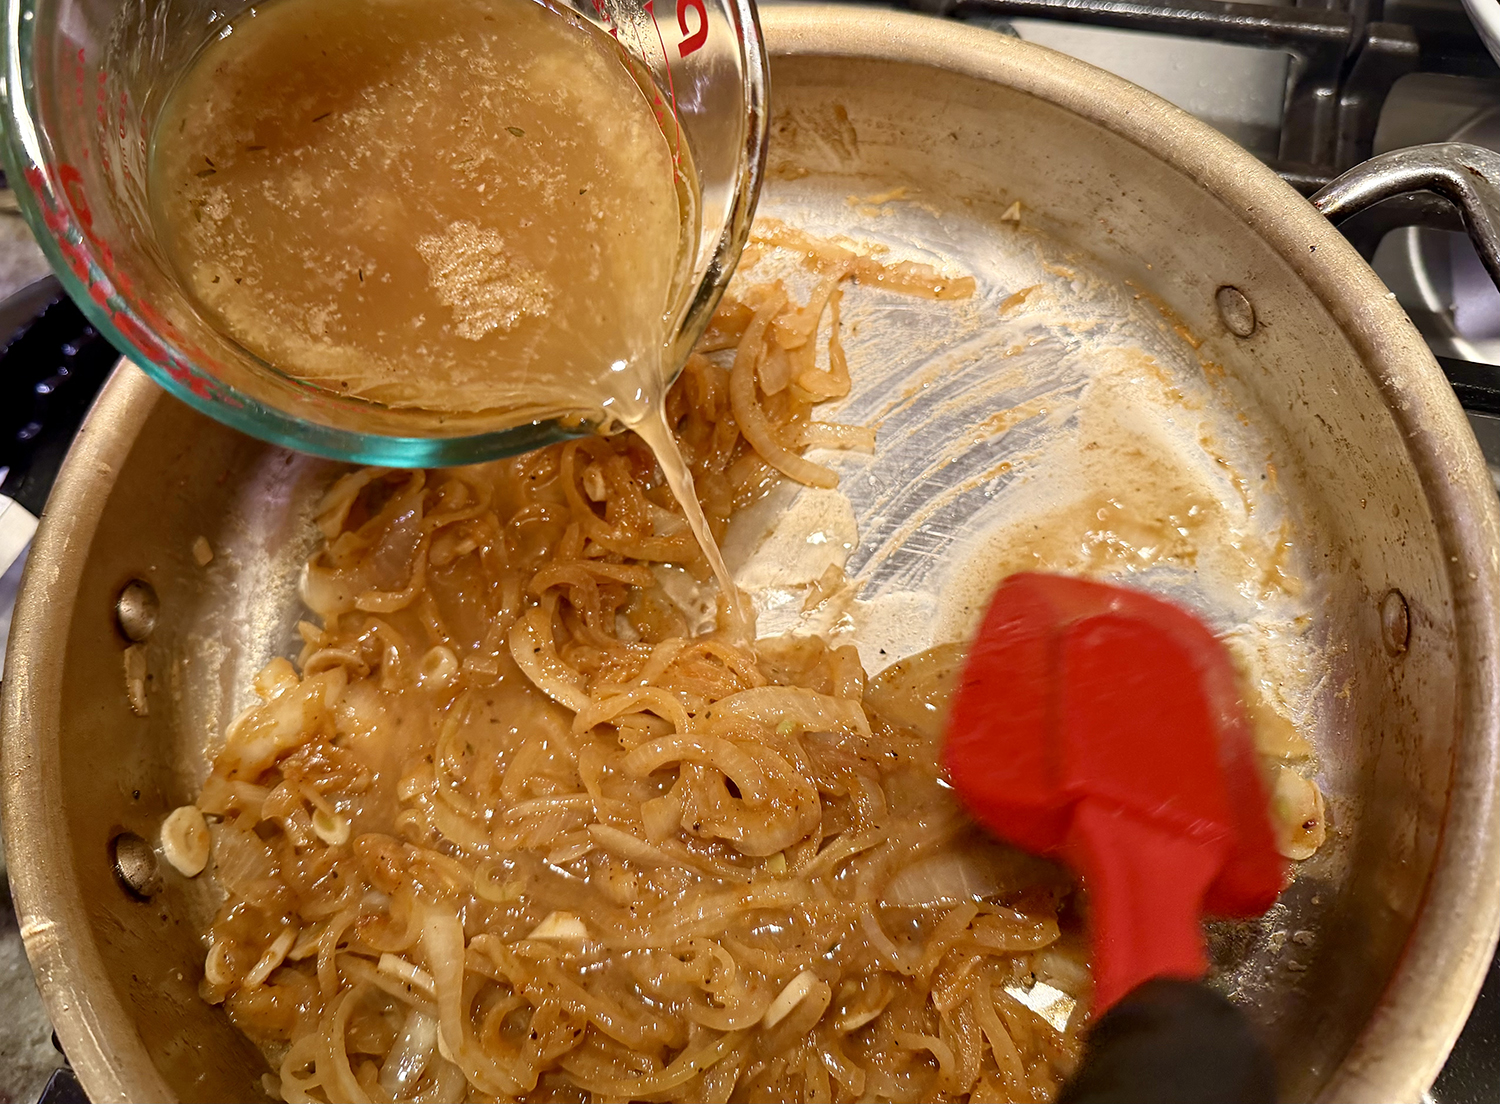
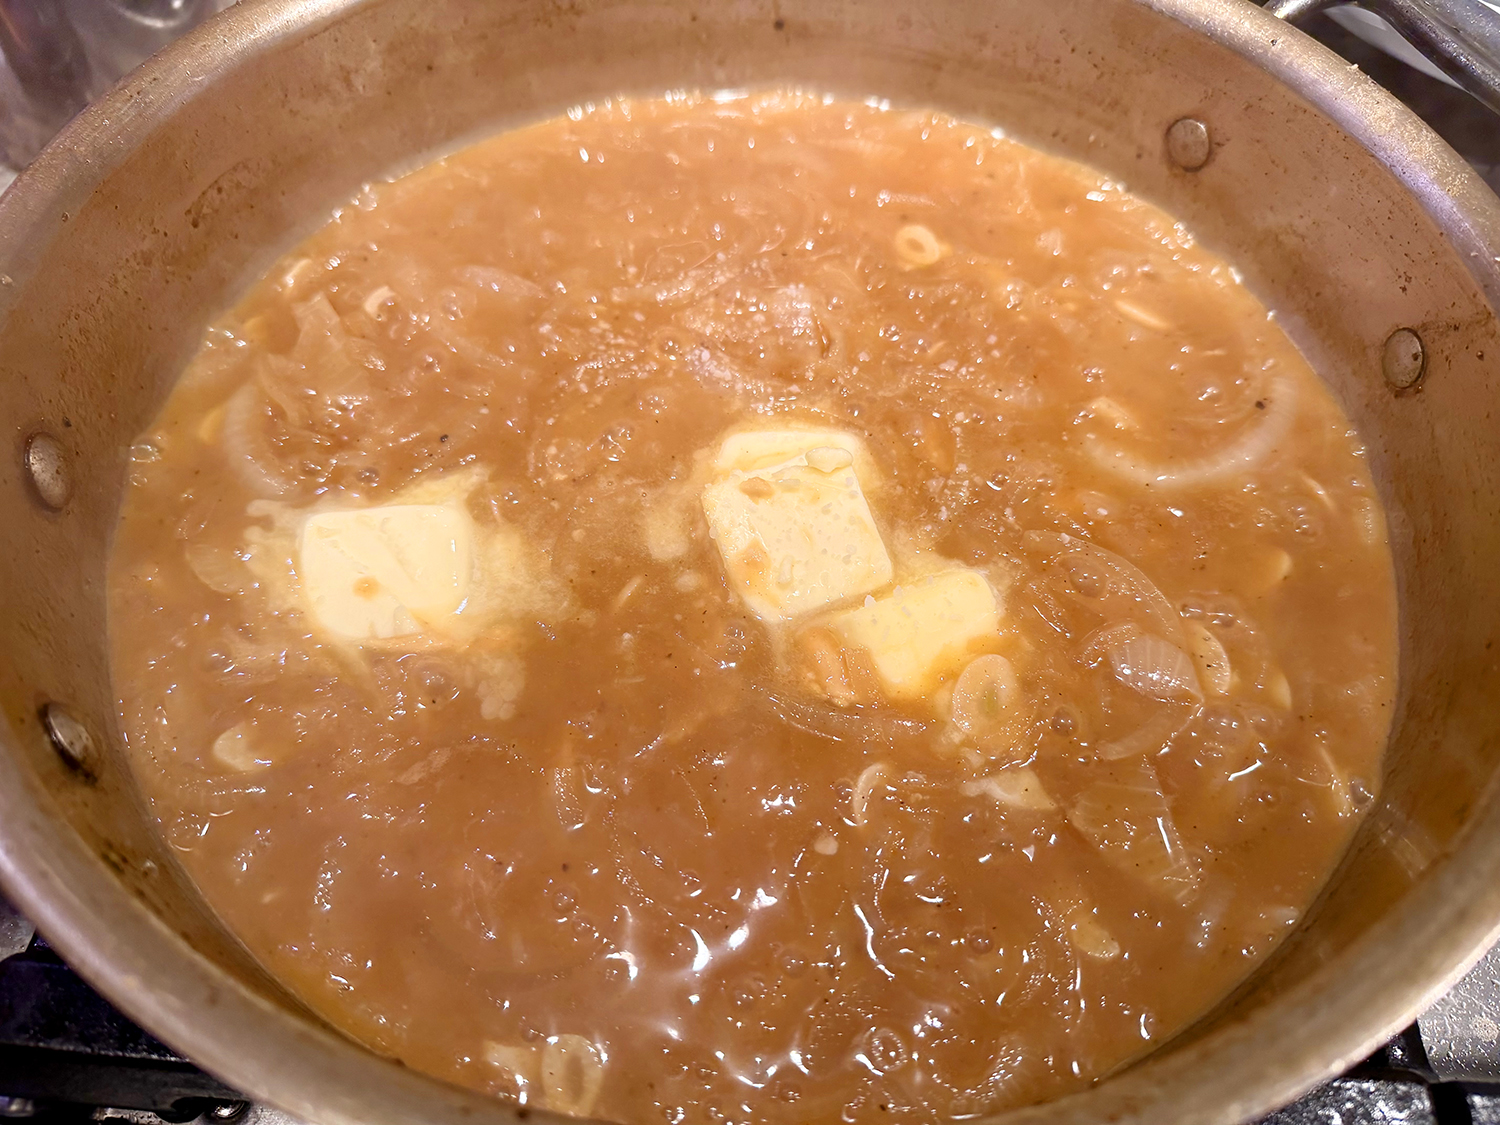
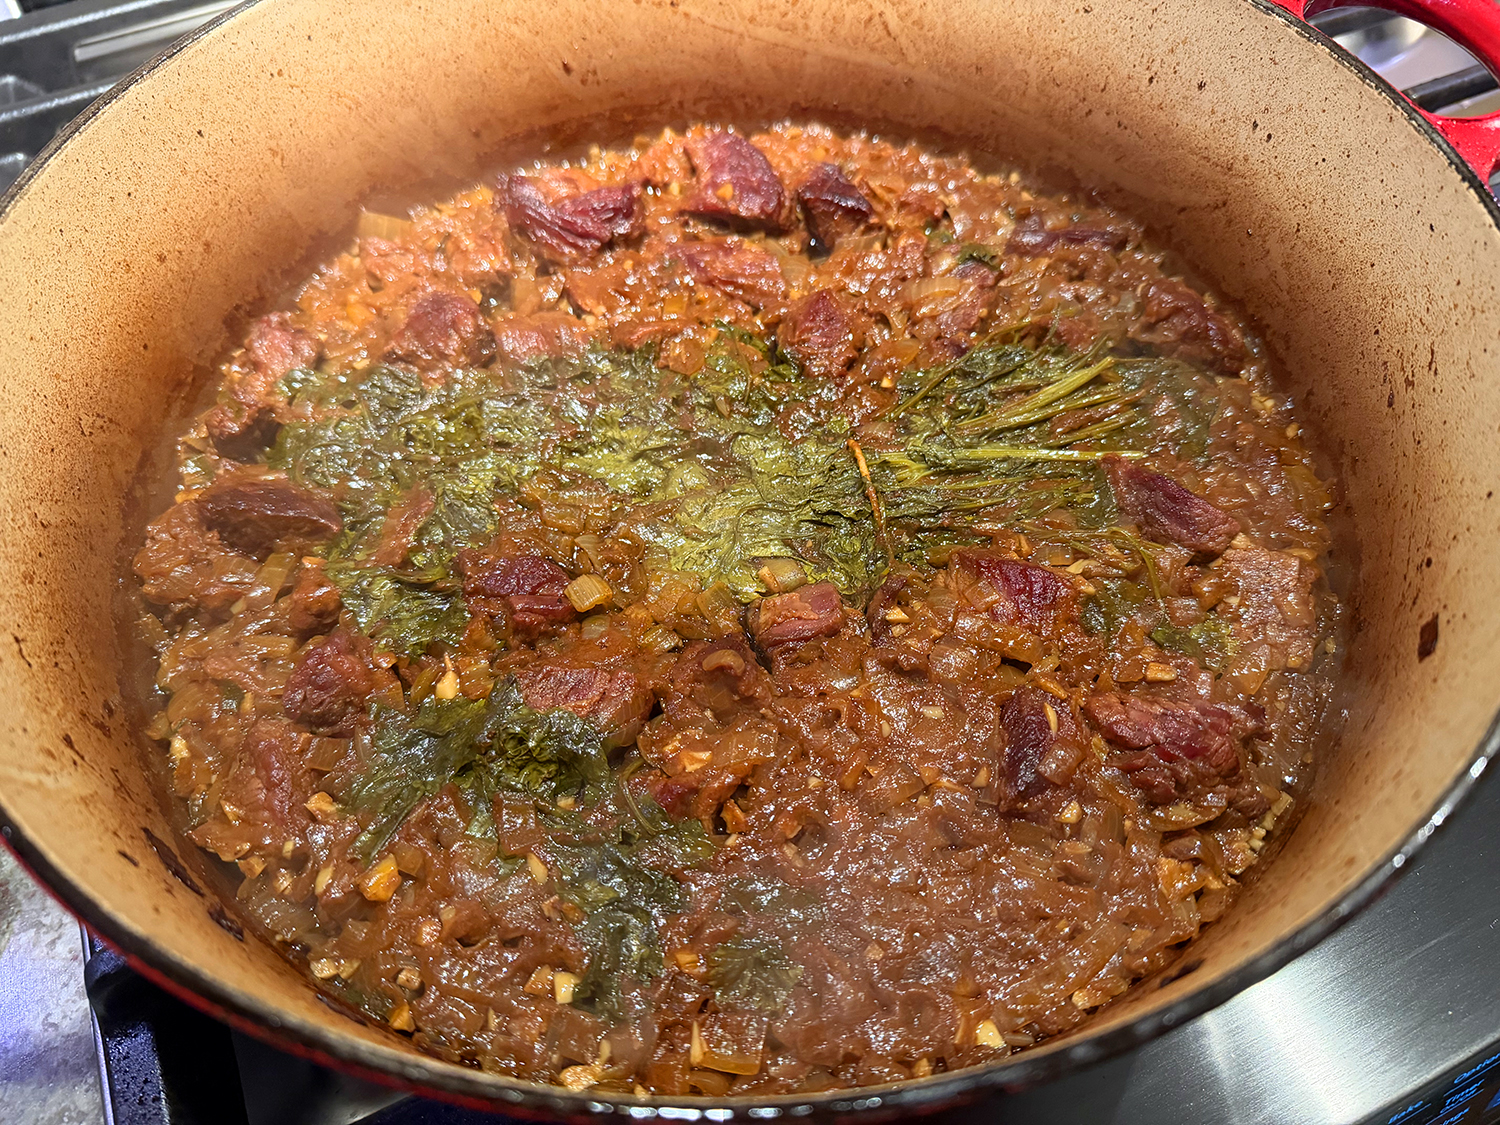
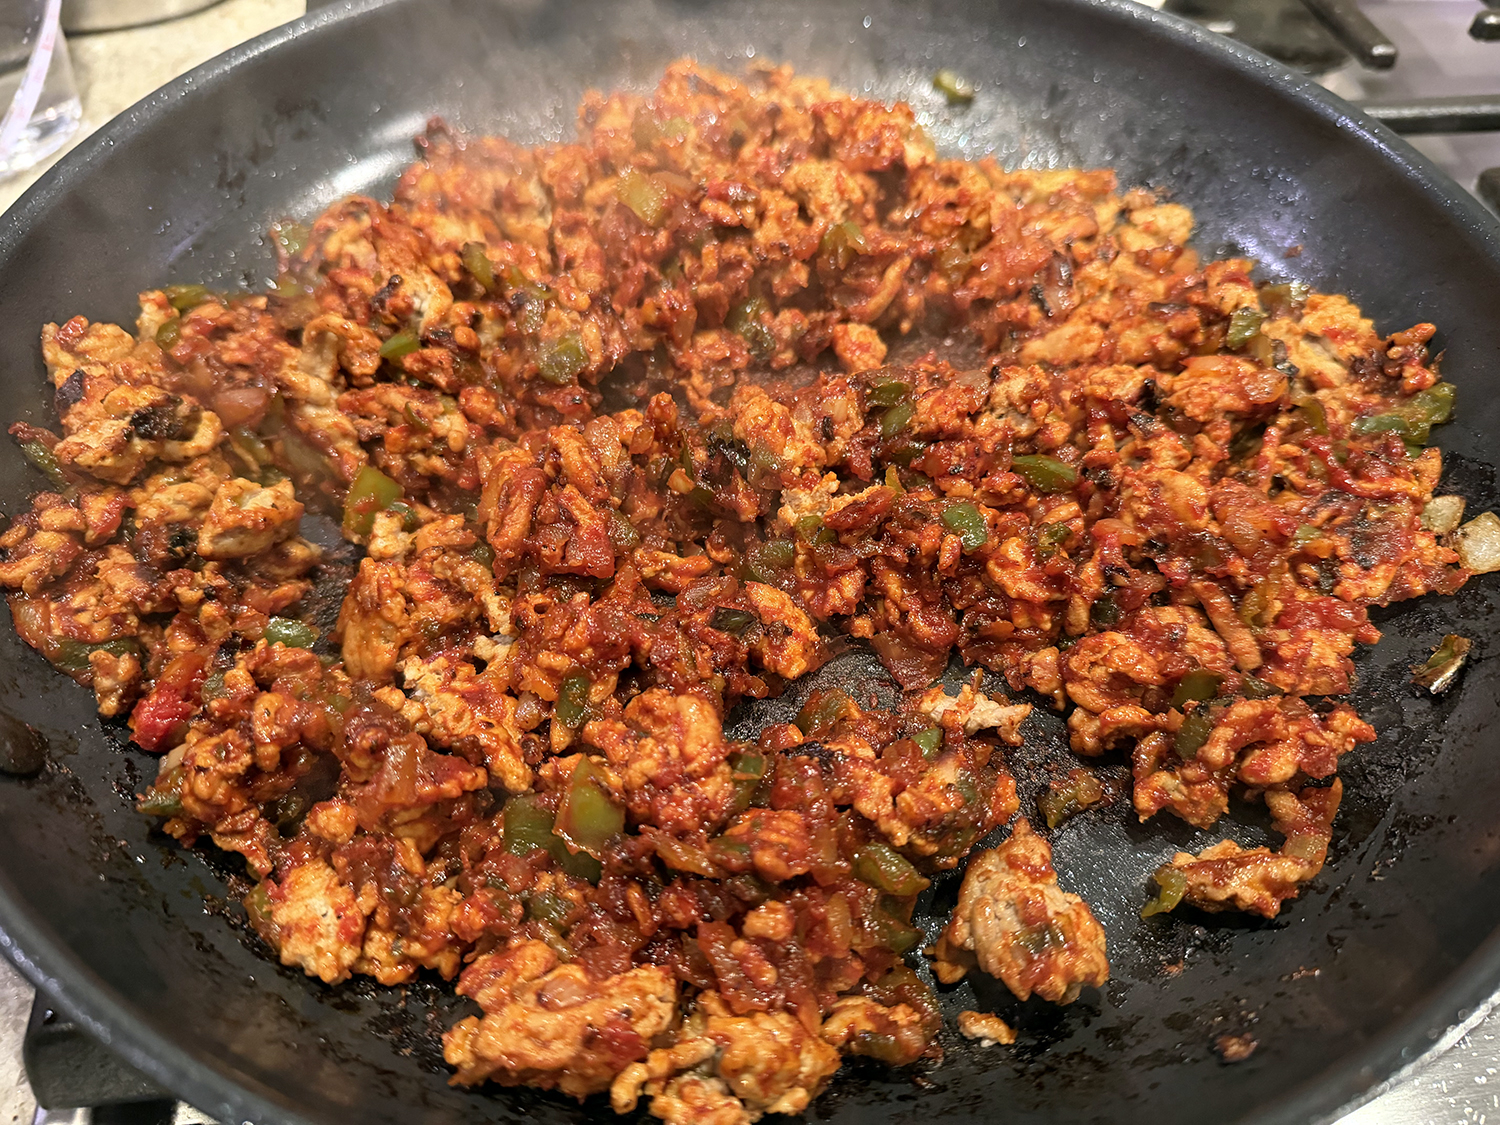
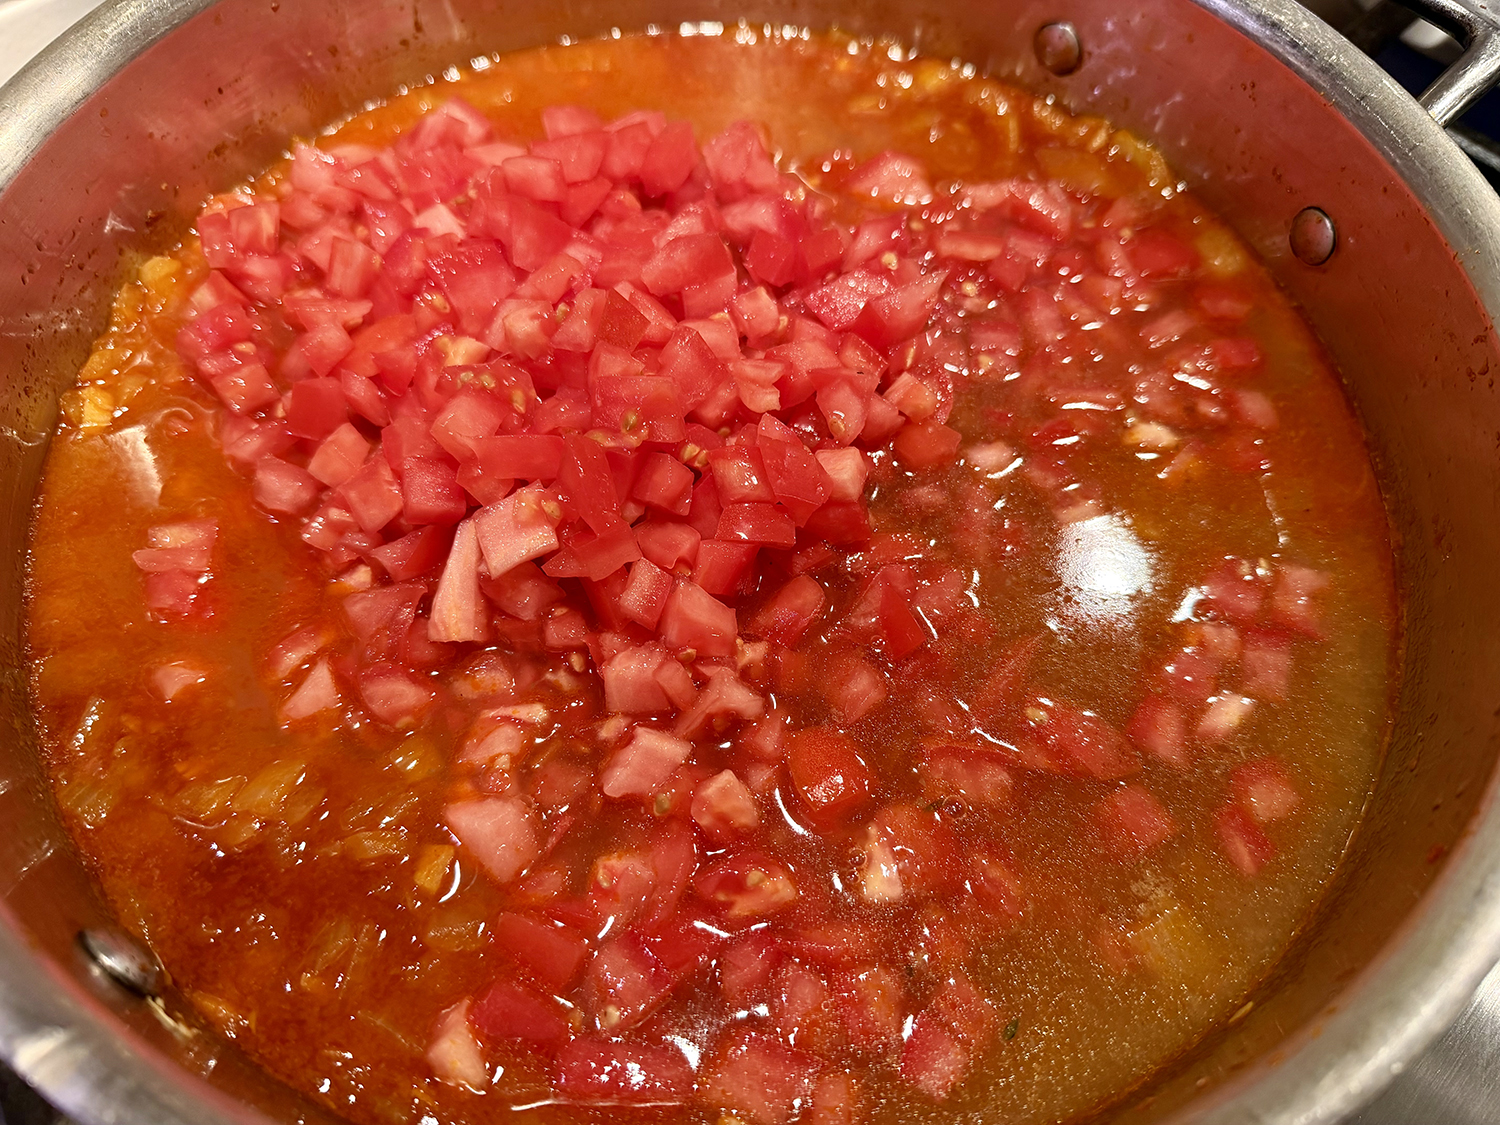
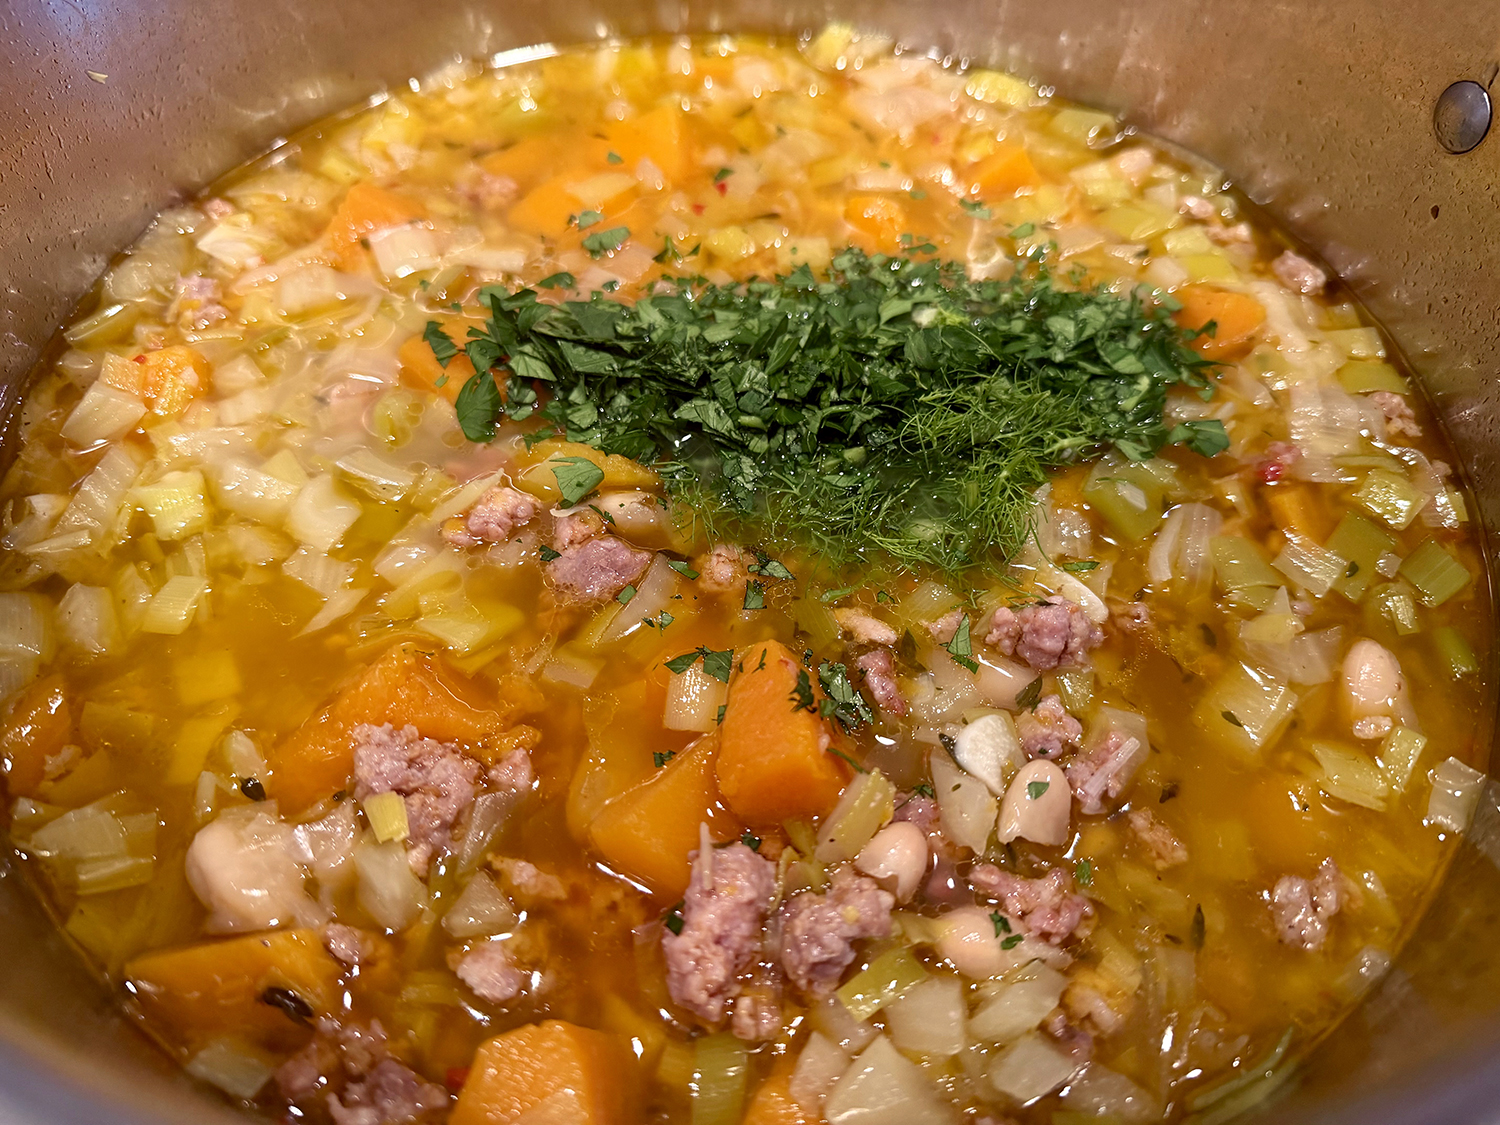
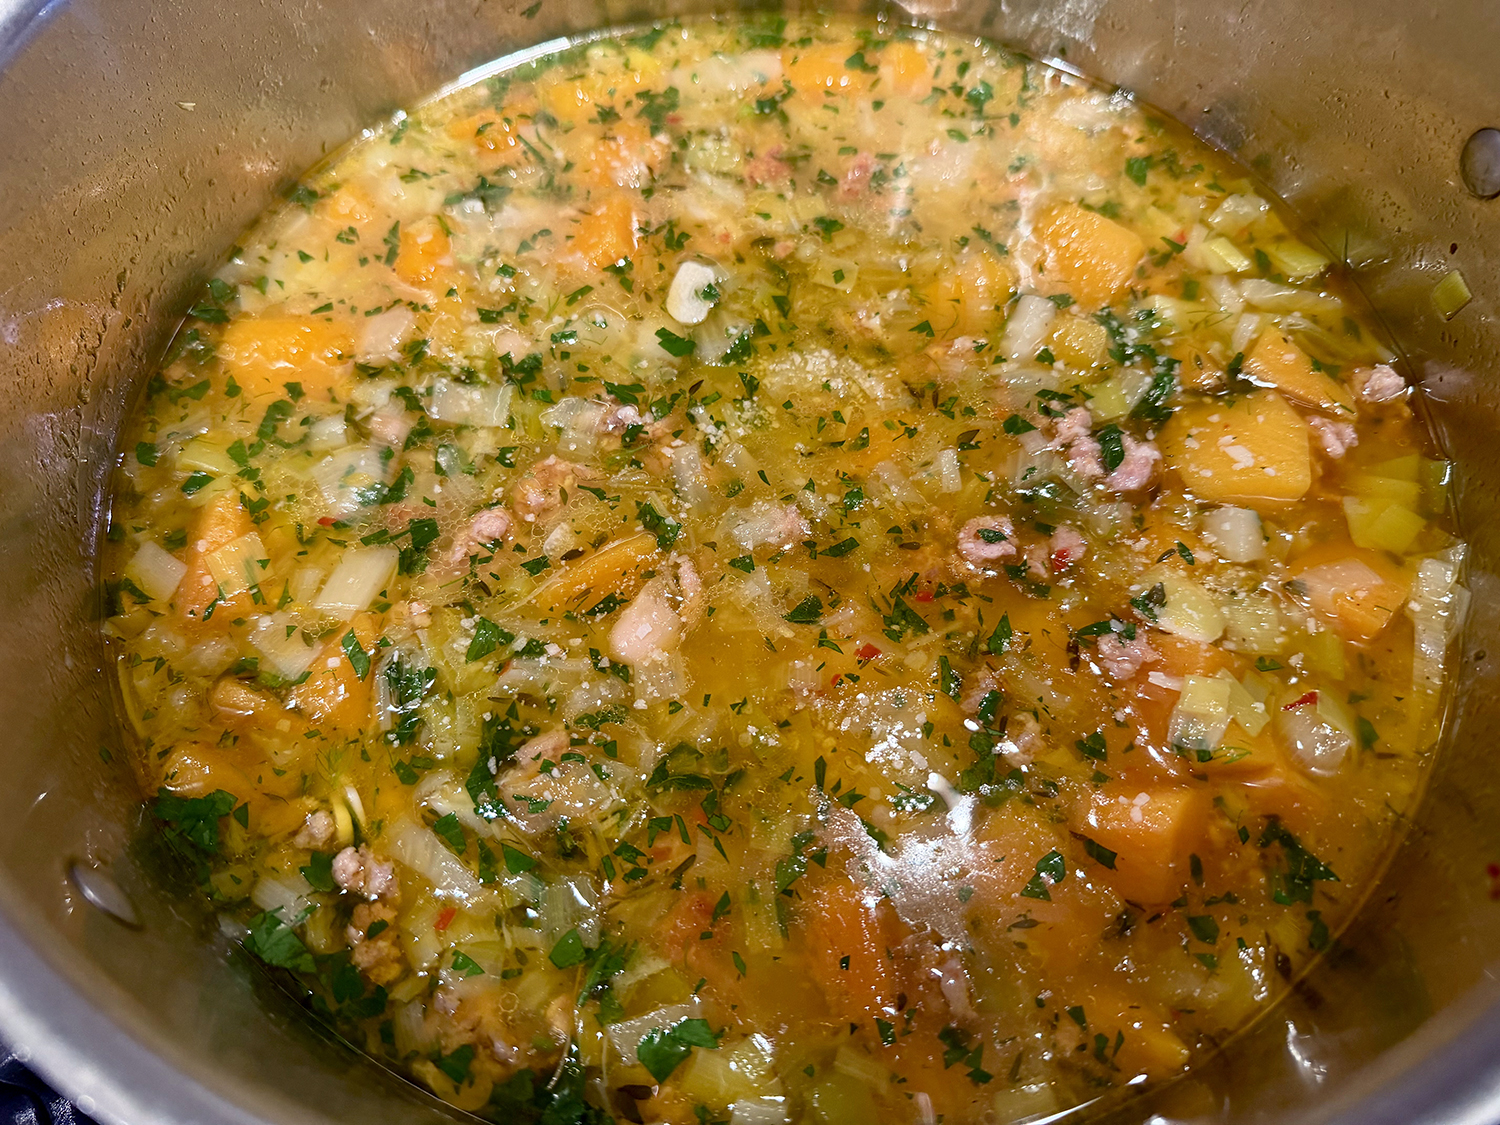
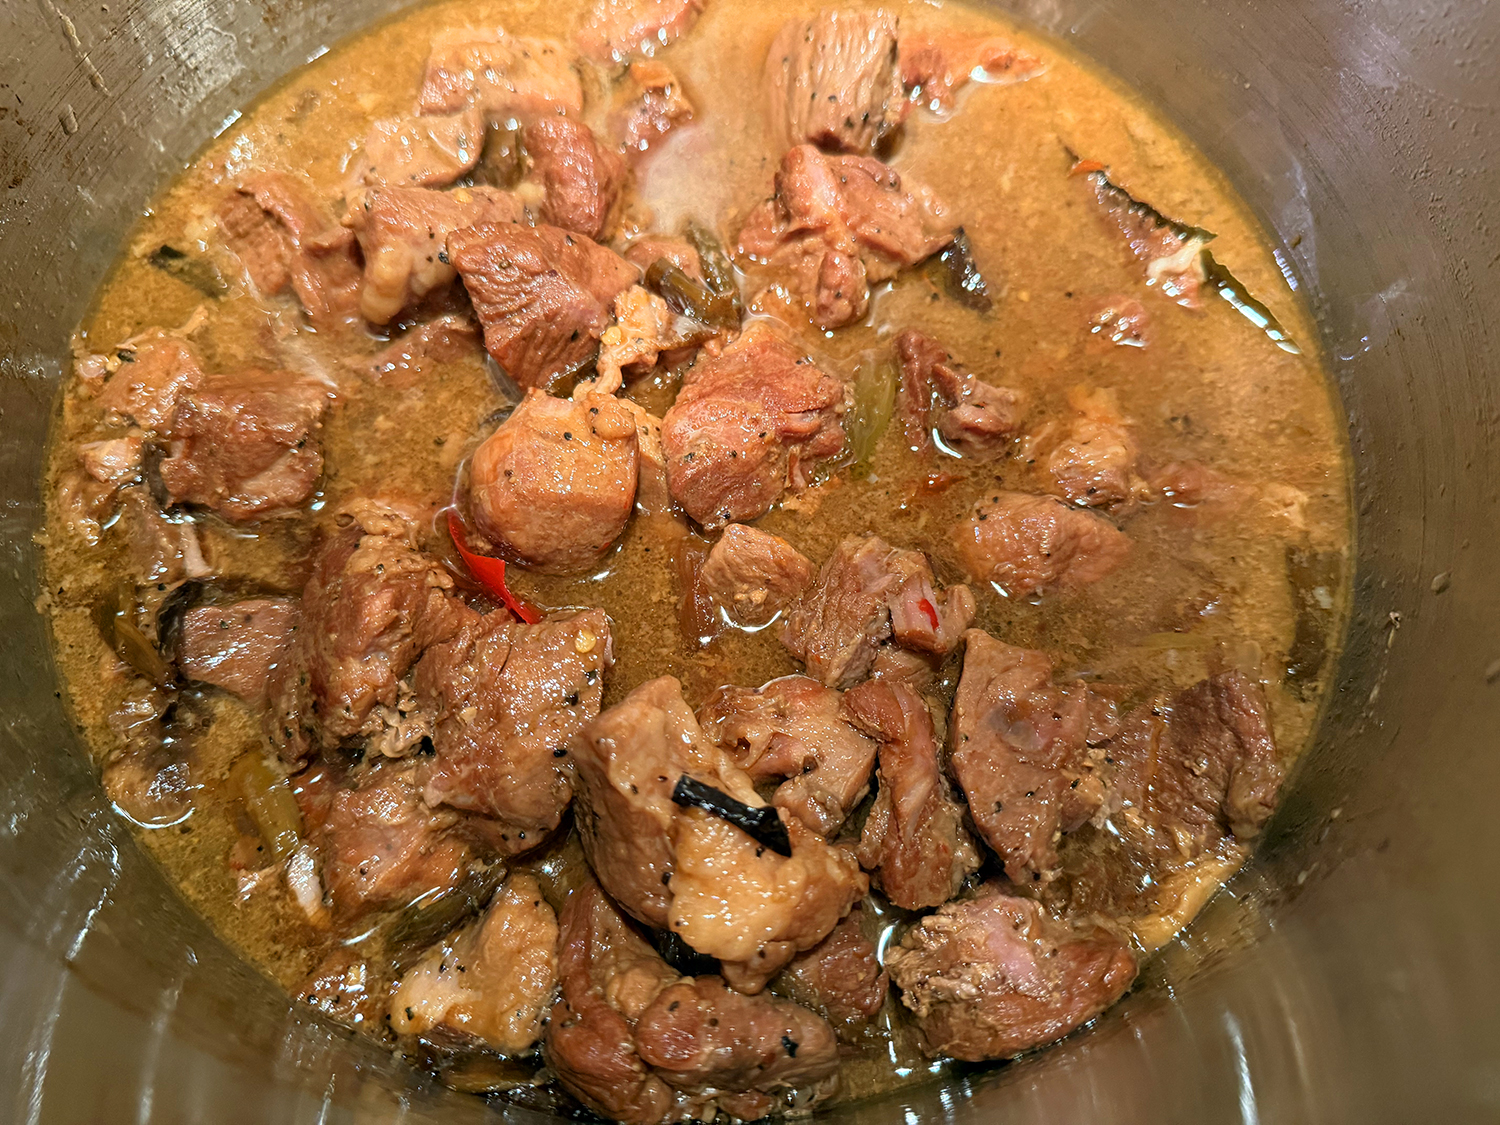
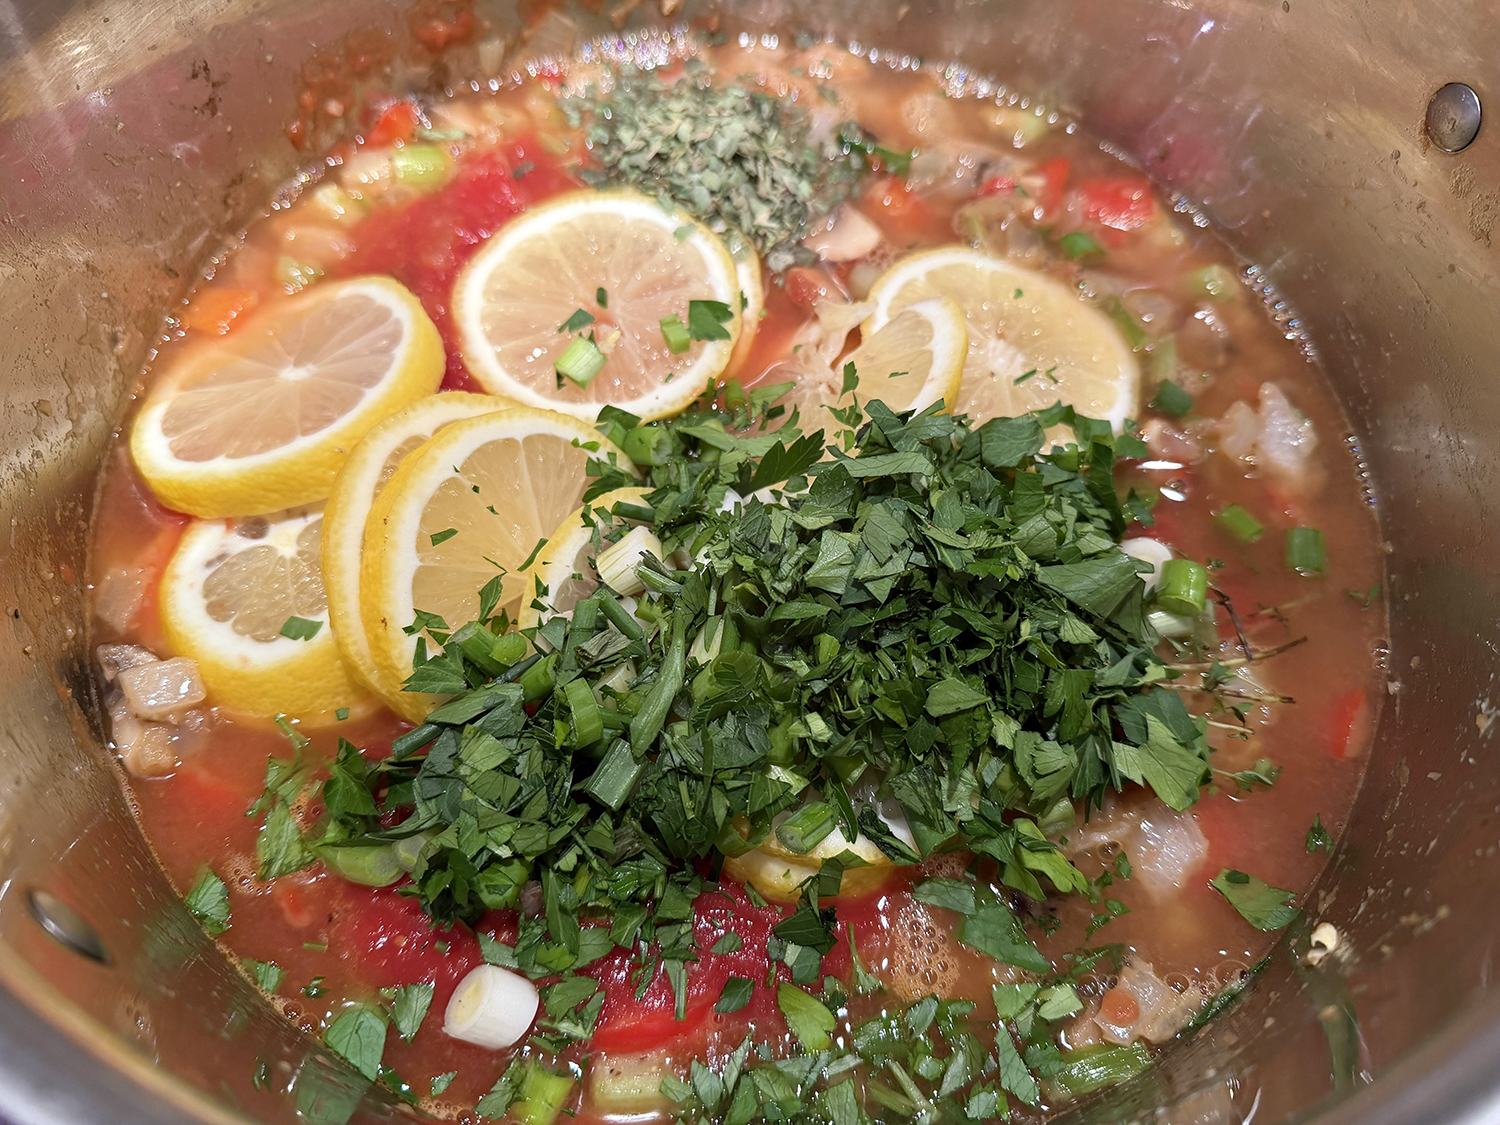
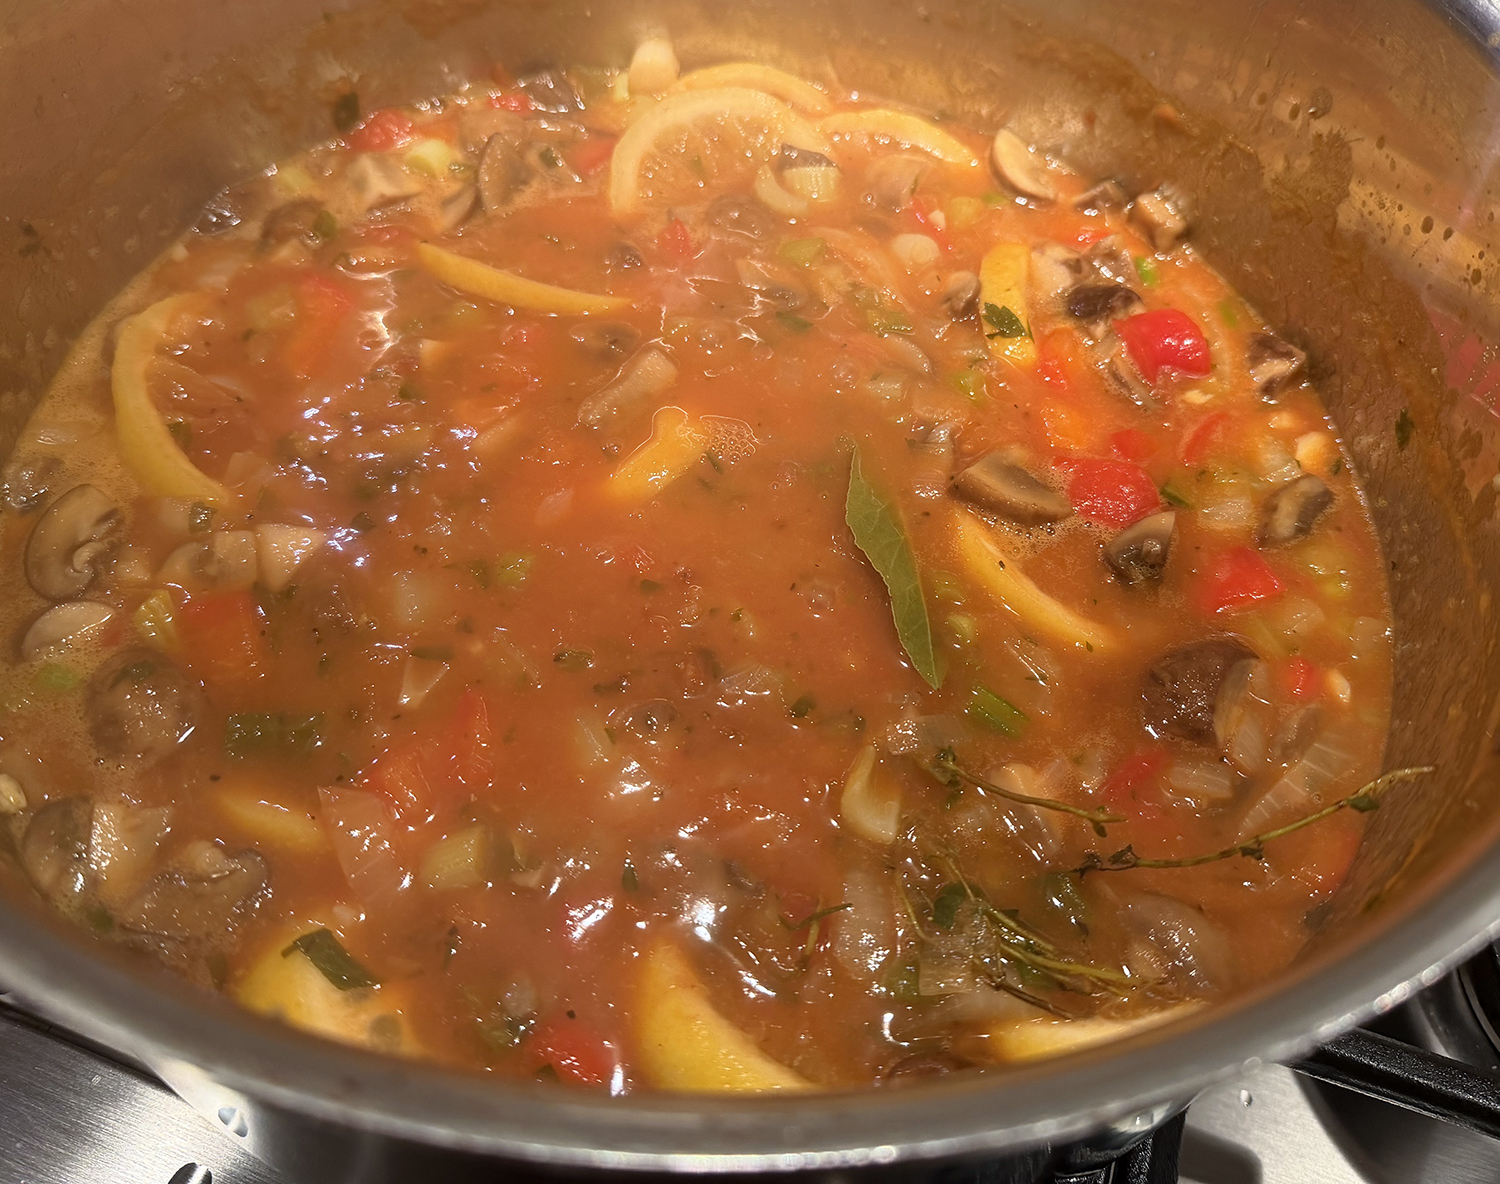
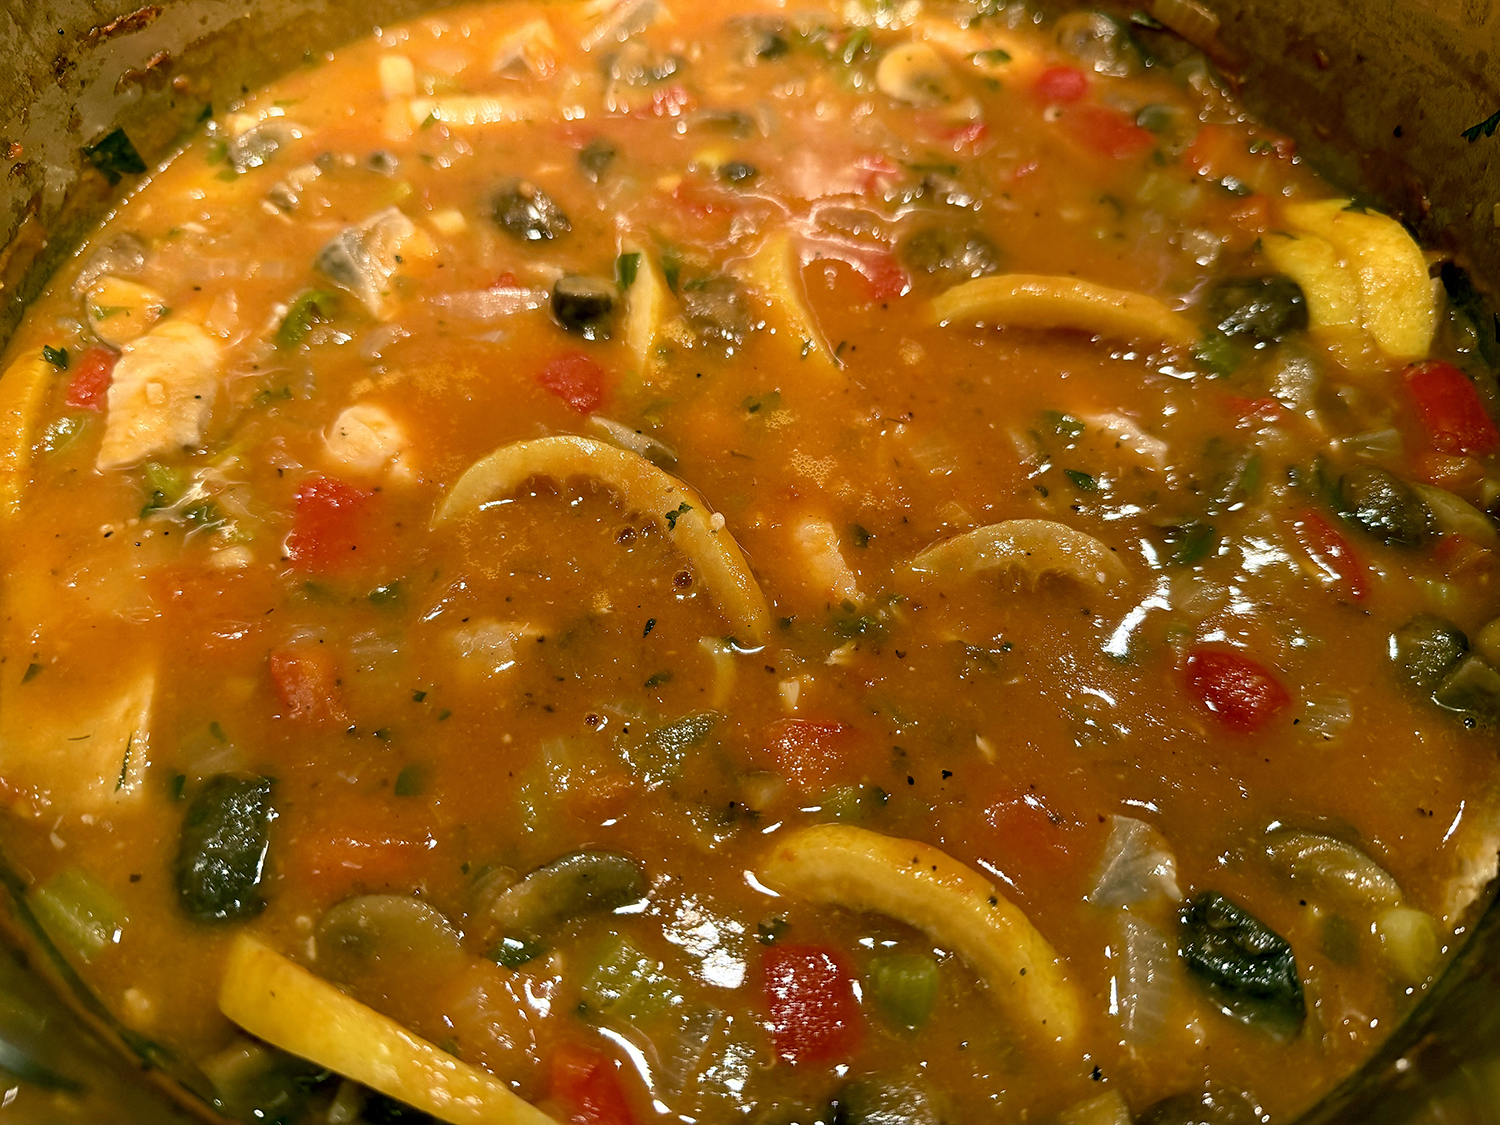
- Stir in crushed tomatoes, stock, bay leaves, thyme sprigs, lemon slices, parsley, scallions and basil, scraping the bottom of the pot. Increase the heat to bring the stock to a hearty simmer. Once simmering, reduce the heat to low and cover with the lid. Let simmer for 15 minutes, stirring once or twice.
- Stir in the hot sauce, if using, and taste, adjusting the seasoning as desired.
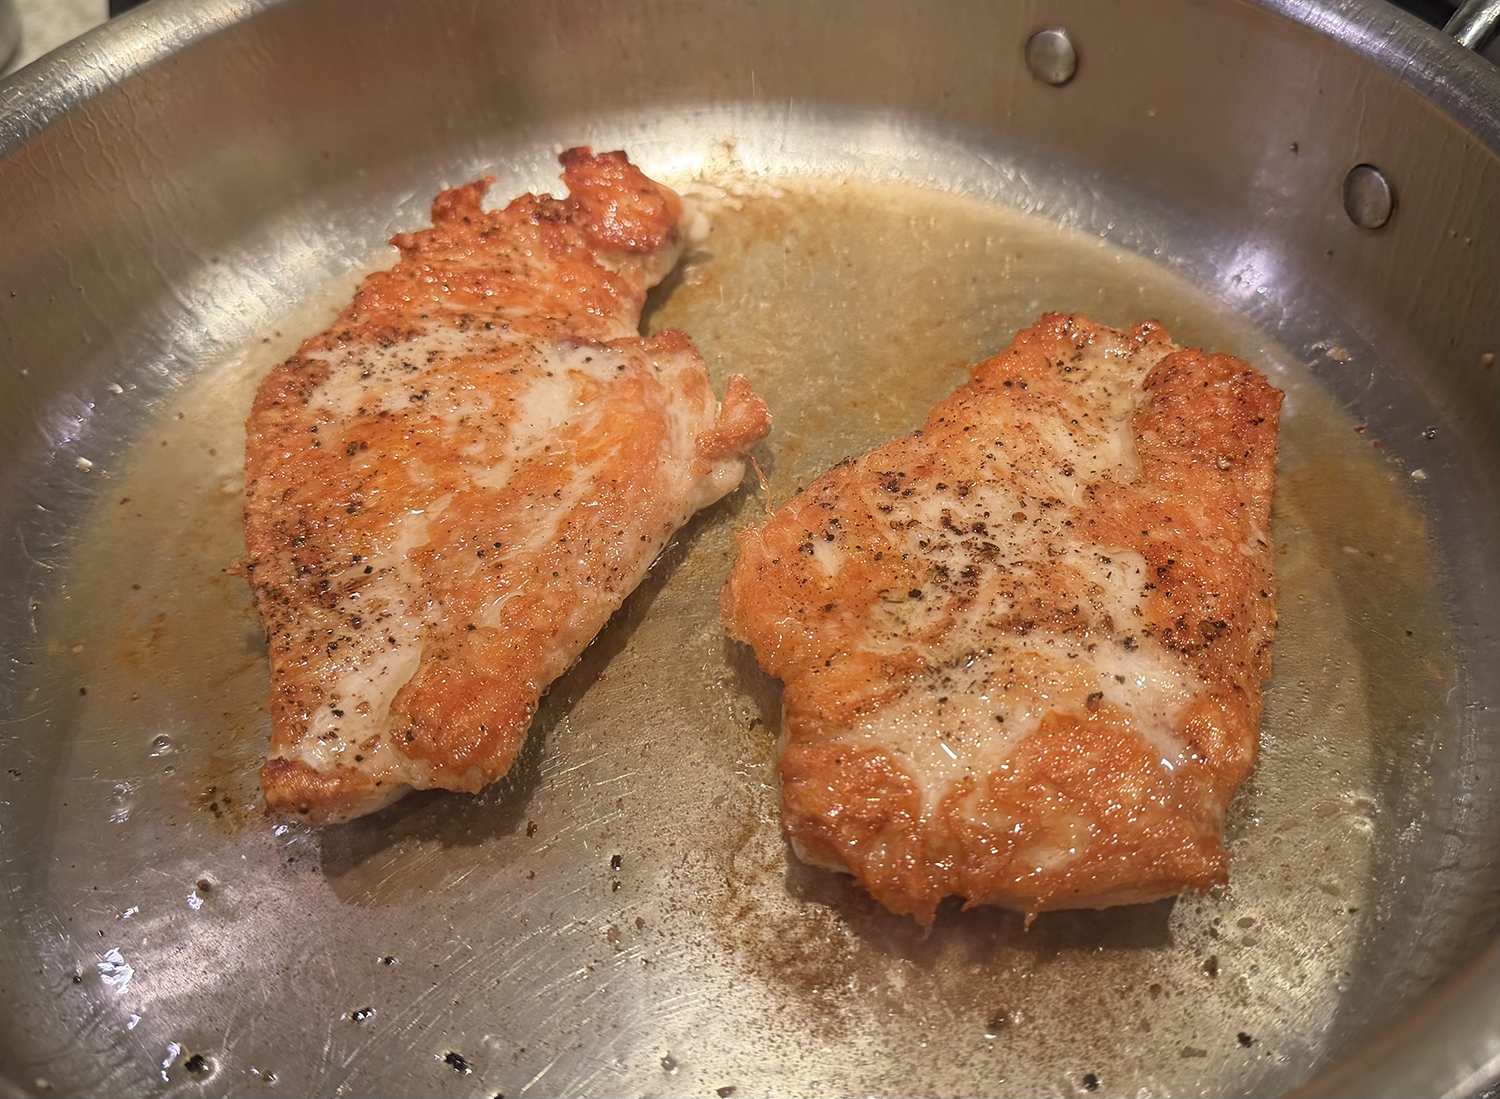
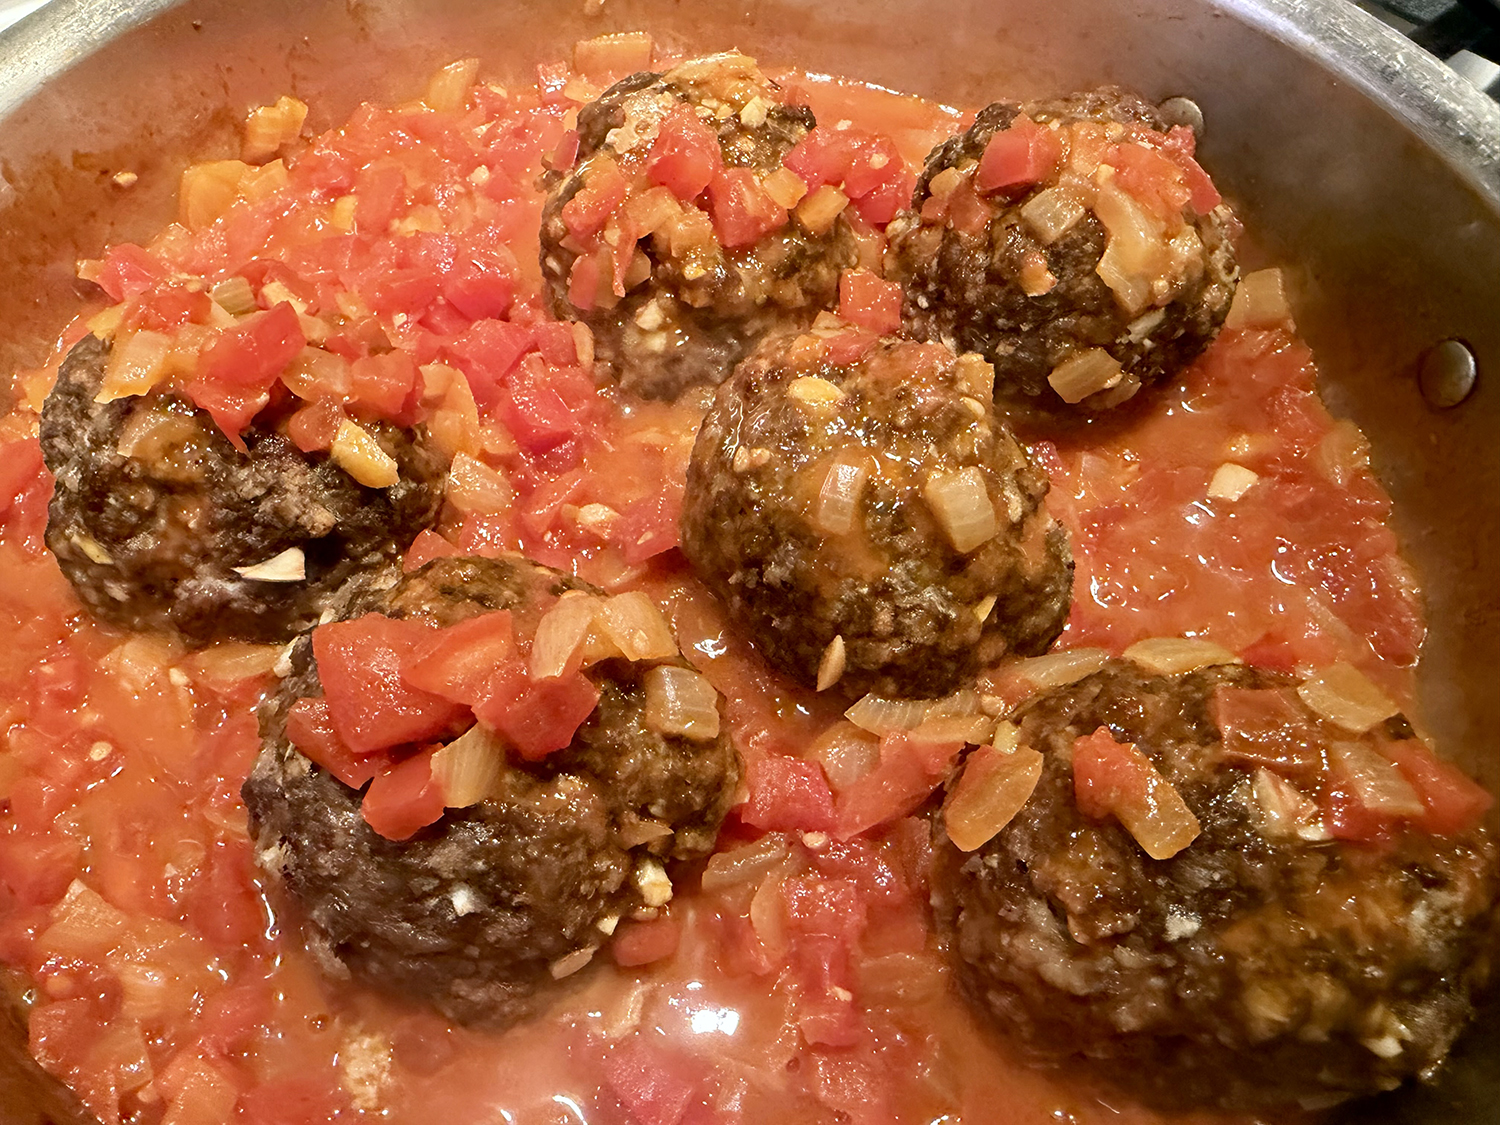
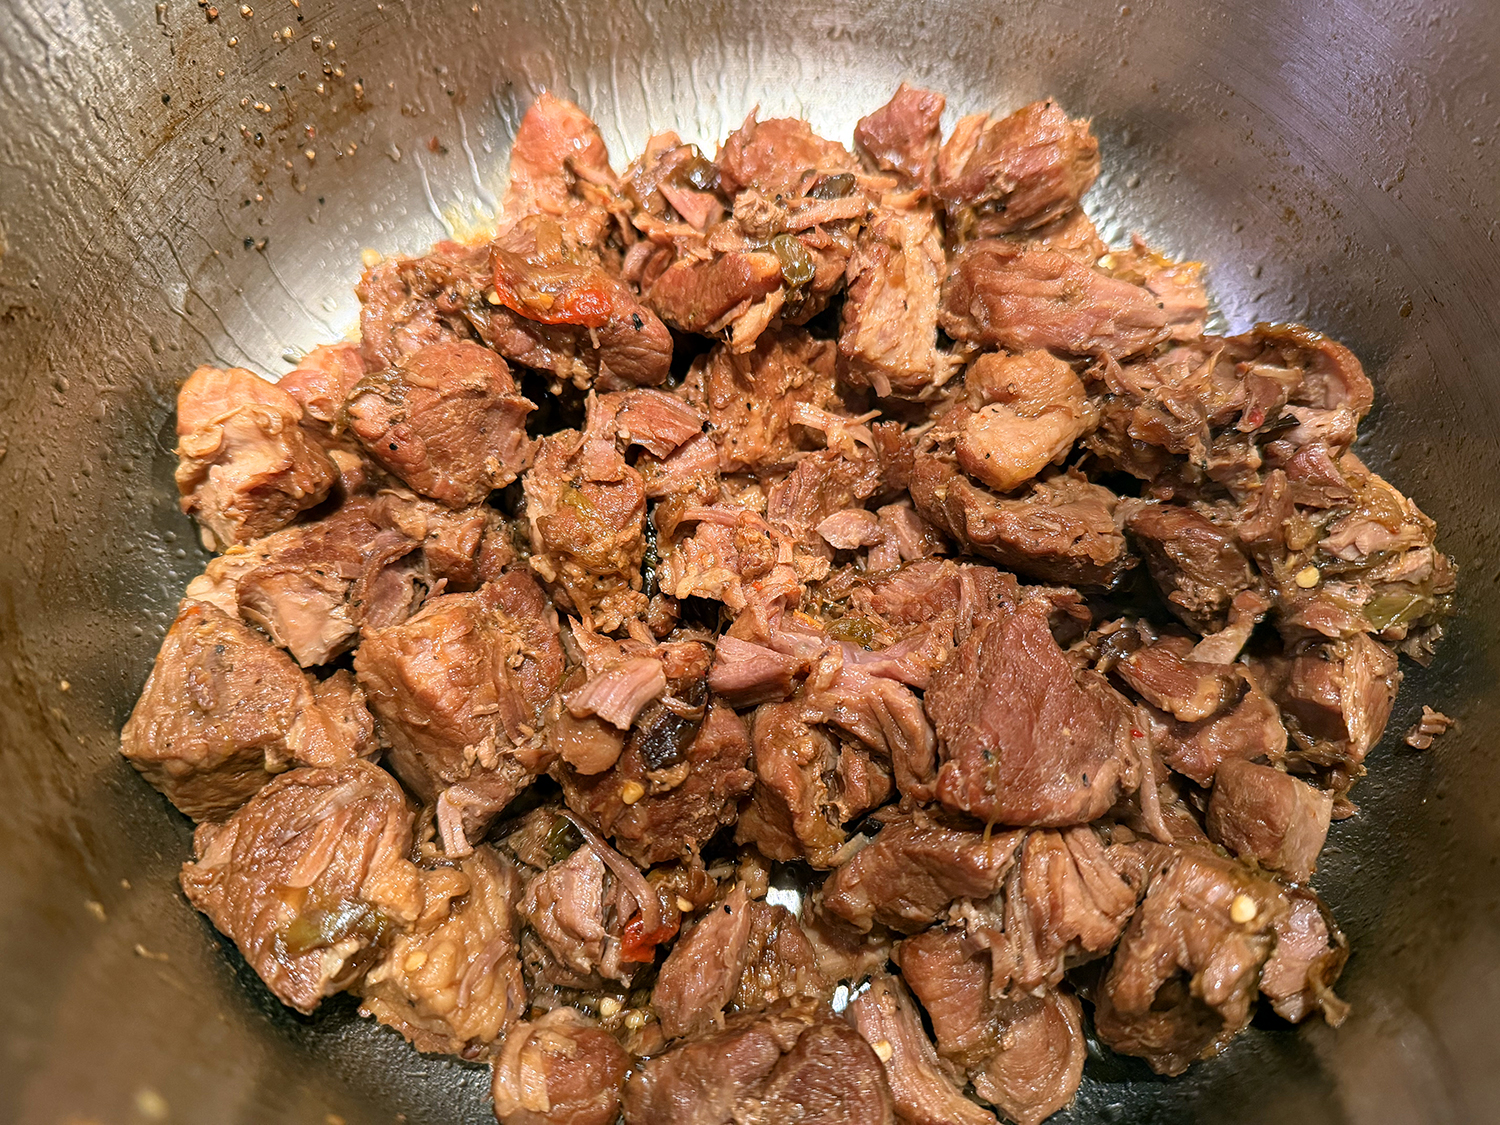
- Add the fish to the pot and bring to a simmer, increasing the heat slightly if necessary. Once simmering, cook the fish, stirring gently and occasionally, until opaque and just starting to flake, 5 to 10 minutes.
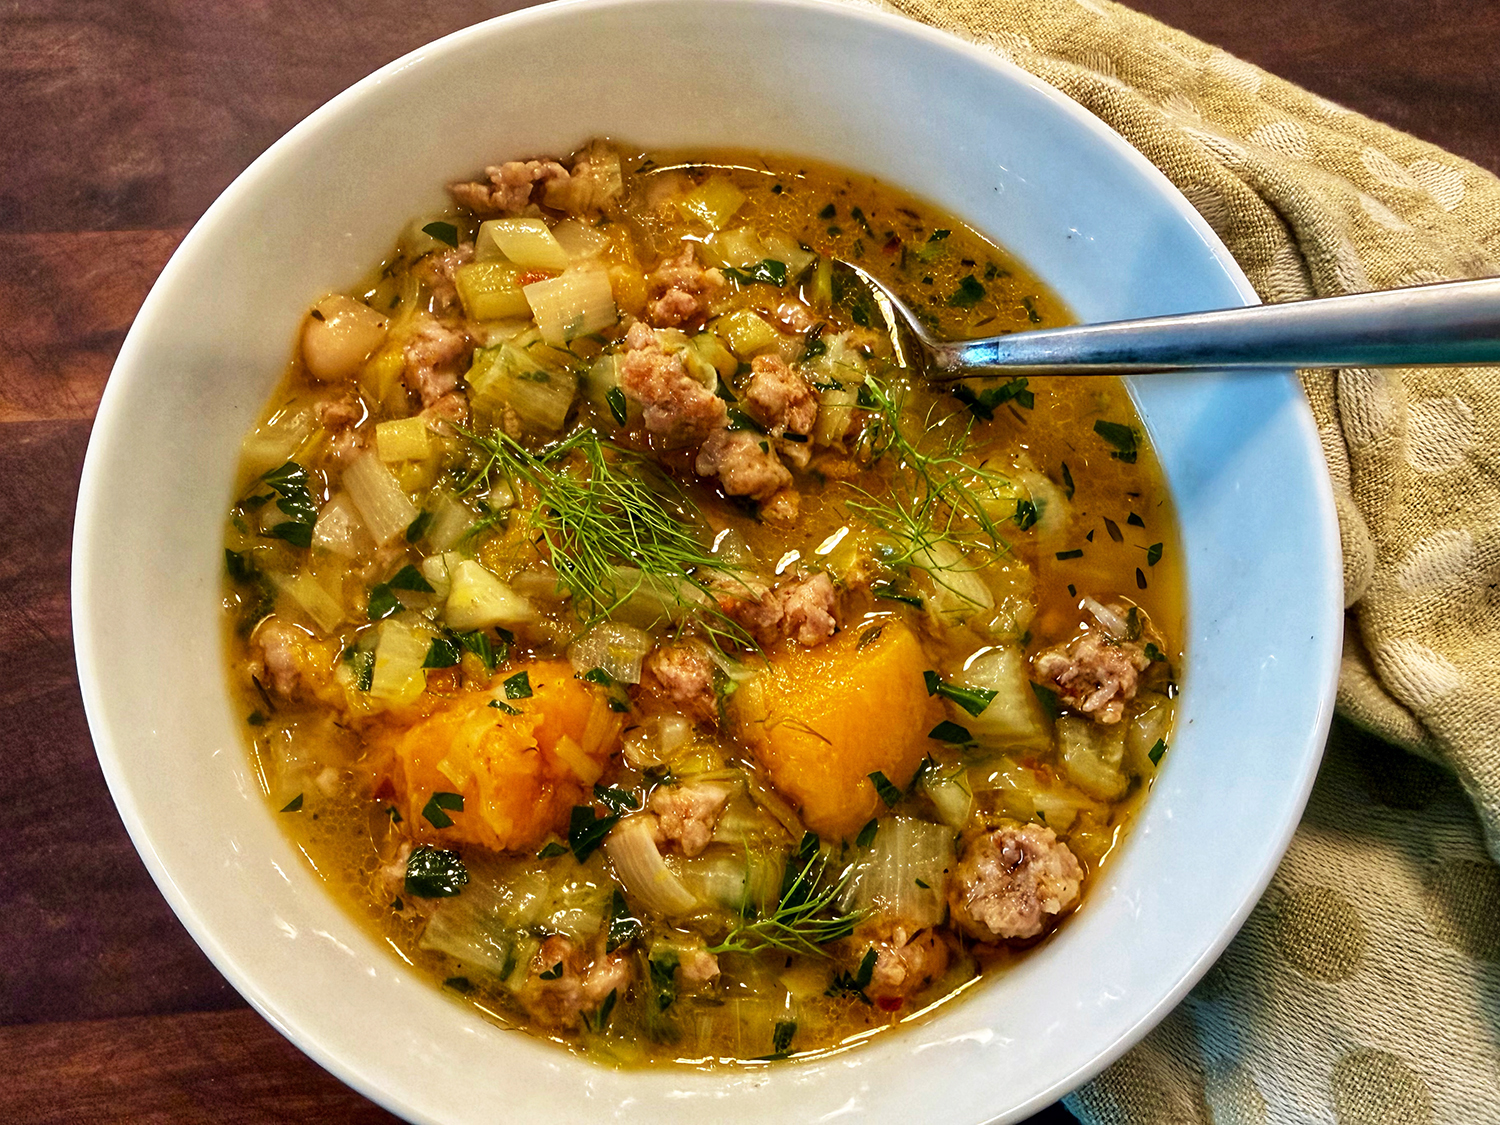
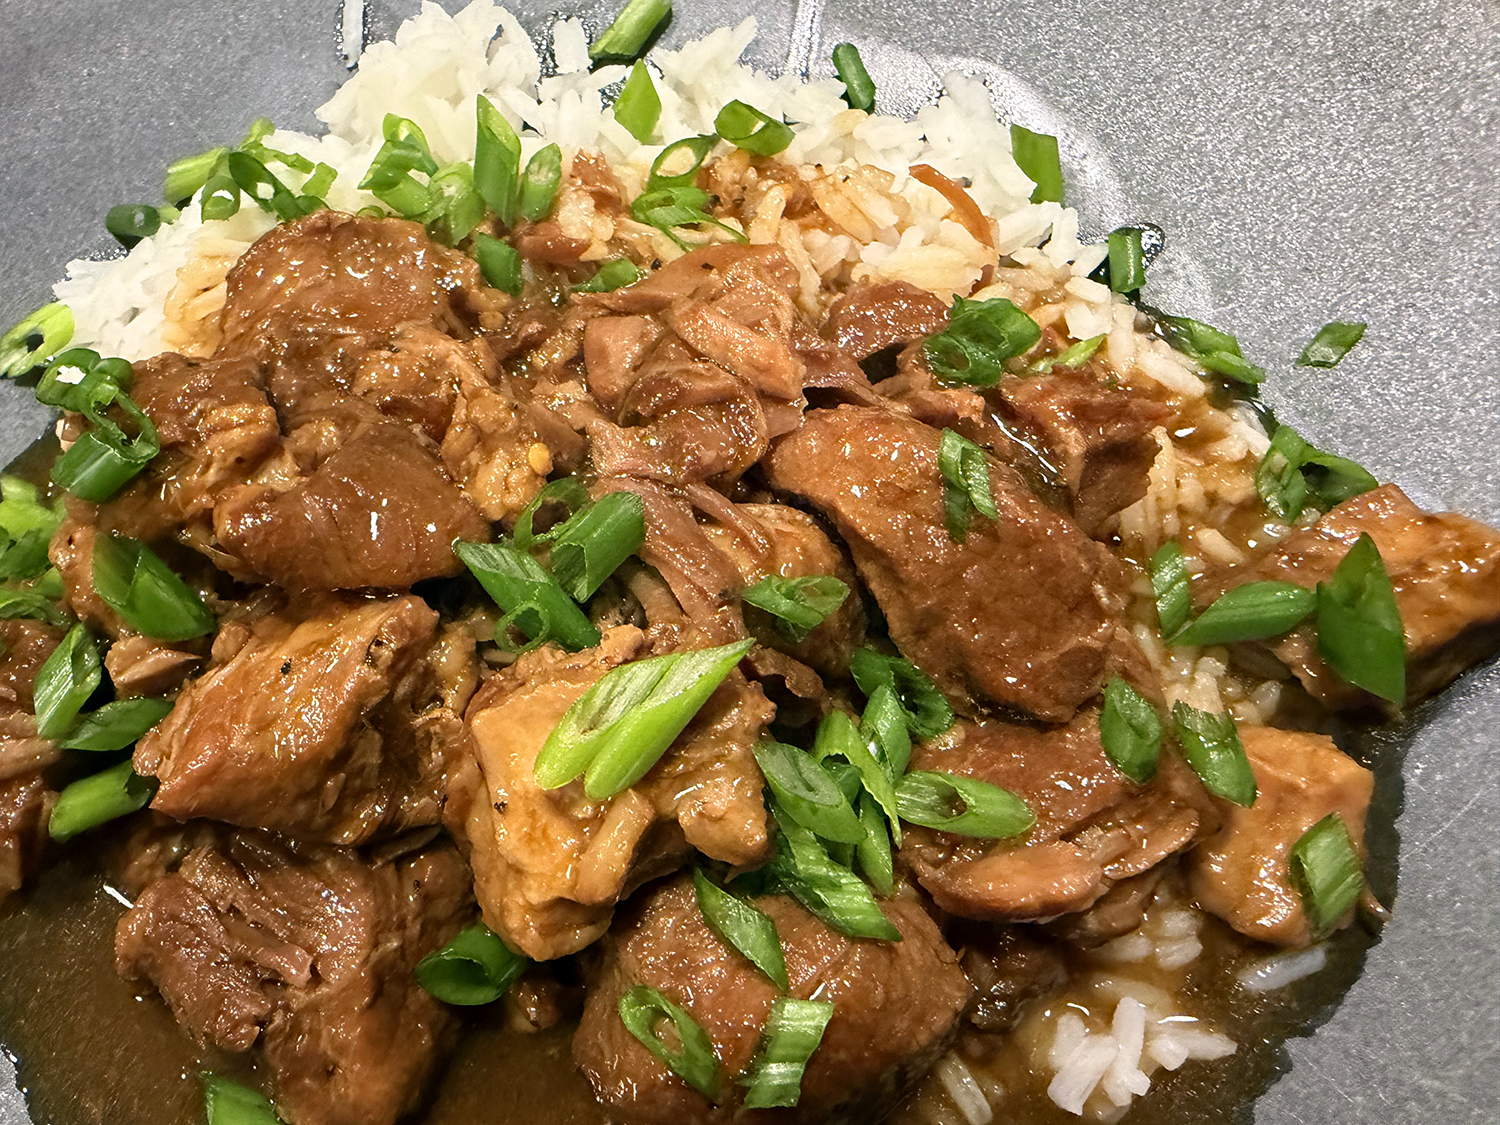
- Ladle into bowls and enjoy with rice, if desired.
Recipe by Vallery Lomas for NYTimes Cooking