Tag Archives: weeknight

Stir-Fried Pork and Sweet Peppers with Peanuts

Yes indeed, the flavors in this colorful stir-fry from Milk Street are a fantastic combination of savory, sweet, tangy, garlicky, spicy and nutty. The chili-garlic sauce can be moderated depending on your tolerance for spicy, and those peanuts add just the right amount of crunch.

Briefly marinating the sliced tenderloin means that the meat browns beautifully in the skillet and also adds flavor and moisture to an otherwise lean and mild cut. Balsamic vinegar may seem like an odd ingredient in a stir-fry, but it mimics the subtle sweetness, moderate acidity and maltiness of Chinese black vinegar and probably already is in your pantry. Serve with steamed white rice.

Instead of a nonstick skillet, we used a well-seasoned wok. The Hubs swears you get a hotter heat with the added benefit of pushing ingredients up the sides.

Warning: Don’t use a conventional (that is not nonstick) skillet. The pork will char and stick to the skillet instead of nicely browning.

Stir-Fried Pork and Sweet Peppers with Peanuts

  • Servings: 4-6
  • Difficulty: easy
  • Print

Ingredients

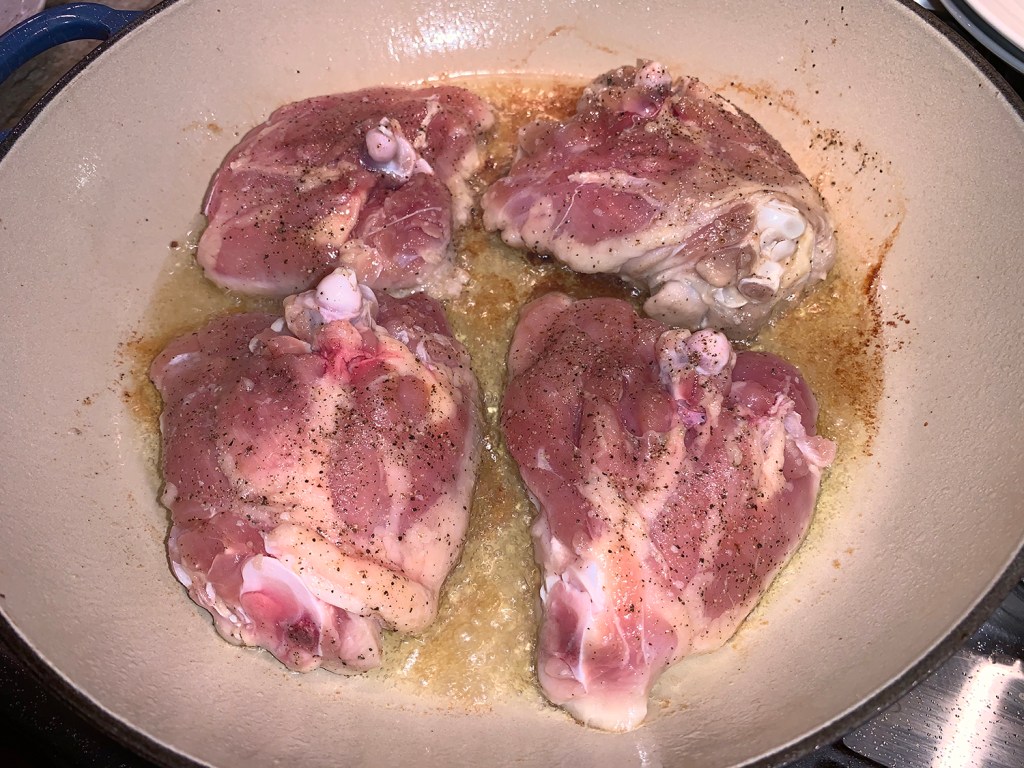
  • 1 1/4 lb. pork tenderloin, trimmed of silver skin and sliced crosswise ⅛ to ¼ inch thick
  • 3 Tbsp. grapeseed or other neutral oil, divided
  • 3 Tbsp. dry sherry, divided
  • 2 Tbsp. soy sauce, divided
  • 3 garlic cloves, 1 minced, 2 thinly sliced
  • 1 Tbsp. cornstarch
  • 2-3 Tbsp. chili-garlic sauce
  • 1 1/2 Tbsp. balsamic vinegar
  • 2 medium red, yellow or orange bell peppers, stemmed, seeded and cut into 1- to 1½-inch pieces
  • 1 bunch scallions, whites thinly sliced, greens cut into 1½-inch lengths, reserved separately
  • 1/2 cup roasted peanuts, roughly chopped

Directions

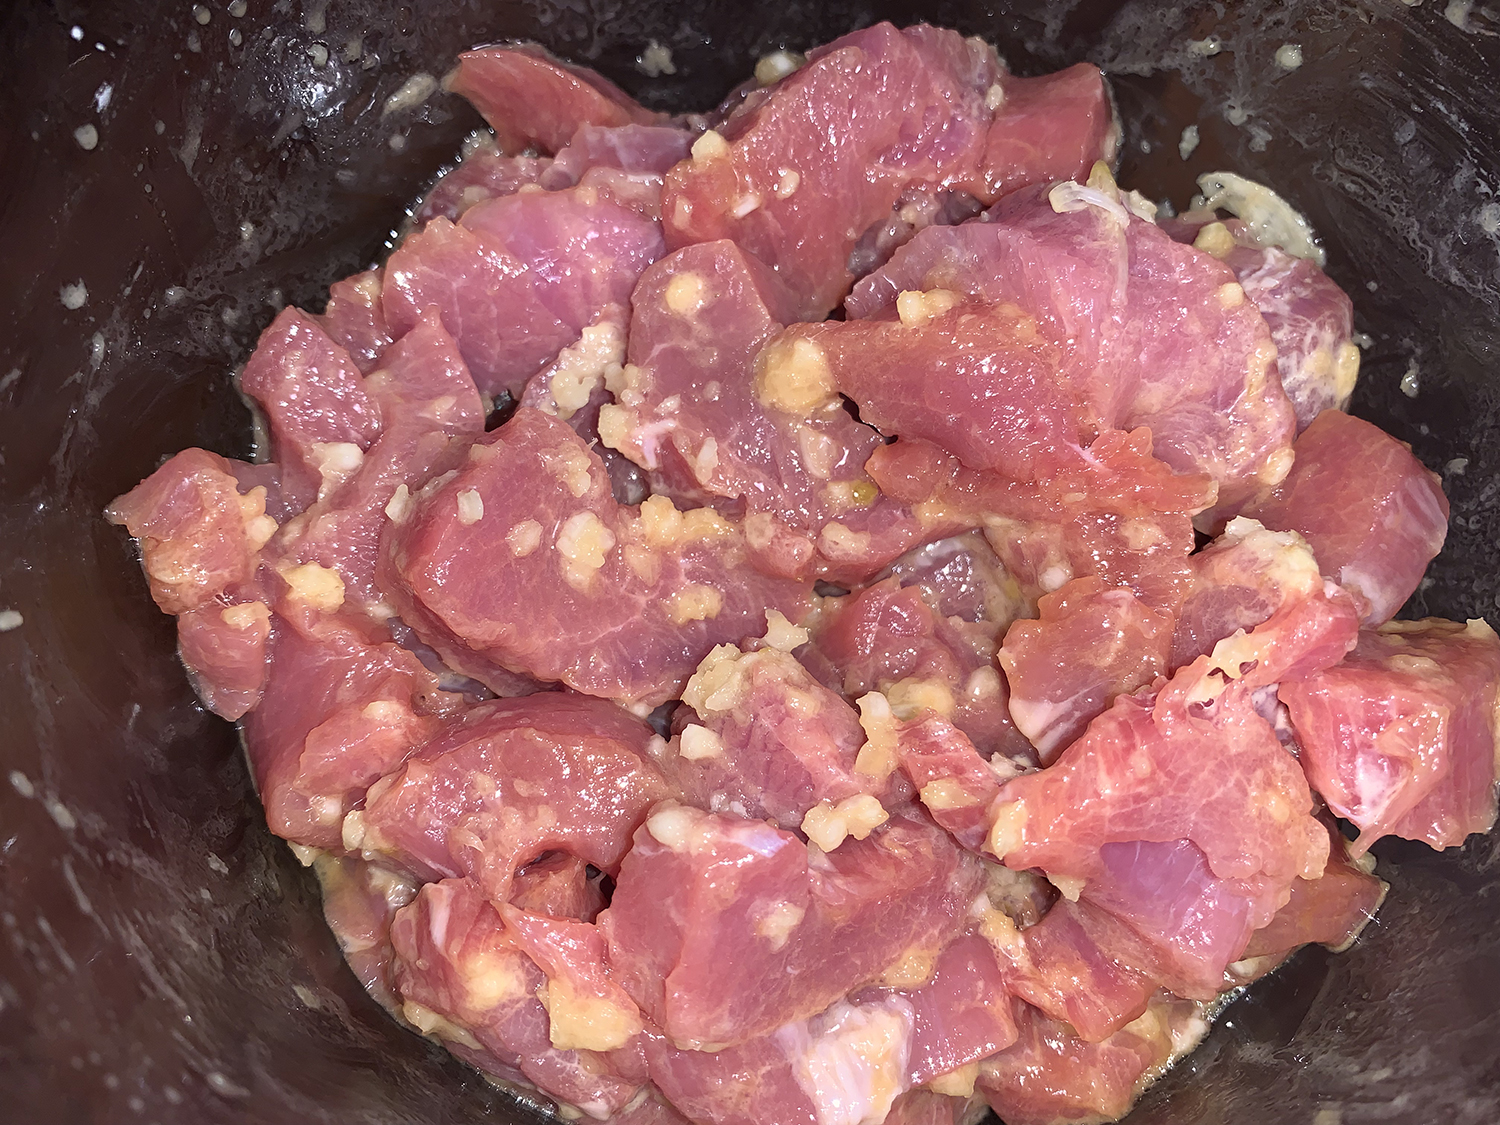
  1. In a medium bowl, stir together the pork, 1 tablespoon of the oil, 1 tablespoon of the sherry, 1 tablespoon of the soy sauce, the minced garlic and the cornstarch. Let stand for about 15 minutes.
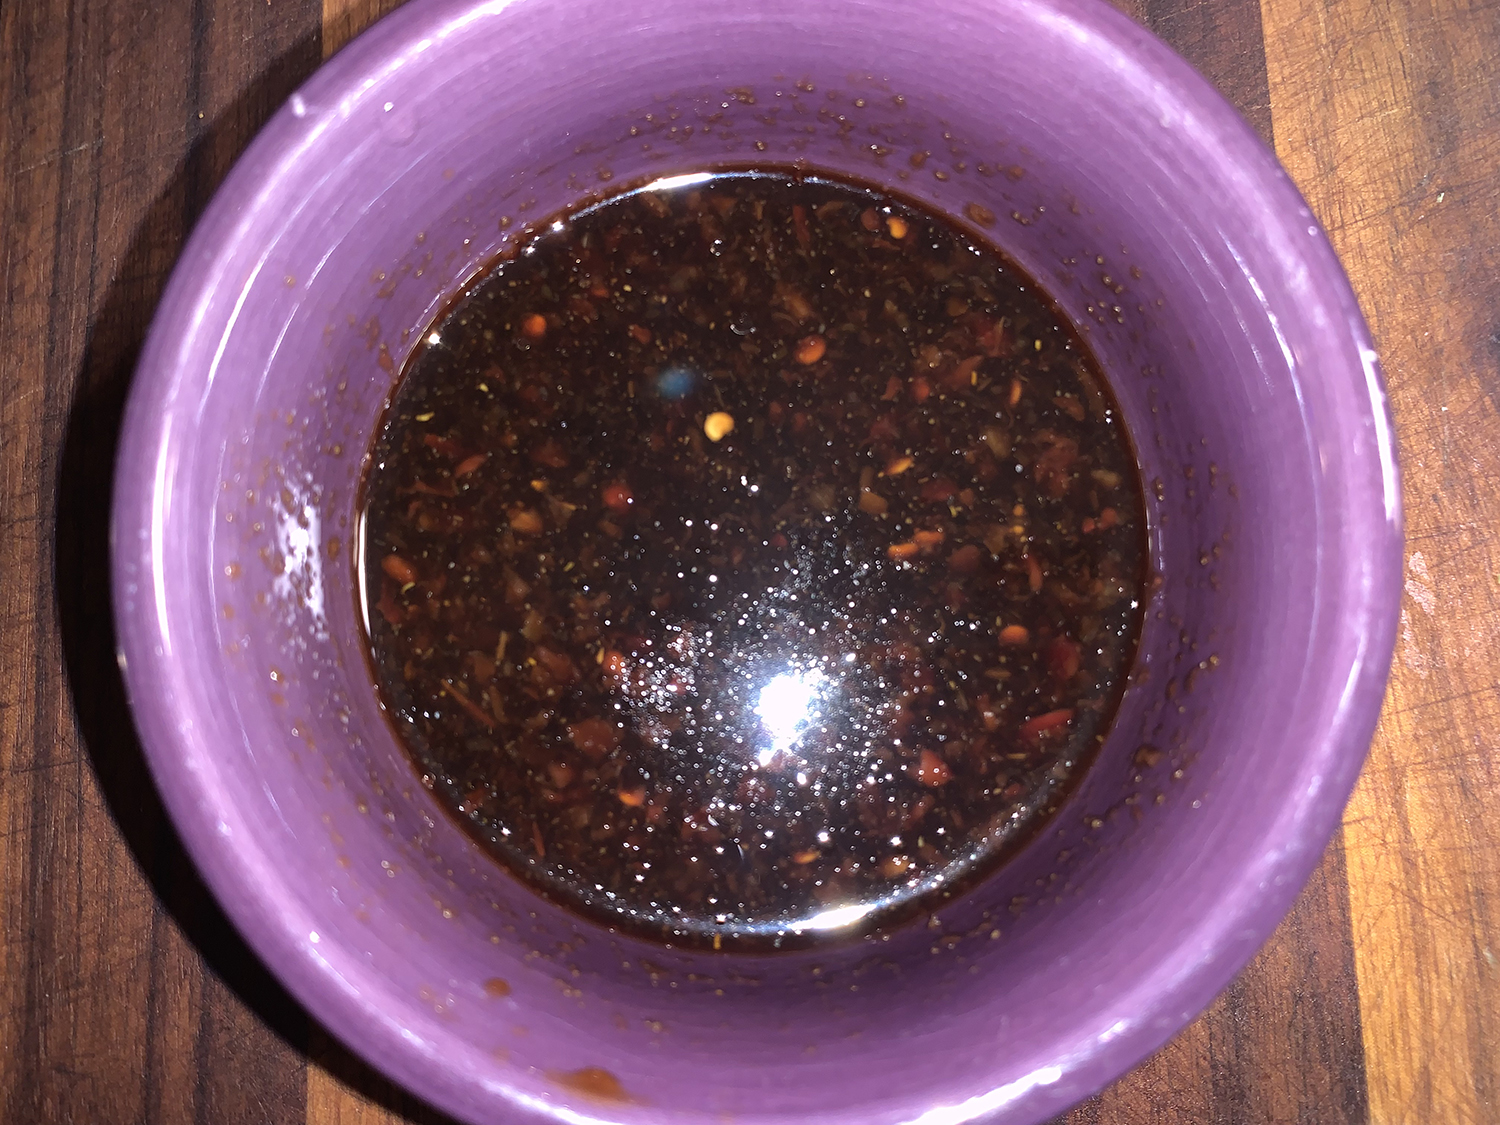
  2. Meanwhile, in a small bowl, stir together the remaining 2 tablespoons sherry, remaining 1 tablespoon soy sauce, chili-garlic sauce and vinegar.
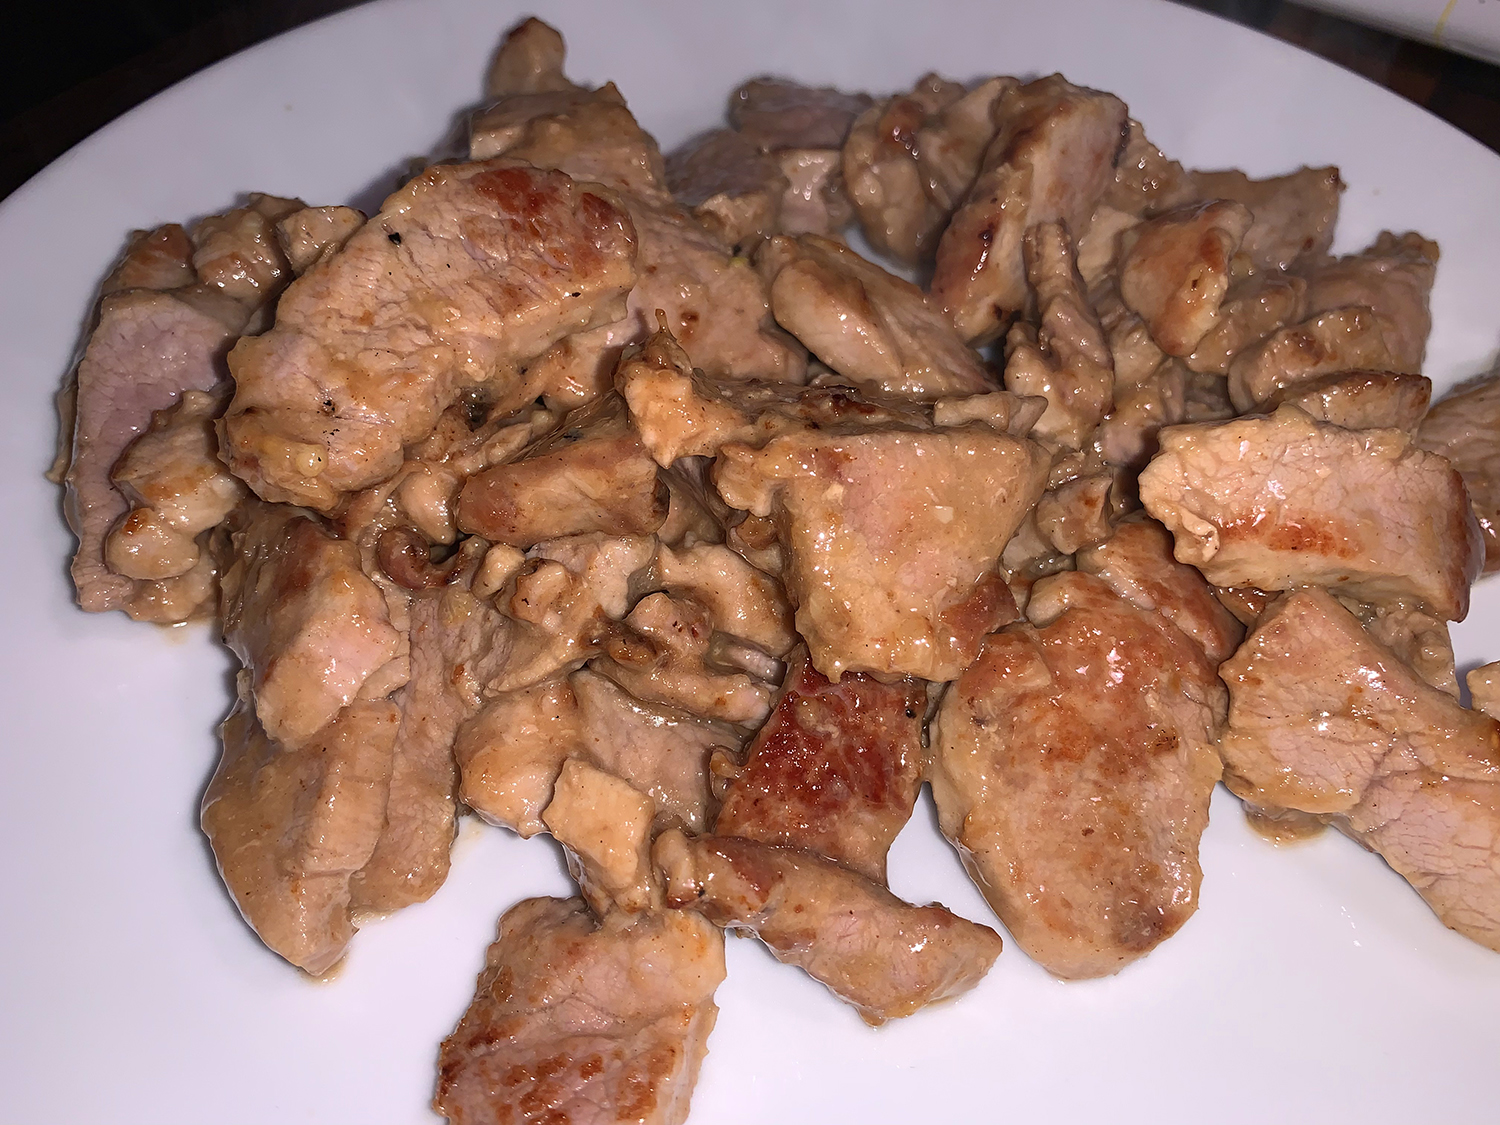
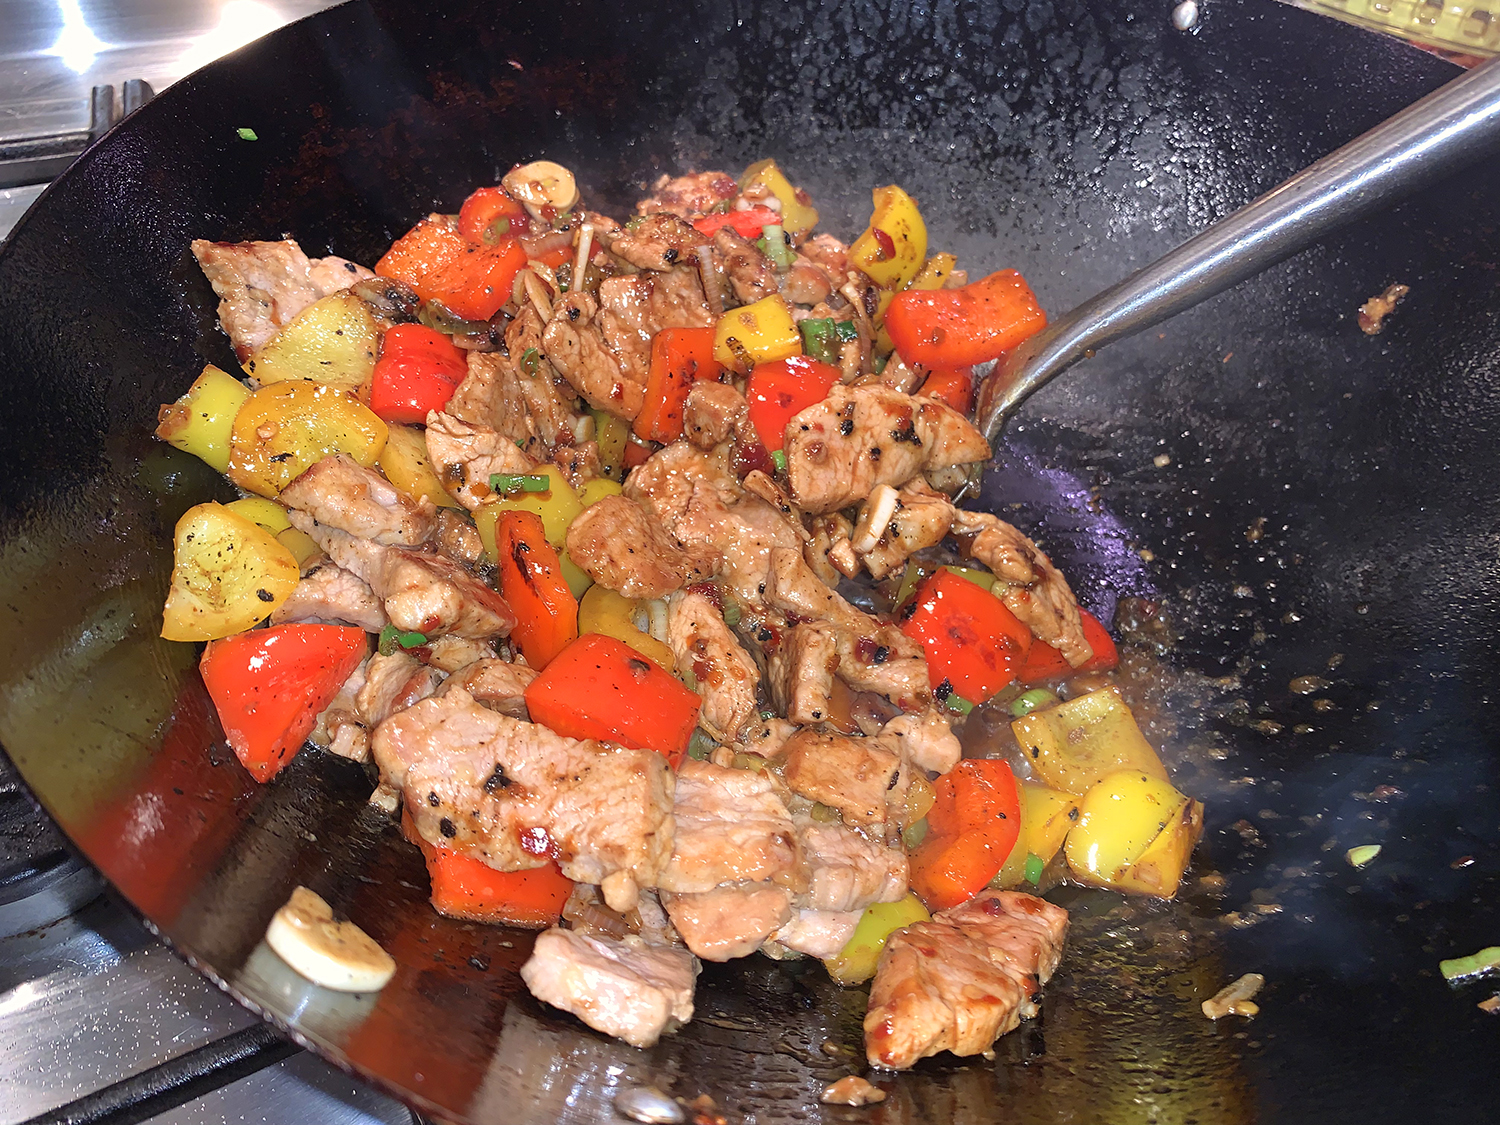
  3. In a 12-inch nonstick skillet over medium-high, heat another 1 tablespoon oil until barely smoking. Add the pork in an even layer and cook, stirring once or twice, until well browned, 4 to 5 minutes; transfer to a plate.
  4. Add the remaining 1 tablespoon oil to the skillet and heat until shimmering. Add the bell peppers and cook, stirring occasionally, until tender-crisp, 6 to 7 minutes.
  5. Add the scallion whites and sliced garlic; cook, stirring, until fragrant, 30 to 60 seconds.
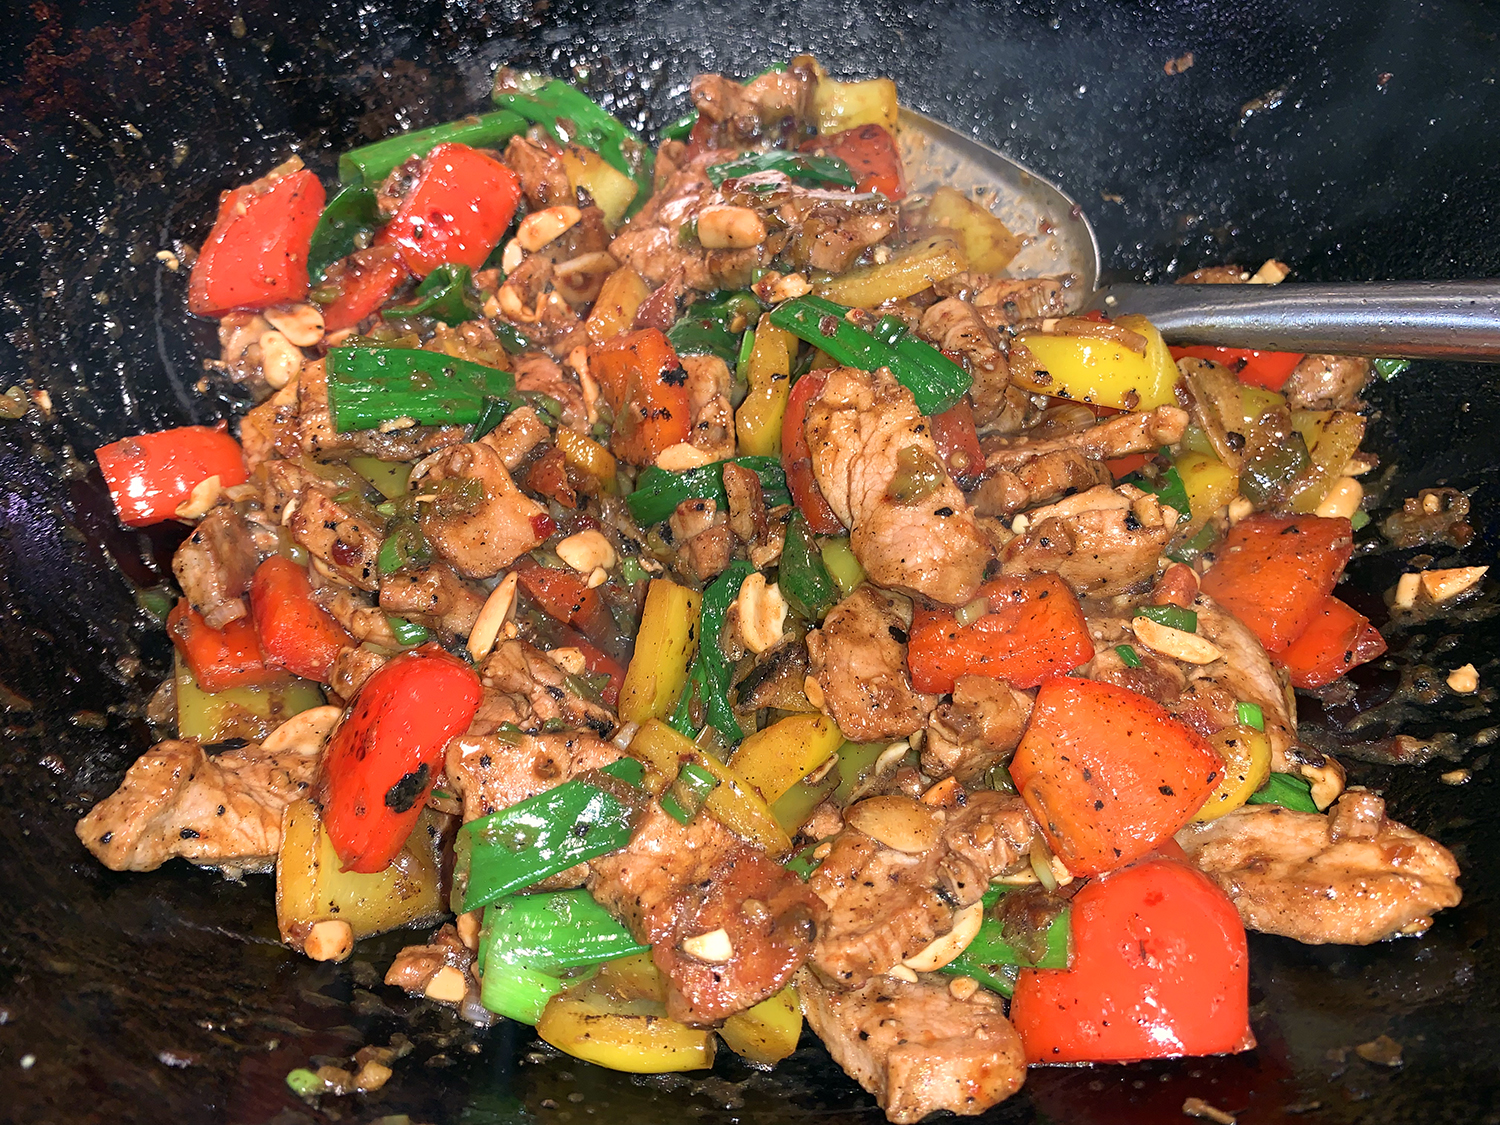
  6. Add the pork and accumulated juices, sauce mixture and scallion greens; cook, stirring, until the sauce is lightly thickened, 30 to 60 seconds.
  7. Off heat, stir in half the peanuts. Transfer to a serving dish and sprinkle with the remaining peanuts.

http://www.lynnandruss.com

Adapted from a recipe by Calvin Cox for Milk Street

Chicken alla Diavolo with Broccoli

Here’s a one-pan meal that has risen to the top of our list—pretty much after one bite! The chicken was amazingly moist and juicy, the broccoli florets cooked just right, and the hot, sour and vinegary peperonicini-garlic topping was a WOW factor!

The chicken for Italian pollo alla diavola, or devil’s-style chicken, usually is spatchcocked and grilled. The name is a reference to cooking the chicken over flames and/or the seasonings that make the bird diabolically spicy.

For this easy weeknight version, Milk Street quick-cooks chicken parts instead of a whole bird, seasons them generously with both red pepper flakes and black pepper, then roasts them on a baking sheet in a very hot oven. The broccoli florets also get tossed onto the baking sheet for a complete one-pan dinner. A simple garlic-lemon pan sauce spiked with peperoncini finishes the dish and adds another layer of piquancy.

We used a whole 4-pound-plus chicken. First because, we both prefer different meat options; and secondly because we like to have the extra parts, neck, back, gizards, ect. for our “body bag” which we store in the freezer until such time we need to make homemade chicken stock again. And a whole chicken is typically cheaper than buying the sum of its parts separately. But, yes it is a bit more work. If you prefer to buy already cut up thighs, and or breasts, by all means, do so.

About that broccoli. Don’t cut the crowns into small florets. Keep them in largish 3-inch pieces so they don’t overcook. The baking sheet will be crowded after the broccoli is added, but both the chicken and broccoli reduce in size during cooking.

Two steps not mentioned in the original directions, but that we think are necessary is to, first, massage the chicken parts with oil so that the rub will adhere to the skin. Second, oil the center of the rimmed baking sheet where the garlic cloves will be, and then drizzle a bit more oil over the cloves.

Chicken alla Diavolo with Broccoli

  • Servings: 4
  • Difficulty: easy
  • Print

Ingredients

  • 1 Tbsp. dried thyme
  • 1¼ tsp. red pepper flakes
  • Kosher salt and ground black pepper
  • 4 12-oz. bone-in, skin-on chicken breasts or 3 pounds bone-in, skin-on chicken thighs, trimmed and patted dry
  • ¼ cup plus Tbsp. extra-virgin olive oil, divided
  • 2 lbs. broccoli crowns, cut into 3-inch florets
  • 8 medium garlic cloves, peeled
  • 1 Tbsp. grated lemon zest, plus lemon wedges to serve
  • ½ cup chopped drained peperonicini
  • ¼ cup lightly packed fresh oregano, chopped

Directions

  1. Heat the oven to 475°F with a rack in the middle position.
  2. In a large bowl, stir together the thyme, pepper flakes and 2 teaspoons each salt and black pepper. Sprinkle 2 tablespoons of the mix onto all sides of the chicken. To the remaining seasoning mix in the bowl, add the ¼ cup oil and the broccoli, then toss to coat.
  3. Place the garlic in the center of a rimmed baking sheet, then arrange the chicken, skin up, around the garlic; this placement helps prevent the garlic from scorching during roasting. Arrange the broccoli in an even layer around the chicken. Roast until the thickest part of the breasts (if using) reaches 160°F and the thickest part of the thighs (if using) reaches 175°F, about 30 minutes.
  4. Using tongs, transfer the chicken and broccoli to a serving platter. Transfer the garlic to a medium bowl and, using a fork, mash to a rough paste.
  5. Carefully pour ¼ cup water onto the baking sheet and scrape up any browned bits. Pour the pan juices over the garlic and add the lemon zest and peperoncini, then whisk in the remaining 2 tablespoons oil. Taste and season with salt and pepper.
  6. Pour the sauce over the chicken and broccoli, then sprinkle with oregano. Serve with lemon wedges.

http://www.lynnandruss.com

Recipe by Rose Hattabaugh for Milk Street

Pan-Seared Salmon With Miso Rice and Ginger-Scallion Vinaigrette

This simple weeknight meal makes great use of pantry staples to create complex flavors with minimal work. Miso is often used to flavor soups or sauces, and here, it is added to raw rice before cooking, which results in a delightfully sticky, savory steamed rice. Fragrant and nutty basmati is called for, but any long-grain rice, such as jasmine (which we used), will work.

Shredded cabbage brings freshness and crunch to the finished dish, but use whatever crispy vegetable you have on hand such as shredded Brussels sprouts, carrots, snap peas, and/or radishes. We had leftover red cabbage, so we used that along with shredded carrots and radishes providing wonderful pops of color!

If possible, use a hand mandoline to get paper thin carrot and radish slices. And if you desire a heftier meal, add some canned chickpeas, white beans or black beans, although neither of us thought it would be necessary.

To finish, the vibrant tang of the bright ginger-scallion vinaigrette balances the richness of the roasted salmon, which we cooked only a pound for the two of us. But if you make the full 1 1/2 pounds, you may want to consider doubling that scallion vinaigrette.

Probably the biggest change we made to the recipe was how we cooked the fish. Instead of in the oven on a rimmed baking sheet, we used a non-stick skillet, and cooked skin-side down for the first 6 minutes, then carefully turned it over to finish, about another 2 minutes.

Quick, easy, colorful and healthy. What more can you ask for as a weeknight meal?

Pan-Seared Salmon With Miso Rice and Ginger-Scallion Vinaigrette

  • Servings: 4
  • Difficulty: easy
  • Print

Ingredients

  • 1/4 cup white or sweet miso
  • 1 1/2 cups basmati or other long-grain rice
  • 4 skin-on salmon fillets, (6-ounces each)
  • 2 Tbsp. extra-virgin olive oil
  • Kosher salt and black pepper
  • 1/4 cup low-sodium soy sauce
  • 1/4 cup chopped scallions, plus more for garnish
  • 1 Tbsp. distilled white vinegar or unseasoned rice vinegar
  • 1 Tbsp. minced fresh ginger
  • 4 cups finely shredded cabbage, such as green, Napa or savoy; OR a mix of thinly sliced cruciferous veggies (about 8 ounces)
  • Toasted sesame oil, for serving

Directions

  1. Heat oven to 425 degrees.
  2. In a medium saucepan, whisk miso with 2 1/4 cups water until dissolved. Stir in rice and bring to a boil. Cover, reduce heat to low and cook until all of the liquid is absorbed and rice is tender, about 15 minutes. Remove from heat and let stand for 5 minutes. Fluff rice with a fork (it will be a little sticky).
  3. On a rimmed baking sheet, rub salmon all over with olive oil, season with salt and pepper and arrange skin-side up. Roast until fish is just opaque and cooked to medium, 8 to 10 minutes. OR, in a non-stick skillet over medium-high, sear the salmon skin side down for 6 minutes until golden brown and crisp. Carefully flip over and sear another 2 minutes or so. For medium to medium-rare, aim for 125˚F to 135˚F.
  4. In a small bowl, combine soy sauce, scallions, vinegar and ginger, and season with salt and pepper.
  5. Divide miso rice and cabbage, and other vegetables if using, among bowls. Top with salmon, ginger-scallion vinaigrette and sesame oil.

http://www.lynnandruss.com

Loosely adapted from a recipe by Kay Chun for NY Times Cooking

Braised Sweet Potatoes with Coriander and Orange

This colorful side dish features an unusual combination of flavors; the inspiration comes from a recipe in “365,” a cookbook by German food blogger Meike Peters. Earthy sweet potatoes pair well with the subtle citrusy notes of coriander and the fruitiness of orange juice, while savory onion, spicy cayenne and salty olives balance the natural sugars. Although we skipped the olives altogether this time in reference to the rest of the meal.

We love the texture and flavor pop of lightly crushed coriander seeds; a mortar and pestle are the best tools for the task but the bottom of a heavy skillet works, too; OR put them in a small ziploc and mash with a heavy meat club. If you prefer, you can use 1 tablespoon ground coriander in place of the seeds, but it will require less than a minute to bloom in the oil.

Don’t use a narrow saucepan or pot for this recipe. The wider diameter of a Dutch oven allows the potatoes to be distributed in a thinner layer, which results in more even cooking. If you like sweet potatoes, you’ll LOVE this amped-up version of the colorful spuds.

Braised Sweet Potatoes with Coriander and Orange

  • Servings: 4
  • Difficulty: easy
  • Print

Ingredients

  • 3 Tbsp. extra-virgin olive oil
  • 2 tsp. coriander seeds, lightly crushed
  • 1 medium red onion, peeled, halved and thinly sliced
  • Kosher salt and ground black pepper
  • 2 lbs. orange-flesh sweet potatoes, peeled and cut into 1-inch chunks
  • 2/3 cup orange juice
  • 1/4 tsp. cayenne pepper
  • 1/2 cup black or green pitted olives, or a mixture, chopped (optional)

Directions

  1. In a Dutch oven over medium-high, cook the oil and coriander seeds, stirring, until fragrant and sizzling, 2 to 4 minutes. Add the onion and ¼ teaspoon salt, then cook, stirring occasionally, until the onion is softened and lightly browned, 3 to 5 minutes.
  2. Add the sweet potatoes, orange juice, cayenne, ½ teaspoon salt, ¼ teaspoon pepper and ½ cup water. Bring to a simmer, cover and reduce to medium. Cook, stirring occasionally, until a skewer inserted into the potatoes meets no resistance, 8 to 11 minutes.
  3. Uncover and cook, stirring constantly, until the liquid has almost fully reduced and the potatoes are glazed, about 2 minutes. Off heat, stir in the olives, if using. Taste and season with salt and pepper.

http://www.lynnandruss.com

Recipe by Albert Stumm for Milk Street

Parmesan and Herb Turkey Burgers

Once again we found an interesting recipe from Milk Street with an odd combination of ingredients, this time for a turkey burger. Mayonnaise and plenty of herbs turn ground turkey into these moist, pillowy, flavorful patties. For the panade—a hydrating binding mixture of dairy and breadcrumbs—use creamy mayonnaise and crisp panko along with fresh mint, cilantro and scallions. Unusual, right?

For an extra layer of flavor, more herbs and mayonnaise are stirred together with lime juice for a simple topping. Spread the panade directly on the bun halves, not the burgers. The flavor and texture of these burgers are best when made with ground dark meat turkey, but if you prefer, ground breast meat works, too.

Parmesan cheese adds a salty-savory note. Now if you’re cutting back on carbs, you could serve the burgers sandwiched between bibb or Boston lettuce leaves spread with the herbed mayonnaise, in place of a bun.

For mine, I took it one step further and added a thin slice of heirloom tomato and a round of provolone cheese. I waited until the burgers came out of the pan and onto the grate, topped one of them with the cheese, and covered it with a rounded lid for the 5-minute resting period. The provolone was slightly melty, but not oozing off of the meat.

Oven-roasted rosemary fires made a nice accompaniment.

NOTE: Chilling helps the patties hold together during cooking, so don’t forget to refrigerate the burgers for at least 15 minutes beforehand.

Parmesan and Herb Turkey Burgers

  • Servings: 4
  • Difficulty: easy
  • Print

Ingredients

  • 3/4 cup panko breadcrumbs
  • 10 Tbsp. mayonnaise, divided
  • 1/2 cup chopped fresh mint, divided
  • 1/2 cup chopped fresh cilantro, divided
  • 6 scallions, thinly sliced, white and green parts reserved separately
  • Kosher salt and ground white pepper
  • 1 lb. ground dark meat turkey
  • 2 oz. Parmesan cheese, finely grated (1 cup)
  • 3 Tbsp. lime juice
  • 1 Tbsp. grapeseed or other neutral oil
  • 4 hamburger buns, toasted

Directions

  1. Line a plate with kitchen parchment and mist with cooking spray. In a food processor, combine the panko, 5 tablespoons of the mayonnaise, ¼ cup each of the mint and cilantro, the scallion whites, and 1 teaspoon each salt and pepper. Process until smooth, about 1 minute. Transfer to a large bowl, then add the turkey, ¼ cup water and the cheese. Mix with your hands, form into four ½-inch-thick patties, then set on the prepared plate and refrigerate for 15 minutes.
  2. Meanwhile, in a small bowl, stir together the remaining 5 tablespoons mayonnaise, the remaining ¼ cup each mint and cilantro, the scallion greens, the lime juice and ½ teaspoon each salt and pepper. Set aside.
  3. In a 12-inch nonstick skillet over medium-high, heat the oil until beginning to smoke. Add the patties, reduce to medium and cook until well browned on the bottoms, about 5 minutes. Flip and cook until the second sides are well browned and the centers reach 165°F. Transfer to a wire rack set in a rimmed baking sheet and let rest for 5 minutes.
  4. Meanwhile, spread the cut sides of each bun with some of the mayonnaise mixture. Sandwich the burgers in the buns and serve with any remaining mayonnaise on the side.

http://www.lynnandruss.com

Adapted from a recipe from Milk Street

White Balsamic Chicken with Tarragon

Sweet-tart white balsamic vinegar and tangy Peppadew peppers bring flavor and color to this weeknight chicken dish found on Milk Street. White balsamic, which is not cooked and aged as long as regular balsamic vinegar, has a mellow acidity that complements the peppadews, a variety of small, sweet peppers from South Africa.

Peppadews add slight heat and additional sweetness, as well as a vivid splash of red. Find them (or not) jarred at most grocery stores, and sometimes loose at the olive bar. Unable to locate peppadews, we substituted cherry peppers. And for some odd reason, there were no plain pitted green olives (no open olive bar during COVID) and all the jarred versions were pimento stuffed. Frustrating yes, but in the end… FRIGGIIN’ delicious!!

Packed with Flavor

Don’t rush rendering the fat from the skin on the chicken thighs. The skin should be golden brown and feel crisp. When reducing the sauce before serving, add water if the liquid is less than 1 cup. It took us extra time to get the sauce reduced to one cup, more like 6 minutes,

The sauce was just bursting with flavor and the chicken retained crispy exteriors and juicy interiors. Some serving suggestions are with roasted sweet potatoes—our choice—boiled baby red potatoes or spinach pasta tossed with butter and poppy seeds.

White Balsamic Chicken with Tarragon

  • Servings: 4
  • Difficulty: easy
  • Print

Ingredients

  • 3 lbs. bone-in, skin-on chicken thighs, trimmed and patted dry
  • Kosher salt and ground black pepper
  • 1 Tbsp. grapeseed or other neutral oil
  • 3 garlic cloves, thinly sliced
  • 1 medium shallot, minced (about ⅓ cup)
  • ¾ cup white balsamic vinegar
  • ¾ cup low-sodium chicken broth
  • ⅓ cup pitted green olives, chopped
  • 4 Tbsp. finely chopped fresh tarragon, divided
  • ⅓ drained peppadew peppers, chopped

Directions

  1. Heat the oven to 450°F with a rack in the middle position. Season the chicken on all sides with salt and pepper.
  2. In a 12-inch oven-safe skillet over medium-high, heat the oil until smoking. Add the chicken, skin down, and cook until fat is rendered and the skin is golden brown, about 5 minutes. (You will probably have to do this in two stages as you don’t want to crowd the pan and steam instead of crisp the skin.)
  3. Transfer the chicken skin up to a plate. Pour off all but 1 tablespoon of fat from the skillet. Stir in the garlic and shallot and cook over medium, stirring occasionally, until light golden brown, about 1 minute.
  4. Add the vinegar and broth and bring to a simmer, scraping up any browned bits. Return the chicken to the skillet, skin up. Transfer to the oven and bake until the chicken reaches 175°F at the thickest part, or a skewer inserted into the thickest part meets no resistance, 12 to 15 minutes.
  5. Transfer the chicken, skin up, to a deep platter and return the skillet to the stovetop (handle will be hot) over medium-high. Bring the sauce to a boil and cook until reduced to about 1 cup, 2 to 3 minutes (or longer if necessary).
  6. Stir in the olives, then taste and season with salt and pepper. Off heat, stir in half the tarragon, then spoon the sauce around the chicken.
  7. Top with Peppadews and the remaining tarragon.

http://www.lynnandruss.com

Adapted from a recipe by Courtney Hill of Milk Street