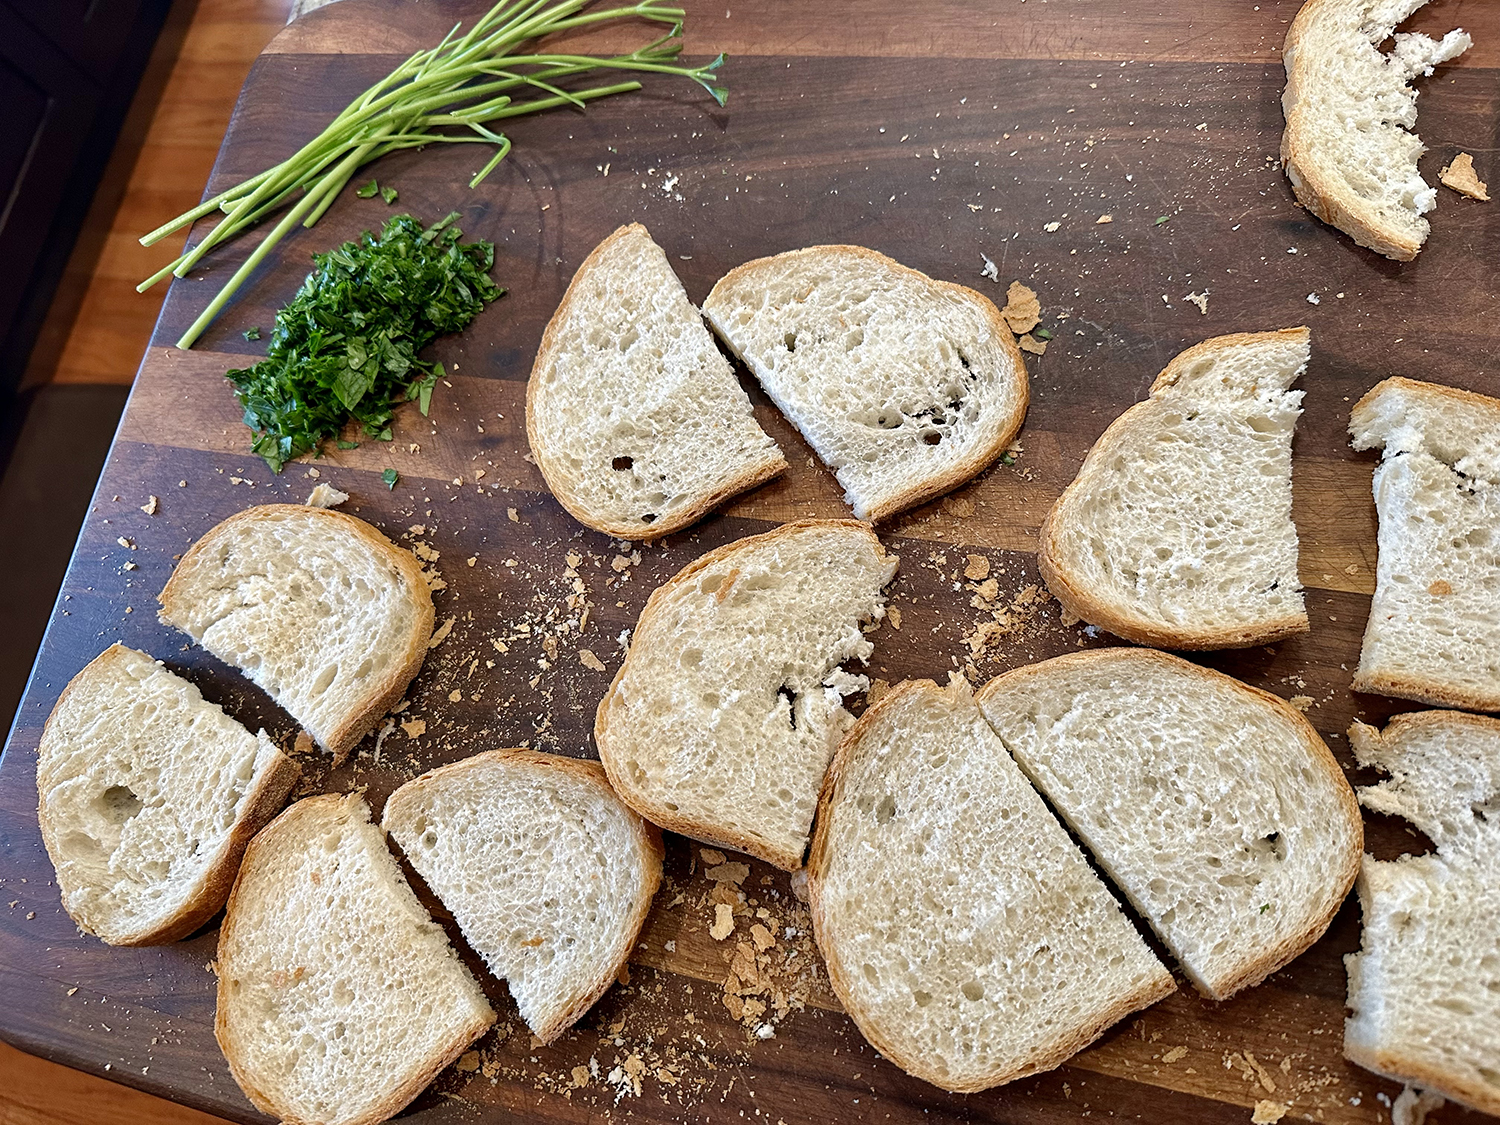
This delicious soup was a perfect first course for a Winter braised main dish. Not too heavy, and chock-full of flavor, amped up with texture from some homemade seasoned croutons and a light garnish of thyme leaves, it was instantly a fan favorite.

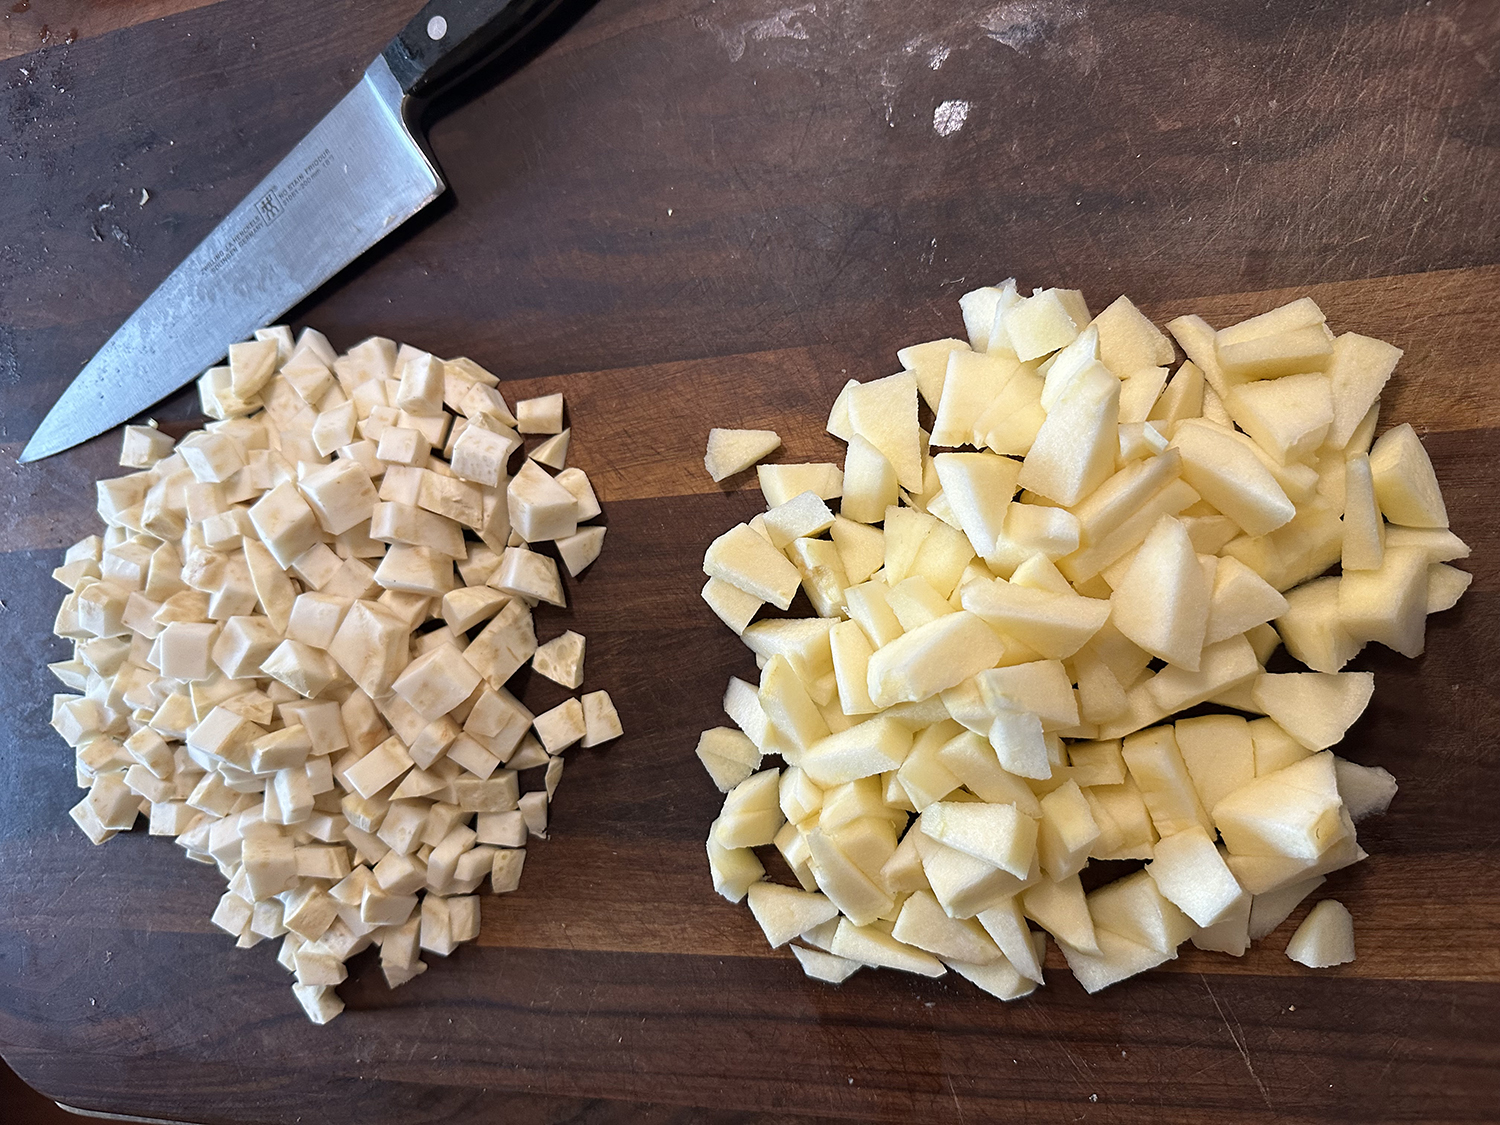
Celeriac, or celery root, is one of the unsung heroes of the root vegetable world. It can be eaten raw or cooked, is a terrific substitution for potatoes in many applications and is very healthy. If you’ve never used celery root, it is a relative of celery and is a very common ingredient in French or German kitchens.
In this recipe, it is combined with apple and leek to take advantage of the flavor of this ugliest of roots. Don’t be put off by its gnarly exterior. It has a mild celery flavor with a refreshing crunch and a little bitterness when raw, and a subtle undertone of sweetness when cooked. We often make a celery root and potato mash that is heavenly!
To finish, drizzle with extra-virgin olive oil and garnish with croutons and thyme leaves, if desired.

Cream of Celery Root and Apple Soup
Ingredients
- 8 oz. celery root, peeled and cut into 1/2-inch dice
- 1 large leek, white and light green part only
- 2 Golden Delicious apples, peeled, cored, and cut into 1/2-inch dice
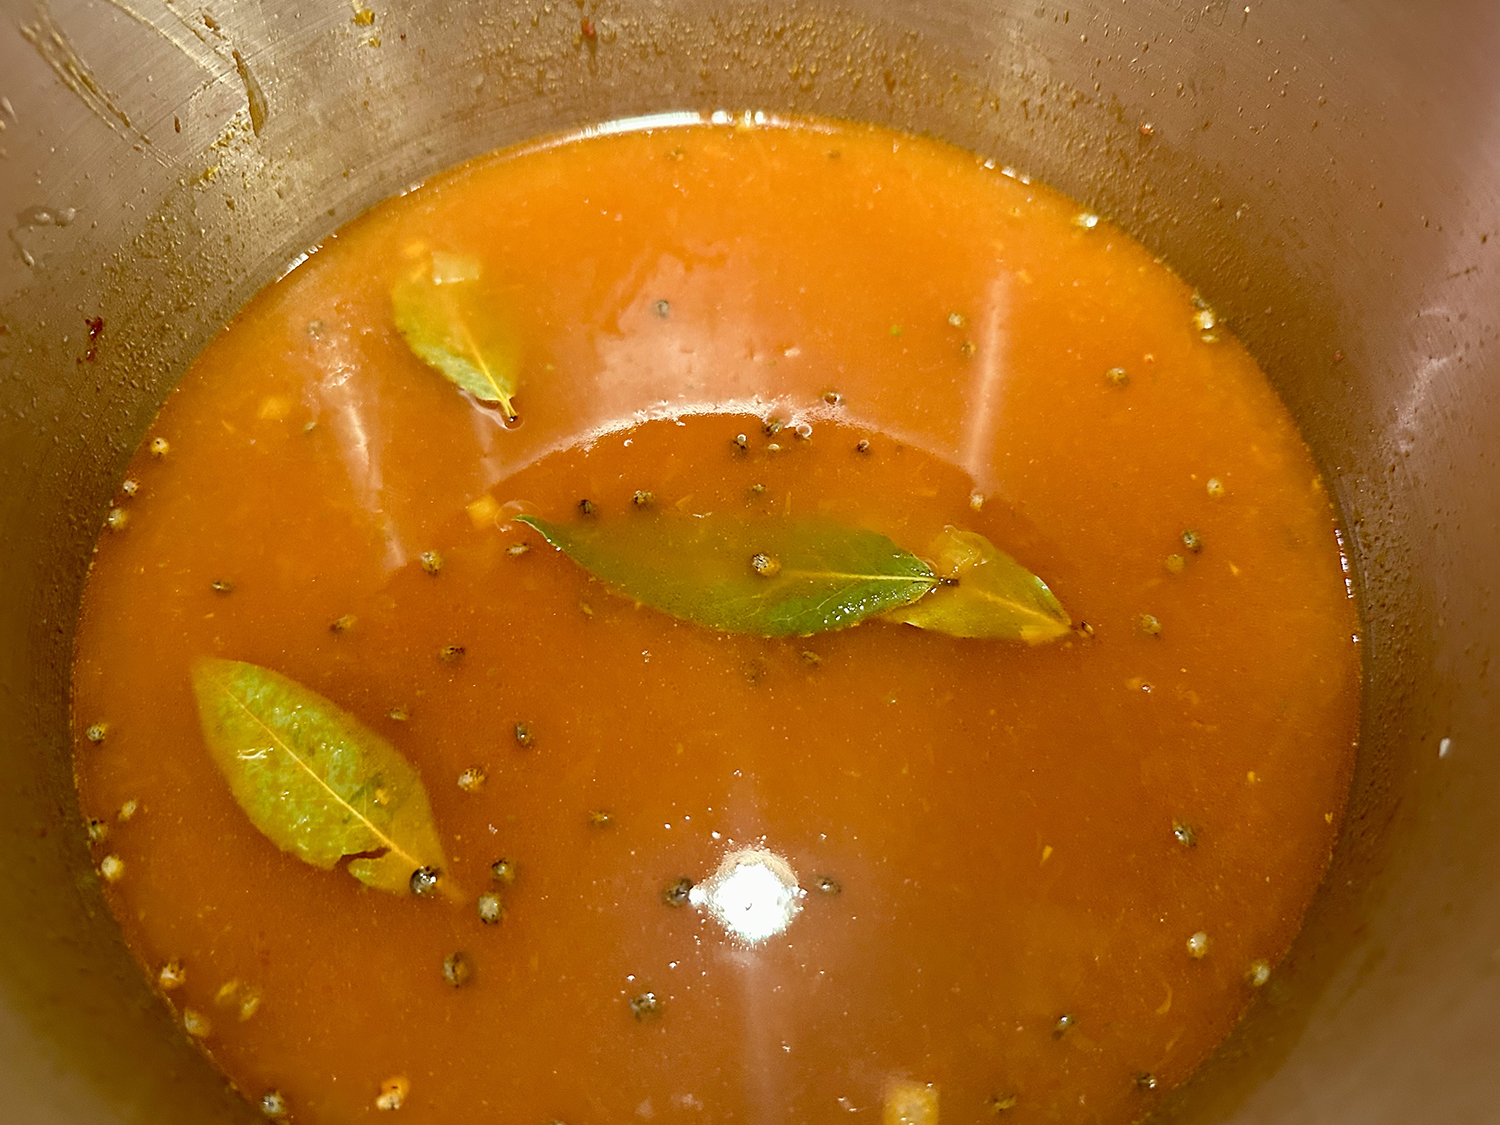
- 2 cups vegetable broth
- 4 oz. dry vermouth or white wine
- 1 cups heavy cream
- 2 Tbsp. butter
- Table salt, to taste
- 1 pinch ground nutmeg
- Freshly ground black pepper, to taste
- Drizzle with extra-virgin olive oil
- Garnish with croutons and thyme leaves


Directions
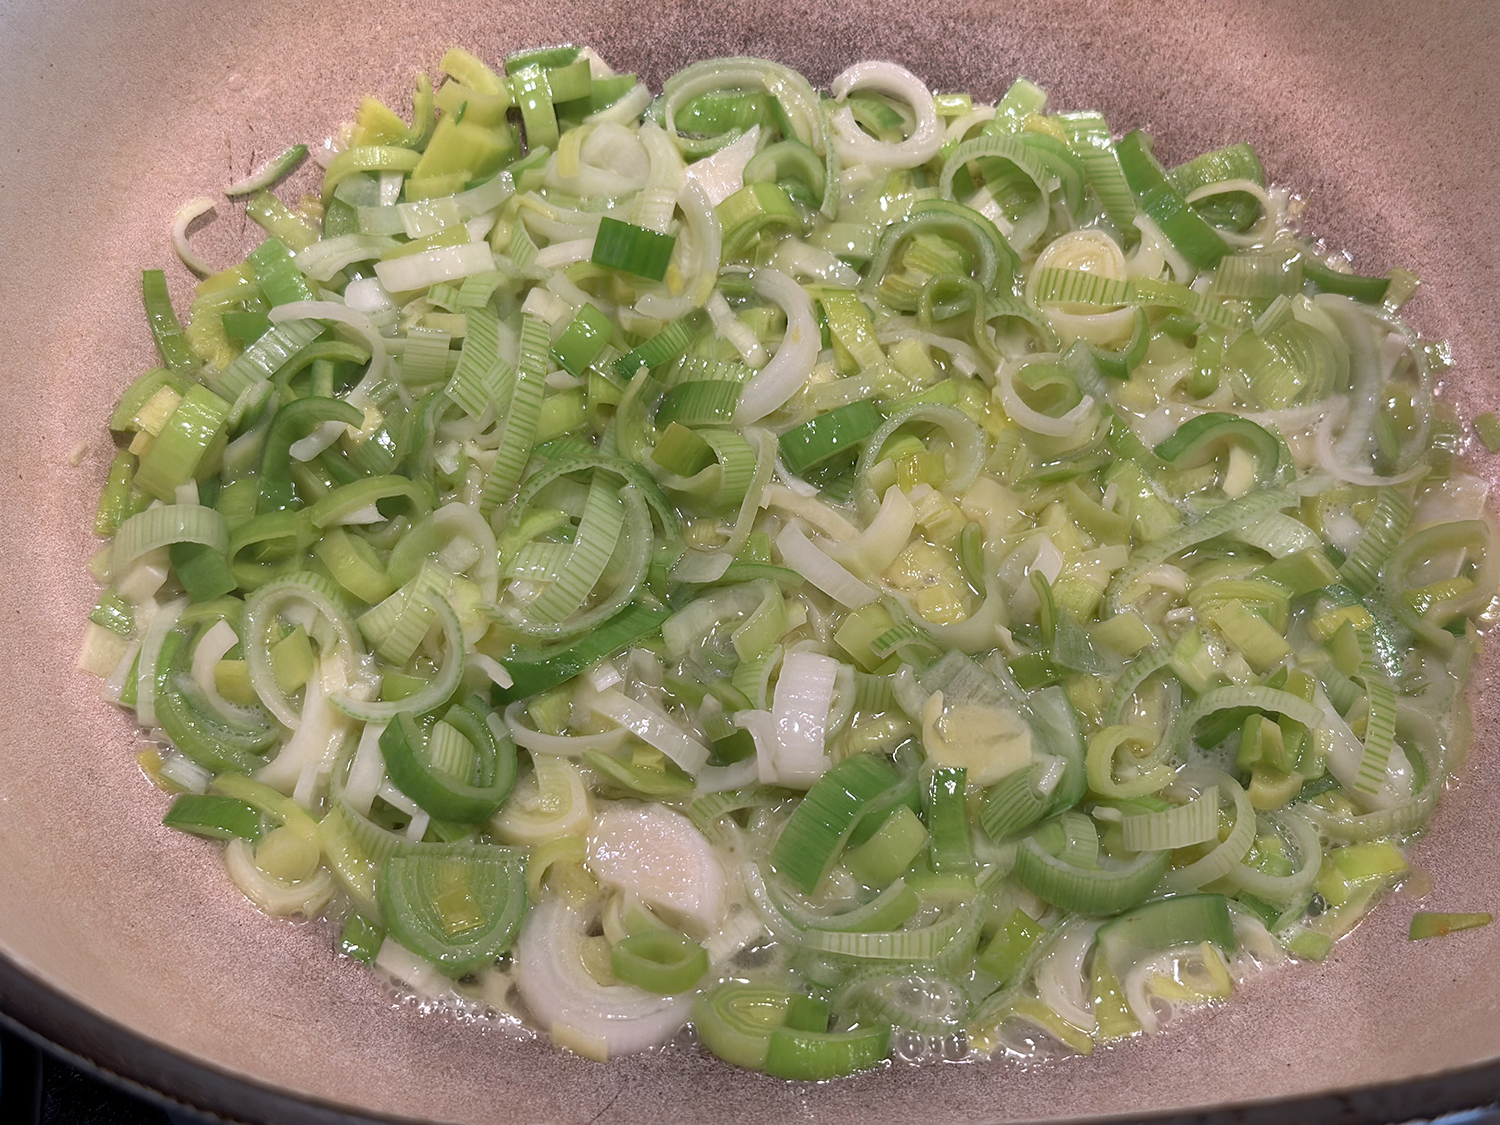
- Cut the white and light green part of the leek in half lengthwise, then cut crosswise into 1/2 inch slices. Place in a colander and wash thoroughly to insure removal of any sand.
- Add the butter to a large pot and heat it over medium until the butter melts and begins to foam. Add the leek and sauté until it becomes soft and lightly browned, about 5 to 7 minutes. Add the celery root and apple to the pot along with salt and pepper. Cook for 5 minutes longer
- Add the wine or hard cider, cover the pot, and cook another 5 minutes. Add the vegetable broth, place the cover on the pot and cook over medium-low heat for 20 minutes or until the celery root and the apple are very tender.
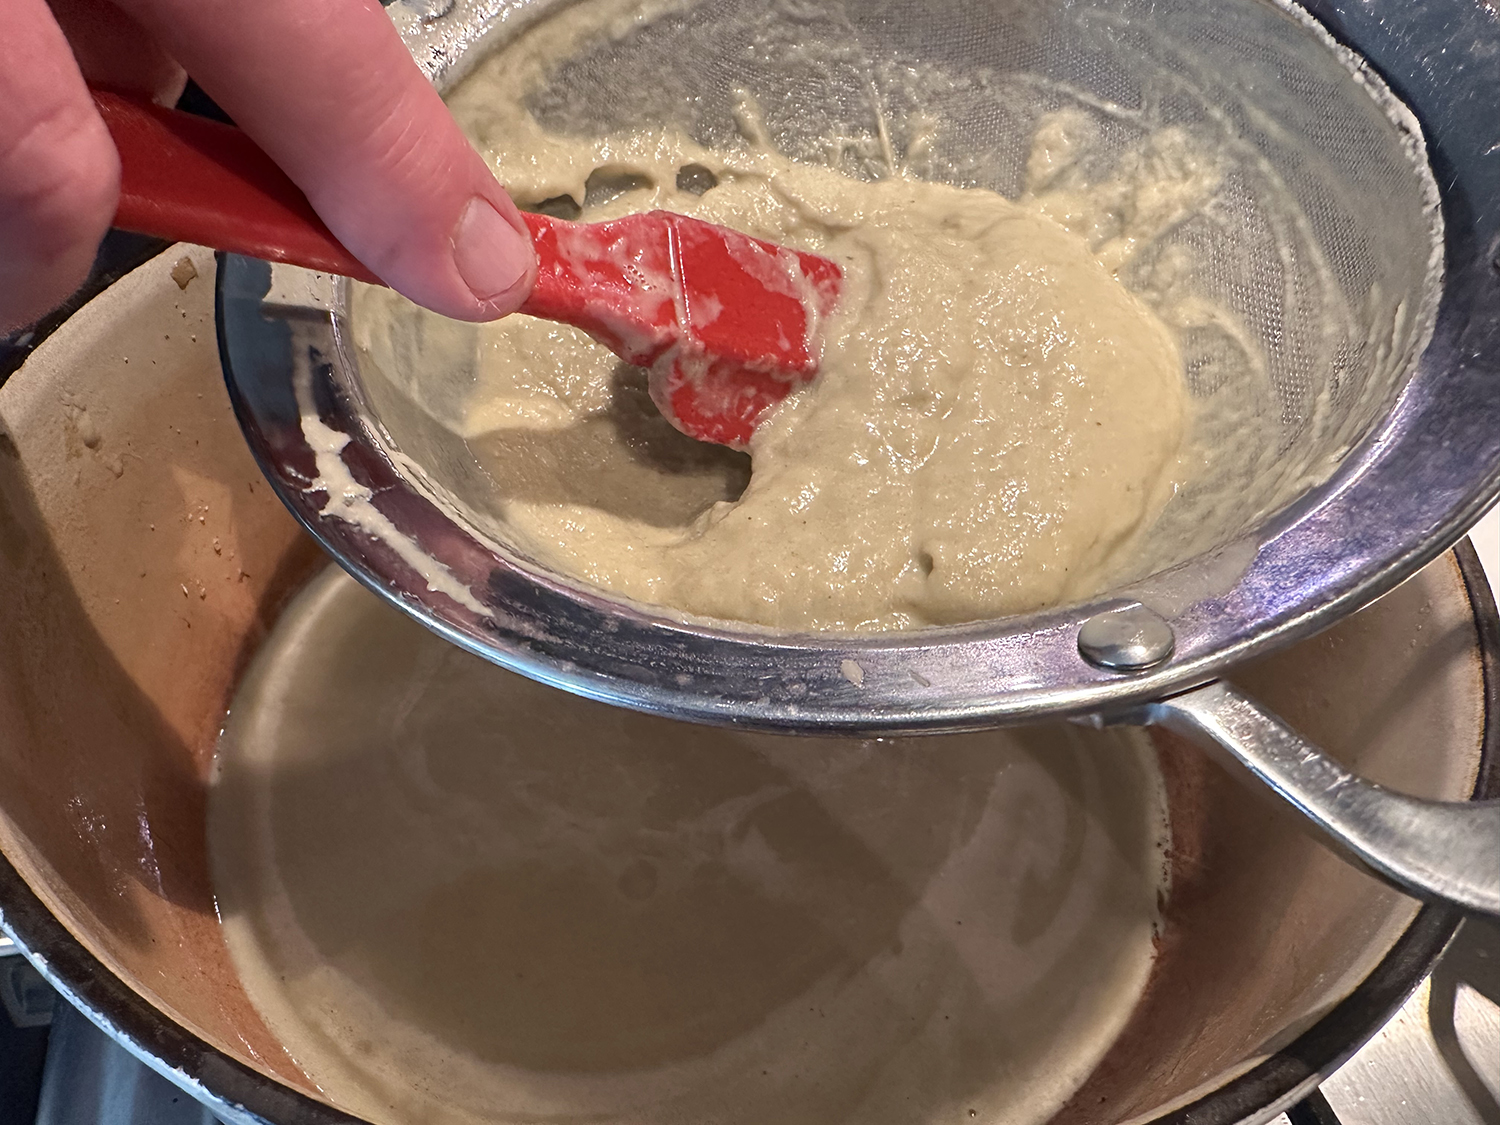
- Puree the mixture using an immersion blender or a stand blender.
- Add the cream, the nutmeg, and more salt and pepper to taste Cook a few minutes more over medium-low heat until the soup is hot and serve.
- Drizzle with extra-virgin olive oil and garnish with croutons and thyme leaves, if desired.
Recipe from ElPais.com