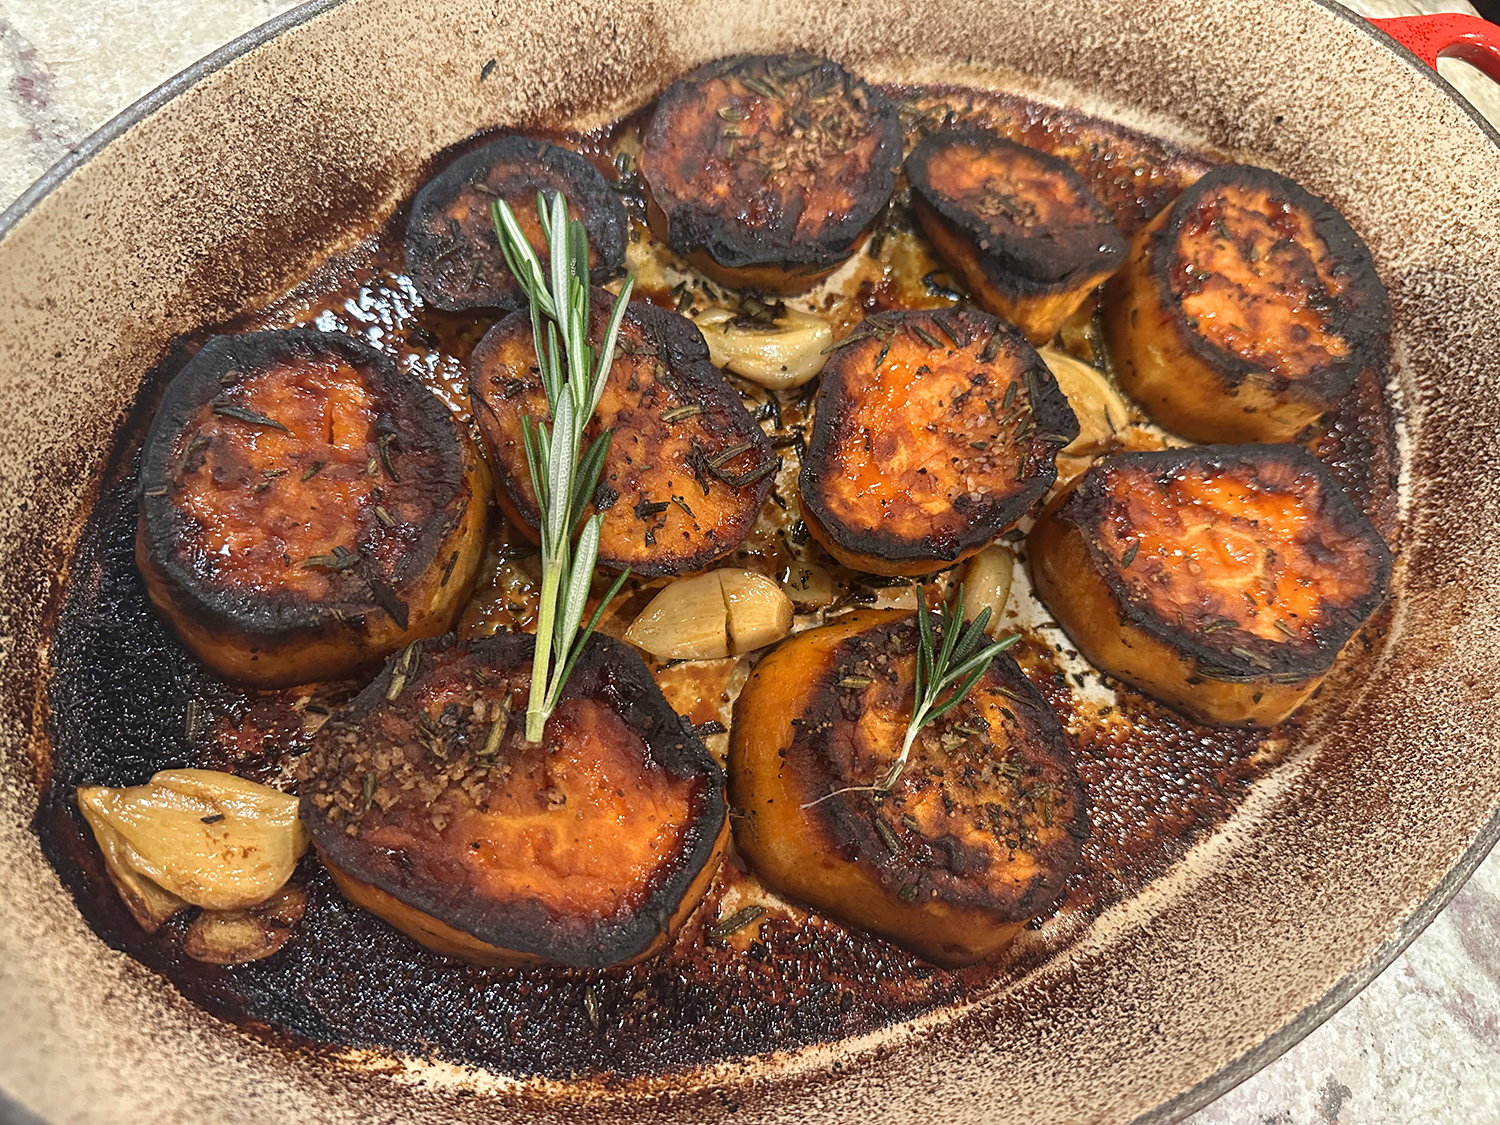
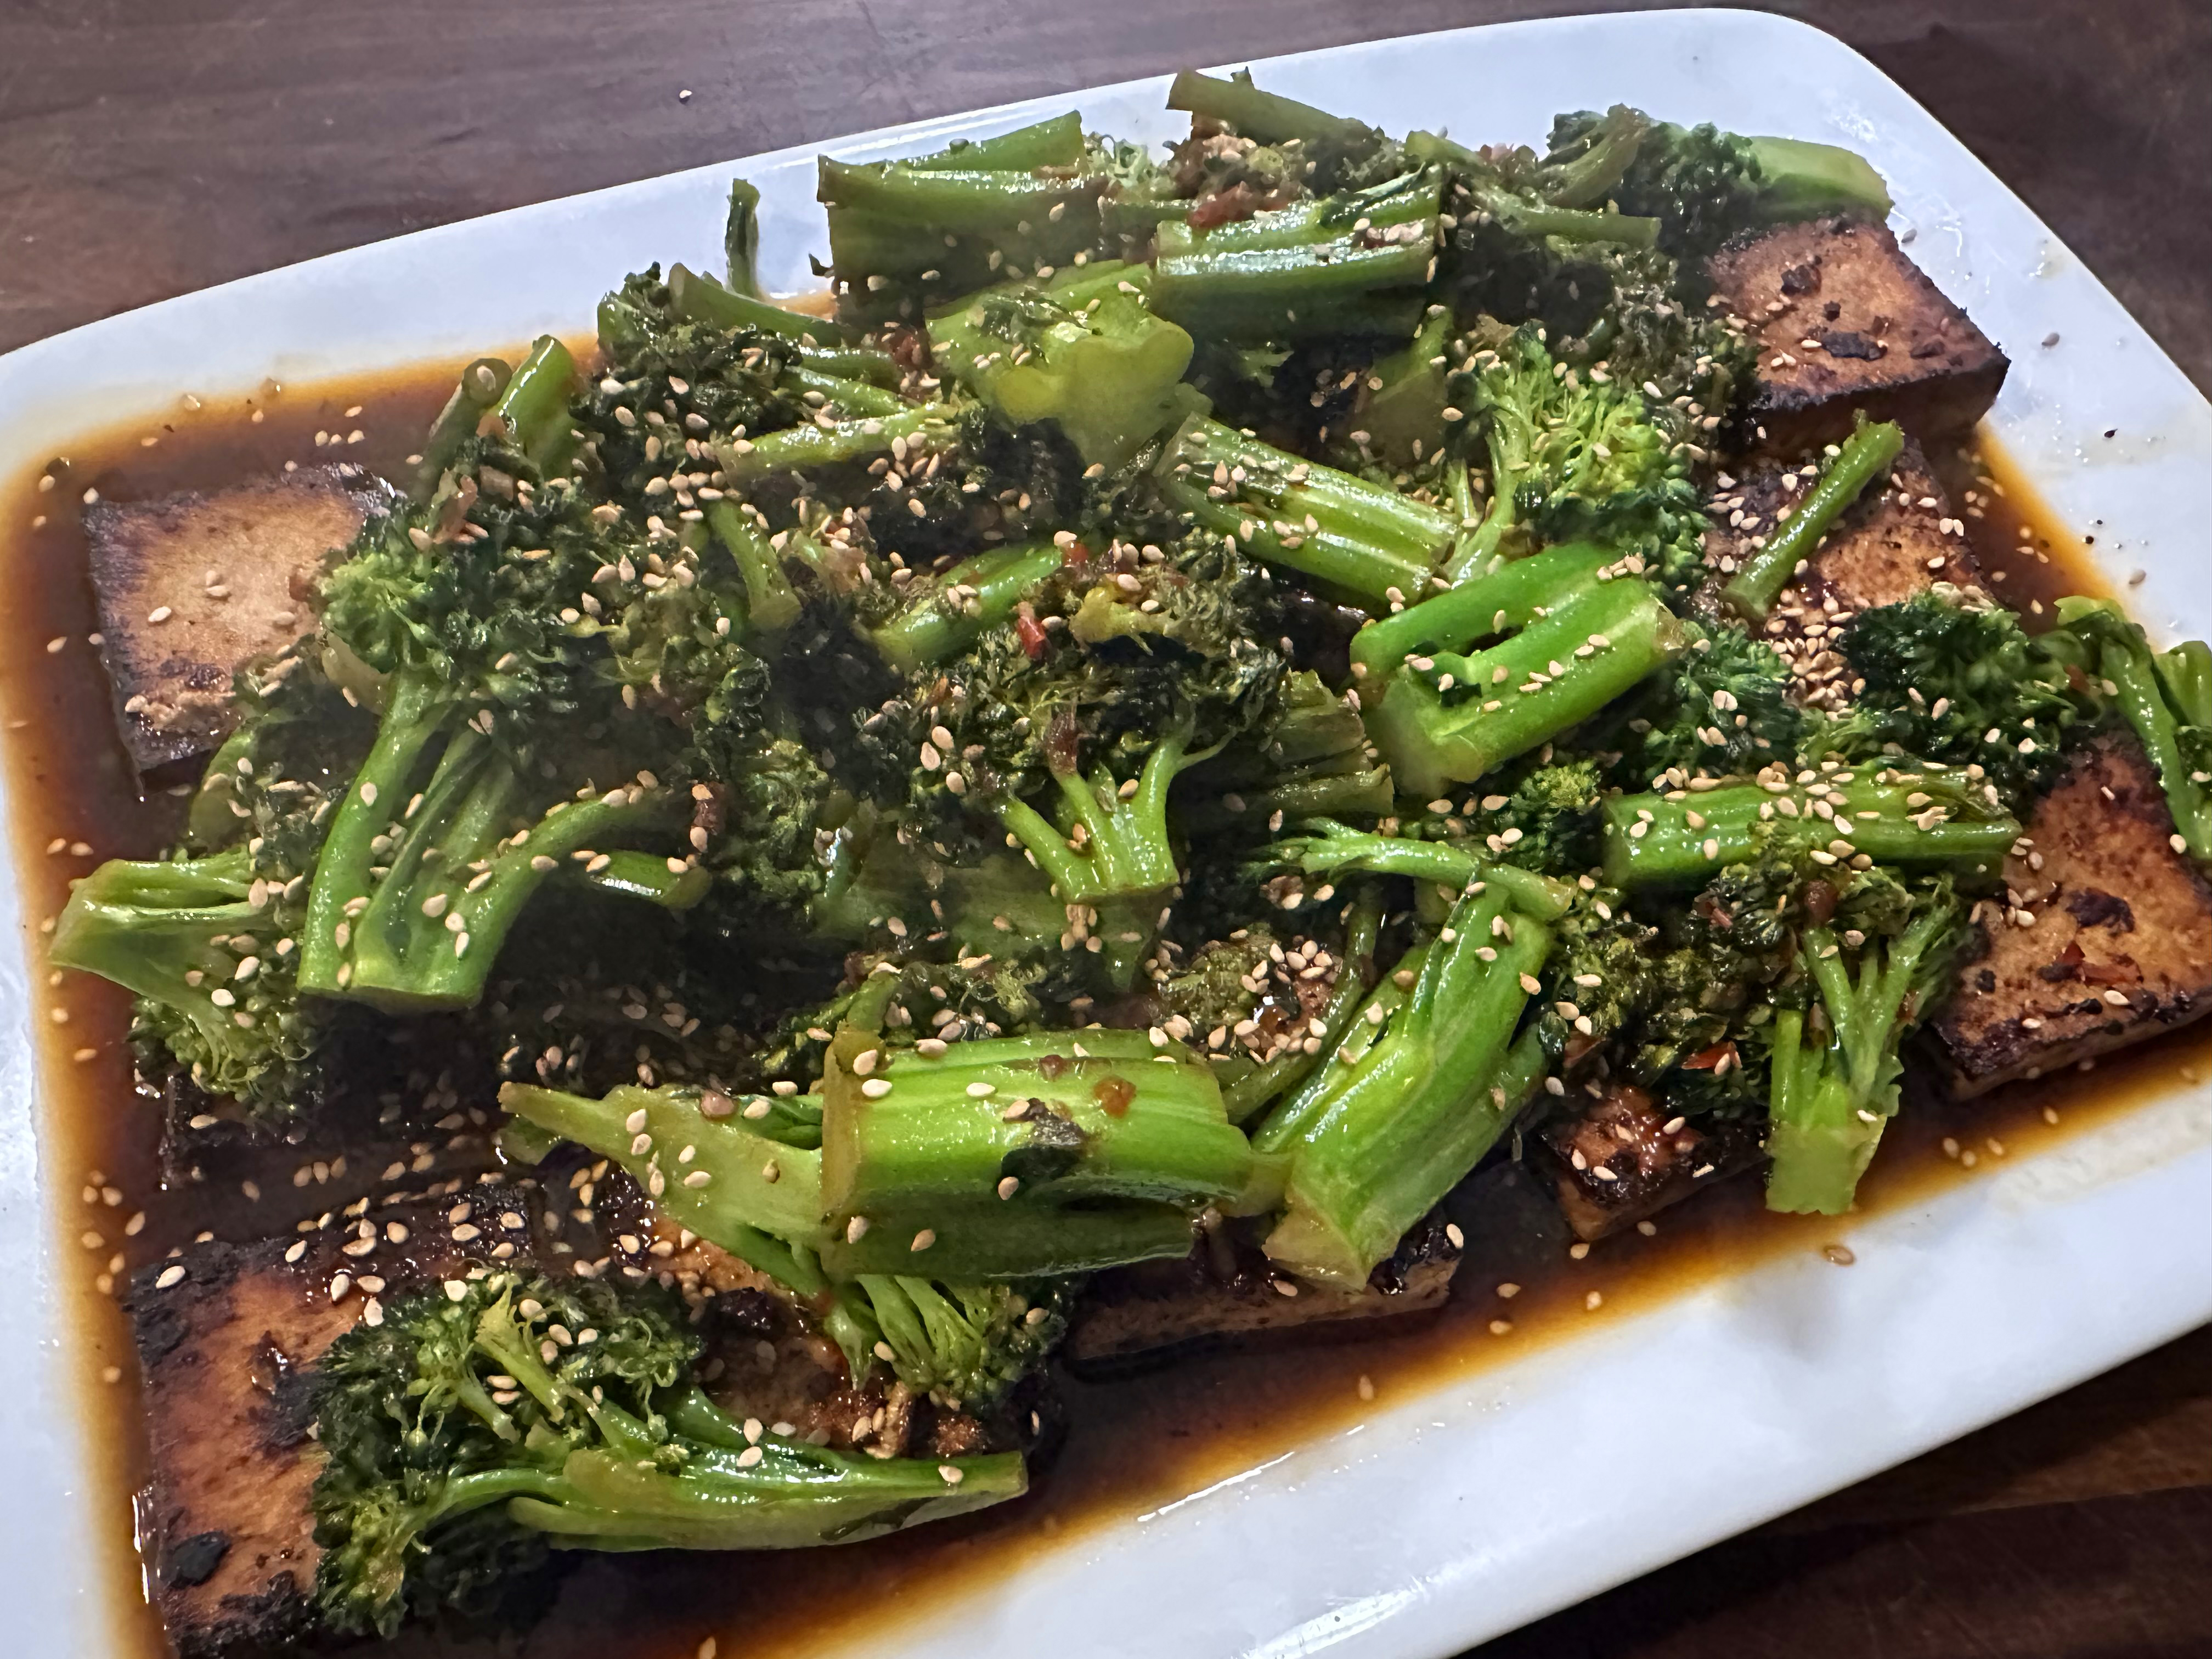
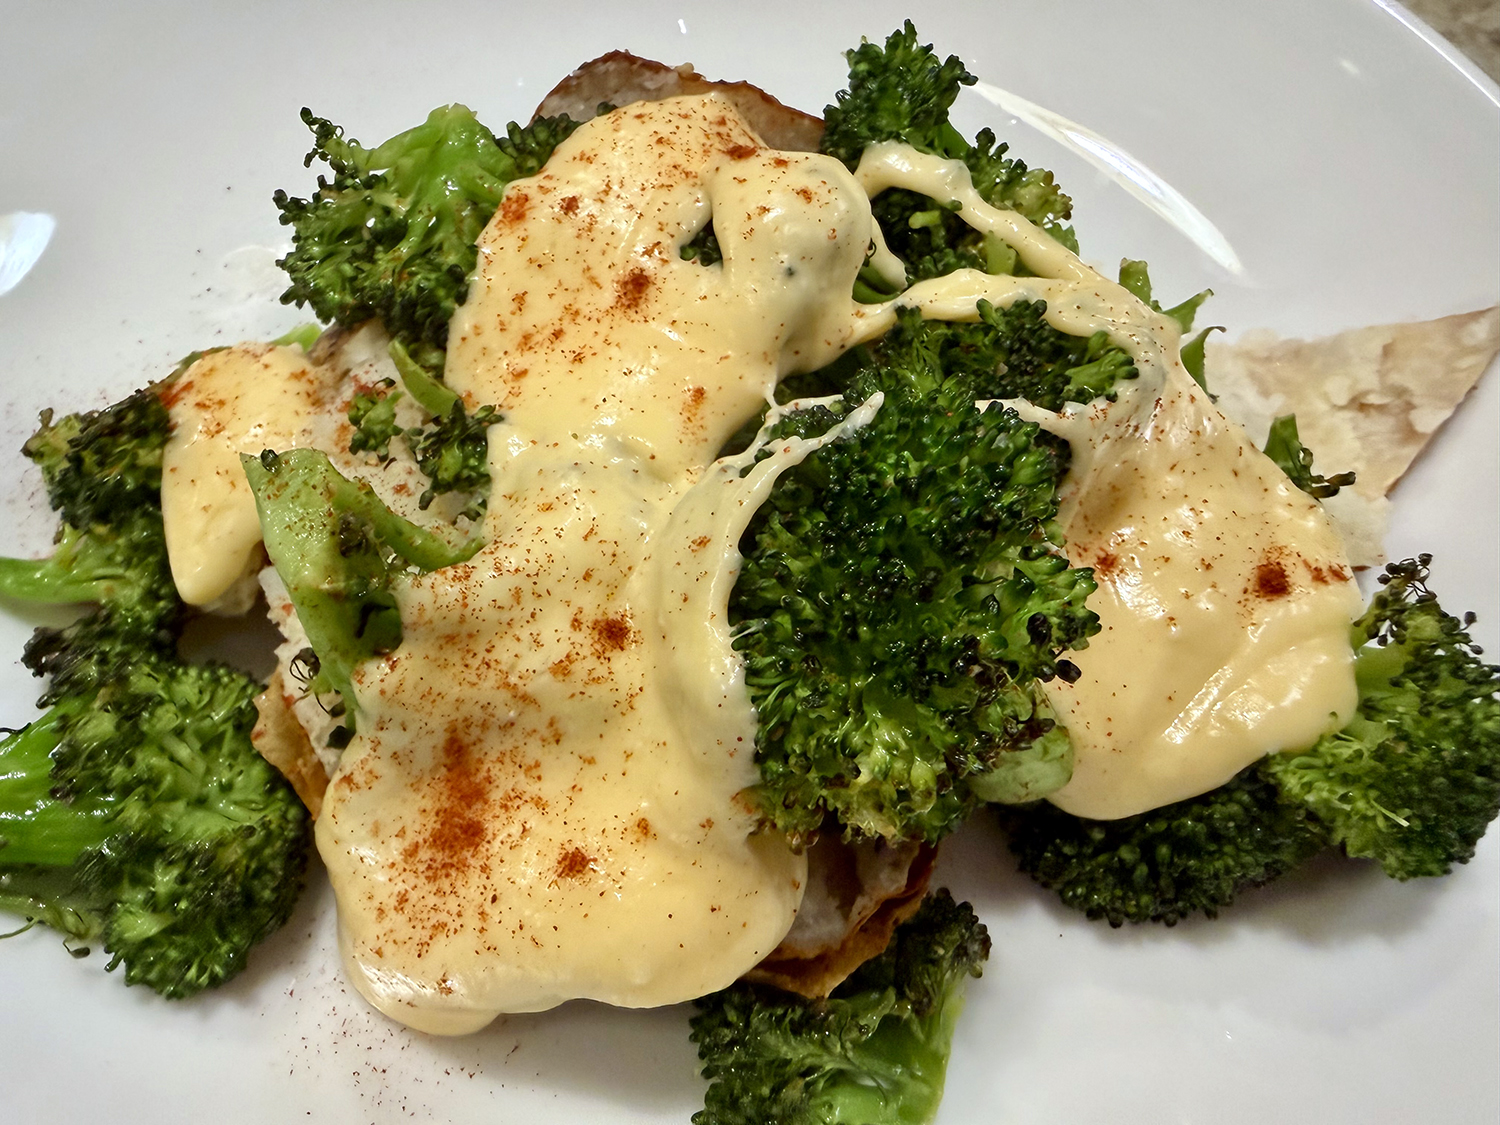
These babies are a meal in themselves, and that’s exactly what we had for dinner recently. Sometimes a perfectly cooked baked potato can be just as satisfying as a fancy gratin.
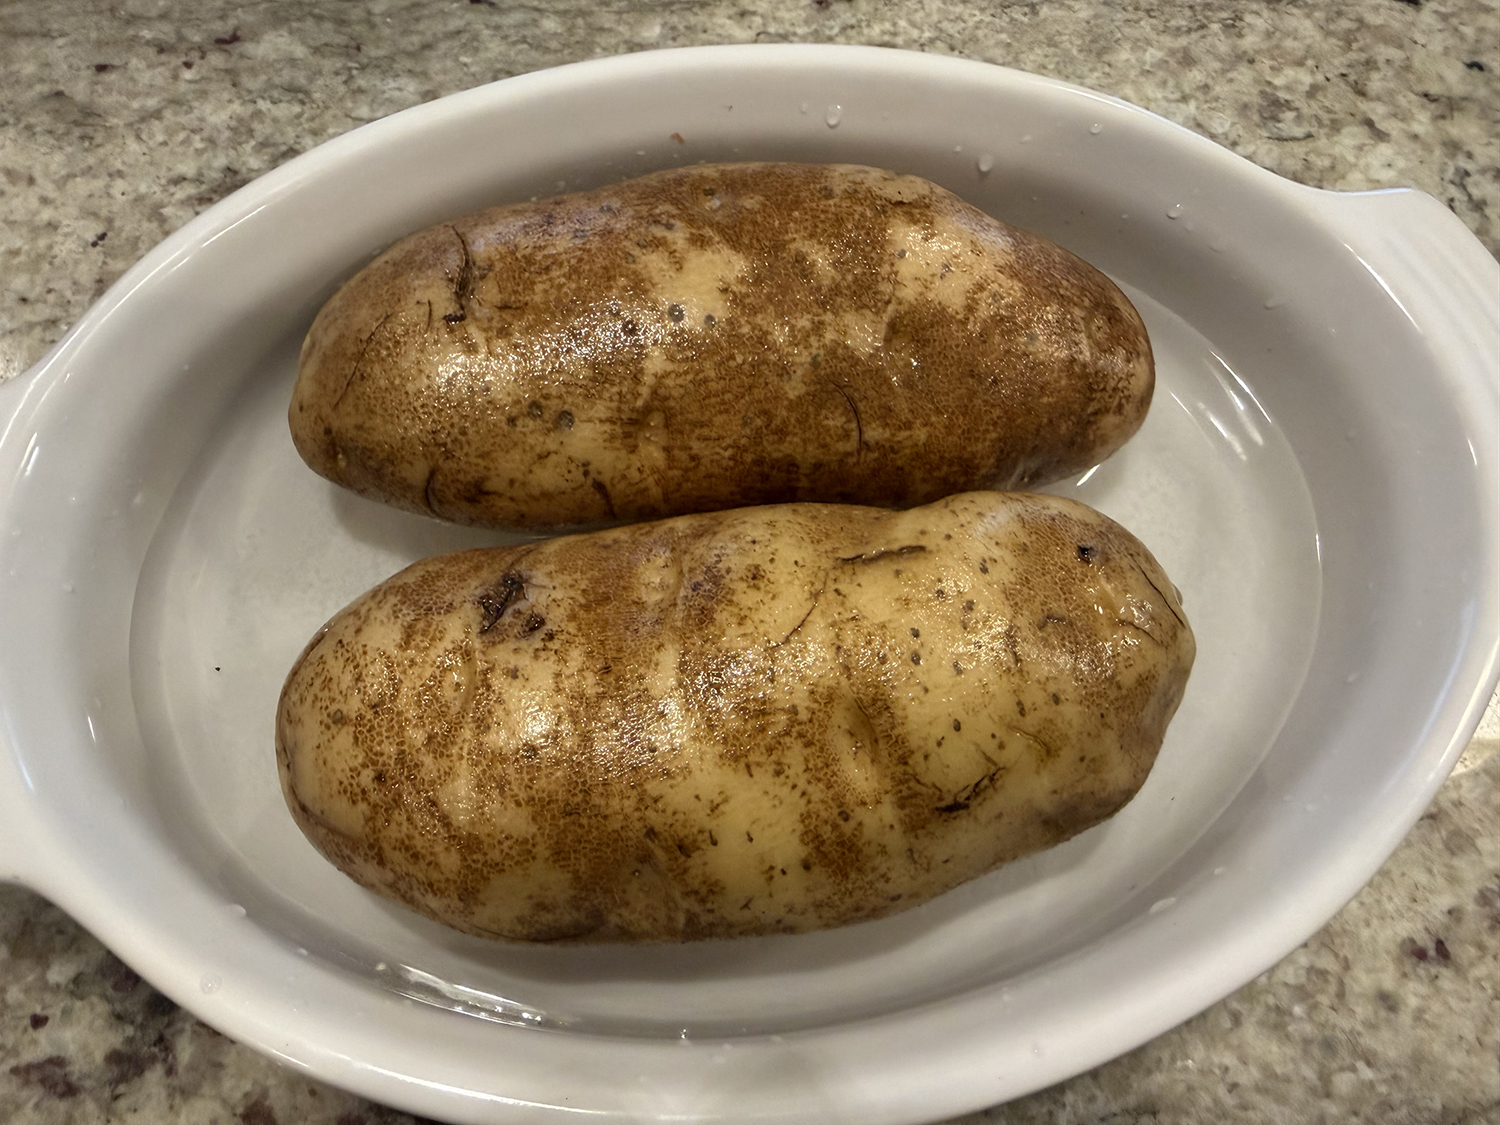
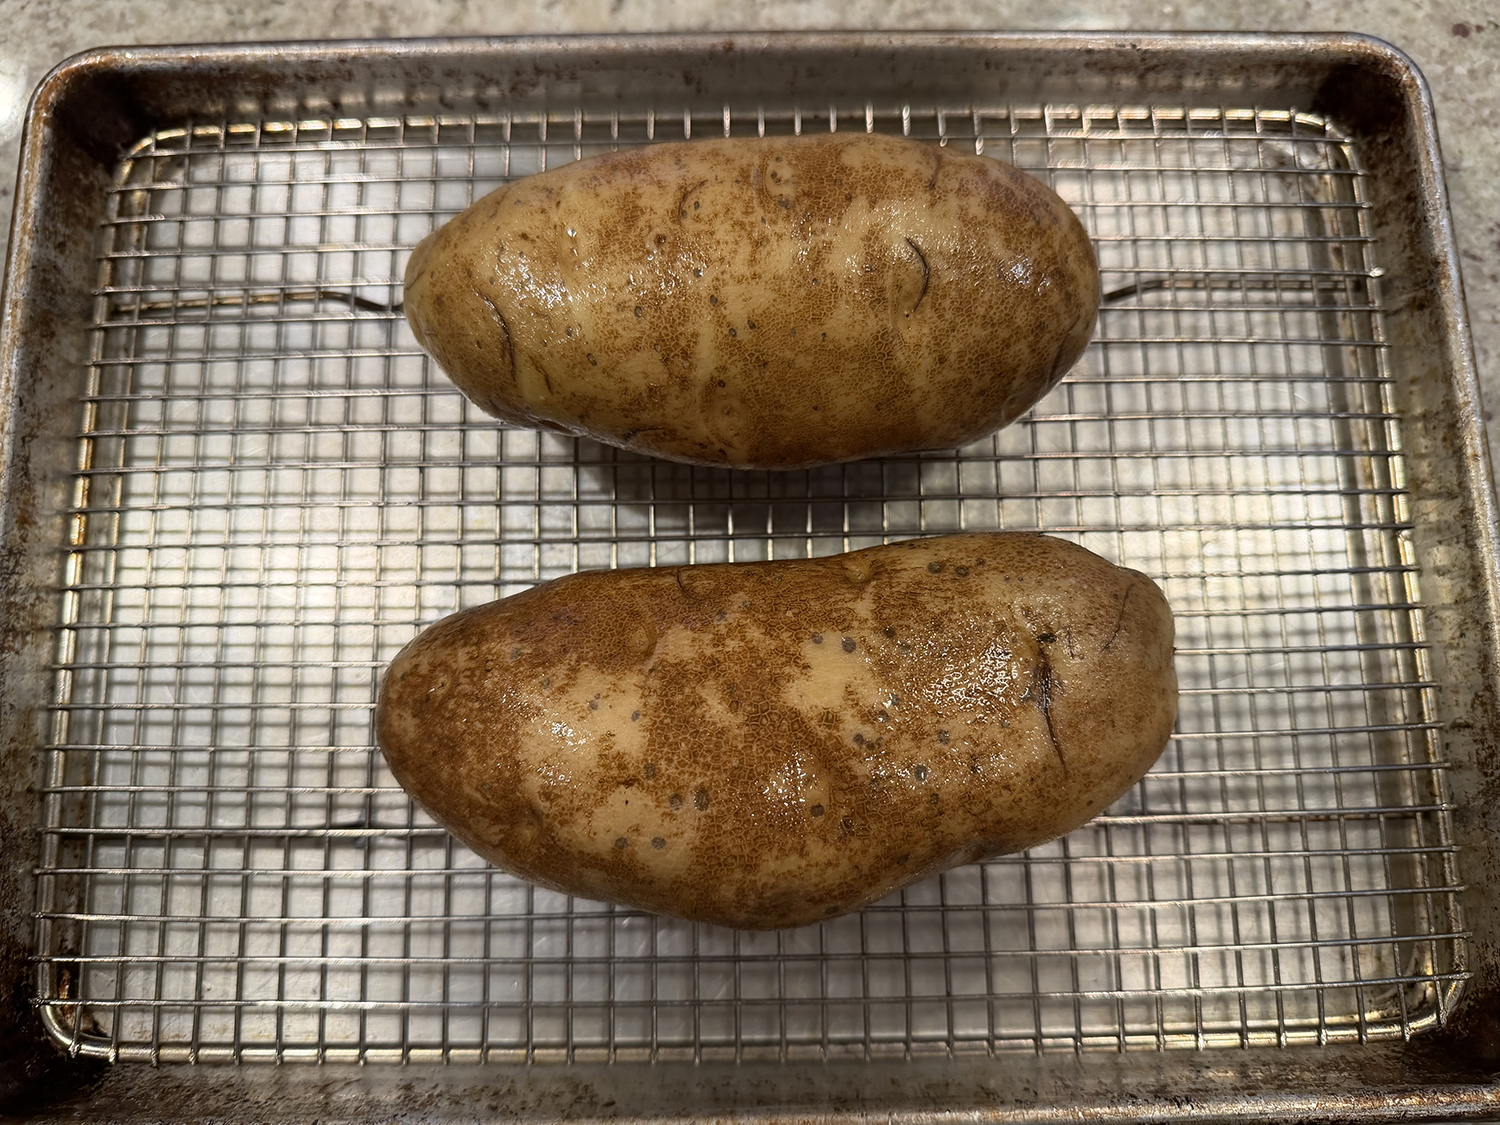
To produce baked potatoes with an evenly fluffy interior, their ideal doneness temperature is 205 degrees. Baking them in a hot (450-degree) oven prevents a leathery “pellicle” from forming underneath the peel.

To season the skin, coat the potatoes in salty water before baking; crisp the skin by painting it with vegetable oil (do not use olive oil as it will burn at such a high temp) once the potatoes are cooked through, and then bake the potatoes for an additional 10 minutes.
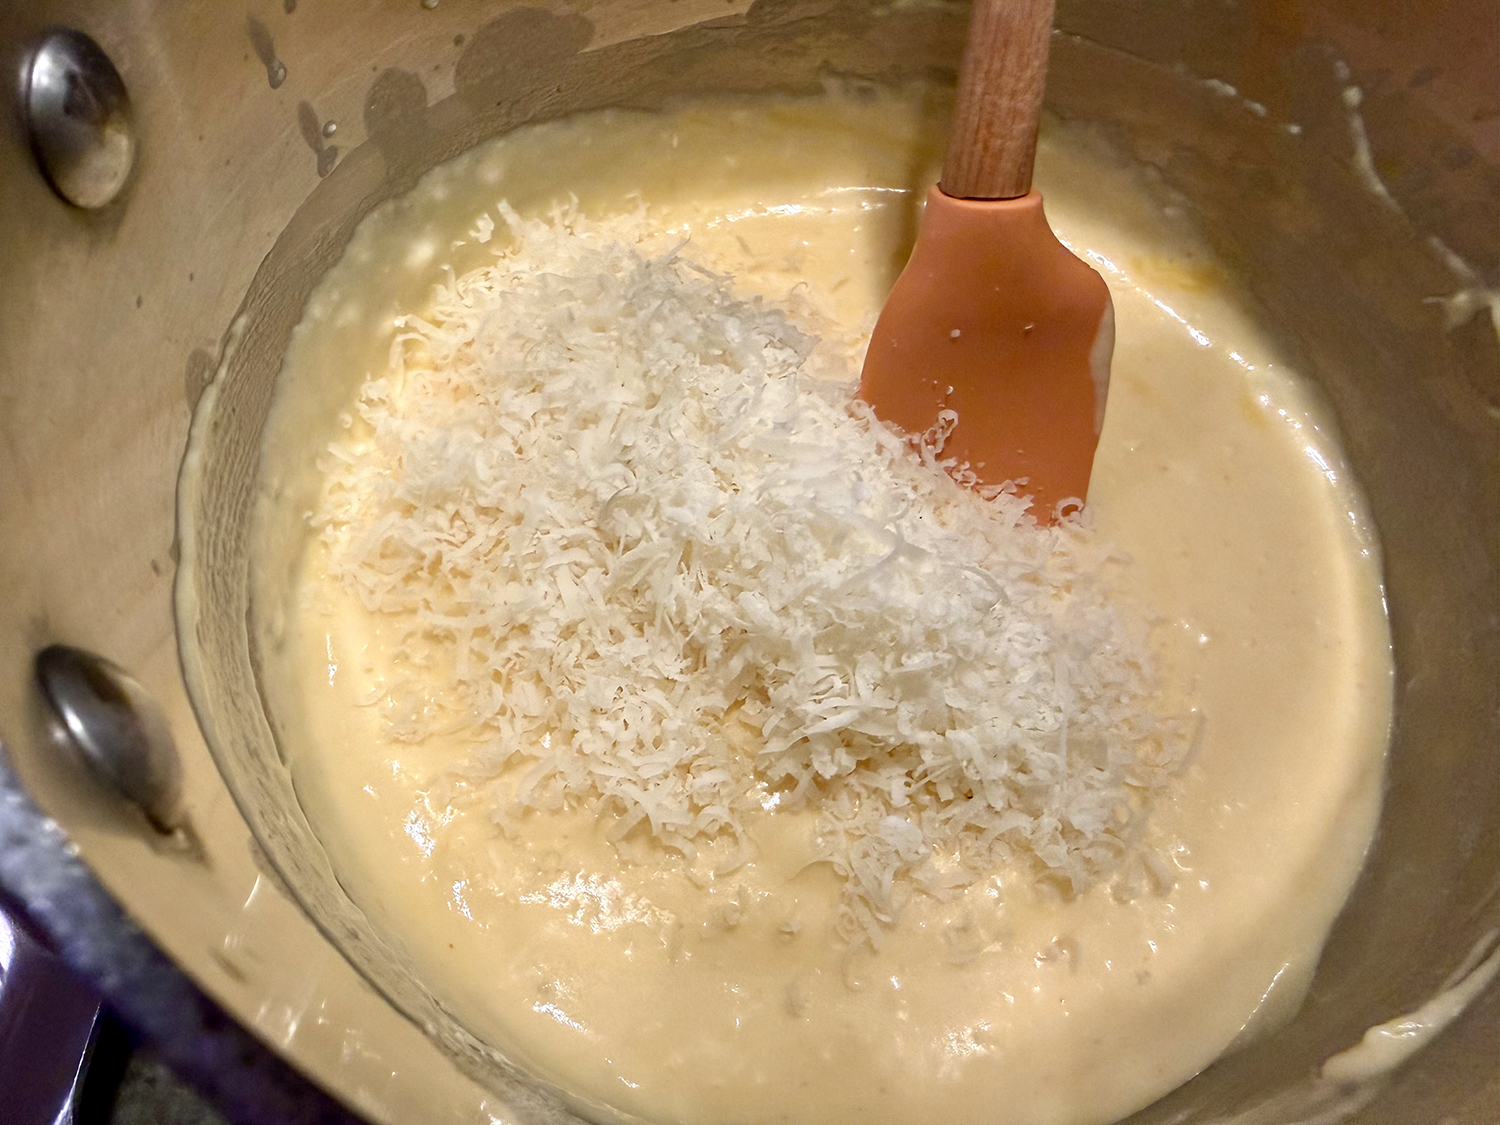
Adding a broccoli cheese sauce topping elevates these spuds to another level. Make sure to use a good quality Parmesan. Grate it from a block cheese to avoid a grainy effect. The sauce can easily be cut in half if desired (which we did, but then wished we had made the full amount).
Baked Potatoes for Two with Broccoli Cheese Topping
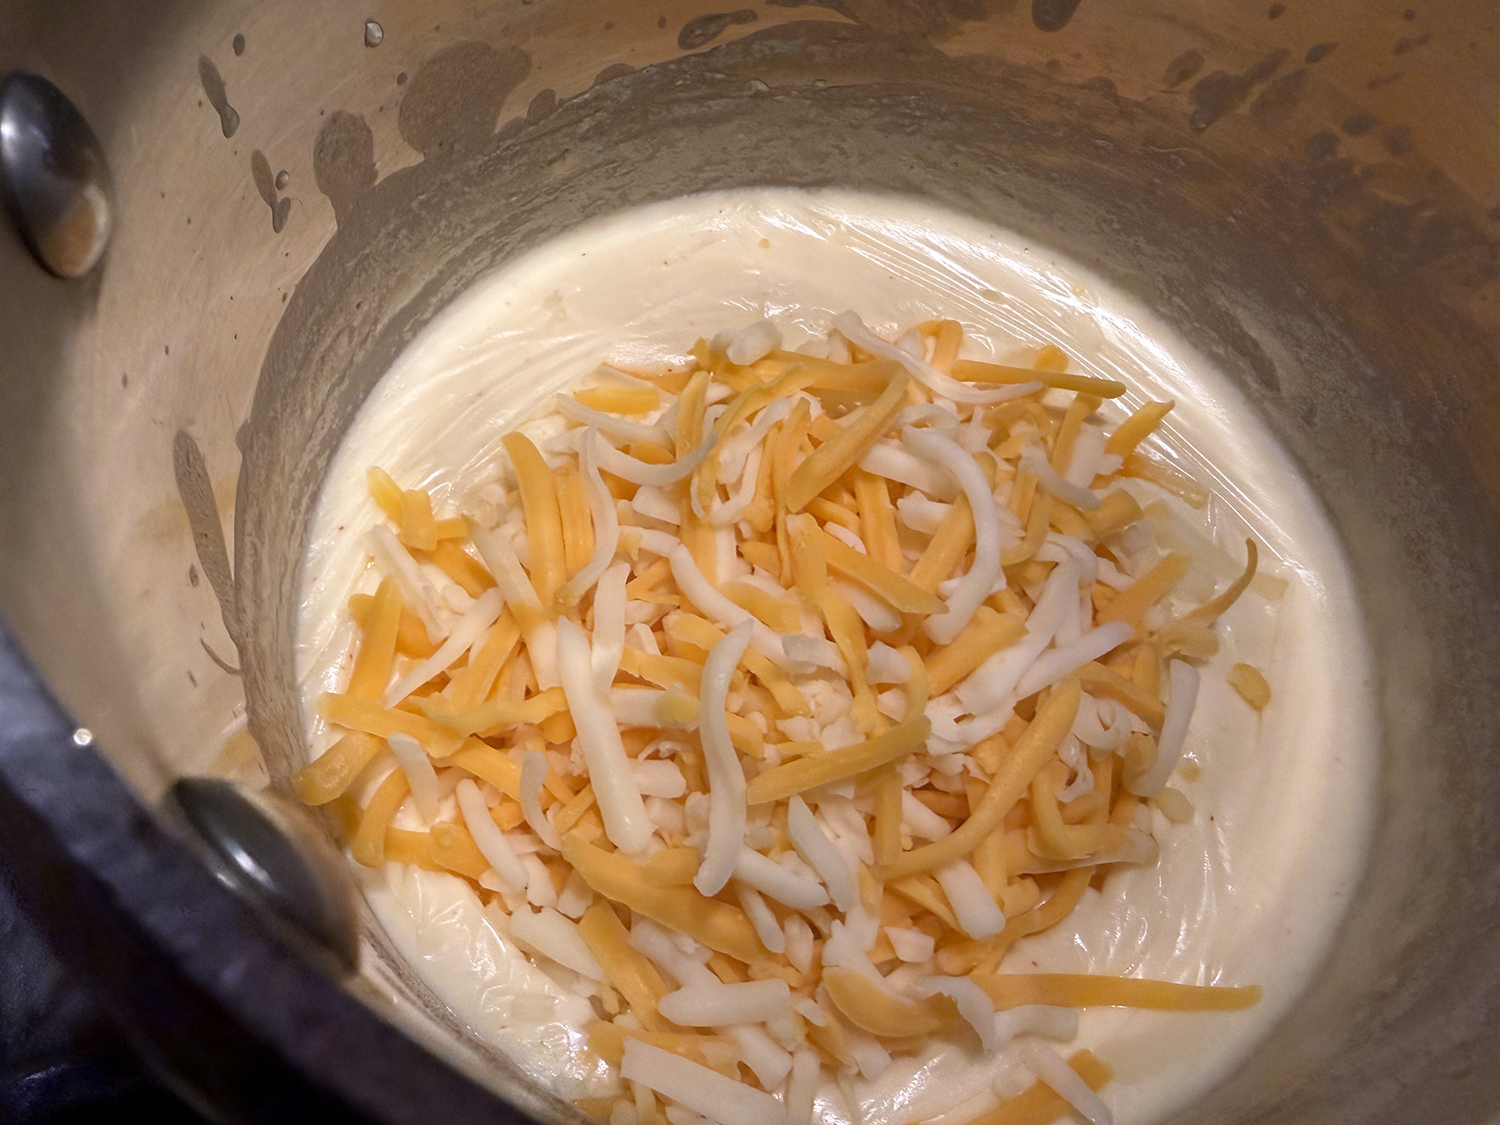
TIP: For a silky smooth sauce, wait until the Monterey Jack and cheddar are thoroughly integrated before you add the Parmesan. If the sauce gets too thick, whisk in 1 tablespoon of hot water.
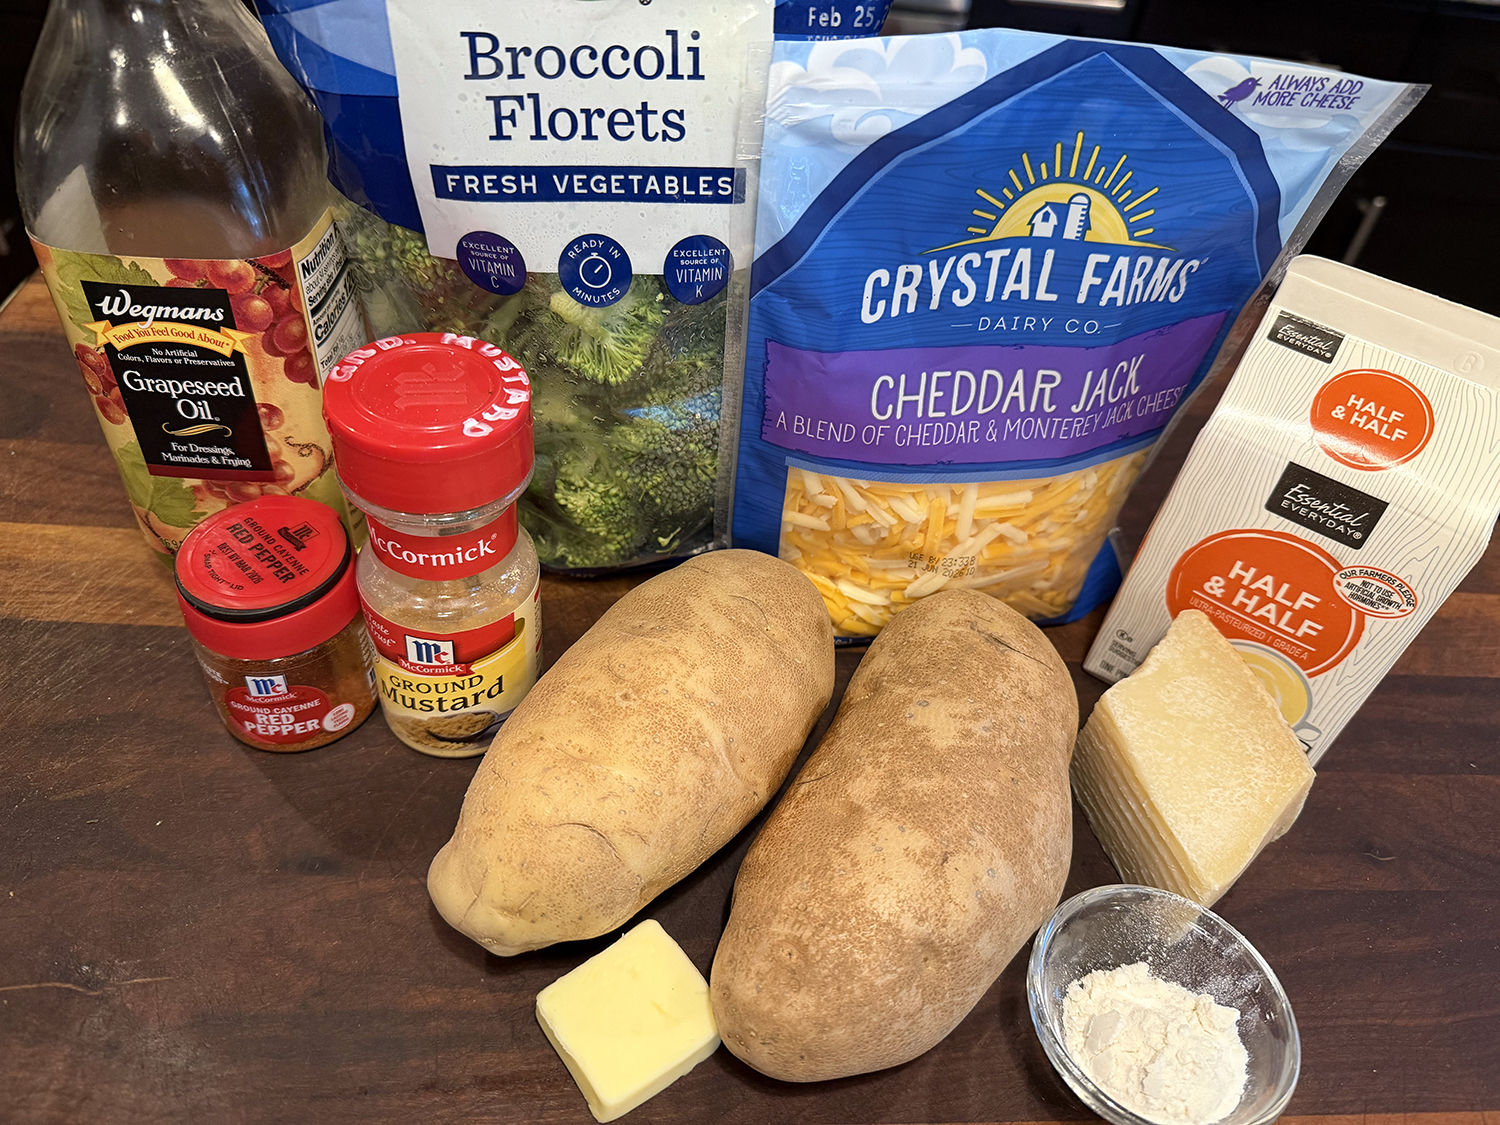
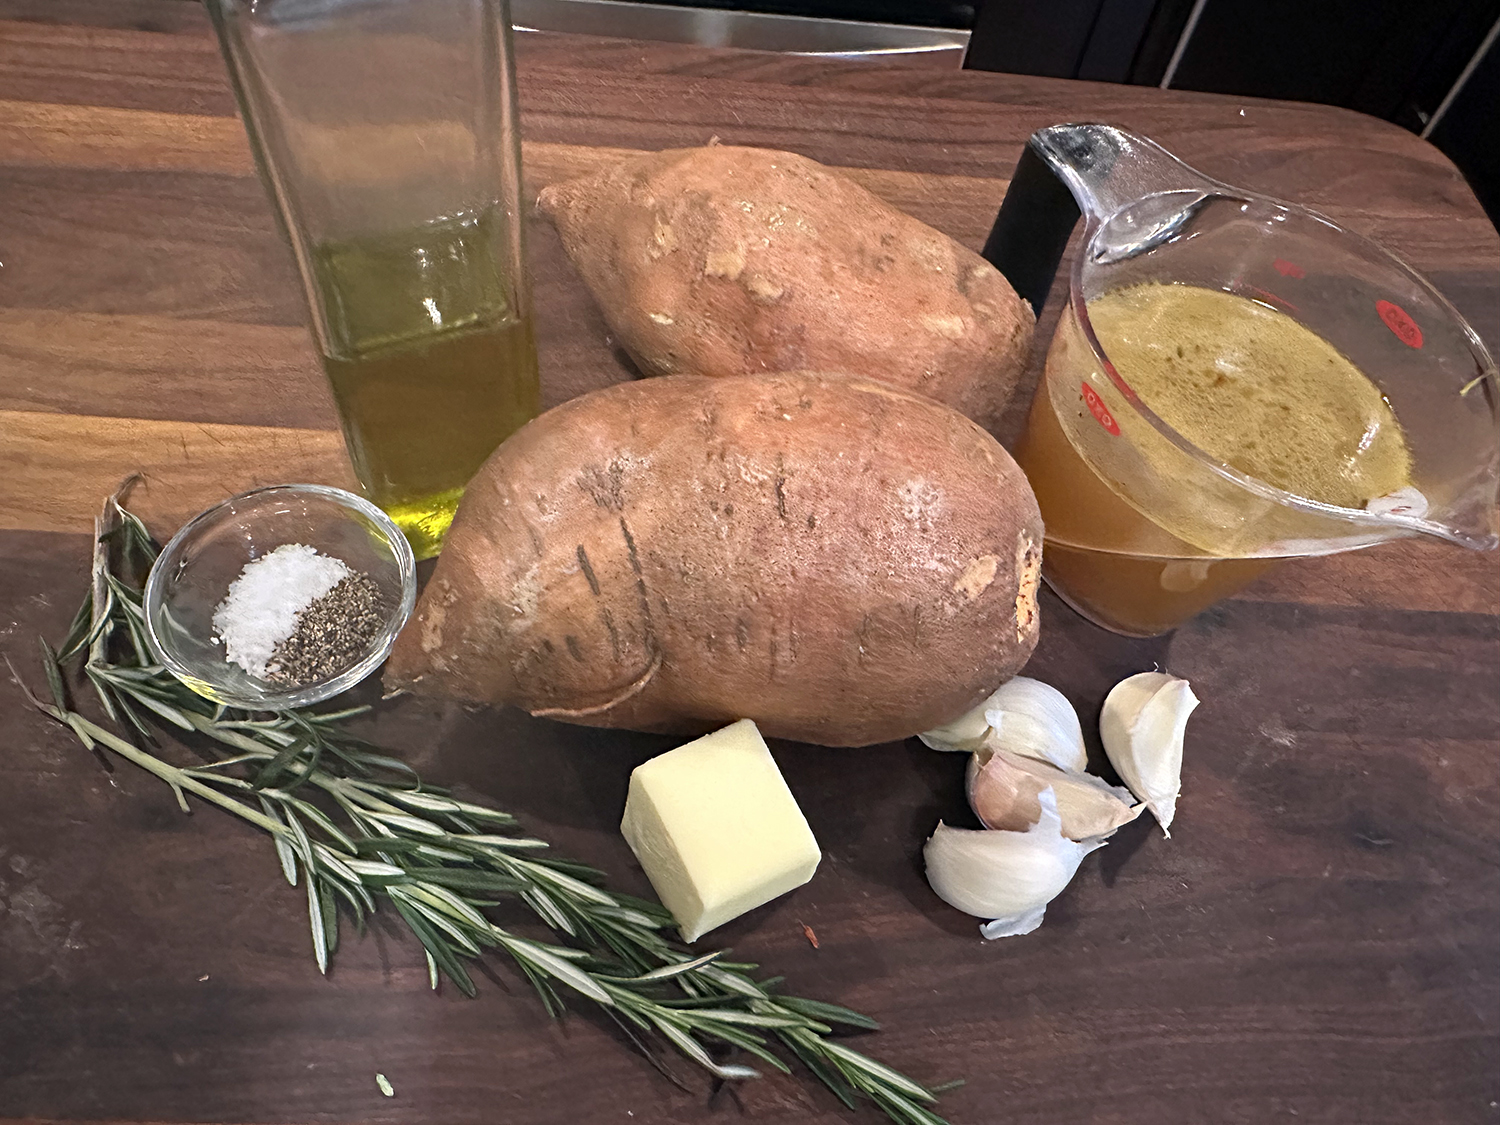
Ingredients
- Salt and pepper
- 2 12-oz. russet potatoes, unpeeled, each lightly pricked with fork in 6 places
- 2 tsp. vegetable oil
Broccoli Cheese Sauce
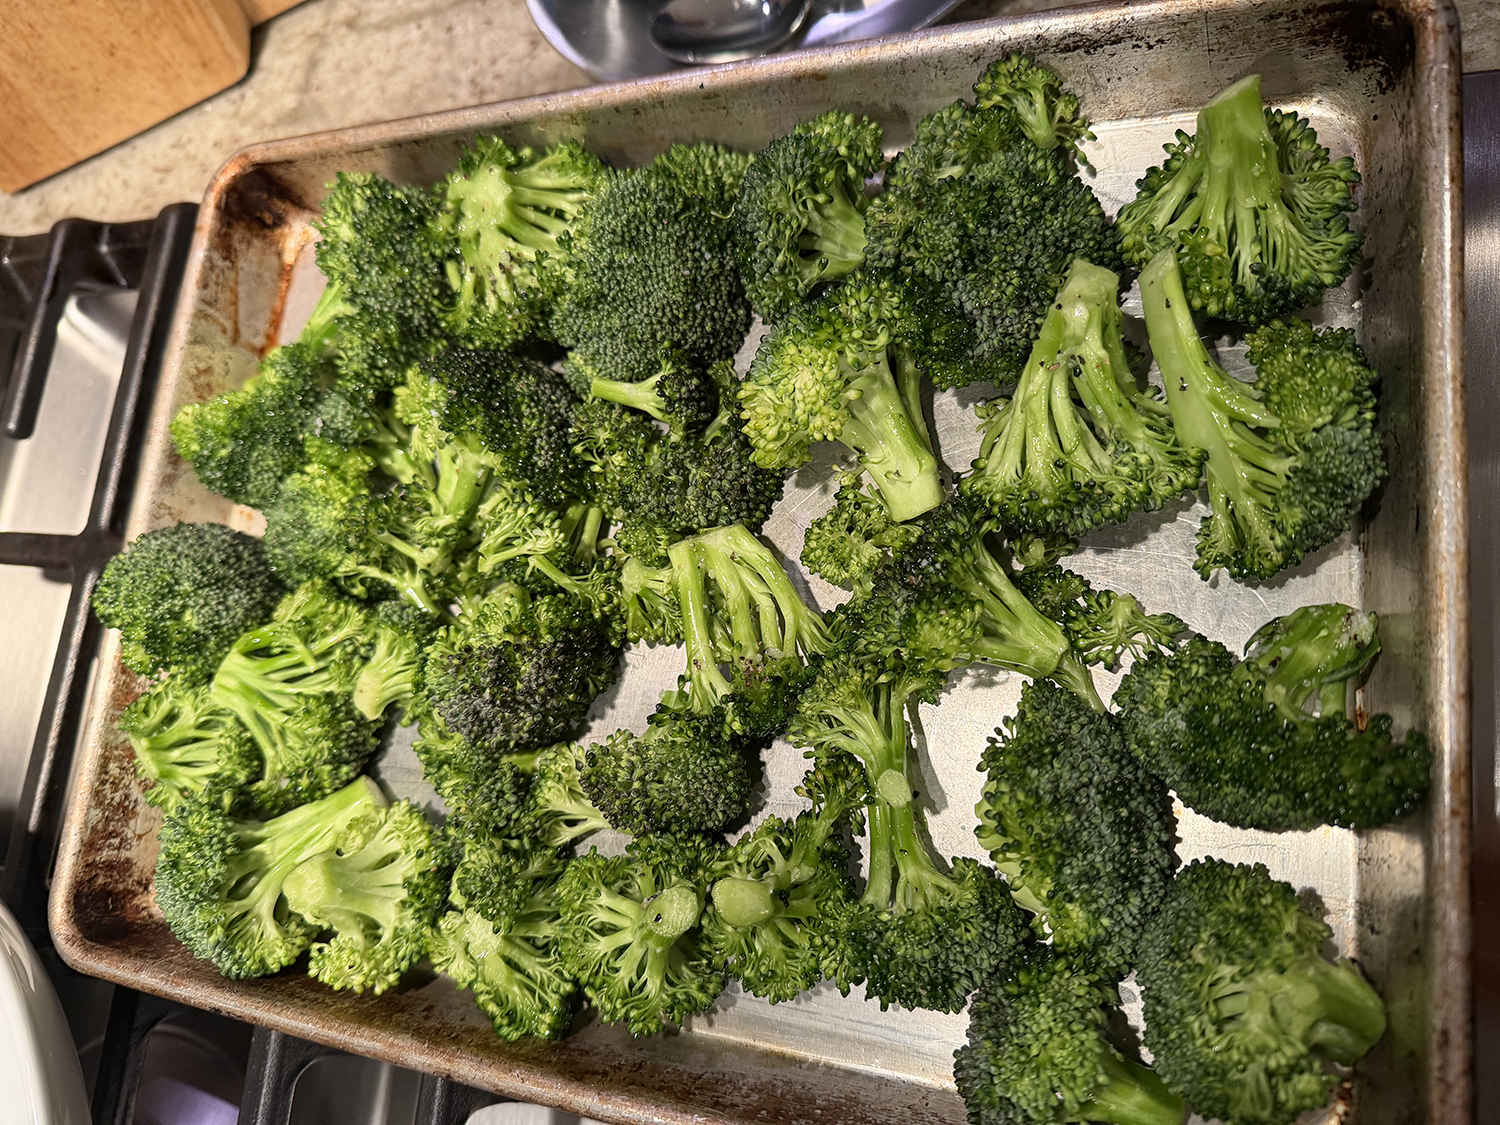
- 12 oz. broccoli, florets cut into 1-inch pieces
- 1 Tbsp. vegetable oil
- Salt and pepper
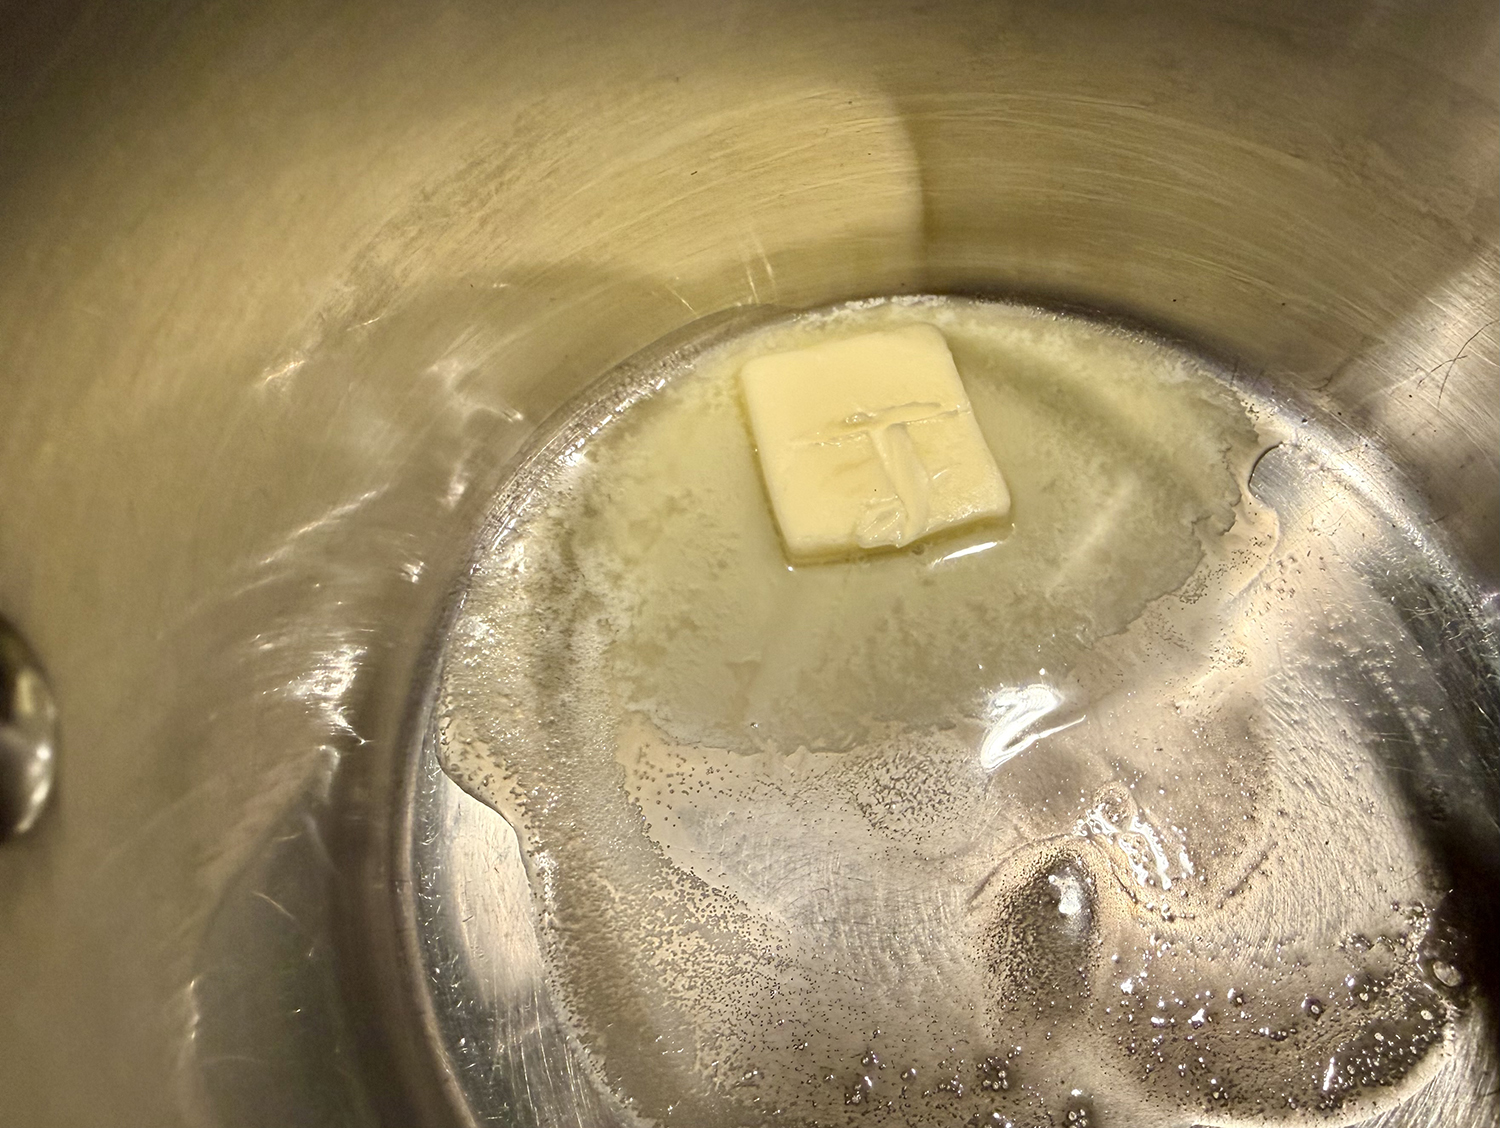
- 1 Tbsp. unsalted butter
- 4 tsp. all-purpose flour
- 1⁄4 tsp. dry mustard
- 1⁄8 tsp. cayenne pepper
- 1 cup half-and-half
- 1⁄2 cup water
- 1⁄2 cup shredded Monterey Jack cheese
- 1⁄2 cup shredded sharp cheddar cheese
- ¼ cup Parmesan cheese, grated from a block

Directions
- Potatoes: Adjust oven rack to middle position and heat oven to 450 degrees. Dissolve 2 tablespoons salt in ½ cup water in medium bowl. Place potatoes in bowl and toss so exteriors of potatoes are evenly moistened. (If you have time, turn the potatoes in the water several times over 15 minutes.) Transfer potatoes to wire rack set in rimmed baking sheet and bake until center of largest potato registers 205 degrees, about 1 hour. (Depending on the size of your potatoes, this could take longer.)
- Add a quarter-sized rimmed baking sheet (in same oven as potatoes) and heat for 15 minutes. This will be used to bake the broccoli.
- Remove potatoes from oven and brush tops and sides with oil. Return potatoes to oven and continue to bake for 10 minutes.
- Remove potatoes from oven and, using paring knife, make 2 slits, forming X, in each potato. Using clean dish towel, hold ends and squeeze slightly to push flesh up and out. Season with salt and pepper to taste.
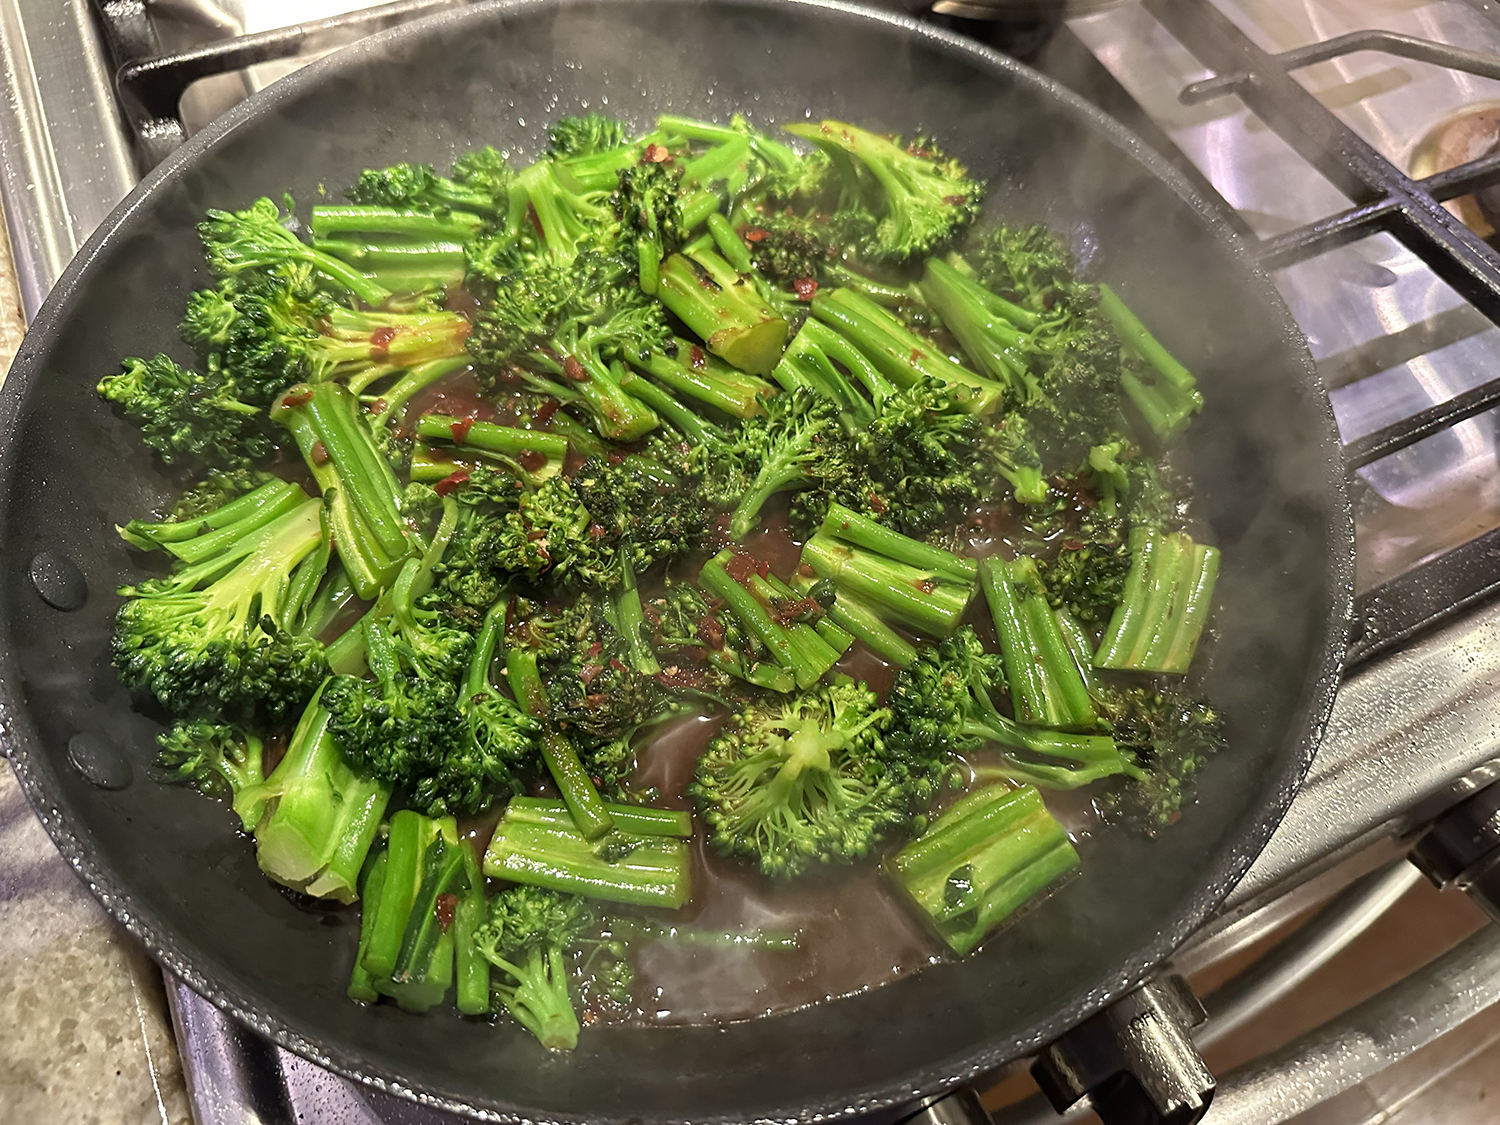
- Broccoli Cheese Sauce: While potatoes are roasting, toss broccoli florets with oil, ¾ teaspoon salt, and ¼ teaspoon pepper in large bowl.
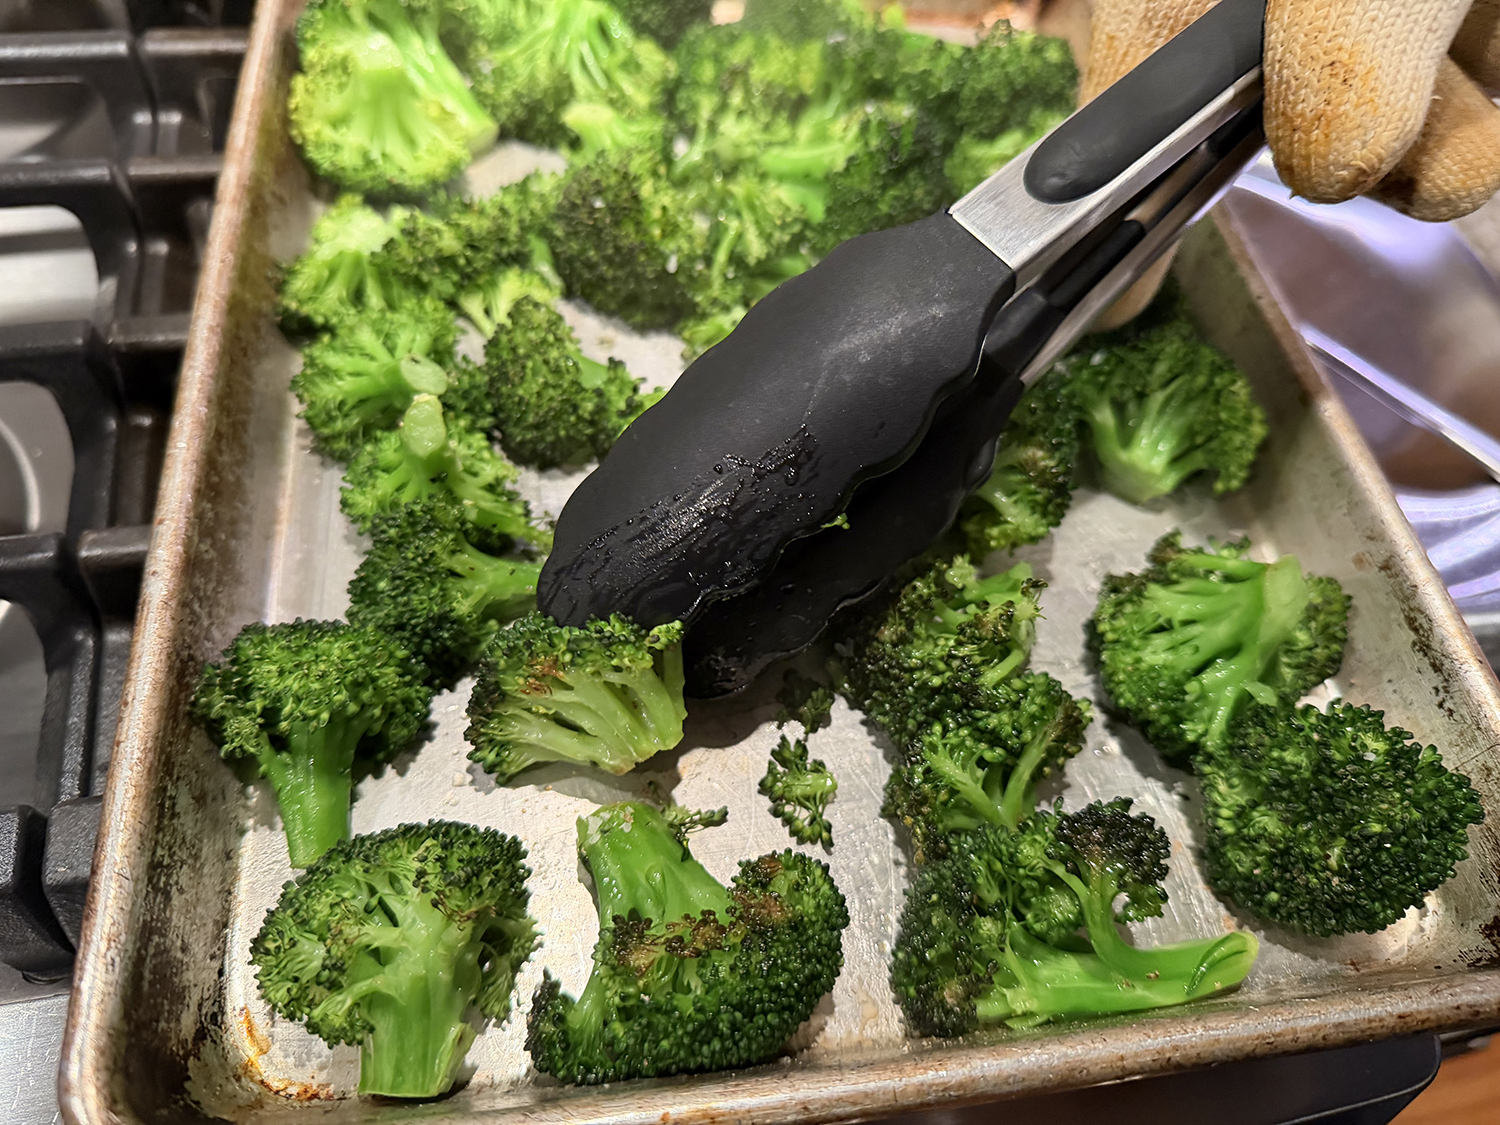
- Arrange broccoli in single layer on heated rimmed baking sheet. In the same 450° degree oven, after the potatoes have cooked for about 50 minutes, roast the broccoli until spotty brown, about 15-18 minutes, turning florets halfway through cooking.
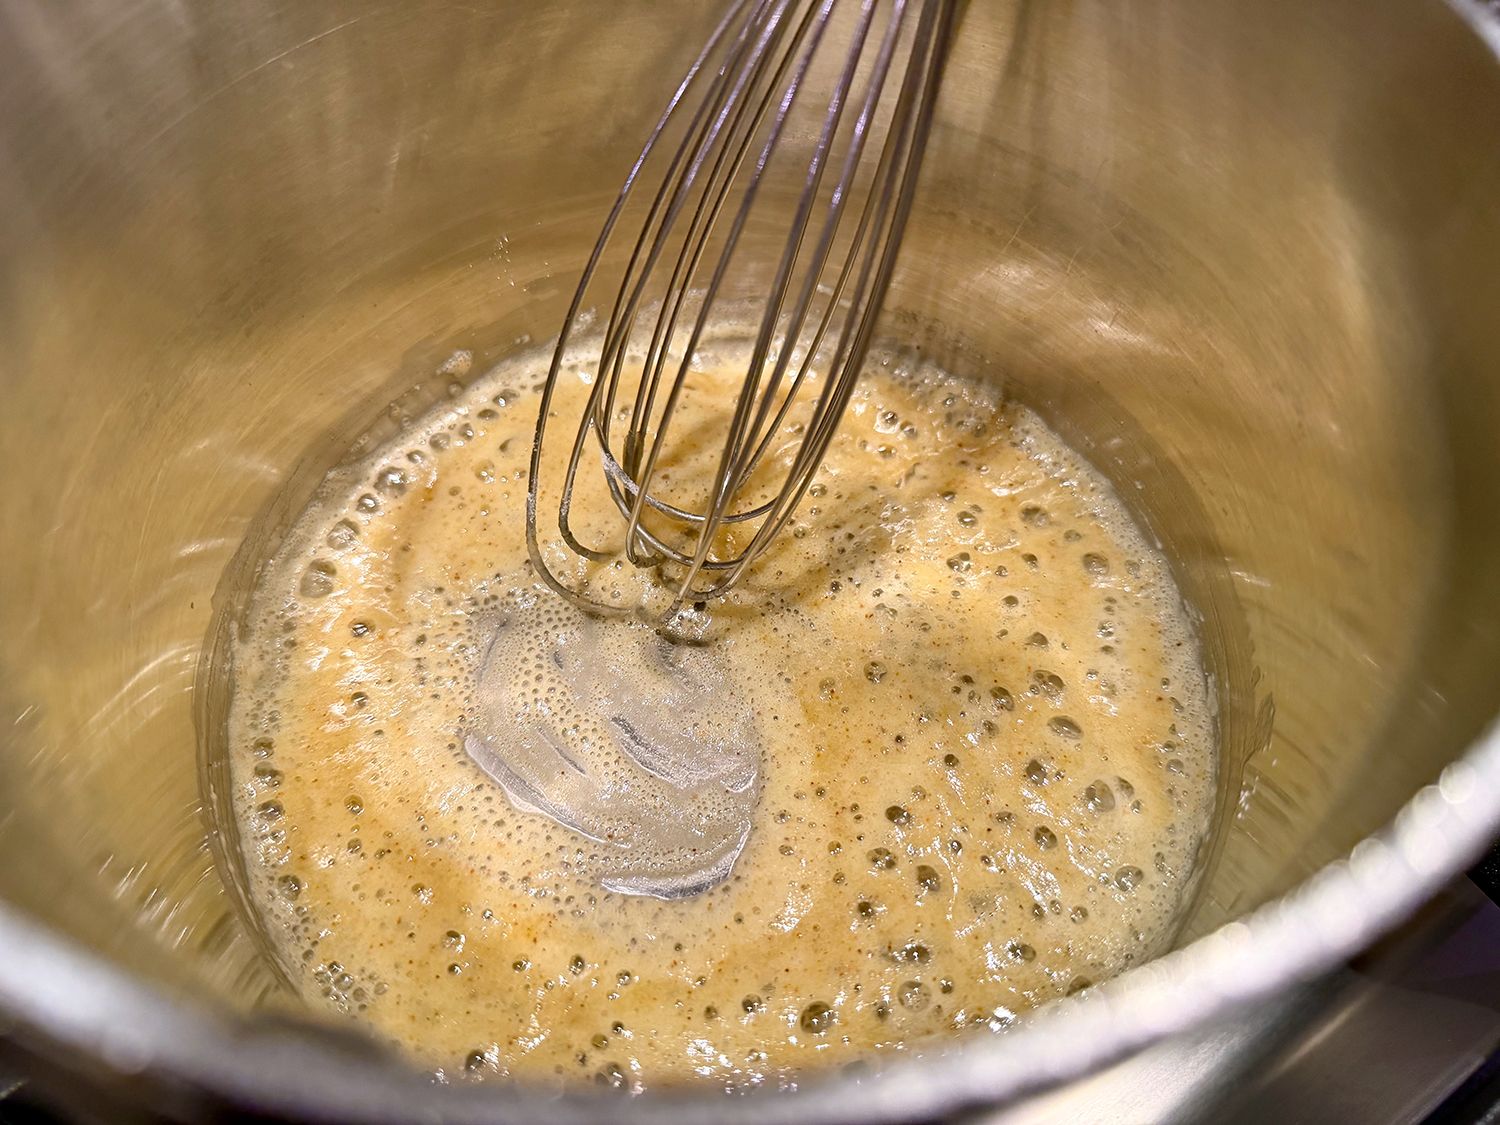
- Meanwhile, melt butter in medium saucepan over medium heat. Add flour, mustard, and cayenne and cook, stirring constantly, until golden and fragrant, about 1 minute. Slowly whisk in half-and-half and water and bring to boil. Reduce heat to medium-low and simmer until slightly thickened, 8 to 10 minutes.
- Off heat, whisk in Monterey Jack and cheddar until smooth. Stir in Parmesan until smooth. Season with salt and pepper. Top potatoes with roasted broccoli, pour sauce over broccoli and serve immediately. Sprinkle with a touch of paprika, if desired.
Adapted from recipes for America’s Test Kitchen