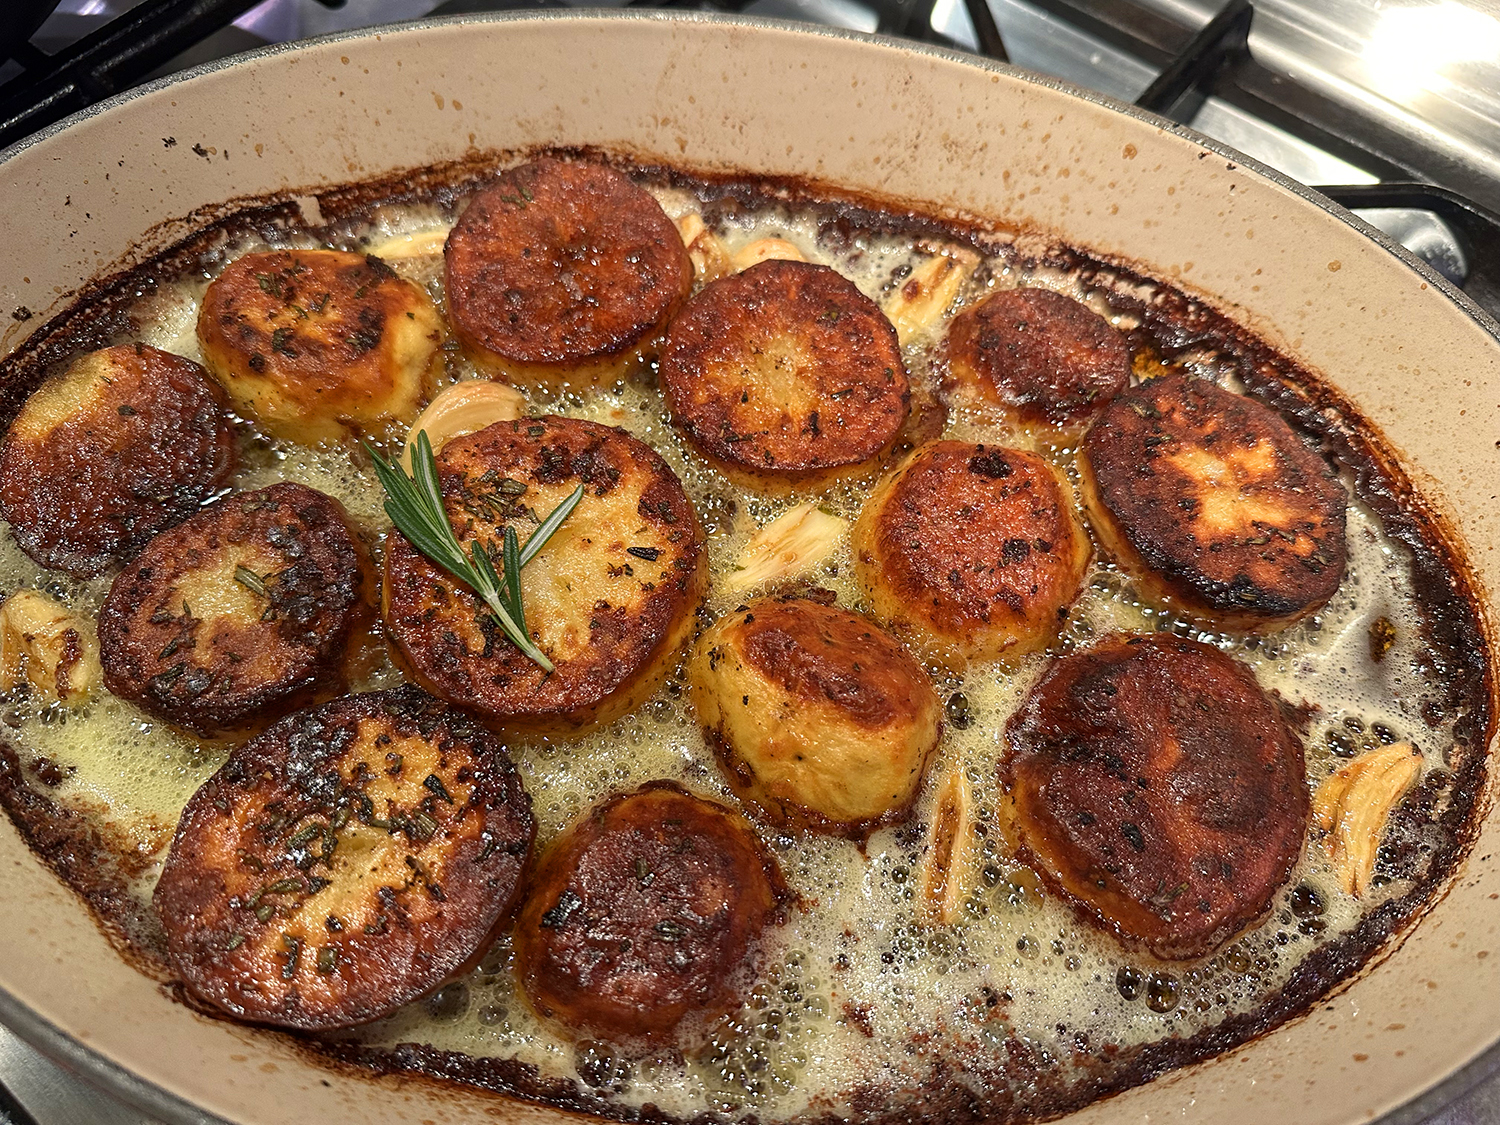
What makes these sweet potatoes so special is their texture. Often, roasted sweet potatoes are either mushy and bland or crispy but dried out. Here, you get the best of both worlds — with seemingly little effort.
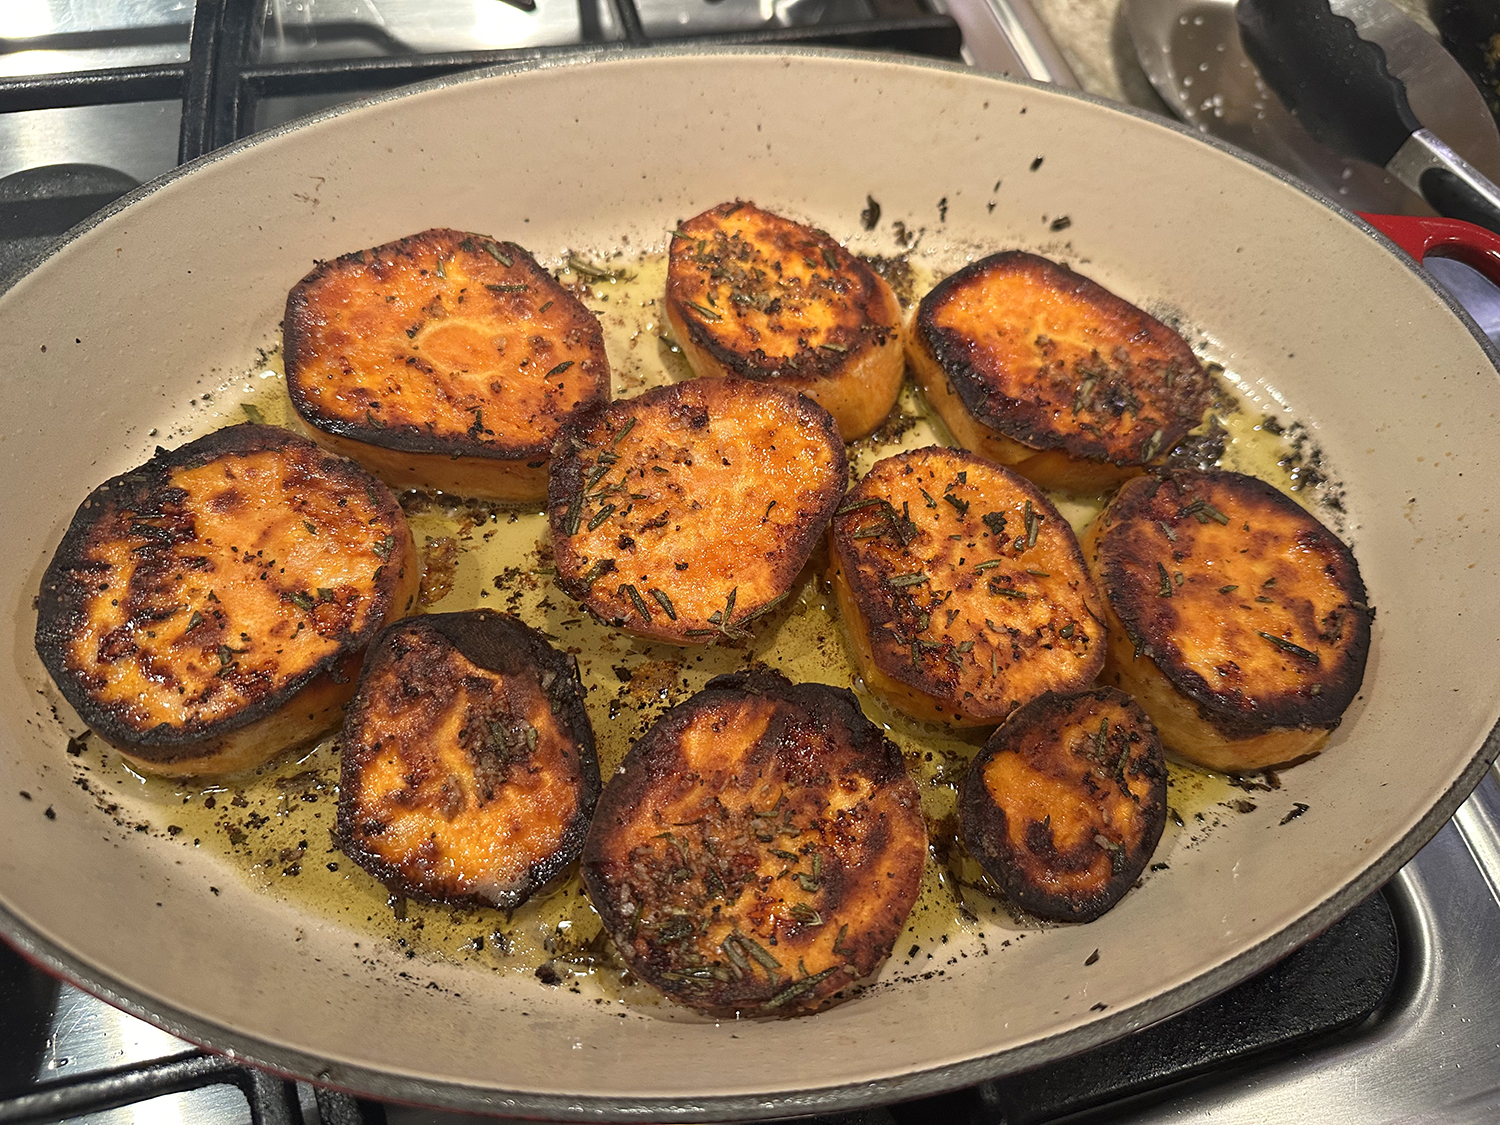
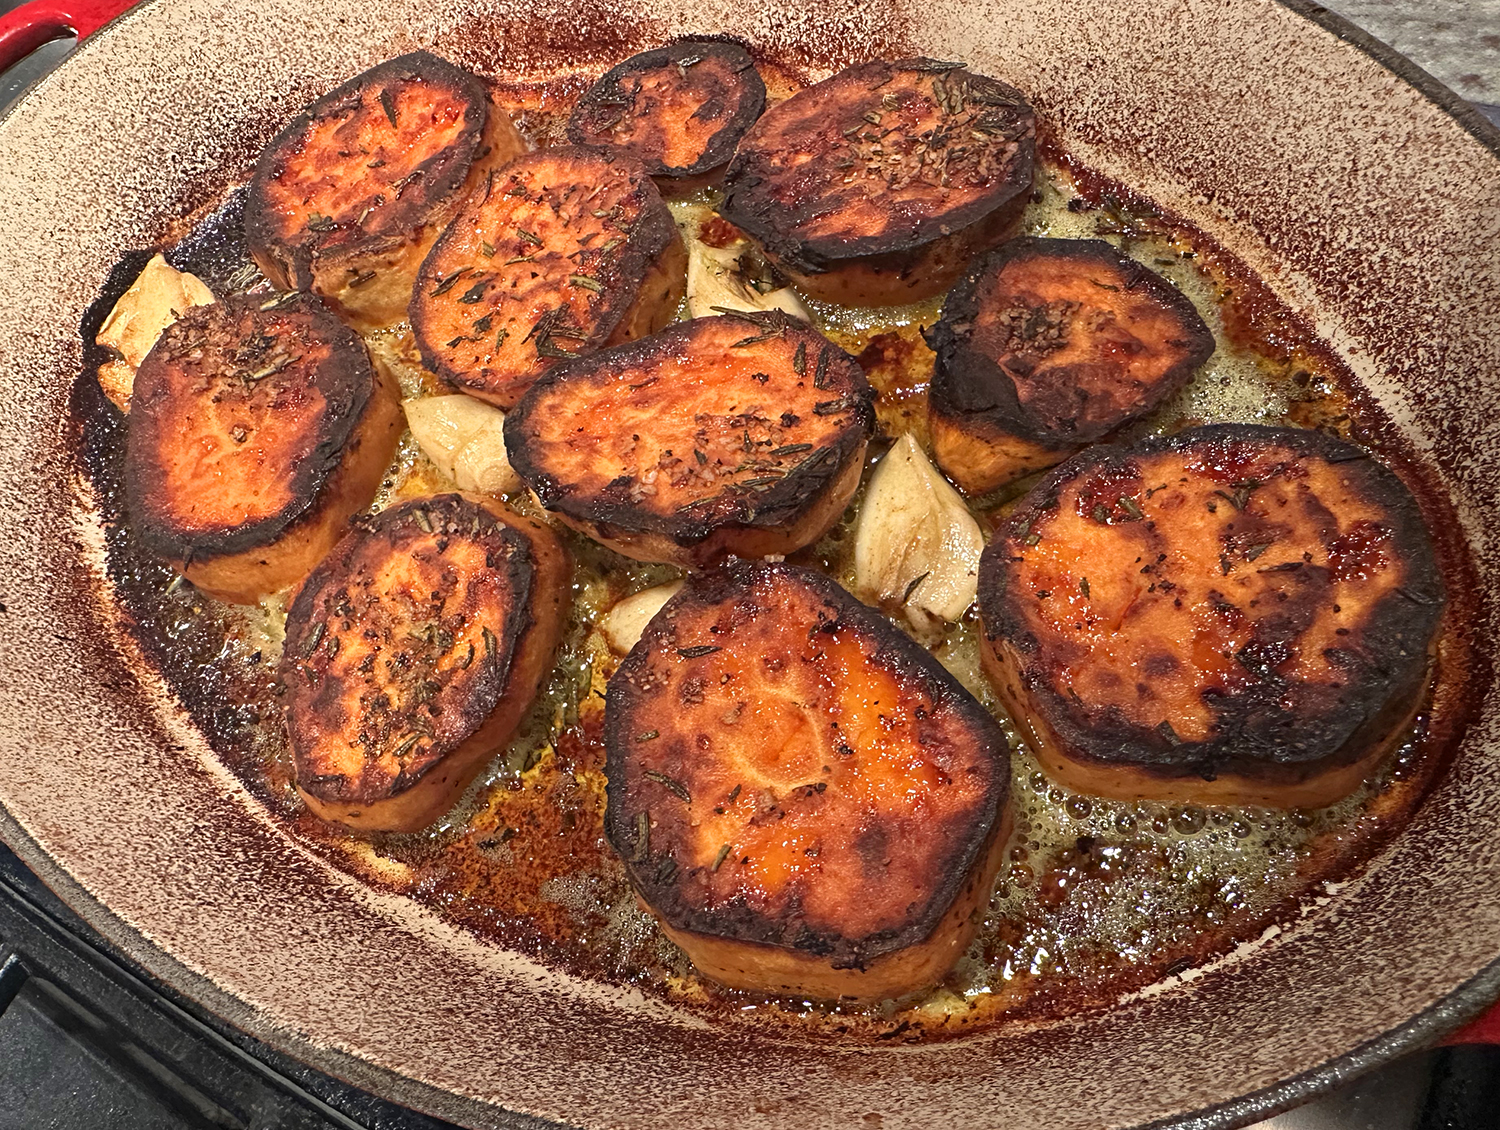
All you have to do is flip the potatoes once at the 15 minute mark. Flip again in another 15 minutes and add the broth, then back into the hot oven for the last 15 minutes. You have sweet potatoes that are browned and crispy on the edges with the most decadently creamy center (they actually do melt in your mouth).
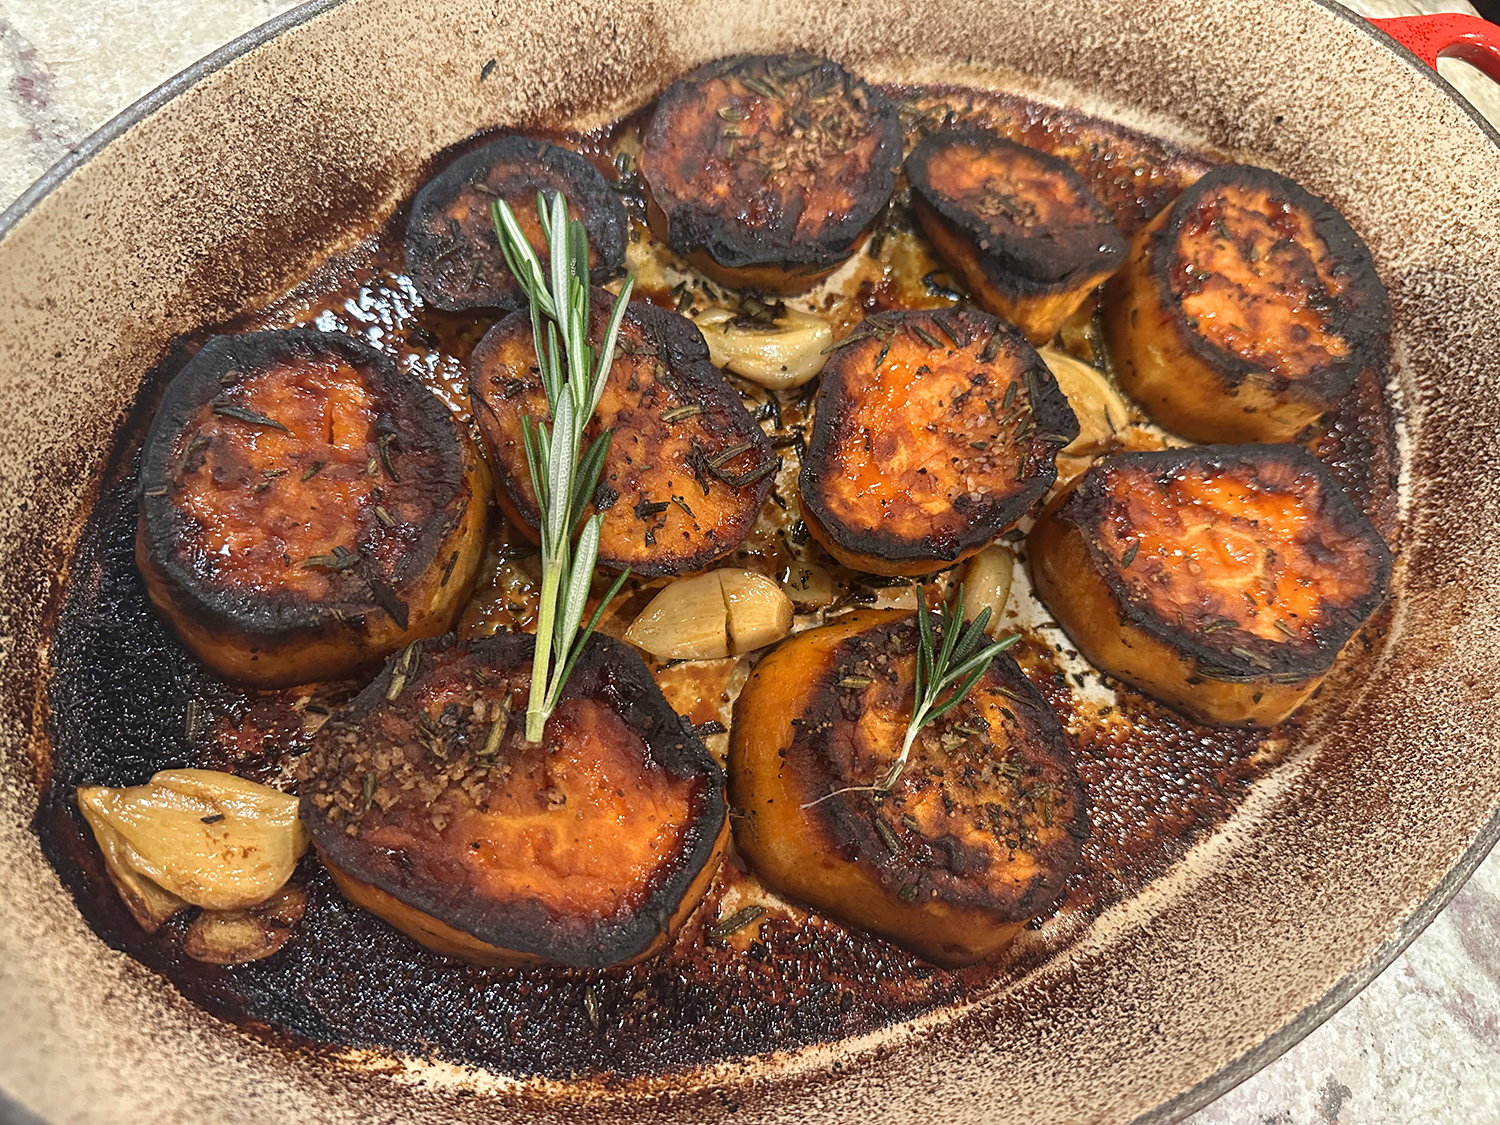
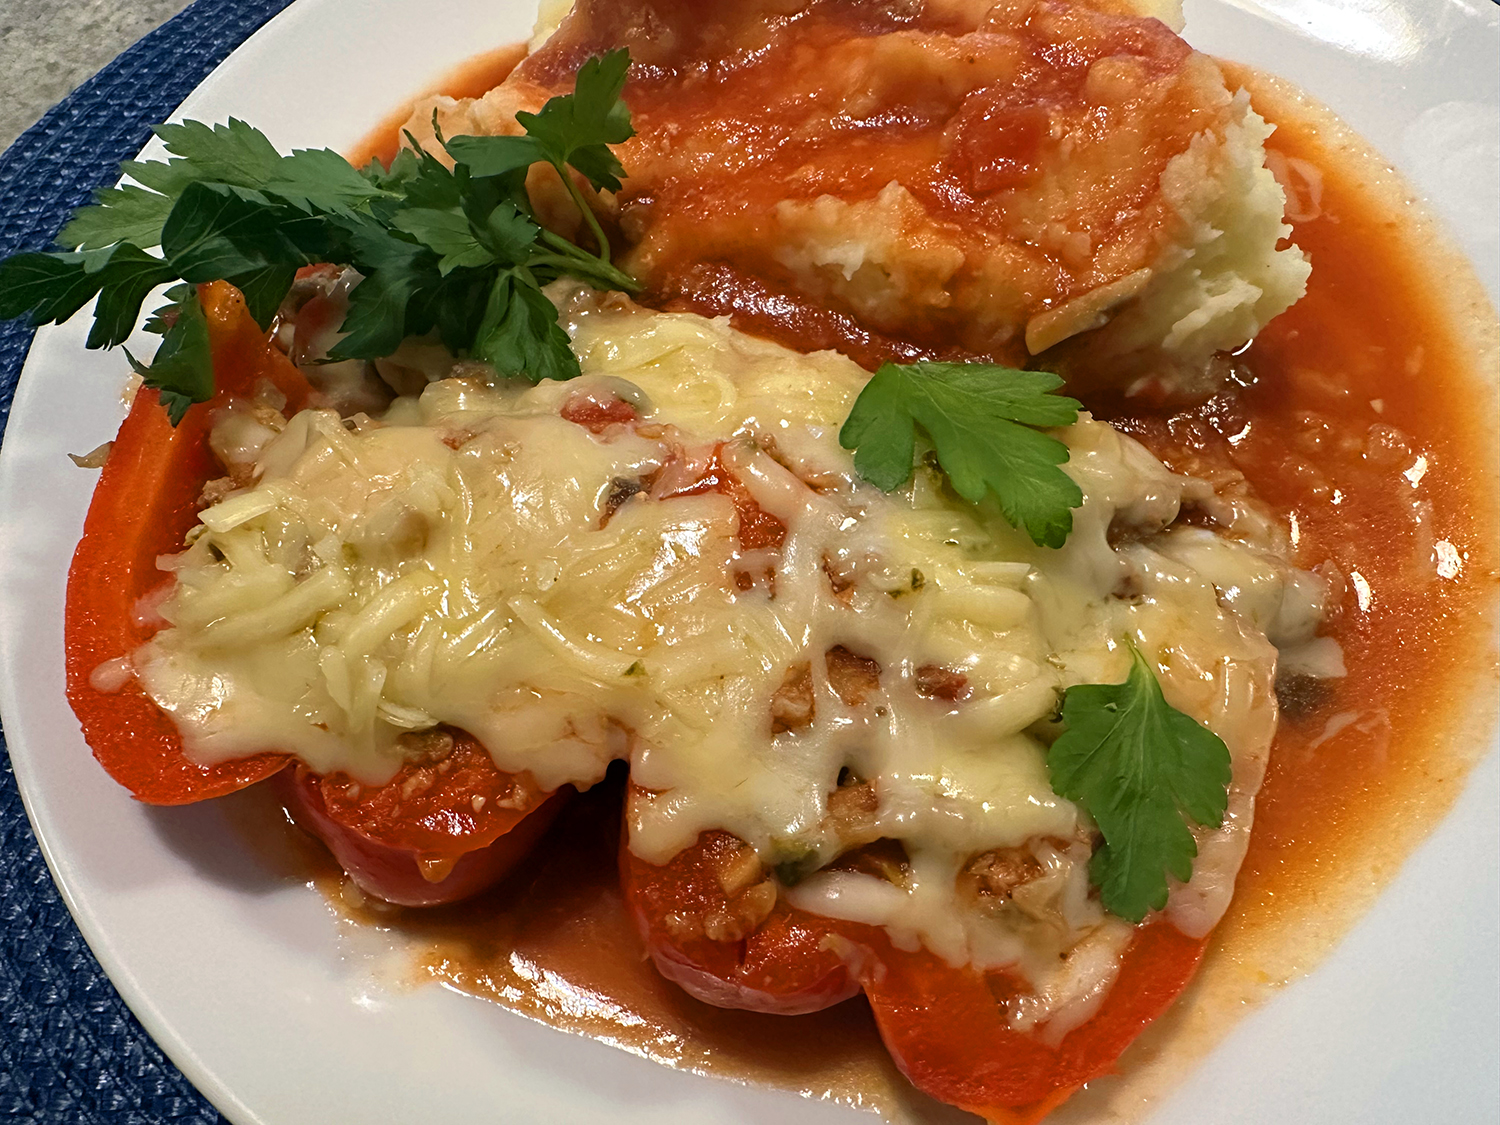
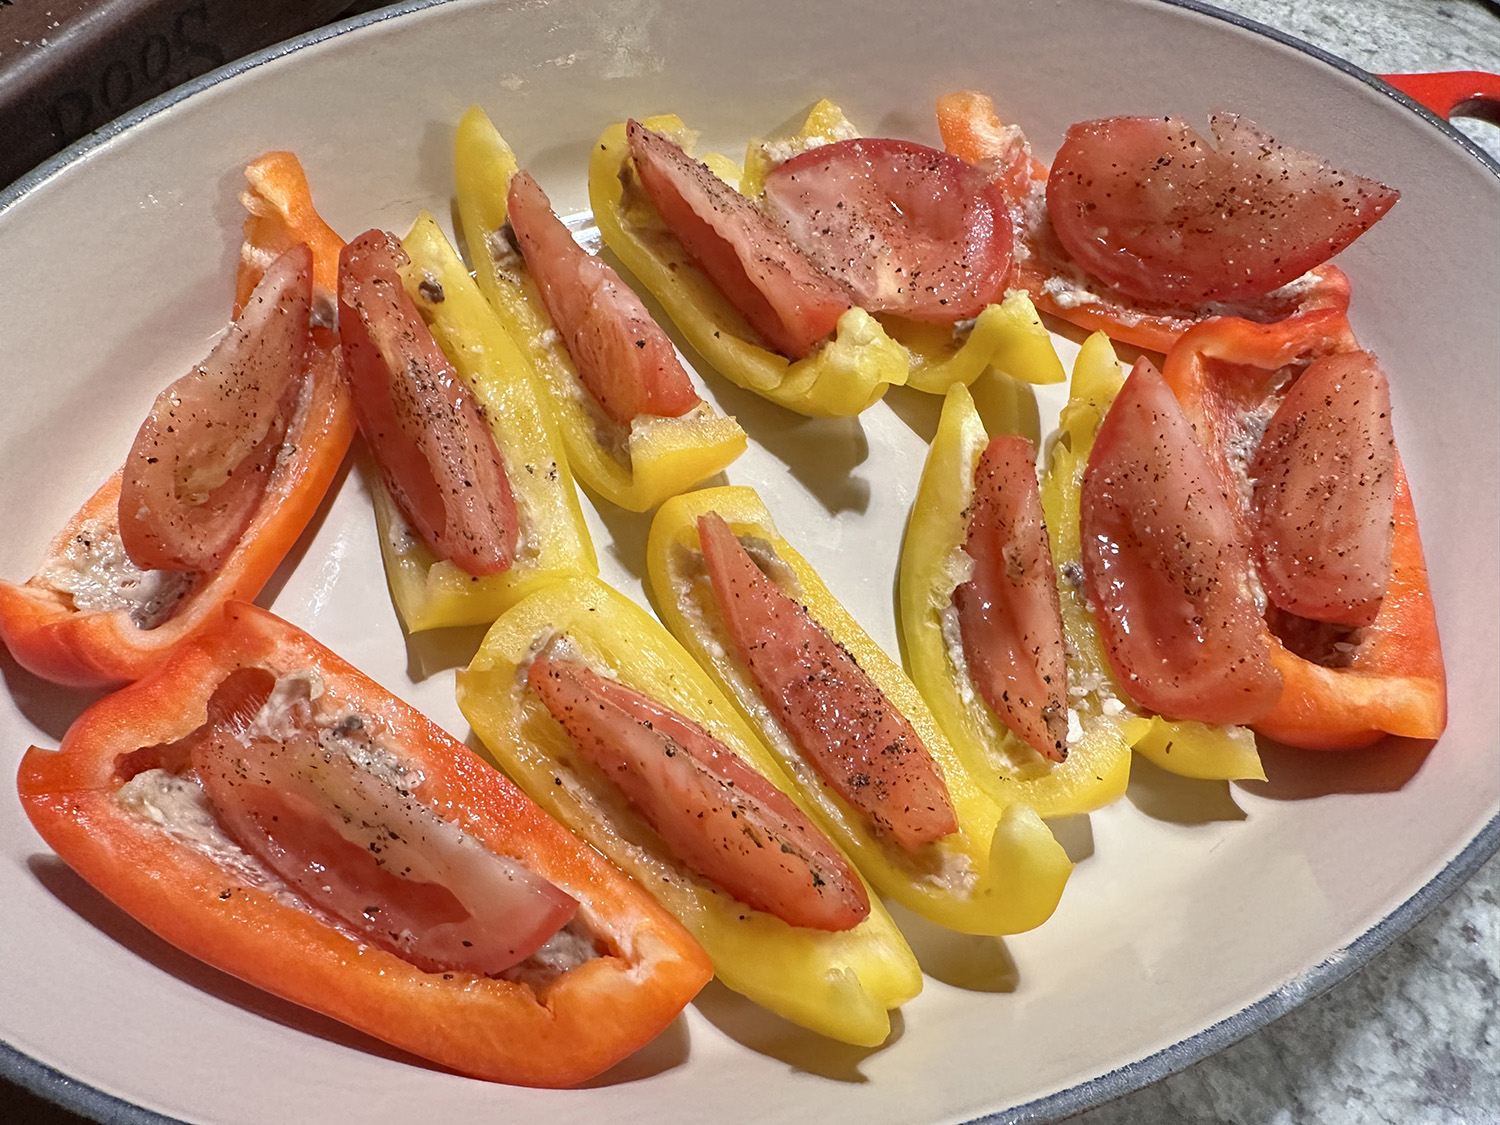
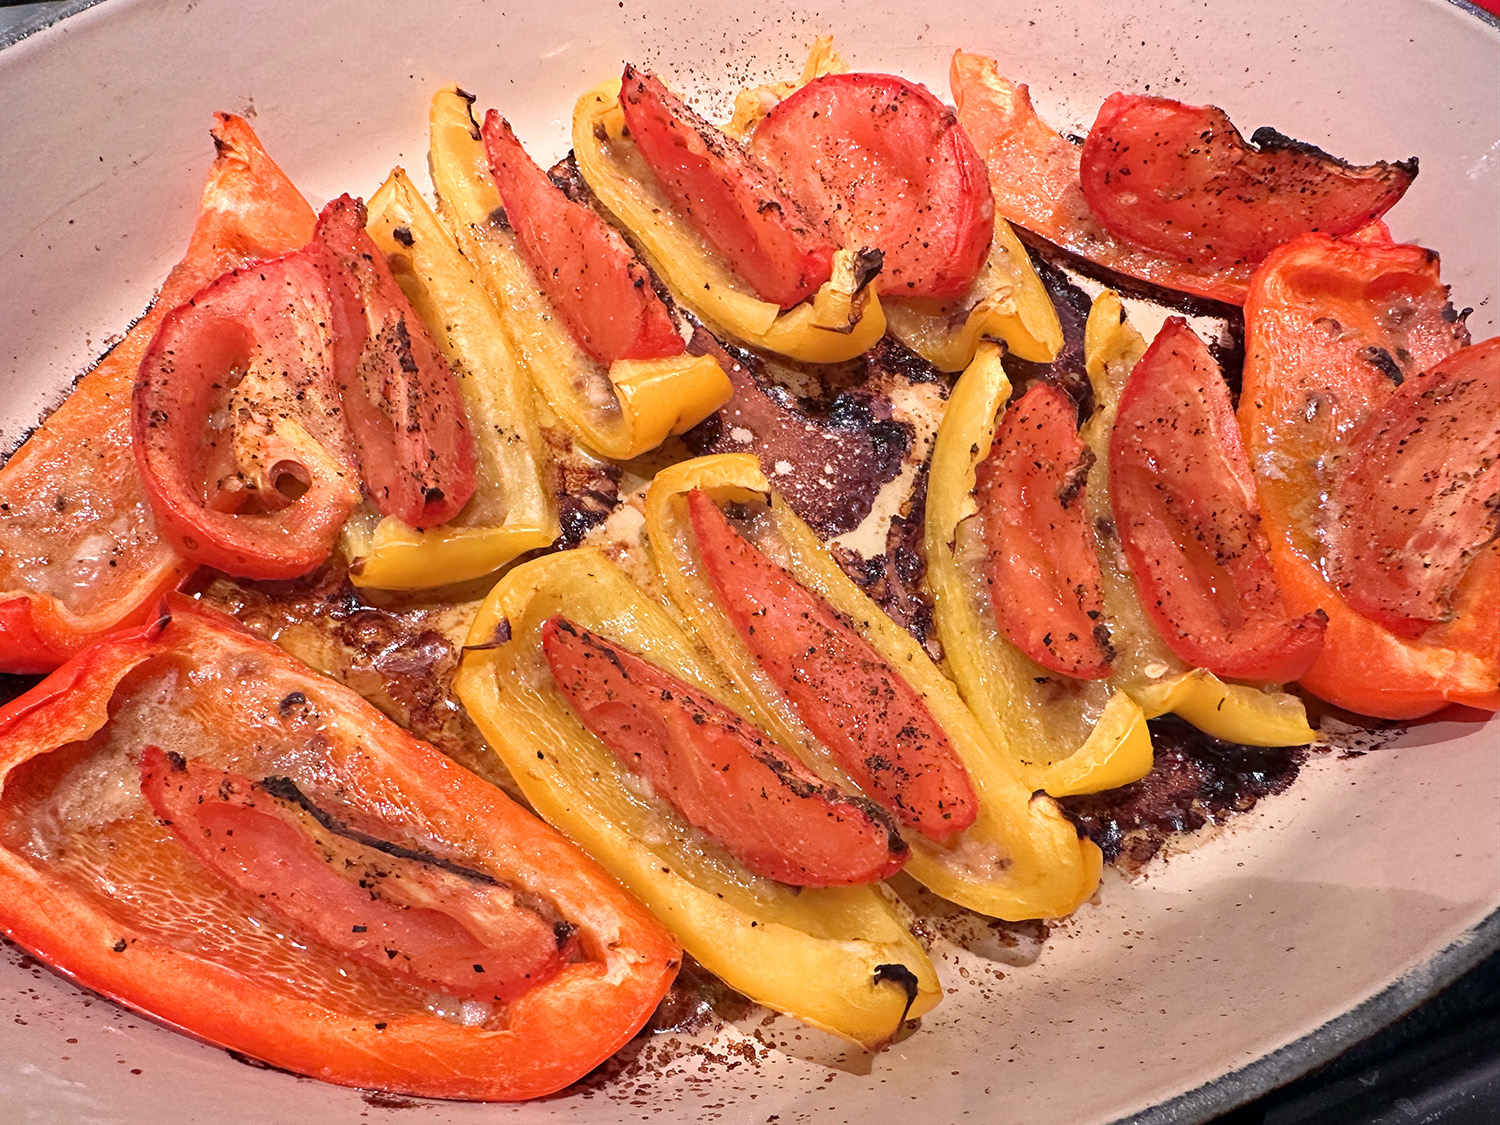
This dish can also be made using Yukon Golds (shown below) instead of sweet potatoes.
Melting Sweet Potatoes
Ingredients
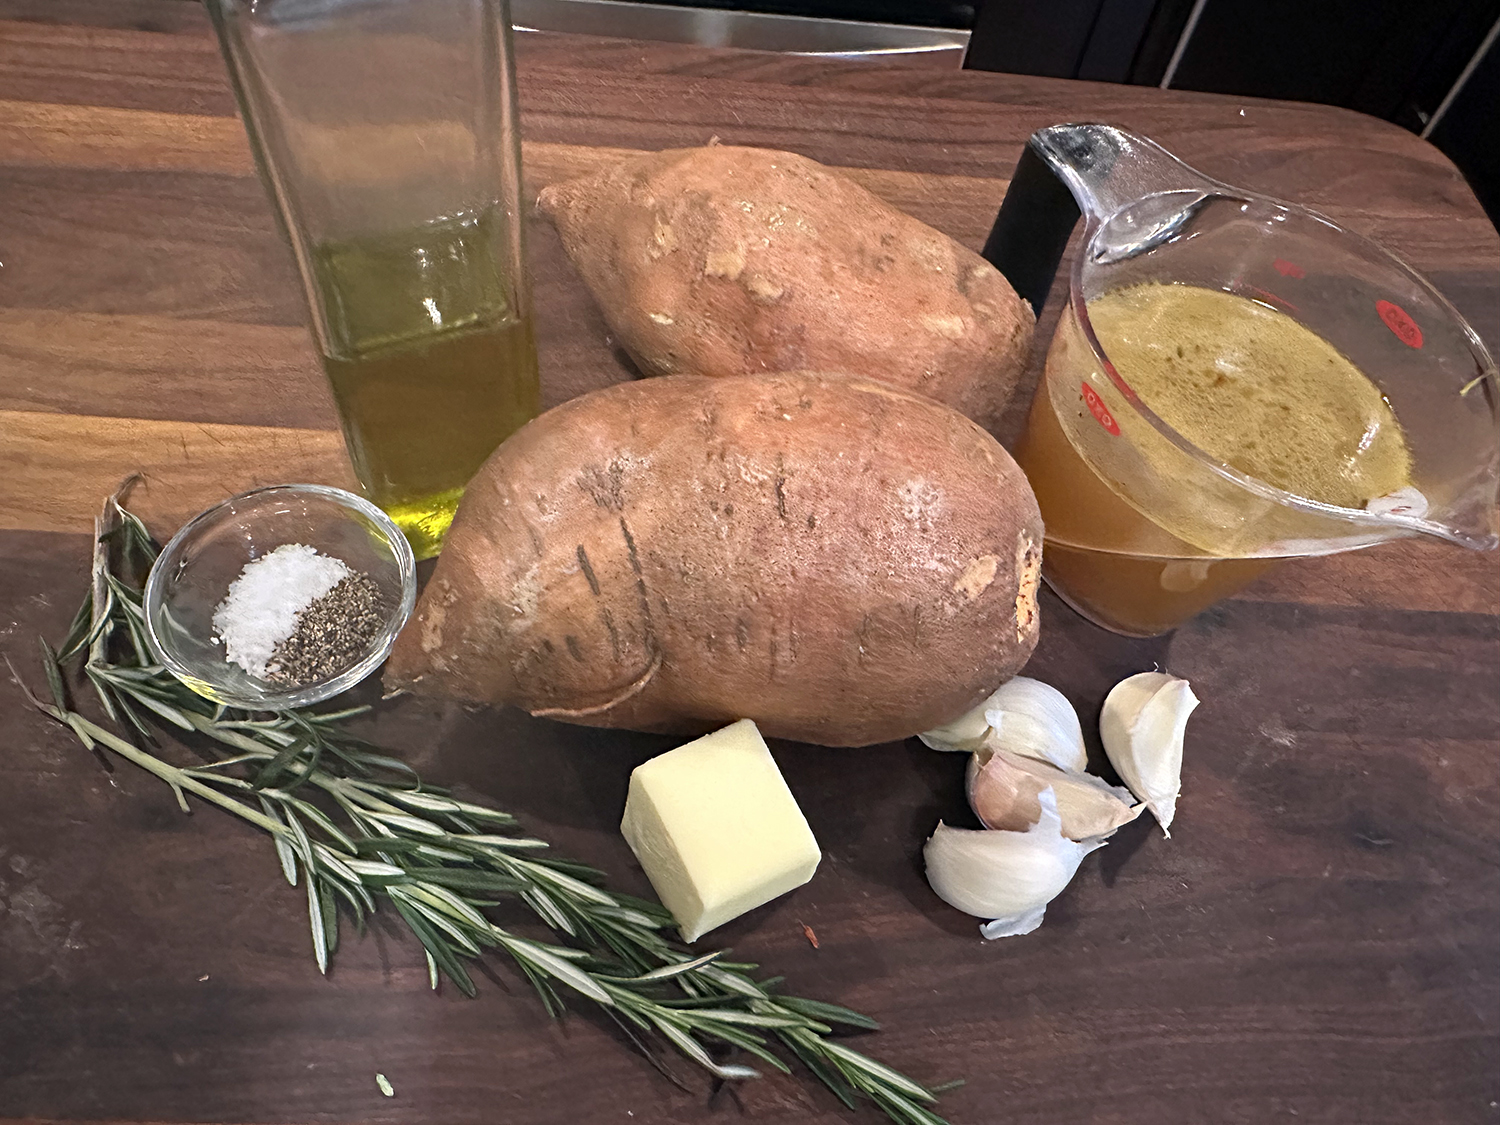
- 2 Tbsp. unsalted butter, melted
- 2 Tbsp. olive oil
- 3/4 tsp. kosher salt
- 1/2 tsp. freshly ground black pepper
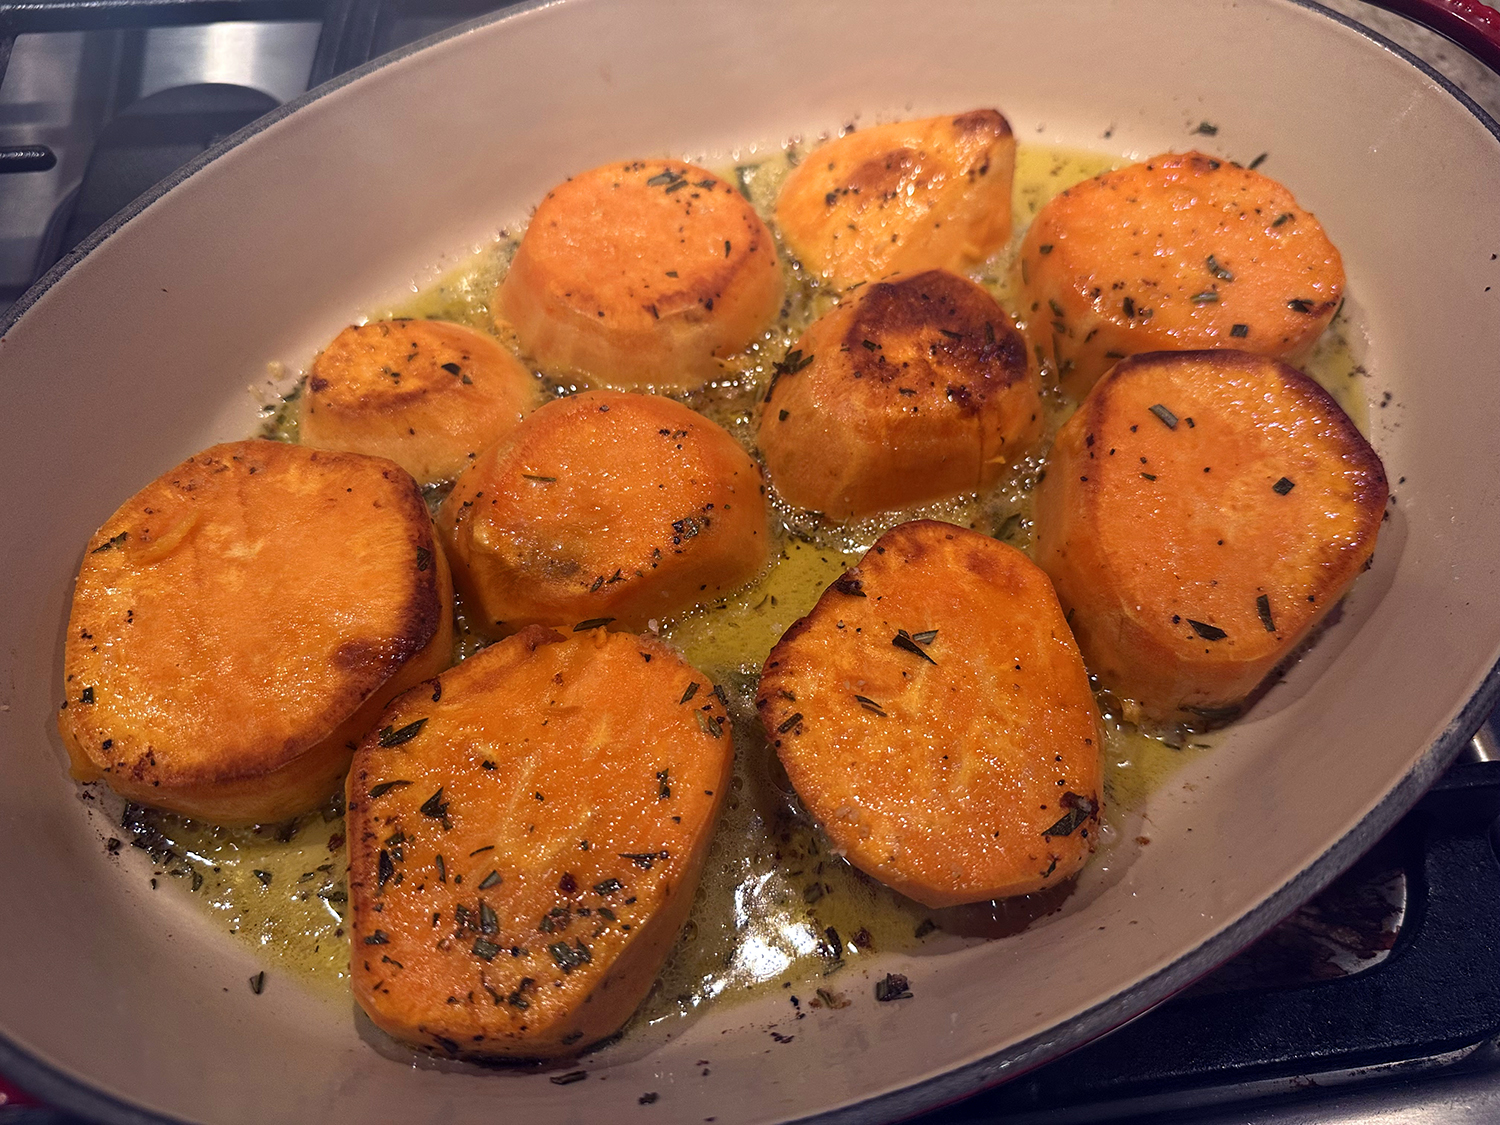
- 2 pounds uniformly sized medium sweet potatoes (4 to 5), peeled if desired and cut crosswise into 1-inch-thick rounds
- 1 Tbsp. coarsely chopped fresh rosemary leaves (from about 3 sprigs)
- 1 cup low-sodium vegetable or chicken broth
- 4 cloves garlic, peeled and smashed
Substitutions: You can substitute any combination of chopped fresh hearty herbs (such as thyme, sage, or oregano) for the rosemary.
Directions
- Heat the oven to 500°F.
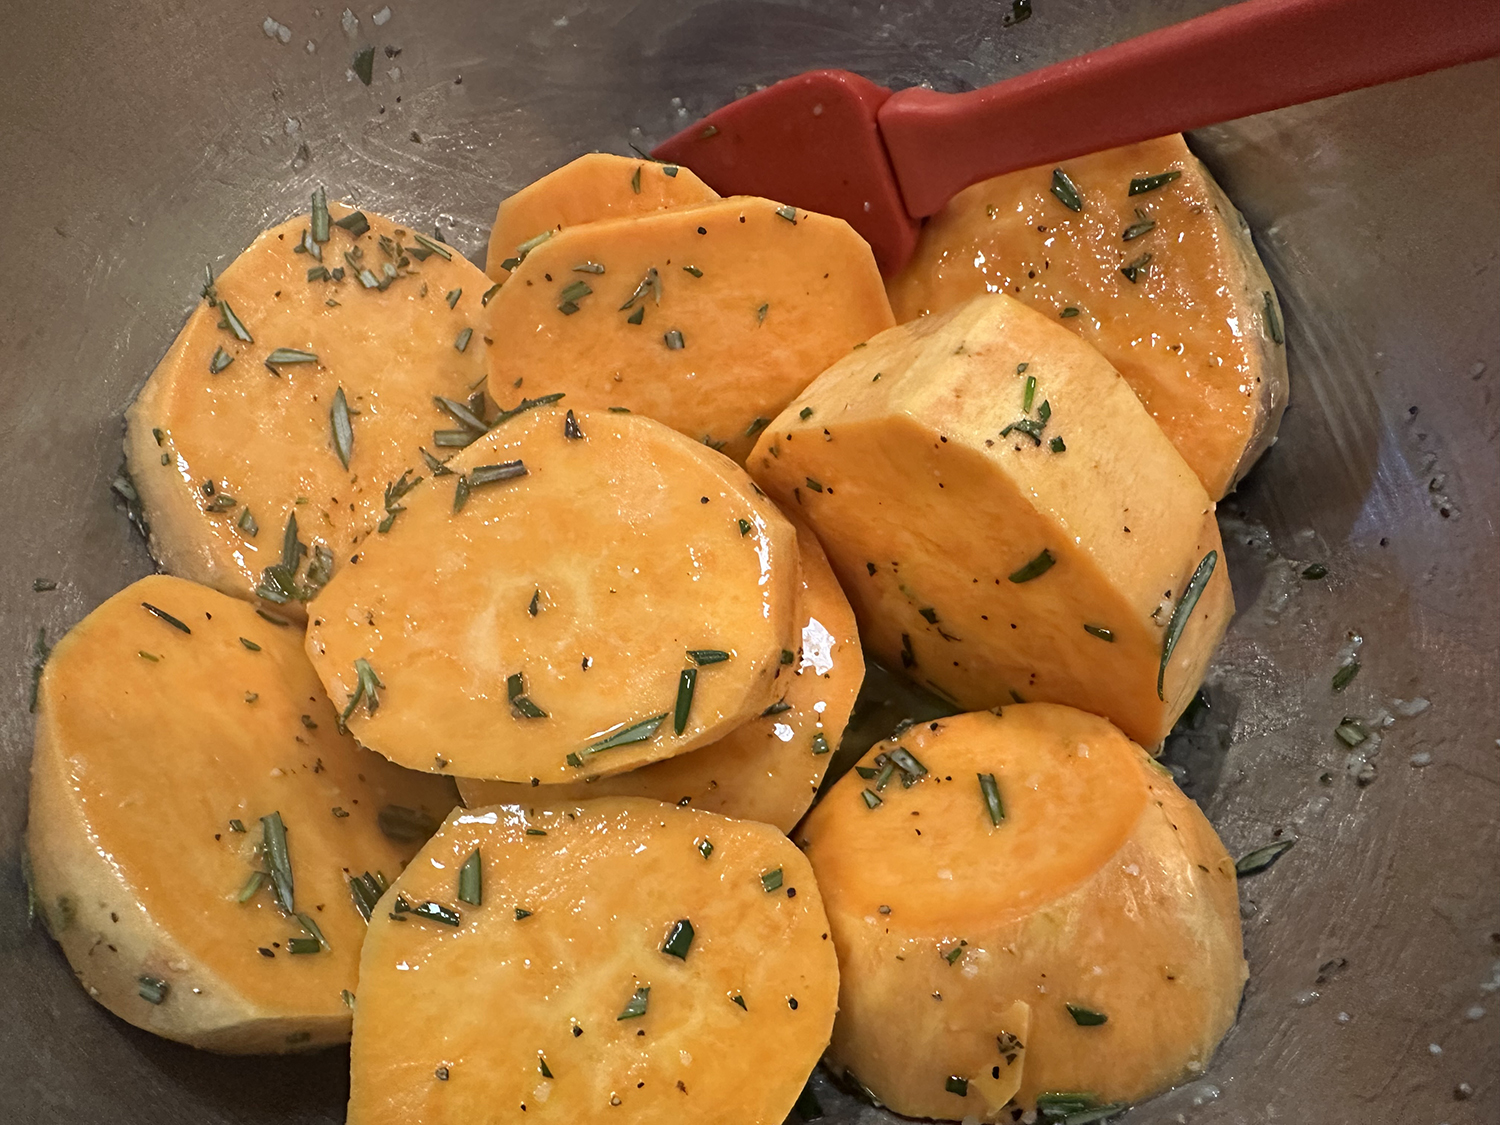
- Stir 2 tablespoons melted unsalted butter, 2 tablespoons olive oil, 3/4 teaspoon kosher salt, and 1/2 teaspoon black pepper together in a large bowl until combined. Add 2 pounds cut sweet potatoes (peeled if desired) and 1 tablespoon coarsely chopped fresh rosemary leaves, and toss well to coat.
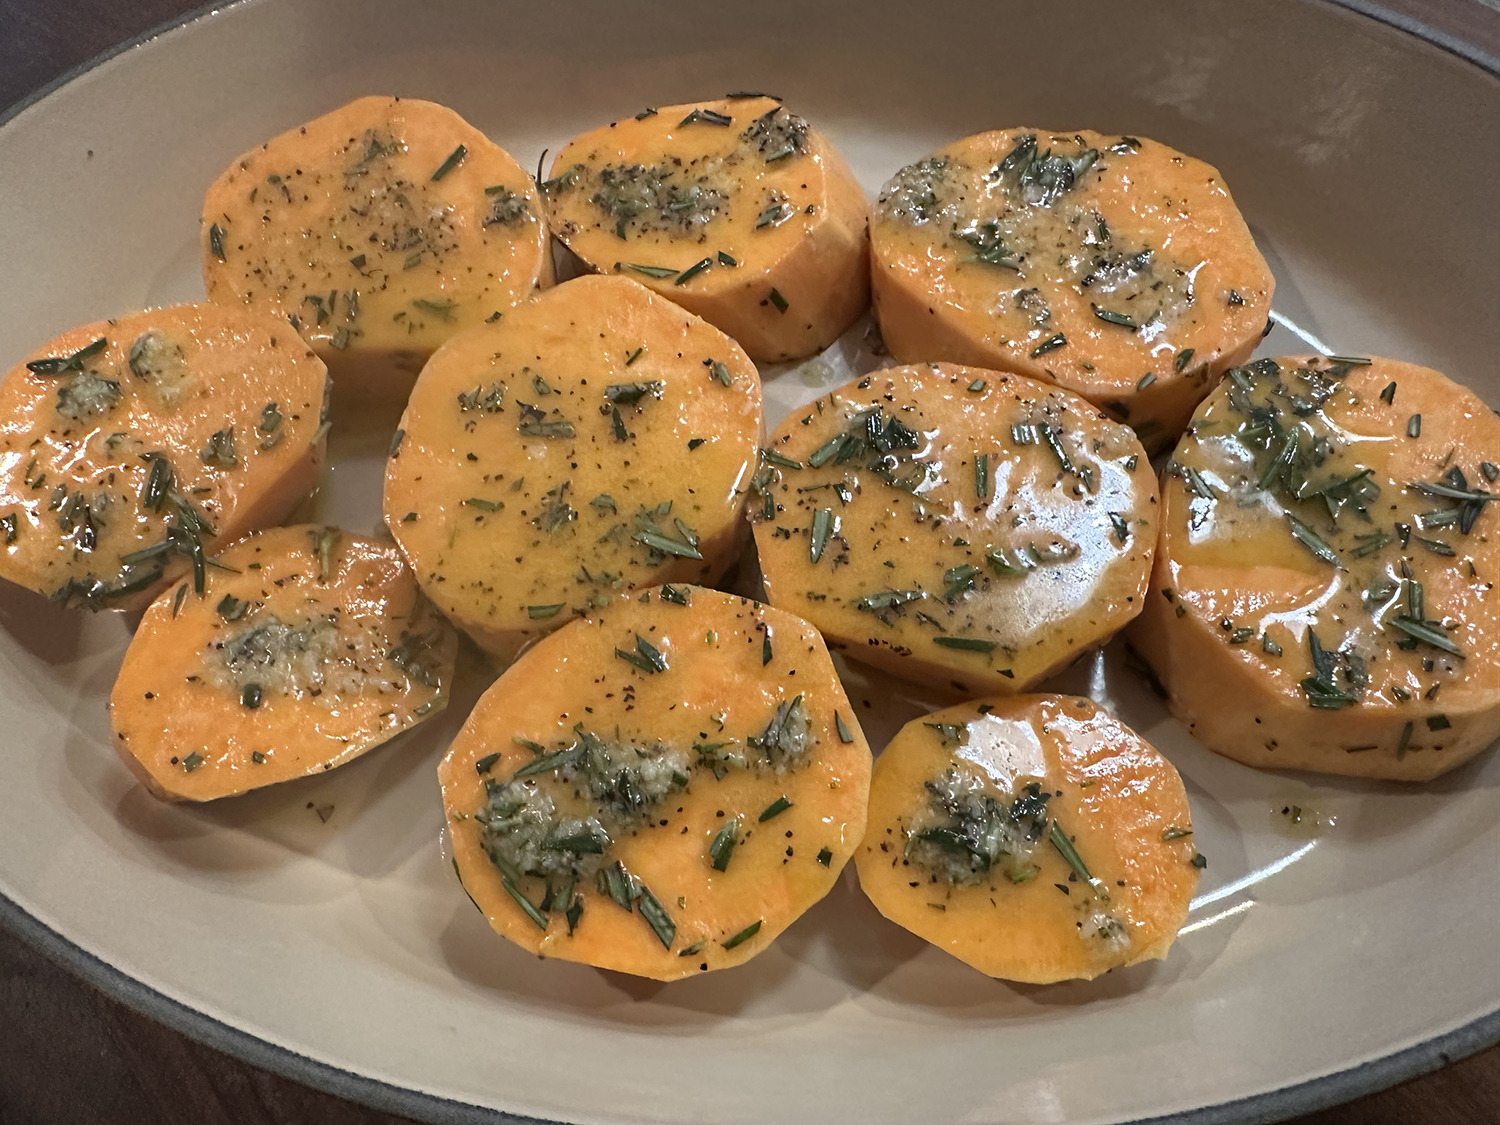
- Transfer the potatoes cut-side up to a 9×13-inch metal baking pan (avoid glass, as it could shatter) or rimmed baking sheet (quarter sheet pan) and arrange in a single layer. Drizzle any remaining butter mixture over the potatoes.
- Roast until the sweet potatoes easily release from the pan with tongs and the bottoms are light golden-brown, about 15 minutes. Flip the rounds and roast until the bottoms and tops are deep golden-brown, about 15 minutes more.
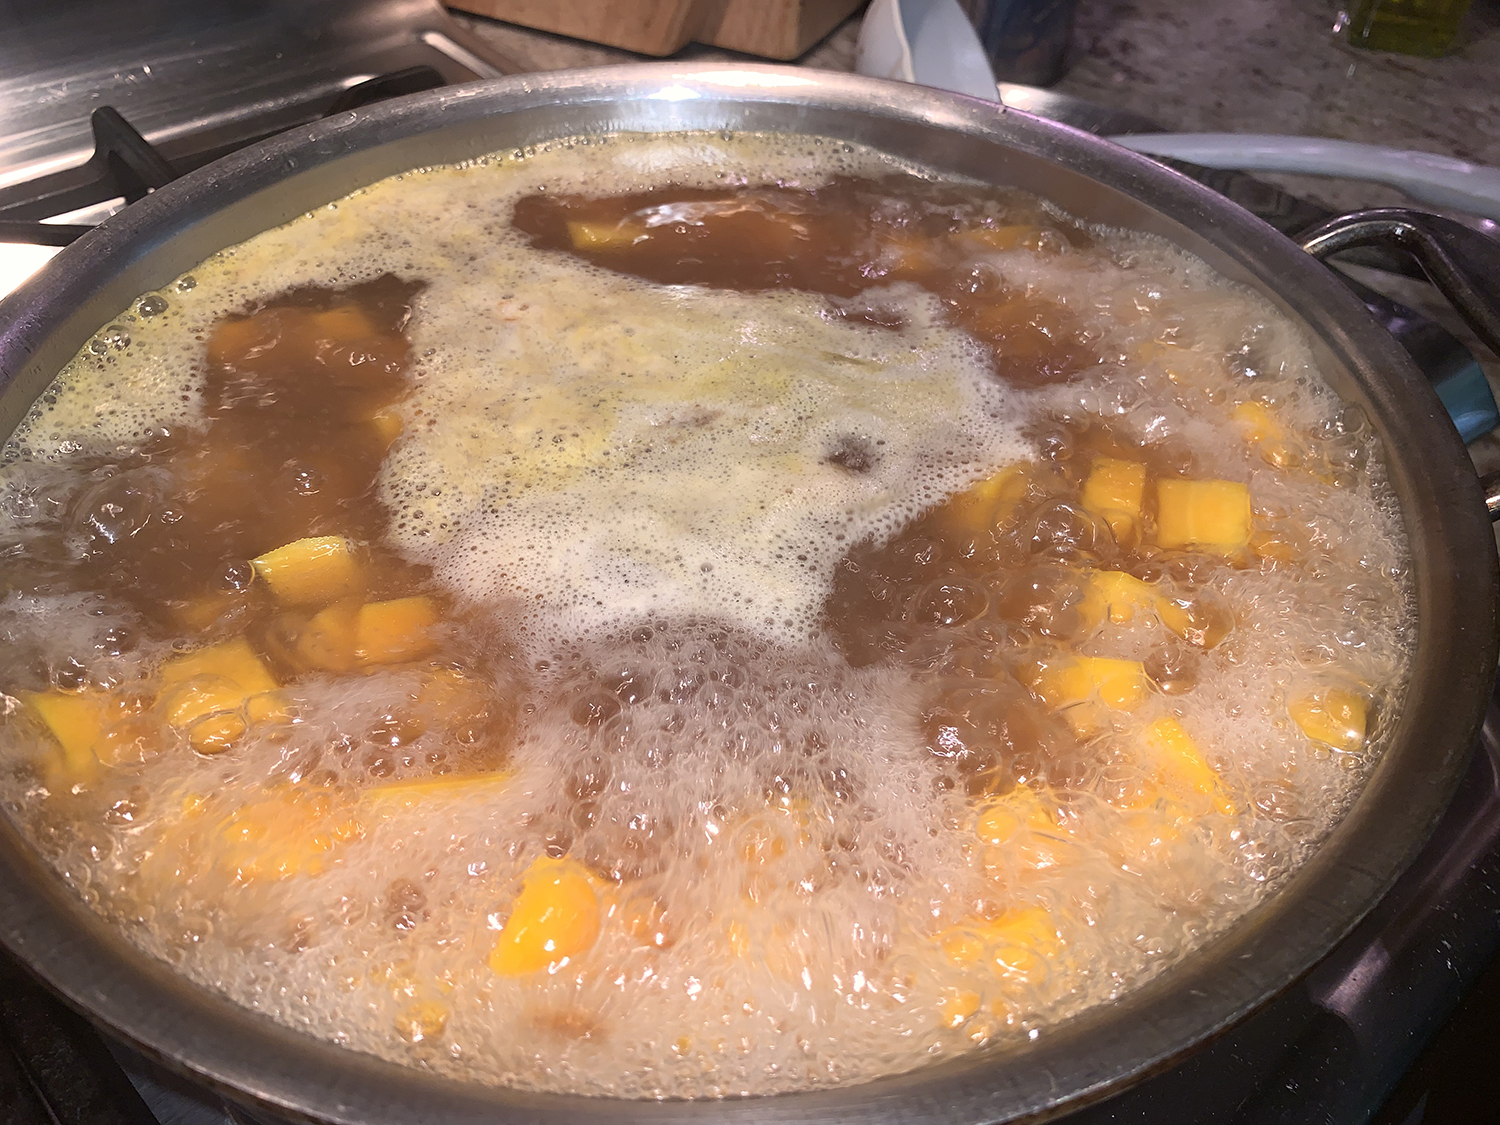
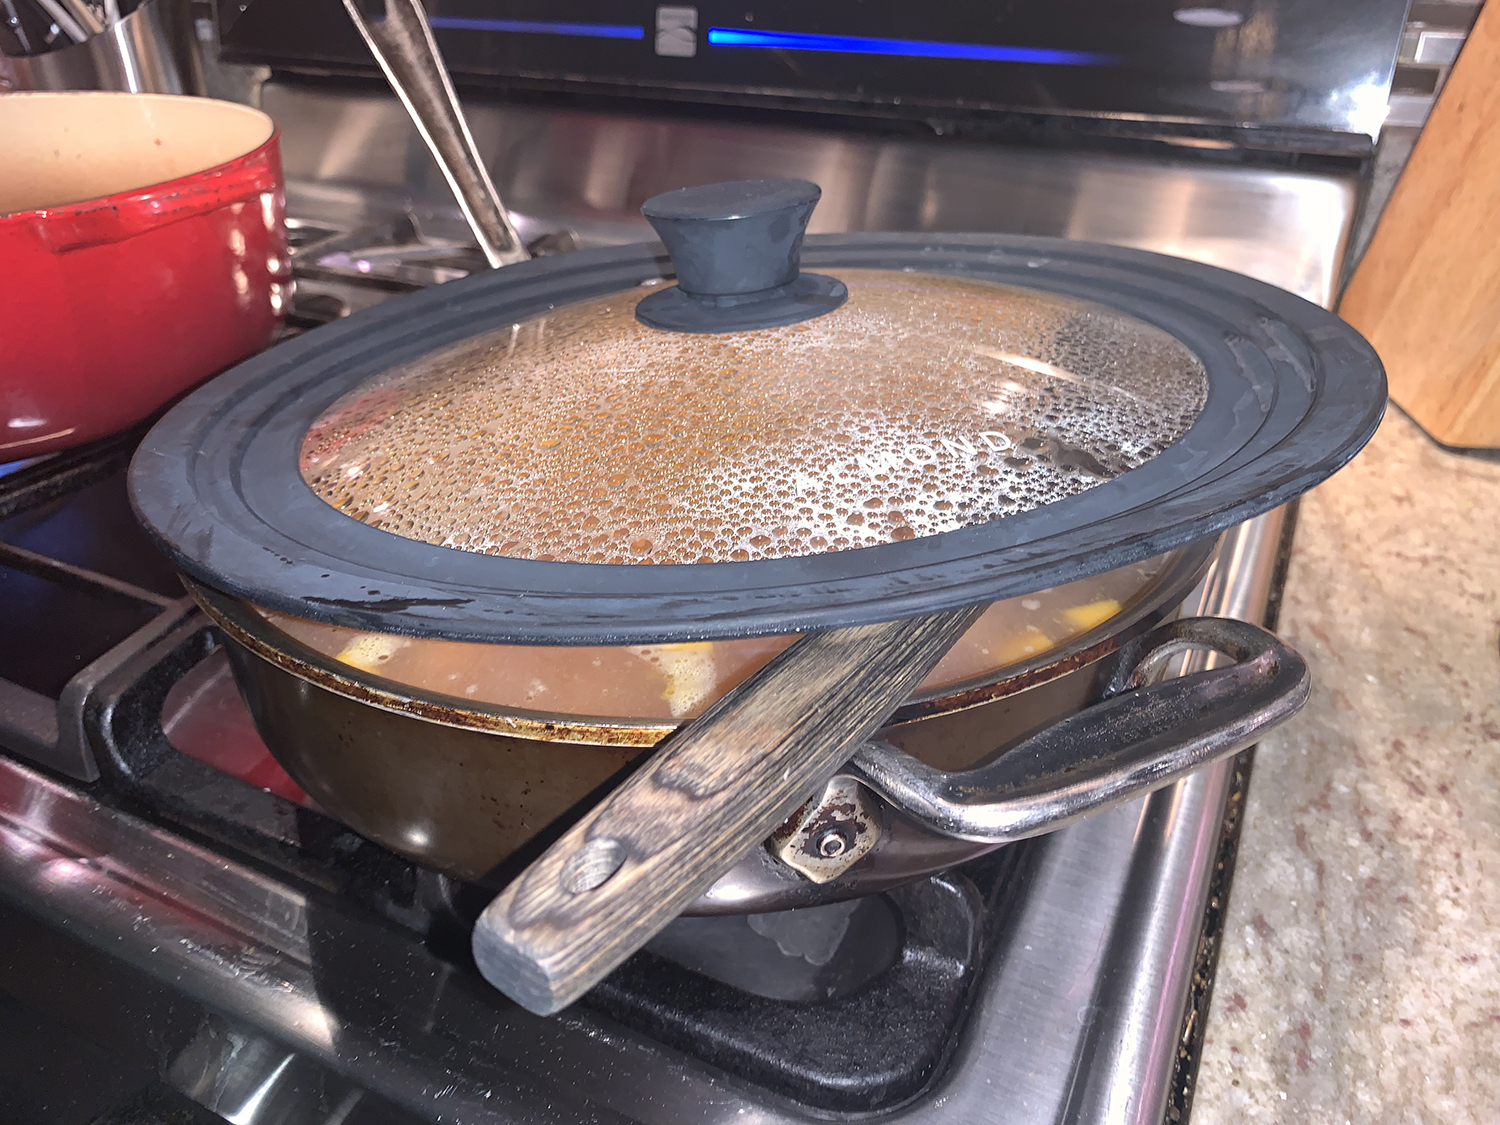
- Remove the pan from the oven. Carefully pour 1 cup low-sodium vegetable broth into the pan and add 4 peeled and smashed garlic cloves. Return to the oven and roast until the potatoes are very tender and most of the broth is absorbed, about 15 minutes.
Recipe from TheKitchn.com