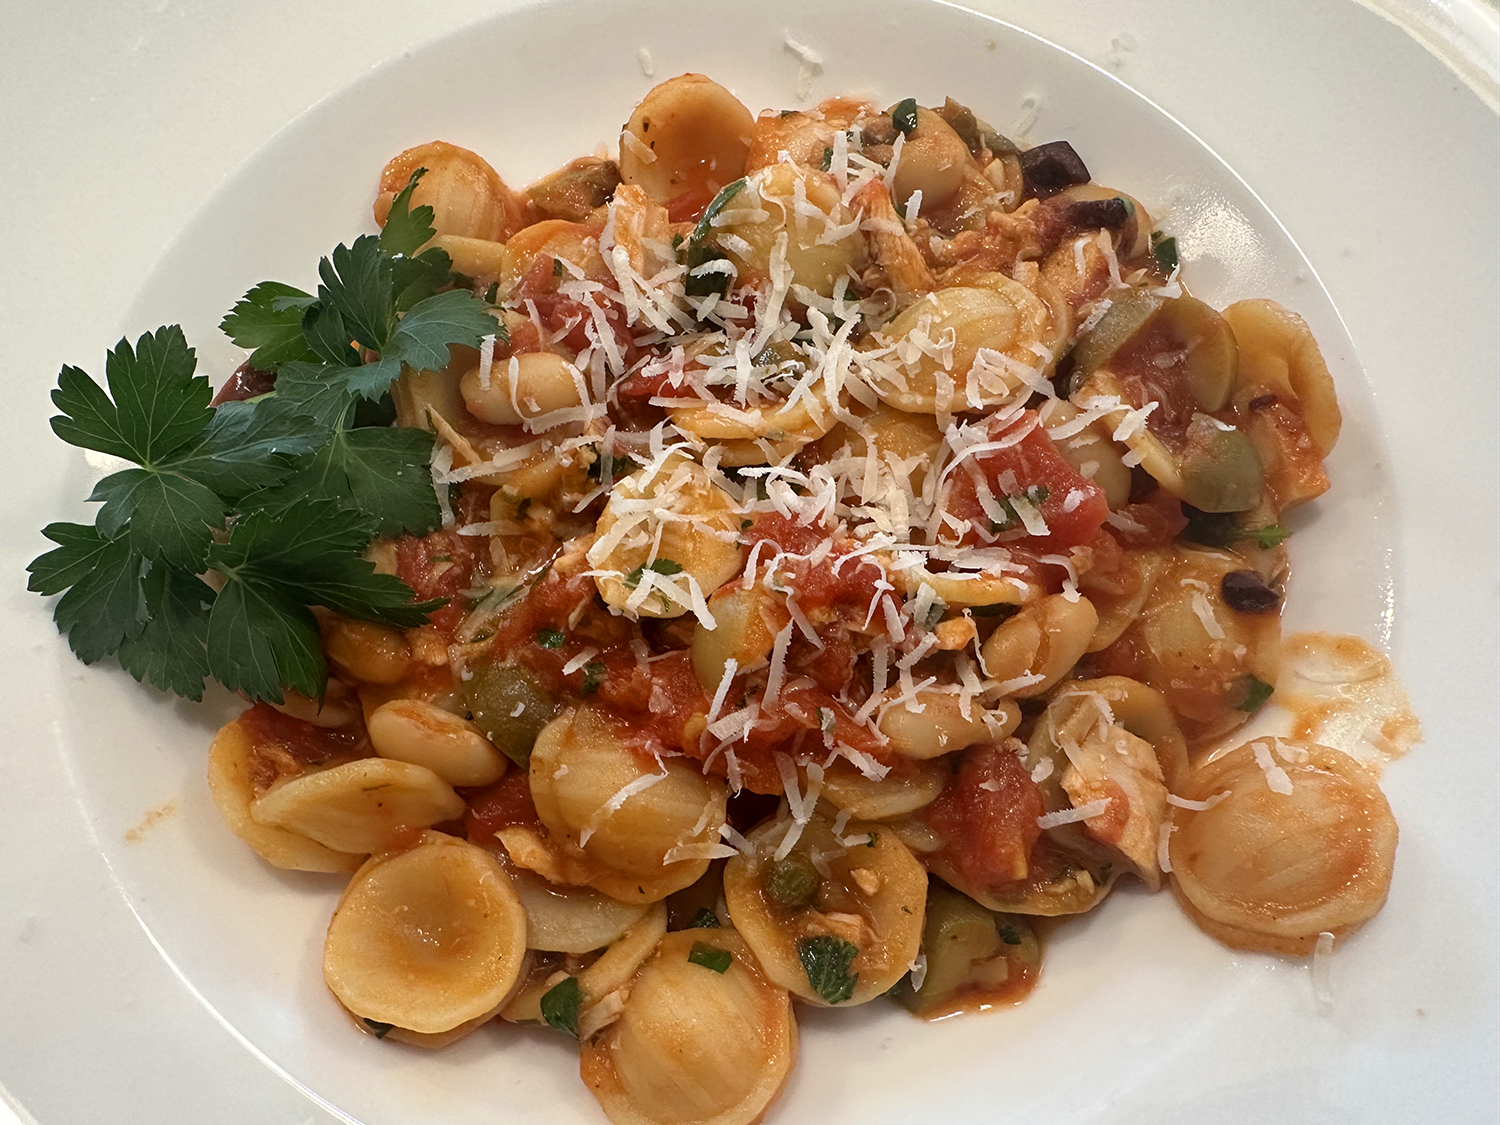
This Spanish recipe was inspired by a stewy mélange of cherry tomatoes, garlic, sweet-spicy peppers and extra-virgin olive oil that was served with flatbread at Ristorante Barbieri in Calabria.
To make a sauce for pasta, combine mini sweet peppers (usually sold in a trio of colors) with an earthy cubanelle pepper and add heat with pepper flakes. Cherry, grape or homegrown slicing tomatoes, plus a couple tablespoons of tomato paste, form the sauce’s backbone.
Short pasta with a twisty or curly shape—such as casarecce, gemelli, cavatappi or campanelle—is ideal for ensnaring bits of tomato and peppers. As simple as it is, the end result is delicious!
NOTES: Don’t use regular bell peppers. Mini sweet peppers are more delicate, so they soften more readily, and their skins are more tender.
Also, don’t forget to save 1 cup of the pasta cooking water before draining the noodles. It is necessary to lend some body to the sauce. A good reminder not to toss out all of the water before reserving some, is to put your measuring cup and ladle inside the colander.
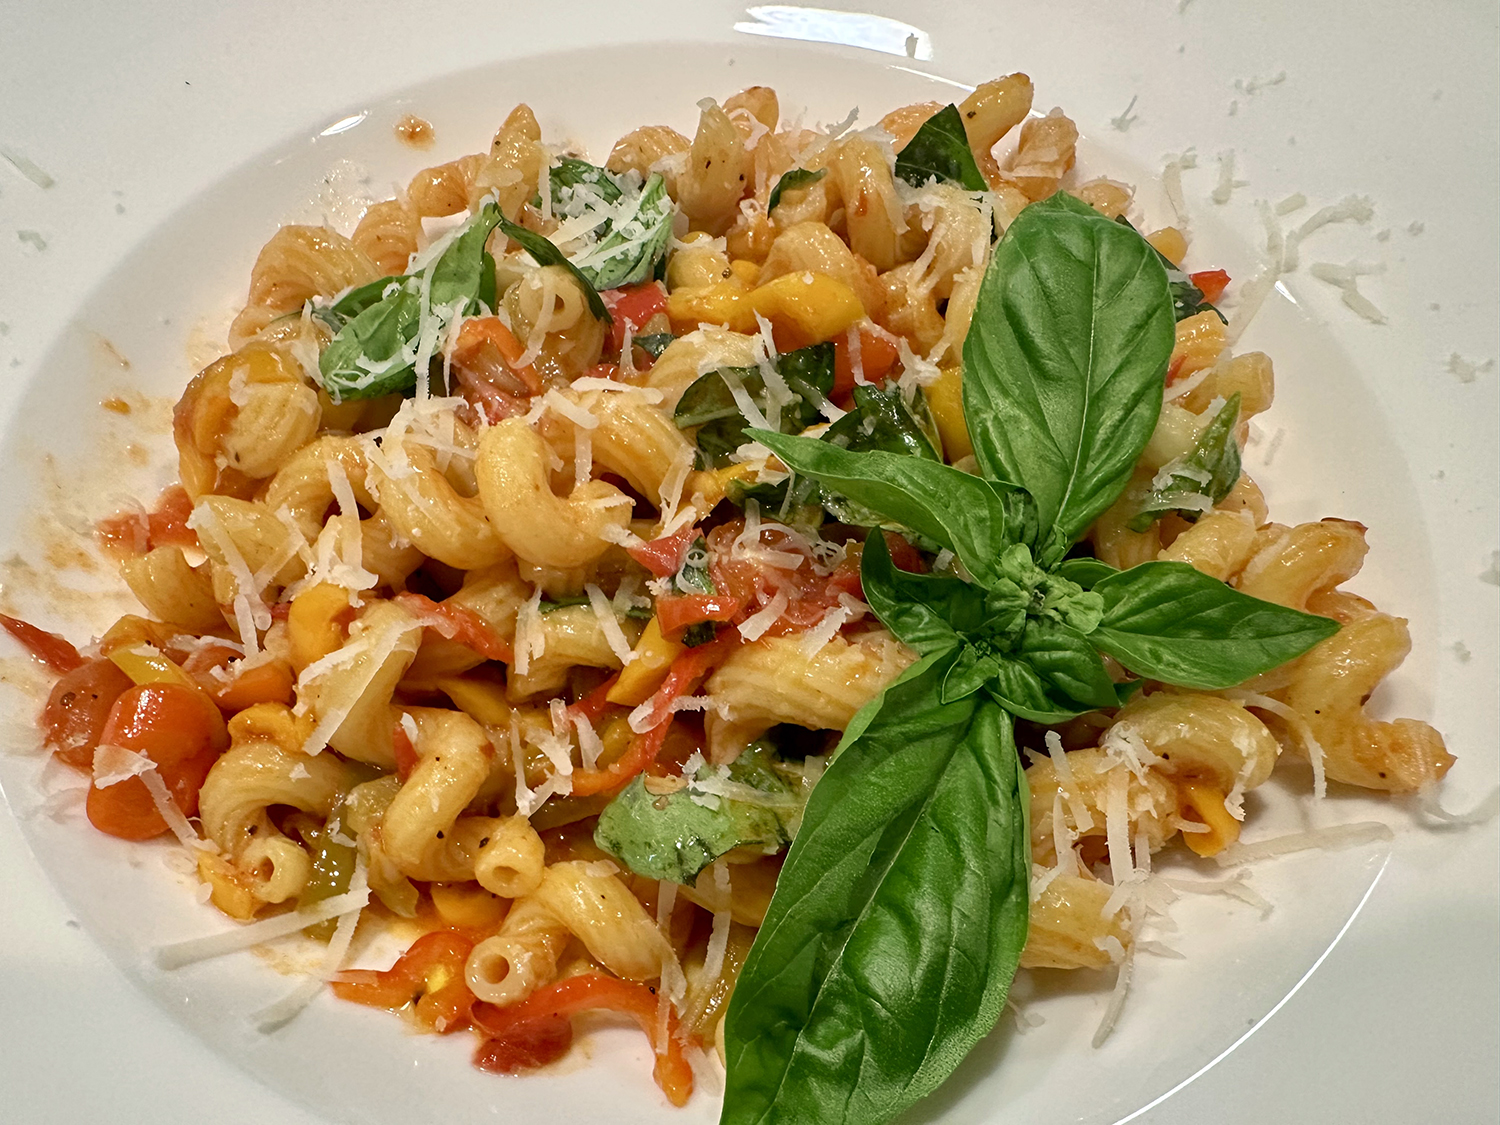
Calabrian-Style Tomato and Sweet Pepper Sauce with Pasta
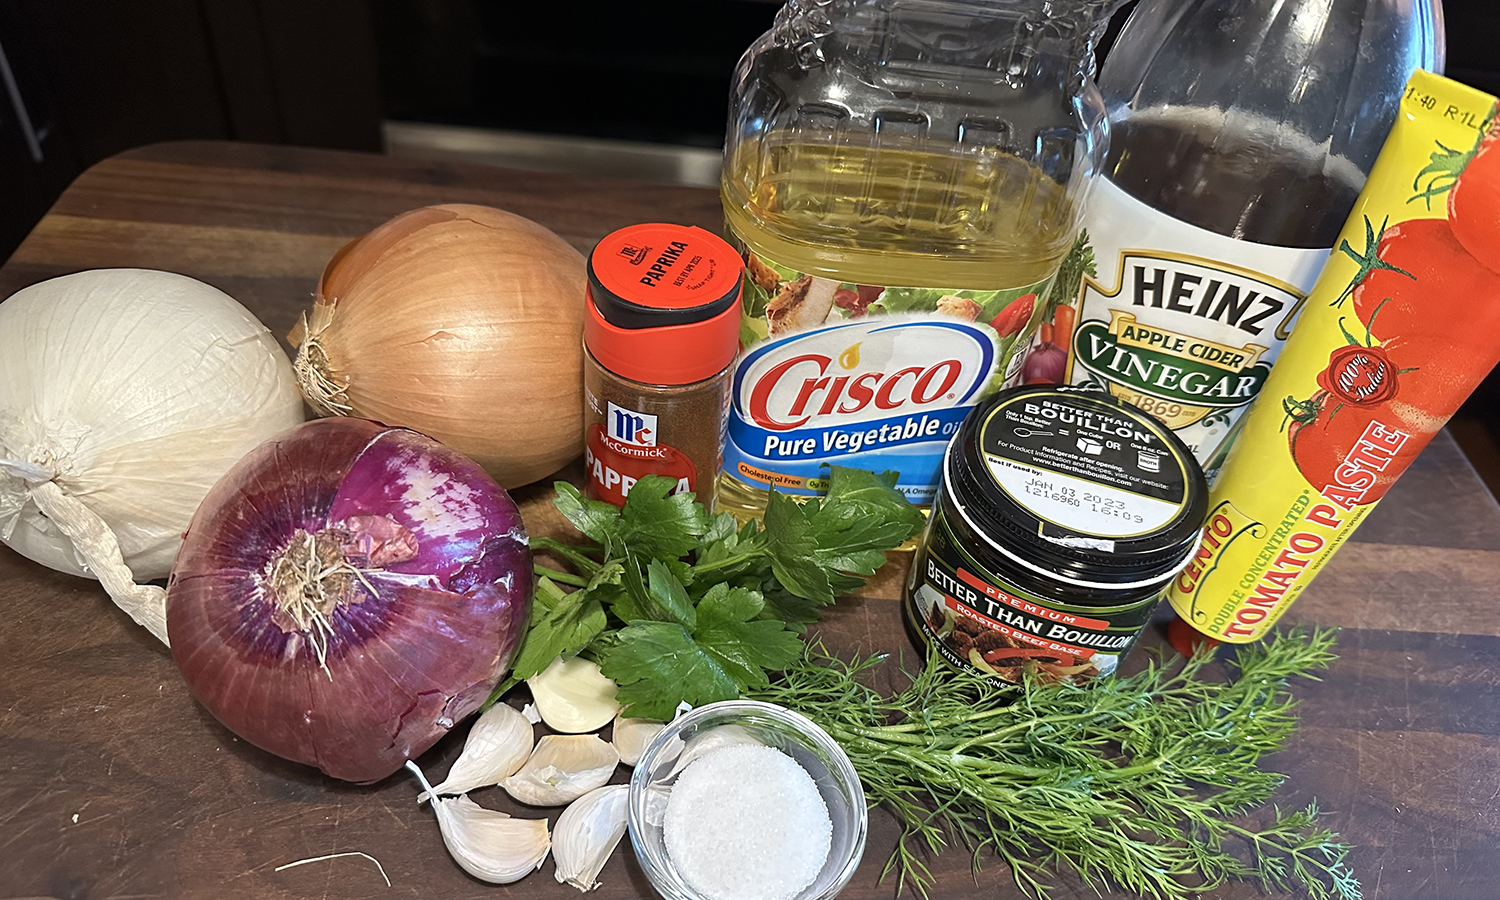
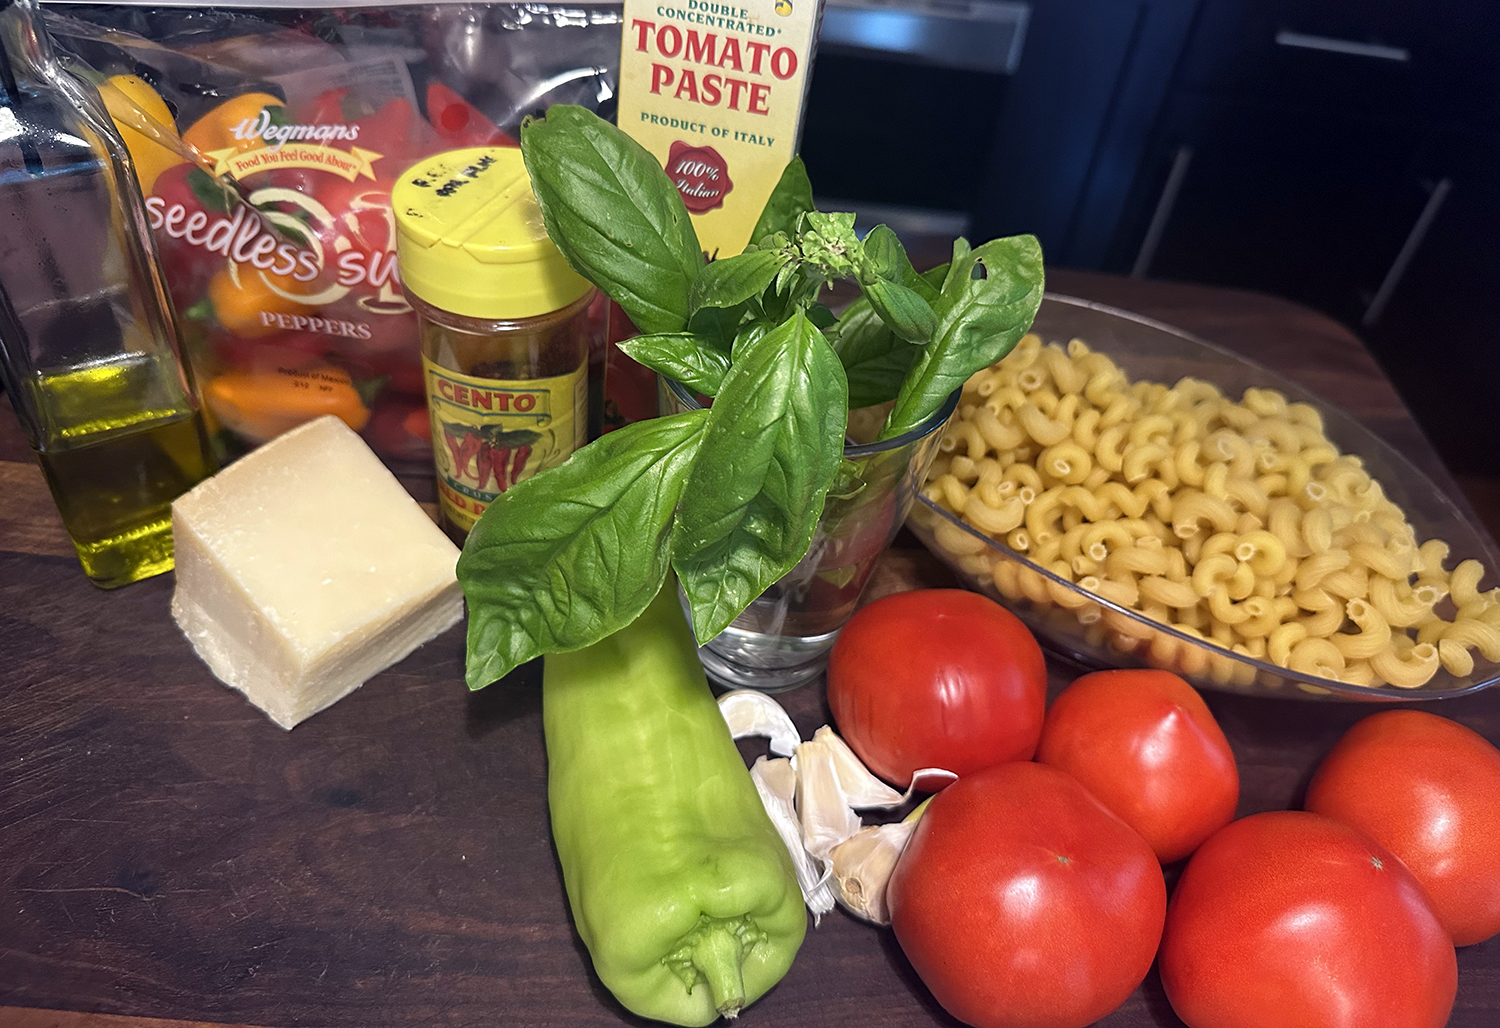
Ingredients
- 12-16 oz. casarecce, gemelli or cavatappi pasta
- Kosher salt and ground black pepper
- 1/4 cup extra-virgin olive oil, plus more to serve
- 2 pints cherry or grape tomatoes
- 8 oz. sweet mini peppers in a mix of colors, stemmed and sliced into thin rounds
- 1 medium cubanelle pepper, stemmed, seeded and thinly sliced
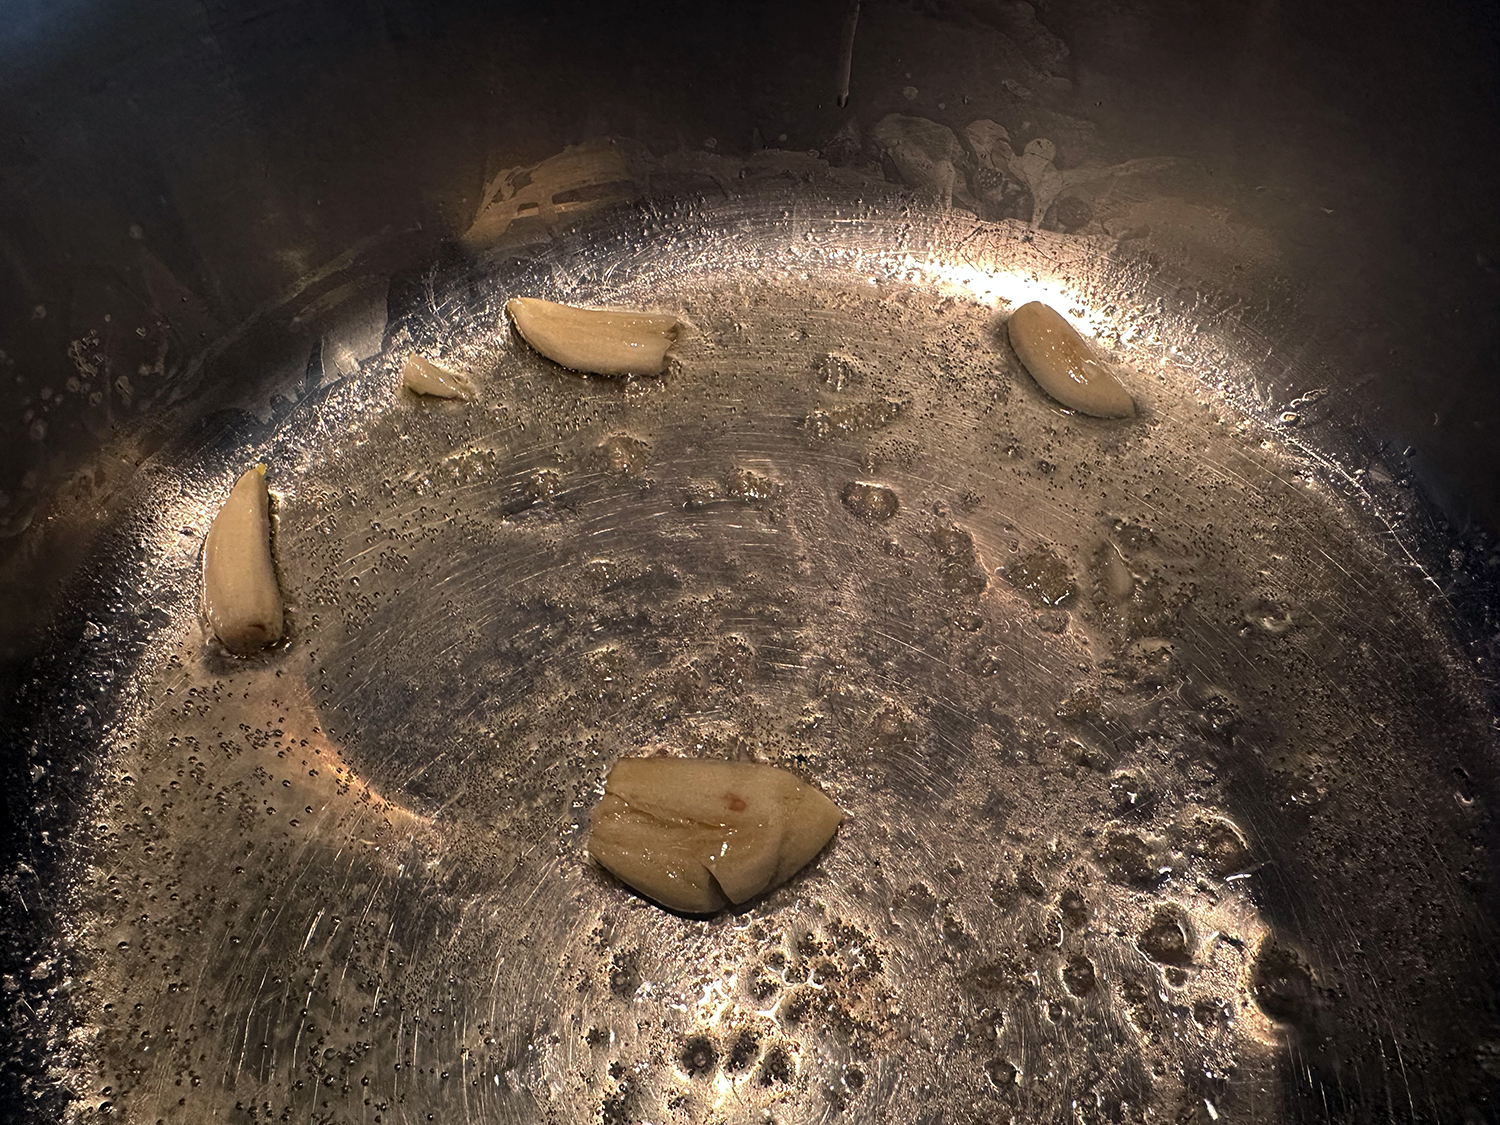
- 2 medium garlic cloves, minced
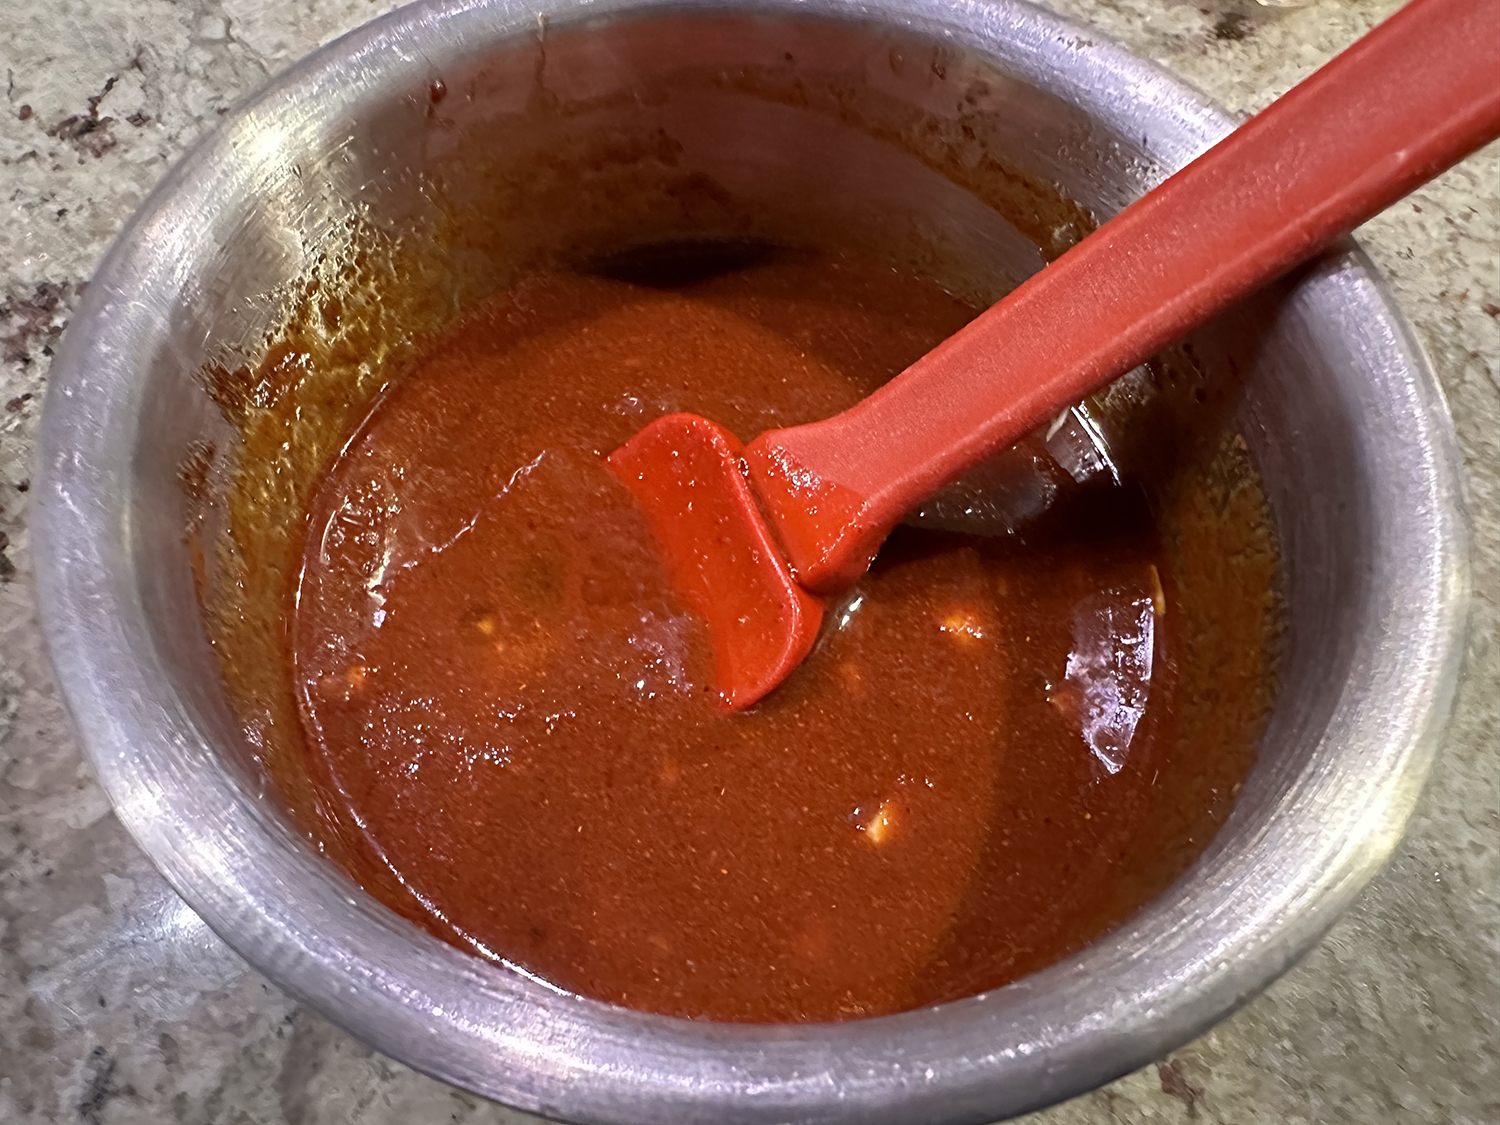
- 2 Tbsp. tomato paste
- 1/2 tsp. red pepper flakes
- 1/4 cup lightly packed fresh basil, torn
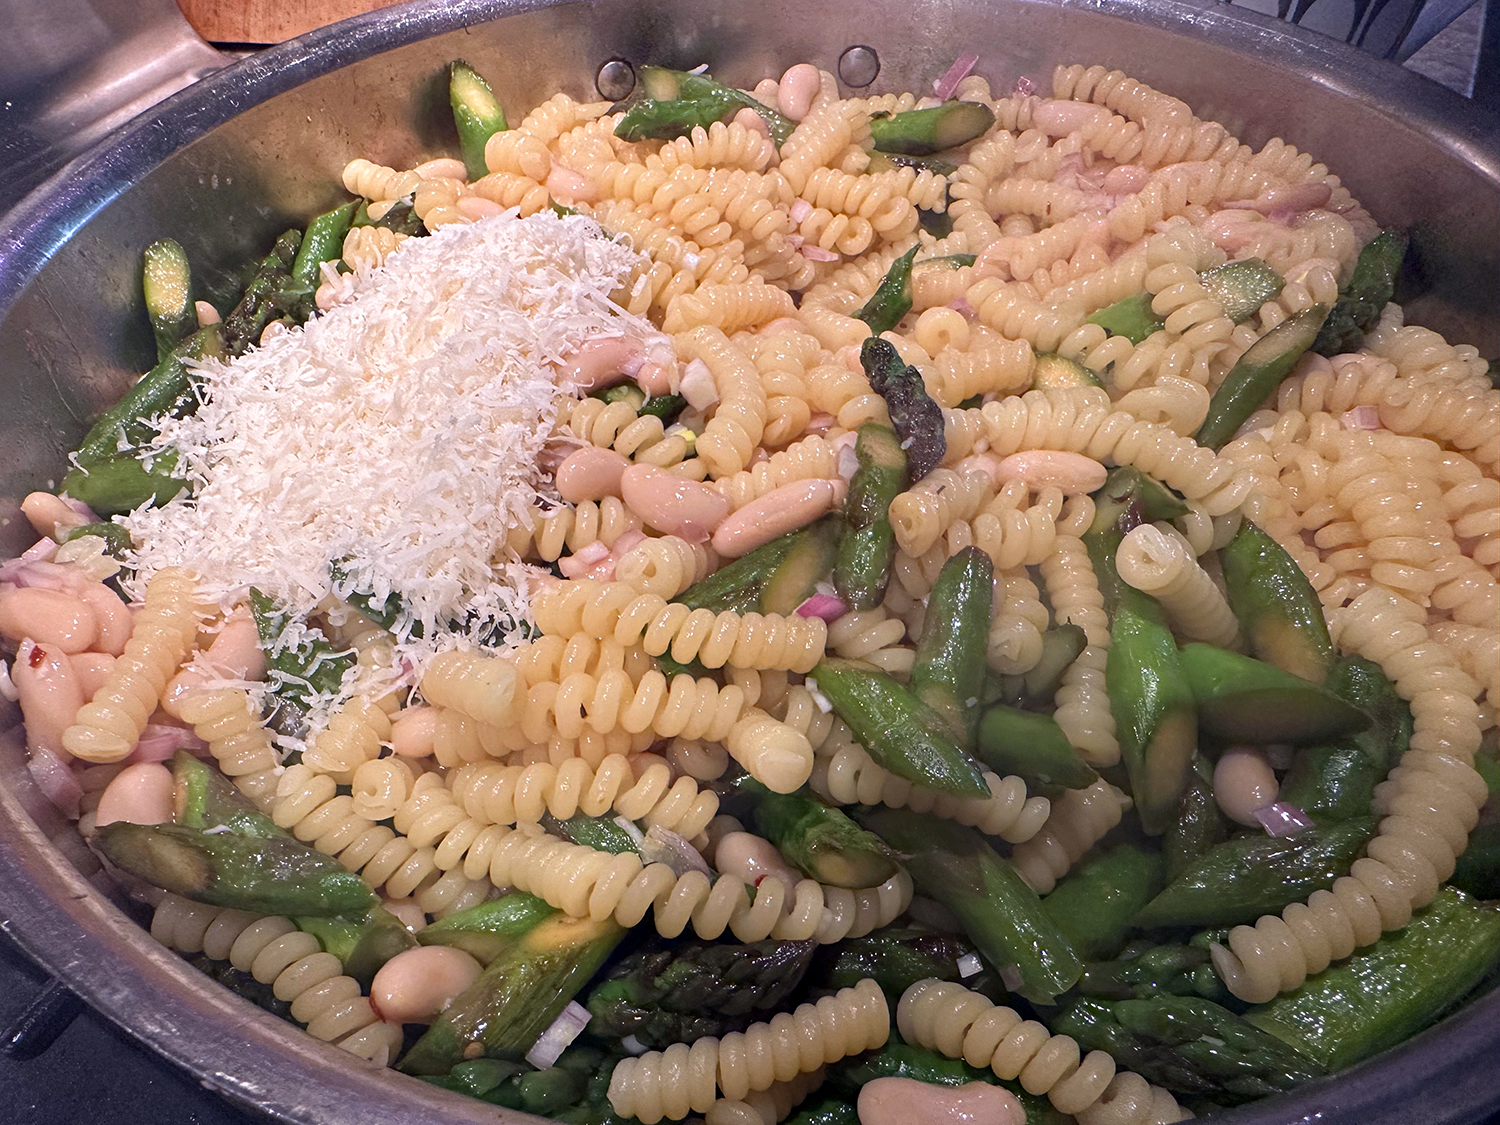
- 2 oz. pecorino Romano or ricotta salata, finely grated (1 cup)


Directions
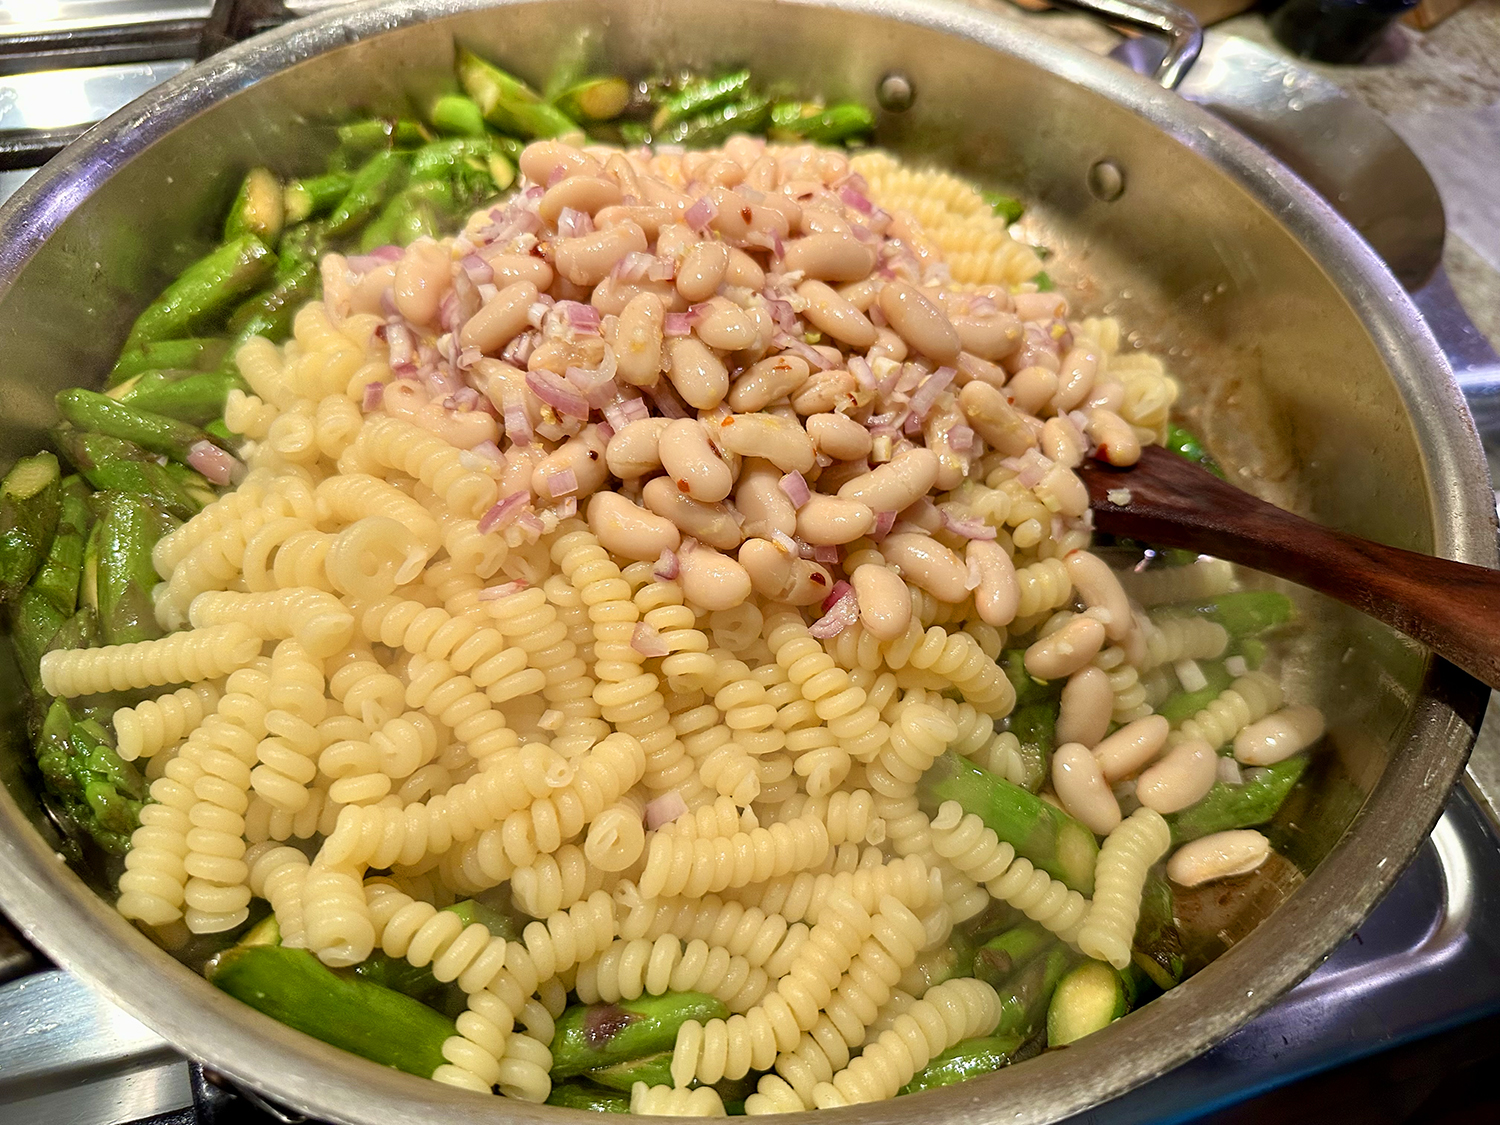
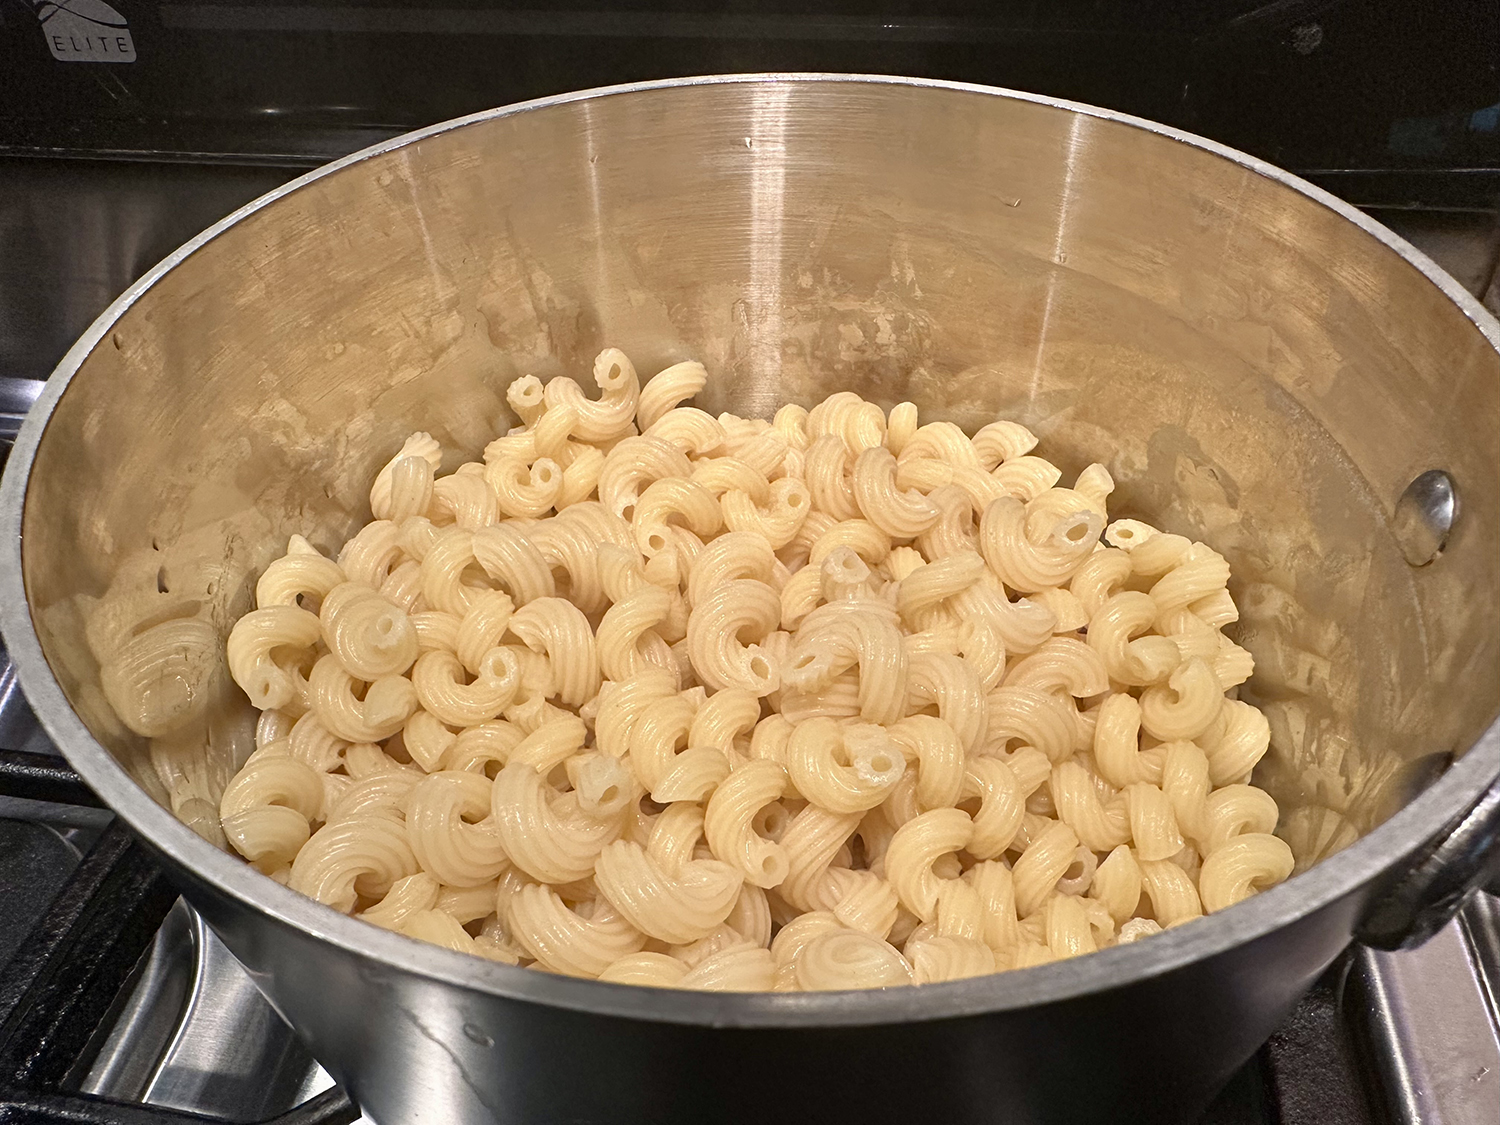
- In a large pot, boil 4 quarts water. Add the pasta and 1 tablespoon salt, then cook, stirring occasionally, until just shy of al dente. Reserve 1 cup of the cooking water, then drain. Return the pasta to the pot; set aside off heat.
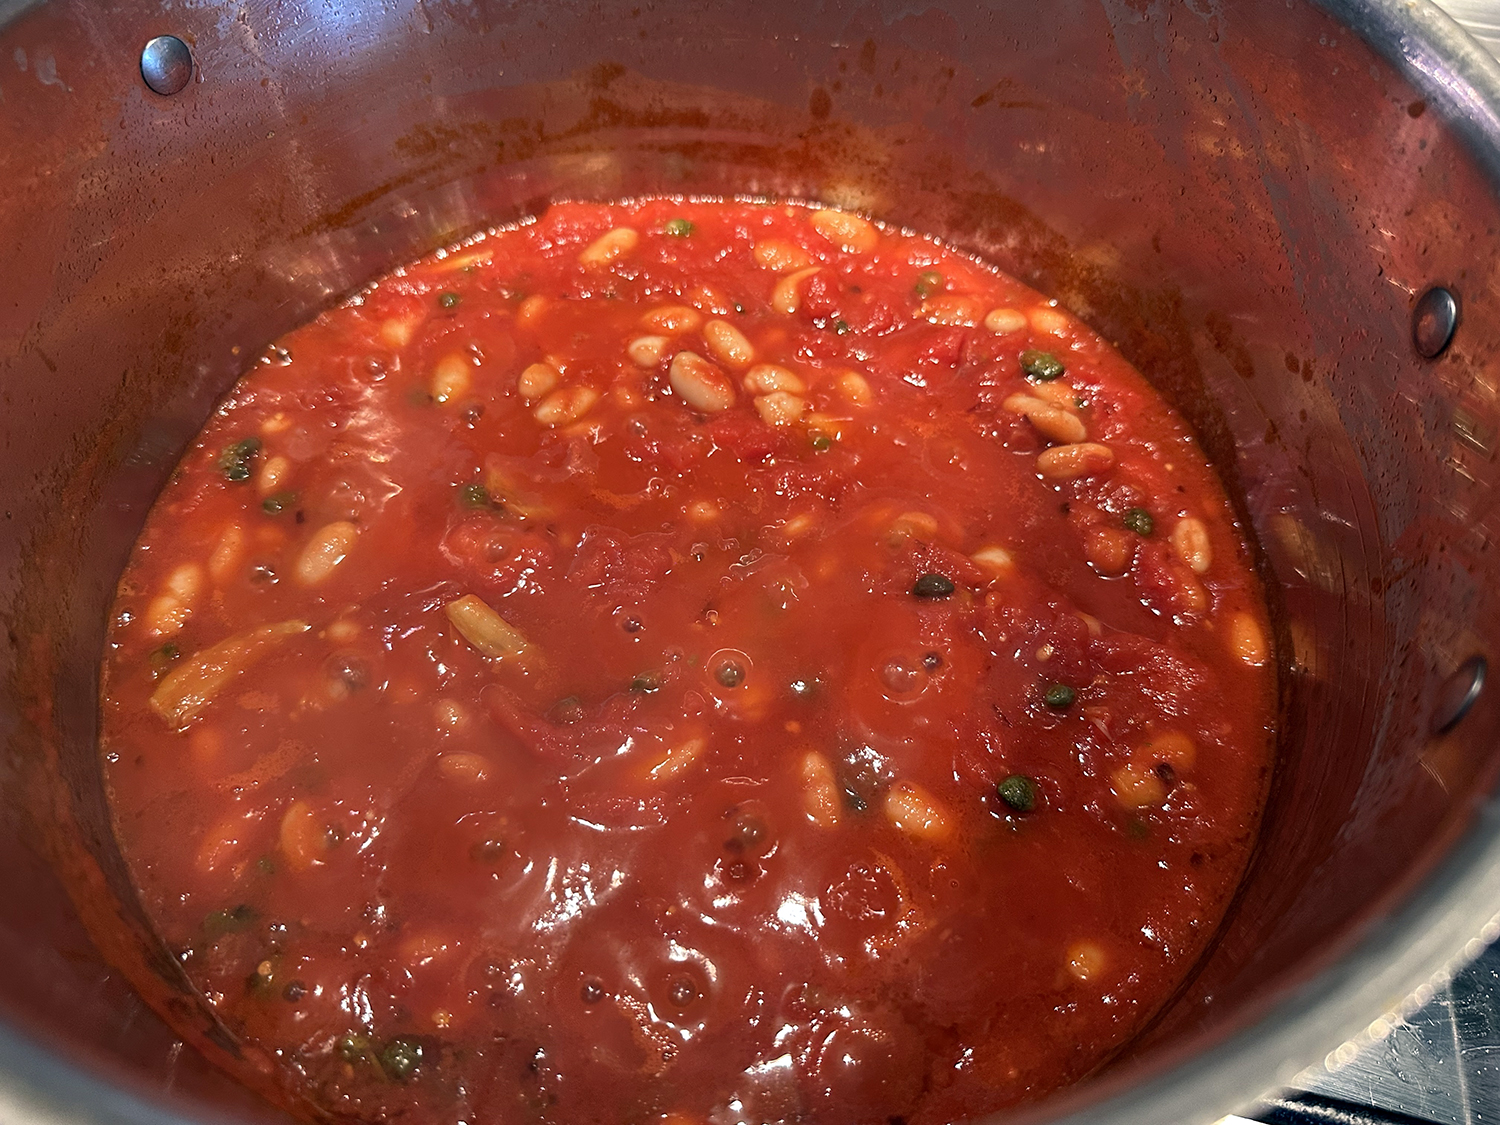
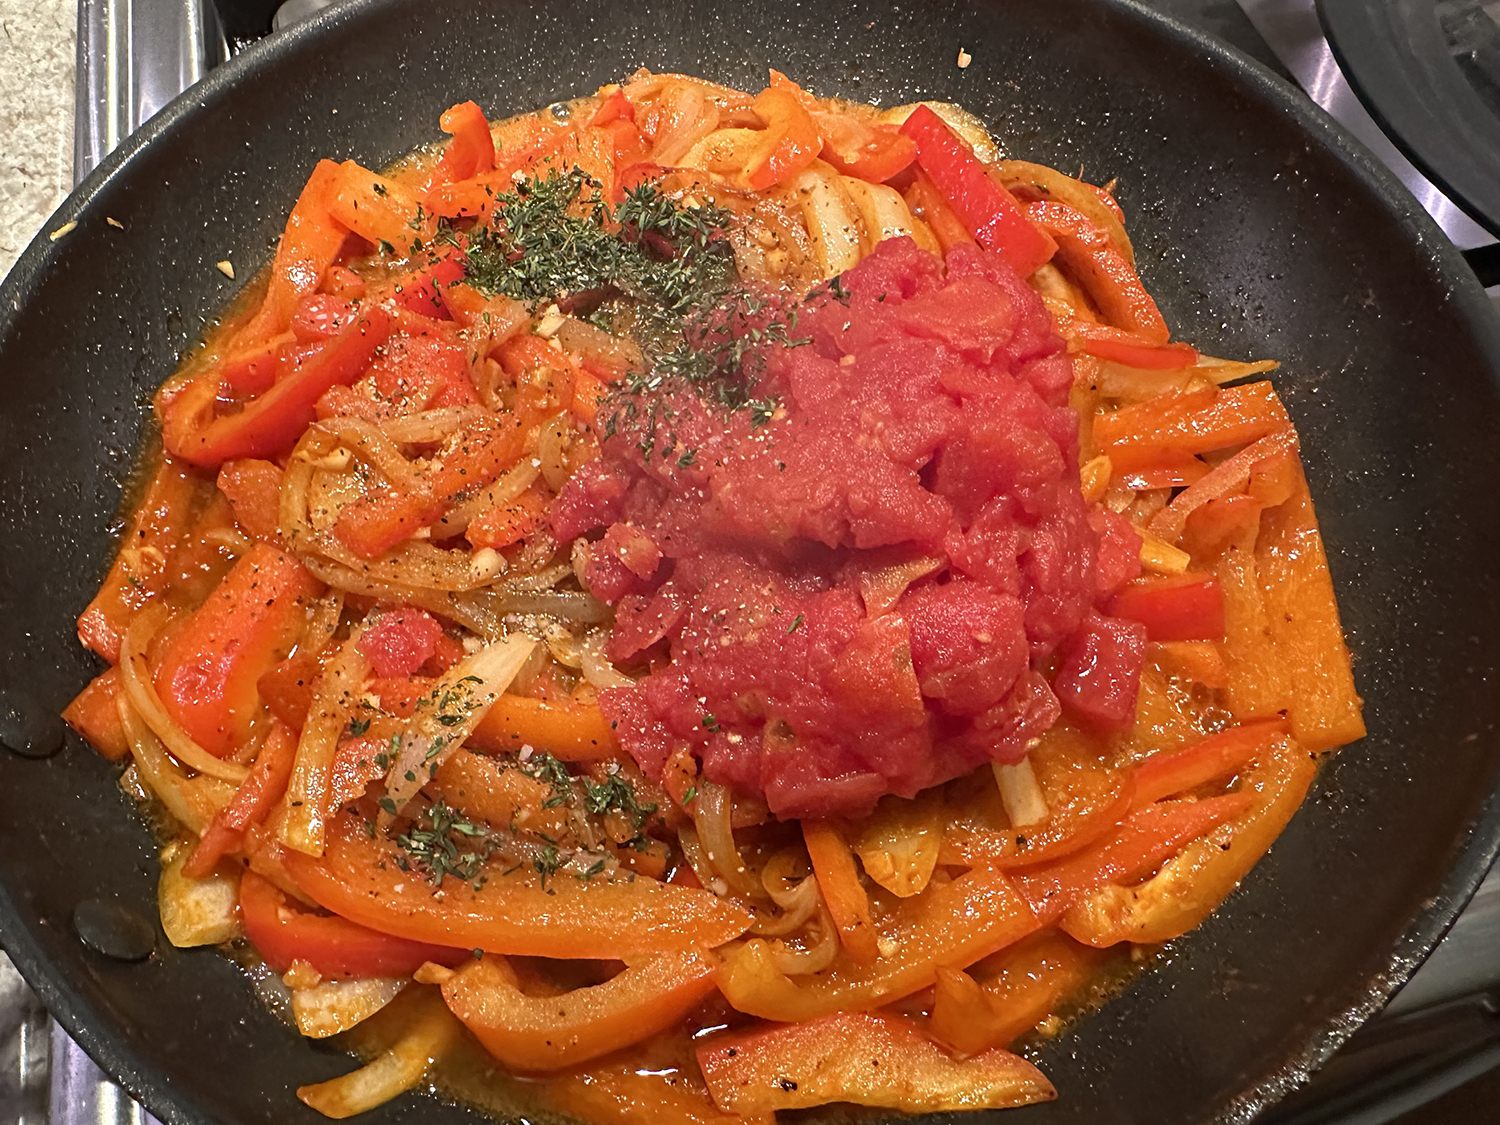
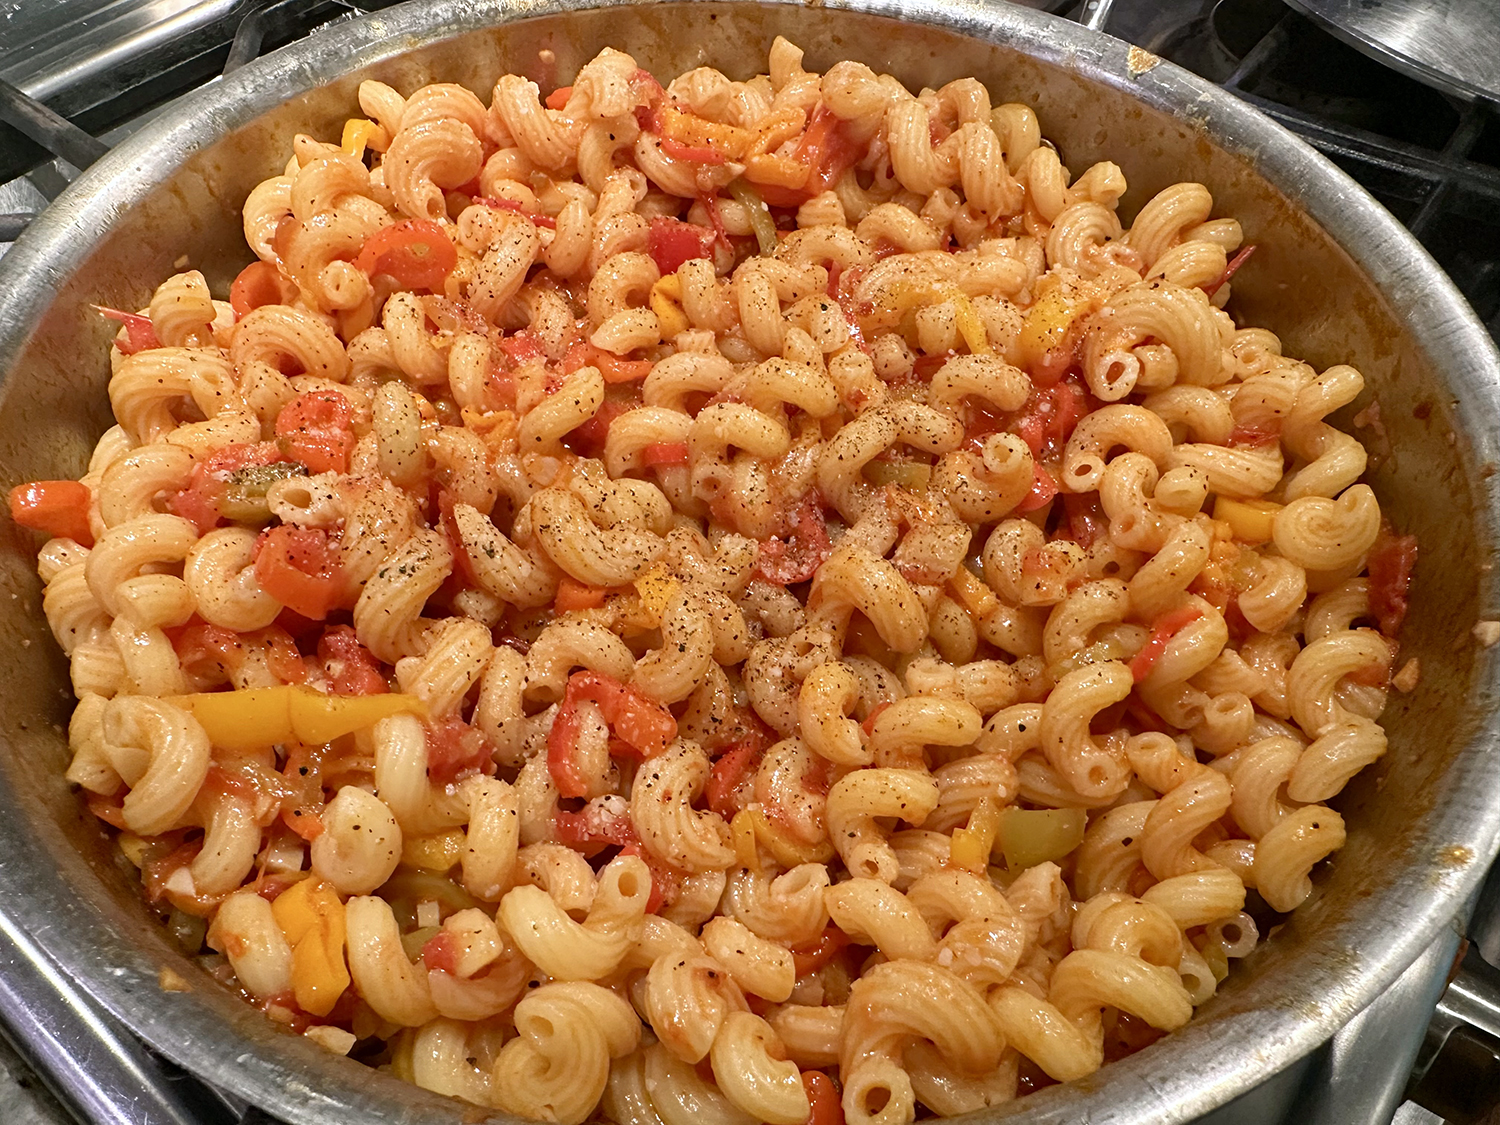
- In a 12-inch skillet over medium, heat the oil until shimmering. Add the tomatoes, sweet peppers, cubanelle pepper, garlic, tomato paste, pepper flakes, ½ teaspoon salt and ¼ teaspoon black pepper. Stir, then cover and cook, stirring occasionally, until the tomatoes burst and the peppers have softened, 8 to 10 minutes.
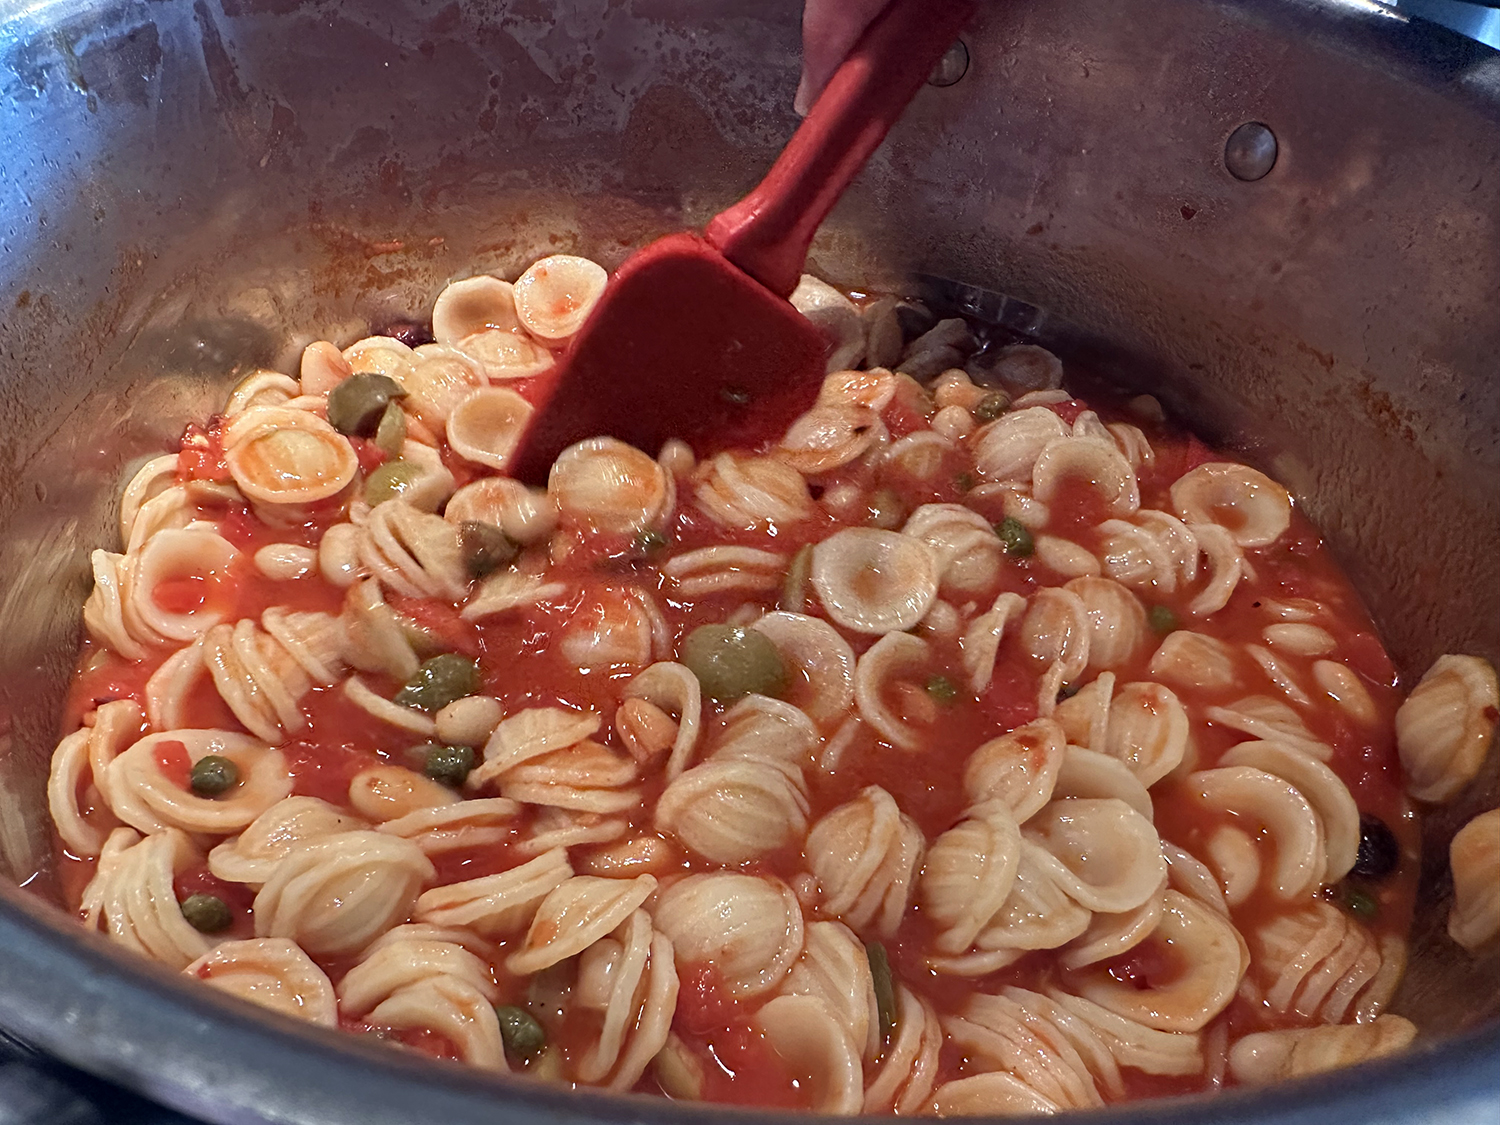
- Stir in ¼ cup reserved pasta water, scraping up the browned bits, then add to the pasta along with another ¼ cup reserved pasta water. Cook over medium, stirring, until the pasta is al dente, about 2 minutes. If needed, adjust the consistency with additional reserved pasta water.
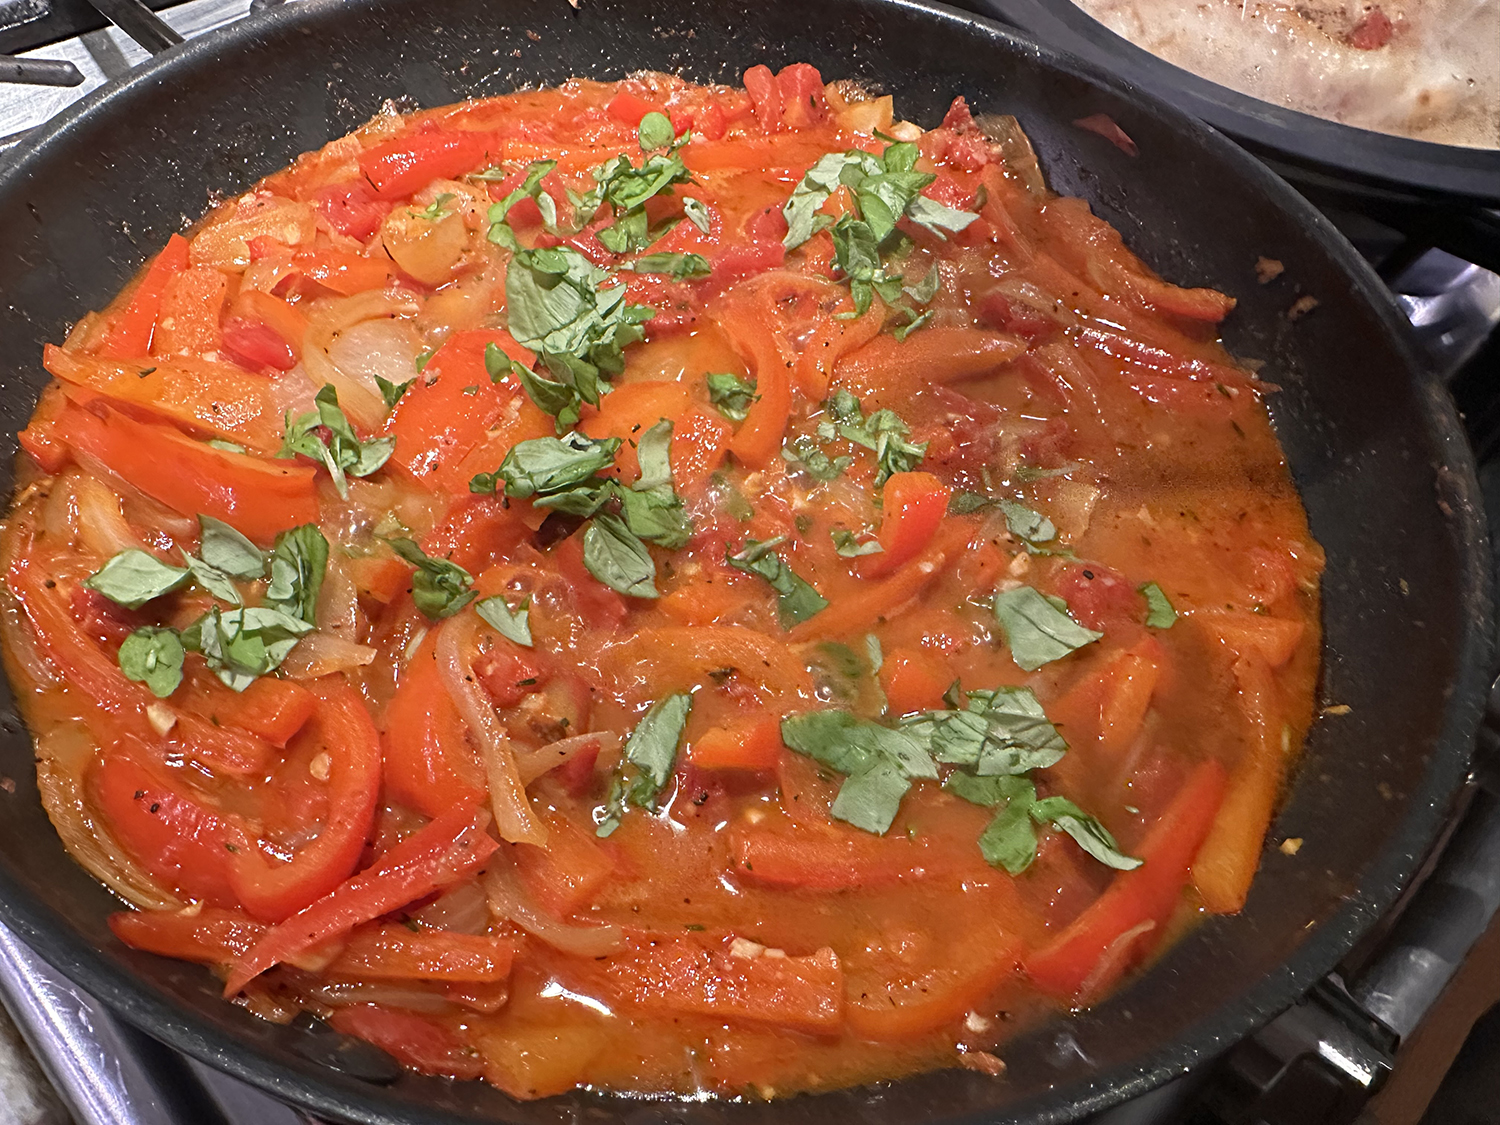
- Off heat, taste and season with salt and black pepper. Serve drizzled with additional oil and sprinkled with the basil and cheese.
Adapted from a recipe by Courtney Hill for Milk Street