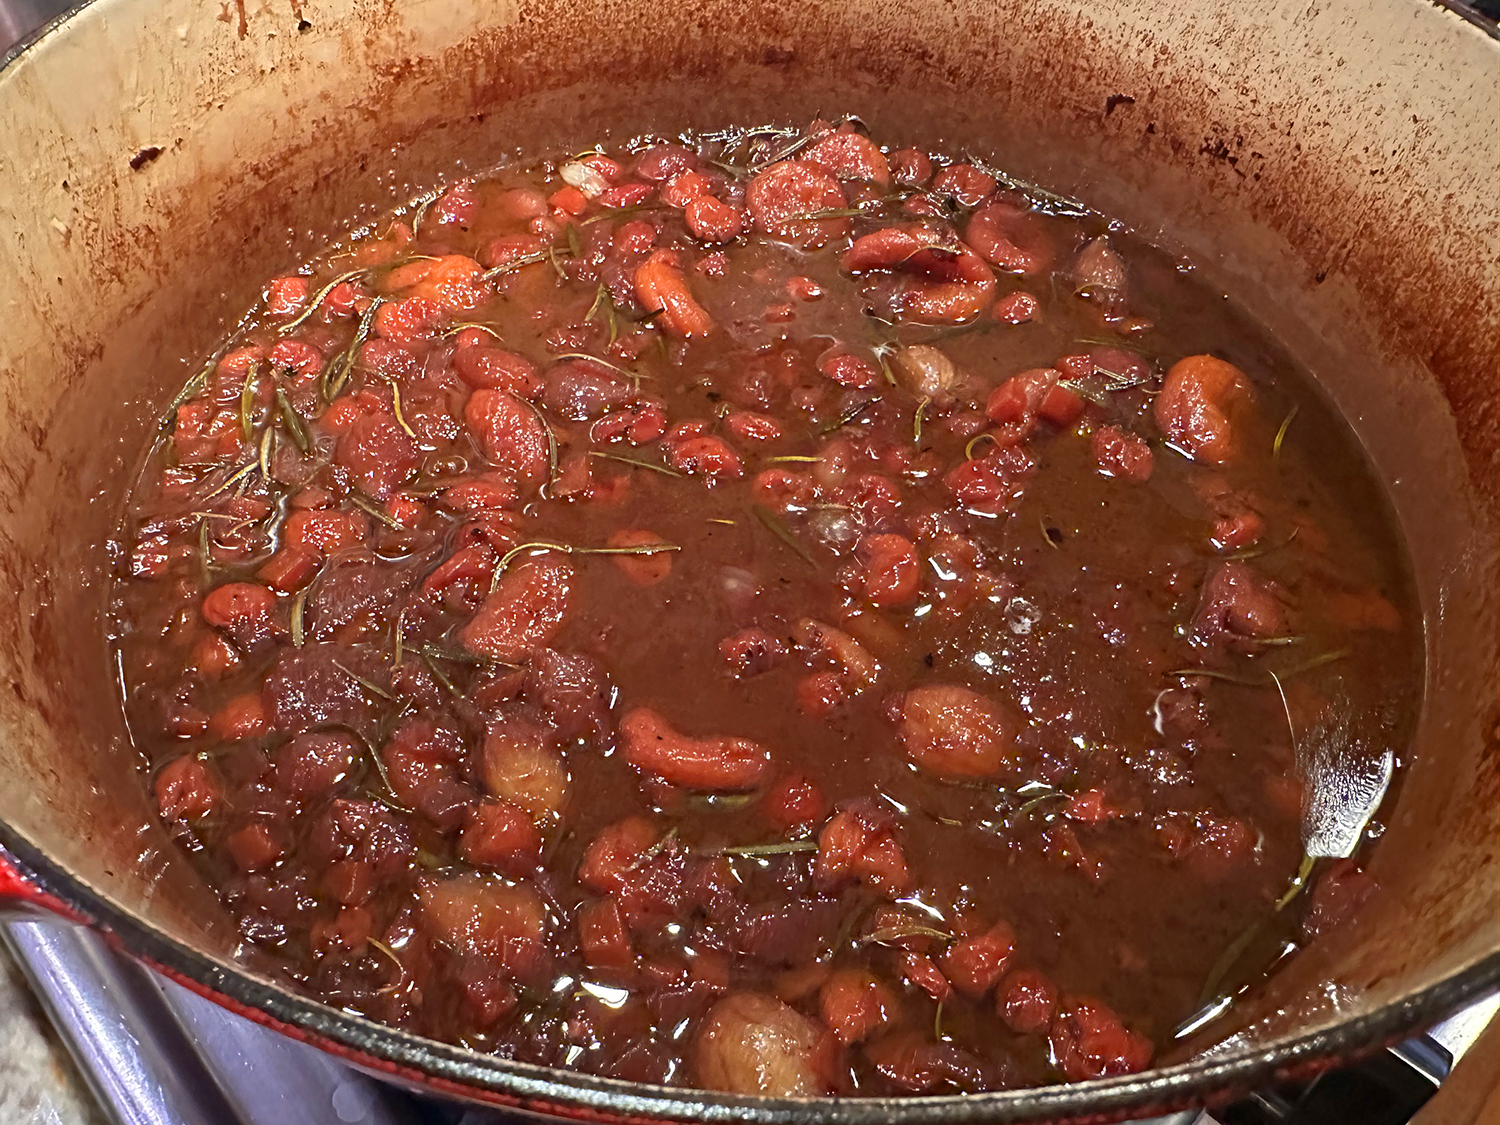
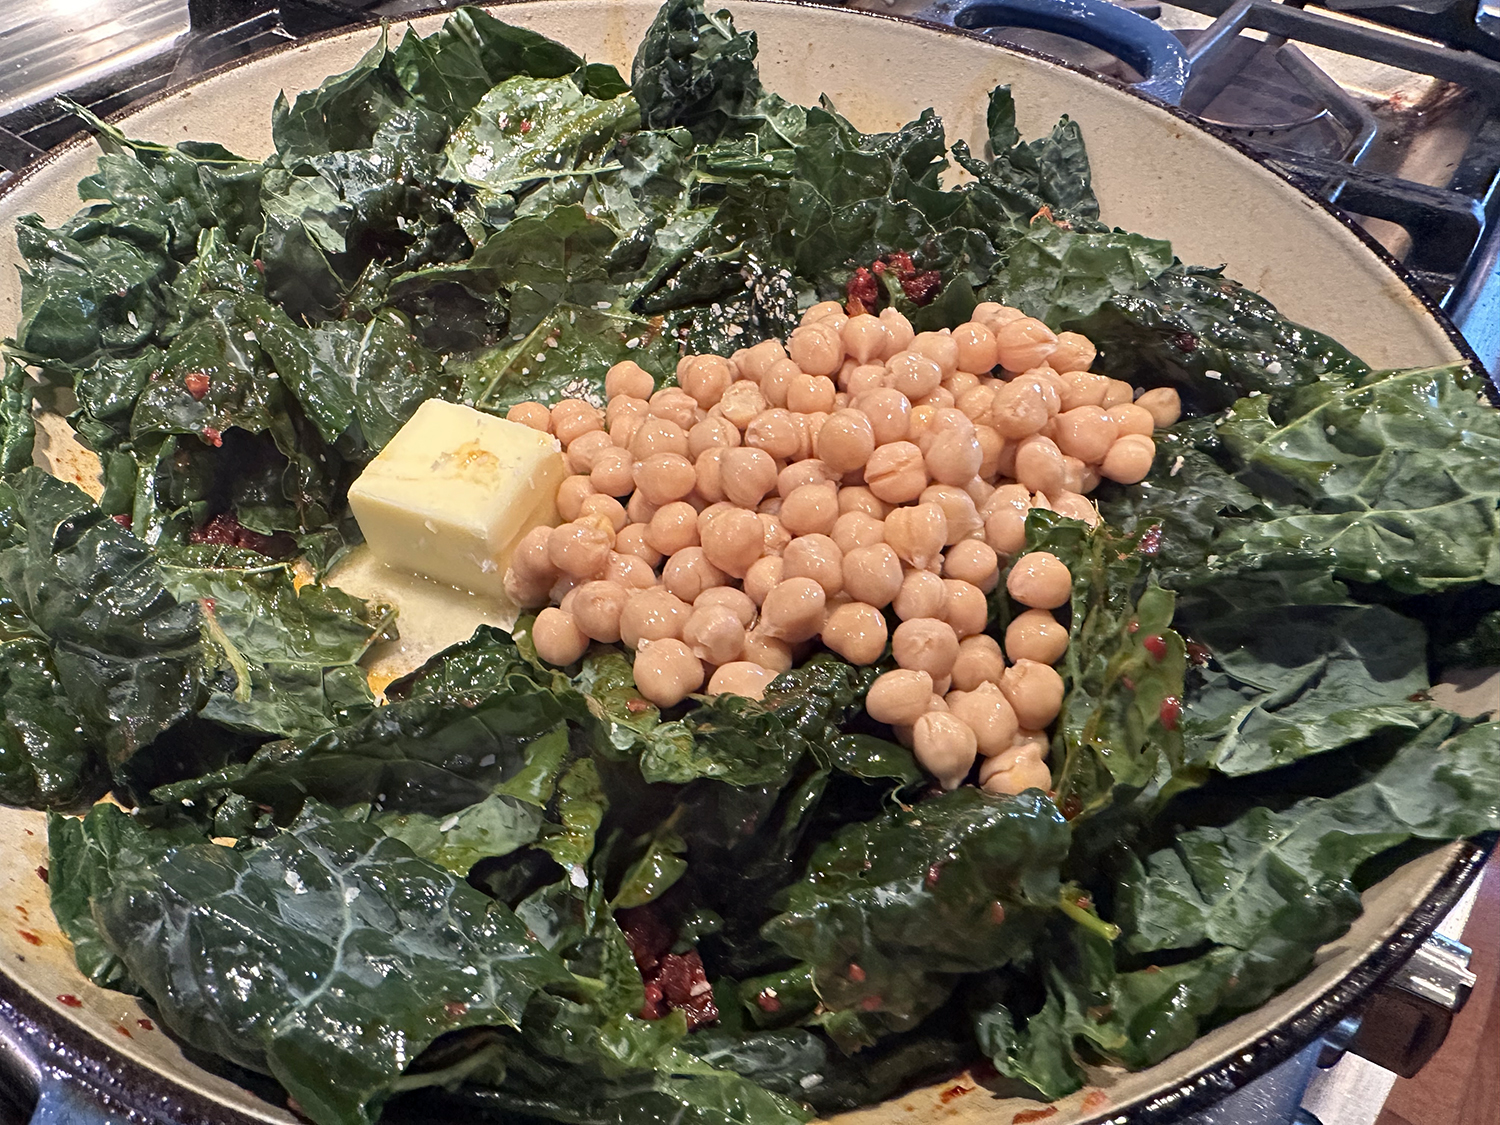
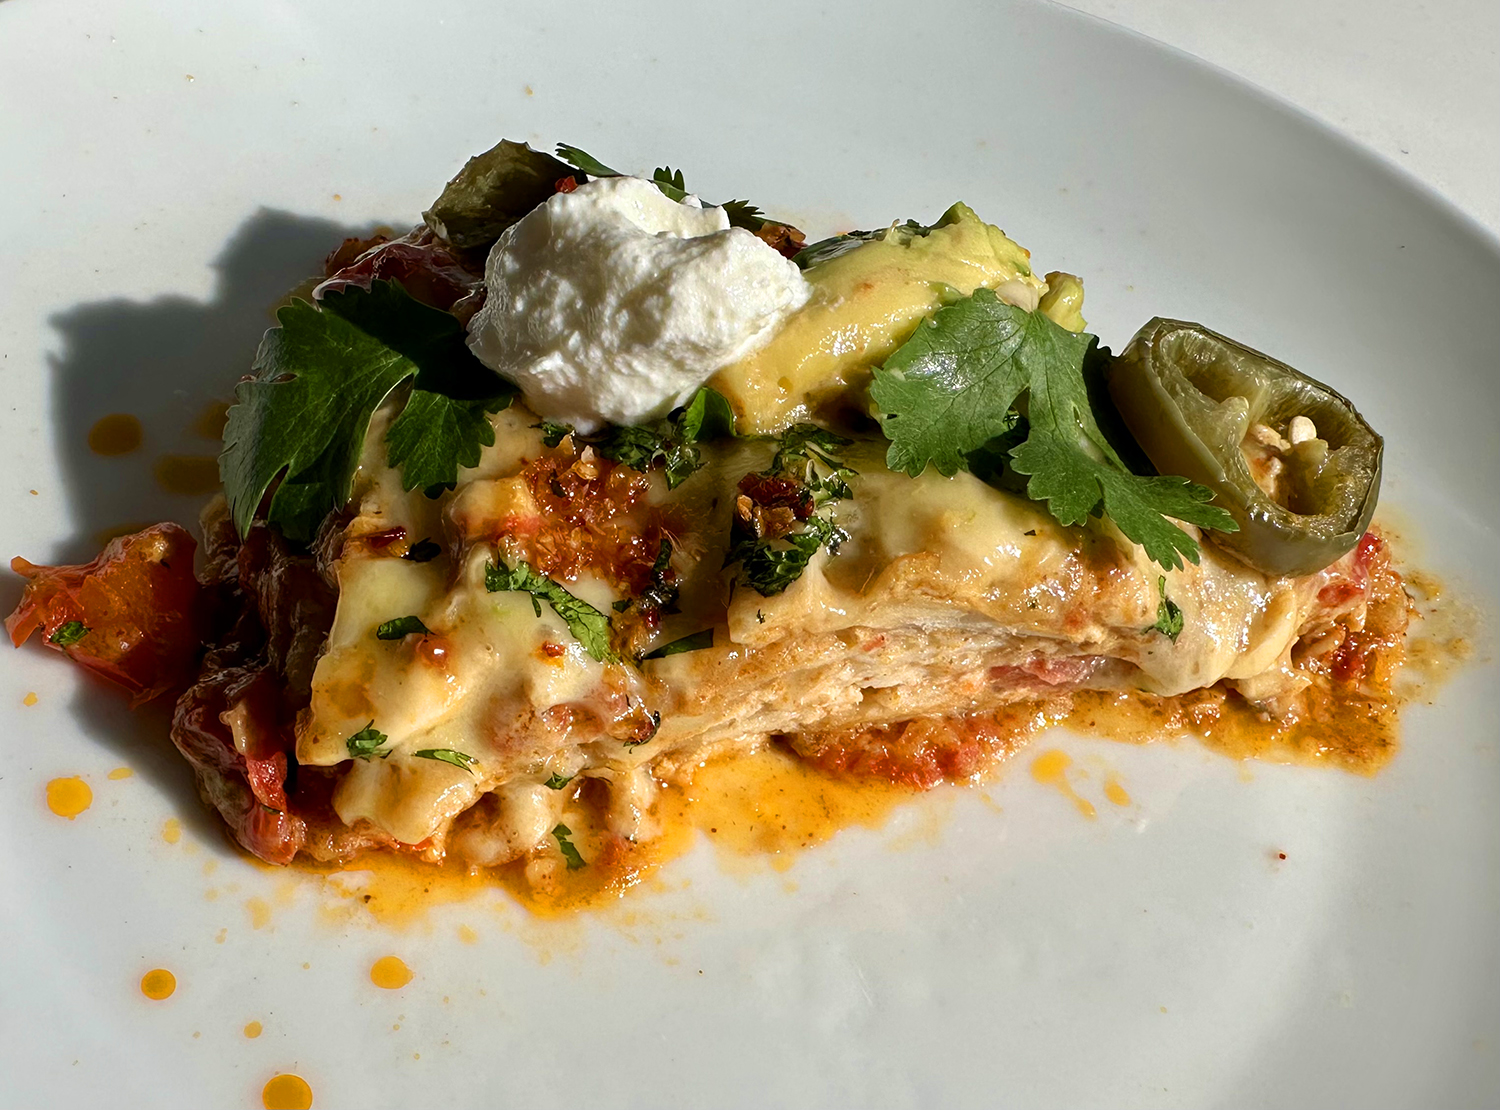
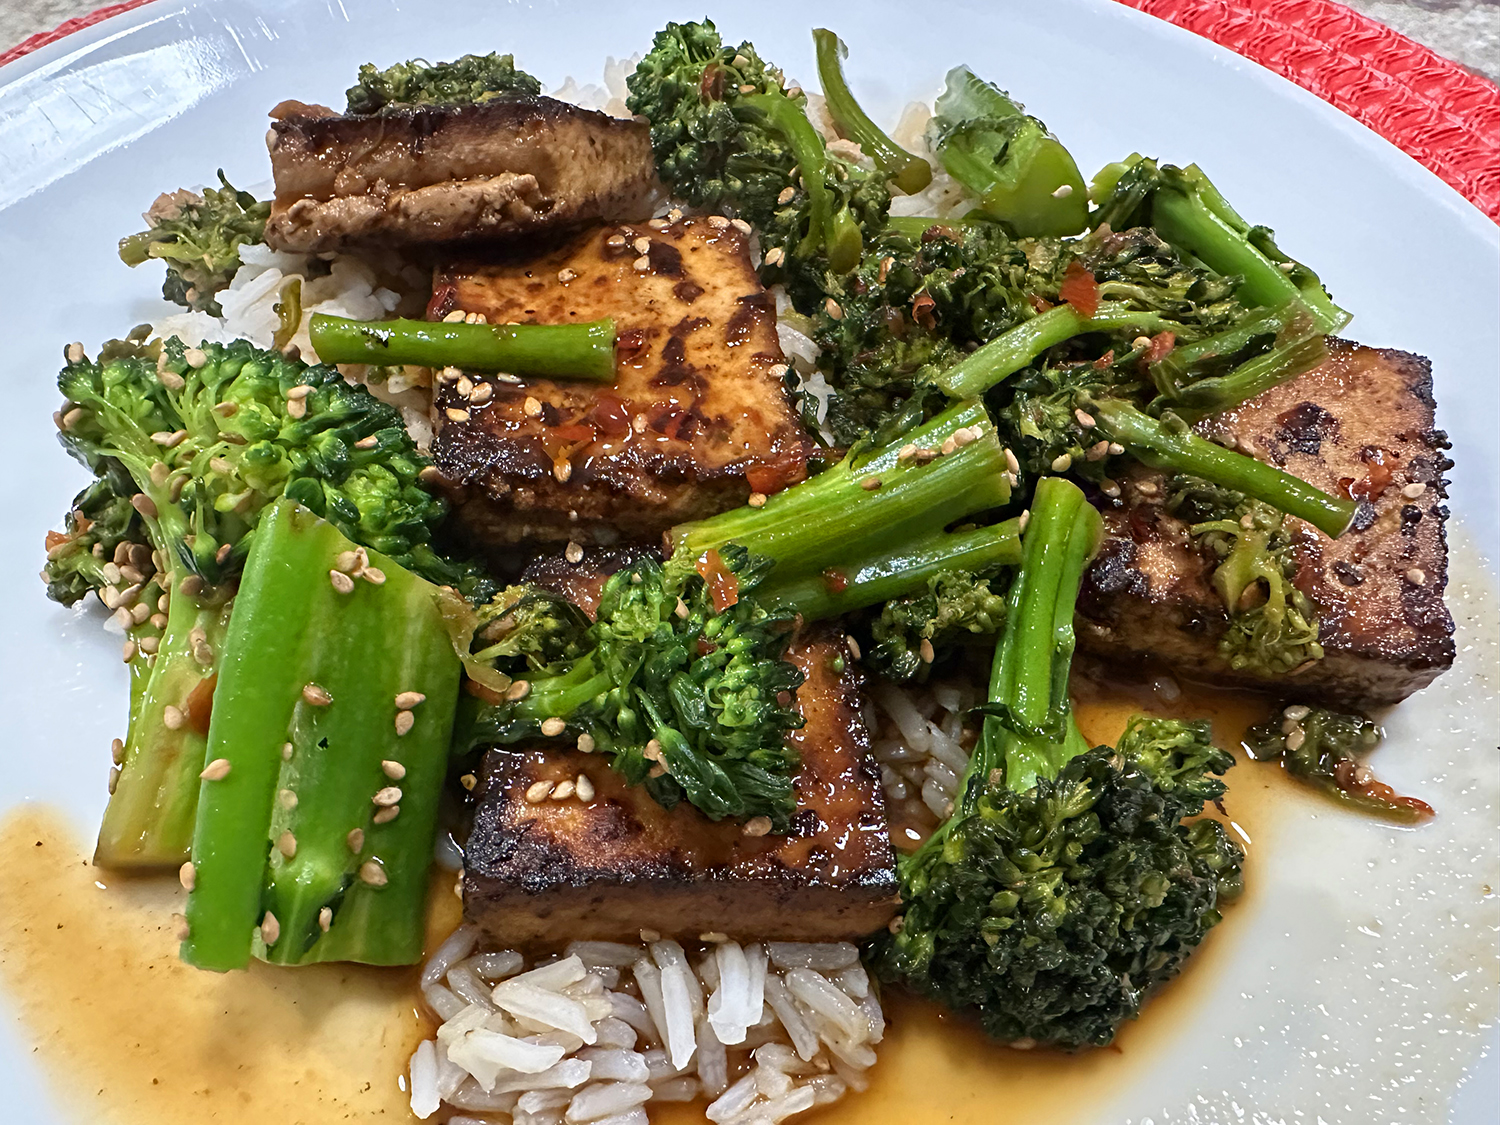
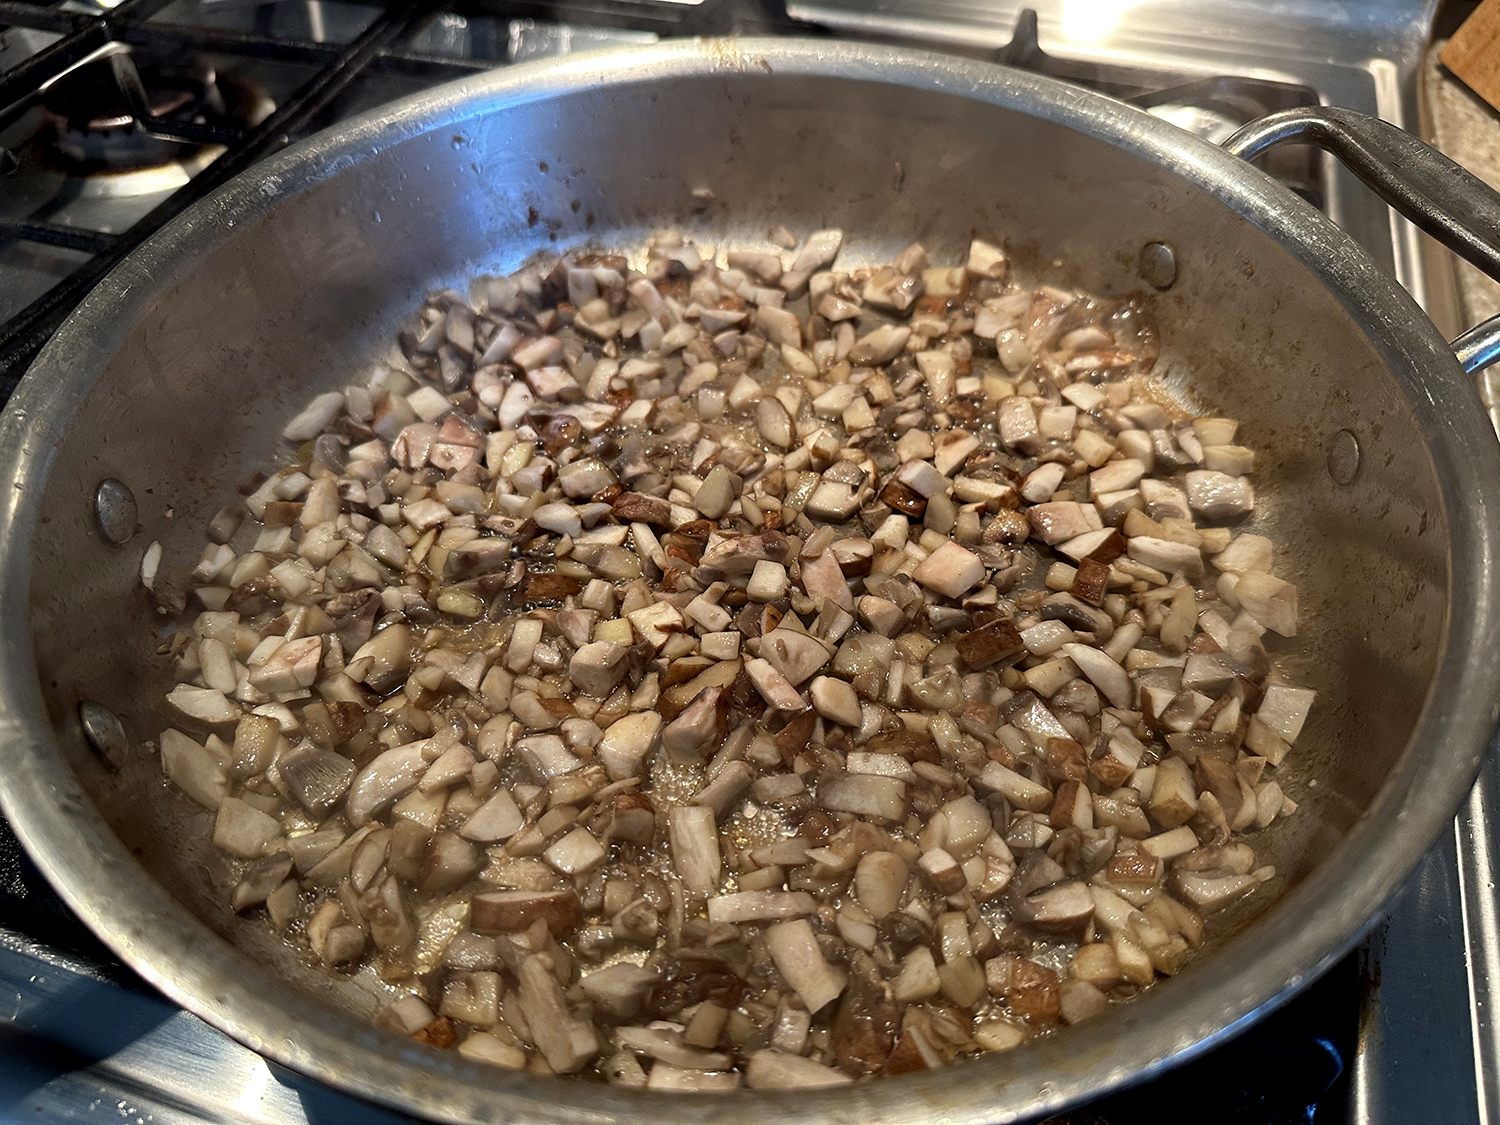
Over eight years ago I posted a very similar stuffed pepper recipe but haven’t made them since, so I thought it was time for a redo. While much of the veggie-forward ingredients and directions remain the same, there are a few differences here. For one, I switched out the zucchini and instead used cremini mushrooms. Another is when I added the tomato sauce…
Since peppers vary in size, you will get anywhere from four to six servings. Using four large (not necessarily tall), I still had enough meat mixture leftover to fill a fifth pepper (which I packaged for another day).
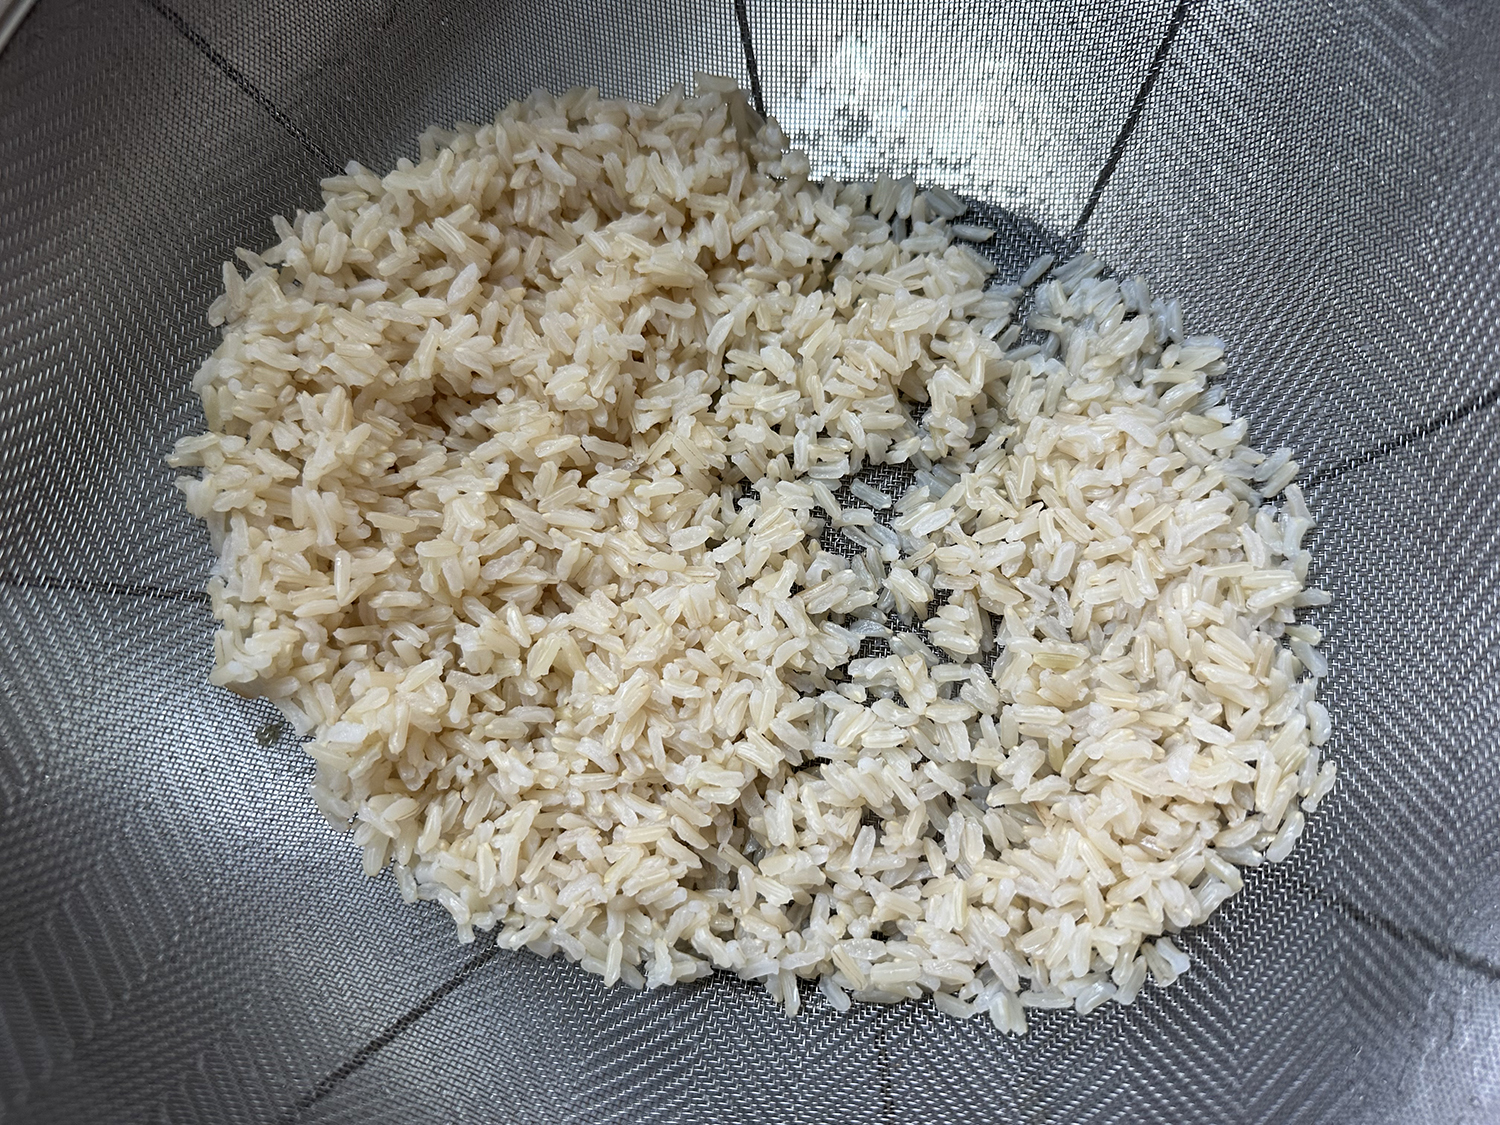
As I noted eight years ago, there’s the debate about which rice to use, white or brown? There are pluses and minuses to each. The upside is, brown rice, unlike white rice, still has the side hull and bran. Other facts:
The Good—
- Brown rice has more micronutrients: magnesium, phosphorus, and potassium. It also has a lot of manganese, selenium, and copper.
- Brown rice has a lower glycemic index than white rice.
- The fiber content of brown rice keeps bowel function at it’s peak since it makes digestion that much easier.
The Bad—
- Brown rice has 43 more calories per cup than white rice.
- Brown rice has 7g more carbohydrates per cup than white rice.
The Ugly—
- That would only pertain to those who have a rice allergy…
Alright, the rice choice is totally up to you and those who will be eating the stuffed peppers. We opted for brown rice. But no matter which choice you make, you have to cook the rice before it is used in the stuffing.
To make the meal more weeknight-friendly, make the recipe on a Sunday afternoon up to the first line of Step 7, and then refrigerate them over night. It sure makes for an easy dinner prep the next day.

Veggie-Forward Stuffed Peppers
Ingredients
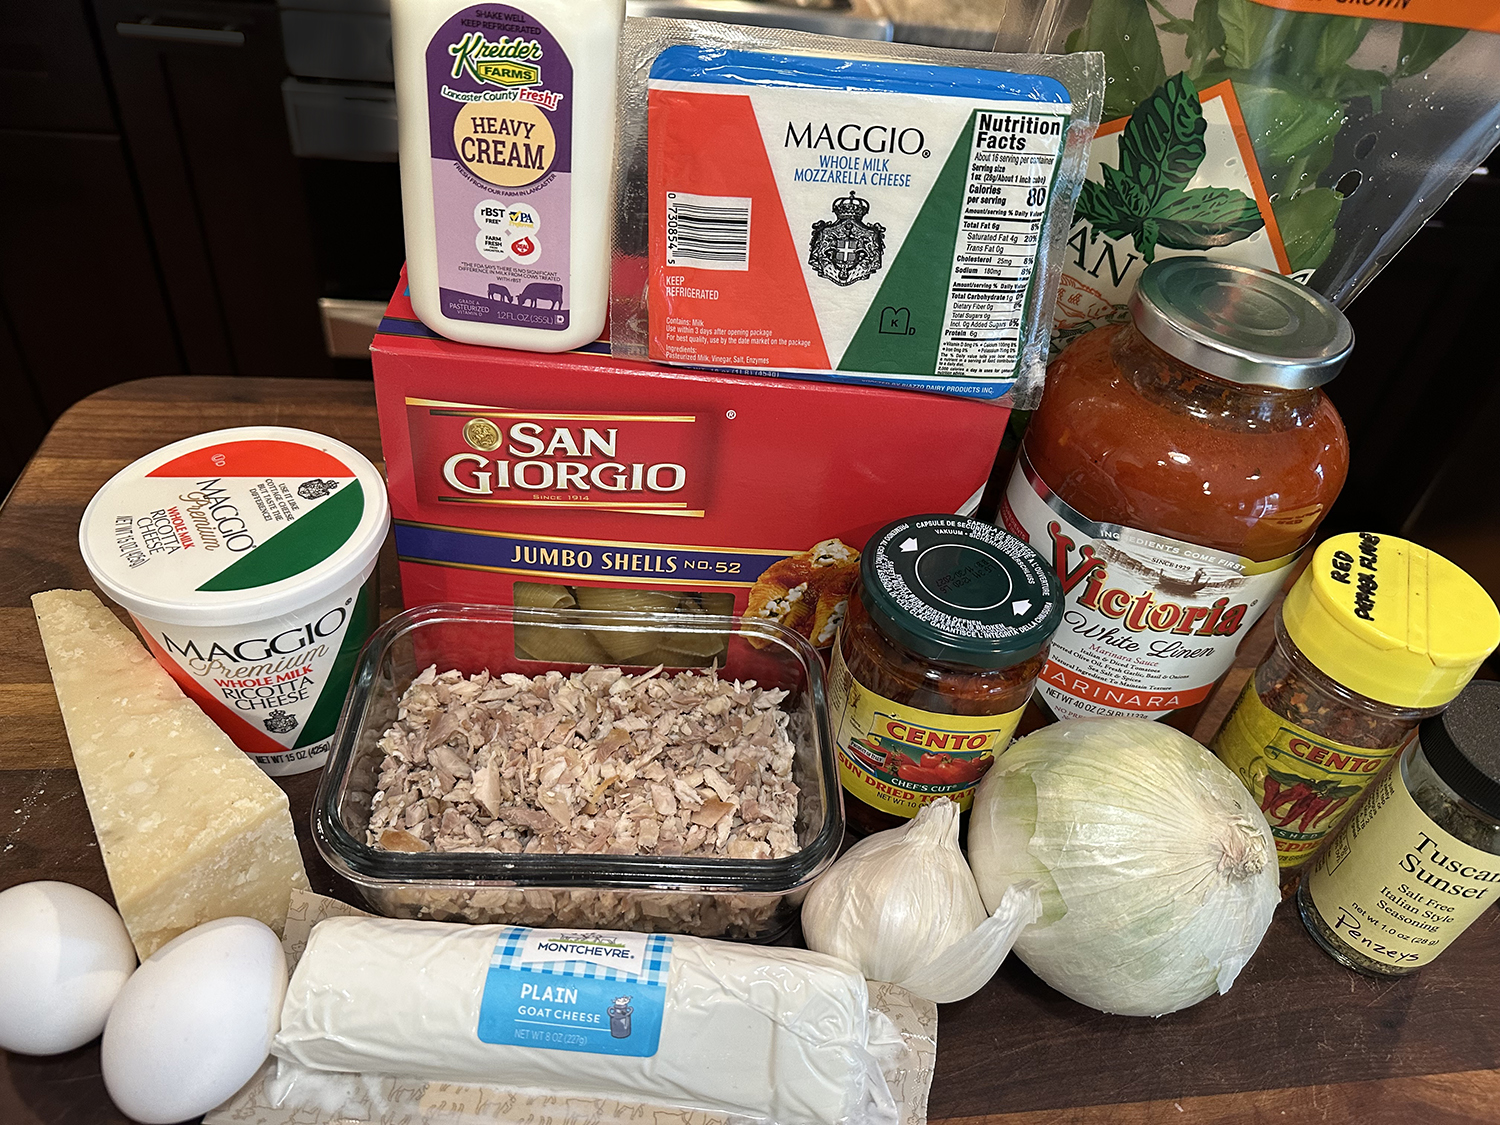
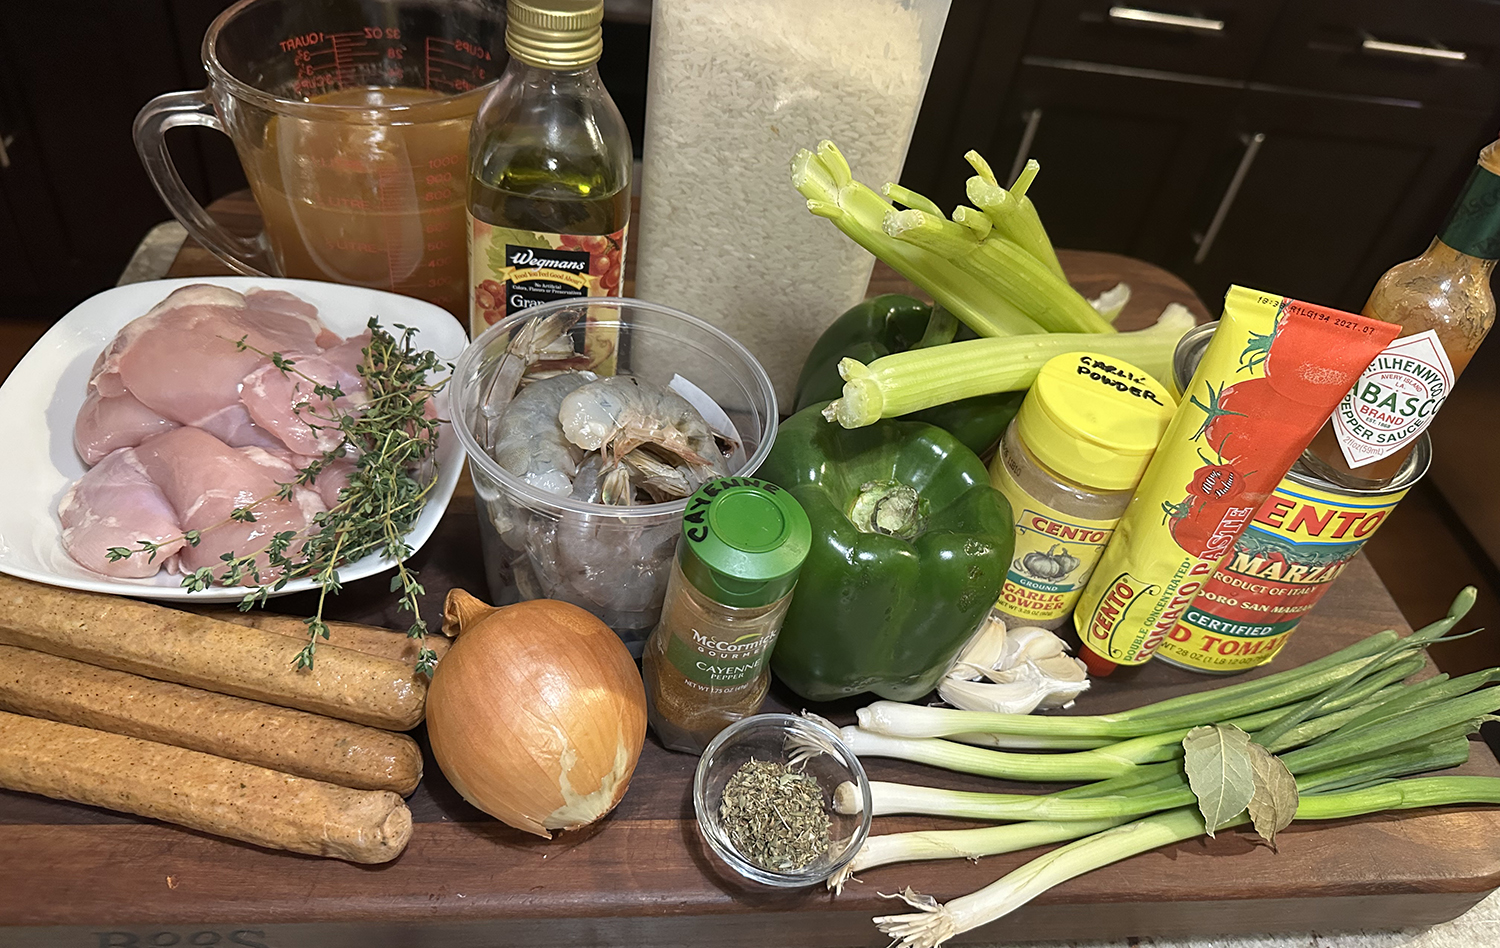
- 1 1/2 lbs. lean ground meatloaf mixture (beef, veal, pork)
- 4 large bell peppers, a mix of colors
- 5 Tbsp. olive oil
- Kosher salt and freshly ground black pepper
- 4 cloves garlic, finely minced
- 1 onion, finely diced
- 1 medium zucchini or summer squash, finely diced
- 4 plum tomatoes, seeded and finely diced
- 1/2 tsp. red pepper flakes, more to taste
- 1 1/2 cups cooked brown or white long grain rice
- 2 cups tomato sauce, more for topping
- 1 1/2 cups grated pepper Jack cheese


Directions
- Preheat the oven to 350 degrees F.
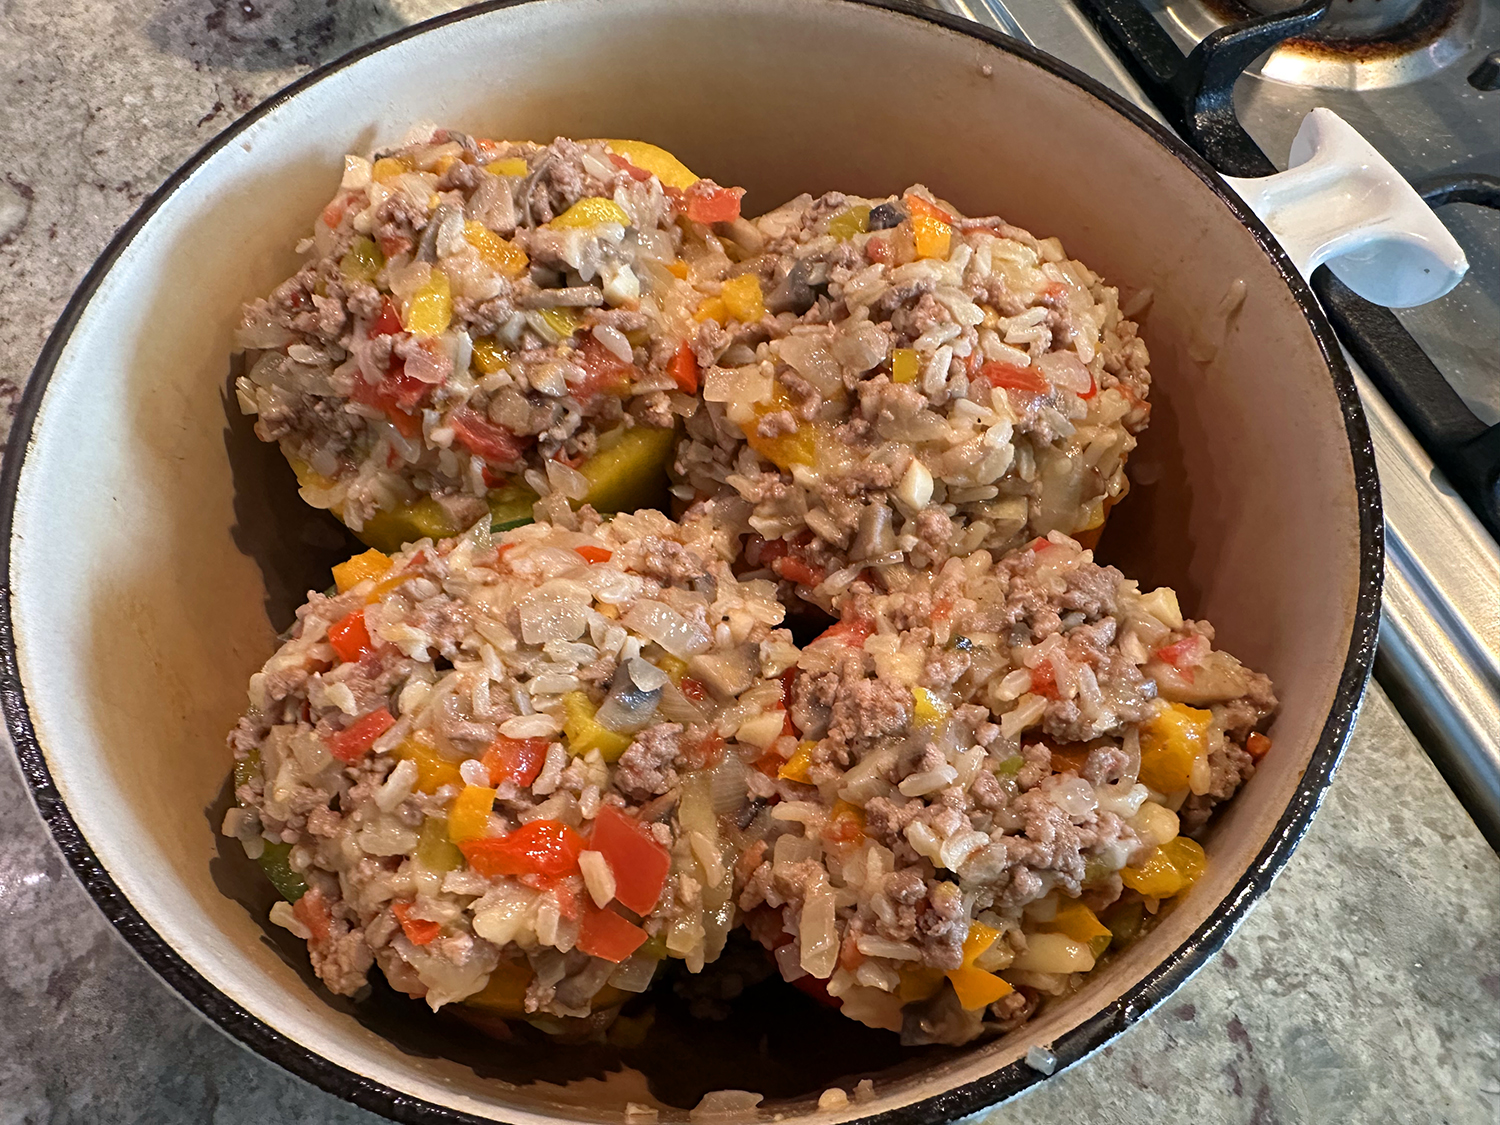
- Cut the tops off the peppers. Remove and discard the stems, then finely chop the tops; set aside. Scoop out the seeds and as much of the membrane as you can. In a baking dish large enough to hold them upright, place the peppers in cut-side up.
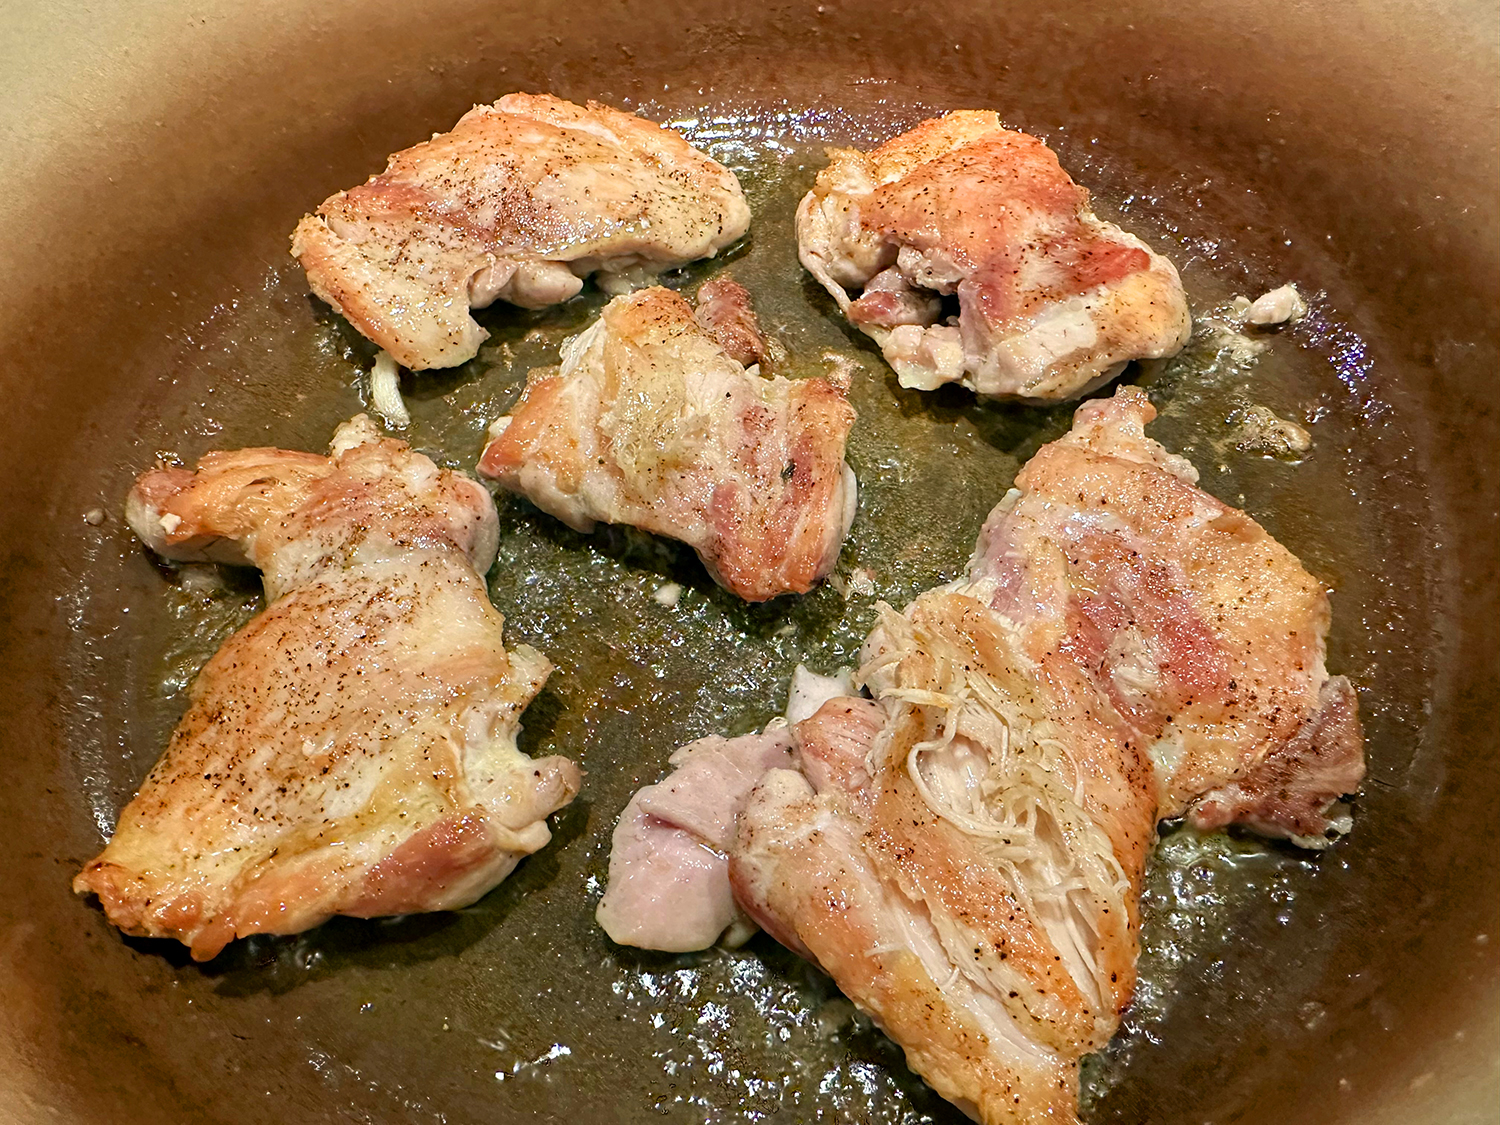
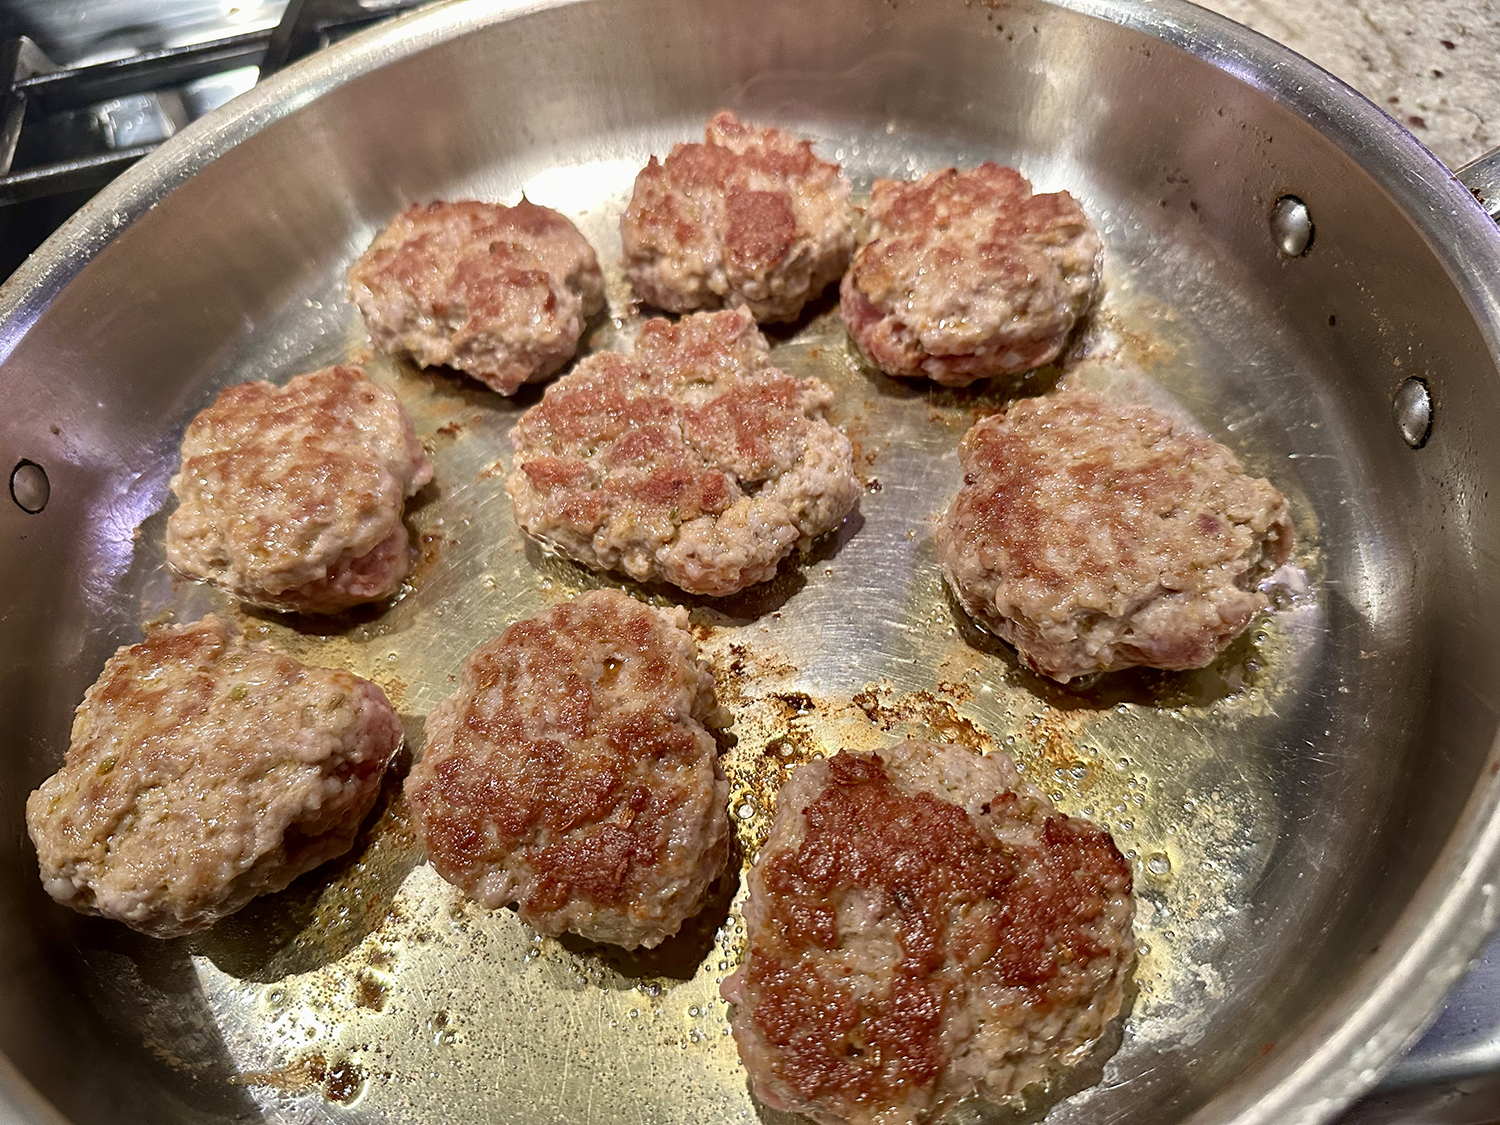
- Heat 2 tablespoons of the olive oil in a large skillet over medium-high heat. Add the meat, season with salt and pepper and cook, breaking up the lumps, until it is cooked through and just beginning to brown, 8 to 10 minutes. Remove as much fat from the pan, then transfer the meat to a paper towel-lined plate to get rid of the remaining fat.
- Wipe out the skillet and add one more tablespoon olive oil. When hot, add the chopped mushroom pieces and stir occasionally for about 4 minutes until lightly browned and most of the moisture is evaporated. Transfer to the plate with the ground meat.
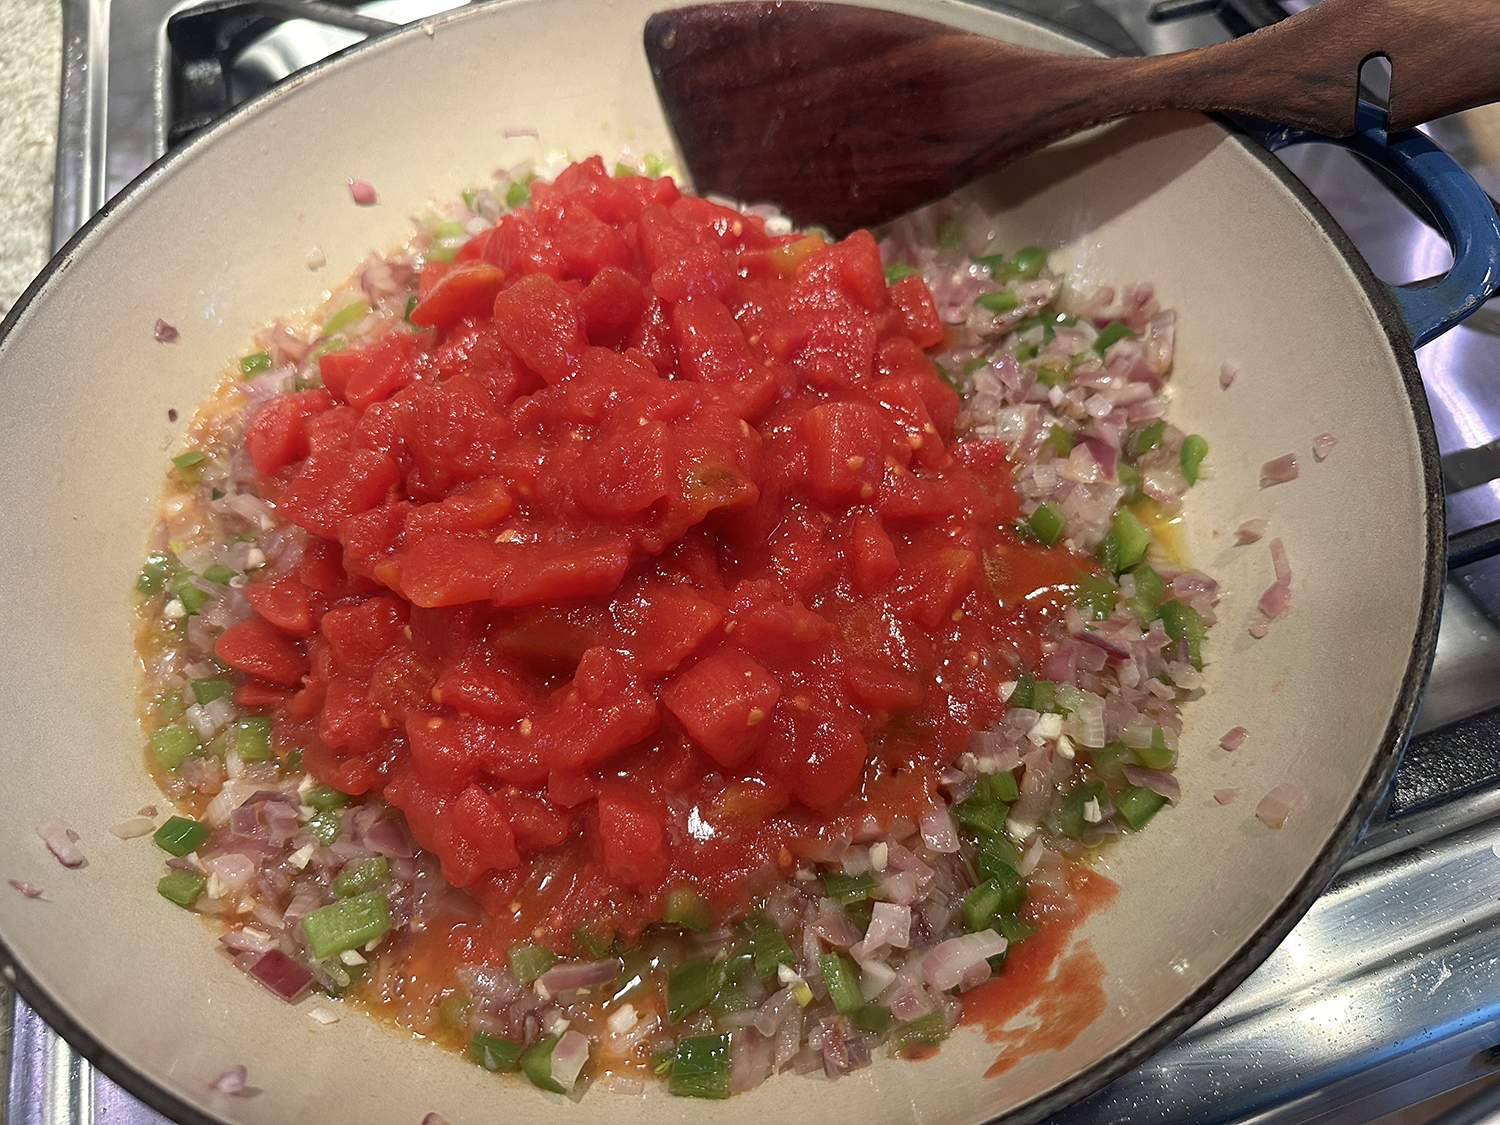
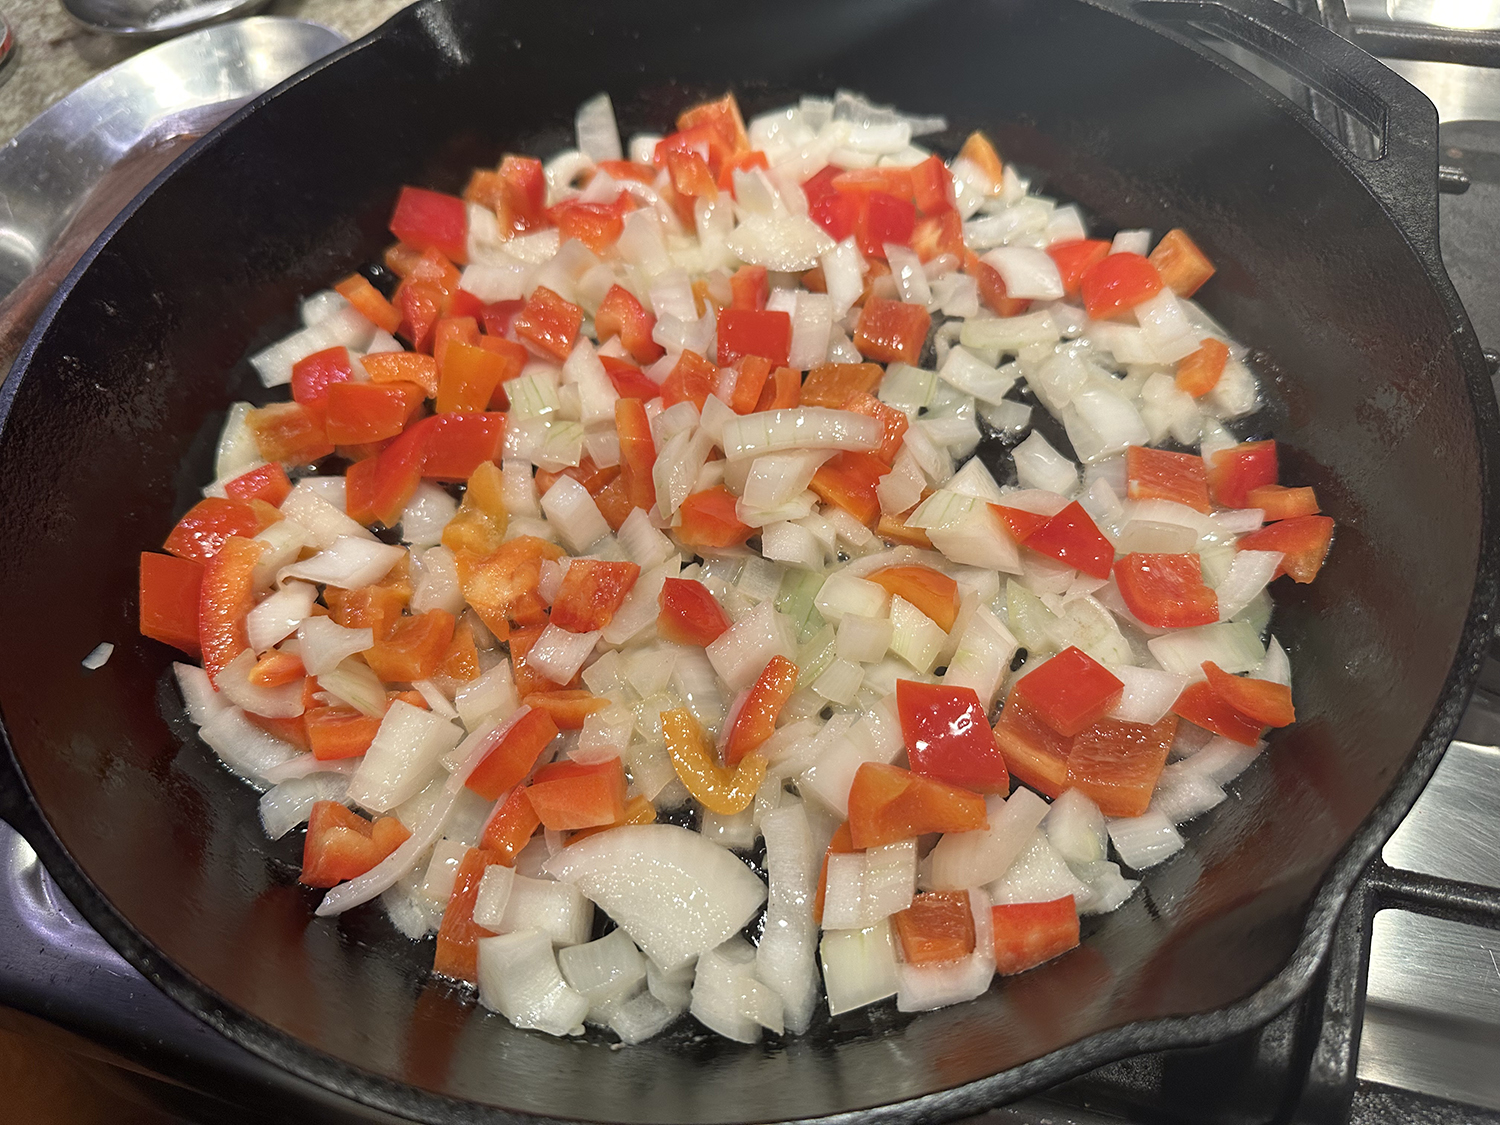
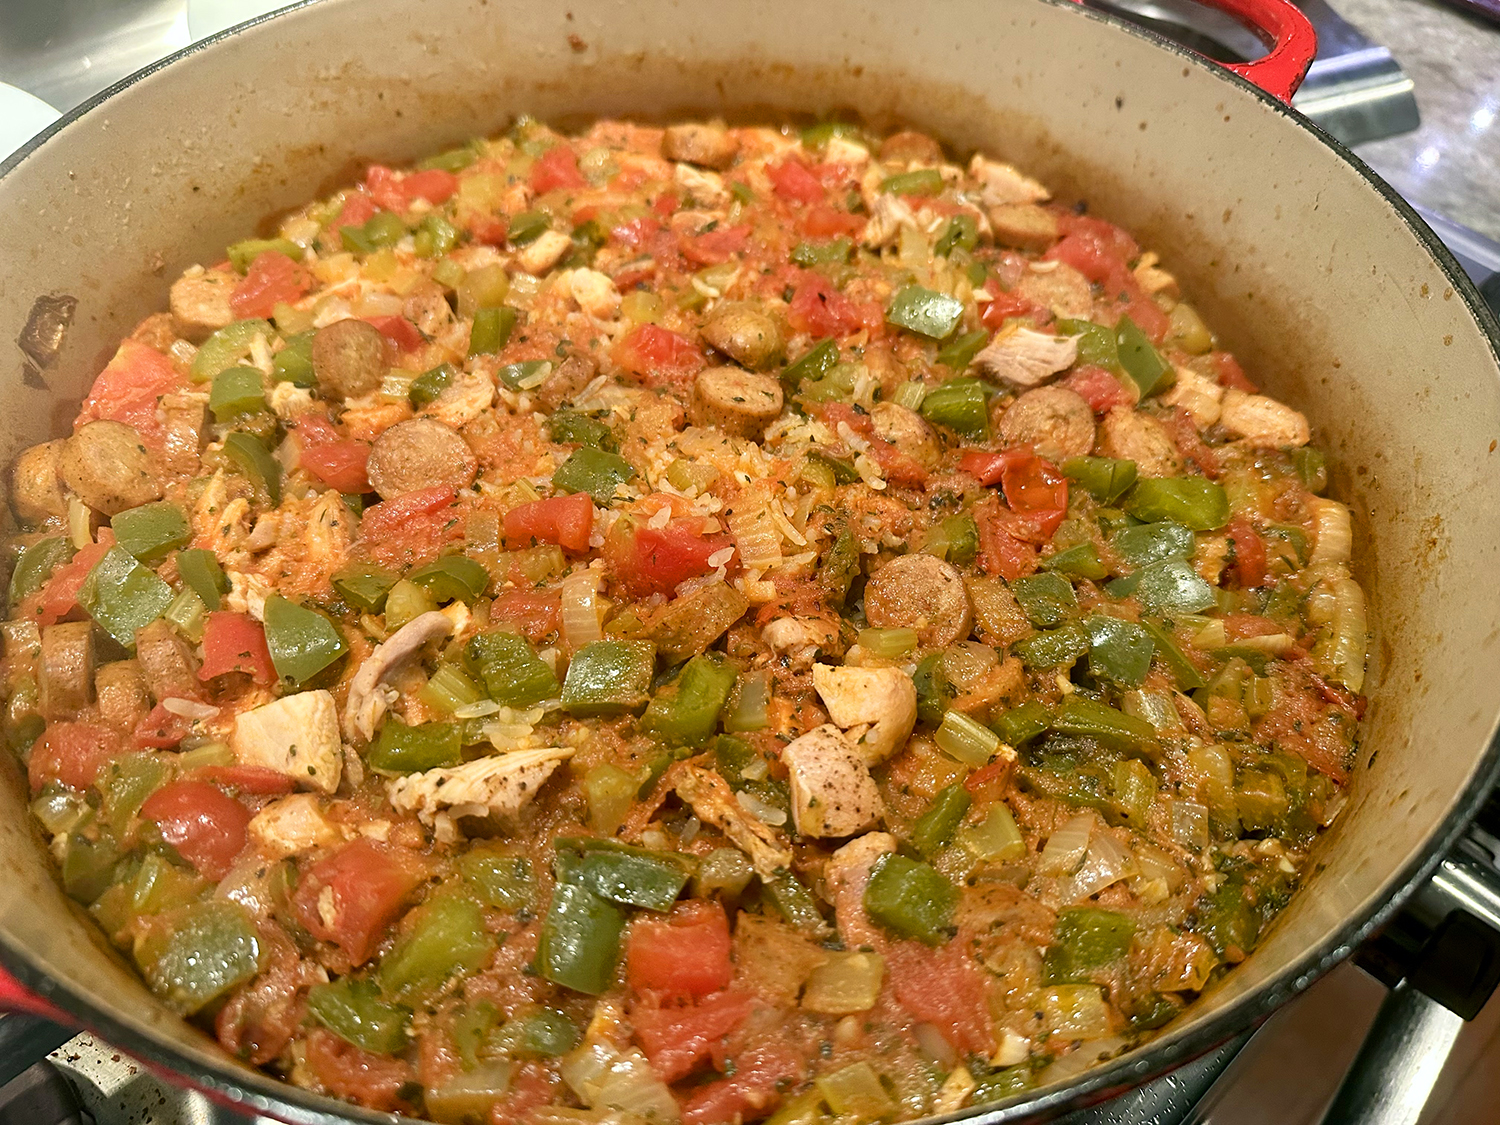
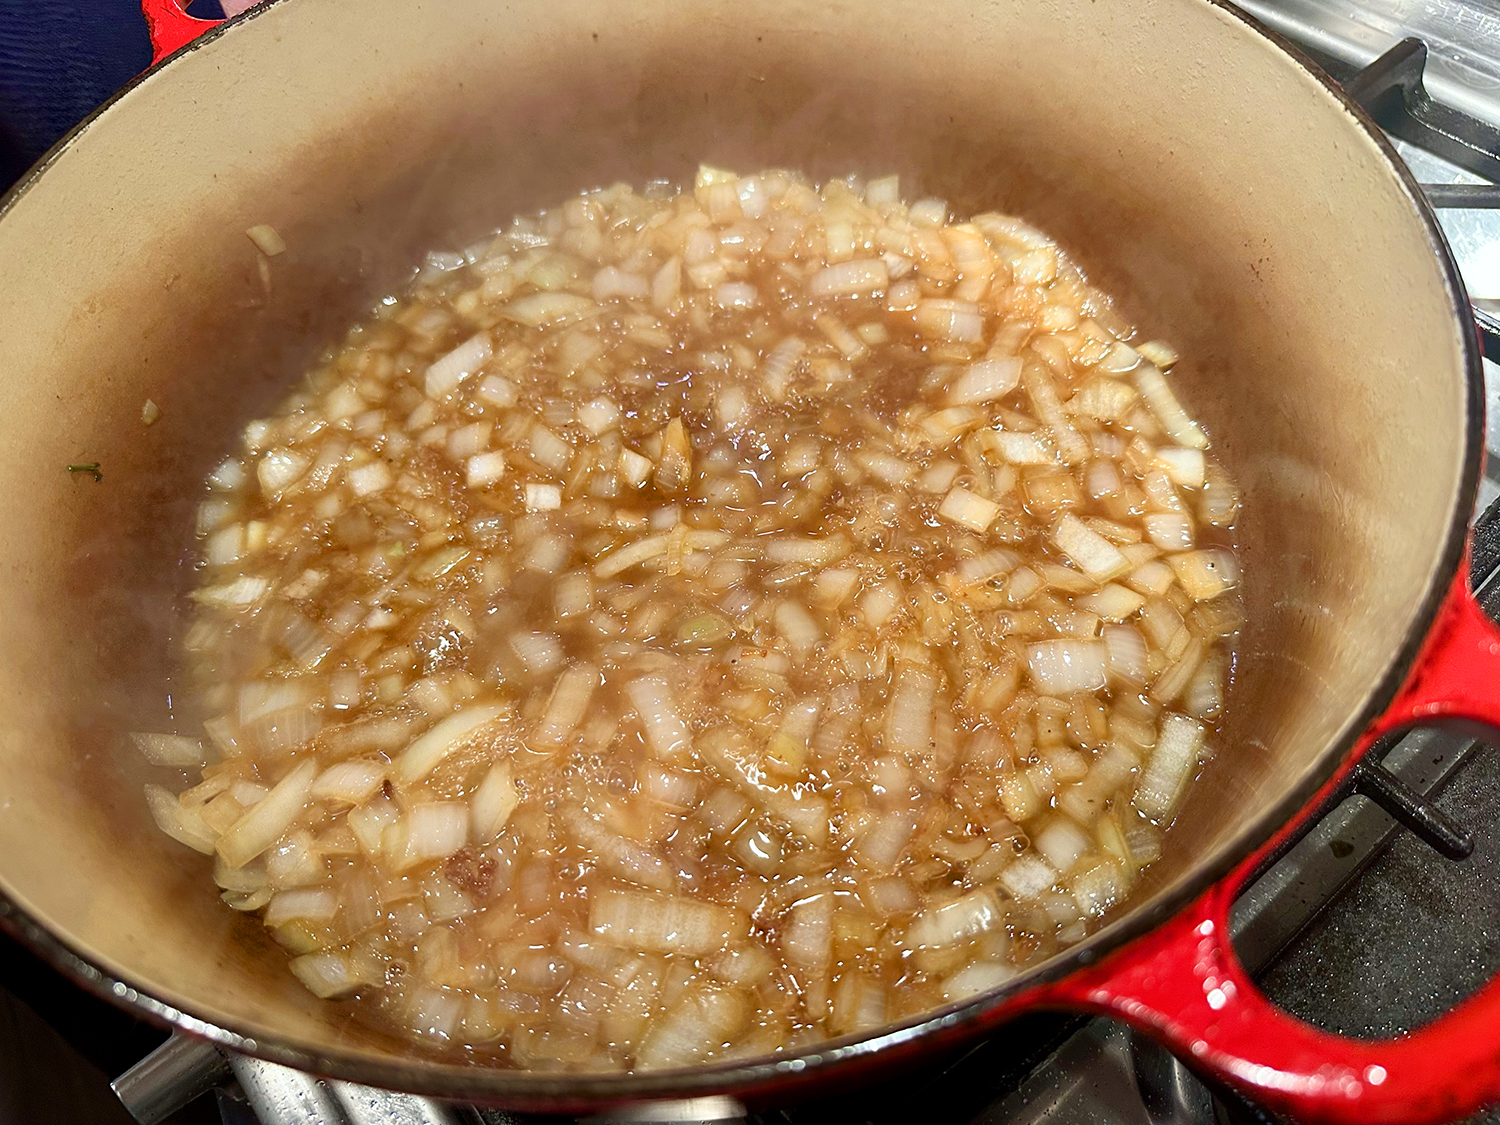
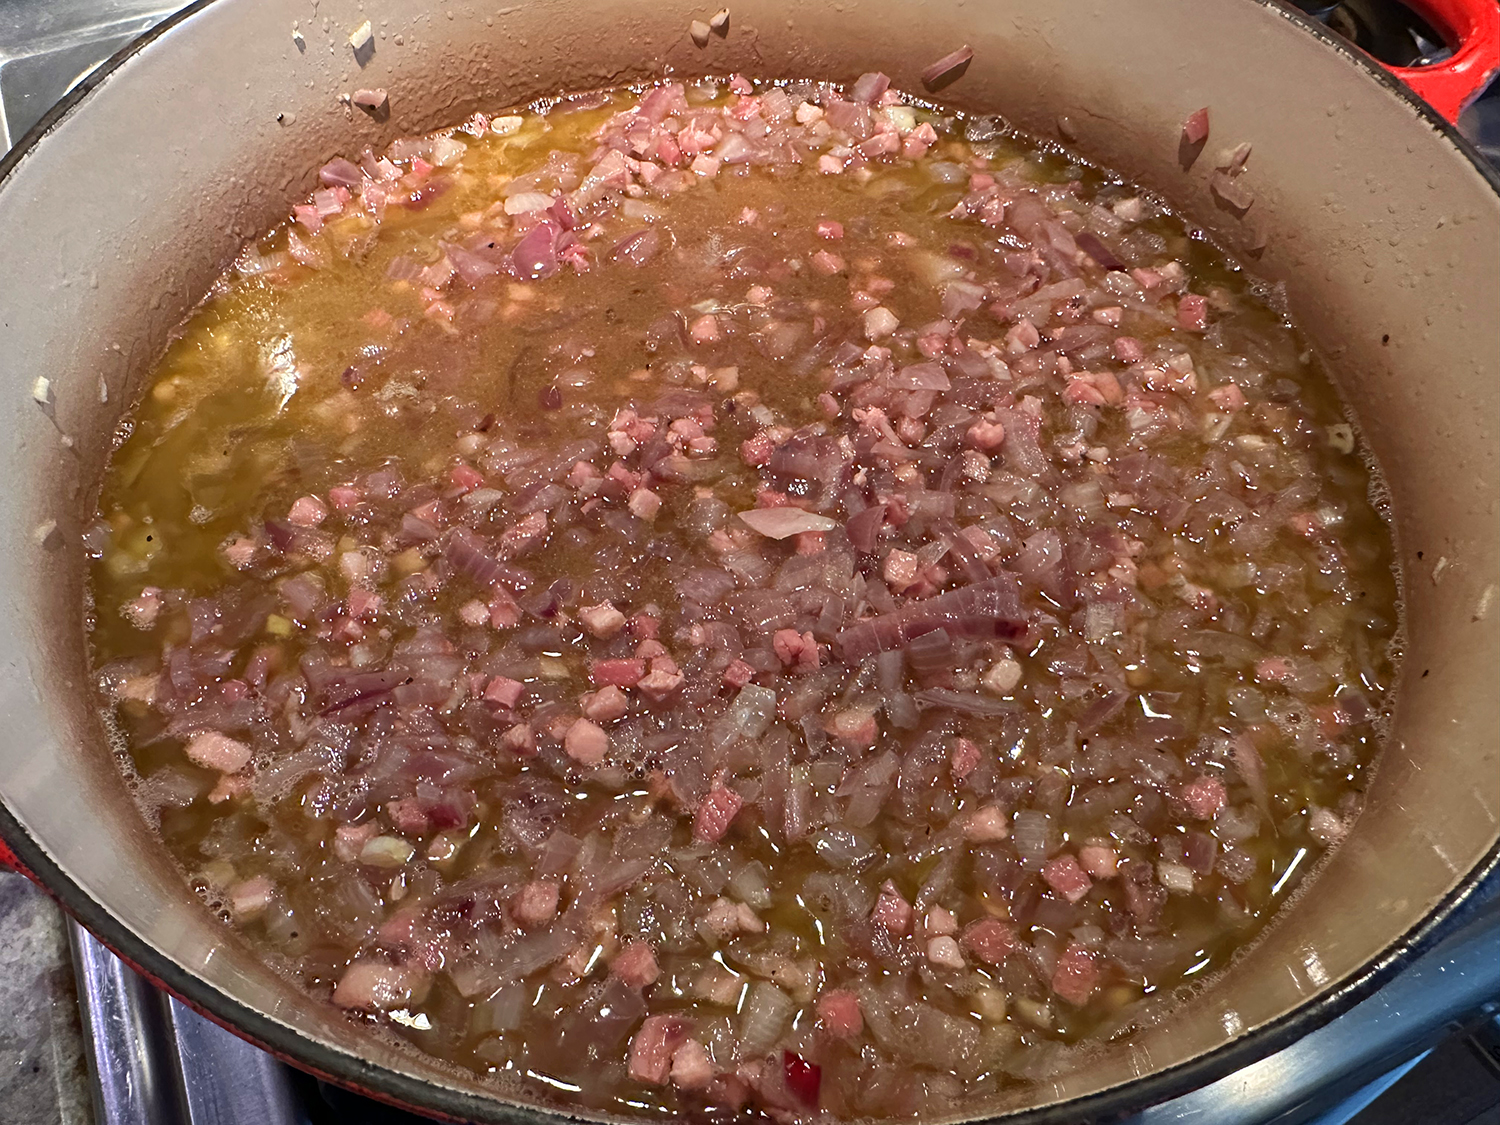
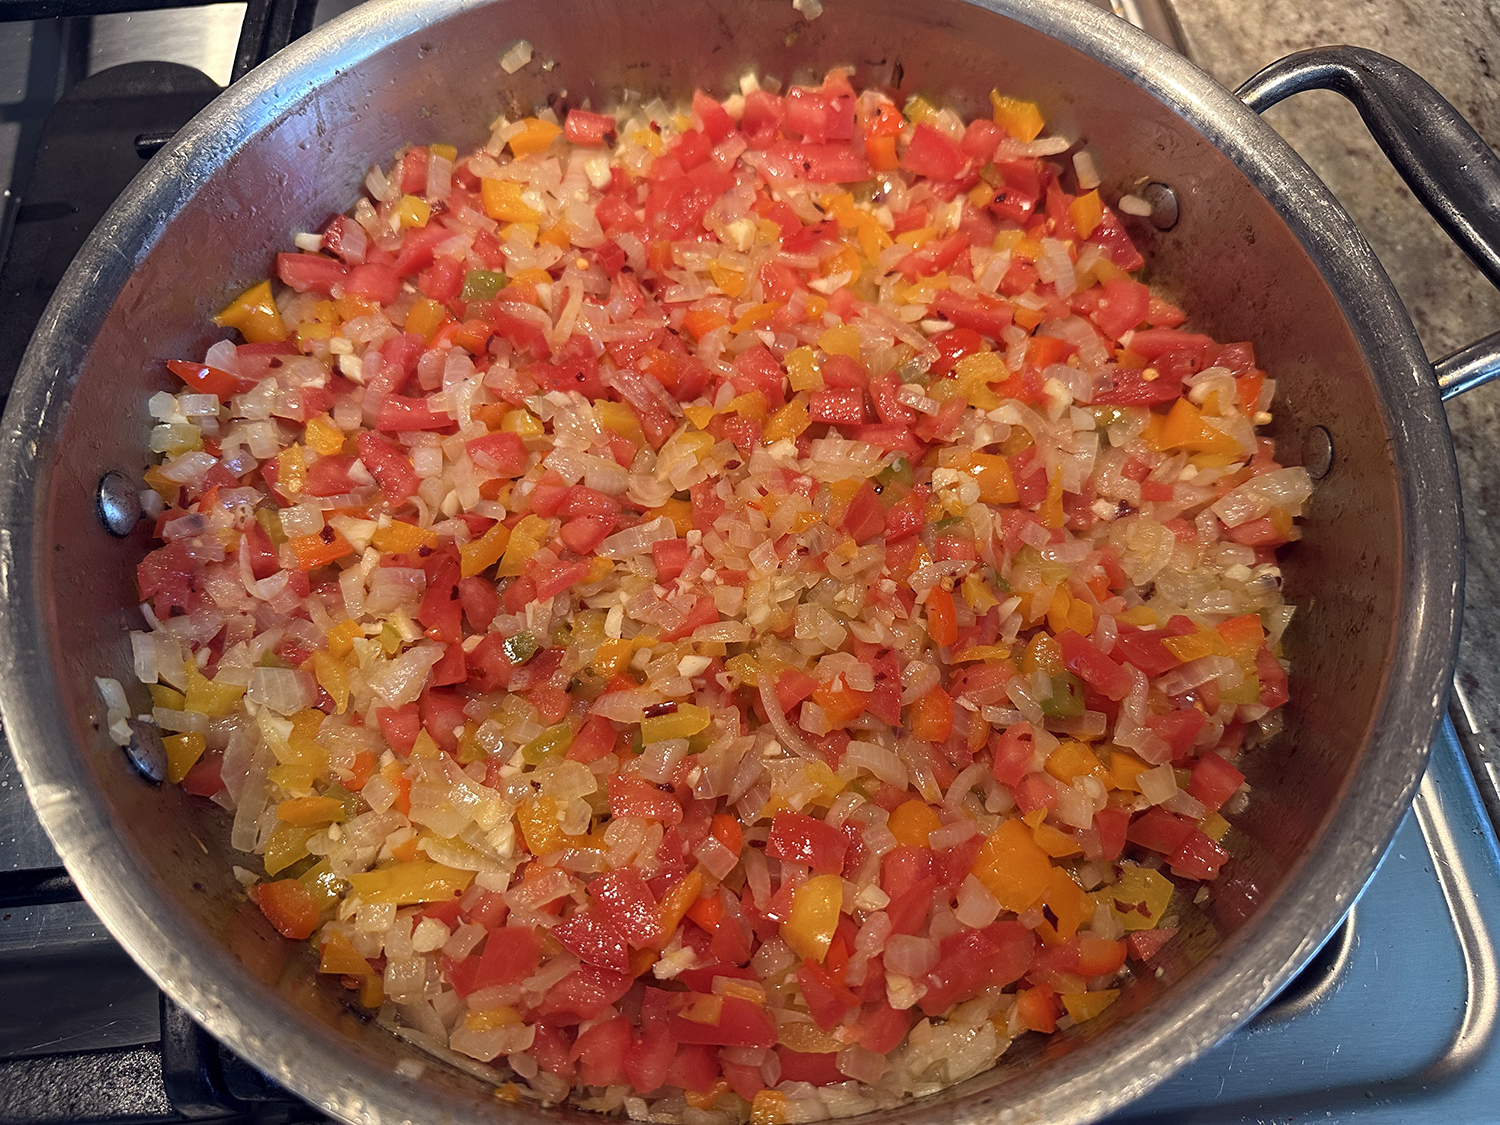
- Add the remaining 2 tablespoon oil to the skillet and when hot, add the onions and chopped peppers and cook until beginning to soften, 3 to 4 minutes. Add the garlic and cook for another minute.
- Add the diced tomatoes and season with salt and red pepper flakes. Cook until everything is heated through.
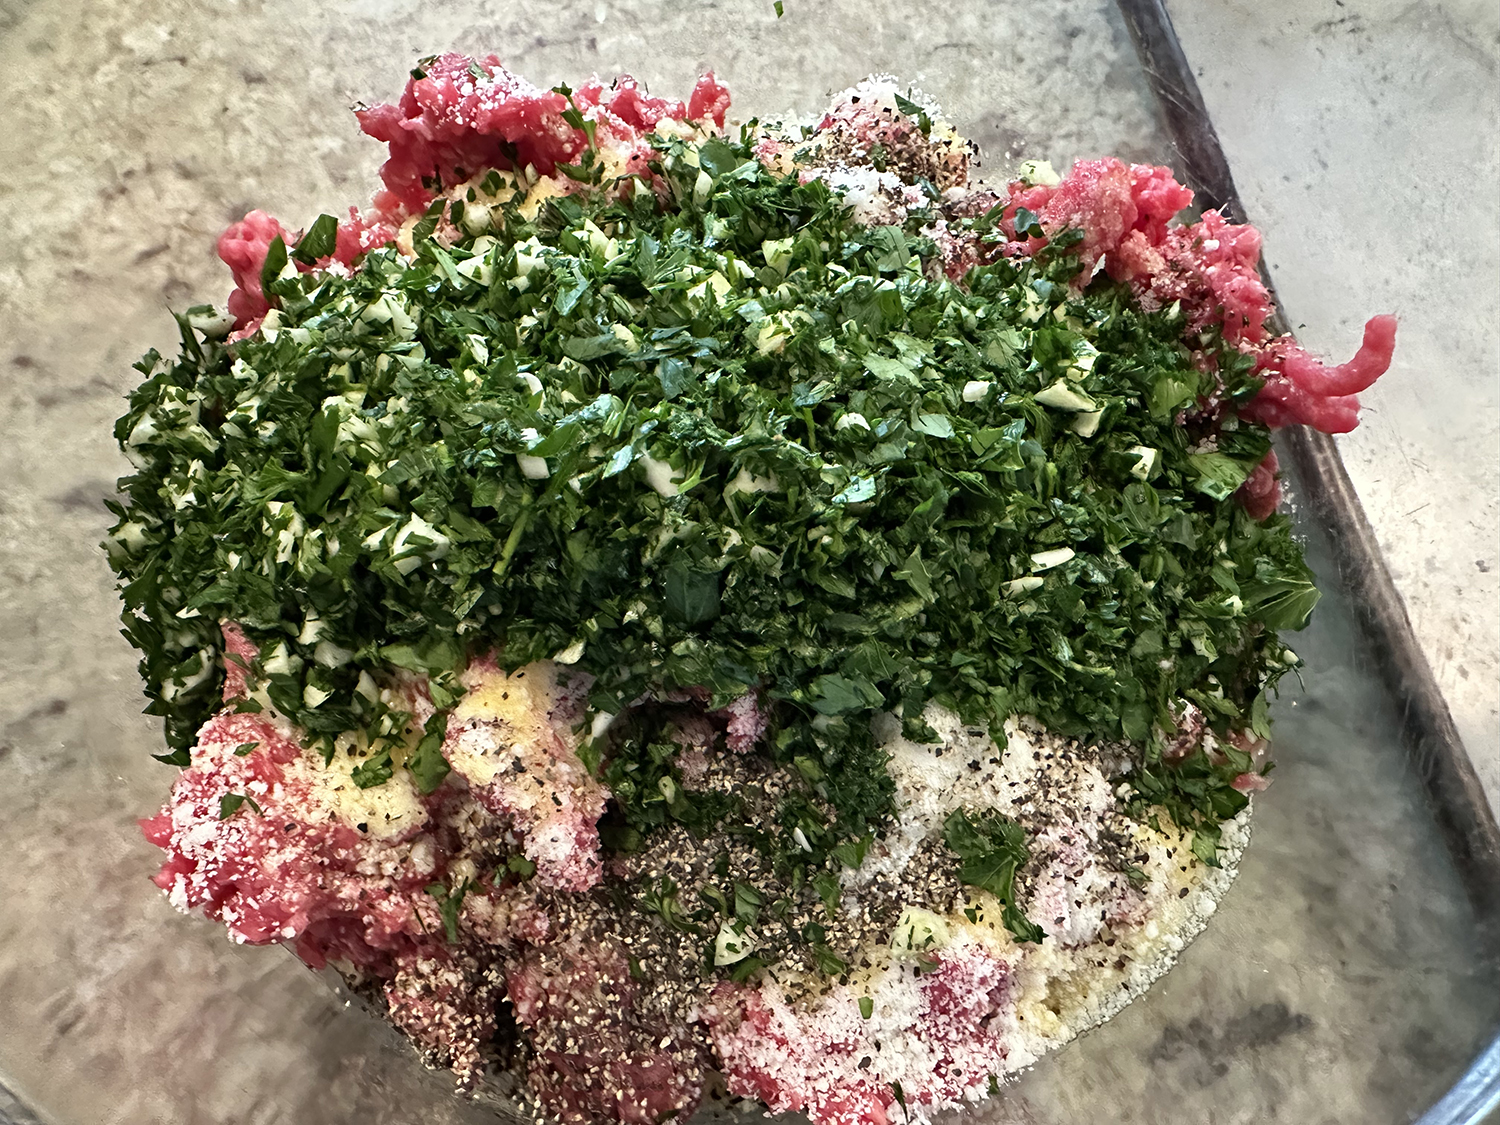
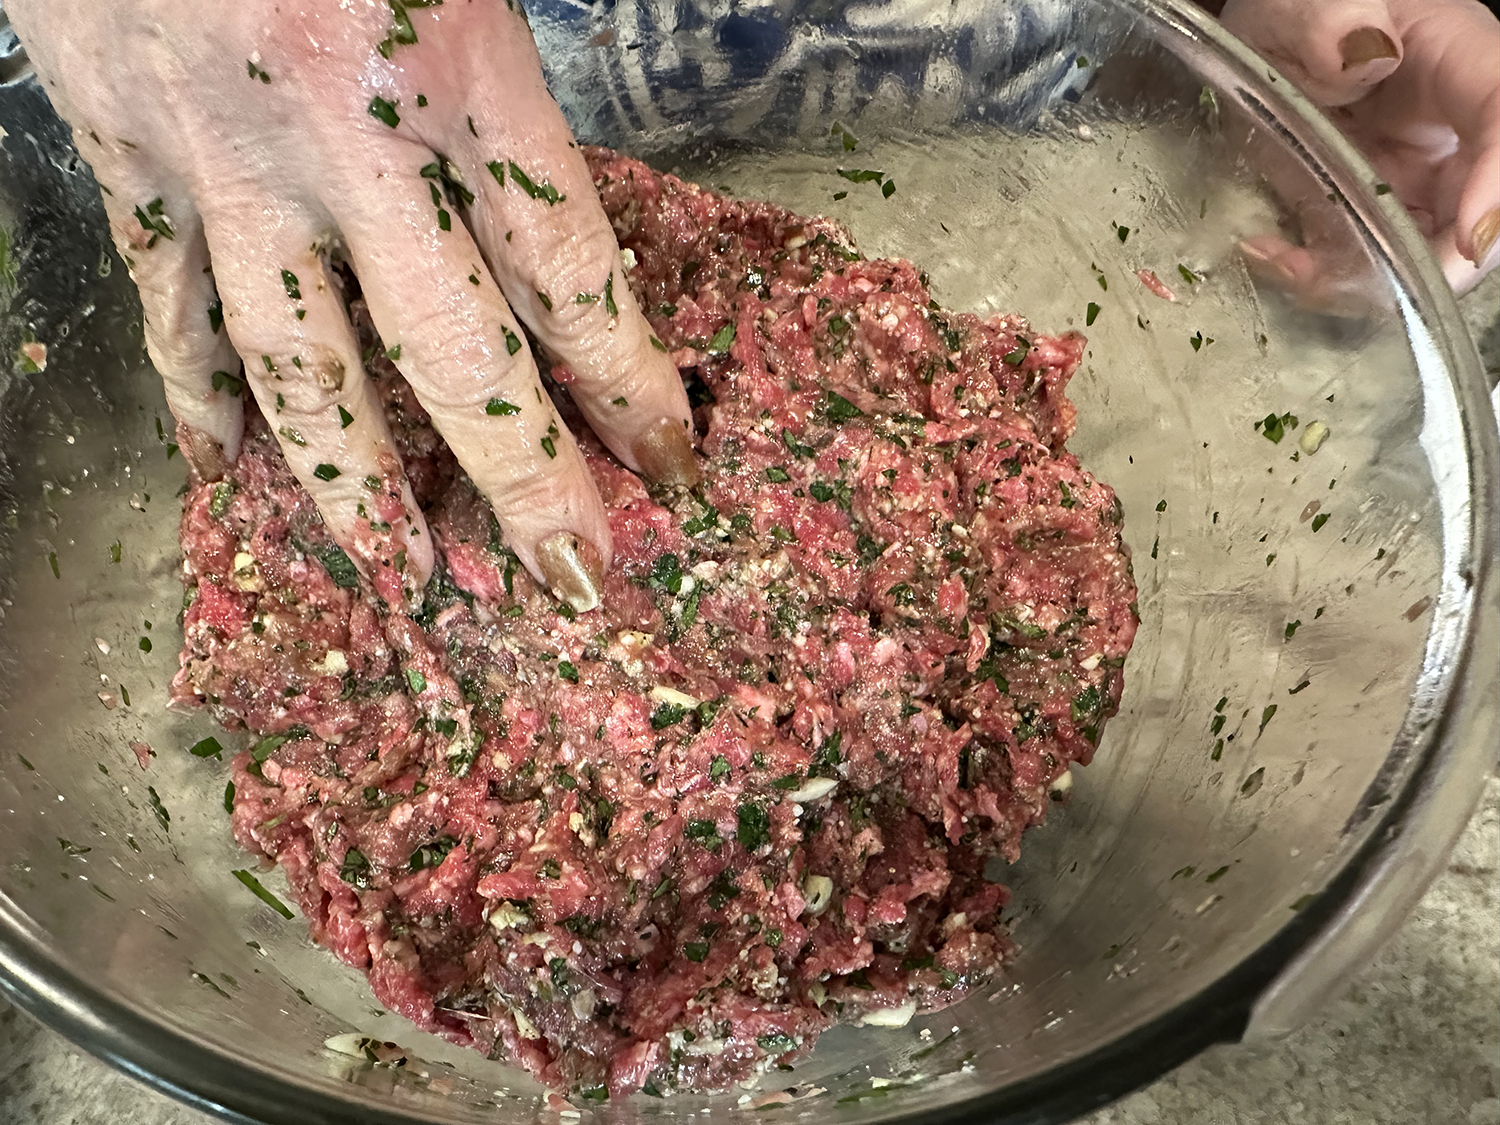
- In a large mixing bowl, add the cooked veggies, then stir in the meat and rice. Taste and adjust the seasoning. Stir in 1 cup of the cheese.
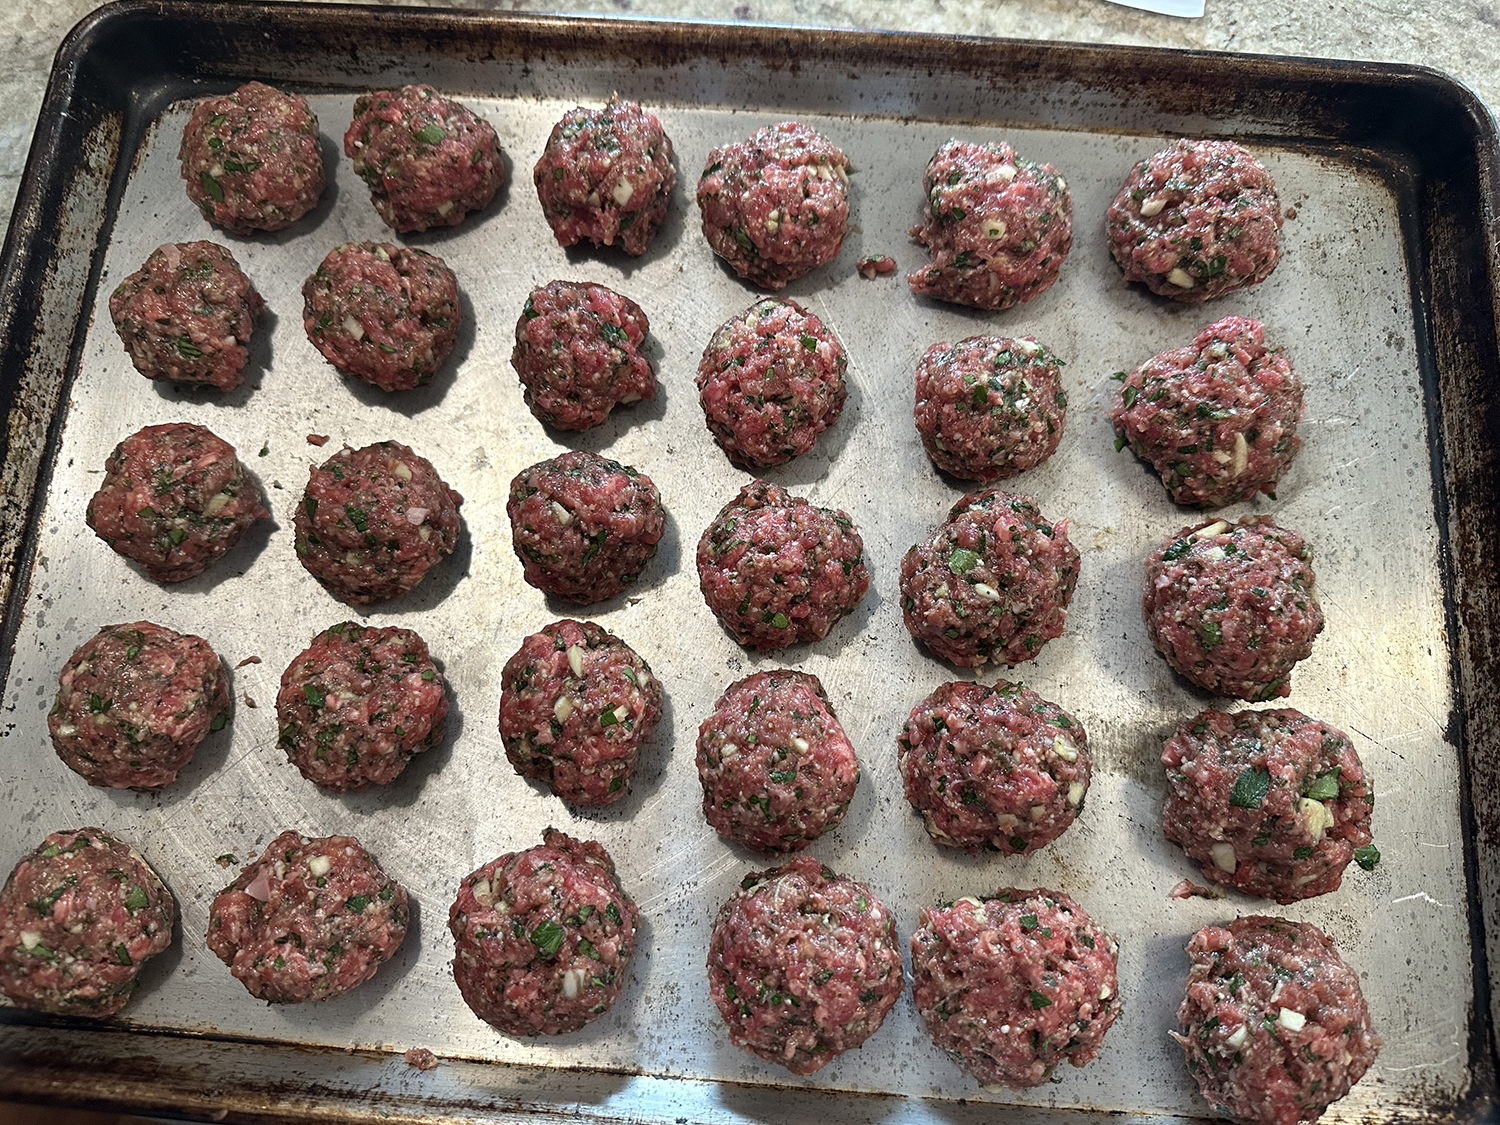
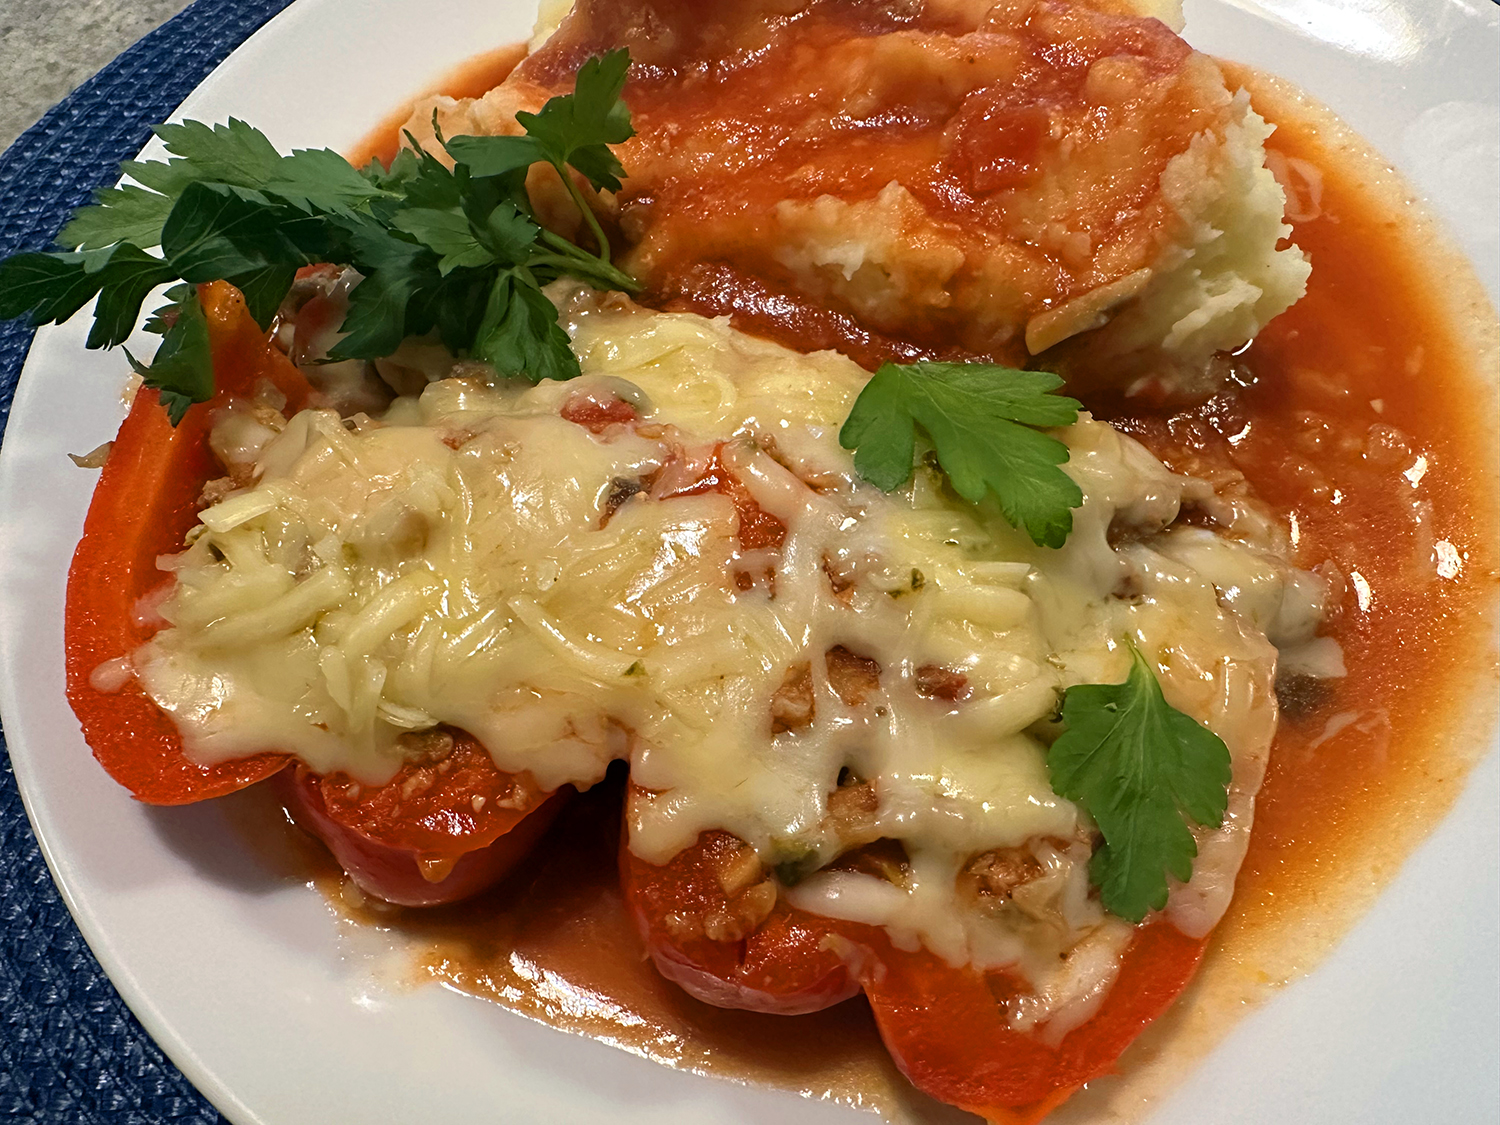
- Fill the peppers with the rice mixture. Pour two cups of tomato sauce over the potted peppers. Cover and bake for 30 minutes. (If you refrigerated overnight, cook for 45-50 minutes.)
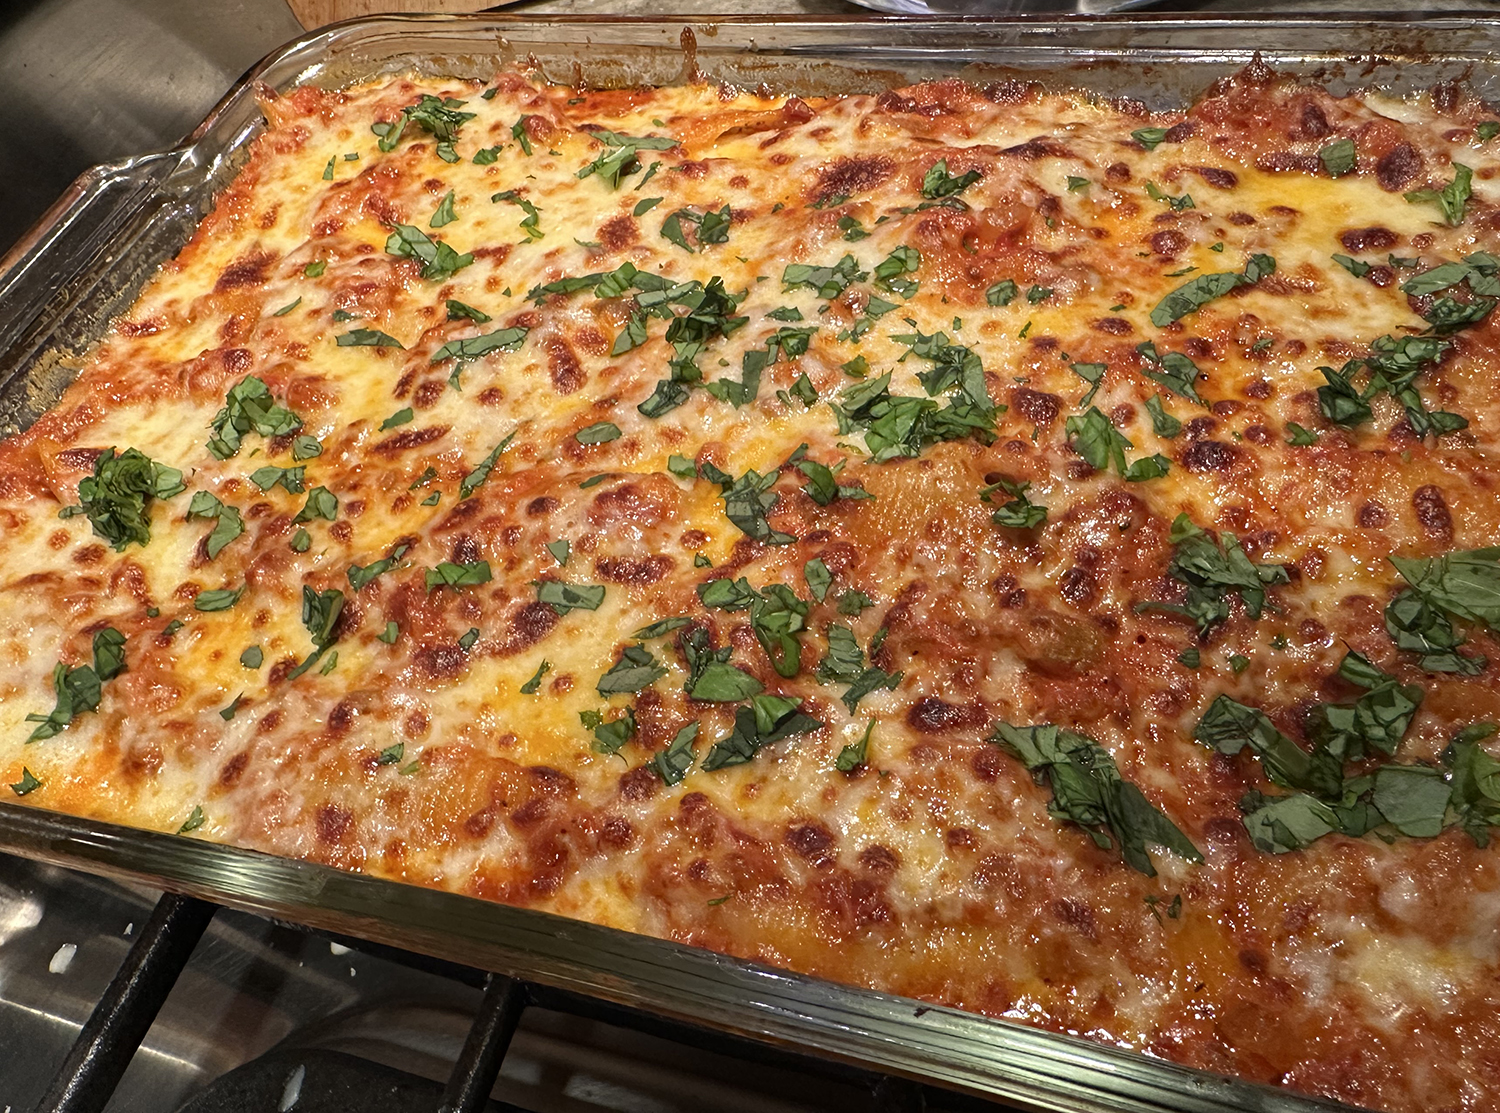
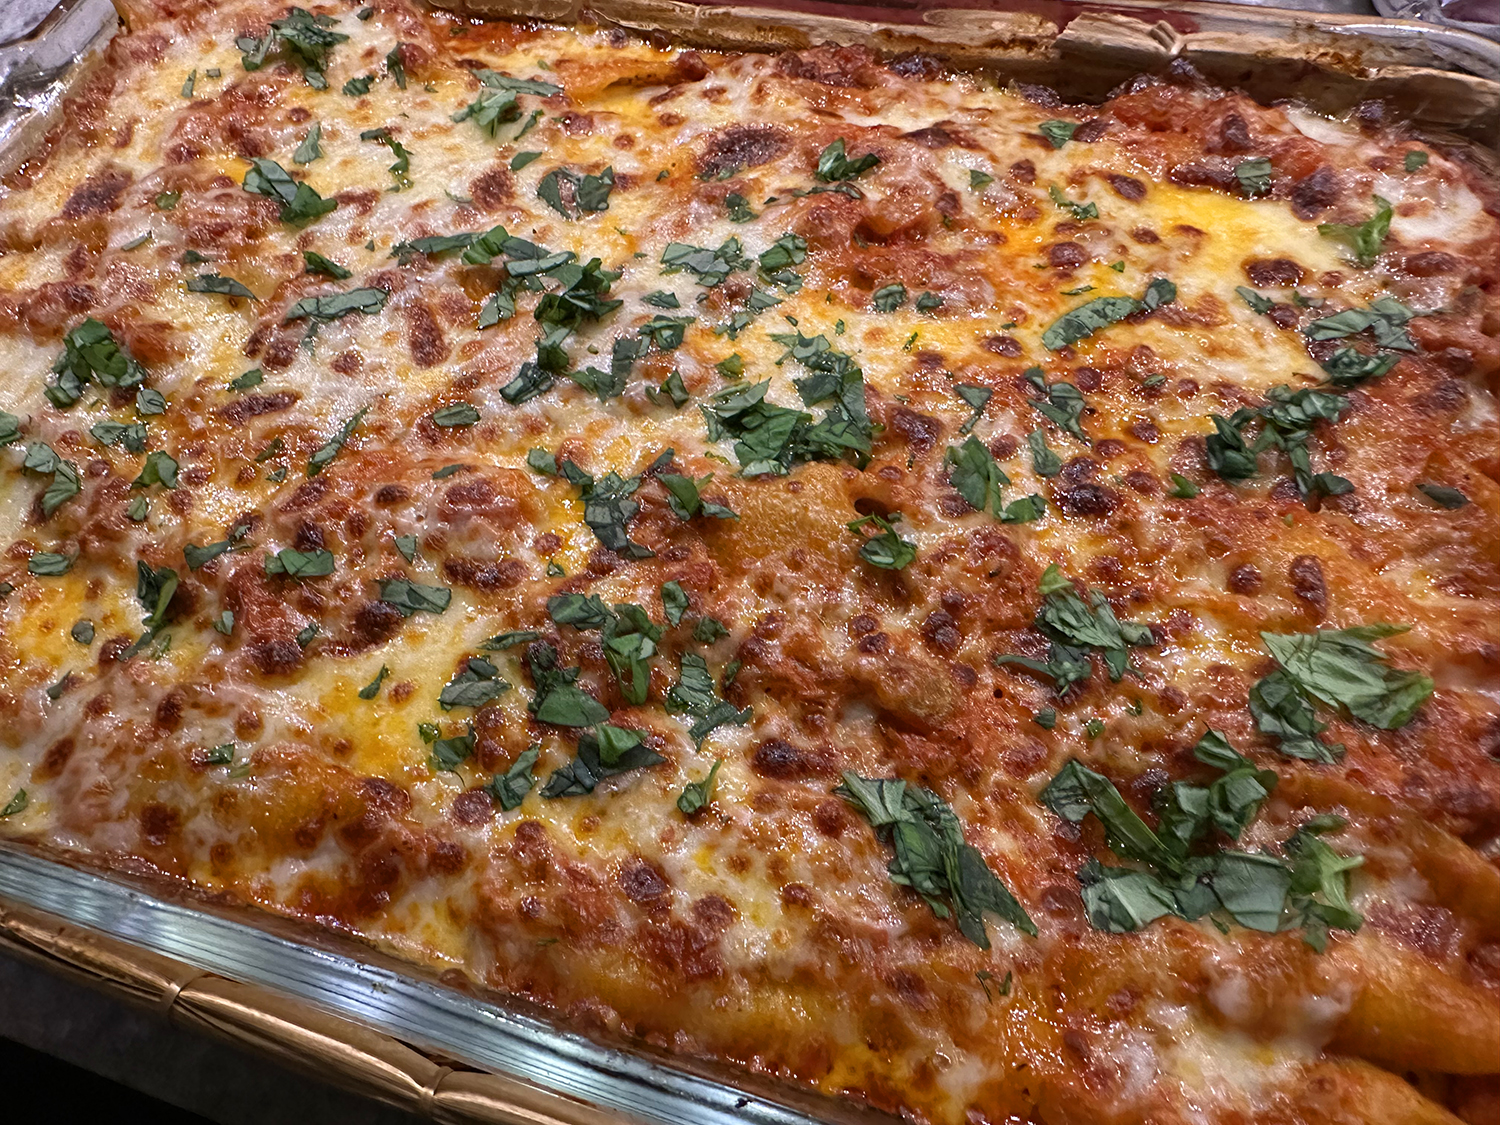
- Uncover and cook for another 15 minutes, then top each with a sprinkle of the remaining 1/2 cup cheese. Bake until the peppers are soft and the cheese is melted and lightly browned, another 10 minutes or so. Alternatively, plate each pepper, slice in half, then top with more sauce and some cheese. Microwave for 30 seconds to melt cheese.
- Serve with mashed potatoes and top with more tomato sauce from the bottom of the pot, if desired.