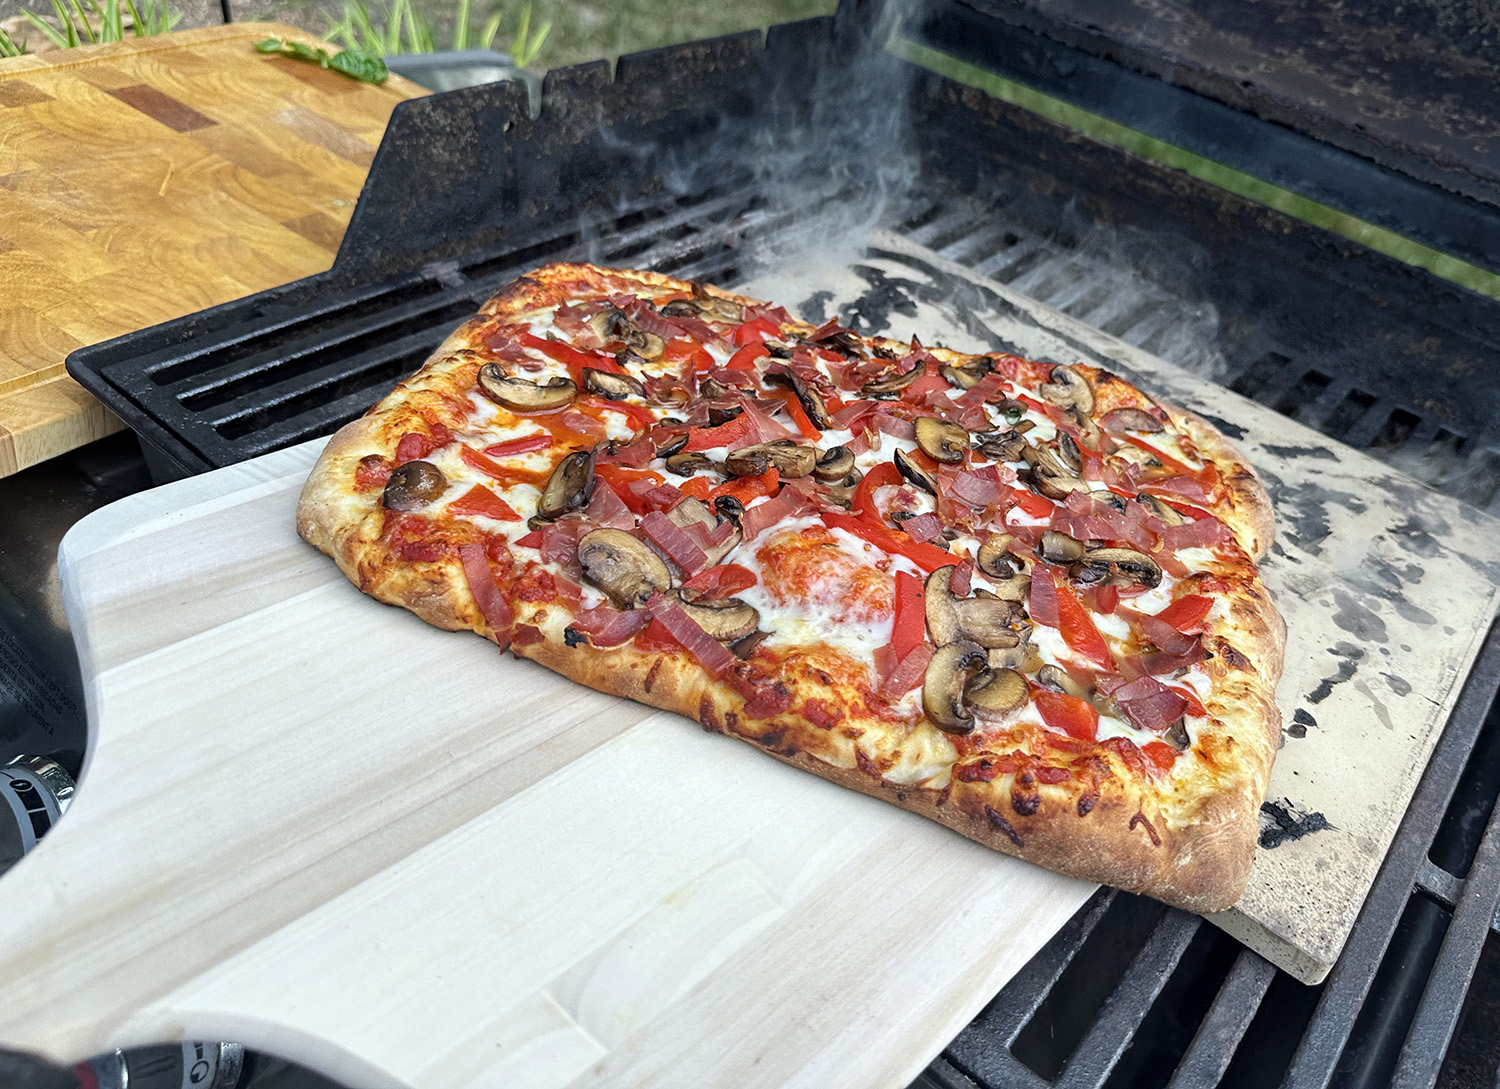
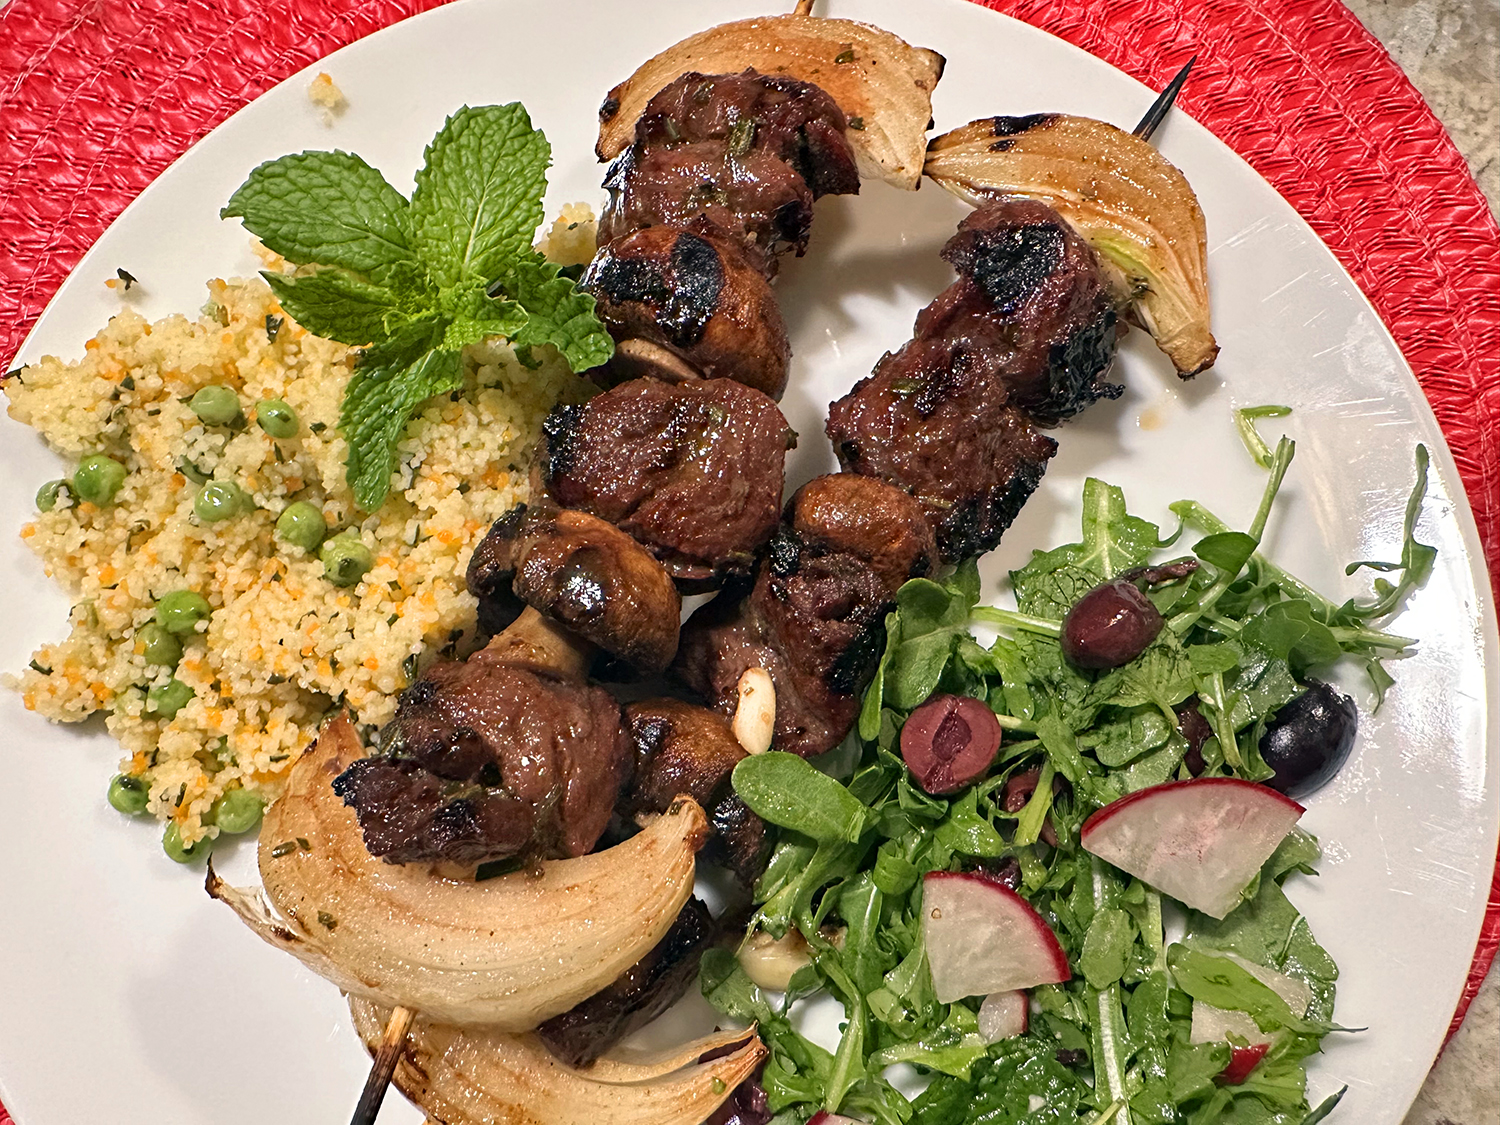
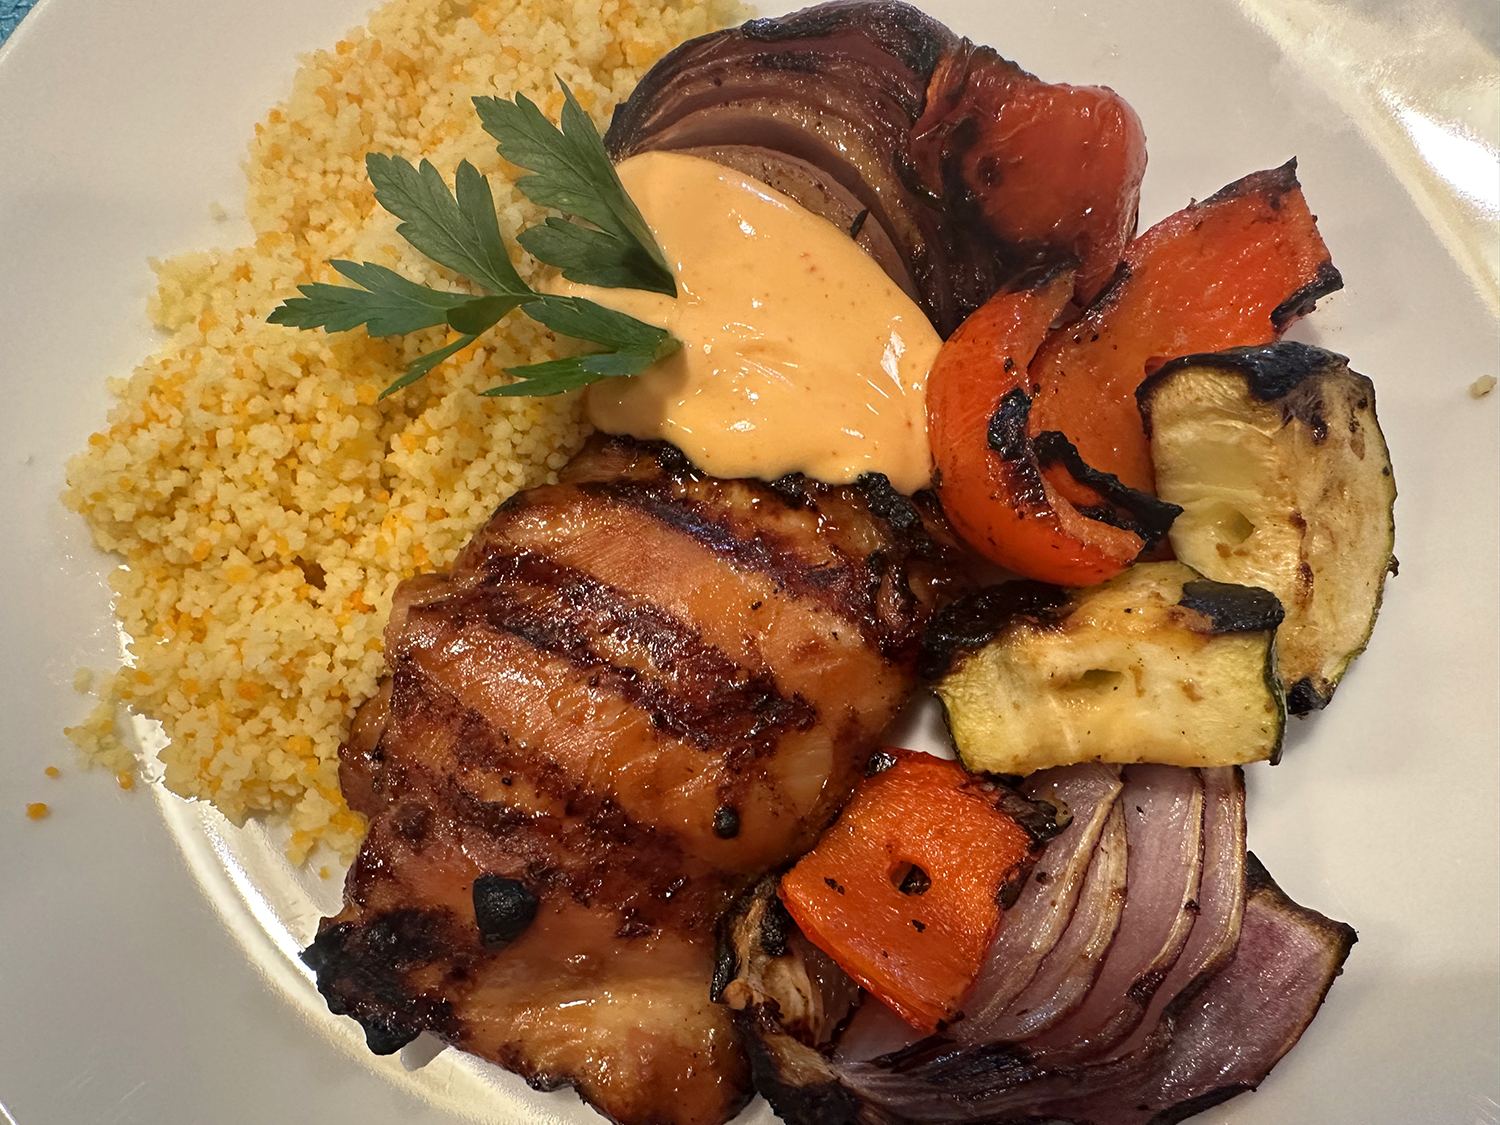
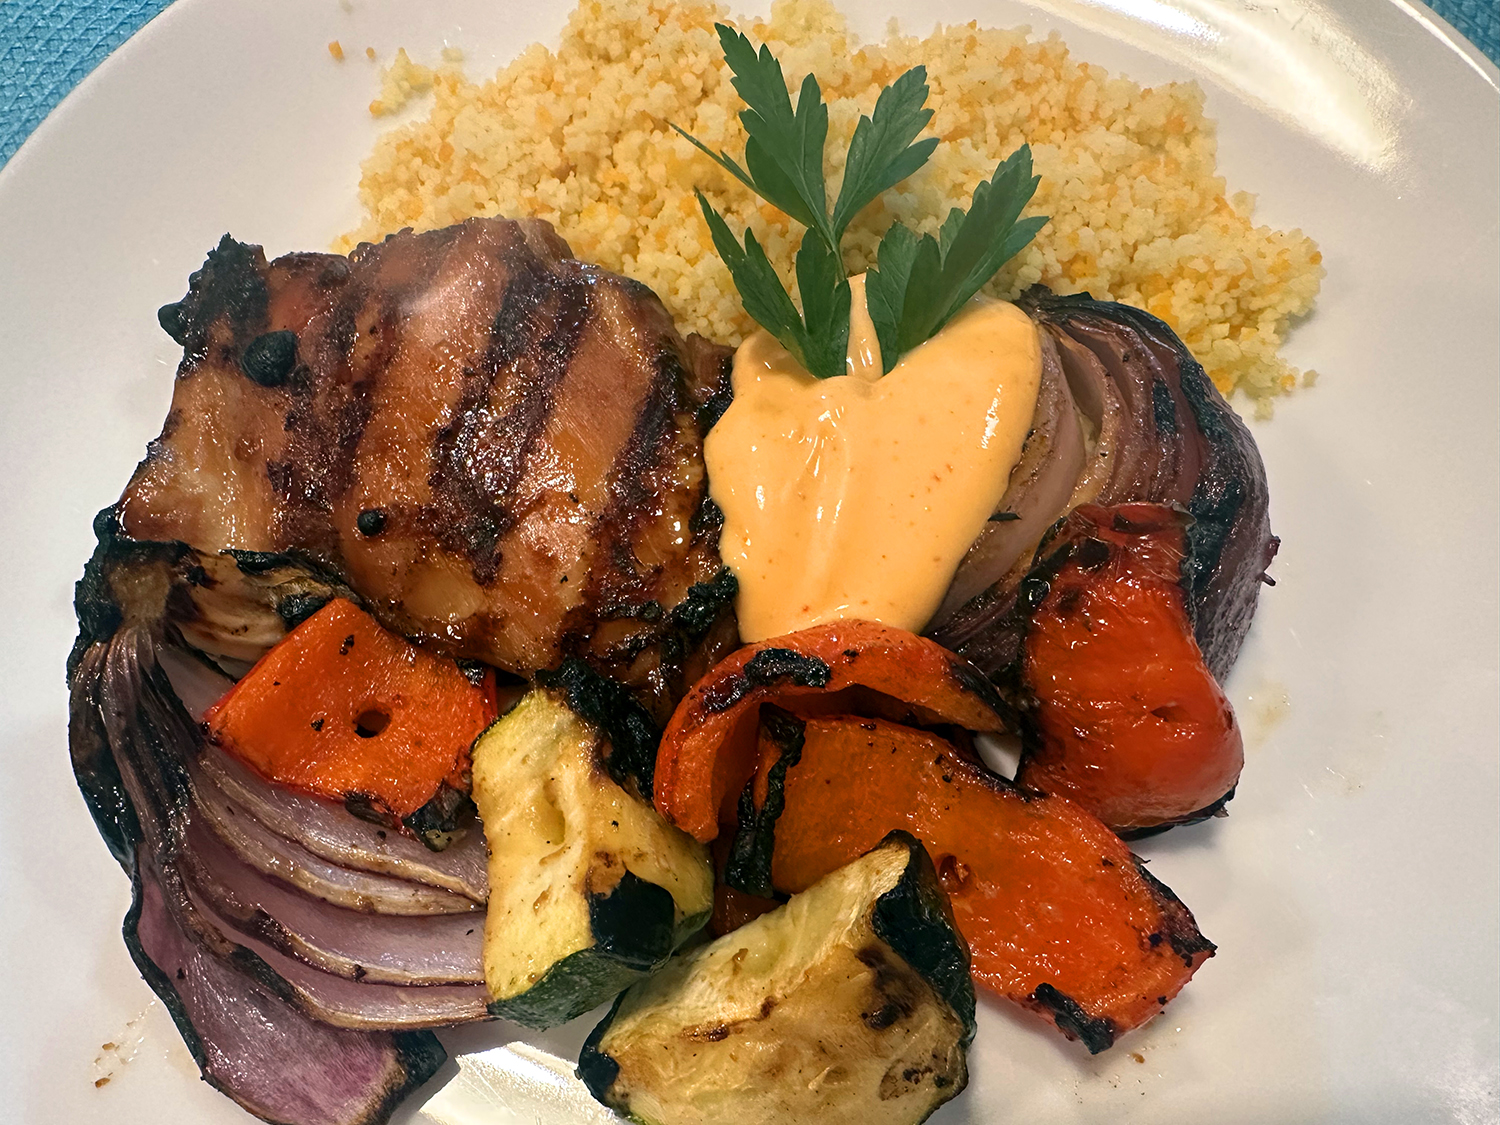
Soy-marinated grilled chicken thighs paired with smoky, charred summer vegetables make this a sensational summer supper. Here, grilled chicken thighs are soaked in a sweet, garlicky, soy-based marinade and grilled alongside skewers with peak-season summer vegetables. Some steamed rice or couscous completes the meal.
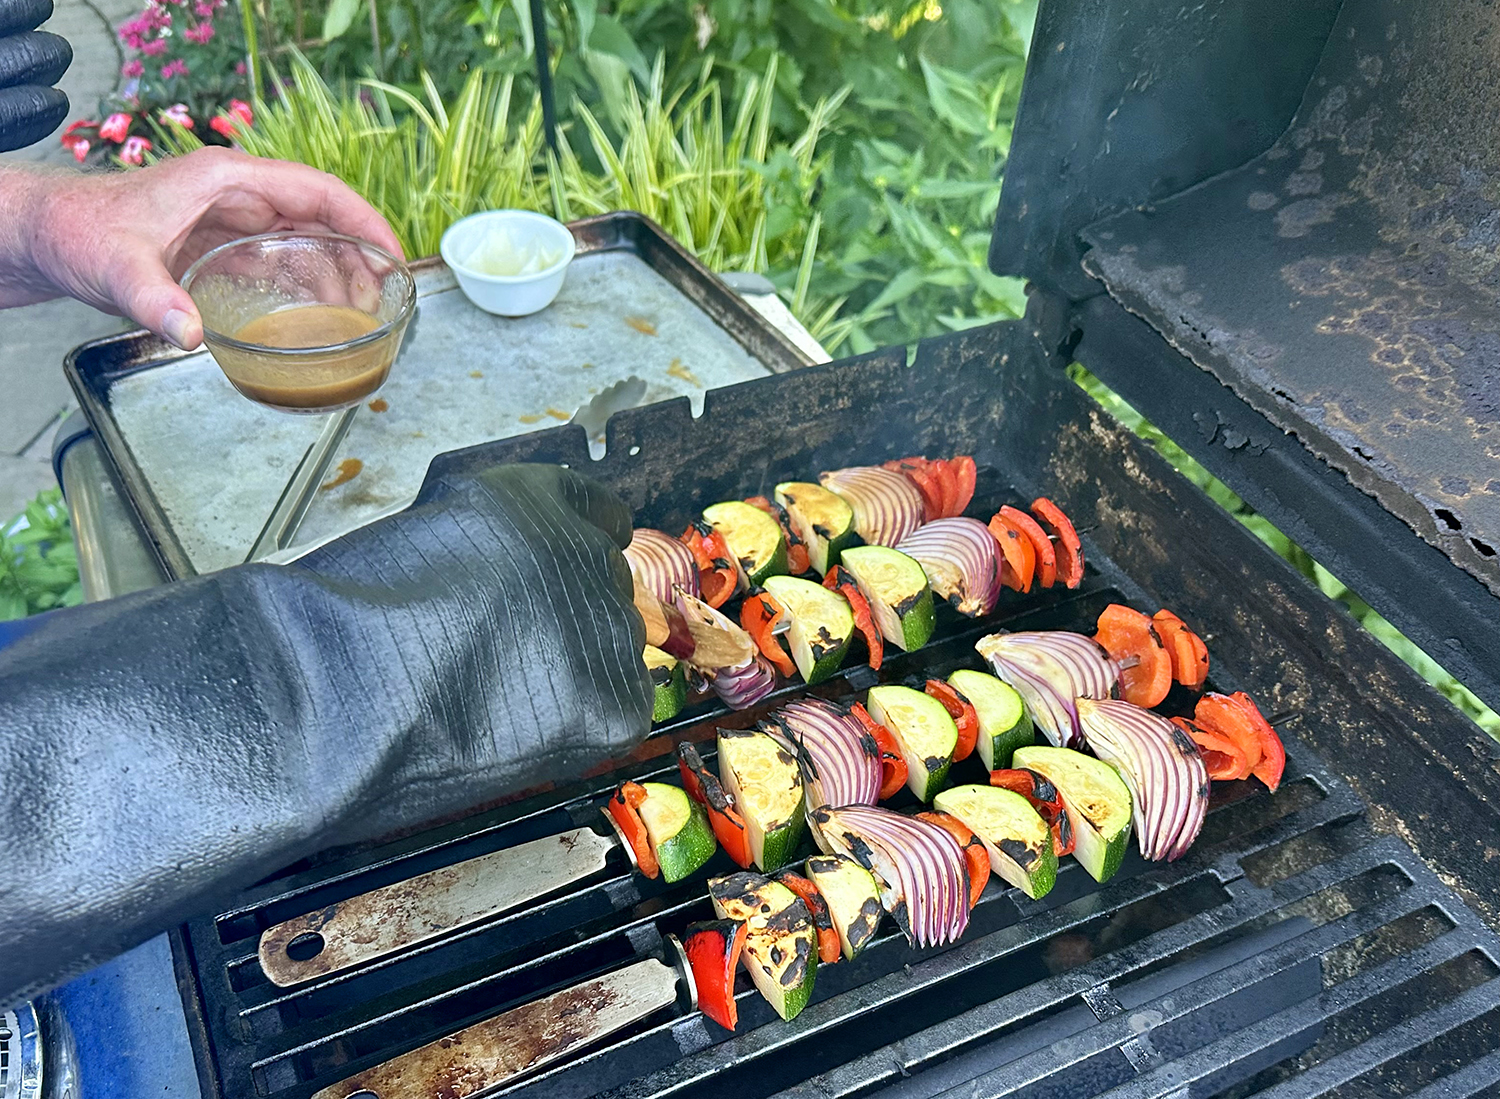
The grill imparts a delicious char, similar to a Japanese hibachi charcoal grill, while basting the vegetables with a mixture of melted butter and reserved marinade enhances the full-bodied smoky flavor signature to hibachi.
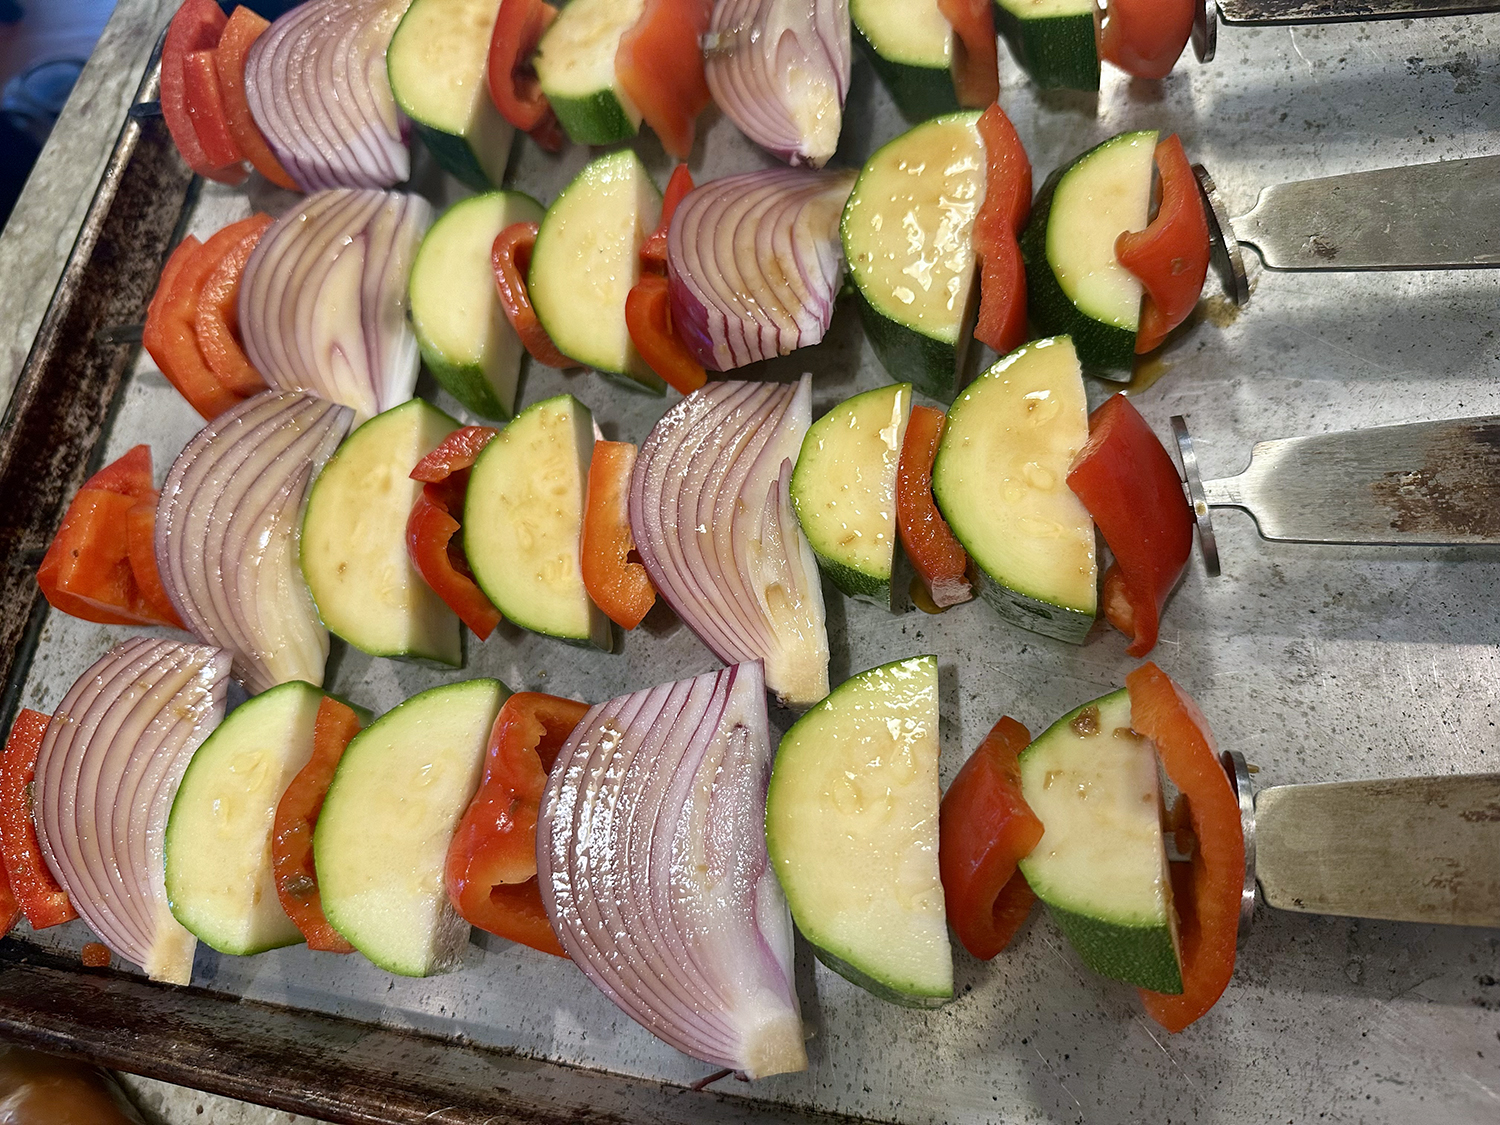
The key to evenly cooked vegetable skewers is cutting the veggies into similarly sized pieces so they fit neatly on the skewers. Drizzled with a creamy chile-mayo sauce and served over rice (or couscous), this dish becomes a hearty, flavor-packed meal that can be easily prepped ahead for the week.
Make Ahead TIPS: Marinate chicken overnight, covered in the refrigerator, for up to 12 hours. Chop and store all vegetables in an airtight container in the refrigerator for up to one day. The mayonnaise sauce can be prepared up to five days in advance and stored in an airtight container in the refrigerator.
BTW, Kewpie mayonnaise is a Japanese brand of mayo made with egg yolks, vinegar, and MSG. Its use of egg yolks (rather than whole eggs) and vinegar makes it richer and tangier than regular mayonnaise. Find it at most grocery stores or online at yamibuy.com.
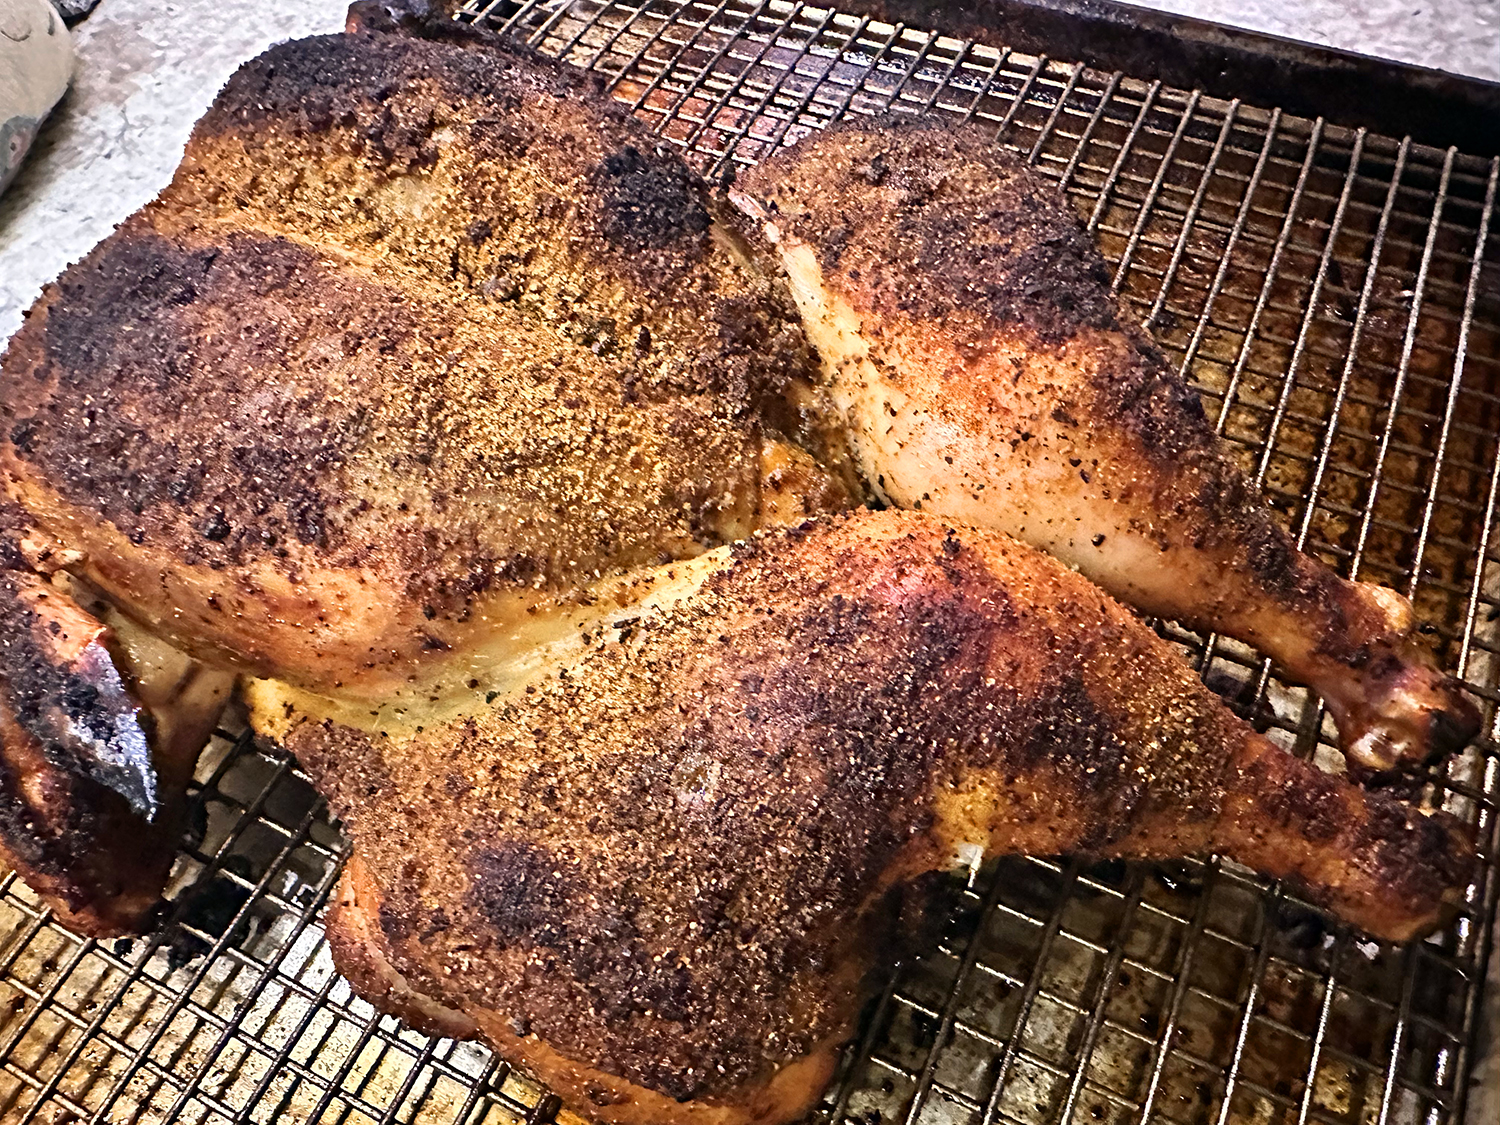
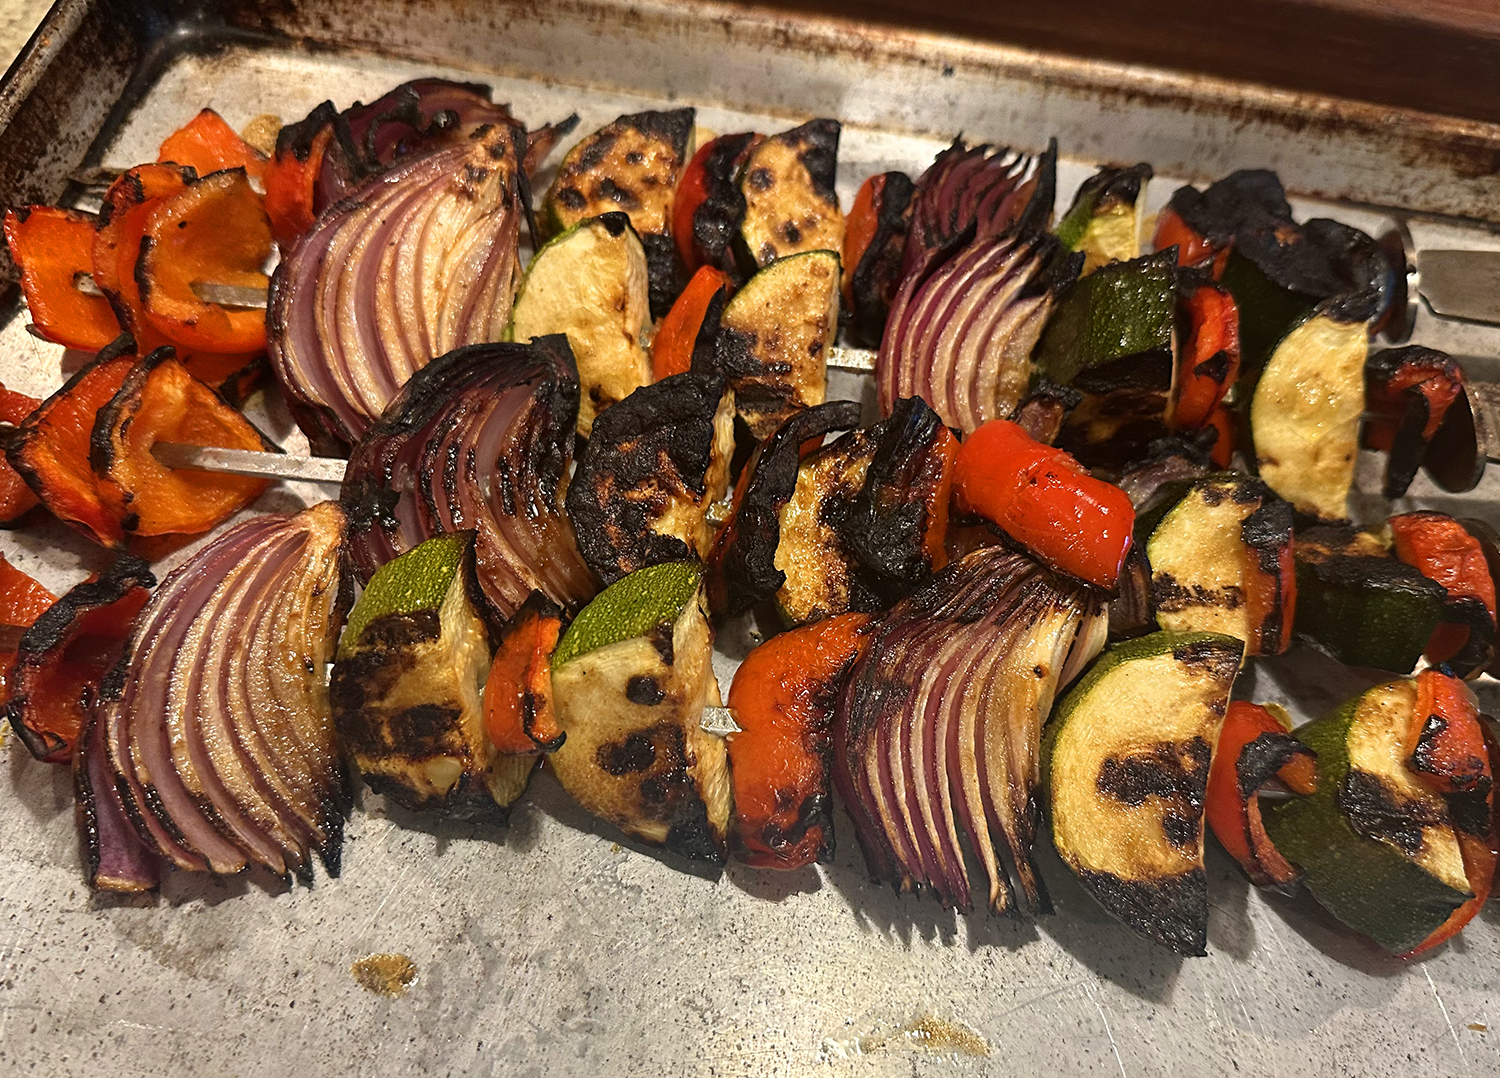
NOTE: *We knew the skewered vegetables would take longer than the chicken, so we started them about 8-10 minutes prior to adding the thighs to the hot grill. So in total, the veggies grilled for 20 minutes, while the chicken was on for 12 minutes.
While the mayo sauce was indeed tasty, we don’t feel it is absolutely necessary to complete the dish, so if it is not inspiring to you, just omit it. HOWEVER, we feel strongly that the basting marinade and butter sauce need to be doubled, as there was not enough. The new amounts are indicated in the ingredients list below.


Hibachi-Style Chicken with Charred Vegetables
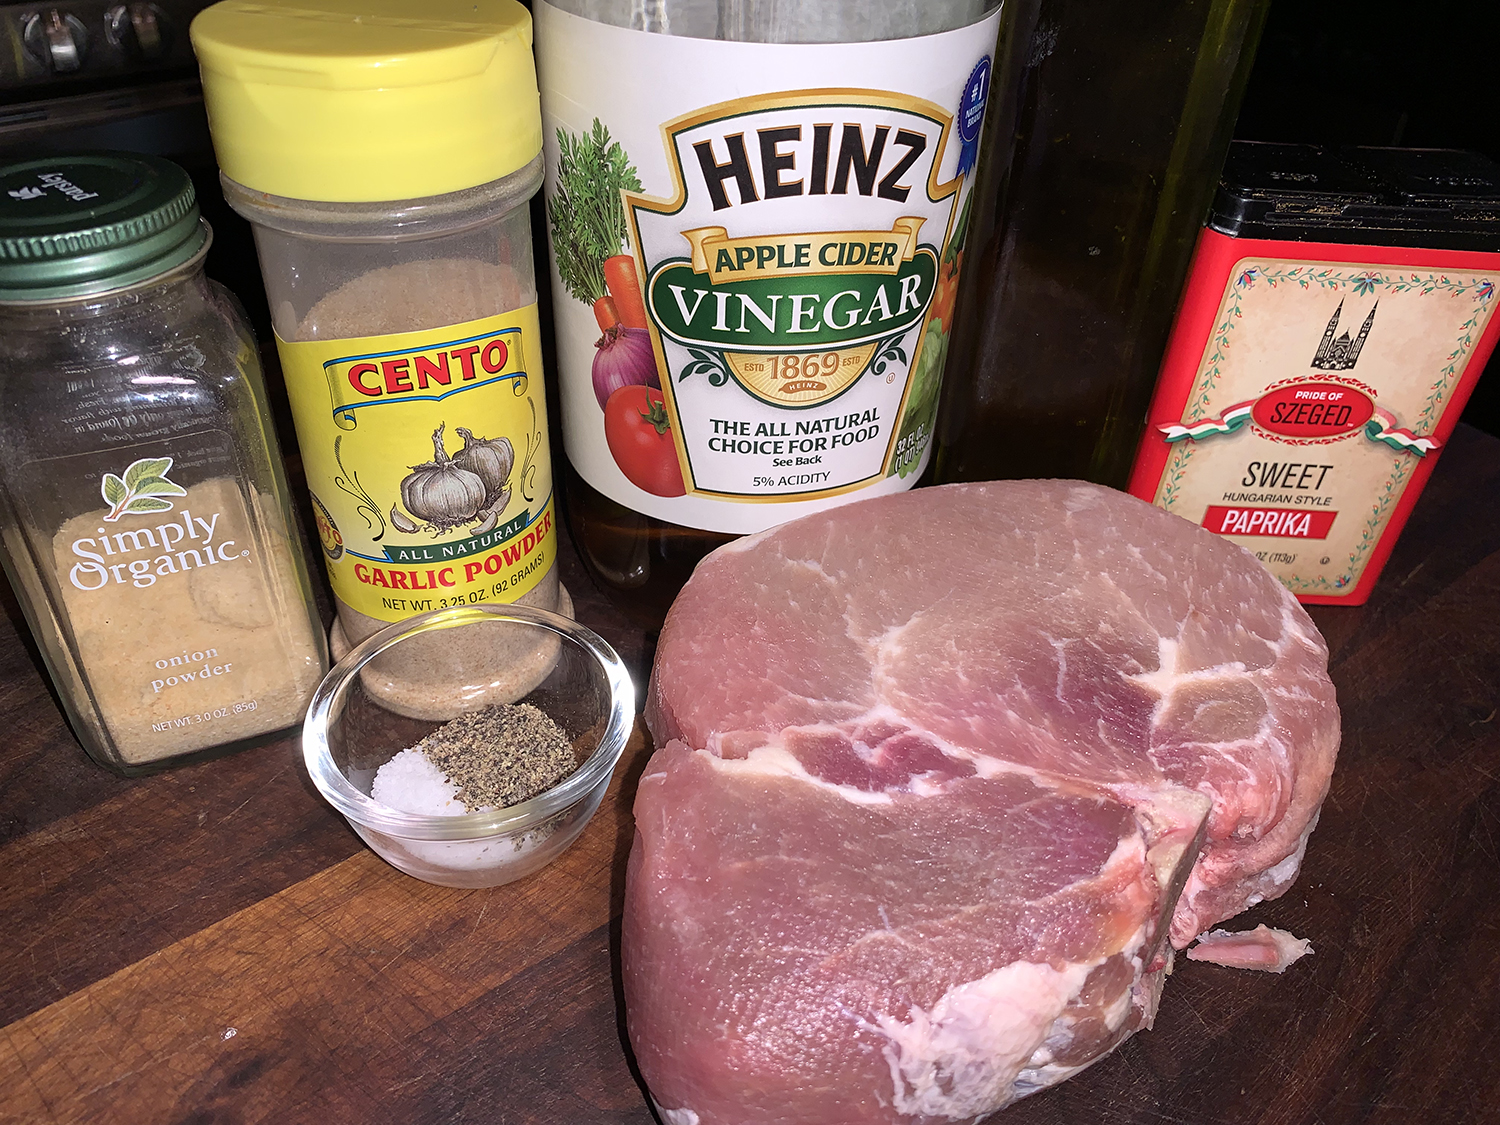
Ingredients
Chicken Marinade:
- 1 1/4 cup soy sauce
- 1/4 cup light brown sugar
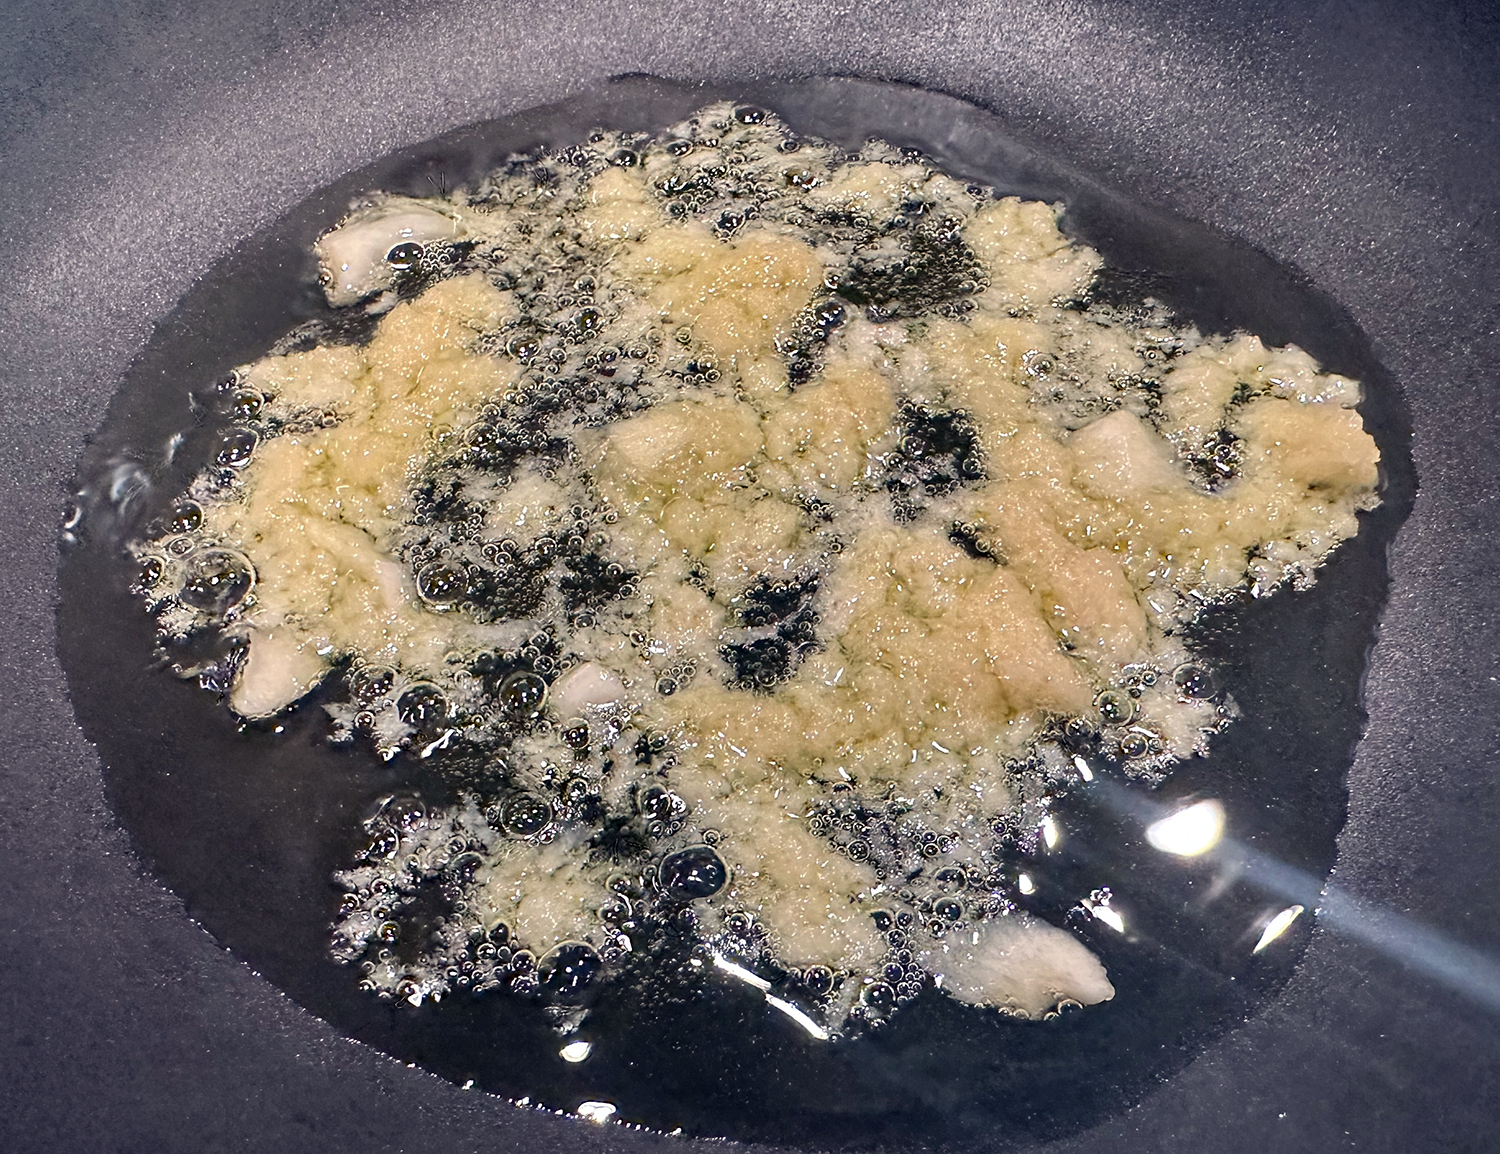
- 1/4 cup finely chopped garlic (about 5 large garlic cloves)
- 2 Tbsp. plus 1/2 tsp. toasted sesame oil, divided
- 2 lb. boneless, skinless chicken thighs (about 6 thighs), patted dry
Vegetables:
- 2 red bell peppers, cut into 1 1/2-inch pieces (about 2 cups)
- 1 zucchini, halved lengthwise and cut into 1-inch-thick half-moons (about 2 1/2 cups)
- 1 medium red onion, cut into 1 1/2-inch-thick wedges (about 1 1/2 cups)
- 4 (8-inch) metal or wooden skewers
- 1/2 tsp. kosher salt, divided
Butter and Sauce:
- 4 Tbsp. unsalted butter, melted
- Canola oil, for grilling
- 1/2 cup Kewpie mayonnaise
- 2 tsp. sriracha chile sauce
- 1/2 tsp. Dijon mustard
- Cooked white rice, or couscous, for serving


Directions
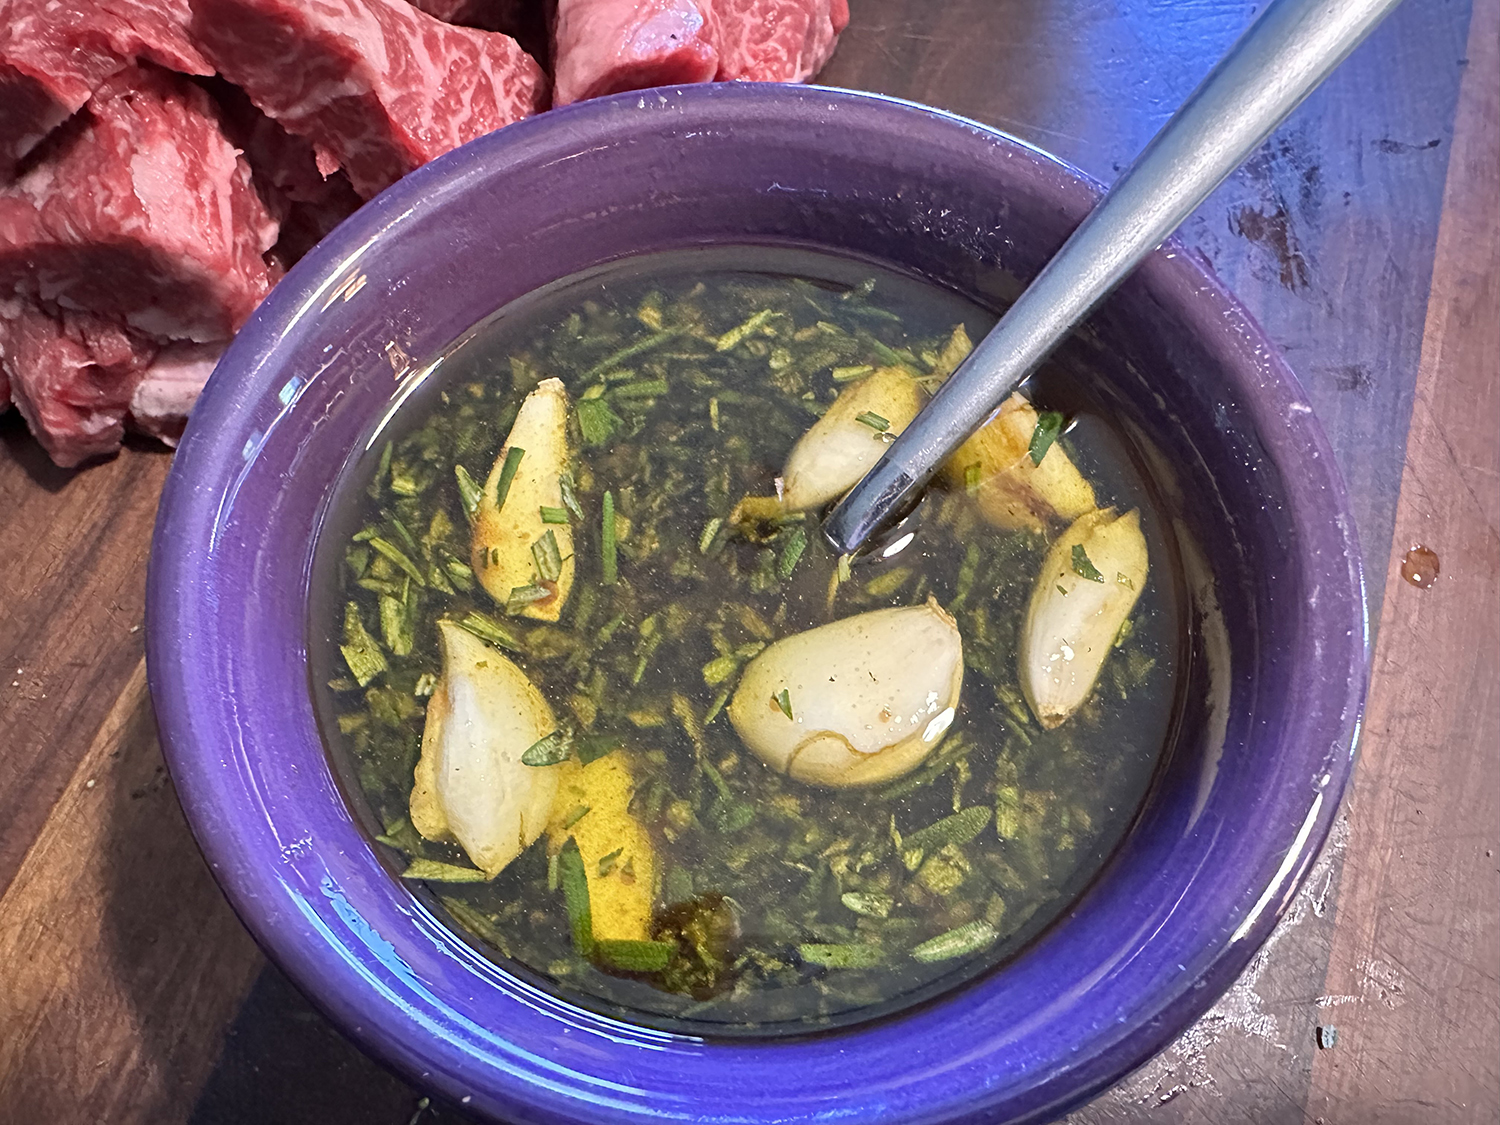
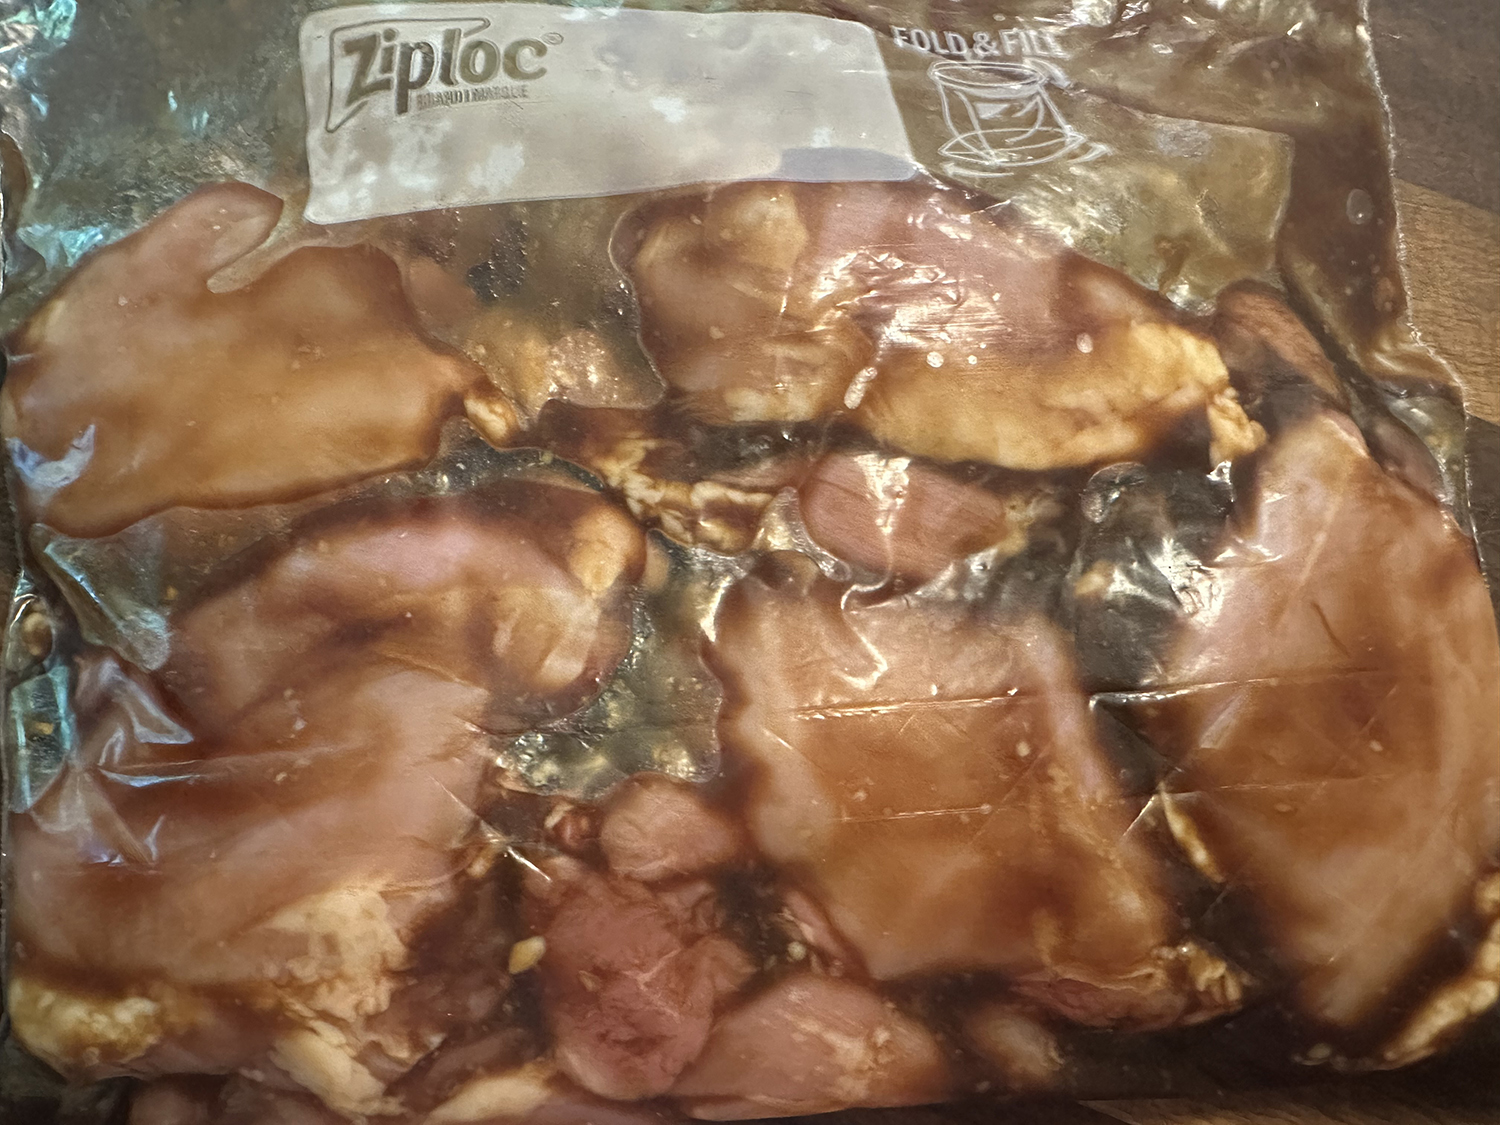
- Whisk together soy sauce, brown sugar, garlic, and 1 tablespoon sesame oil in a small bowl until sugar is dissolved. Pour soy mixture into a large ziplock plastic bag, reserving 6 tablespoons soy mixture in bowl. Add chicken to bag; seal bag, and gently massage soy mixture into chicken. Set aside, and let marinate at room temperature for at least 30 minutes or up to 12 hours.
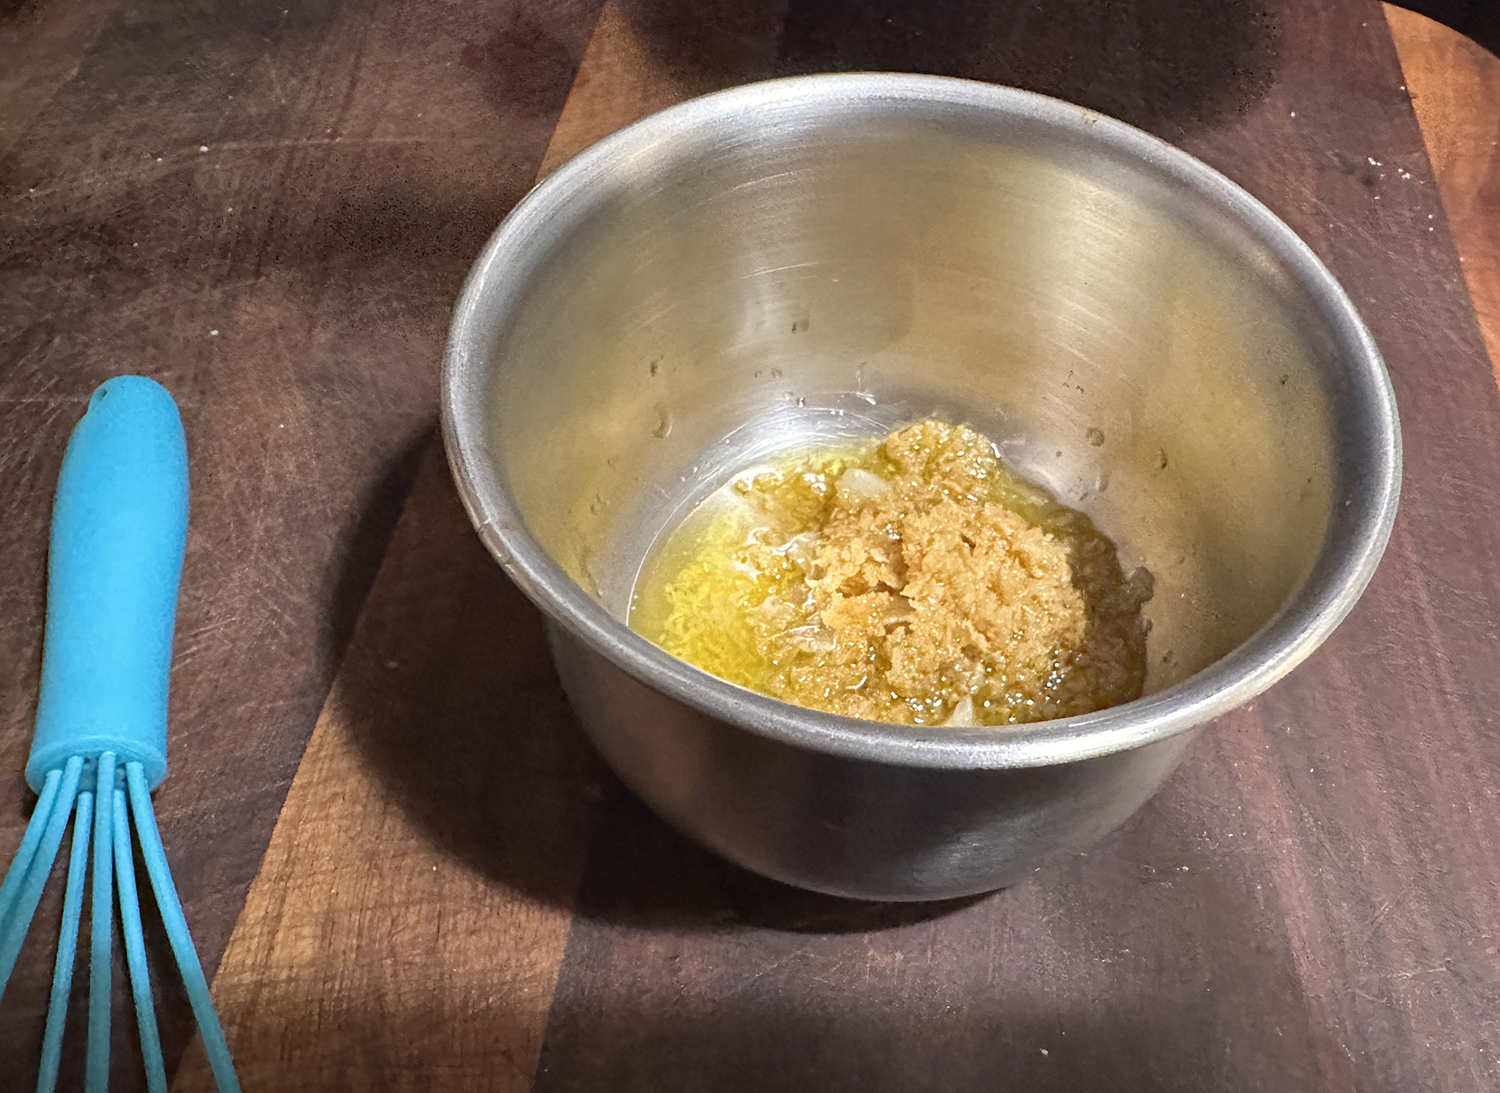
- Thread peppers, zucchini, and onion onto skewers. Brush vegetables with 1 tablespoon reserved soy mixture; sprinkle with 1/4 teaspoon salt. Stir melted butter and remaining 1/4 teaspoon salt into remaining 2 tablespoons soy mixture in bowl; set aside.
- Preheat grill to medium-high (400°F to 450°F). Remove chicken from marinade, shaking off excess; discard marinade. Lightly grease grill grates with canola oil; place chicken and skewered vegetables on grates. Grill, uncovered, turning skewers and chicken occasionally and basting with soy-butter mixture until a thermometer inserted into thickest portion of chicken registers 170°F, 12 to 15 minutes, and vegetables are tender and charred in spots, about 12 minutes. (*Please see note our cooking times above.) Transfer to a cutting board, and let rest for 5 minutes.
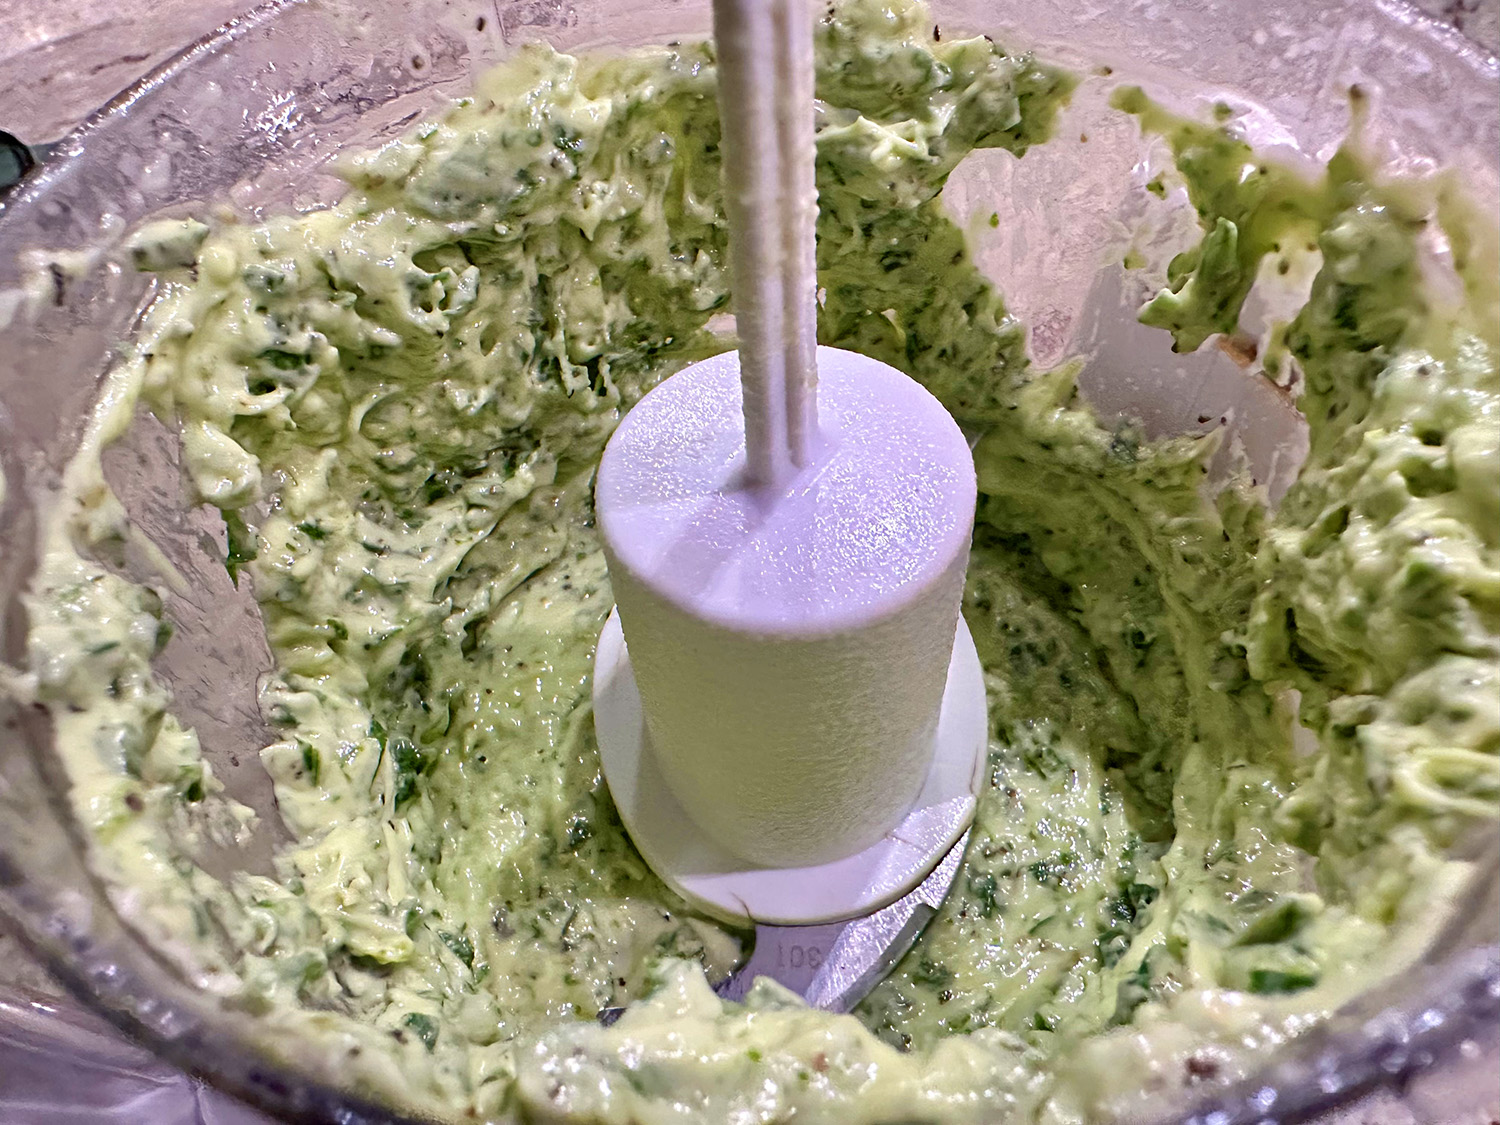
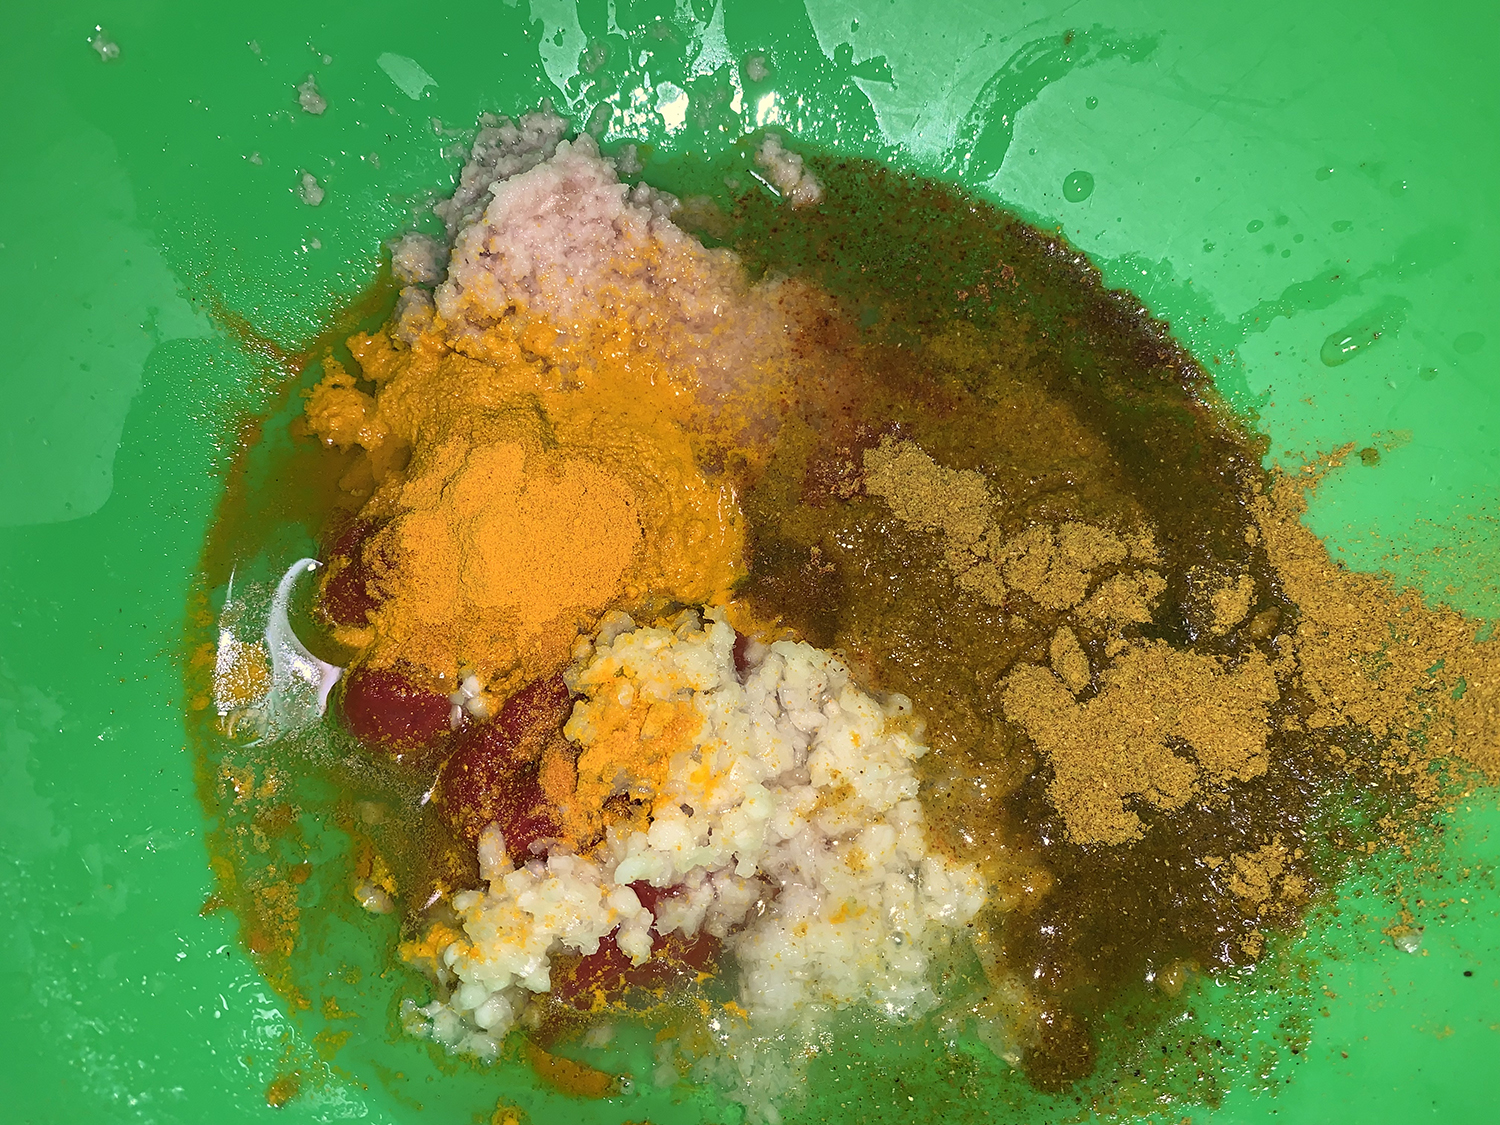
- Stir together mayonnaise, sriracha, mustard, and remaining 1/2 teaspoon sesame oil in a small bowl. Chop chicken into bite-size pieces, and remove vegetables from skewers. Serve chicken and vegetables over cooked rice, and drizzle with mayonnaise mixture. Garnish with scallions and shichimi togarashi.
Adapted from a recipe by Andee Gosnell for Food & Wine