Paka refers to a silky coconut-milk-based sauce popular in East African cuisine. In this take from Bon Apétit on machi paka—a classic fish curry—quickly seared salmon takes the place of the traditional charred, grilled white fish. Cooking the blended curry base down until the coconut milk breaks and the aromatics toast in its rich fat is key to developing deep flavor—don’t rush this part.
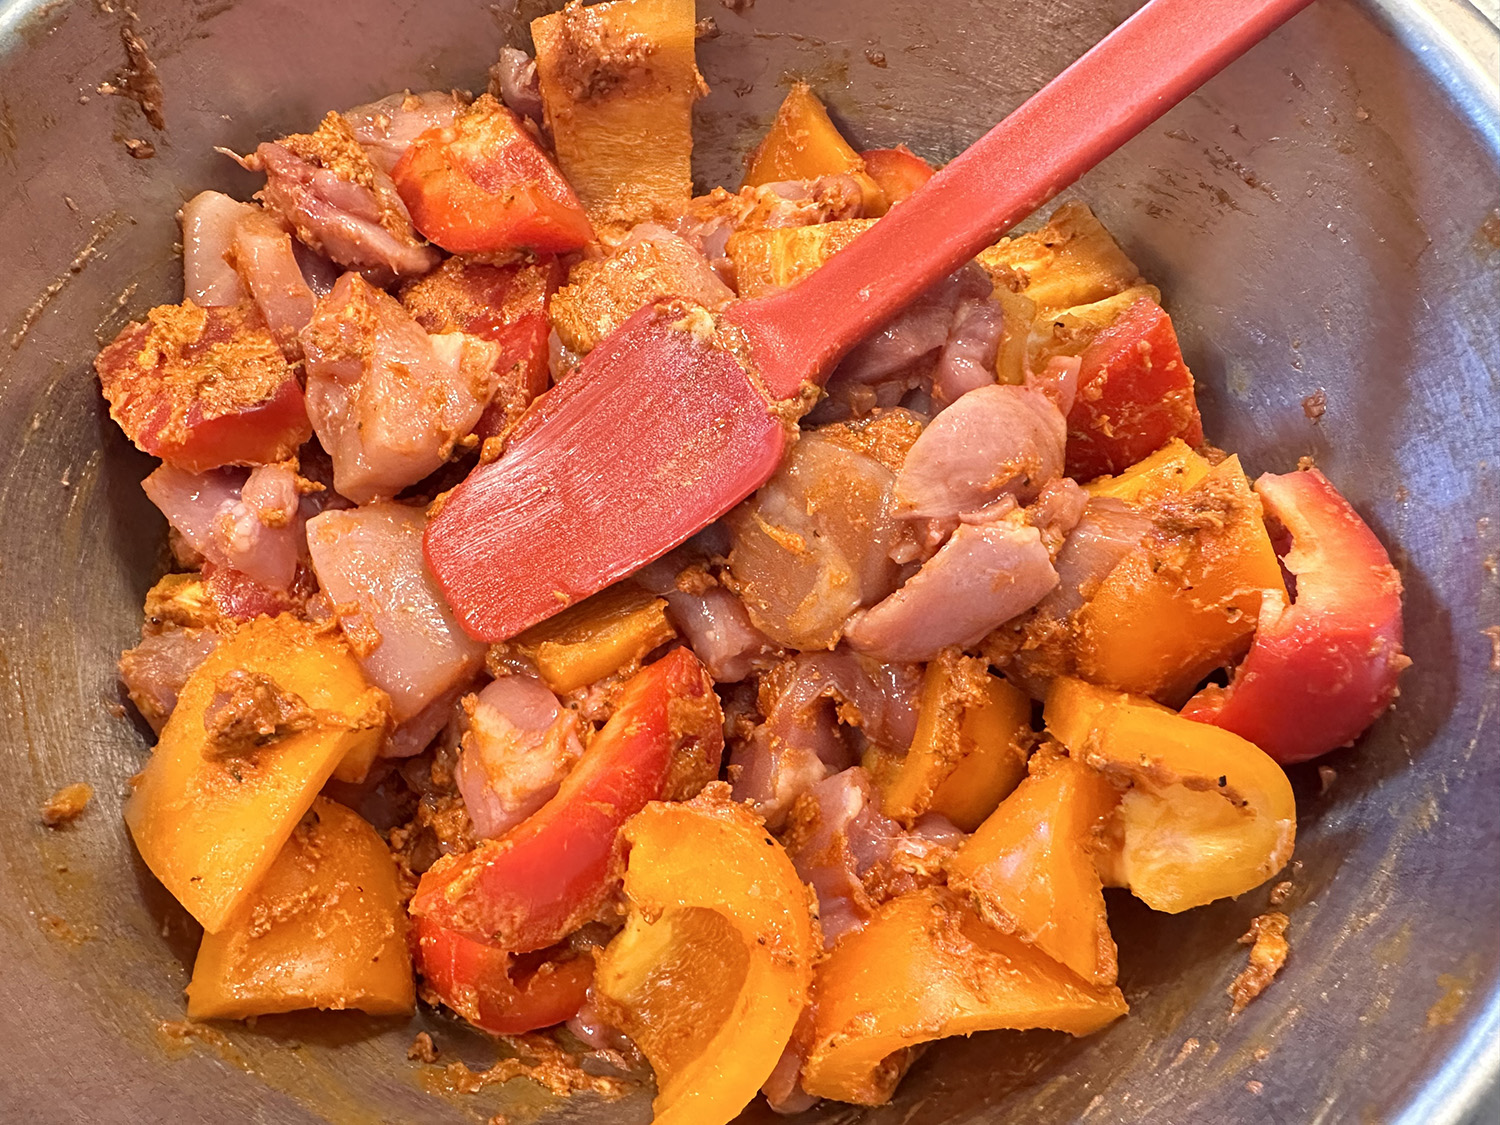
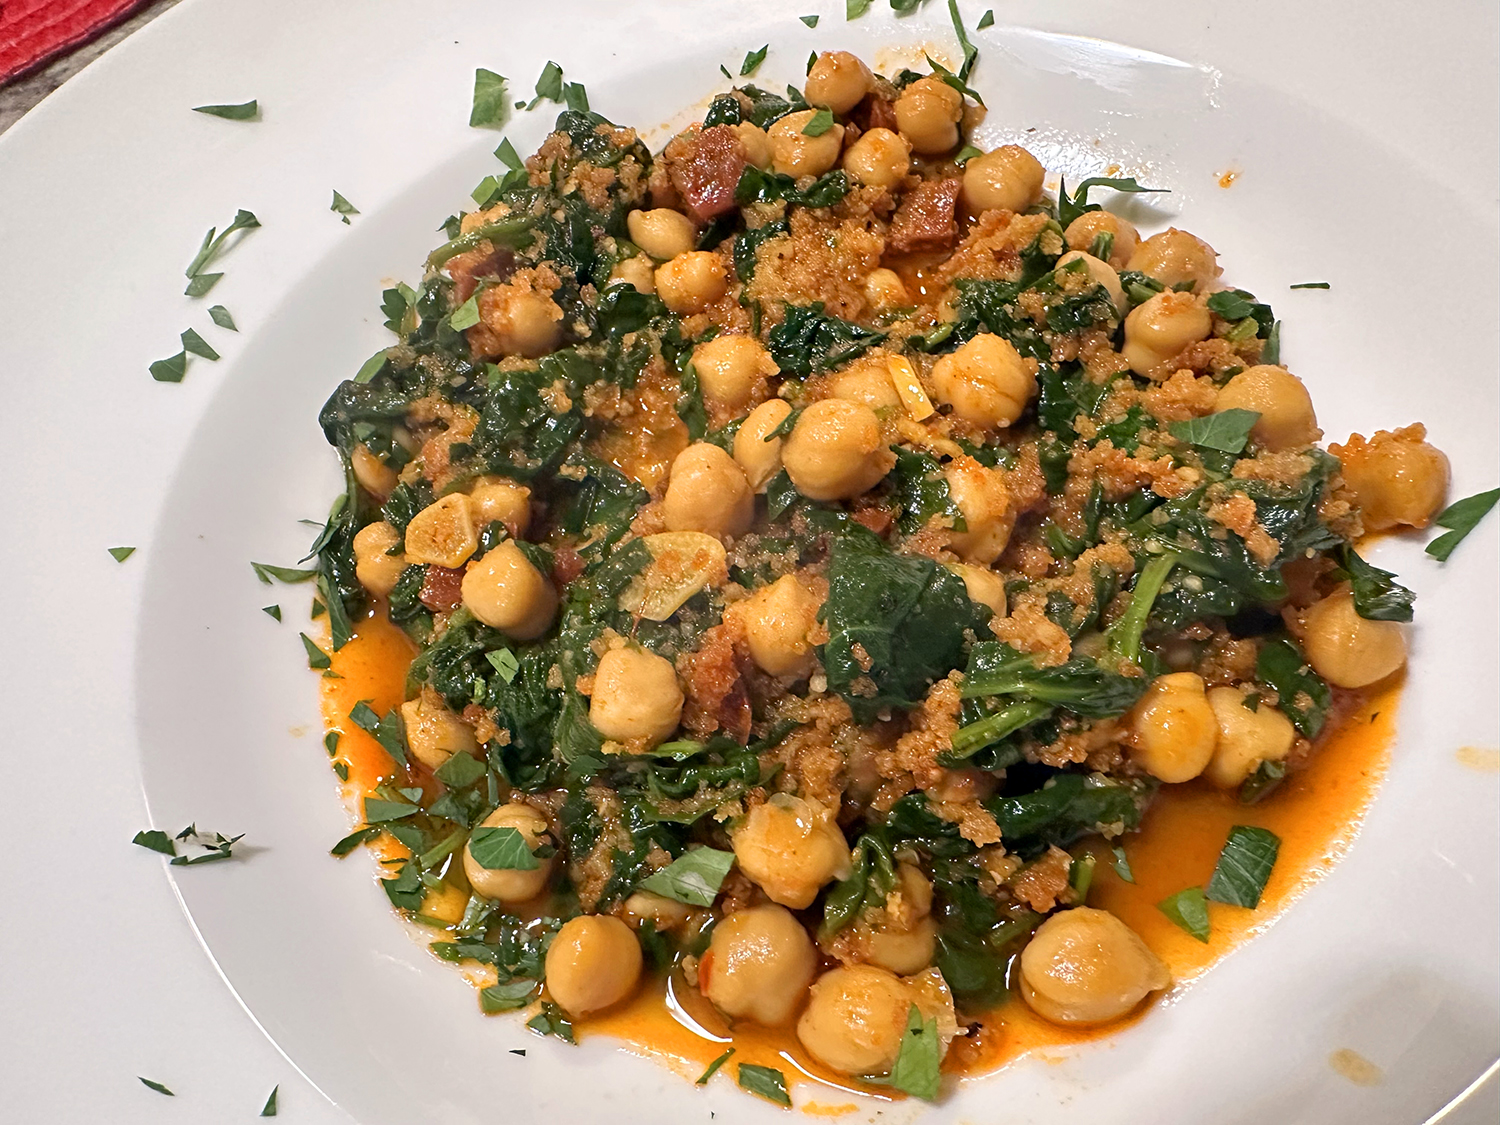
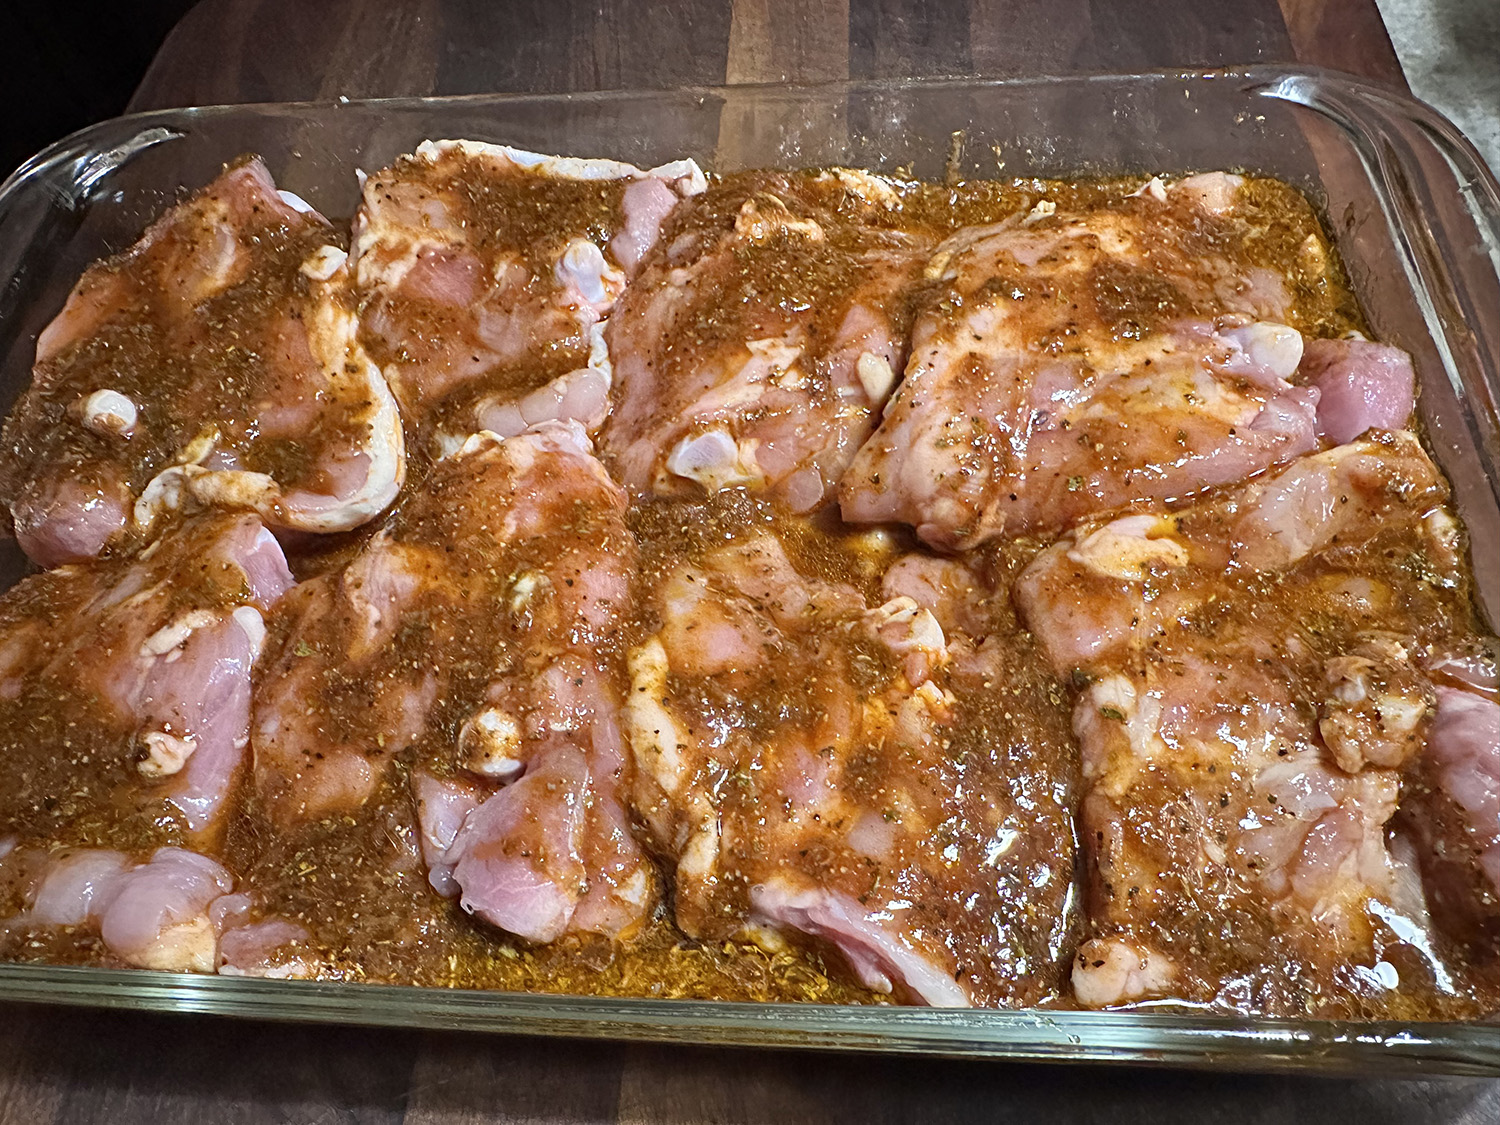
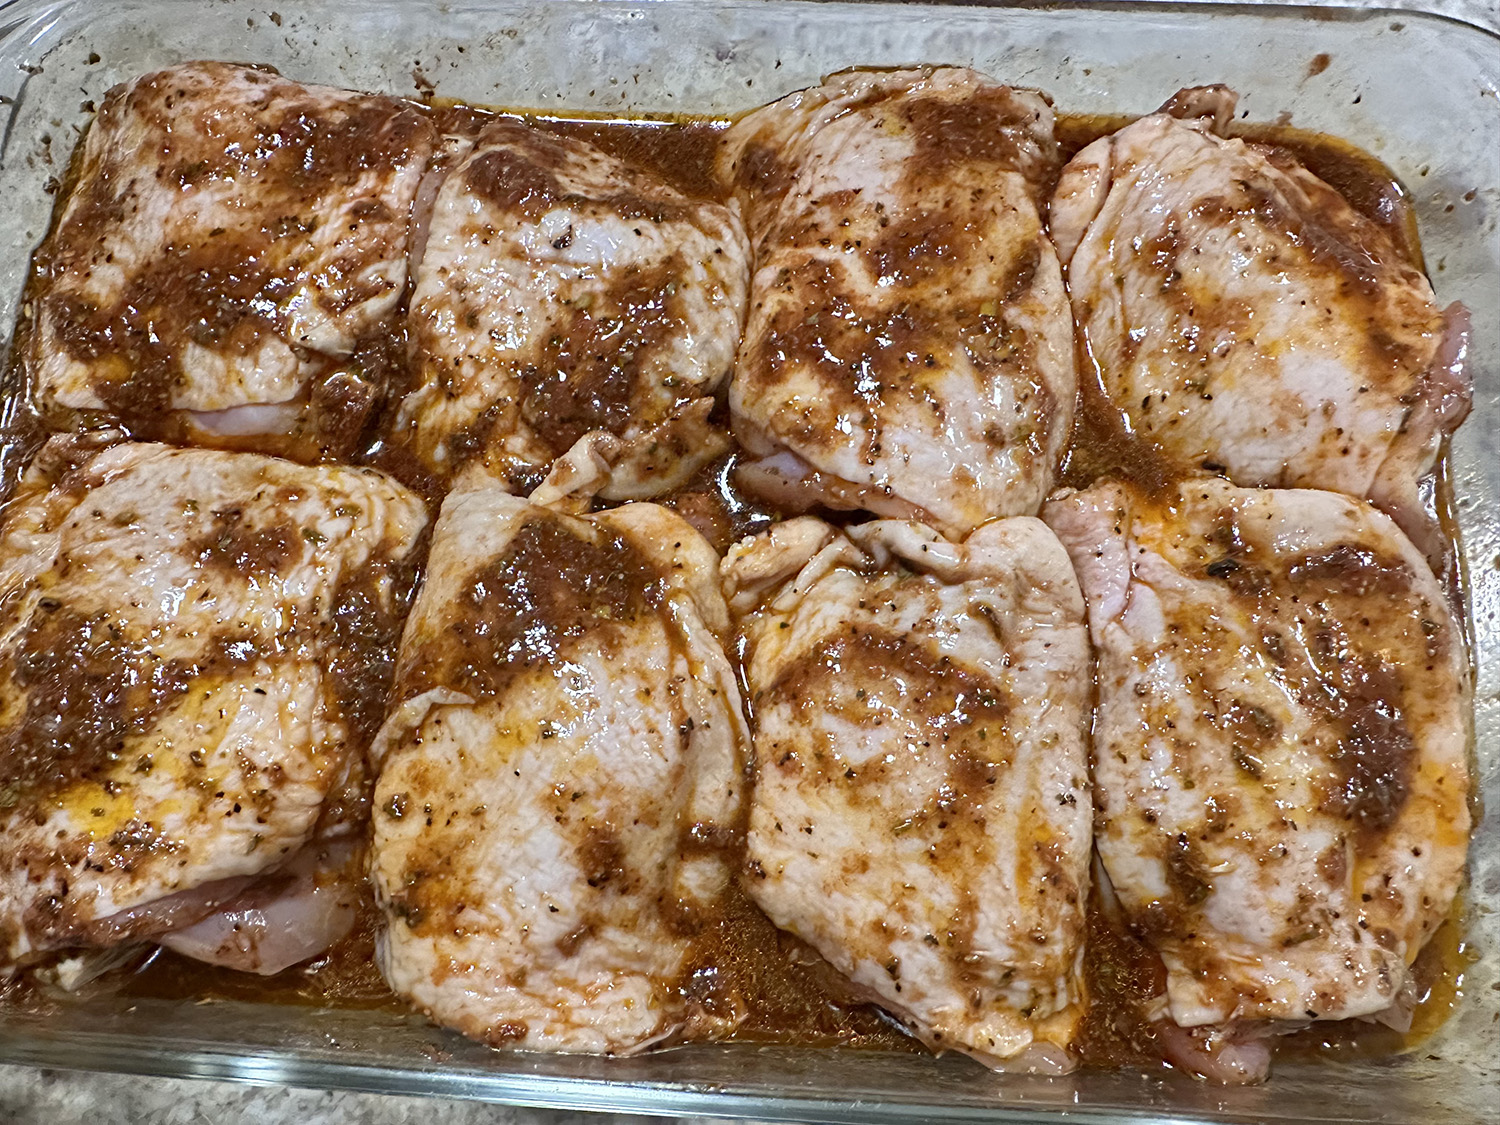
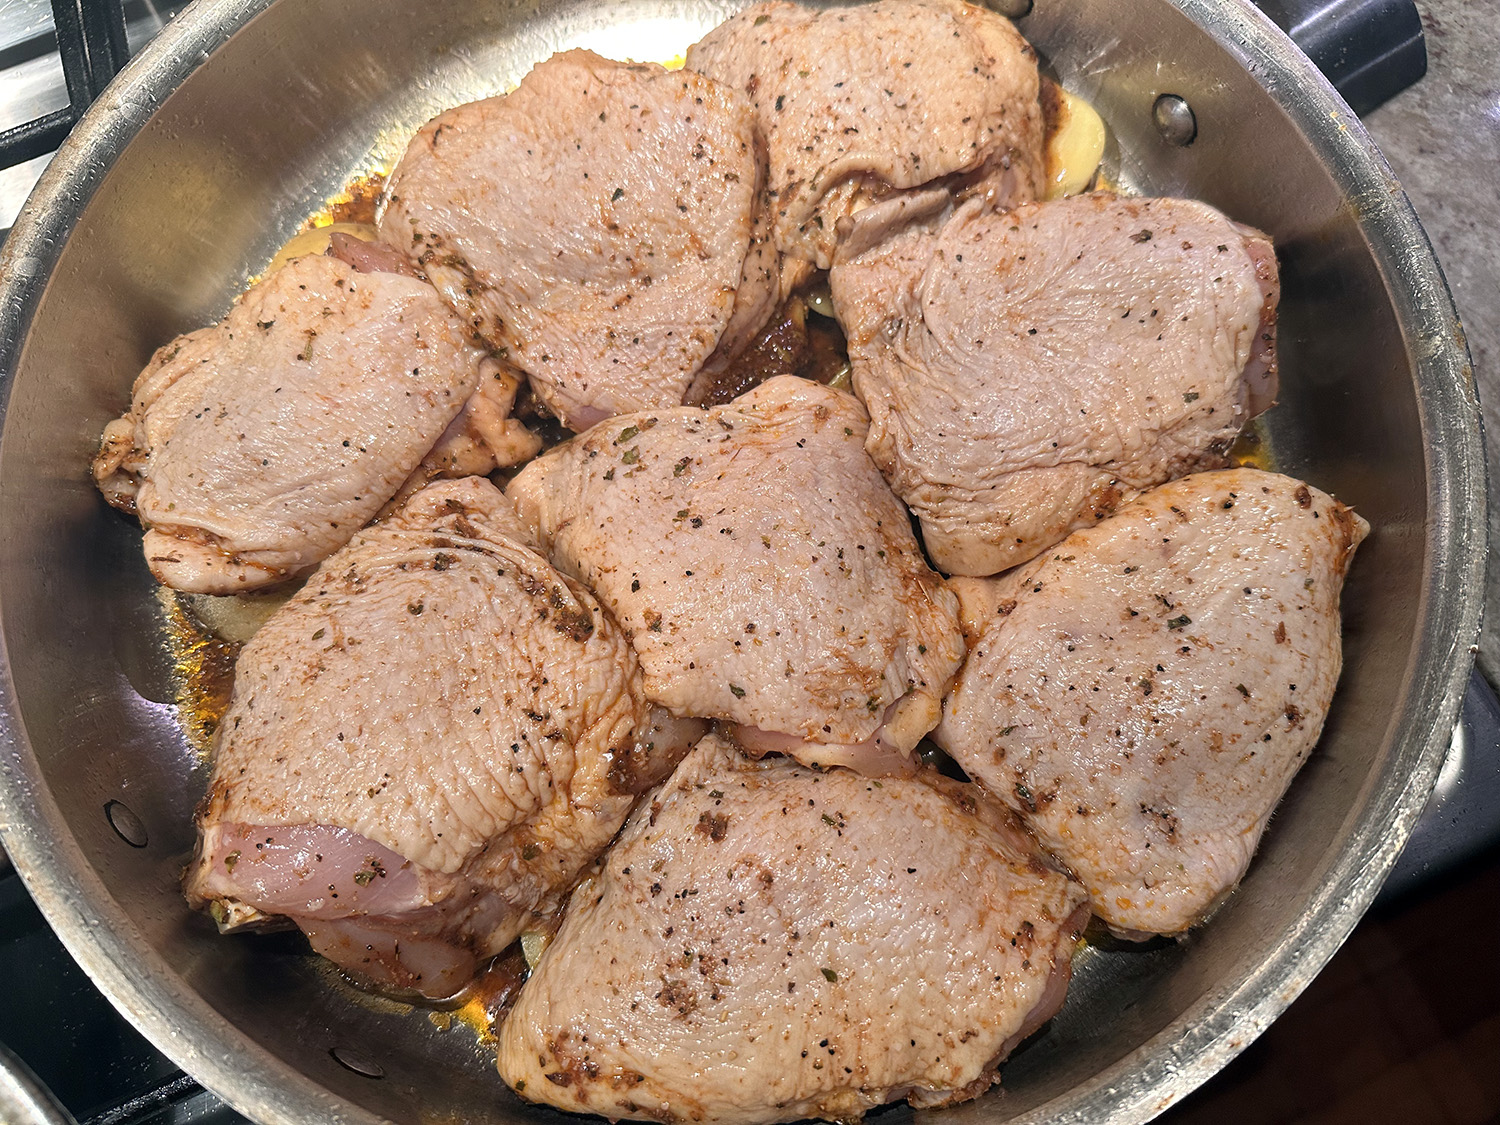
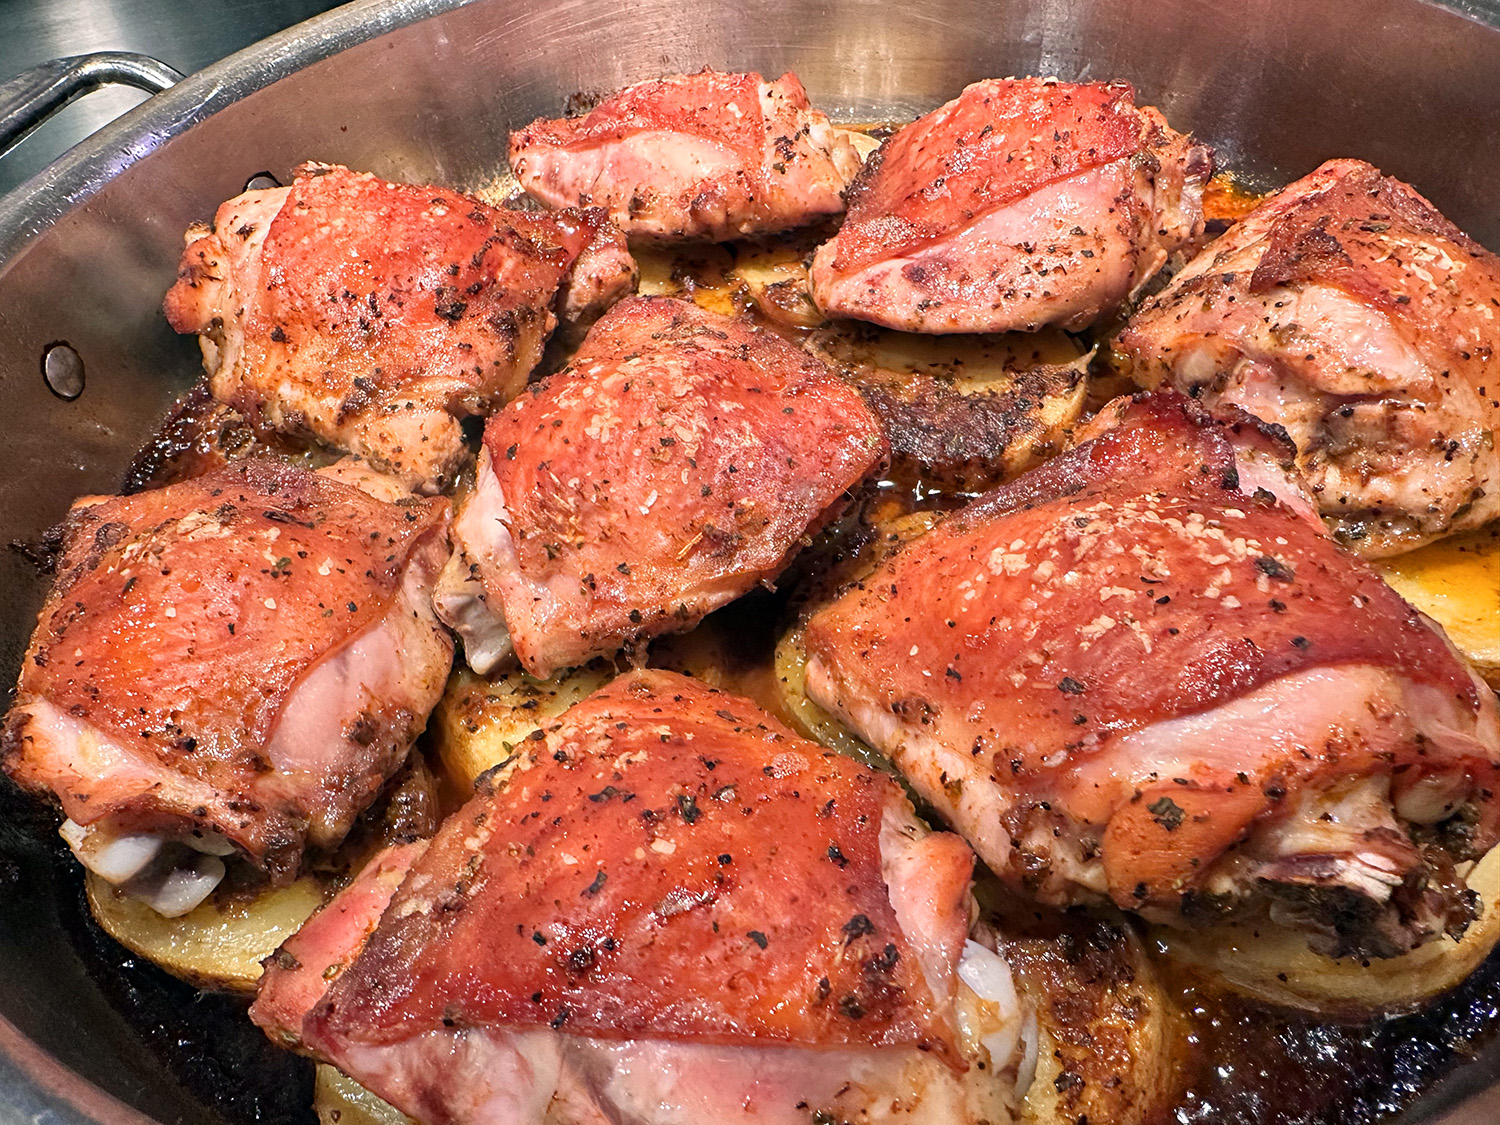
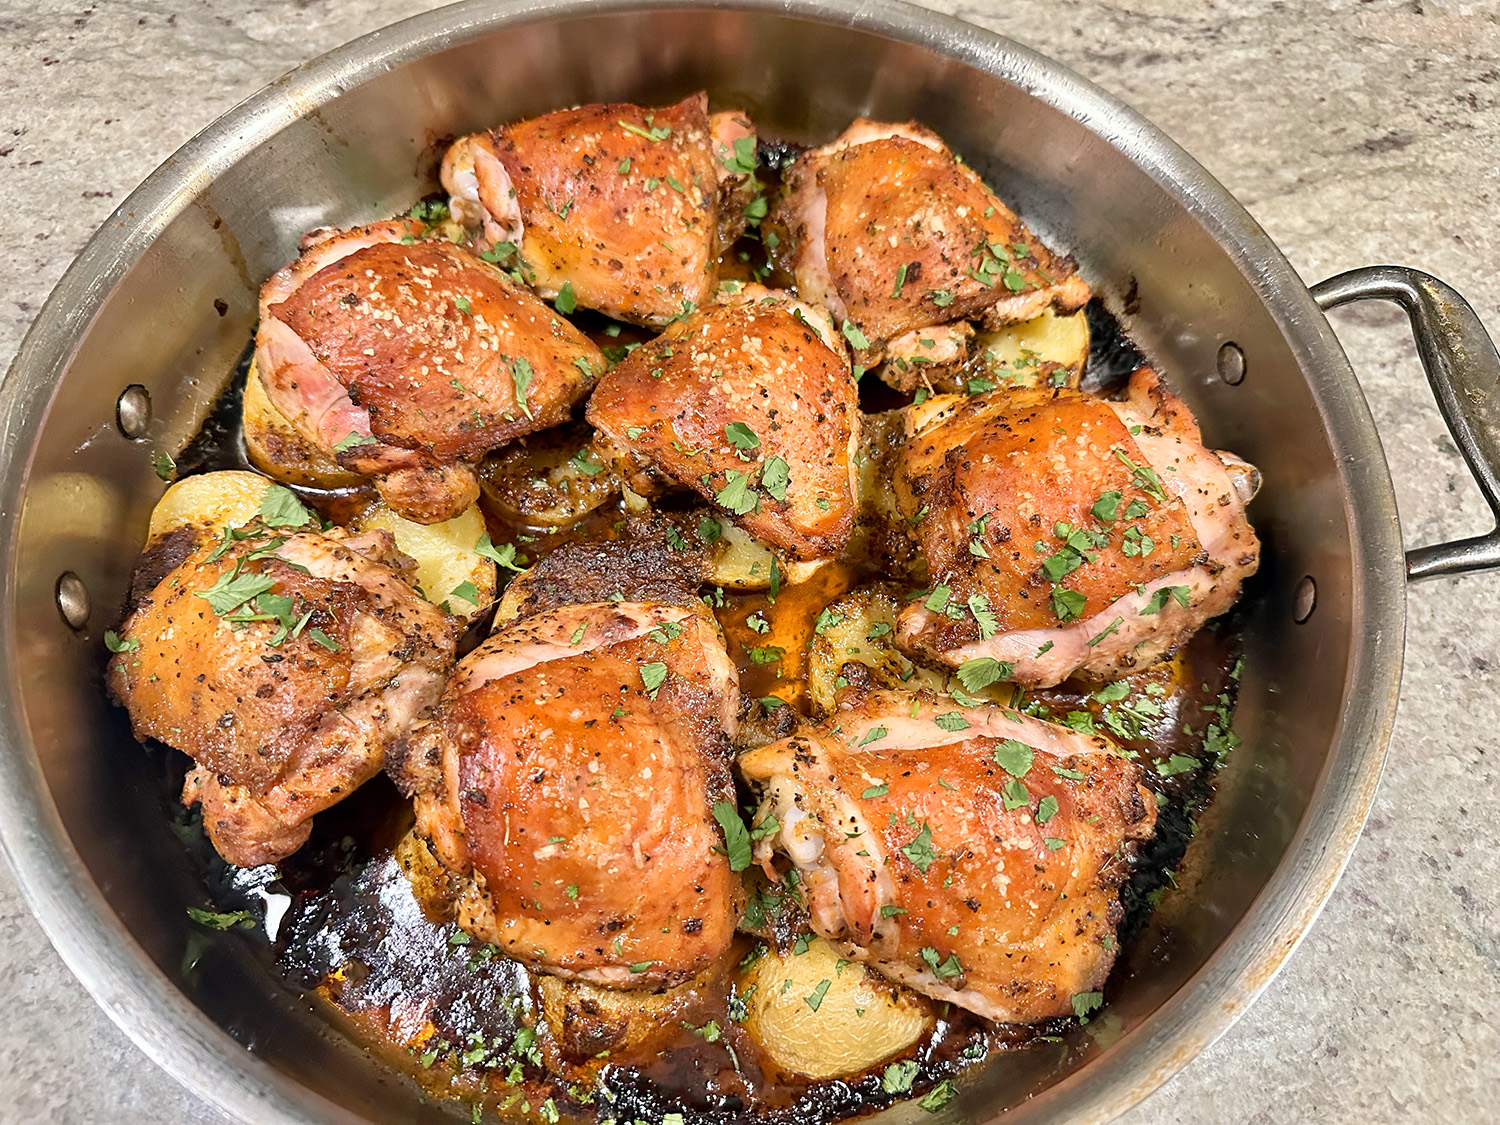
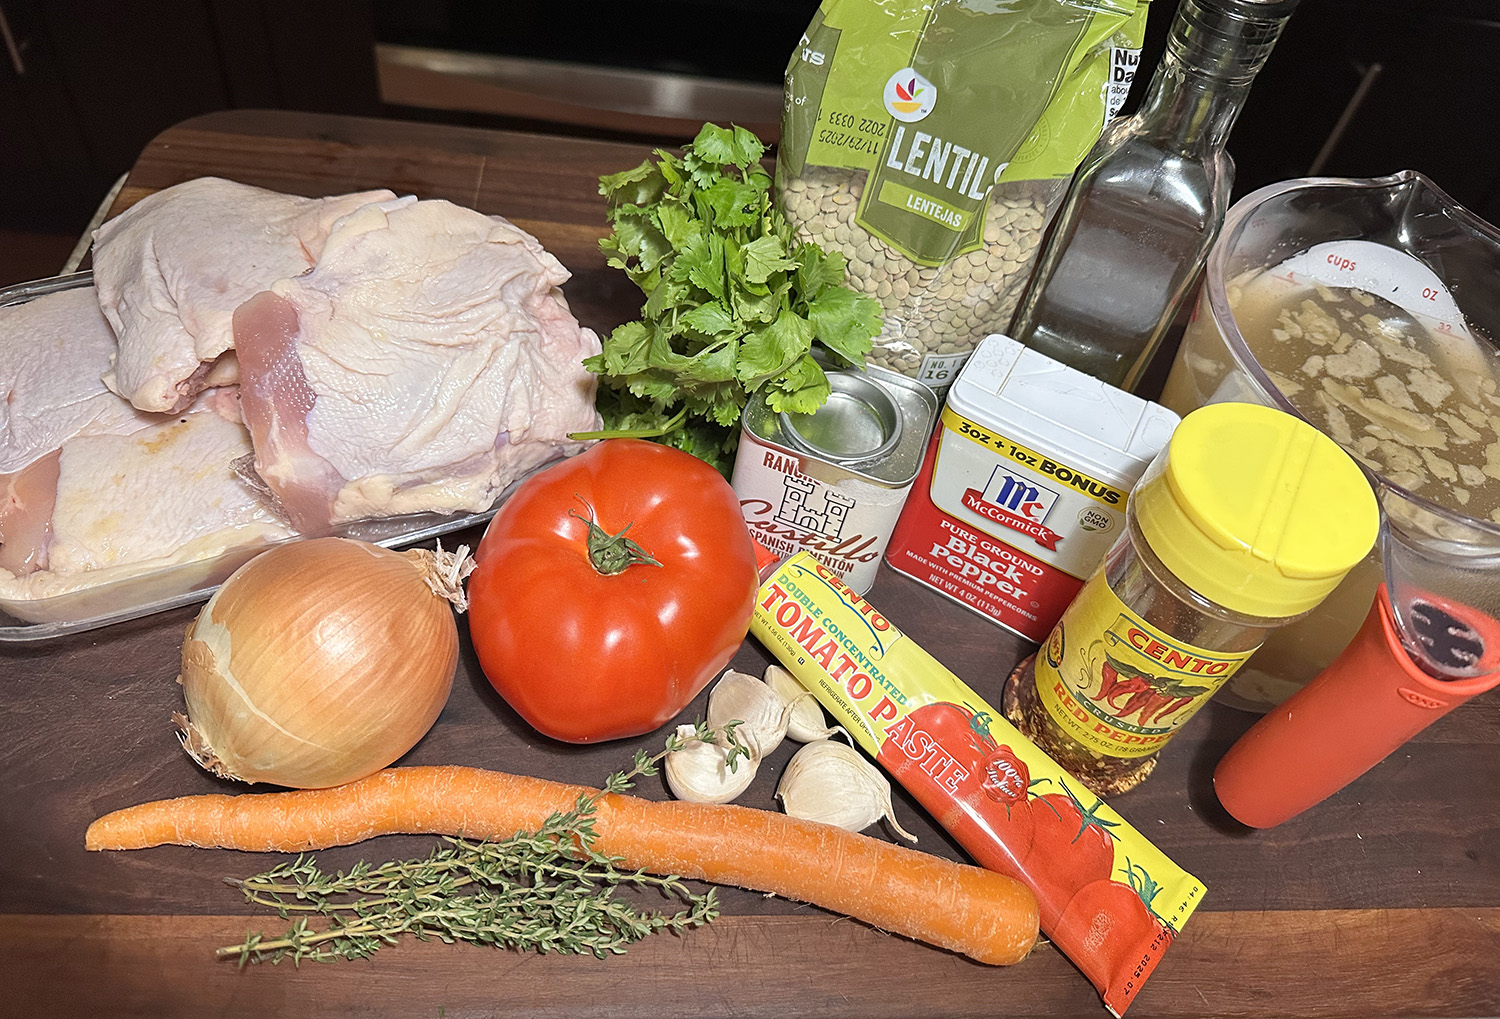
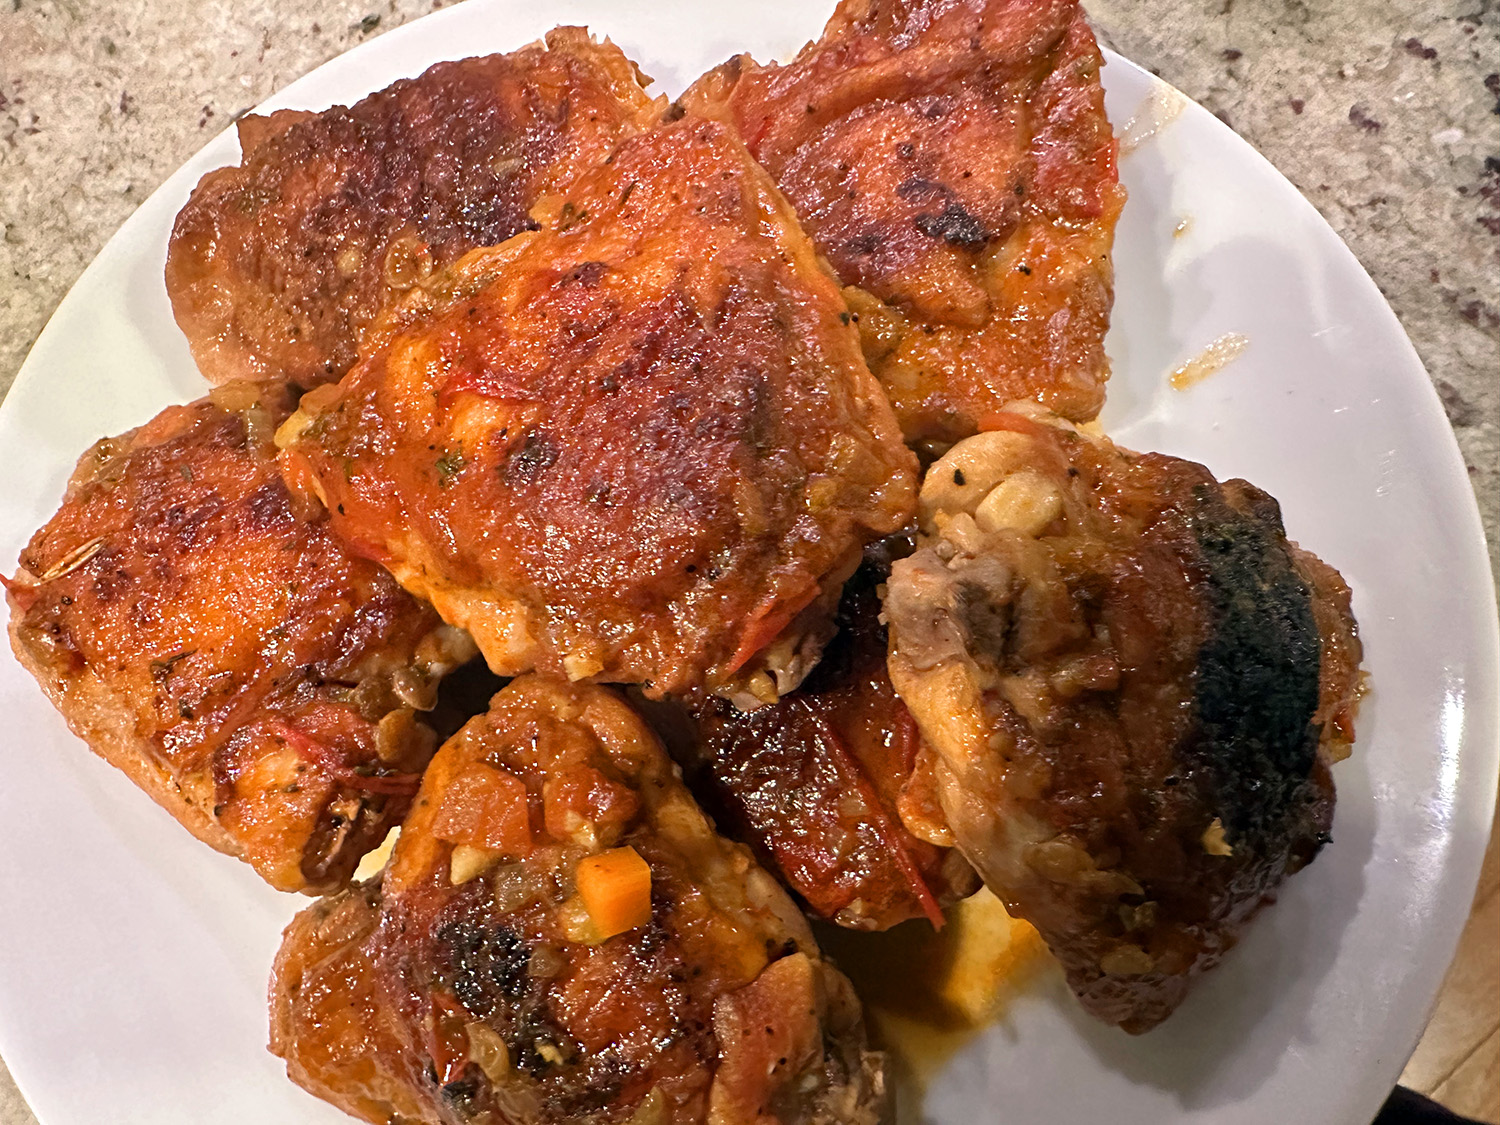
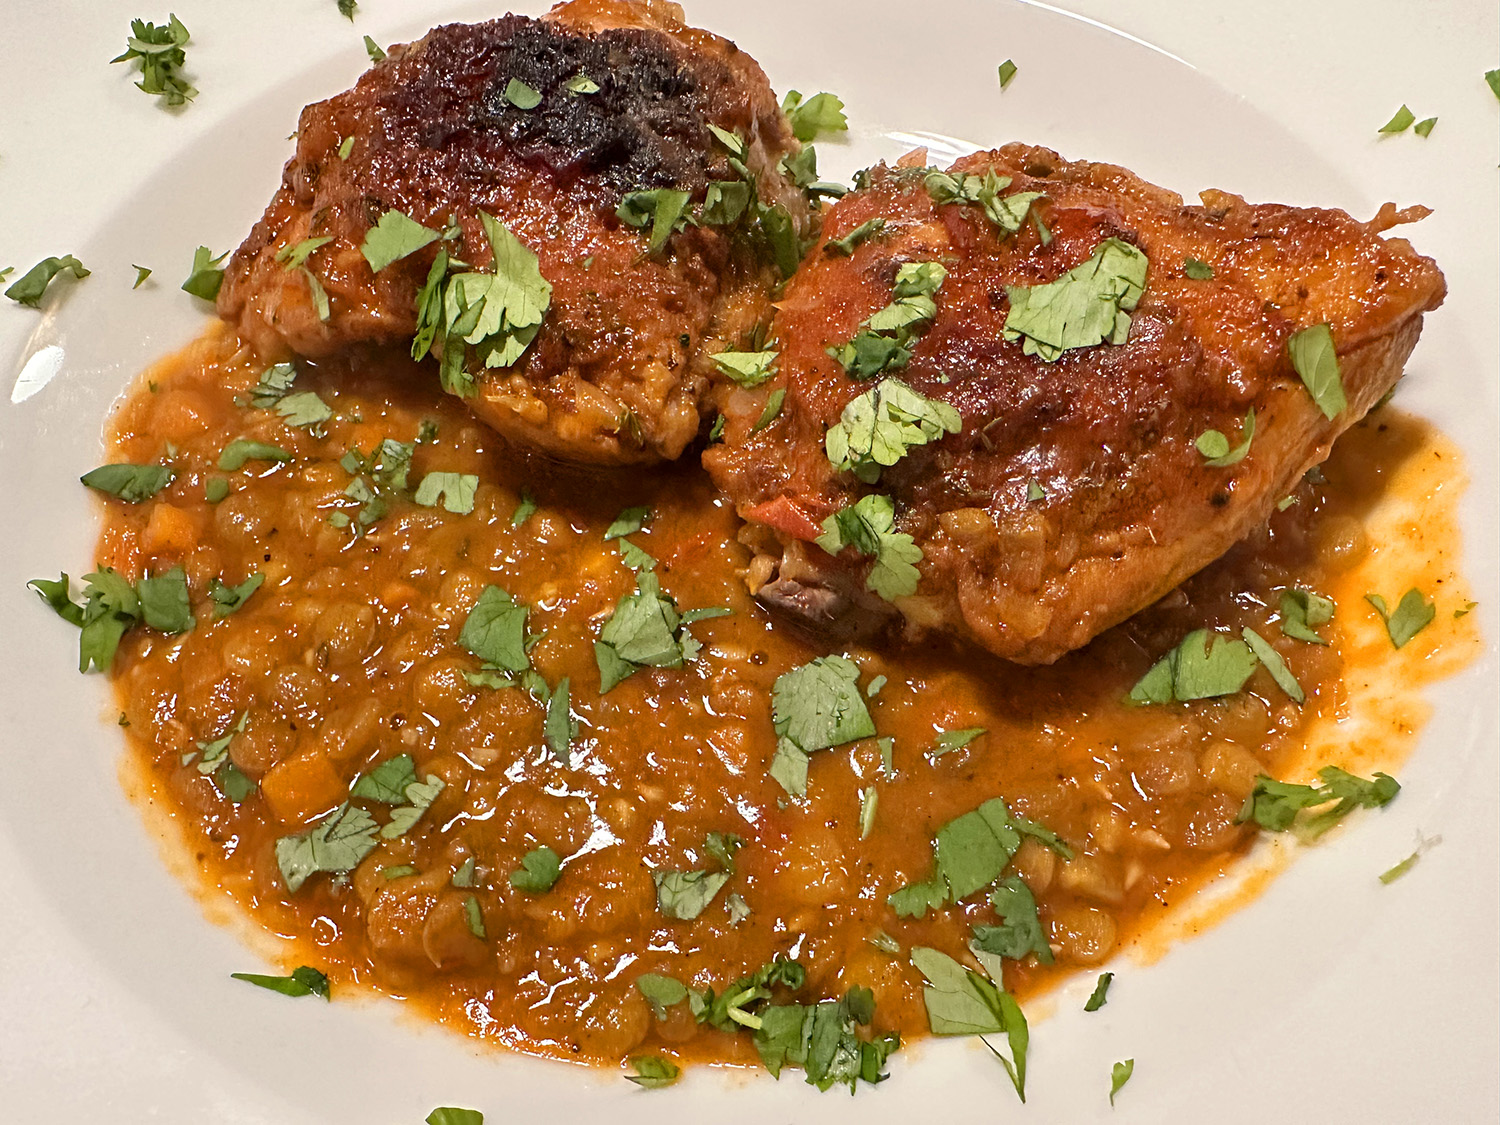
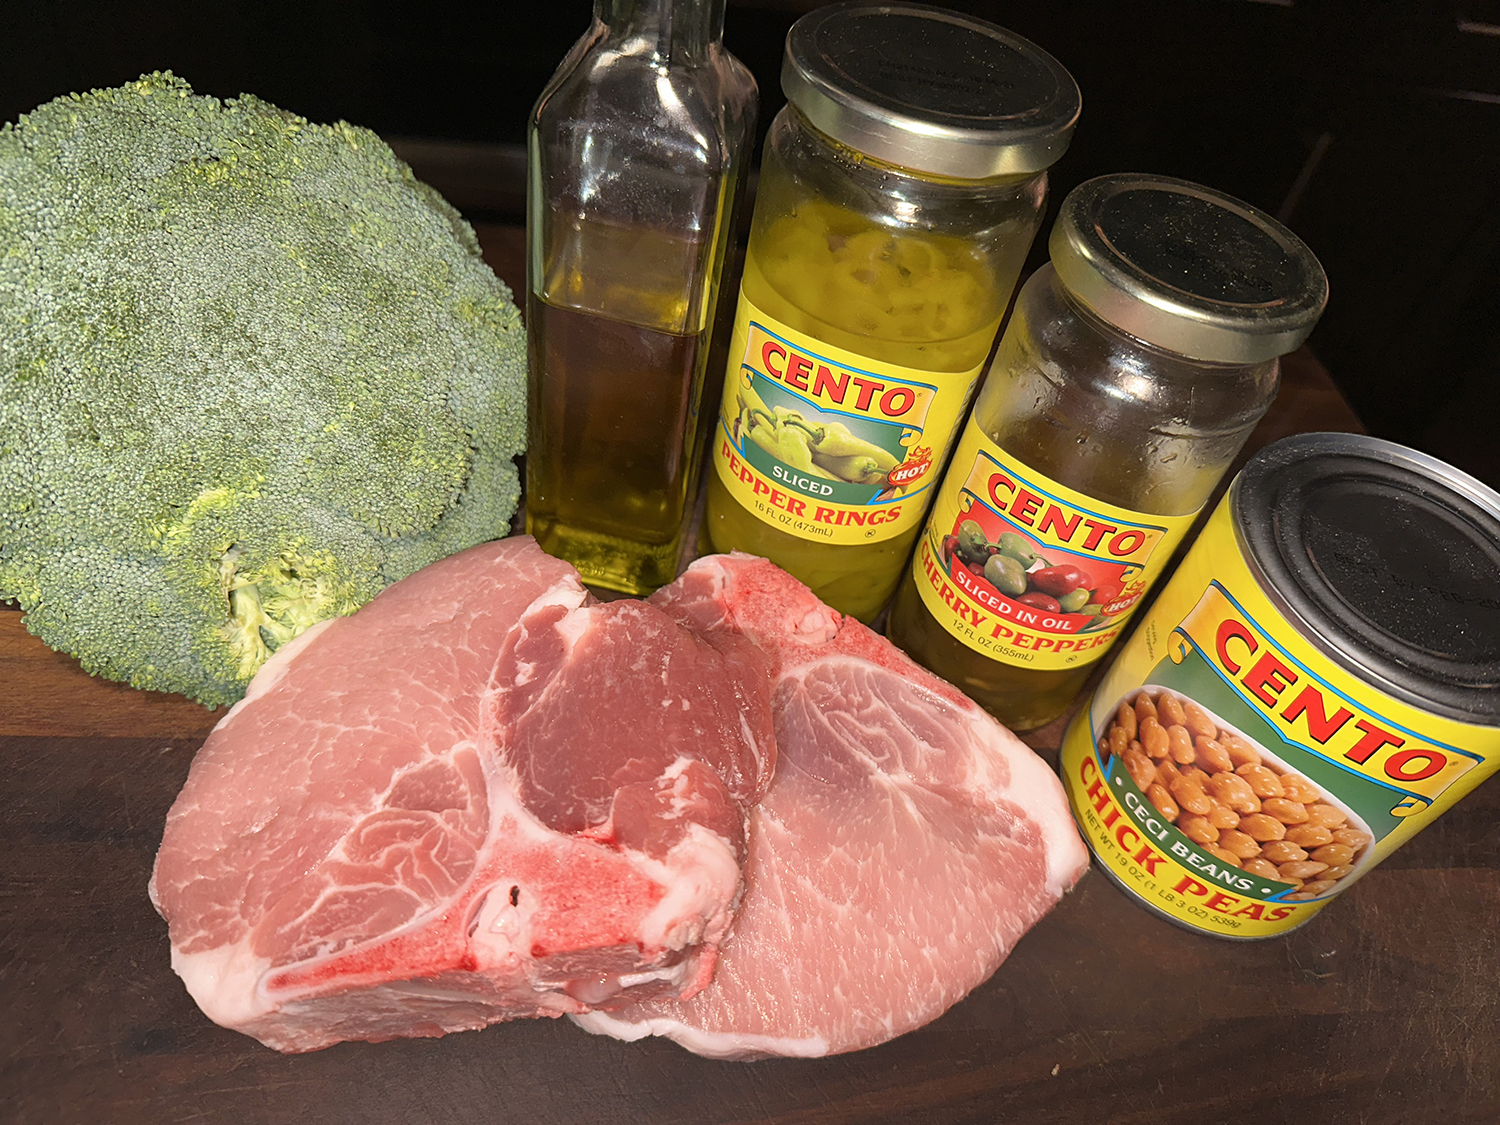
The curry base is wonderfully versatile; if fish isn’t your thing, sub in chicken or your favorite canned beans (adjust cooking times accordingly). Having a lot of rice and curry sauce left over, we browned some boneless chicken thigh pieces and added them to the sauce for another dinner a few days later.
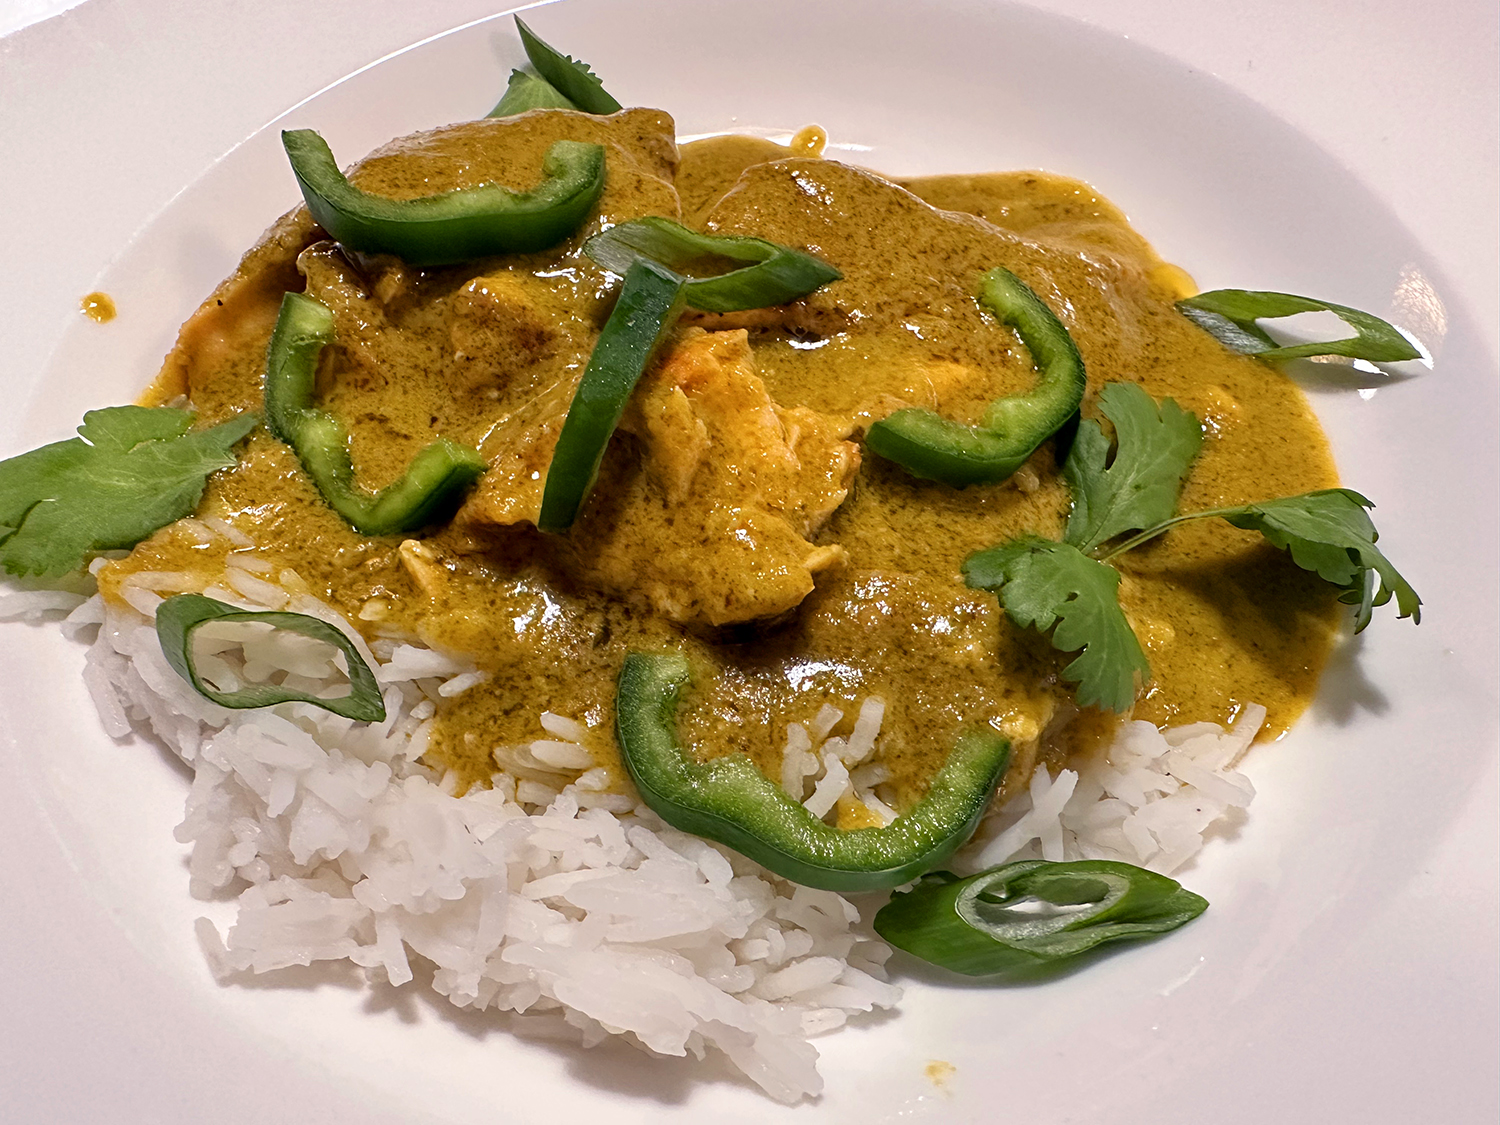
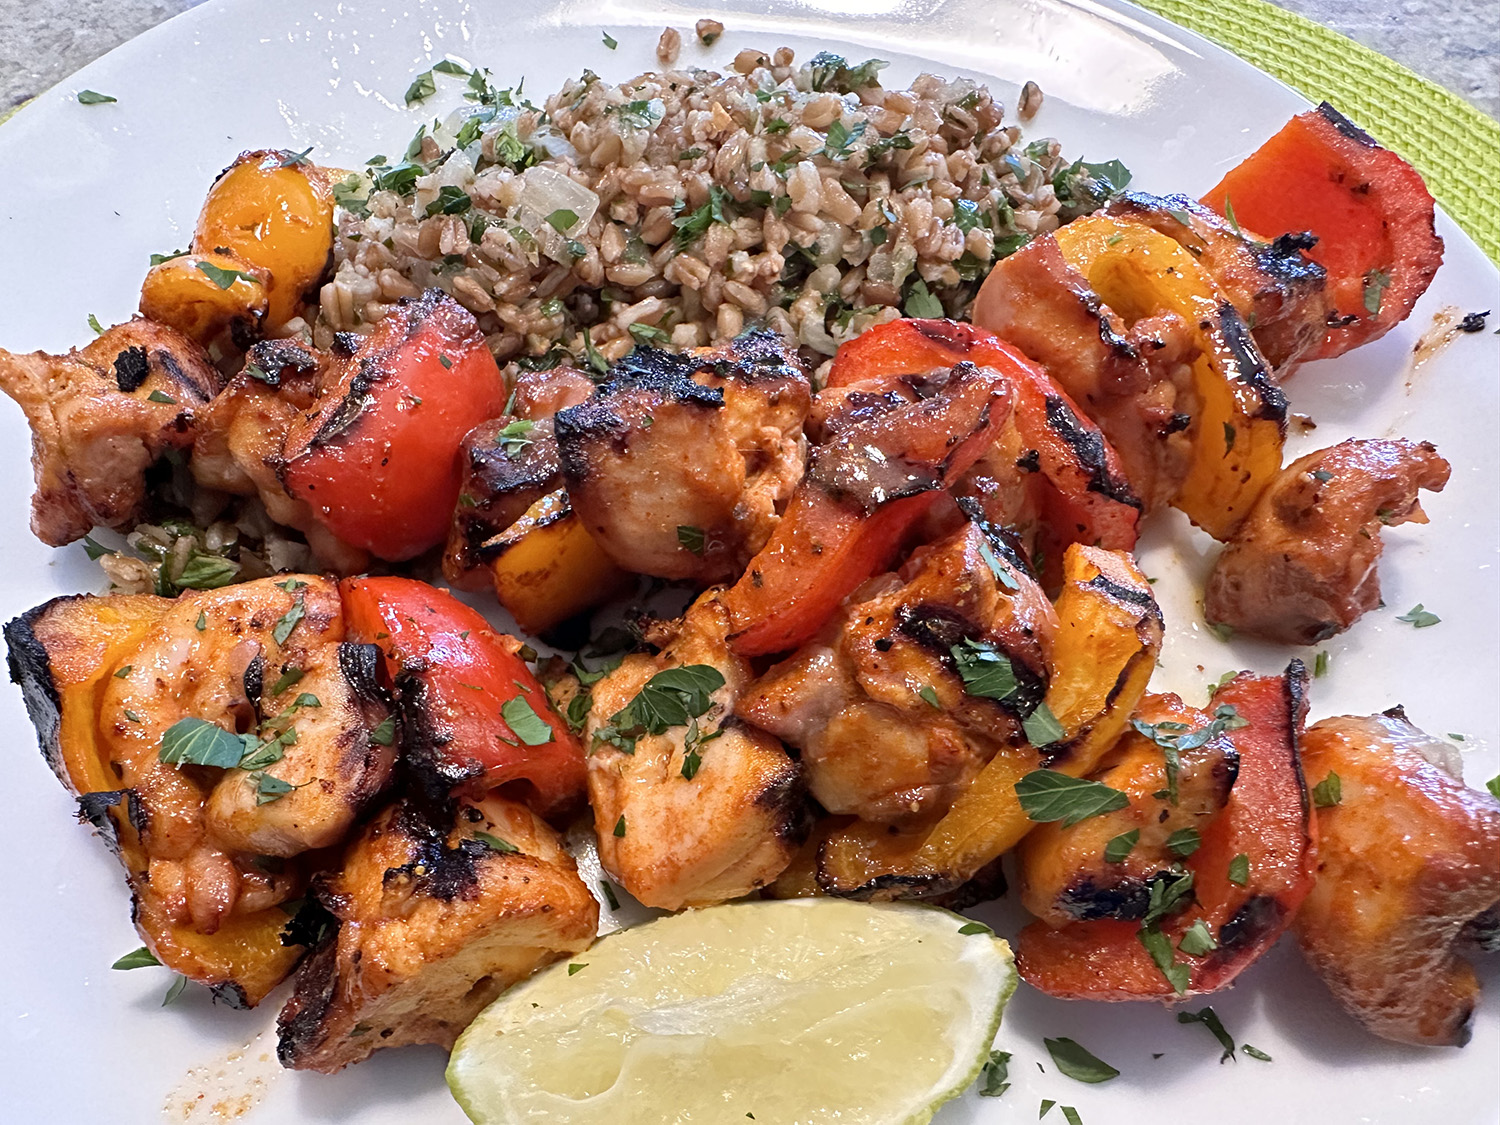
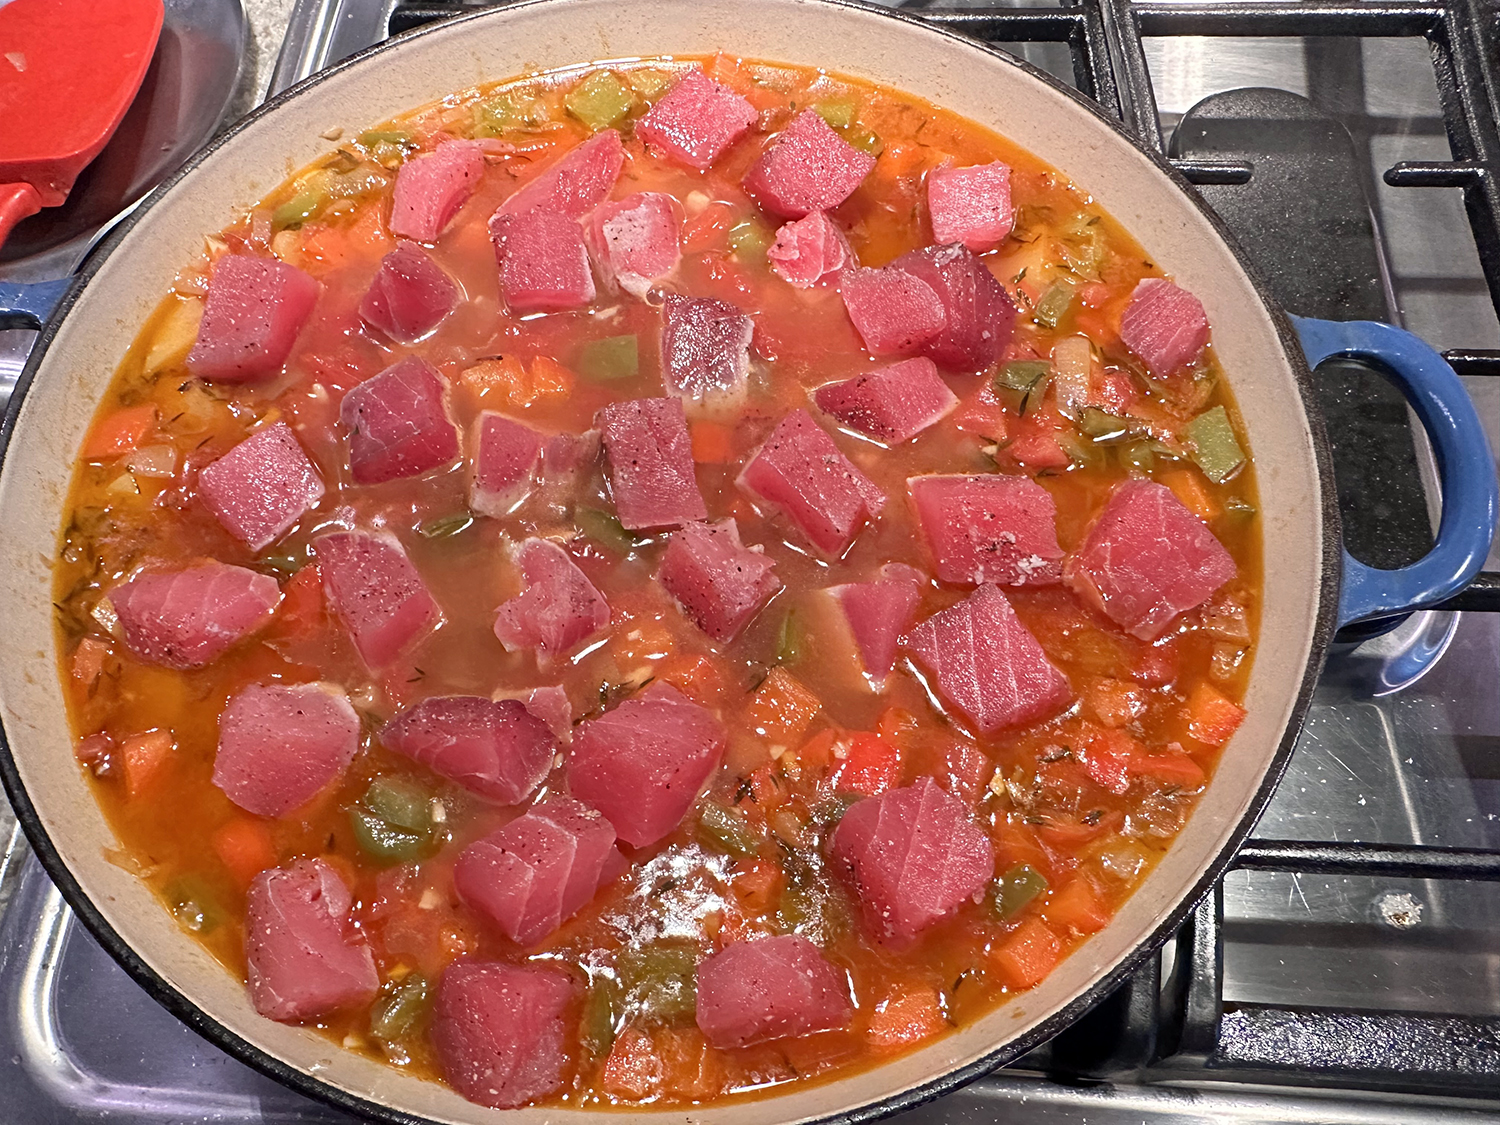
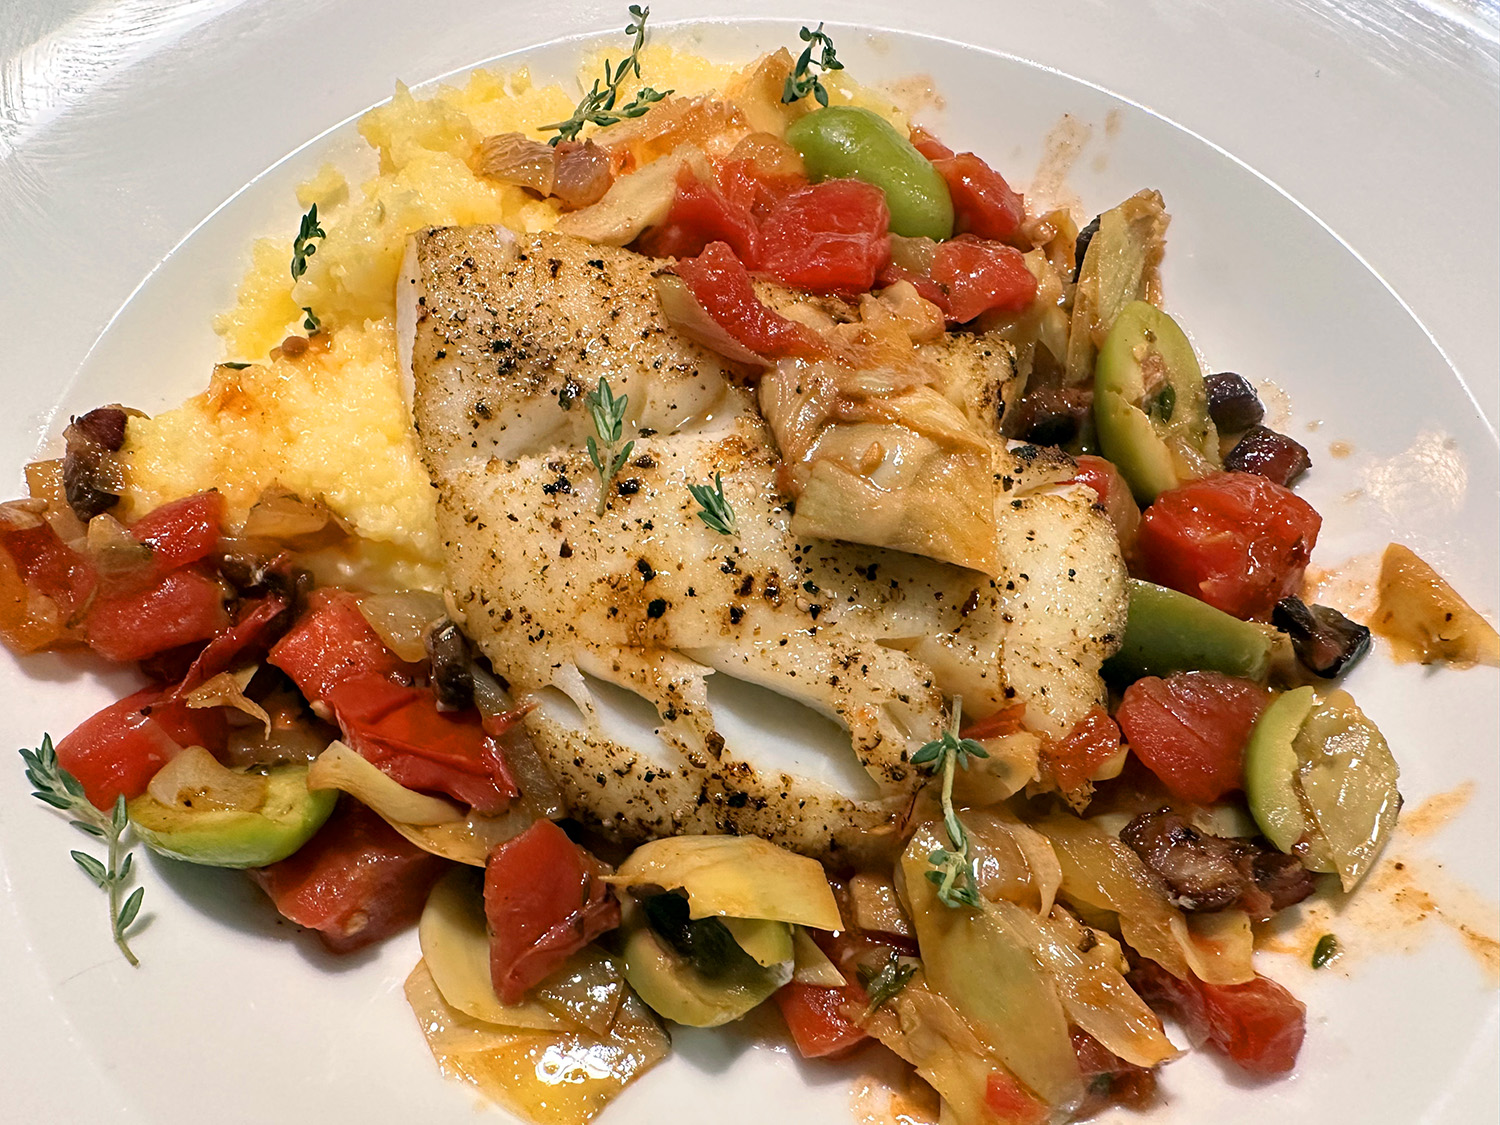
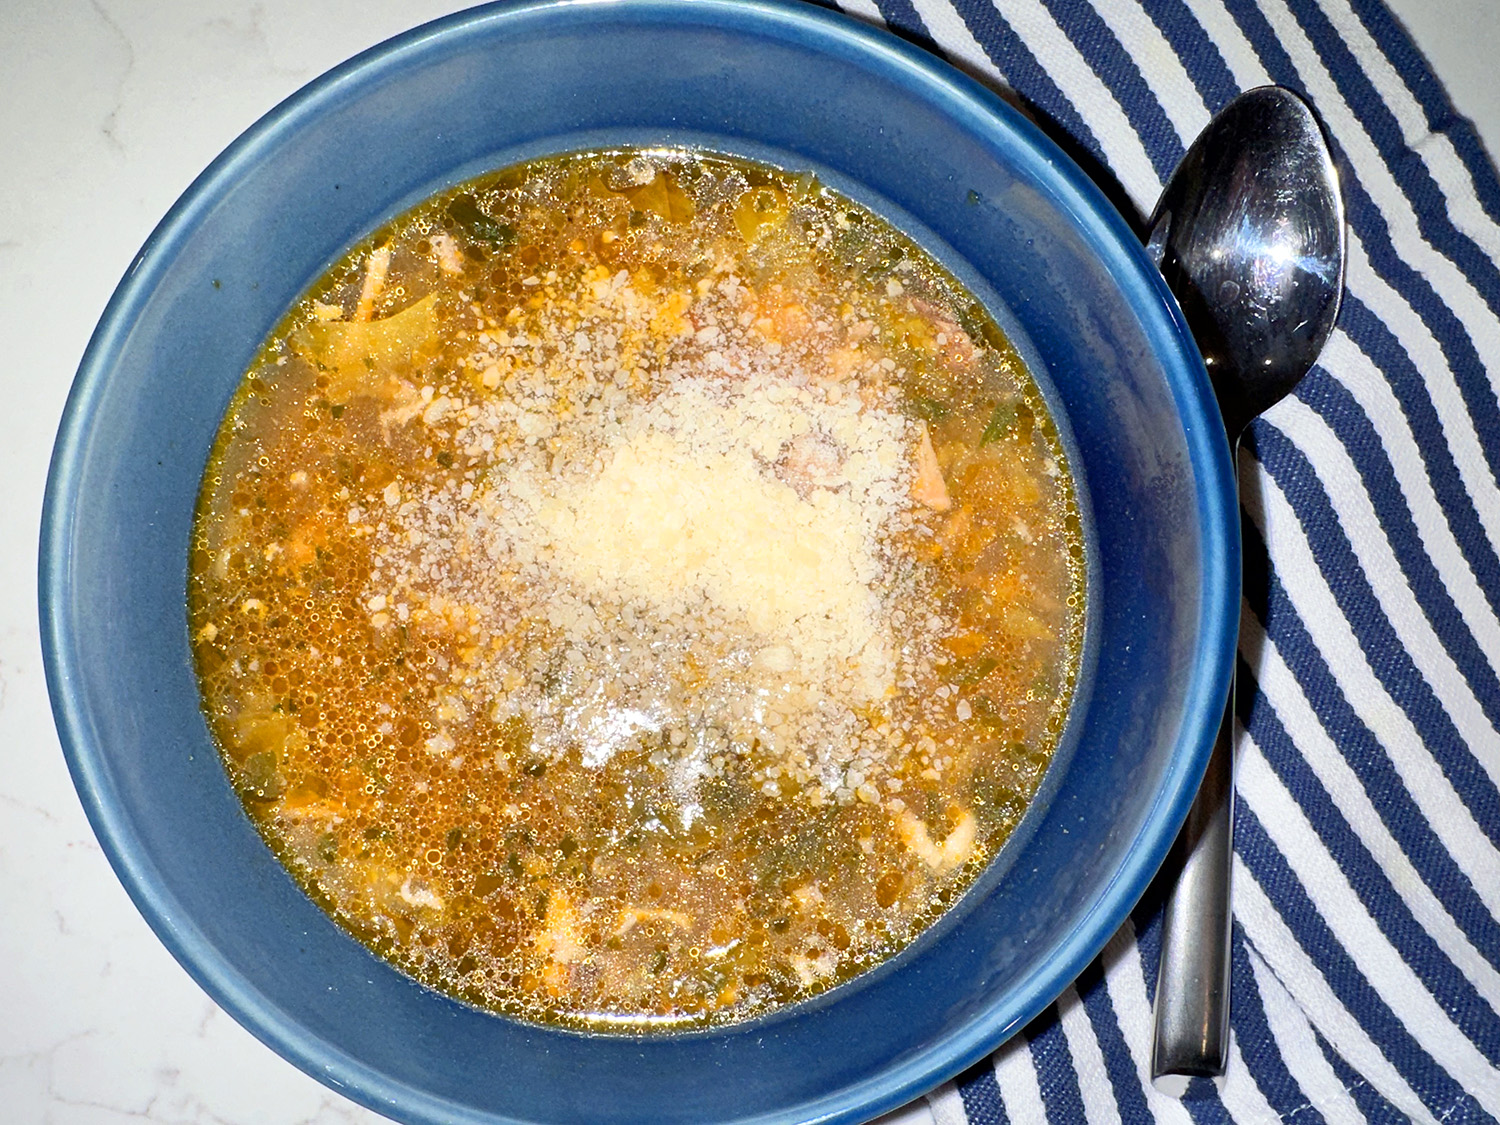
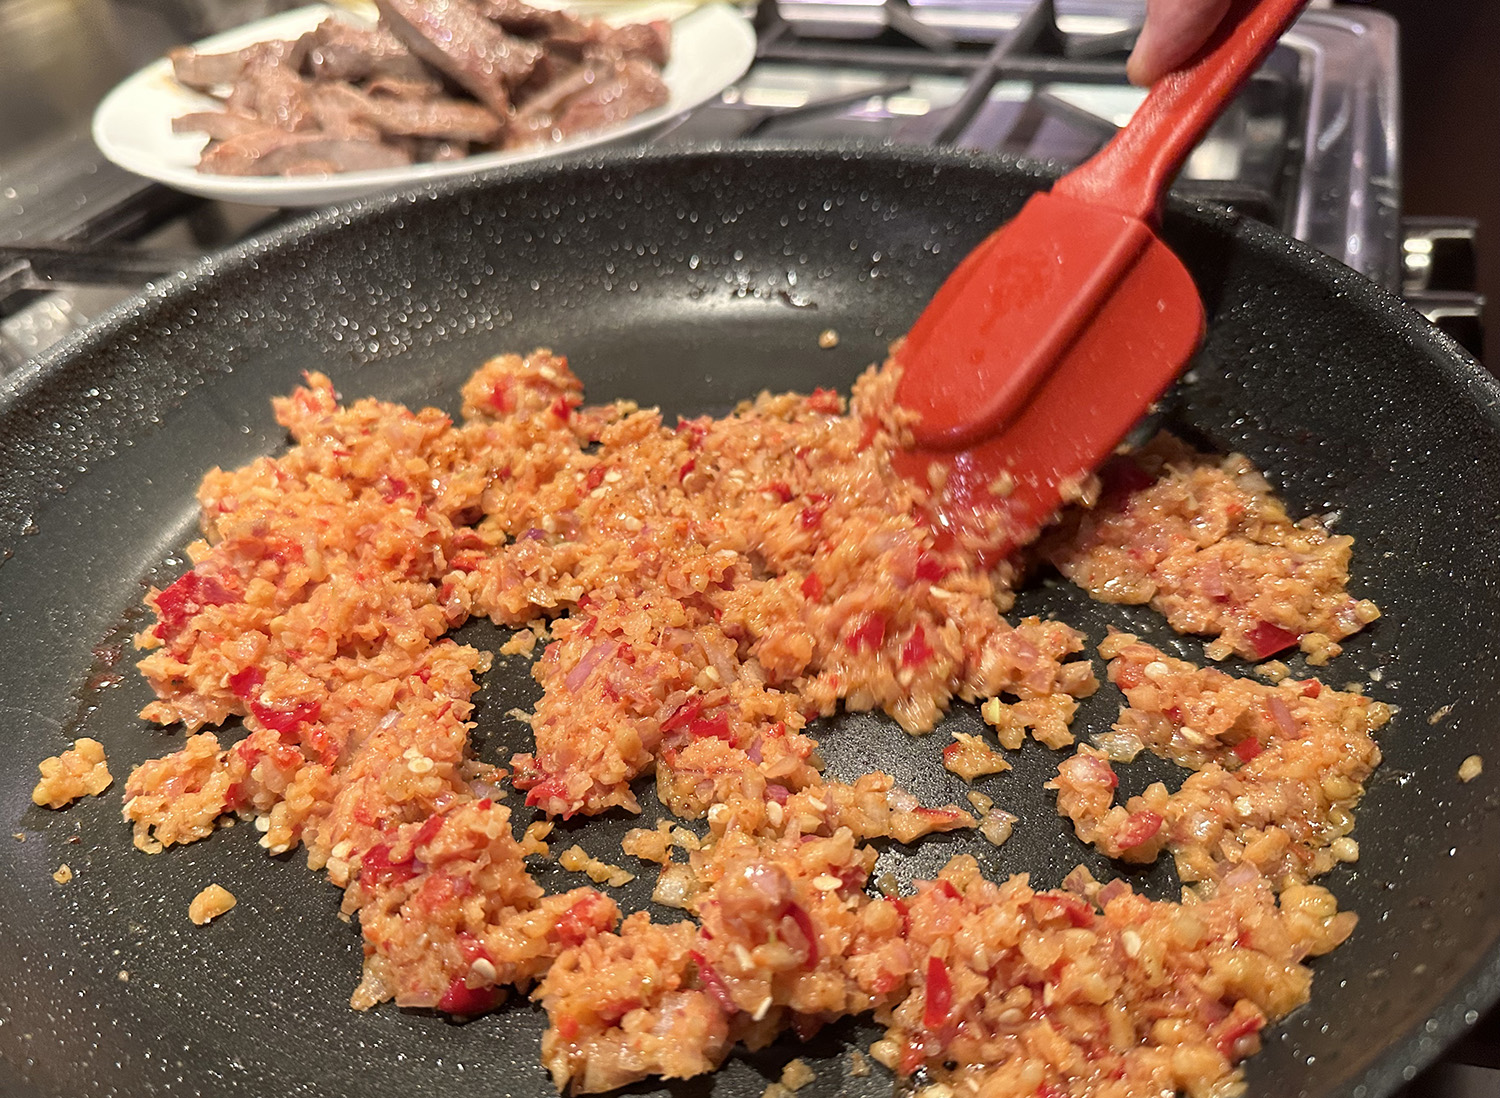
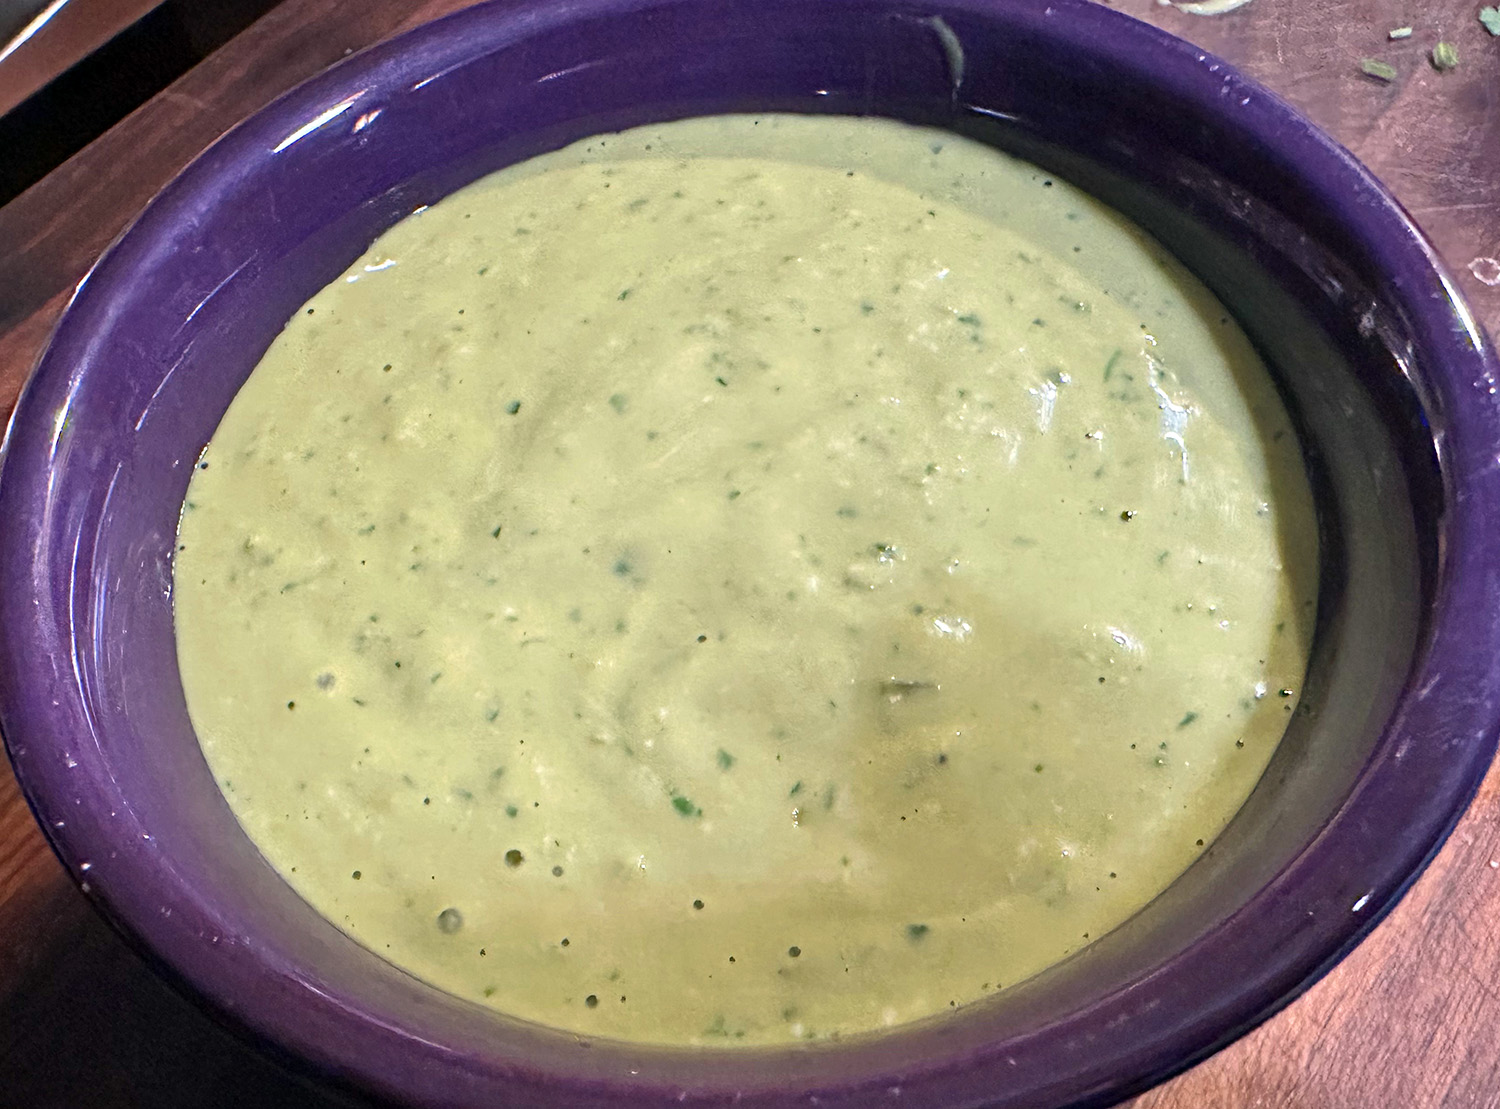
Since no Thai chiles were available at the grocery store, we opted to incorporate jalapeños instead. The color of the paka may be a bit off-putting as it gives the appearance of pea soup, but don’t be fooled by that, the sauce is amazing!

Seared Salmon Paka
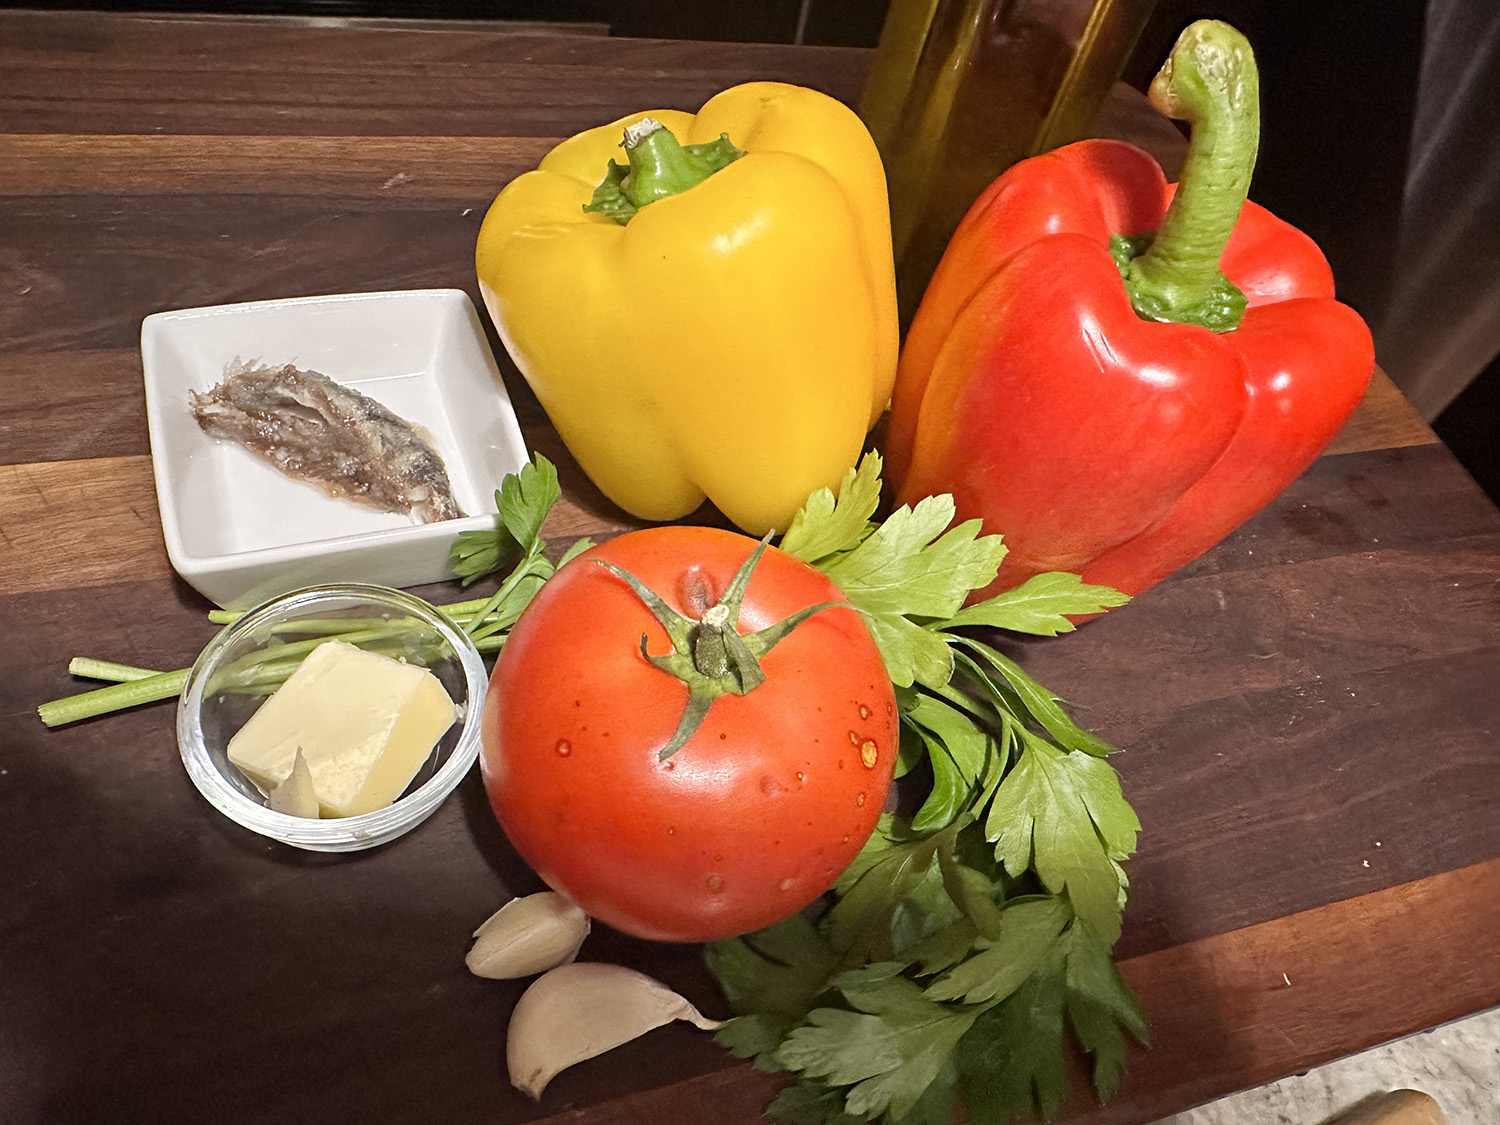
Ingredients
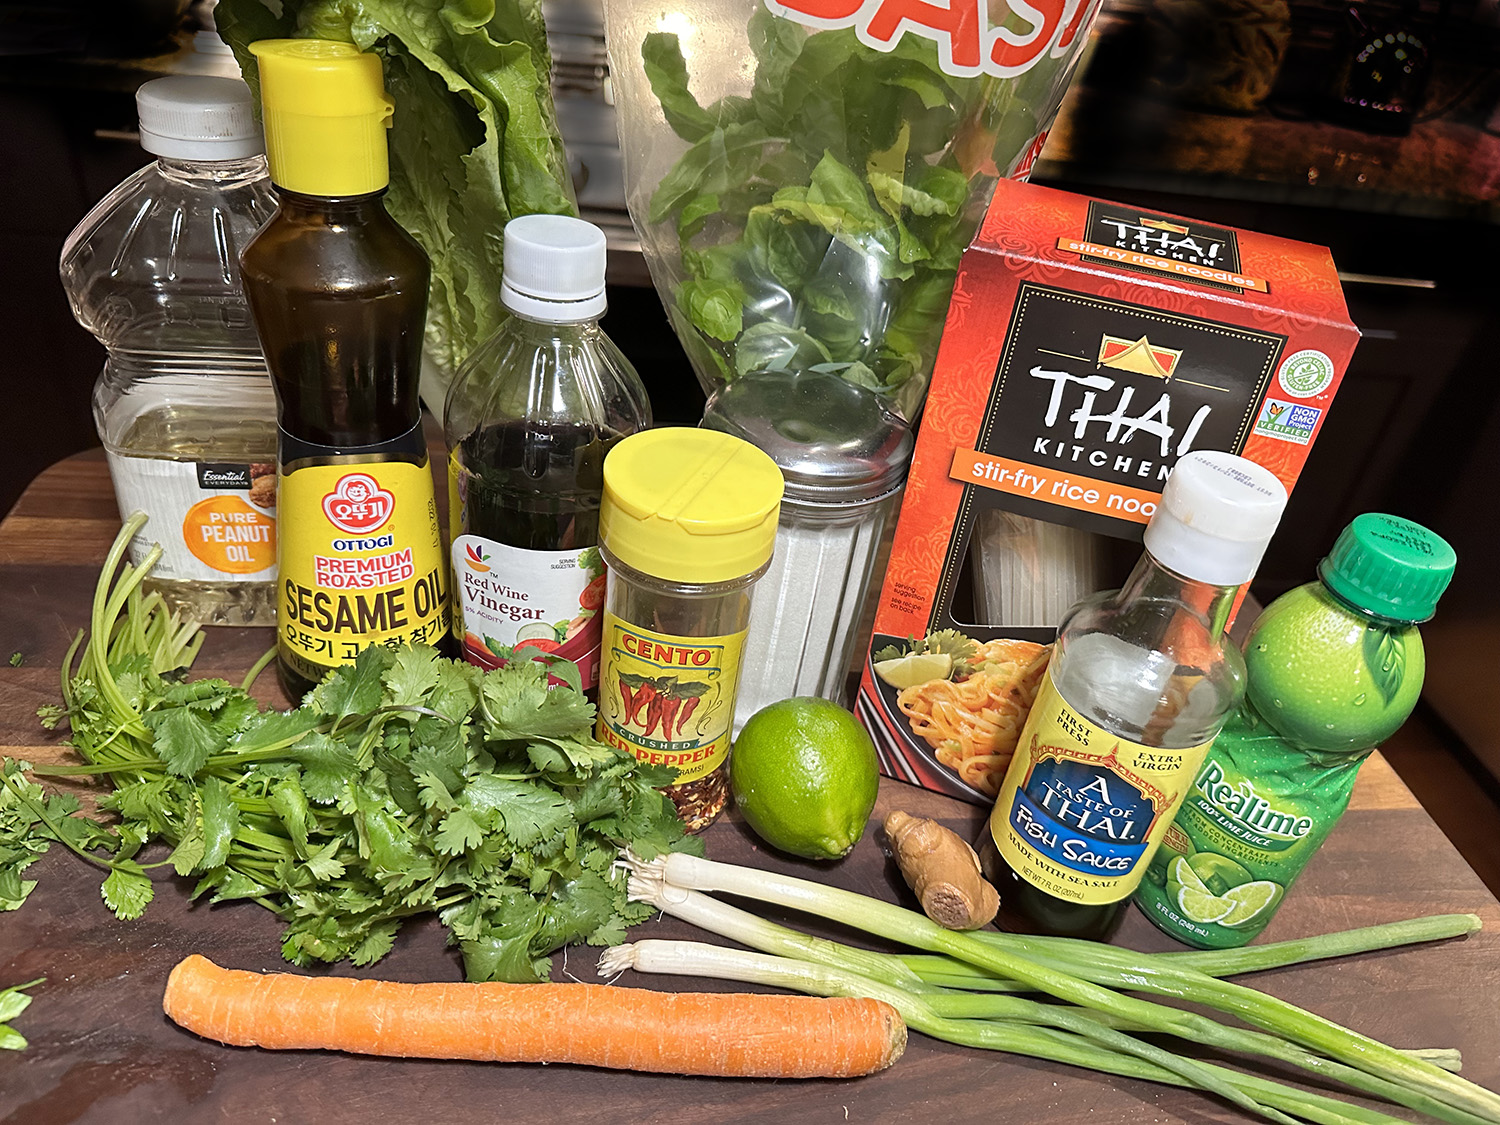
- 1 Tbsp. vegetable oil
- 4 6-oz. boneless salmon fillets, preferably skin-on
- 2 tsp. Diamond Crystal or 1¼ tsp. Morton kosher salt
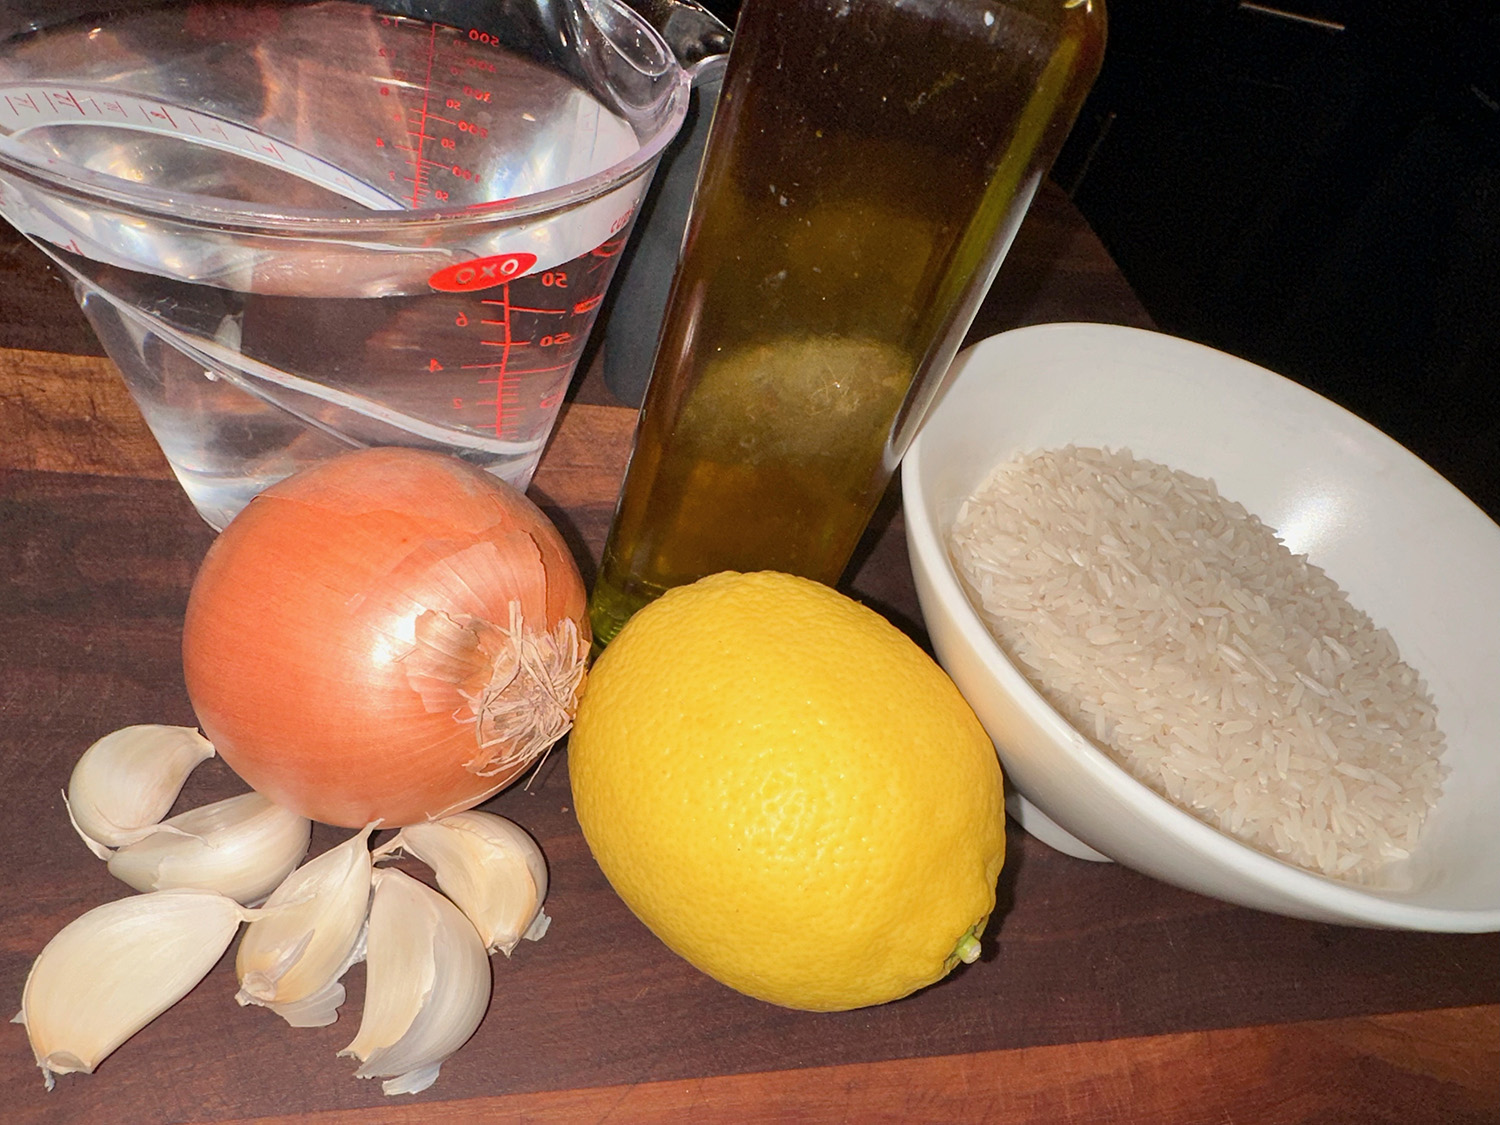
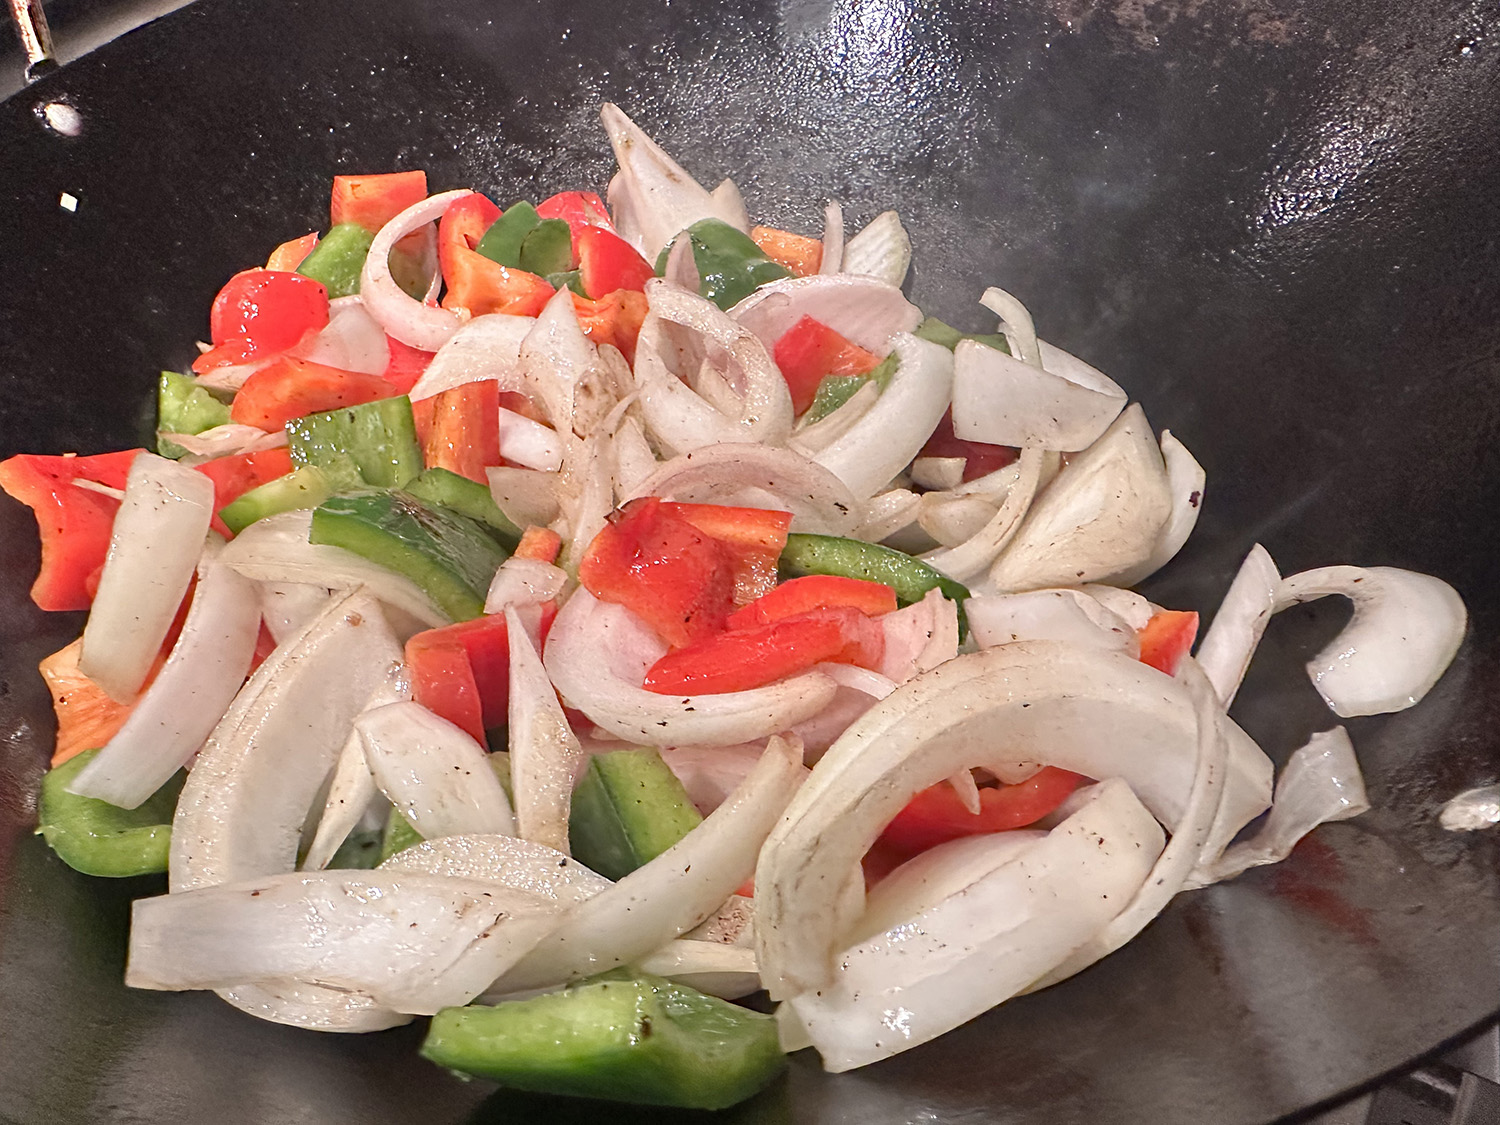
- 1 medium onion
- 2–3 green Thai chiles
- 3 garlic cloves
- 1 1½” piece ginger, peeled
- 1 Tbsp. double-concentrated tomato paste,
- ½ tsp. ground turmeric
- ¼ cup cilantro leaves with tender stems
- 2 13.5-oz. can unsweetened coconut milk
- 1 Tbsp. fresh lime
- Cooked basmati rice


Directions
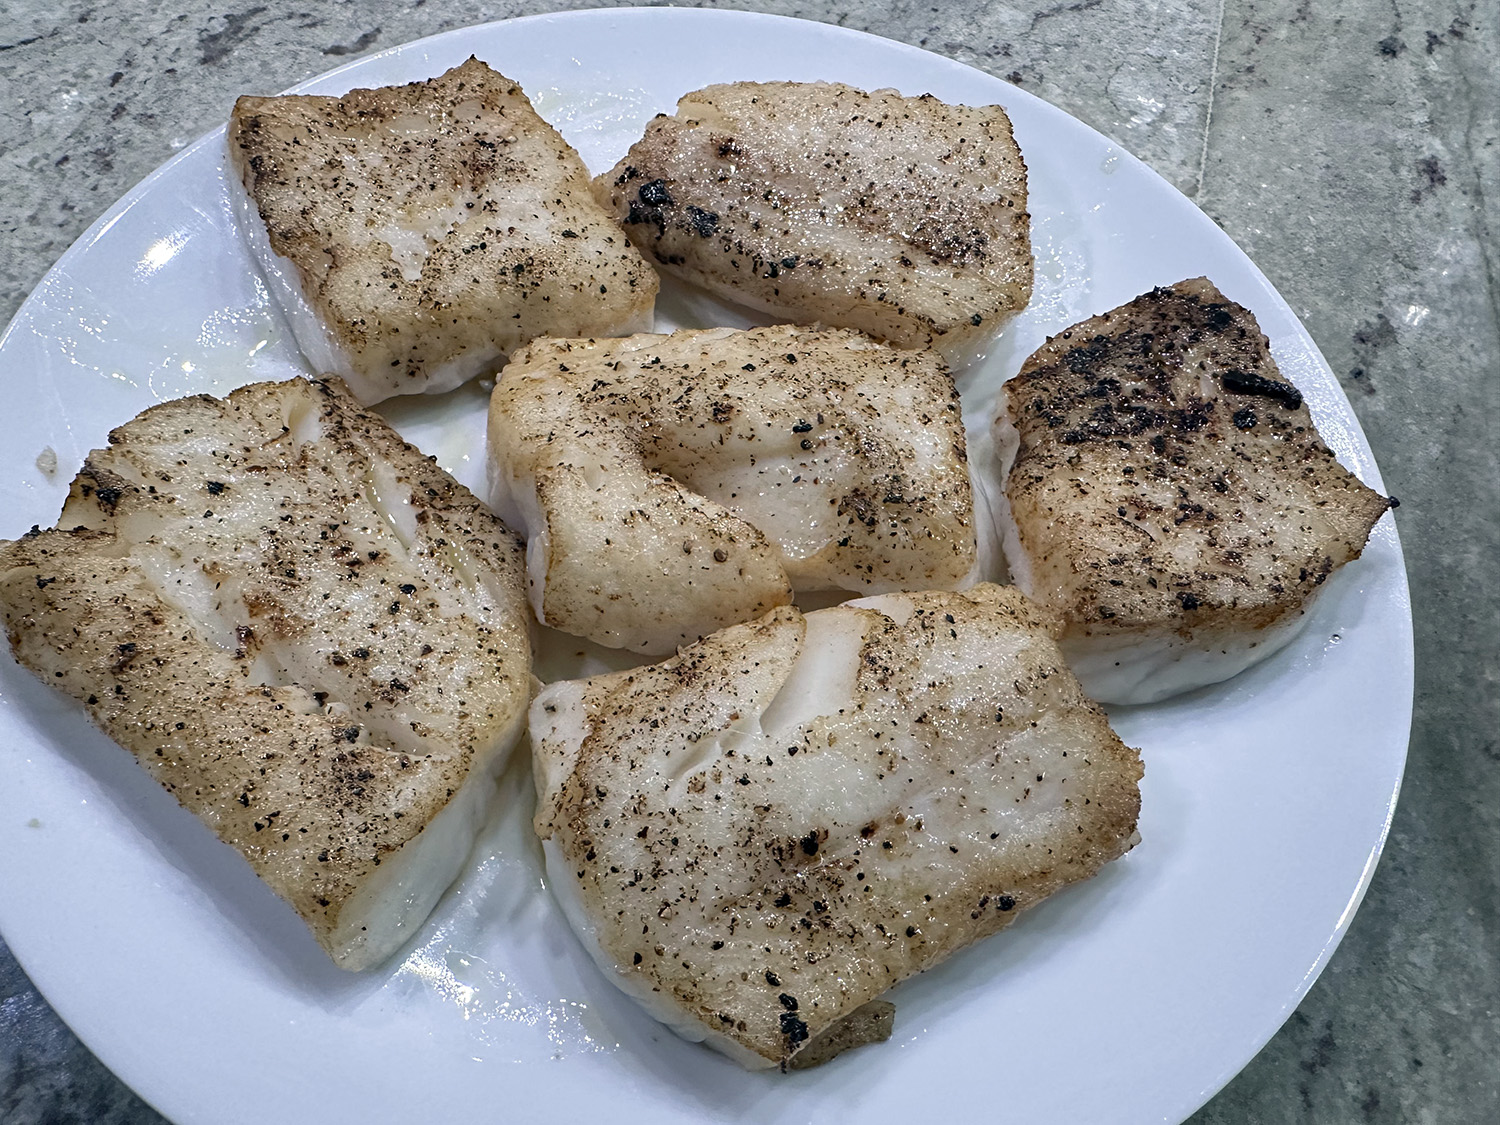
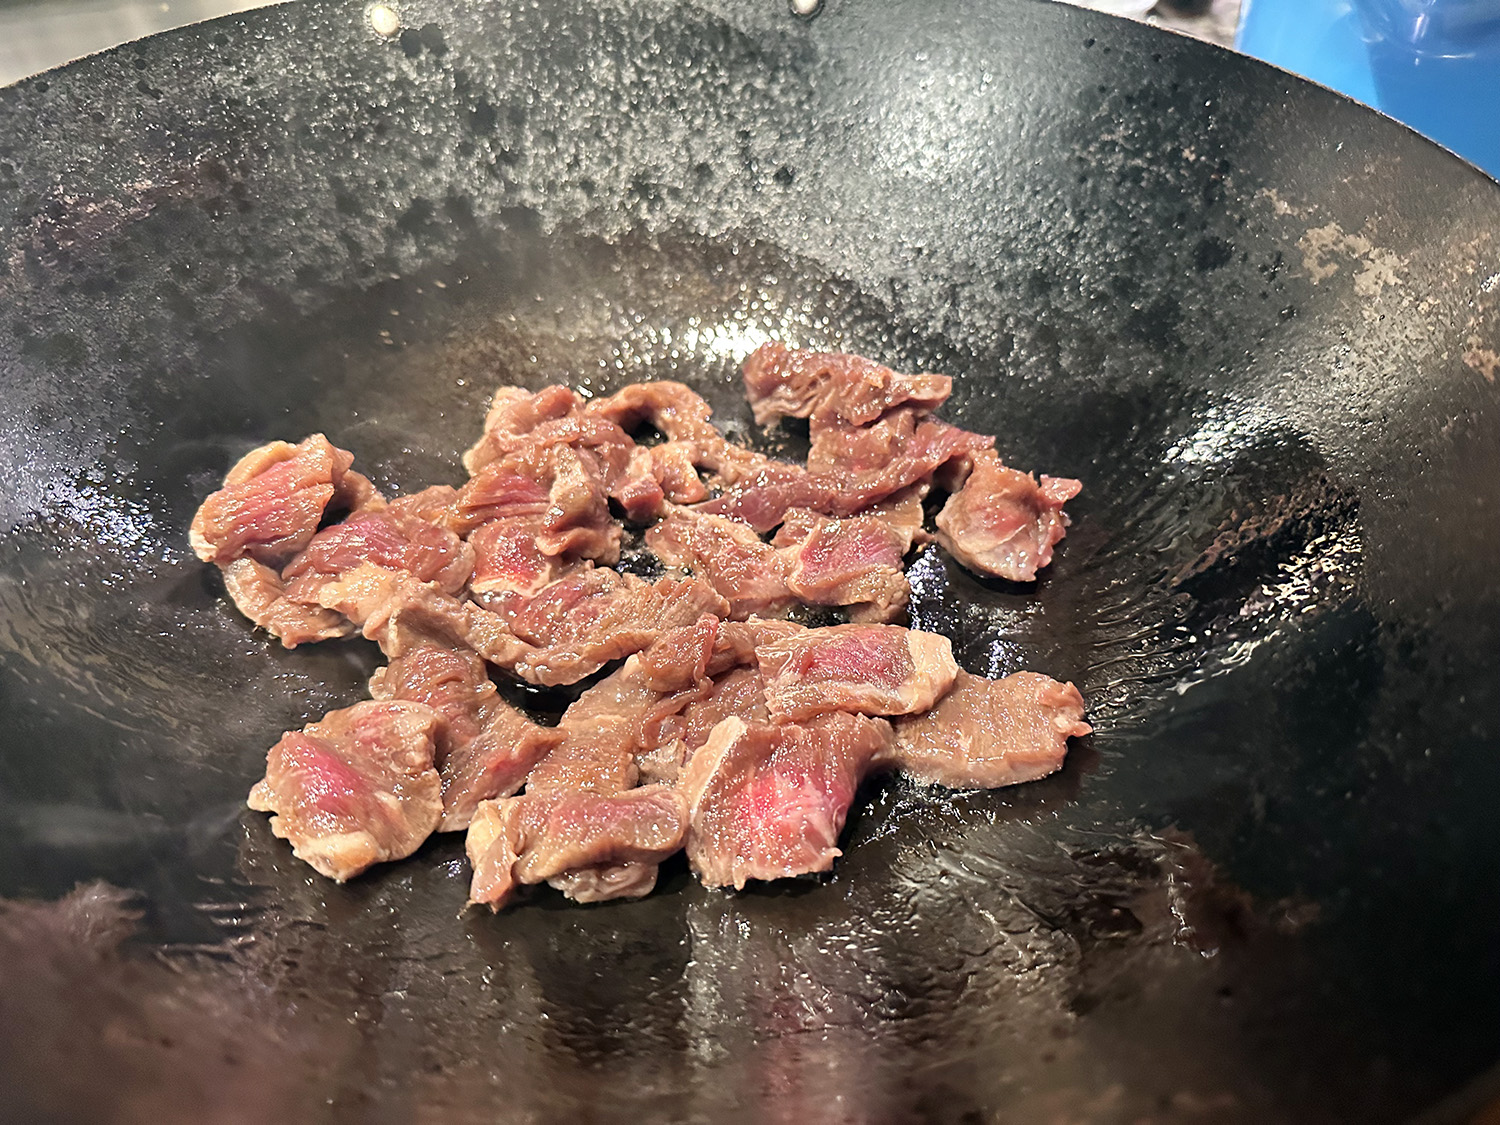
- Heat 1 Tbsp. vegetable oil in a large nonstick skillet over medium-high. Season four 6-oz. boneless salmon fillets, preferably skin-on, with kosher salt and cook (skin side down if it has skin), pressing fillets gently with a spatula, until golden brown, about 4 minutes. Turn fillets over and cook until golden brown and just cooked through, about 3 minutes. Transfer to a plate. Wipe out skillet and reserve.
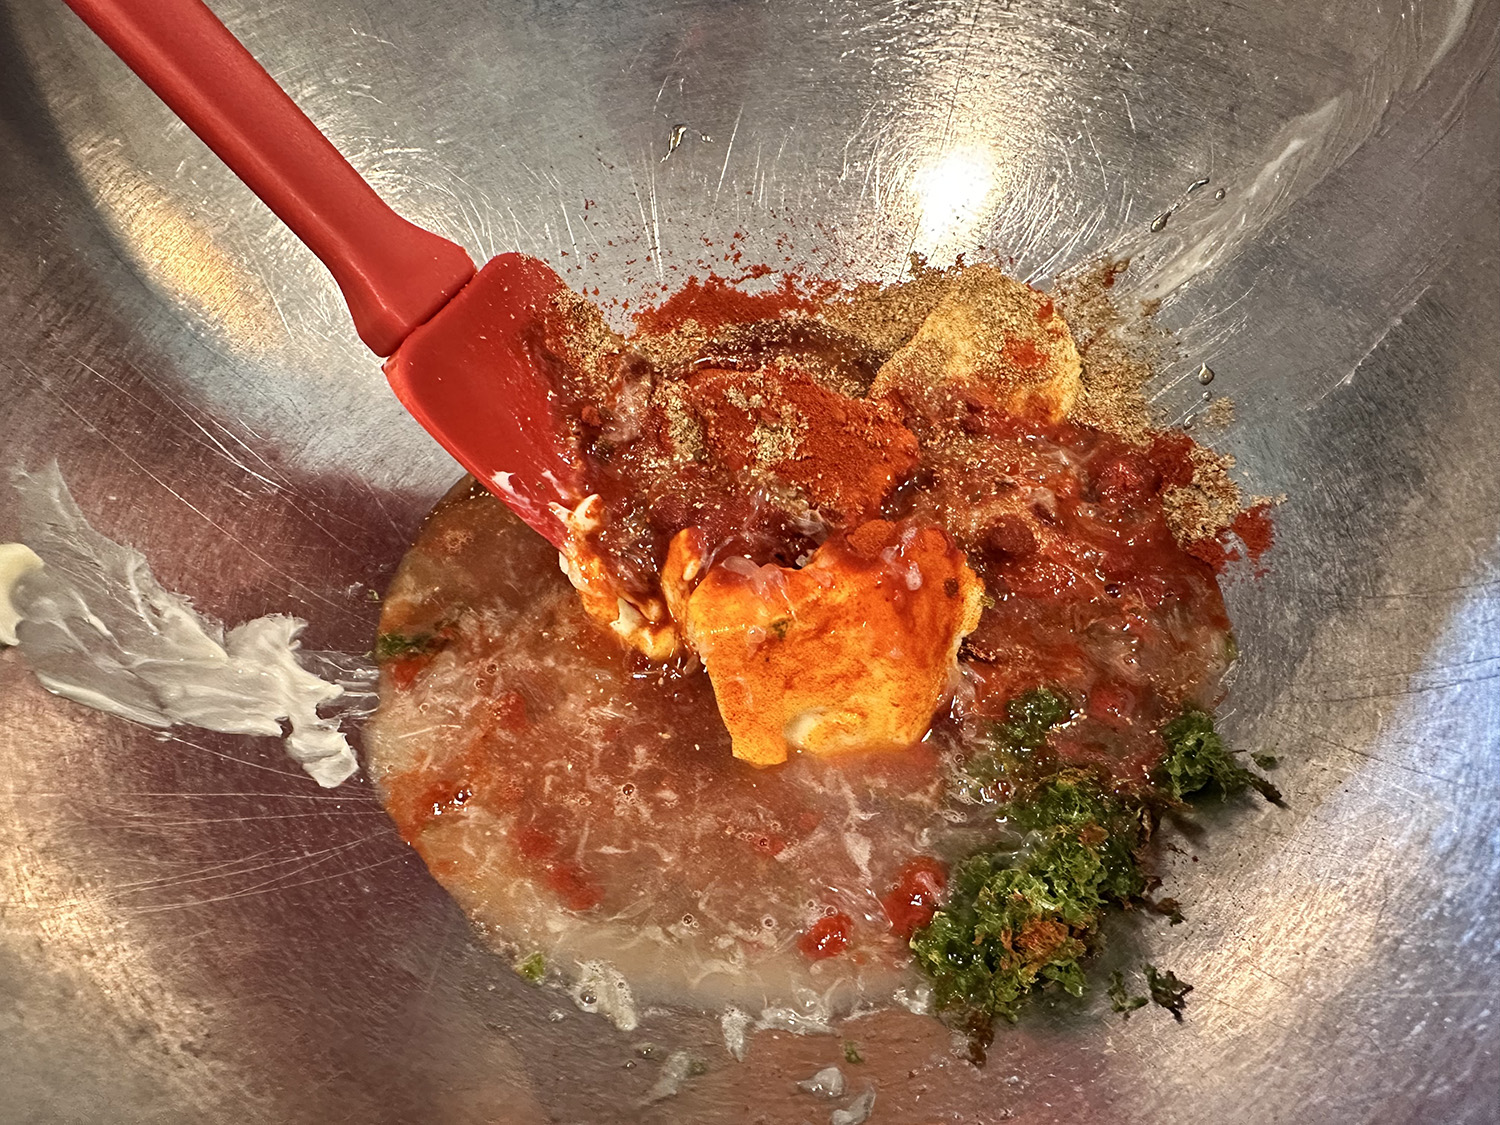
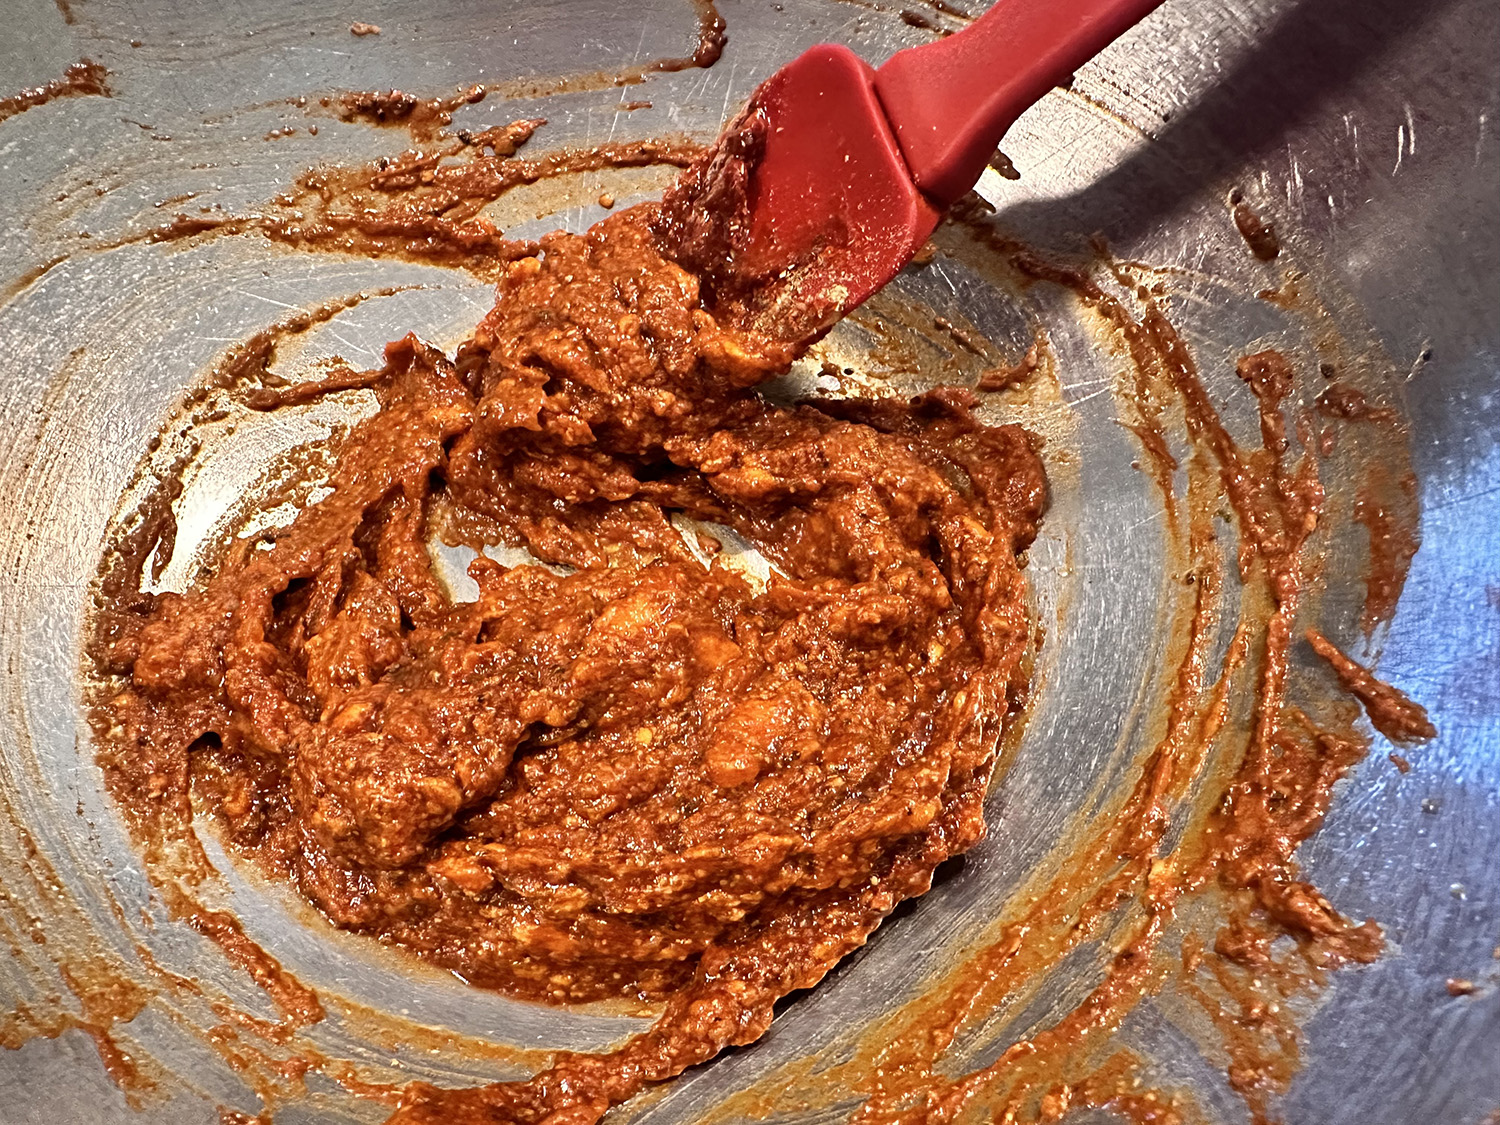
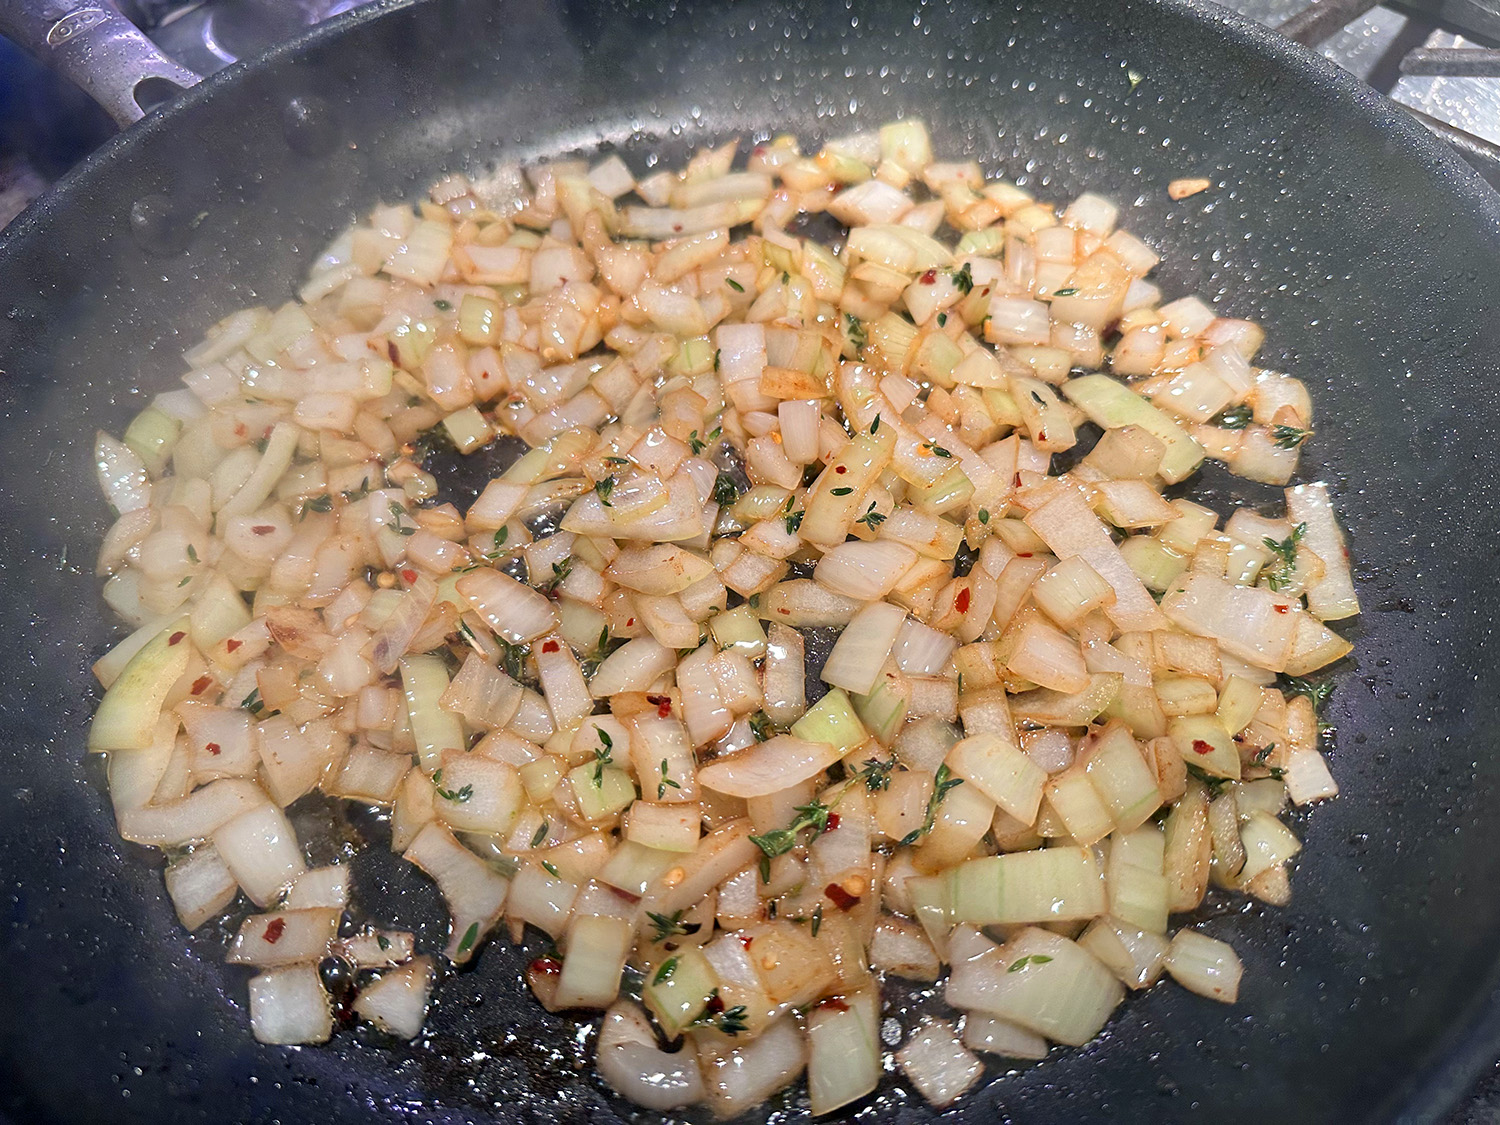
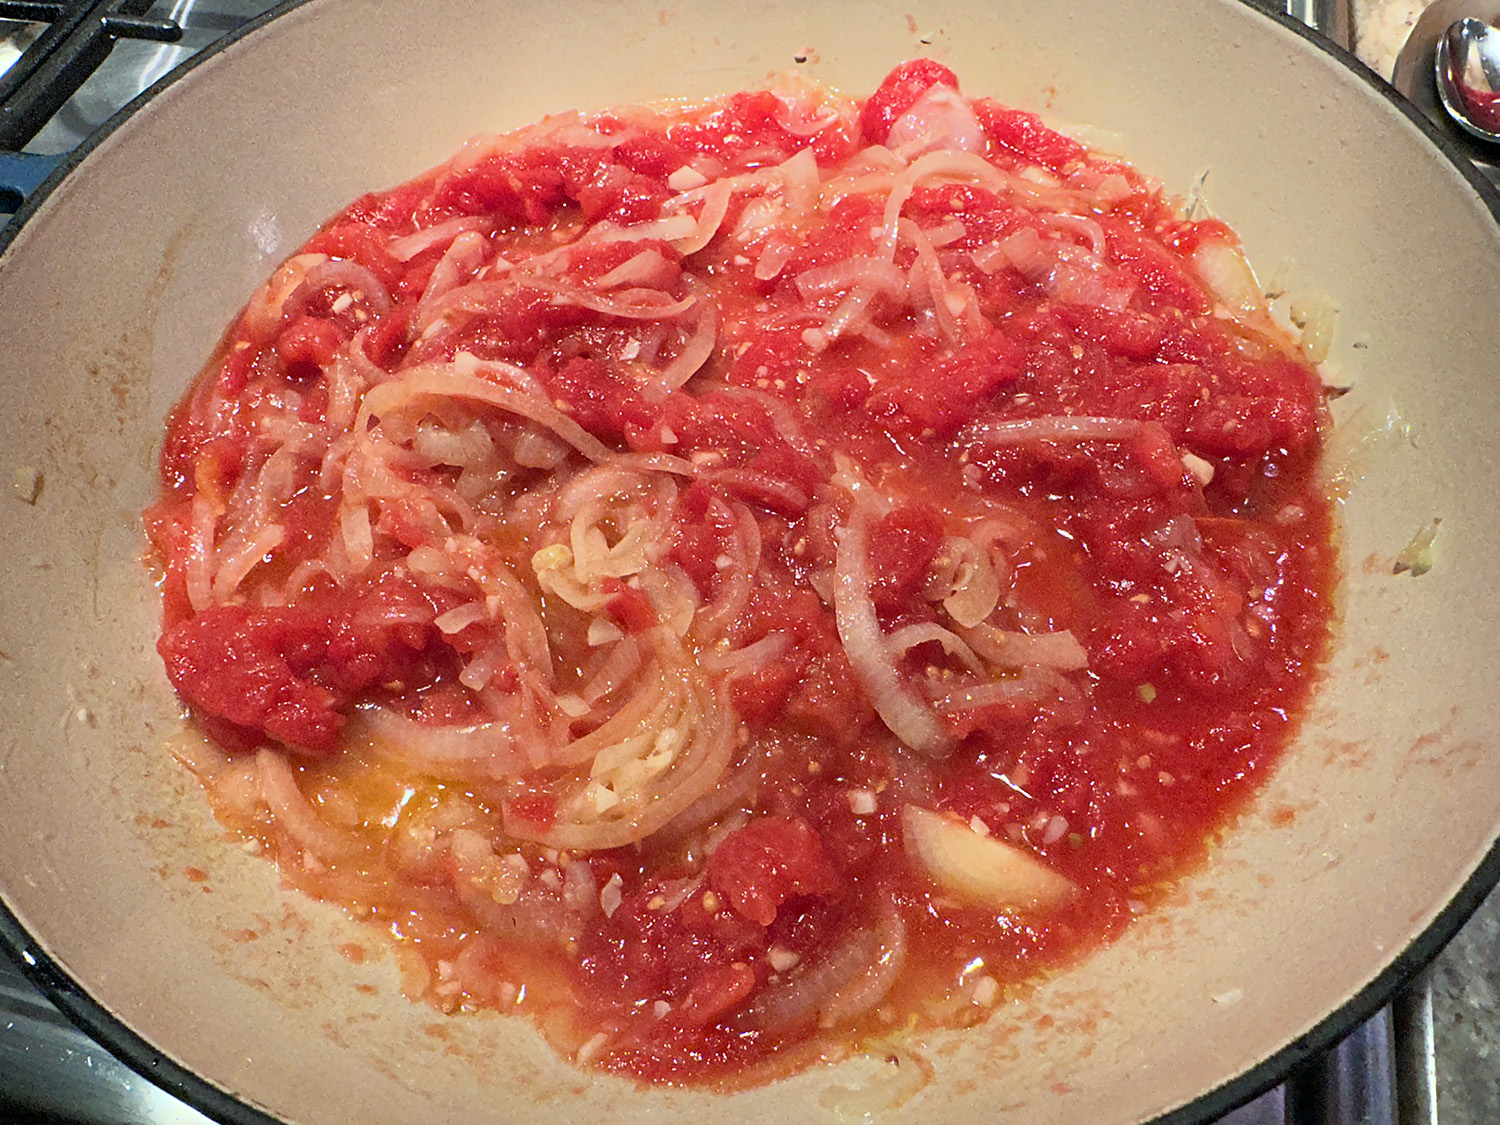
- Purée 1 medium onion, coarsely chopped, 2–3 green Thai chiles, depending on heat preference, 3 garlic cloves, one 1½” piece ginger, peeled, 1 Tbsp. double-concentrated tomato paste, ½ tsp. ground turmeric, ¼ cup cilantro leaves with tender stems, and one 13.5-oz. can unsweetened coconut milk in a blender on high speed until smooth. Pour onion mixture into reserved skillet and sprinkle with 2 tsp. Diamond Crystal or 1¼ tsp. Morton kosher salt. Bring to a brisk simmer over medium-high heat, then reduce heat to medium and cook, stirring often with a wooden spoon, until mixture is reduced to a thick paste, fat separates from coconut milk (it will look broken), and aromatics are golden brown, 30–35 minutes.
- Pour in remaining one 13.5-oz. can unsweetened coconut milk and ¼ cup water and bring to a simmer, scraping up any browned bits.
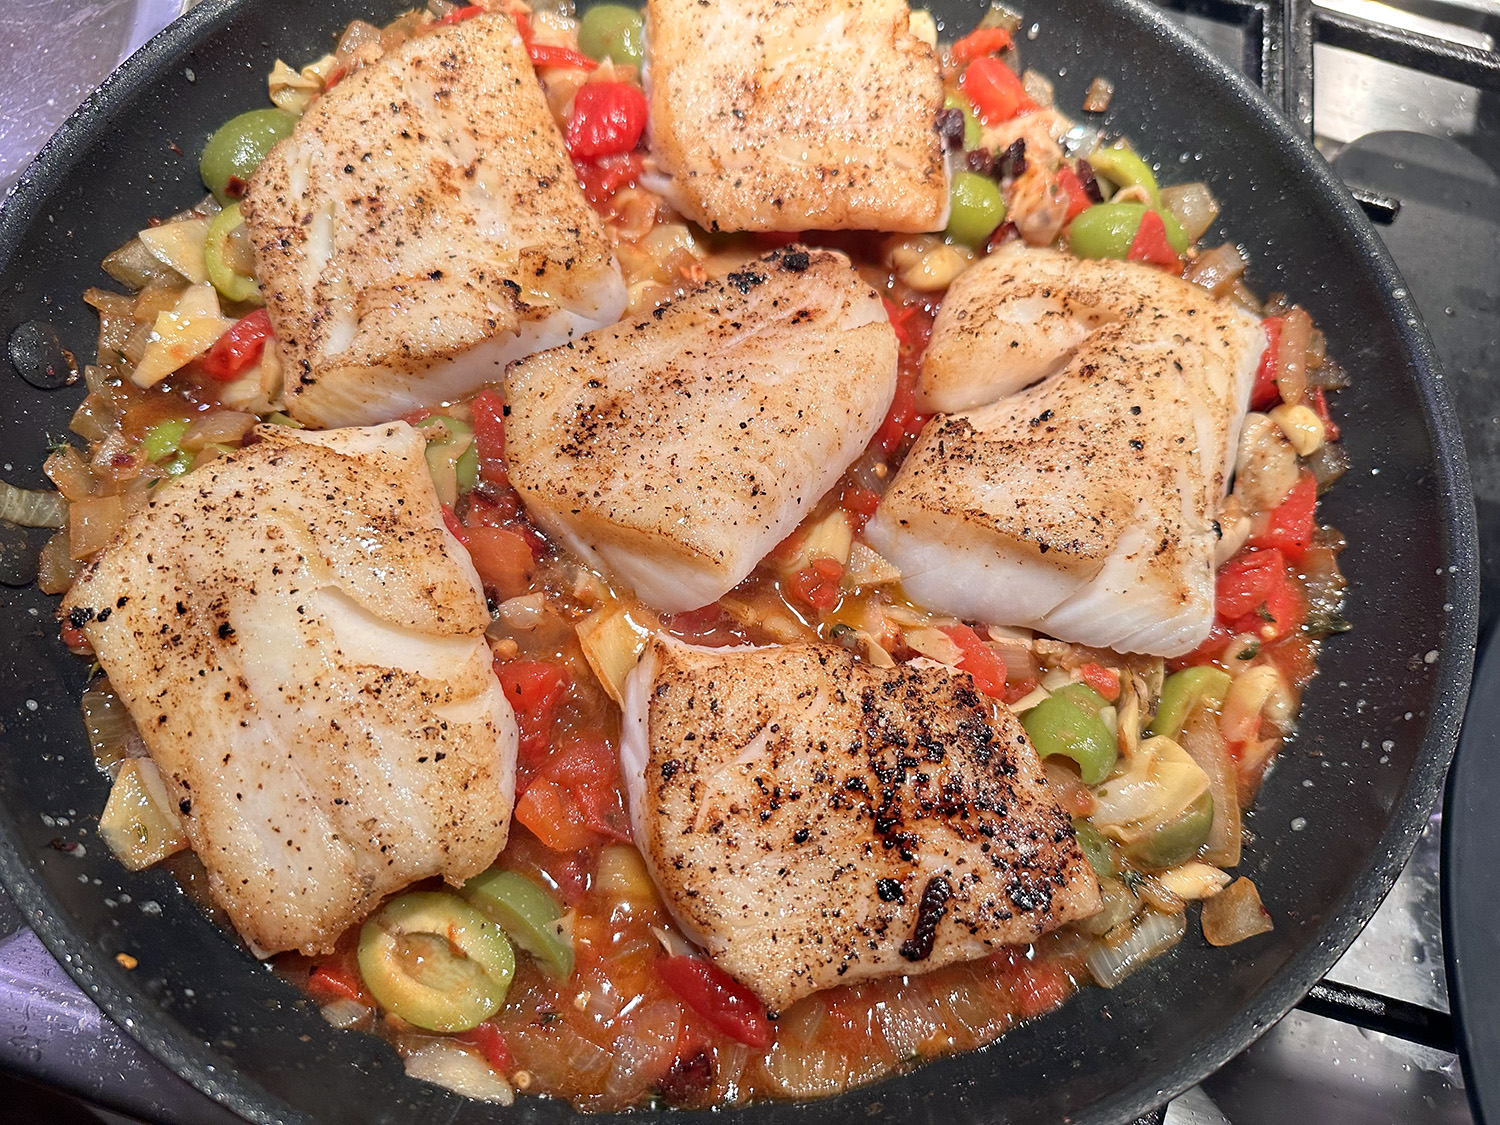
- Gently break salmon fillets into 3″ pieces and return to skillet. Cook just until salmon is heated through, about 3 minutes. Stir 1 Tbsp. fresh lime juice into curry and remove from heat.
- Divide curry among shallow bowls and top with cilantro leaves with tender stems and halved green Thai chiles. Serve with cooked basmati rice or country-style bread and lime wedges alongside.
Do ahead: Curry base can be made 1 day ahead. Let cool; cover and chill. Reheat over medium-low, adding water to thin as needed.
Recipe from Bon Appétit