This dish truly showcases the wonderful fruitiness of habanero and the heat* is a lovely combination with the rest of the ingredients. This simple skillet stew is rich with Caribbean flavors. It’s inspired by a dish called Jamaican run-down, which simmers mackerel in coconut milk, along with tomatoes, thyme and aromatics.
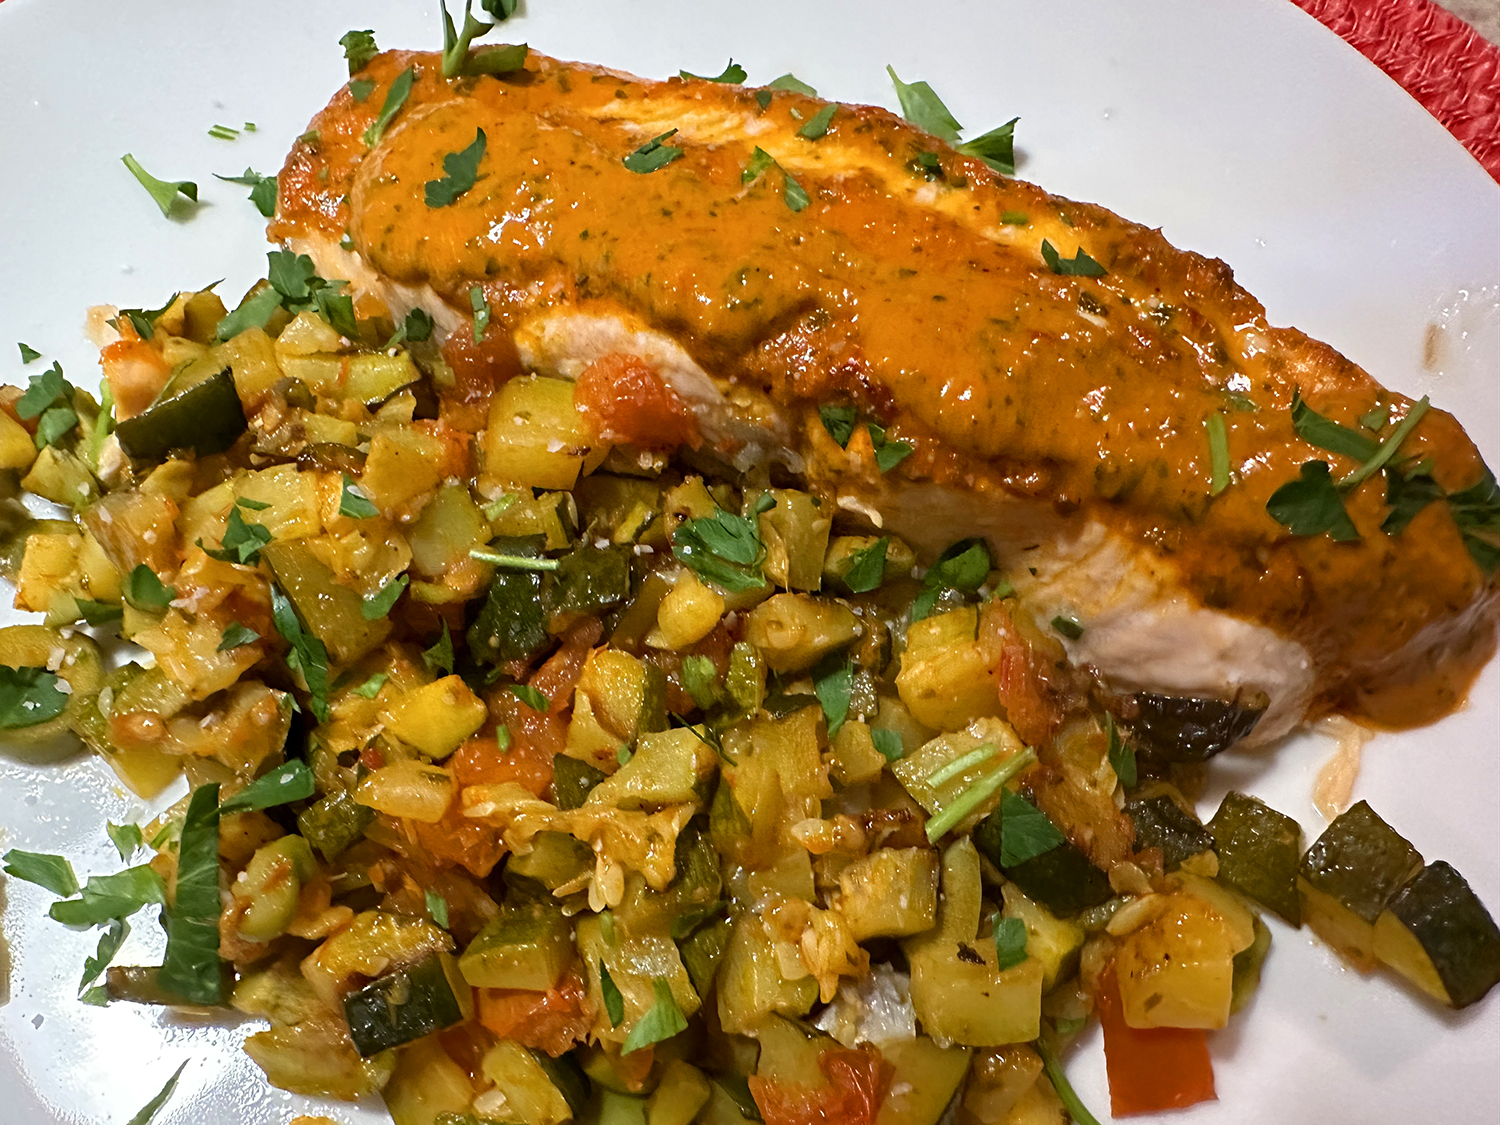
The cooking liquid reduces to a luxurious sauce with spiciness and fruity notes from the habanero chili, tropical flavor from the coconut and brightness from the lime juice. Instead of mackerel, which can be difficult to source and also has an assertiveness that’s polarizing, (and we just flat out don’t like it) mild, firm sea bass or cod fillets are used. Serve with steamed jasmine rice, fried plantains or rice and beans.

TIP: Don’t touch your face if you’ve handled the habanero with bare hands, as there will be residual capsaicin on your fingers. If you have food-safe gloves, consider slipping them on before prepping the chili. And don’t use light coconut milk, as its flavor and consistency are too lean and watery.
*Word to the wise: Do not substitute a Carolina Reaper chili for the Habanero (a Serrano would be an OK choice). The supermarket didn’t have habaneros at the time so we just grabbed a reaper chili and didn’t bother looking at how they compared with the habanero heat-wise on the Scoville Heat Unit Scale. As we ate dinner, while The Hubs was sweating, had teary eyes and a flushed face, I quickly Googled only to find out while habaneros rate between 100,000 and 350,000, the Carolina Reaper clocks in at 2.5 million!! (Luckily when I was prepping the ingredients, I wore food-safe rubber gloves.)
A few changes that we made included adding a 1 1/2-inch piece of ginger cut into fine slices, increasing the coconut milk to one cup and reduced the water to a 1/2 cup.

Jamaican-Style Chili-Lime Fish Stew
Ingredients
- 2 Tbsp. grapeseed or other neutral oil
- 1 medium yellow onion, halved and thinly sliced
- 1 1/2 inch piece of fresh ginger sliced into thin circles
- 2 medium garlic cloves, minced
- 1 habanero chili, stemmed and sliced into thin rings
- 1/4 tsp. ground allspice
- 12 oz. ripe tomatoes, cored and chopped
- 3/4 cup coconut milk
- 2 large thyme sprigs
- Kosher salt and ground black pepper
- 1 1/2 lbs. skinless sea bass or snapper fillets, about 1 inch thick, cut into 1½-inch chunks (we used cod, much more economical)
- 2 Tbsp. lime juice, plus lime wedges to serve
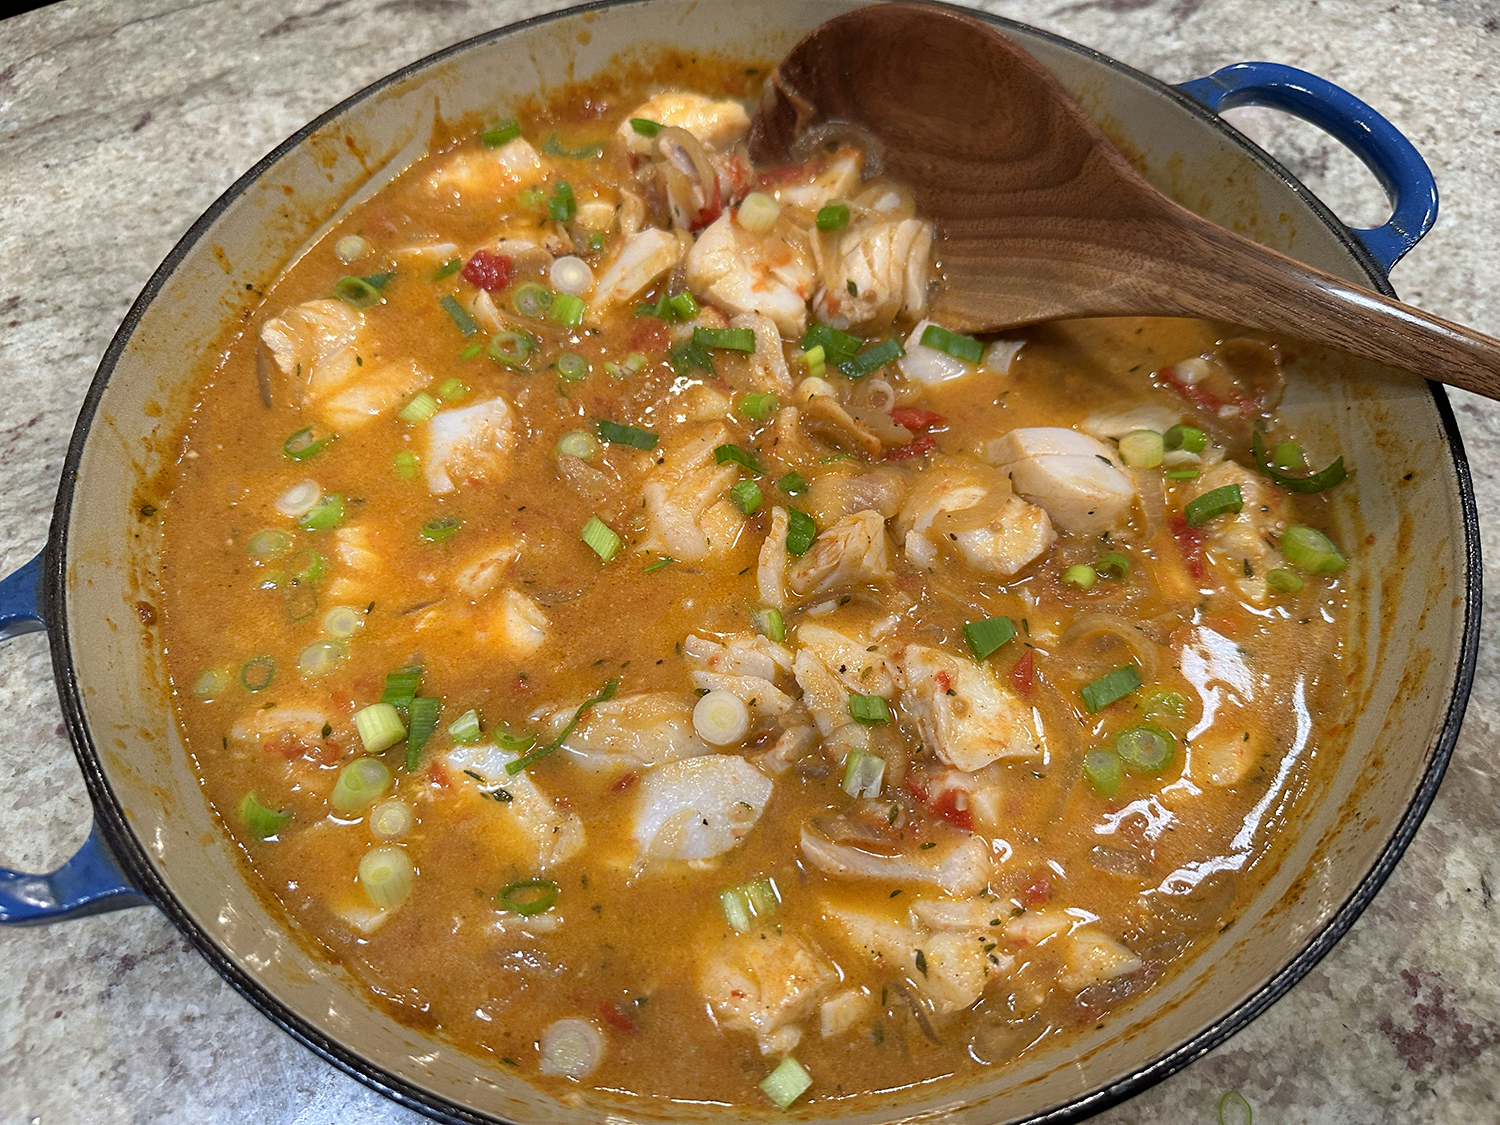
- 3 scallions, thinly sliced


Directions
- In a 12-inch skillet over medium-high, heat the oil until shimmering. Add the onion and ginger slices and cook, stirring occasionally, until softened and beginning to brown, 4 to 5 minutes. Add the garlic, habanero and allspice; cook, stirring, until fragrant, 30 to 60 seconds. Stir in the tomatoes and cook, stirring occasionally, until they begin to break down and release their liquid, 3 to 4 minutes.
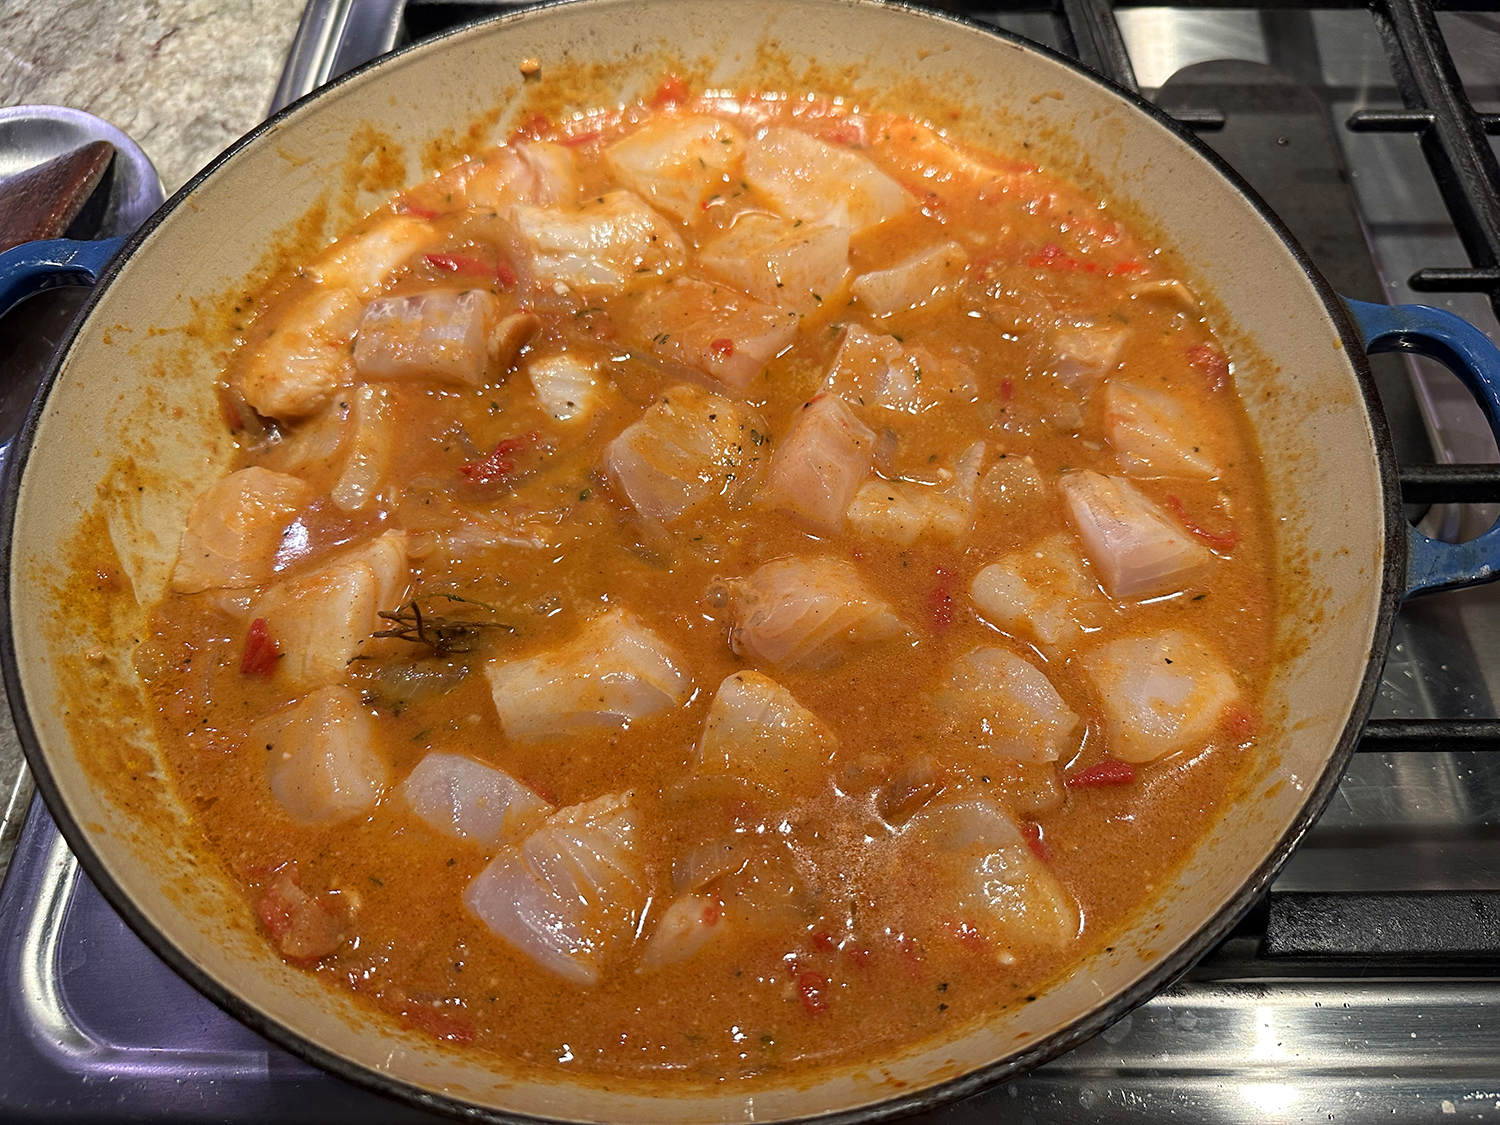
- Add the coconut milk and 1⁄2 cup water; scrape up any browned bits. Add the thyme, ½ teaspoon salt and ¼ teaspoon pepper, then bring to a simmer. Cover and simmer, stirring occasionally, until the tomatoes have fully broken down and the sauce is slightly thickened, about 10 minutes.
- Nestle the fish into the sauce. Bring to a gentle simmer and cook, stirring gently and occasionally, until the fish is opaque throughout, 4 to 5 minutes. Off heat, remove and discard the thyme, then stir in the lime juice. Taste and season with salt and pepper. Serve with lime wedges.
Recipe by Calvin Cox for Milk Street