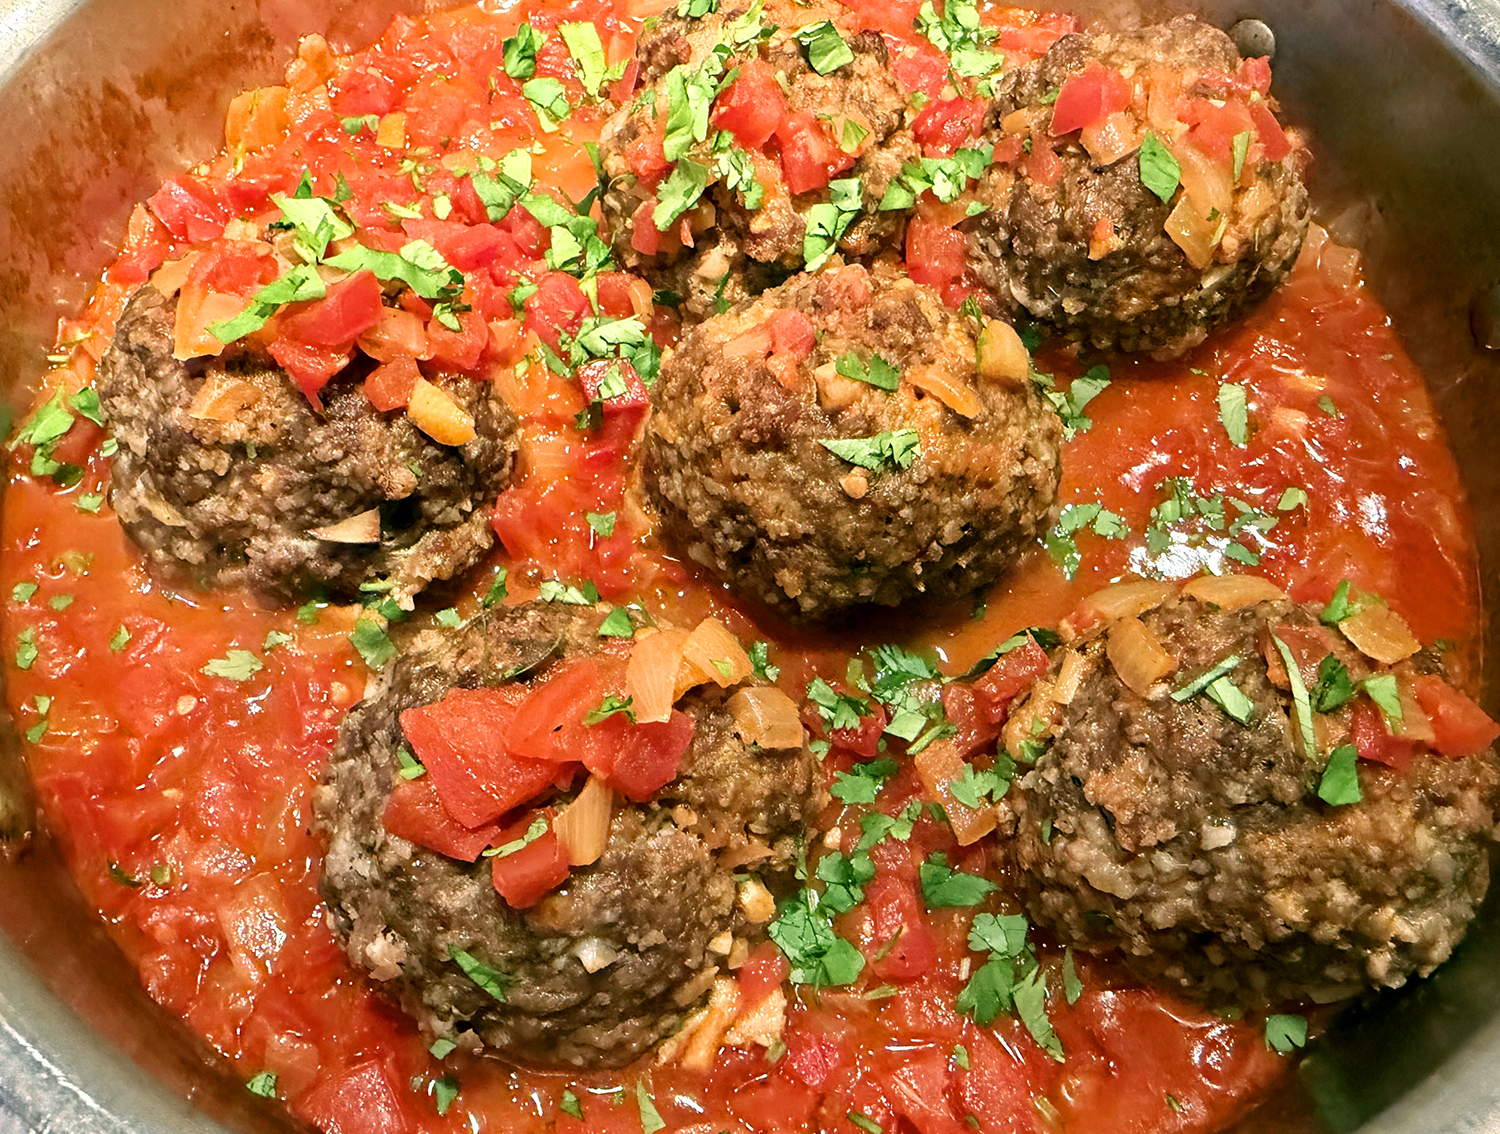
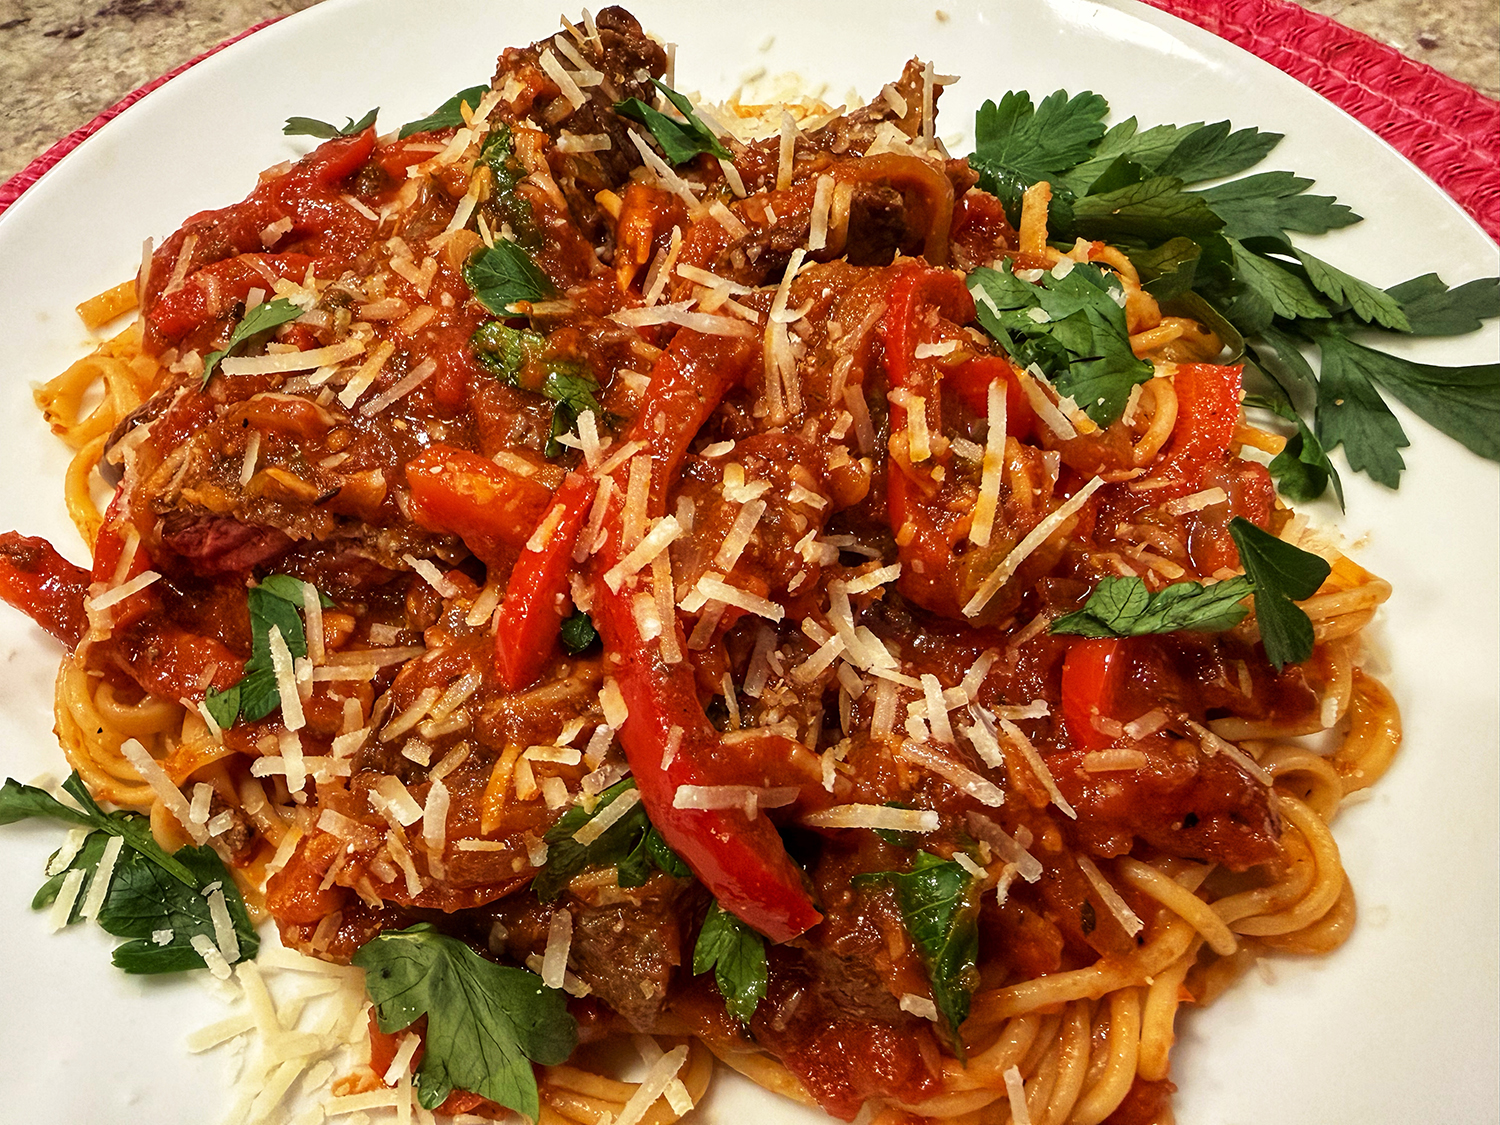
This weeknight-friendly treat comes together in about 40 minutes. Steak pizzaiola or, “in the style of the pizza maker,” is an Italian-American favorite among many beef-loving connoisseurs.
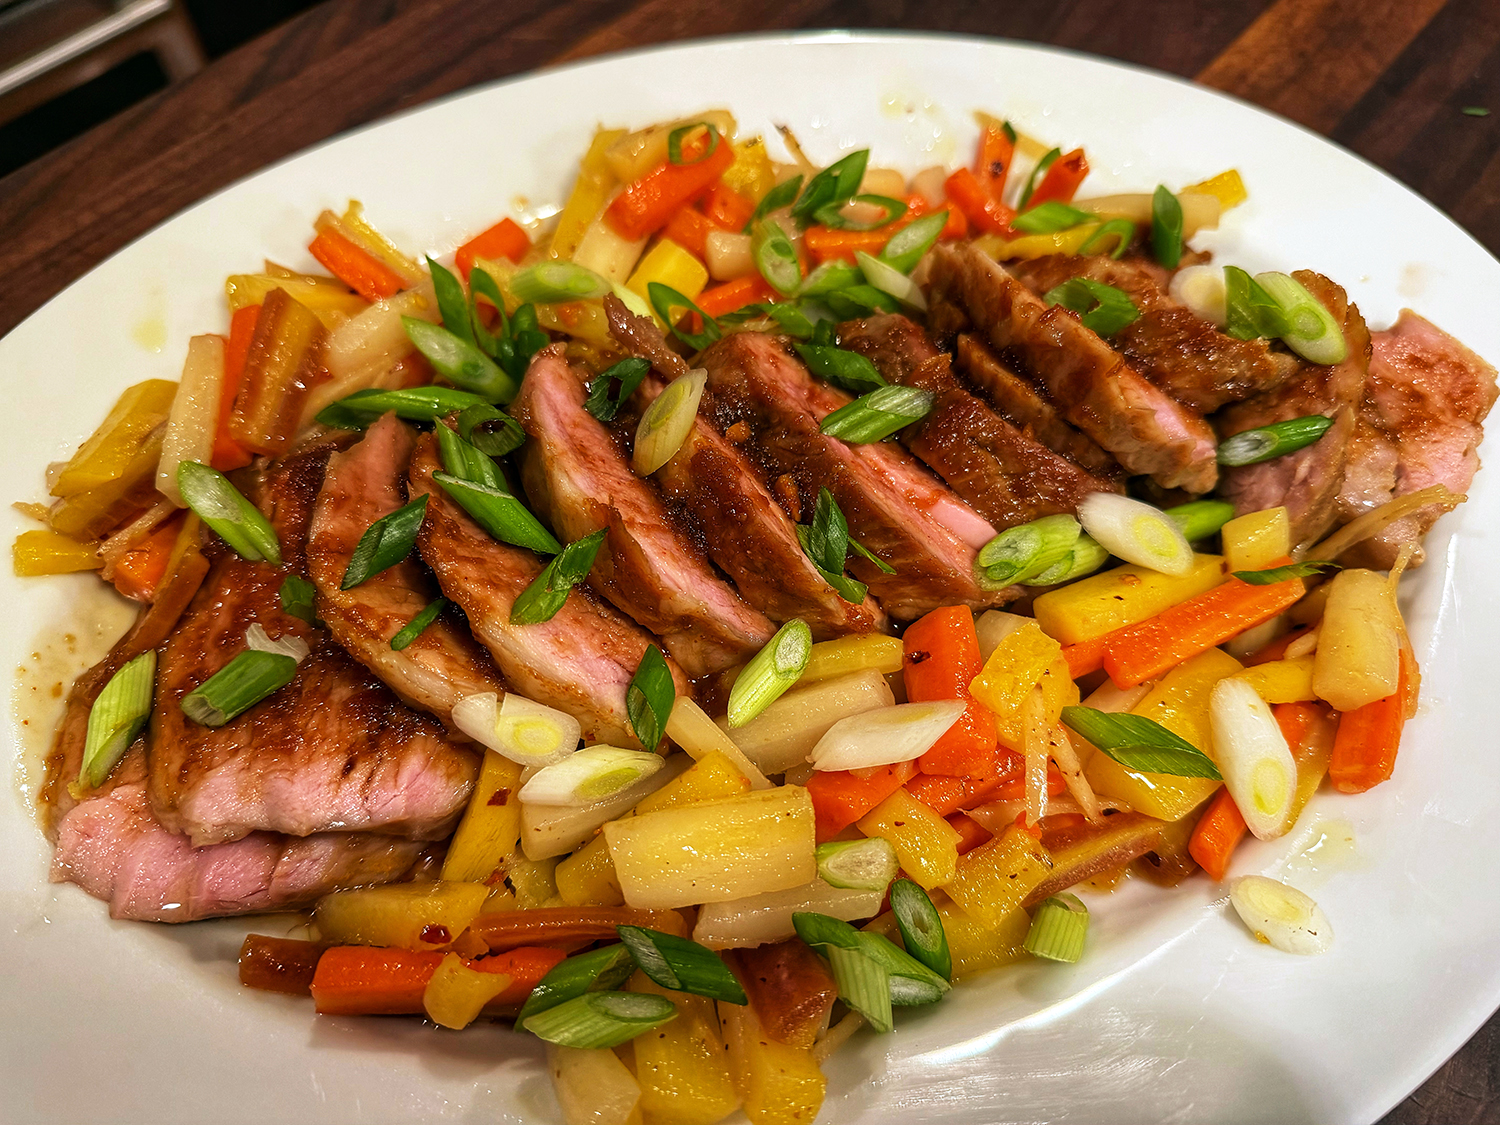
This streamlined recipe showcases how one can still enjoy steak in the Mediterranean diet. It is designed for serving family style, a few slices of meat per person, paired with other elements to make a balanced meal. (Confession, we happened to have 1 1/2 pounds of flap meat on hand, so our meal was definitely more meat-centric.)
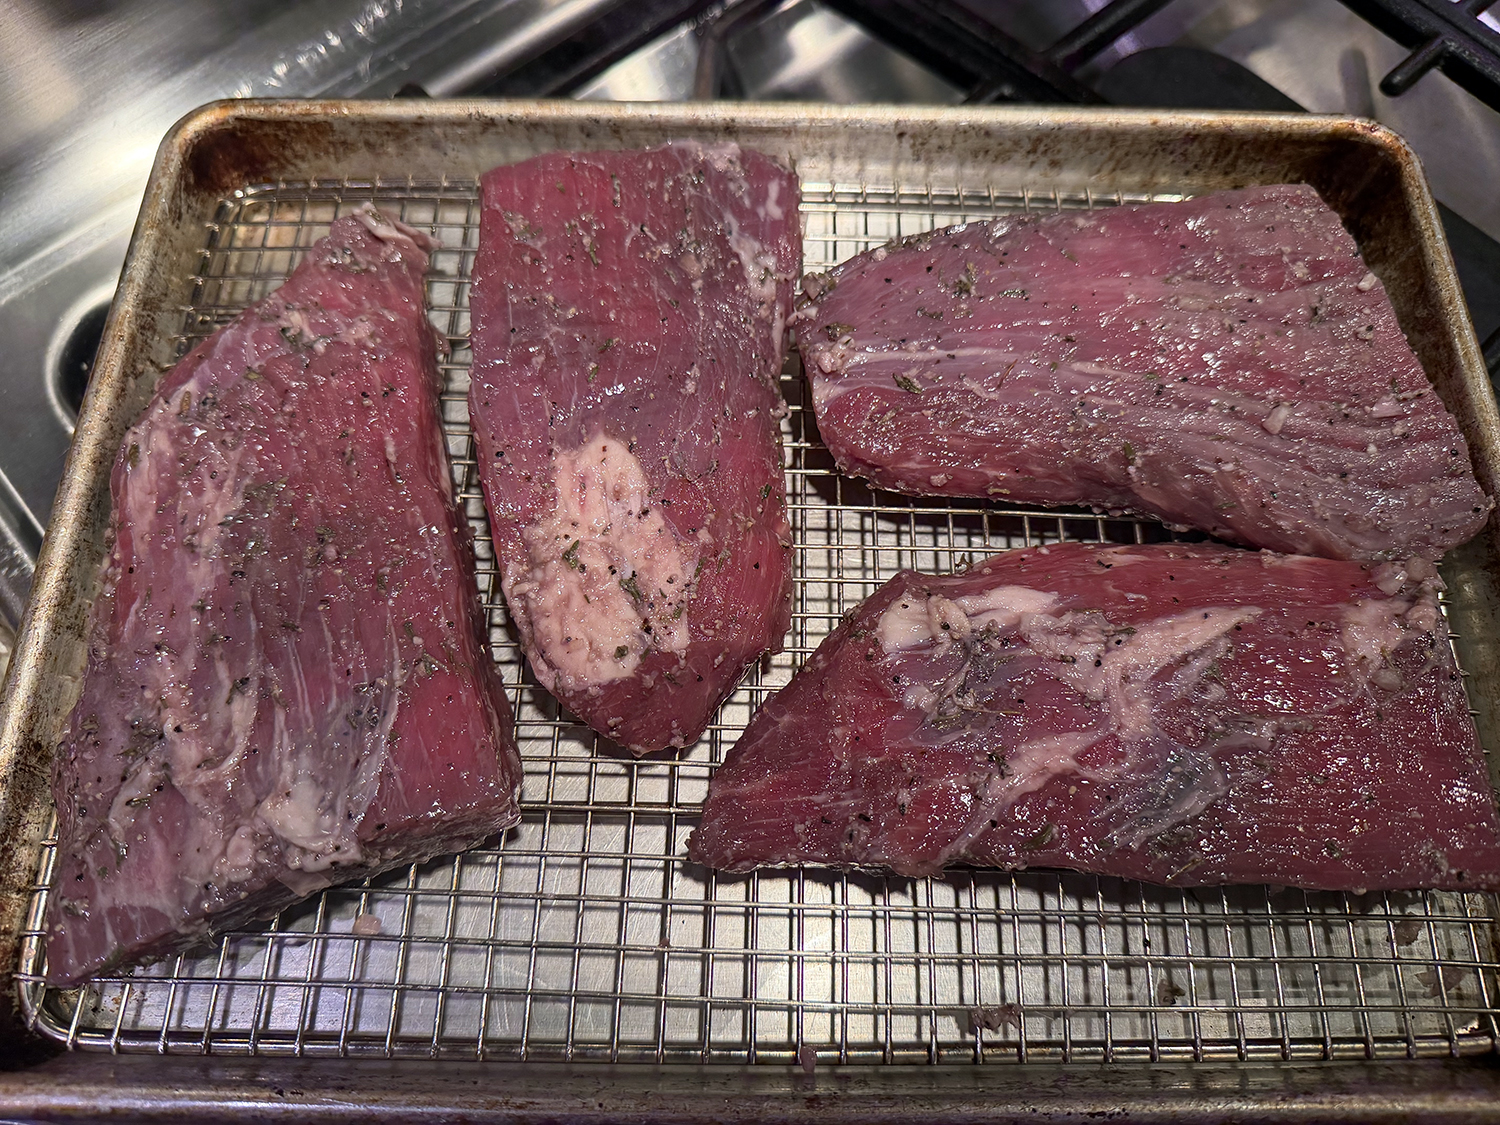
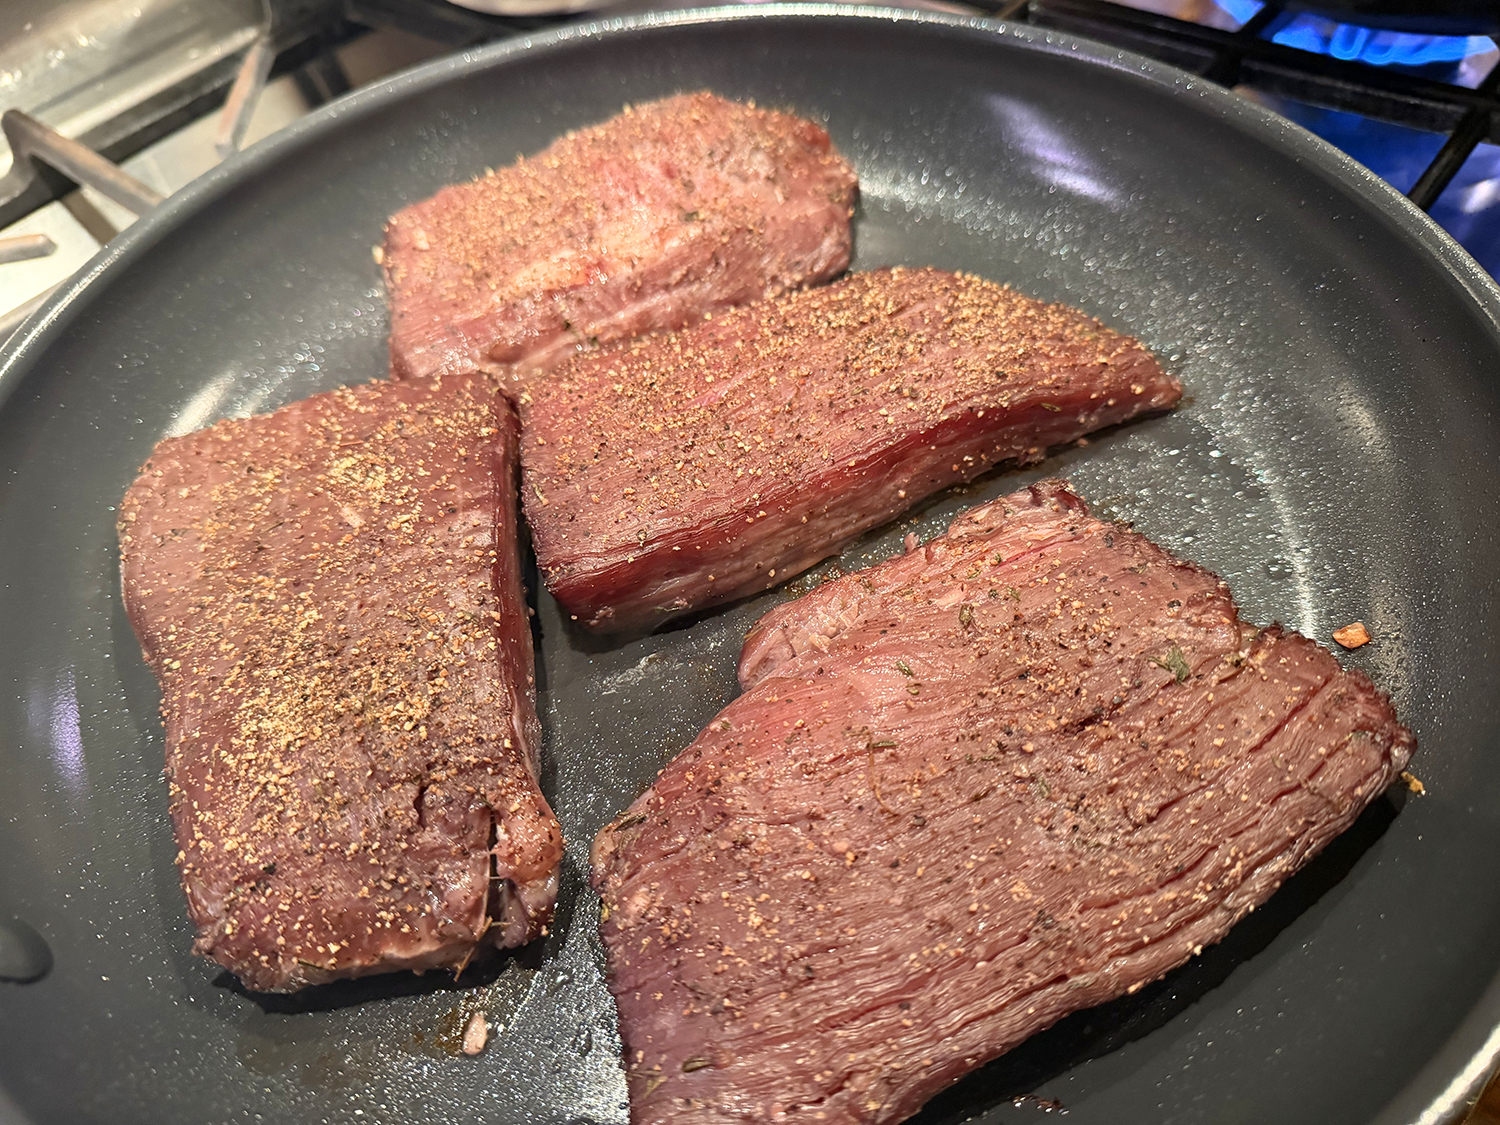
Use a lean cut of steak, such as top round, filet mignon, or sirloin tip (flap meat) to keep the saturated fat in check. A quick sear builds a nice crust and a finishing simmer in the sauce helps prevent even lean steaks from drying out. It is essential to get thick-cut steaks so you can achieve nice browning without overcooking them.
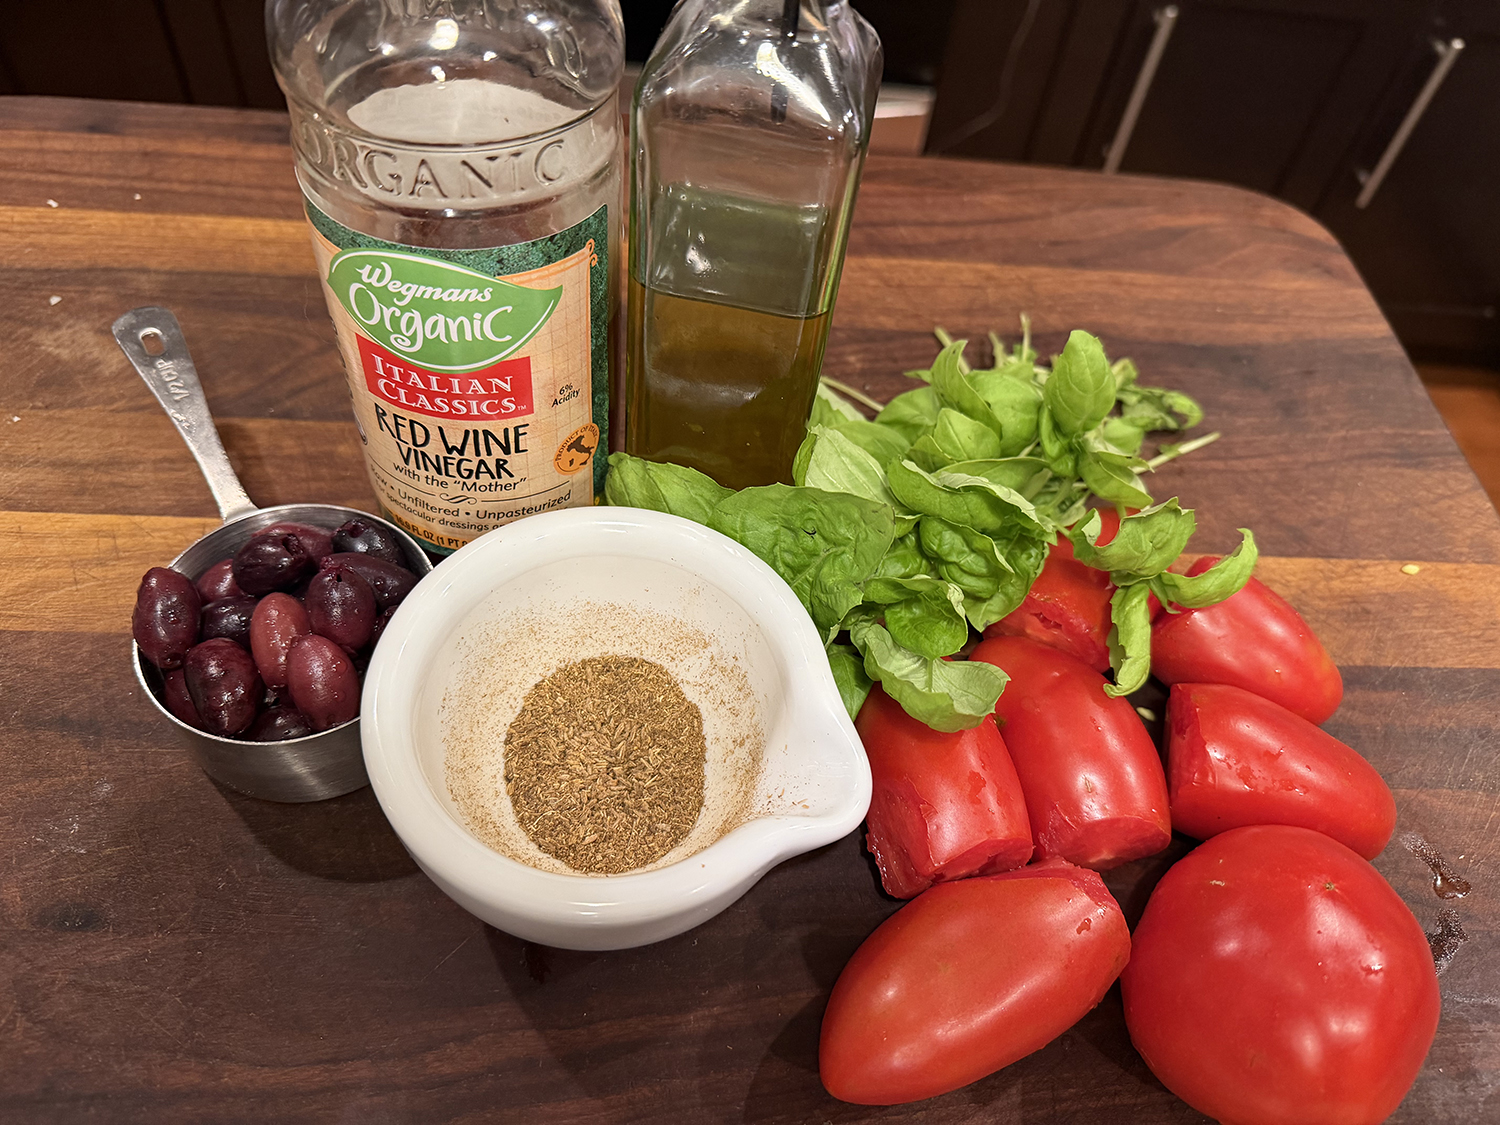
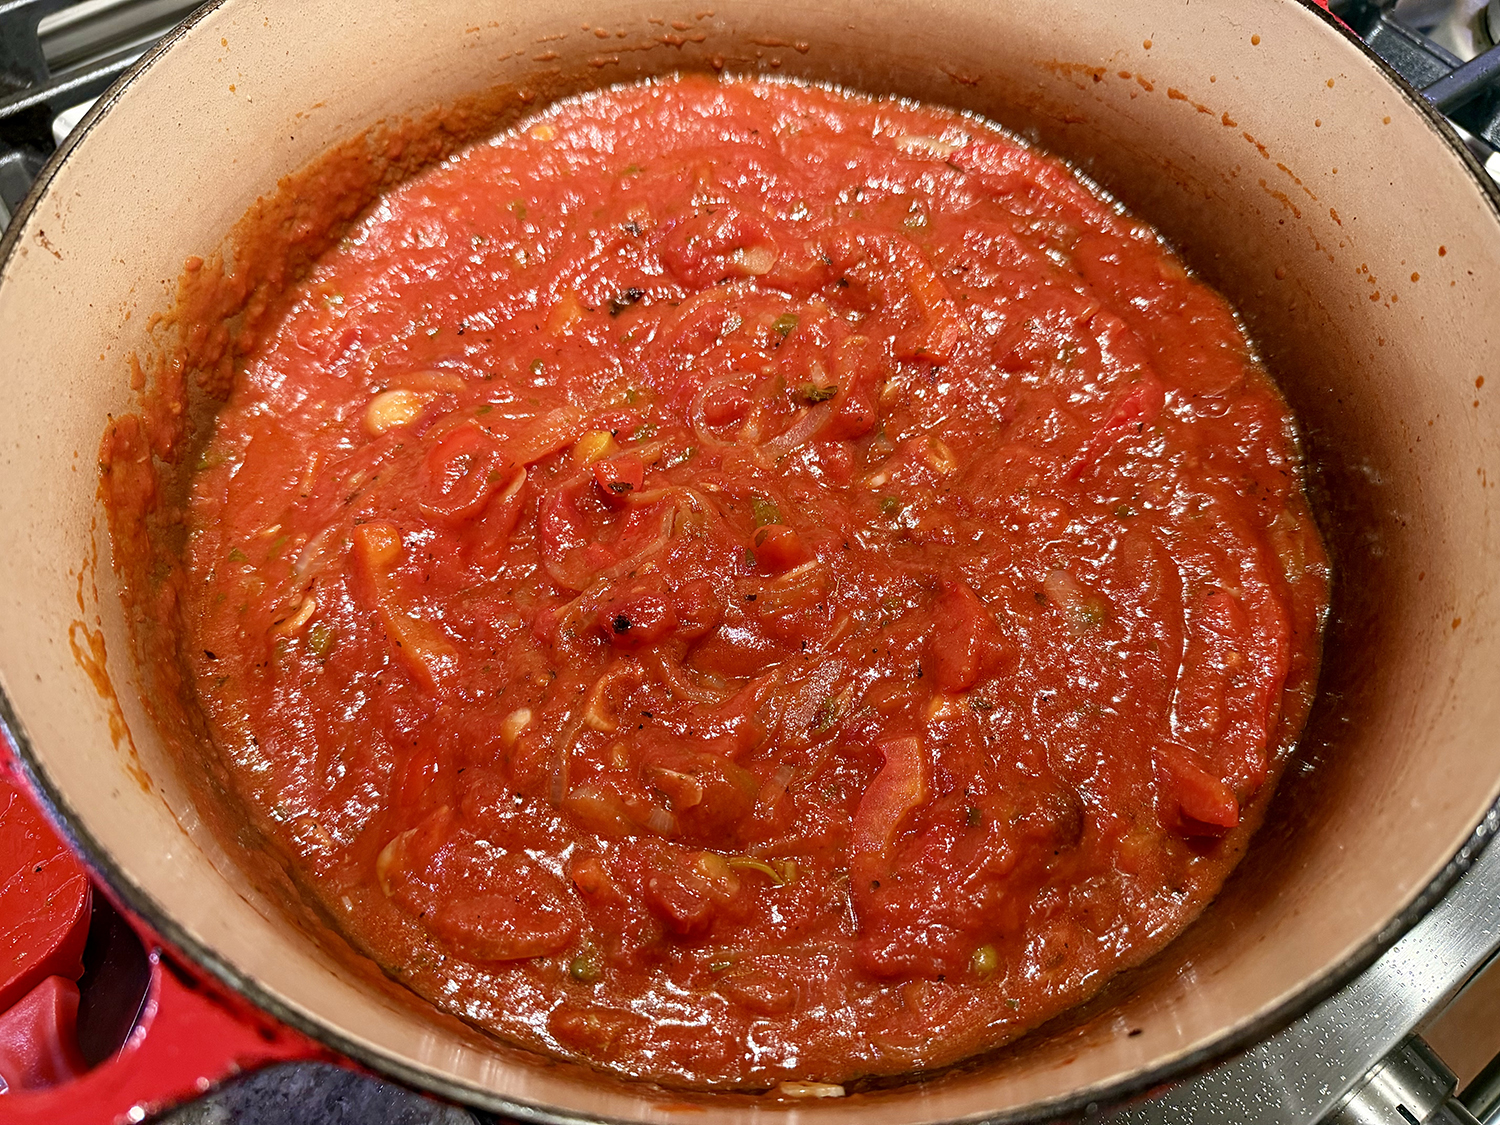
Most recipes for steak pizzaiola start with canned tomatoes simmered down into a sauce. Double it if you plan to serve it with pasta, which we did. In fact, we used a good-quality jarred puttanesca sauce.
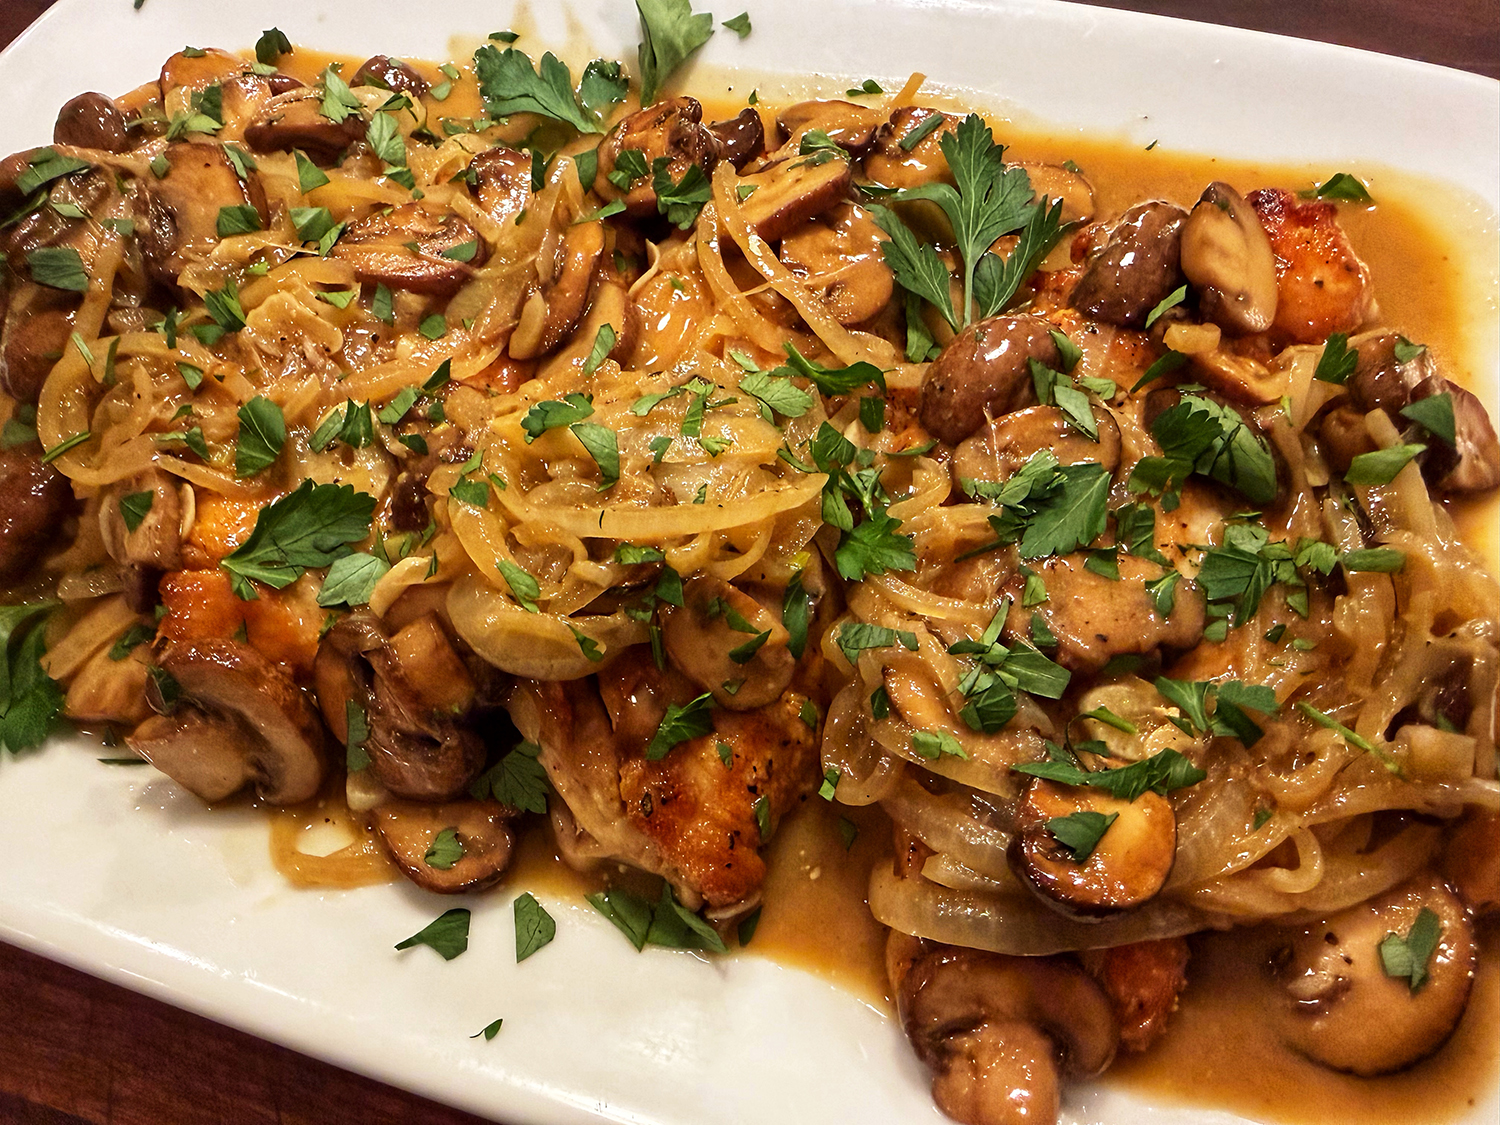
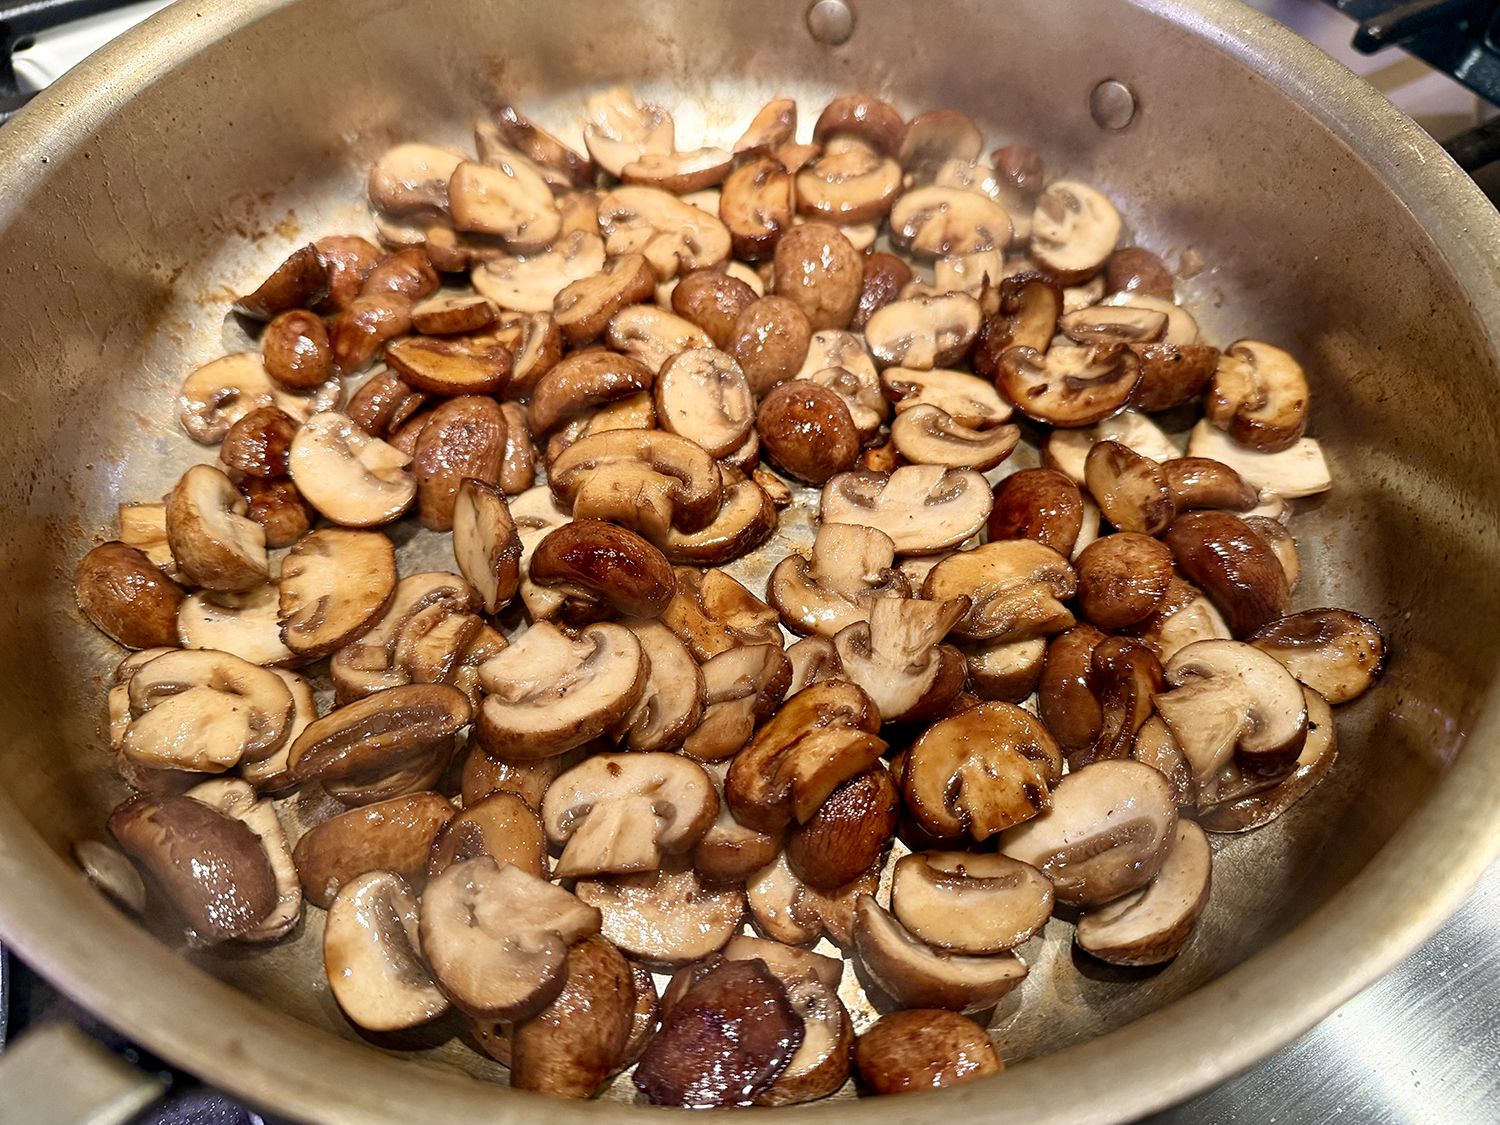
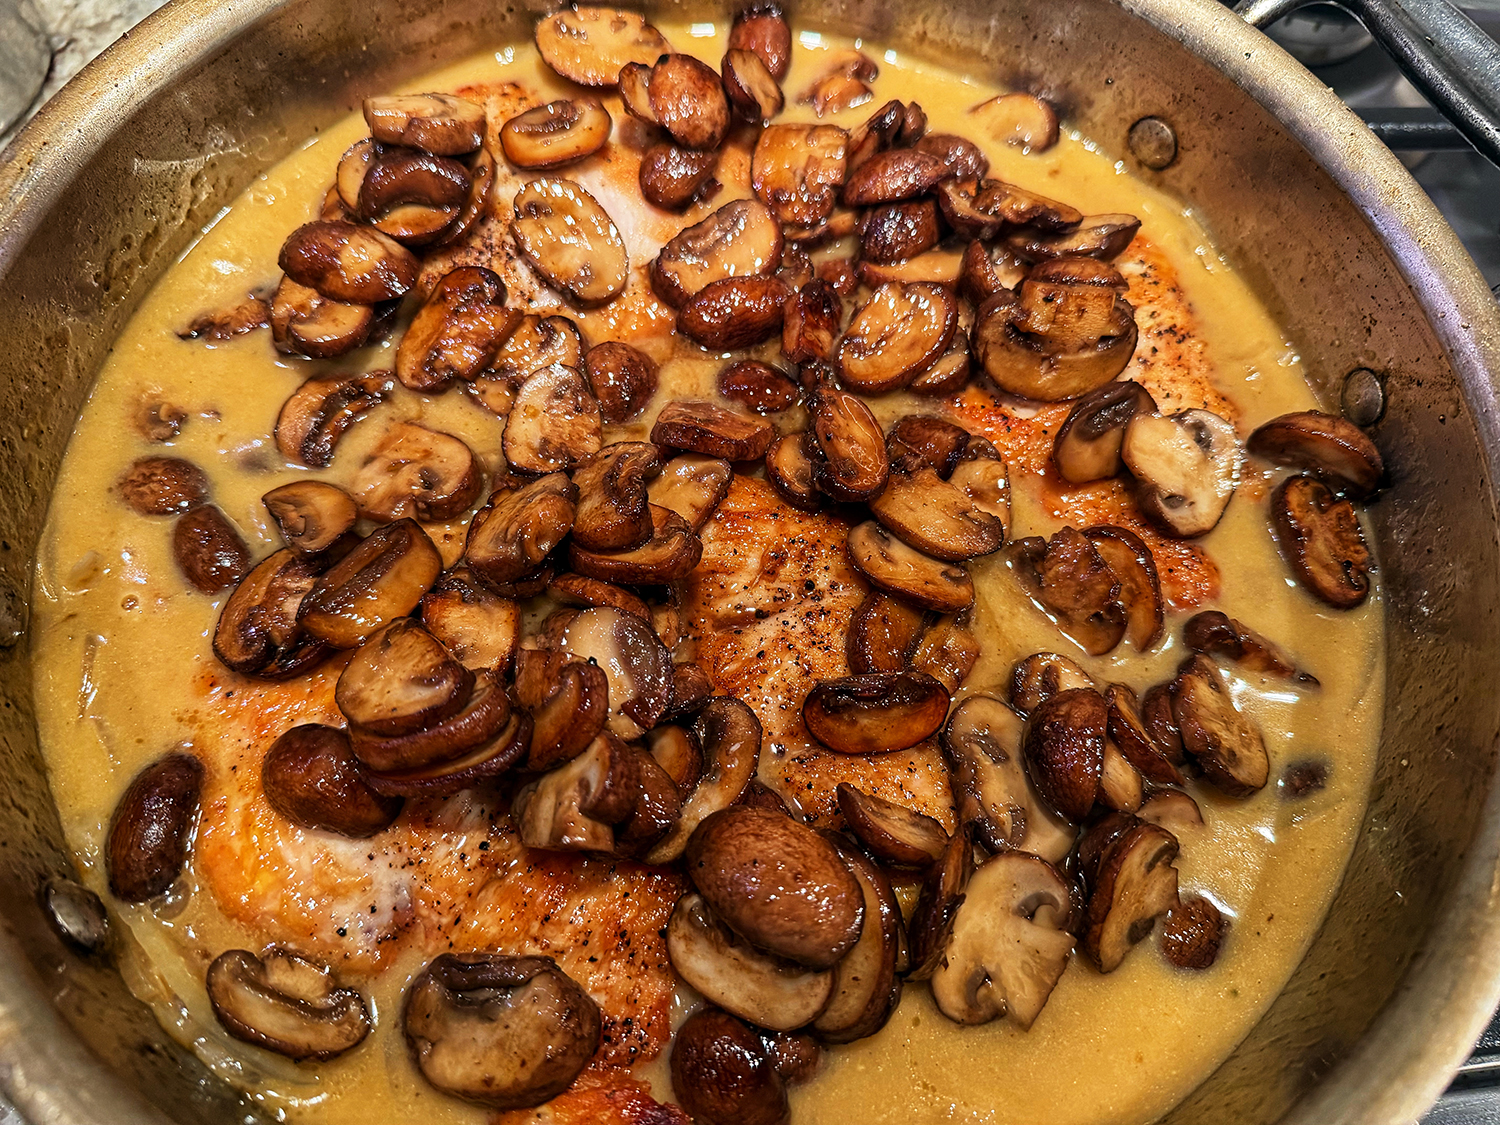
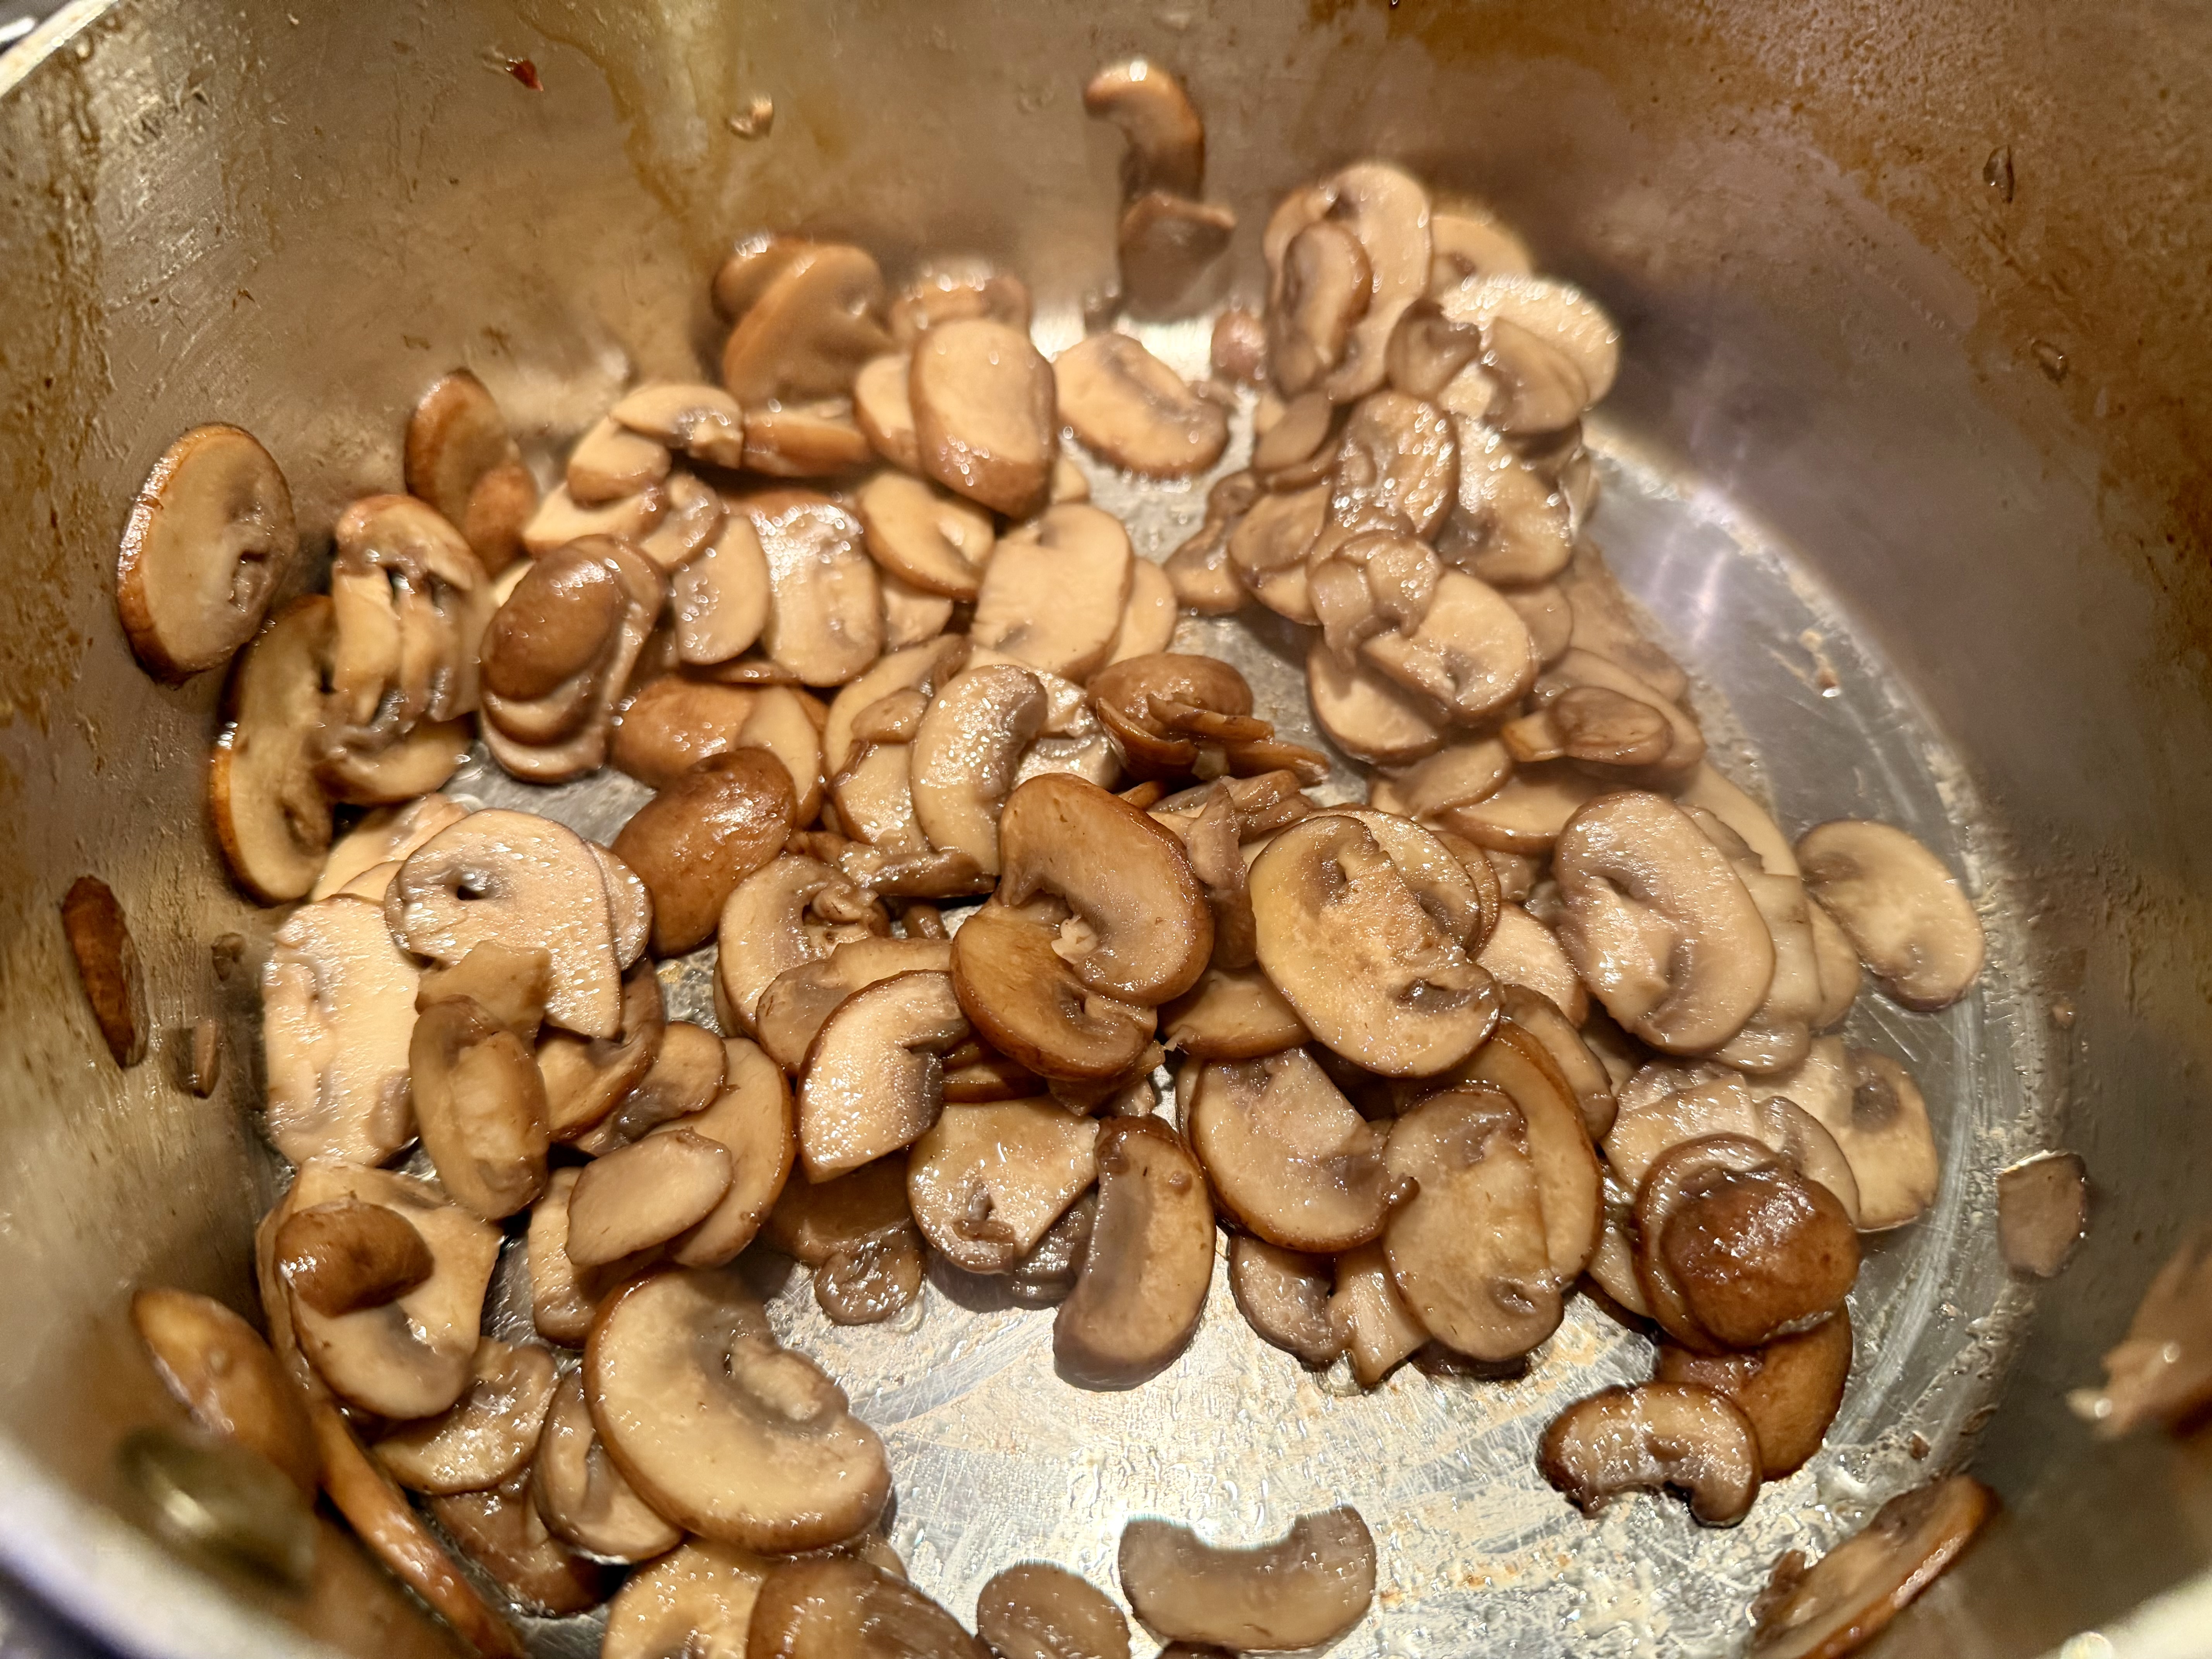
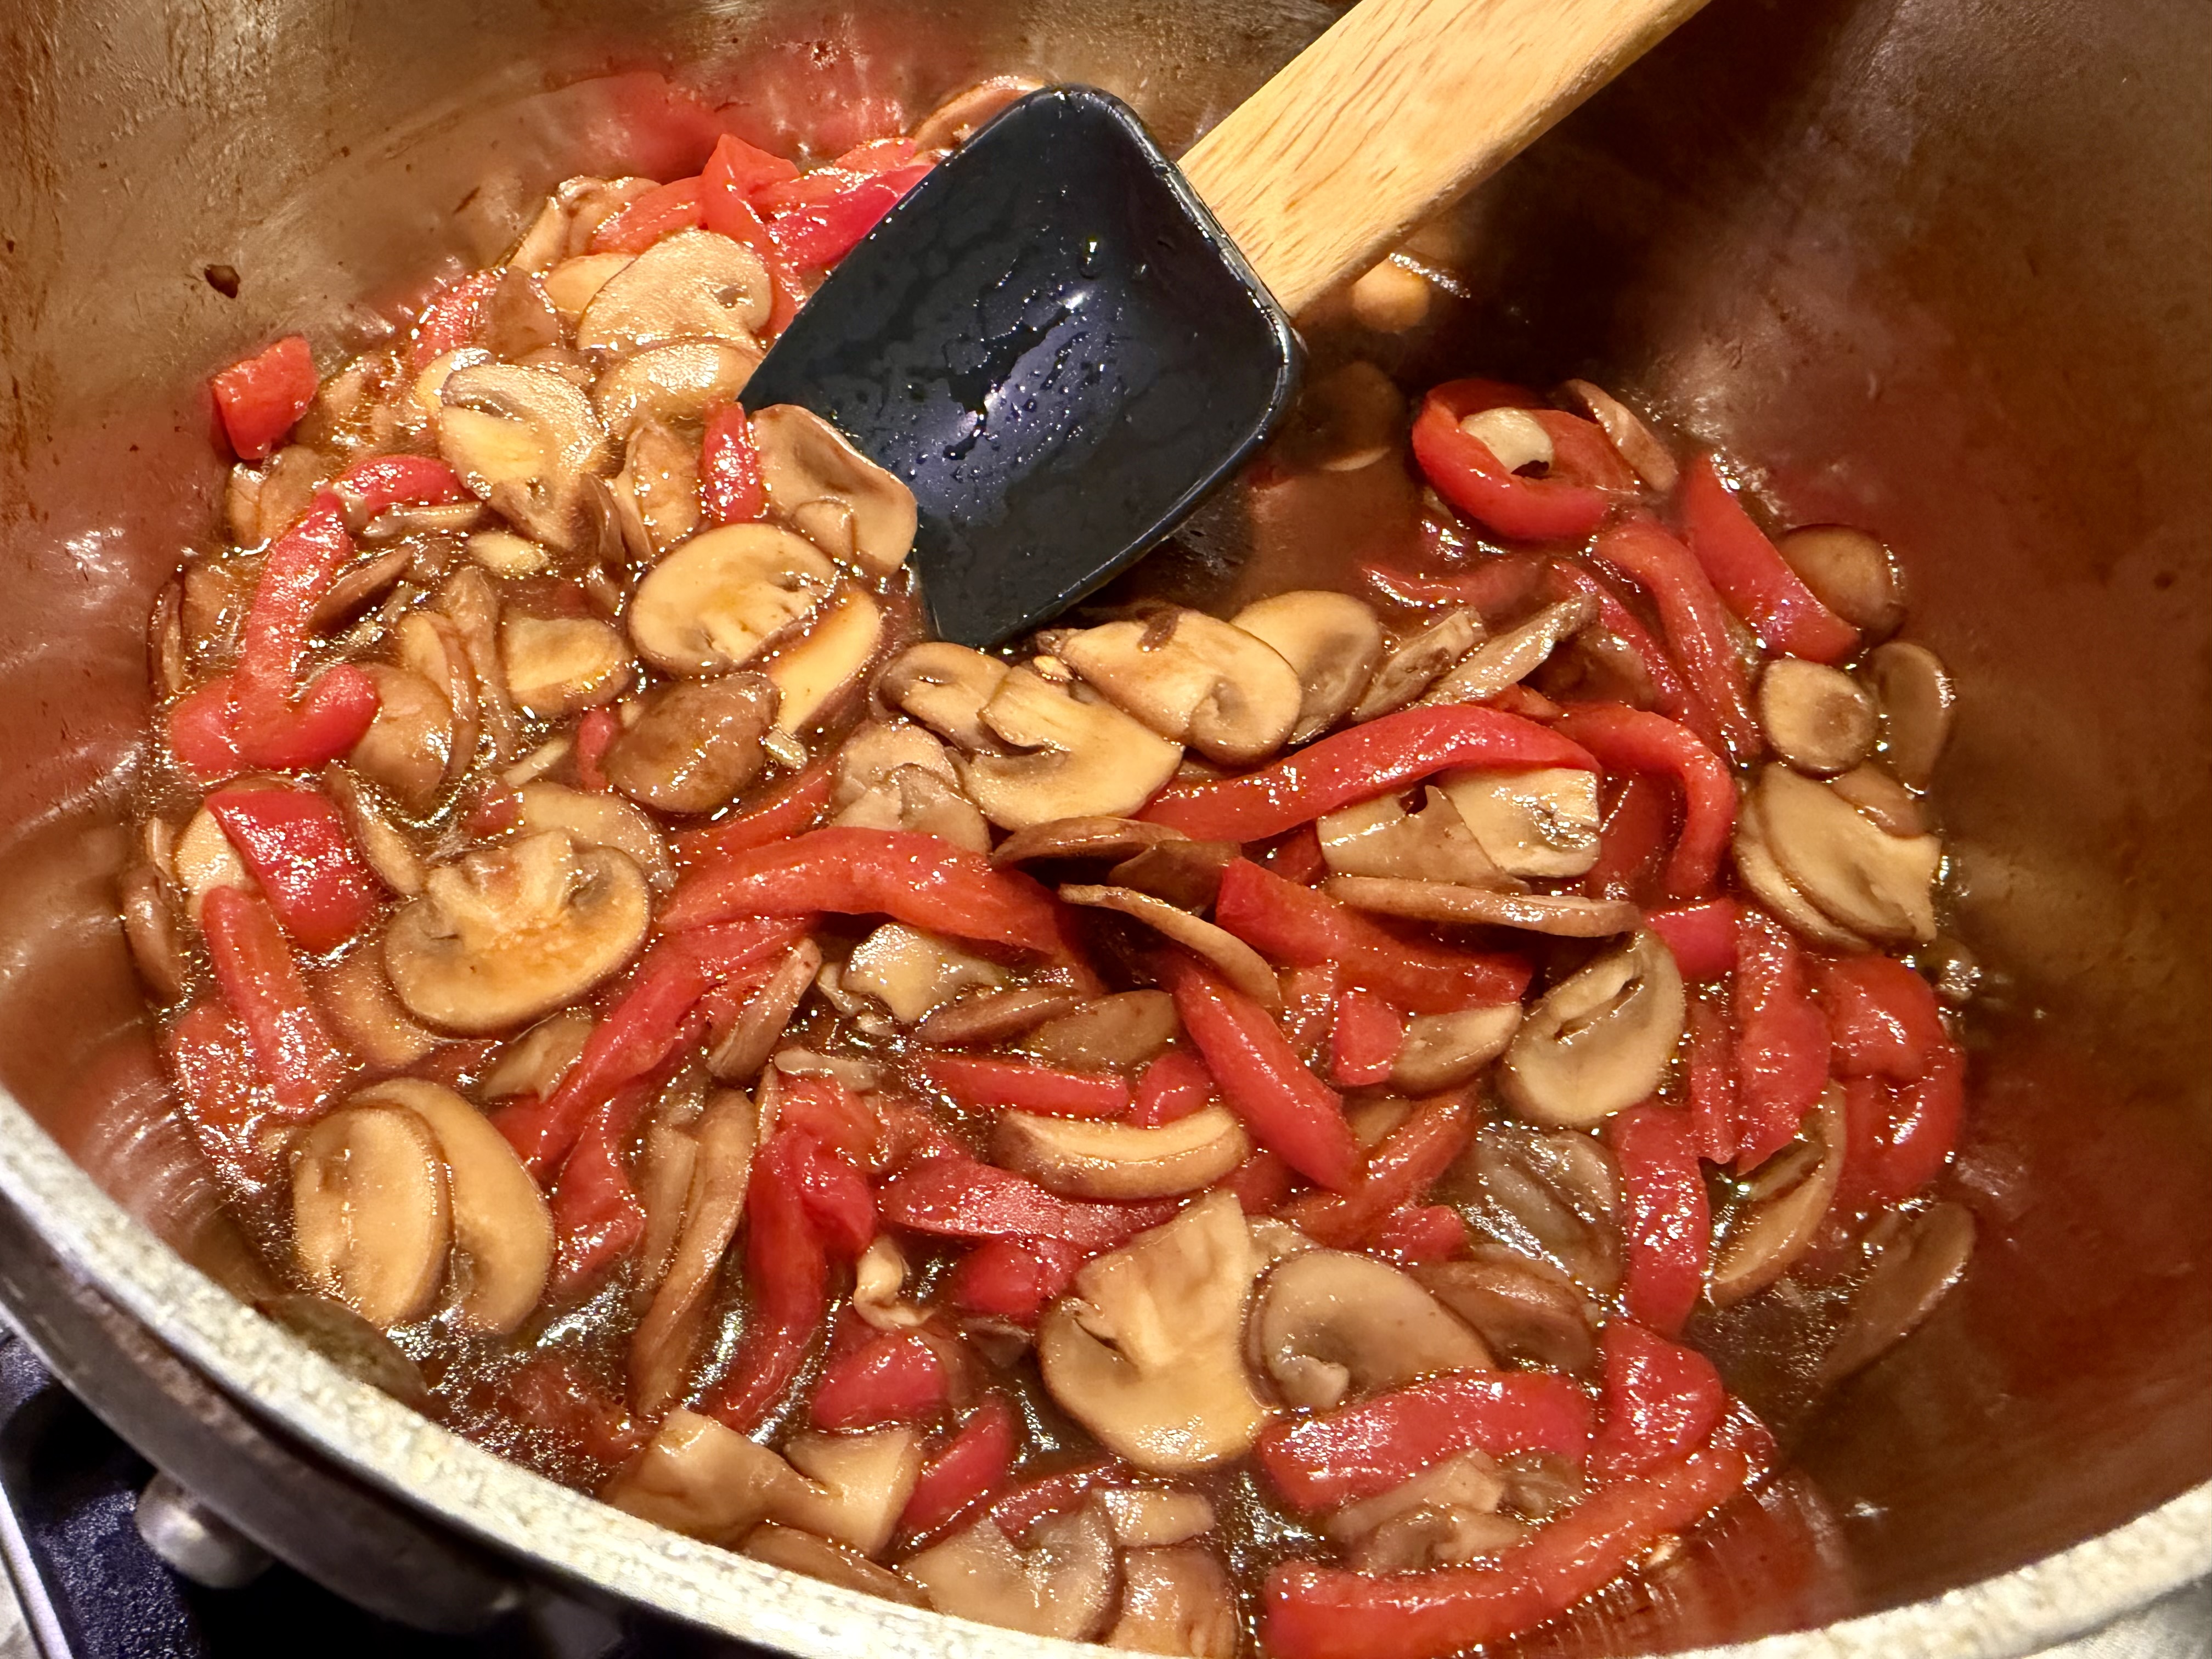
Not all recipes for steak pizzaiola include vegetables, but adding a thinly sliced onion and bell pepper add volume to the dish and sweetness to the sauce. Sliced mushrooms are another great option.
OPTIONS: Use a spicy Arrabbiata sauce in place of the marinara. Add a little Calabrian chili paste to give the sauce a potent, lingering heat. Stir olives or capers into the sauce; their flavor plays well with garlic and oregano.
Steak Pizzaiola
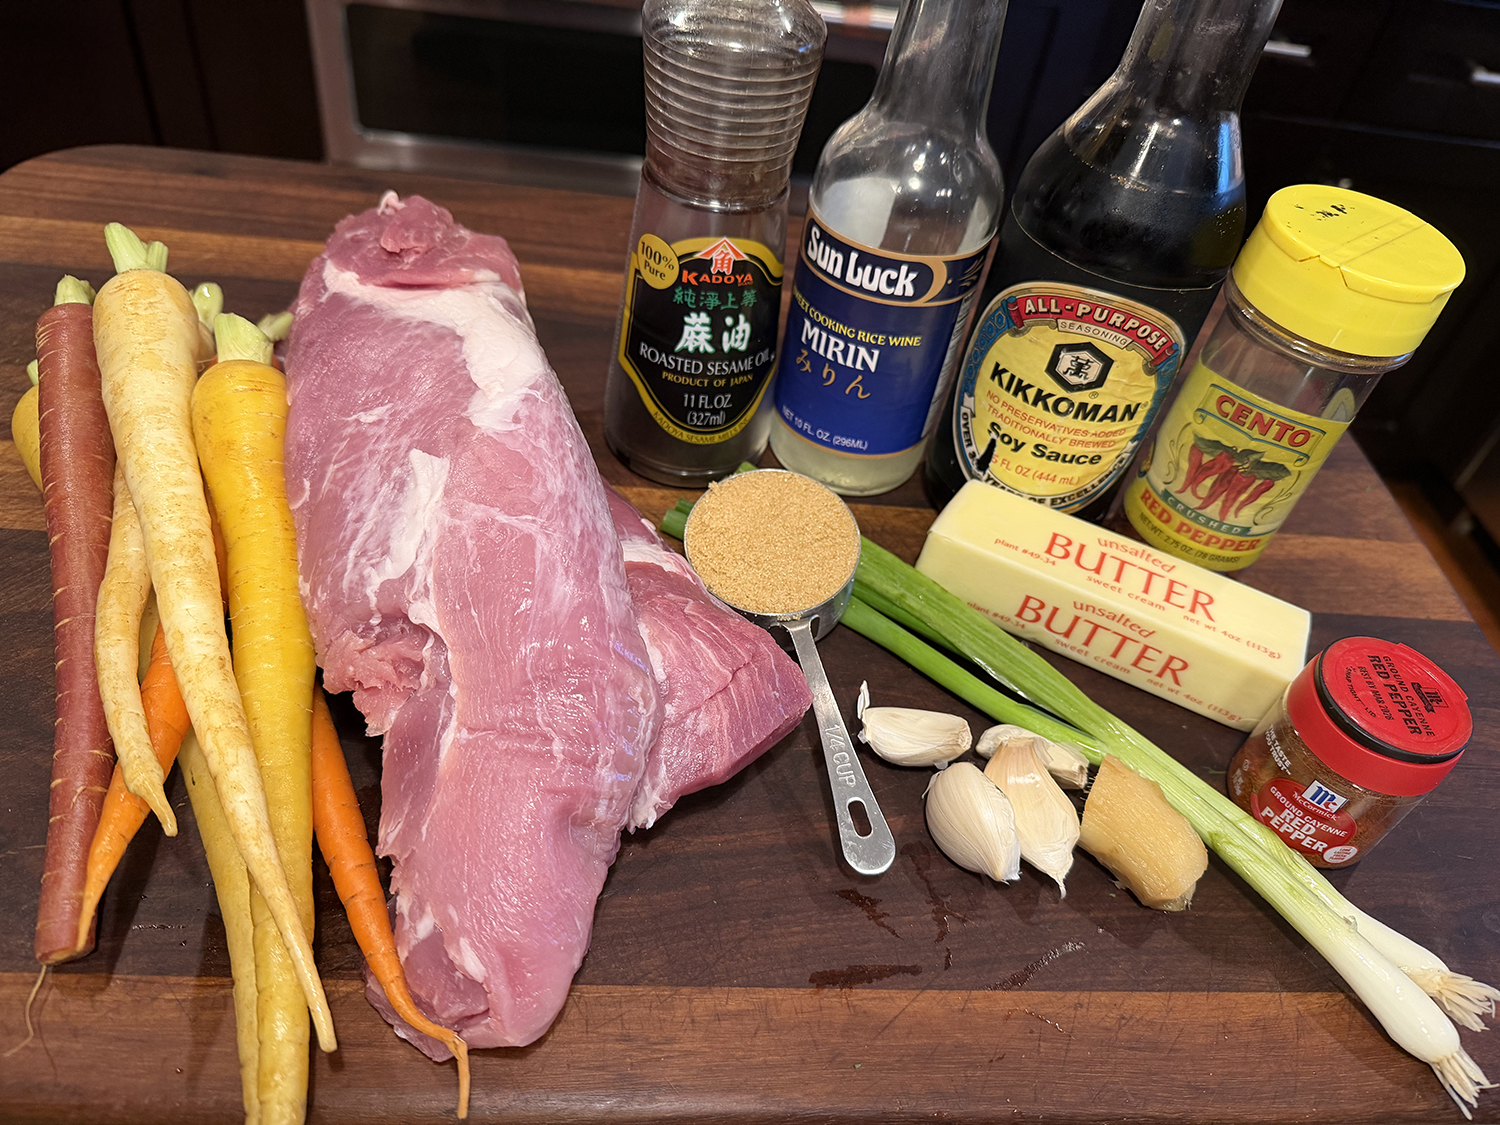
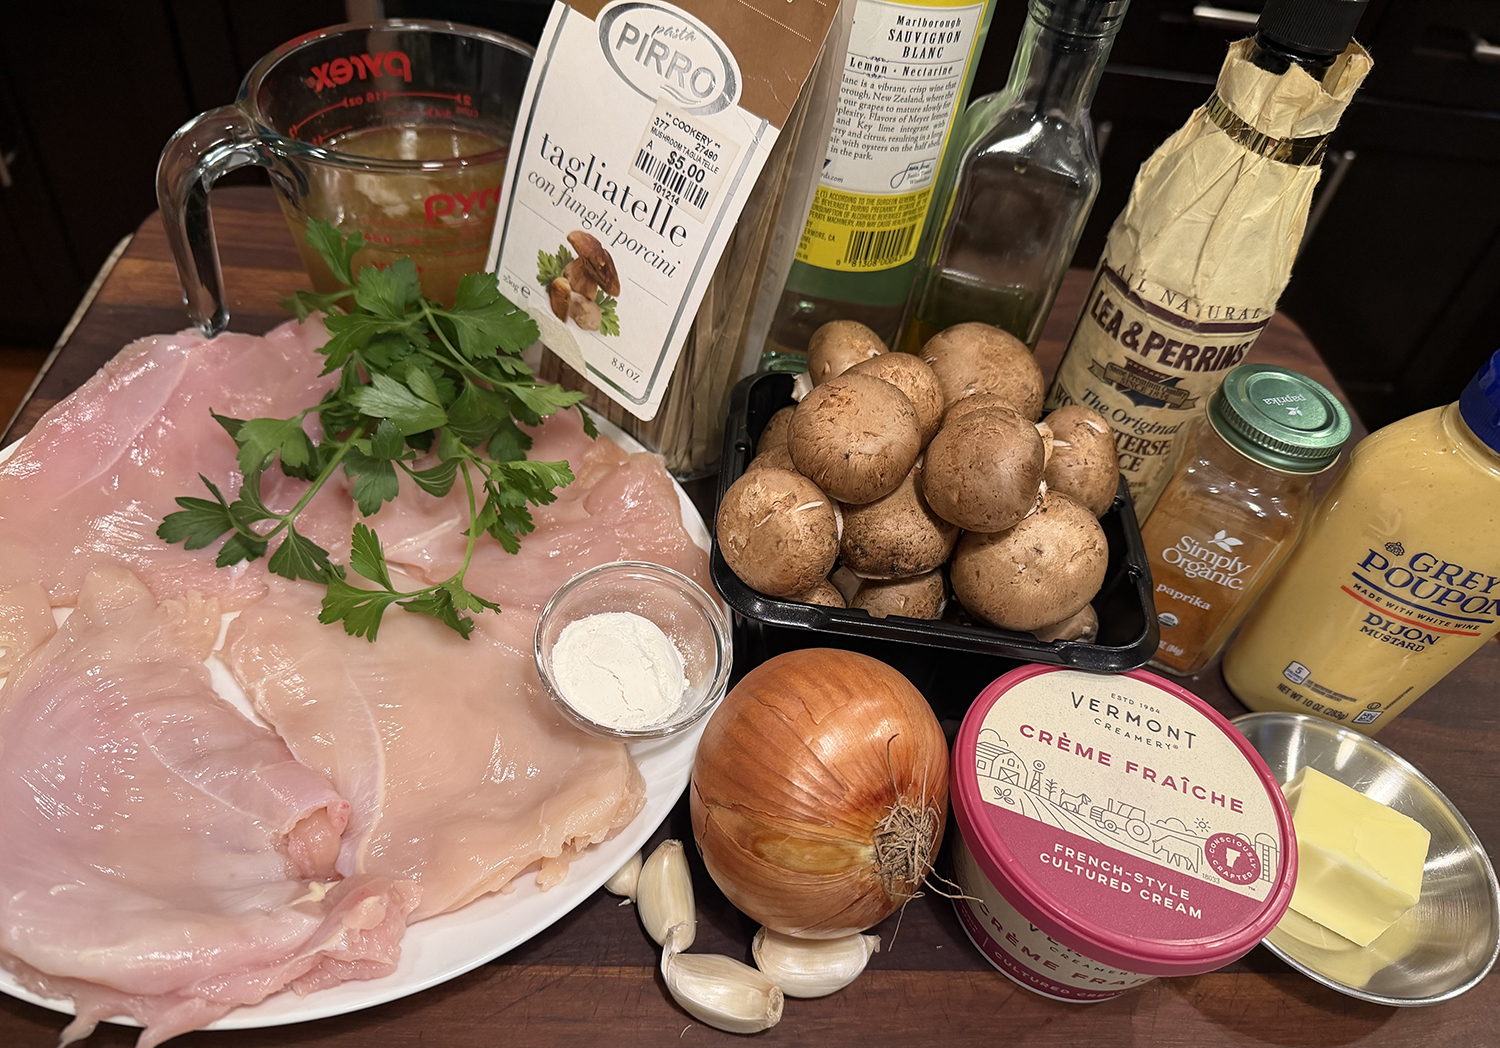
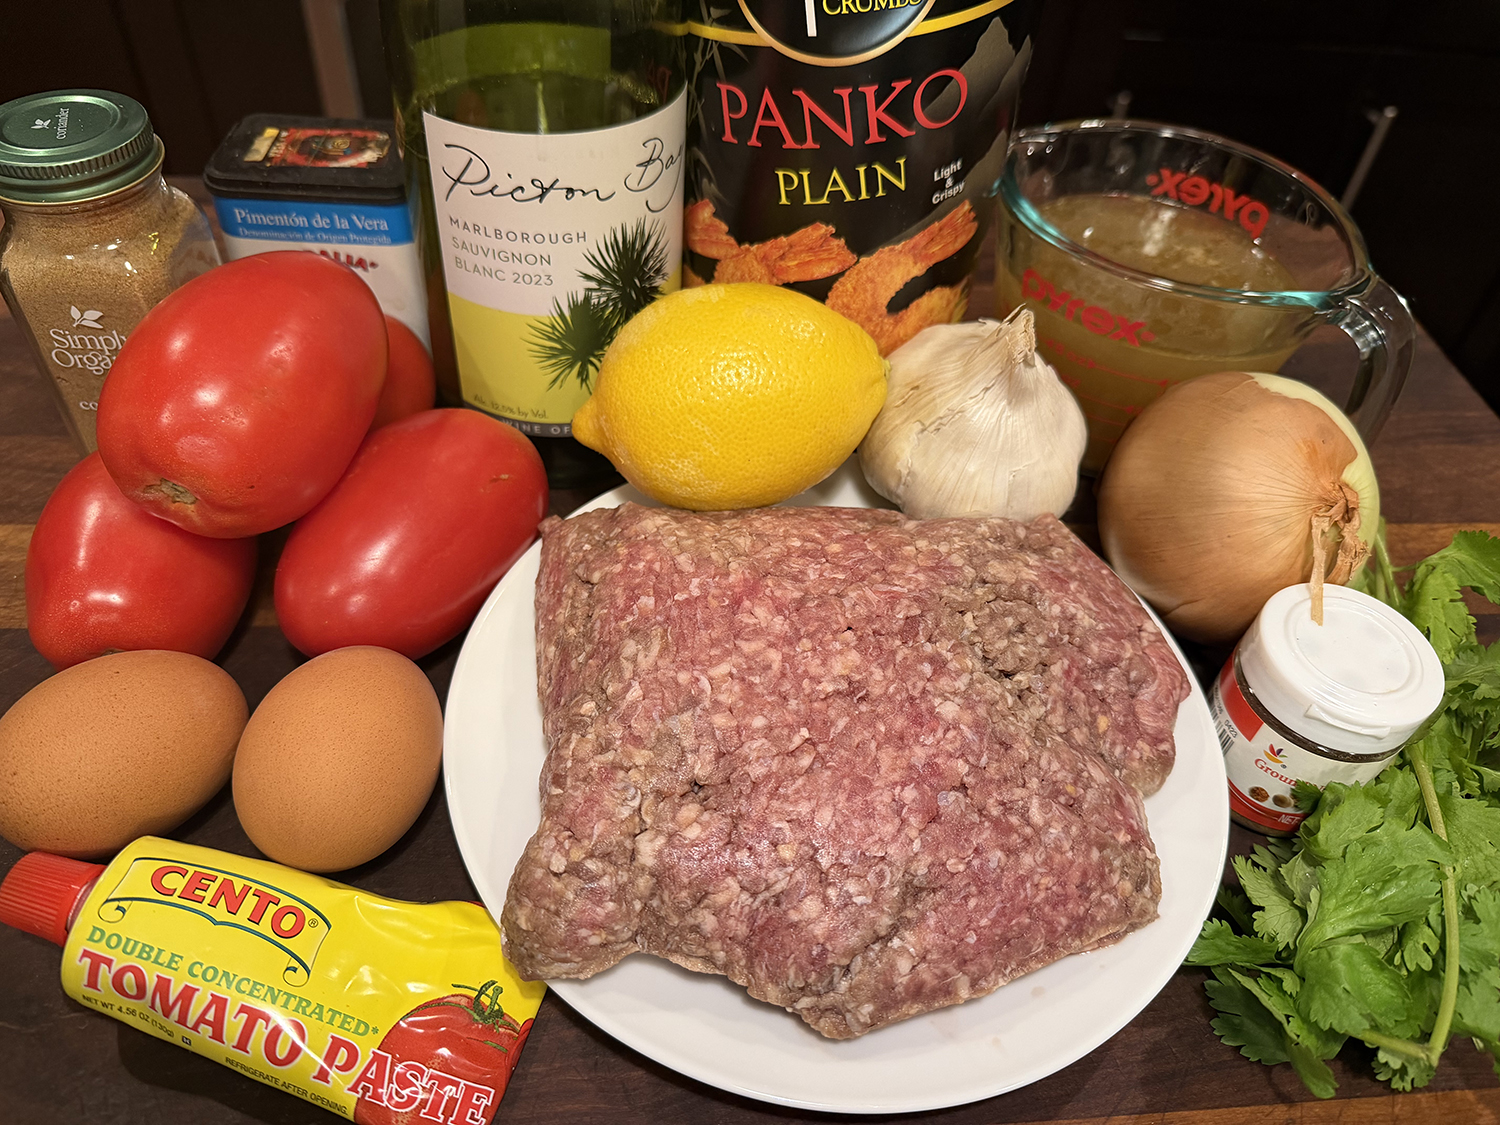
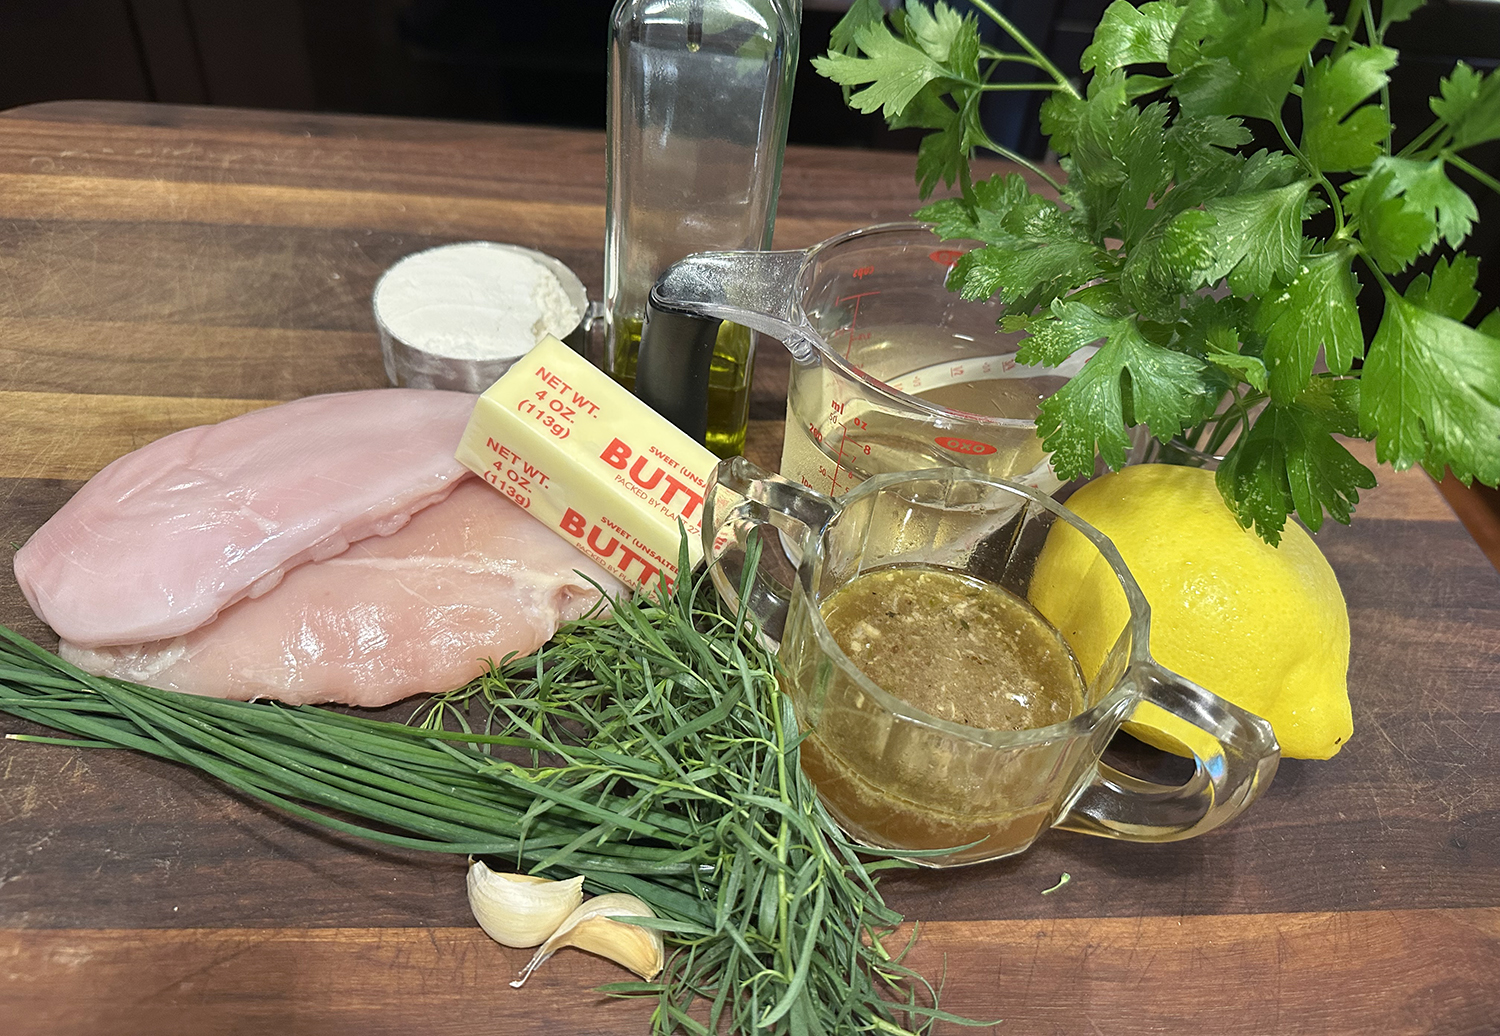
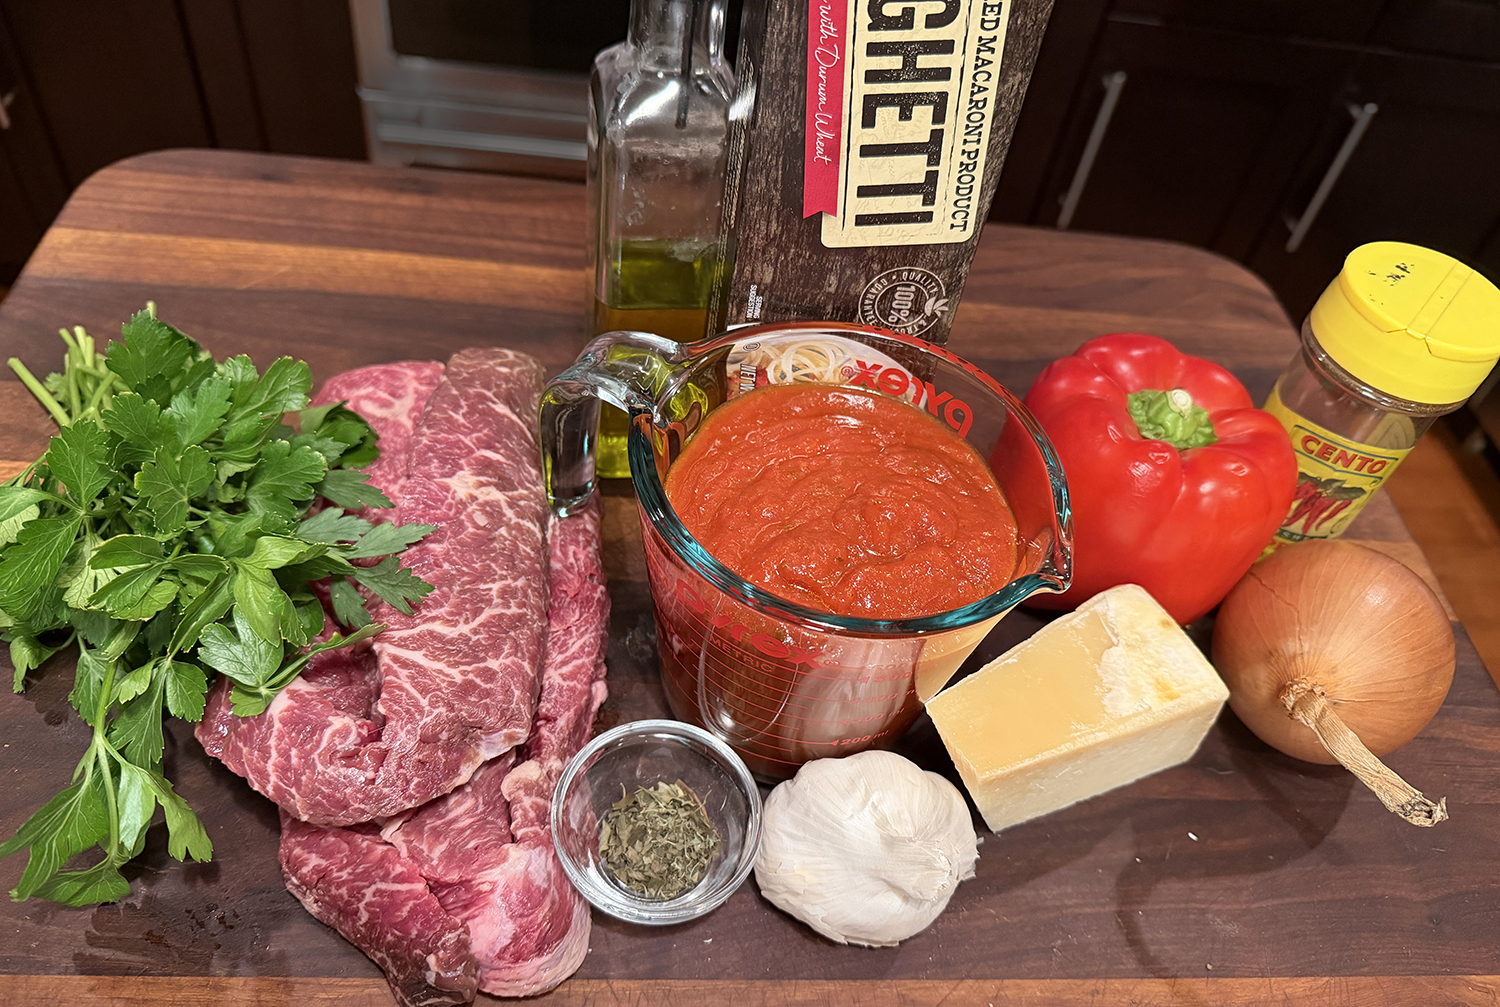
Ingredients
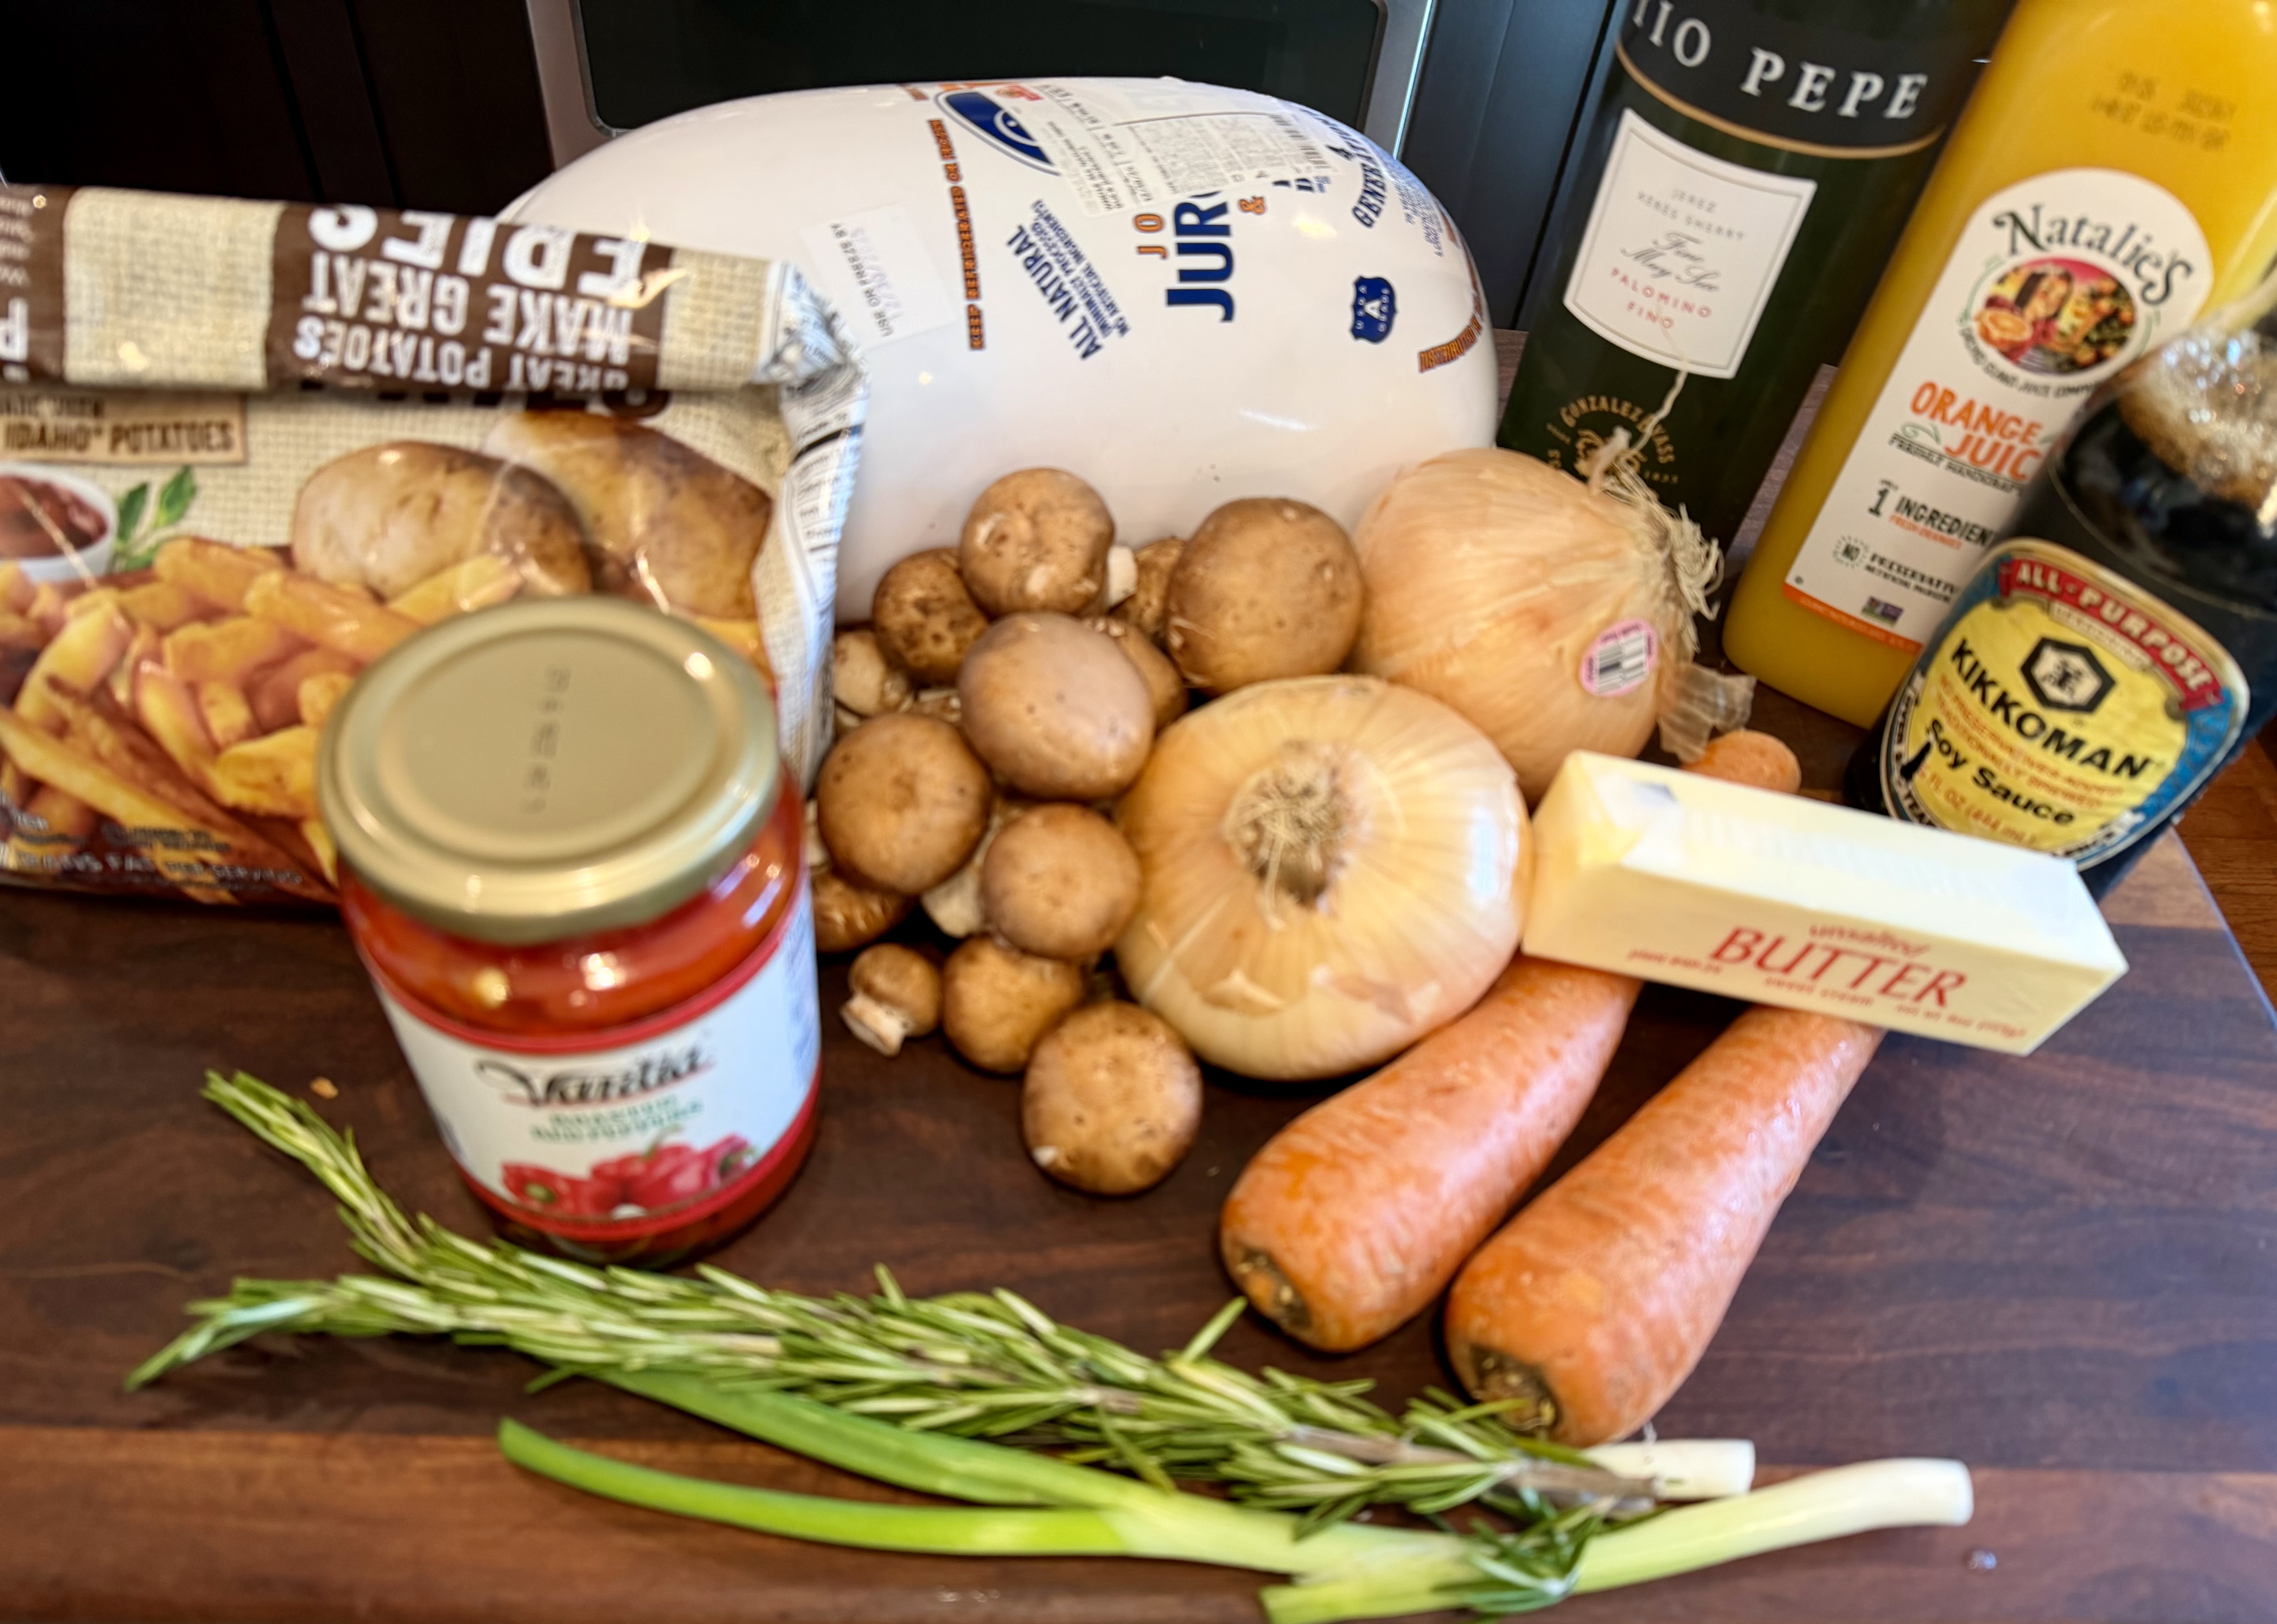
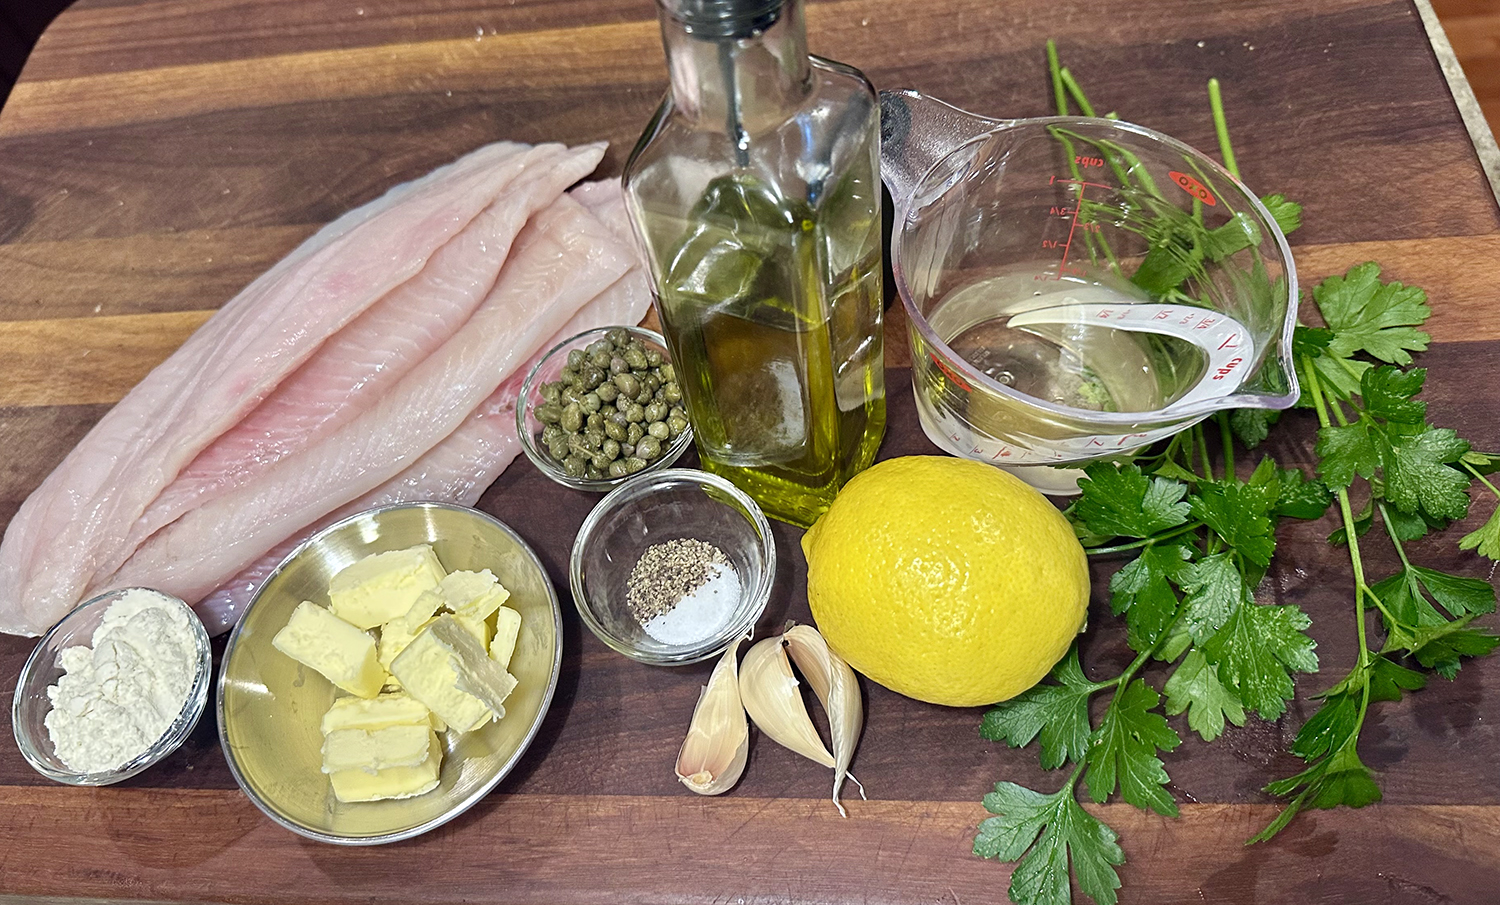
- 1 lb. lean beef steak (top round, sirloin tip, or similar)
- Salt
- Freshly ground black pepper
- 3 Tbsp. extra virgin olive oil
- 1 small onion, very thinly sliced
- 1 red bell pepper, thinly sliced
- 4 garlic cloves, thinly sliced
- 1 tsp. dried oregano
- 1/4 tsp. crushed red pepper flakes (optional)
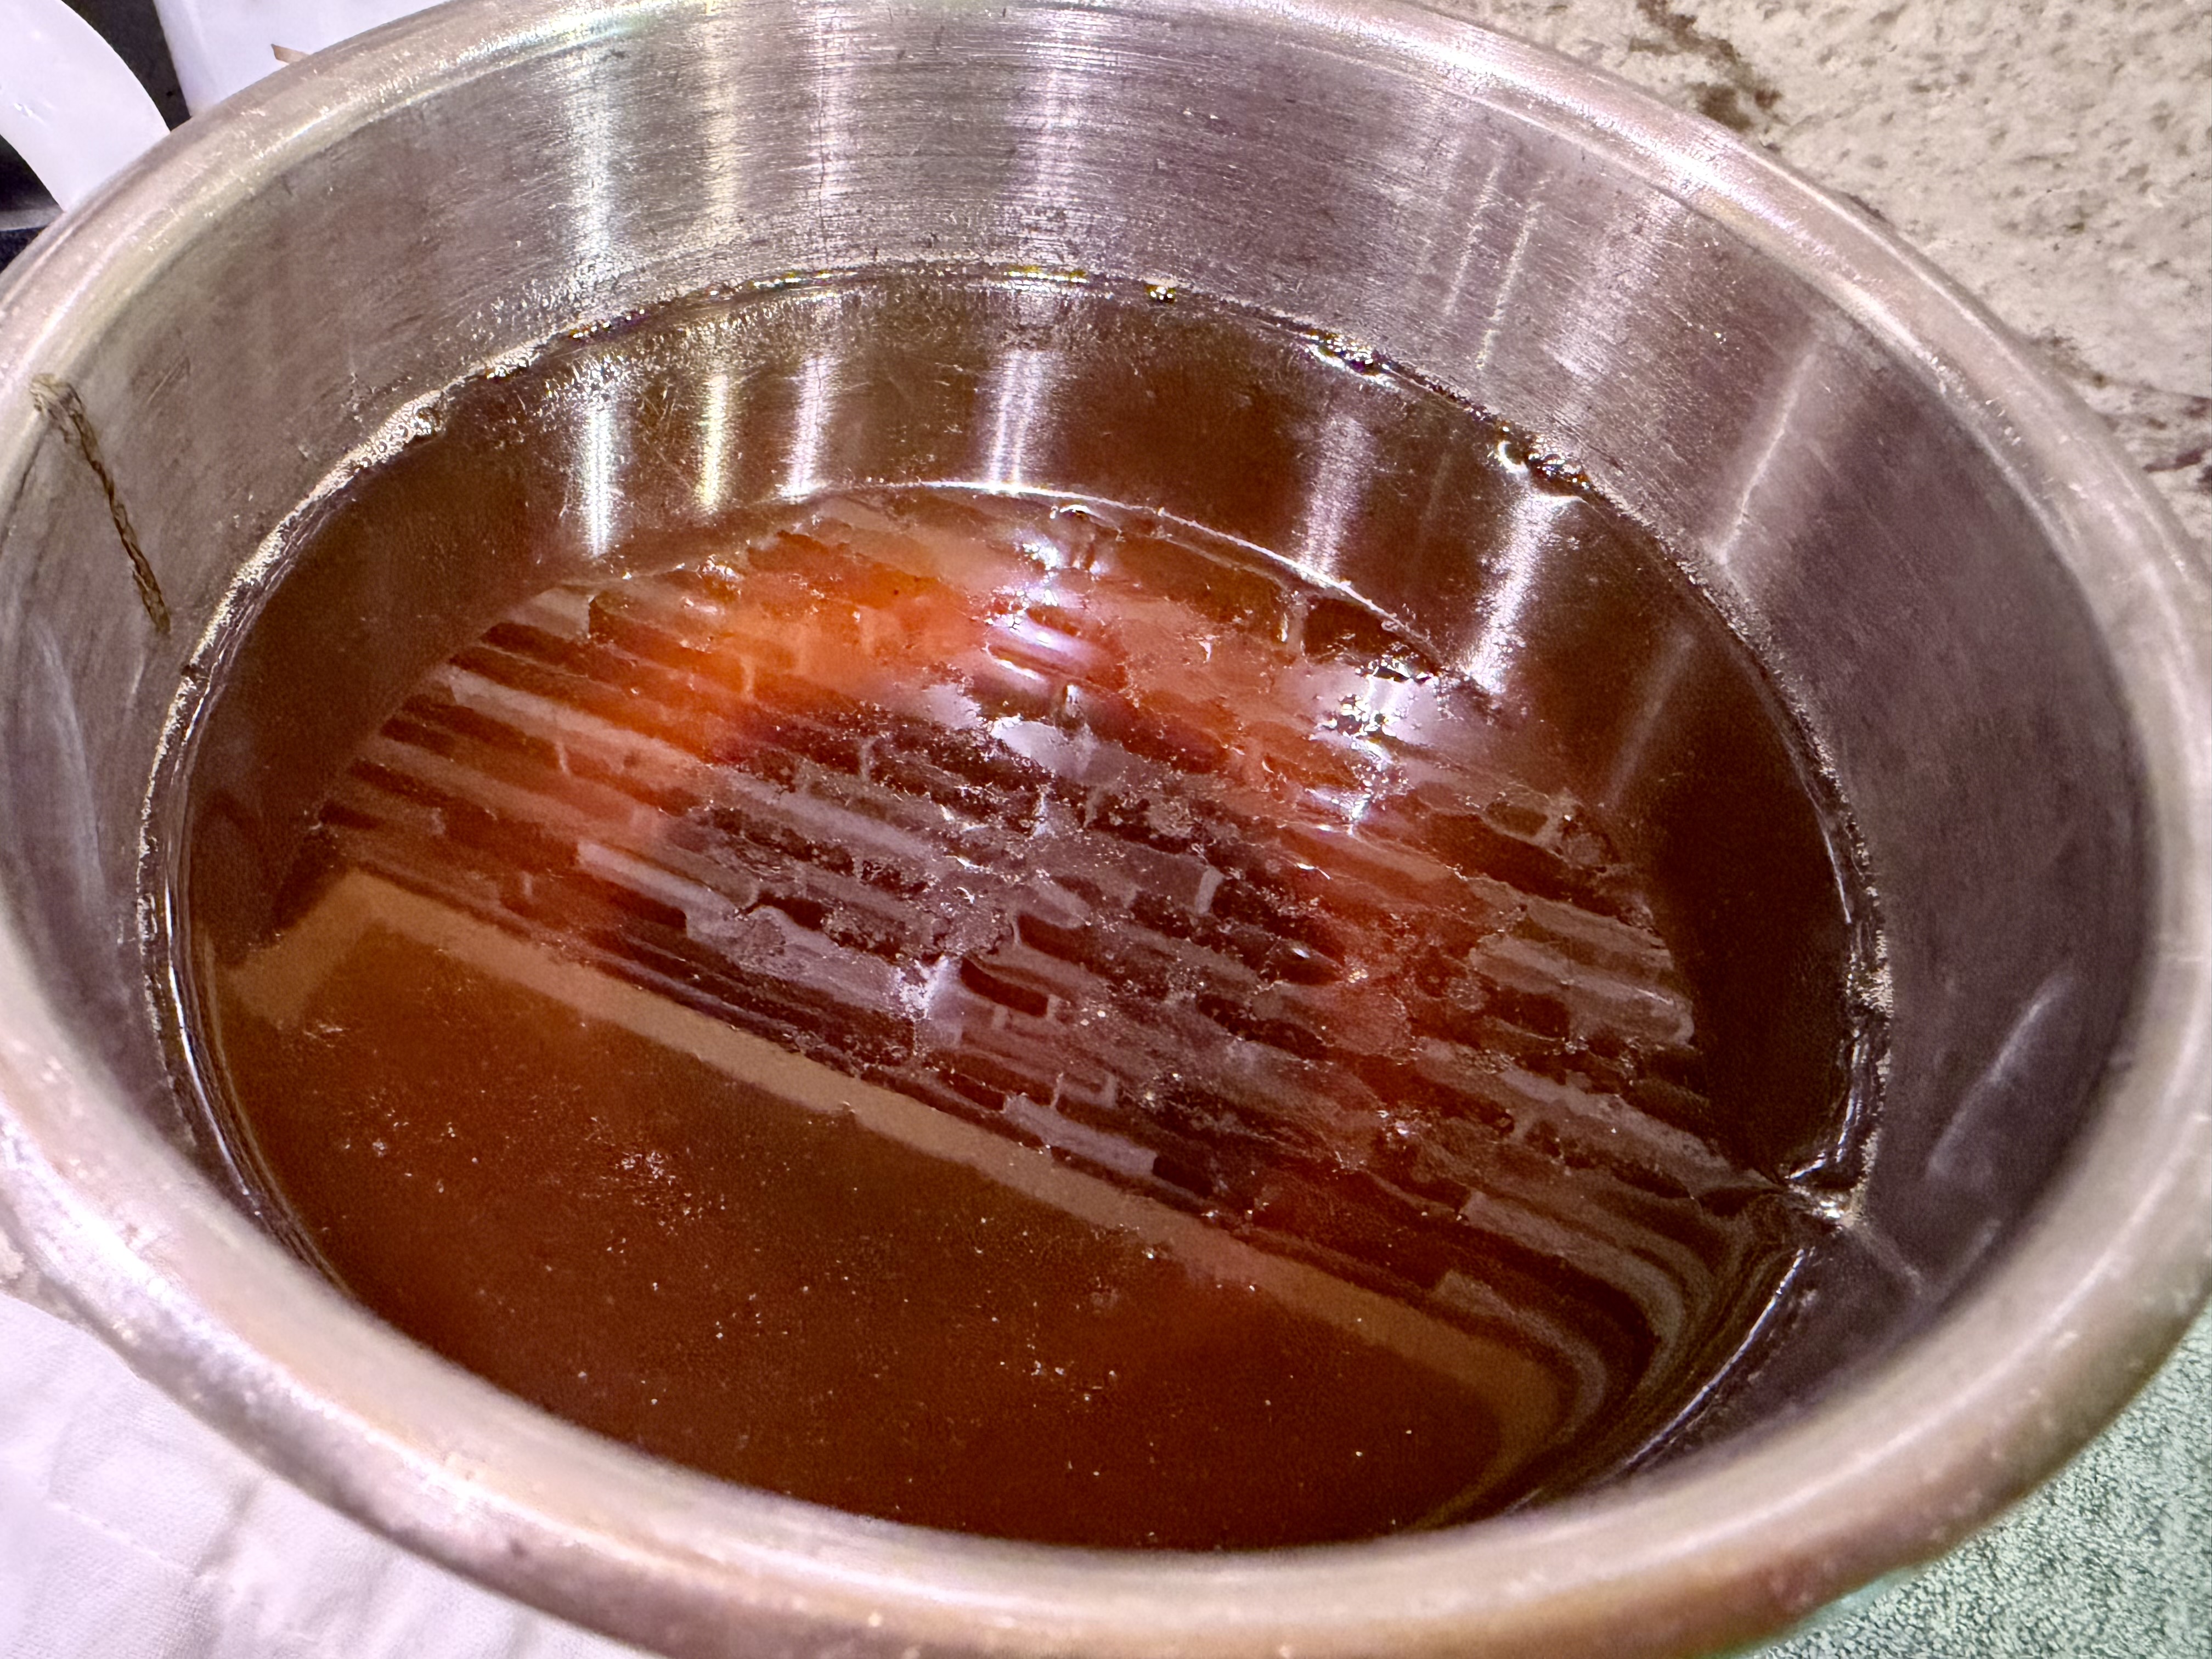
- 2 cups marinara sauce (to serve with pasta use 4 cups)
- Fresh basil or parsley leaves, torn, for garnish
- Freshly grated parmesan cheese, for garnish
Directions
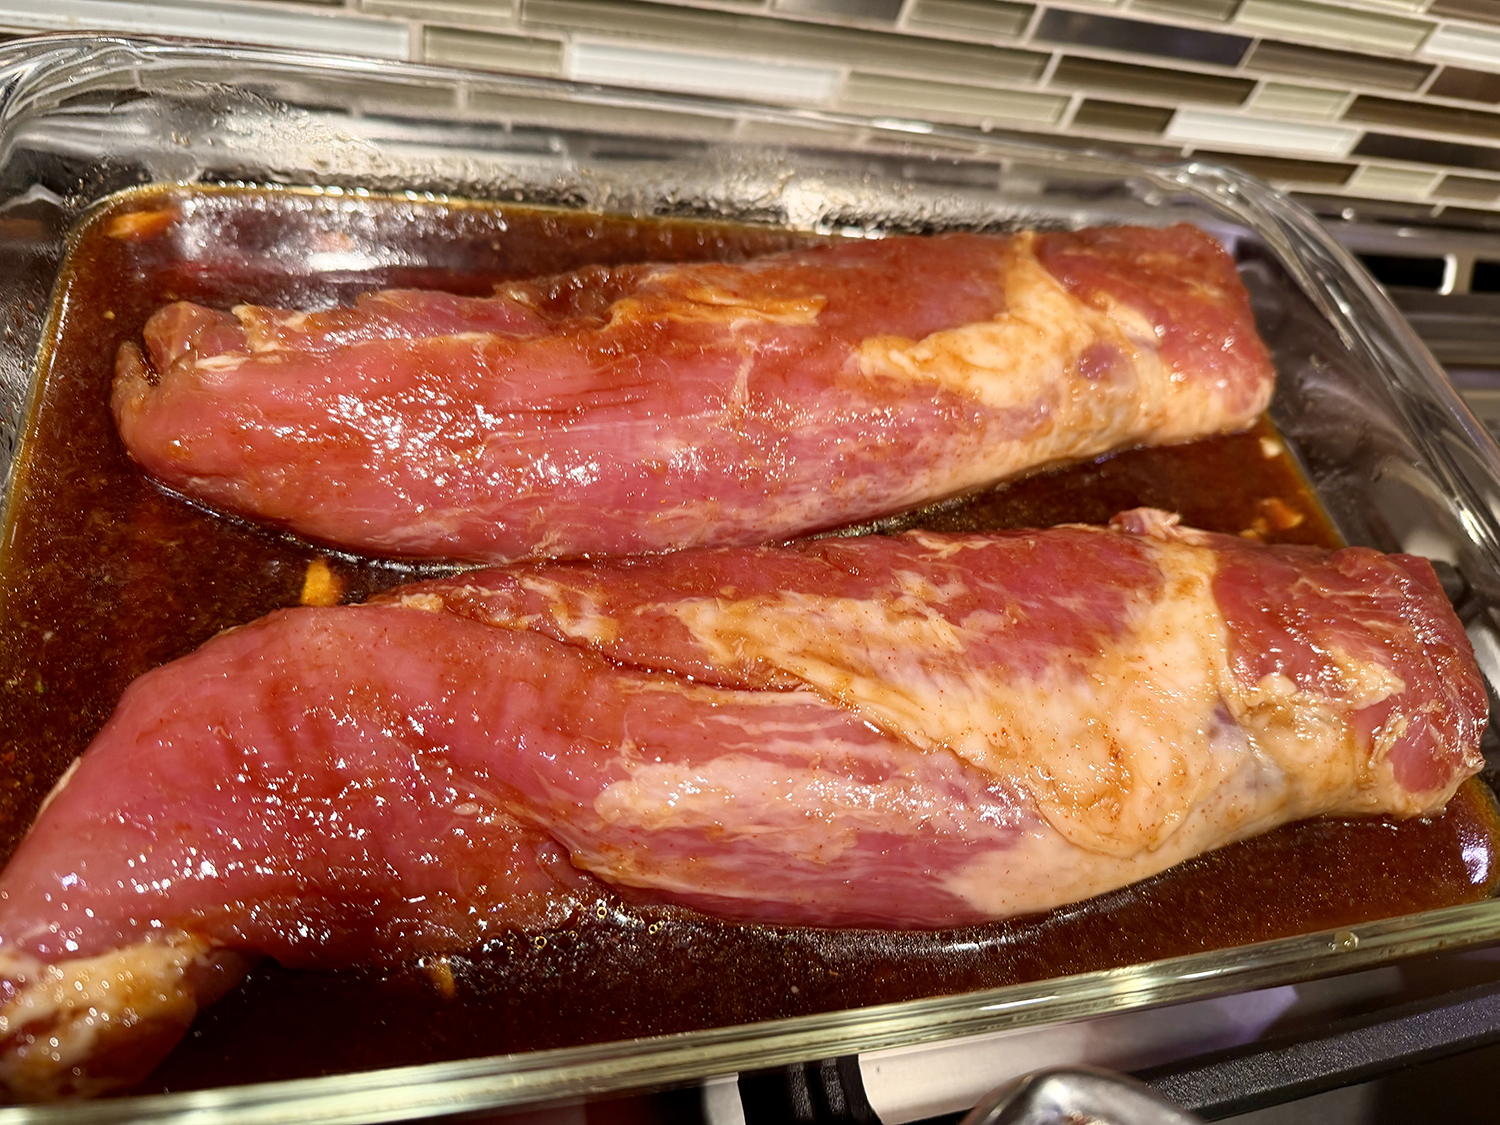
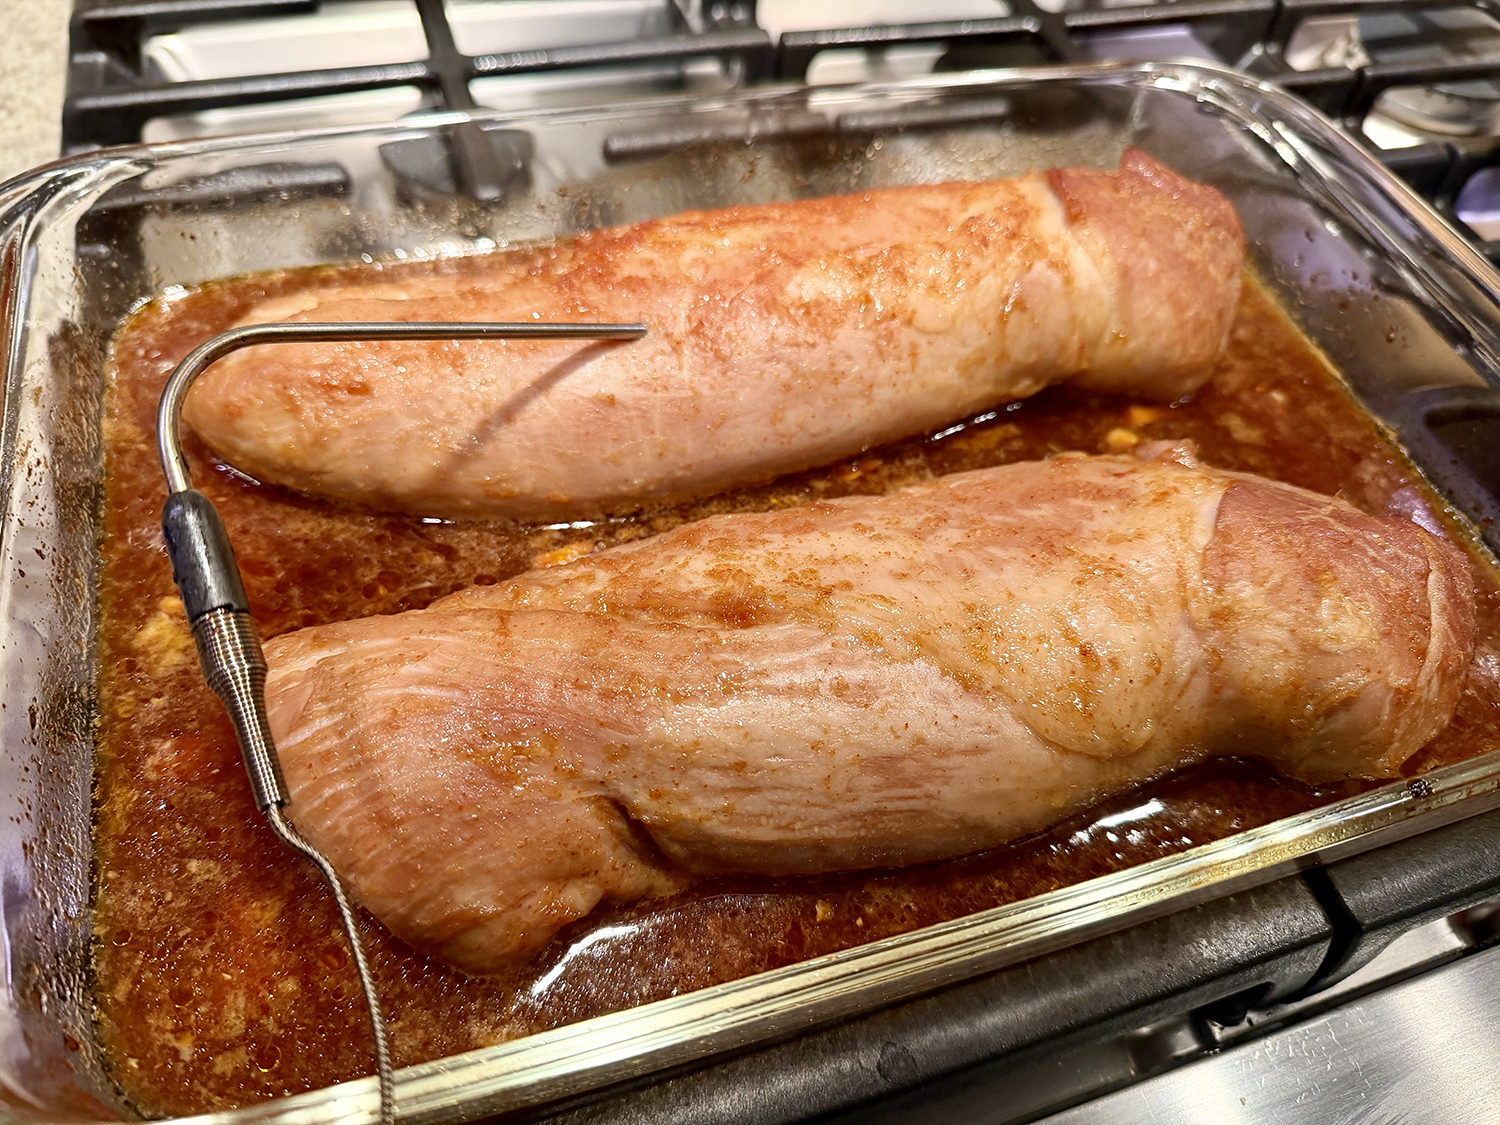
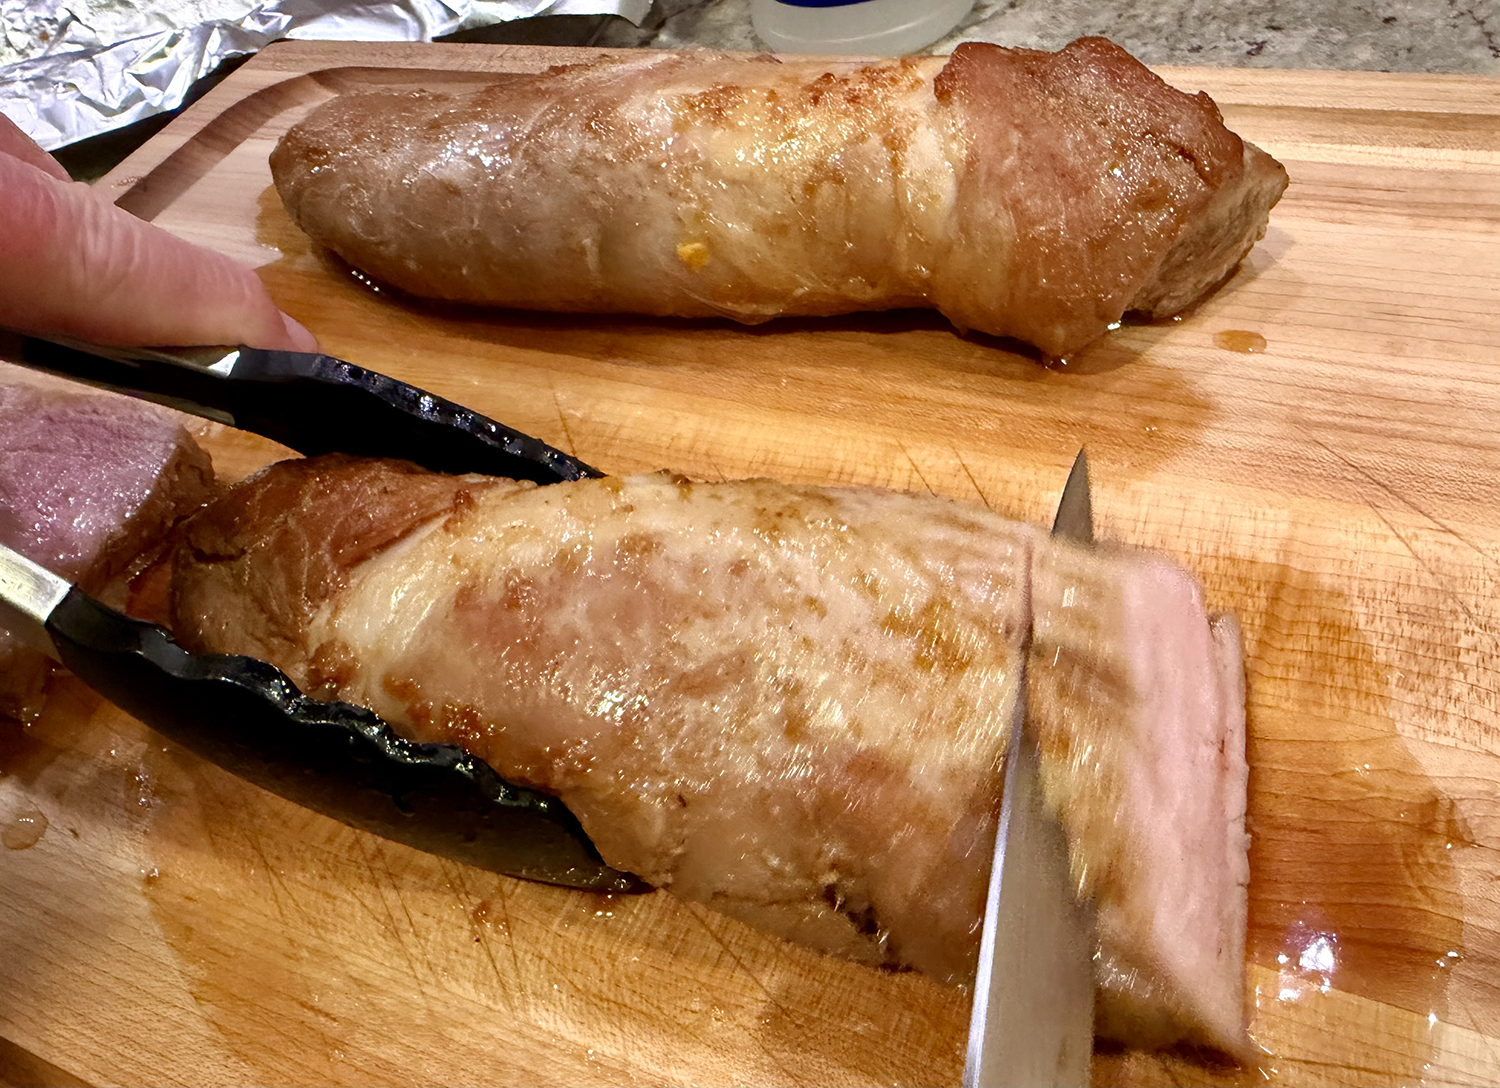
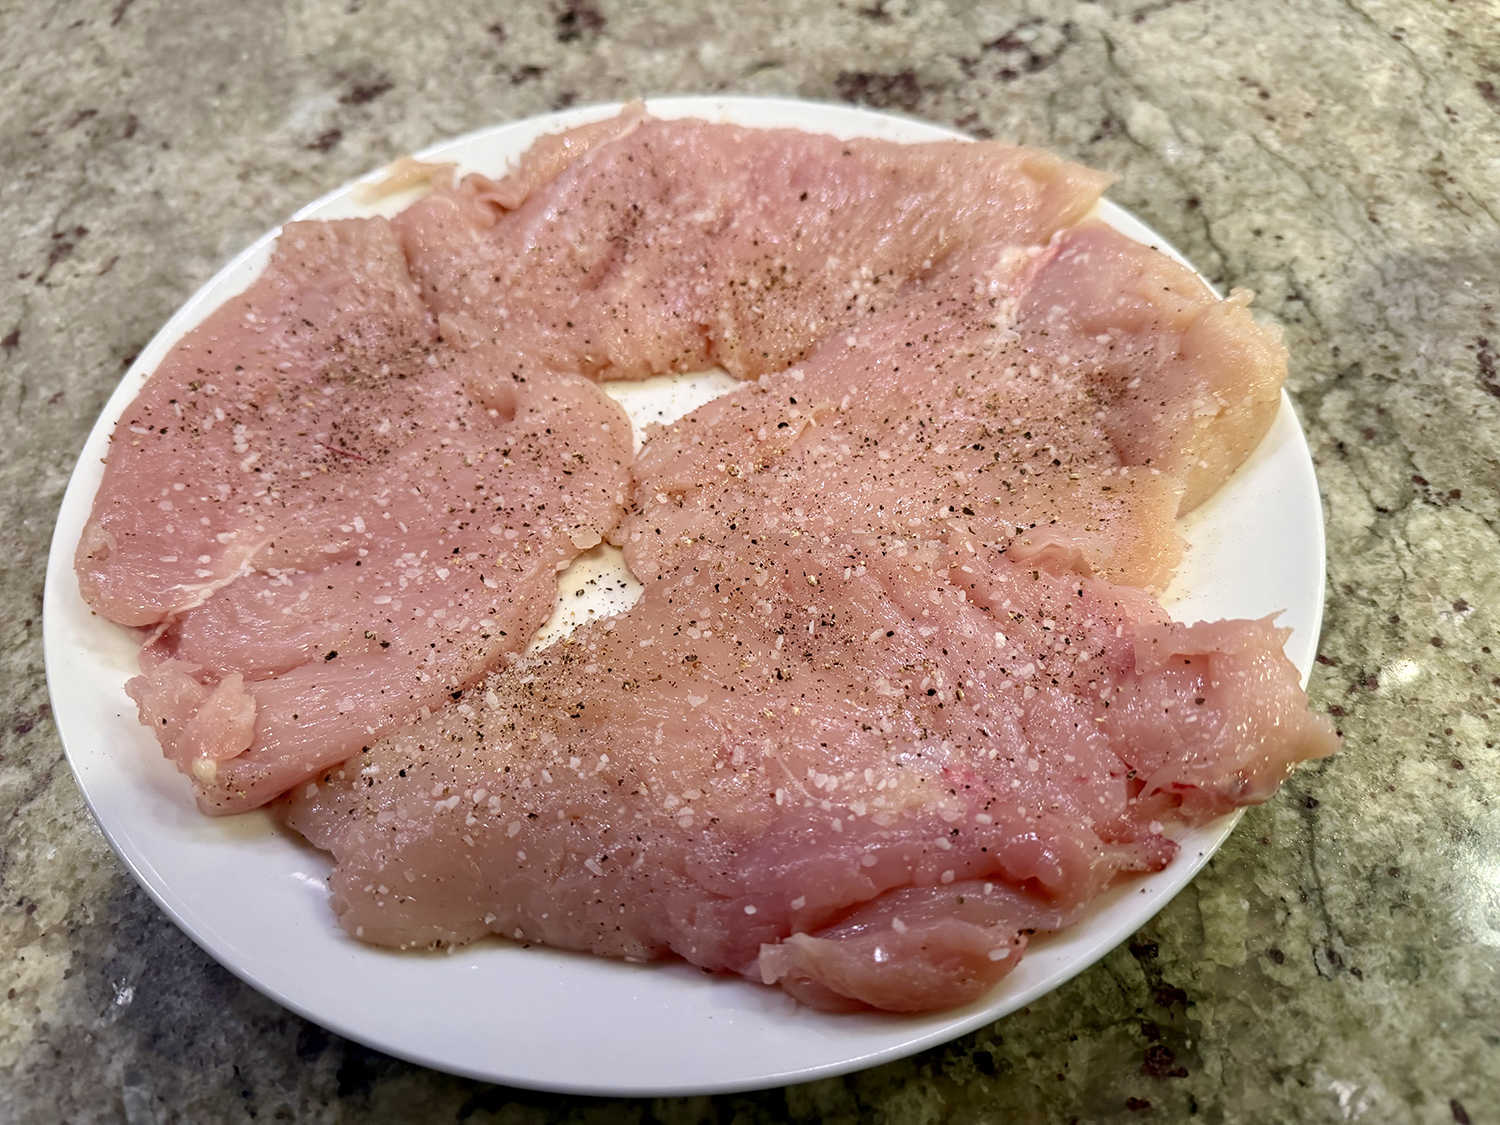
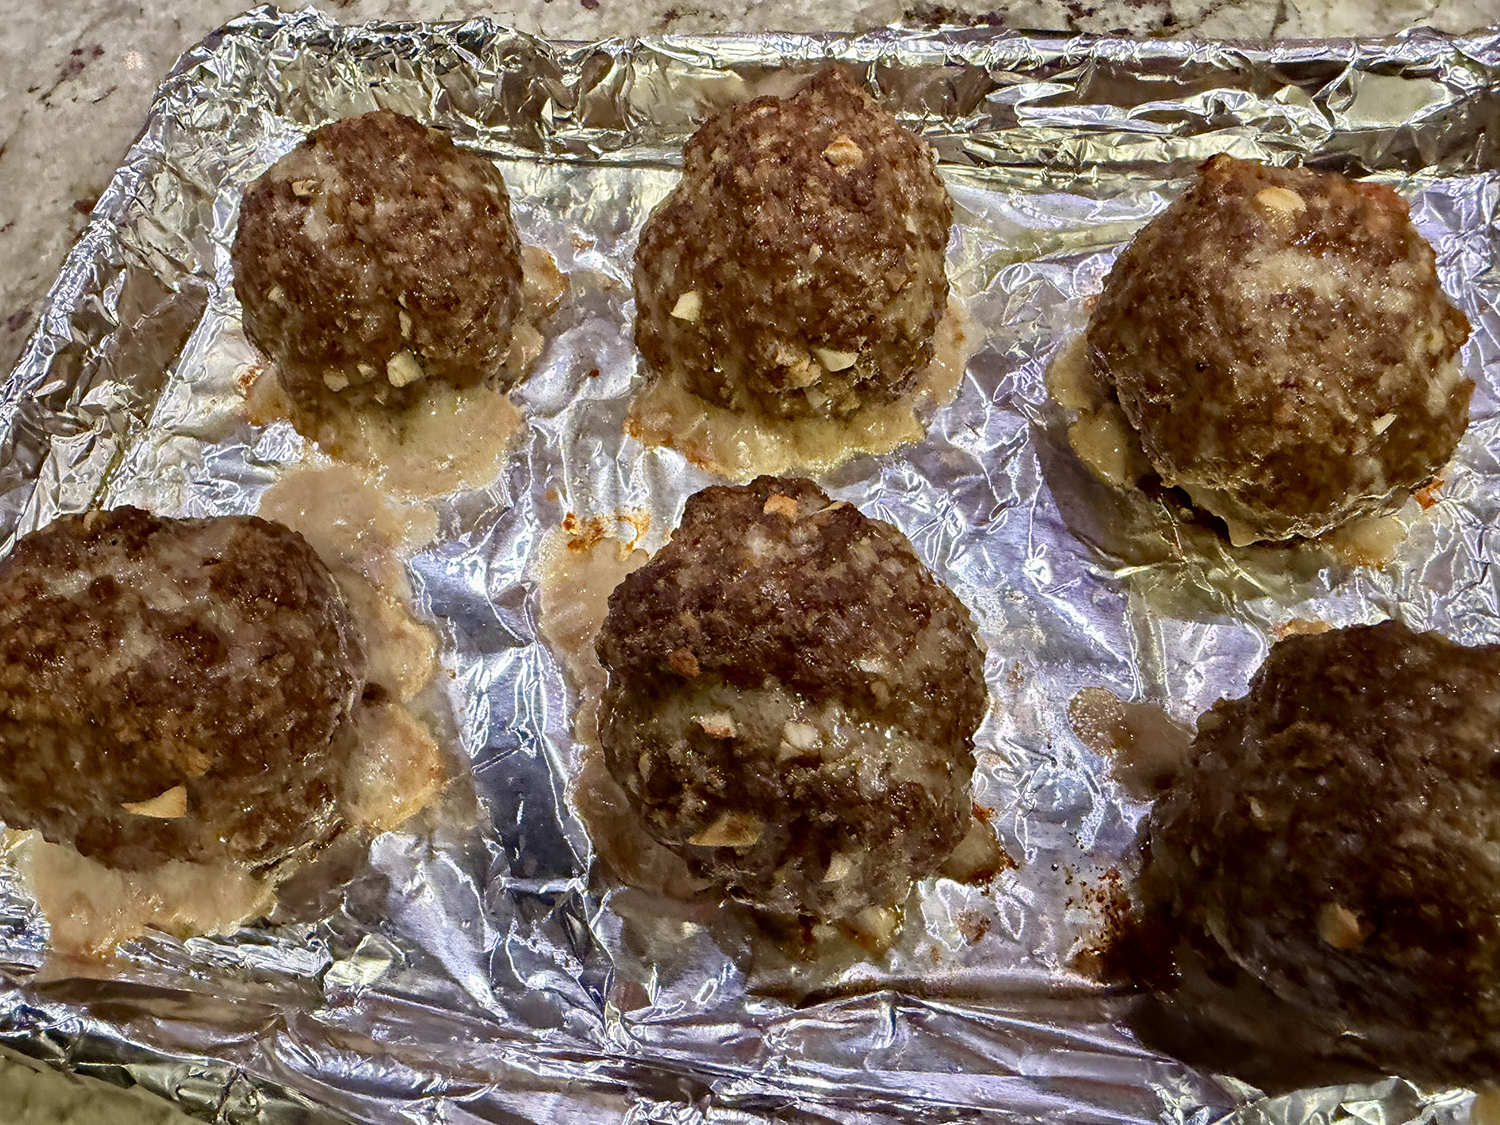
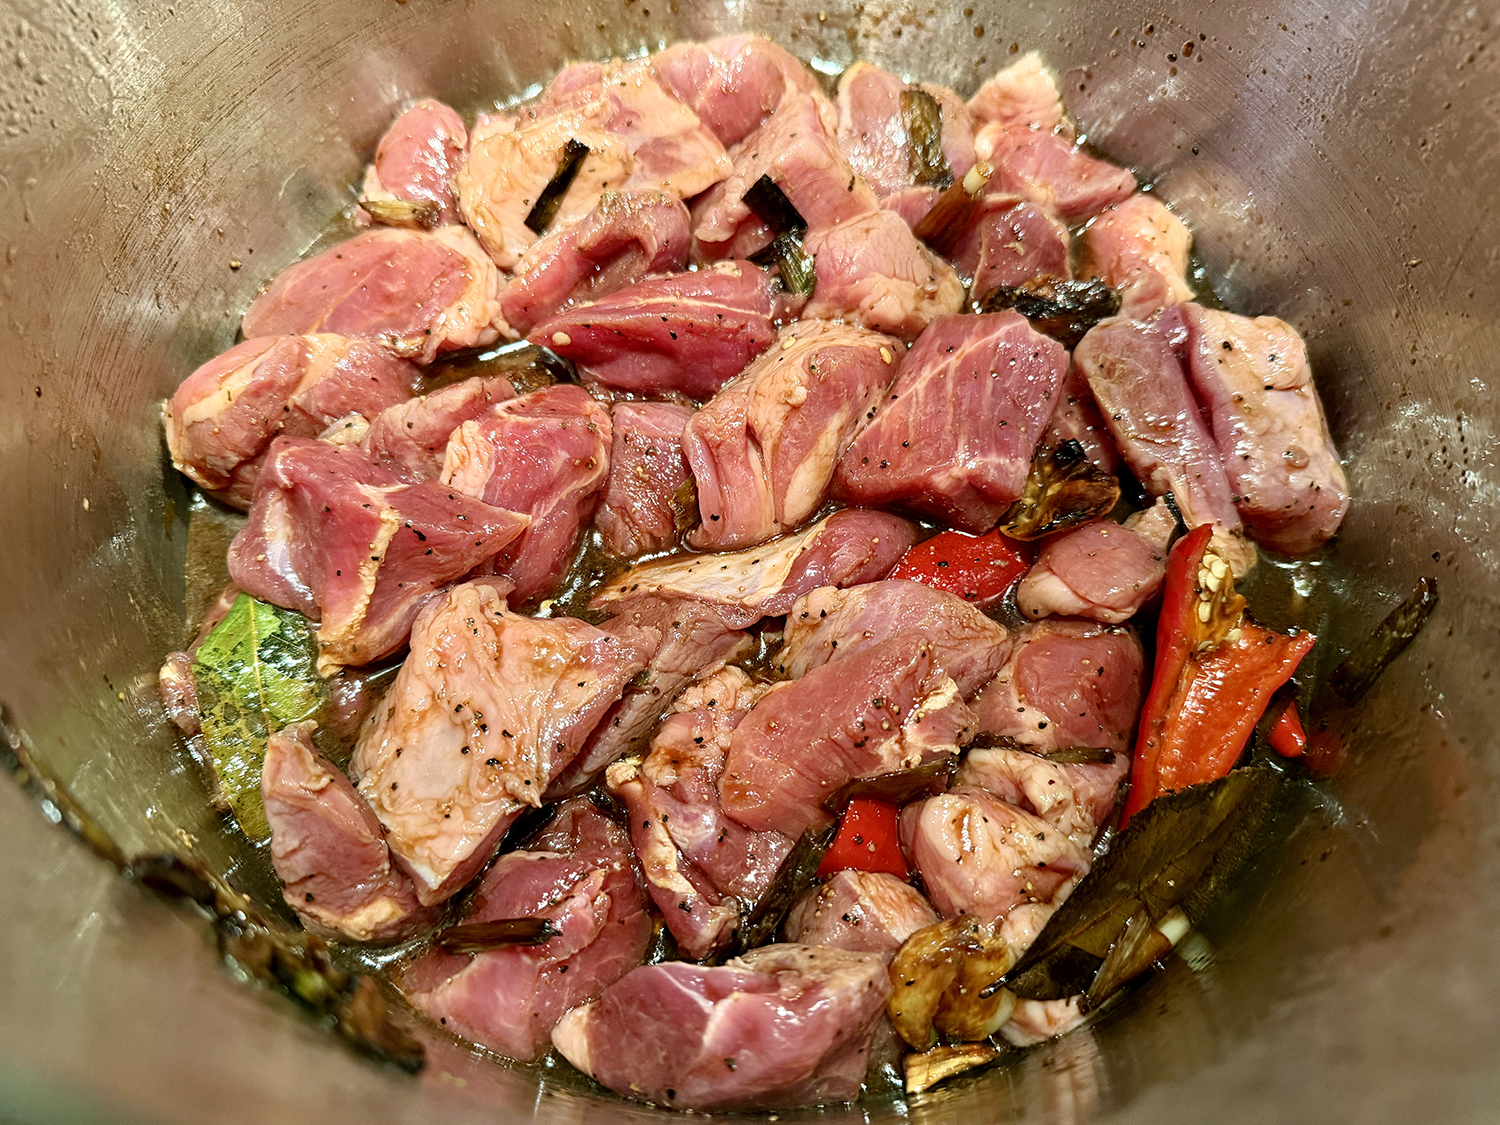
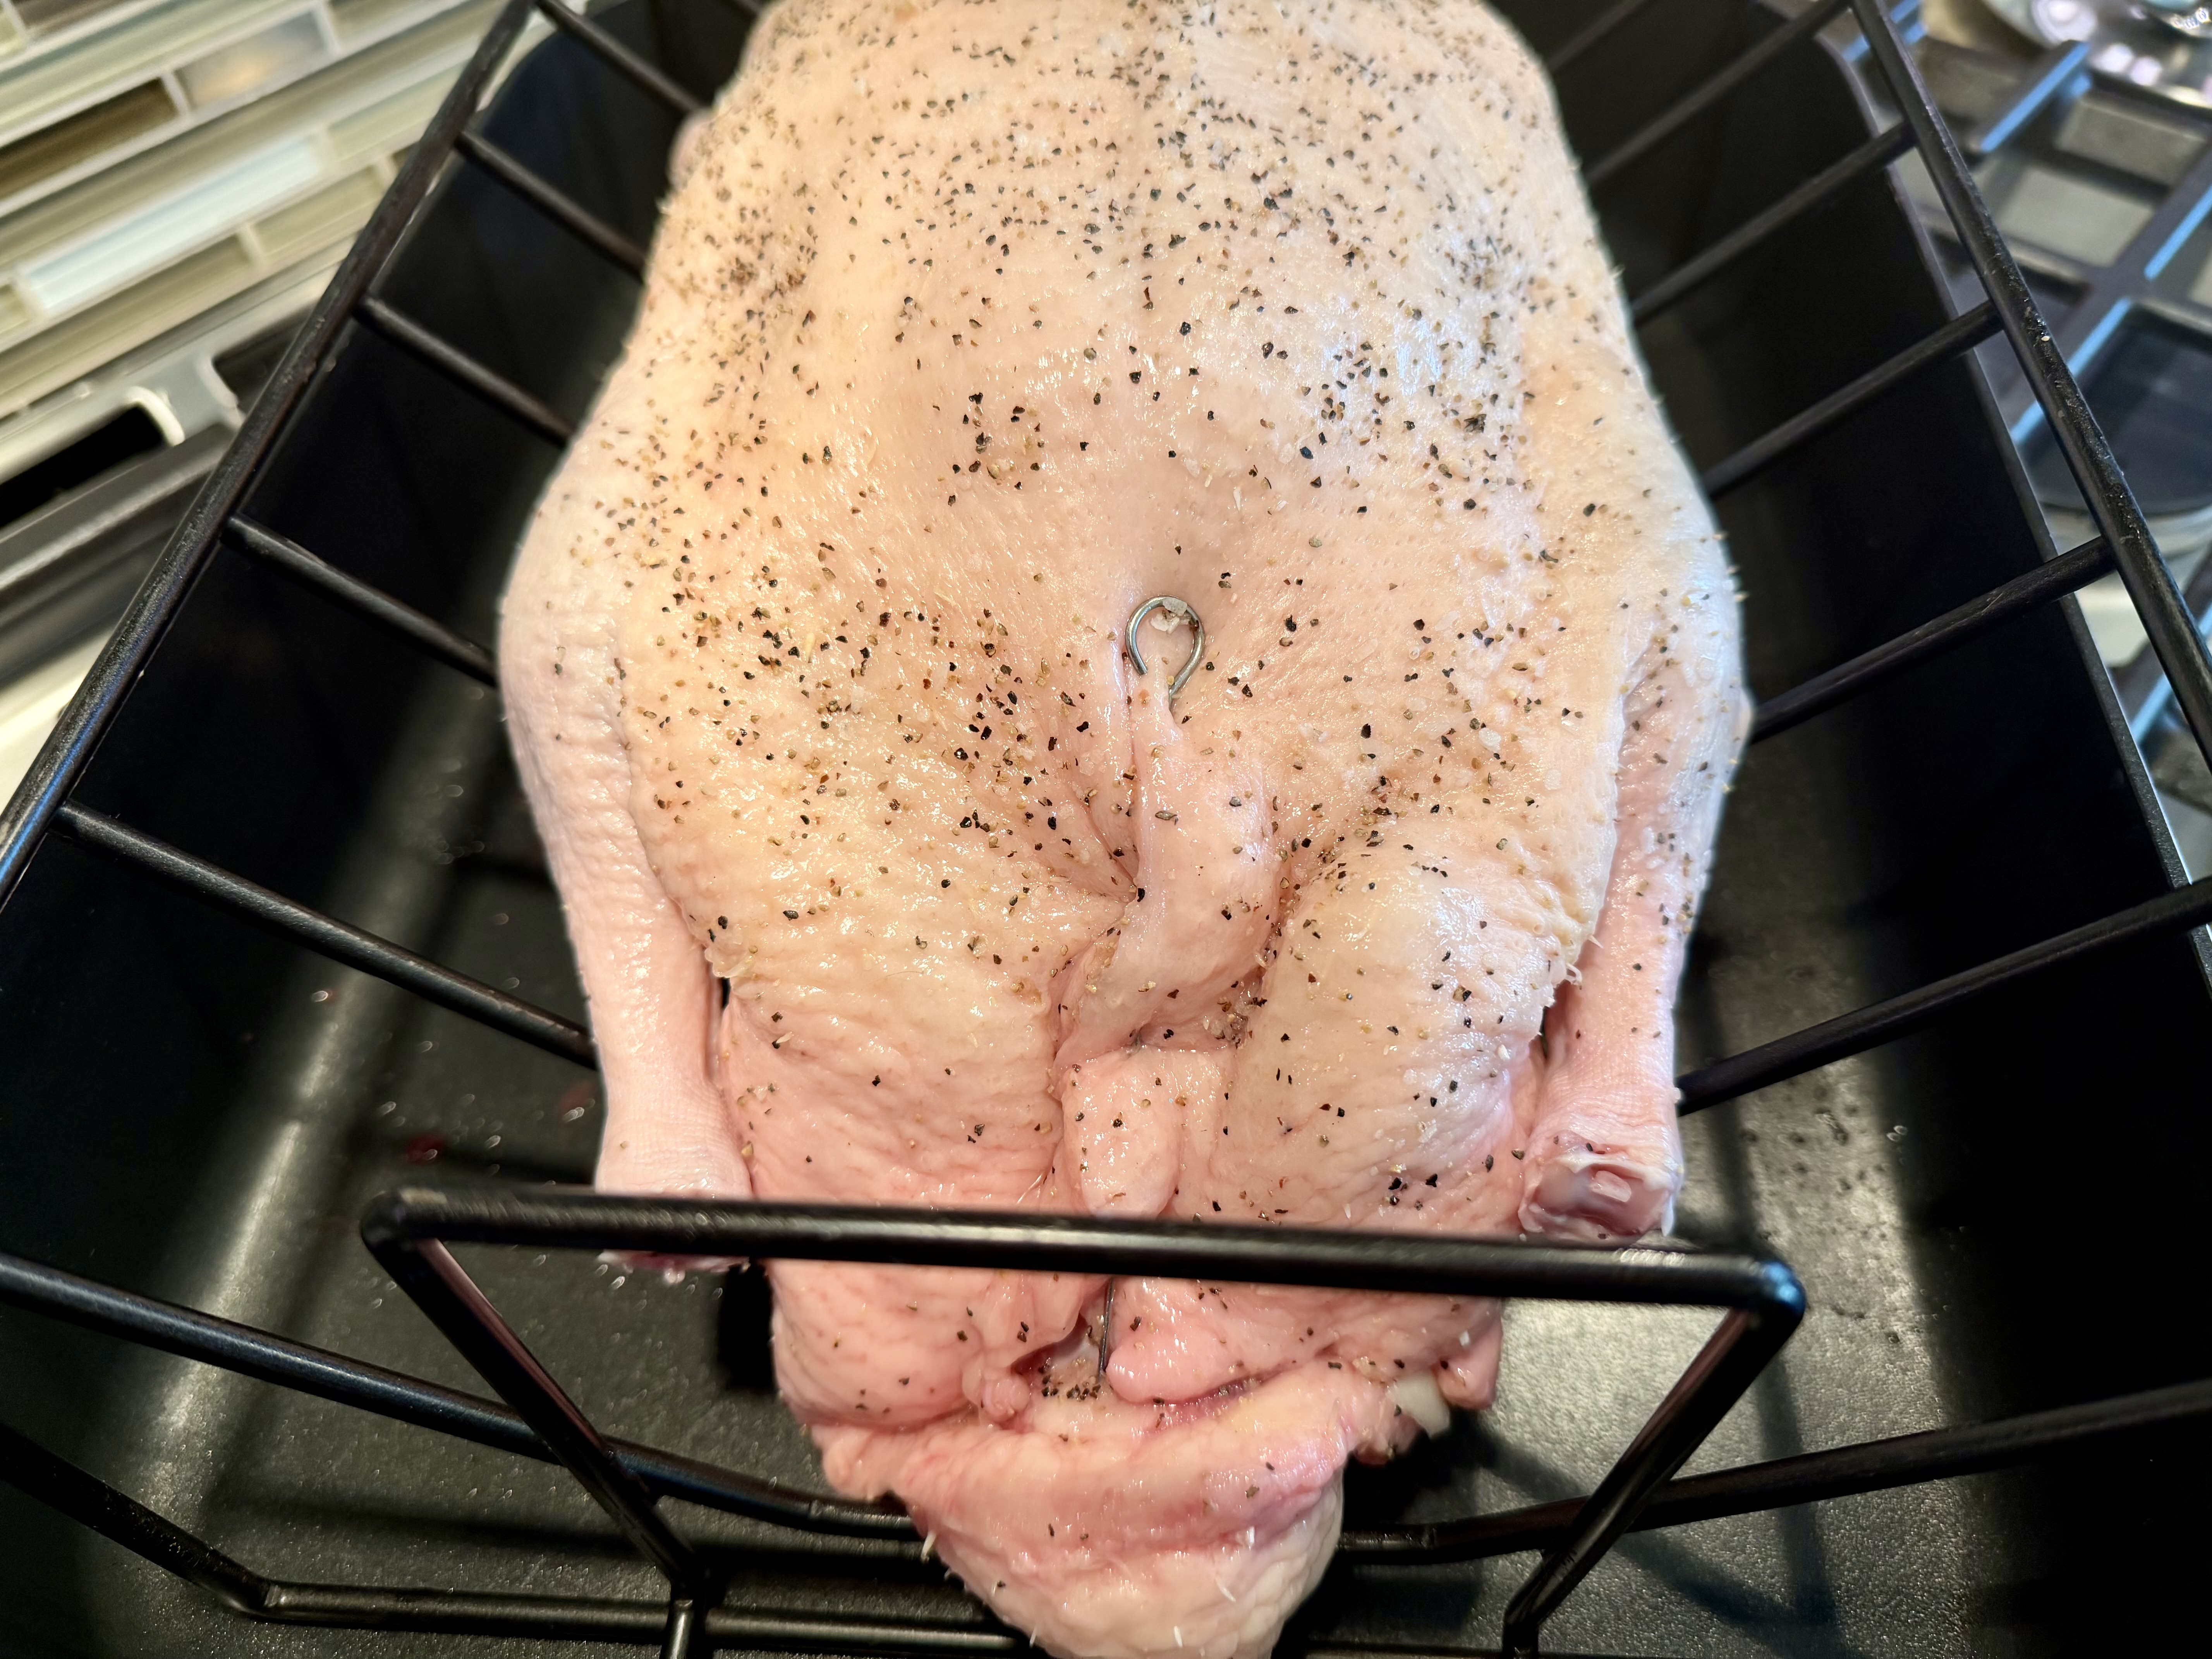
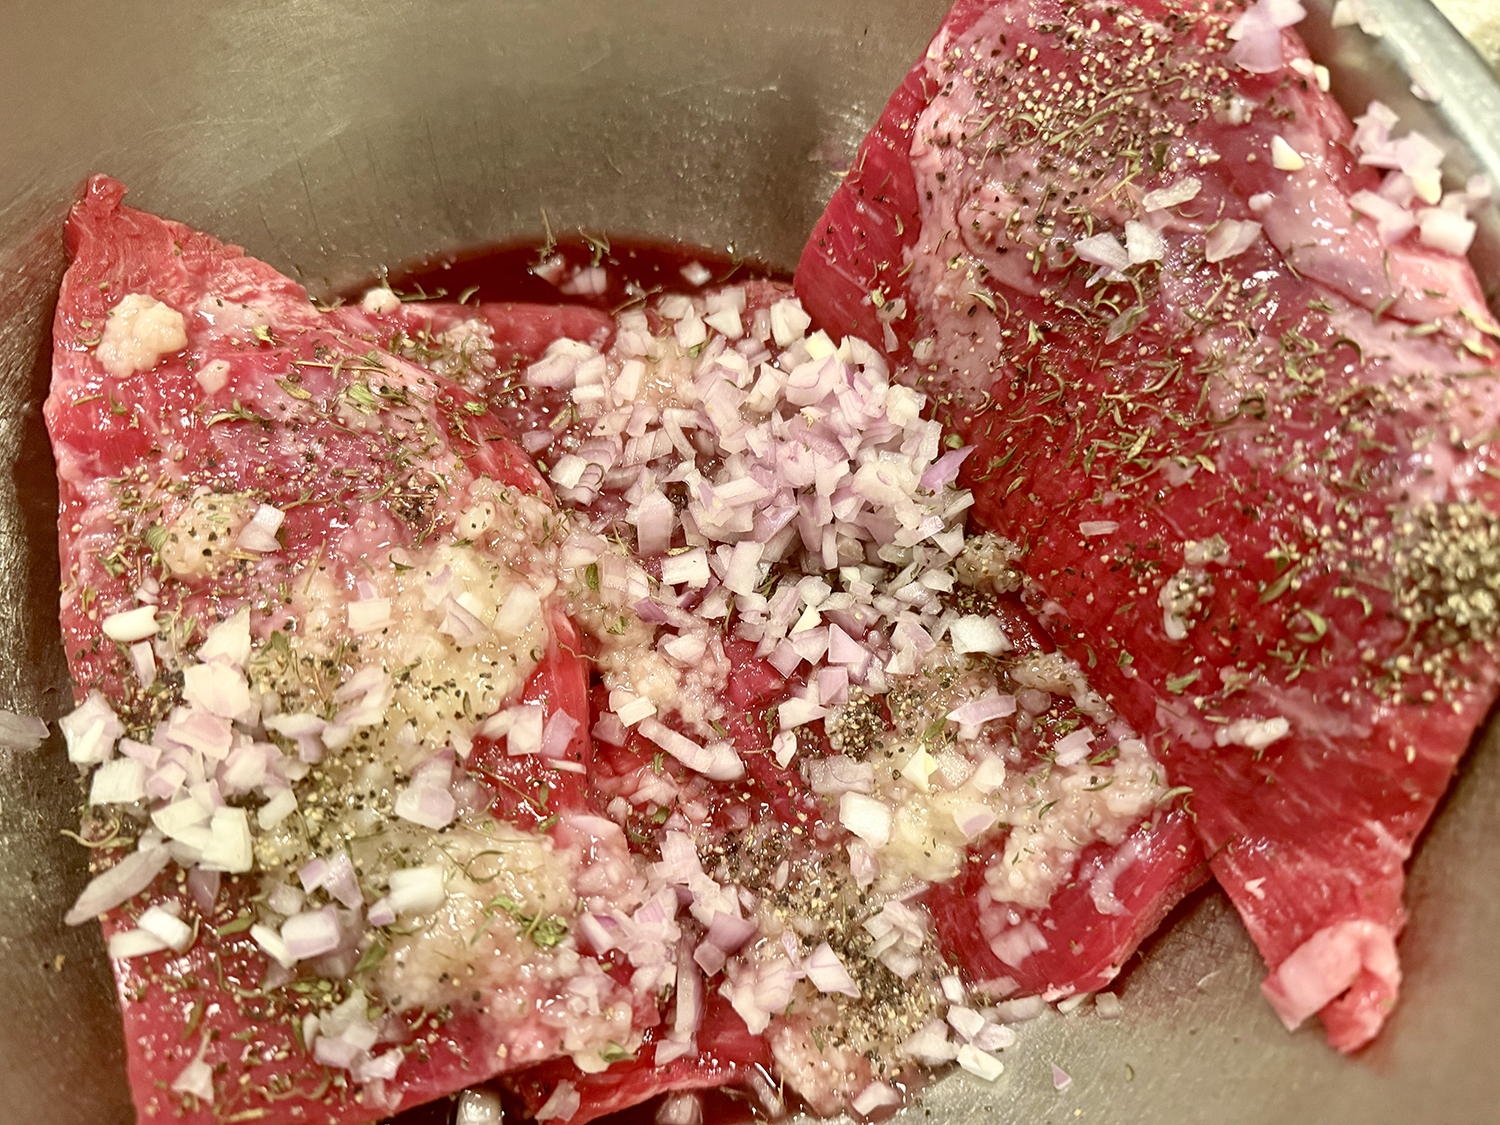
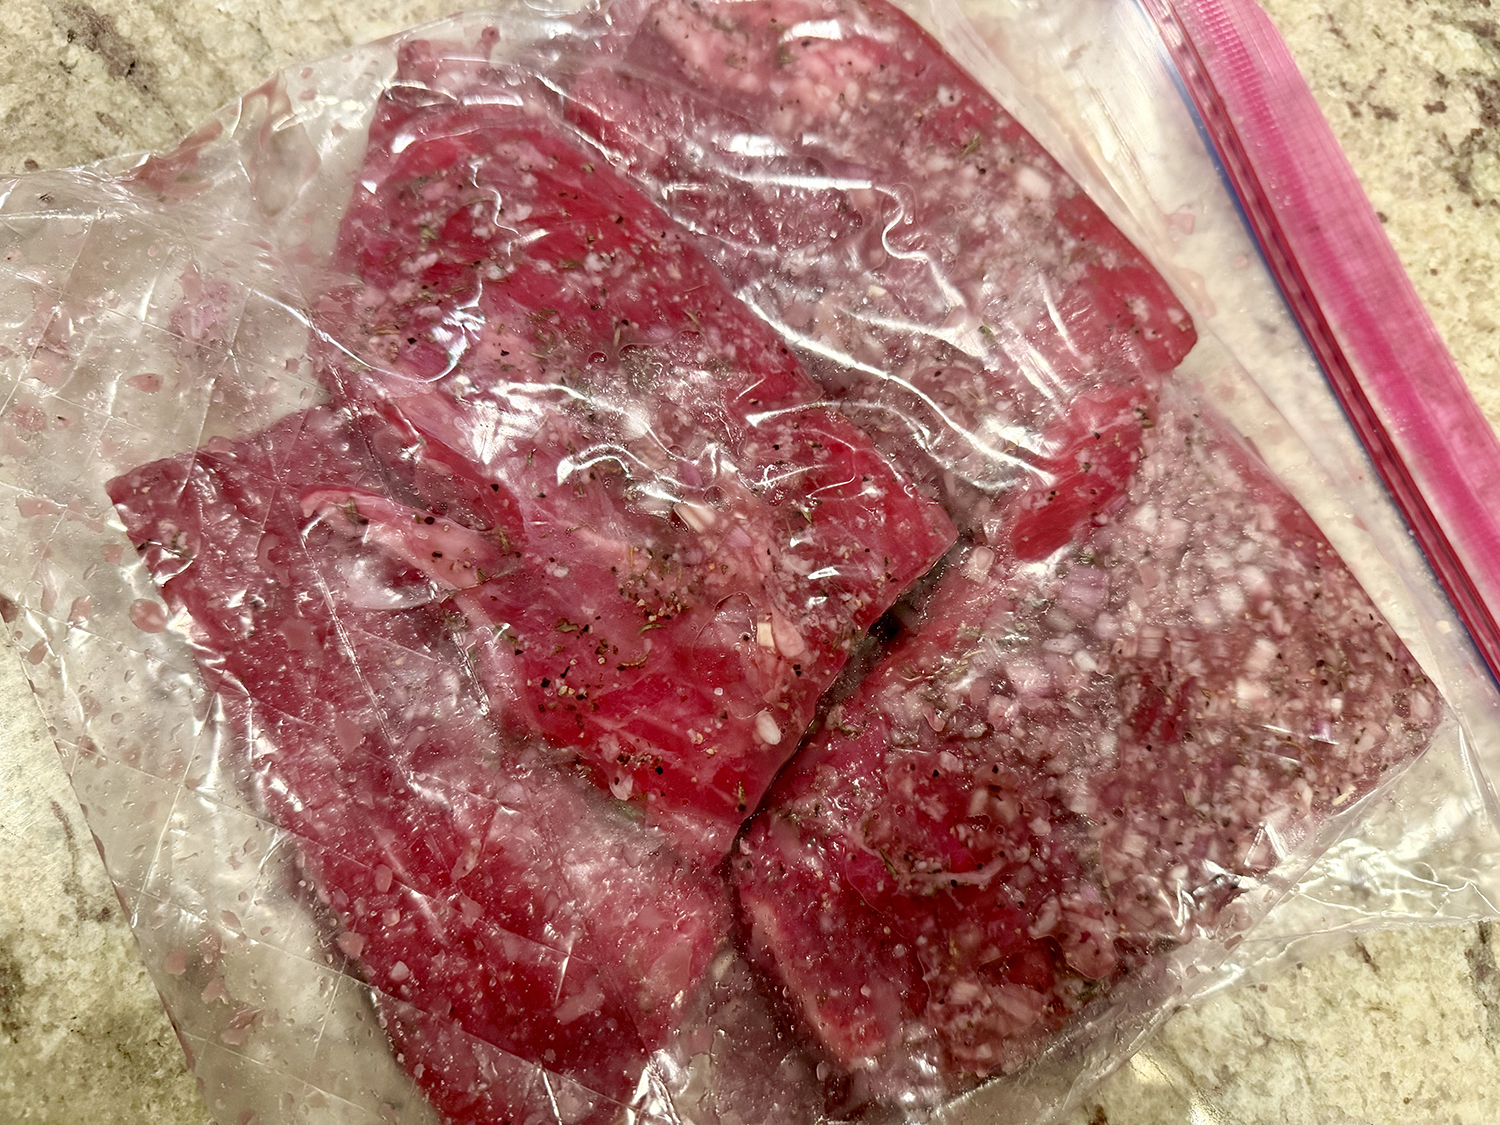
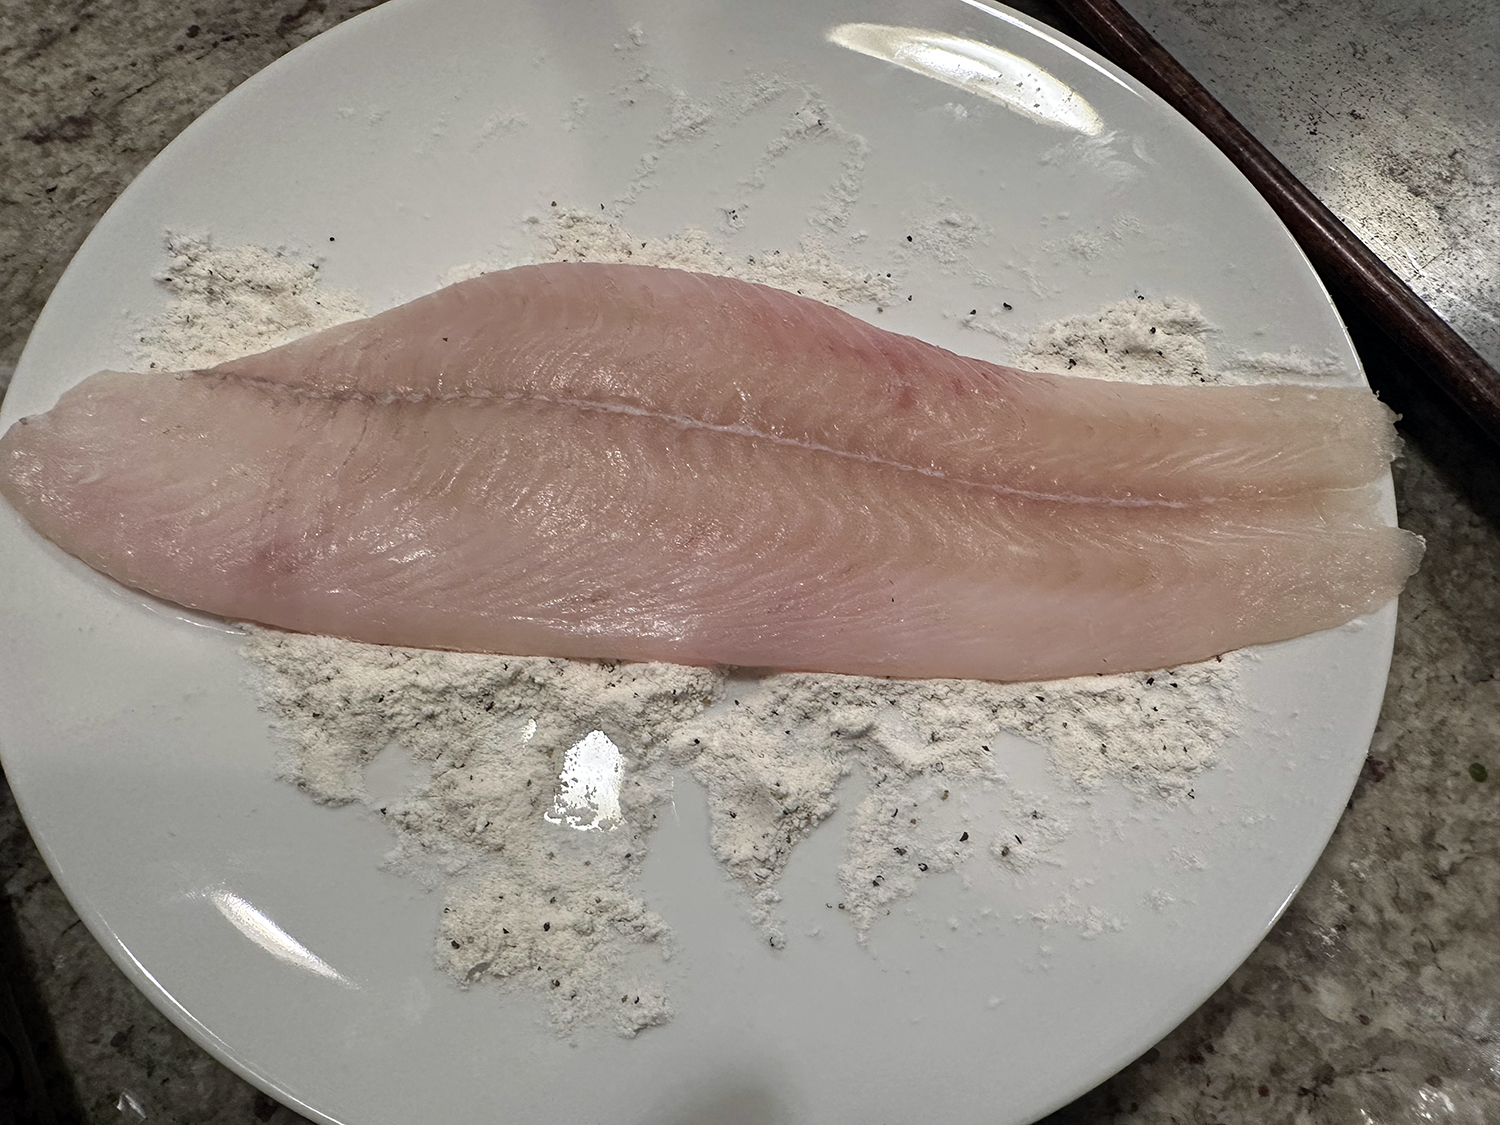
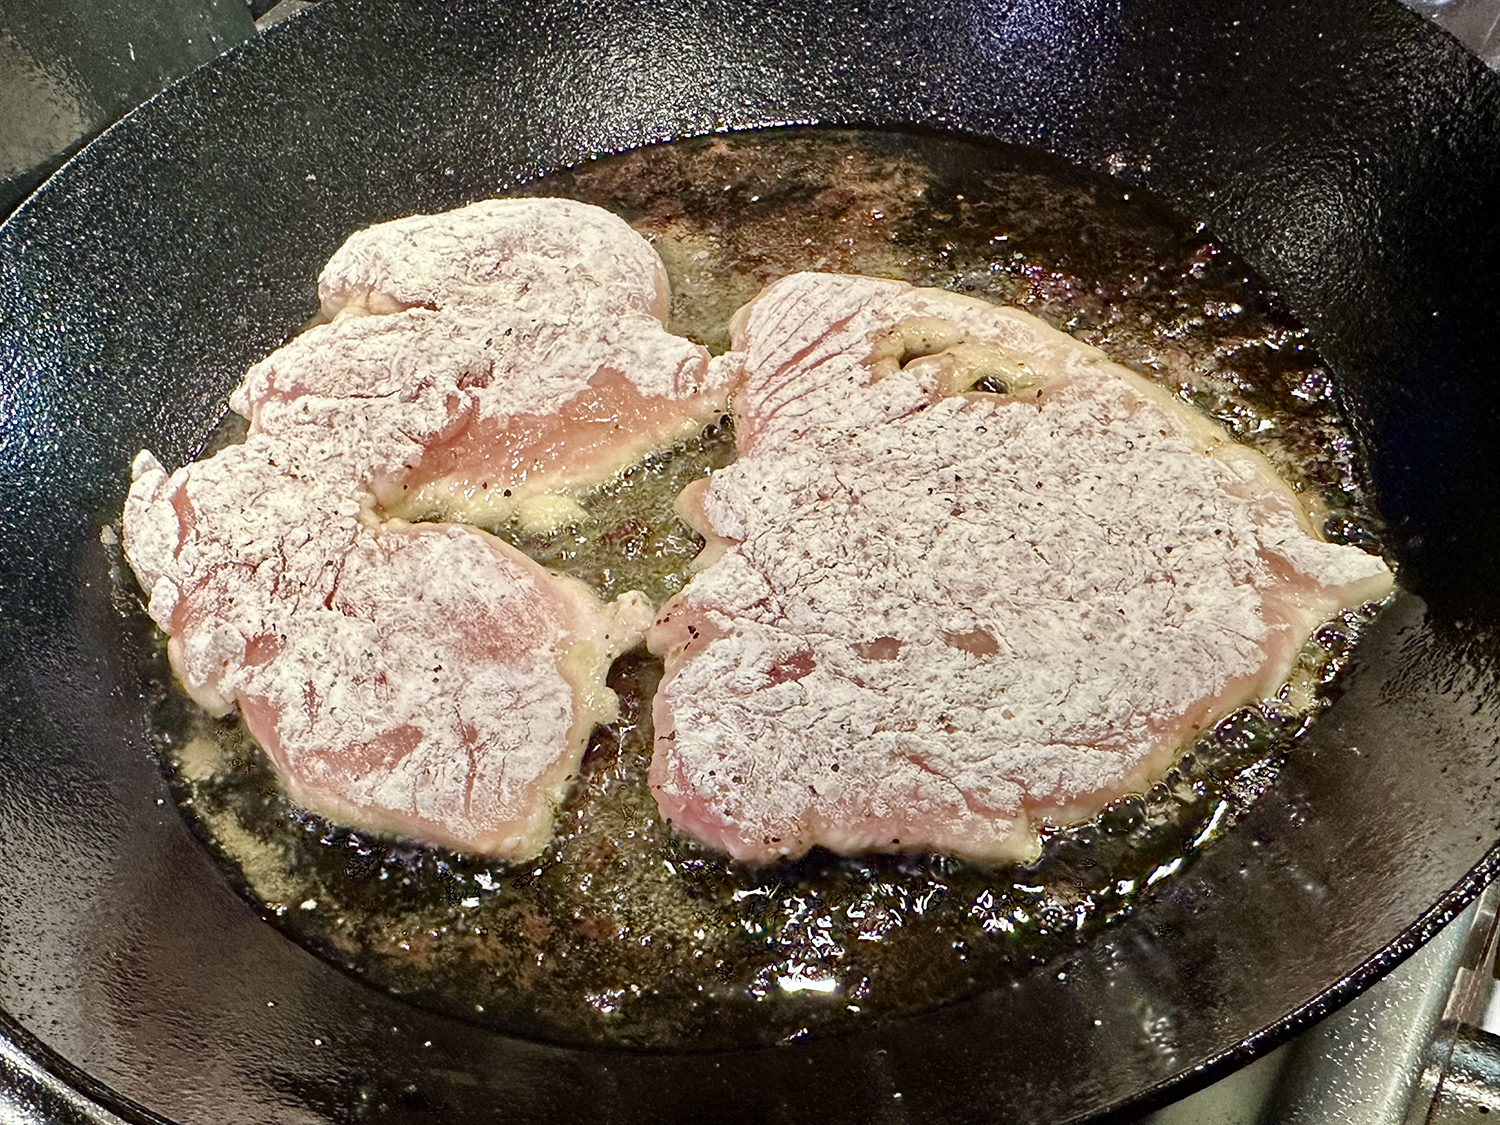
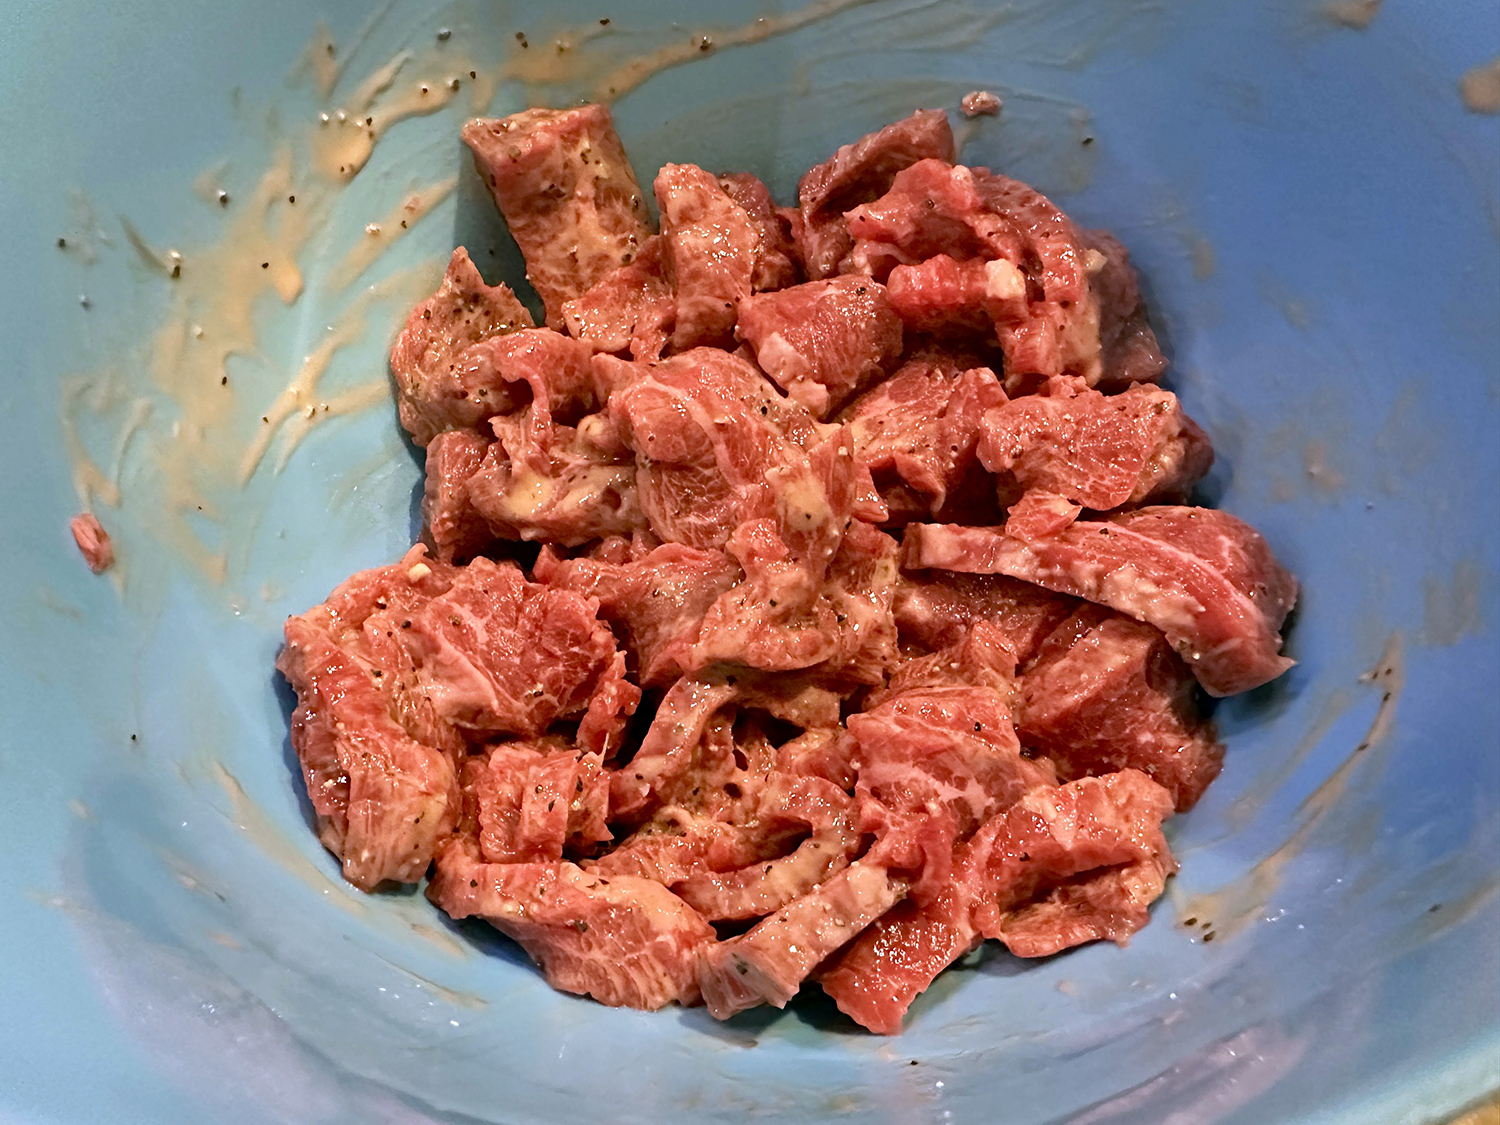
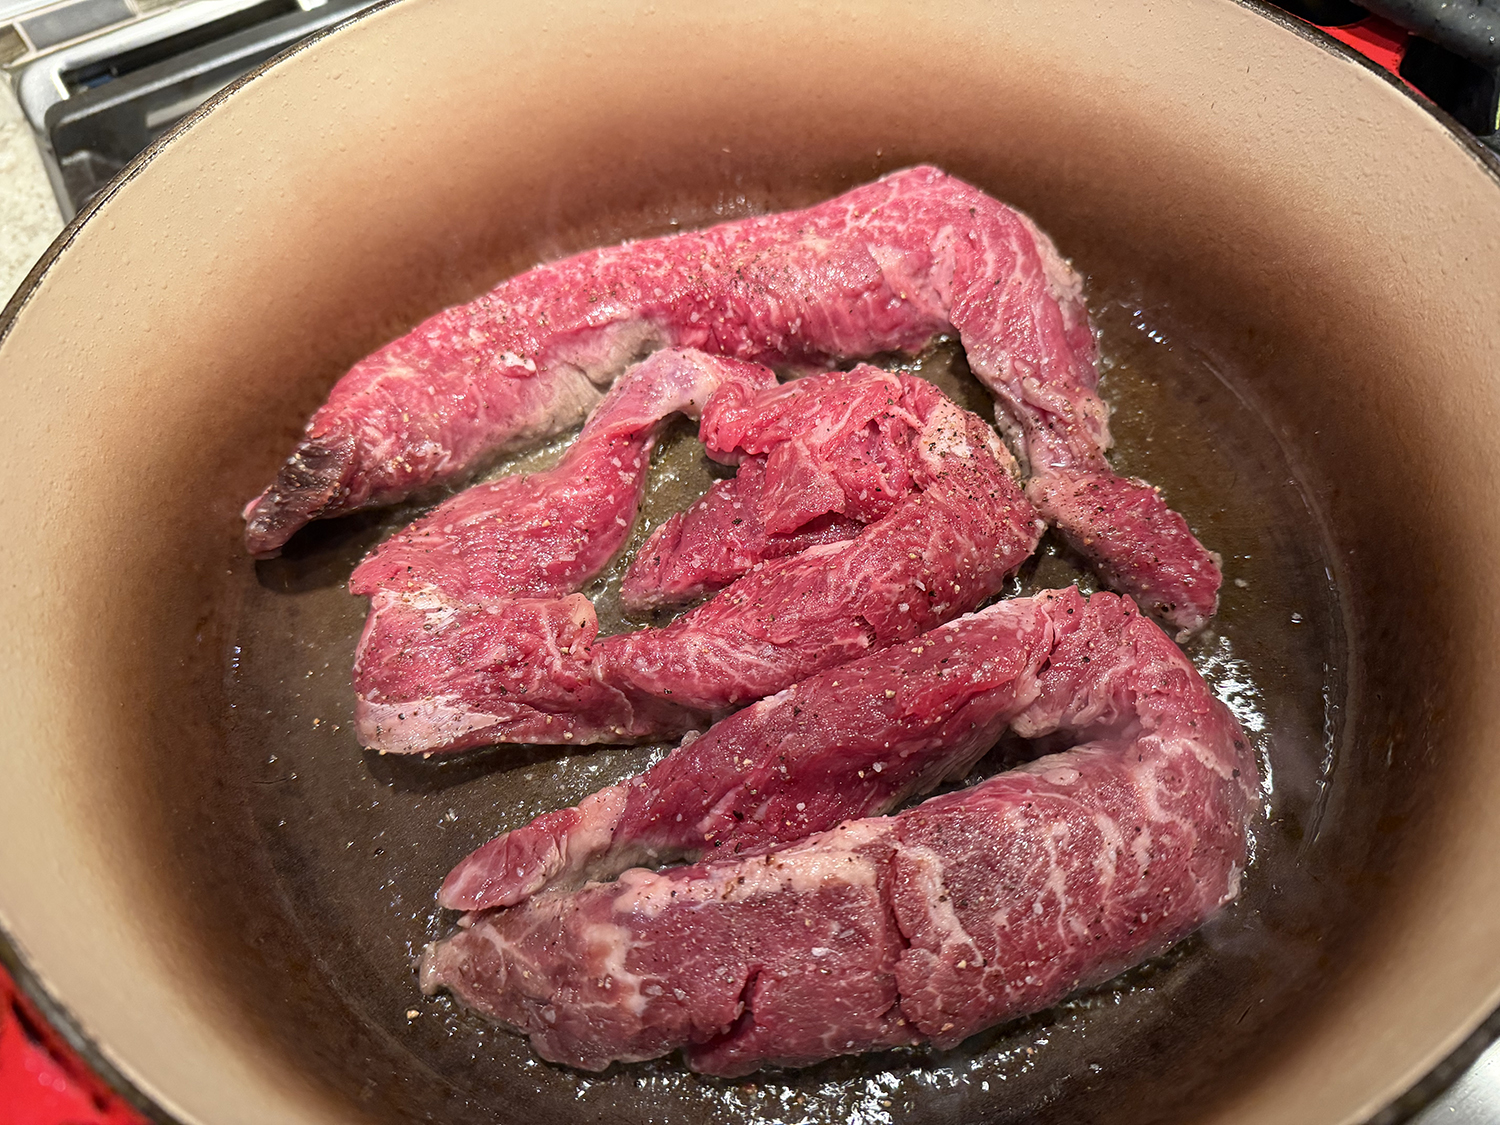
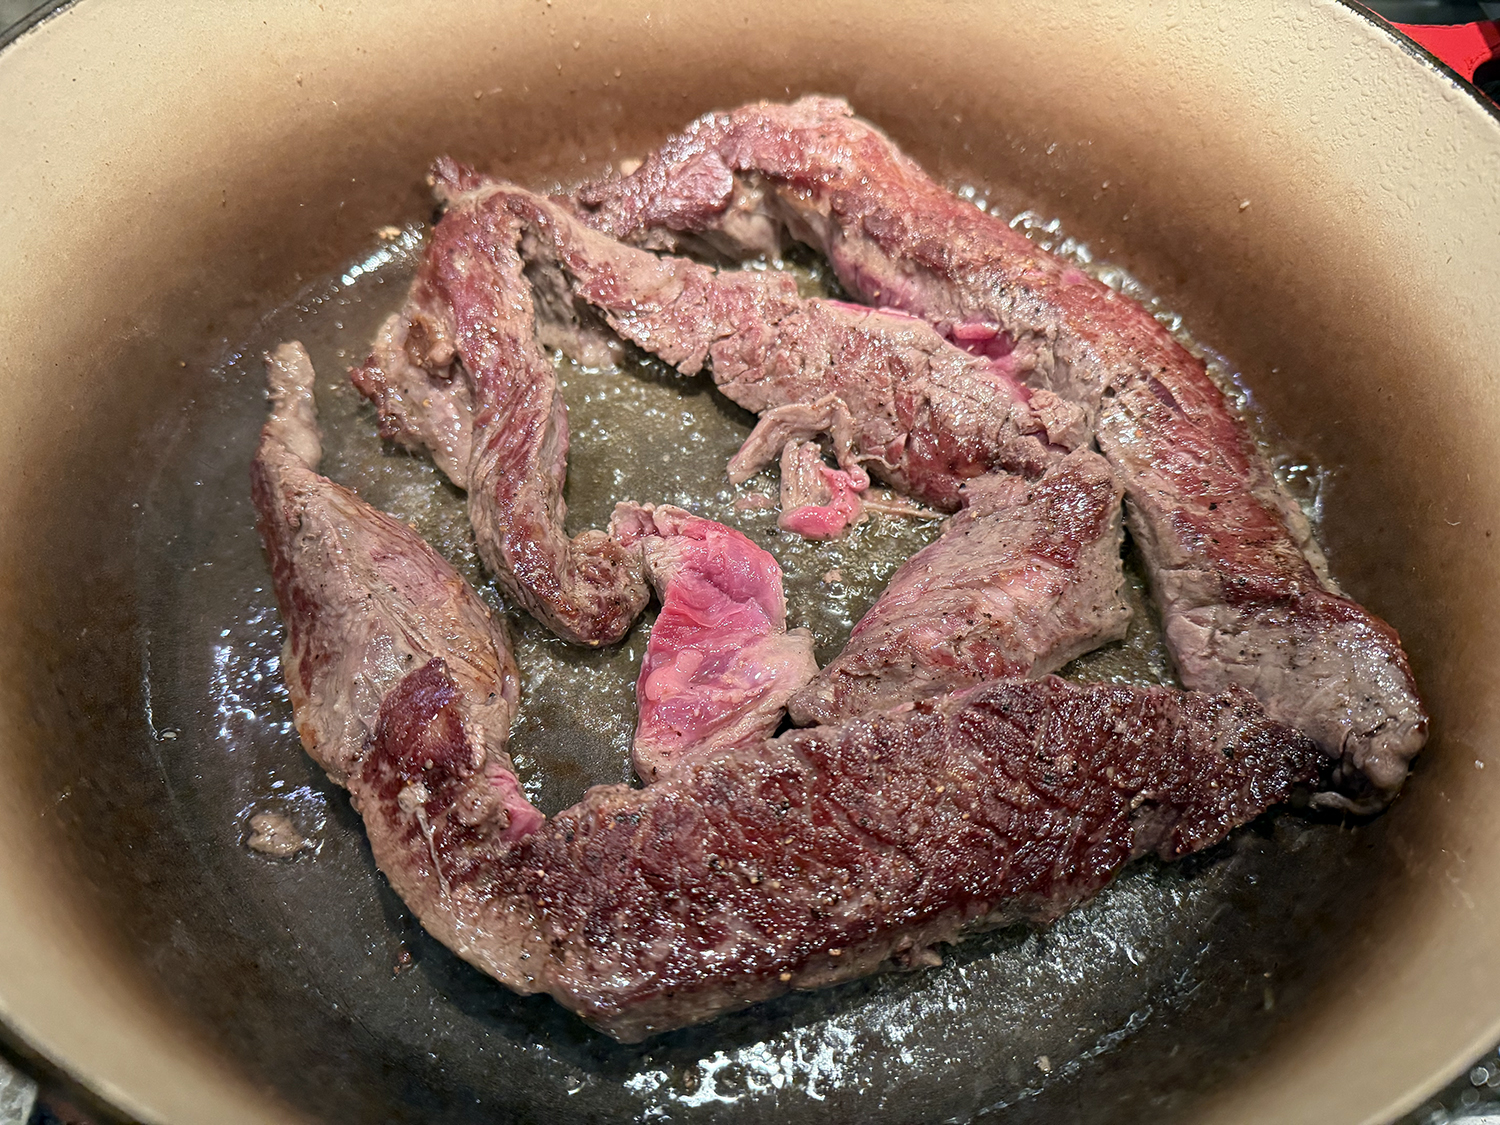
- Prepare the steak. Pat the steak very dry. Lightly season the steak on both sides with salt and pepper.
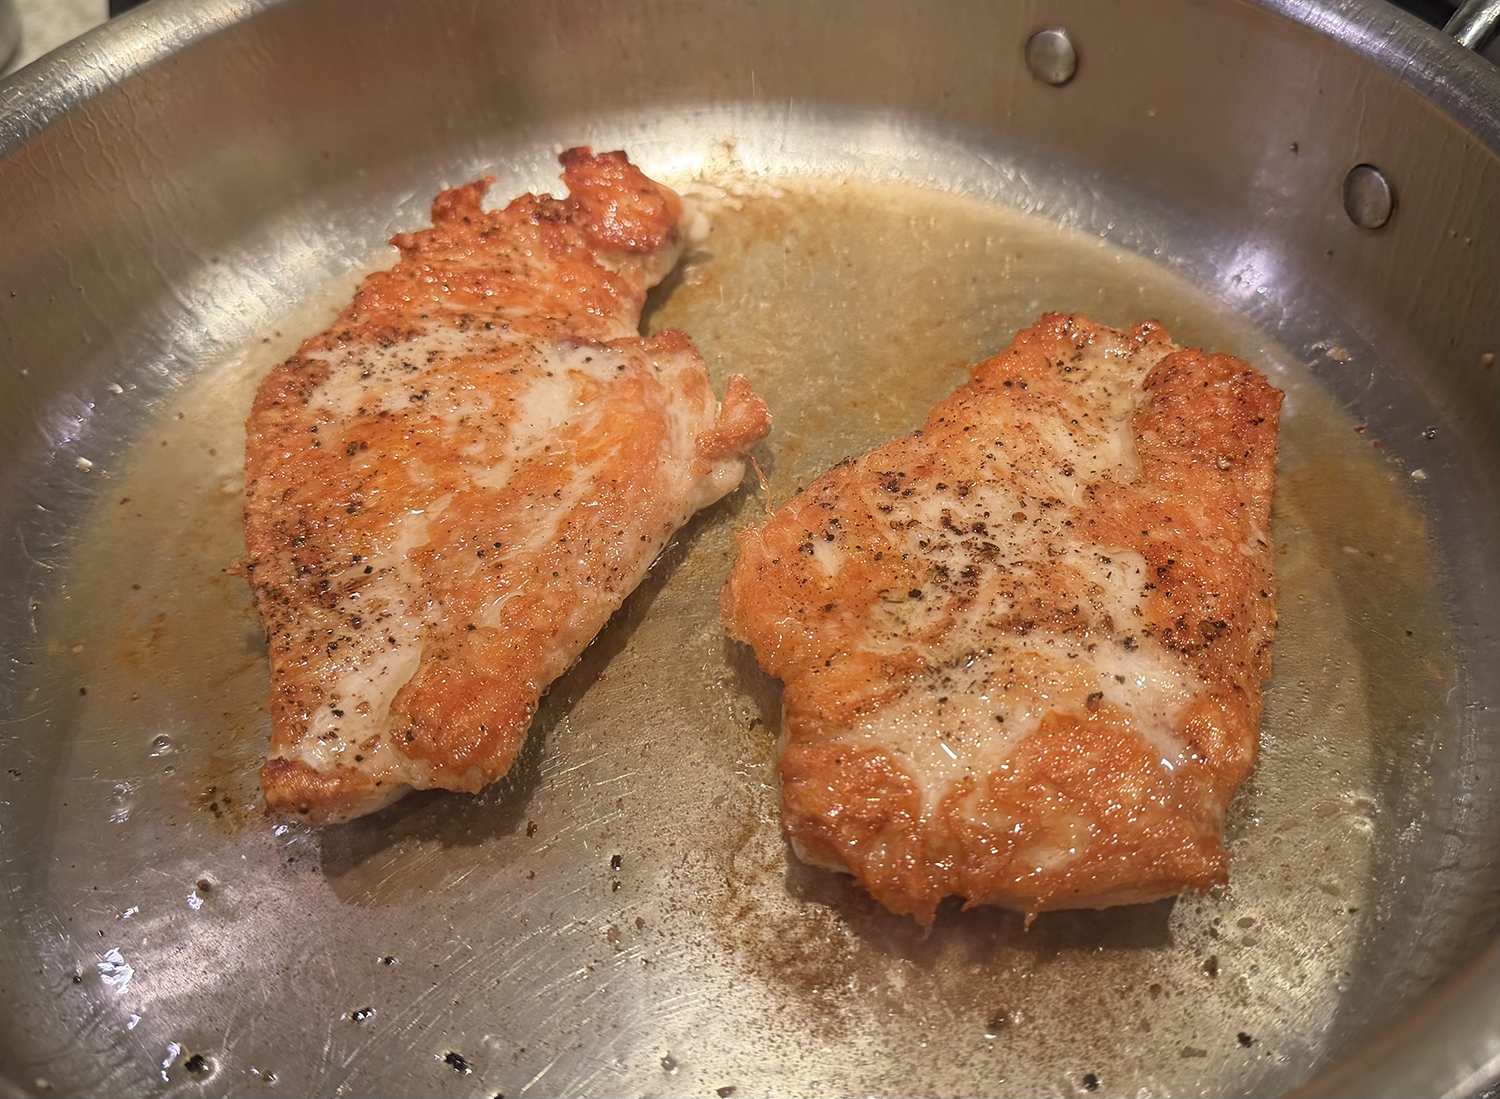
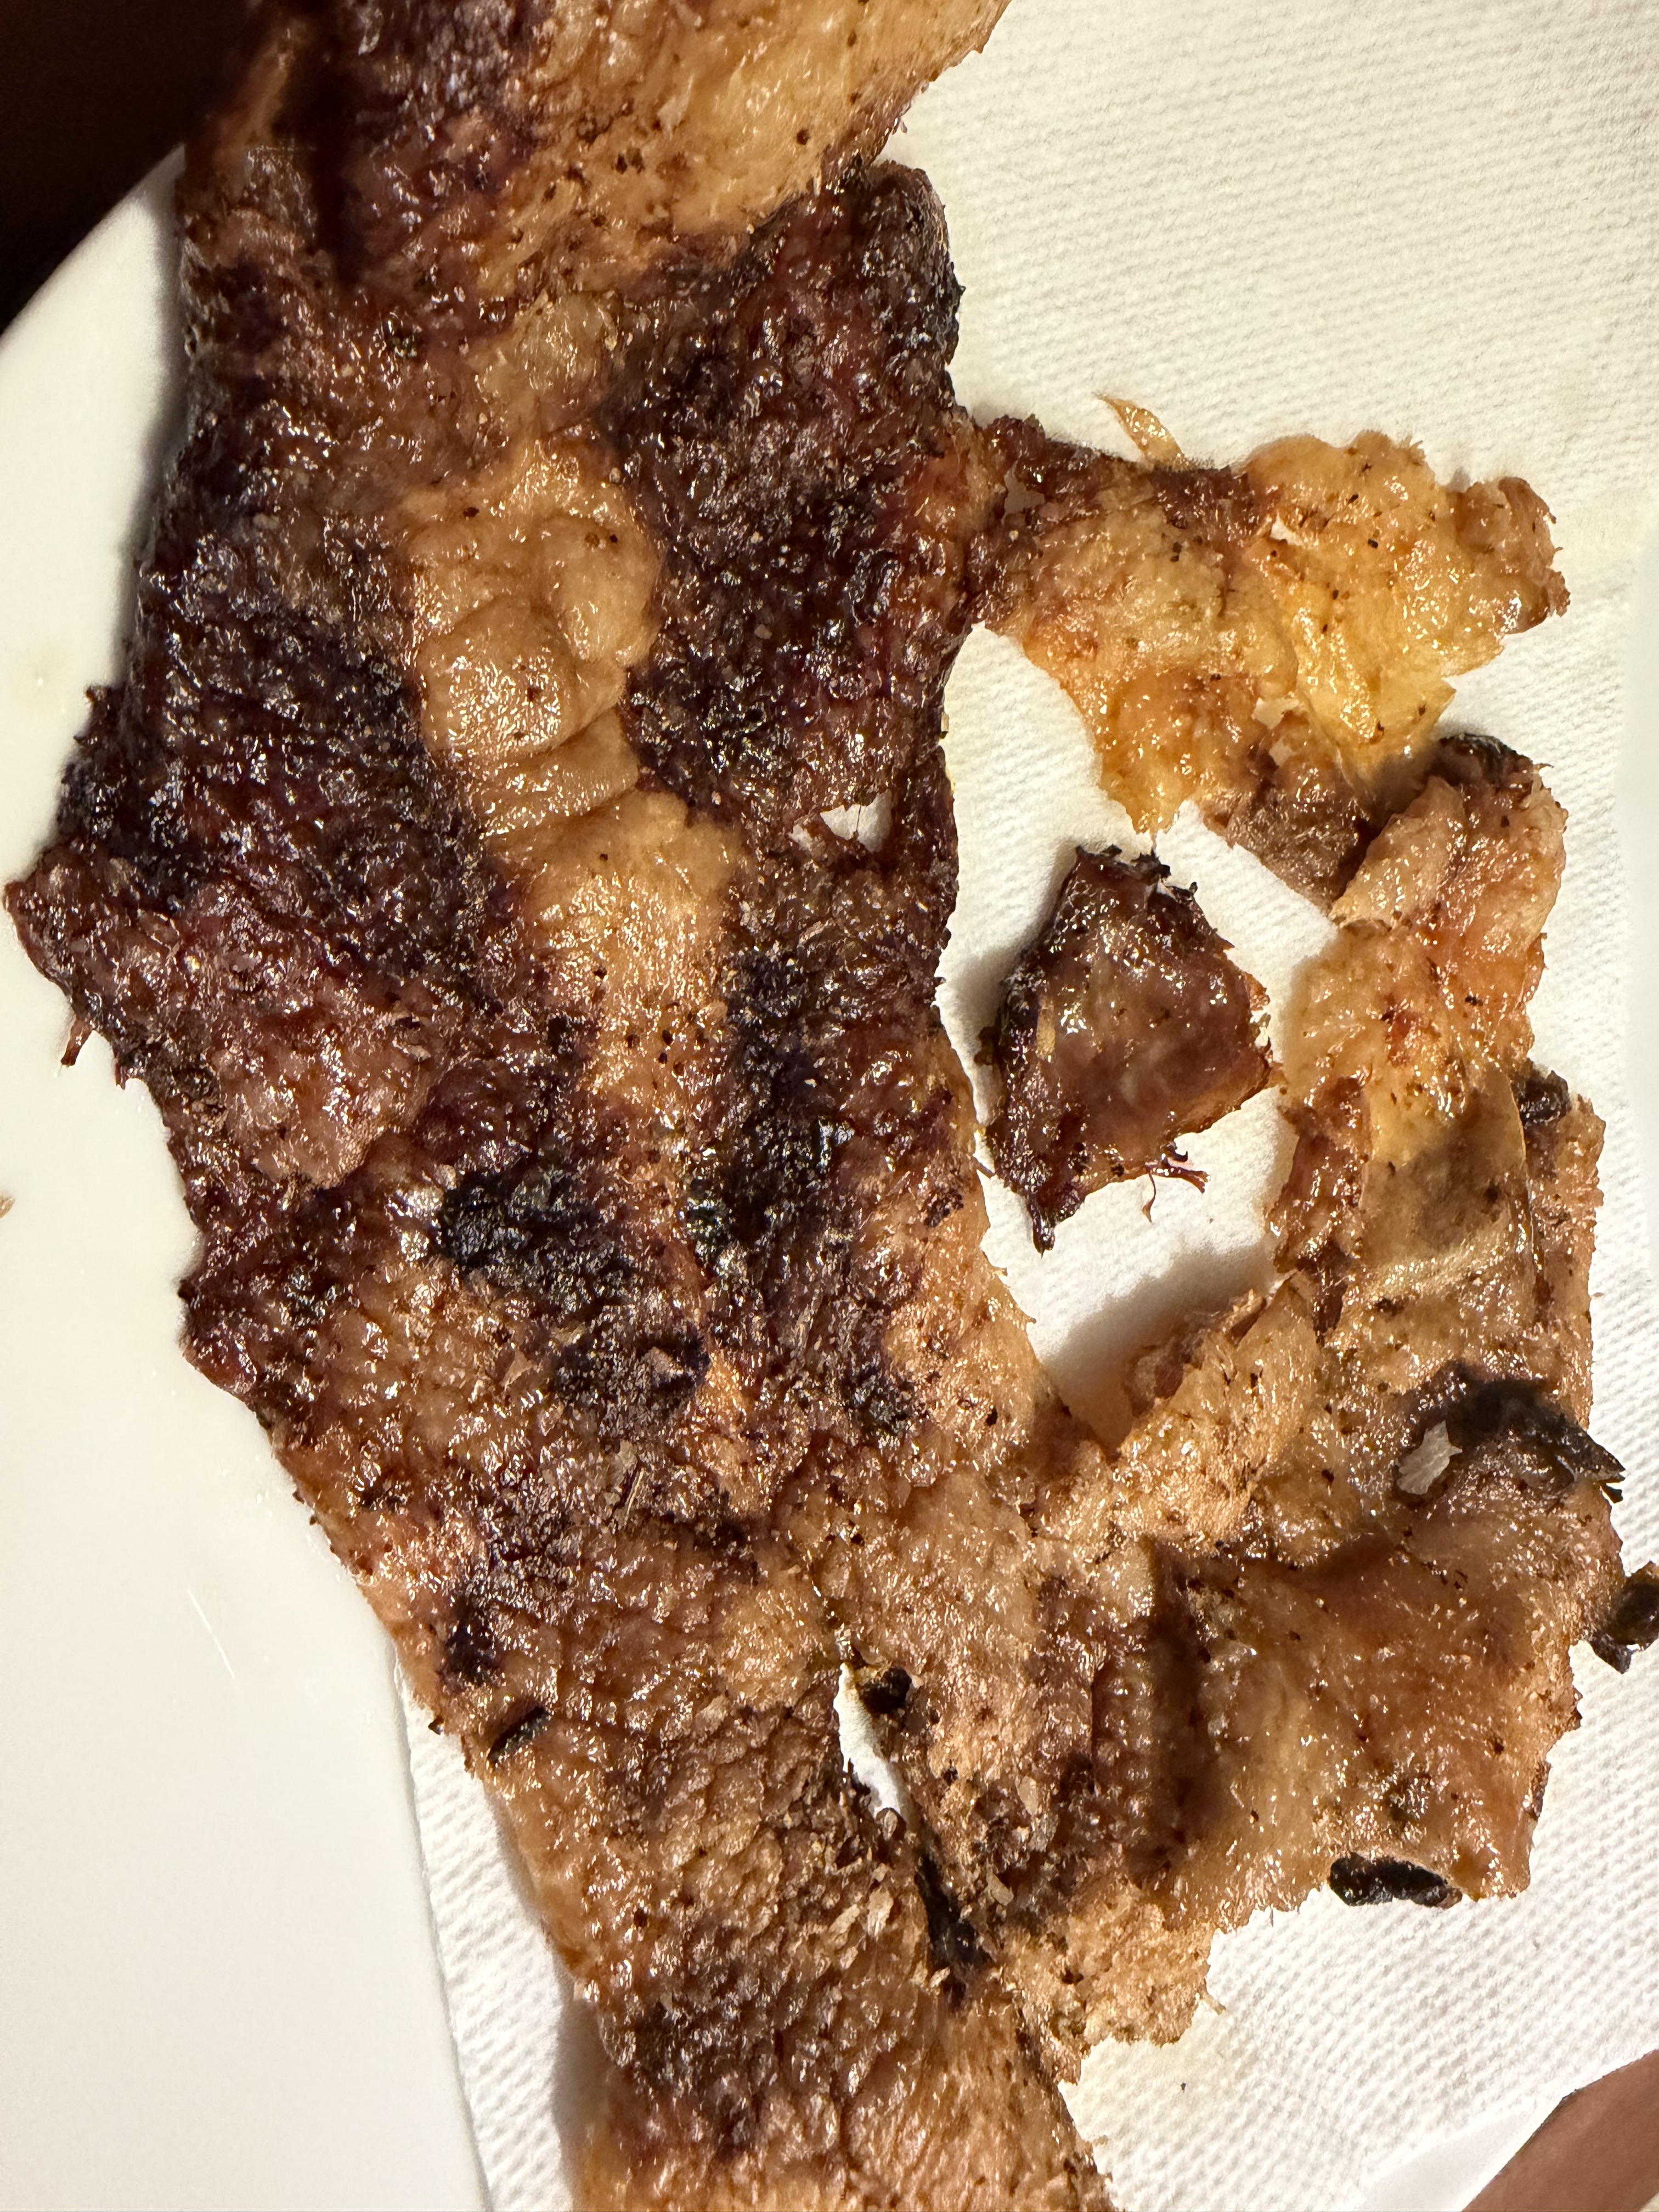
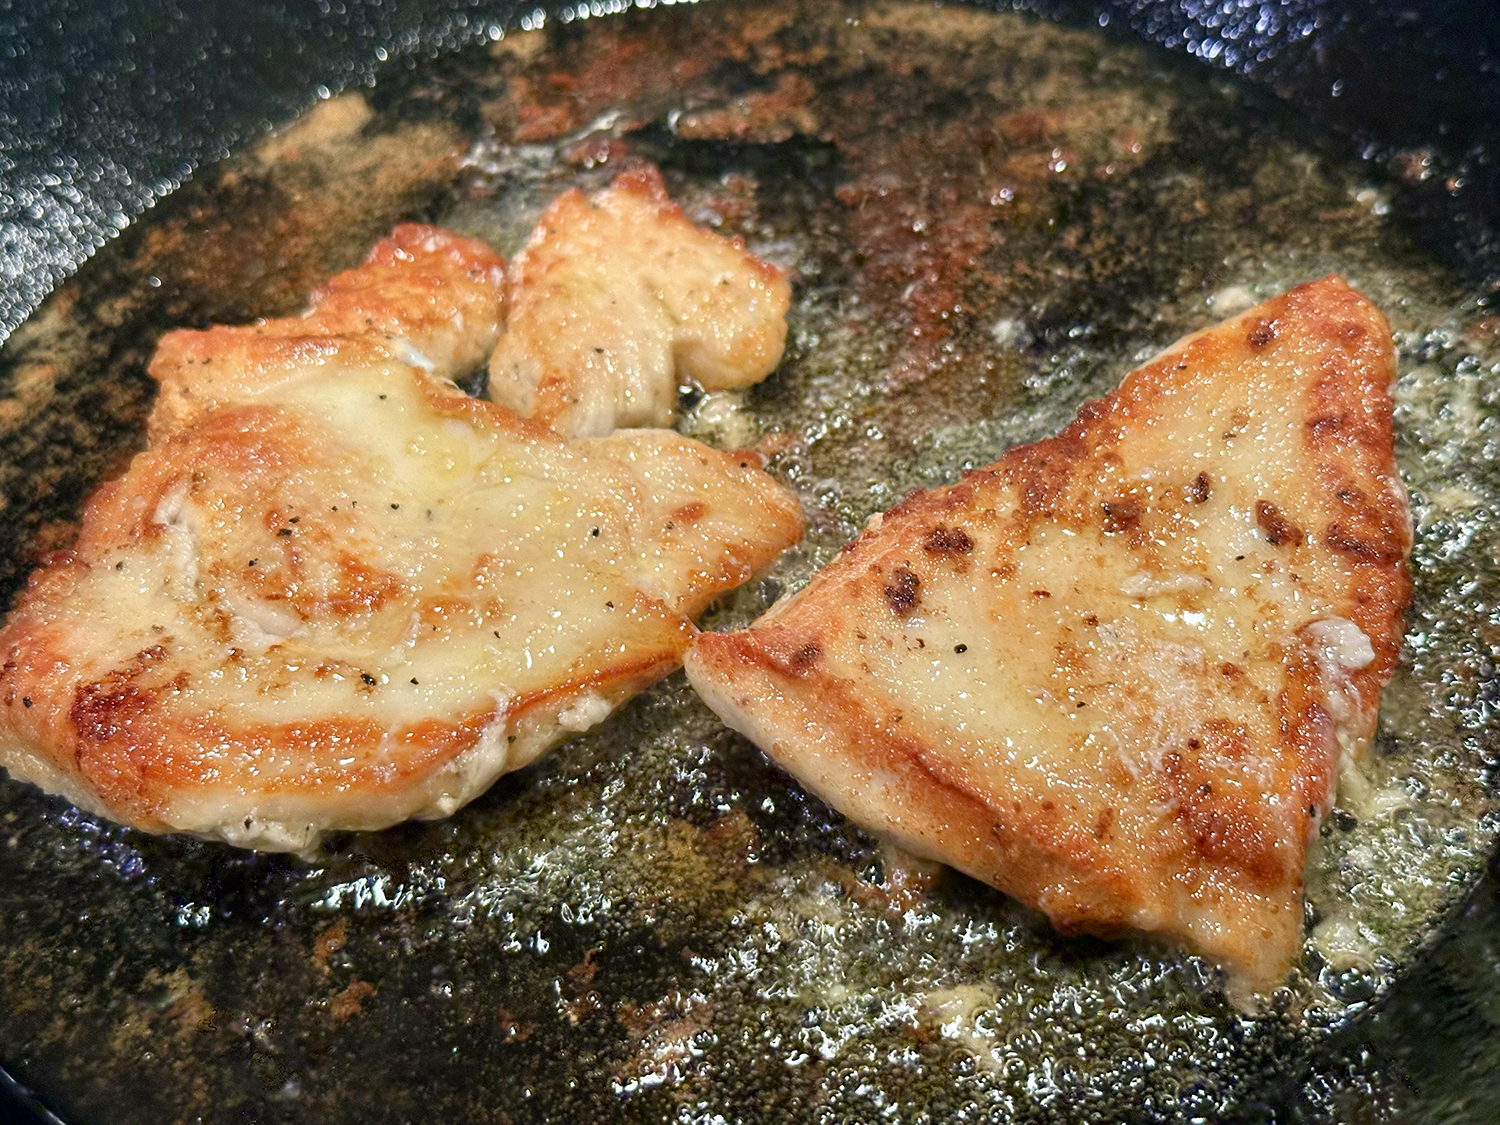
- Sear the steak. In a large Dutch oven, heat 1–2 tablespoons of the olive oil over medium-high heat. Add the steak and sear 2 to 3 minutes per side, without moving. You want a good brown crust. Remove steak and set aside.The steak shouldn’t be cooked to temperature at this point.
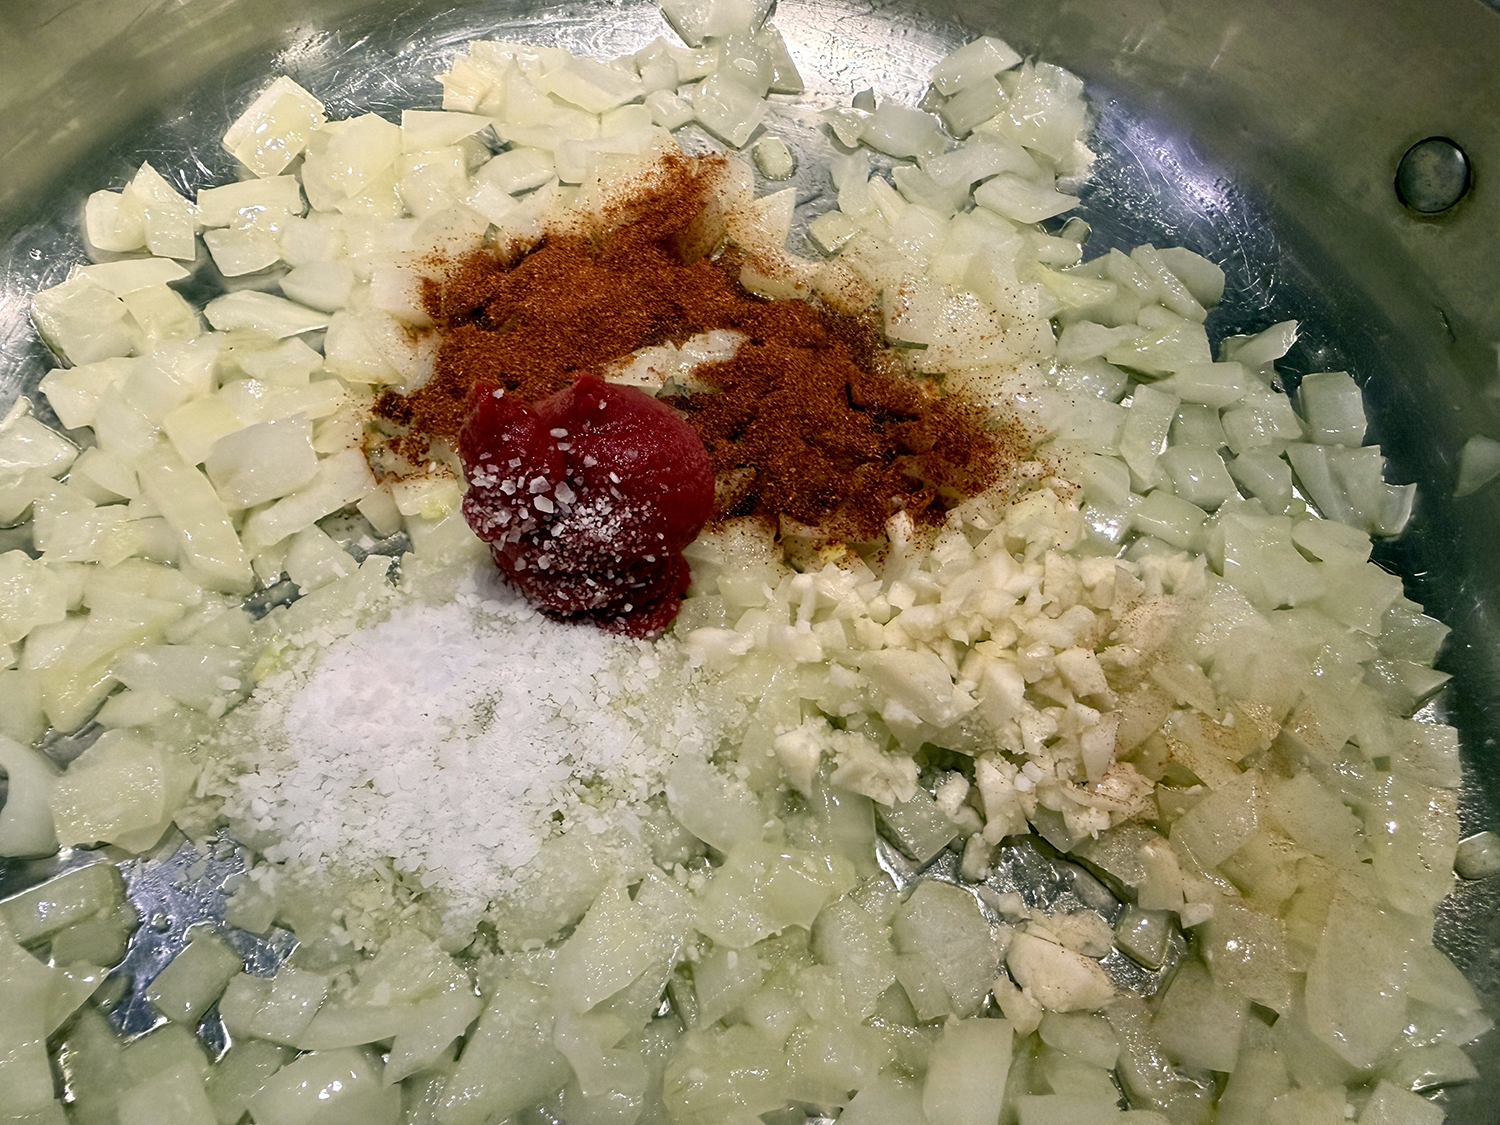
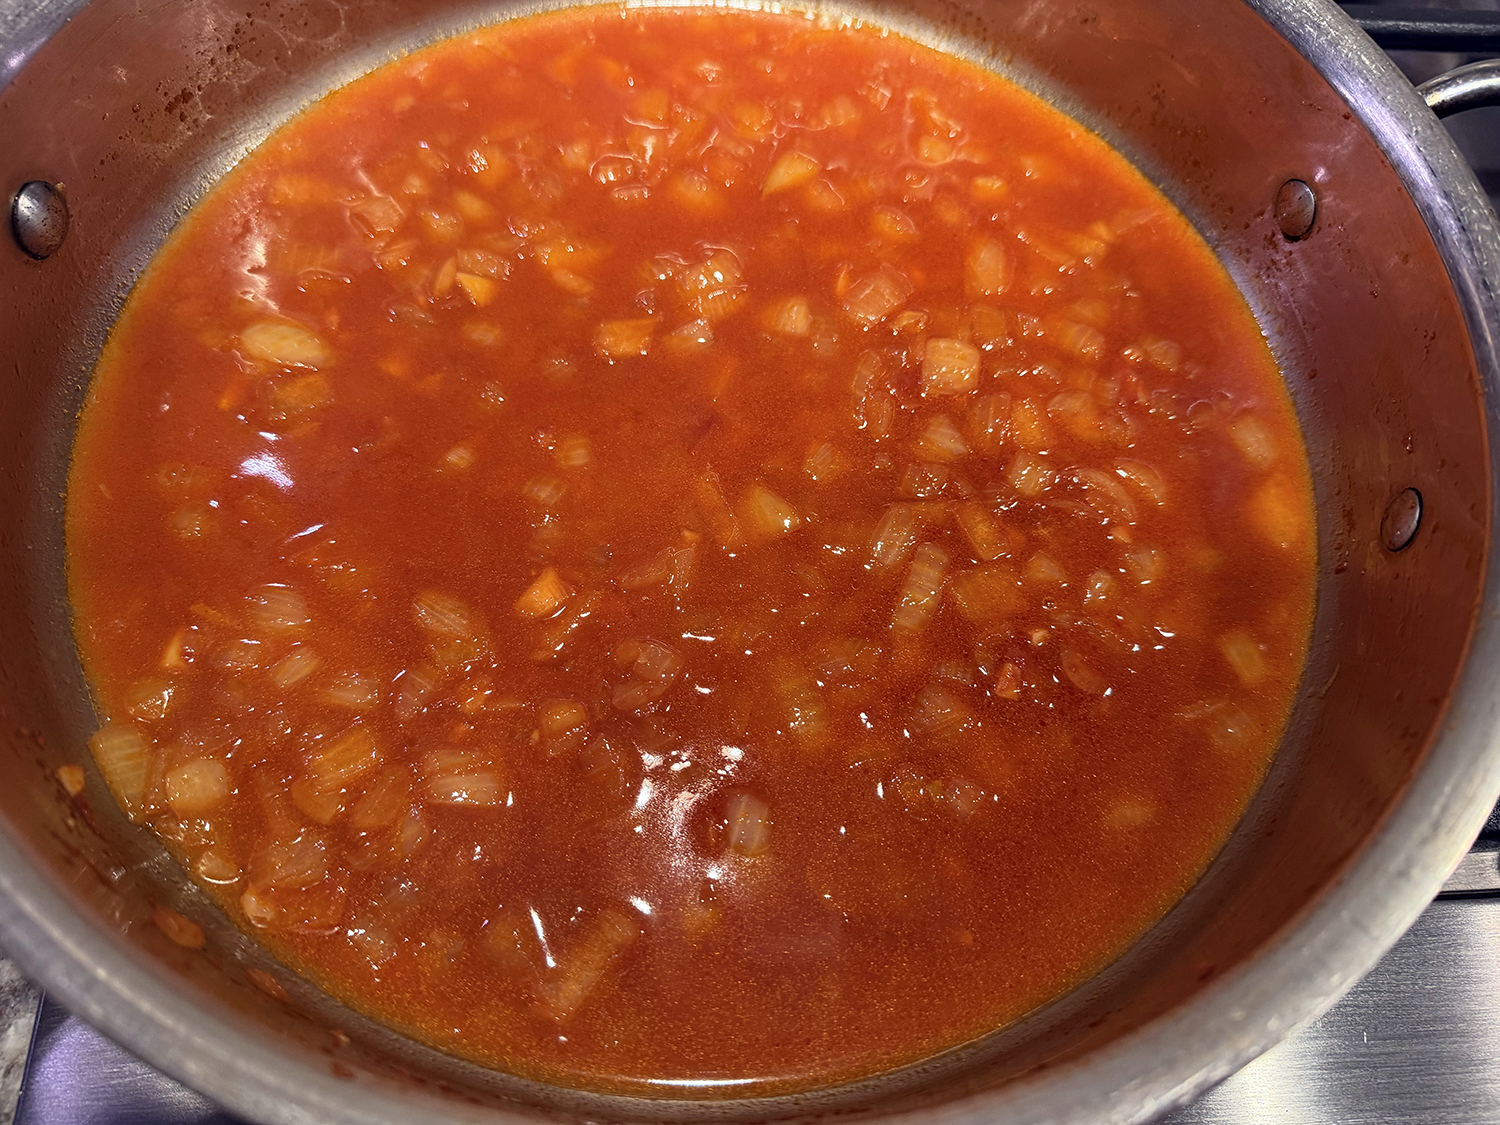
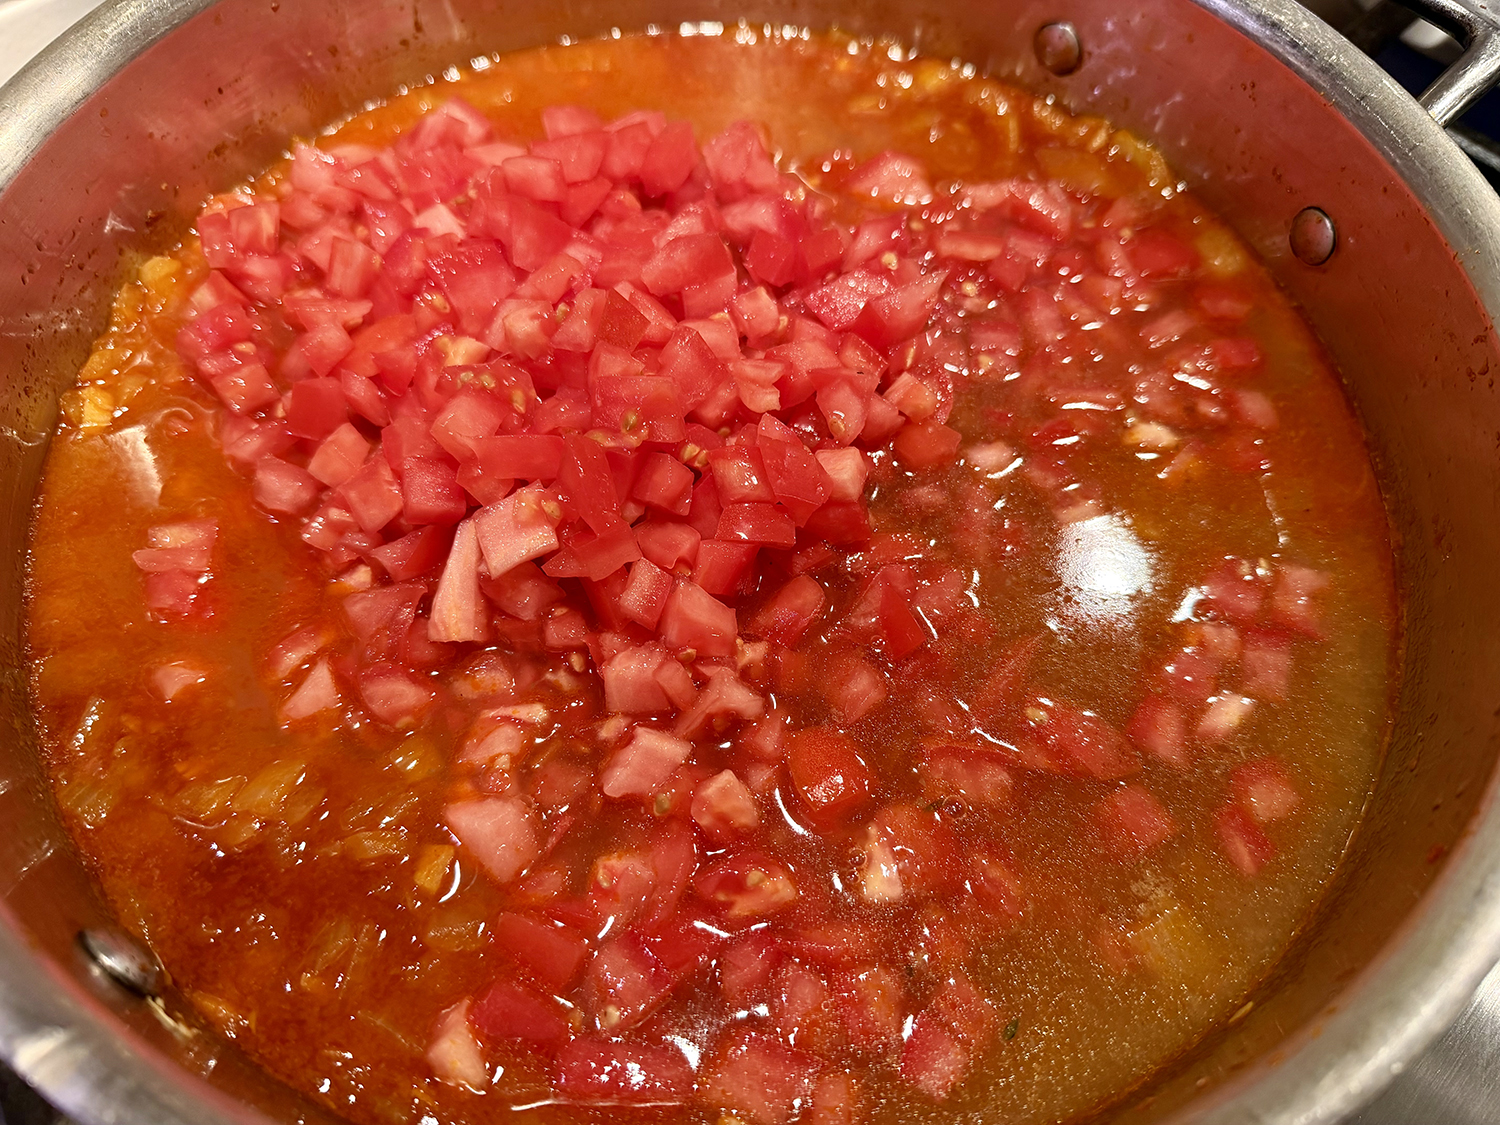
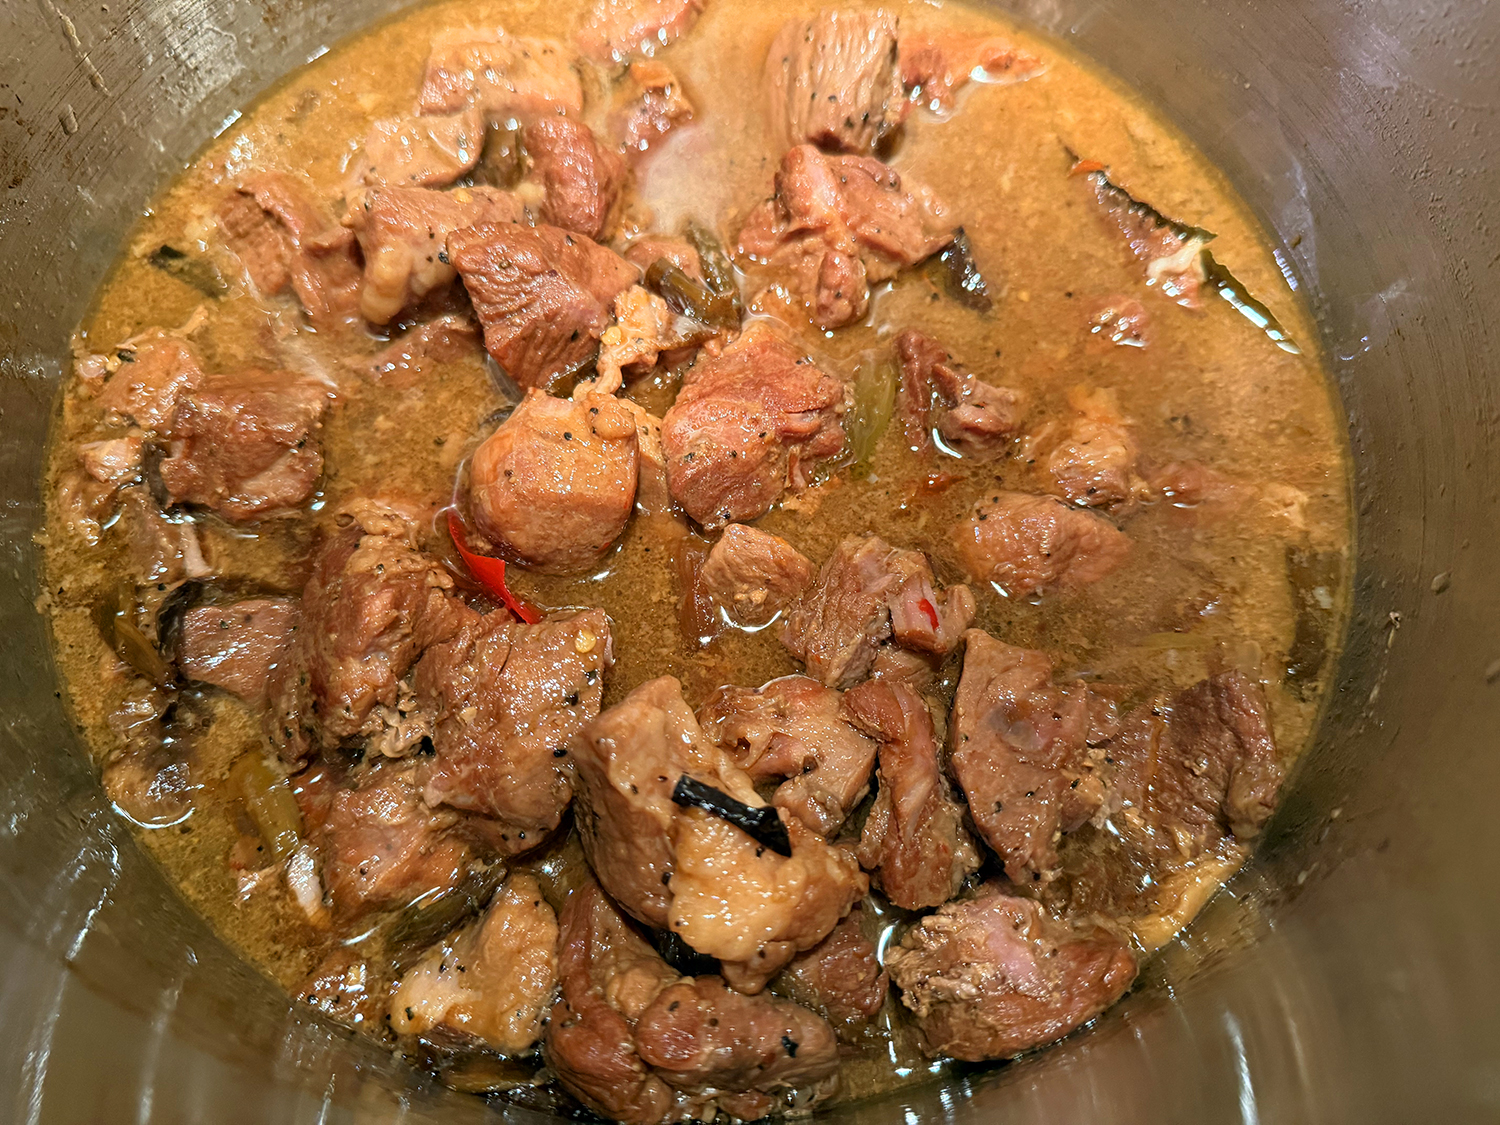
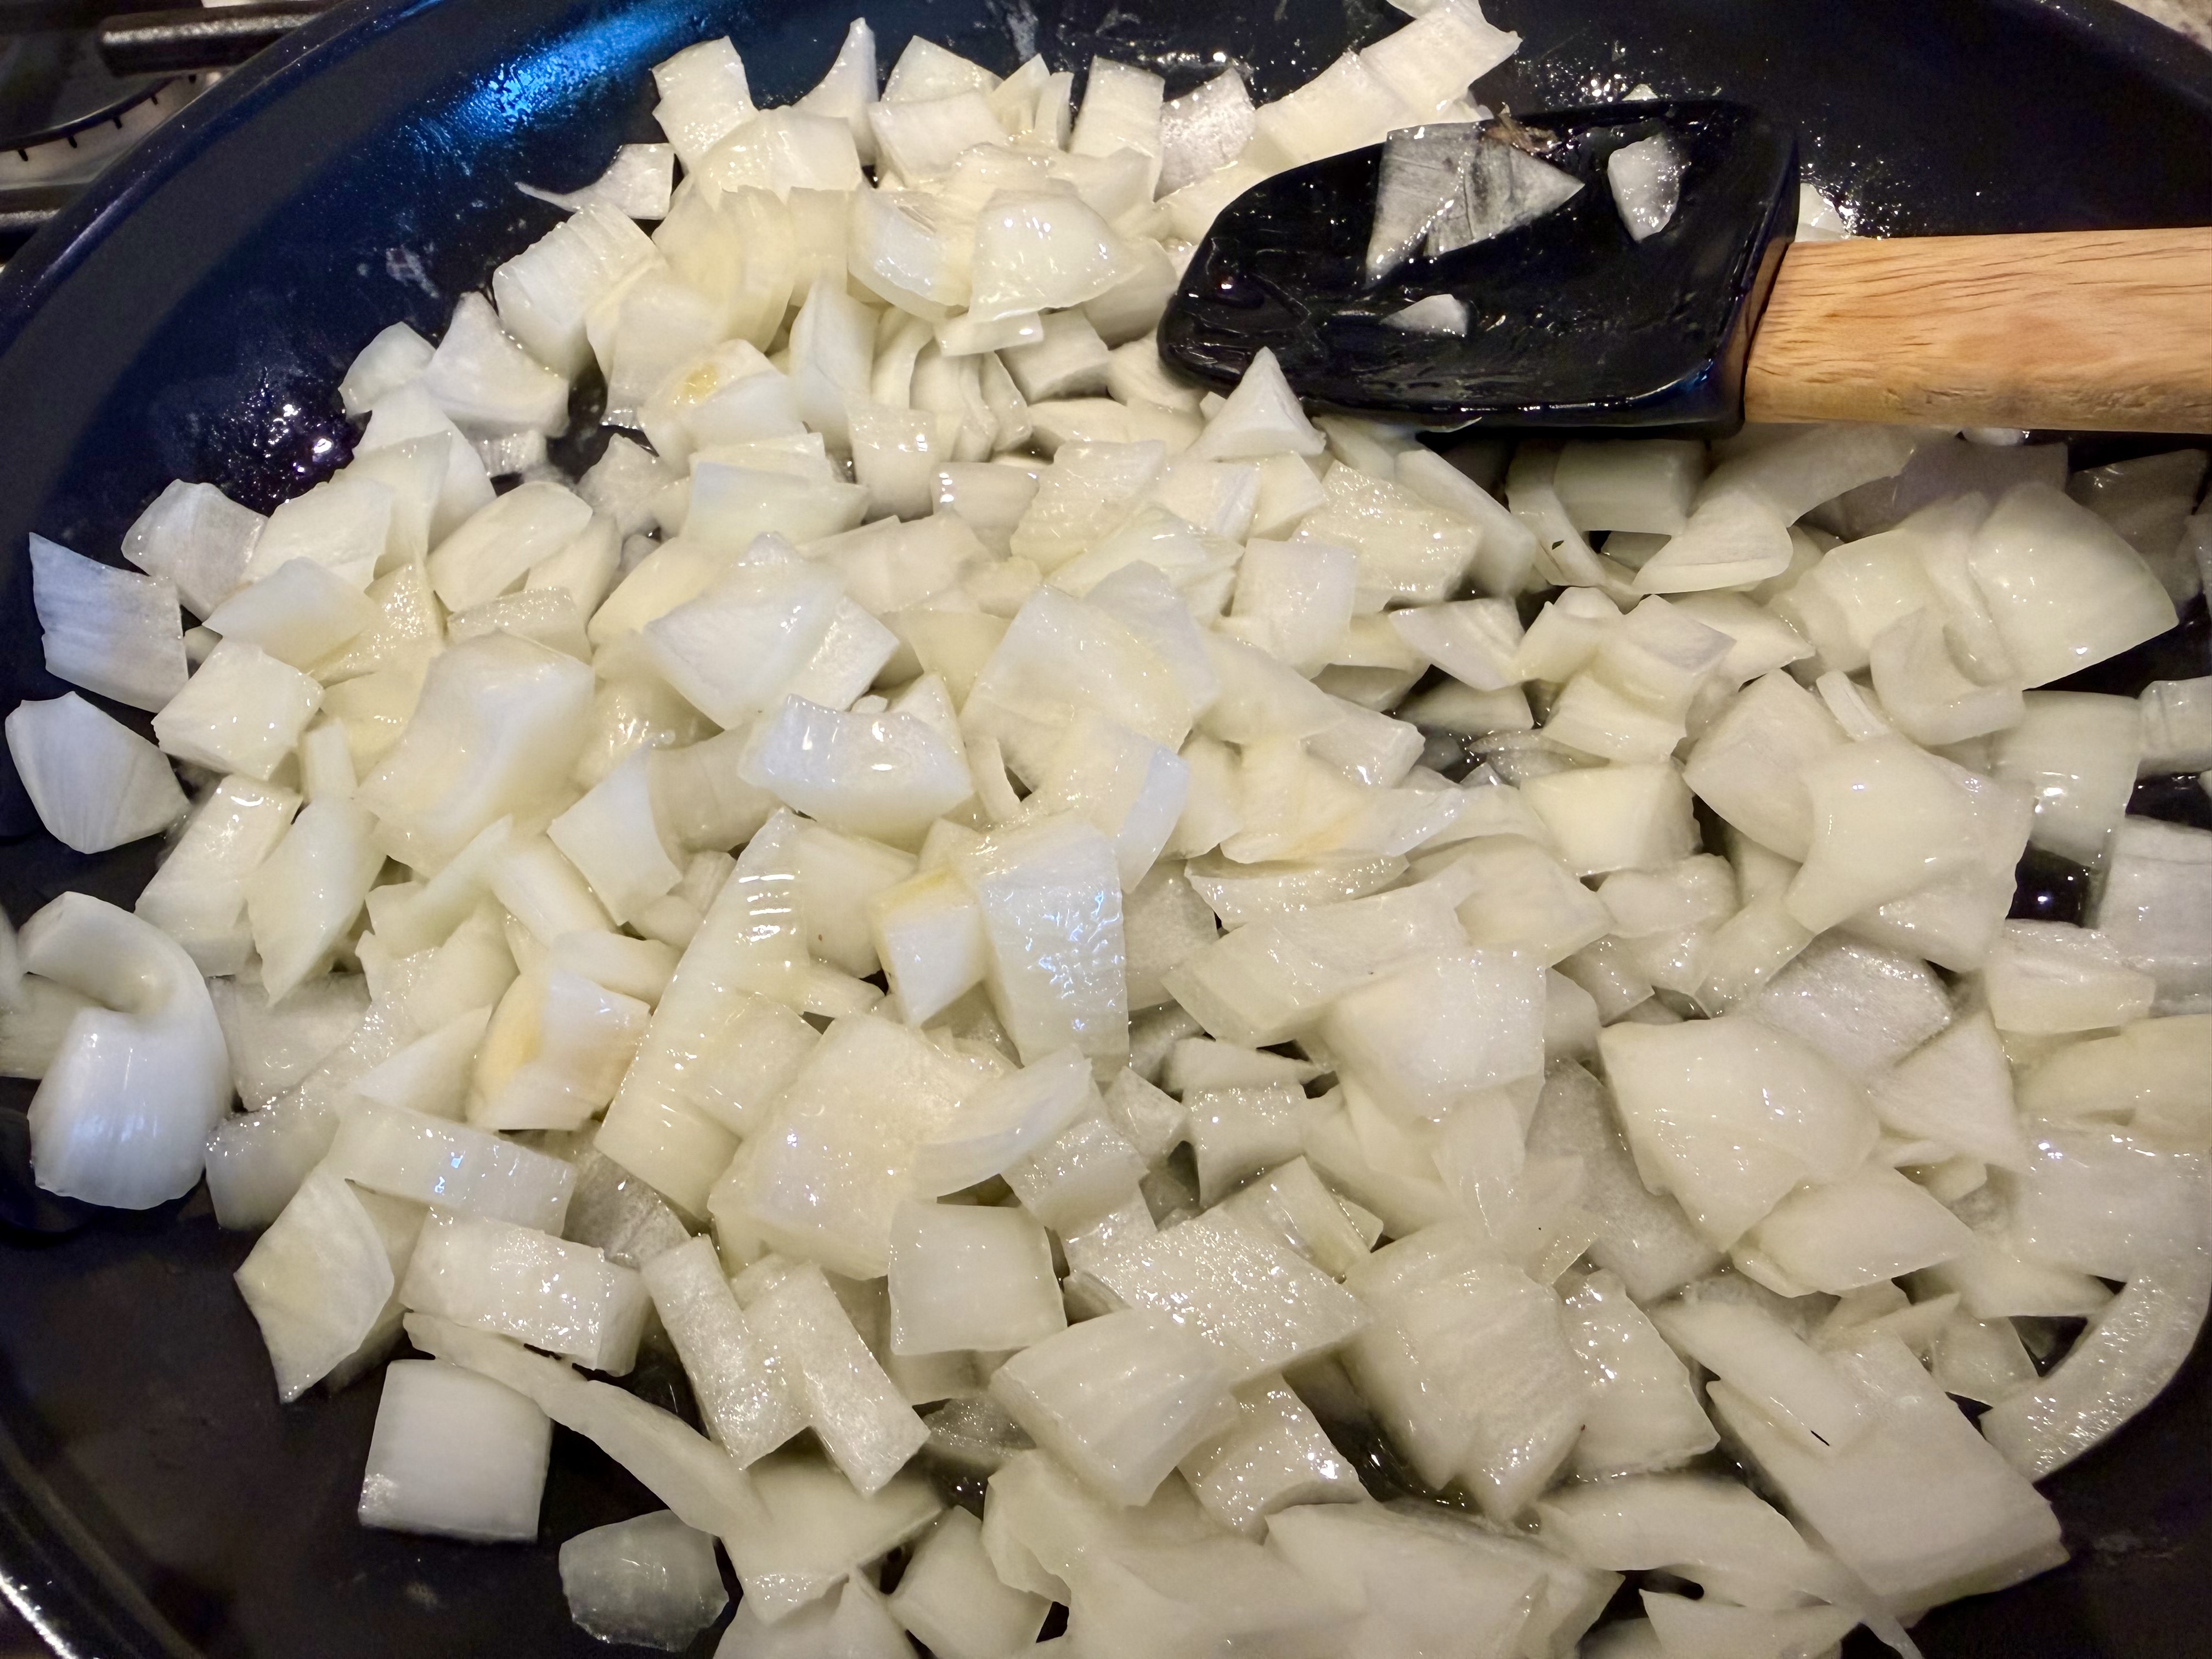
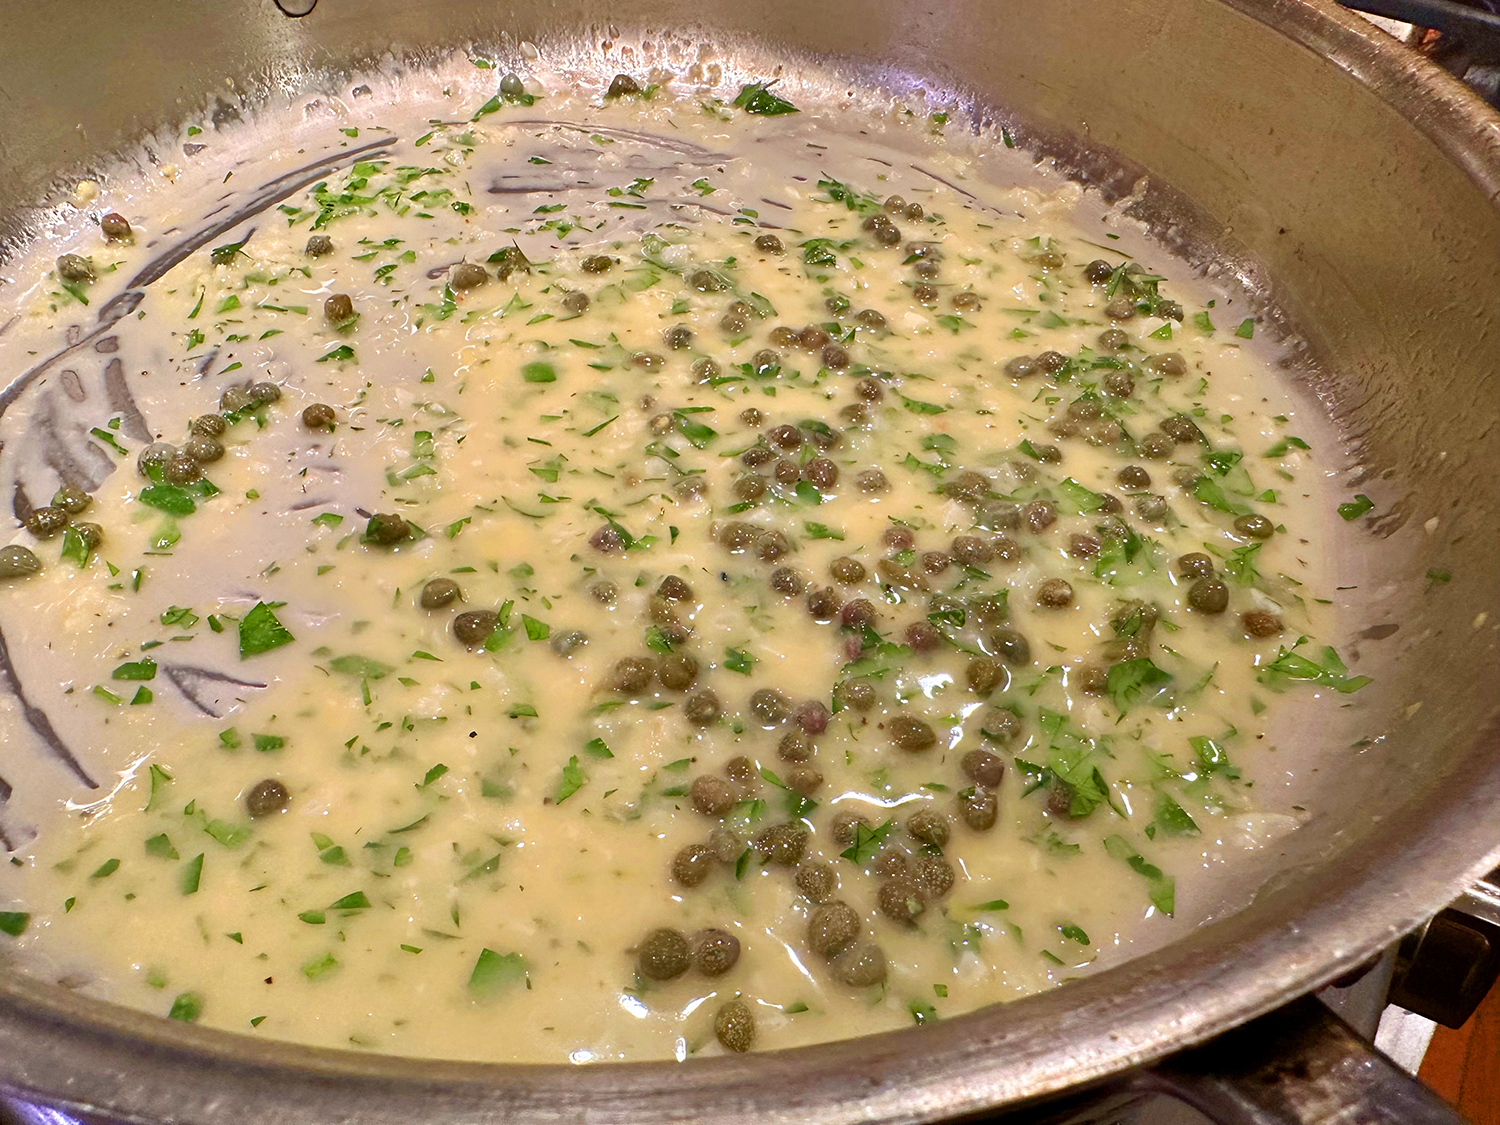
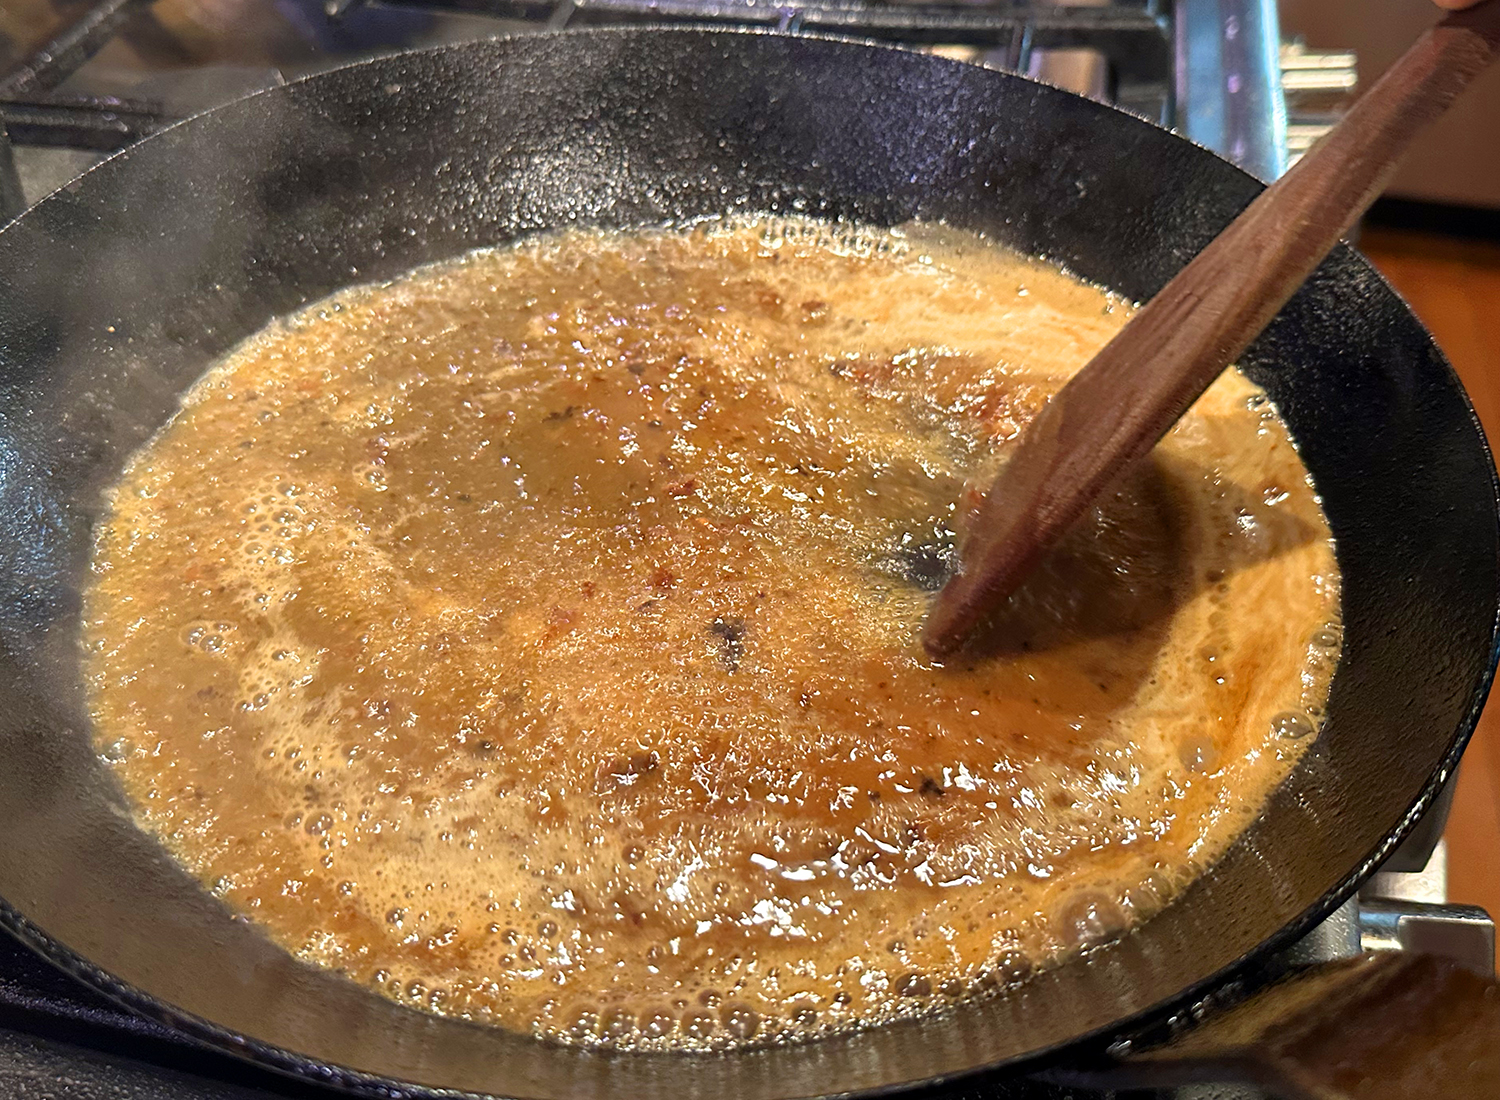
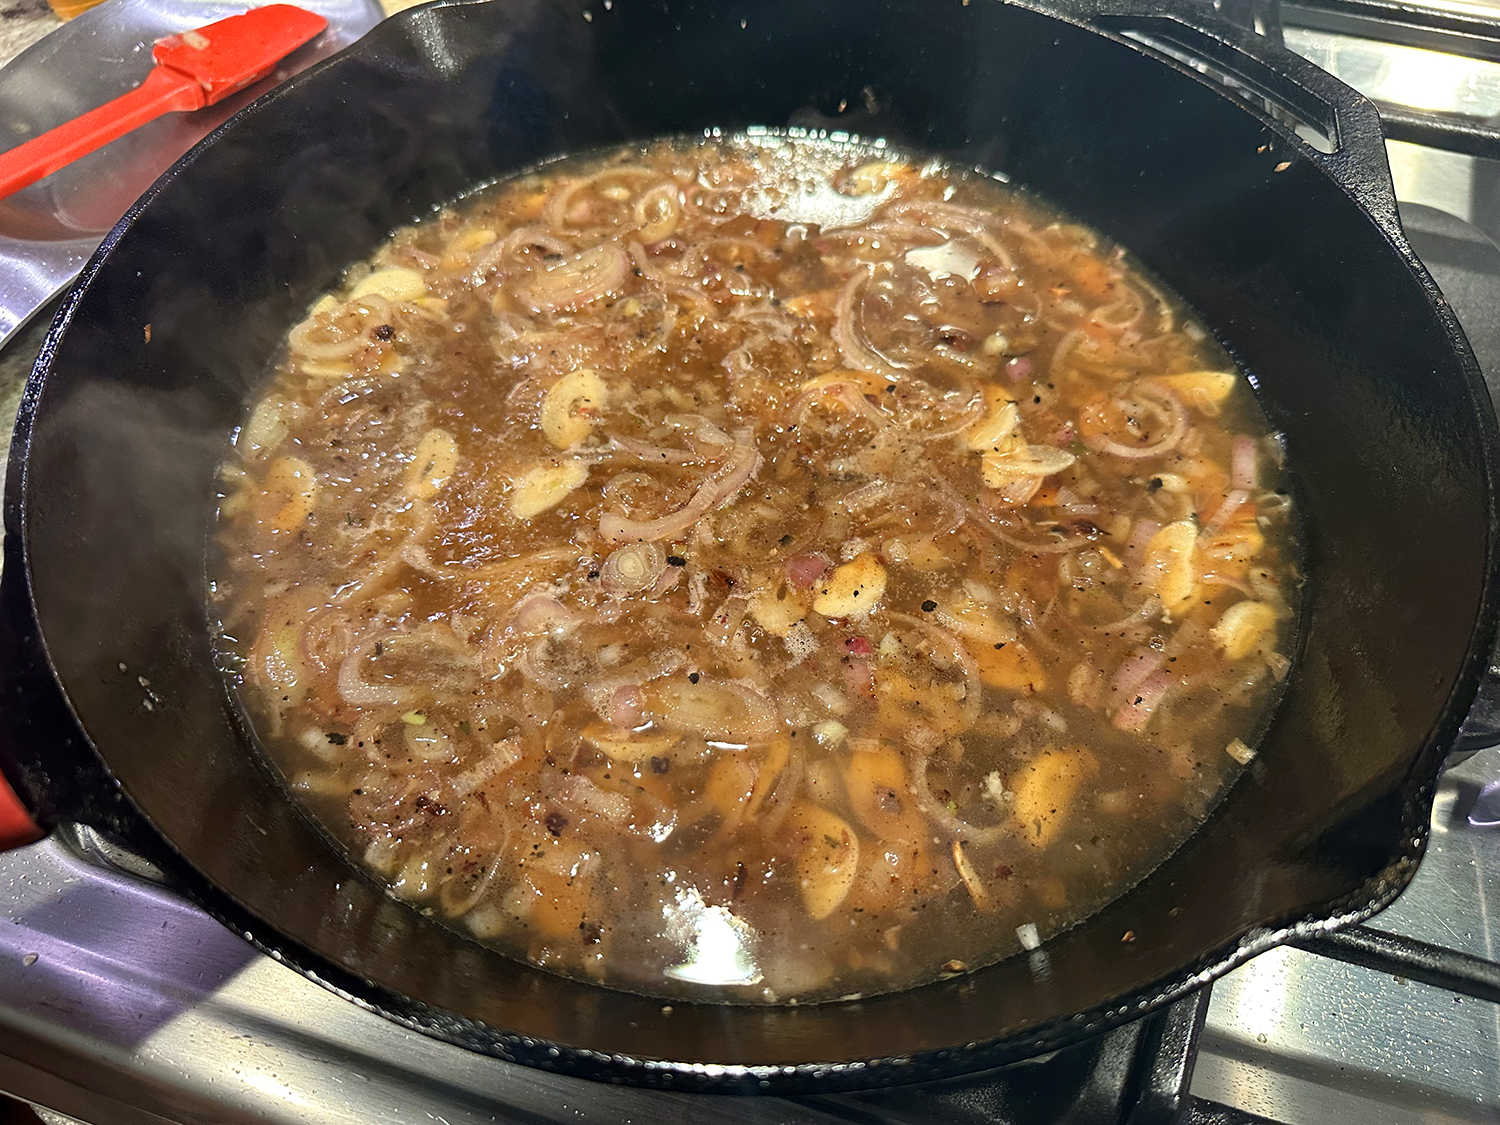
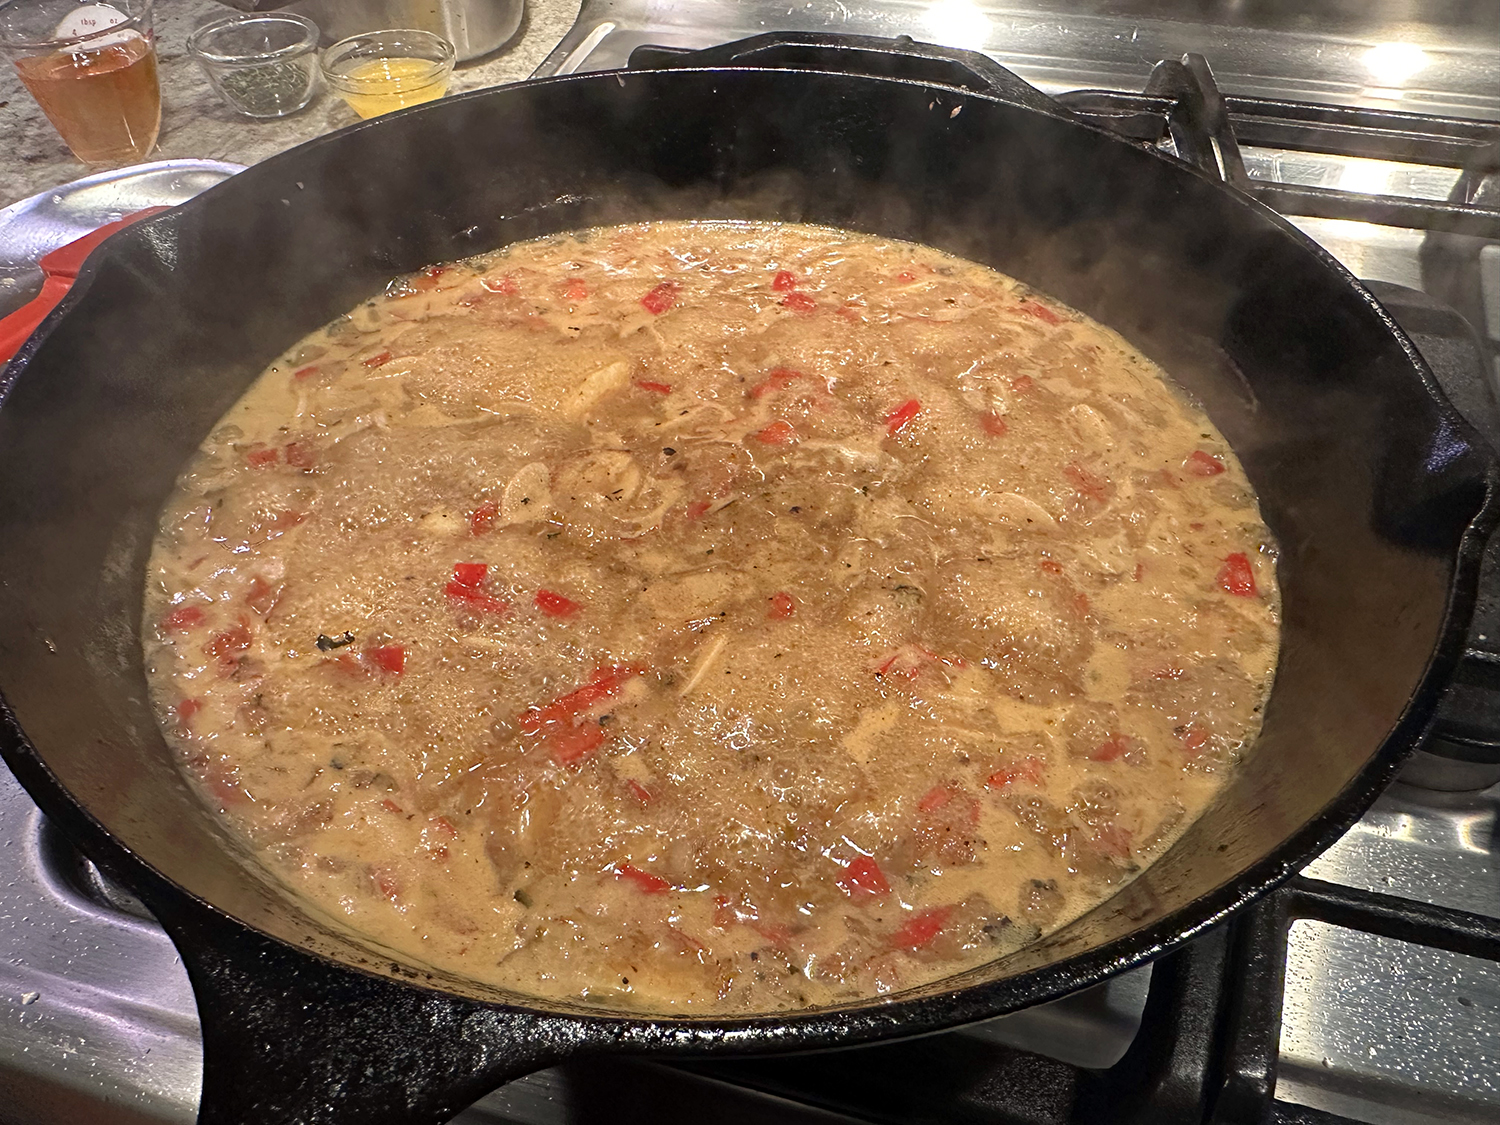
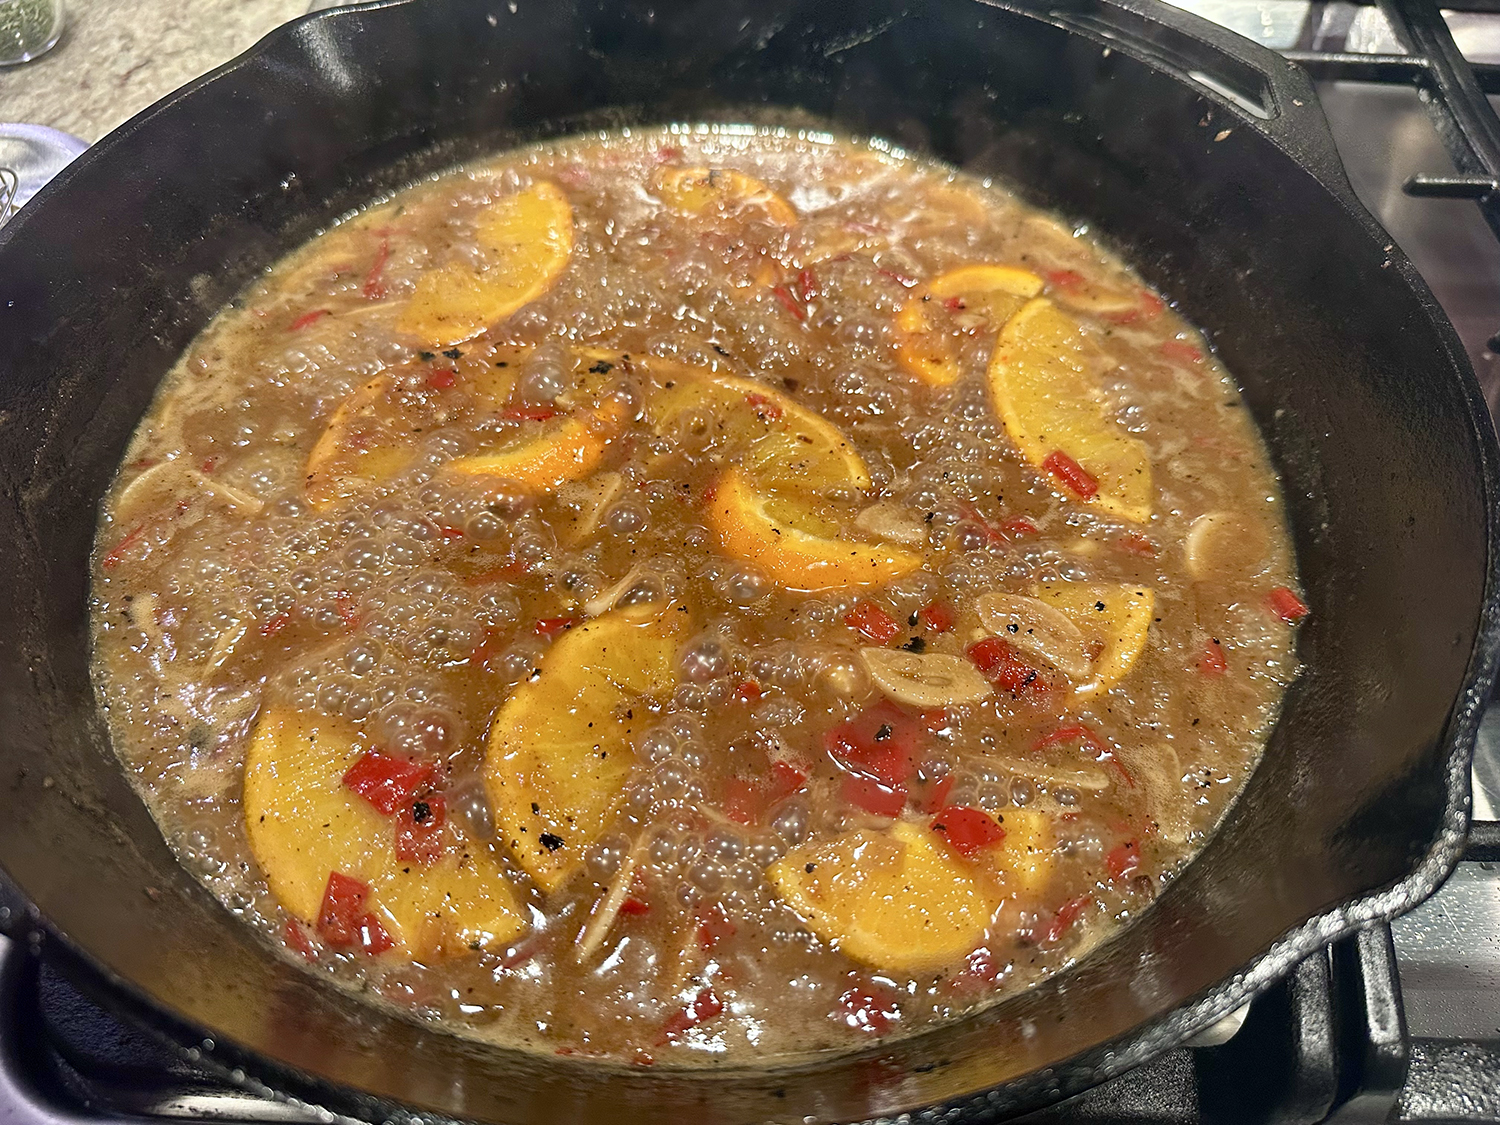
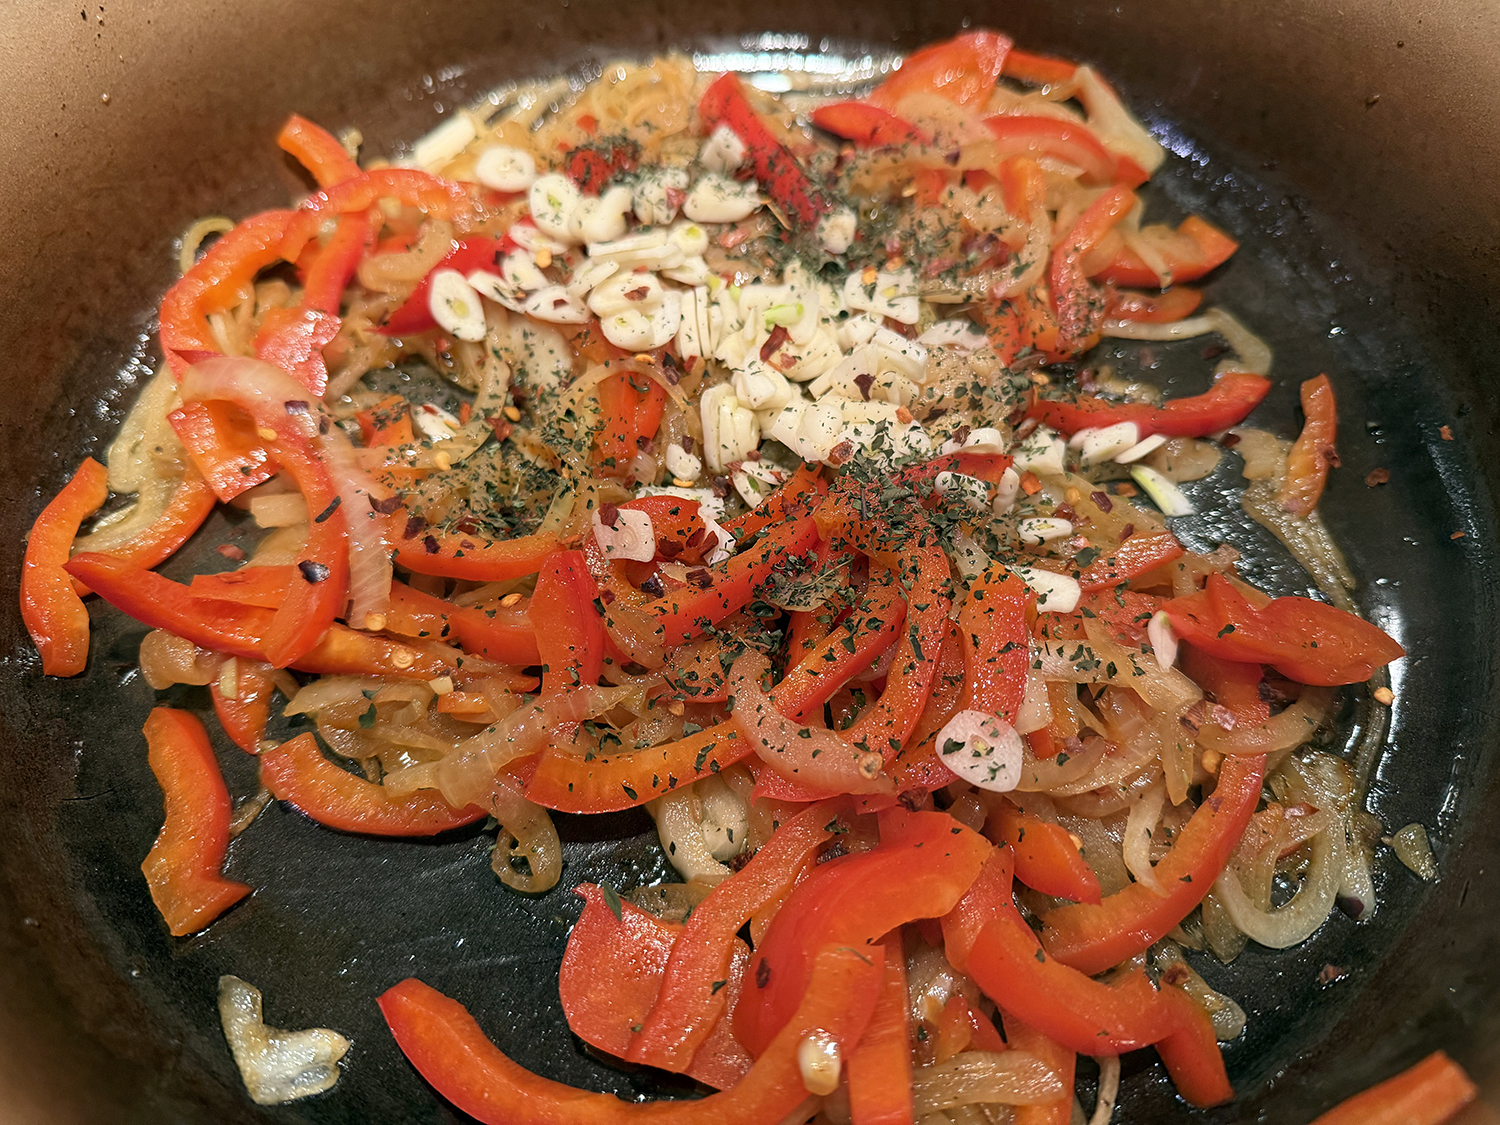
- Build the sauce. Reduce heat to medium. Add the remaining olive oil (if needed), then add the onion and bell pepper. Sauté until softened, about 5 to 7 minutes. Stir in garlic, oregano, and red pepper flakes and stir to combine. Cook for another minute until garlic is fragrant. Add the marinara sauce and bring to a gentle simmer.
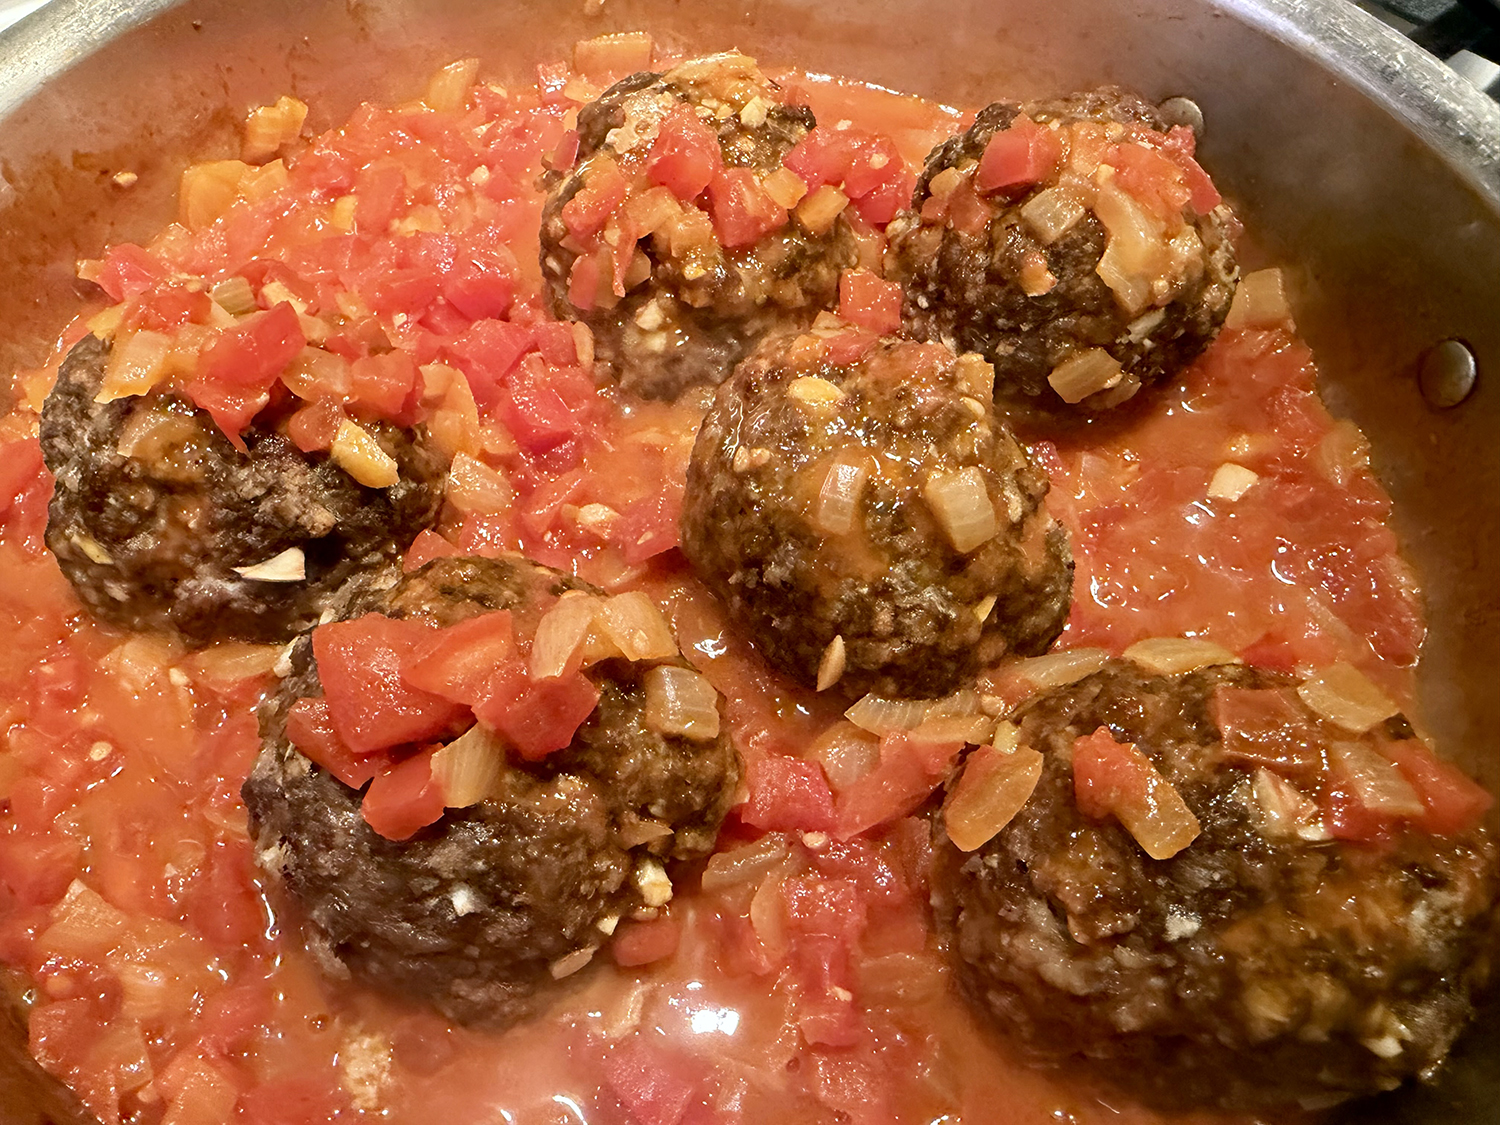
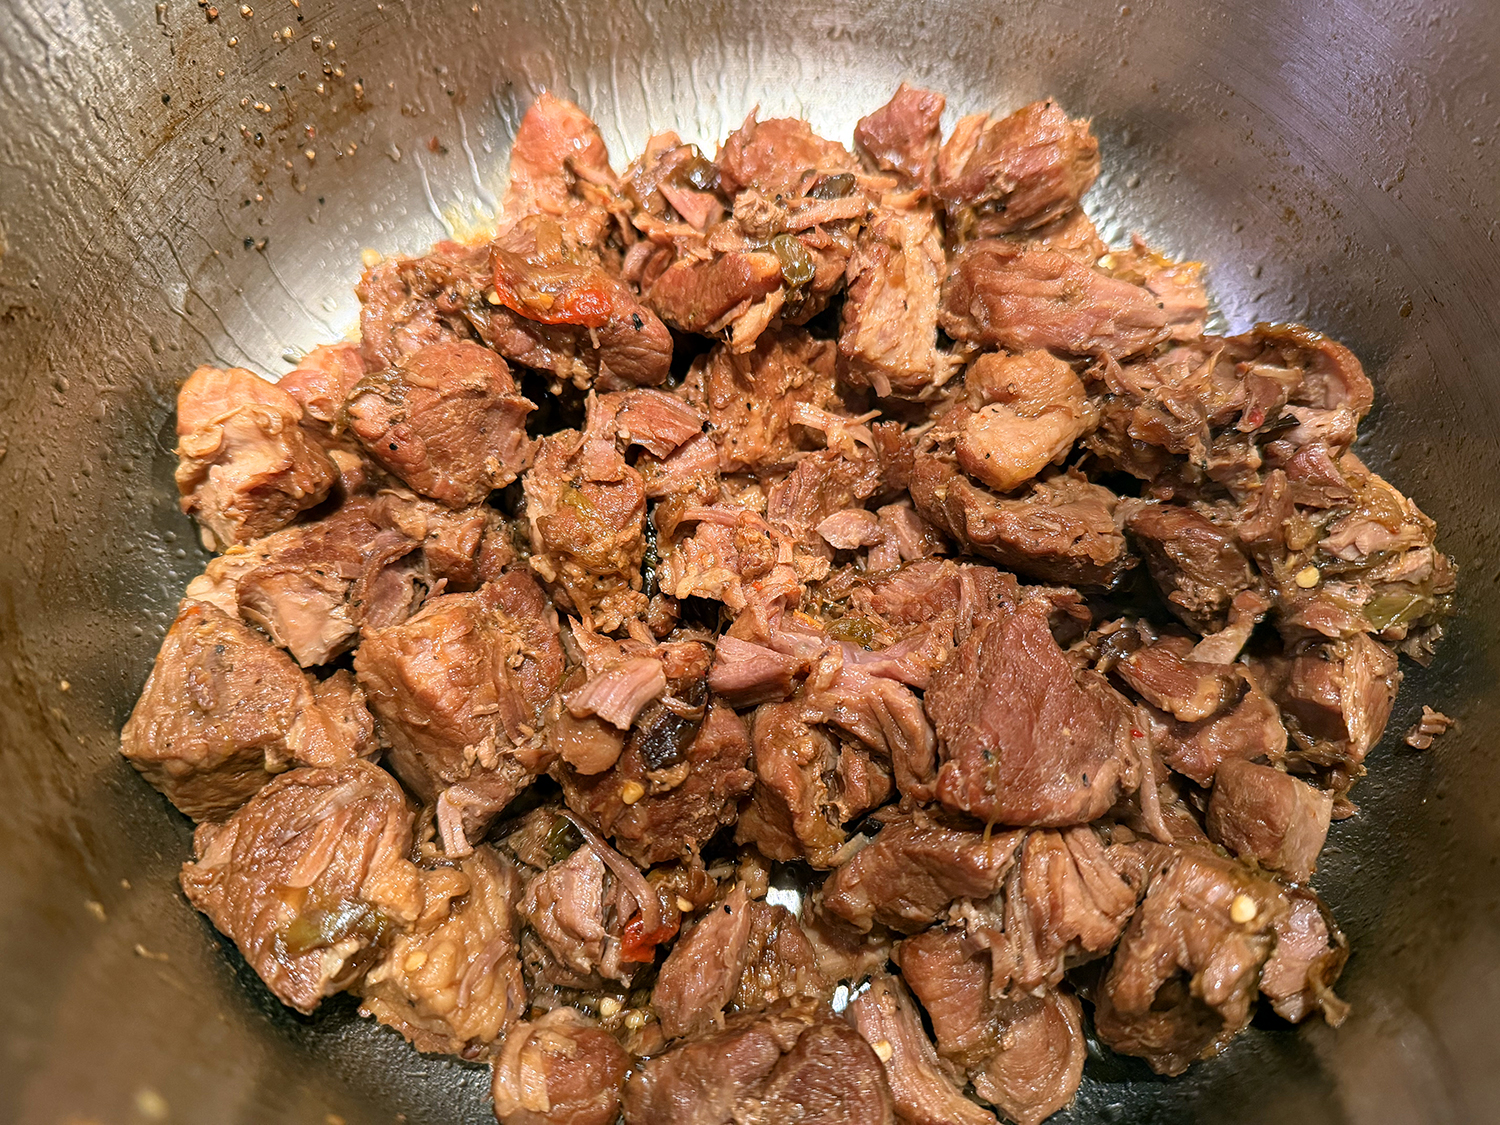
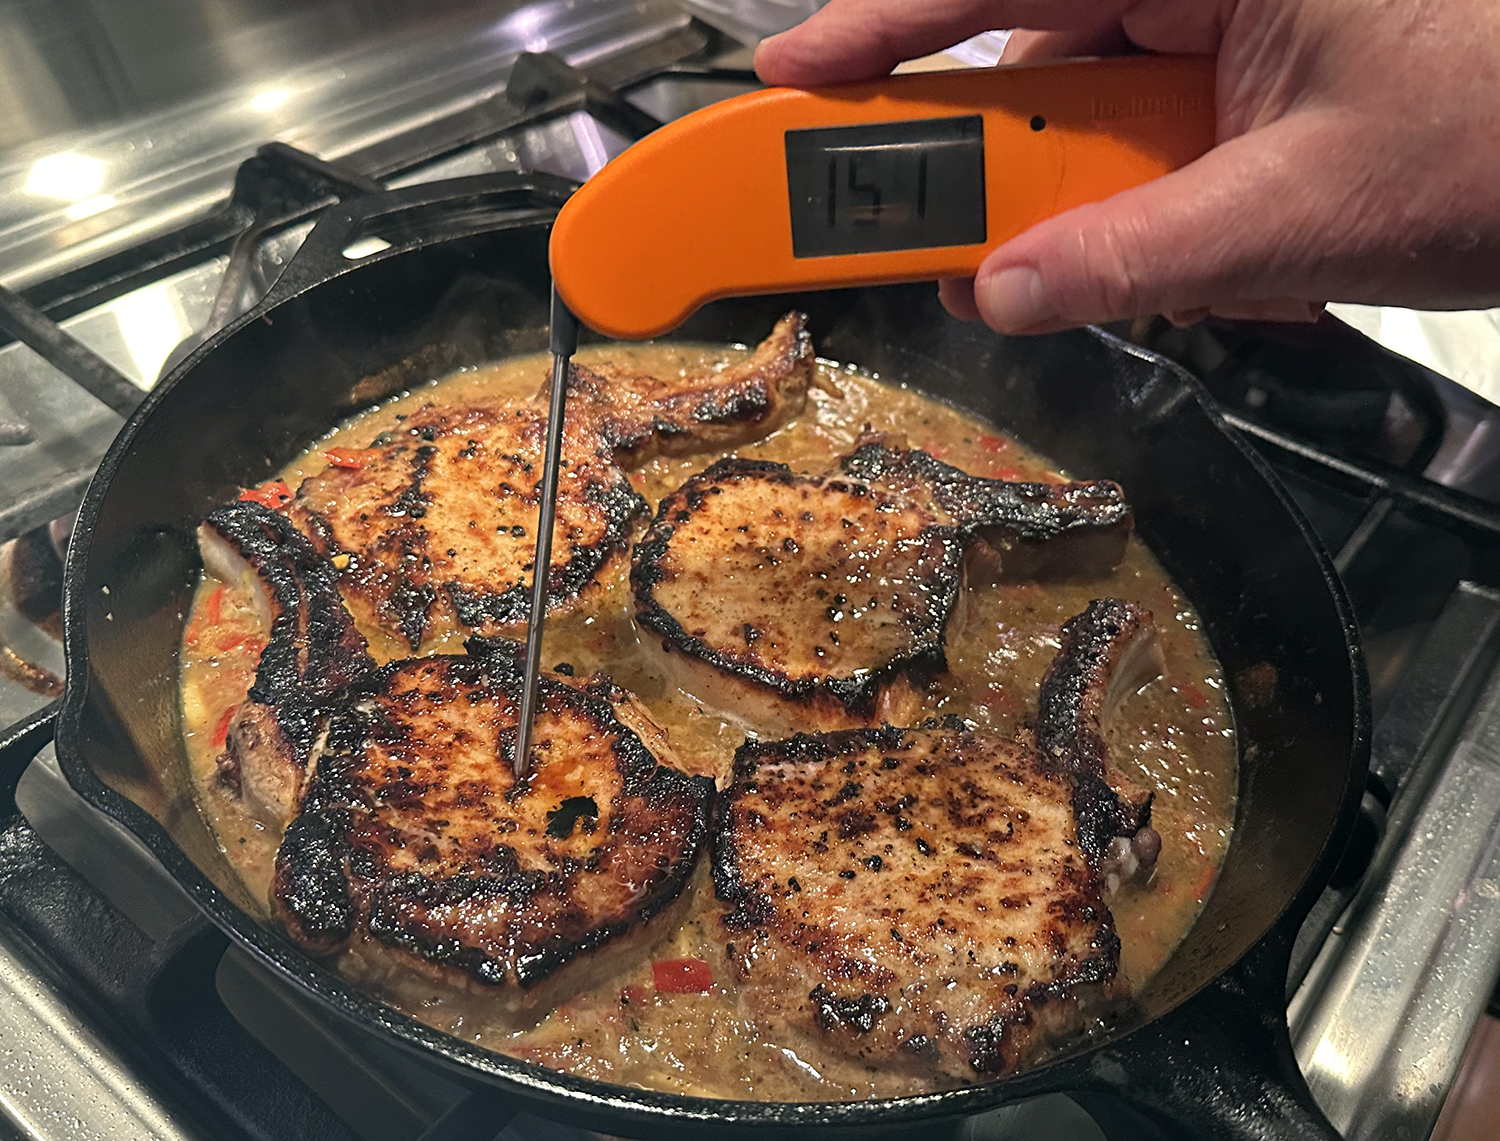
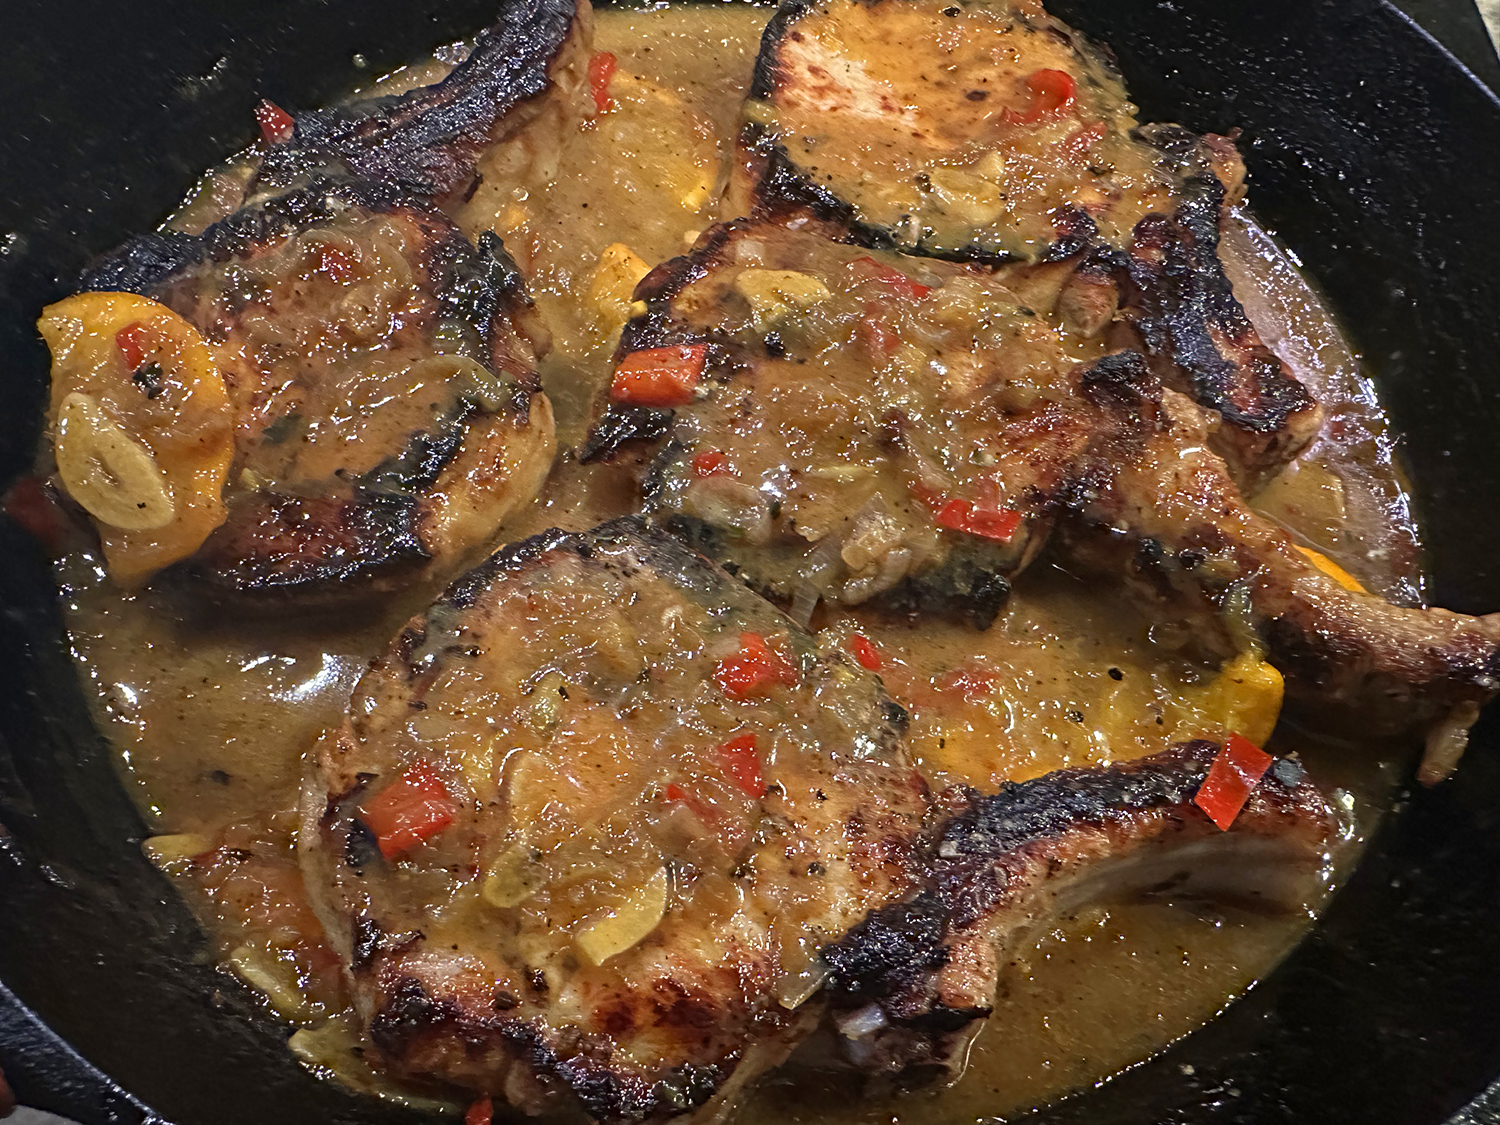
- Finish steak in sauce. Return the seared steak to the pan, nestling it into the sauce so the sides are submerged. Lower heat to medium-low and simmer 2 to 10 minutes, until the steak is cooked to your liking, using a thermometer to check the doneness of the steak. Rare may need hardly any time in the sauce (120–125°F), Medium-Rare (130-135°F) and Medium (140–145°F) will require a few minutes, and for Medium-Well (150–155°F) or Well-Done (160°F+) you may need the full 10 minutes or more.
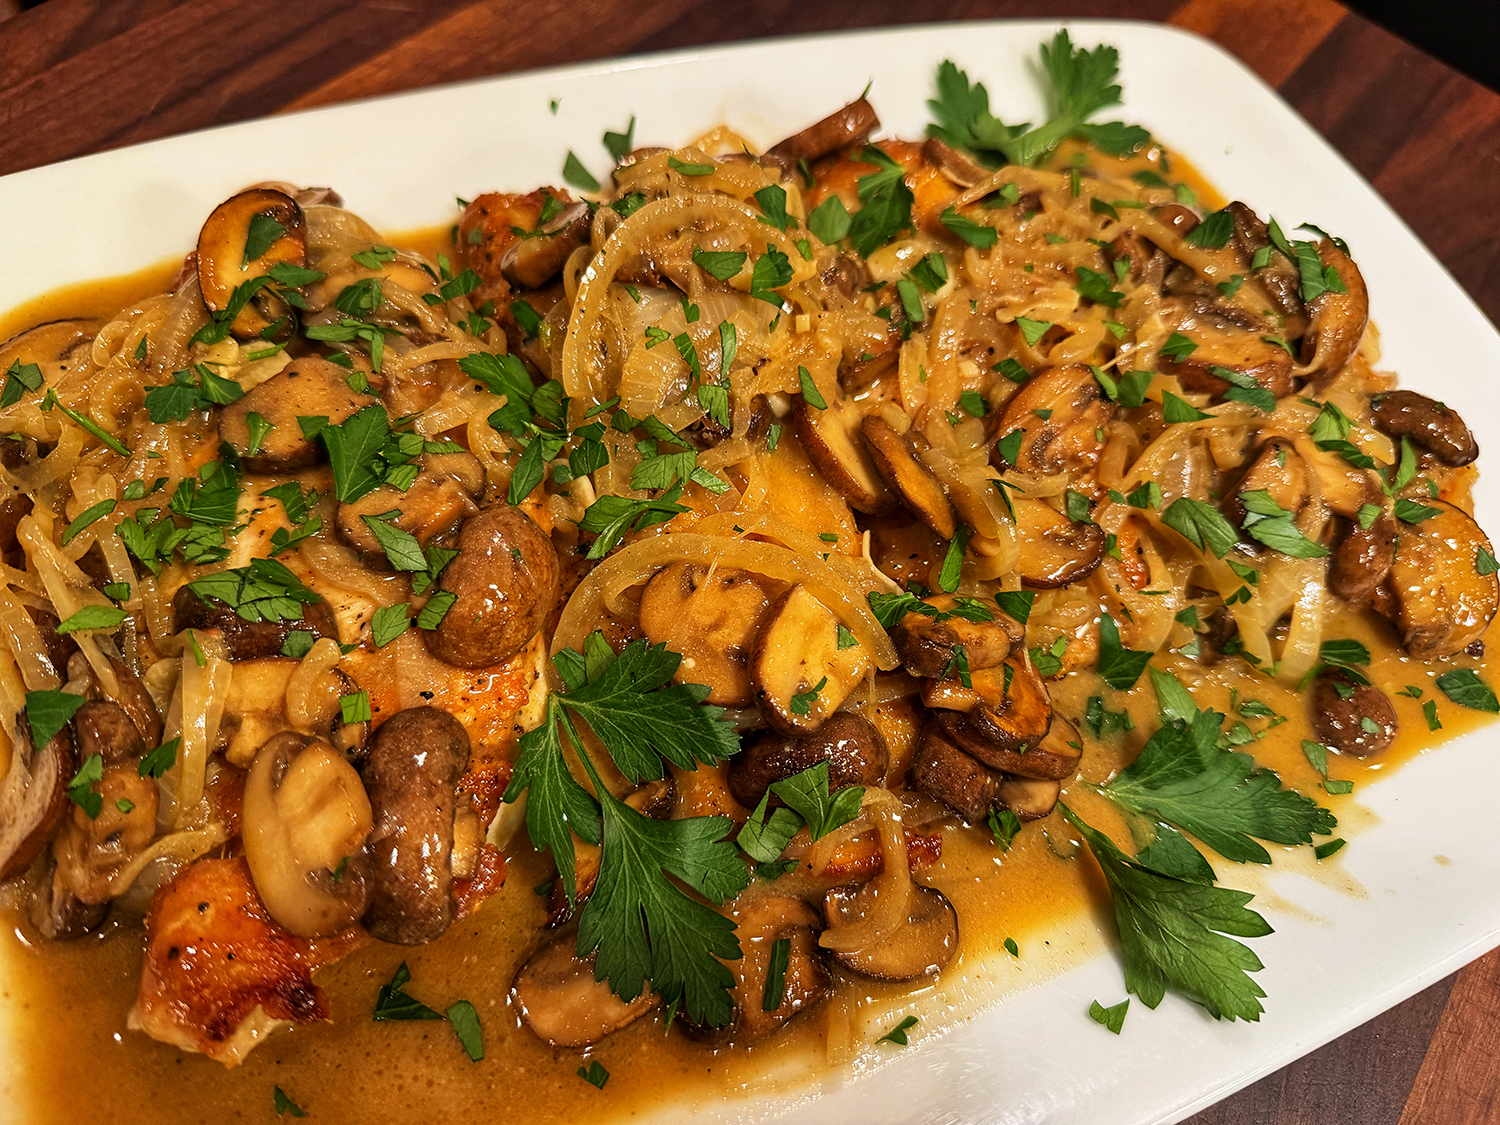
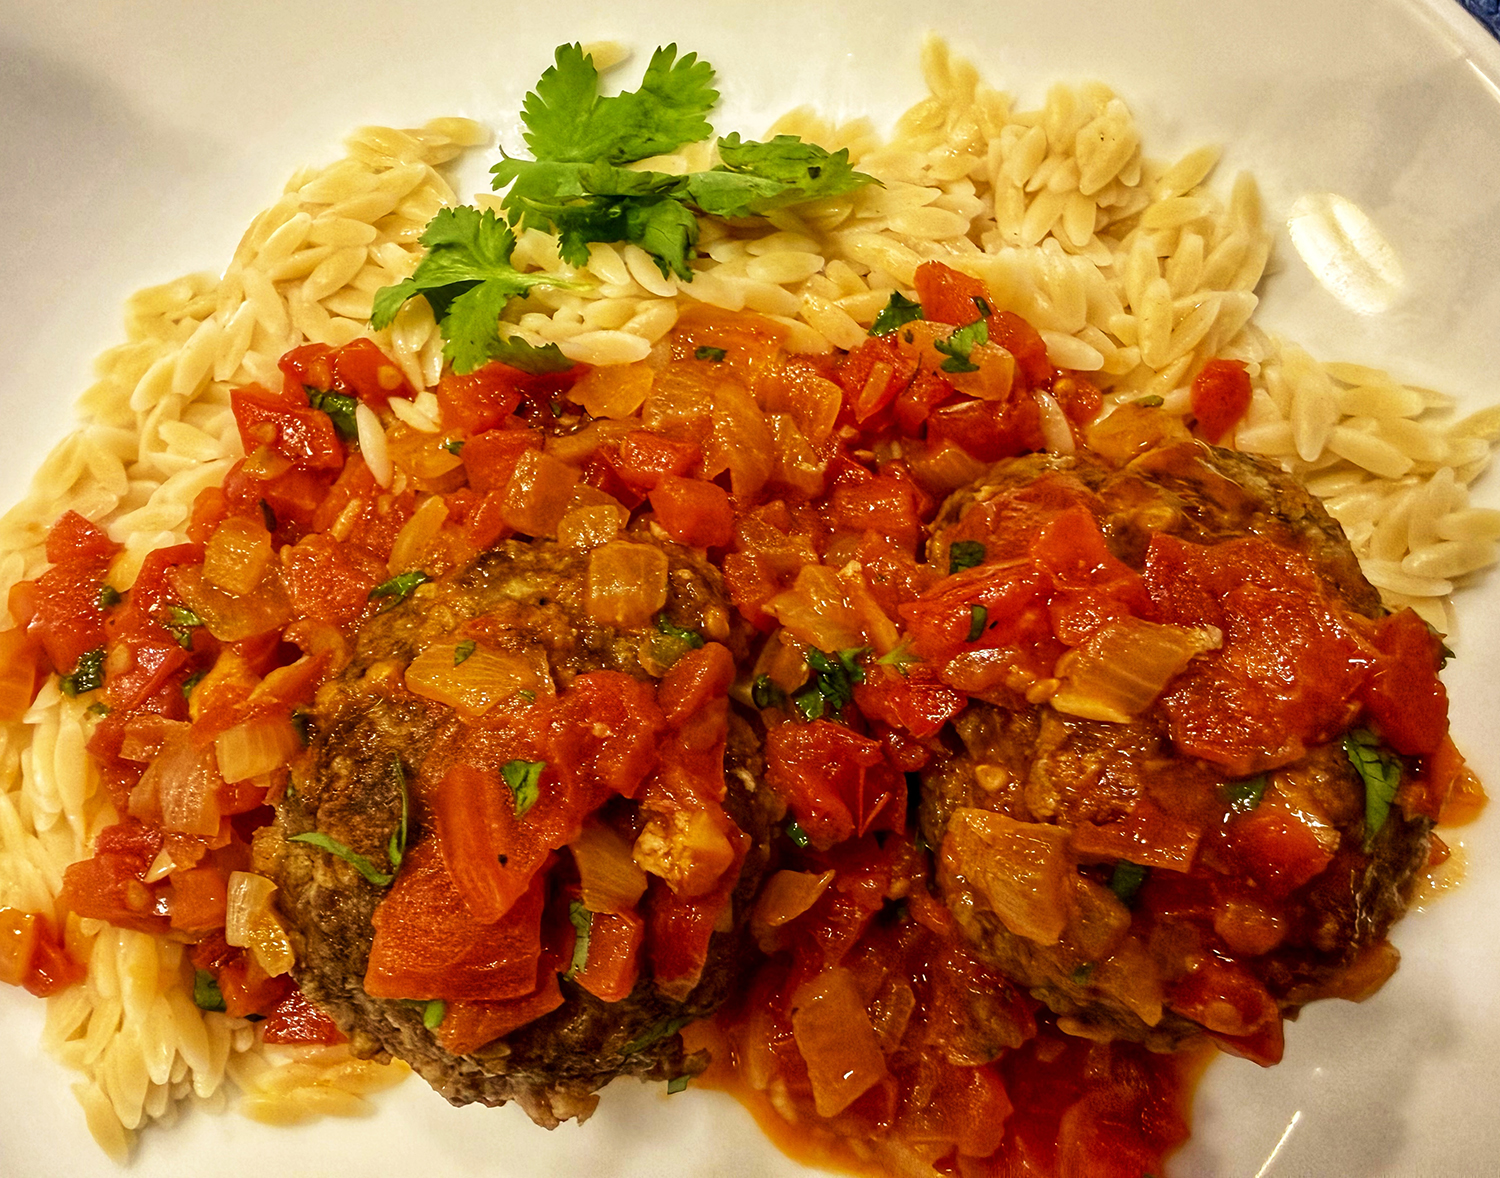
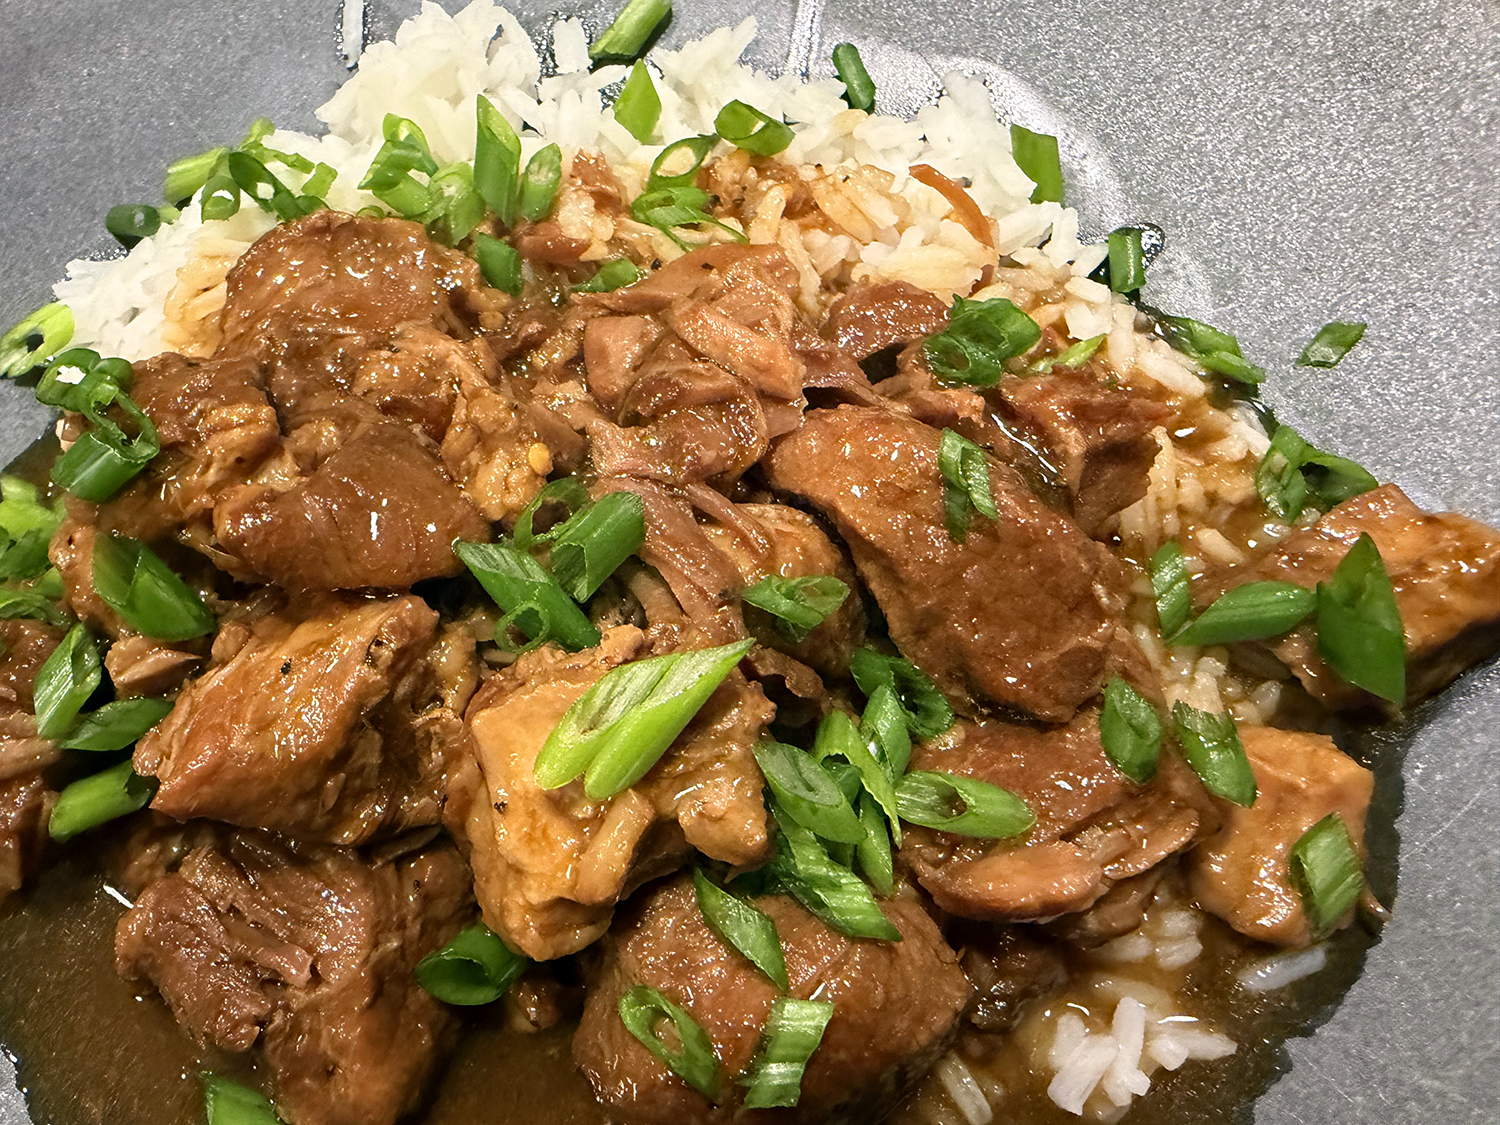
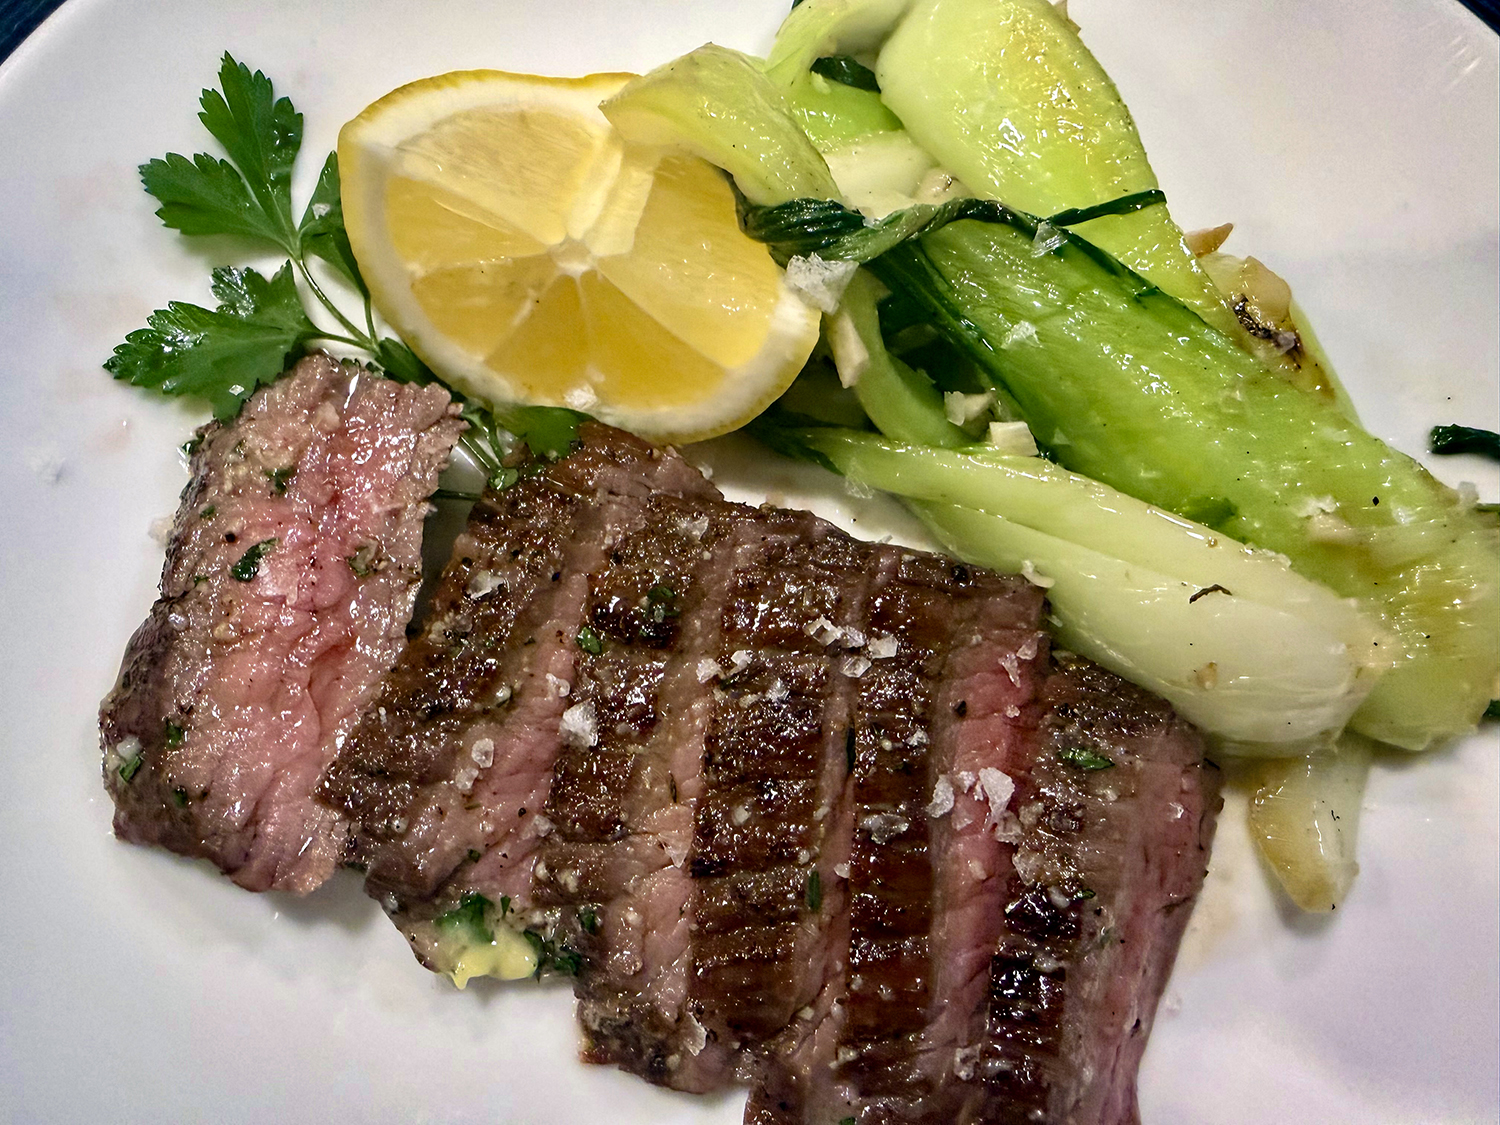
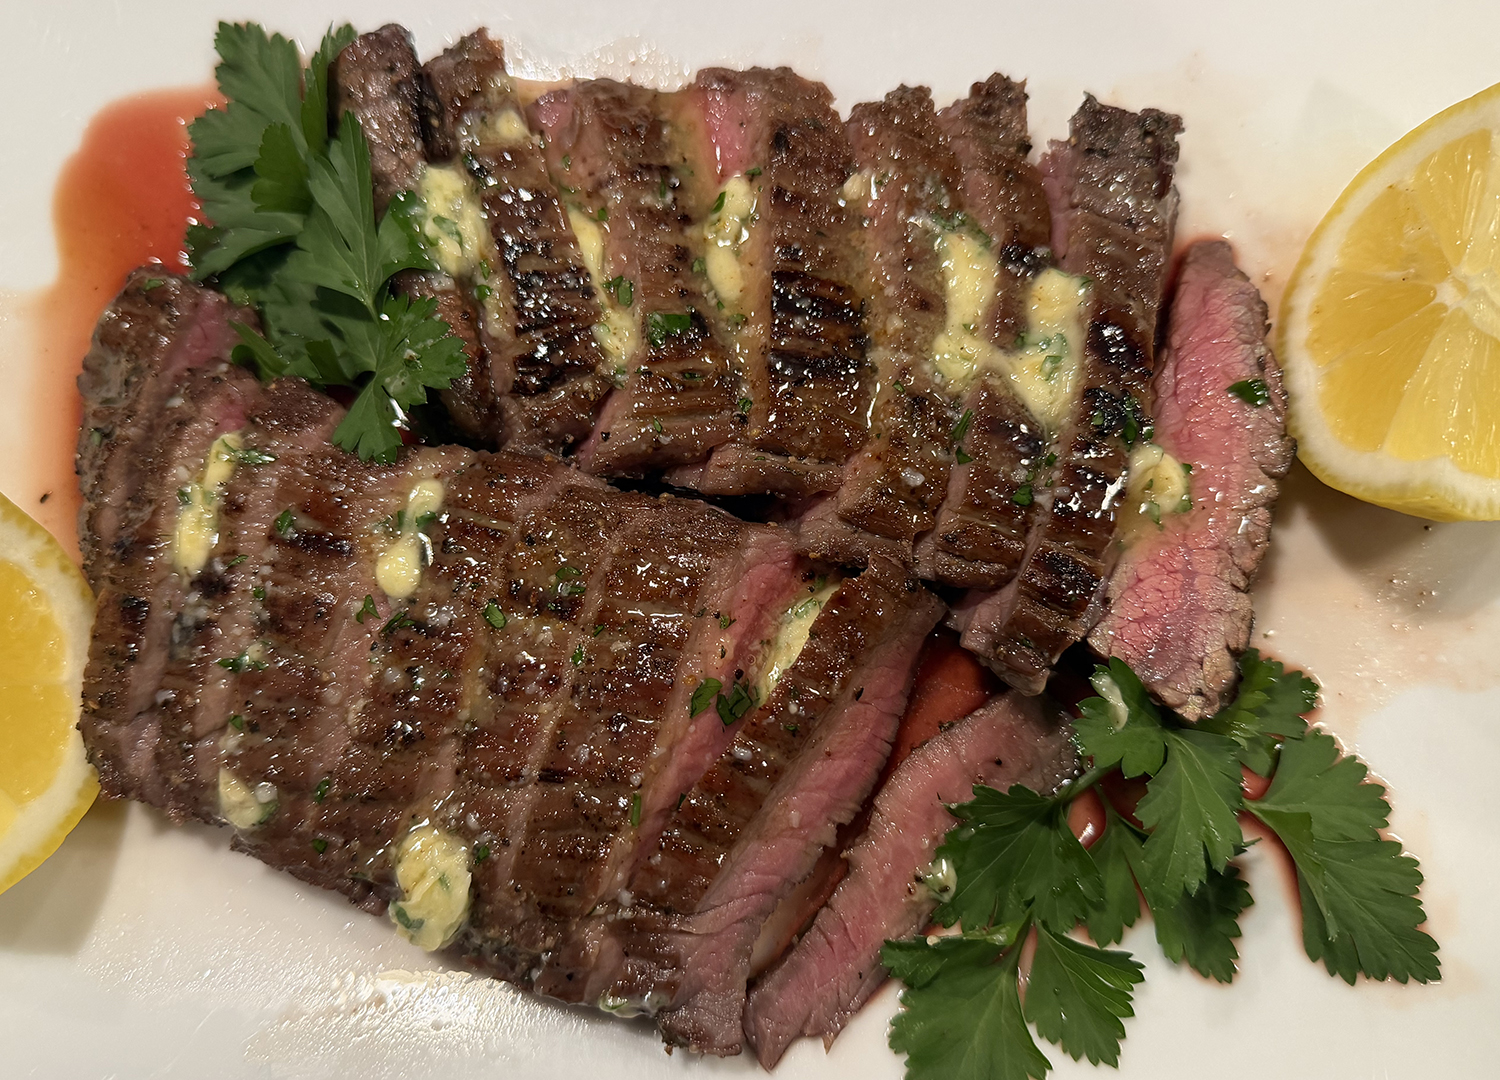
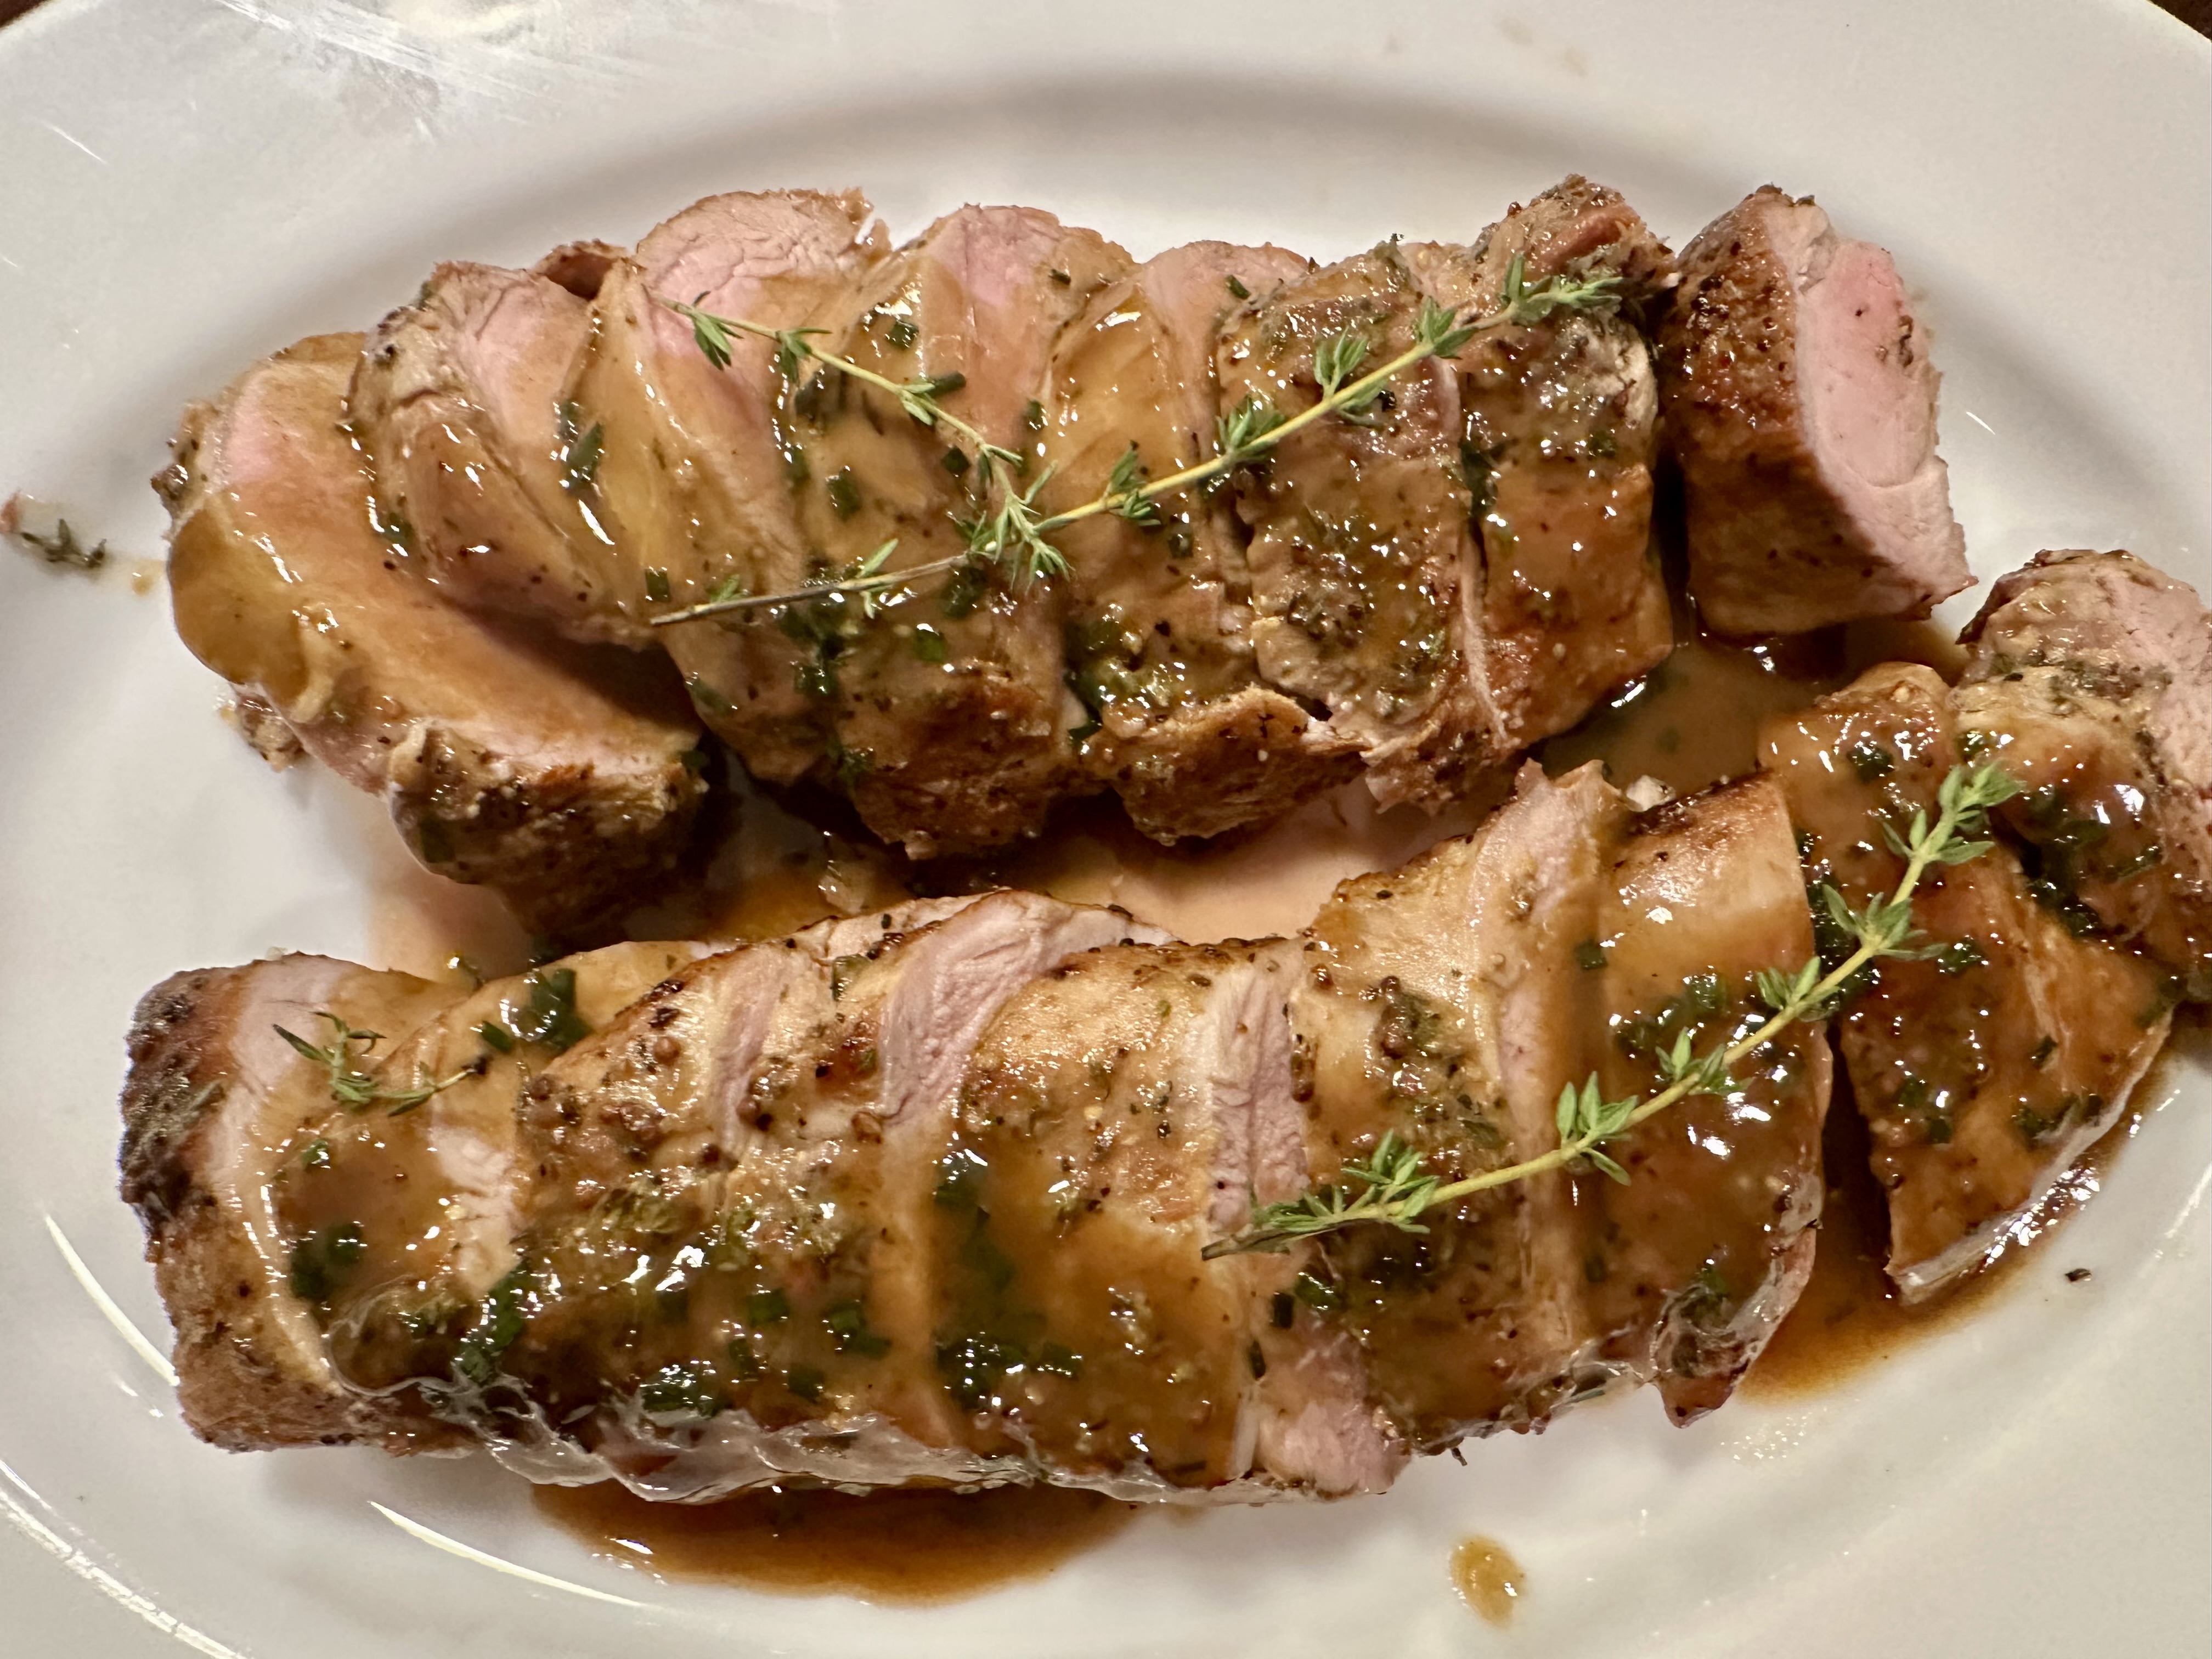
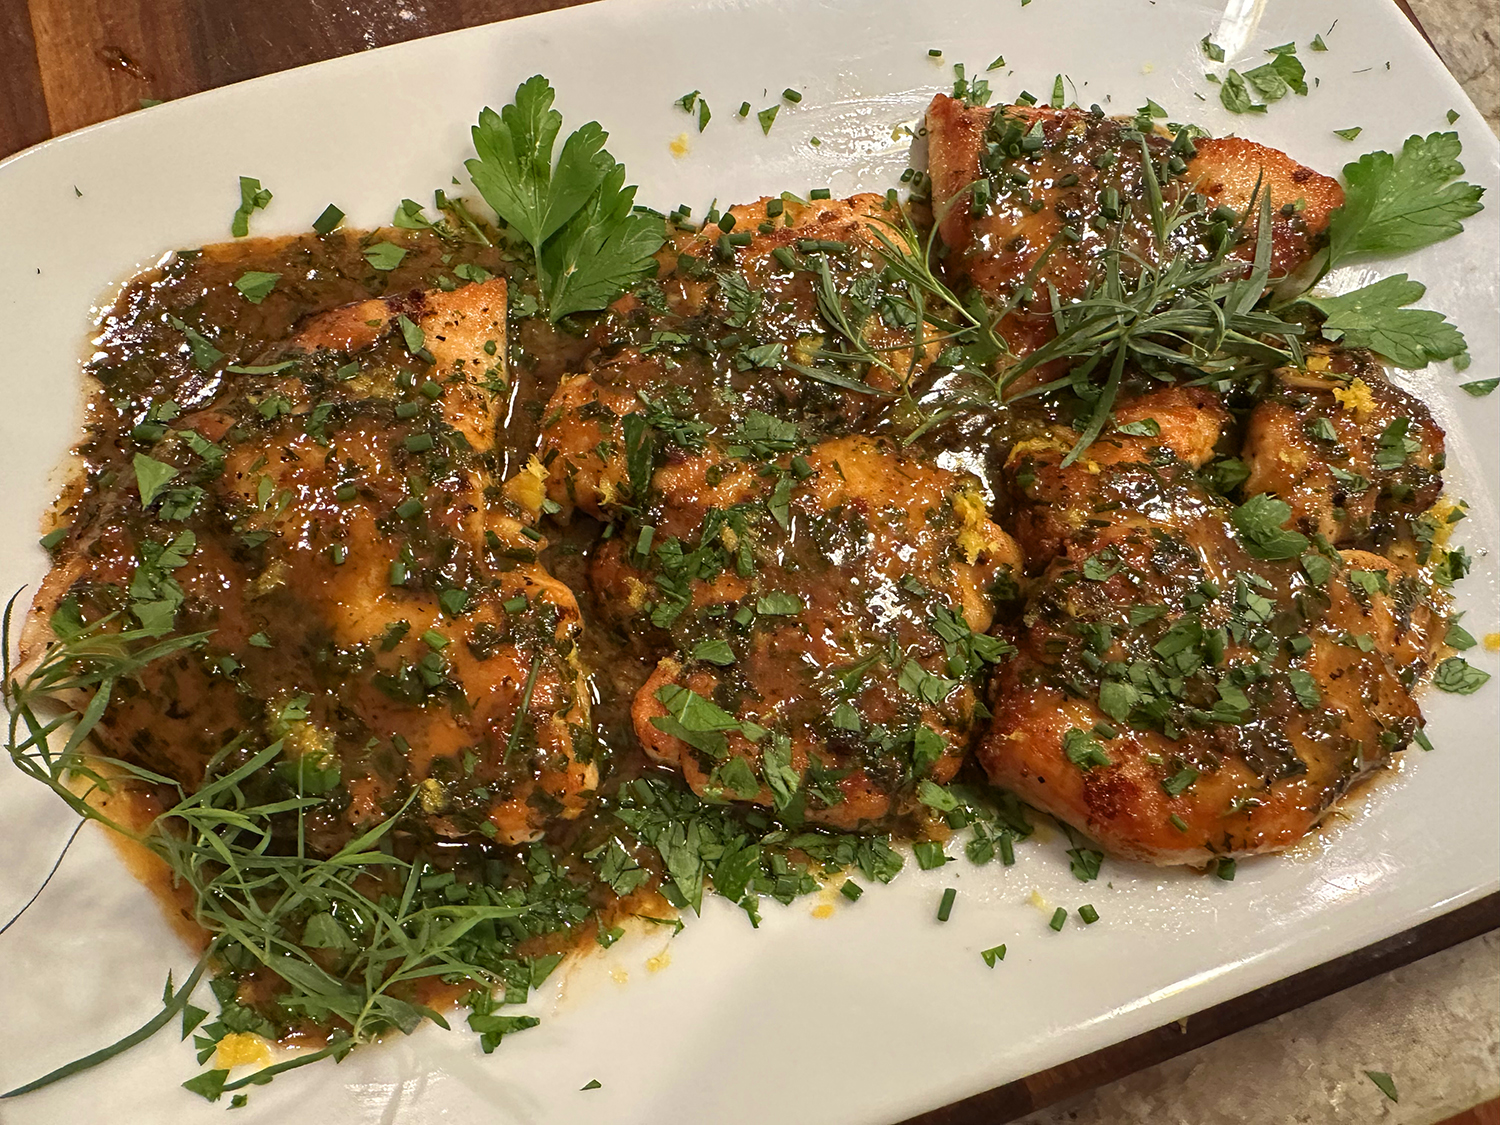
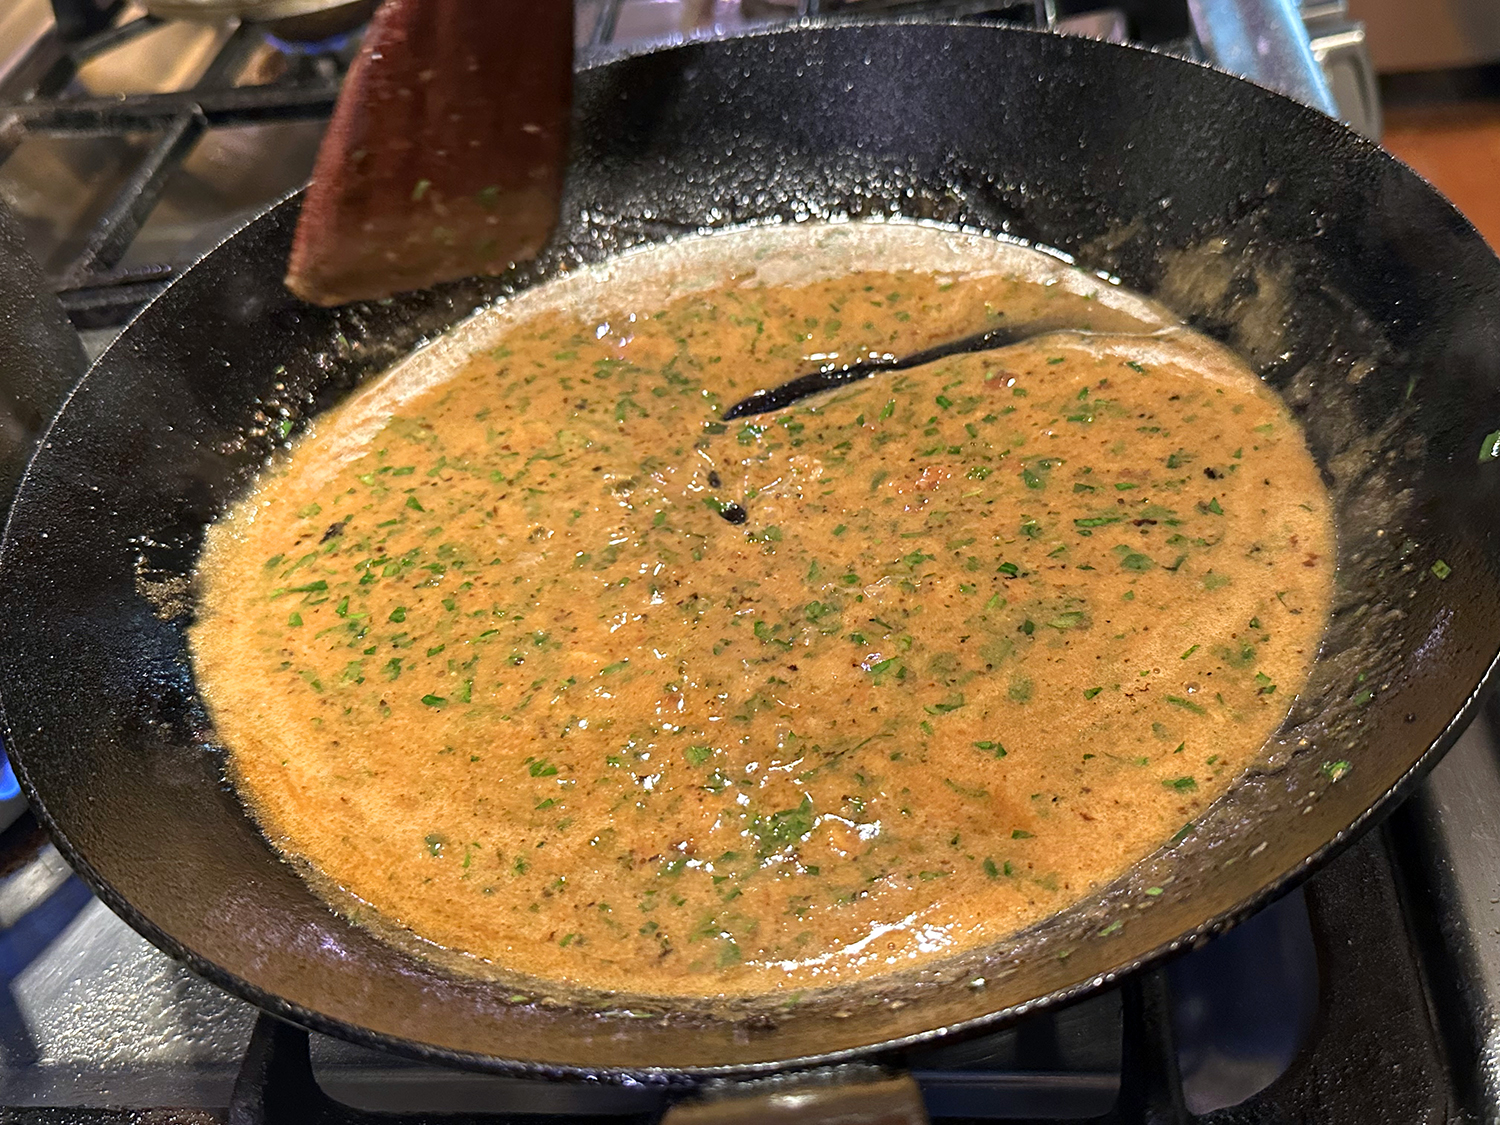
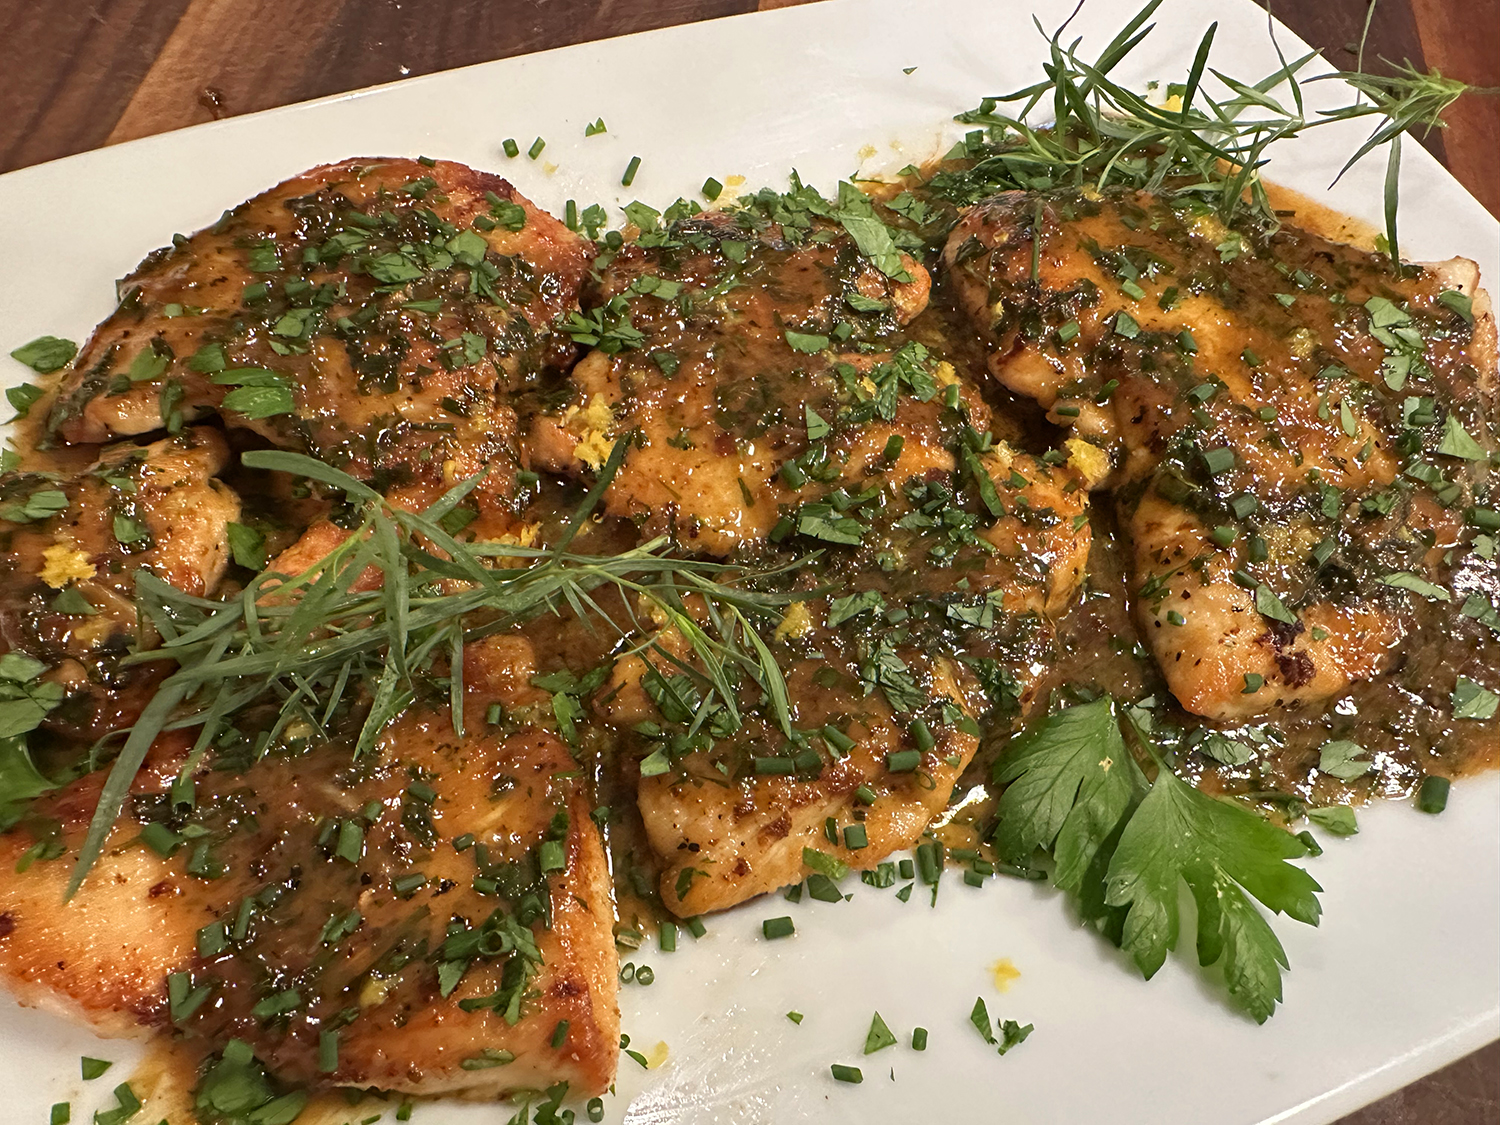
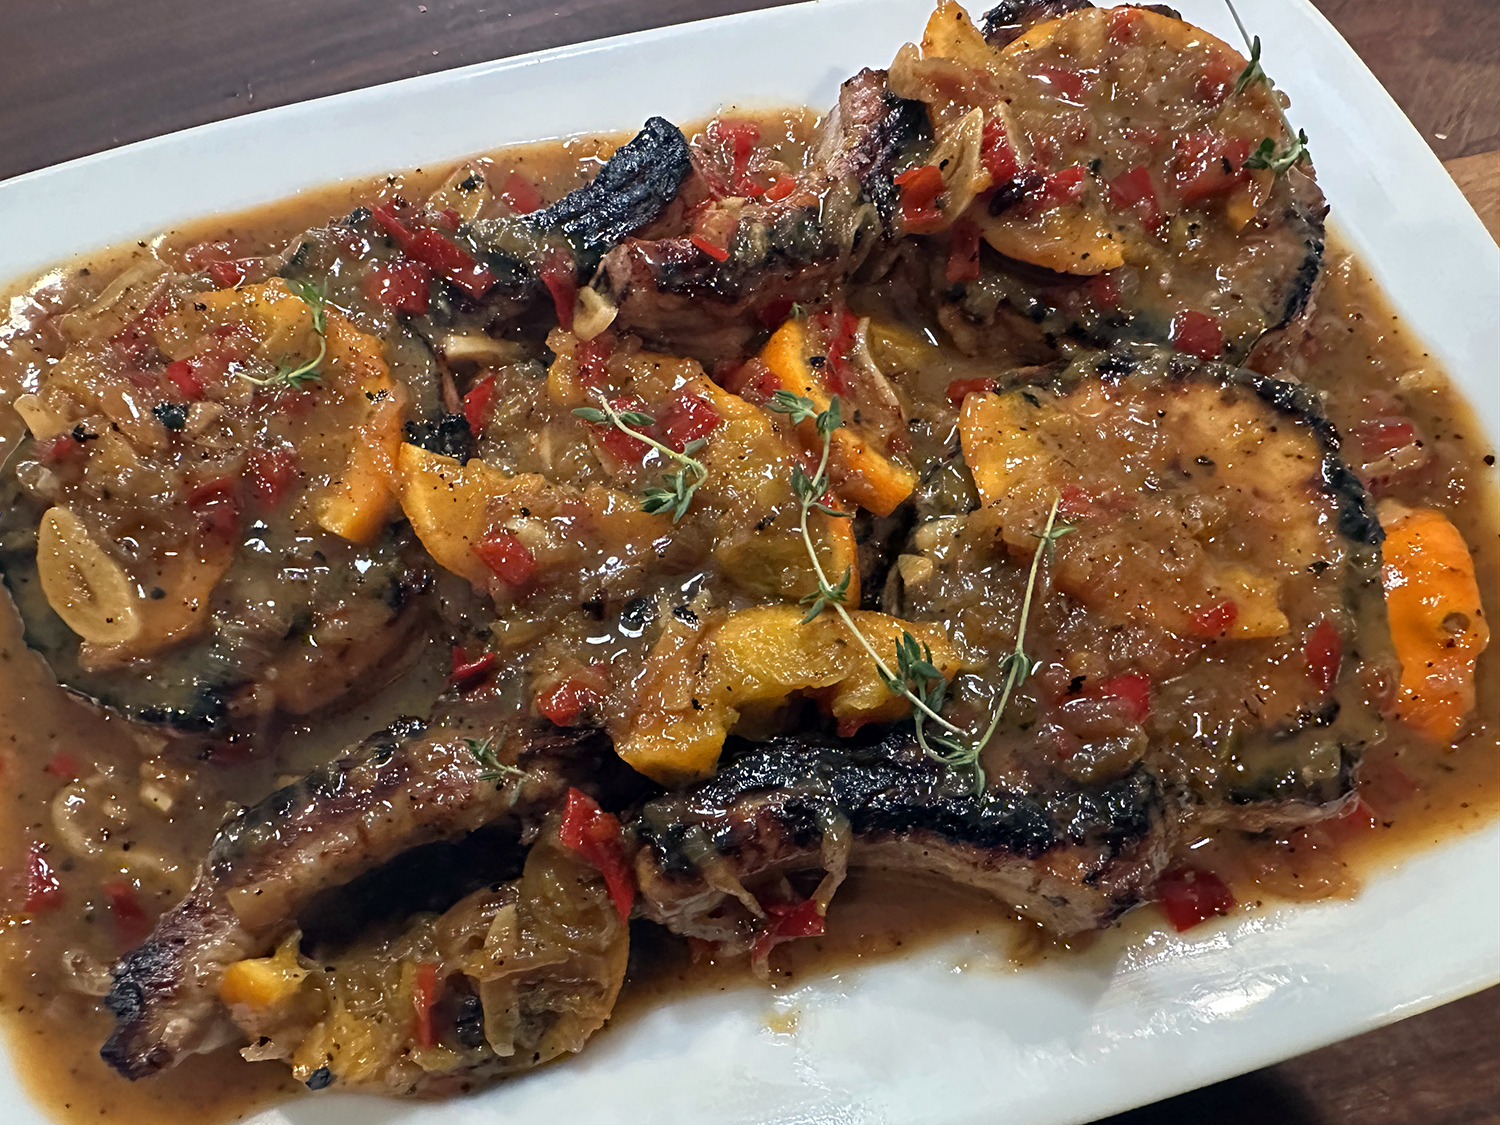
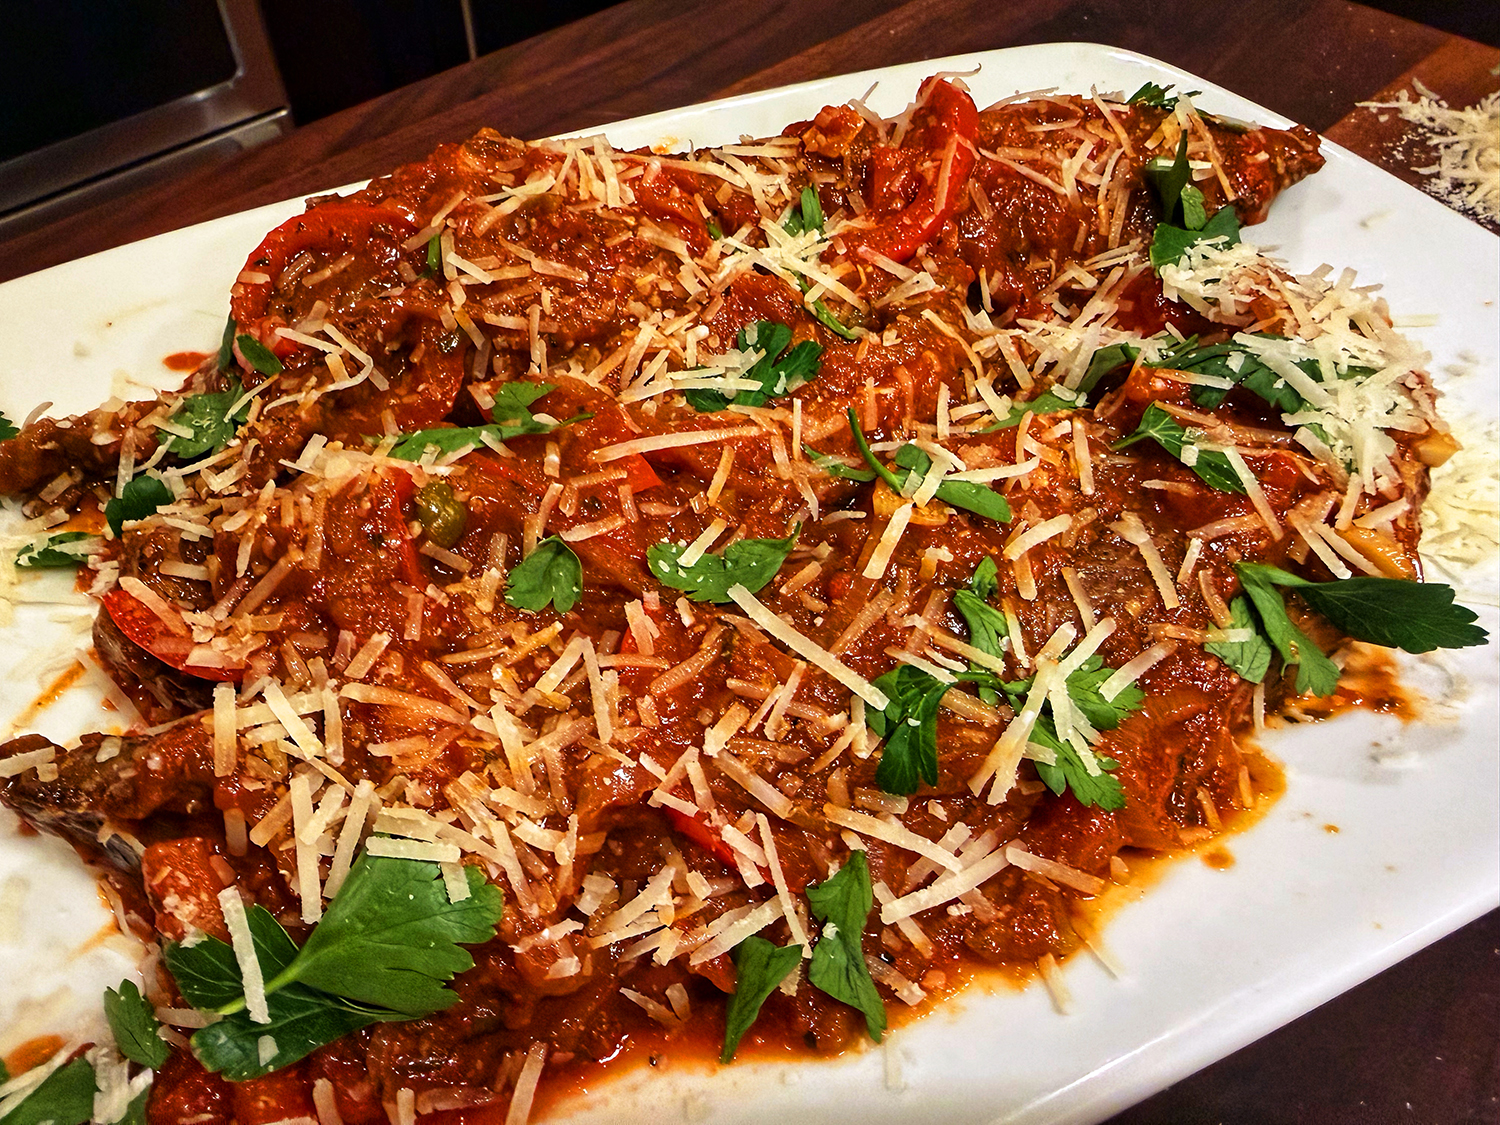
- Finish and serve. Taste the sauce and adjust salt and pepper as needed. Transfer the steaks to a board, slice them, and serve immediately, topped with sauce, torn fresh basil or parsley leaves, and parmesan cheese.
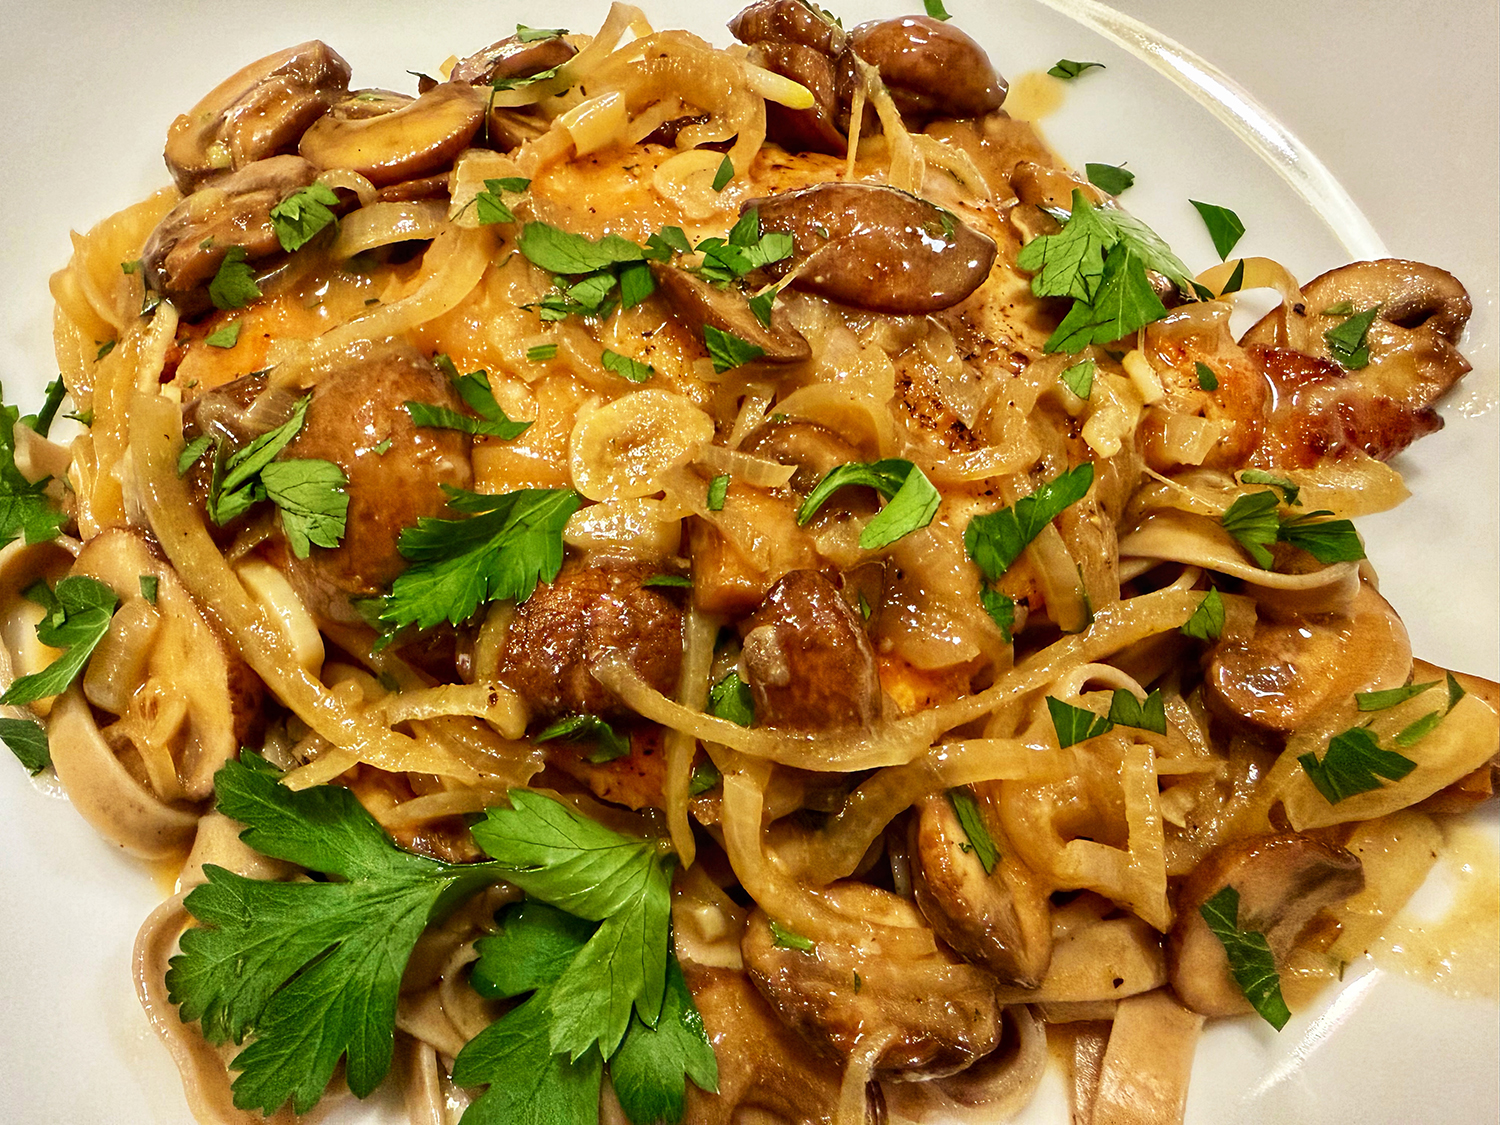
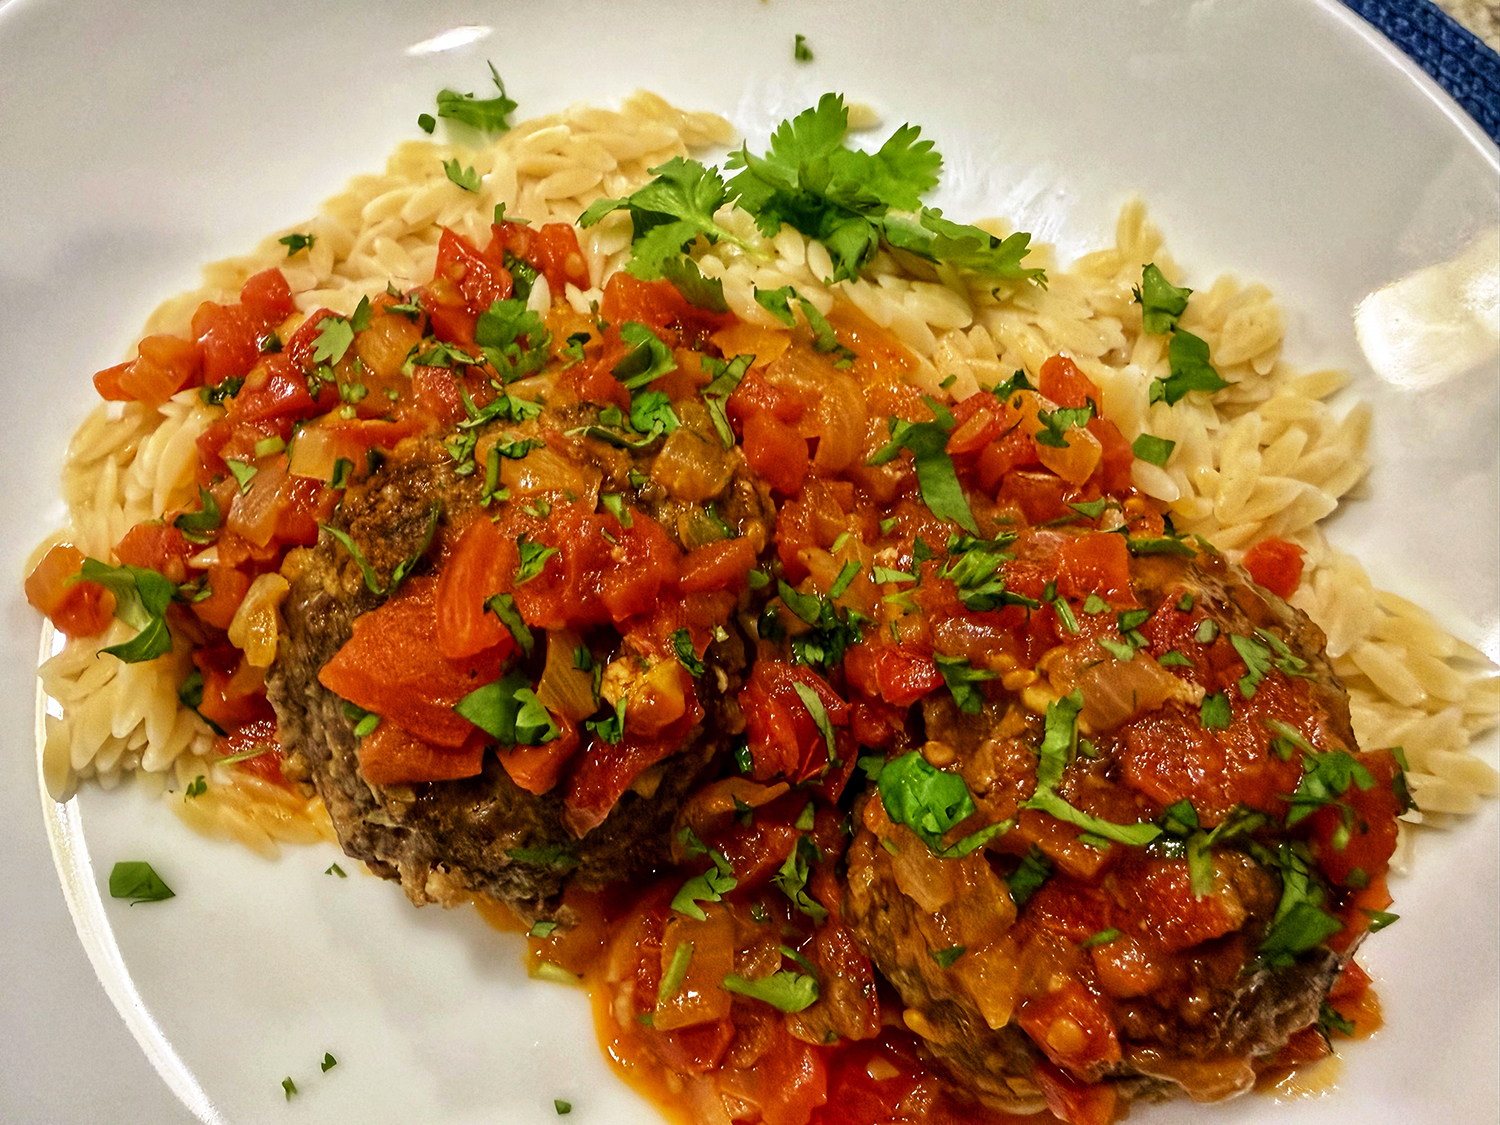
- To serve with pasta: A classic way to serve this steak pizzaiola recipe is with pasta. Once the steak is cooked, plate it up with a little of the sauce, then toss cooked spaghetti or rigatoni with the remaining sauce in the pot. If you plan to serve it this way, use 4 cups of marinara instead of 2.
Recipe from the mediterraneandish.com