Here’s a very easy, low-count-ingredient, tasty stir-fry recipe from Milk Street. If you can get local in-season plum tomatoes, all the better.
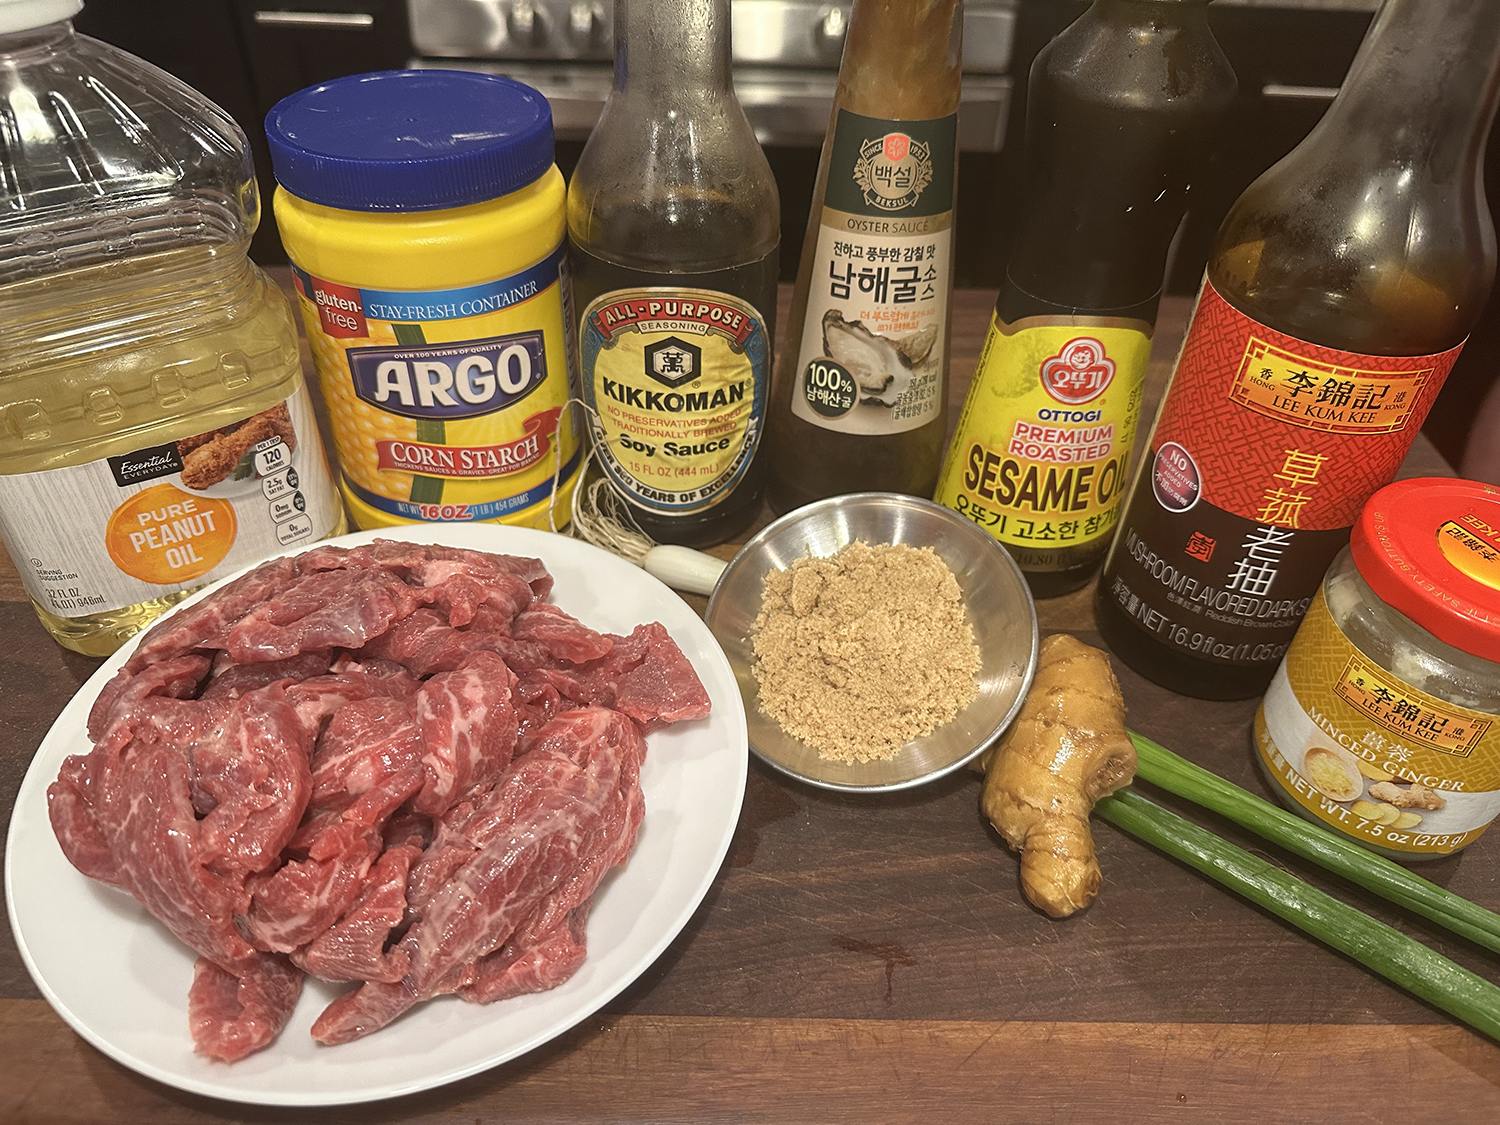
The protein flank steak, has a beefy flavor and slightly coarse texture that makes it versatile for many dishes, from fajitas to stir-fries. But what happens when flank steak is unavailable, or you’re looking for a more budget-friendly or tender option? The good news is that several excellent flank steak alternatives can provide similar results.

Here are three possible options: Skirt steak is the most common substitute for flank steak. Both cuts are similar in shape and have pronounced muscle fibers, making them ideal for high-heat cooking. Cut from the shoulder, flat iron steak is tender and flavorful. It is often considered one of the most underrated cuts of beef. Or hanger steak, often called the “butcher’s cut” because of its rich flavor, hanger steak comes from the cow’s diaphragm.
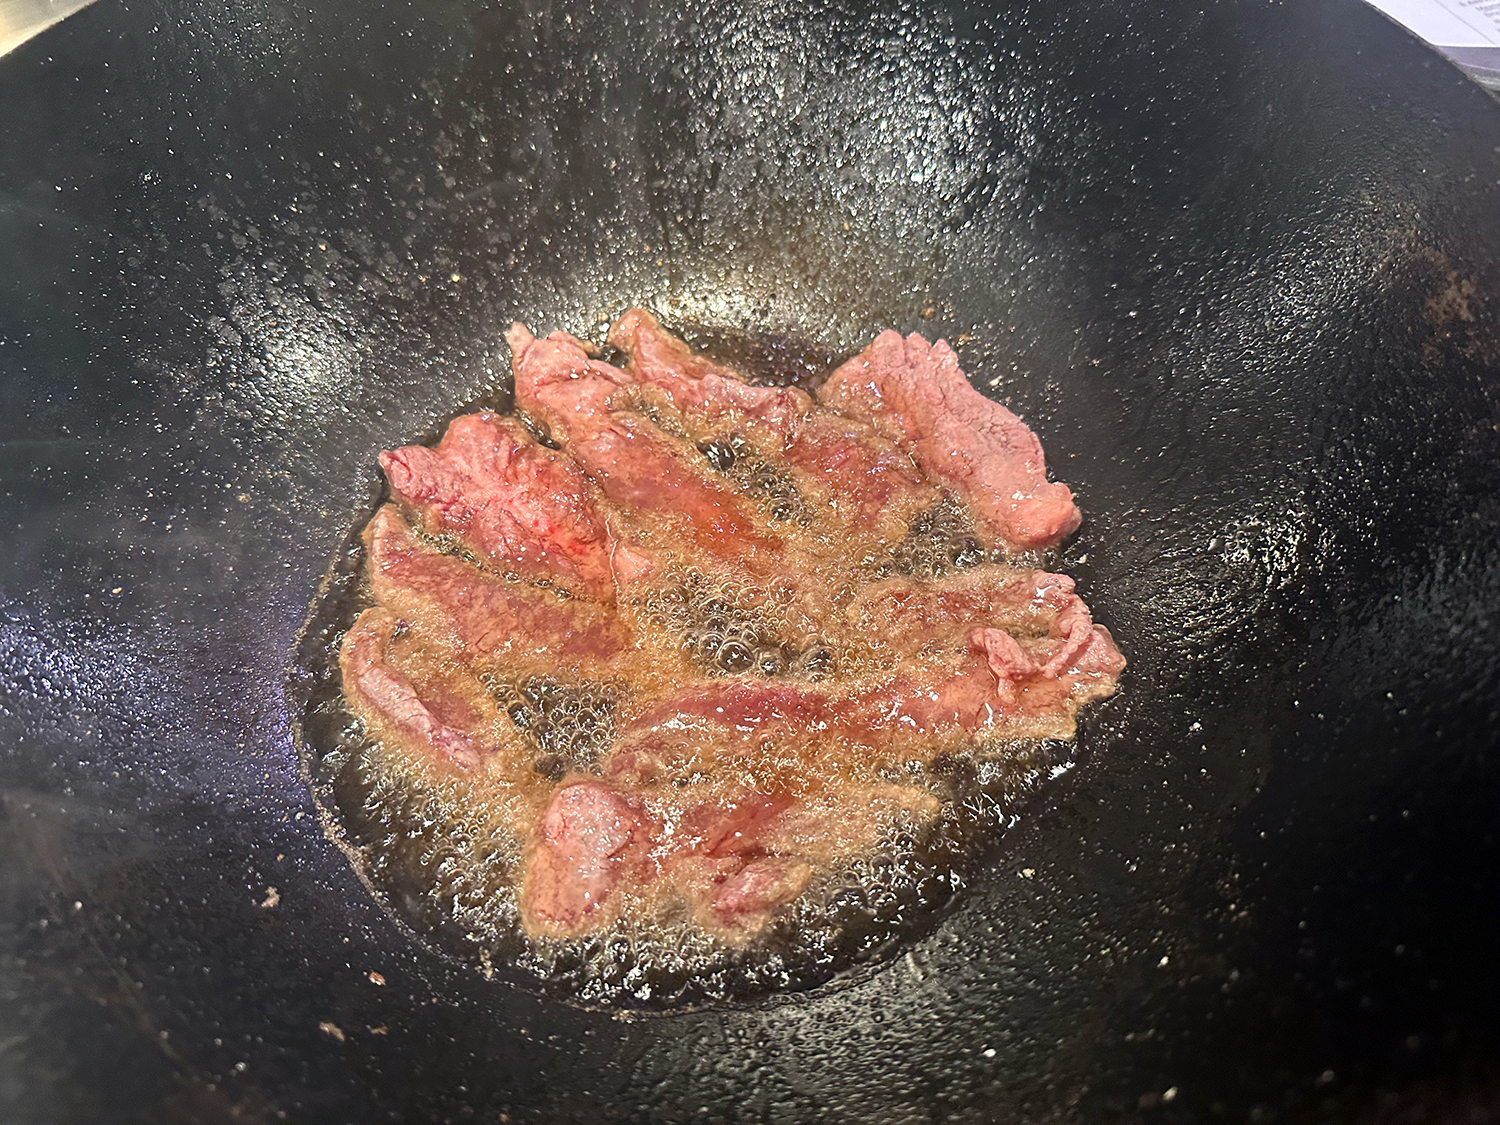
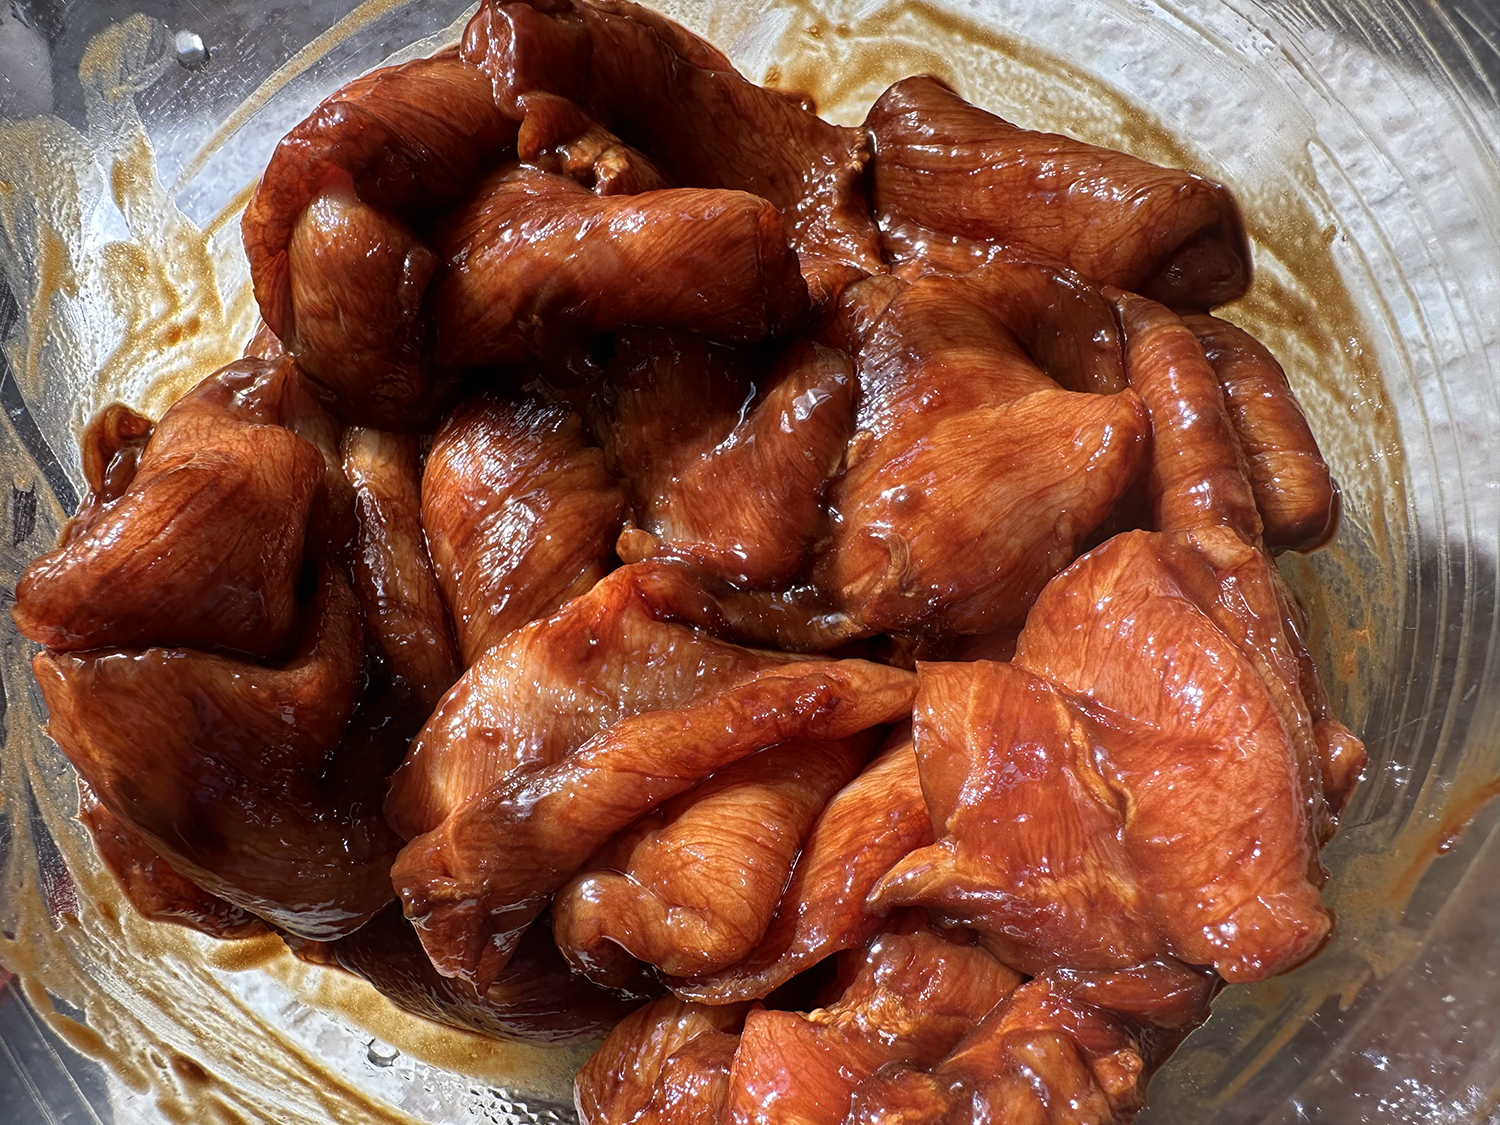
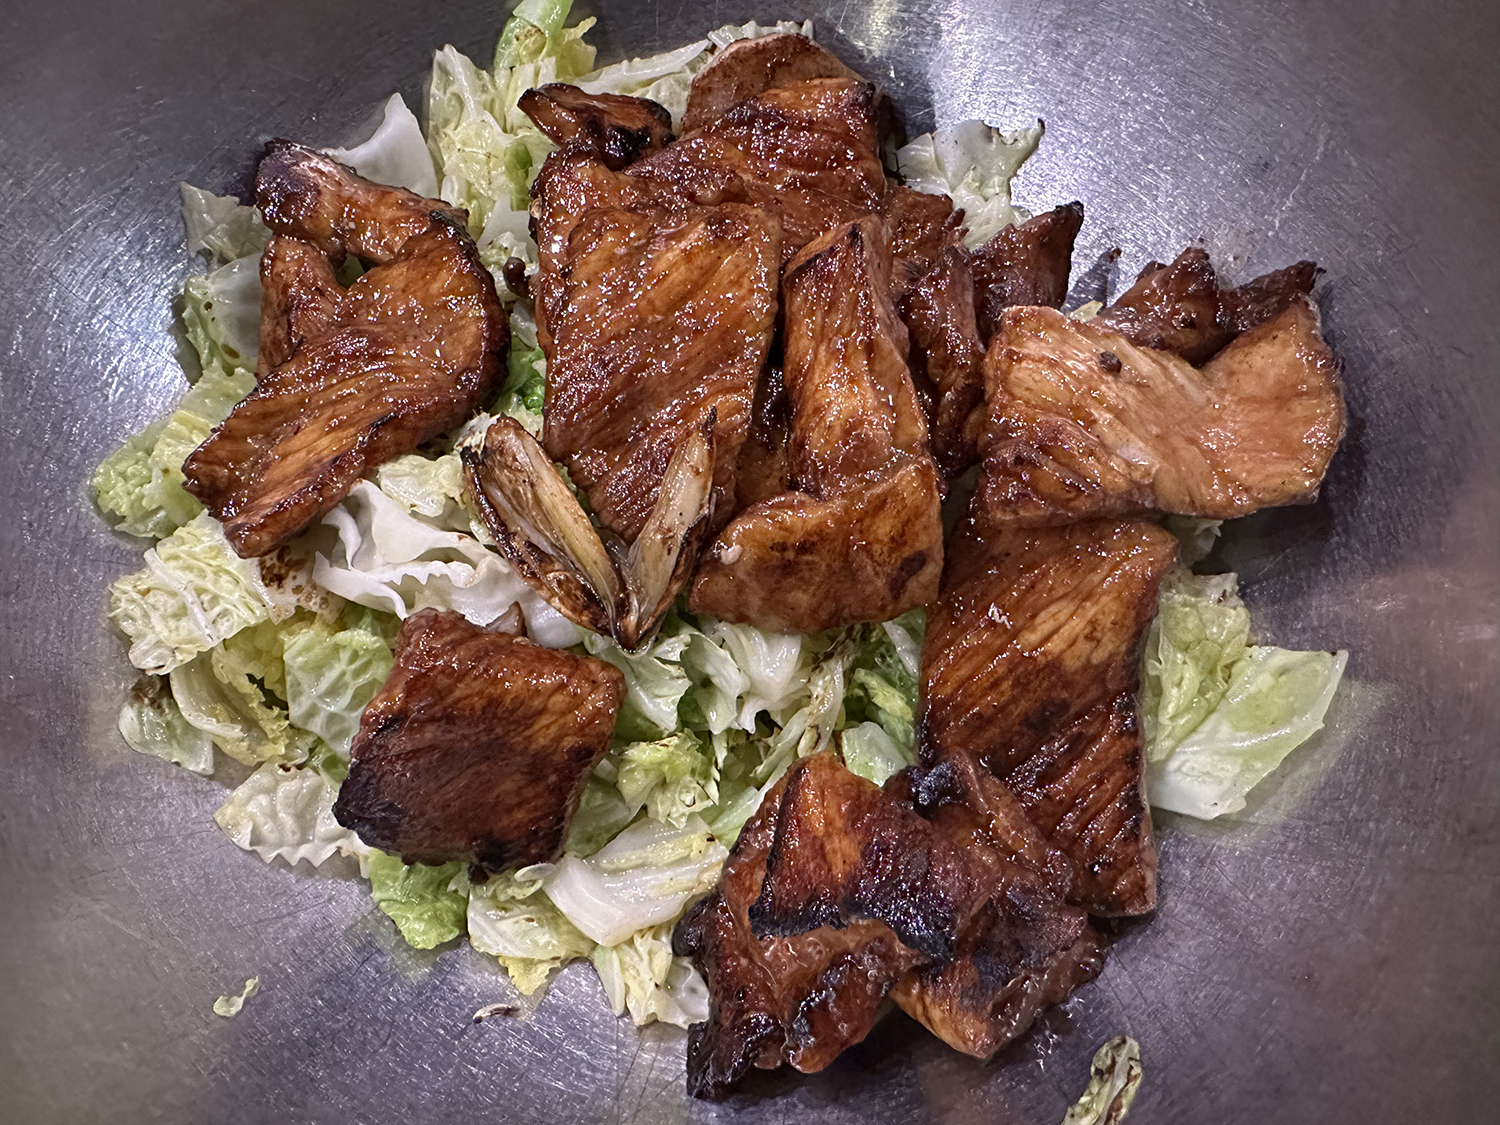
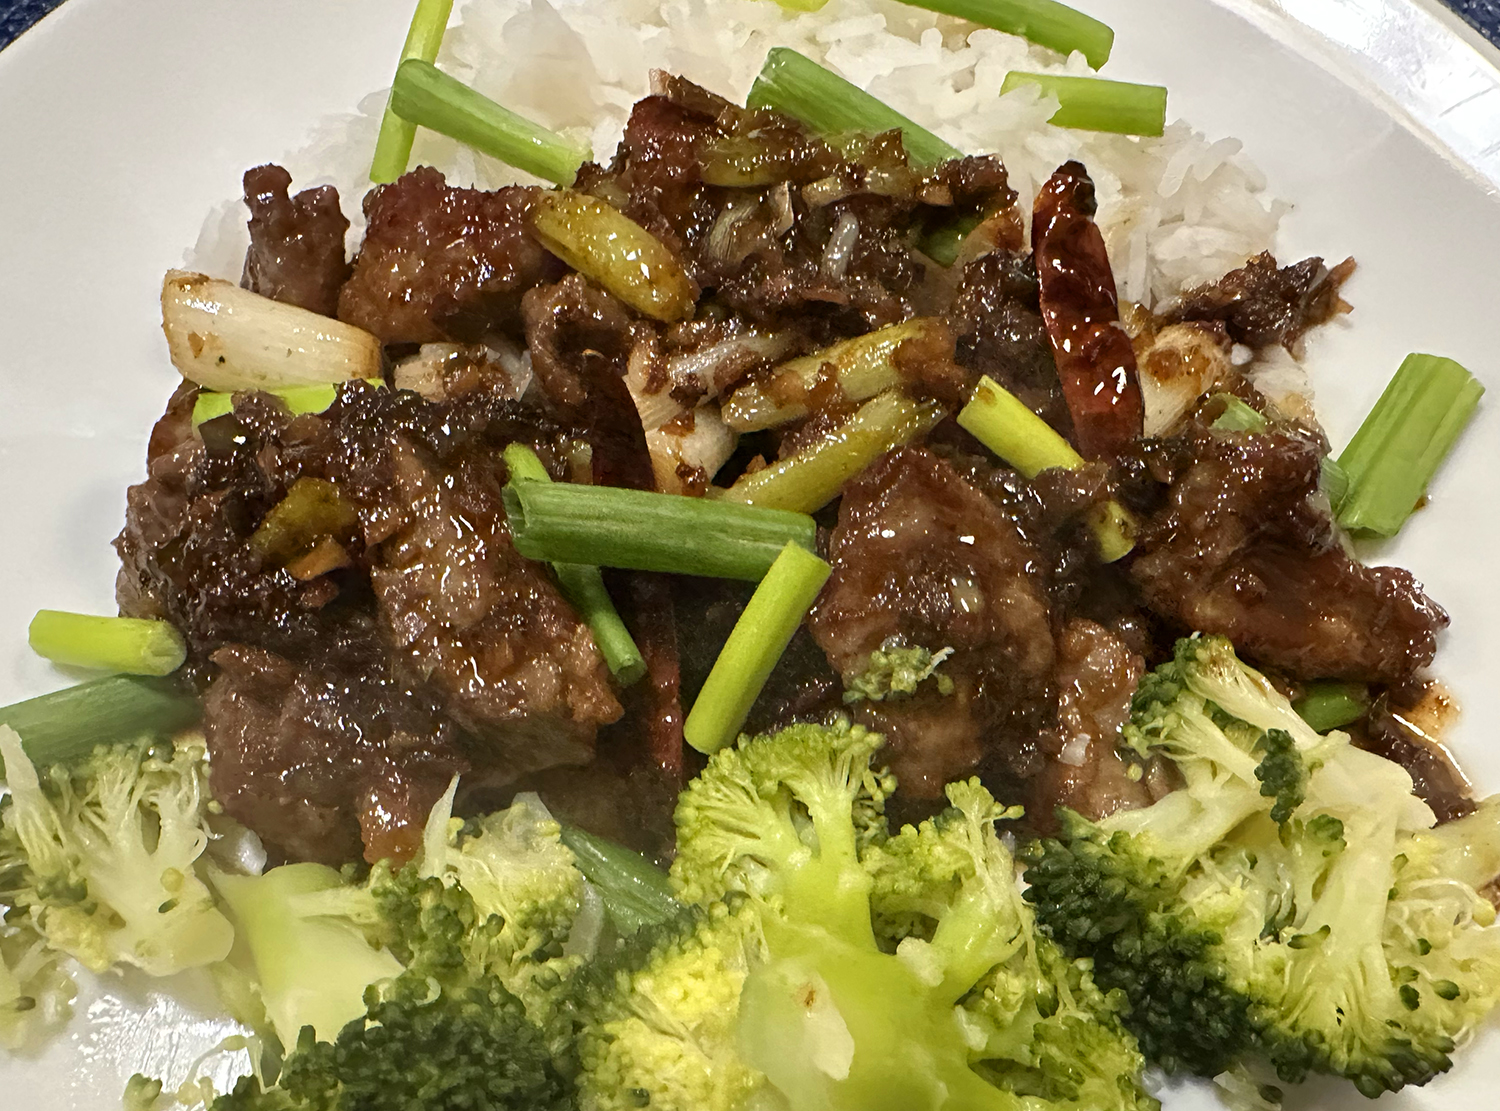
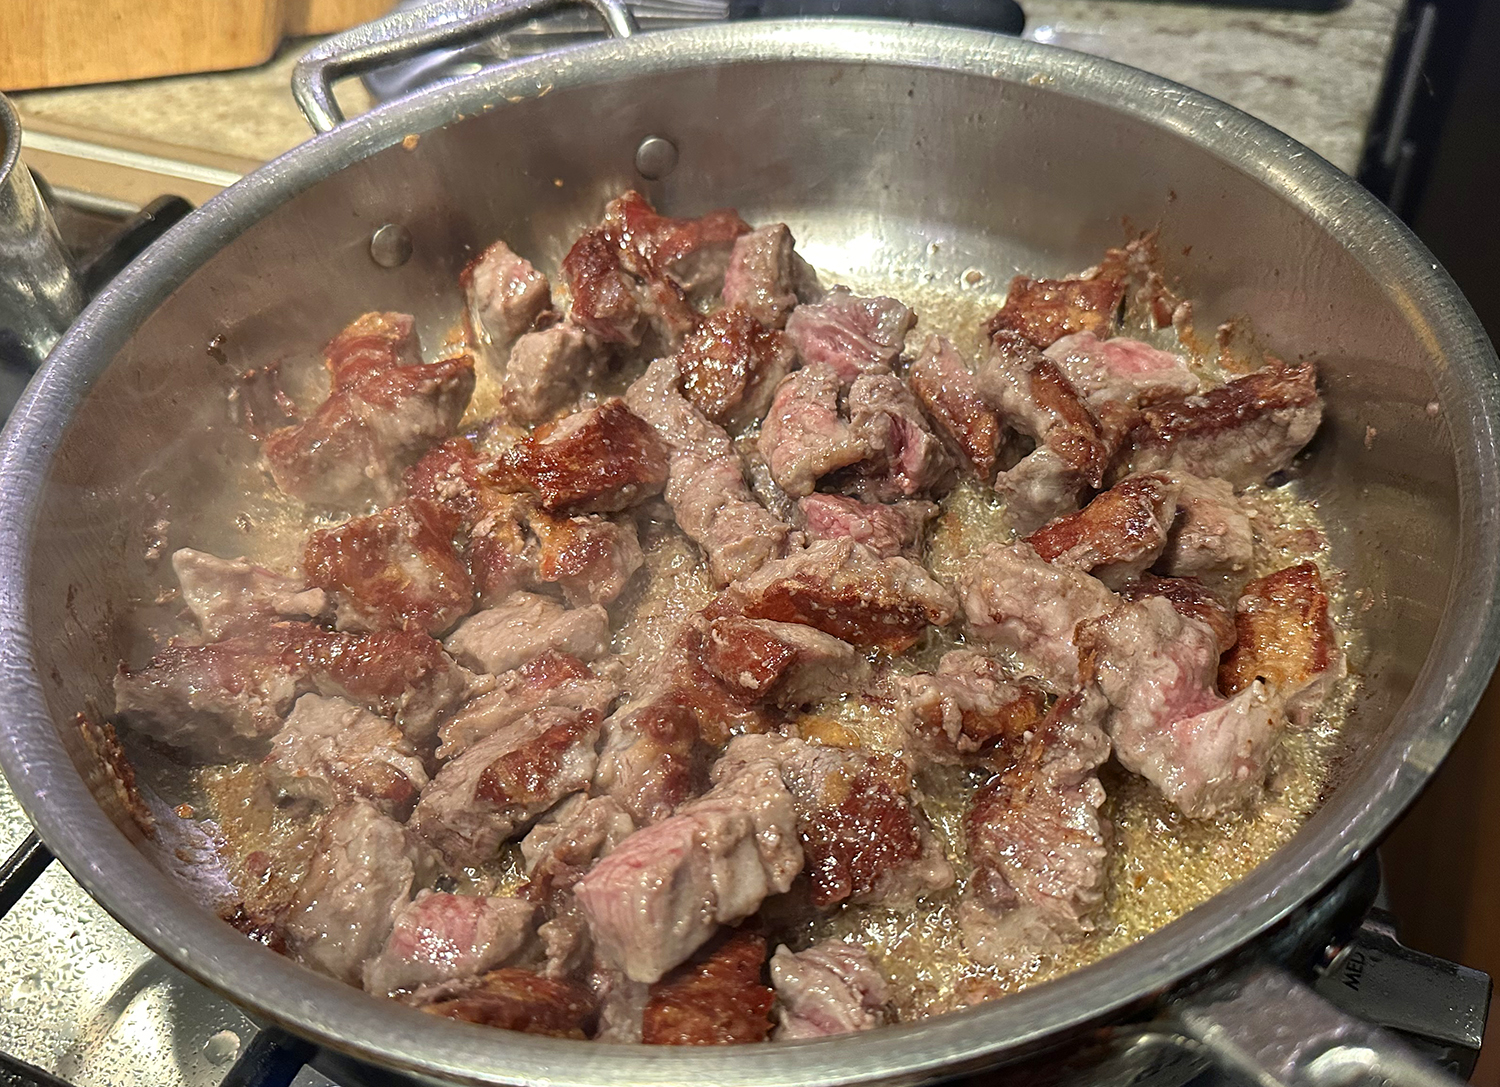
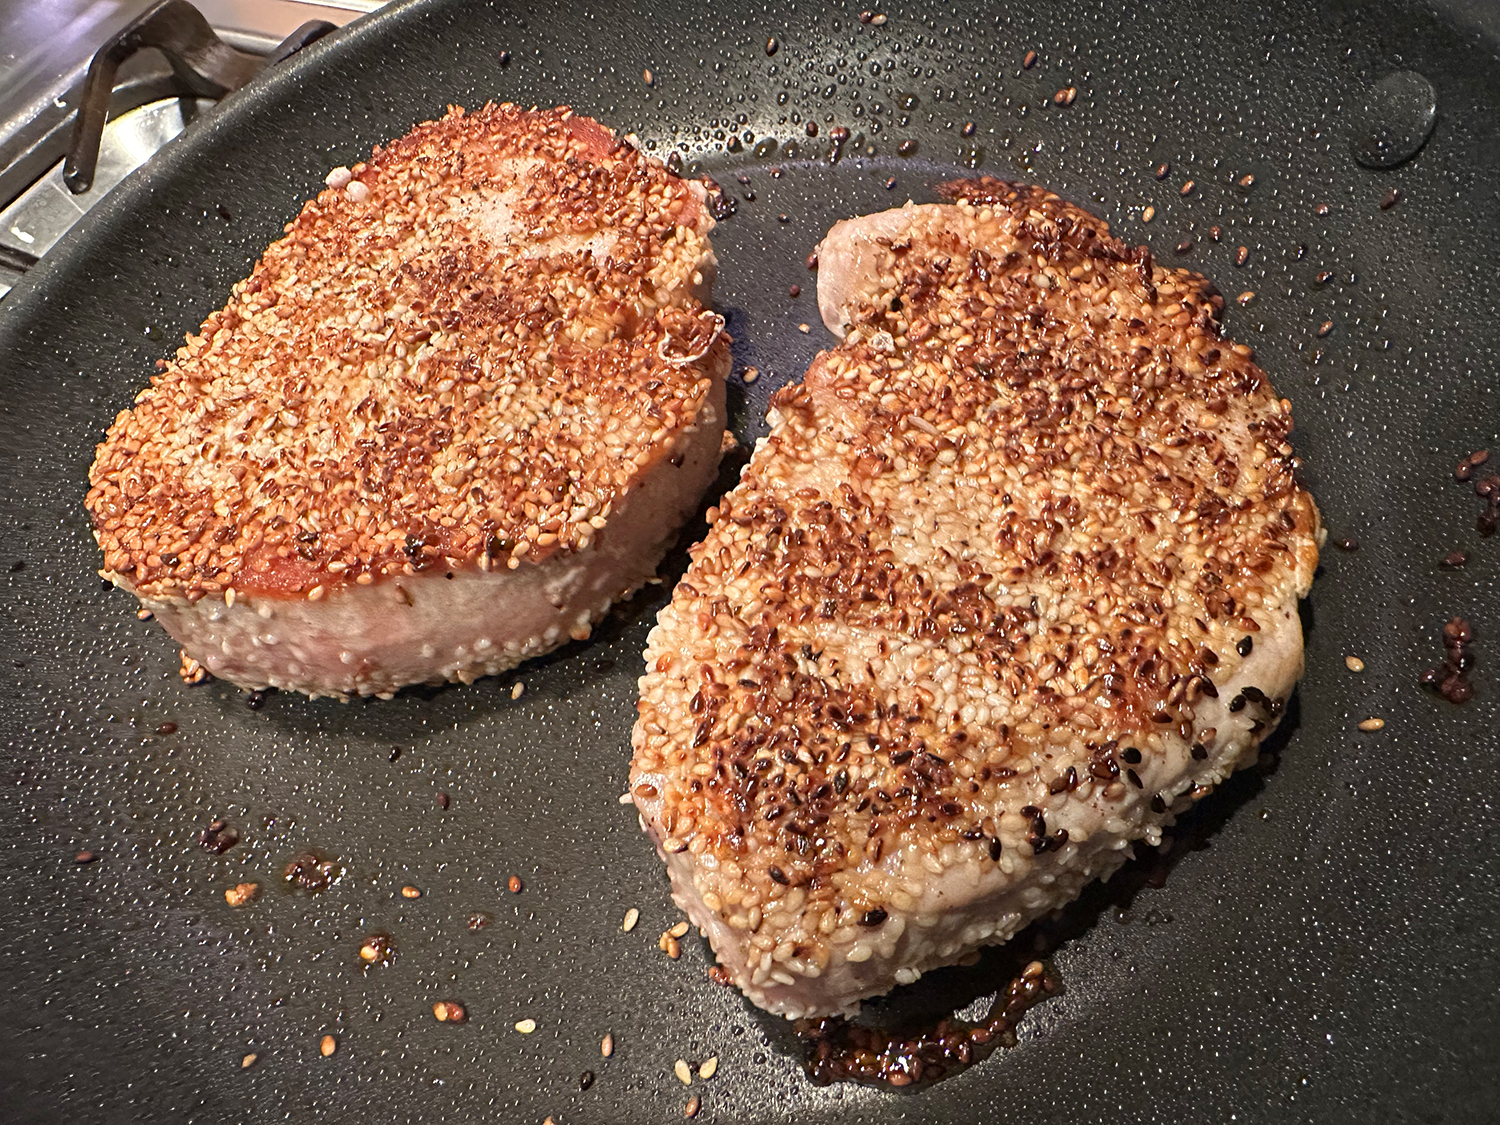
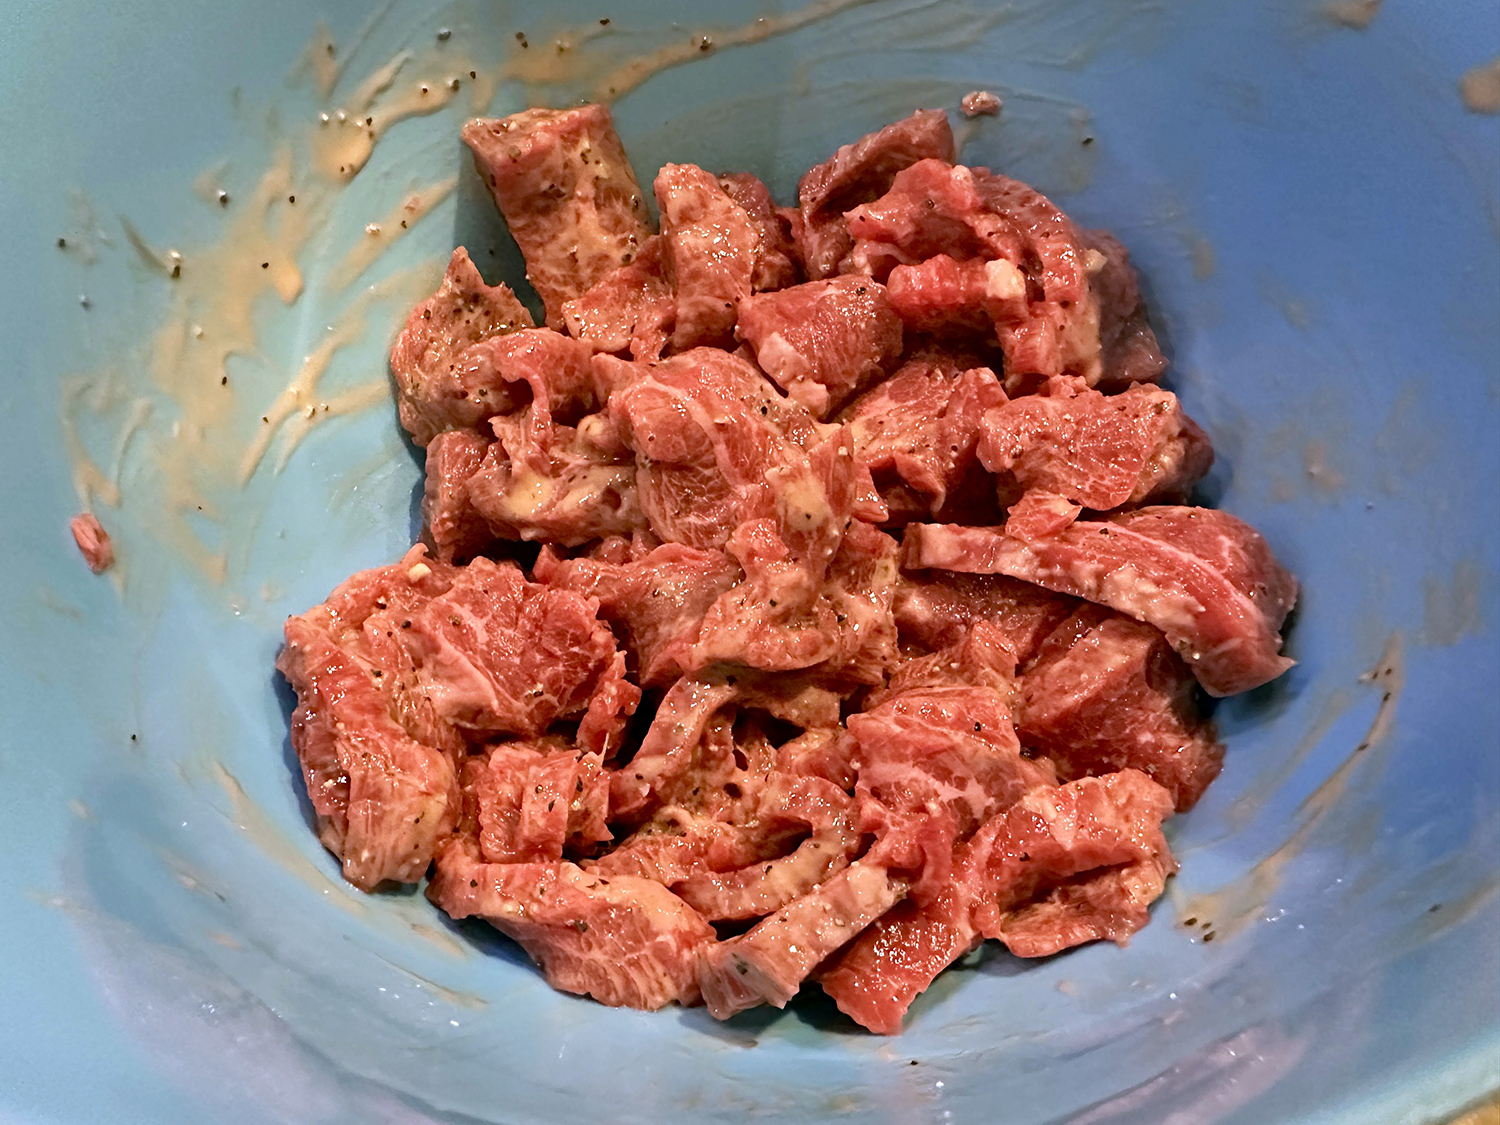
Whatever your protein choice, if the pan is too crowded the meat will steam instead of brown. At first, we thought all of that meat in the skillet was too much. But to our delight, the pieces did brown. If your amount looks tighter than the image below, you may want to cook in two batches just to be sure the beef does brown.
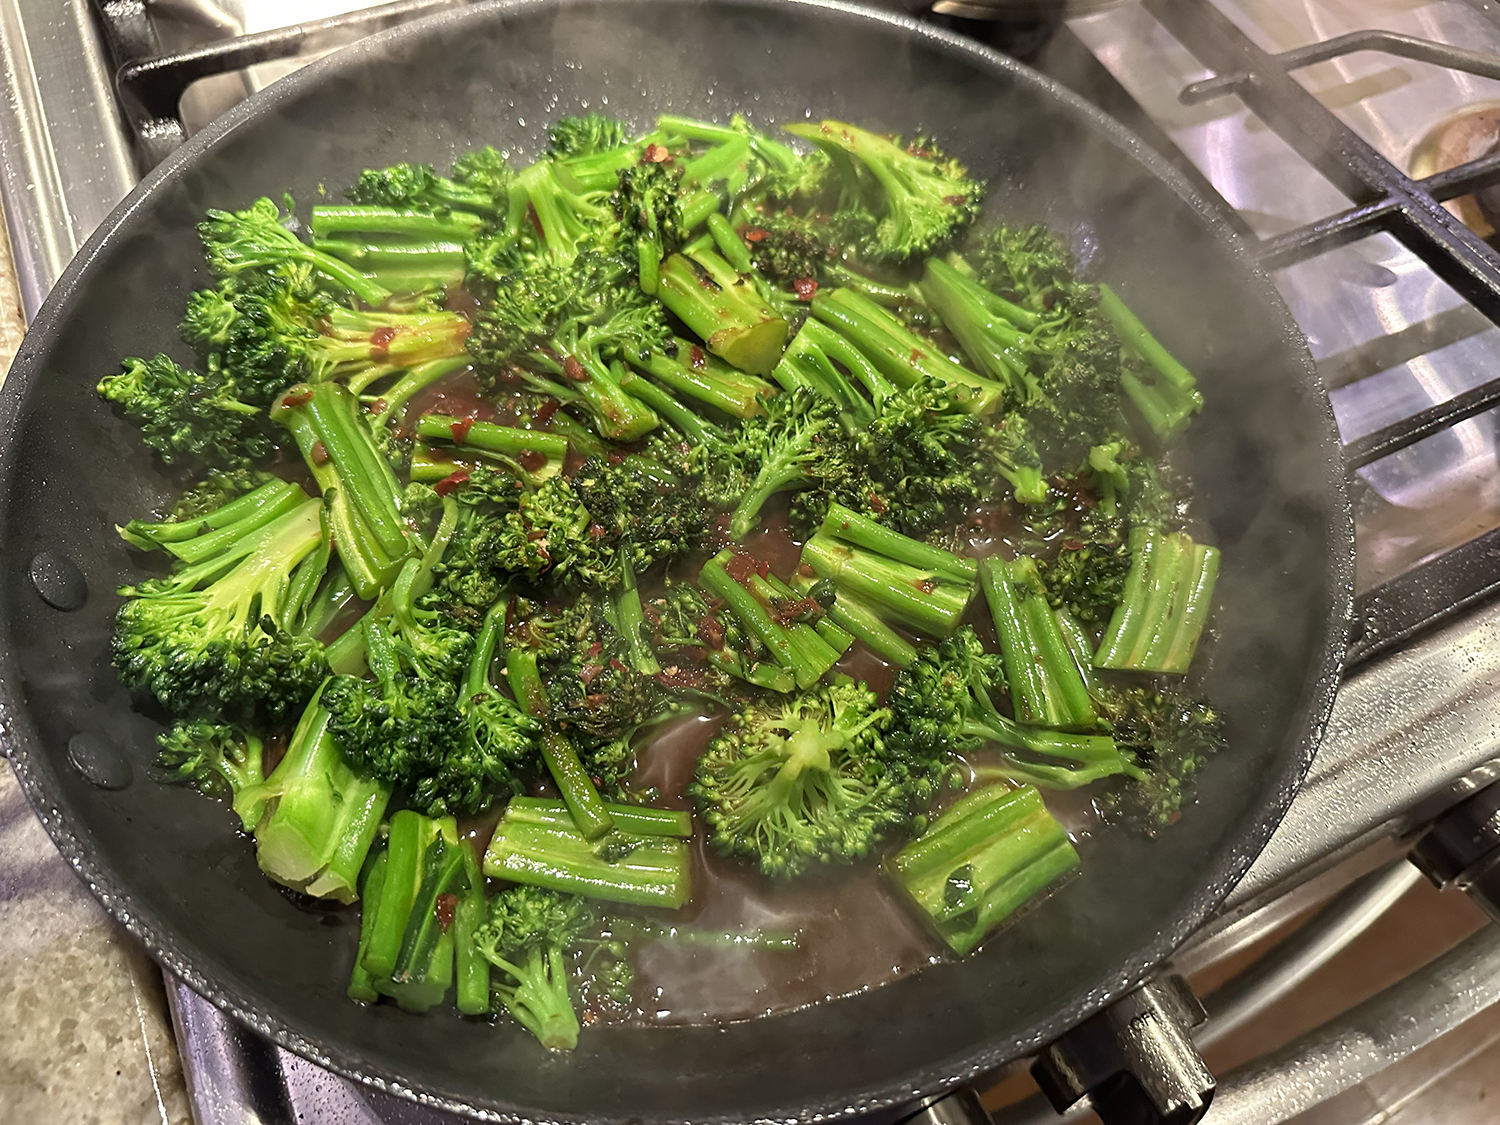
There is no spicy heat in this dish, but if that is your preference, you can always add some spicy chiles or include a bit of red pepper flakes.

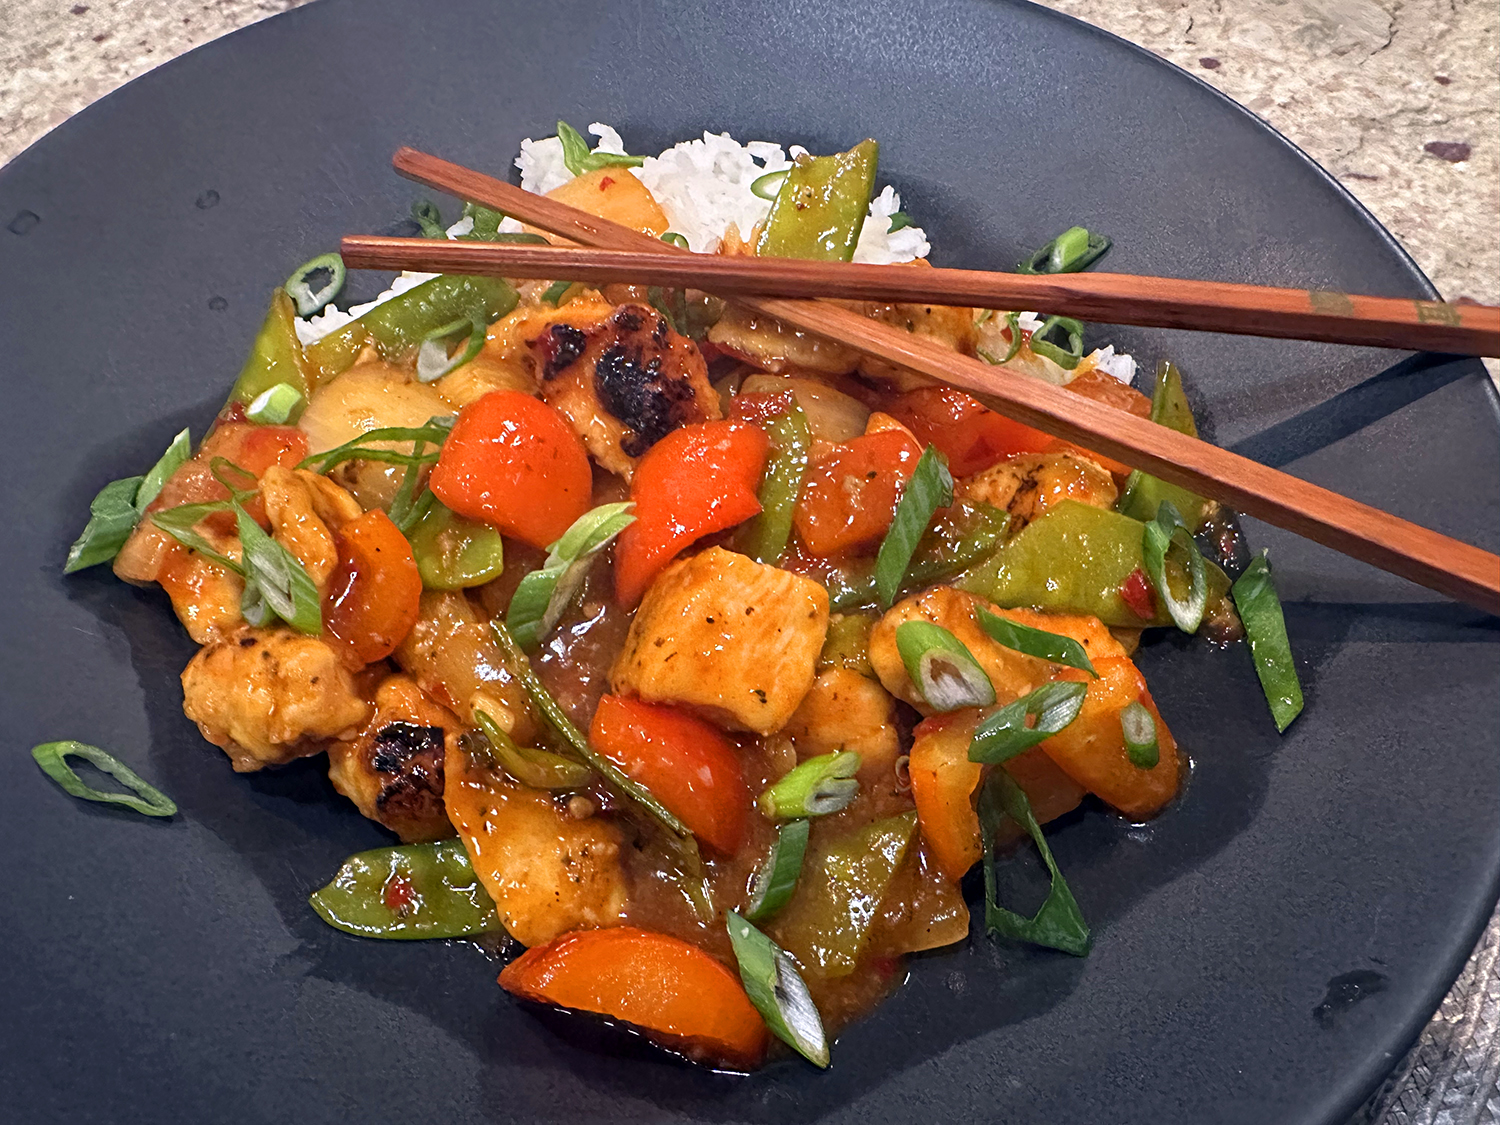
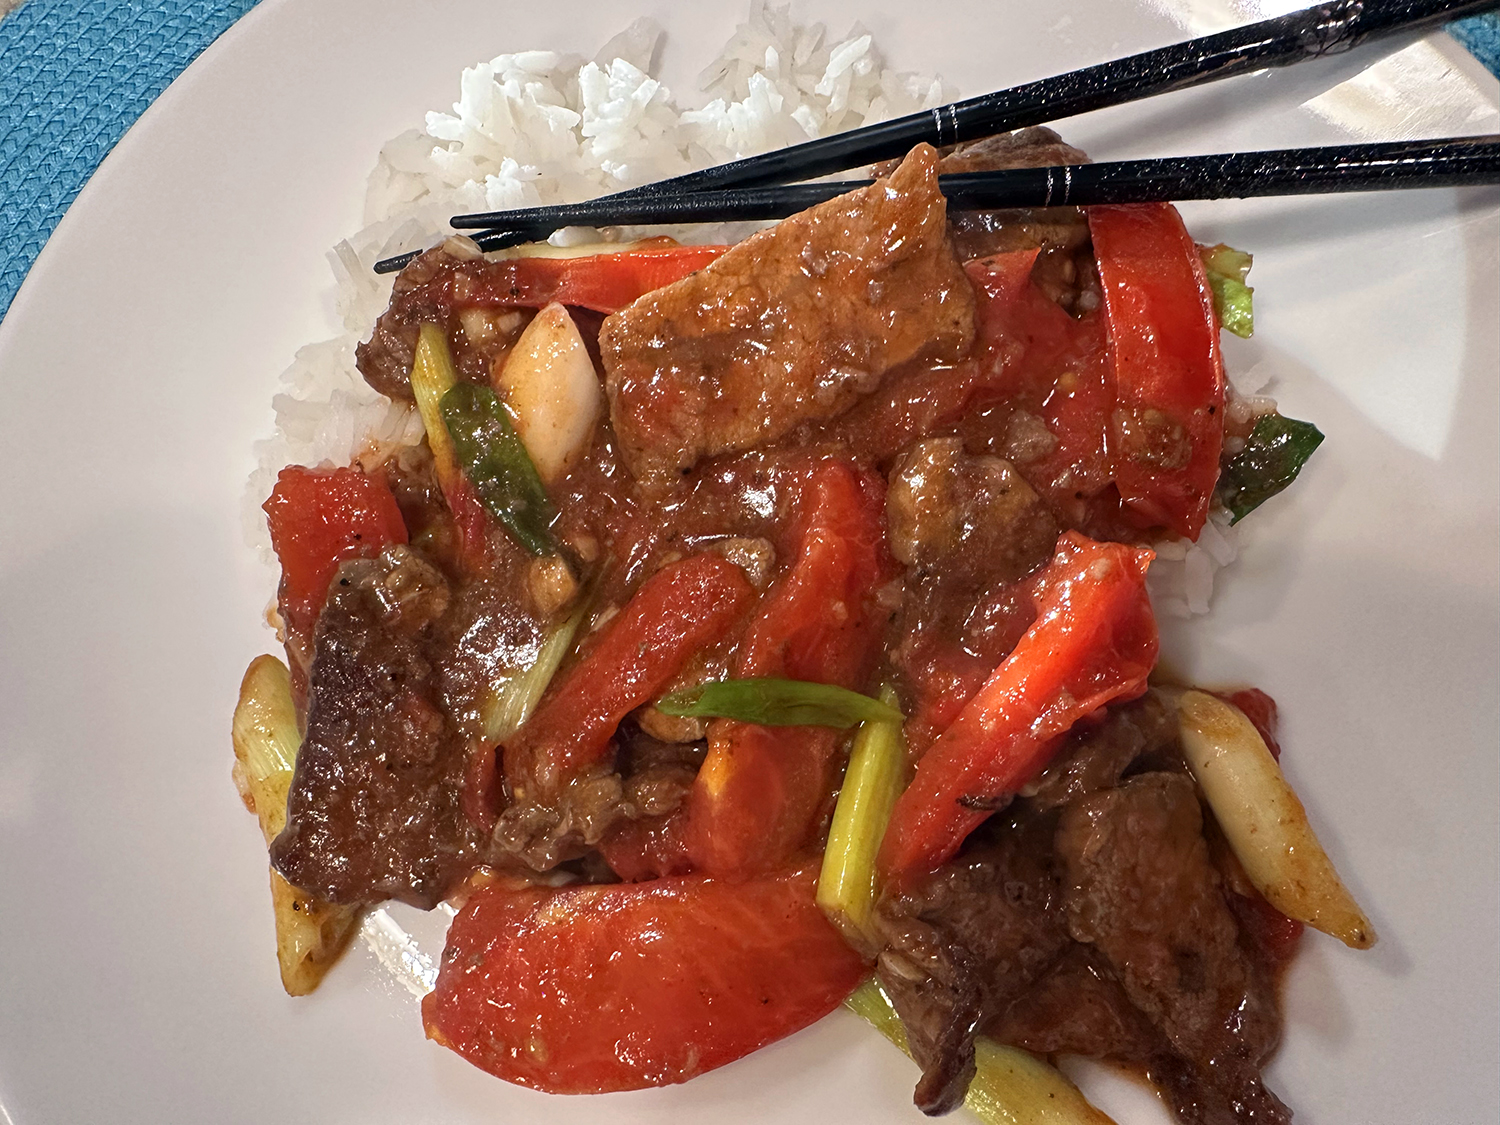
Stir-Fried Beef and Tomatoes
Ingredients
- 4 Tbsp. oyster sauce OR hoisin sauce, divided
- 1 Tbsp. cornstarch
- Kosher salt and ground white or black pepper
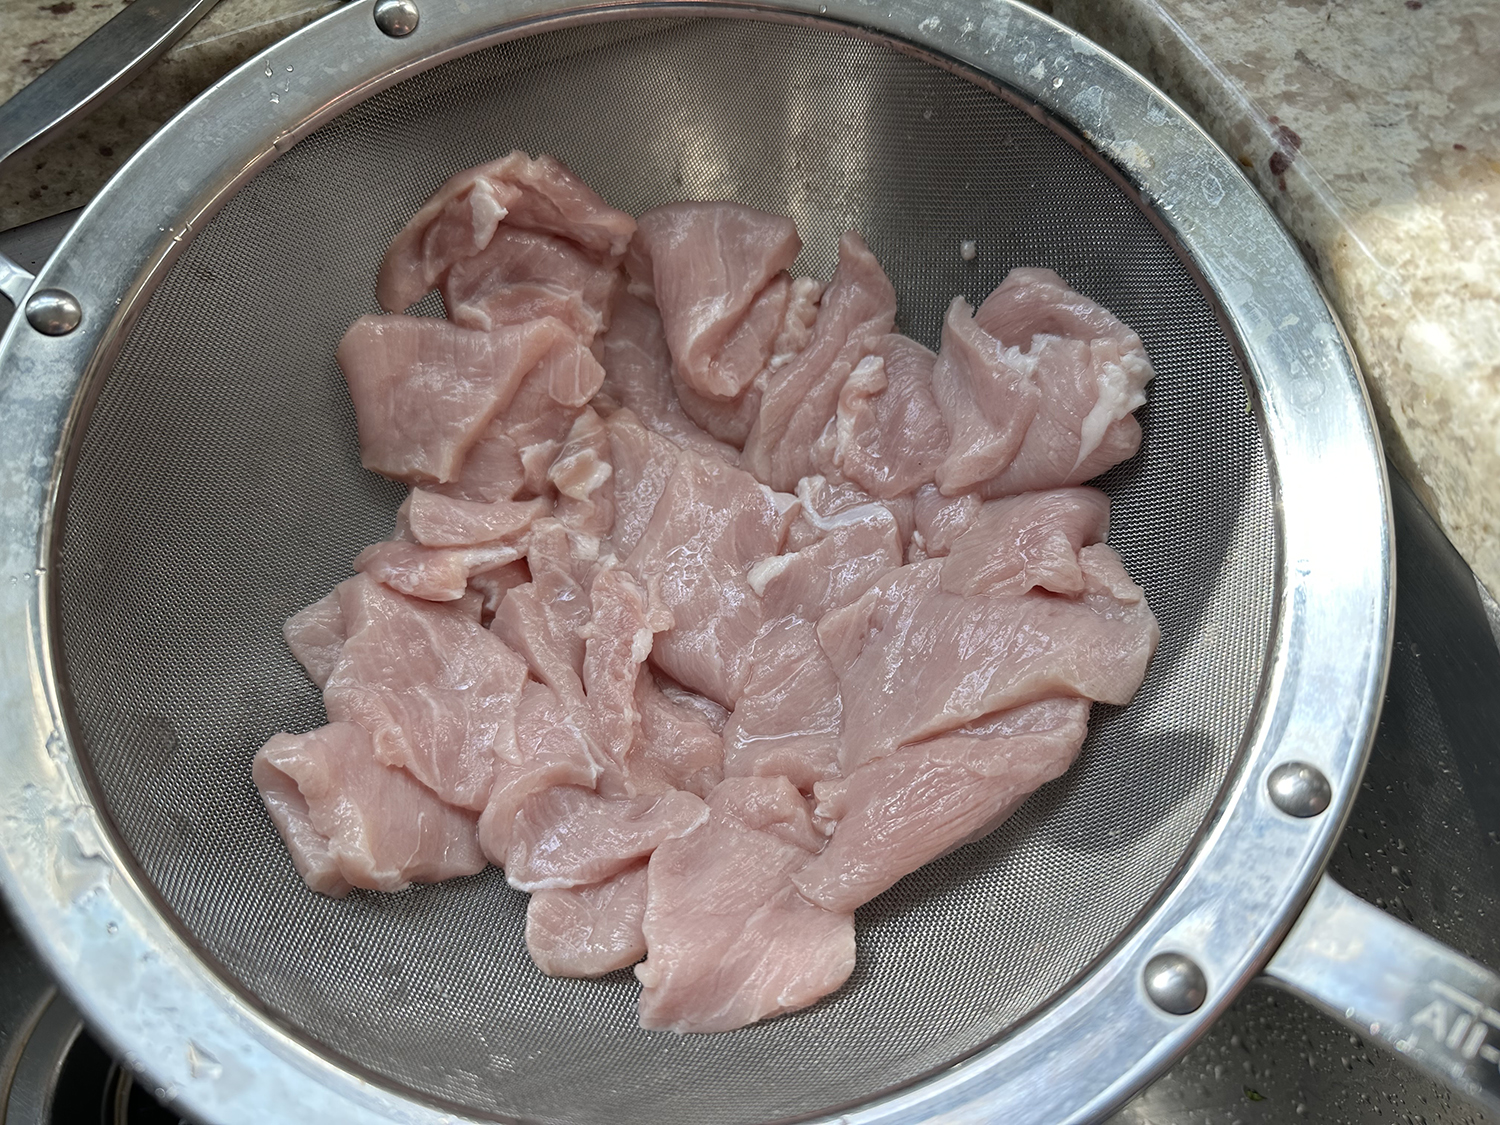
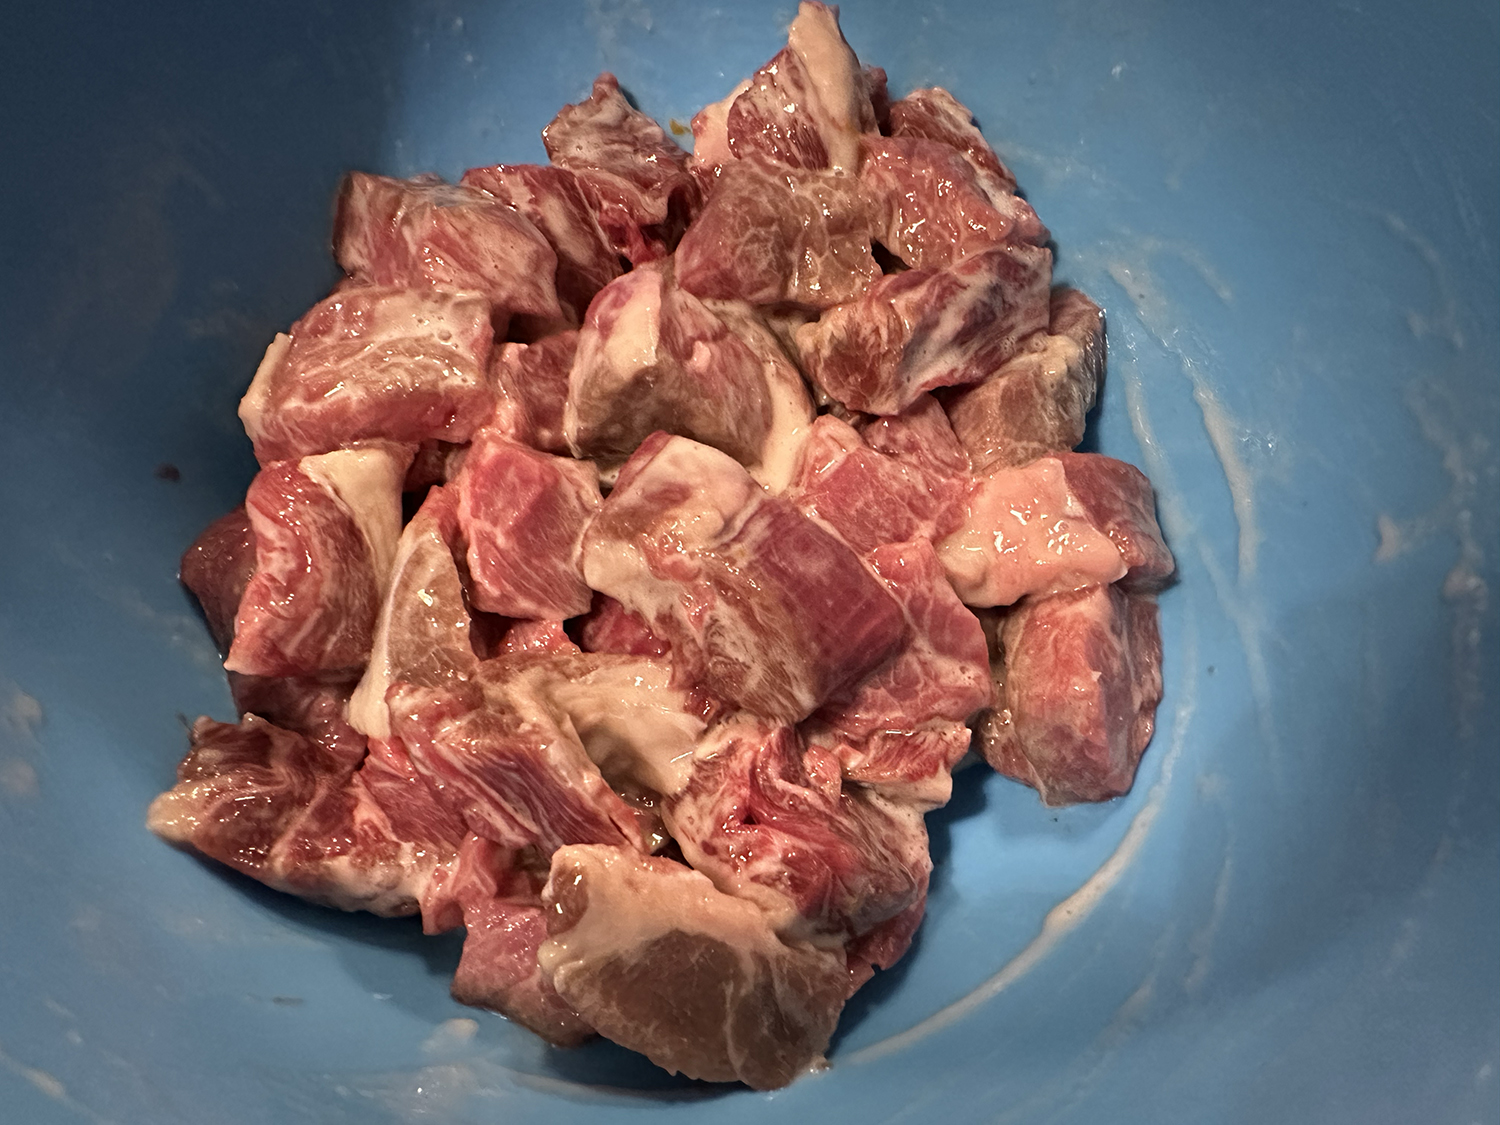
- 1 lb. flank steak, cut with the grain into 2- to 3-inch pieces, then thinly sliced against the grain
- 1 lb. plum tomatoes, cored and cut into 1/2-inch wedges
- 3 Tbsp. neutral oil, divided
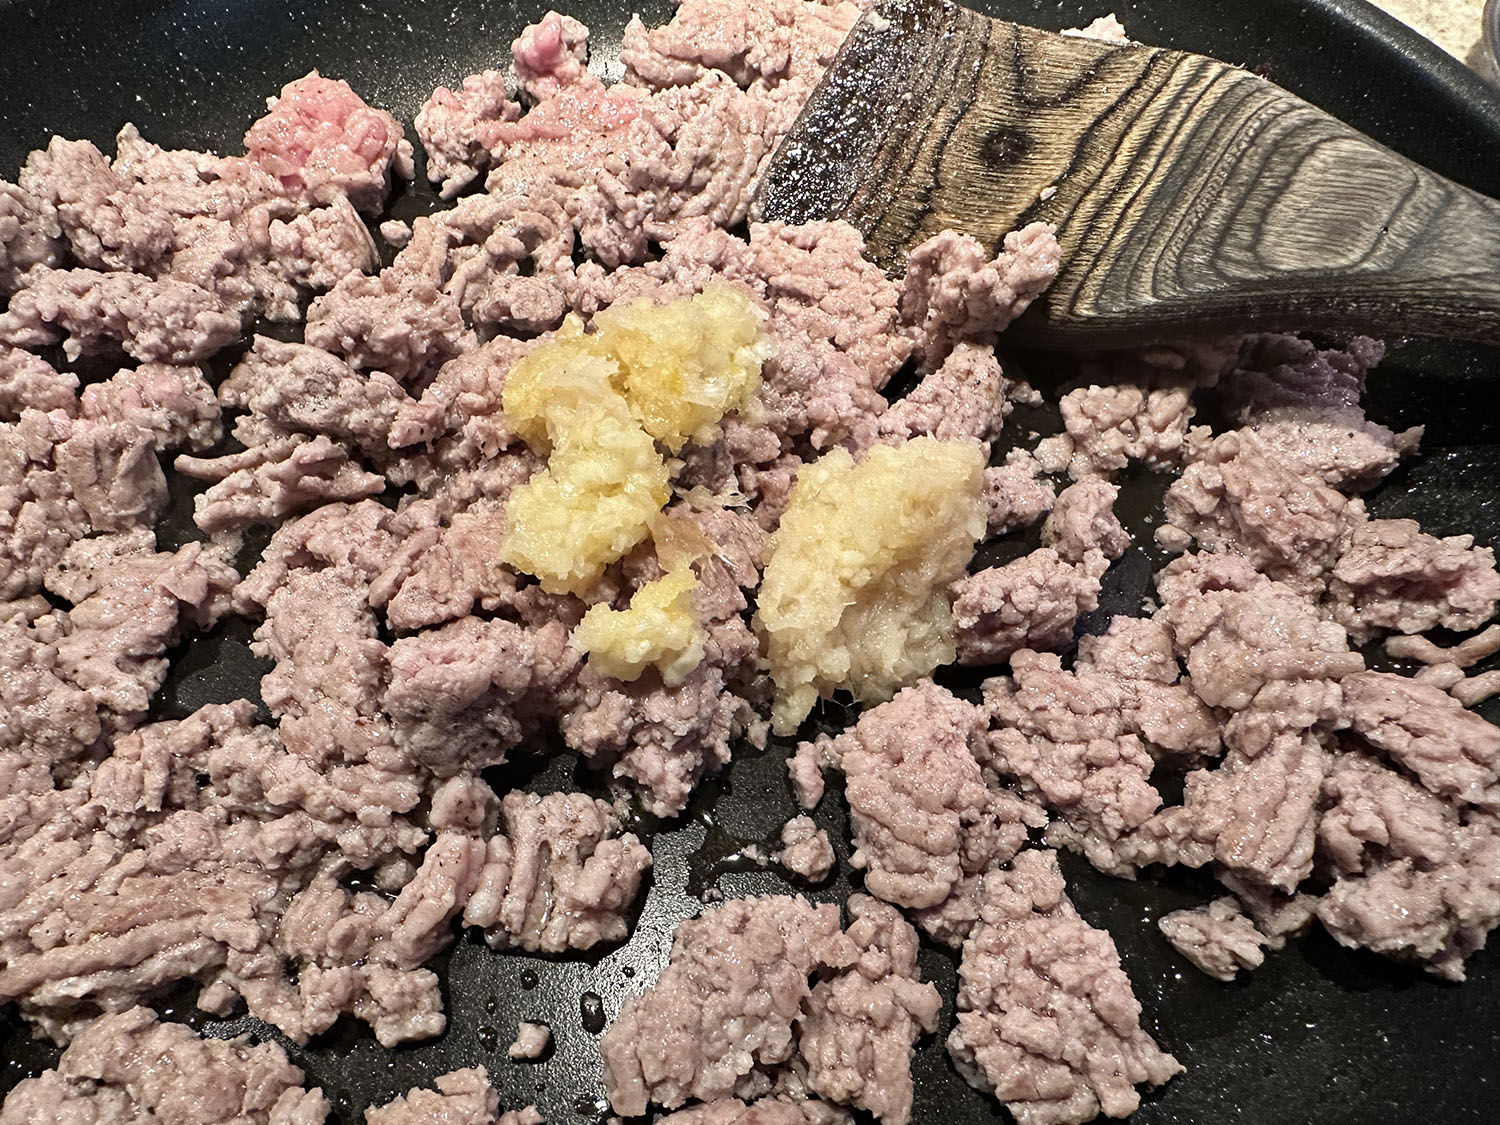
- 2 tsp. minced fresh ginger OR 3 medium garlic cloves, minced, OR both
- 1 bunch scallions, cut on the diagonal into 1-inch lengths
- Steamed rice
- Optional garnish: Toasted sesame oil


Directions
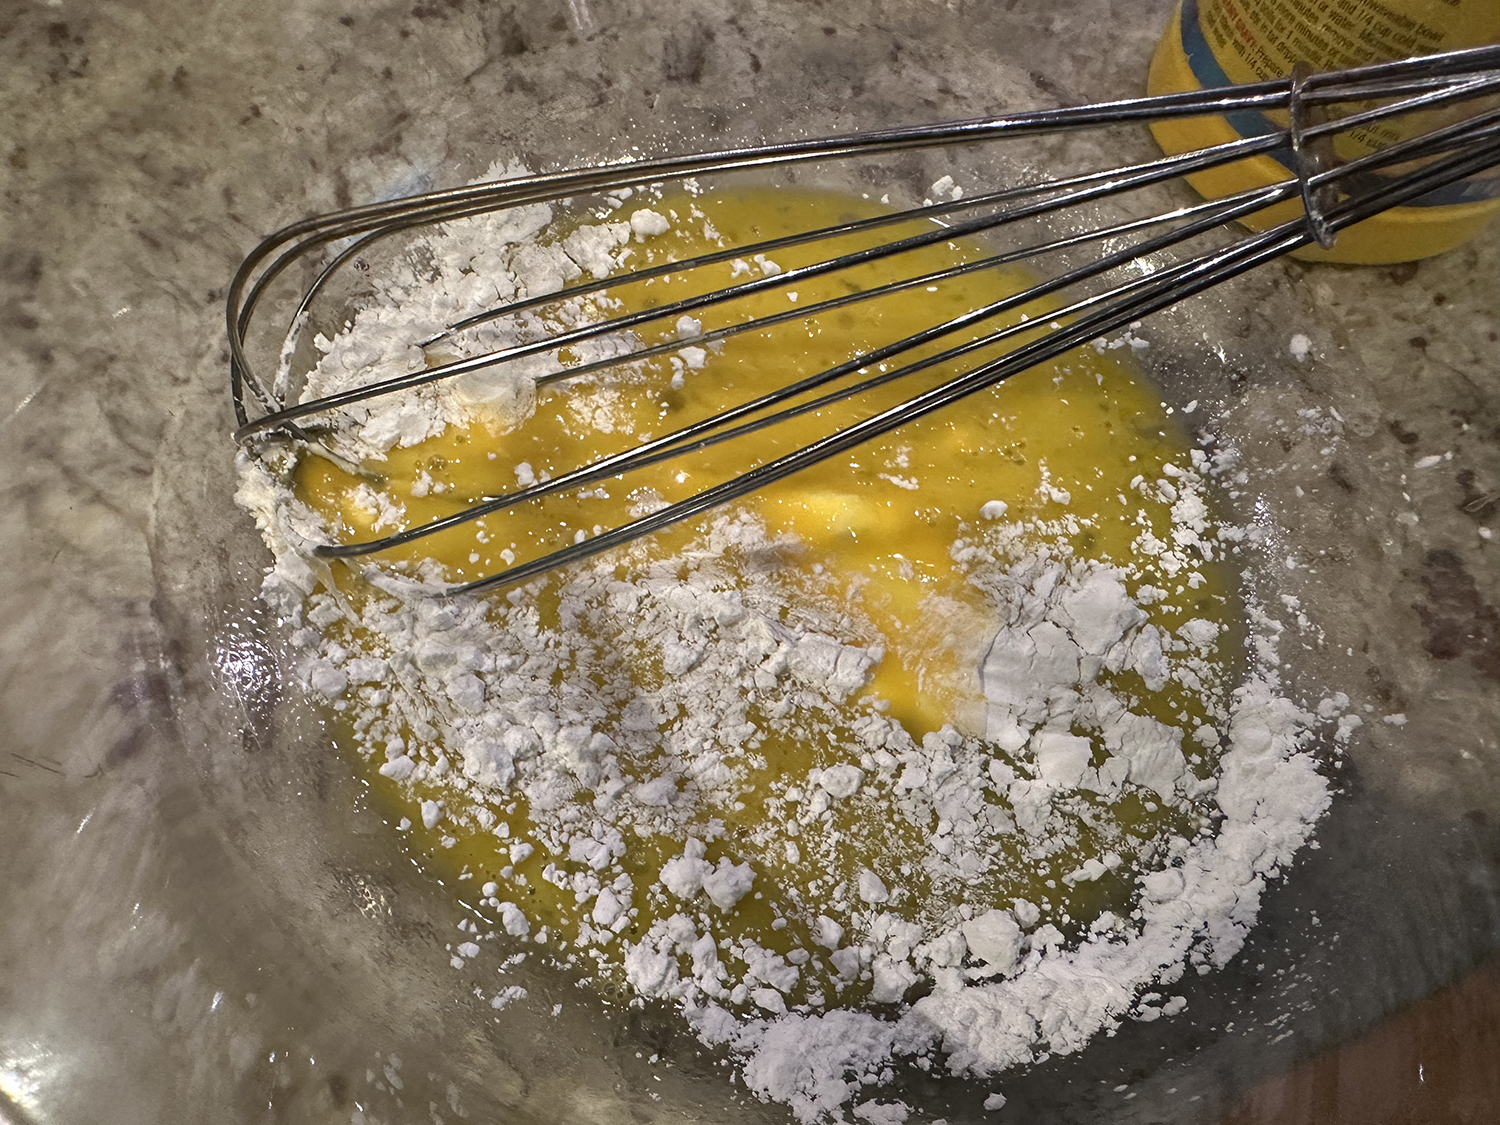
- In a medium bowl, whisk 1 tbsp. oyster sauce, the cornstarch, ½ tsp. pepper, and 1 tbsp. water. Add the beef, stirring; let stand at room temperature for 15 minutes or cover and refrigerate for 1 hour. Meanwhile, place the tomatoes on a paper-towel-lined plate and sprinkle with ¼ tsp. salt; set aside.
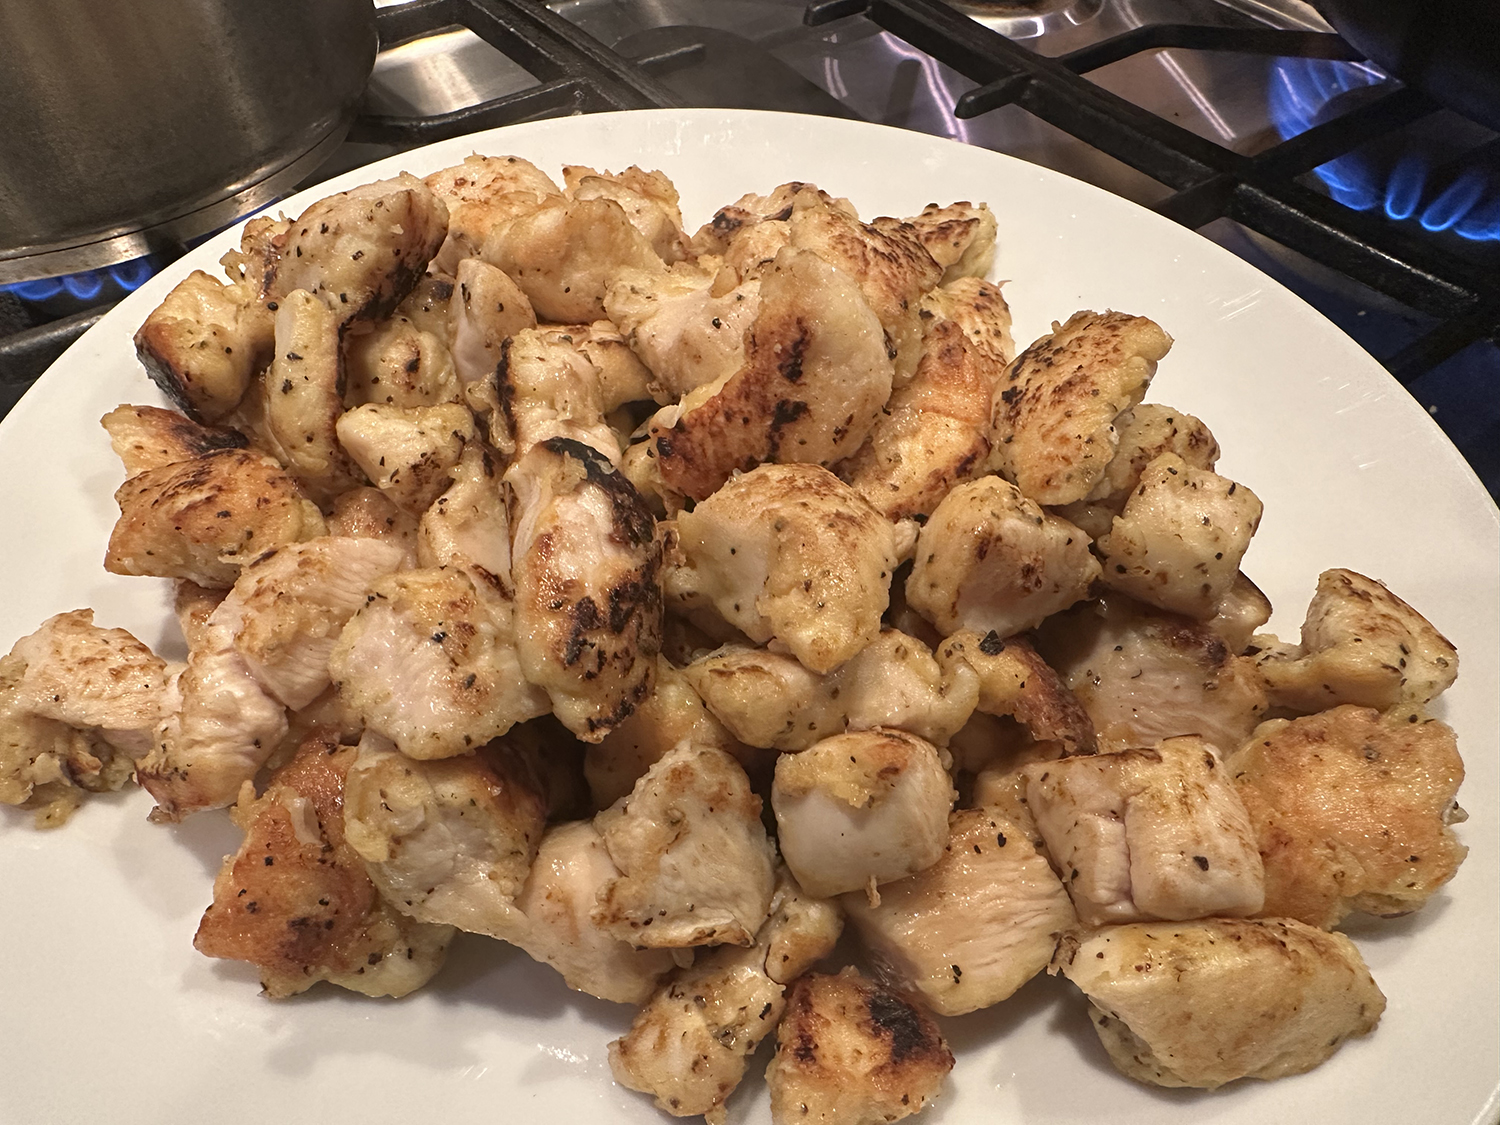
- In a 12-inch skillet over high, heat 2 tbsp. oil until barely smoking. Add the beef in an even layer and cook without stirring until well browned and the pieces release easily from the skillet, 2 to 3 minutes. Stir, then transfer to a large plate.
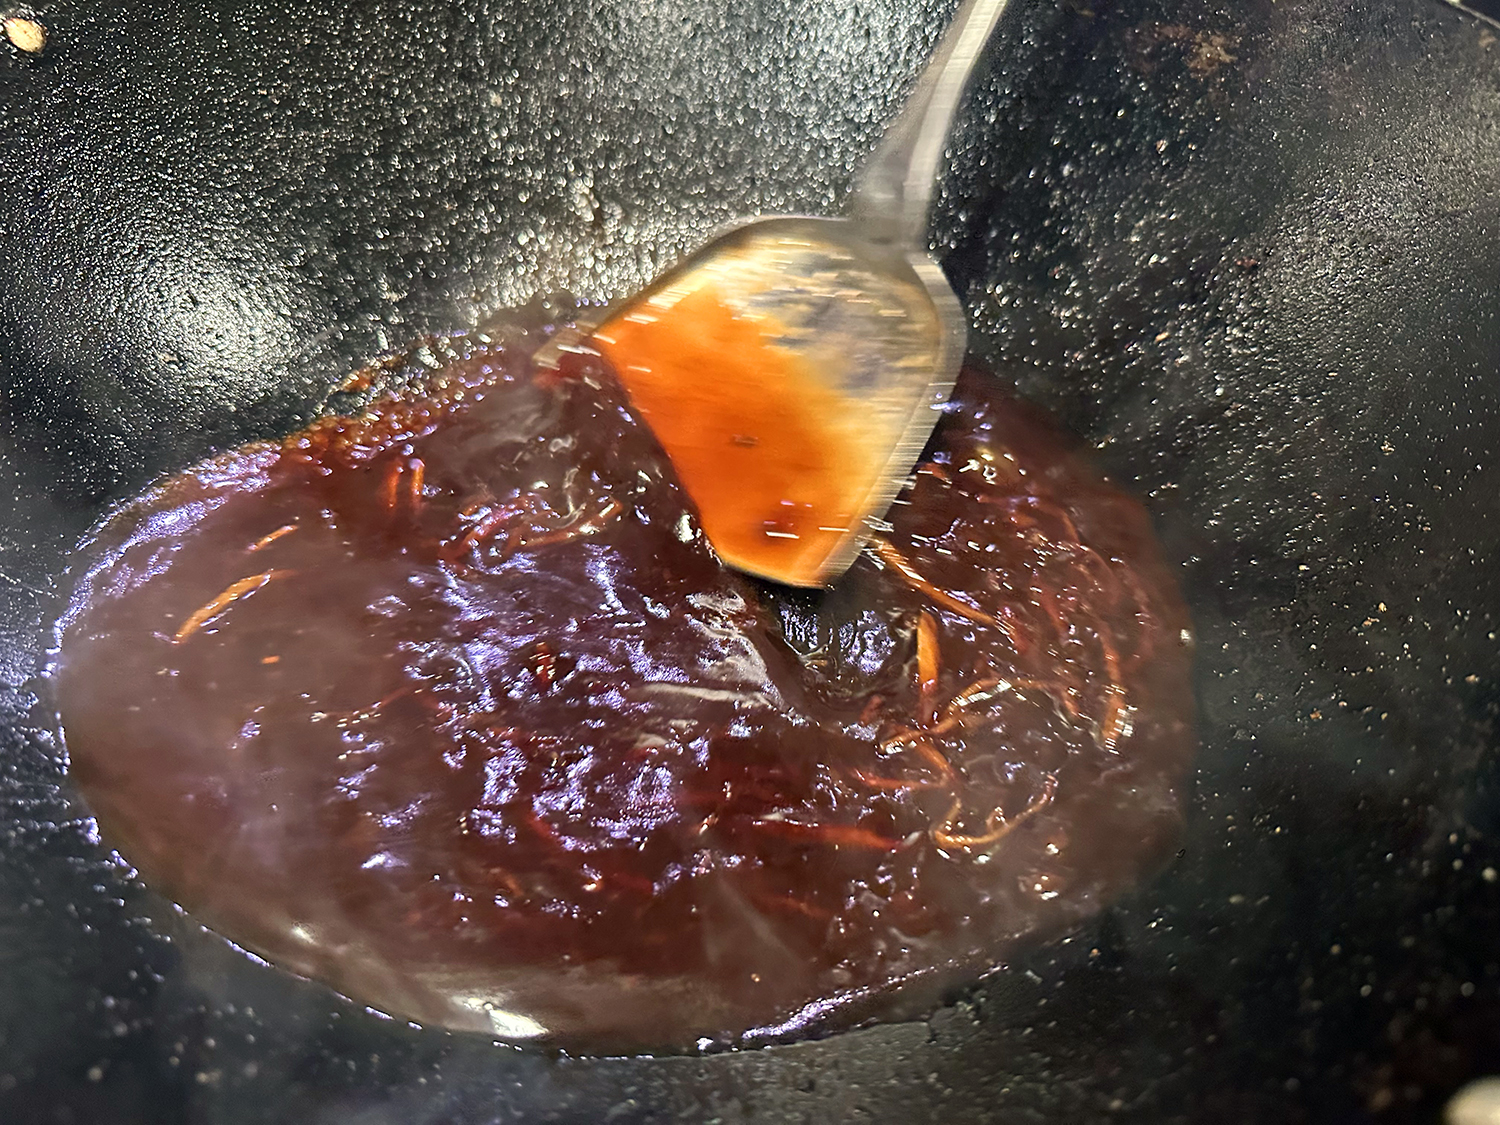
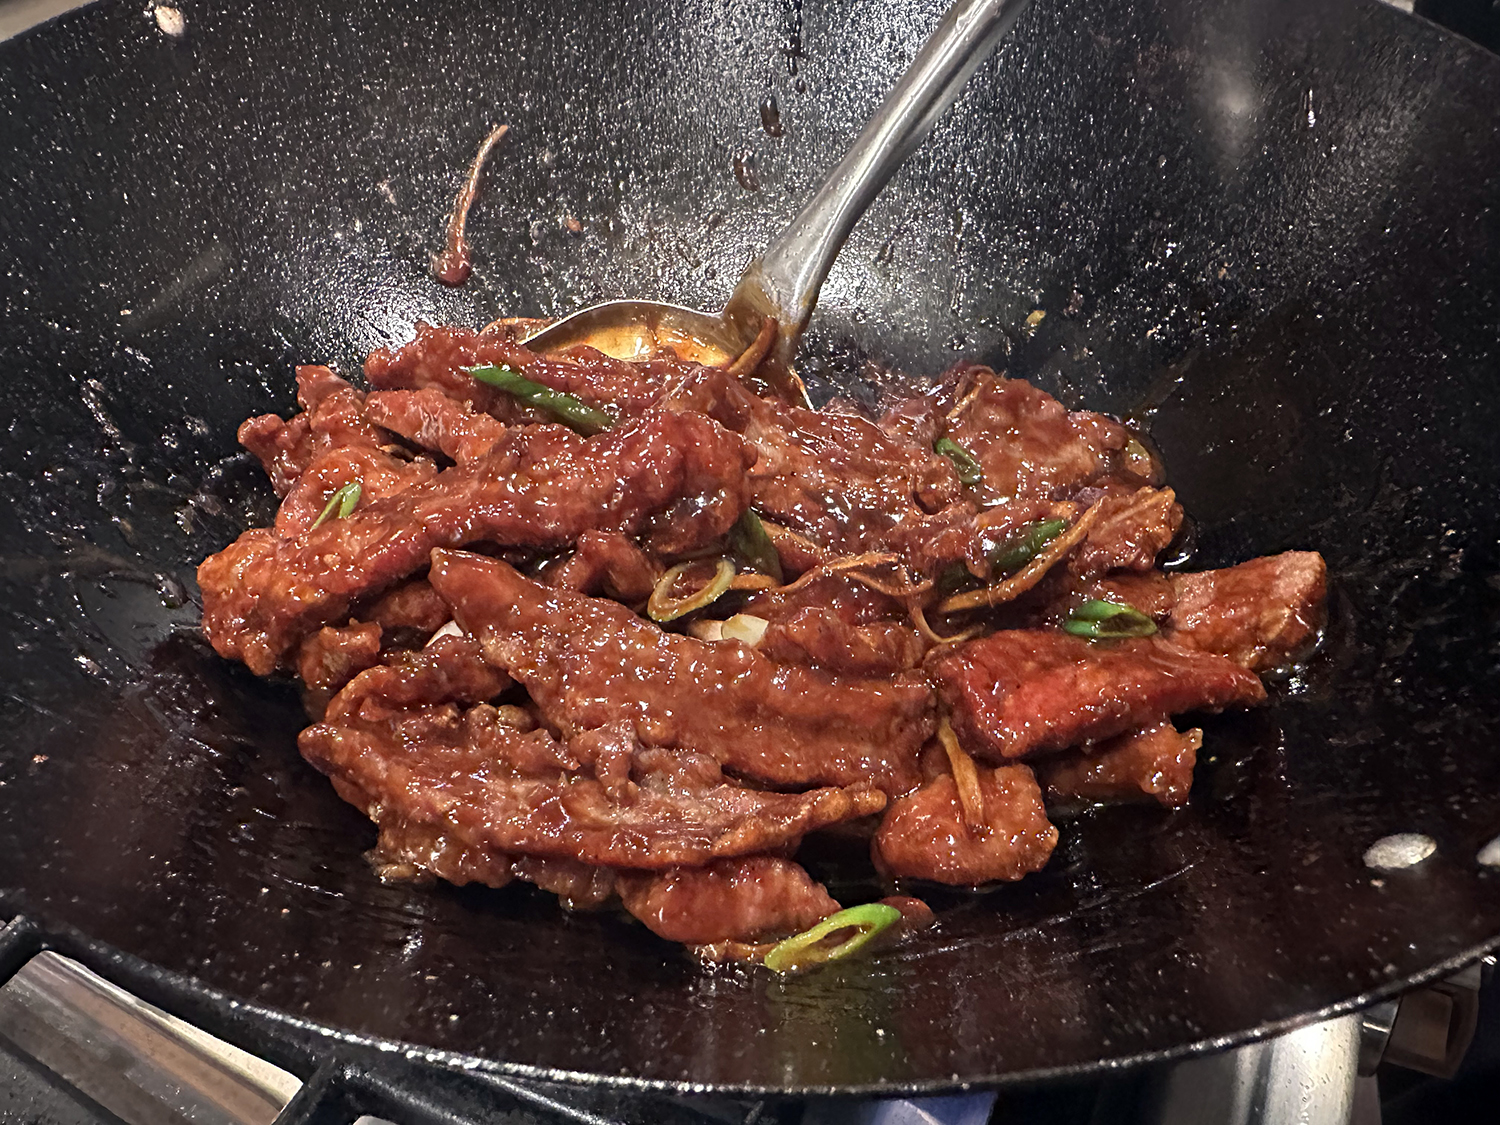
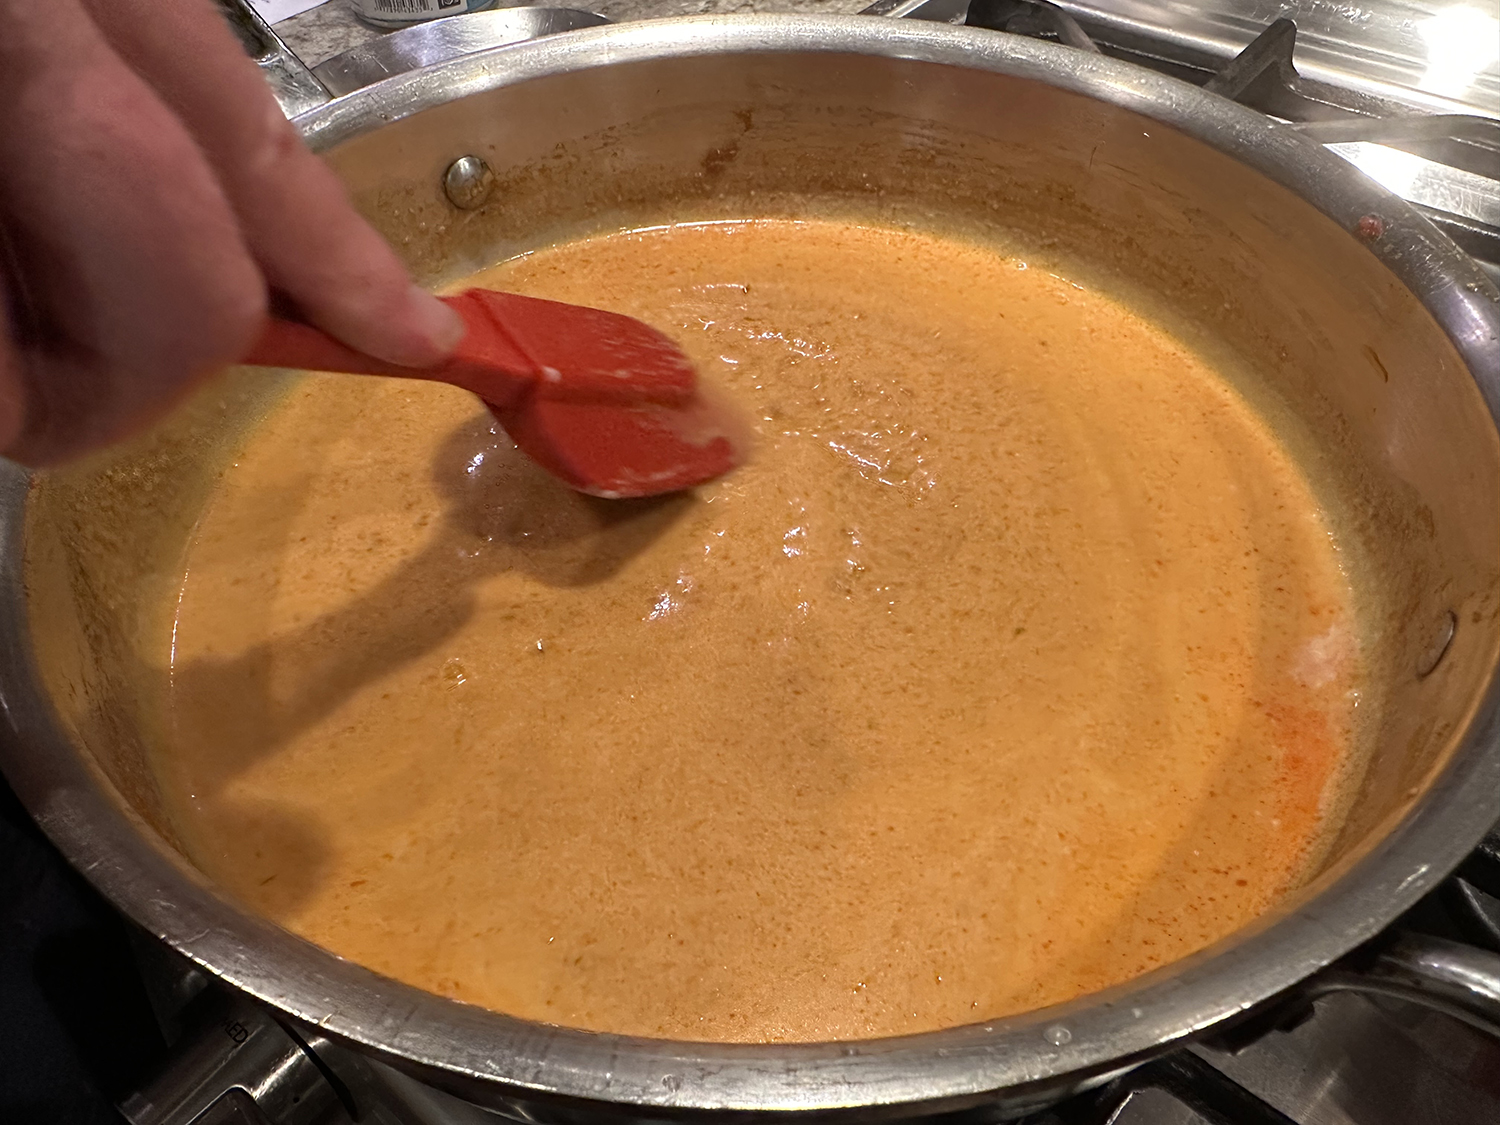
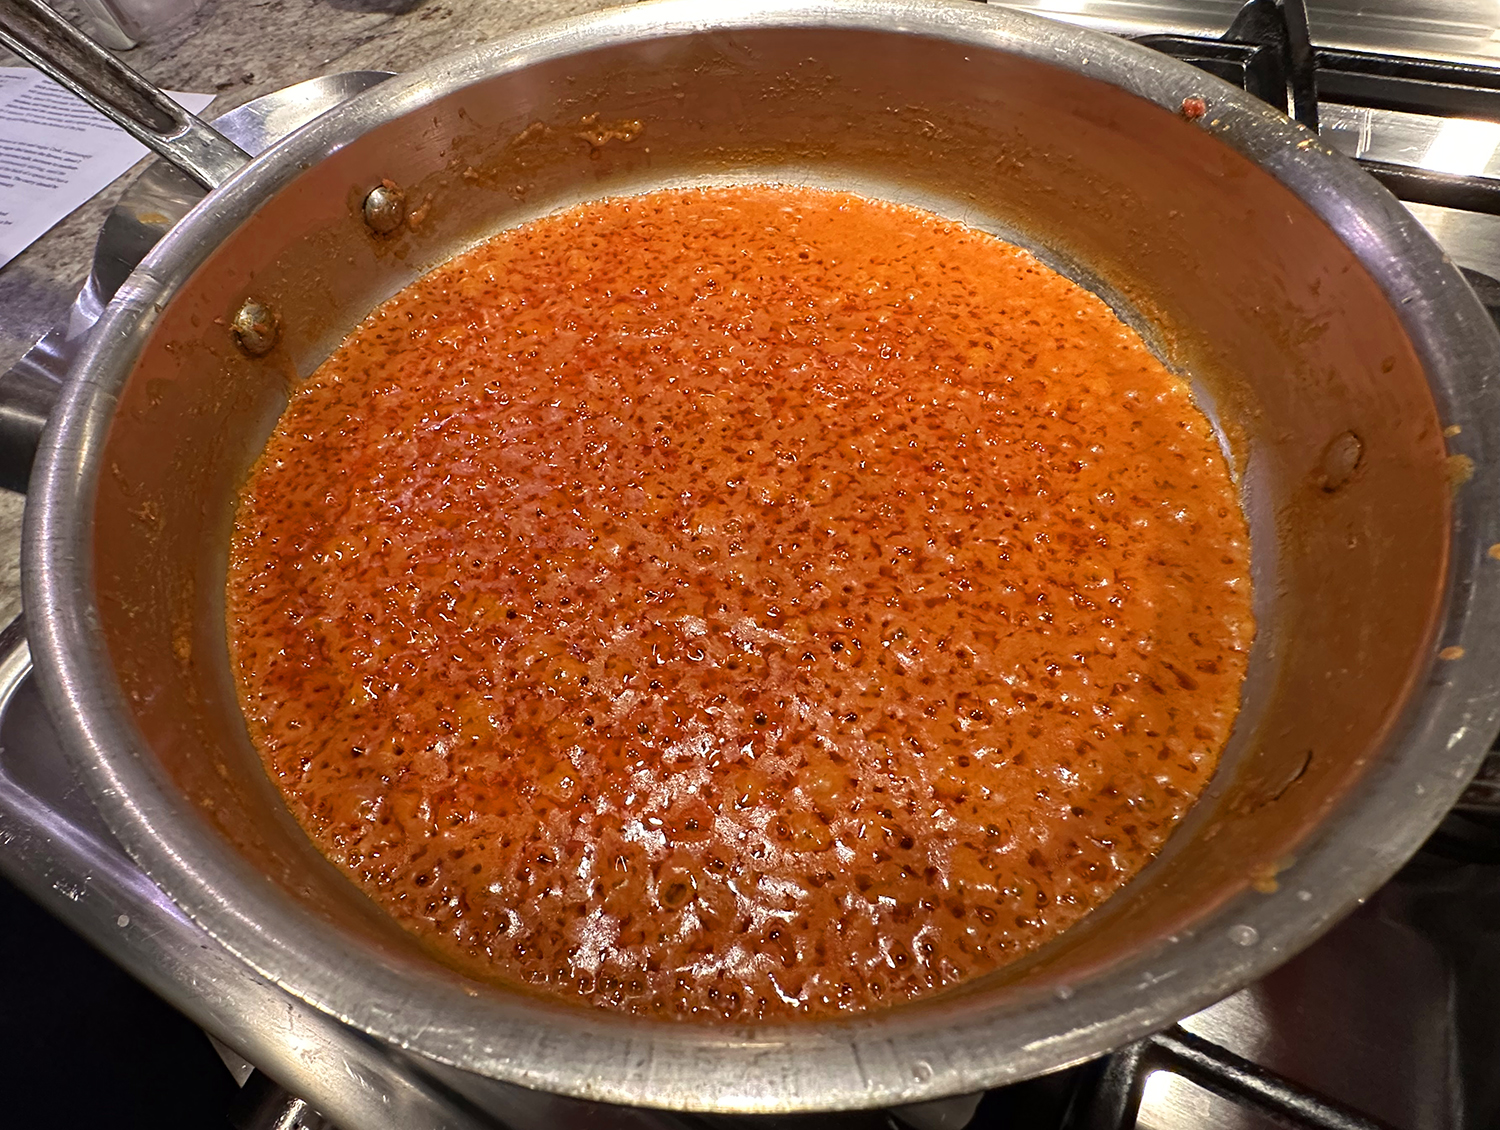
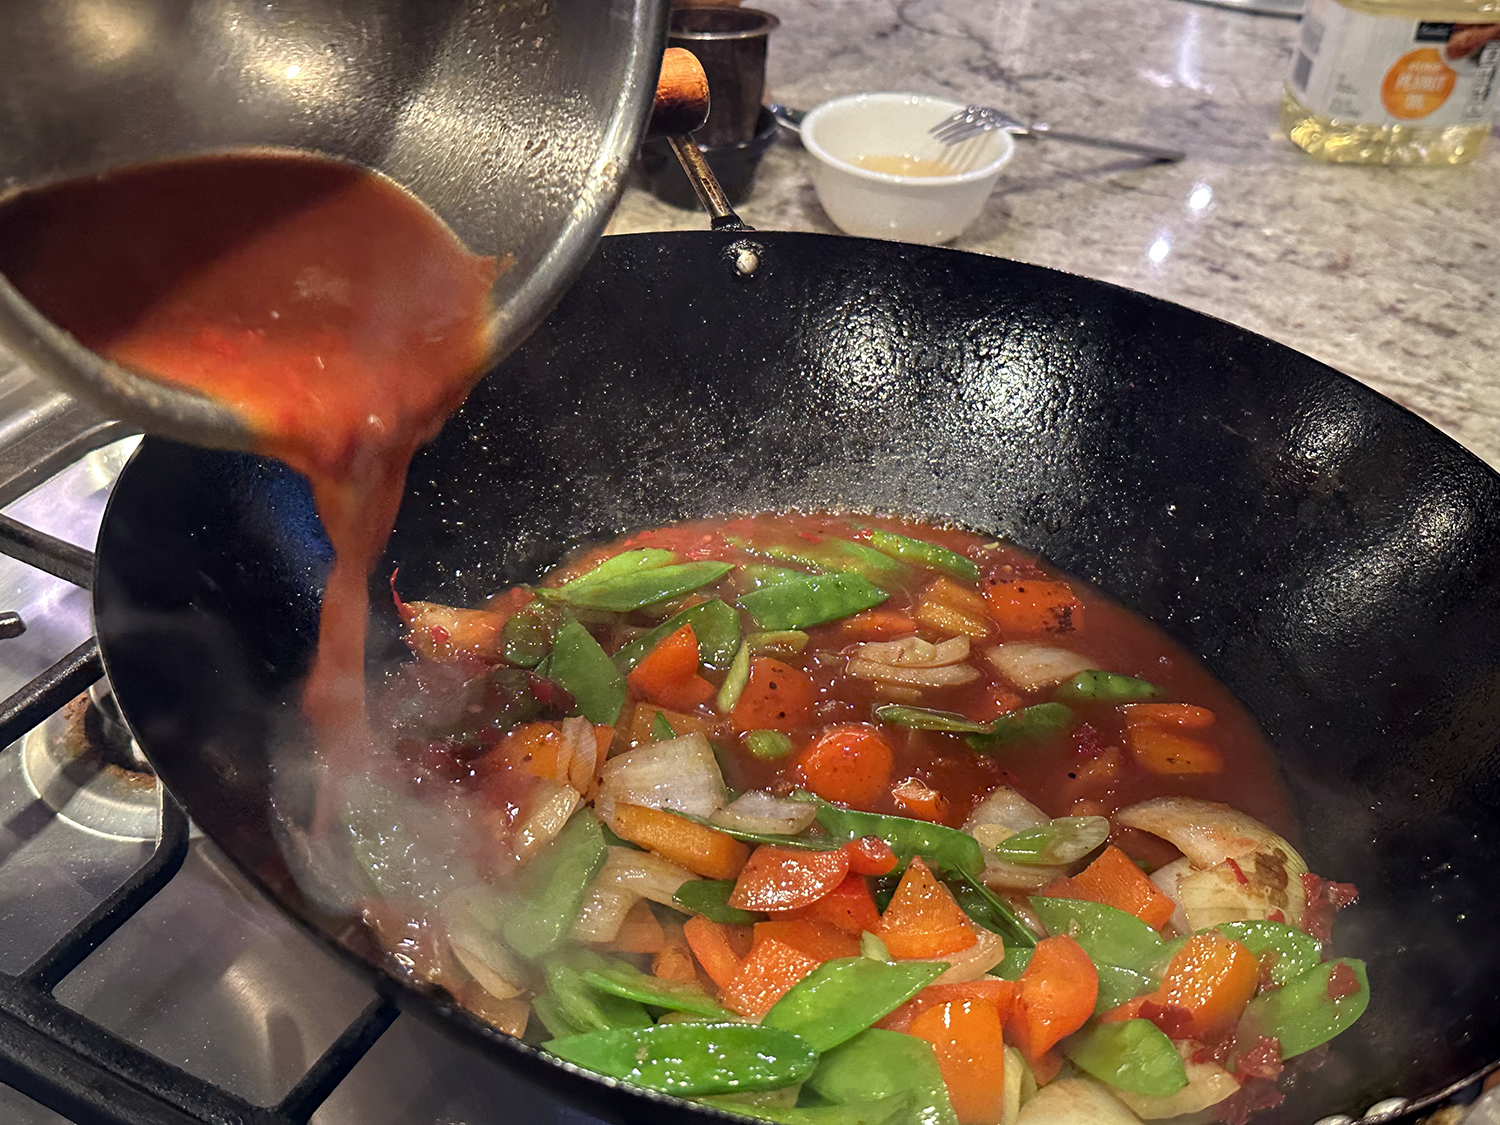
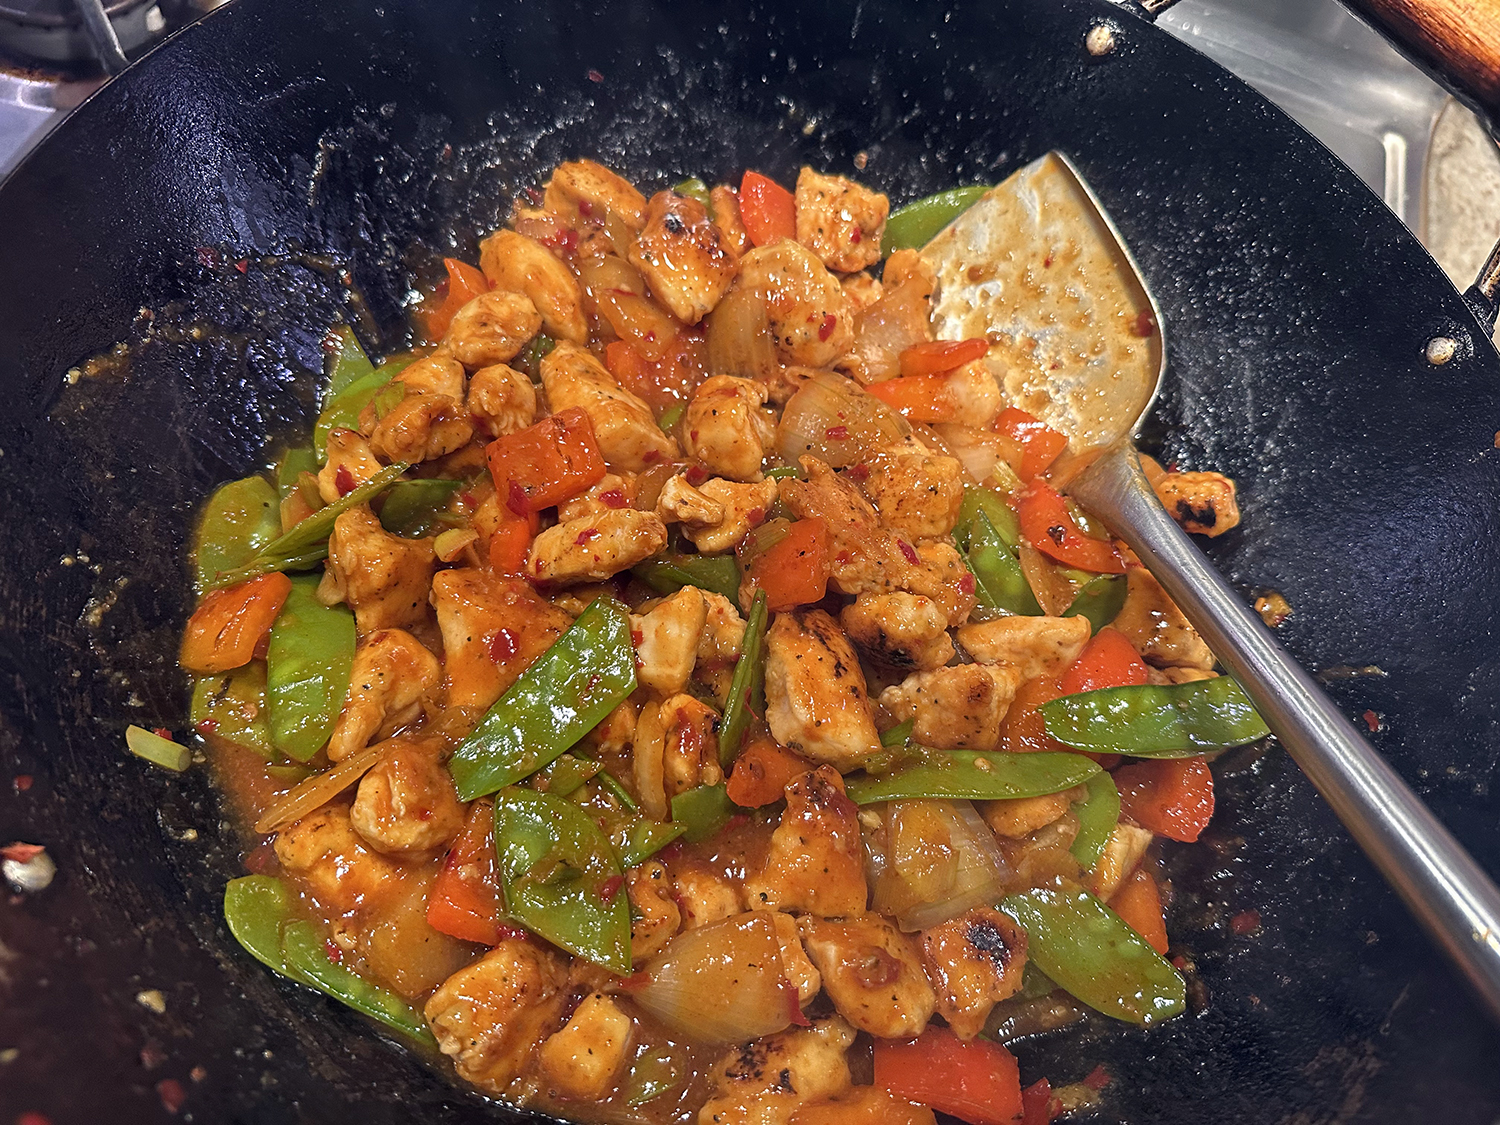
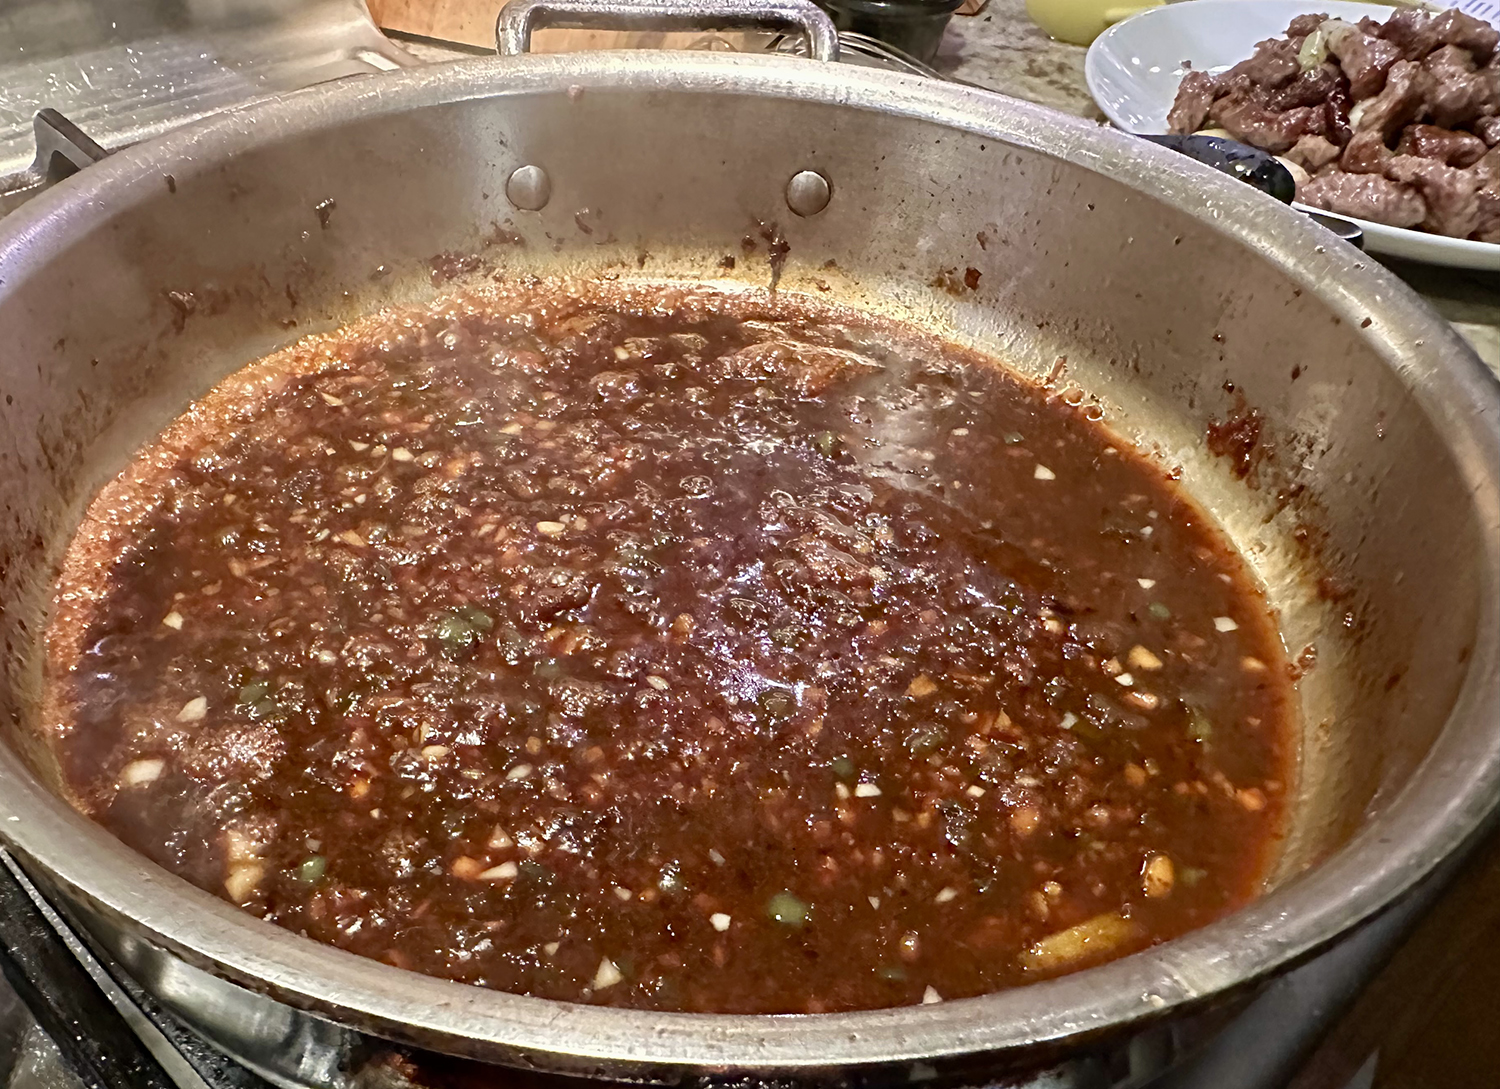
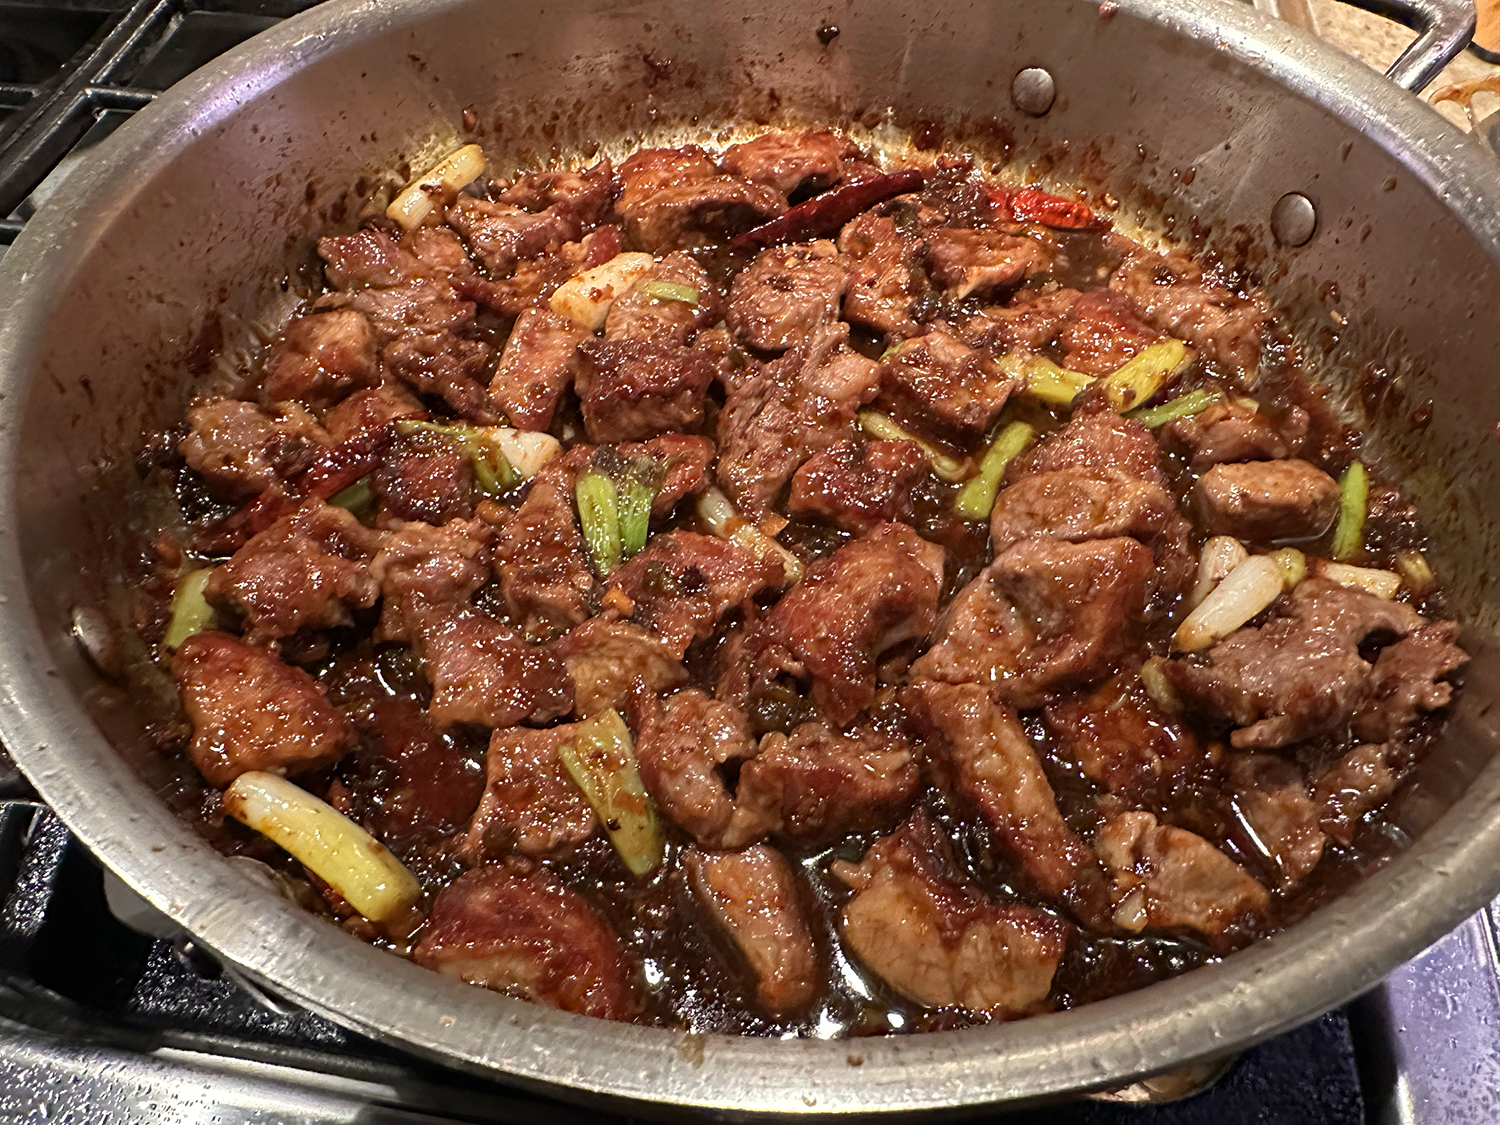
- In the same skillet over medium-high, heat the remaining 1 tbsp. oil until shimmering. Add the tomatoes and ginger; cook, scraping up any browned bits, until the tomatoes soften and the ginger is aromatic, 30 to 60 seconds. Add the beef and any juices, then stir in the remaining 3 tbsp. oyster sauce and 2 tbsp. water. Cook, stirring, until the meat is tender and the sauce has thickened, 1 to 2 minutes. Stir in the scallions to wilt slightly, about 30 seconds. Off heat, taste and season with salt and pepper. Serve with hot cooked rice.
Recipe by Christopher Kimball for Milk Street