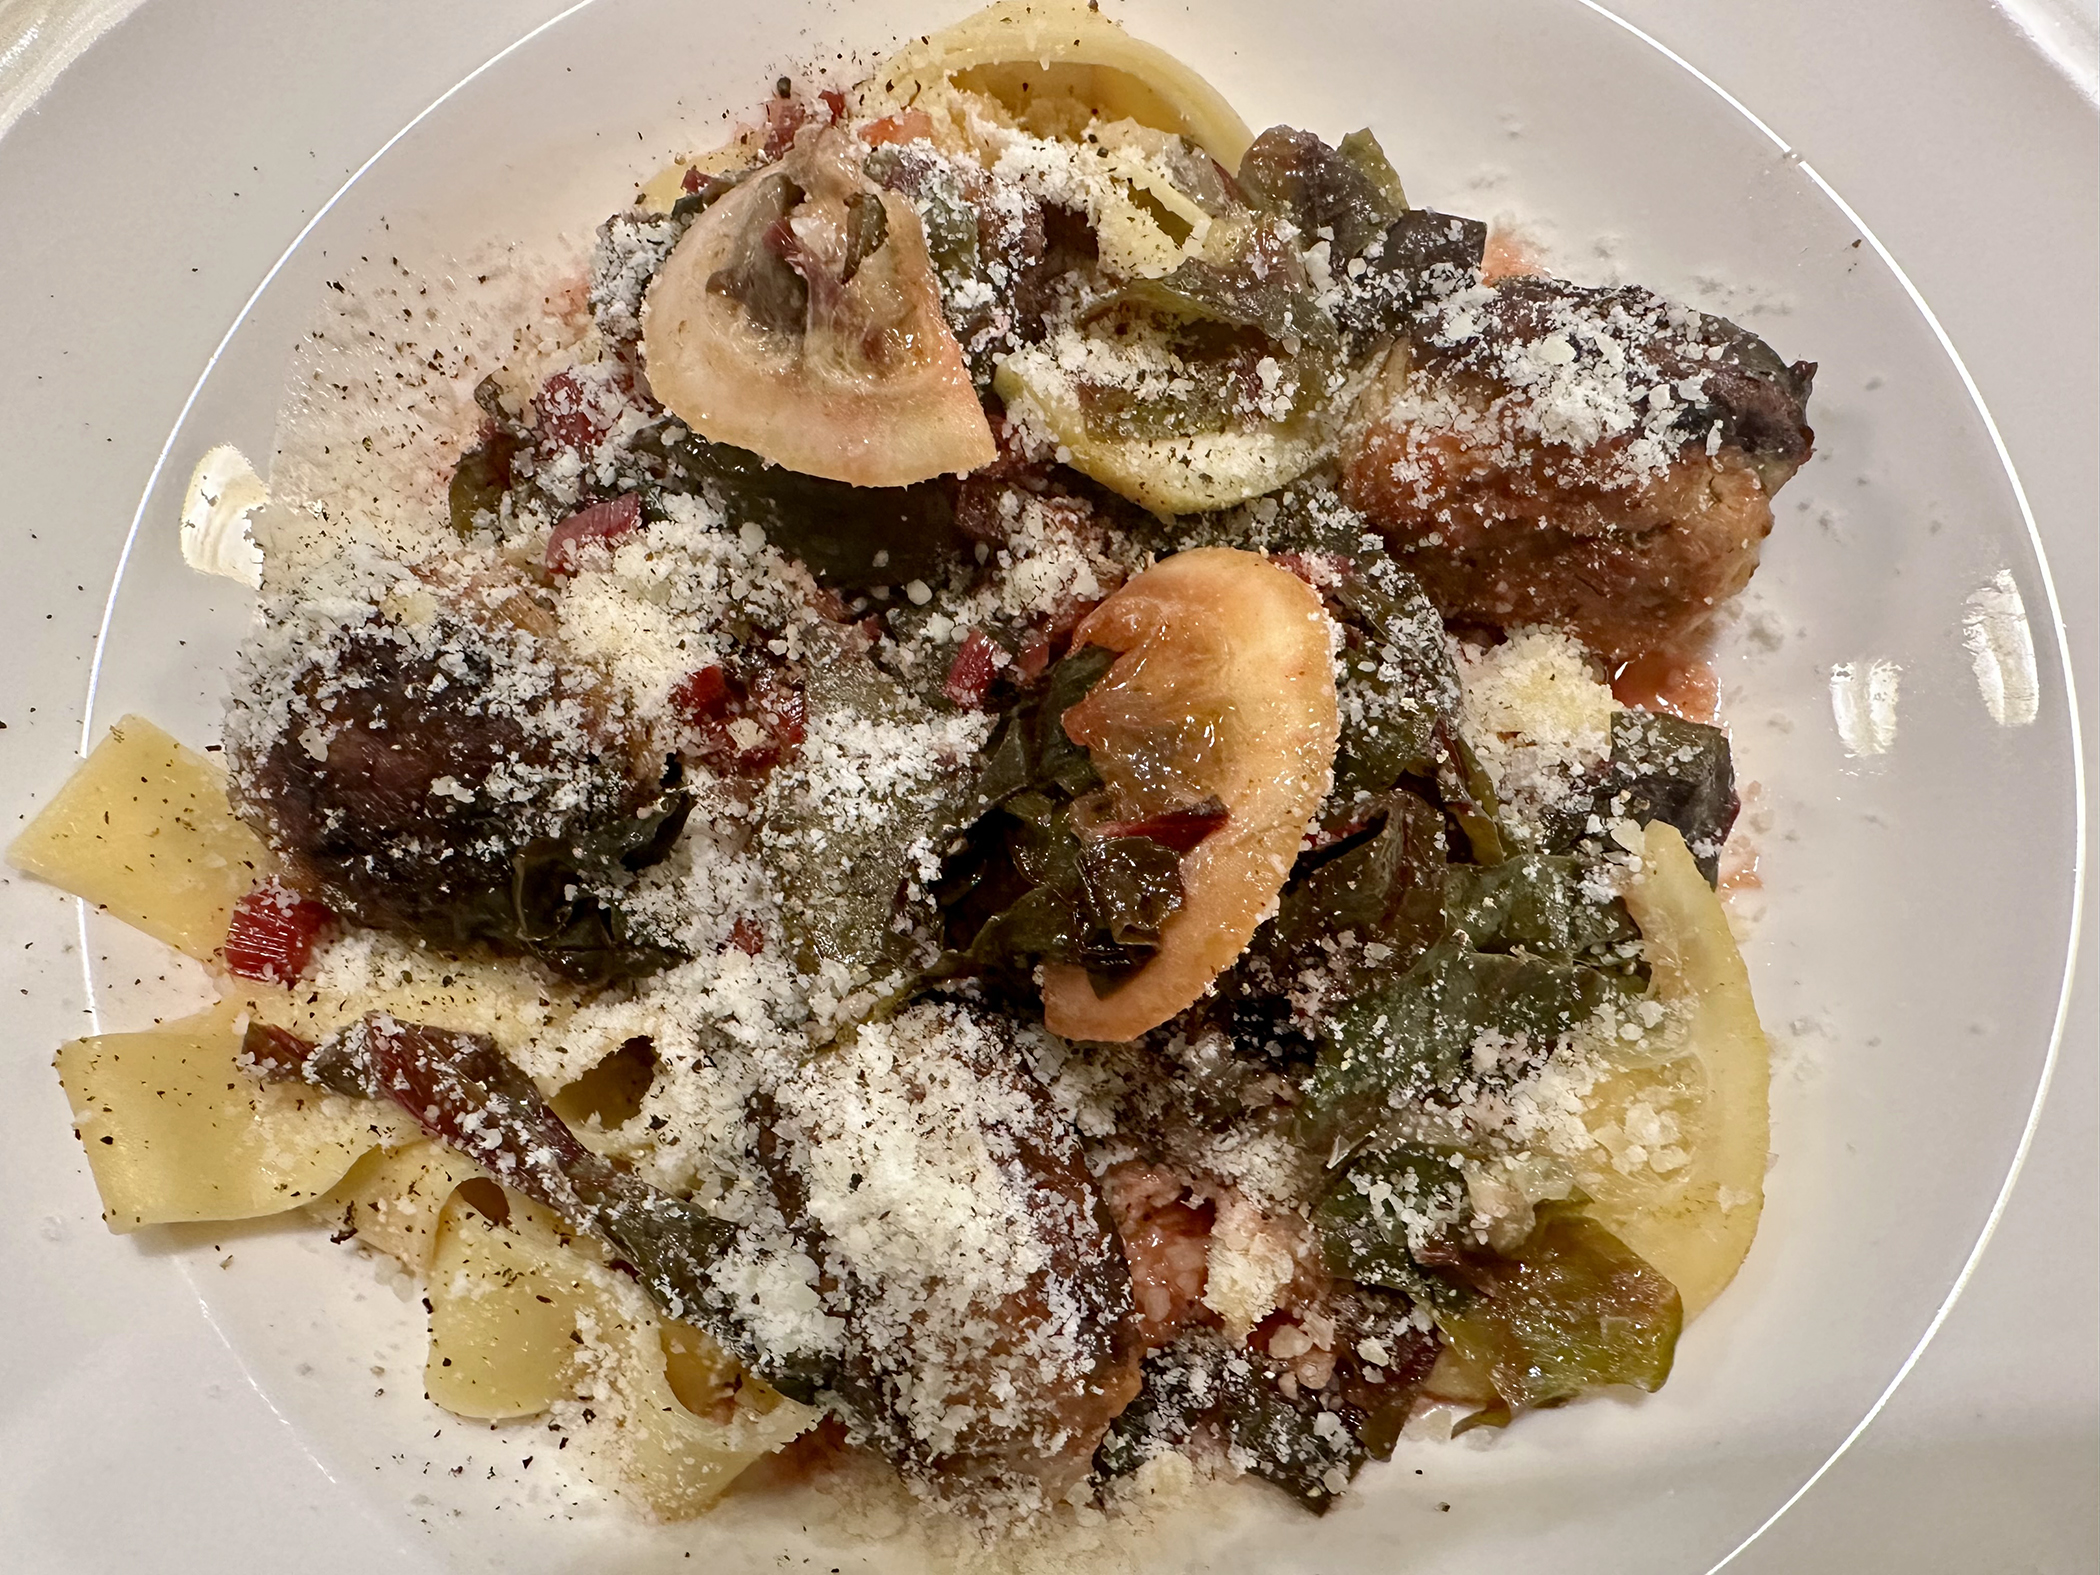
OMG, we were astounded by how delicious this turned out! The delightful fish recipe was inspired by one from the chef Hugue Dufour of M. Wells restaurant in Long Island City, Queens. It’s based on the classic French preparation called bonne femme, which refers to simple, homey dishes often containing wine, mushrooms and cream… which this was.
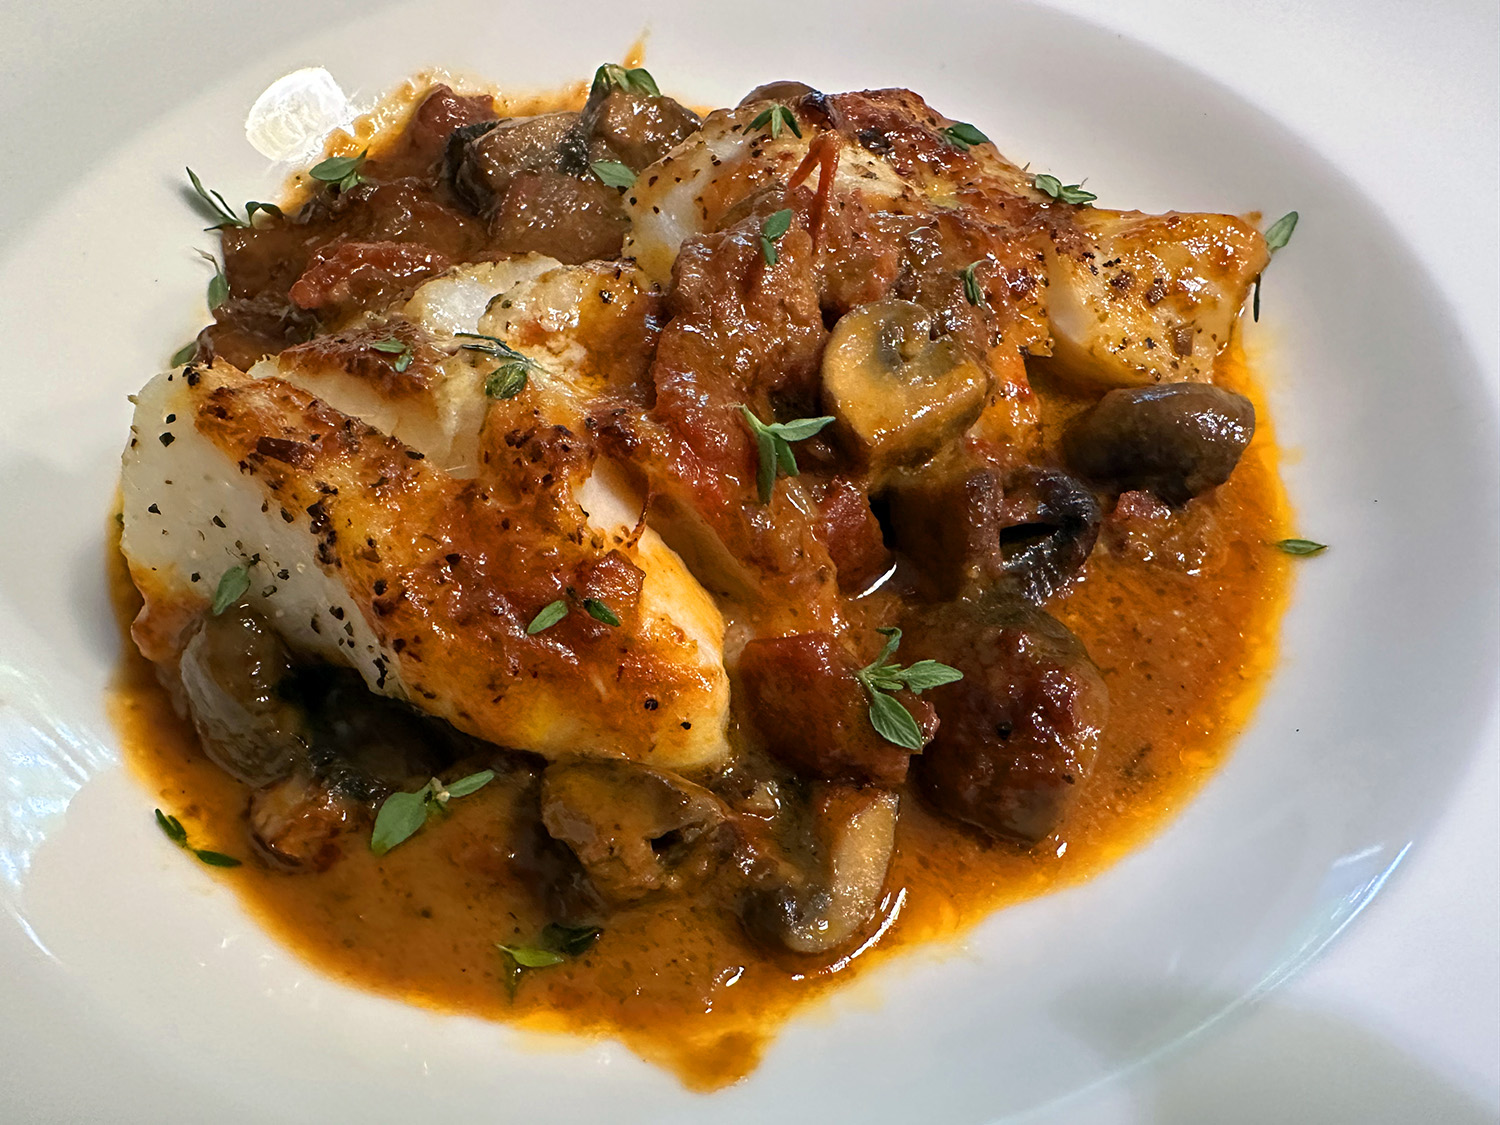
Here, bacon and tomatoes are added to the sauce, giving it brawny depth and brightness. You can use any kind of mild, white-fleshed fish you like. Just watch it carefully so the fillets don’t overcook under the broiler. While there are many good choices of flaky white fish, cod seems to be the most economical, so that is what we used.
I’ve often wondered what the difference in terminology for “filet” versus “fillet” in recipes really means. Basically they are interchangeable. Filet is predominantly used in American (US) English (en-US), while fillet is predominantly used in British English. Fillet can be used as a noun or a verb. As a noun, fillet is a boneless piece of meat/fish. Many people eat fish fillets, for instance. As a verb, fillet means to remove meat/fish from the bone. Today, fillet is used much more frequently than filet. Don’t get too hung up on which version to use.

Creamy Fish With Mushrooms and Bacon
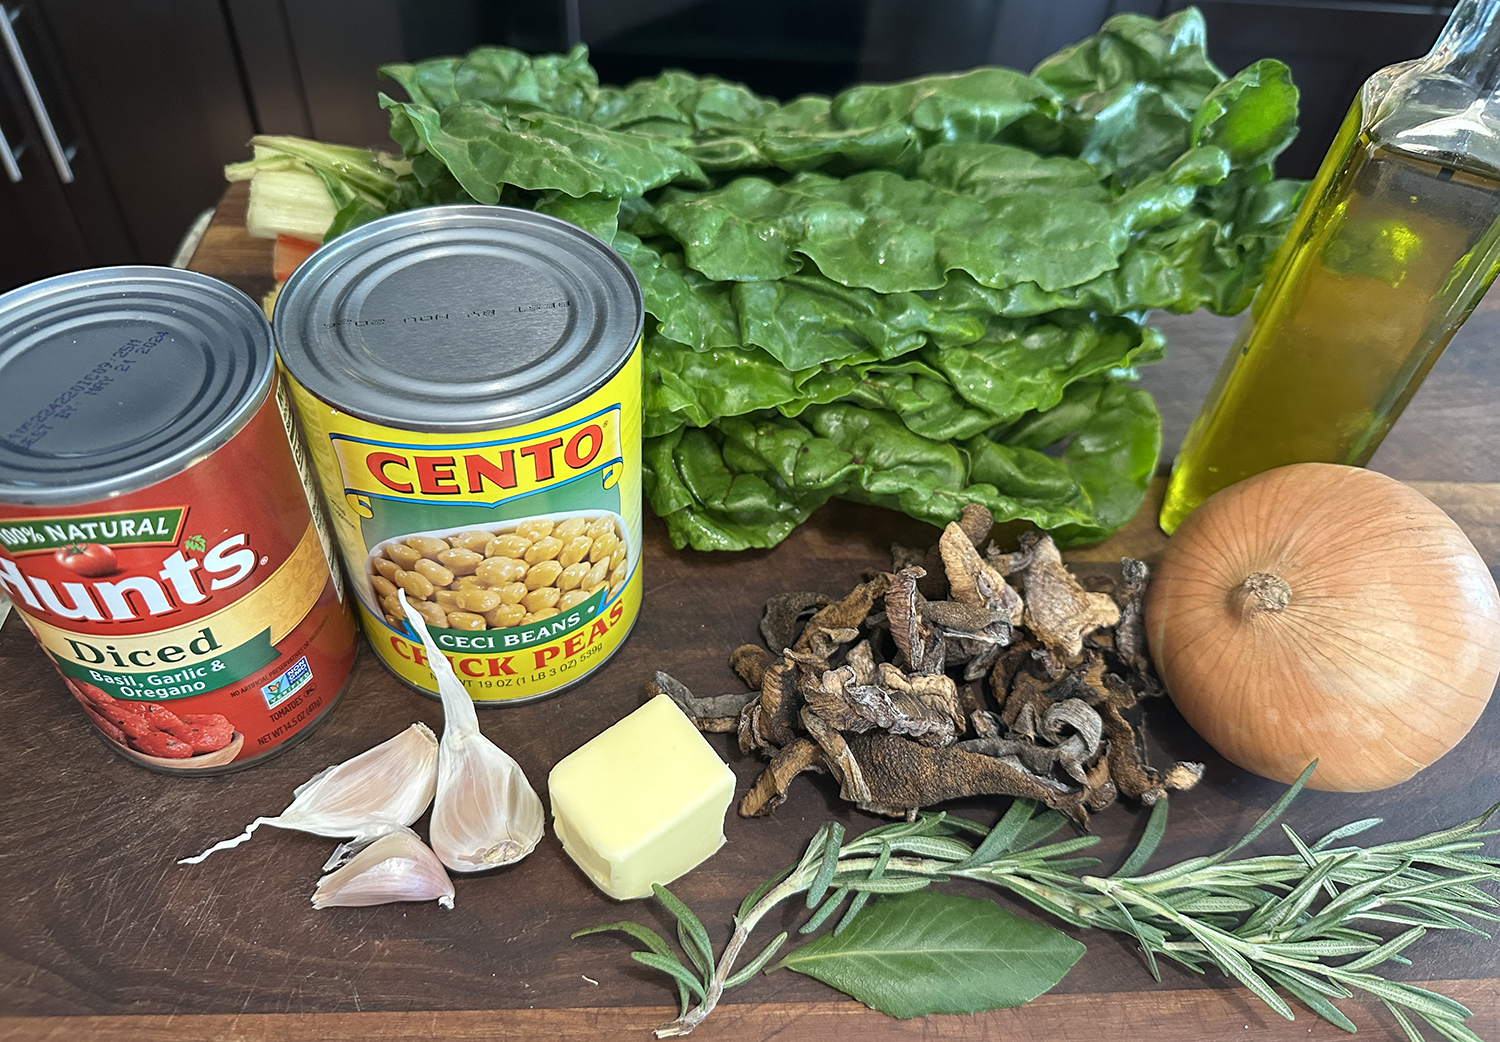
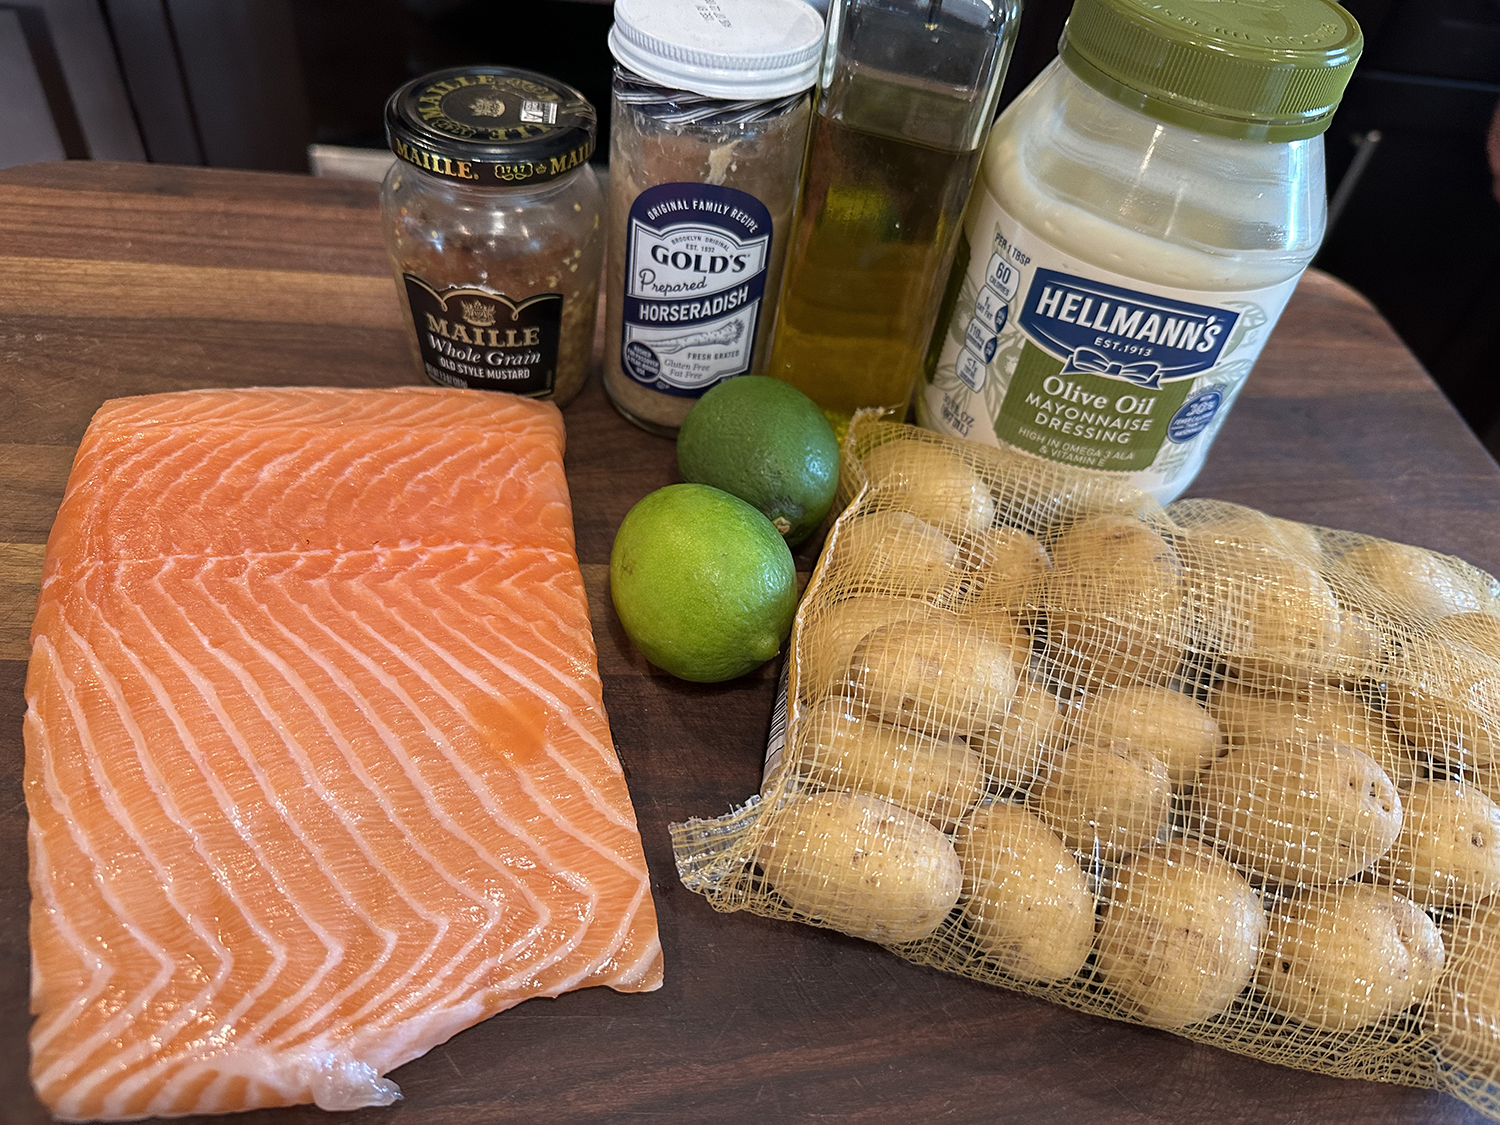
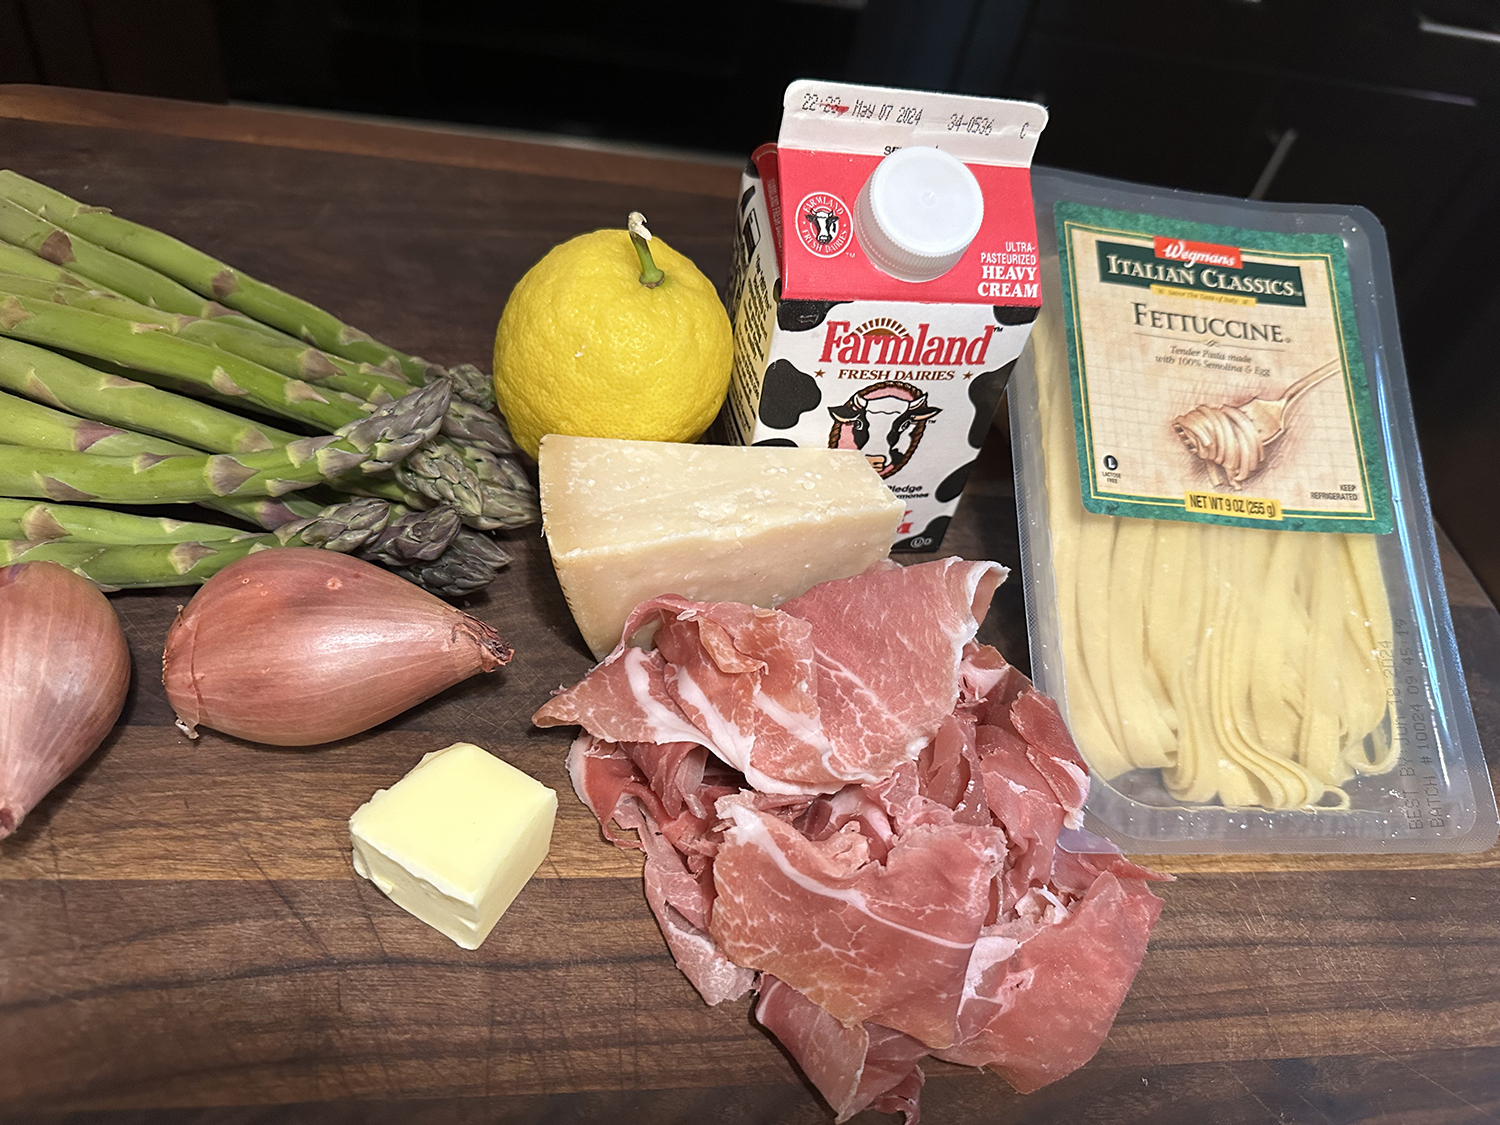
Ingredients
- 4 oz. bacon (4 to 8 slices, depending on thickness), diced
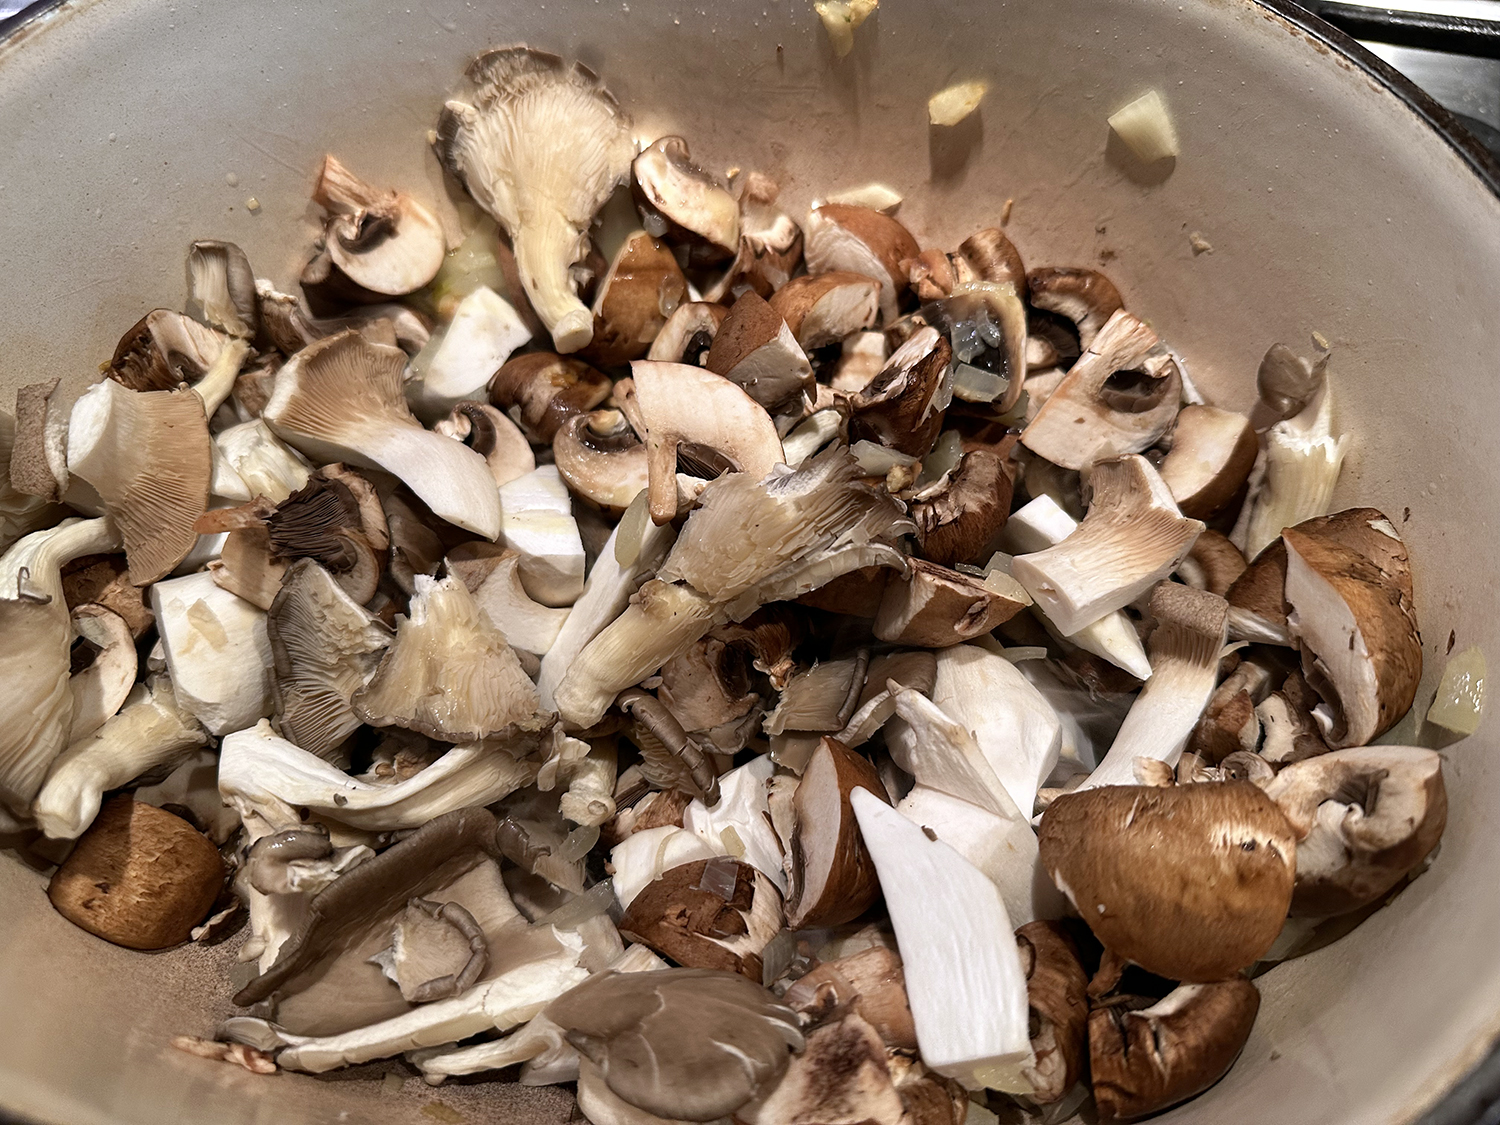
- 8 oz. cremini or white mushrooms, stems discarded and caps halved or quartered
- 1 large shallot, diced
- 1 cup canned peeled whole tomatoes
- ¼ cup white wine
- 1 cup vegetable or chicken stock
- ¼ tsp. fine sea salt, plus more for fish and to taste
- ¼ tsp. finely ground black pepper, plus more for fish
- 5 Tbsp. crème fraîche or heavy cream
- 5 thyme sprigs, plus ½ tsp. thyme leaves, more for garnish
- 4 to 6 fillets black sea bass, fluke, tilefish, hake or other white fish (1¼ to 1½ lbs.), skin removed
- Baguette slices or buttered toast, for serving


Directions
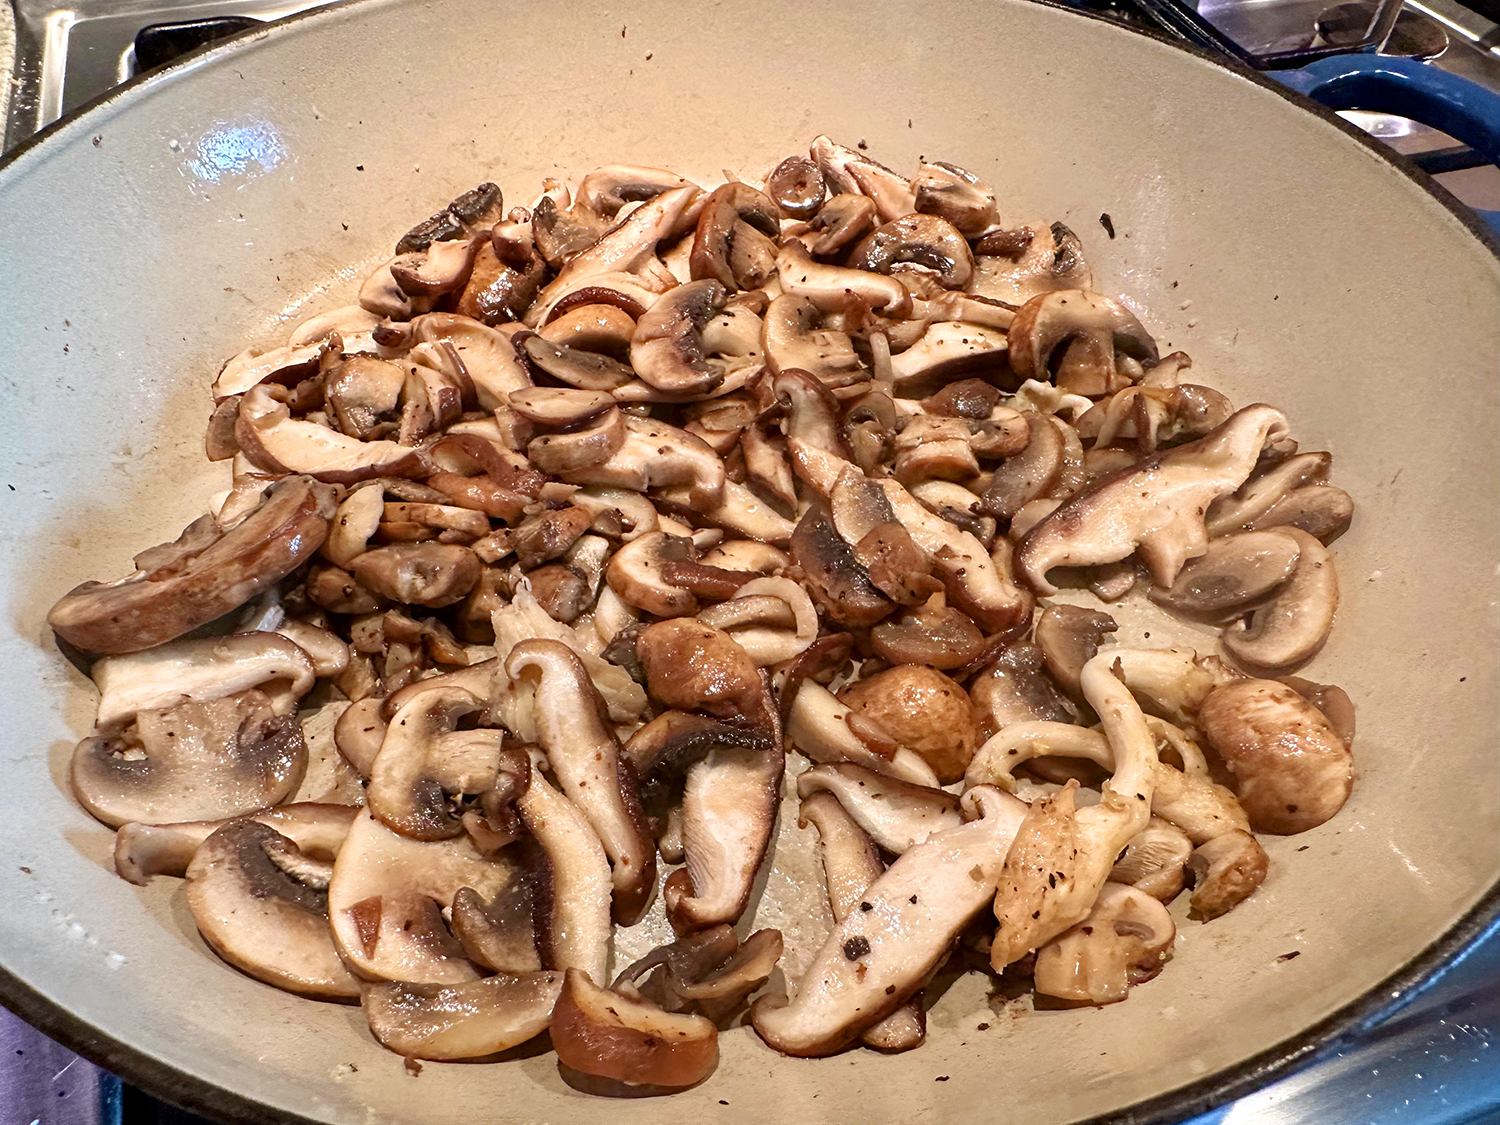
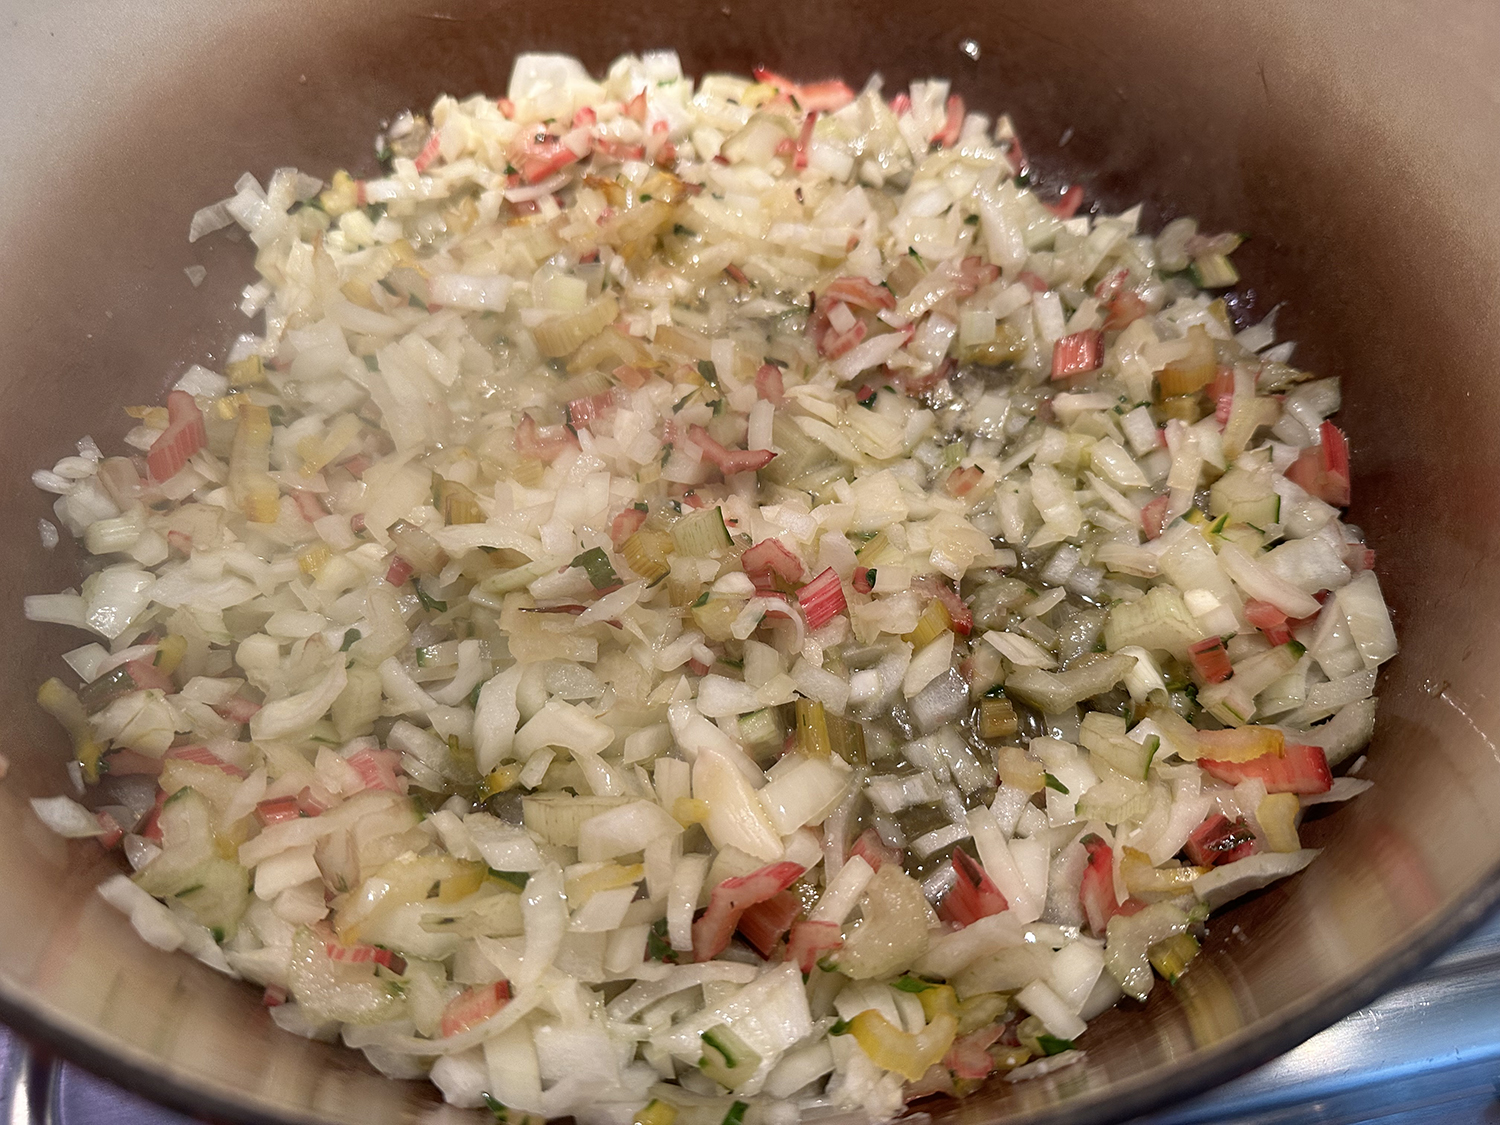
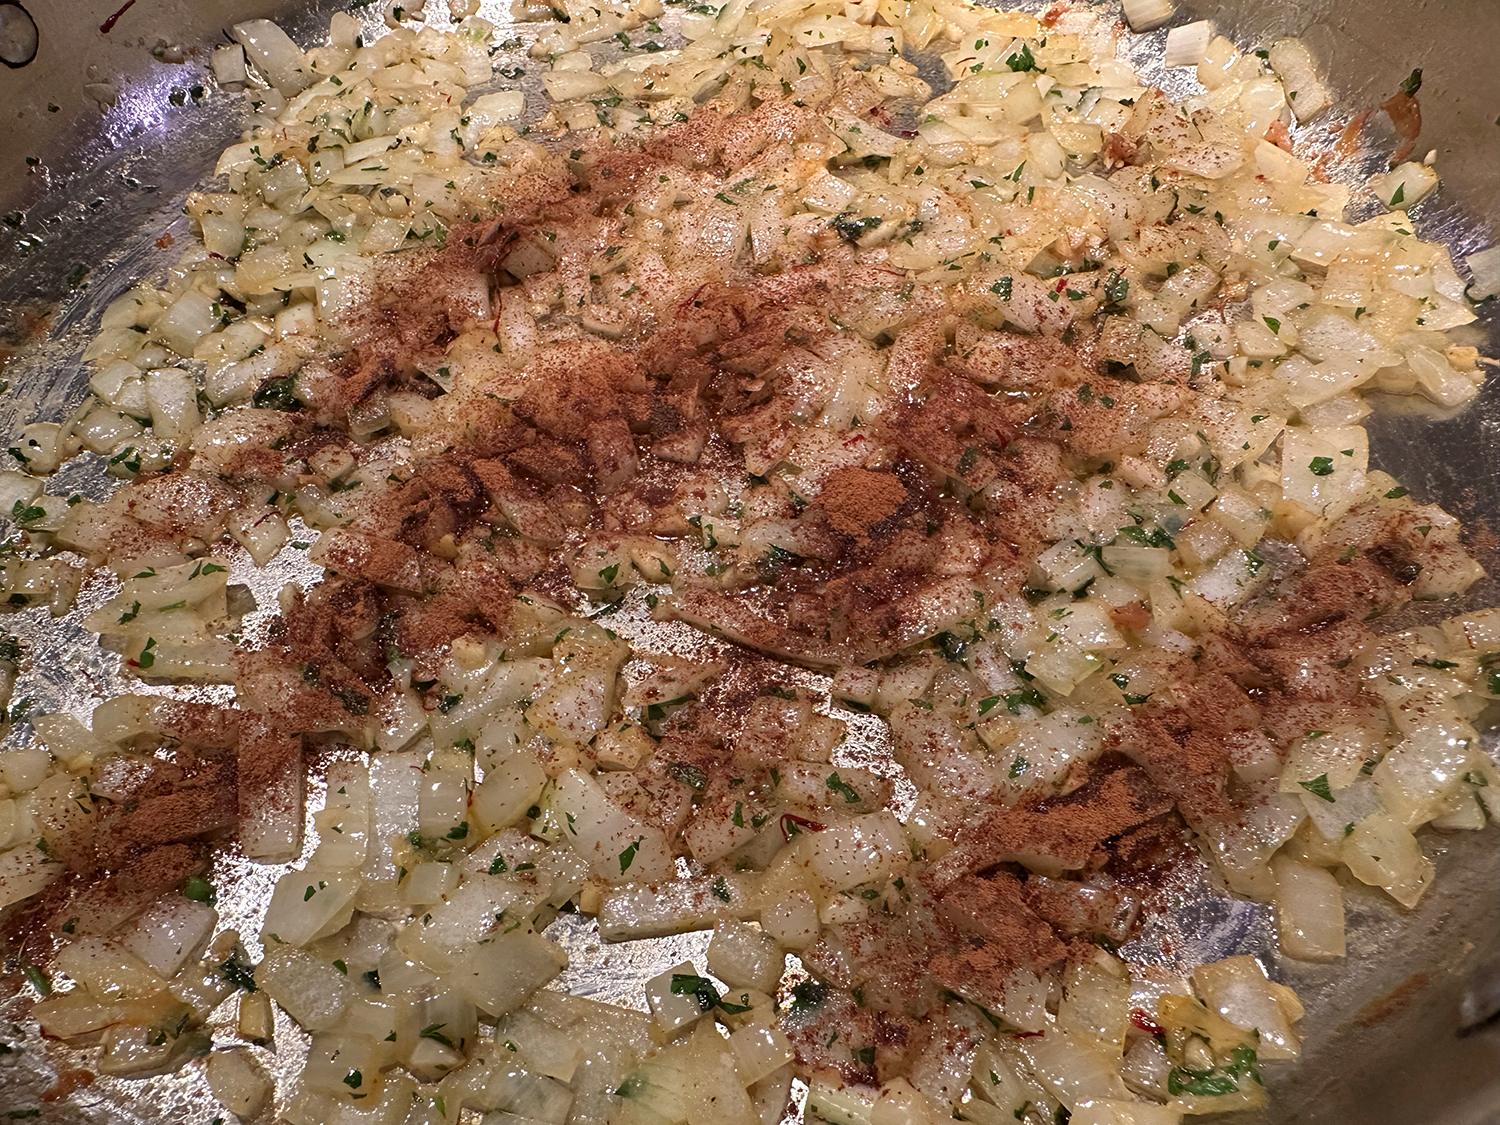
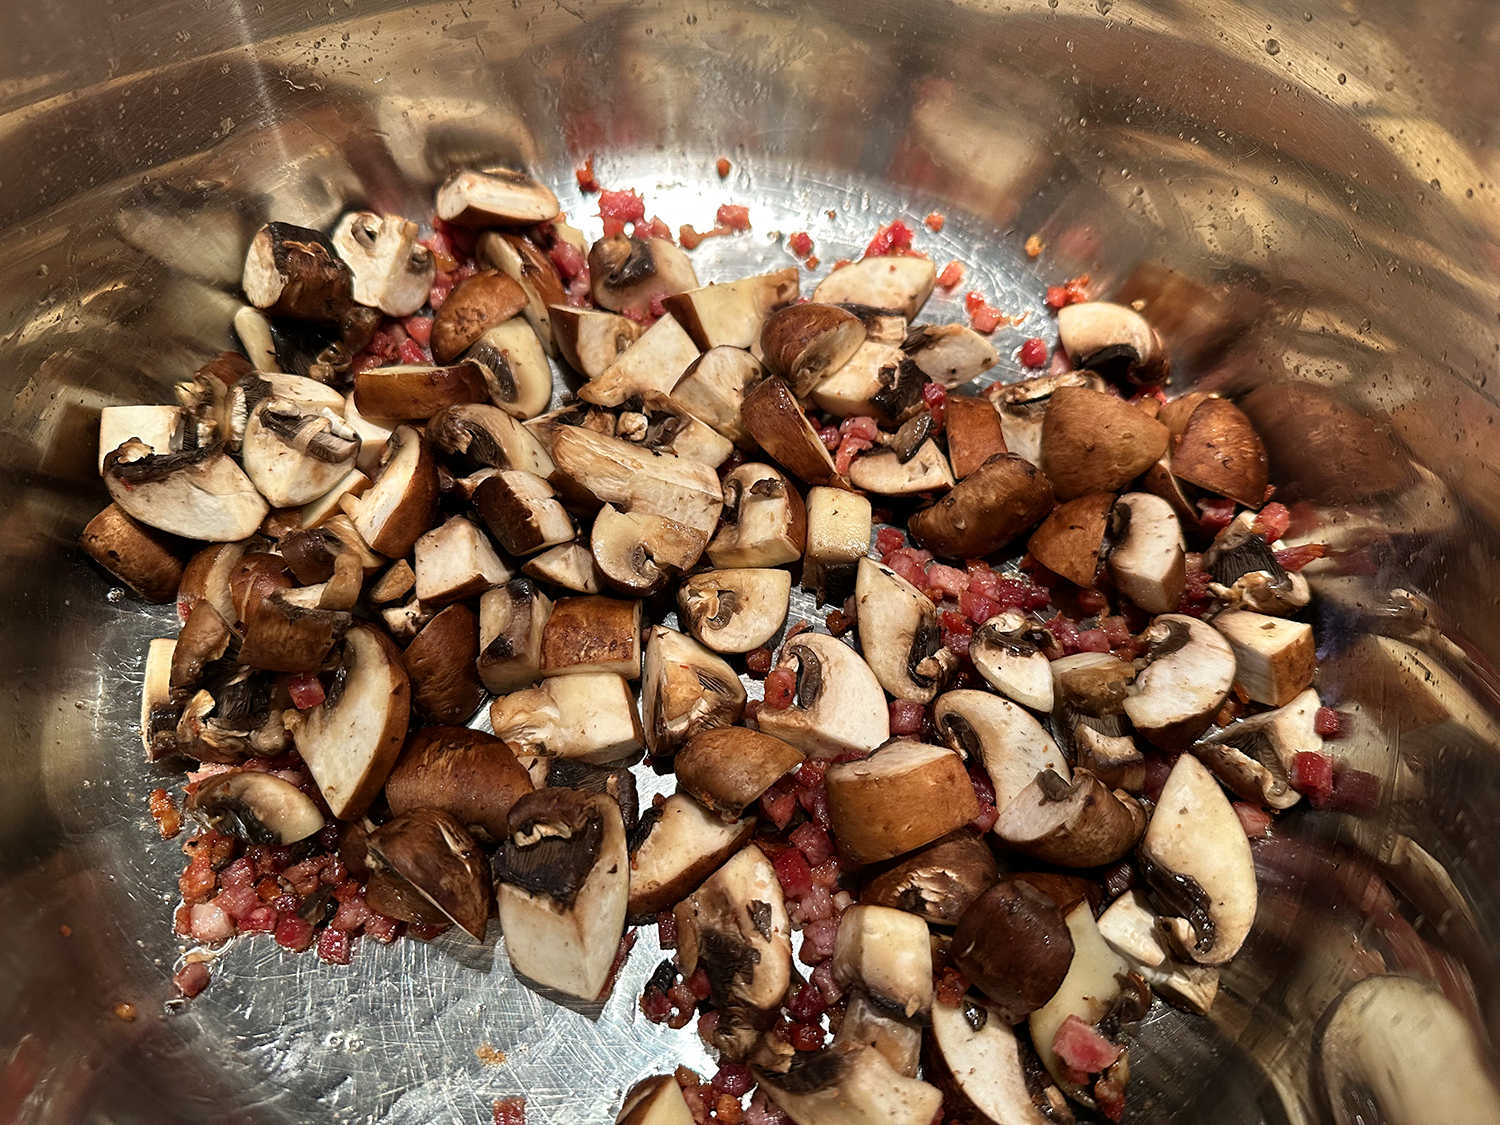
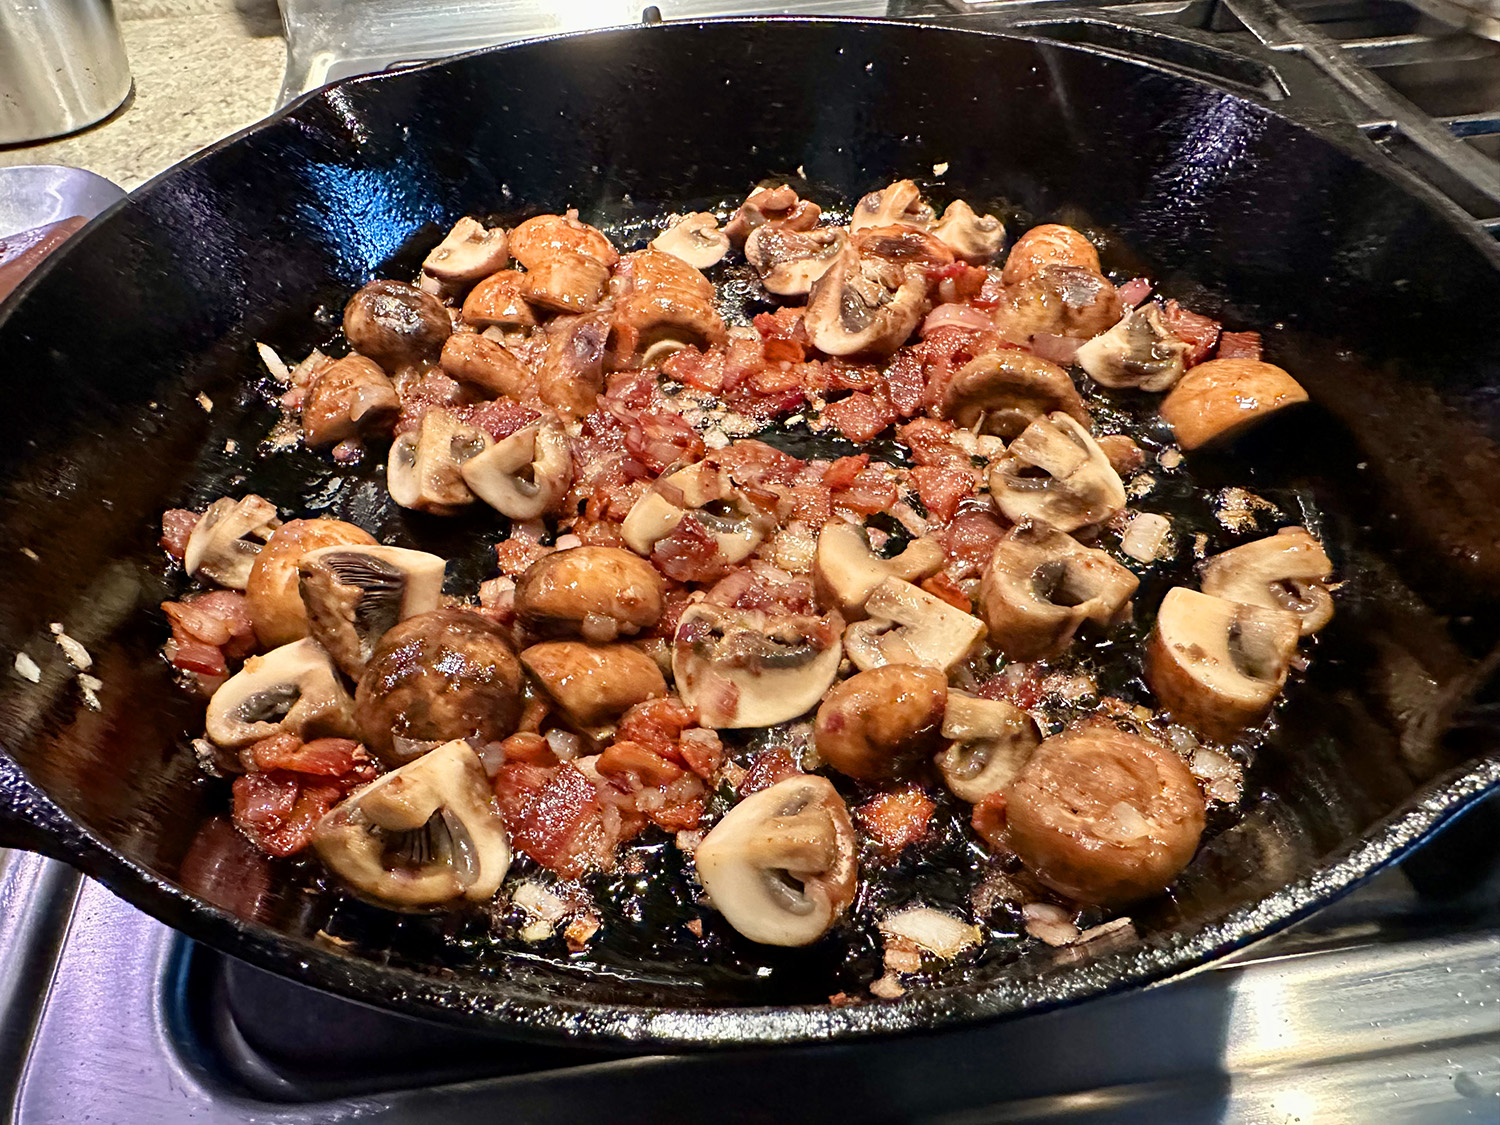
- In a large oven-safe skillet over medium-high heat, cook the bacon until crisp and brown, about 5 minutes. Add mushrooms and shallot, and cook until tender and deeply golden, 5 to 8 minutes.
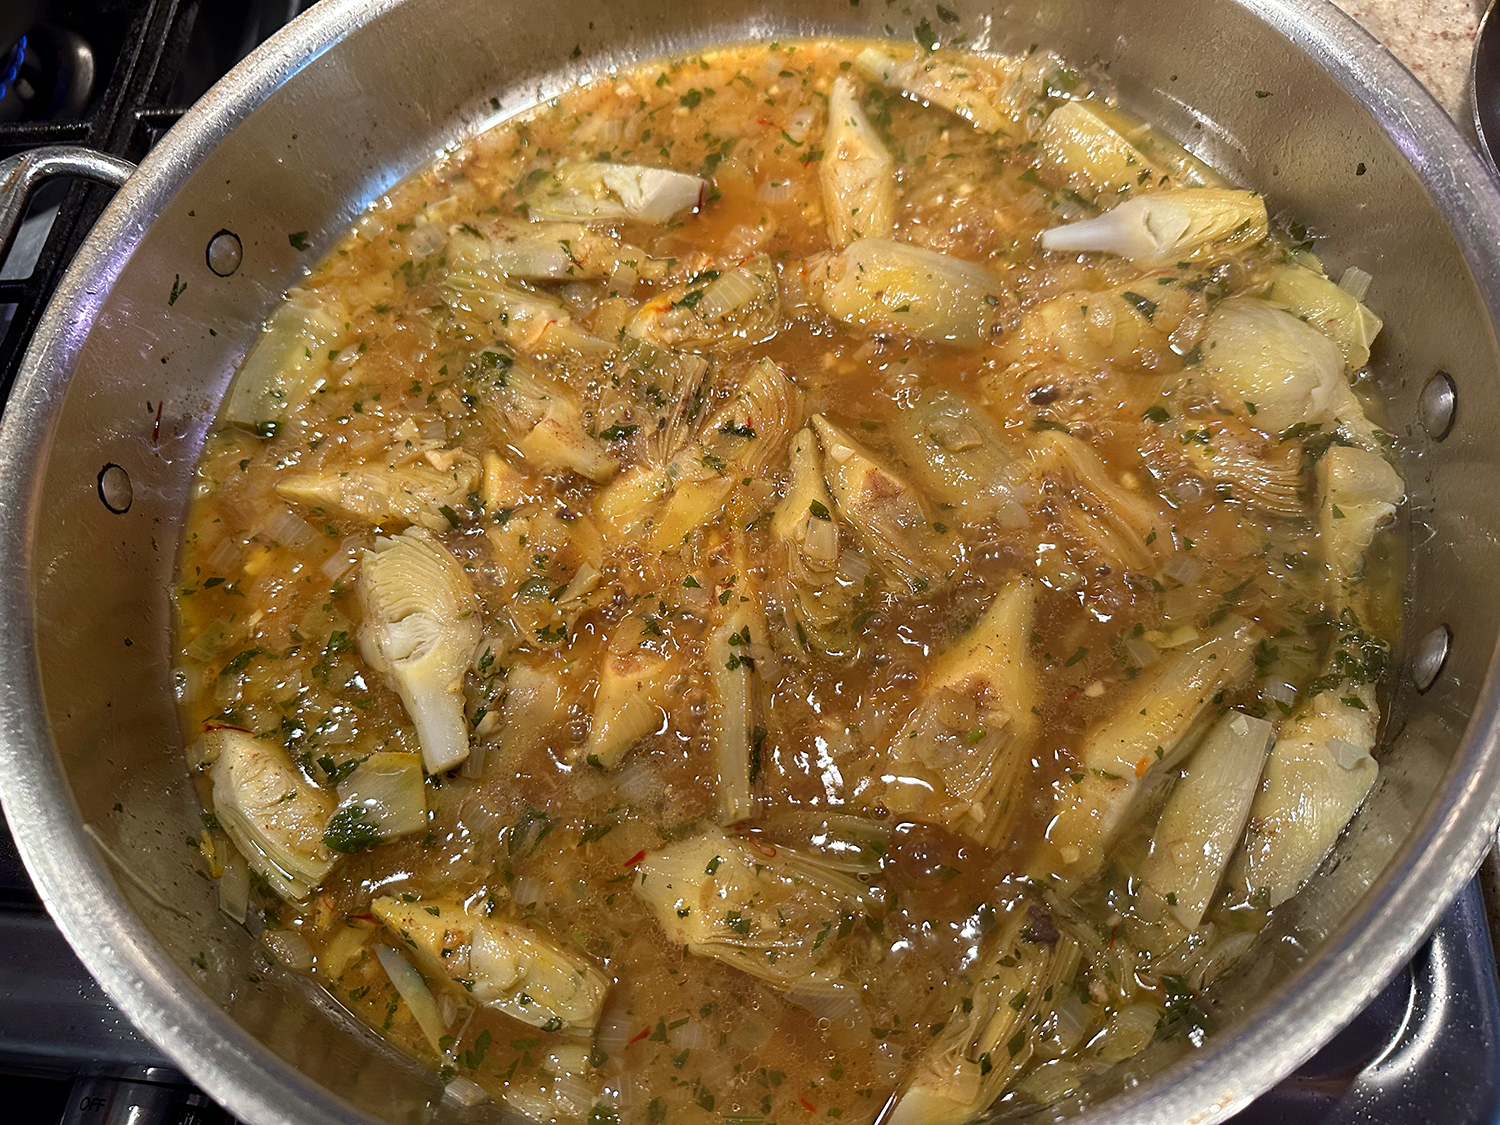
- Use your hands to crush the tomatoes or a knife to roughly chop them. Deglaze the skillet with the crushed tomatoes and their liquid, along with the wine and vegetable stock. Add the salt and pepper. Bring to a strong simmer and cook until the sauce has thickened, about 10 minutes. Taste and add more salt if needed.
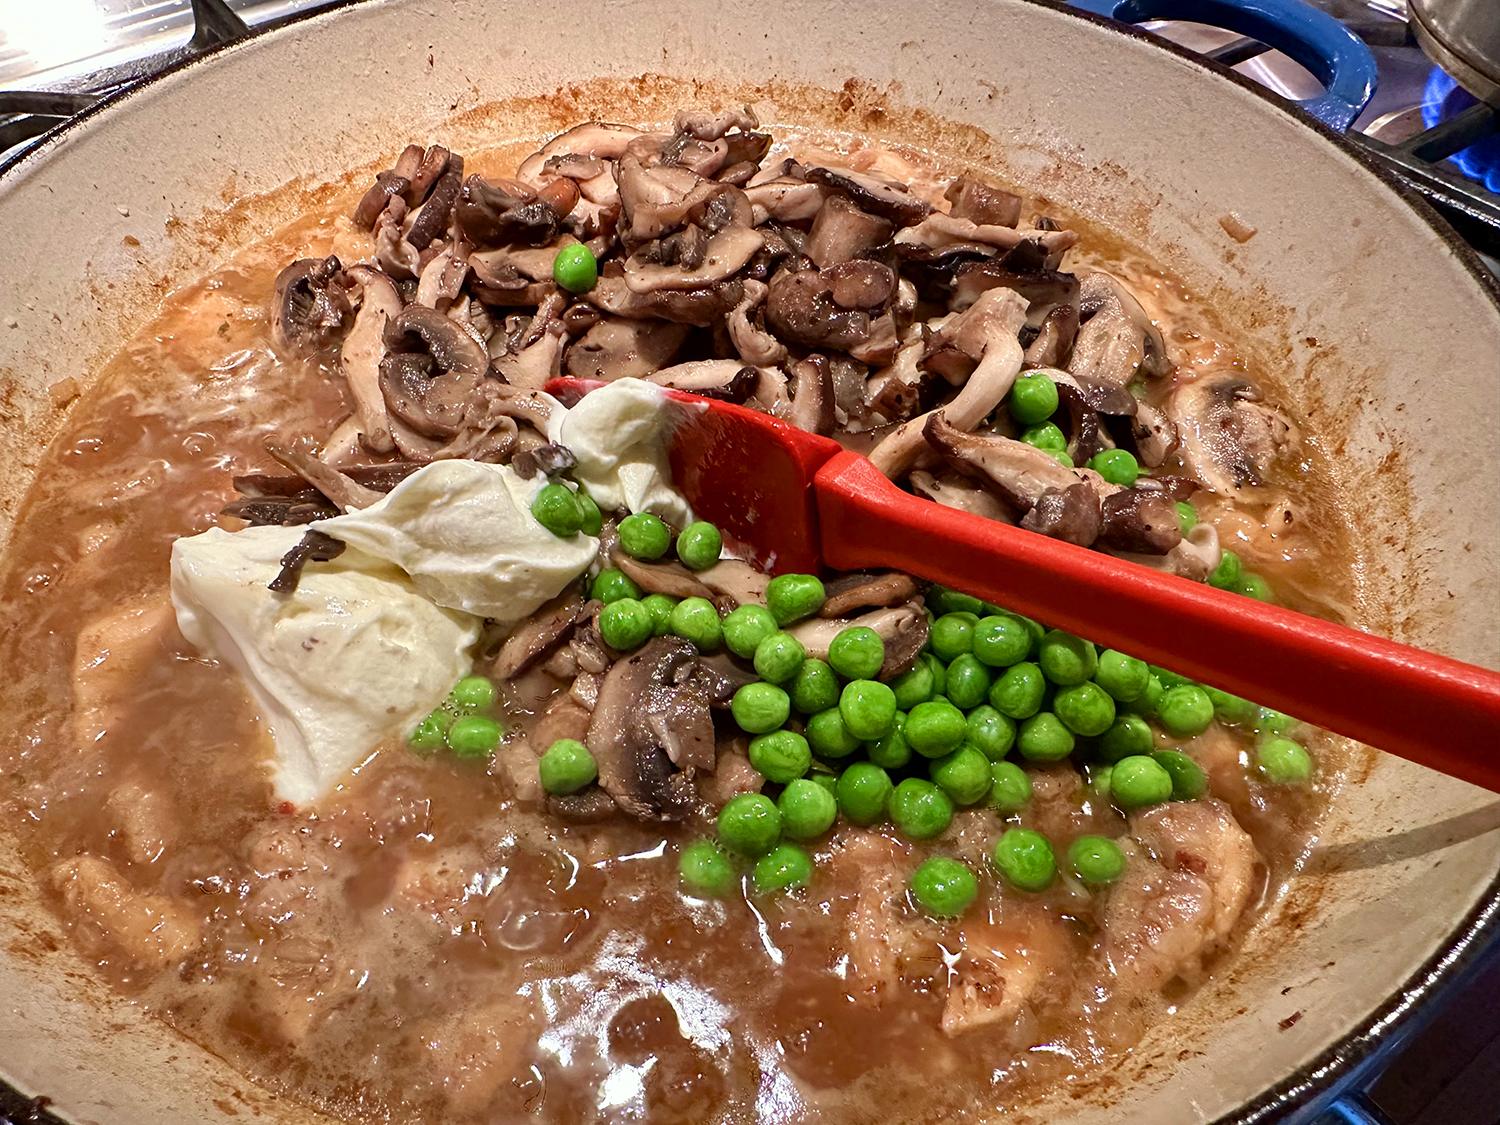
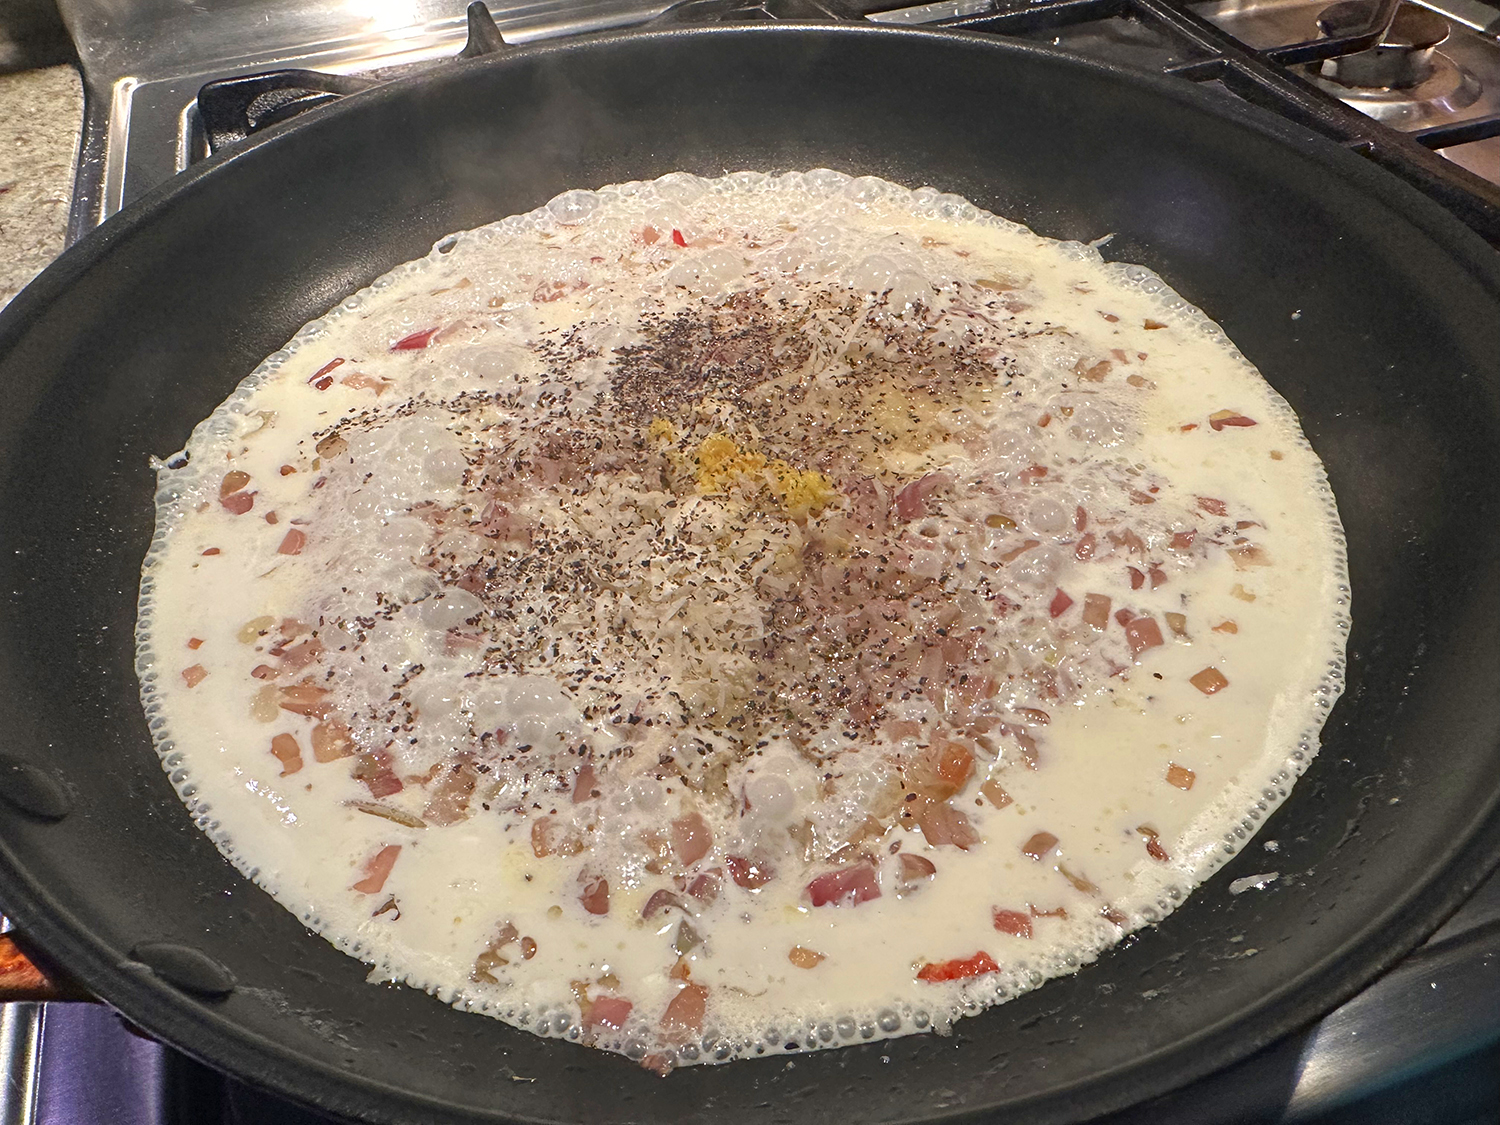
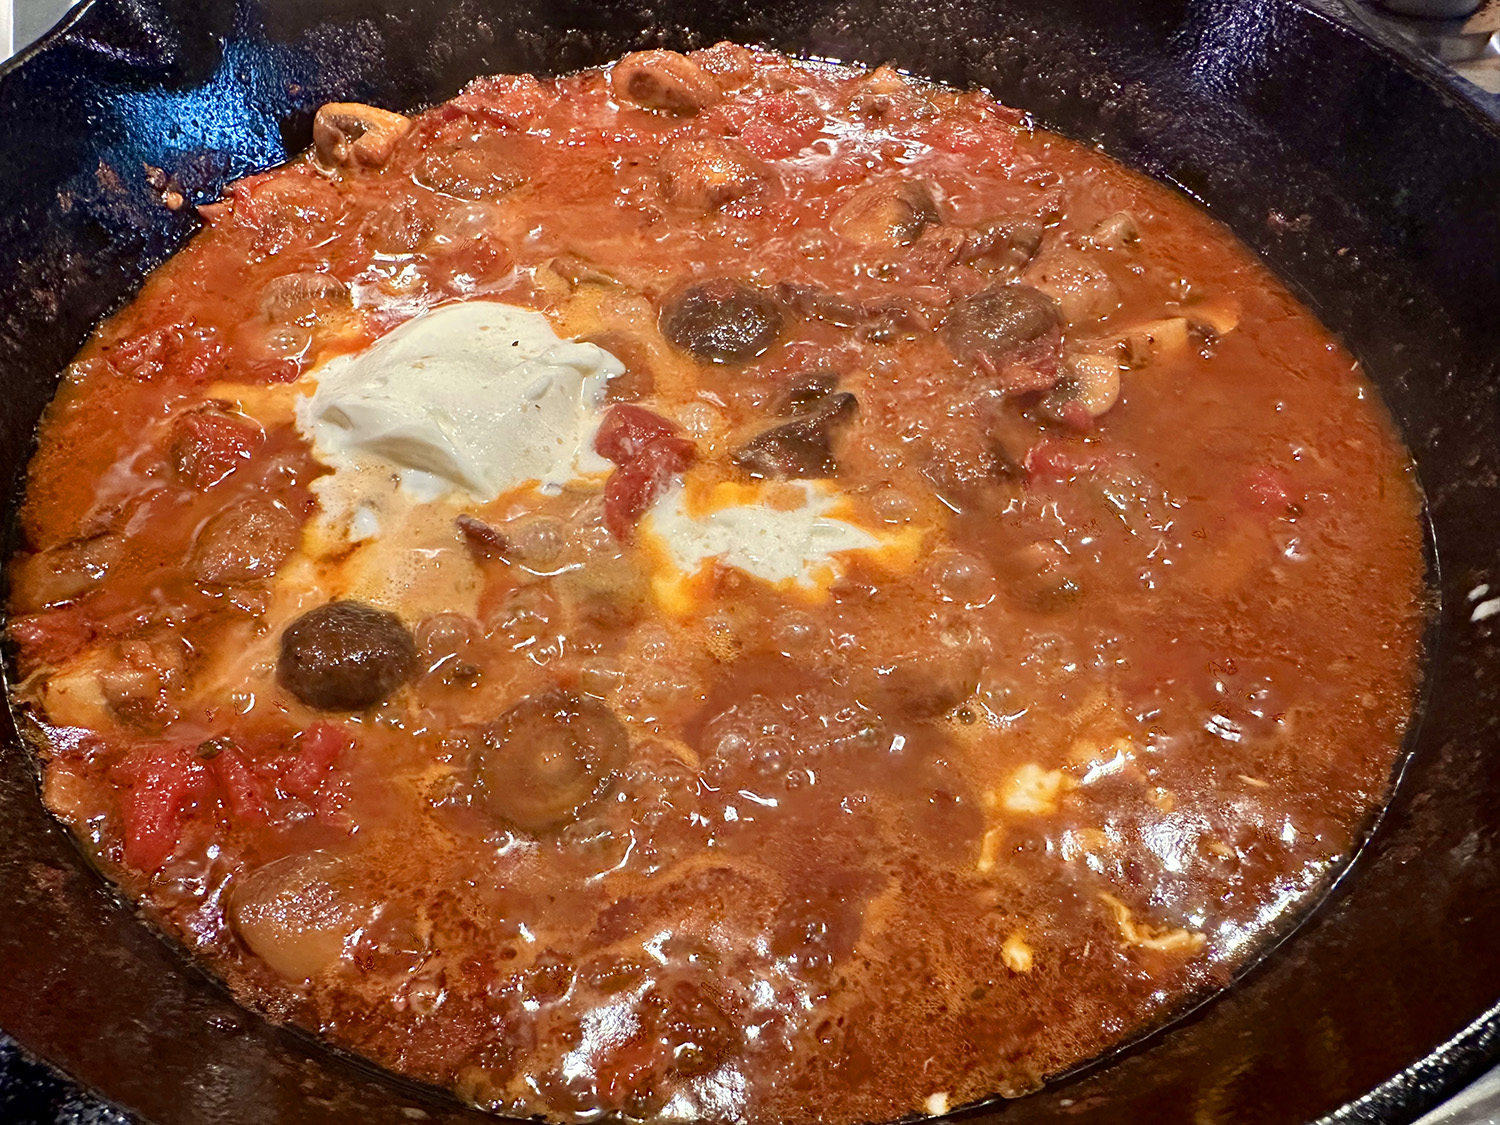
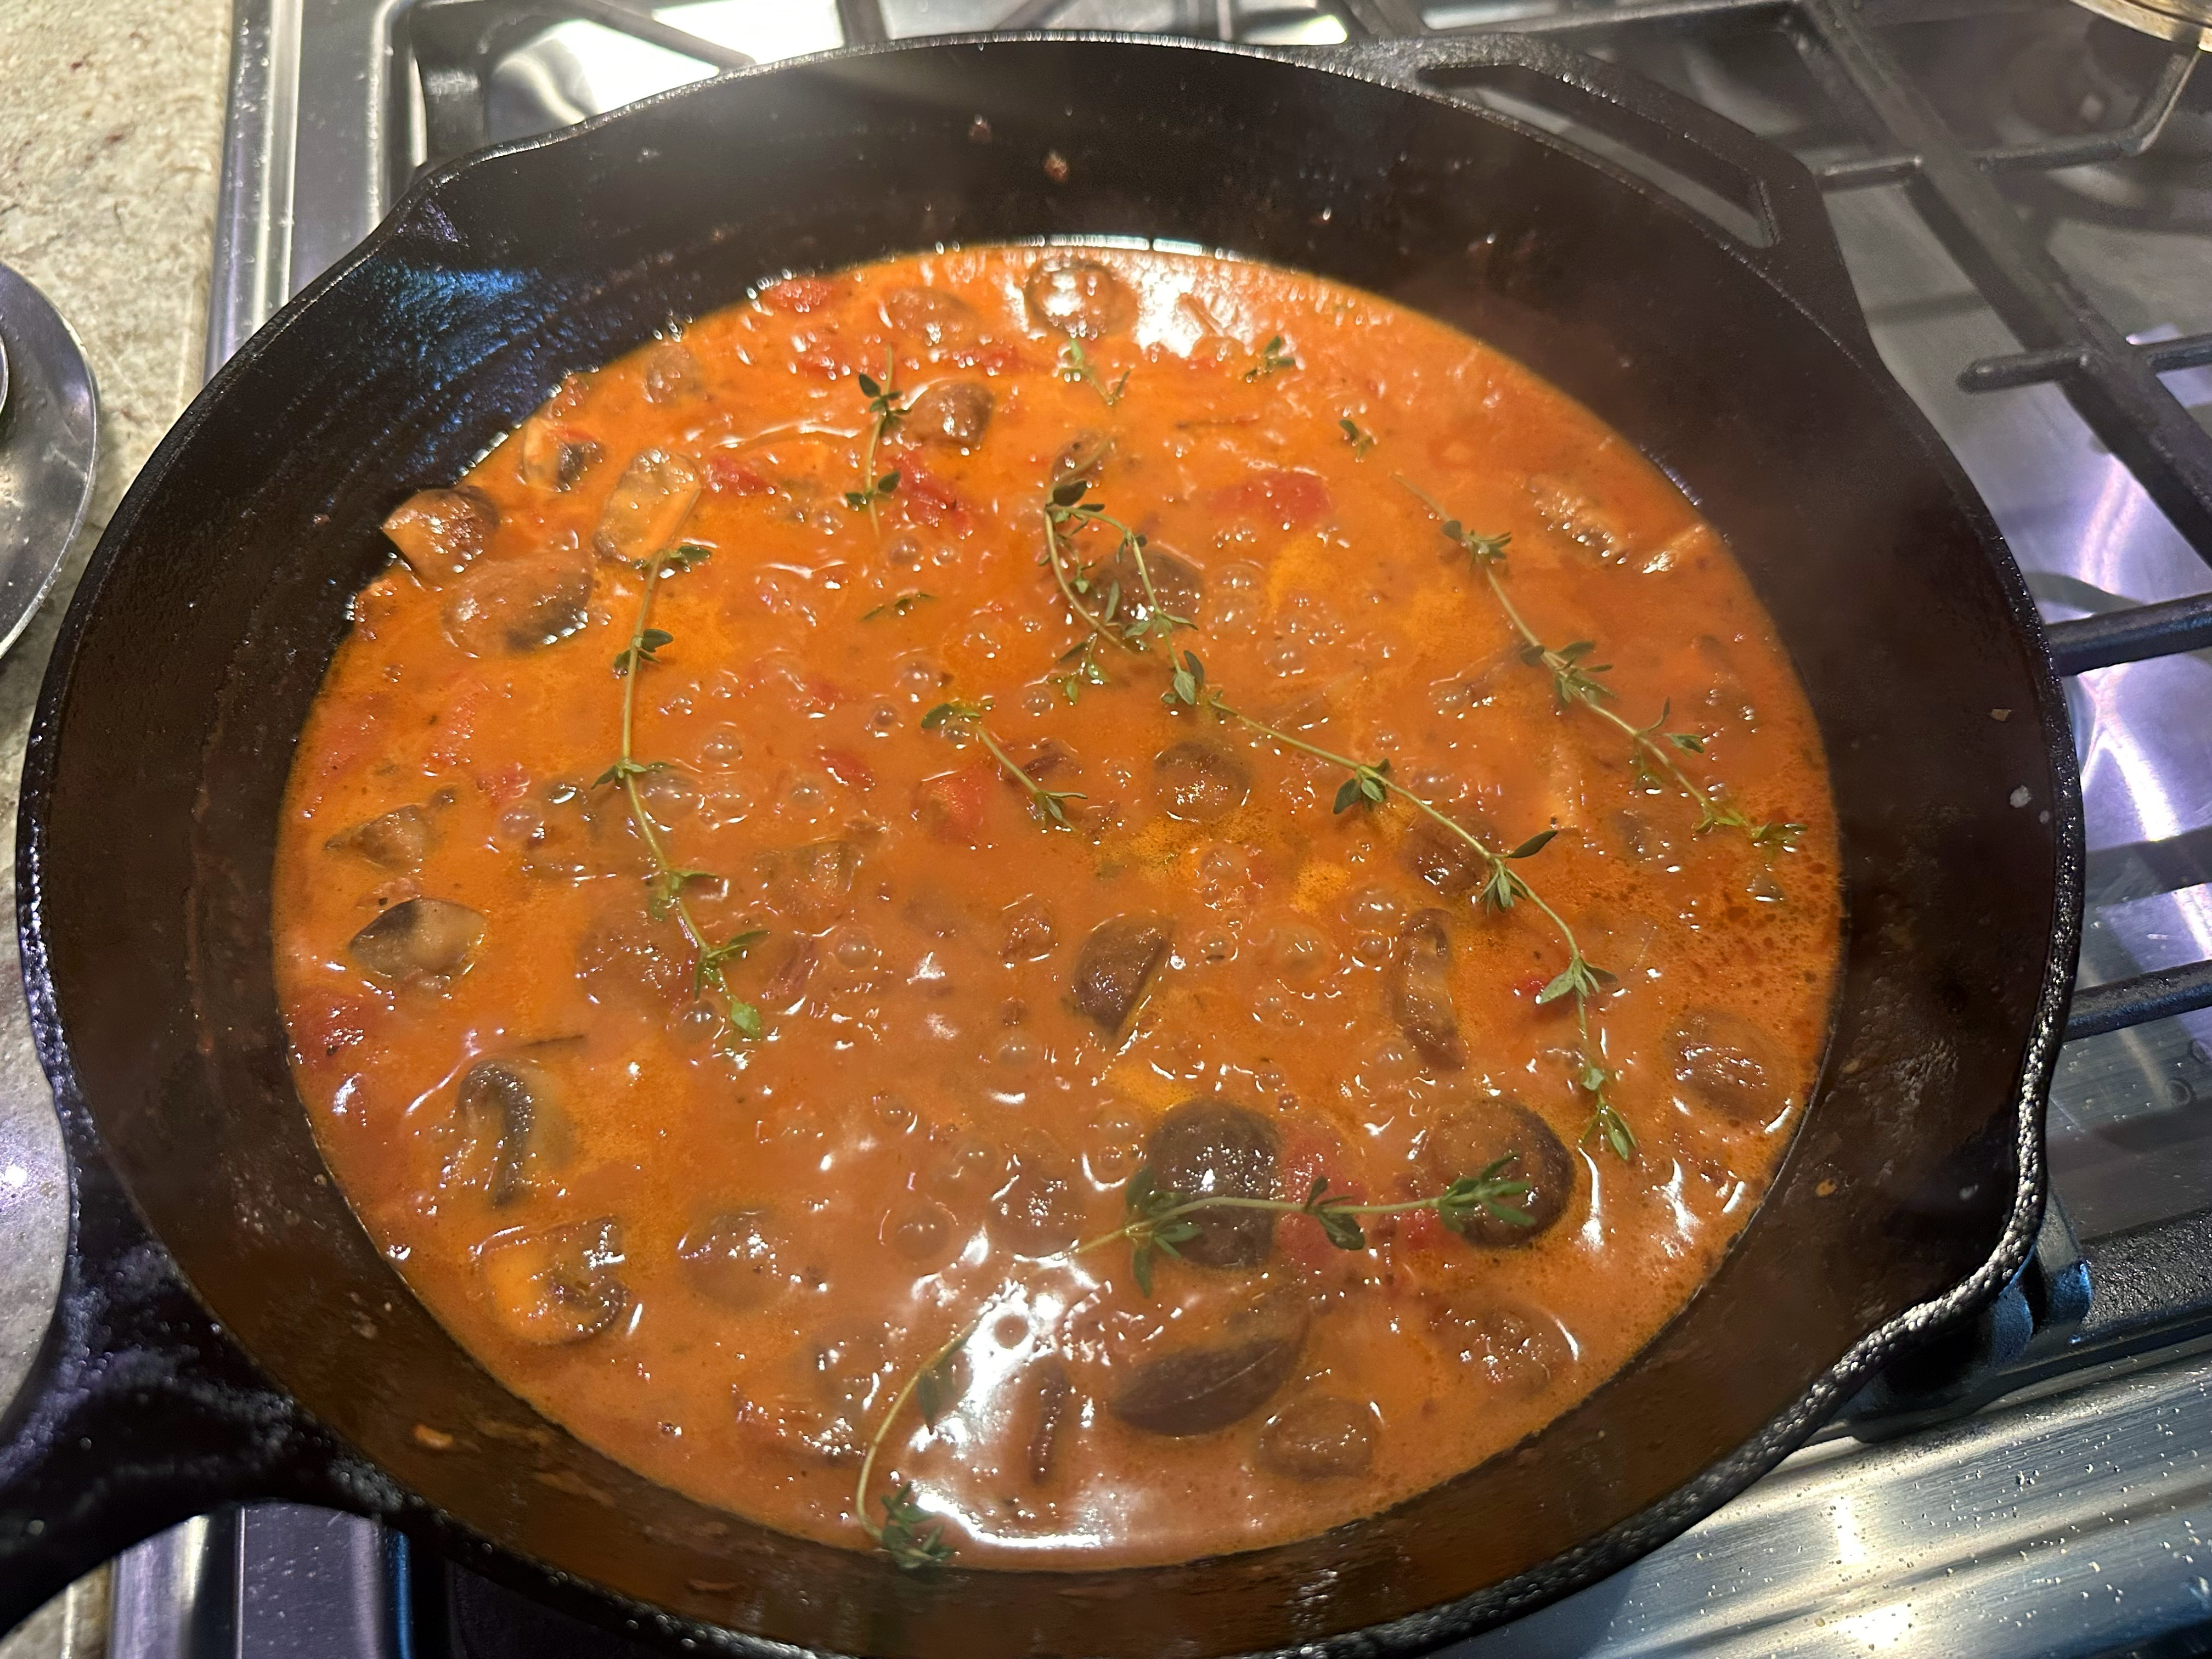
- Whisk in 4 tablespoons crème fraîche or cream, then add thyme sprigs. Simmer for 2 to 3 more minutes or until the sauce has reduced slightly.
- While the sauce reduces, generously season the fillets on both sides with salt and pepper. Heat broiler on high with a rack placed 6 inches from the heat source.
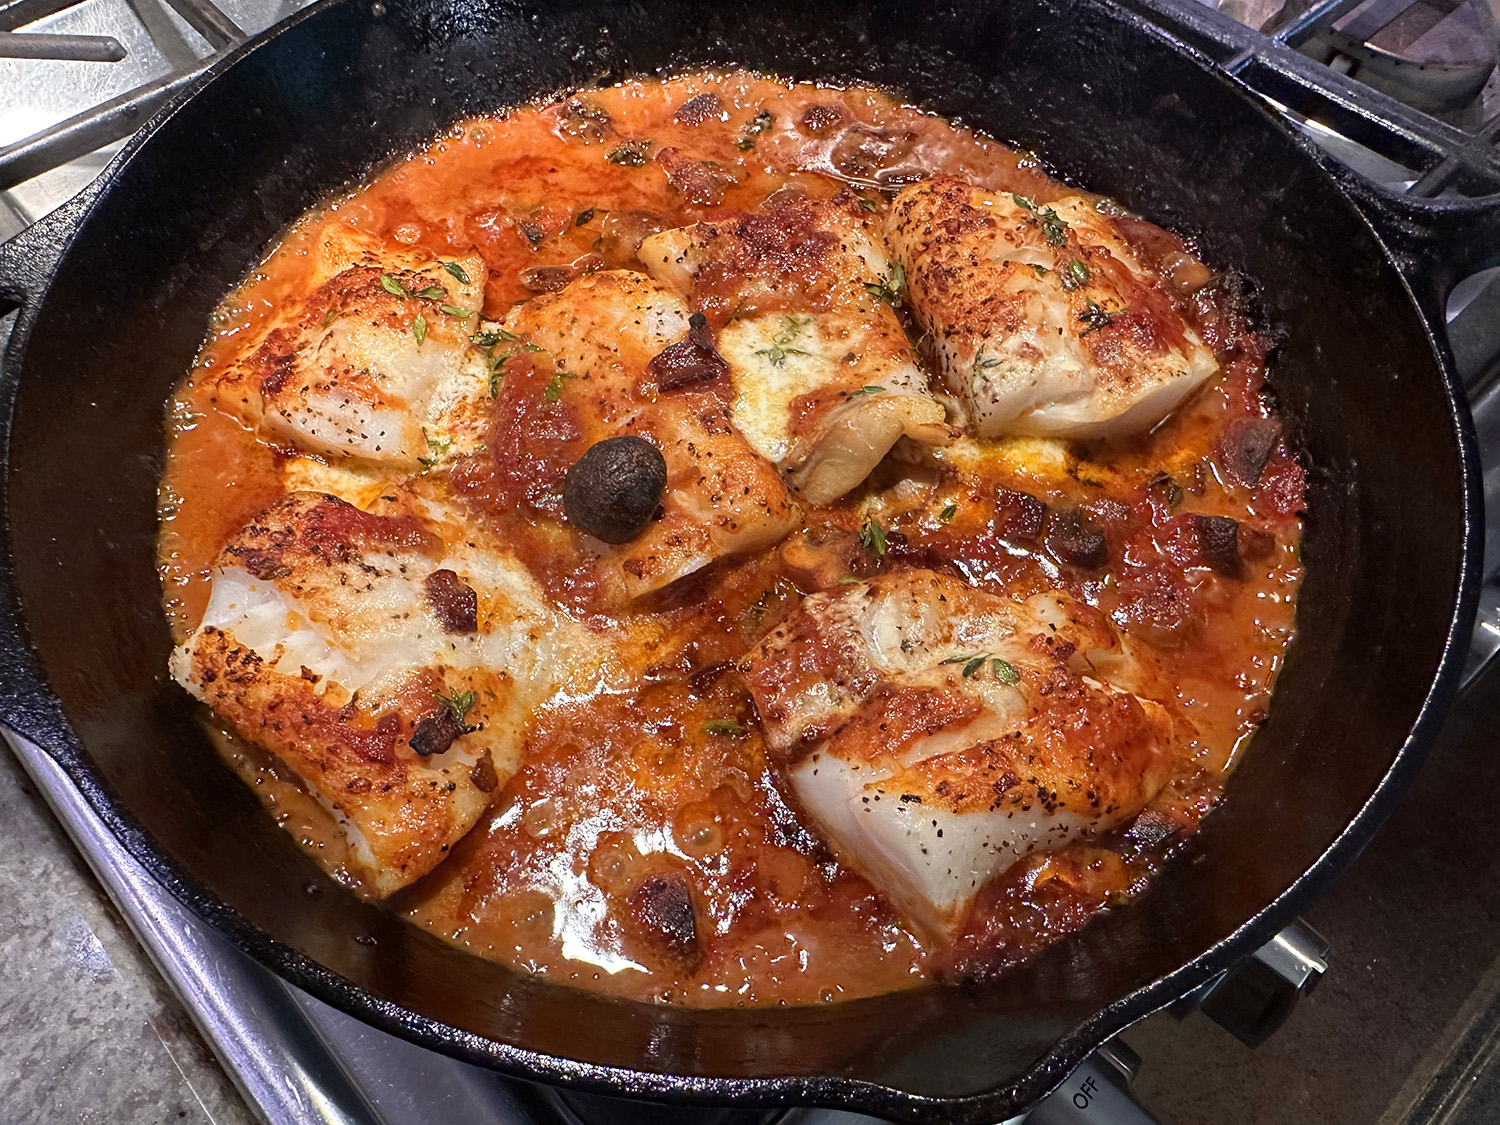
- Place the thicker fillets toward the edge of the skillet on top of the sauce and place the thinner fillets toward the center. Some overlapping is fine. Use a spoon to scoop some of the mushroom mixture over the fillets and dollop the remaining 1 tablespoon of crème fraîche evenly over the skillet. Sprinkle with thyme leaves.
- Broil for 2 to 5 minutes for thin fillets and 6 to 10 for thick ones, or until the sauce is bubbling and the fillets are just cooked through. Serve garnished with thyme leaves in shallow bowls with baguette slices or buttered toast for dipping.
Recipe by Melissa Clark for NYTimes Cooking