How about turning the page on that gloppy, cloyingly-sweet Thanksgiving side dish, the sweet potato casserole full of sugar?
These incredible mashed sweet potatoes are mixed with herbs, butter and sour cream. The problem with most mashed sweet potatoes is that they’re made even sweeter with brown sugar and marshmallows, and are not a welcome player on my dinner able. Sweet potatoes are already plenty sweet on their own.
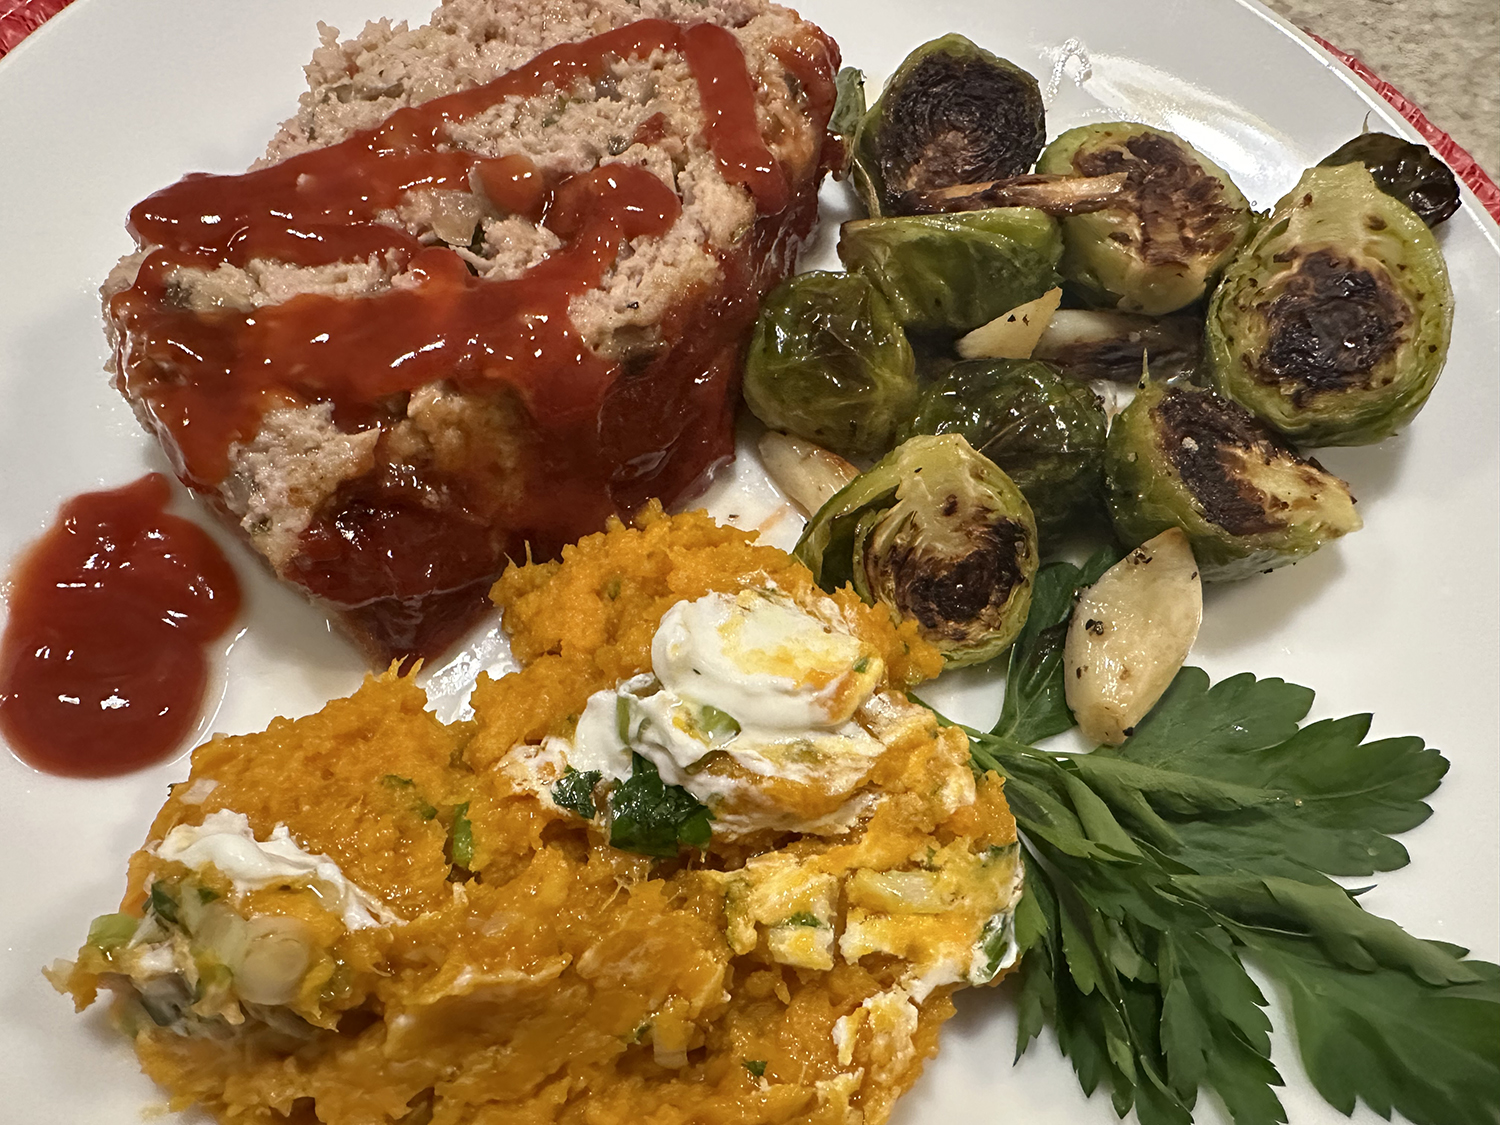
So savory ingredients are added to these mashed sweet potatoes to balance out that inherent sweetness. Finely chopped fresh parsley and green onion combined with some sour cream and butter are all you need for incredible savory mashed sweet potatoes.
They were a mighty fine accompaniment to our Double-Mushroom and Sherry Meatloaf and side of Roasted Brussels Sprouts with Garlic.
Savory Mashed Sweet Potatoes
Ingredients
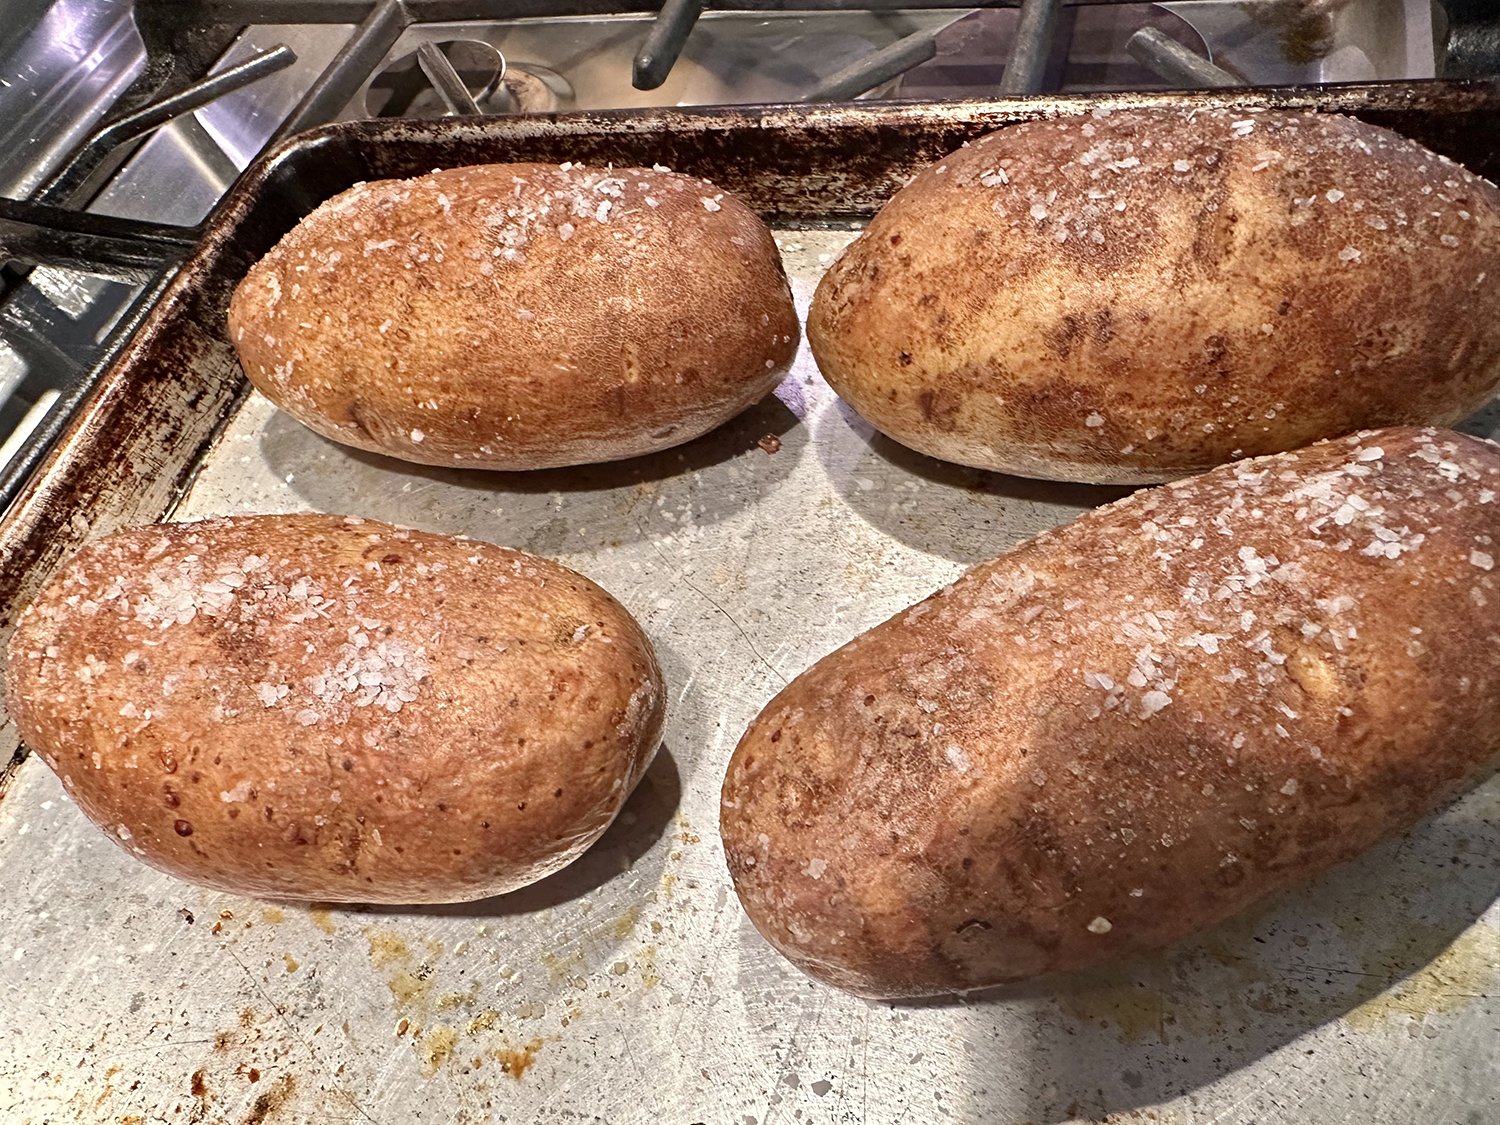
- 4 pounds sweet potatoes (about 7 small-to-medium), peeled and cut into 1″ cubes
- 2 teaspoons salt, divided
- ⅓ cup finely sliced green onion, mostly green parts (from 1 bunch)
- ⅓ cup finely chopped fresh flat-leaf parsley
- 1 small-to-medium garlic clove, pressed or minced
- ¼ cup sour cream*
- 3 tablespoons butter, cubed
- Freshly ground black pepper
- 1 teaspoon extra-virgin olive oil
Directions
- Place the cubed sweet potatoes in a large saucepan or Dutch oven and add enough water to cover by about 1″. Add 1 teaspoon of the salt and bring the mixture to a simmer over medium-high heat. Reduce the heat and simmer, uncovered, until the potatoes are tender (in other words, it’s easy to slide a fork in and out), about 9 to 12 minutes.
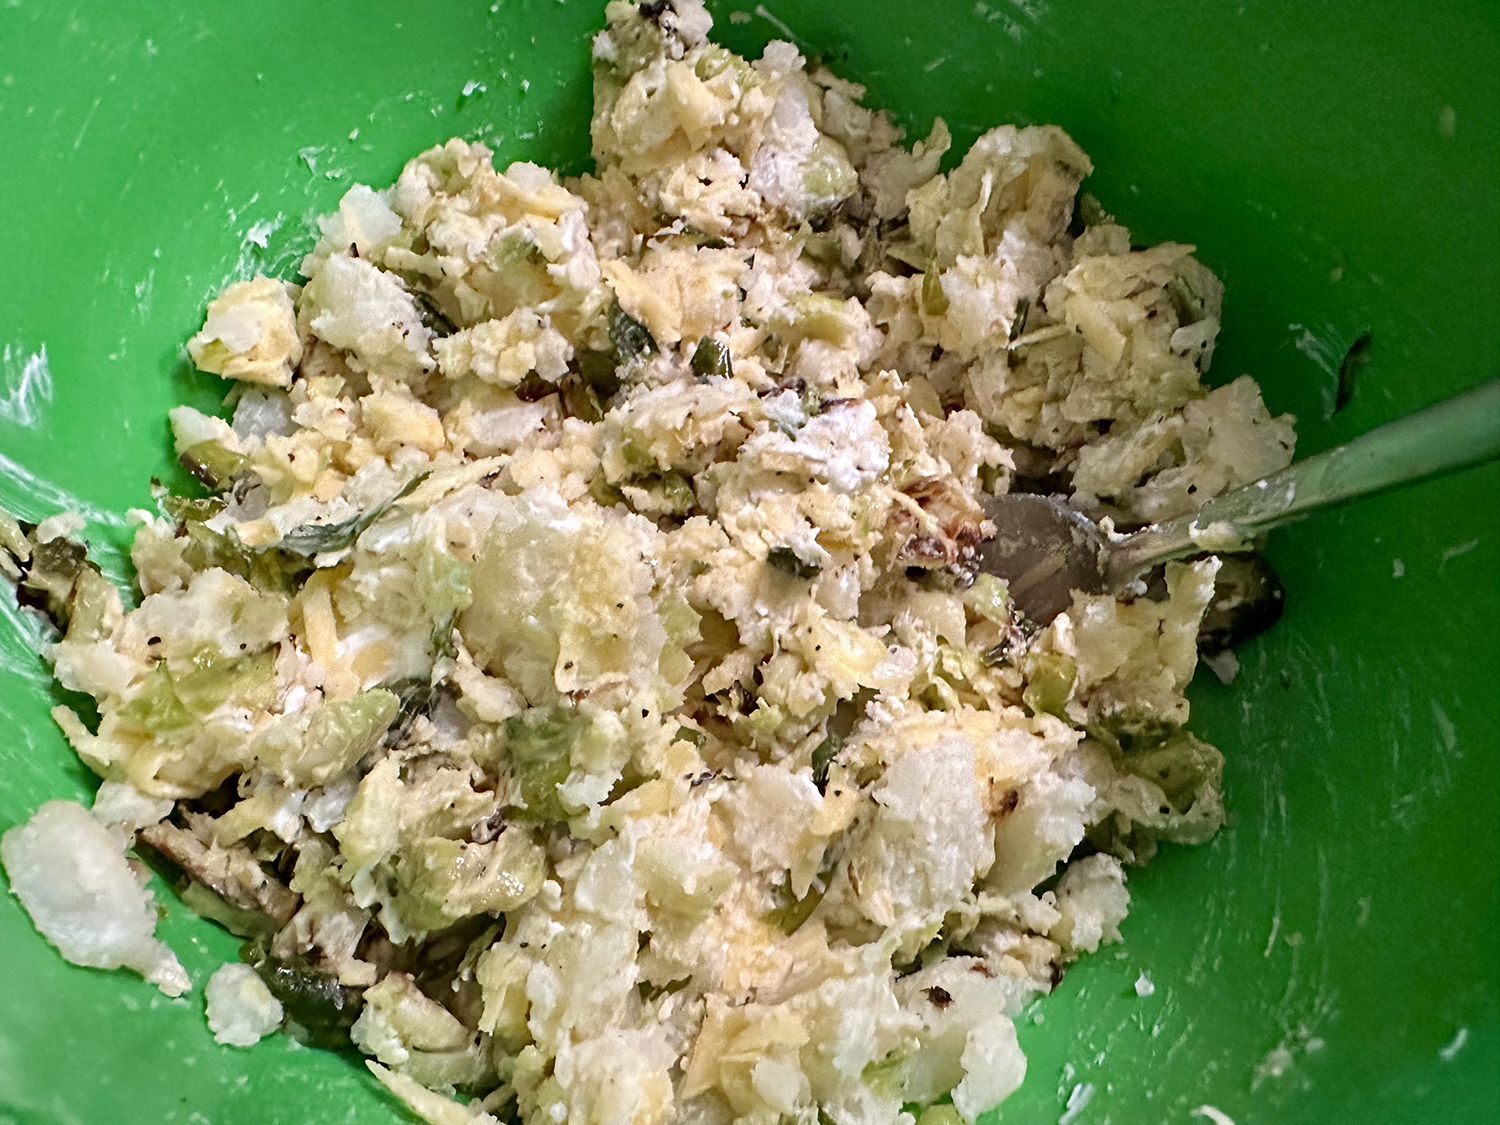
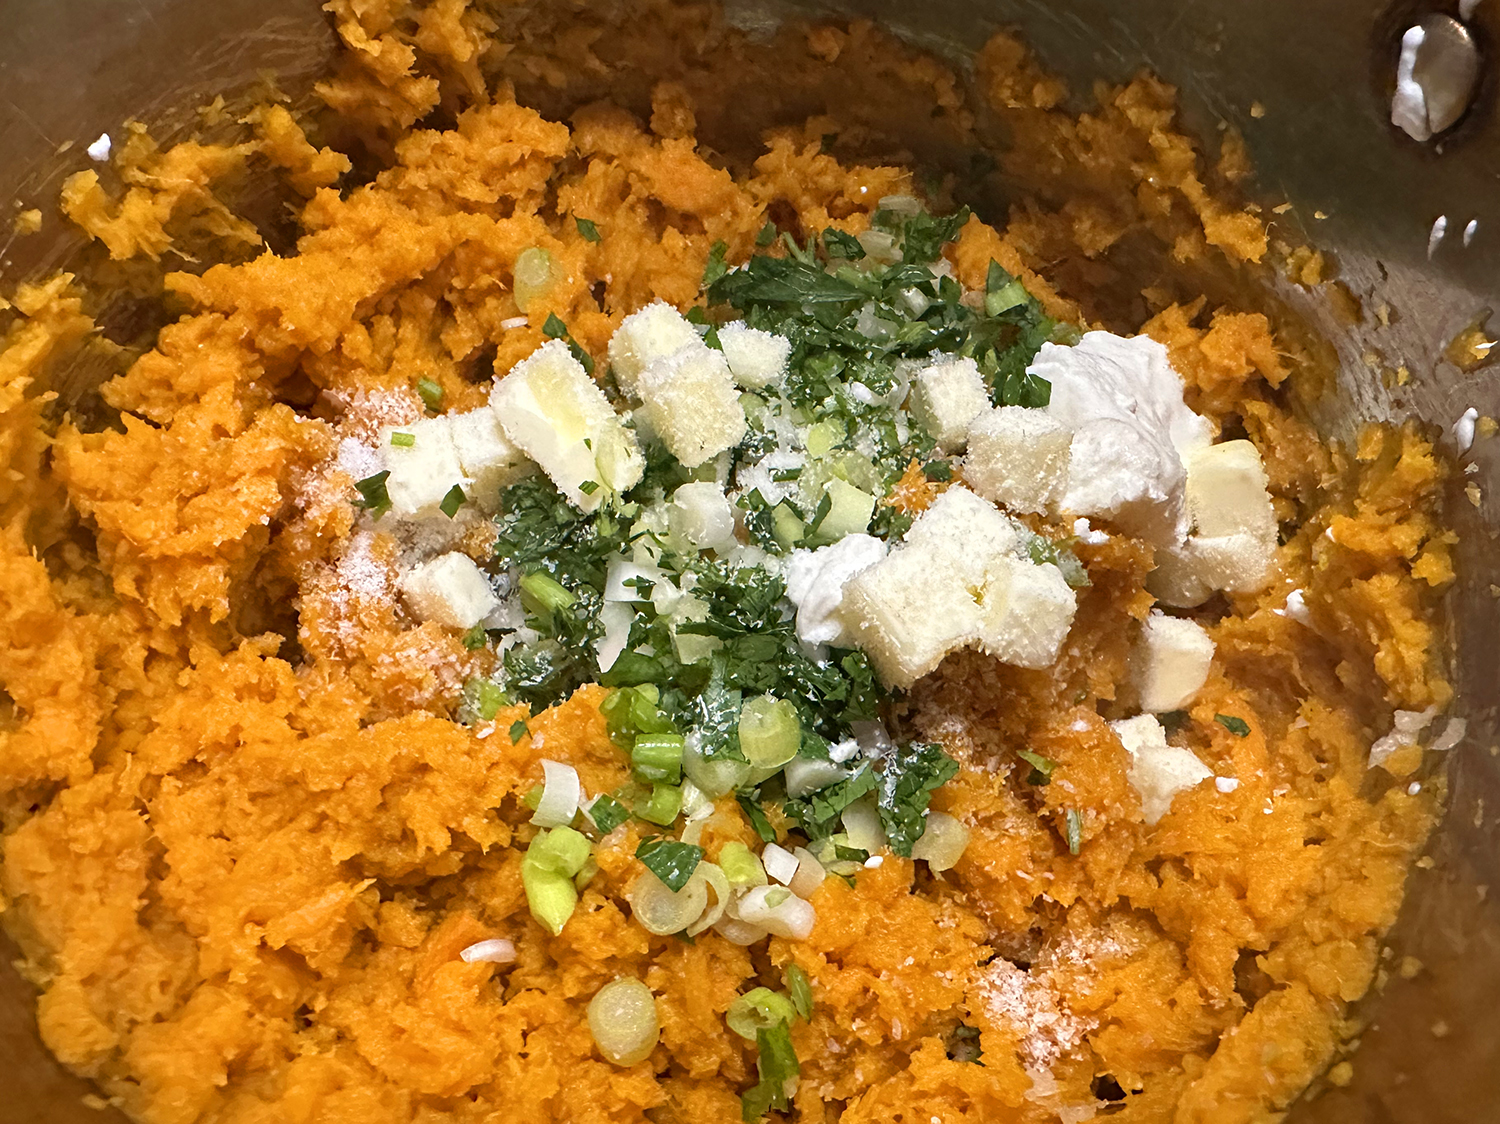
- Drain well, then return the potatoes to the pot. Mash the sweet potatoes to your desired consistency.
- Promptly add almost all of the green onion and parsley, reserving a small amount of each for garnish. Add the garlic, and stir to combine. Then stir in most of the sour cream (reserve roughly 1 tablespoon for garnish), all of the butter, and the remaining 1 teaspoon salt. Season to taste with additional salt (I usually add another ¼ to ½ teaspoon) and freshly ground black pepper.
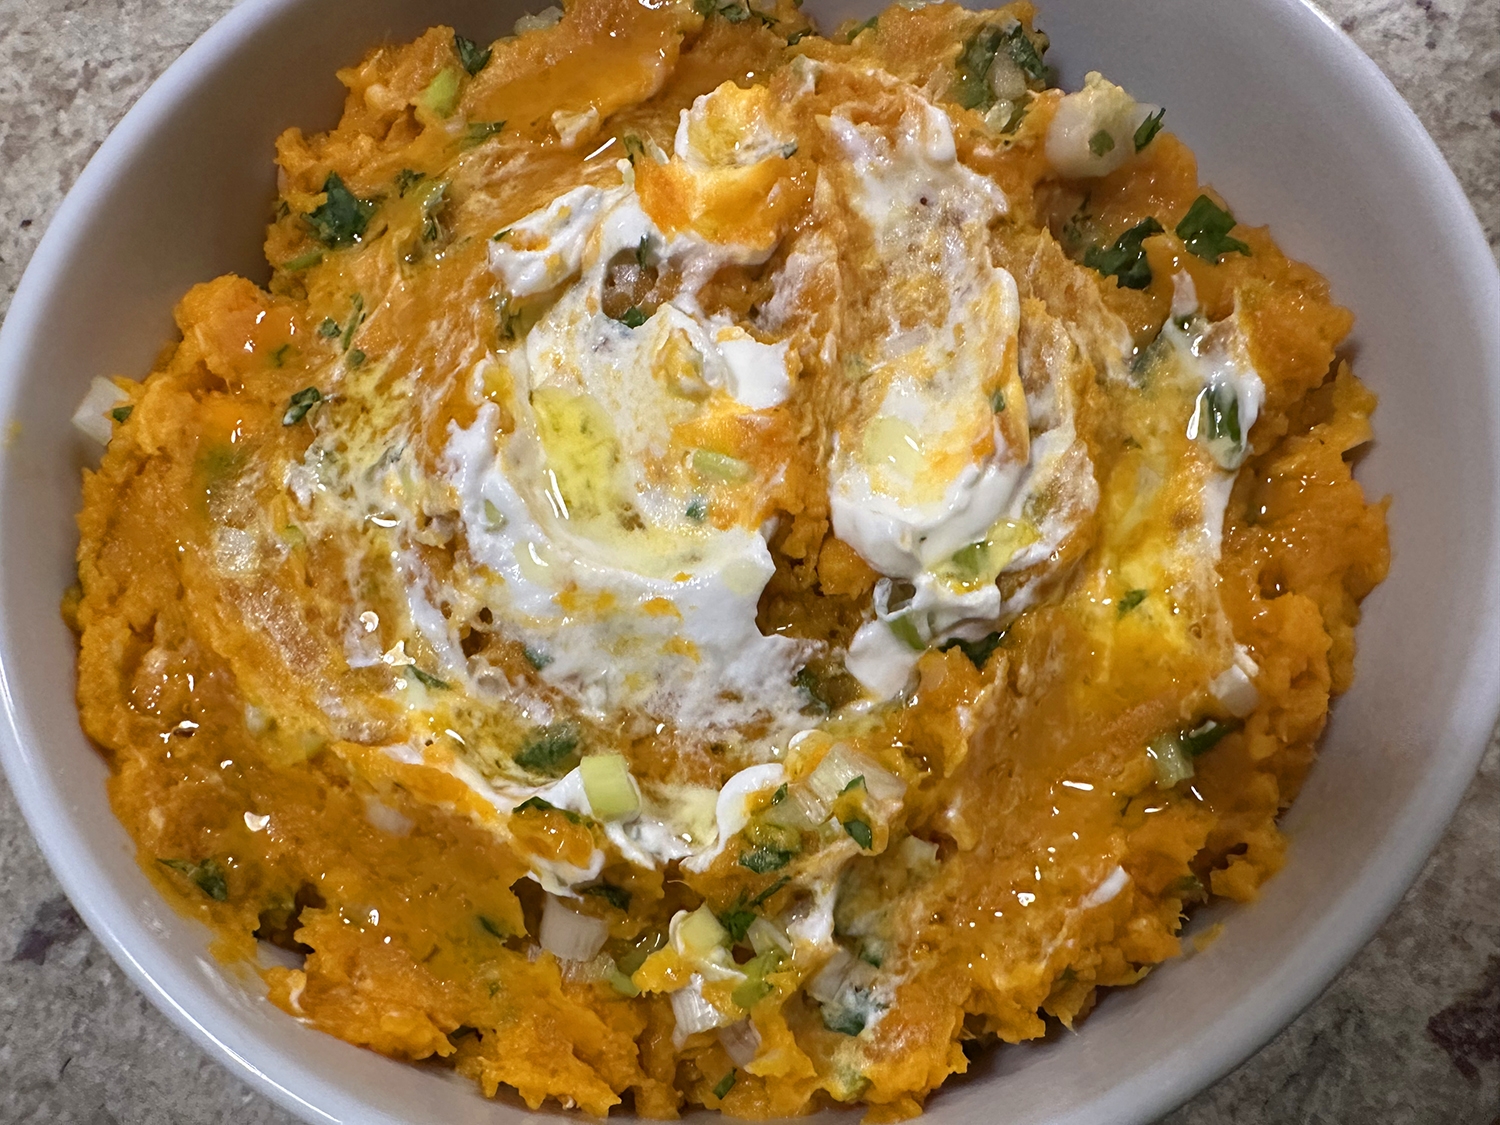
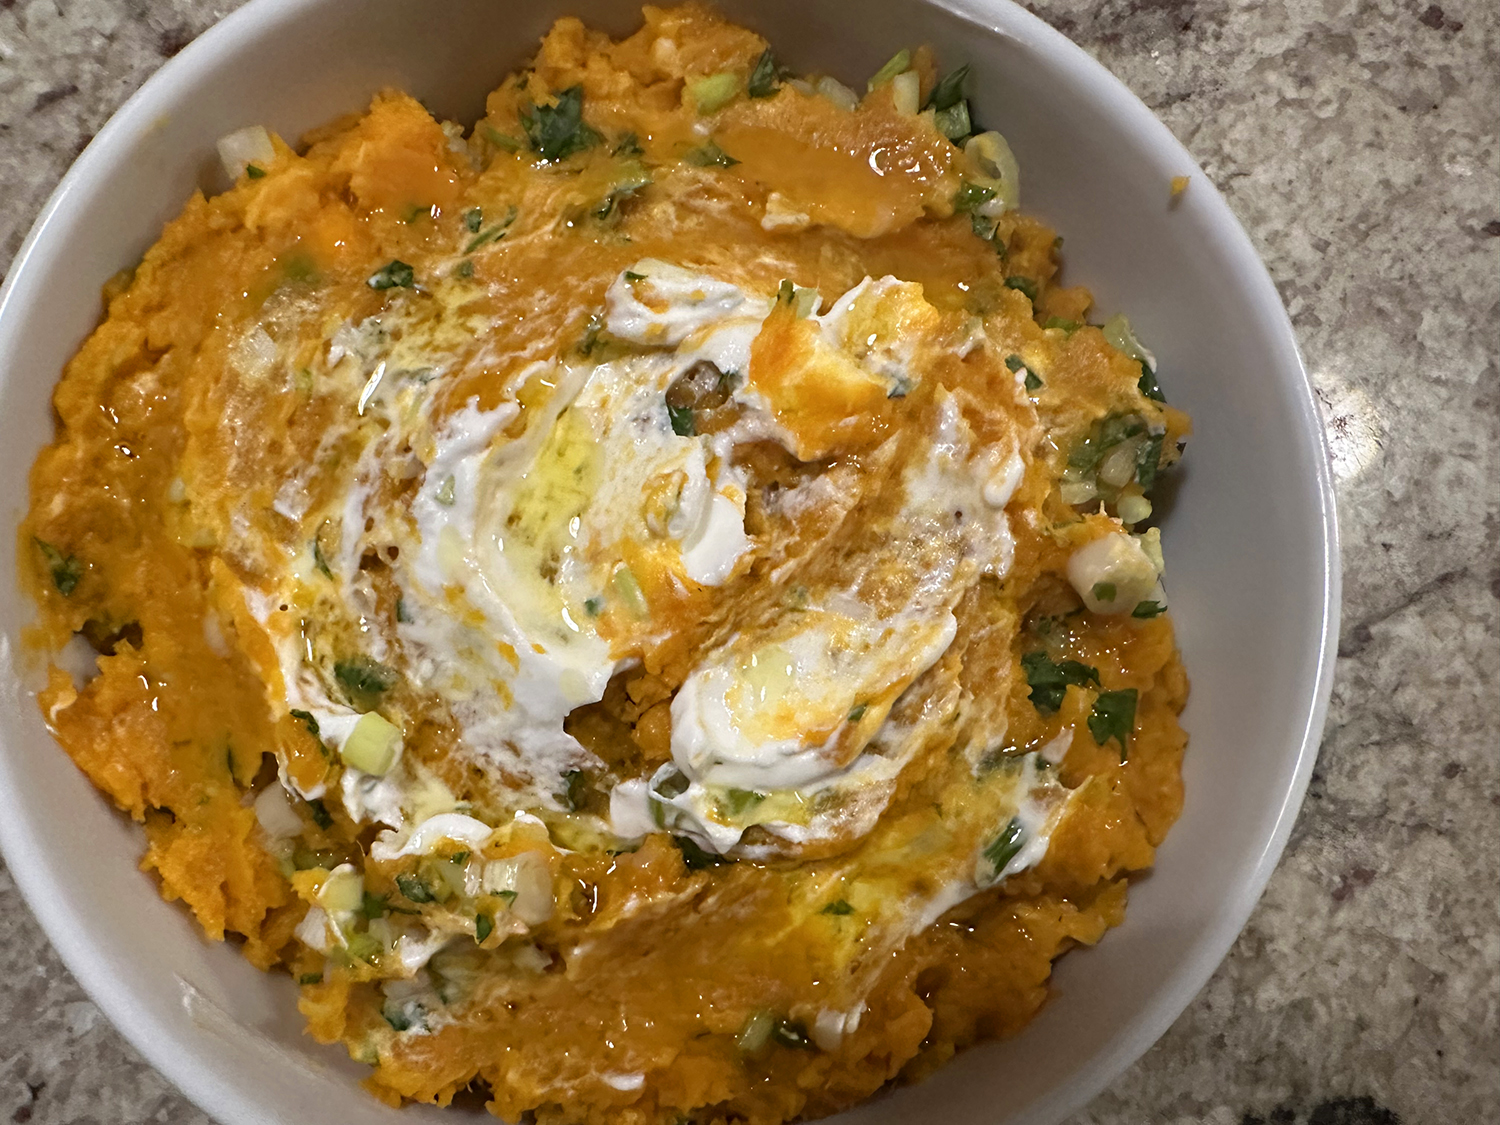
- Transfer the mashed potatoes to a serving bowl and swirl the reserved sour cream onto the top with a spoon. Sprinkle with the reserved green onion and parsley, drizzle the top lightly with olive oil, and finish with a sprinkle of pepper.
- Serve promptly. Leftovers will keep well, covered and refrigerated, for 3 to 4 days.
Adapted from a recipe by Cookie and Kate