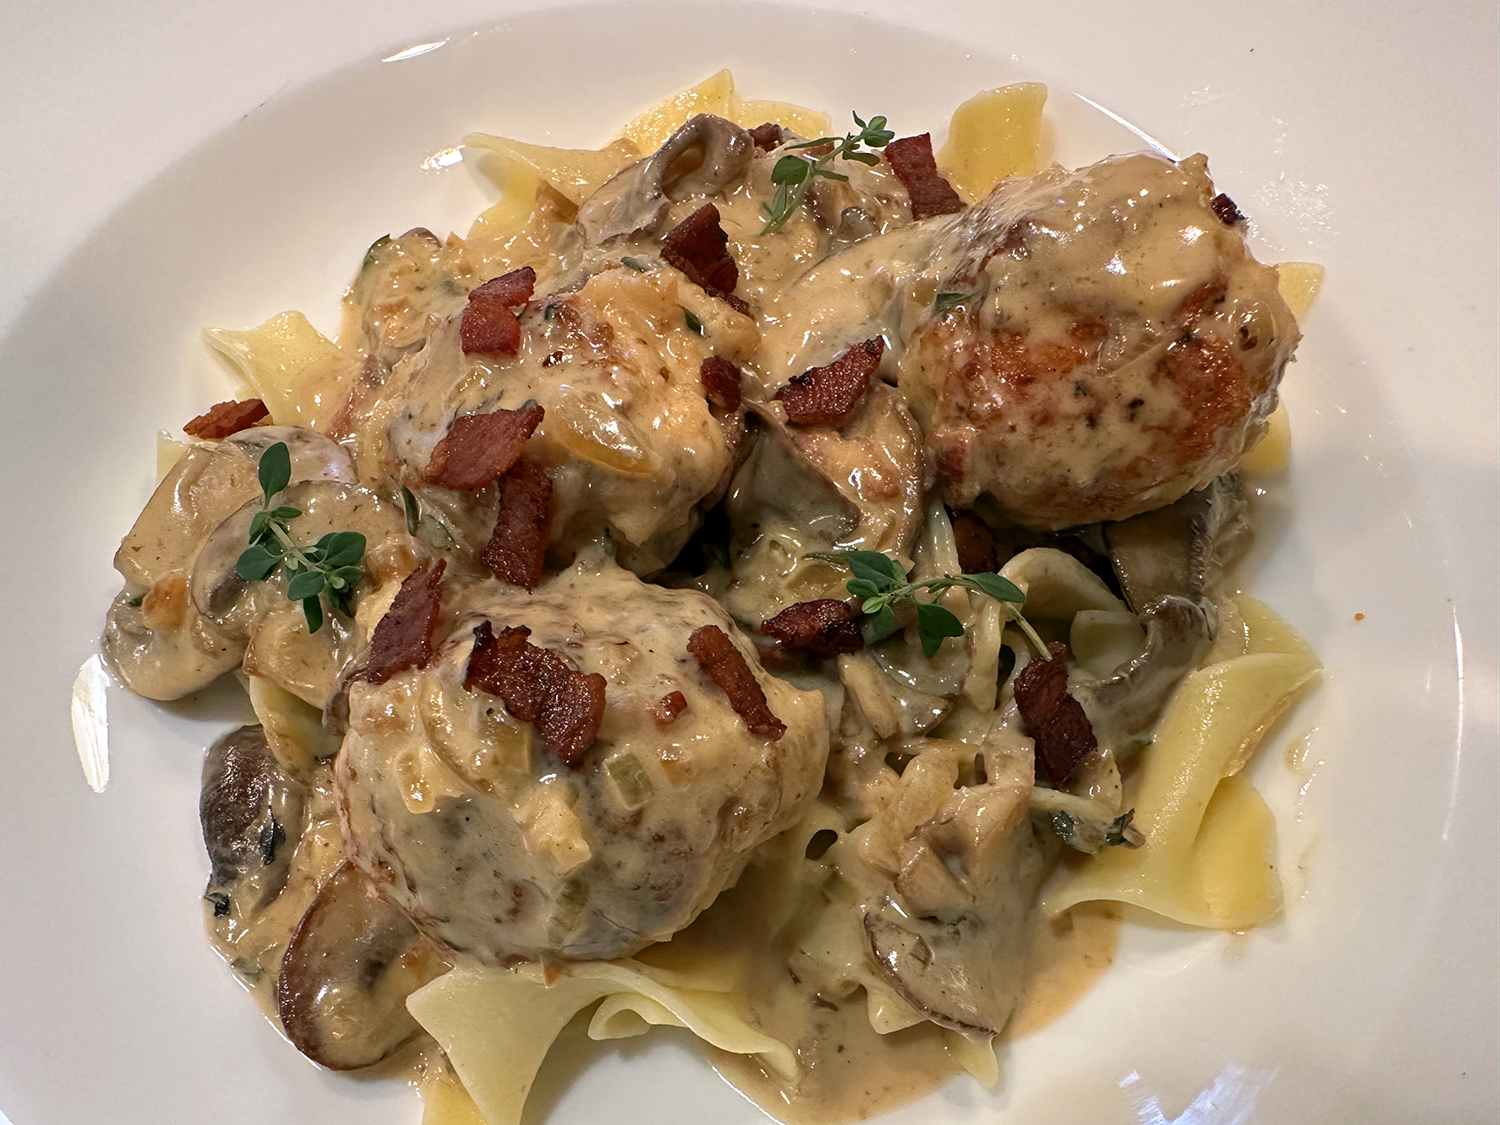
A long braise on a cool Sunday afternoon is not uncommon in our household. And we just happened to have a 4-pound pork shoulder in the freezer waiting for a chance to show off. It was over nine years ago since we made this luscious Catalan pork dish, so I located the post in our blog and resurrected the recipe, with several changes this time.
For a little background, I am repeating “Spain is a nation of pork eaters. Their penchant for pork has economic underpinnings because the matanza—the fall slaughter of the family hog—was central to rural life. A country within a country, with its own language, complex history, and a wealth of artistic traditions, Catalunya (to natives) has more in common with neighboring France, than macho Castile—but all share a love of pork. Catalan food blends Roman, Arabic and even Italian influences into one of Europe’s most distinct and emphatic cuisines.”
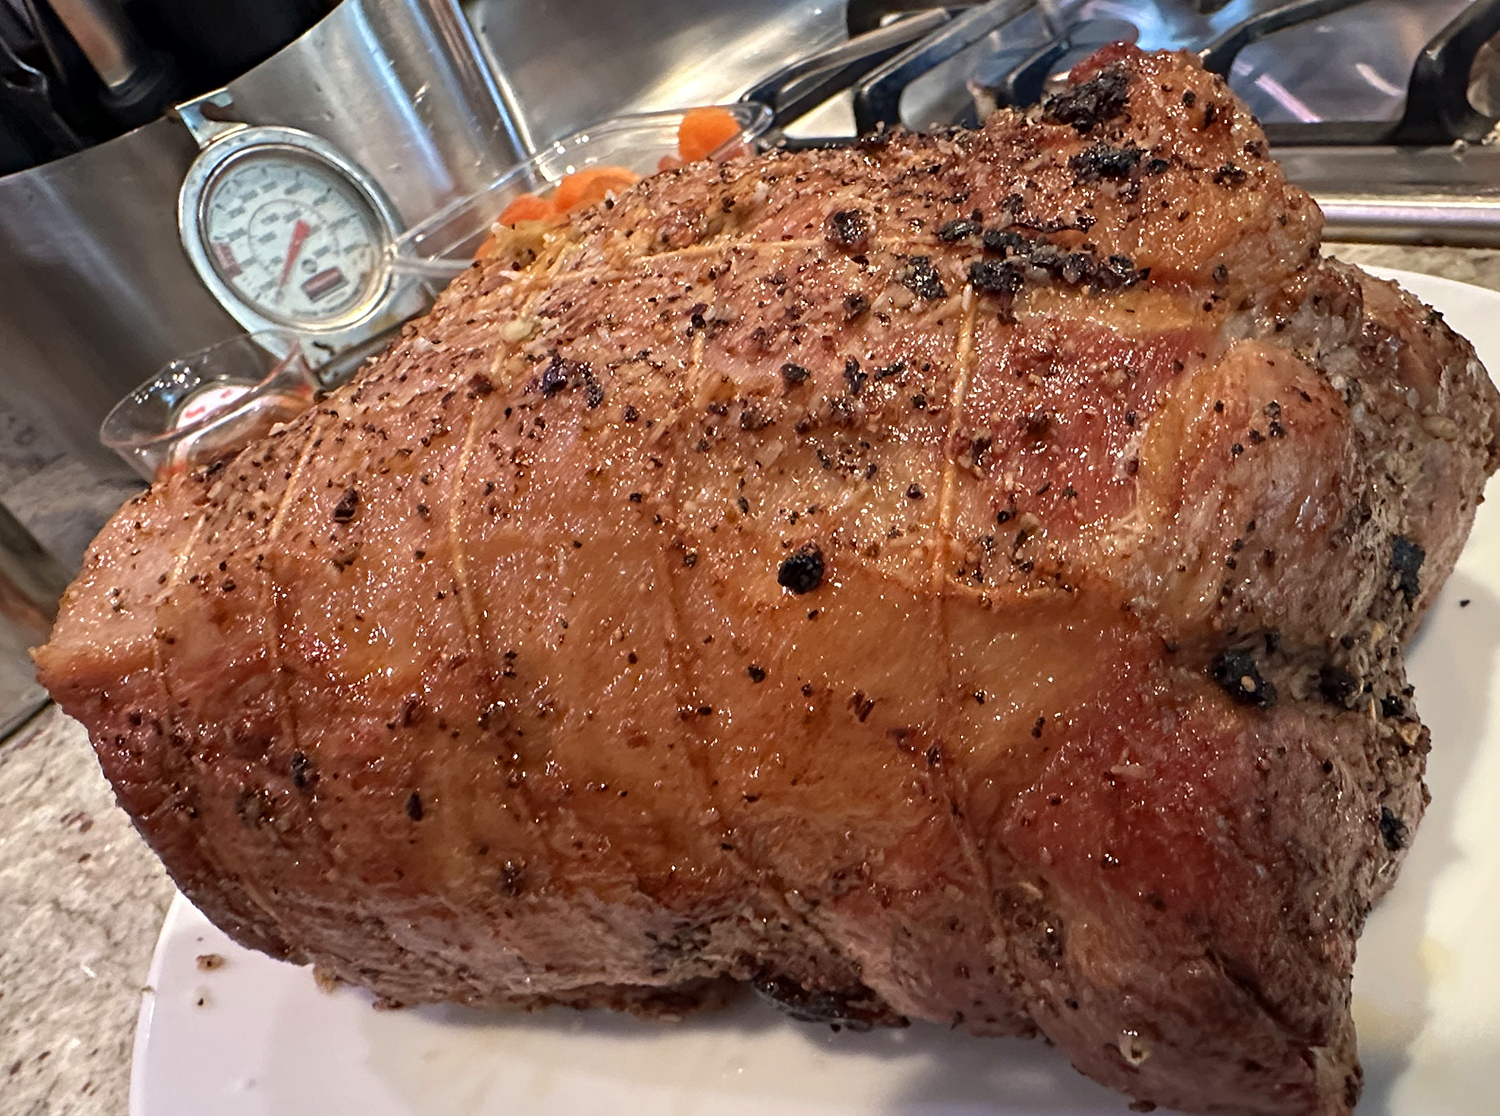
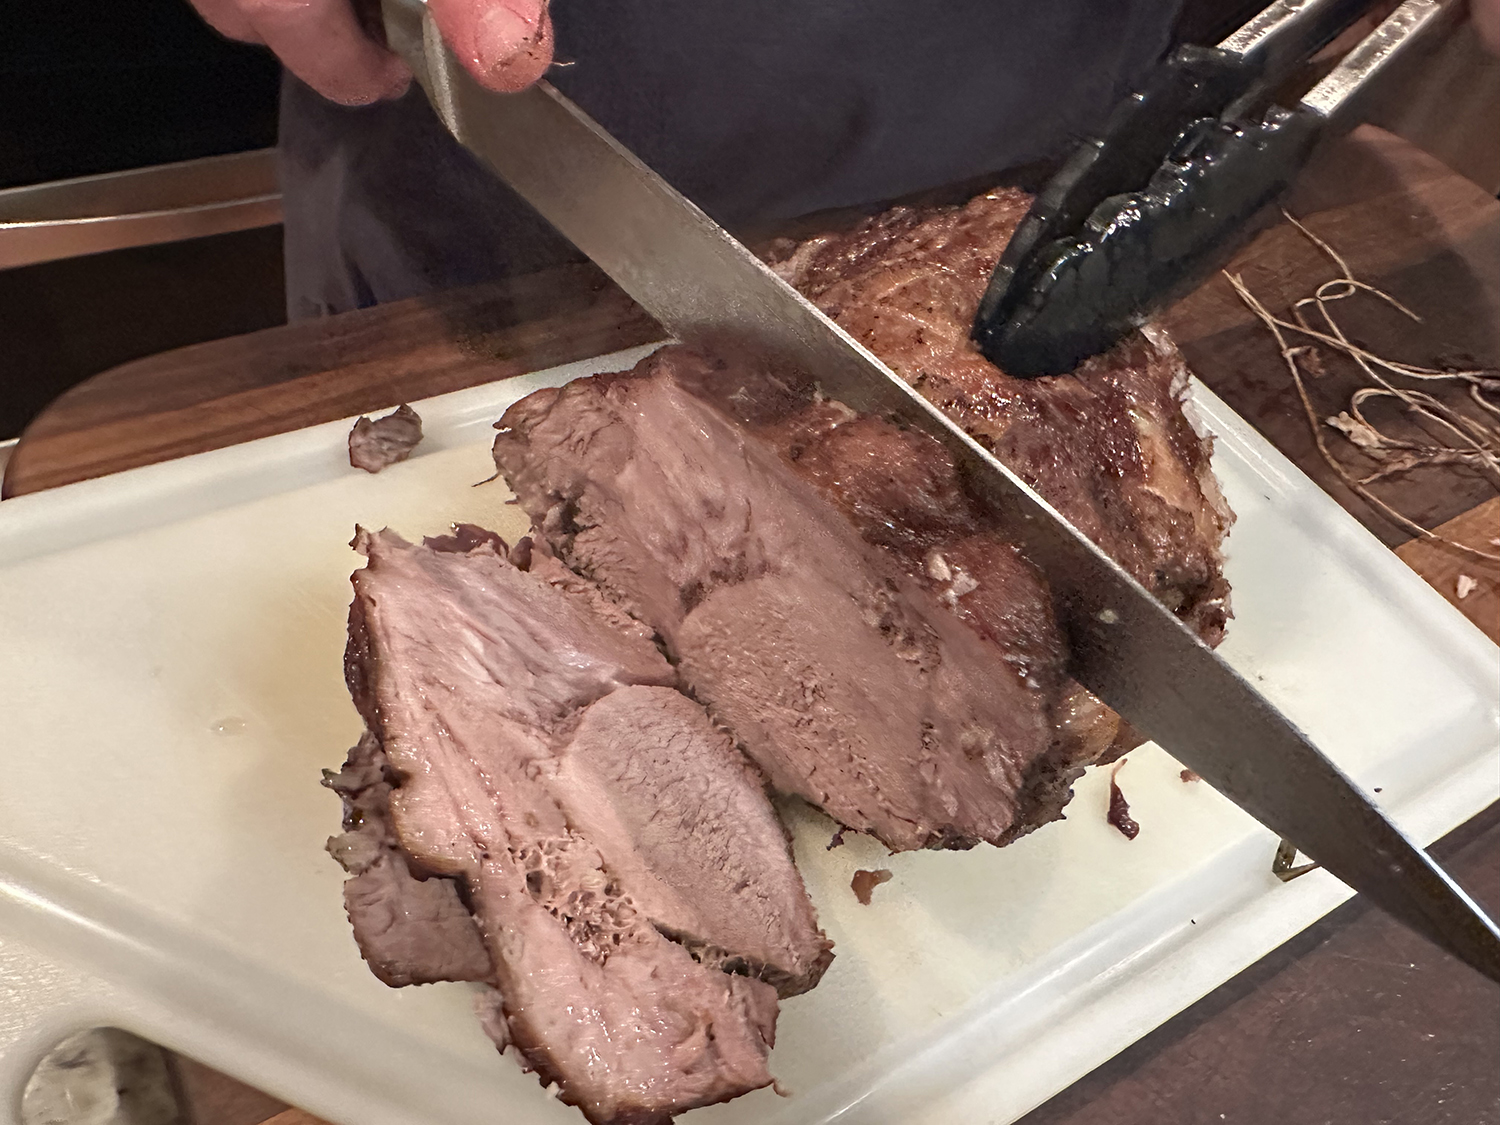
About those changes. One major alteration involves the cooking time. The original recipe said to cook the roast for 1 1/2 hours until it reaches an internal temperature of 165°. According to all of our other sources, a 4-pound pork shoulder roast needs to be cooked at least 2 hours with an internal temp of 180-185°F. This ensures tender slices.
After searing the roast on all sides, including the end caps, The Hubs removed the meat to a platter and poured the contents of the pot through a strainer into a cup. This way it is easy to eliminate the burnt garlic, return the oil to the Dutch oven and continue the cooking process. And though we didn’t cut down the apricots this time or last, we suggest you give them a rough chop so that the pieces are easier to consume.
BTW, kirsch can be substituted for the brandy. We had never cooked with it before and thought you might be interested in the flavor profile, which sounds like a great match for this dish:
kirsch, dry, colourless brandy distilled from the fermented juice of the black morello cherry. Kirsch is made in the Black Forest of Germany, across the Rhine River in Alsace (France), and in the German-speaking cantons of Switzerland. Its production methods remain traditional. The fully ripened cherries are mashed in a large wooden tub or vat and allowed to ferment freely. Upon completion of this process, the entire mass—liquid, pulp, and cherry stones—is distilled in a pot still. During the mashing some of the cherry stones, or pits, are crushed, releasing some of their oils and acids. These include small amounts of hydrocyanic acid, which impart a distinctive bitter almond undertone to the beverage. Kirsch is not aged. It is marketed at 90 to 100 proof, in the clear white (colorless) state it comes off the still. It is a fruit brandy with a clean cherry fragrance and bitter almond taste. Kirsch is consumed neat, as brandy, and in cocktails and is also used in cooking as a flavoring.
So if pork is in your wheelhouse, you may want to get this on your shortlist.

Catalan Braised Pork Shoulder with Dried Fruit
Ingredients
- 1 boneless pork shoulder, such as Boston Butt (about 4 lbs., trimmed of excess fat)
- Salt and freshly ground black pepper (kosher or sea)
- 2 medium garlic cloves, crushed
- 3 Tbsp. light olive oil
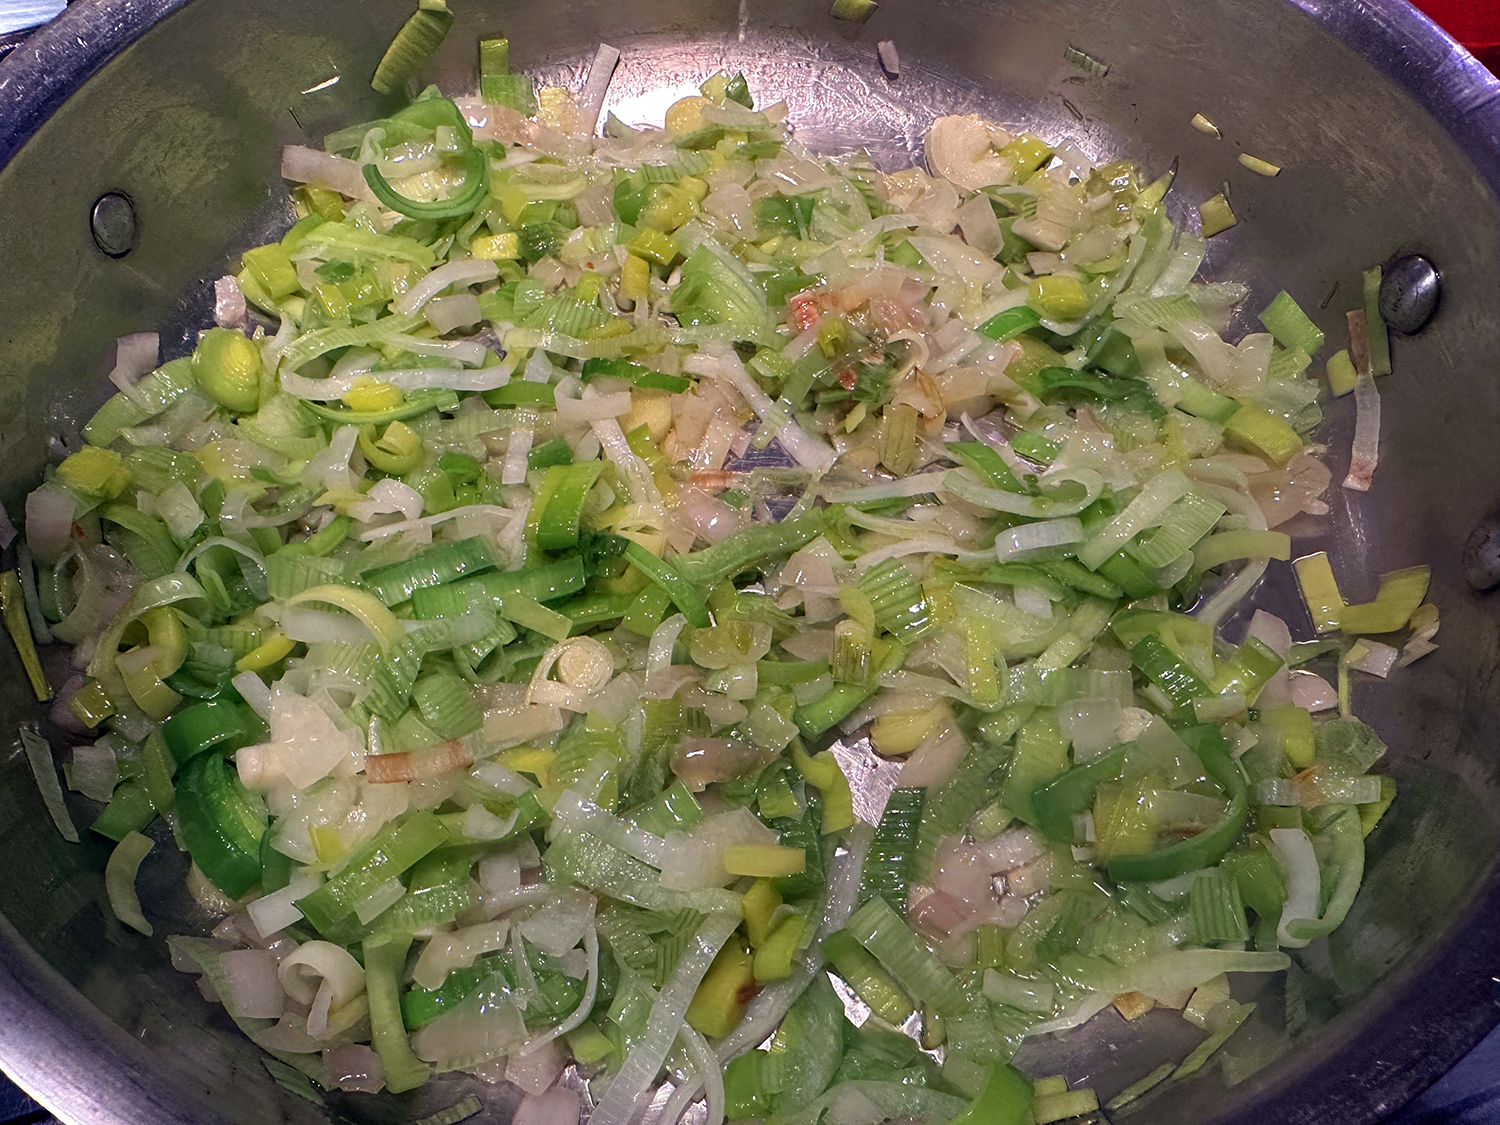
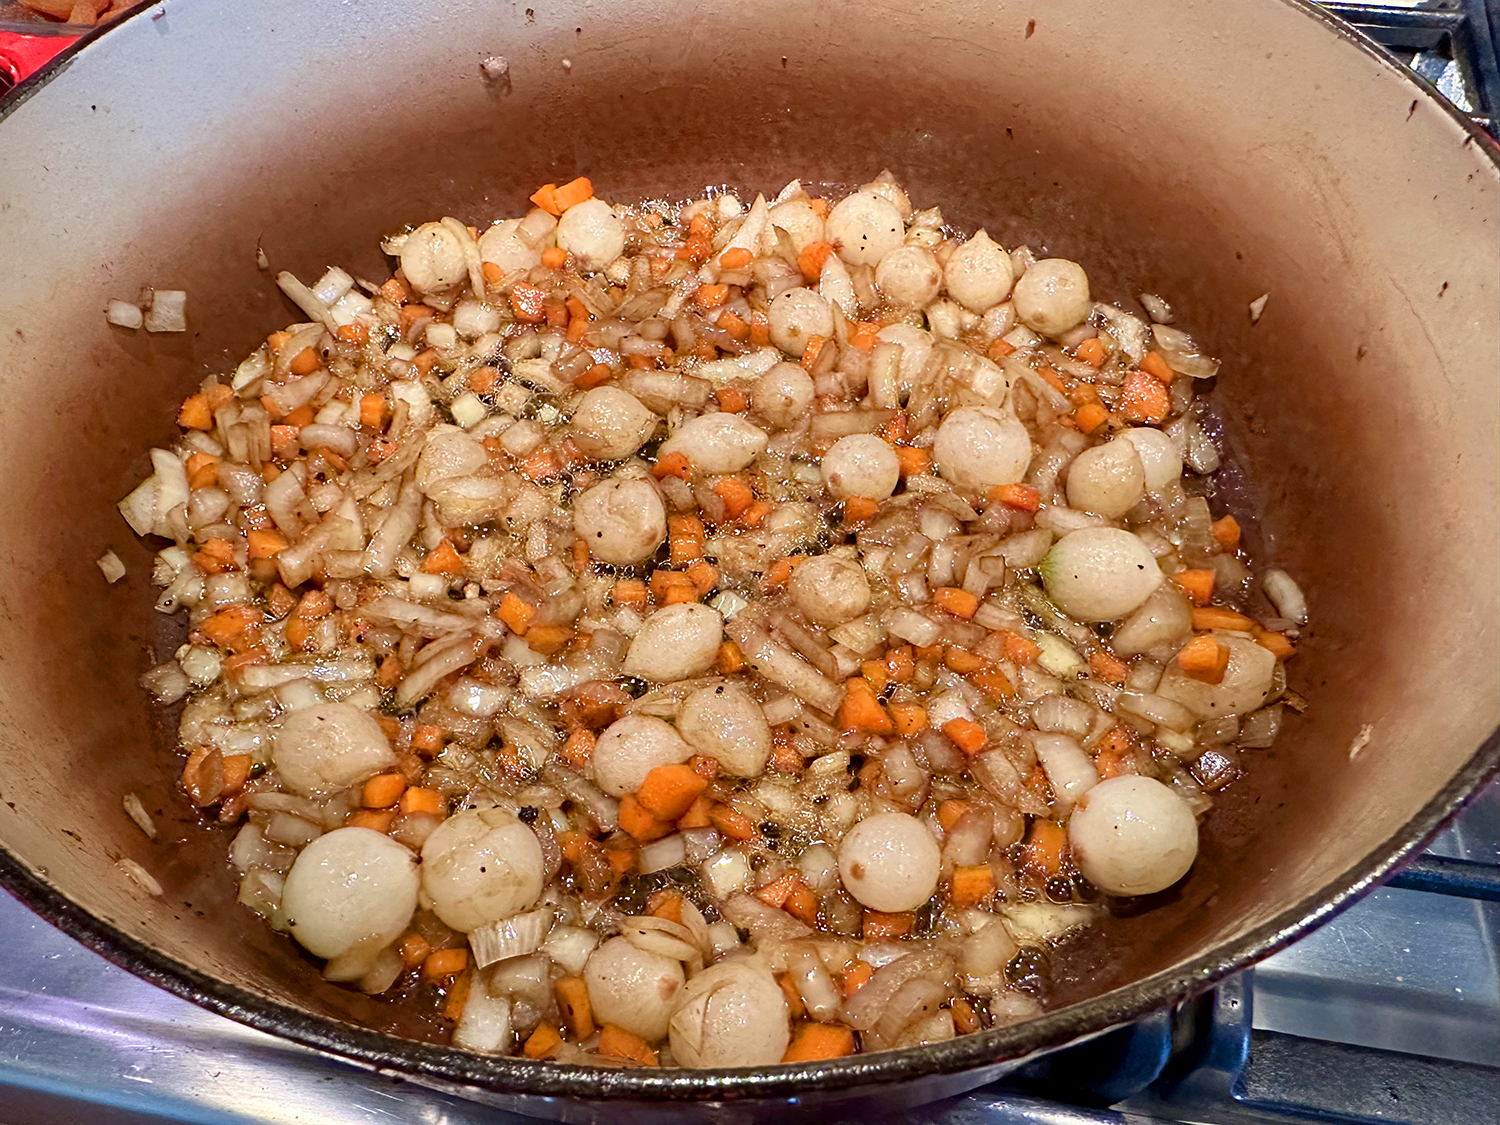
- 1 medium onion, chopped
- 1 carrot, diced
- 8 oz. frozen white pearl onions
- 1⁄4 cup brandy
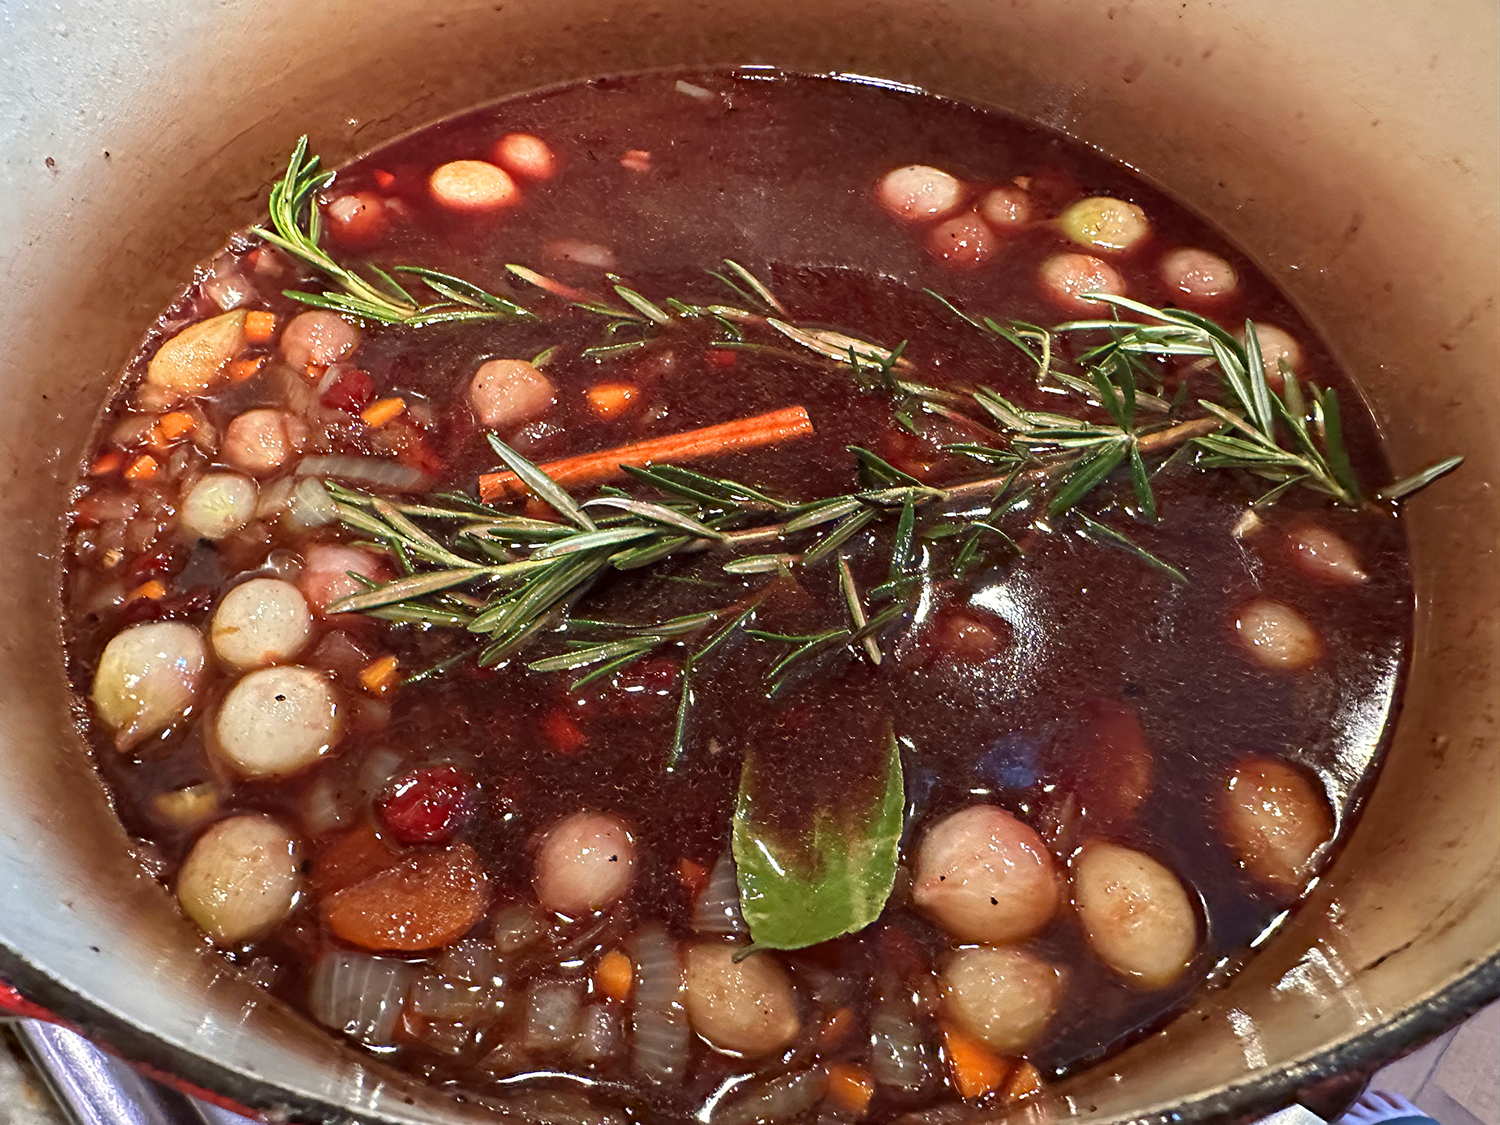
- 2 cups full-bodied dry red wine
- 1 cup stock (beef or chicken)
- 3⁄4 cup pitted dried sour cherries
- 1⁄2 cup dried apricots (or dried figs), roughly chopped
- 1 large bay leaf
- 1 small piece cinnamon stick
- 2 fresh rosemary sprigs


Directions
- Preheat oven to 325º.
- Using kitchen string, tie the pork shoulder crosswise, spacing the ties 1 inch apart. Rub the pork generously with salt and pepper and the garlic.
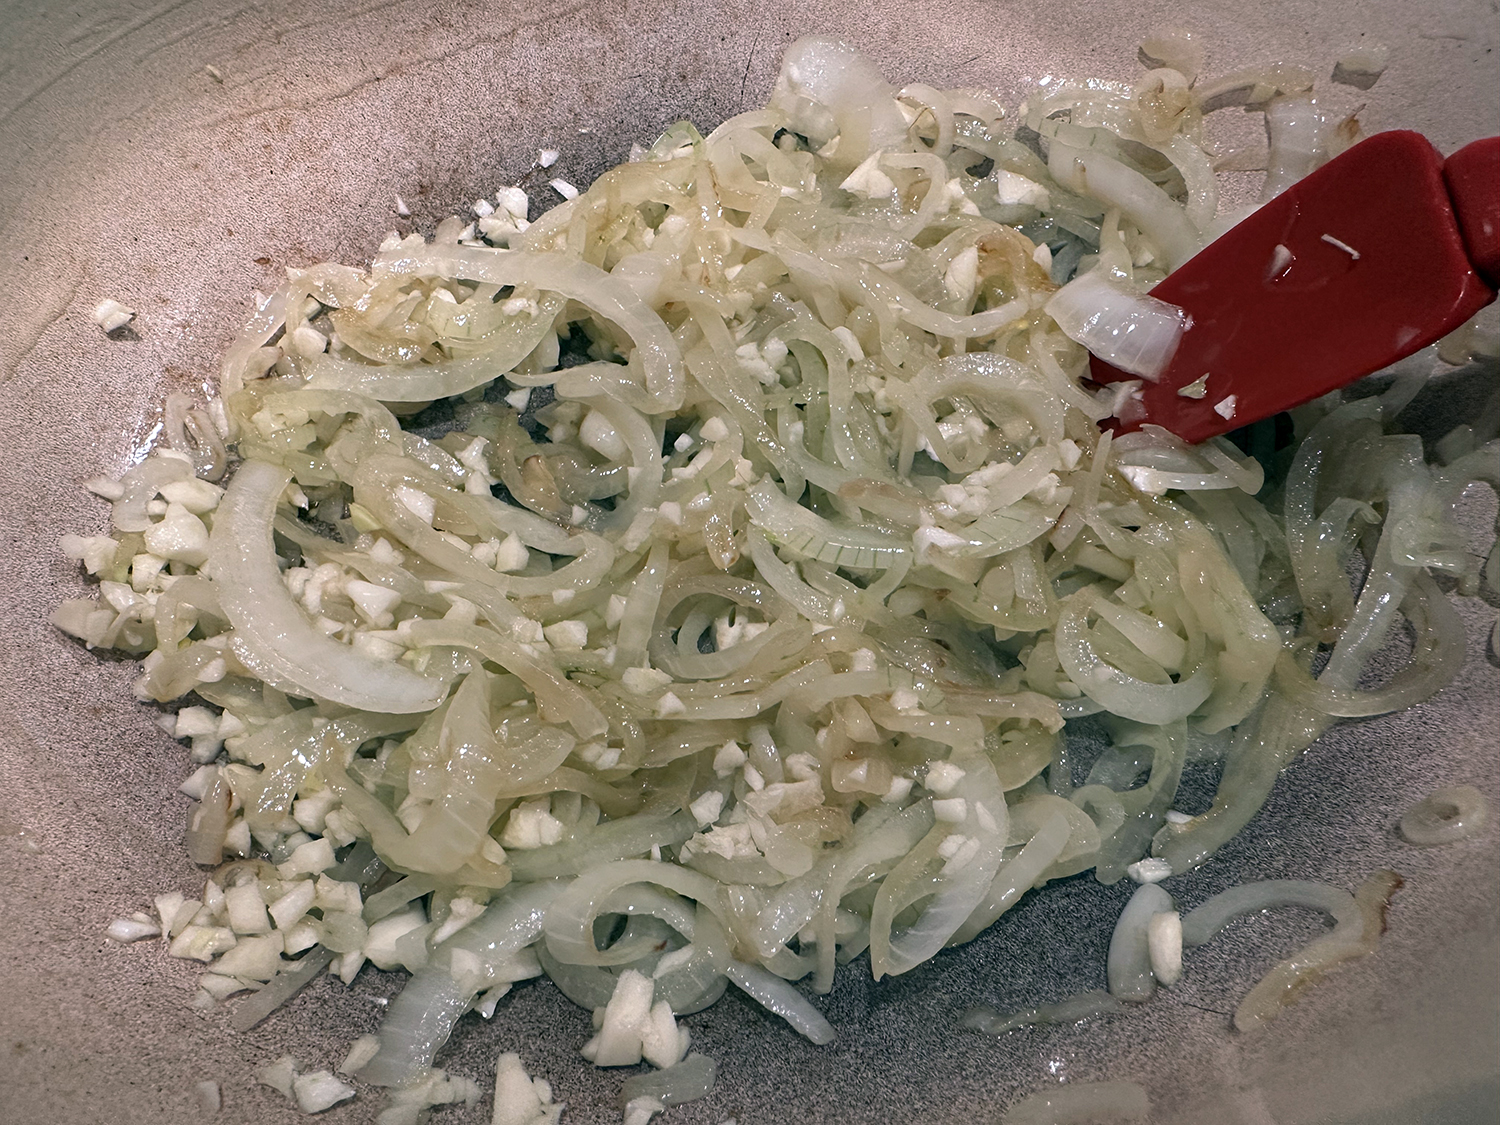
- Heat 2 tablespoons of the olive oil in a 5 to 6 quart flameproof casserole or Dutch oven over high heat until almost smoking. Add the pork and cook until richly browned on all sides, about 8 minutes total. Add the remaining oil while the pork browns, if the casserole looks too dry. Transfer the pork to a platter. Drain oil and drippings over a strainer on a cup to remove burnt garlic, and return strained oil to the Dutch oven.
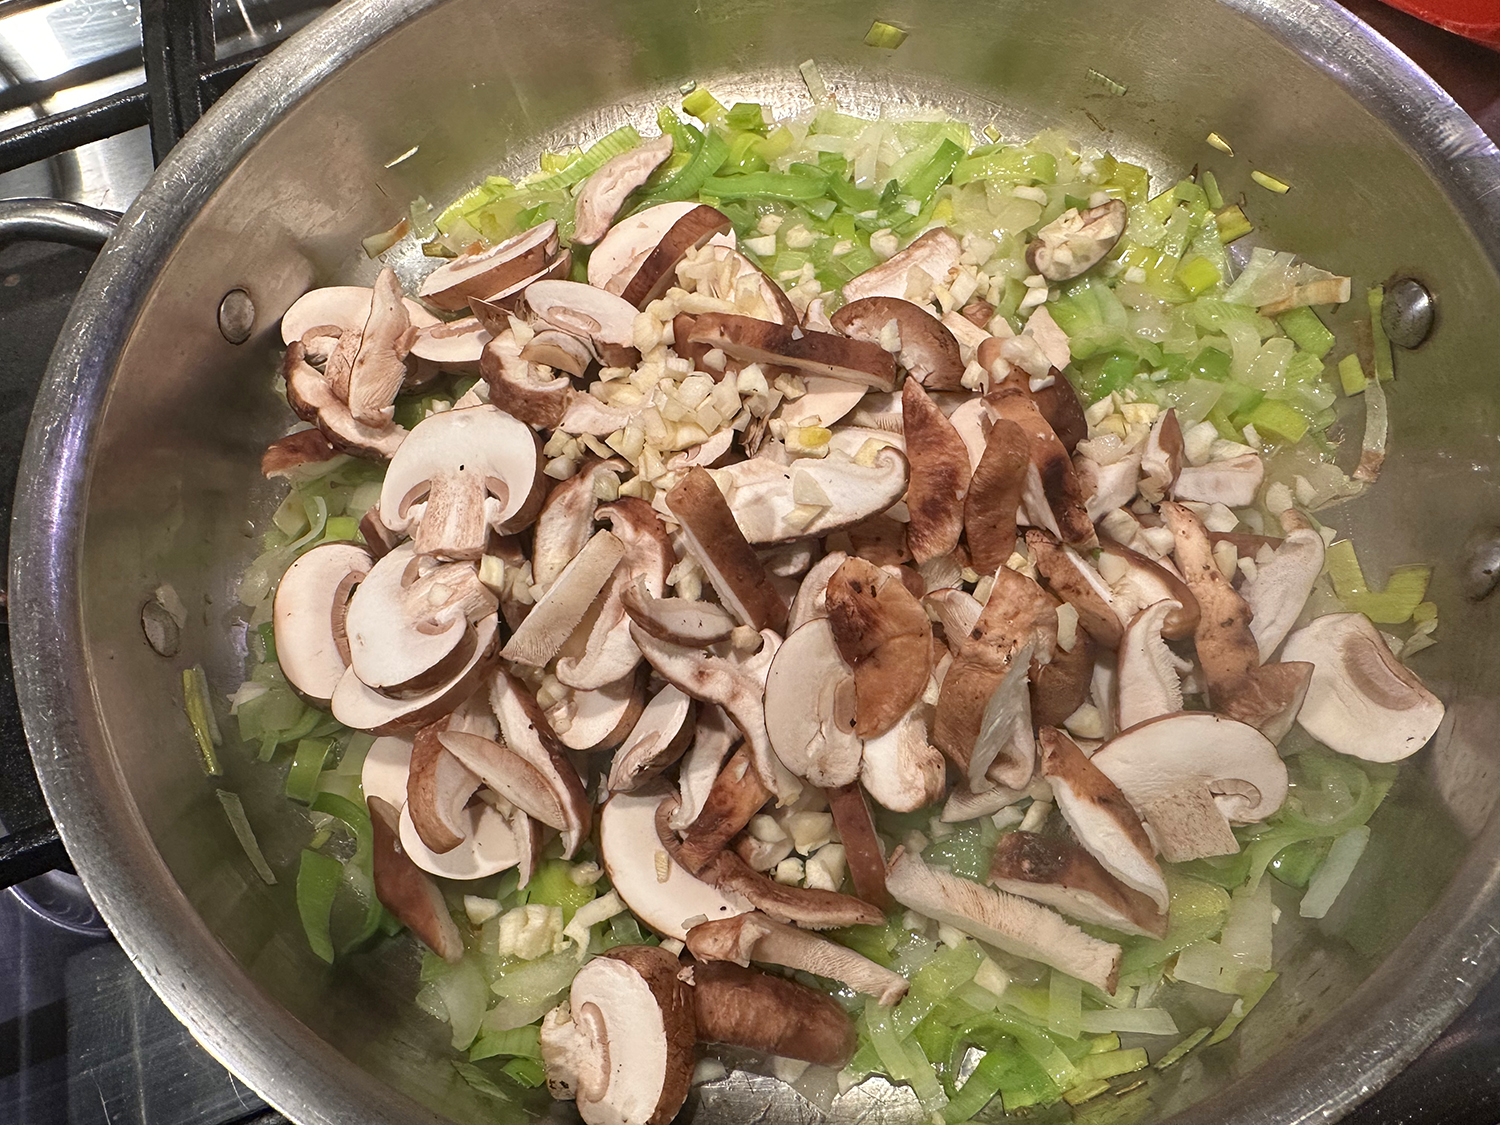
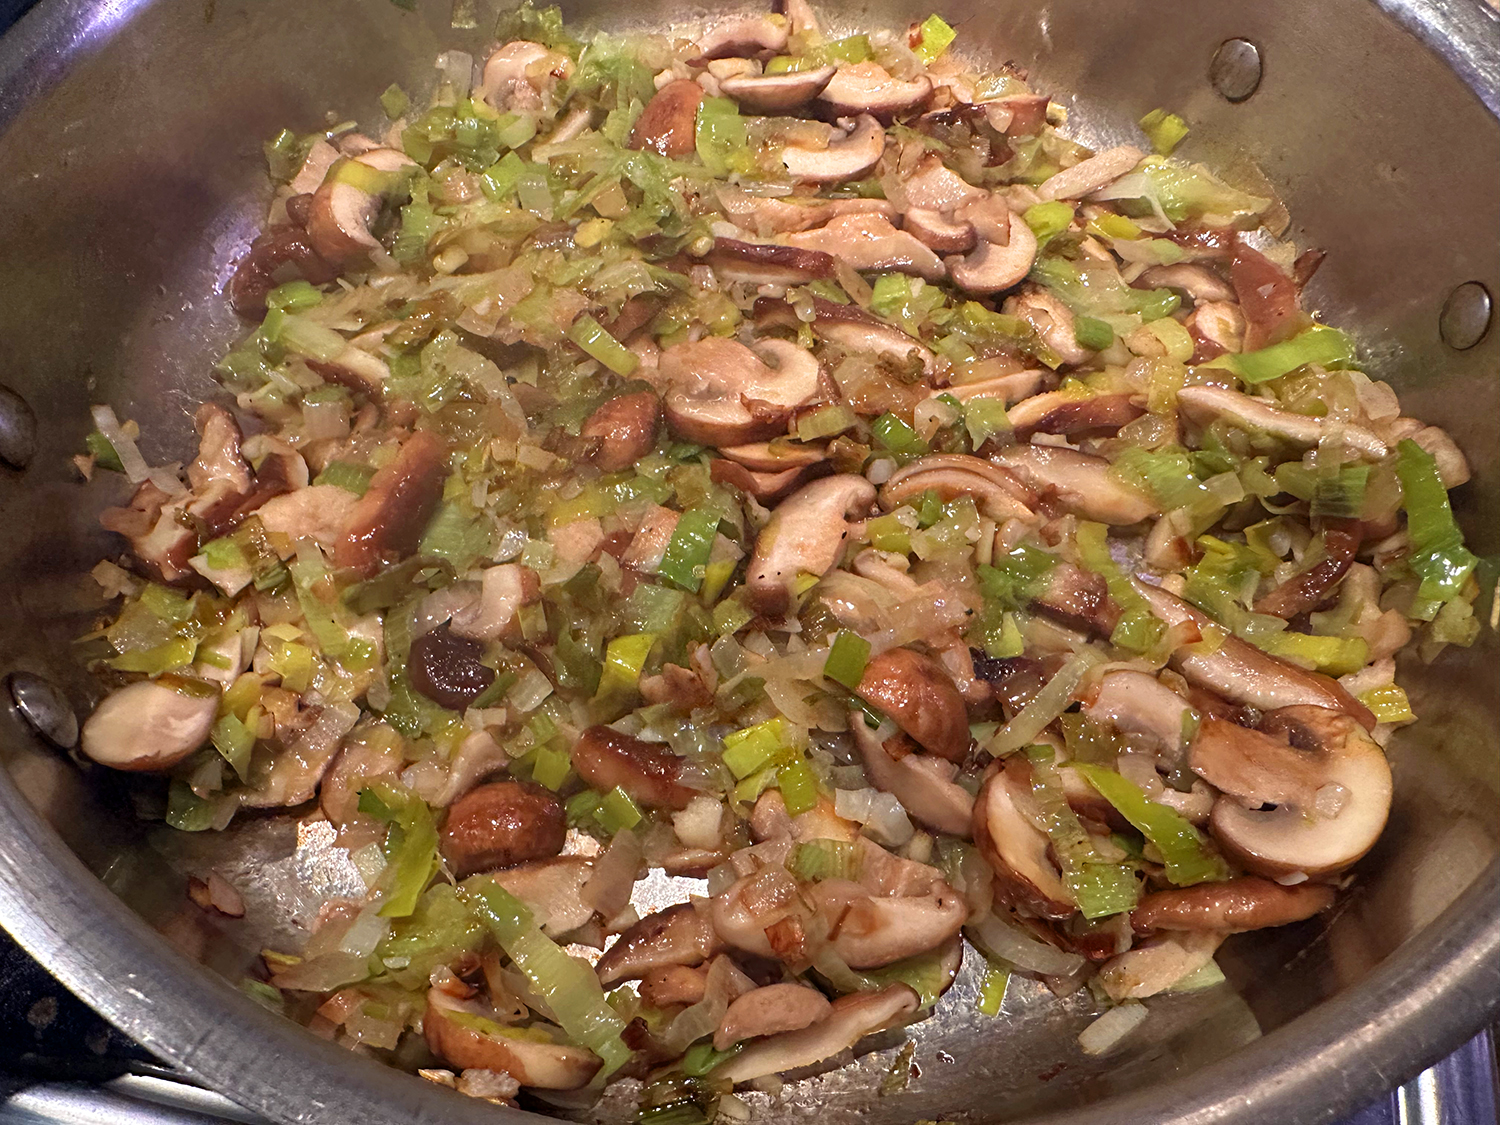
- Add the chopped onion, carrot, and pearl onions to the casserole and brown well, 6 to 7 minutes. Add the brandy and cook over high heat until it is reduced to about 1 tablespoon, about 1 minute.
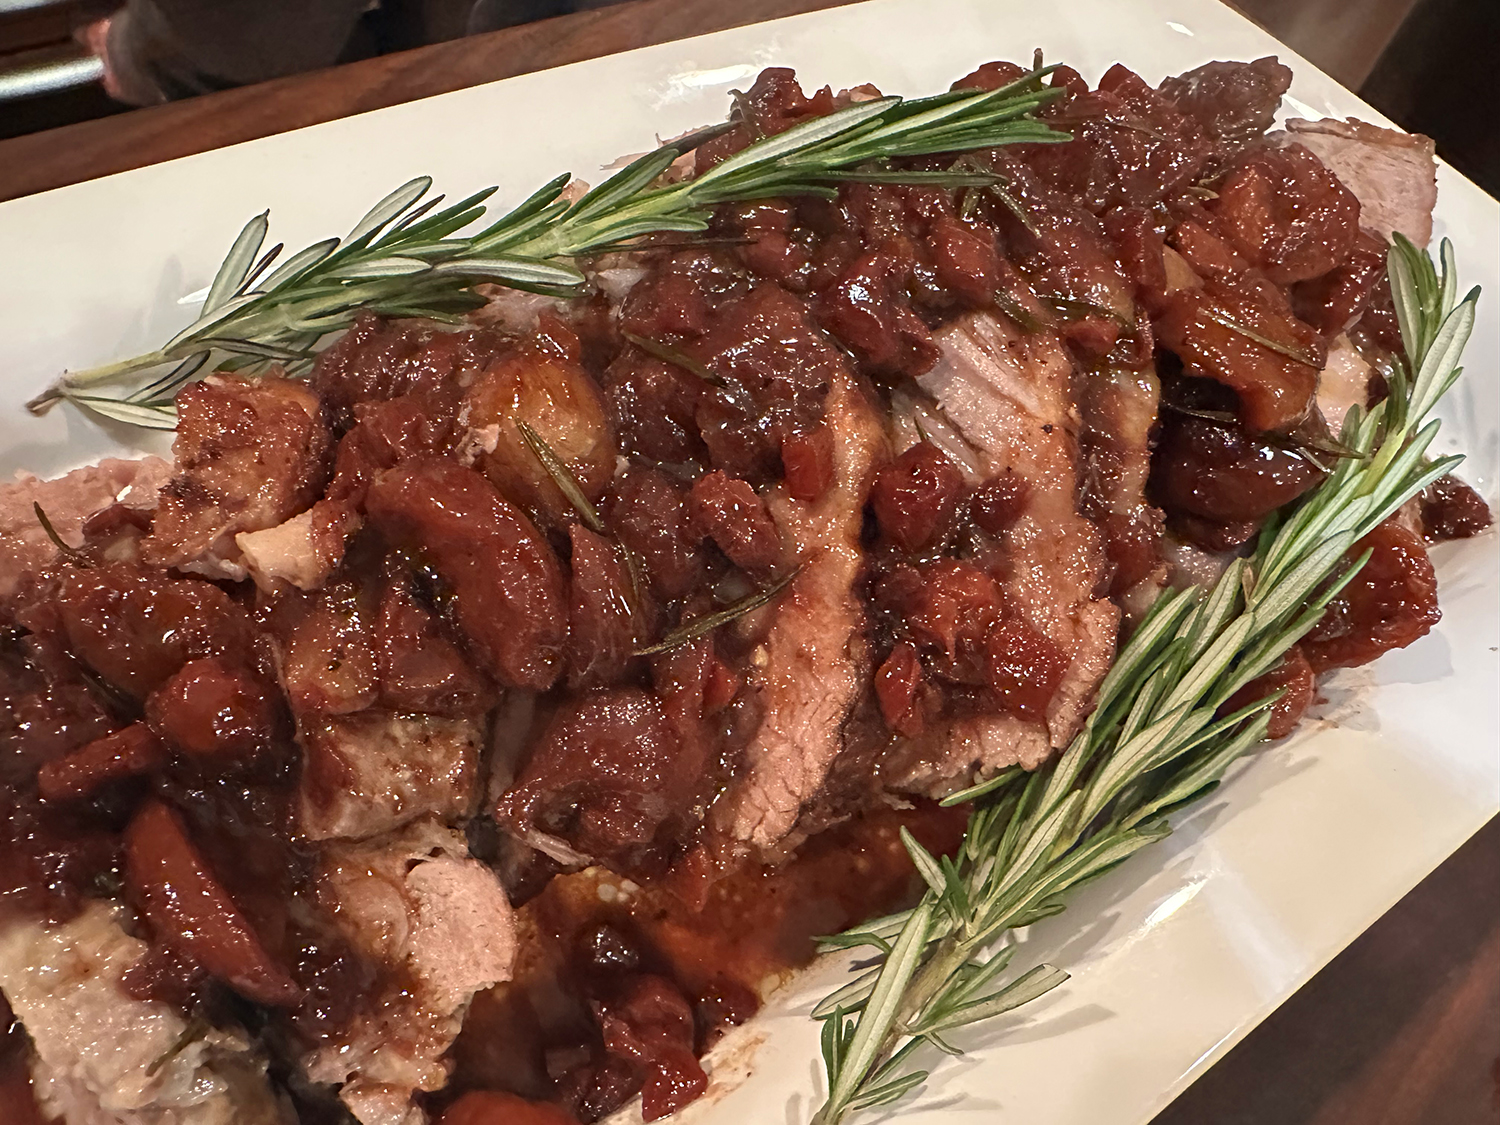
- Add the wine, beef stock, cherries, apricots, bay leaf, cinnamon stick, and rosemary sprigs and bring to a boil, scraping the bottom of the casserole to dislodge the brown bits. Season the sauce with salt to taste.
- Return the pork to the casserole. Place a large piece of parchment that over hangs the pot, then cover tightly and transfer it to the oven. Bake the pork, turning it once or twice, until it is very tender and an instant-read thermometer registers 180-185°, about 2 hours and 15 minutes. Start checking at 2 hours.
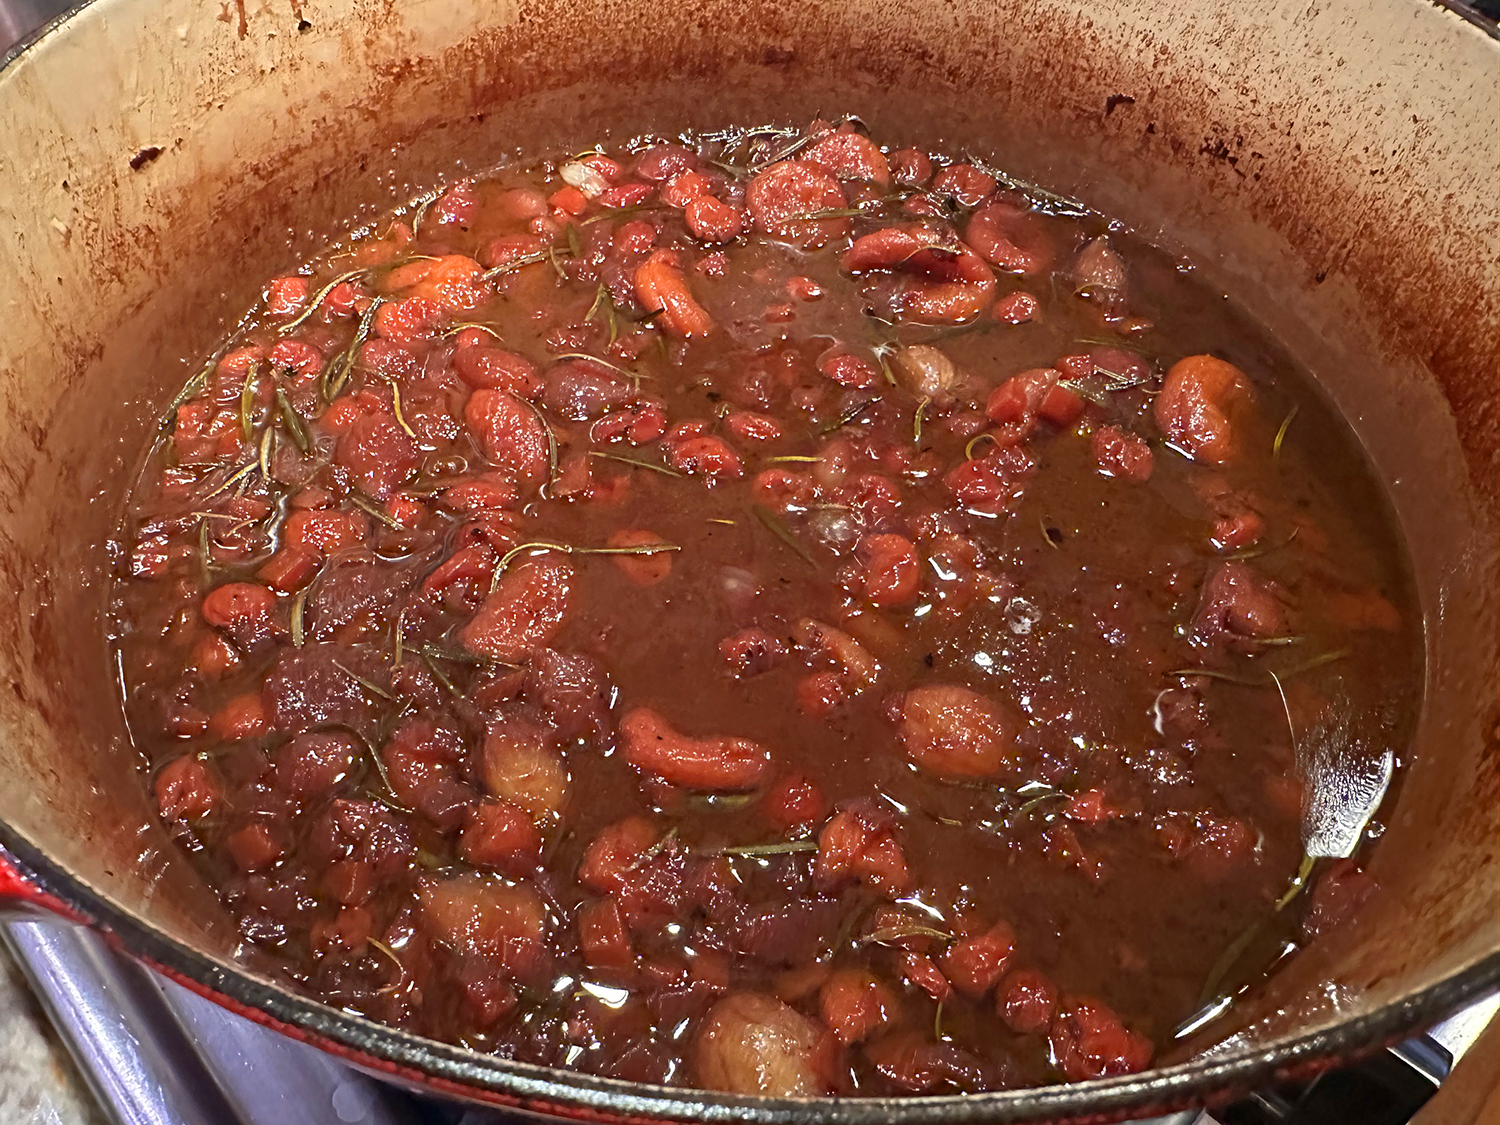
- Transfer the pork to a plate and cover it tightly with foil to keep warm. Remove and discard the bay leaf, cinnamon stick, and rosemary sprigs.
- Transfer the casserole to the stove top and cook the sauce over high heat until it is slightly syrupy, about 5 minutes.
- Remove the string from the pork and discard it. Cut the pork into slices and arrange on a serving platter. Pour the sauce over the pork and serve.
Adapted from a recipe in Anya Von Bremzen’s cookbook “The New Spanish Table”