OK, it’s not truly an authentic Yucatan peninsula recipe, but it has vibrant citrus/chile flavors and a beautiful orange hue from ground annatto. The annato spice is hard to source locally. If you have enough time, you could order it online. In place of annato*, you can use 3/4 teaspoon of paprika and 1/4 teaspoon of turmeric as a substitute.
While the grilling takes very little time, you do have to marinade the meat from 4 to 6 hours.

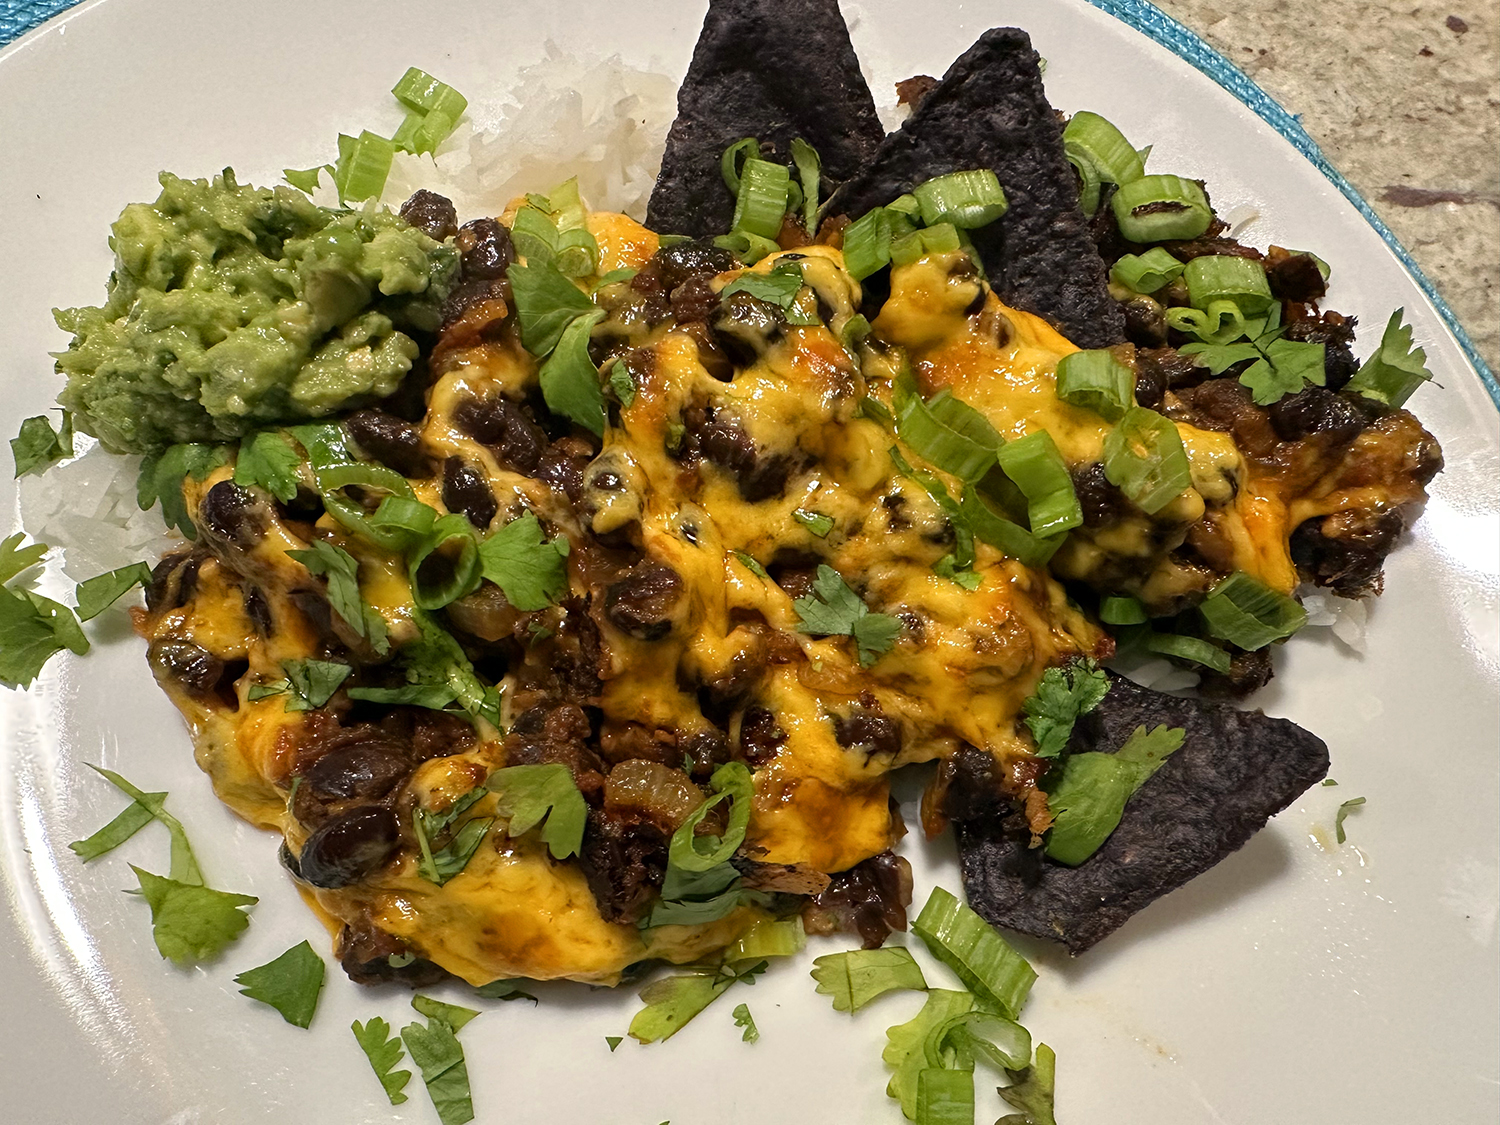
According to Chef John, this easy marinade would work on all kinds of pork cuts, but the tenderloin is very user-friendly, and its mild flavor really takes to these ingredients. Once grilled, just think of all the many options for enjoying these tenderloin chunks. Sandwiches, salads, and tacos are all wonderful choices, or how about diced, which make an epic pan of nachos… you know how we love our nachos!
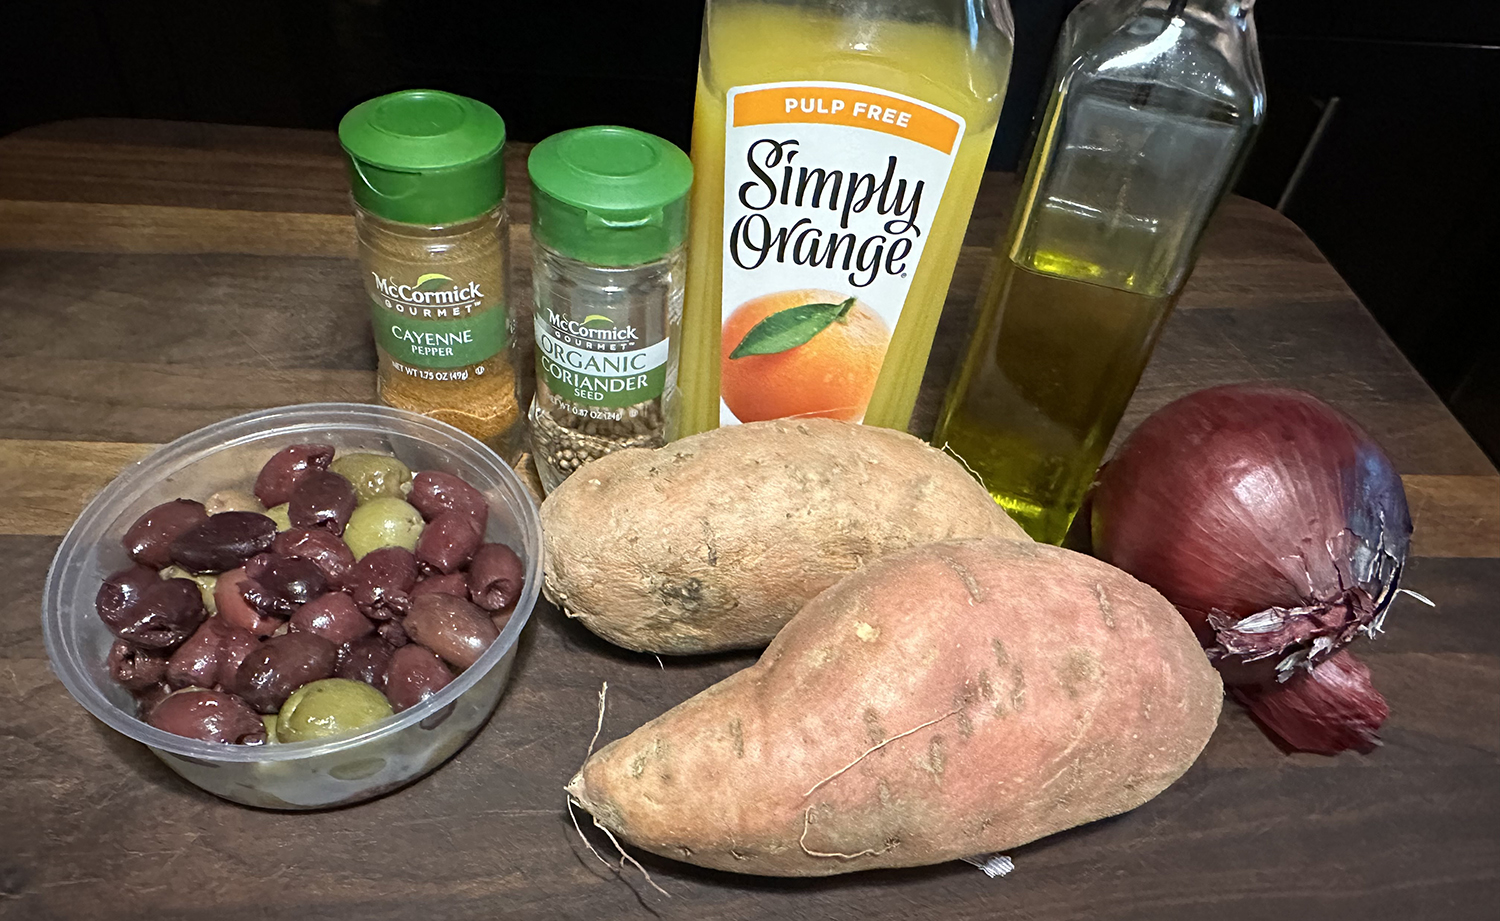
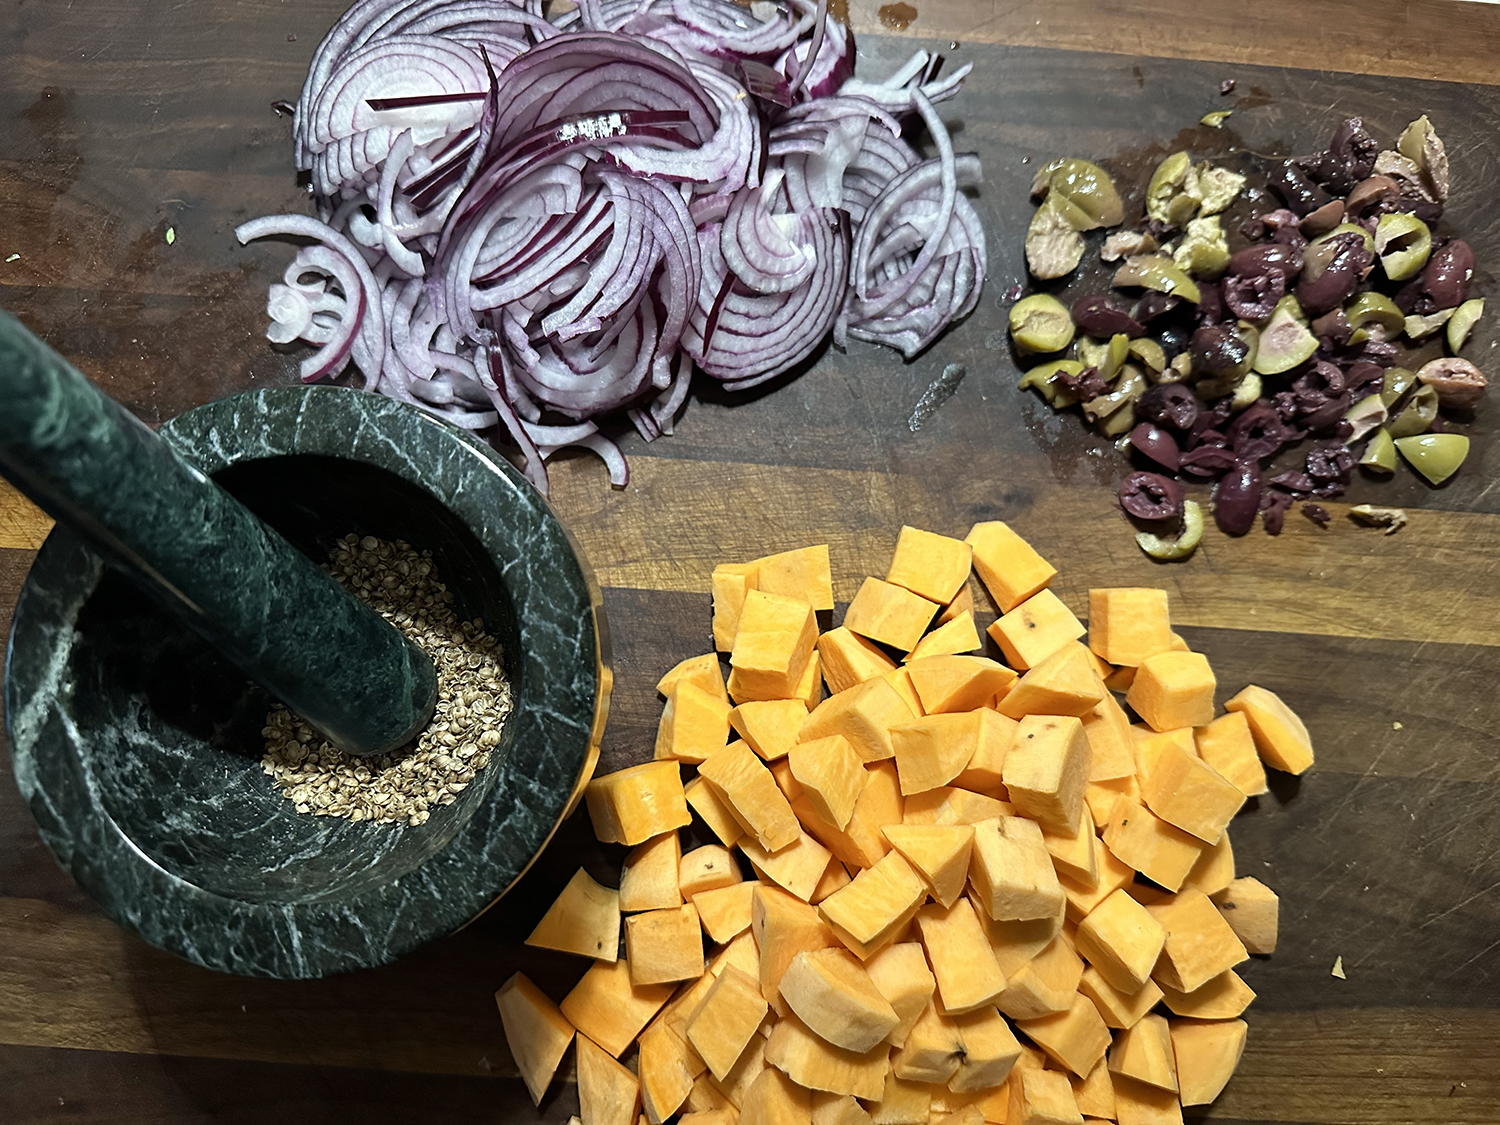
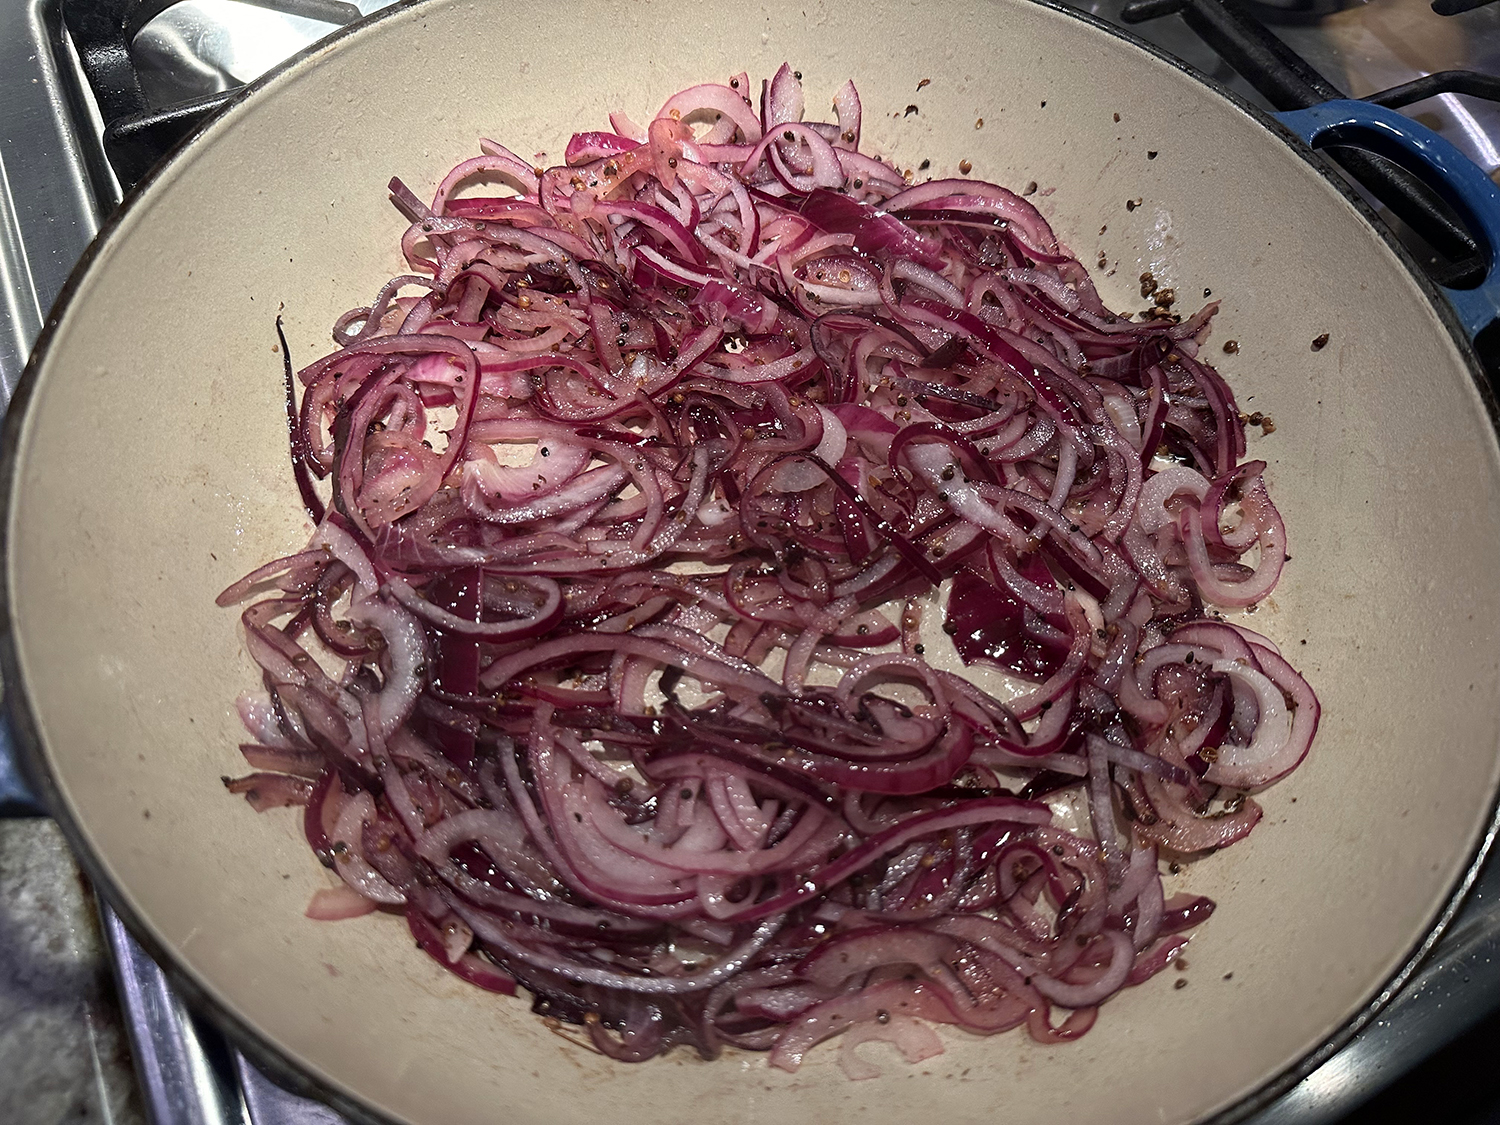
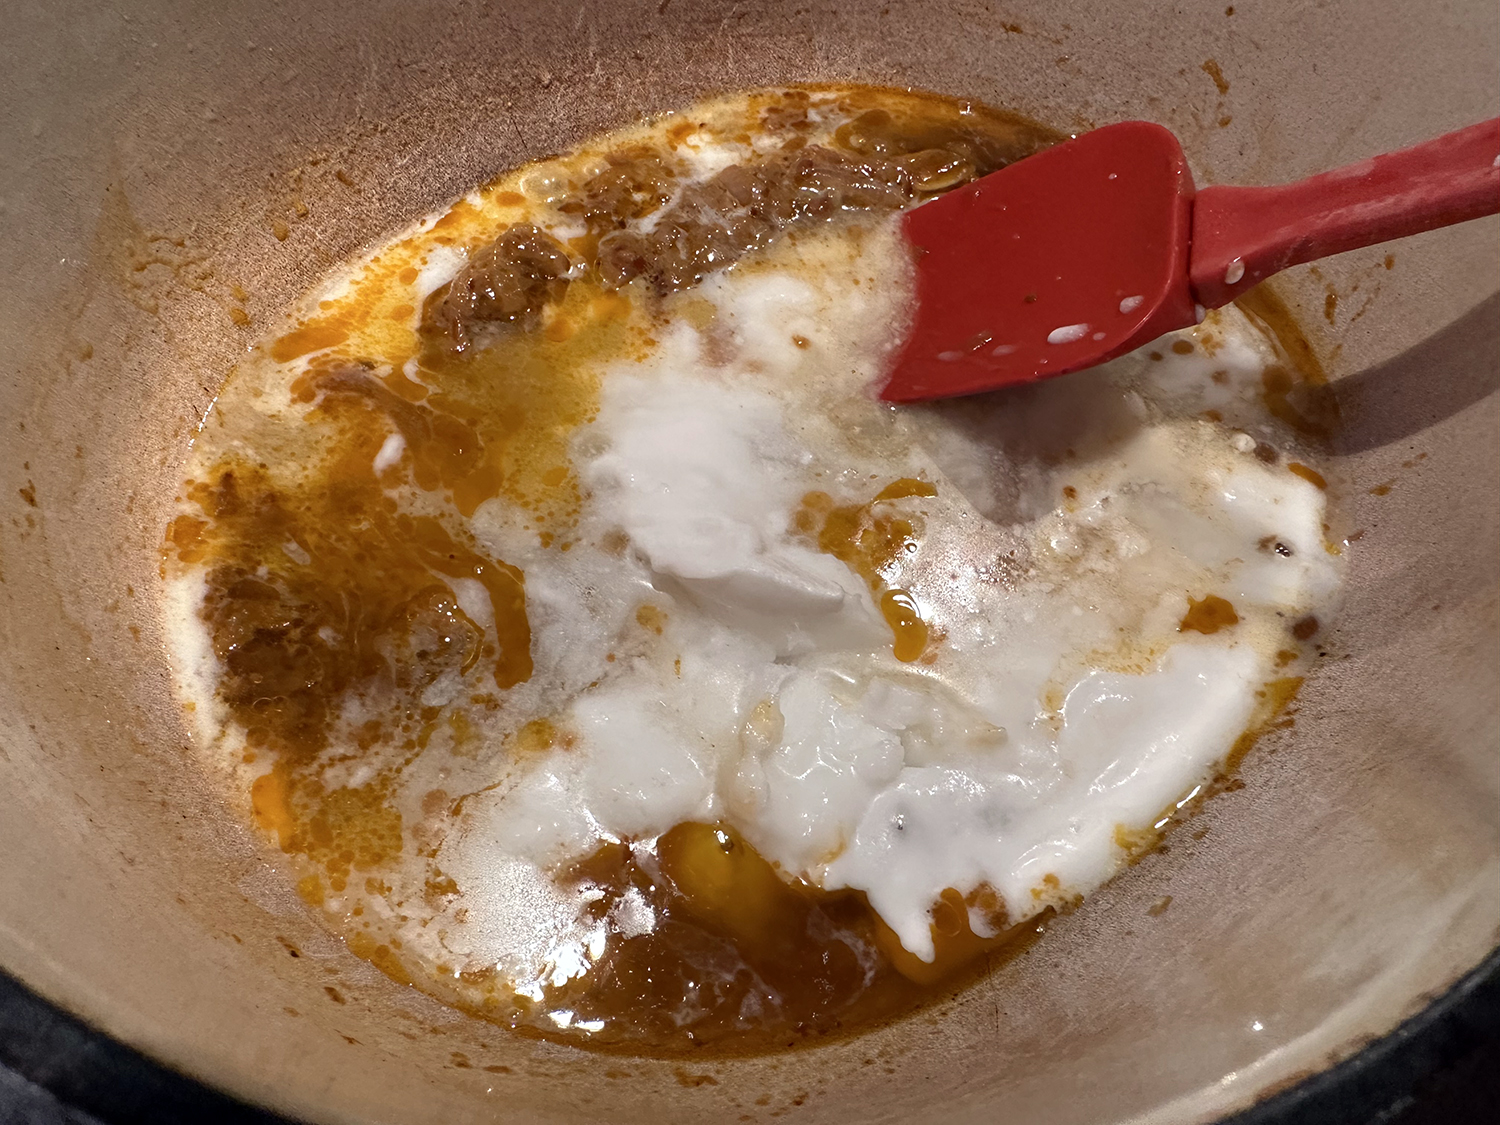
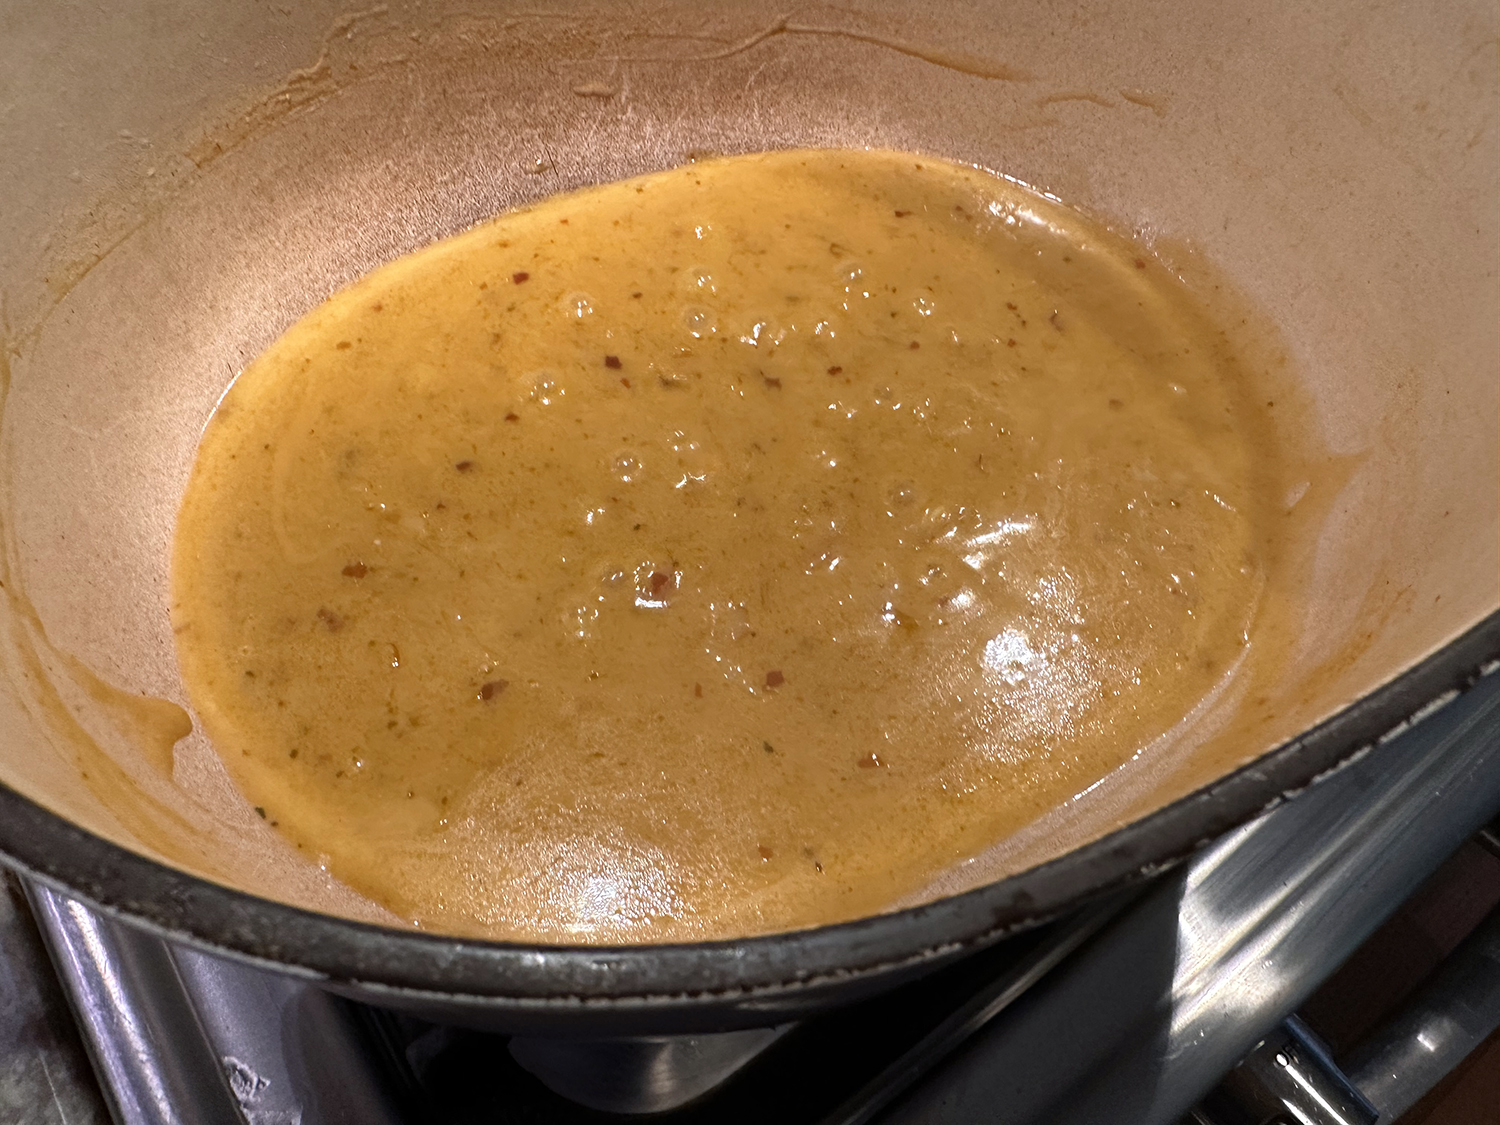
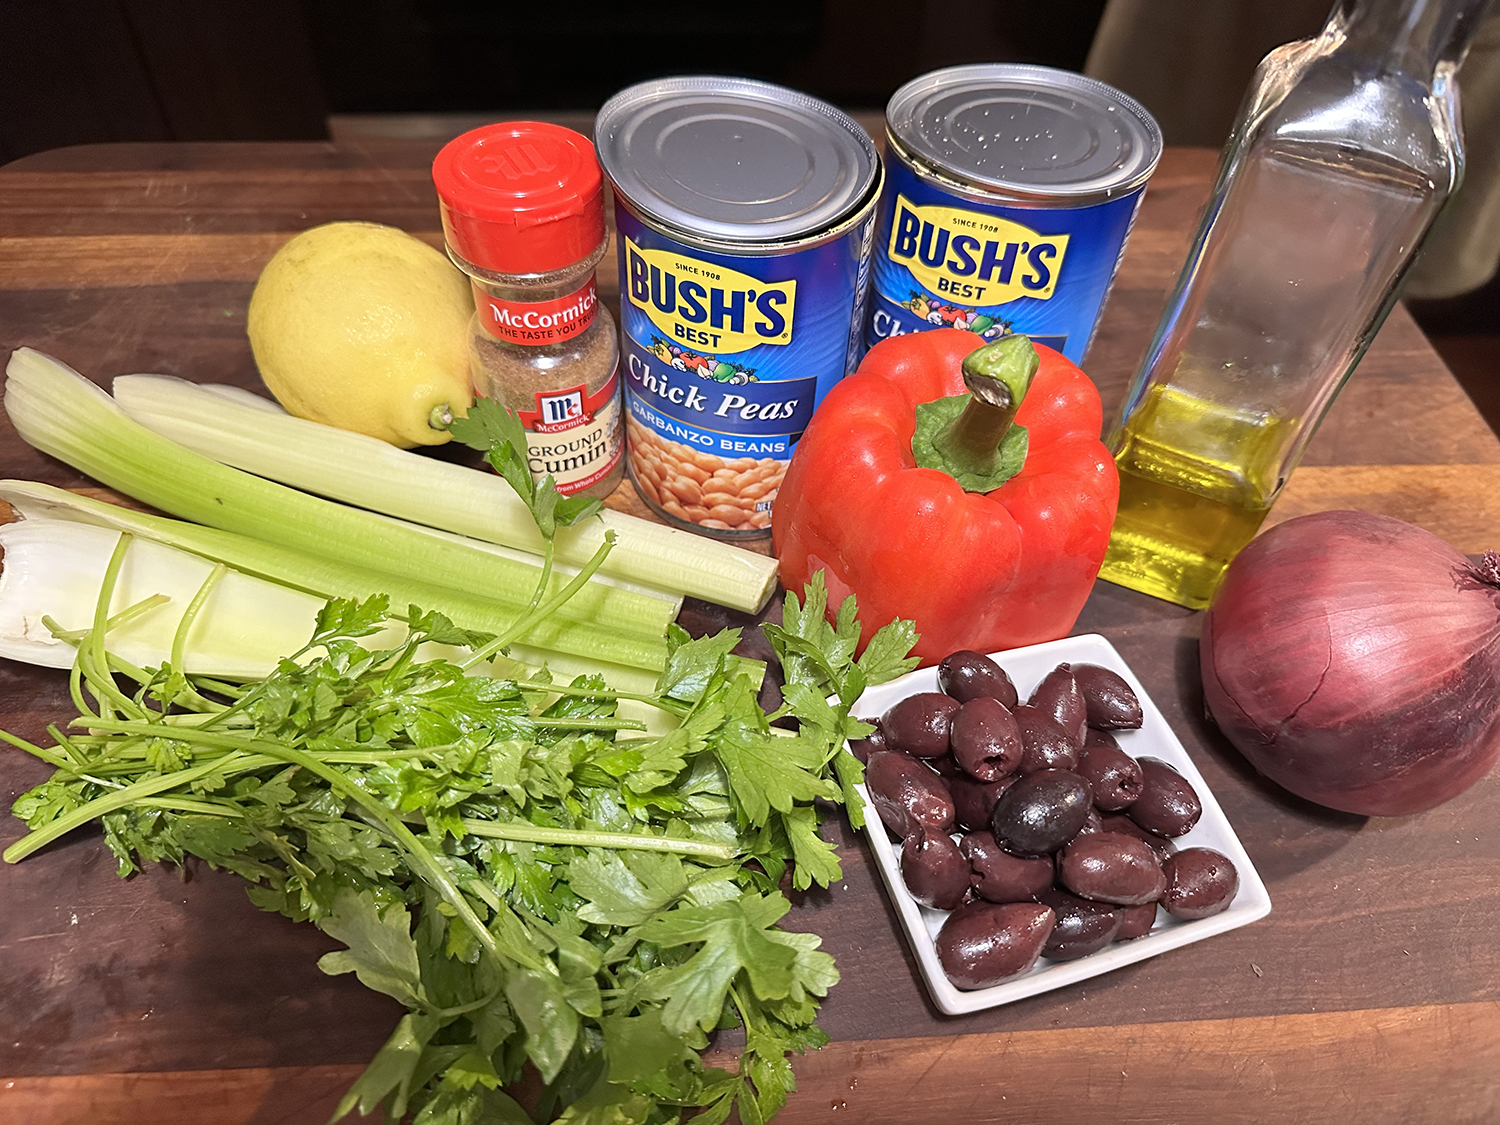
We made Braised Sweet Potatoes and Coriander, Orange and Olives as our side dish. Tossing flavorful marinade pains us to no end. So after we removed the pork from the ziploc bag, The Hubs put it in a small saucepan and reduced it down to a thick sauce. It was served at the dinner table so that diners can use as much as they desire, or not all. It does have a kick, so taste before you smother your pork with it.

Yucatan-Style Grilled Pork
Ingredients
- 2 oranges, juiced
- 2 lemons, juiced, or more to taste
- 2 limes, juiced, or more to taste
- 6 cloves garlic, minced
- 1 Tbsp. kosher salt
- 1 tsp. annatto powder*, or more to taste, plus more to sprinkle on before grilling
- 1 tsp. ground dried chipotle pepper
- 1 tsp. ground cumin
- ½ tsp. cayenne pepper
- ½ tsp. dried oregano
- ½ tsp. freshly ground black pepper
- 2 pork tenderloins, trimmed
- 1 Tbsp. vegetable oil


Directions
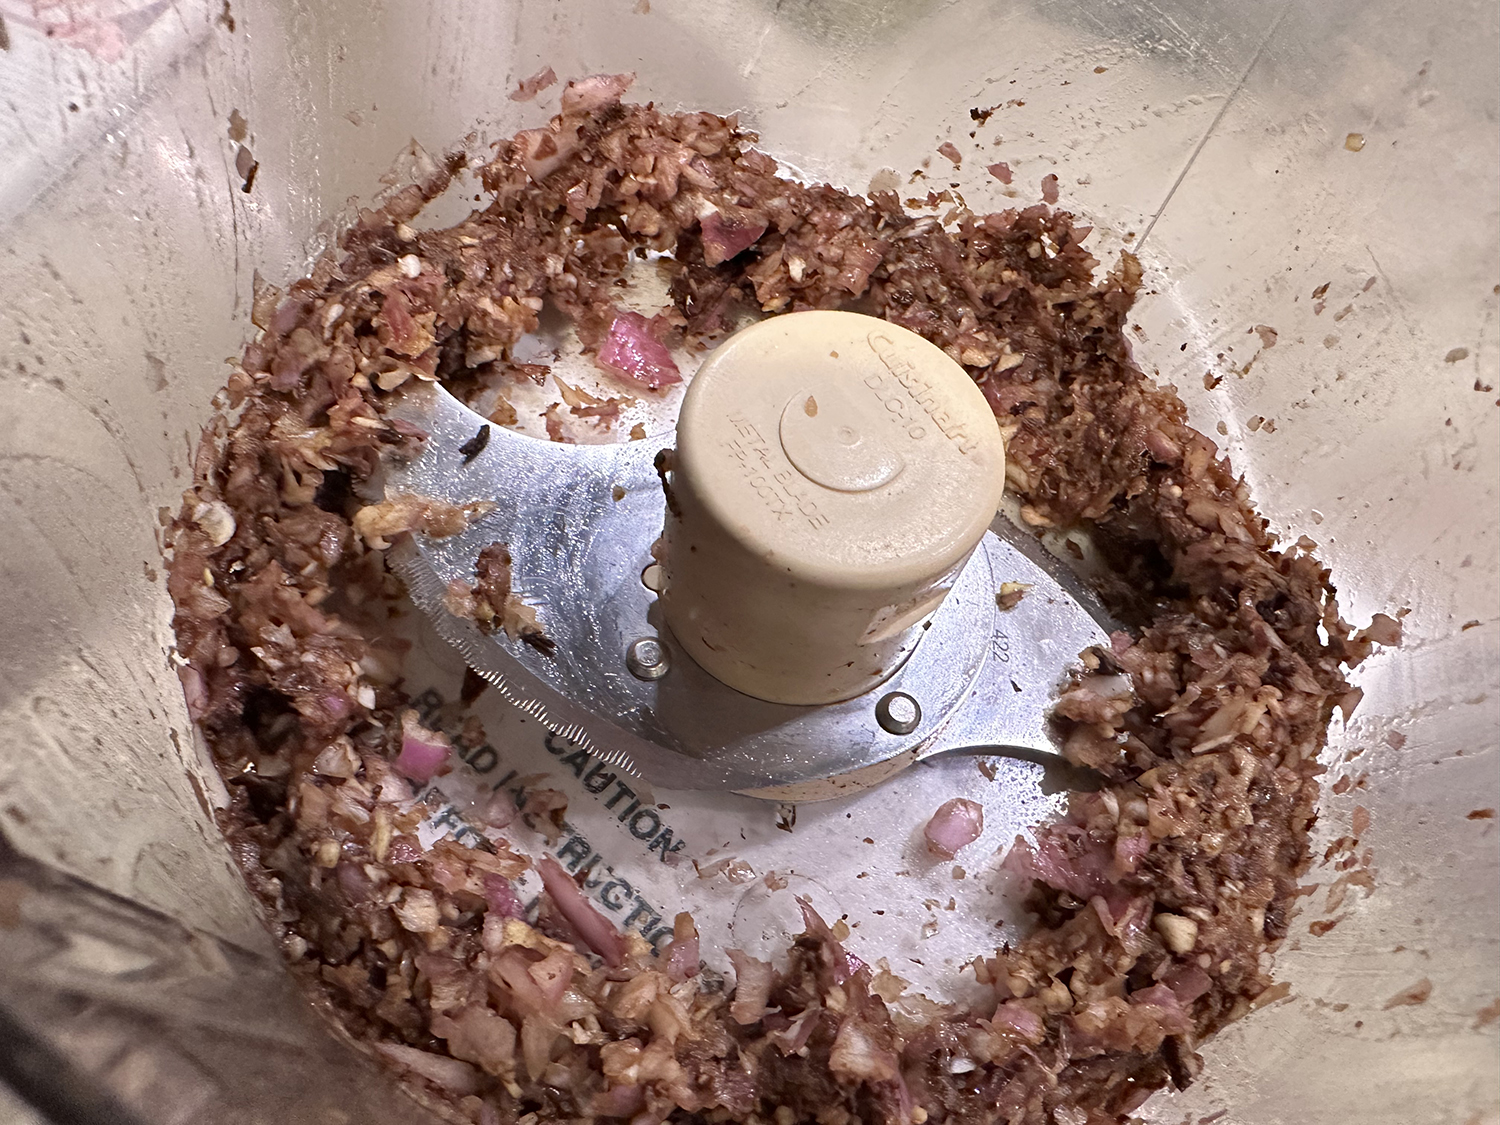
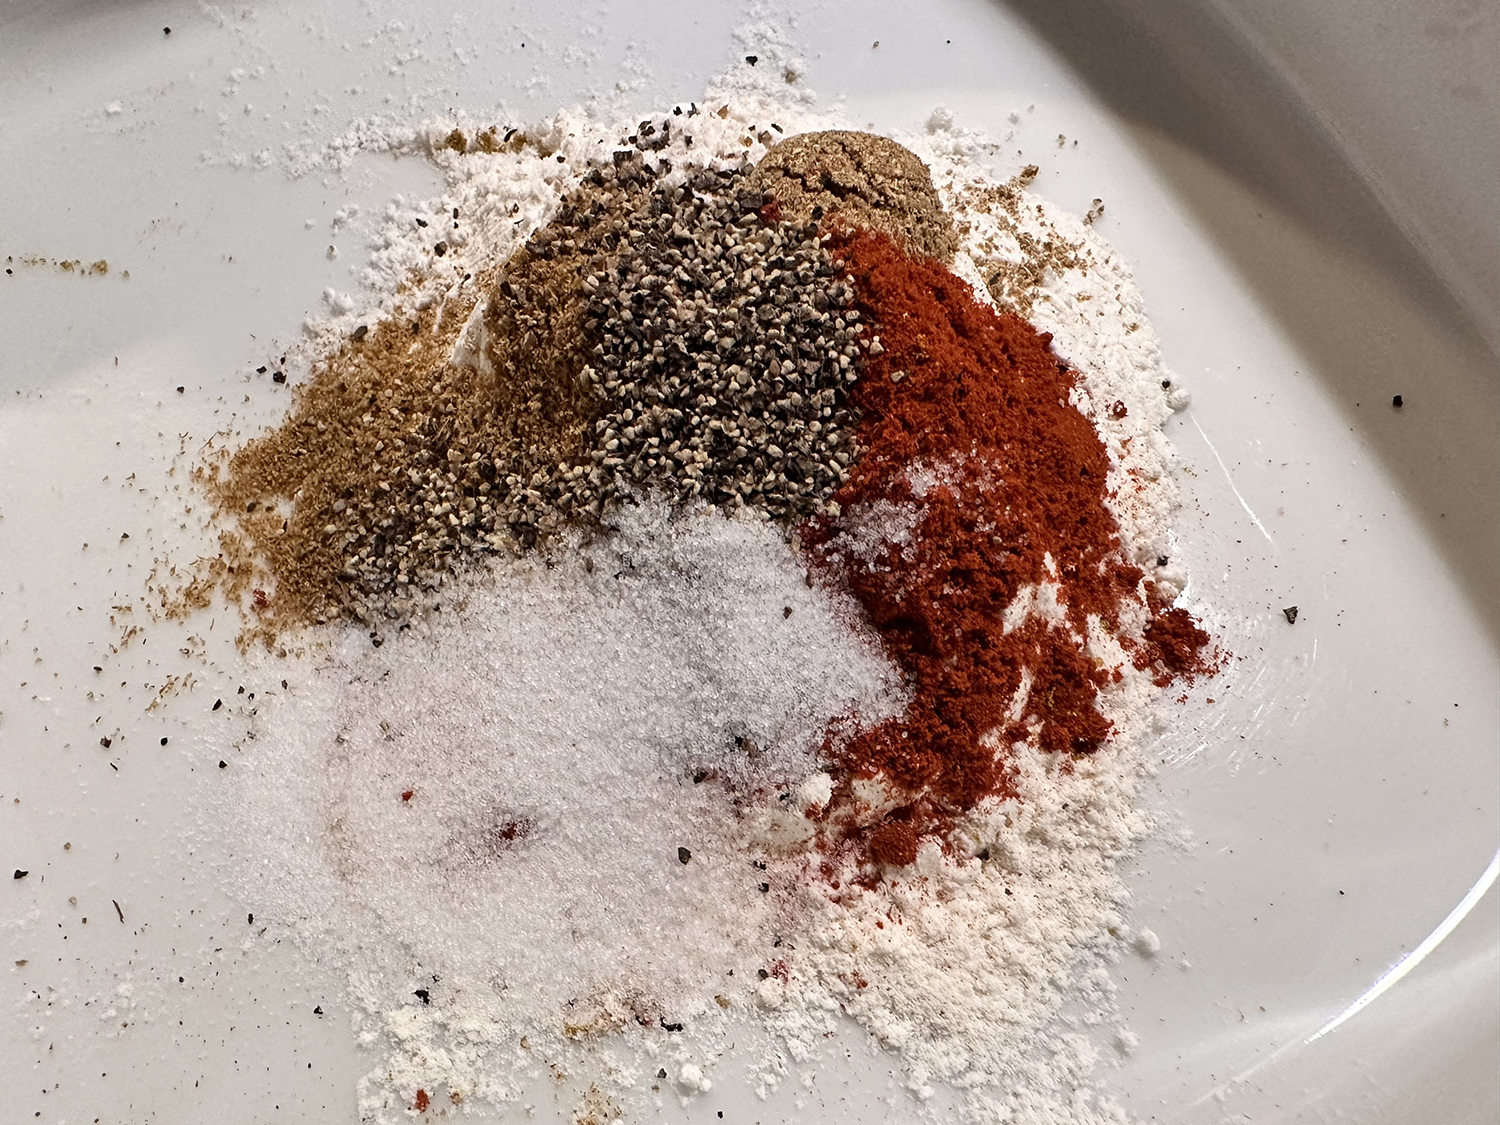
- Place orange juice, lemon juice, and lime juice in a bowl. Add garlic, kosher salt, annatto powder, chipotle powder, ground cumin, cayenne, oregano, and black pepper. Whisk until well blended.
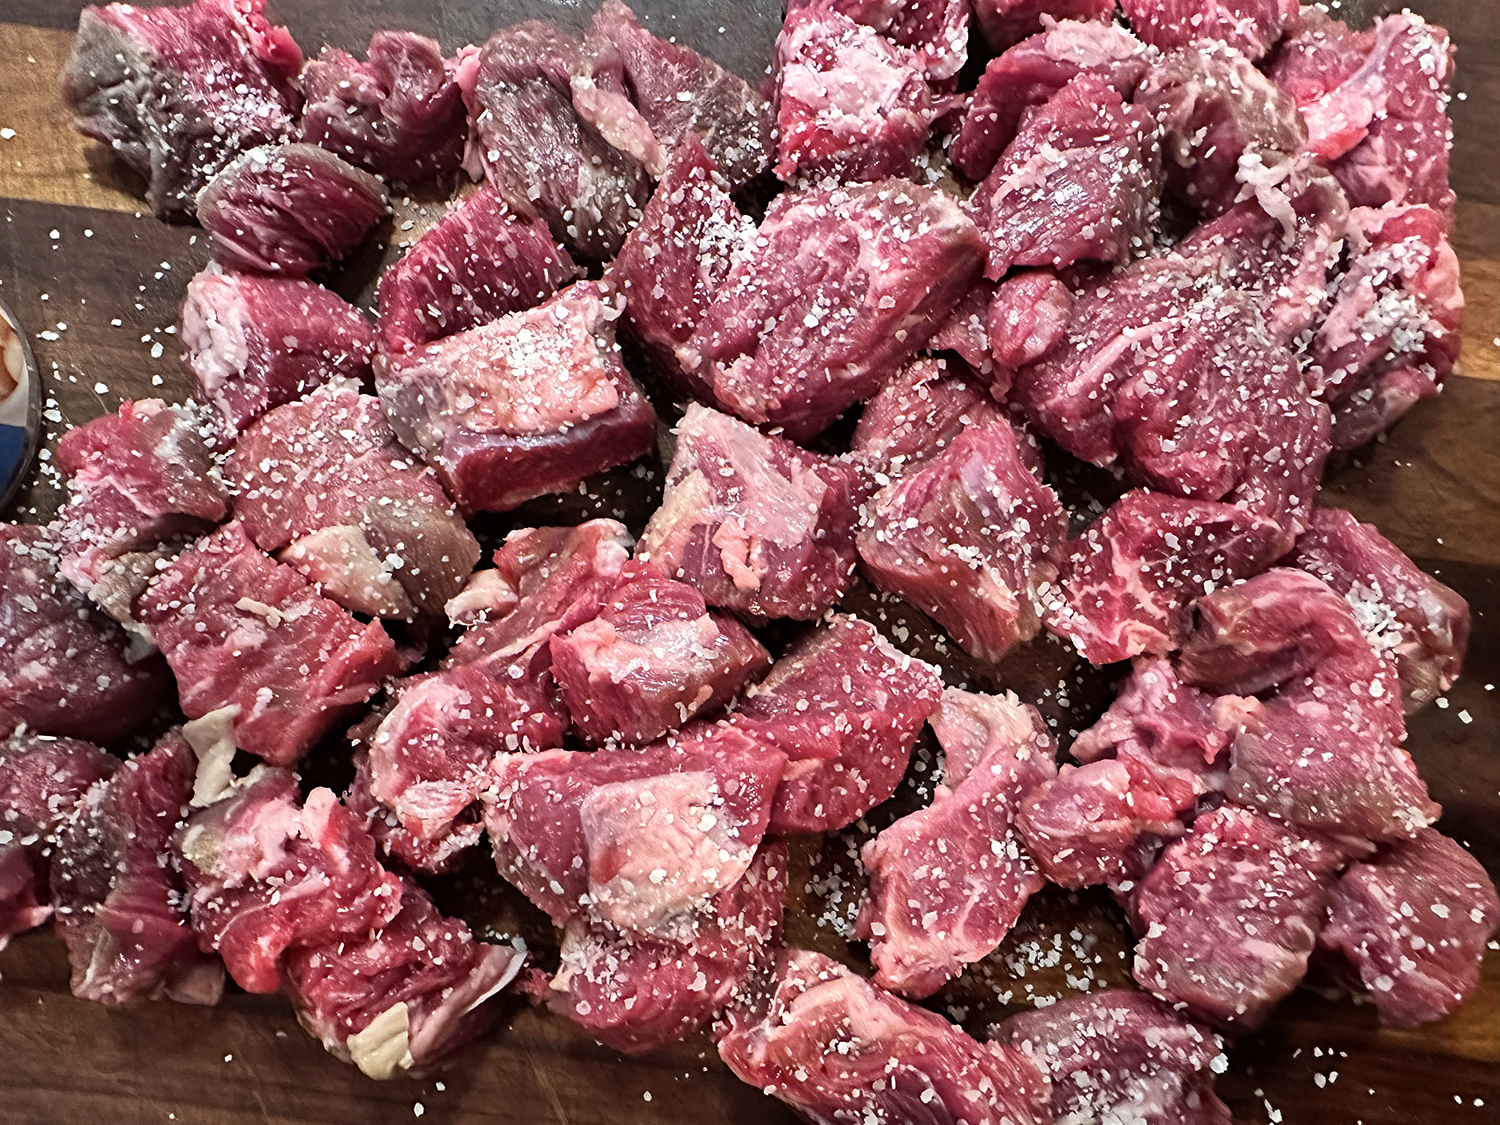
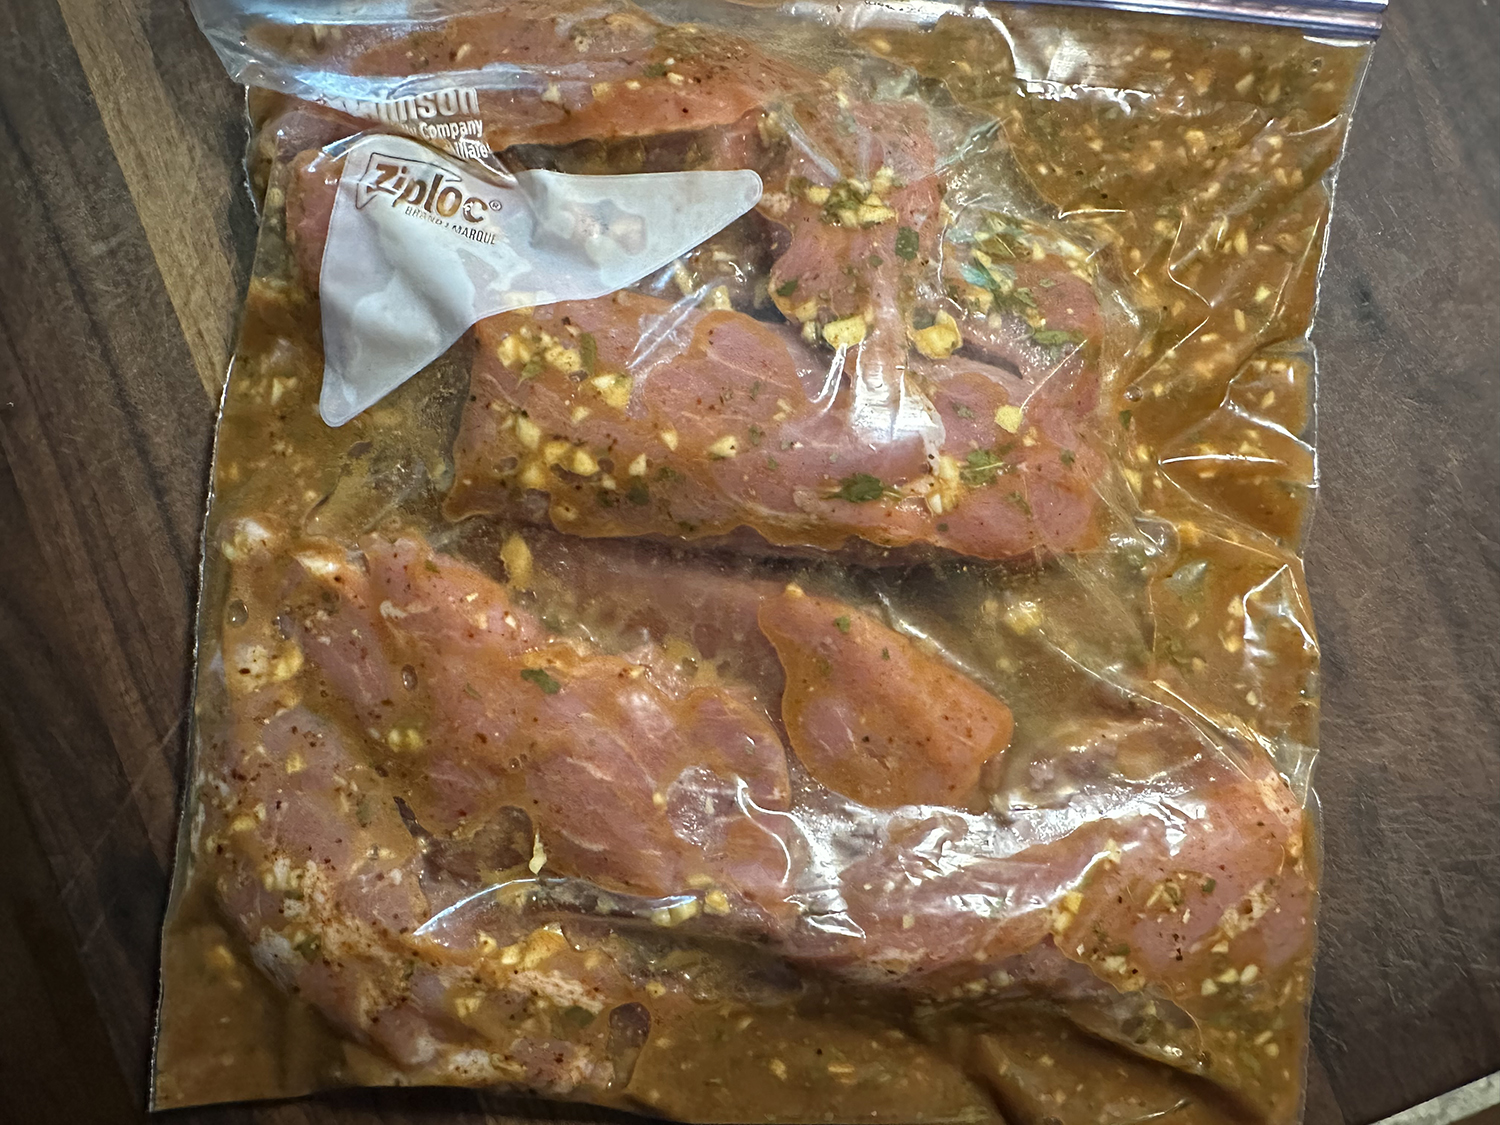
- Cut the tenderloins in half crosswise; cut each piece in half lengthwise. Place pieces in marinade and thoroughly coat with the mixture. Cover with plastic wrap with the wrap touching the surface of the meat and marinade. (Or transfer mixture to a resealable plastic bag.) Refrigerate 4 to 6 hours.
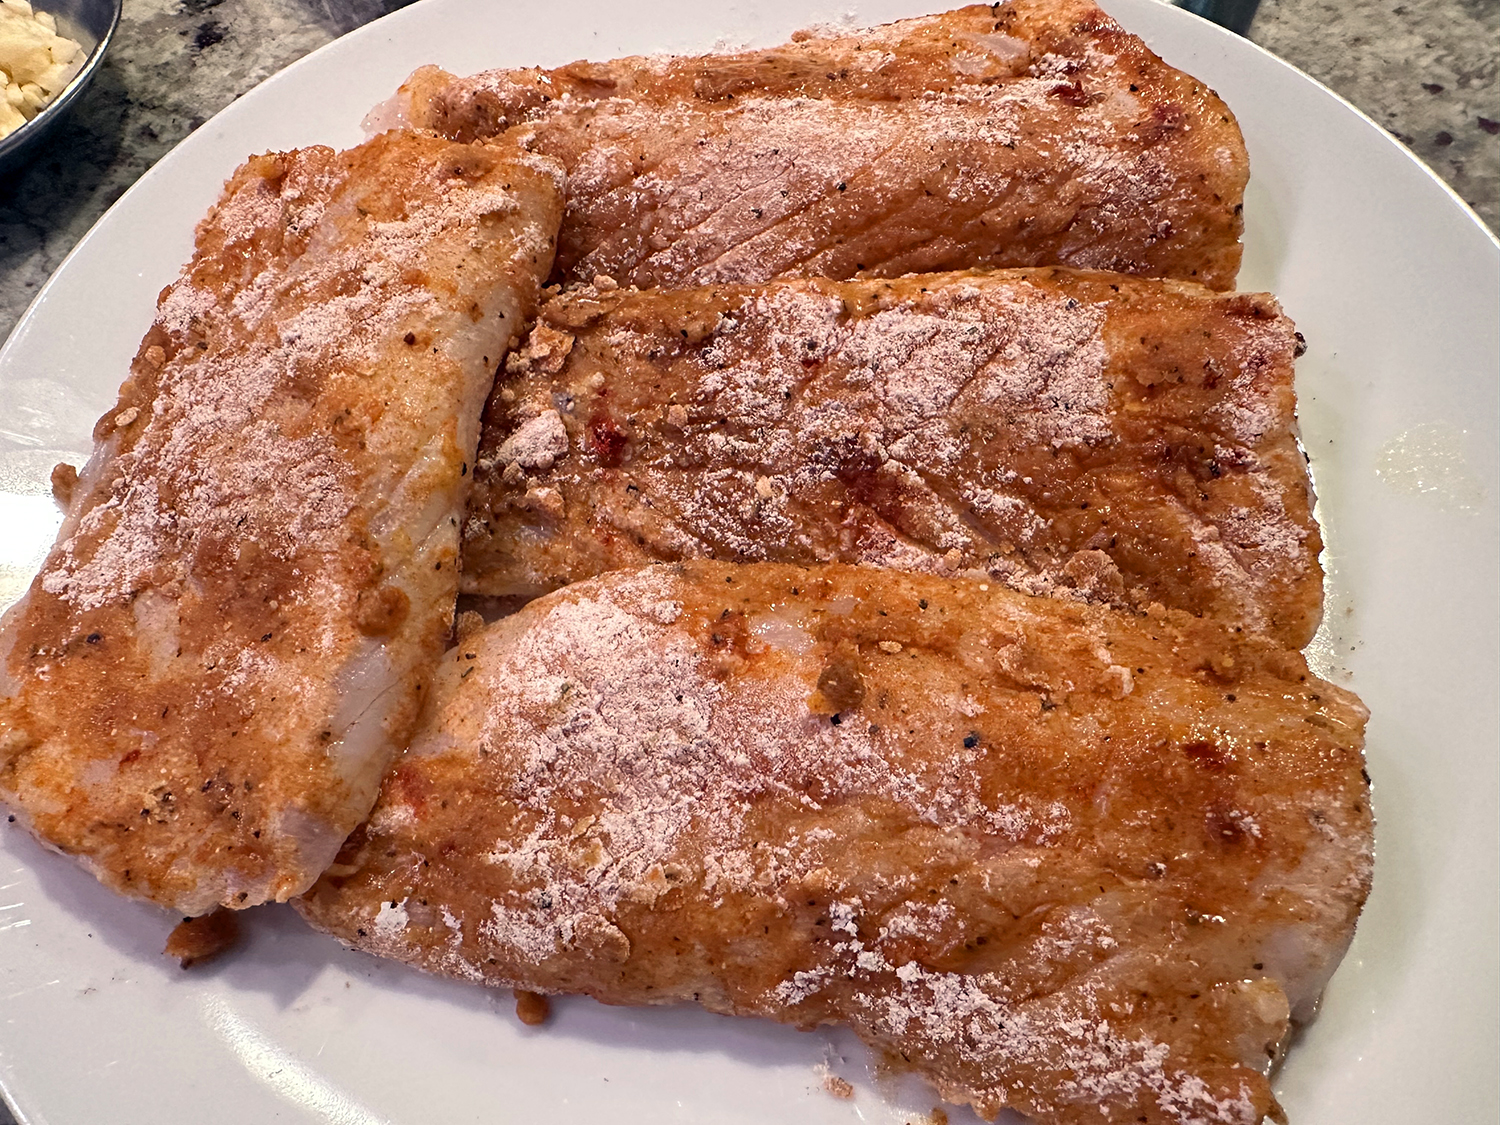
- Transfer pieces of pork from marinade to a paper-towel-lined bowl to absorb most of the moisture. Discard paper towels. Drizzle vegetable oil and a bit more annatto powder on the pork.
- Preheat an outdoor grill for medium-high heat and lightly oil the grate.
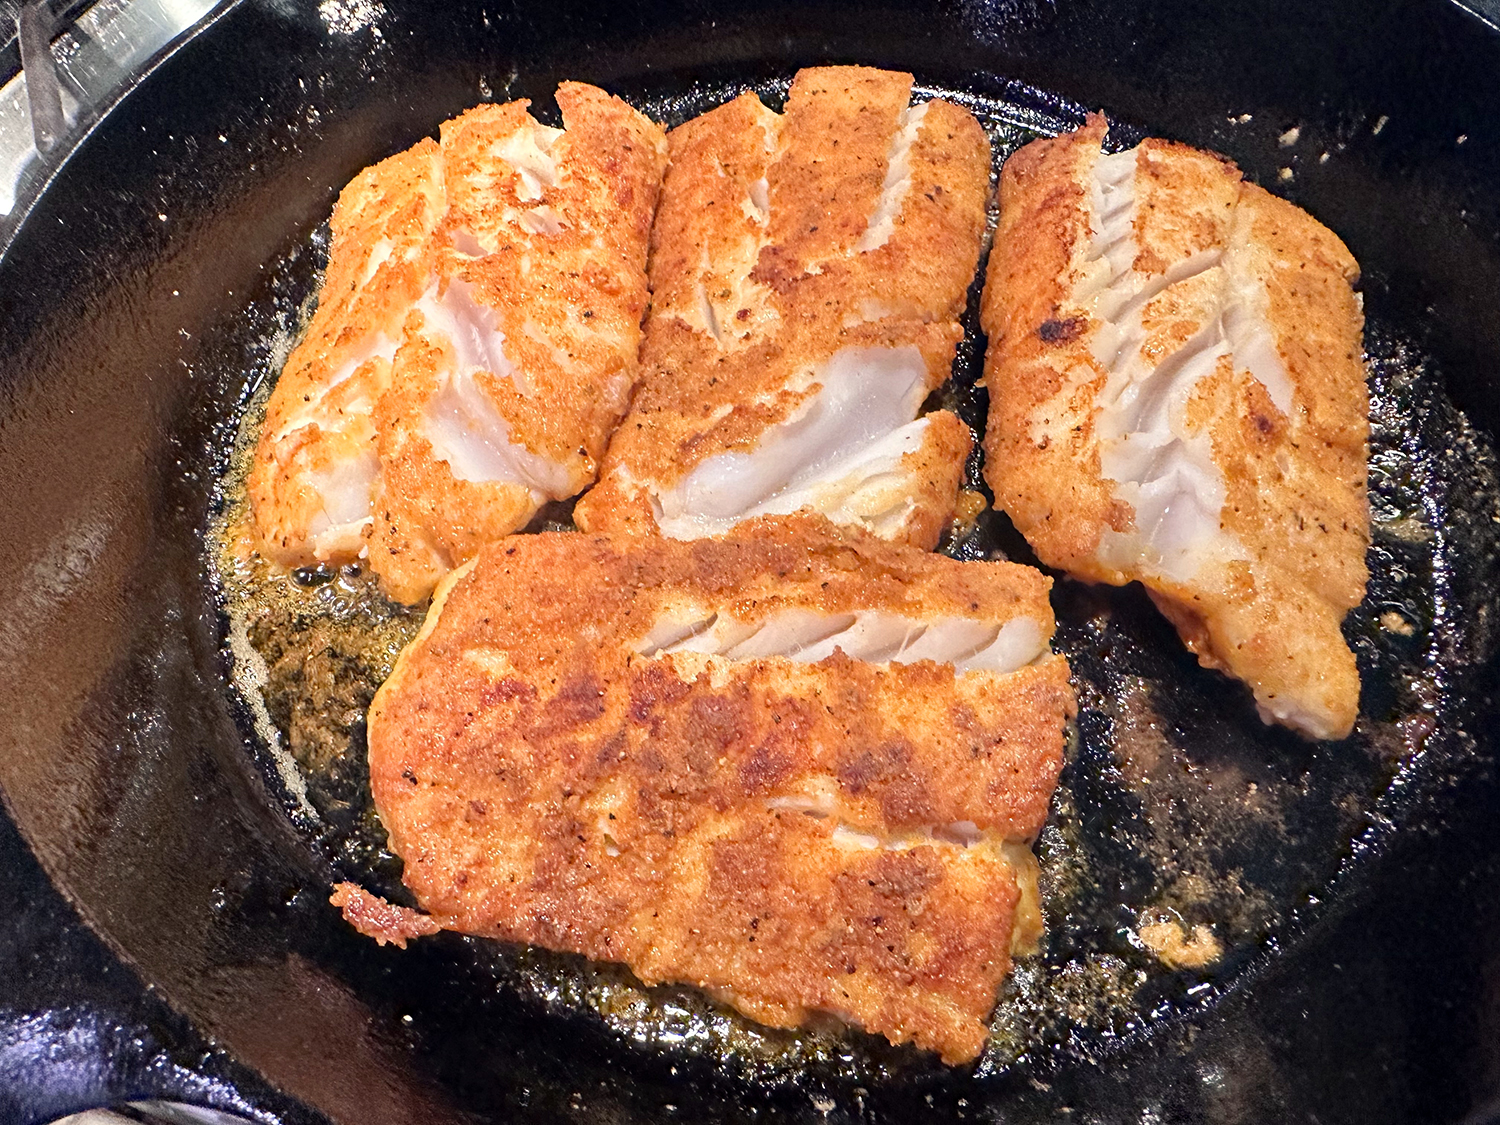
- Place pieces evenly spaced on a hot grill. Allow meat to sear onto the grate until pieces can be easily turned, 4 or 5 minutes. Turn and grill on the other side another 4 or 5 minutes. An instant-read thermometer inserted into the center should read 135 to 140°. Transfer onto a serving platter and allow meat to rest about 5 minutes before serving.
Original recipe by Chef John