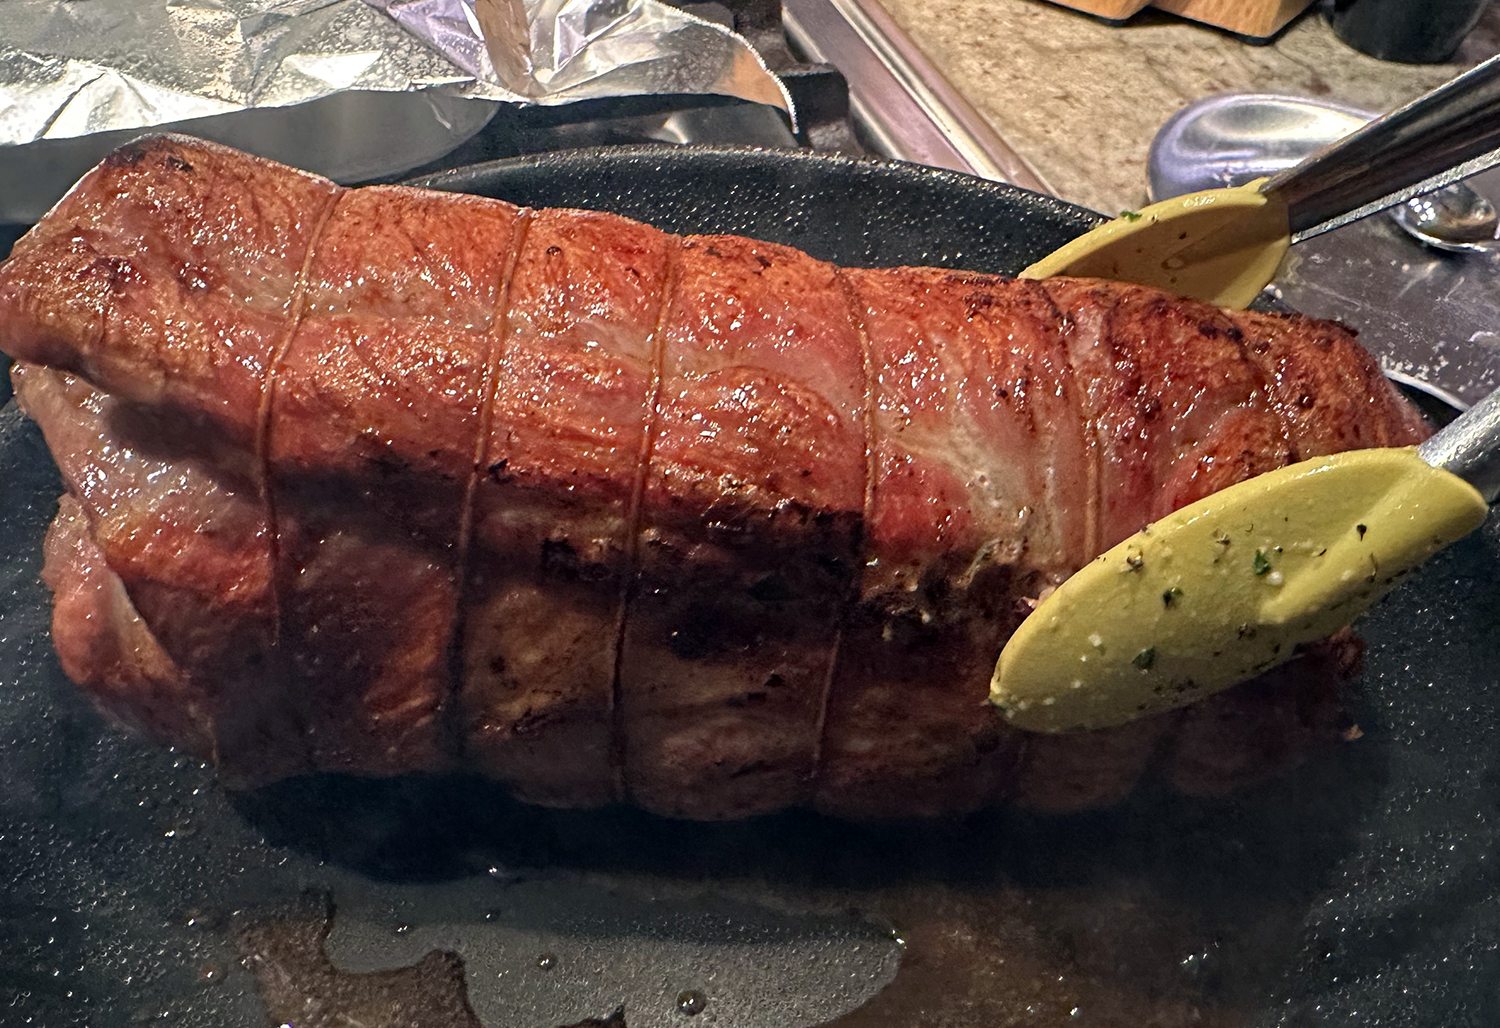
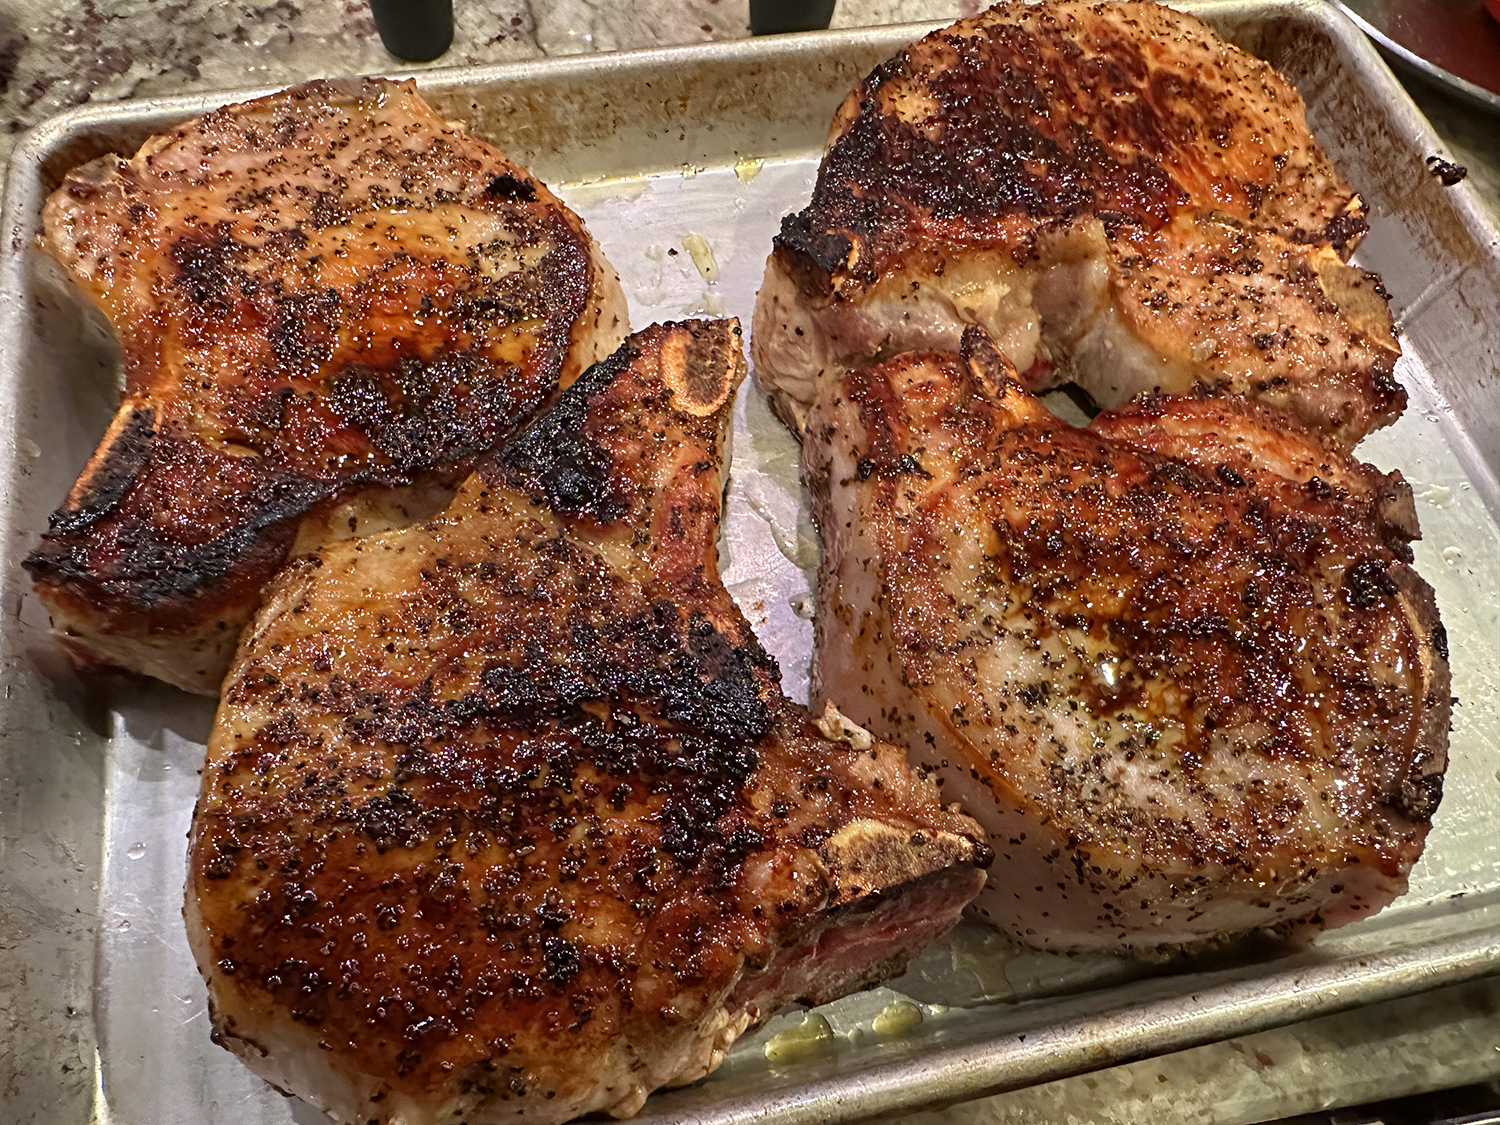
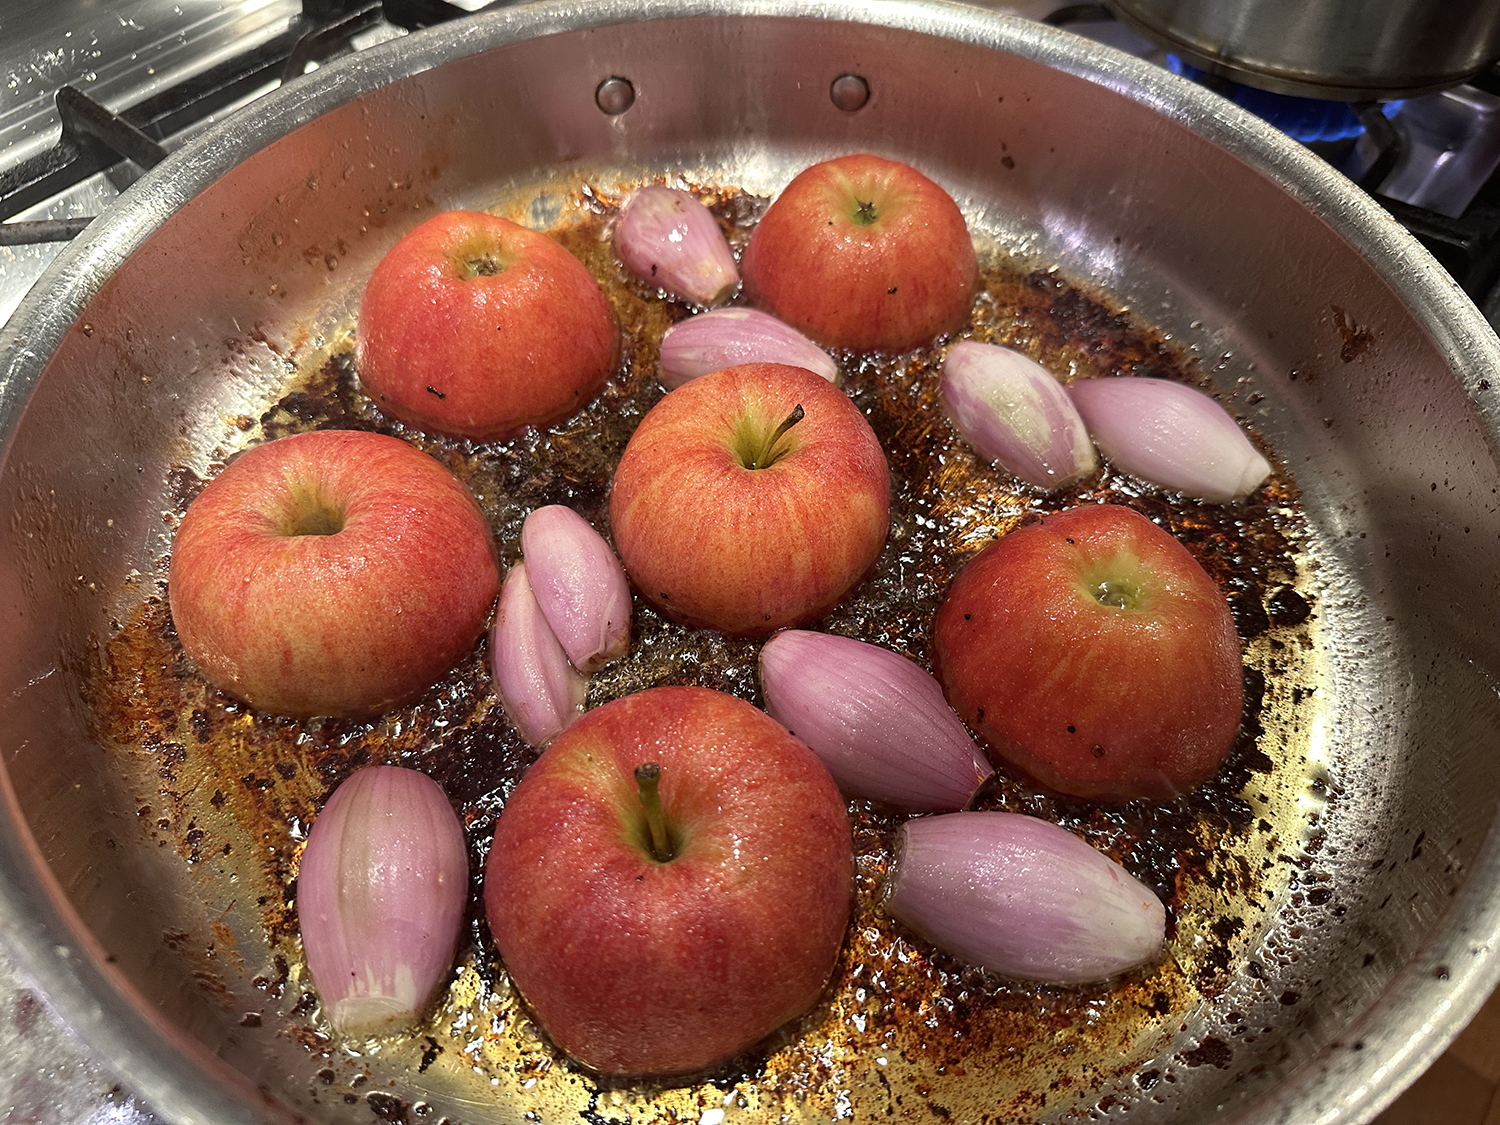
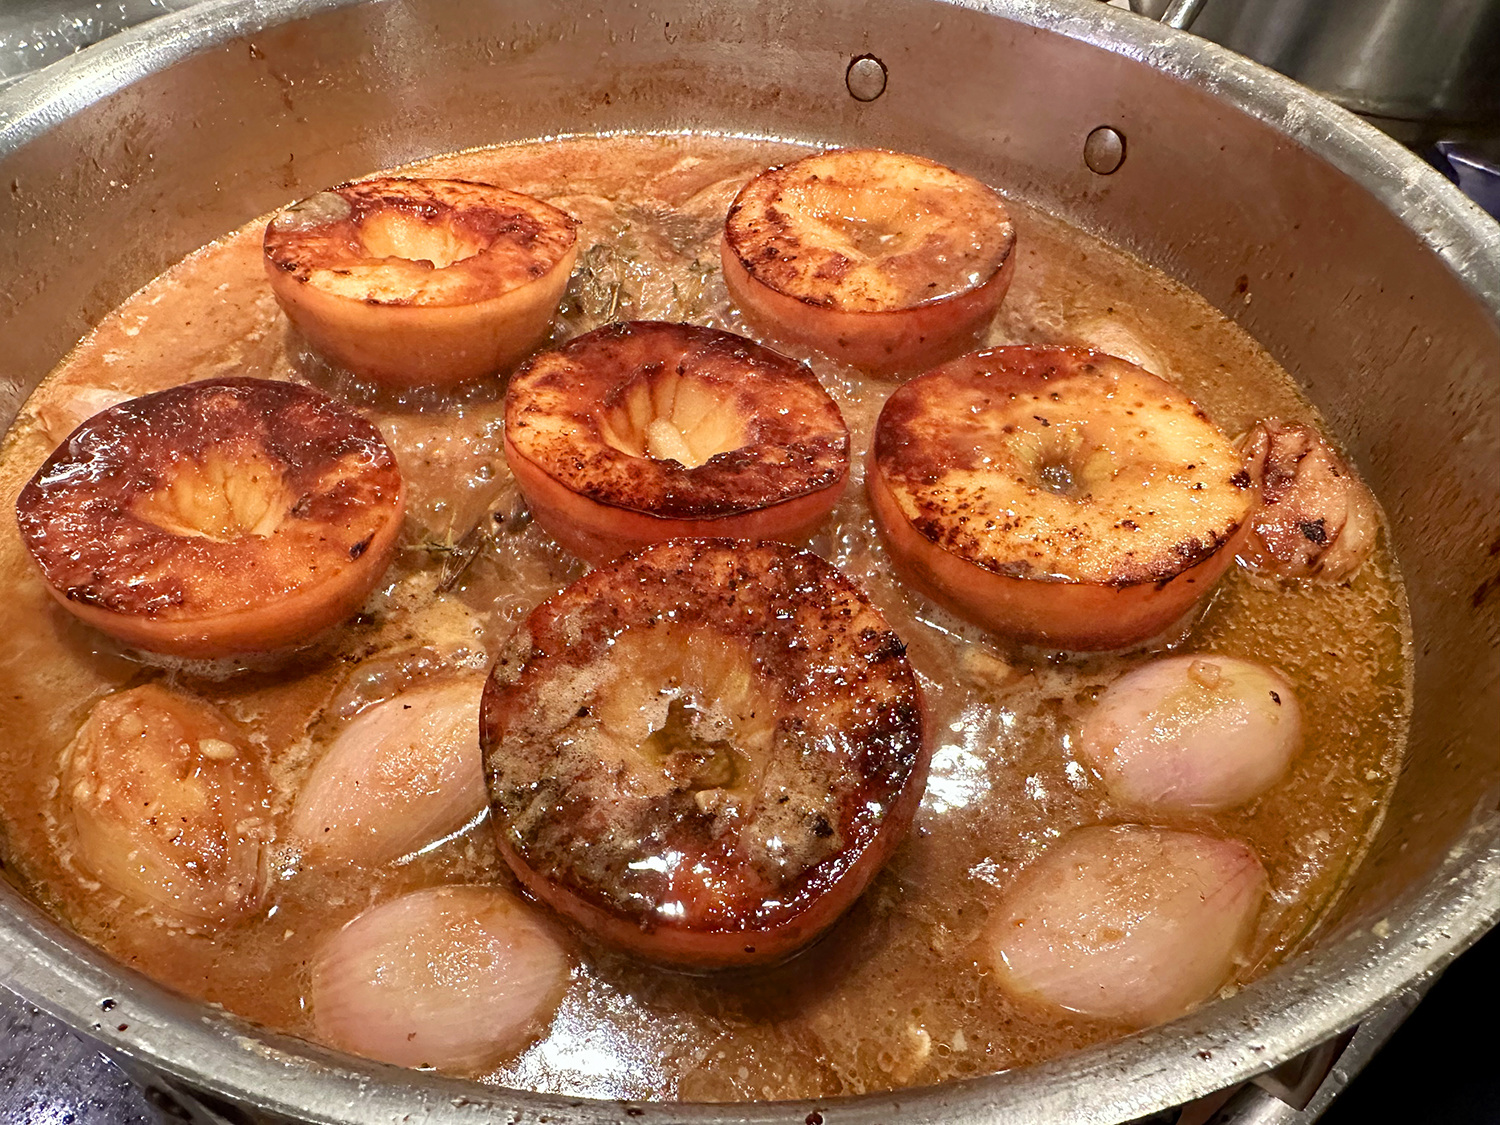
Braising doesn’t always mean long cooking times. For tender cuts like pork chops, the secret to a great braise lies in the method, not in hours on the stove. First, a hard sear on the meat, as well as halved shallots and apples, creates a beautiful fond (the wonderfully delicious caramelized little bits left in the bottom of the pan after cooking).
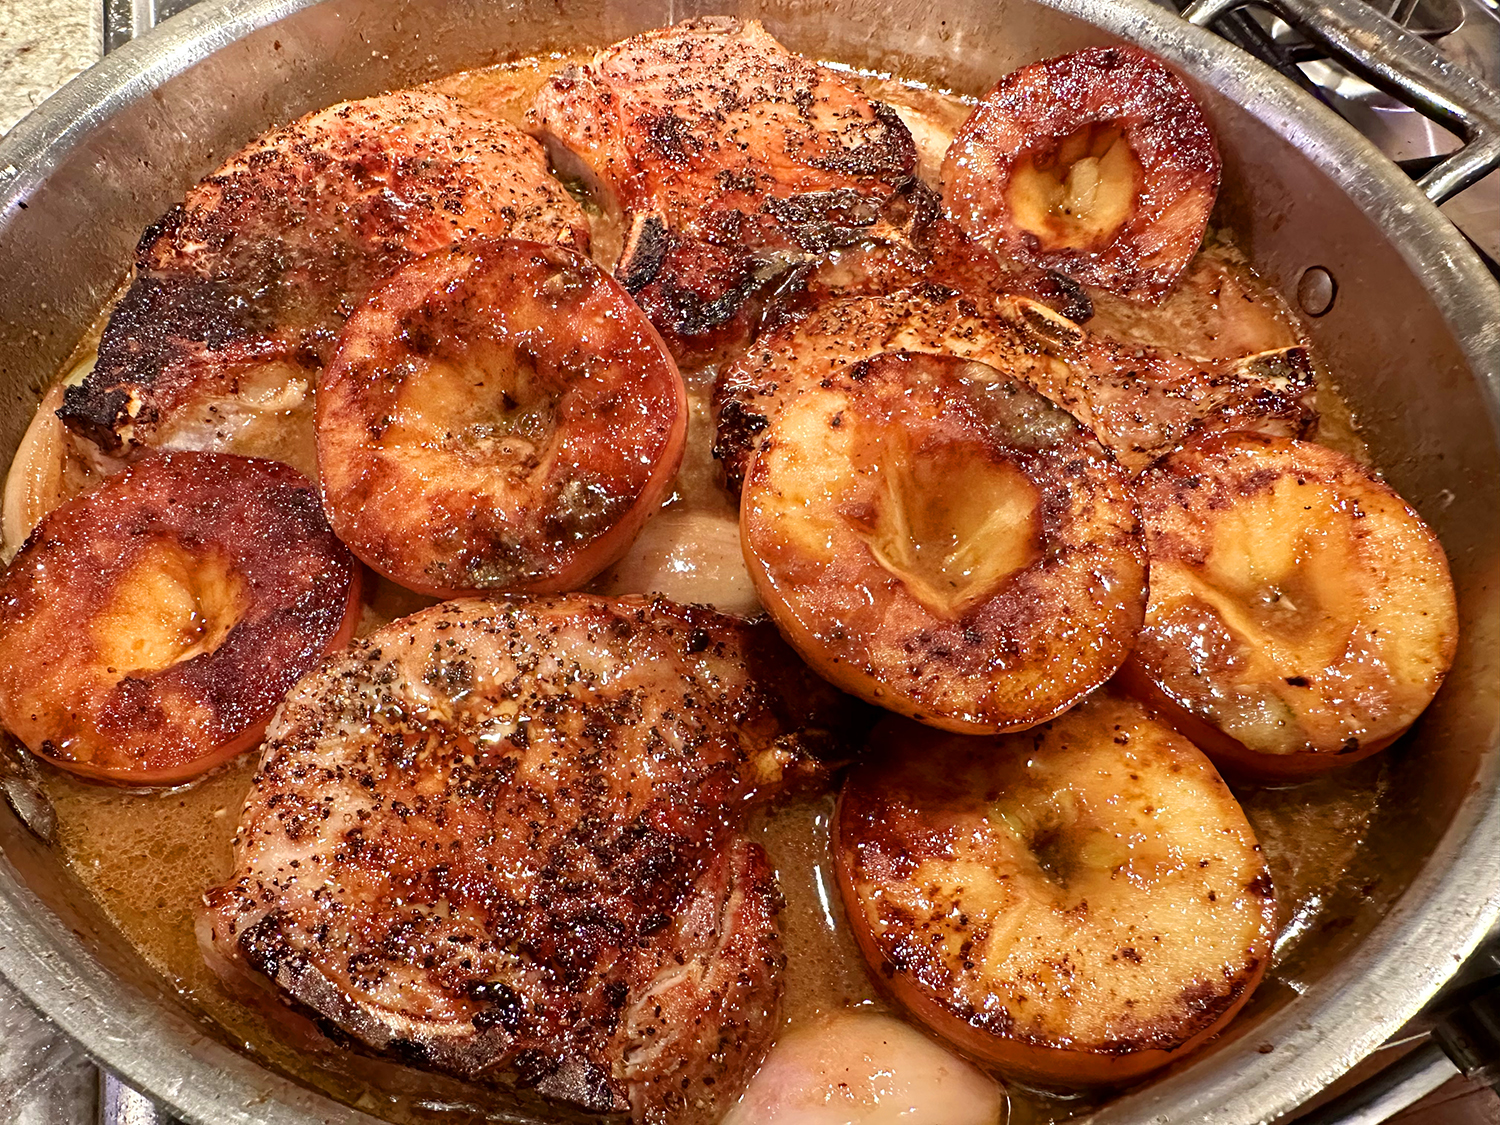
Deglazing the pan with a tart-savory combination of hard cider, vinegar, and stock loosens up that layer of browned goodness and reduces down to gravy in about 20 minutes. To finish, the chops simmer in the sauce until they’re cooked through. Voilà: cooked-all-day depth in just an hours time.

Our changes? If it serves 4, then why only use 3 shallots? We added a fourth one, so each serving received two halves (and next time we may be inclined to add even more). Our intuition took over when thinking about the amount of time the apples actually cooked. The original directions have you put the browned halves back into the pan when the chops get added back. If you want firm apples, then by all means, wait until then to add them to the pan. If like us, you prefer softer bites, then arrange them cut side up when placing the thyme bundle into the sauce.
Otherwise, pretty much everything was spot on. Make sure to use a very large pan to hold all of the ingredients. And that sauce—it was sooo good, you may be tempted to drink any leftovers… Serve with egg noodles, polenta or mashed potatoes.
Mustardy Cider-Braised Pork Chops
Ingredients
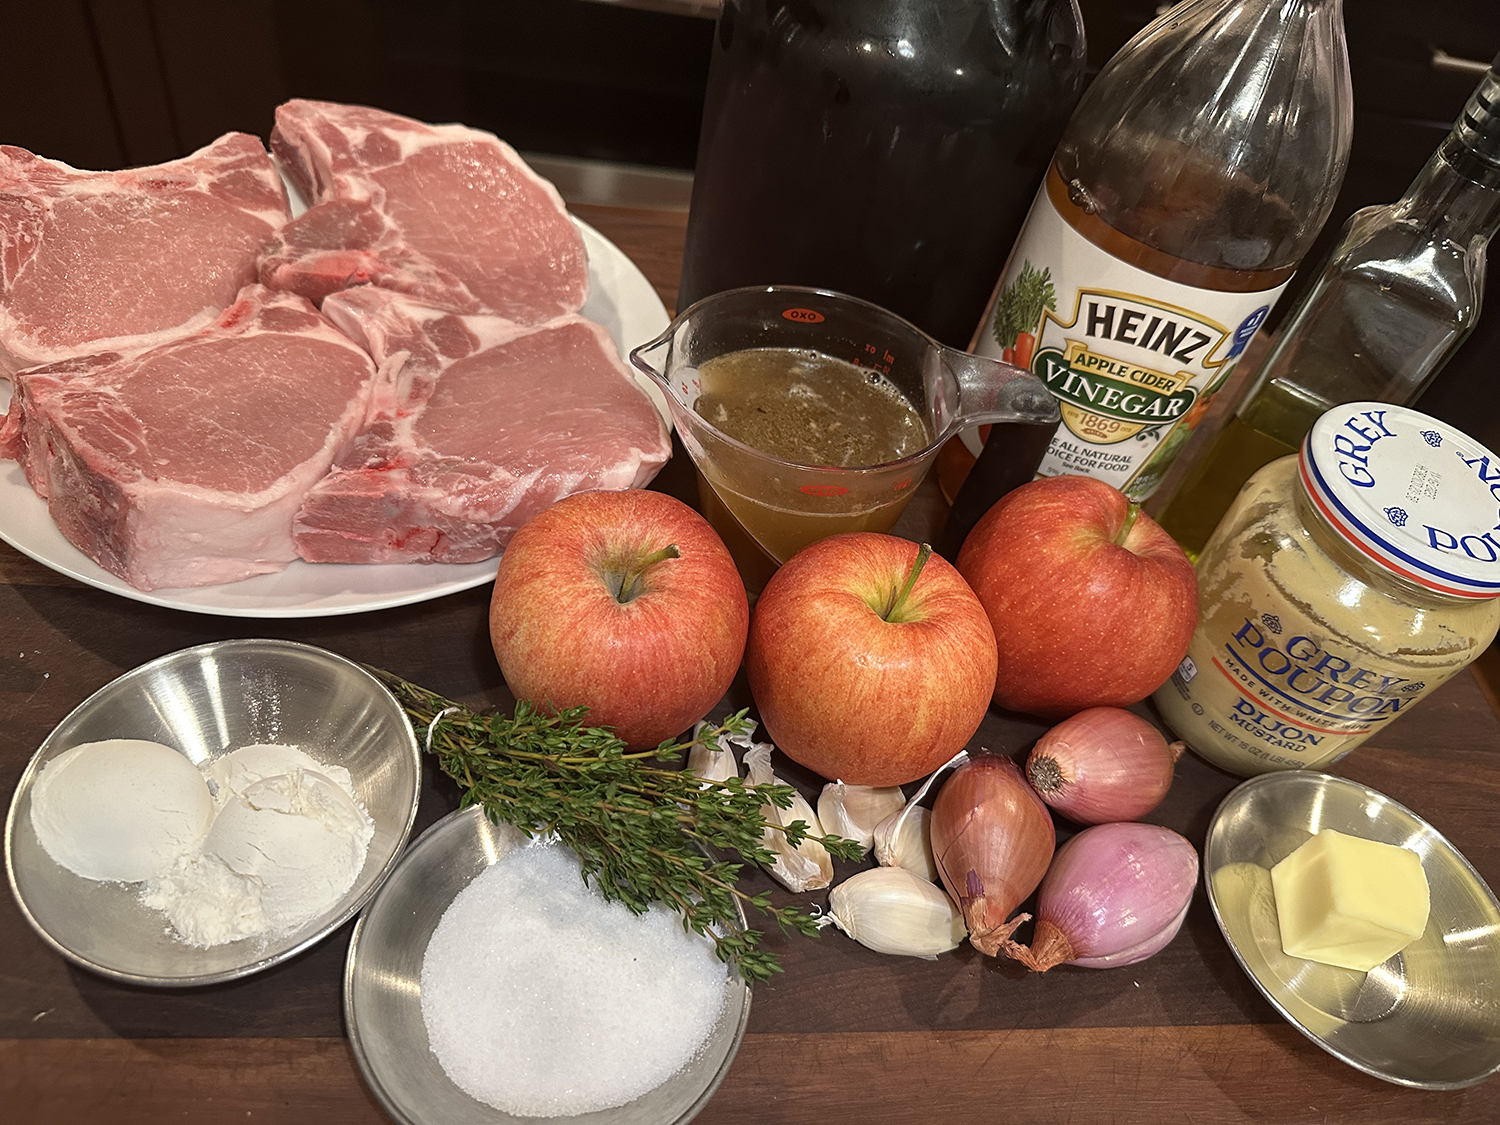
- 4 1½”-thick bone-in rib pork chops (about 2 lb. total)
- 3 Tbsp. sugar
- 1 Tbsp. Diamond Crystal or 1¾ tsp. Morton kosher salt, plus more
- 1 Tbsp. freshly ground pepper, plus more
- 2 Tbsp. vegetable oil
- 3 medium Granny Smith or Gala apples, halved through equators, remove core and seeds
- 4-8 medium shallots, peeled, halved lengthwise through root ends
- 4 garlic cloves, finely grated
- ¼ cup Dijon mustard
- 3 Tbsp. all-purpose flour
- 2 Tbsp. unsalted butter
- 2 cups sweet hard apple cider (such as Angry Orchard)
- 1 cup chicken broth
- 1 Tbsp. apple cider vinegar
- 10–12 sprigs thyme, tied together with kitchen twine
- Finely chopped chives (for serving)


Directions
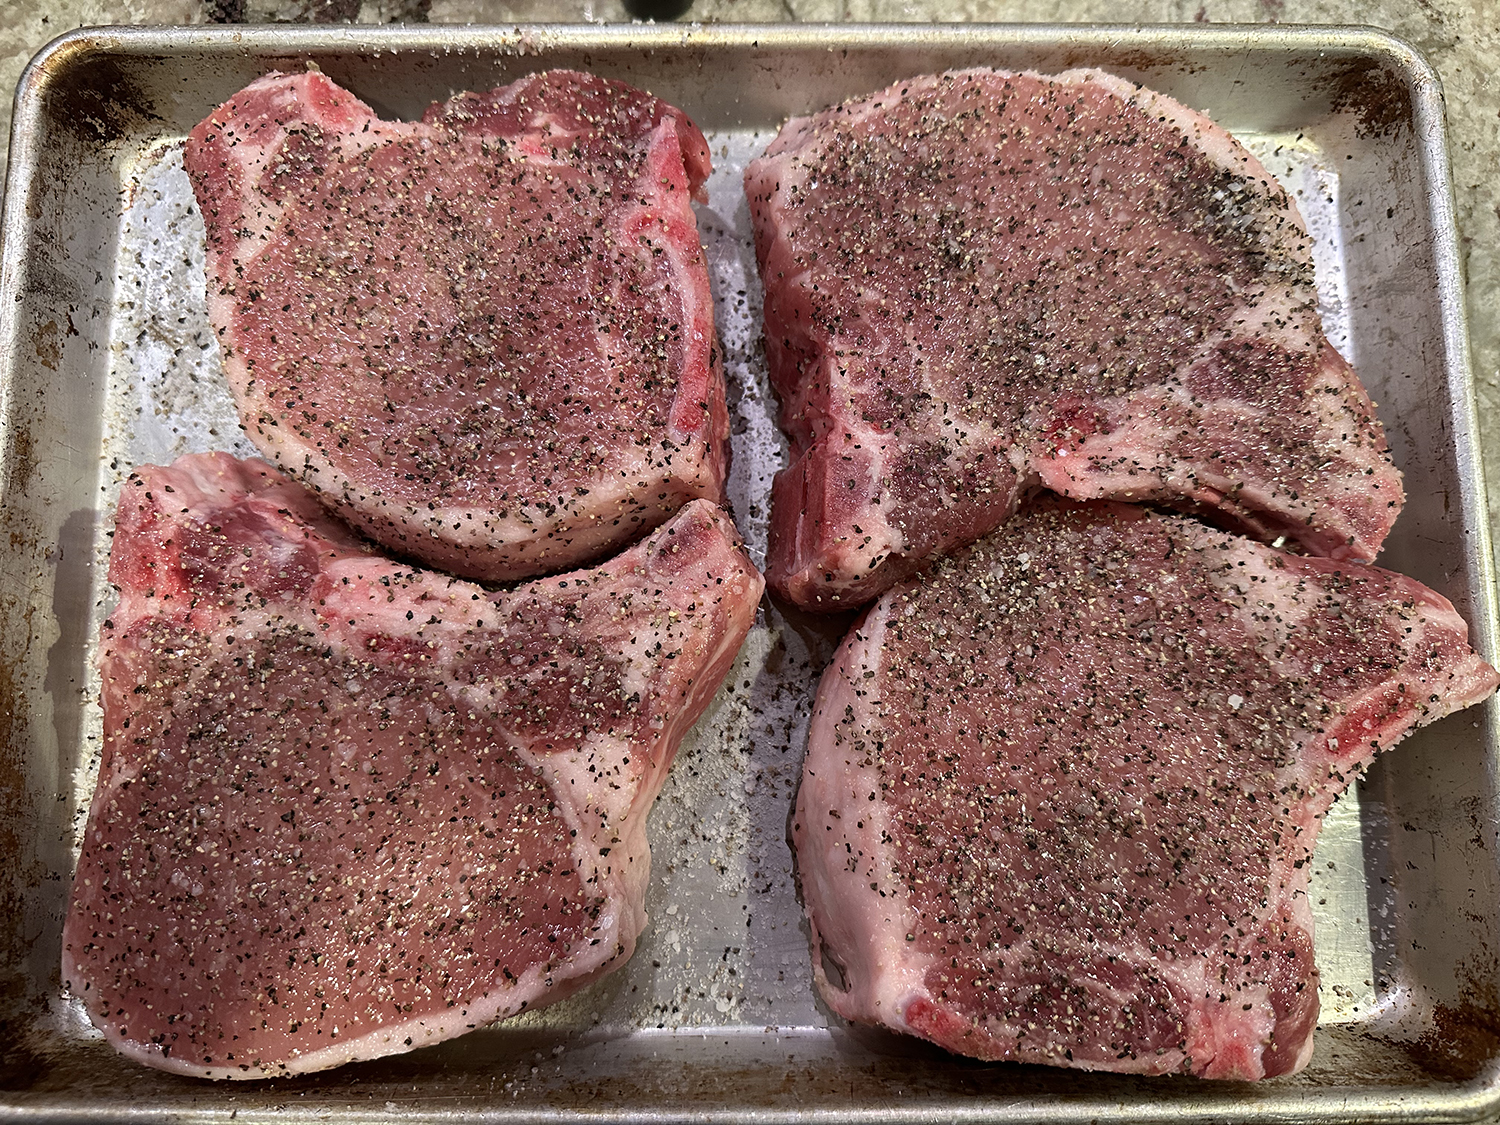
- Pat four 1½”-thick bone-in rib pork chops (about 2 pounds total) dry with paper towels. Sprinkle all over with 3 Tbsp. sugar, 1 Tbsp. Diamond Crystal or 1¾ tsp. Morton kosher salt, and 1 tablespoon freshly ground pepper. Heat 2 tablespoon vegetable oil in a large cast-iron skillet over high. Working in batches if needed, cook pork chops, turning halfway through, until deeply browned, about 5 minutes total. Transfer to a large plate.
- Working in batches if needed, cook 3 medium Granny Smith or Gala apples, halved through equators, and 3 medium shallots, peeled, halved lengthwise through root ends, cut sides down, in same skillet, gently pressing down on them with a spatula to create contact with pan, until golden brown on cut sides, about 2 minutes (it’s okay if shallots fall apart). Transfer apples to plate with chops.
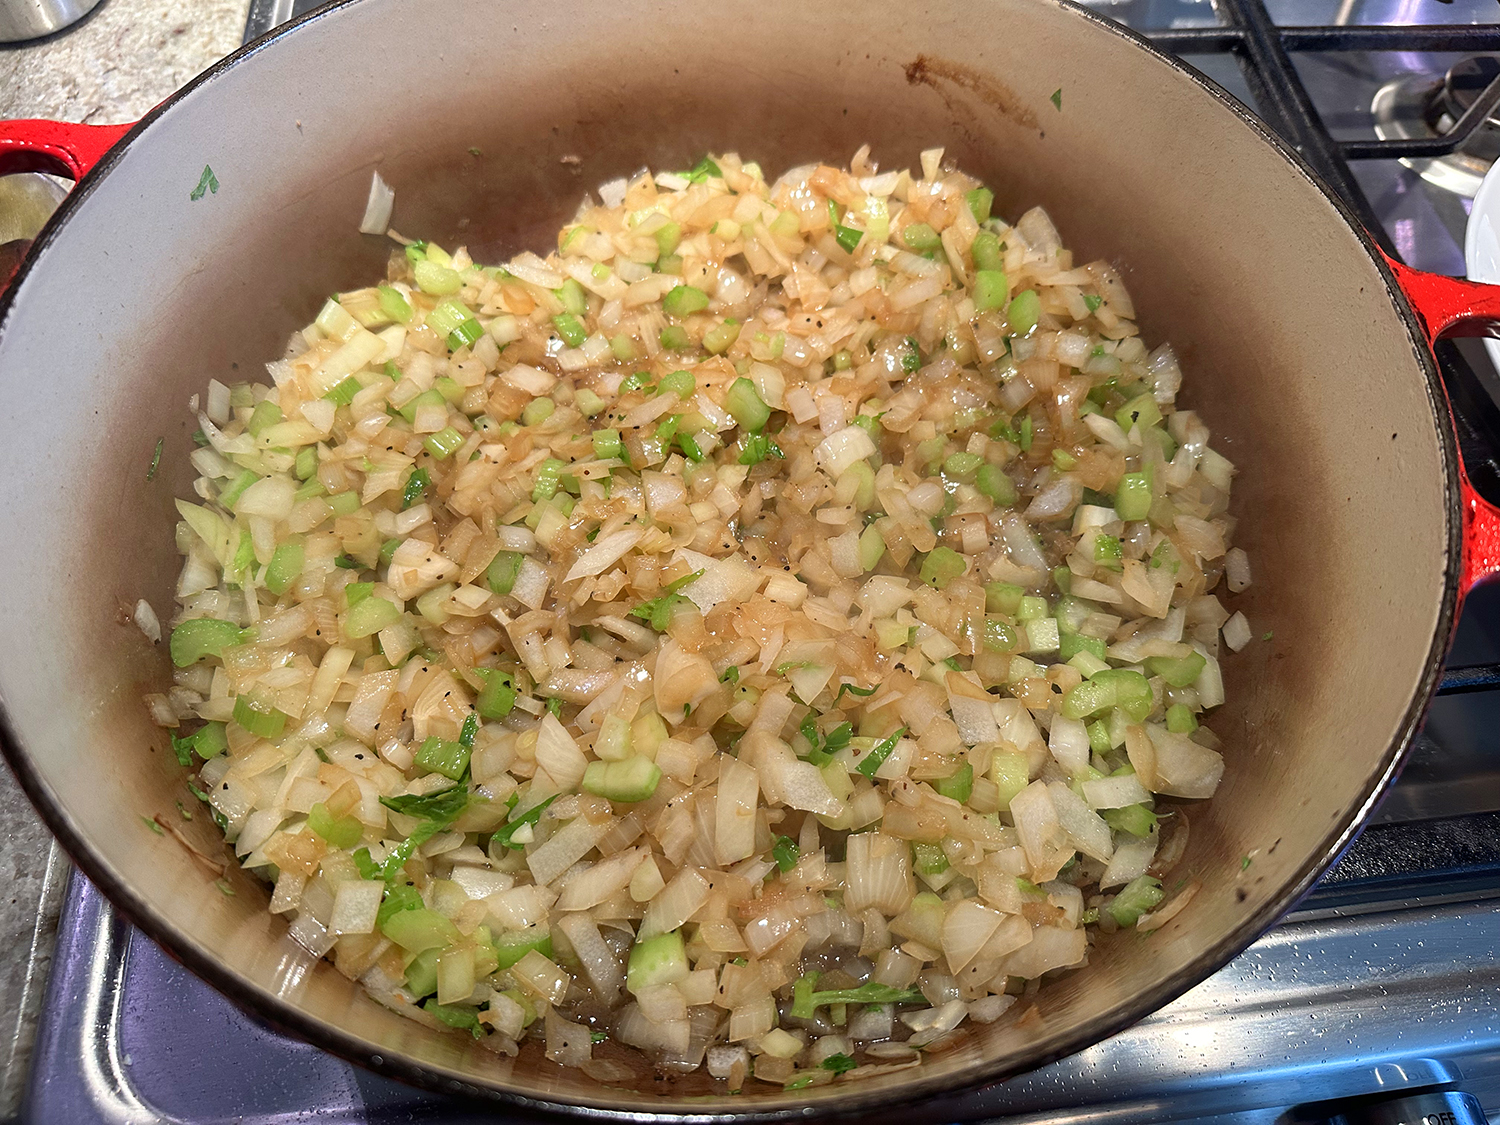
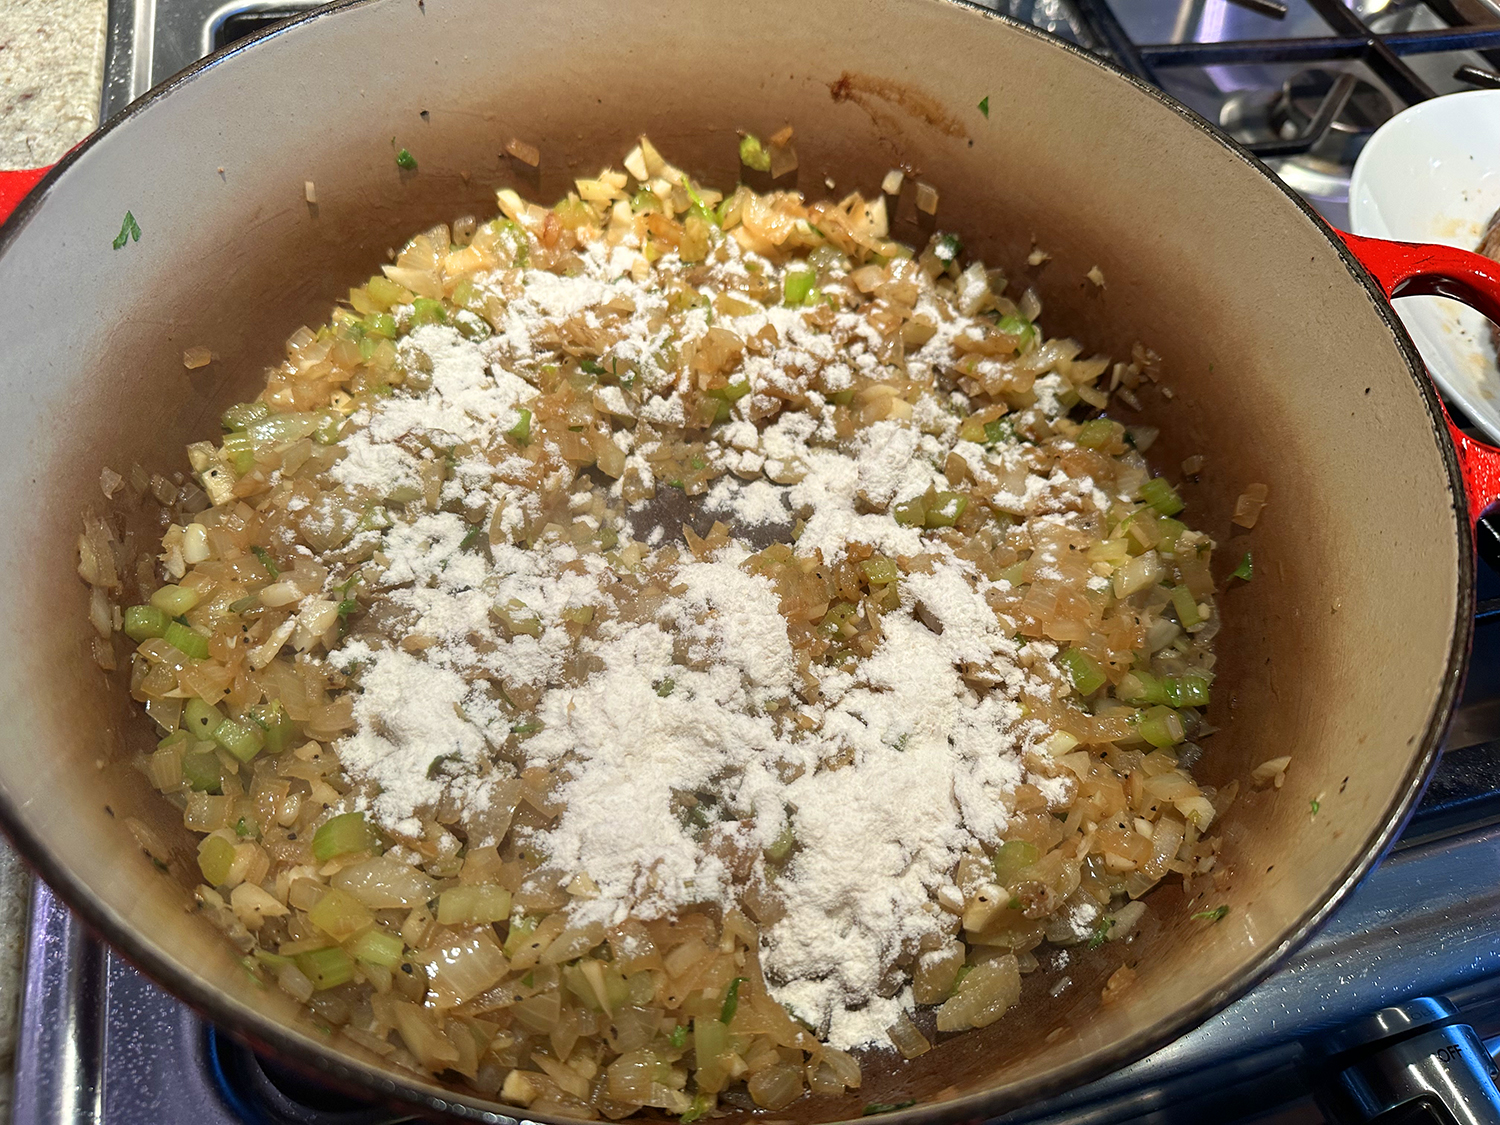
- Reduce heat to medium, add 4 garlic cloves, finely grated, to pan, and cook, stirring constantly, just until fragrant, about 30 seconds. Add ¼ cup Dijon mustard, 3 tablespoon all-purpose flour, and 2 tablespoon unsalted butter; stir to coat shallots. Pour in 2 cups sweet hard apple cider, 1 cup low-sodium chicken broth, and 1 tablespoon apple cider vinegar, scraping up browned bits and flour stuck to bottom of pan and incorporating into liquid.
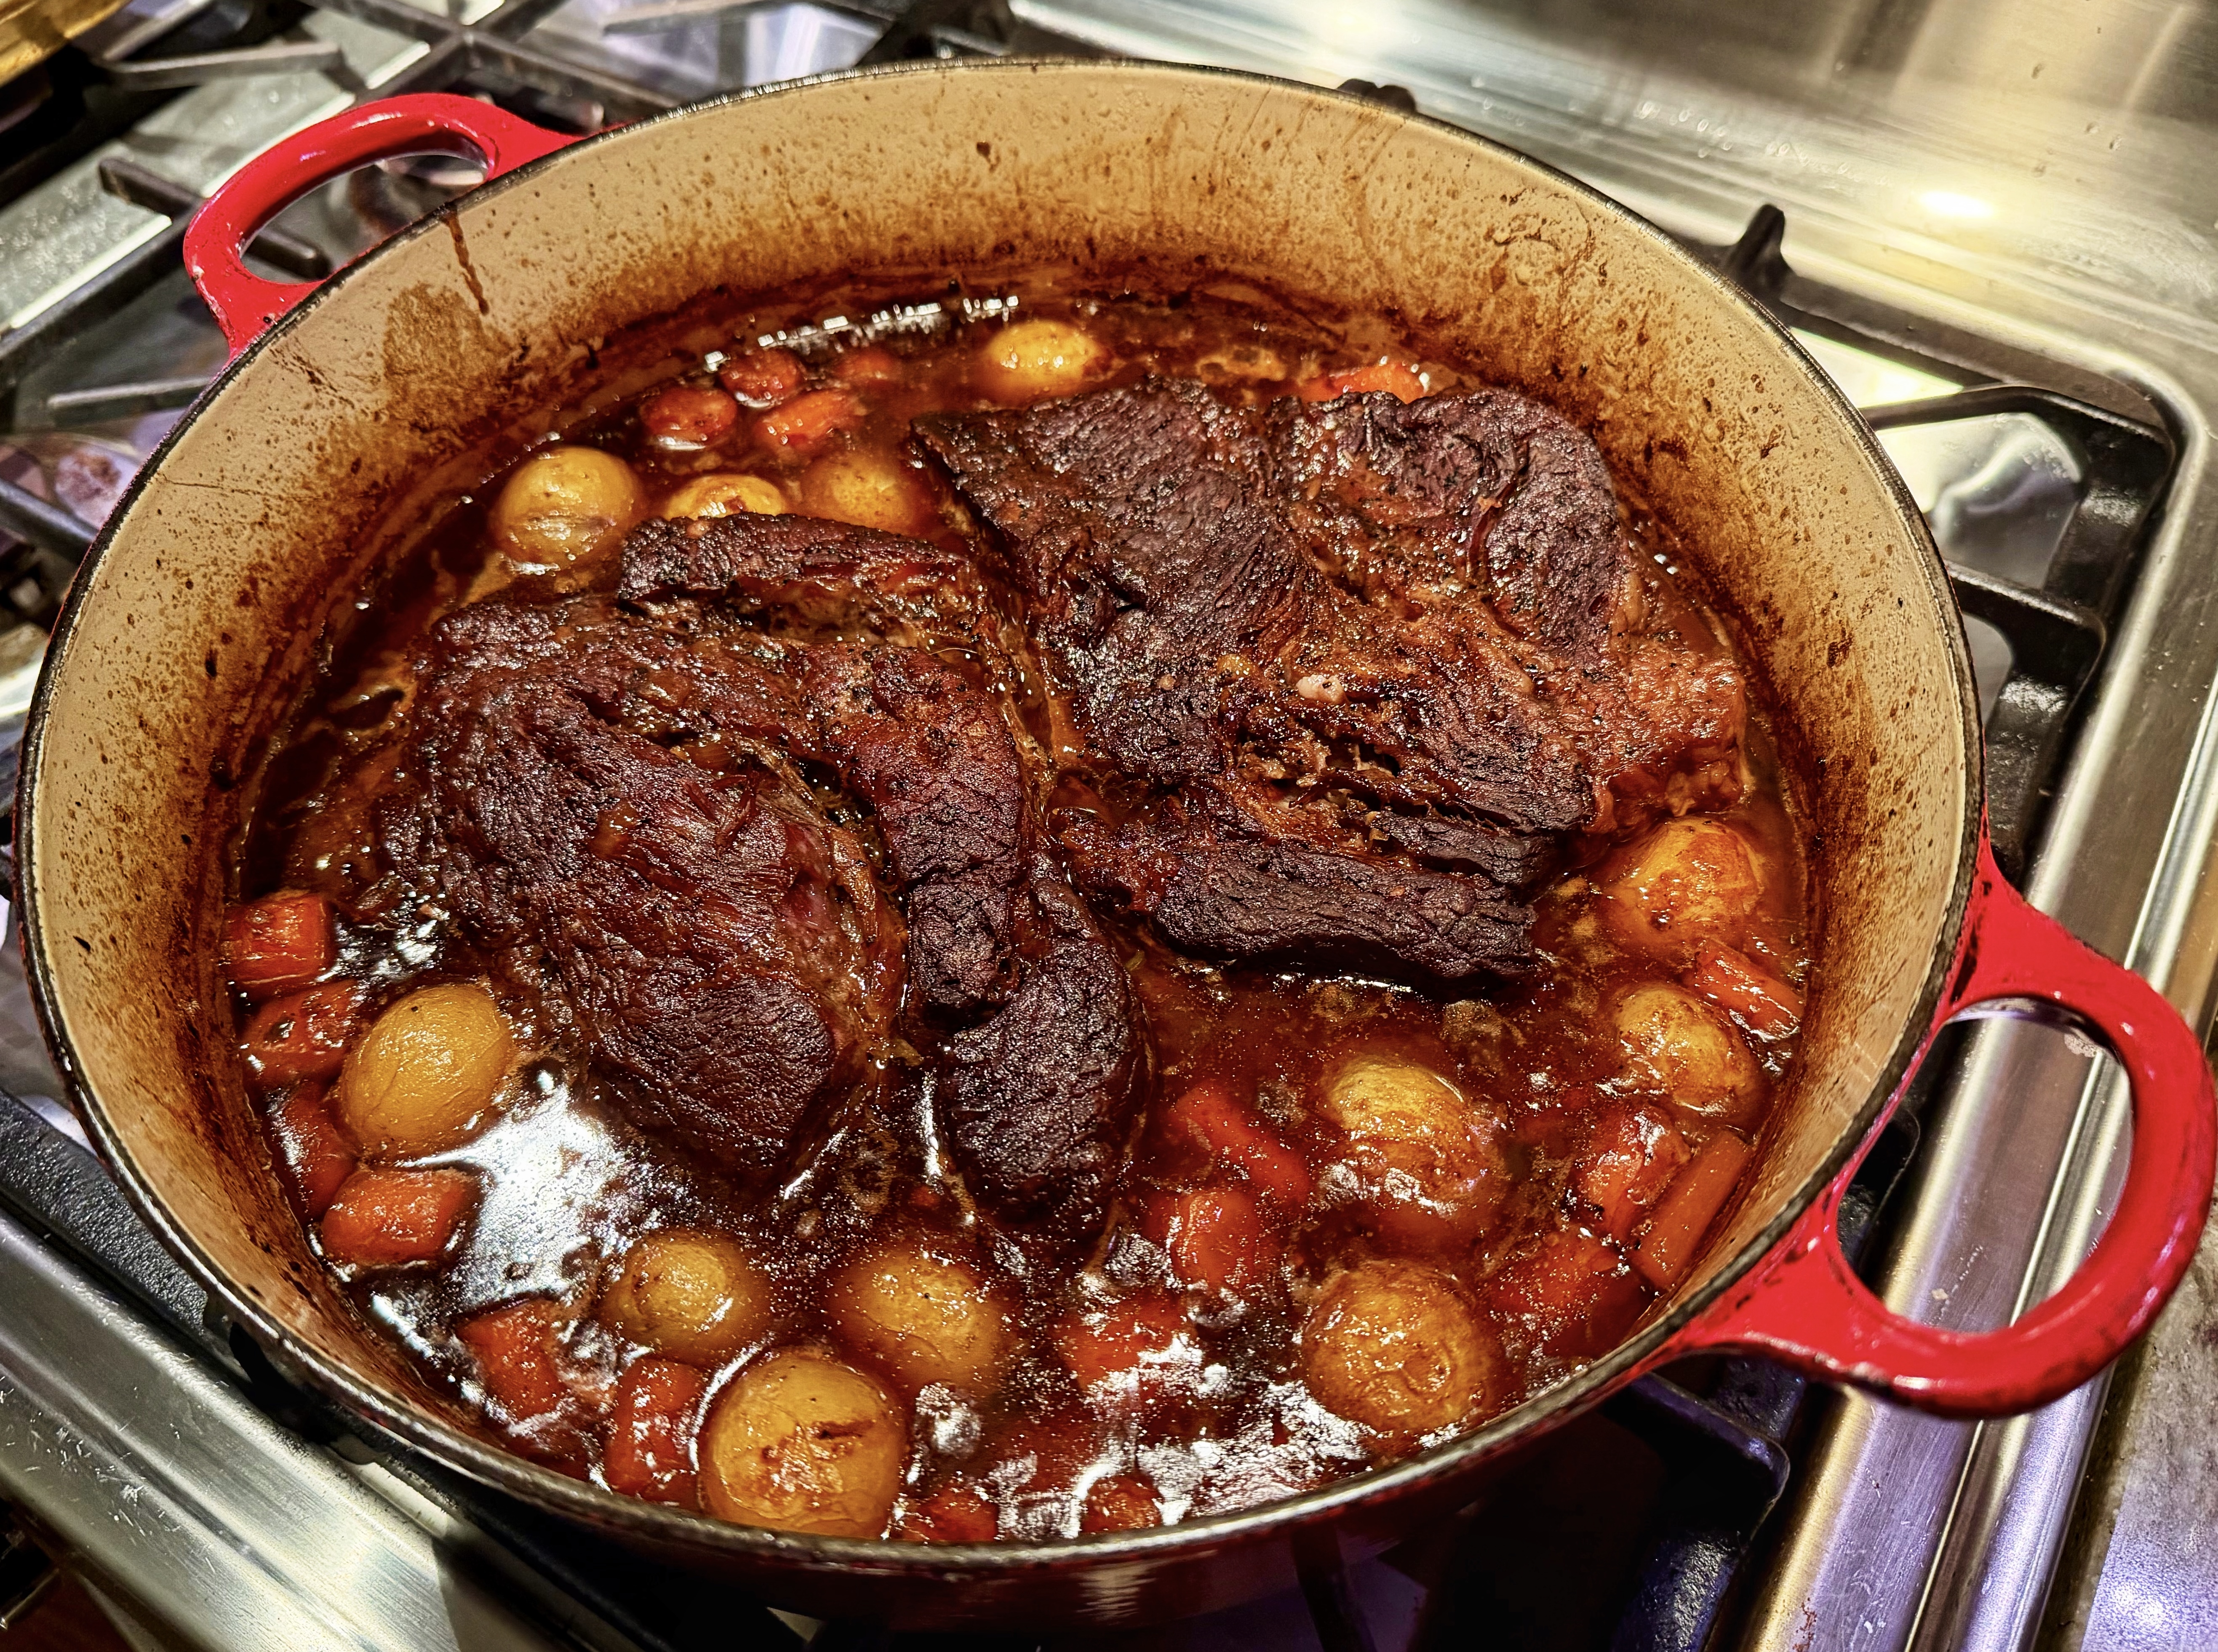
- Add thyme bundle and apple halves arranging them cut sides up, and bring mixture to a simmer. Partially cover (use a baking sheet if you don’t have a lid) and simmer until sauce is thick enough to coat a spoon, about 20 minutes. Taste and season with salt and pepper.
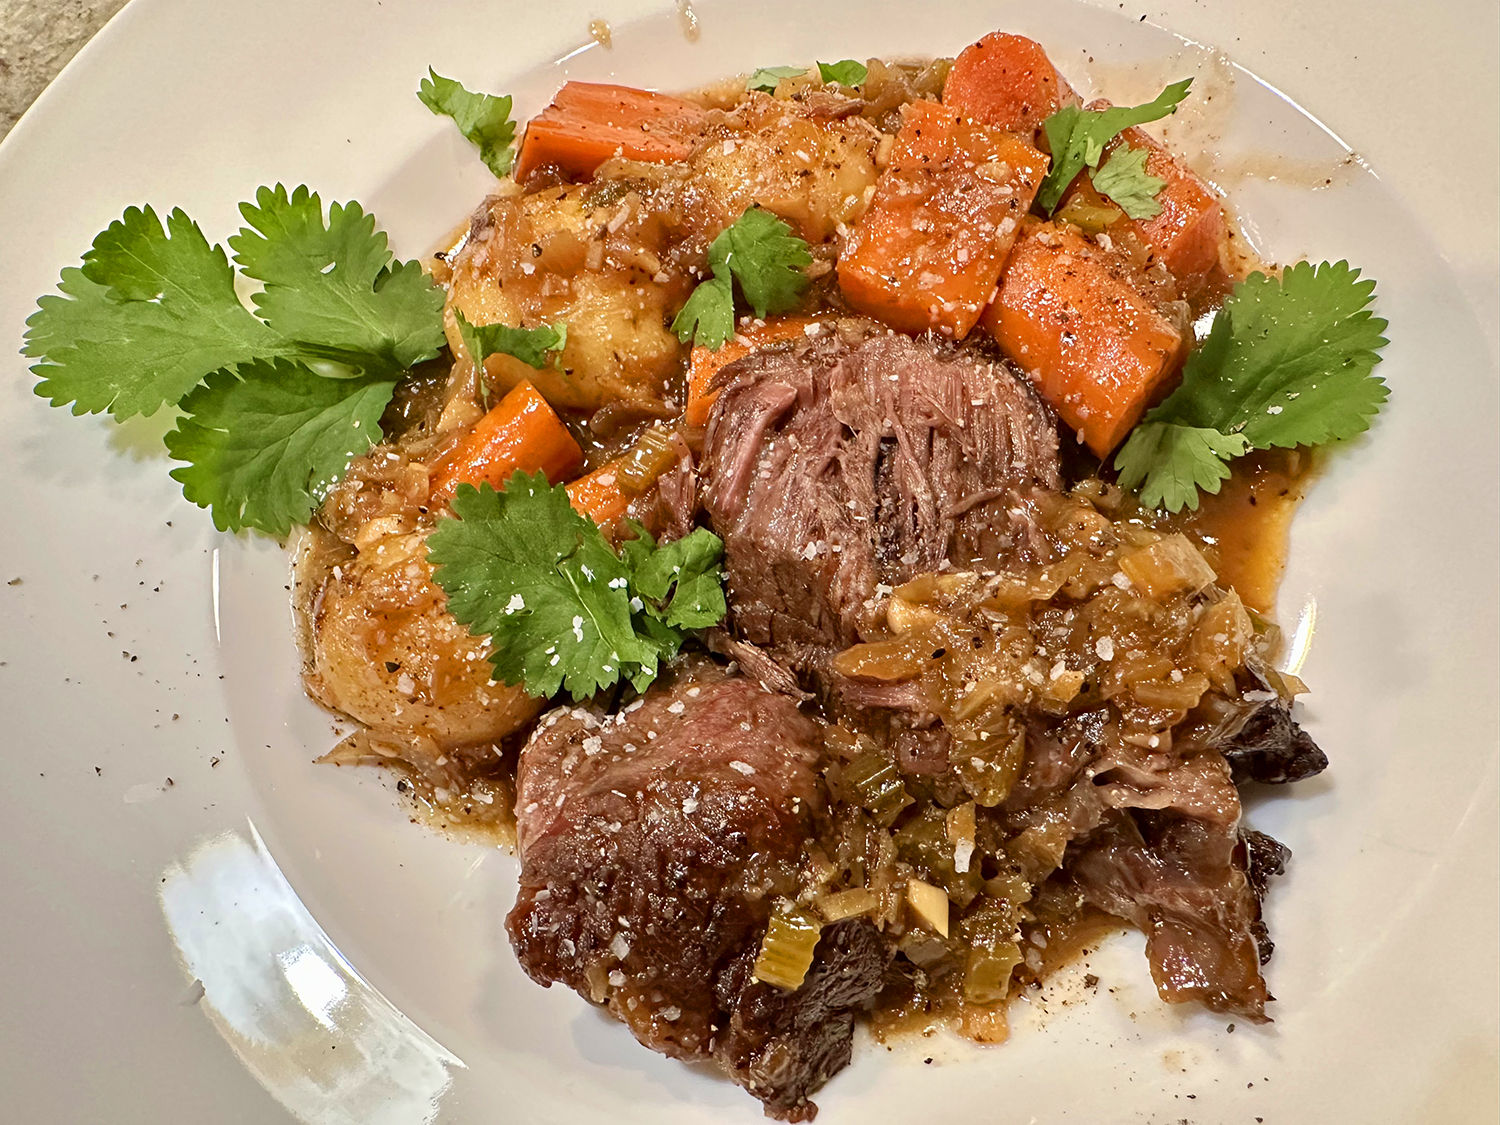
- Place pork chops in sauce, and partially cover. Simmer until an instant-read thermometer inserted into the thickest part of a pork chop registers 145°, 7–10 minutes. Remove from heat; sprinkle with finely chopped chives and season with more pepper to serve.
Recipe by Inés Anguiano for Bon Appétit Magazine