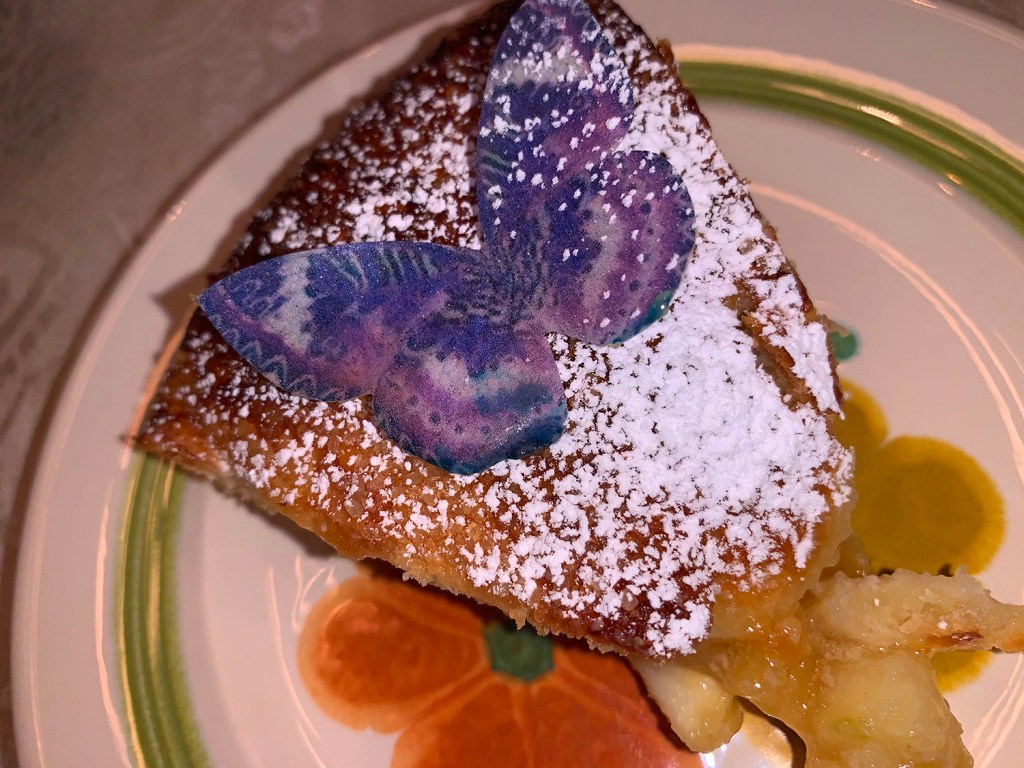
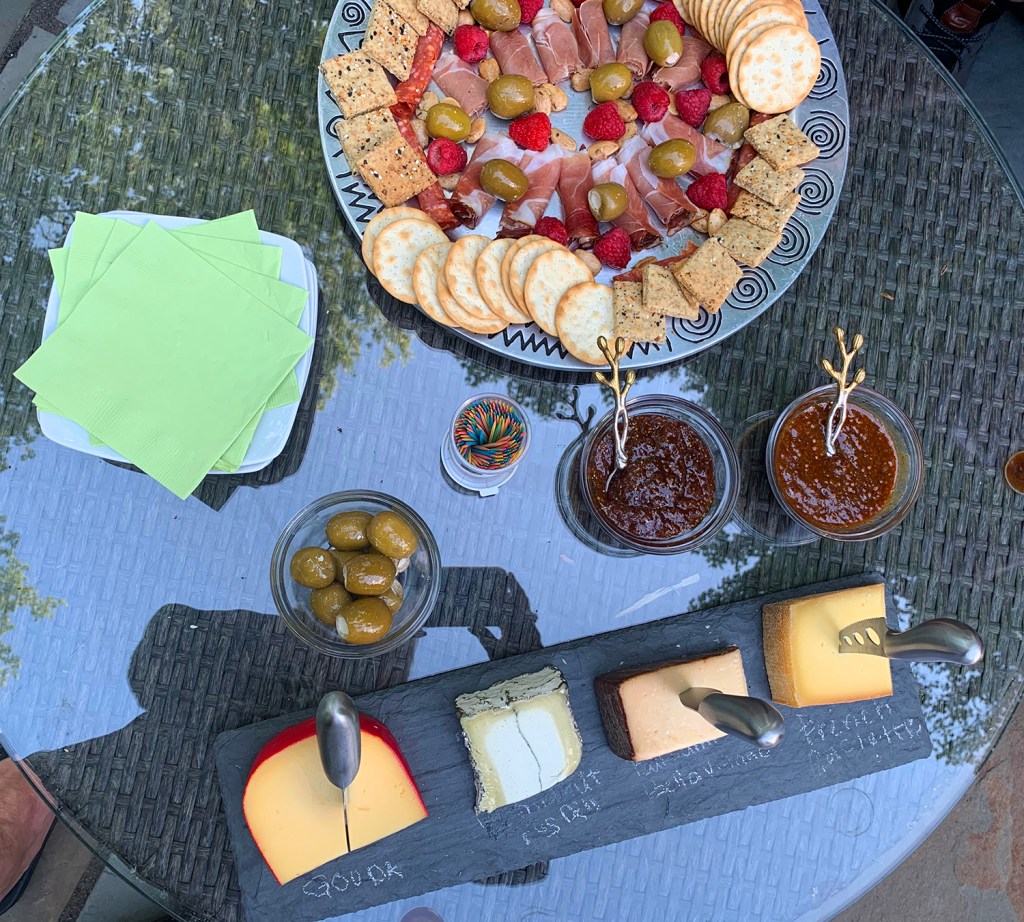
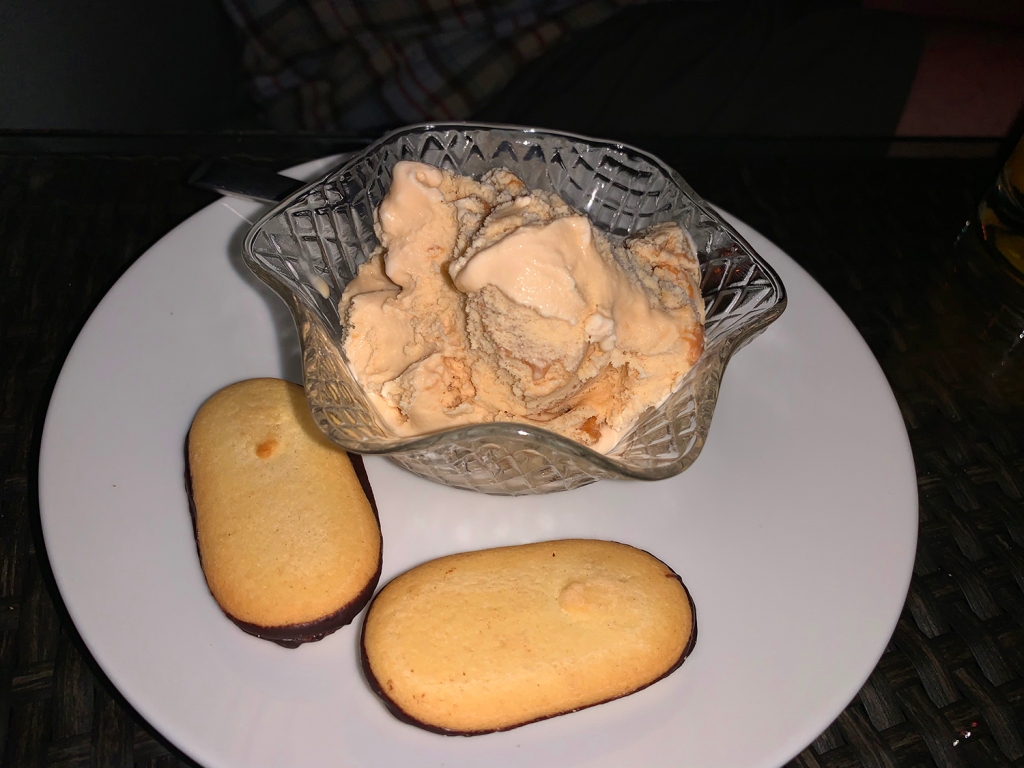
A work of art—and not by me. Recently we enjoyed a fabulous dinner at the home of friends Rosanne and Gary (Mr. and Mrs. Z, as you may recall). And the showstopper was the Rustic Pear Crostata, a recipe Mrs. Z. got from well-known chef Lidia Bastianich.
Now I know I’m not much of a dessert eater, but the crostata was a thing of beauty—and I’m sure those purple edible butterflies may have had something to do with the attraction. Yes, that’s correct, I did say edible butterflies. I was so intrigued, I questioned where Rosanne got them.
The answer? From http://www.DecoMachineLLC.com where they sell edible dessert toppers or, “pictures you can eat.” These are very thin and almost translucent (see through), similar to a “communion wafer” and are virtually tasteless, not sweet at all and, are sugar-free.
The Hubs LOVED his portion! He’s a pear man to begin with, and then served with a generous dollop of homemade whipped cream, you’d think he died and went to Heaven. He certainly didn’t decline the offer to take some of the leftovers home…
Couldn’t resist giving a shout out to my gal-pal for the fabulous dinner with the eye-catching finale! Drum roll please…

Rustic Pear Crostata
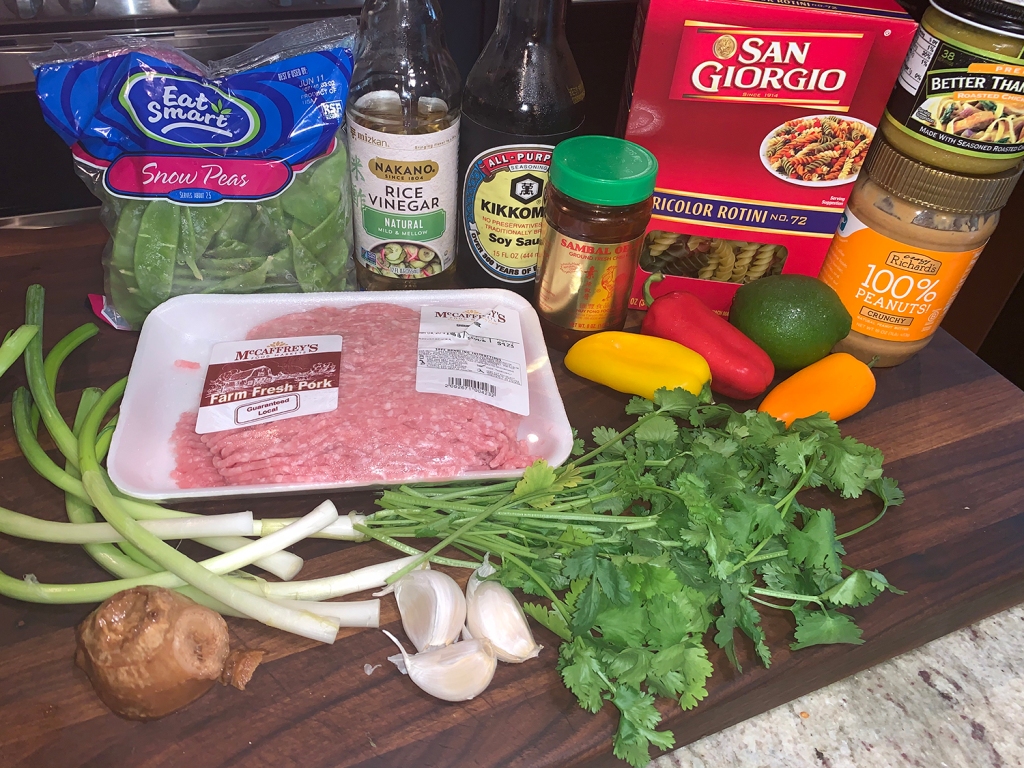
Ingredients
- 1 ¼ cups all-purpose flour, plus more as needed
- 2 Tbsp. sugar
- ½ tsp. baking powder
- ¼ tsp. kosher salt
- 8 Tbsp. very cold unsalted butter, cut into small pieces
- 1 Large egg
Ingredients for the filling:
- ¼ cup apricot jam
- 2 Tbsp. sugar, plus more for sprinkling
- 3 Firm-ripe bartlett pears, peeled and sliced ¼ inch thick
- 1 Tbsp. cornstarch
- 1 tsp. grated lemon zest plus 1 tablespoon juice
- 2 Tbsp. unsalted butter, cut into bits
- 1 Large egg, beaten with a pinch of salt
Directions
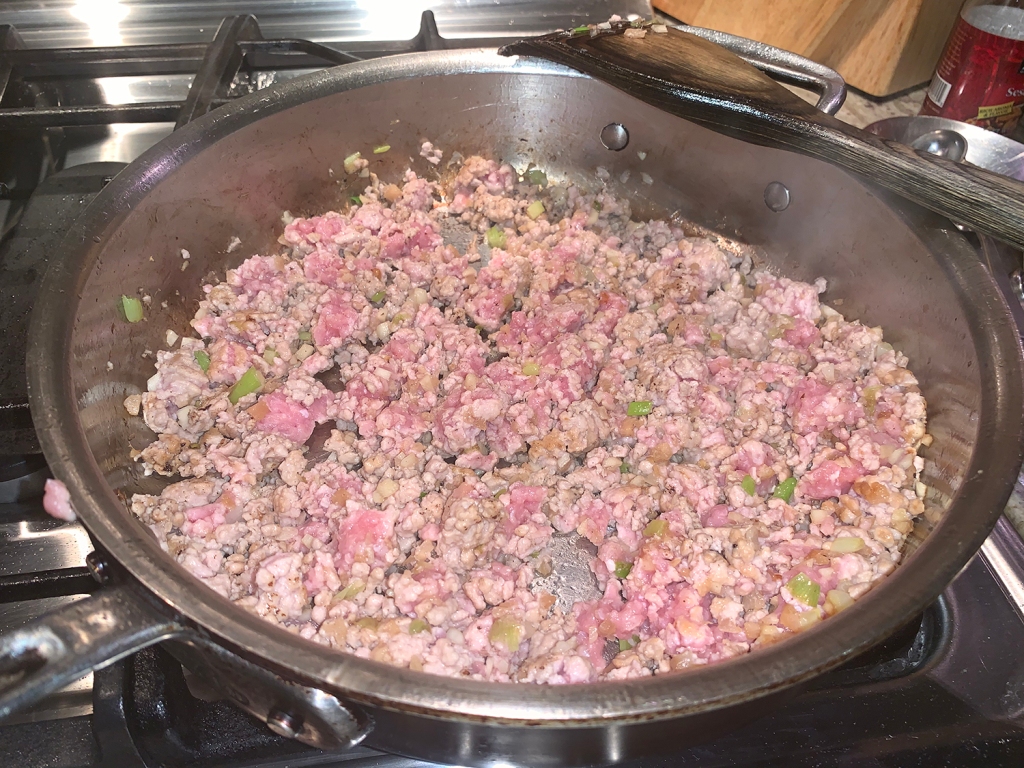
- For the dough, combine the flour, sugar, baking powder, and salt in a food processor. Pulse just to combine. Scatter in the butter pieces and pulse until the butter is the size of peas. Combine the egg and 2 tablespoons cold water in a small bowl and pour over the flour. Pulse just until the dough comes together in loose crumbs. (Add a little more water if the dough is too crumbly or a little more flour if it is too wet.)
- Mound the dough on a work surface and knead a few times to make a cohesive dough. Wrap in plastic and flatten into a disk.
- Refrigerate at least 1 hour or up to overnight. Let rest on the work surface for 10 minutes before you begin to roll it out.
- Preheat oven to 400 degrees F, with a baking stone, if you have one, on the bottom rack.
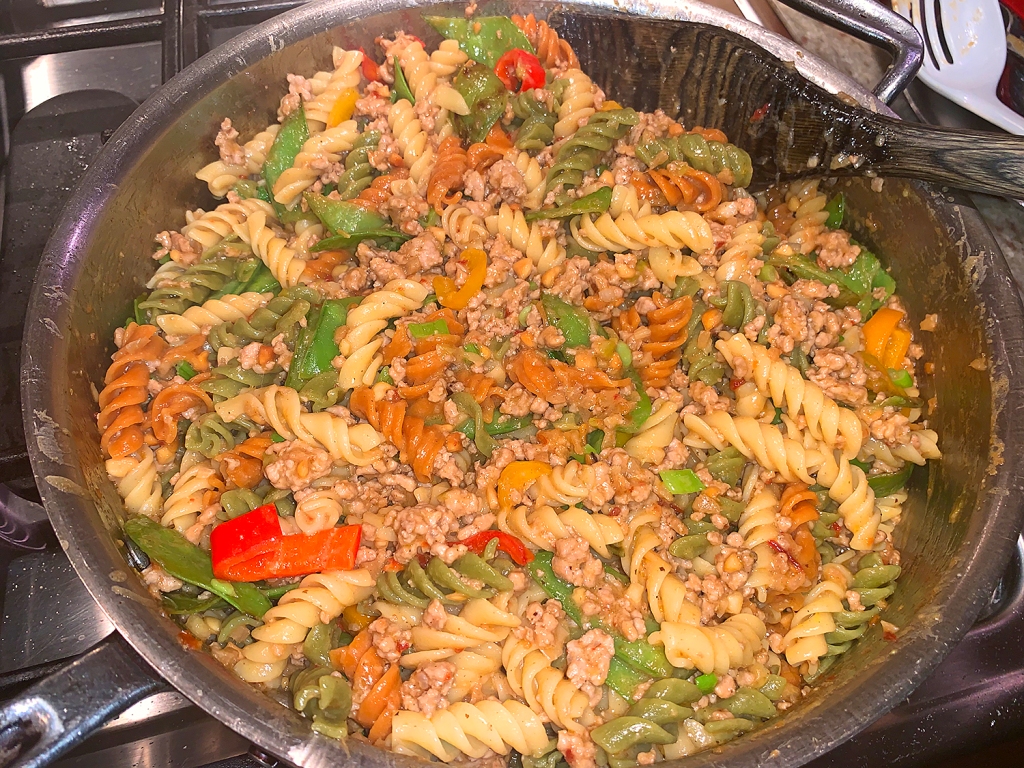
- For the filling, warm the jam in a small bowl in the microwave to thin it out, then stir in the sugar. Toss the pears, cornstarch, and lemon zest and juice until the cornstarch is absorbed. Drizzle with the jam mixture and toss to combine.
- Roll the dough on a piece of parchment to a circle with a 13-inch diameter. Mound the pear mixture in the center, leaving a 2-inch border all around. Dot the top with the butter pieces.
- Fold the crust over the top of the fruit, pleating as you go. Slide the crostata, still on the parchment, onto a baking sheet. Brush the crust with the beaten egg and sprinkle with sugar.
- Bake until the filling is bubbling and the bottom of the crust is crisp and golden, about 40 minutes. Remove to a rack and let cool at least 30 minutes.
- Serve warm or at room temperature. If desired, shake on some powdered sugar just before serving.