Monthly Archives: August 2025

Crispy Skillet Gnocchi with Spicy Cumin Lamb and Celery

Shelf-stable gnocchi show their star potential when you skip boiling and brown them instead. For deep, even browning, arrange them in a single layer in a cold, dry skillet (easier than adding them to a pan of hot, spattering oil) and then pour a full 6 tablespoons of oil over the top, which seeps to the bottom of the skillet, thoroughly coating it and ensuring even contact with the heat.

Let the gnocchi sit over medium-high heat without moving until a nicely browned crust develops, and then lightly crisp the second side so that they retained moisture and chew. Remove the gnocchi with a slotted spoon and use the remaining oil in the pan to cook other ingredients.

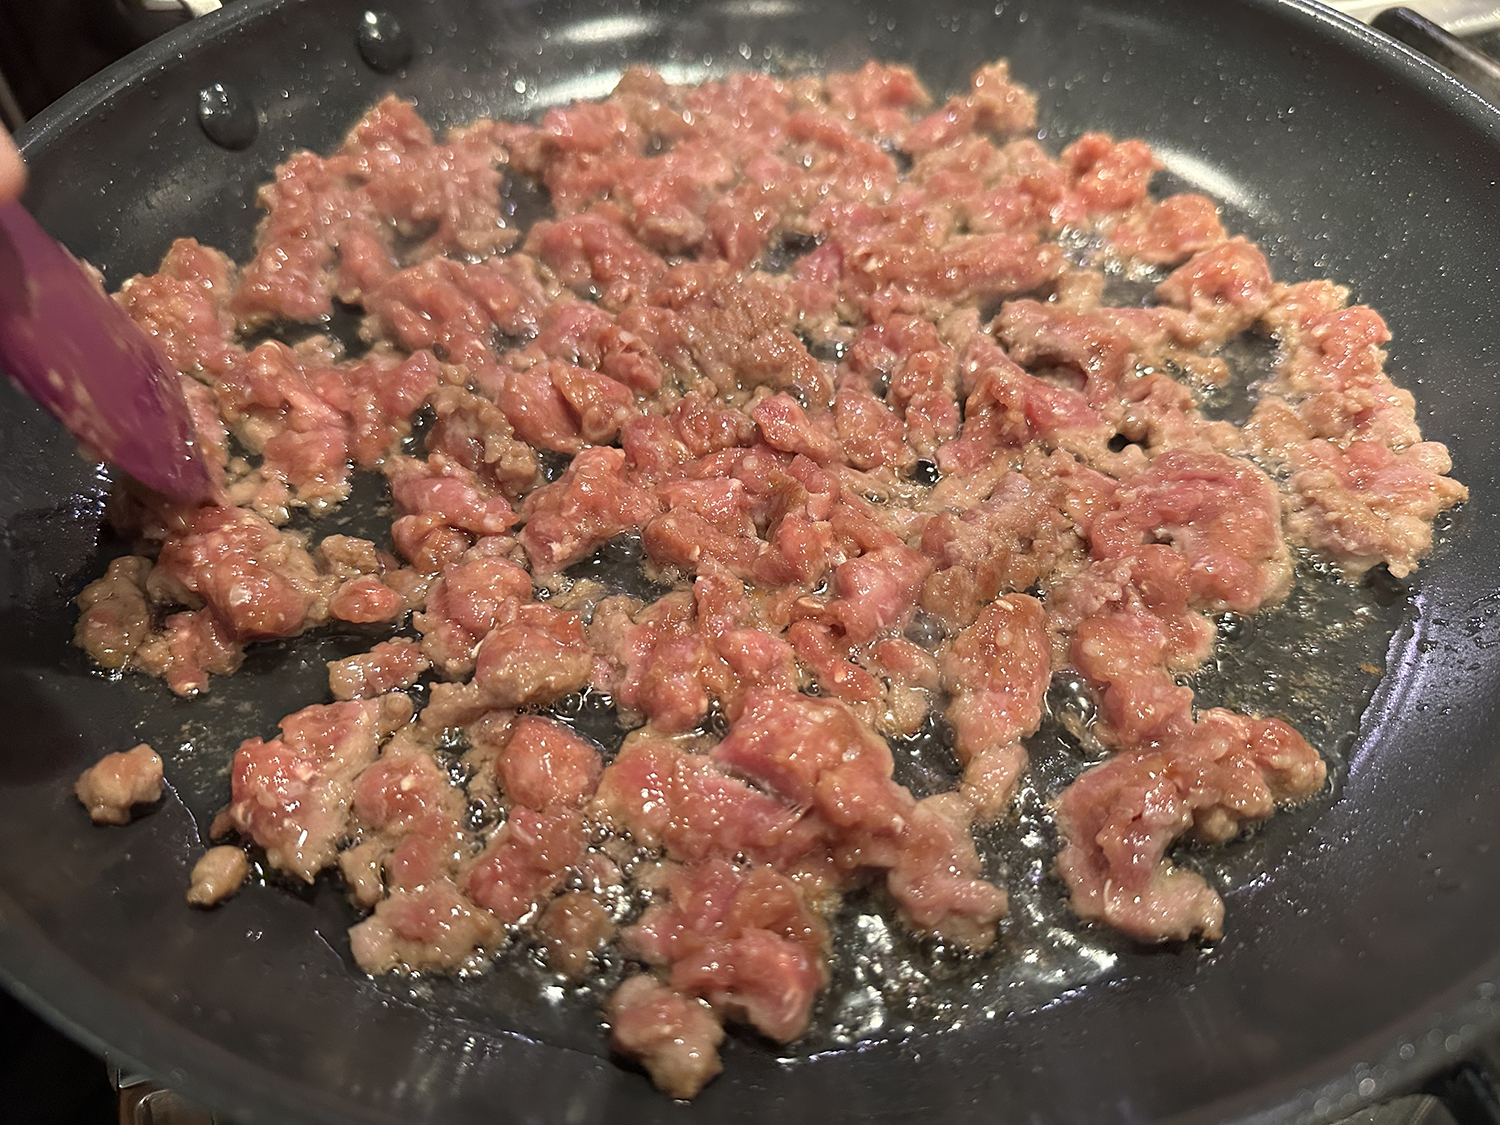
For a stir-fry-style dish, brown the ground lamb tossed with soy sauce, Shaoxing wine, and cornstarch, stirring in a robust spice blend of cumin, Sichuan chili flakes and peppercorns, as well as sugar, sliced celery for fresh crunch, and Chinese black vinegar for punch, and then add the gnocchi back to the pan.

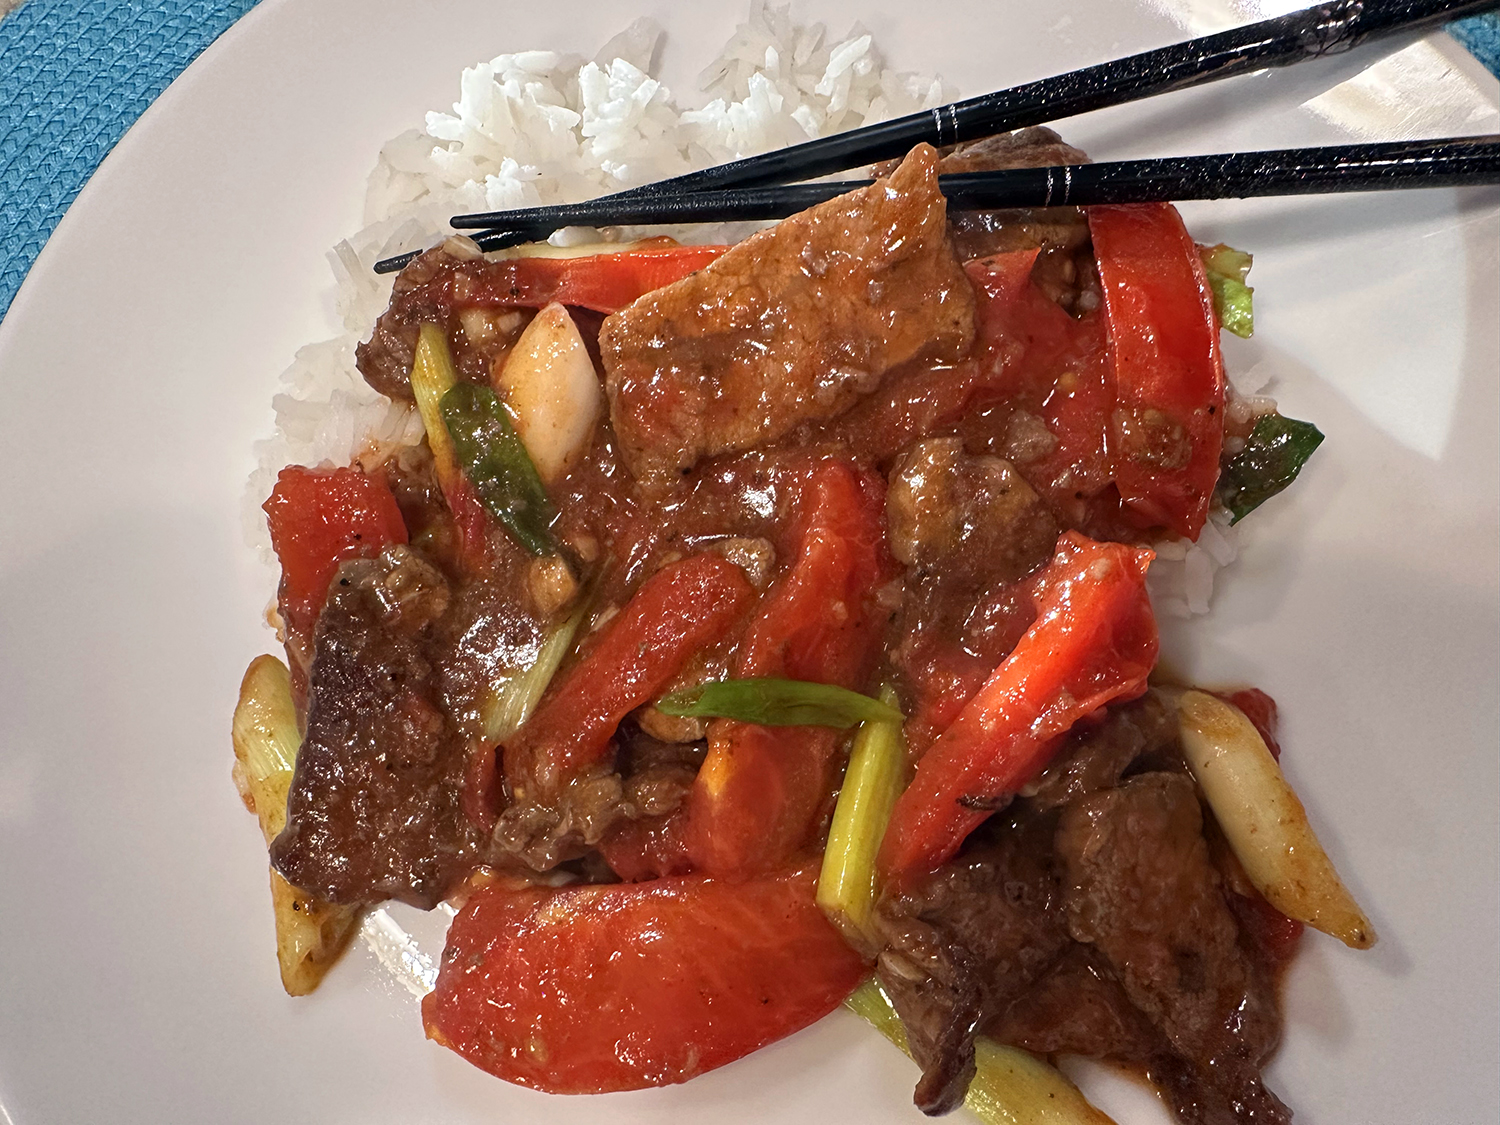
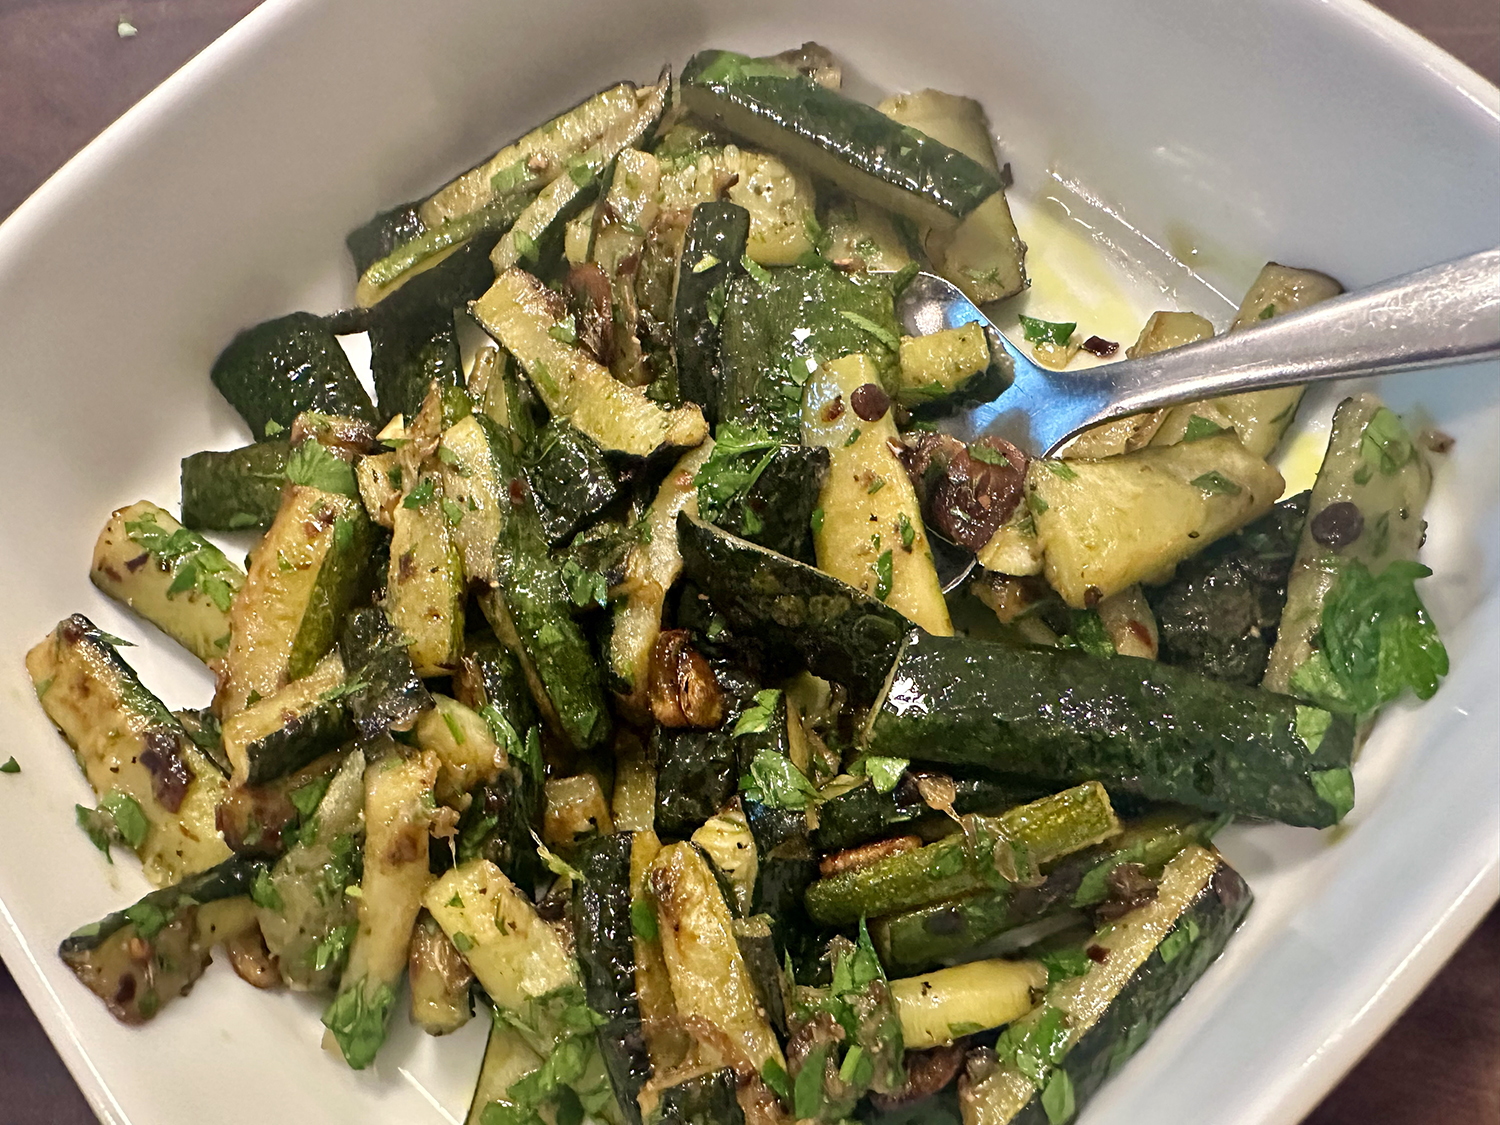
The gnocchi should be well-browned with a crisp-chewy texture. The lamb should be tender and savory with an intense, tingling heat. The celery should add refreshing crunch. As recipe testers for this, we were intrigued by the shelf-stable gnocchi, something we had never cooked with before.

When the dish finishes cooking, it doesn’t look like enough to feed four. But after all, gnocchi is very filling, and the servings should be smaller than those you might normally take.

NOTE: If desired, ground beef and scallions can be used in place of the lamb and cilantro.

Crispy Skillet Gnocchi with Spicy Cumin Lamb and Celery

  • Servings: 4
  • Difficulty: easy
  • Print

Ingredients

  • 2 tsp. ground cumin
  • 1 ½ tsp. Sichuan chili flakes
  • 1 tsp. Sichuan peppercorns, ground
  • ½ tsp. sugar
  • 1 Tbsp. water
  • ⅛ tsp. baking soda
  • 8 oz. ground lamb
  • 1 Tbsp. soy sauce
  • 1 Tbsp. Shaoxing wine
  • ½ tsp. cornstarch
  • ½ tsp. table salt
  • 1 lb. vacuum-packed gnocchi
  • 6 Tbsp. vegetable oil
  • 4 garlic cloves, minced
  • 1 Tbsp. grated fresh ginger
  • 4 celery ribs, sliced on bias ¼-inch thick (2 cups)
  • 4 tsp. Chinese black vinegar, plus extra for serving
  • ½ cup fresh cilantro leaves, chopped coarse

Directions

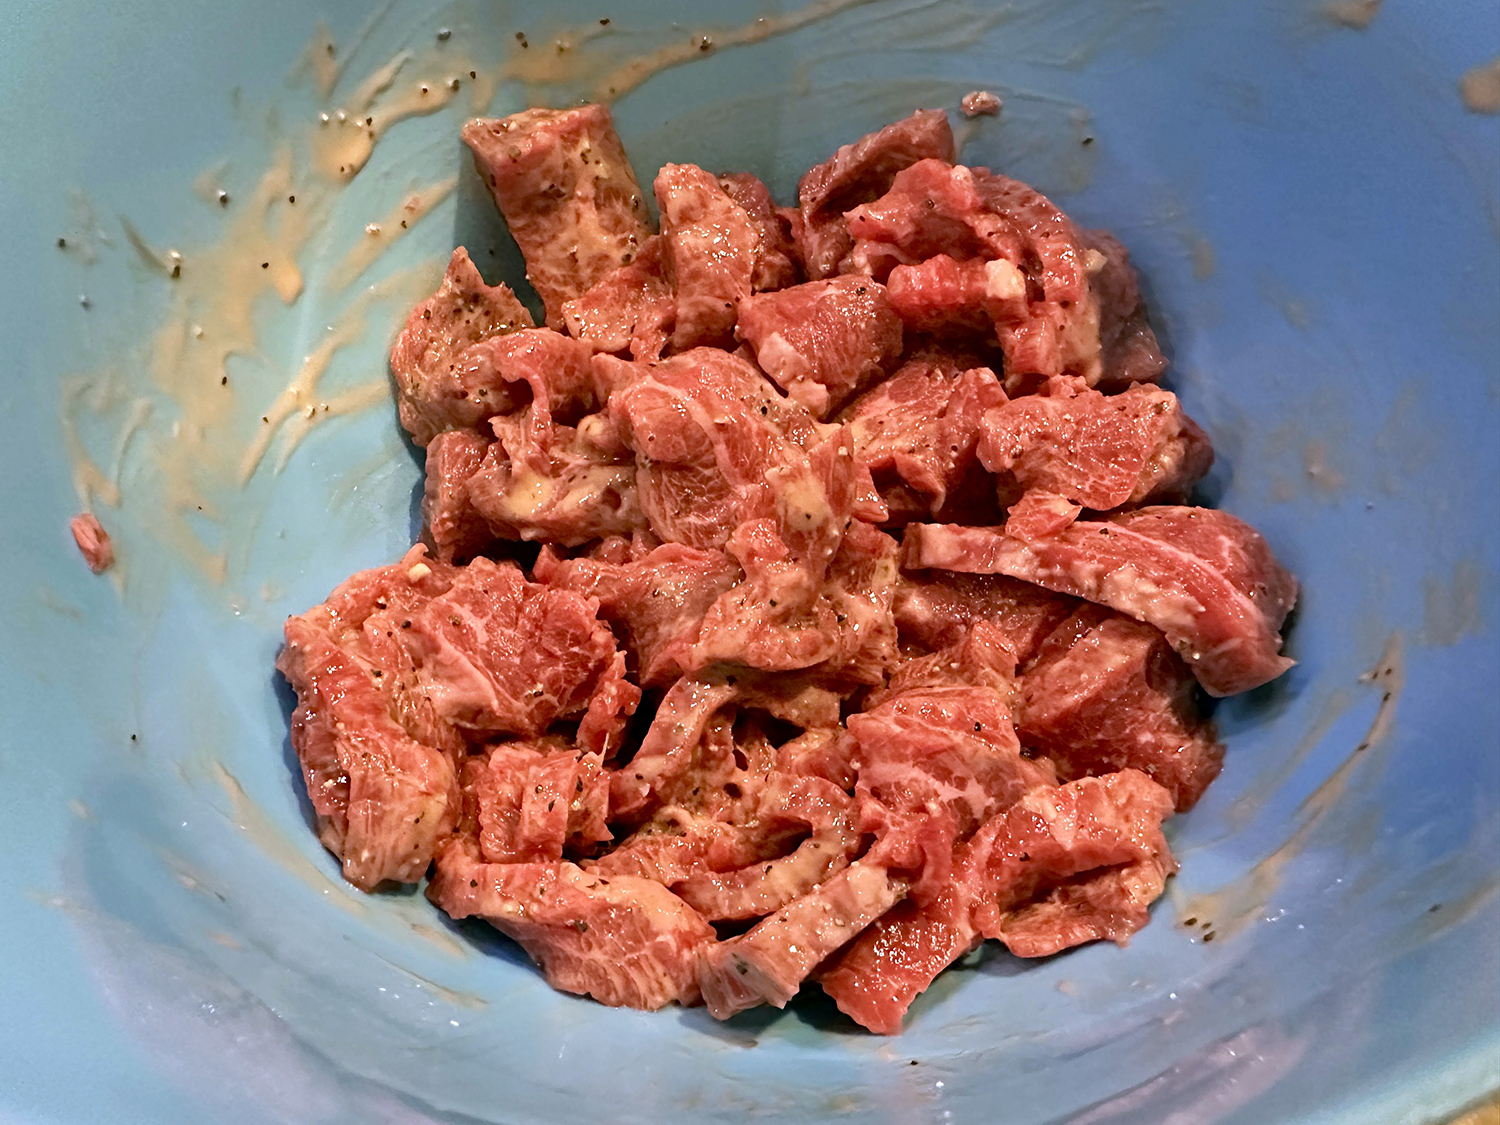
  1. Combine cumin, chile flakes, peppercorns, and sugar in small bowl and set aside. Combine water and baking soda in medium bowl. Add lamb and toss to coat. Let sit for 5 minutes. Add soy sauce, Shaoxing wine, cornstarch, and salt to lamb mixture and toss to coat.
  2. Separate gnocchi and arrange in single layer in 12-inch nonstick skillet. Drizzle oil evenly over gnocchi. Place skillet over medium-high heat and cook, without moving gnocchi, until well browned on one side, 5 to 8 minutes. Stir gnocchi and continue to cook until second side of most pieces is lightly crisp, 1 to 2 minutes longer. Using slotted spoon, transfer gnocchi to large plate, leaving oil in skillet.
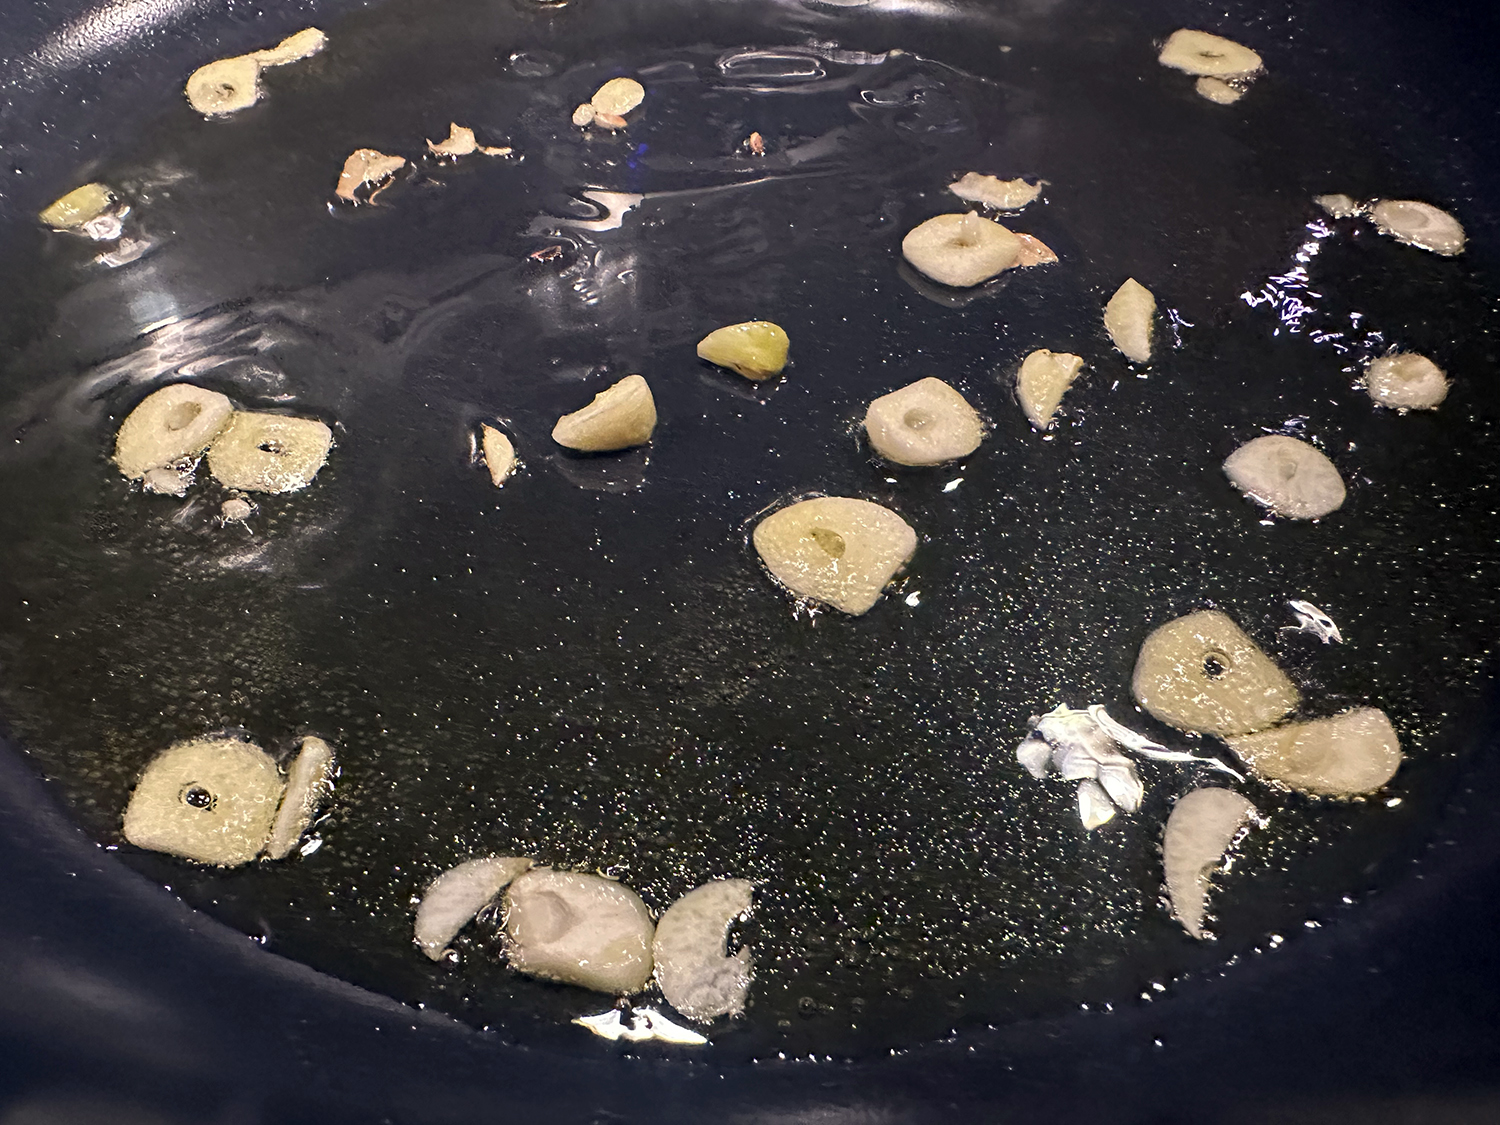
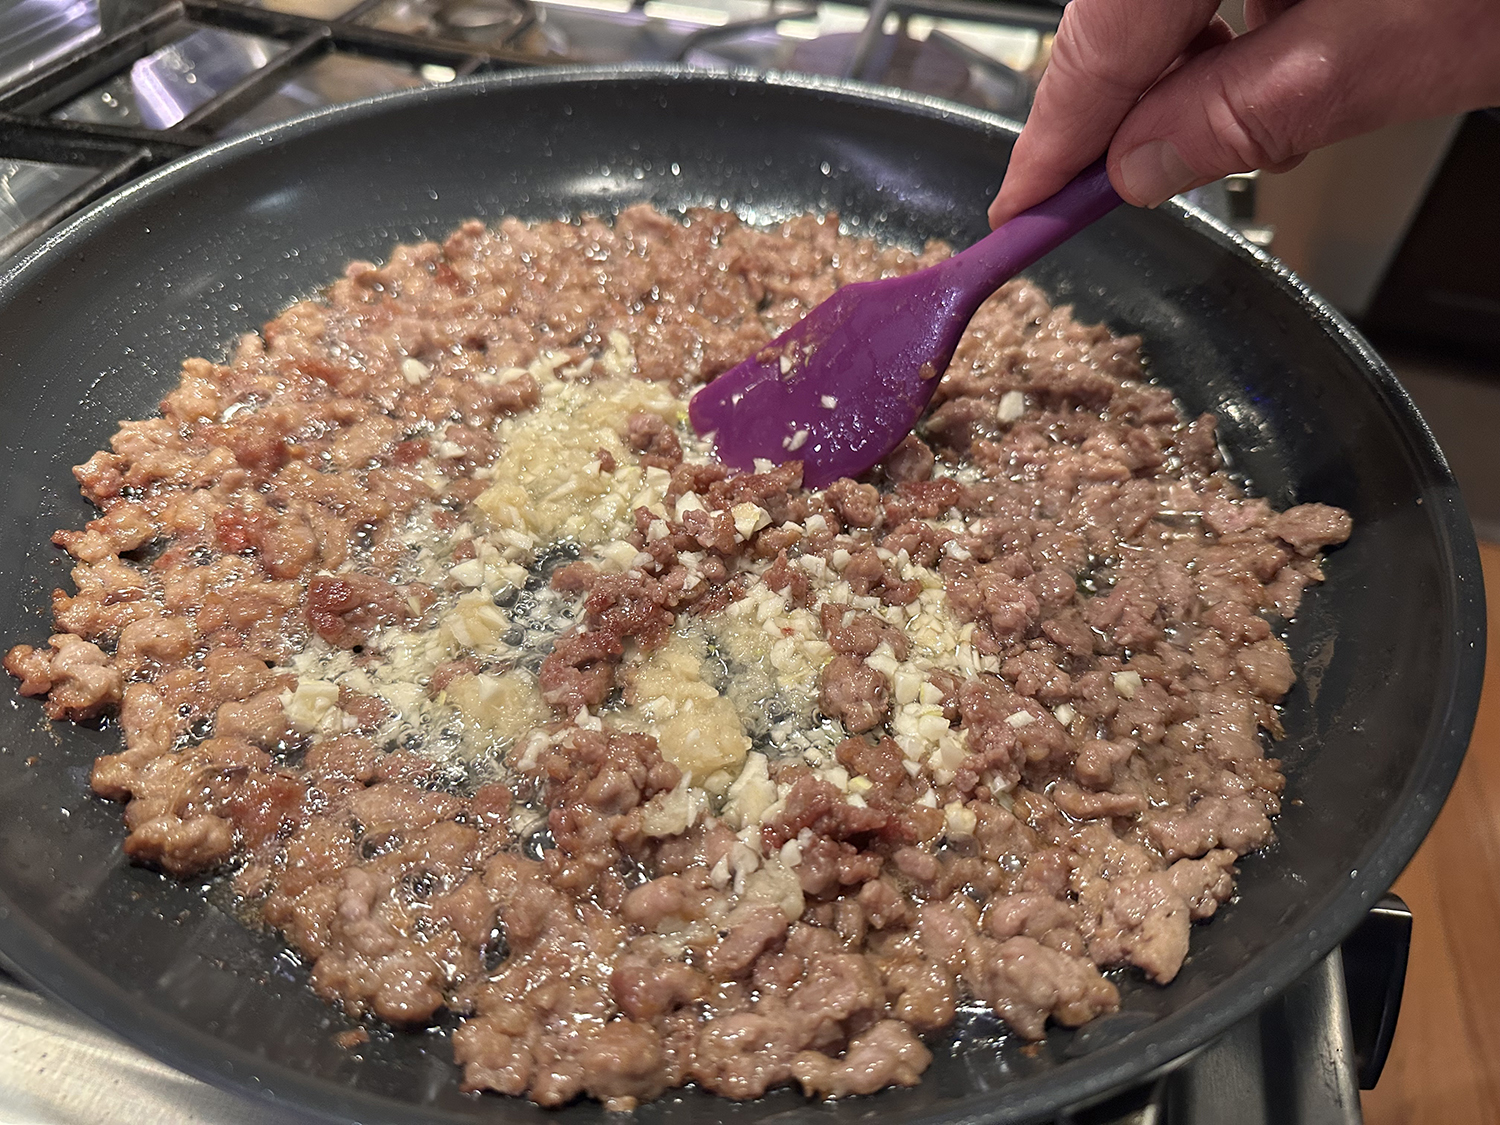
  3. Add lamb to skillet and cook, using wooden spoon to break meat into pieces no larger than ¼ inch, until just cooked through, 2 to 3 minutes. Add garlic and ginger and cook, stirring constantly, until fragrant, about 30 seconds.
  4. Stir in cumin mixture and celery and cook until celery is heated through, 1 to 2 minutes. Off heat stir in vinegar. Stir in gnocchi. Divide among 4 shallow bowls, garnish with cilantro, and serve, passing extra vinegar separately.

http://www.lynnandruss.com

Recipe by Annie Petito for America’s Test Kitchen

Tuscan-Style Shrimp with White Beans

In the cuisine of Tuscany, Italy, with its miles of coastline and reputation as the home of mangiafagioli—or bean eaters—it’s no surprise that shrimp and white beans are a classic pairing. And they do a fine job of co-starring in this dish.

In this quick, easy recipe from Milk Street, the two are the highlights. With so few supporting ingredients, it’s important to use a dry white wine that’s good enough to drink on its own. And why not pour yourself a glass with the meal?!

While the original recipe indicates it takes a total time of 25 minutes from start to finish, it was more like 40-45 minutes with prep. Serve warm or at room temperature with a leafy salad and crusty bread to round out the meal.

Tuscan-Style Shrimp with White Beans

  • Servings: 4
  • Difficulty: easy
  • Print

Ingredients

  • 3 Tbsp. extra-virgin olive oil, plus more to serve
  • 1 medium yellow onion, finely chopped
  • 1 sprig fresh rosemary OR ½ teaspoon dried rosemary
  • 1/2 tsp. red pepper flakes
  • Kosher salt and ground black pepper
  • 2 15½-oz. cans butter beans OR cannellini beans, rinsed and drained
  • 3/4 cup dry white wine
  • 1 lb. extra-large (21/25 per pound) shrimp, peeled and deveined
  • 1 cup lightly packed fresh flat-leaf parsley OR fresh basil, roughly chopped

Directions

  1. In a 12-inch skillet over medium-high, heat the oil until shimmering. Add the onion, rosemary, pepper flakes and ½ teaspoon salt; cook, stirring occasionally, until the onion is translucent, 4 to 6 minutes. Stir in the beans, then add the wine and cook, uncovered and stirring occasionally, until the pan is dry, 5 to 7 minutes.
  2. 02Stir in the shrimp. Cover, reduce to medium-low and cook until the shrimp are opaque throughout, 4 to 5 minutes; stir once about halfway through.
  3. 03Off heat, taste and season with salt and black pepper. Remove and discard the rosemary sprig (if used). Stir in the parsley and serve drizzled with additional oil.

http://www.lynnandruss.com

Recipe by Coutney Hill for Milk Street

Calabrian-Style Tomato and Sweet Pepper Sauce with Pasta

This Spanish recipe was inspired by a stewy mélange of cherry tomatoes, garlic, sweet-spicy peppers and extra-virgin olive oil that was served with flatbread at Ristorante Barbieri in Calabria.

To make a sauce for pasta, combine mini sweet peppers (usually sold in a trio of colors) with an earthy cubanelle pepper and add heat with pepper flakes. Cherry, grape or homegrown slicing tomatoes, plus a couple tablespoons of tomato paste, form the sauce’s backbone.

Short pasta with a twisty or curly shape—such as casarecce, gemelli, cavatappi or campanelle—is ideal for ensnaring bits of tomato and peppers. As simple as it is, the end result is delicious!

NOTES: Don’t use regular bell peppers. Mini sweet peppers are more delicate, so they soften more readily, and their skins are more tender.
Also, don’t forget to save 1 cup of the pasta cooking water before draining the noodles. It is necessary to lend some body to the sauce. A good reminder not to toss out all of the water before reserving some, is to put your measuring cup and ladle inside the colander.

Calabrian-Style Tomato and Sweet Pepper Sauce with Pasta

  • Servings: 4-6
  • Difficulty: easy
  • Print

Ingredients

  • 12-16 oz. casarecce, gemelli or cavatappi pasta
  • Kosher salt and ground black pepper
  • 1/4 cup extra-virgin olive oil, plus more to serve
  • 2 pints cherry or grape tomatoes
  • 8 oz. sweet mini peppers in a mix of colors, stemmed and sliced into thin rounds
  • 1 medium cubanelle pepper, stemmed, seeded and thinly sliced
  • 2 medium garlic cloves, minced
  • 2 Tbsp. tomato paste
  • 1/2 tsp. red pepper flakes
  • 1/4 cup lightly packed fresh basil, torn
  • 2 oz. pecorino Romano or ricotta salata, finely grated (1 cup)

Directions

  1. In a large pot, boil 4 quarts water. Add the pasta and 1 tablespoon salt, then cook, stirring occasionally, until just shy of al dente. Reserve 1 cup of the cooking water, then drain. Return the pasta to the pot; set aside off heat.
  2. In a 12-inch skillet over medium, heat the oil until shimmering. Add the tomatoes, sweet peppers, cubanelle pepper, garlic, tomato paste, pepper flakes, ½ teaspoon salt and ¼ teaspoon black pepper. Stir, then cover and cook, stirring occasionally, until the tomatoes burst and the peppers have softened, 8 to 10 minutes.
  3. Stir in ¼ cup reserved pasta water, scraping up the browned bits, then add to the pasta along with another ¼ cup reserved pasta water. Cook over medium, stirring, until the pasta is al dente, about 2 minutes. If needed, adjust the consistency with additional reserved pasta water.
  4. Off heat, taste and season with salt and black pepper. Serve drizzled with additional oil and sprinkled with the basil and cheese.

http://www.lynnandruss.com

Adapted from a recipe by Courtney Hill for Milk Street

Cast Iron Crispy Home Fries with Bacon

Super-savory spuds for any time of day—breakfast, lunch, dinner, or late night. We beta-tested this recipe for America’s Test Kitchen many months ago, and it was published in Cook’s Country April/May 2025 issue.

This recipe for bacon-y potatoes demonstrates the superior browning ability of cast-iron skillets. For home fries with tender, fluffy insides and crispy, browned exteriors, precooking the potatoes is essential.

Peel and cut russet potatoes into ¾-inch pieces before microwaving them, covered, with oil, salt, and pepper until tender. Then crisp the potatoes in a hot cast-iron skillet, using bacon fat to give them smoky savoriness.

Fresh garlic and delicate chives provided sweet-savory depth without overpowering the spuds. As mentioned, these potatoes aren’t just for breakfast—they can be enjoyed any time of the day.

NOTE: To minimize food waste, when cutting peeled potatoes into cubes, don’t bother squaring off the sides of the potatoes. The cubes just need a few flat sides; some rounded sides are fine too. FYI: Six slices of bacon should weigh six ounces.

Cast Iron Crispy Home Fries with Bacon

  • Servings: 4
  • Difficulty: easy
  • Print

Ingredients

  • 6 slices bacon, cut into ½-inch pieces
  • 2¼ lbs. russet potatoes, peeled and cut into ¾-inch cubes
  • 2 tablespoons vegetable oil, plus extra as needed
  • 1¼ tsp. table salt
  • ¼ tsp. pepper
  • 1 garlic clove, minced
  • 2 Tbsp. minced fresh chives

Directions

  1. Cook bacon in 12-inch cast-iron skillet over medium heat until crispy, 5 to 7 minutes. Using slotted spoon, transfer bacon to paper towel–lined plate. Transfer rendered bacon fat to small bowl and reserve. (You should have about 5 tablespoons fat; add vegetable oil as needed to equal 5 tablespoons.) Wipe skillet clean with paper towels.
  2. Meanwhile, toss potatoes with 2 tablespoons vegetable oil, salt, and pepper in large bowl and microwave, covered, until potatoes are fully tender, 10 to 12 minutes, stirring halfway through microwaving. (Take care when removing cover; steam will be very hot.) Transfer potatoes to colander and let cool for 15 minutes.
  3. Heat reserved 5 tablespoons bacon fat in now-empty skillet over medium-high heat until just smoking. Add potatoes and cook without moving until first side is well browned, about 3 minutes. Continue to cook, stirring every 3 minutes, until potatoes are well browned and crisp all over, about 12 minutes longer.
  4. Off heat, stir in garlic. Transfer to platter and sprinkle with chives. Serve.

http://www.lynnandruss.com

Recipe by Mark Huxoil for America’s Text Kitchen

Chicken Paillard with Lemon Butter Sauce

Not only is this French-inspired chicken paillard delicious, but the entire dish comes together in about a half hour with one pan and a handful of ingredients. It’s quick enough for any night of the week, but special enough to serve whenever you want something that feels a bit elevated. Don’t know of any home cook that doesn’t appreciate that!

Thin, golden, and covered in a bright lemon-butter sauce, this chicken paillard turns boneless, skinless chicken breasts into a dish that’s quick, elegant, and unexpectedly luxurious—-not necessarily an easy thing to accomplish.

By pounding the meat into thin, even cutlets, the chicken cooks quickly, develops a golden exterior, and stays juicy—a far cry from the dry, tasteless results that often afflict boneless, skinless chicken breasts.

While paillard is a French culinary term for pounding meat thin for quick and even cooking, in the US, chicken paillard often refers to seared chicken breasts with a lemony herb-butter sauce. It’s become a weeknight staple thanks to its ease and speed, offering a meal that feels far more refined than its quick cooking time might suggest.

The fond in the pan becomes the base for a quick pan sauce after the chicken is seared. Wine and stock deglaze the browned bits, and cold butter melts gradually as it is swirled in at the end. This allows the fat to emulsify evenly into the sauce creating a rich, glossy consistency. Lemon zest and juice brighten the flavors, and fresh parsley, chives, and tarragon add a burst of herbal freshness.

We find it is easier to pound the chicken inside a large ziploc as opposed to covering with plastic wrap because the bag is thicker and is easier to handle.

NOTE: You can use 4 store-bought chicken breast cutlets instead of whole chicken breasts, but pounding your own ensures even thickness and more reliable cooking.

Chicken Paillard with Lemon Butter Sauce

  • Servings: 3-4
  • Difficulty: easy
  • Print

Ingredients

  • 1/2 cup all-purpose flour
  • 2 tsp. Diamond Crystal kosher salt, divided; for table salt, use half as much by volume
  • 1 tsp. freshly ground black pepper, divided
  • 2 medium boneless, skinless chicken breasts (about 6 to 8 oz. each)
  • 1/4 cup extra-virgin olive oil, divided
  • 3/4 cup dry white wine
  • 1/2 cup homemade chicken stock (preferable) or store-bought chicken broth
  • 1 medium garlic clove, grated
  • 5 Tbsp. unsalted butter, cut into ½-inch pieces and chilled
  • 1 tsp. grated lemon zest, plus 1 Tbsp.  fresh juice, divided
  • 2 Tbsp. finely chopped fresh flat-leaf parsley, divided
  • 2 Tbsp. thinly sliced chives, divided
  • 2 tsp. finely chopped tarragon leaves, optional, plus more for garnish
  • Flaky sea salt, such as Maldon, for sprinkling

Directions

  1. Preheat oven to 200°F. Place a wire rack inside a baking sheet; set aside.
  2. In a shallow dish or plate, stir together flour, 1 1/2 teaspoons kosher salt, and 3/4 teaspoon pepper; set aside. Set aside a large plate to transfer chicken to after breading.
  3. Working with one chicken breast at a time, place chicken breast on a cutting board. Hold it in place with the palm of your non-cutting hand, and use a sharp knife to slice chicken horizontally into two even cutlets. Repeat process with remaining chicken breast. Cover each breast half with plastic wrap, and use a meat mallet or rolling pin to pound to 1/3-inch thickness.
  4. Place 2 chicken halves in prepared flour mixture, and turn to coat; tap off excess flour mixture, and transfer chicken to the large plate. Repeat process with remaining chicken halves.
  5. In a large stainless steel, cast iron, or carbon steel skillet, heat oil over medium-high until shimmering. Working in batches, add two chicken pieces to hot oil; cook, undisturbed, until golden brown on both sides, 4 to 5 minutes total. Repeat process with remaining 2 chicken pieces. Place browned chicken halves on prepared baking sheet, and place in warm oven (do not wipe out skillet).
  6. While chicken is resting in oven, heat the same skillet over medium-high. Add wine; cook, stirring occasionally and scraping up browned bits from bottom of skillet, until reduced to about 1/4 cup, 3 to 4 minutes. Add stock and cook, stirring constantly, until mixture has reduced to about 1/3 cup, 3 to 4 minutes. Reduce heat to medium-low. Add garlic, butter, lemon juice, 1 tablespoon of parsley, 1 tablespoon of chives, 2 teaspoons tarragon (if using), remaining 1/2 teaspoon salt, and remaining 1/4 teaspoon pepper; cook, swirling and stirring constantly, until butter is completely melted, about 1 minute.
  7. Spoon sauce over chicken, and garnish with remaining chives, parsley, and additional tarragon (if using), lemon zest, and flaky salt. Serve immediately.

http://www.lynnandruss.com

From a recipe developed by Marianne Williams for Serious Eats

Green Goddess Potato Salad

It’s not often a mayonnaise-based dressing is described as “refreshing,” but green goddess dressing forever changed the game. We came across the recipe online from Food & Wine, and thought it would be perfect herby and tangy side to our grilled beef skewers.

The overall structure of the dressing was inspired by sauce verte, a classic French sauce traditionally made with soft green herbs such as parsley, mint, and tarragon. While sauce verte is typically served with fish or spooned over roast chicken, here it leans into a creamy dressing designed for chilled, composed salads.

For the ideal texture of a potato salad, you want tender pieces of potato that still have some bite to them and that can also bear the weight of the dressing. Choose waxy or all-purpose potatoes such as baby red, Yukon Gold, or fingerlings. These varieties are lower in starch and higher in moisture, helping them stay intact and tender after boiling. Their naturally smooth, creamy flesh and thin skins make them ideal for salads where you want defined pieces that hold dressing without turning mushy.

In order for our potatoes and eggs to be done and not undercooked, we had to cook them longer than the 8 to 10 minutes suggested in the original recipe. For us, that was nearly 15 minutes. For a more manageable mouthful, the potatoes were cut in half as opposed to being left whole. This also allows the sauce to penetrate the meat of the spuds more thoroughly.

NOTE: Make potato salad up to 1 day ahead and keep refrigerated in an airtight container. Dressing can be made up to 2 days ahead and refrigerated in an airtight container.

TIP: Starting the potatoes in cold, heavily salted water allows them to cook evenly and absorb seasoning from the inside out. This method prevents the outsides from falling apart before the centers are tender.

Green Goddess Potato Salad

  • Servings: 8-12
  • Difficulty: easy
  • Print

Ingredients

  • 3 lbs. baby red potatoes, halved
  • 5 Tbsp. plus 1 teaspoon kosher salt, divided
  • 4 large eggs
  • 2/3 cup mayonnaise
  • 1/2 cup whole-milk strained (Greek-style) yogurt
  • 1/2 cup packed basil leaves, plus more for garnish
  • 1/4 cup packed fresh dill fronds, plus more for garnish
  • 2 Tbsp. fresh lemon juice
  • 2 tsp. Dijon mustard
  • 2 oil-packed anchovy fillets
  • 1/4 teaspoon black pepper
  • 2 Tbsp. minced chives, plus more for garnish
  • 2 Tbsp. finely chopped fresh tarragon leaves
  • 1 cup thinly sliced celery (about 3 ribs)
  • 1 cup drained sliced pepperoncini
  • 1/2 cup thinly sliced radishes (about 3 medium radishes)

Directions

  1. Place potatoes and 5 tablespoons of the salt in a large pot; cover by 2 inches with water and bring to a boil over high heat. Gently add eggs and cook until potatoes are tender when pierced with a fork, 12 to 15 minutes. Transfer eggs with a slotted spoon to an ice bath, and drain potatoes. Let cool to room temperature on a large rimmed baking sheet, about 30 minutes. Slice potatoes in half when cool.
  2. While eggs and potatoes cool, combine mayonnaise, yogurt, basil, dill, lemon juice, mustard, anchovy fillets, pepper, and remaining 1 teaspoon salt in a food processor; process until smooth and a light green color, scraping down sides as needed, about 1 minute. Transfer to a small bowl and stir in chives and tarragon. Refrigerate until ready to use.
  3. Combine potatoes, celery, pepperonicini, and radishes in a large bowl; drizzle with mayonnaise mixture and toss until evenly coated. Transfer to a serving bowl. Peel eggs and cut into quarters and place on top of potato mixture. Garnish with more basil, dill, and chives. Serve cold or at room temperature.

http://www.lynnandruss.com

Adapted from a recipe by Andy Gosnell for Food & Wine

Corn on the Cob with Melted Miso-Butter

The fresh ears of corn are drenched in a creamy-salty richness of butter, miso, and salt, then topped with sliced scallions. For maximum flavor, sake is used as an added liquid (our version reduces the sake by half), but water works, too. Scallions and flaky salt, are the final flourish.

This recipe is loosely based on a grilled corn recipe from Milk Street in which the corn is also topped with toasted sesame seeds (we omitted). We opted to steam the corn and then drench it with a miso-butter mixture combined with an immersion blender.

The original recipe calls for the butter and miso to be melted in a skillet and whisked until emulsified. Ours never did emulsify, so we just put all ingredients (except scallions) into the immersion blender cup.

In fact, we doubled the butter mixture because we wanted leftovers for a corn sauté dish for an upcoming party. And we still had some leftover for future dishes! Think baked potatoes, streamed veggies, hot dinner rolls…

Corn on the Cob with Melted Miso-Butter

  • Servings: 4-6
  • Difficulty: easy
  • Print

Ingredients

  • 6 Tbsp. salted butter, melted
  • 2 Tbsp. white miso
  • 1/4 cup sake or water
  • 1 Tbsp. lime juice (missing in above photo)
  • 1 tsp. toasted sesame oil
  • Ground white pepper
  • 6 ears corn, husked
  • 2 scallions, thinly sliced

Directions

  1. Boil water in a large skillet. Add the ears of corn, turn off the heat and cover for 10 minutes.
  2. Meanwhile, using an immersion blender, emulsify the melted butter and white miso.
  3. Add in the sake, lime juice sesame oil and white pepper and continue blending until you have a smooth consistency.
  4. Remove corn to a platter, drain the water from the pan. Add the ears of corn back to the skillet and pour the miso-butter mixture over the ears, cover and let sit over low heat for a few minutes until warmed through.
  5. With tongs, lift each ear out of the skillet, letting excess mixture drip off, and place all earns on a platter. Sprinkle with scallions slices and serve immediately.
  6. Save remaining miso-butter mixture in a glass container with lid. Refrigerate. Let come to room temperature when ready to use again.

http://www.lynnandruss.com

Stir-Fried Beef and Tomatoes

Here’s a very easy, low-count-ingredient, tasty stir-fry recipe from Milk Street. If you can get local in-season plum tomatoes, all the better.

The protein flank steak, has a beefy flavor and slightly coarse texture that makes it versatile for many dishes, from fajitas to stir-fries. But what happens when flank steak is unavailable, or you’re looking for a more budget-friendly or tender option? The good news is that several excellent flank steak alternatives can provide similar results.

Here are three possible options: Skirt steak is the most common substitute for flank steak. Both cuts are similar in shape and have pronounced muscle fibers, making them ideal for high-heat cooking. Cut from the shoulder, flat iron steak is tender and flavorful. It is often considered one of the most underrated cuts of beef. Or hanger steak, often called the “butcher’s cut” because of its rich flavor, hanger steak comes from the cow’s diaphragm.

Whatever your protein choice, if the pan is too crowded the meat will steam instead of brown. At first, we thought all of that meat in the skillet was too much. But to our delight, the pieces did brown. If your amount looks tighter than the image below, you may want to cook in two batches just to be sure the beef does brown.

There is no spicy heat in this dish, but if that is your preference, you can always add some spicy chiles or include a bit of red pepper flakes.

Stir-Fried Beef and Tomatoes

  • Servings: 4
  • Difficulty: easy
  • Print

Ingredients

  • 4 Tbsp. oyster sauce OR hoisin sauce, divided
  • 1 Tbsp. cornstarch
  • Kosher salt and ground white or black pepper
  • 1 lb. flank steak, cut with the grain into 2- to 3-inch pieces, then thinly sliced against the grain
  • 1 lb. plum tomatoes, cored and cut into 1/2-inch wedges
  • 3 Tbsp. neutral oil, divided
  • 2 tsp. minced fresh ginger OR 3 medium garlic cloves, minced, OR both
  • 1 bunch scallions, cut on the diagonal into 1-inch lengths
  • Steamed rice
  • Optional garnish: Toasted sesame oil

Directions

  1. In a medium bowl, whisk 1 tbsp. oyster sauce, the cornstarch, ½ tsp. pepper, and 1 tbsp. water. Add the beef, stirring; let stand at room temperature for 15 minutes or cover and refrigerate for 1 hour. Meanwhile, place the tomatoes on a paper-towel-lined plate and sprinkle with ¼ tsp. salt; set aside.
  2. In a 12-inch skillet over high, heat 2 tbsp. oil until barely smoking. Add the beef in an even layer and cook without stirring until well browned and the pieces release easily from the skillet, 2 to 3 minutes. Stir, then transfer to a large plate.
  3. In the same skillet over medium-high, heat the remaining 1 tbsp. oil until shimmering. Add the tomatoes and ginger; cook, scraping up any browned bits, until the tomatoes soften and the ginger is aromatic, 30 to 60 seconds. Add the beef and any juices, then stir in the remaining 3 tbsp. oyster sauce and 2 tbsp. water. Cook, stirring, until the meat is tender and the sauce has thickened, 1 to 2 minutes. Stir in the scallions to wilt slightly, about 30 seconds. Off heat, taste and season with salt and pepper. Serve with hot cooked rice.

http://www.lynnandruss.com

Recipe by Christopher Kimball for Milk Street

Spanish Zucchini with Garlic and Sherry Vinegar

Spanish gambas al ajillo—shrimp cooked with generous amounts of garlic and olive oil—is a popular tapa, but as the recipe from Milk Street explains, the “al ajillo” technique isn’t strictly for shrimp. It can be employed with a number of different ingredients, including vegetables.

Here, zucchini is used to make calabacines al ajillo, also a Spanish classic. Cut into spears, quickly cooked, then left to stand for a few minutes before serving, the summer squash soaks up the heady notes of toasted garlic and the fruity, peppery olive oil.

Since it was just the two of us for dinner, and we didn’t want leftovers, the recipe was cut in half. You can serve with lots of warm, crusty bread for dipping into the oil or as a side to seared or grilled white fish. Ours was paired with a couple of grilled pork chops and some fresh garden tomatoes and basil. This dish is great served warm or even at room temperature.

TIP: Don’t leave the seeds in the zucchini. The seedy cores quickly turn soft and spongy with cooking and release moisture that would water down the dish. Be sure to turn up the heat to medium-high after adding the zucchini to the skillet to help maintain the temperature of the pan and oil.

Spanish Zucchini with Garlic and Sherry Vinegar

  • Servings: 4-6
  • Difficulty: easy
  • Print

Ingredients

  • 4 medium zucchini (about 2 lbs. total)
  • 1/3 cup extra-virgin olive oil
  • 4 medium garlic cloves, thinly sliced
  • 2 dried árbol chilies, broken in half, seeds shaken out and discarded, OR ¼ tsp. red pepper flakes
  • 1 Tbsp. sherry vinegar
  • Kosher salt and ground black pepper
  • 1/2 cup lightly packed fresh flat-leaf parsley, chopped
  • Flaky salt (optional)

Directions

  1. Halve the zucchini lengthwise, then use a spoon to scrape out the seeds. Turn each half cut side down and slice it lengthwise about ¼ inch thick, then cut the strips crosswise into 2-inch sections.
  2. In a 12-inch skillet over medium, combine the oil and garlic, then cook, stirring often, until the garlic is softened and lightly golden around the edges, about 3 minutes. Add the zucchini and chilies; immediately increase to medium-high and cook, stirring occasionally, until the zucchini begins to brown at the edges, about 5 minutes.
  3. Stir in the vinegar, ½ teaspoon salt and ¼ teaspoon black pepper; cook, stirring often, until the zucchini is tender yet holds its shape, 7-8 minutes. Remove the pan from the heat and let stand for about 5 minutes to cool slightly and to allow the zucchini to absorb the flavors.
  4. Stir in the parsley, then taste and season with salt (if not using flaky salt) and with black pepper. If desired, remove and discard the árbol chilies (if used). Transfer to a serving dish and sprinkle with flaky salt (if using).

http://www.lynnandruss.com

Recipe by Courtney Hill for Milk Street