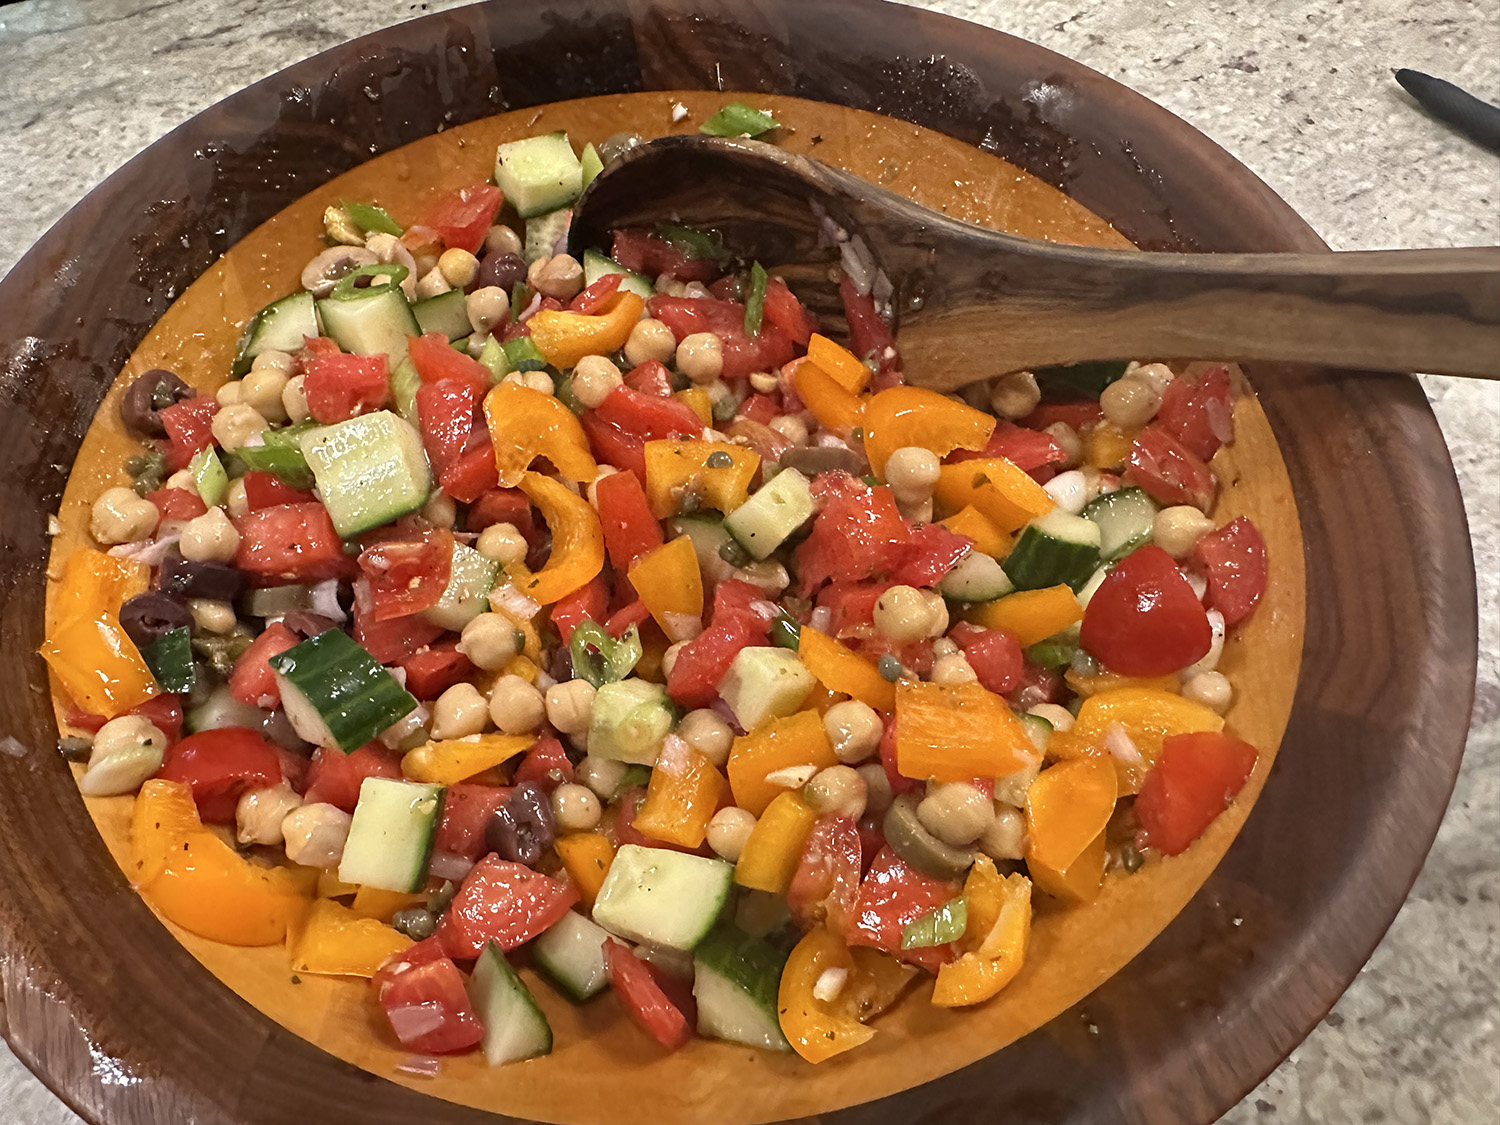
This colorful, meal-of-a-salad is inspired by two dishes creating a mash-up of a classic Greek salad (also known as horiatiki) and fattoush, the Lebanese salad of vegetables and pieces of fried pita. The ingredient list may look long at first, but each ingredient contributes to the harmony of the salad: bell pepper and cucumbers for crunch; shallot, olives and capers for a bit of tang; chopped tomatoes for sweetness.
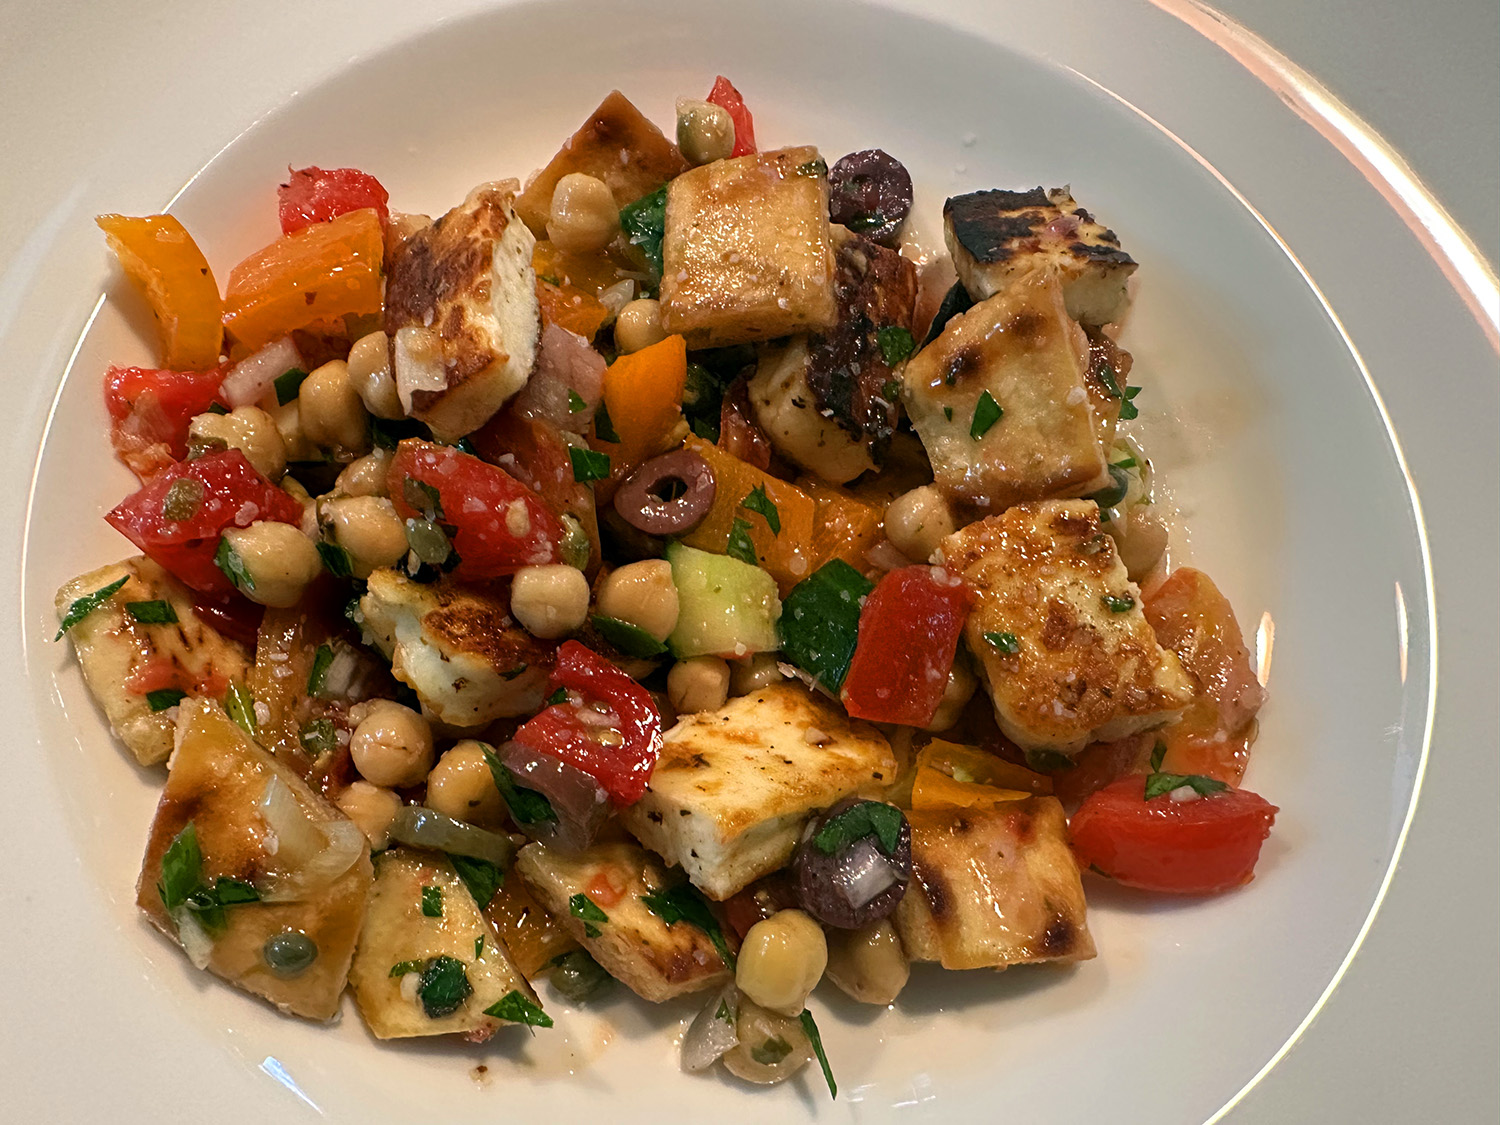
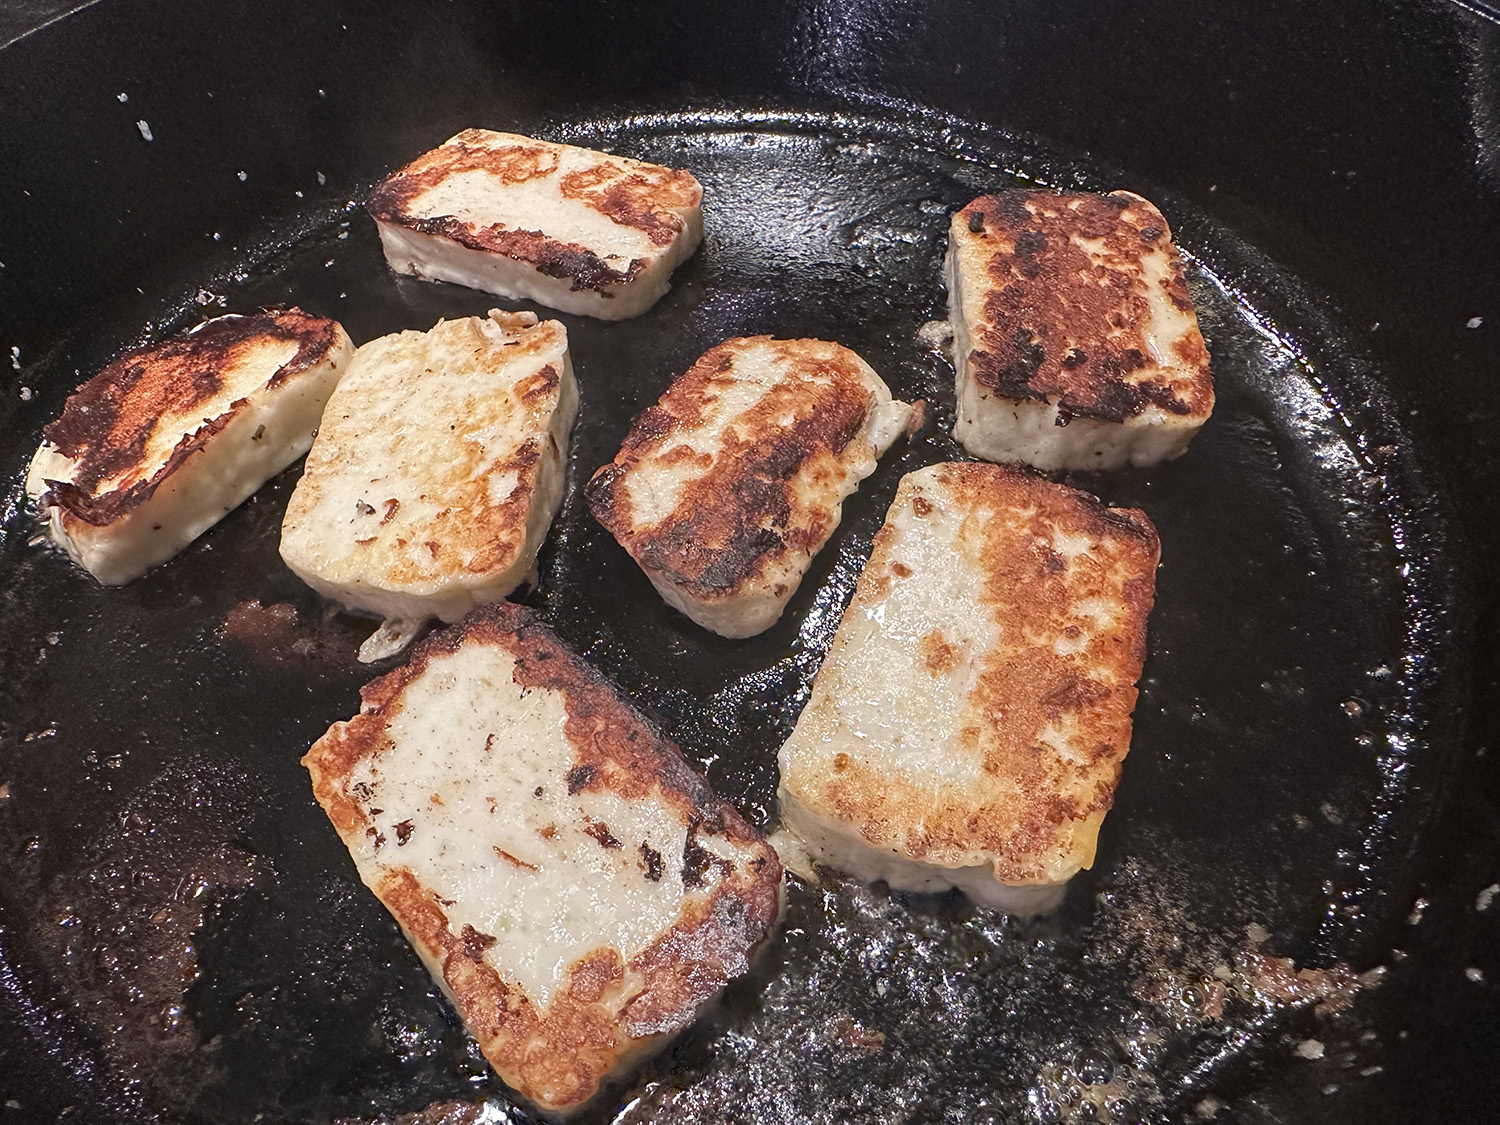
Pan-fried halloumi adds richness and heft, but you can skip the searing process and instead opt for a 6-ounce block of feta, if desired. (Although we recommend going with the seared halloumi.) To save even more time, you can add a large handful of crumbled pita chips instead of making your own.
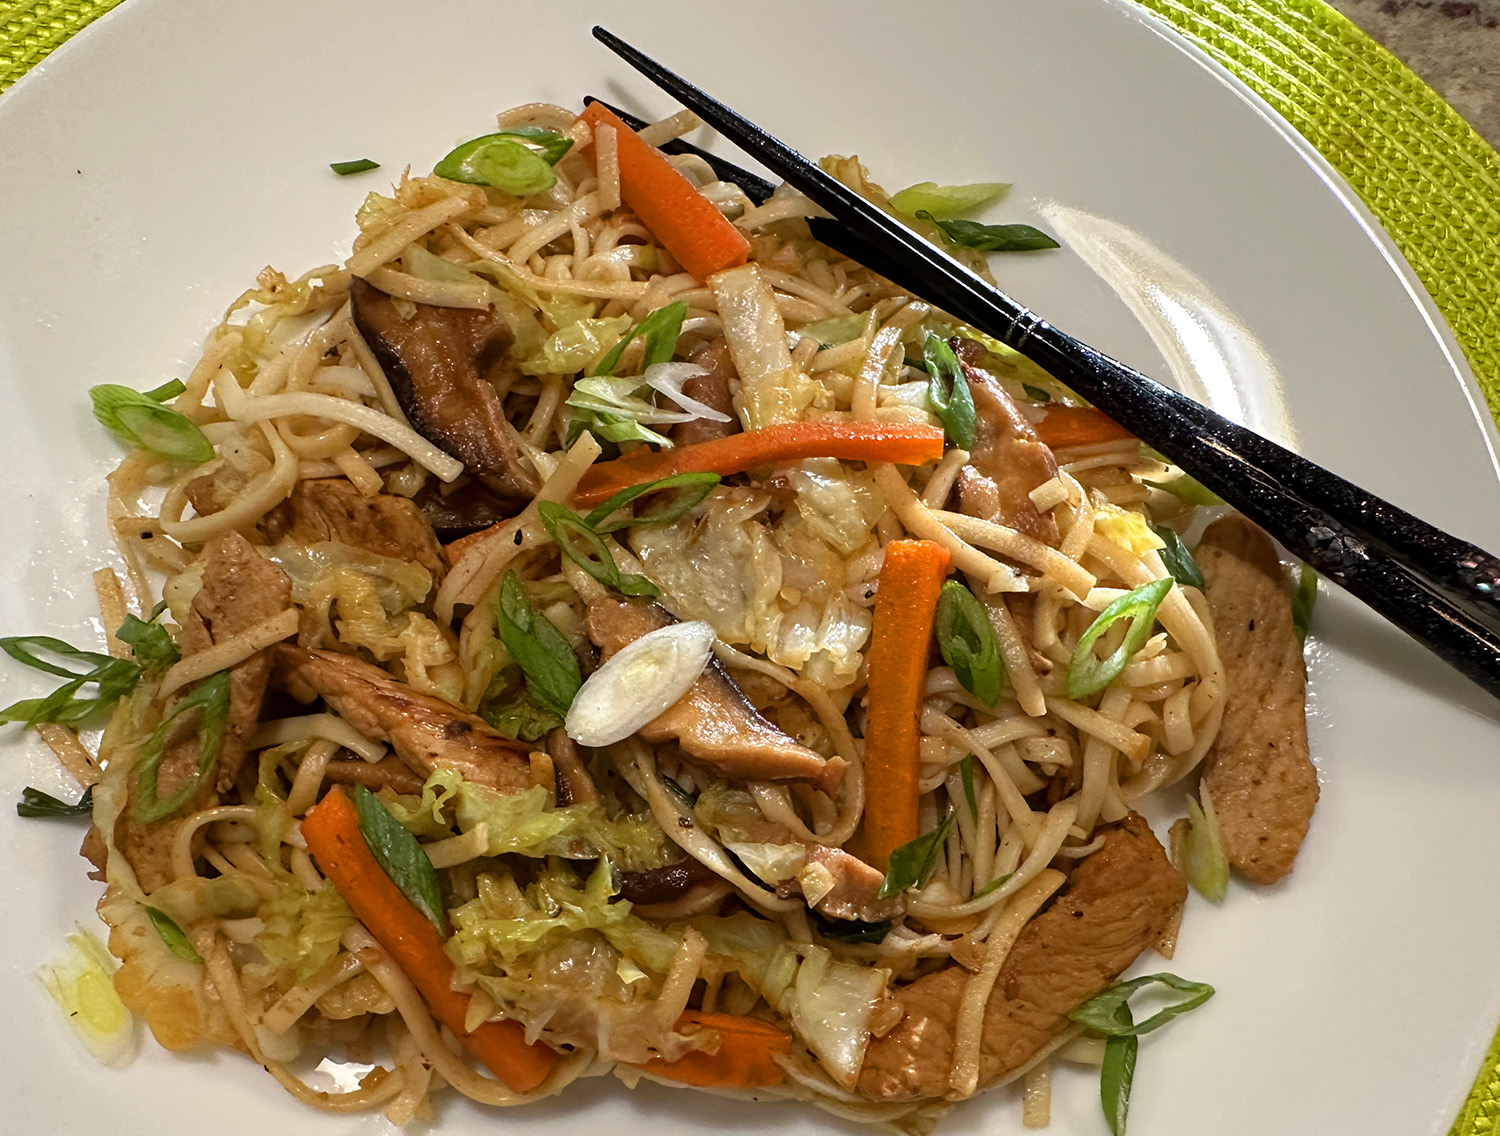
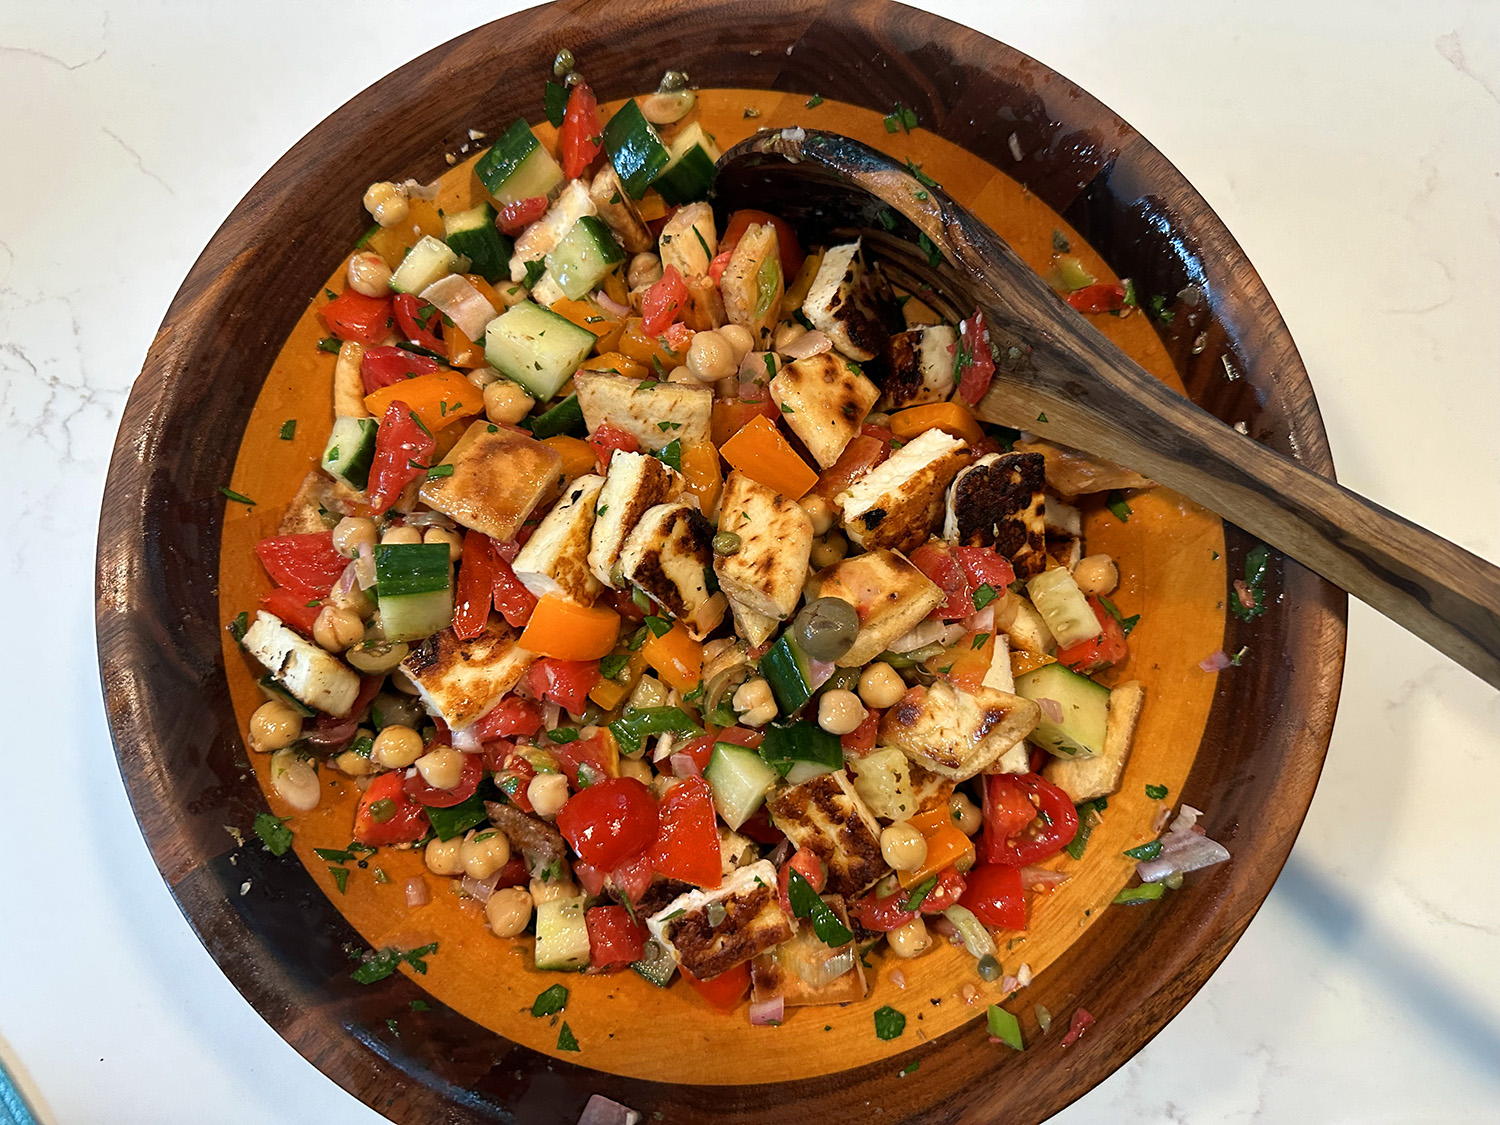
It was unanimous, all three of us loved it! While the recipe indicates it serves up to six, four is a more realistic estimate unless you are serving with other courses. There is no ingredient that we would have left out. For those who insist on a bit of meat, you could always serve chunks of chicken, beef or pork on the side.

Taverna Salad
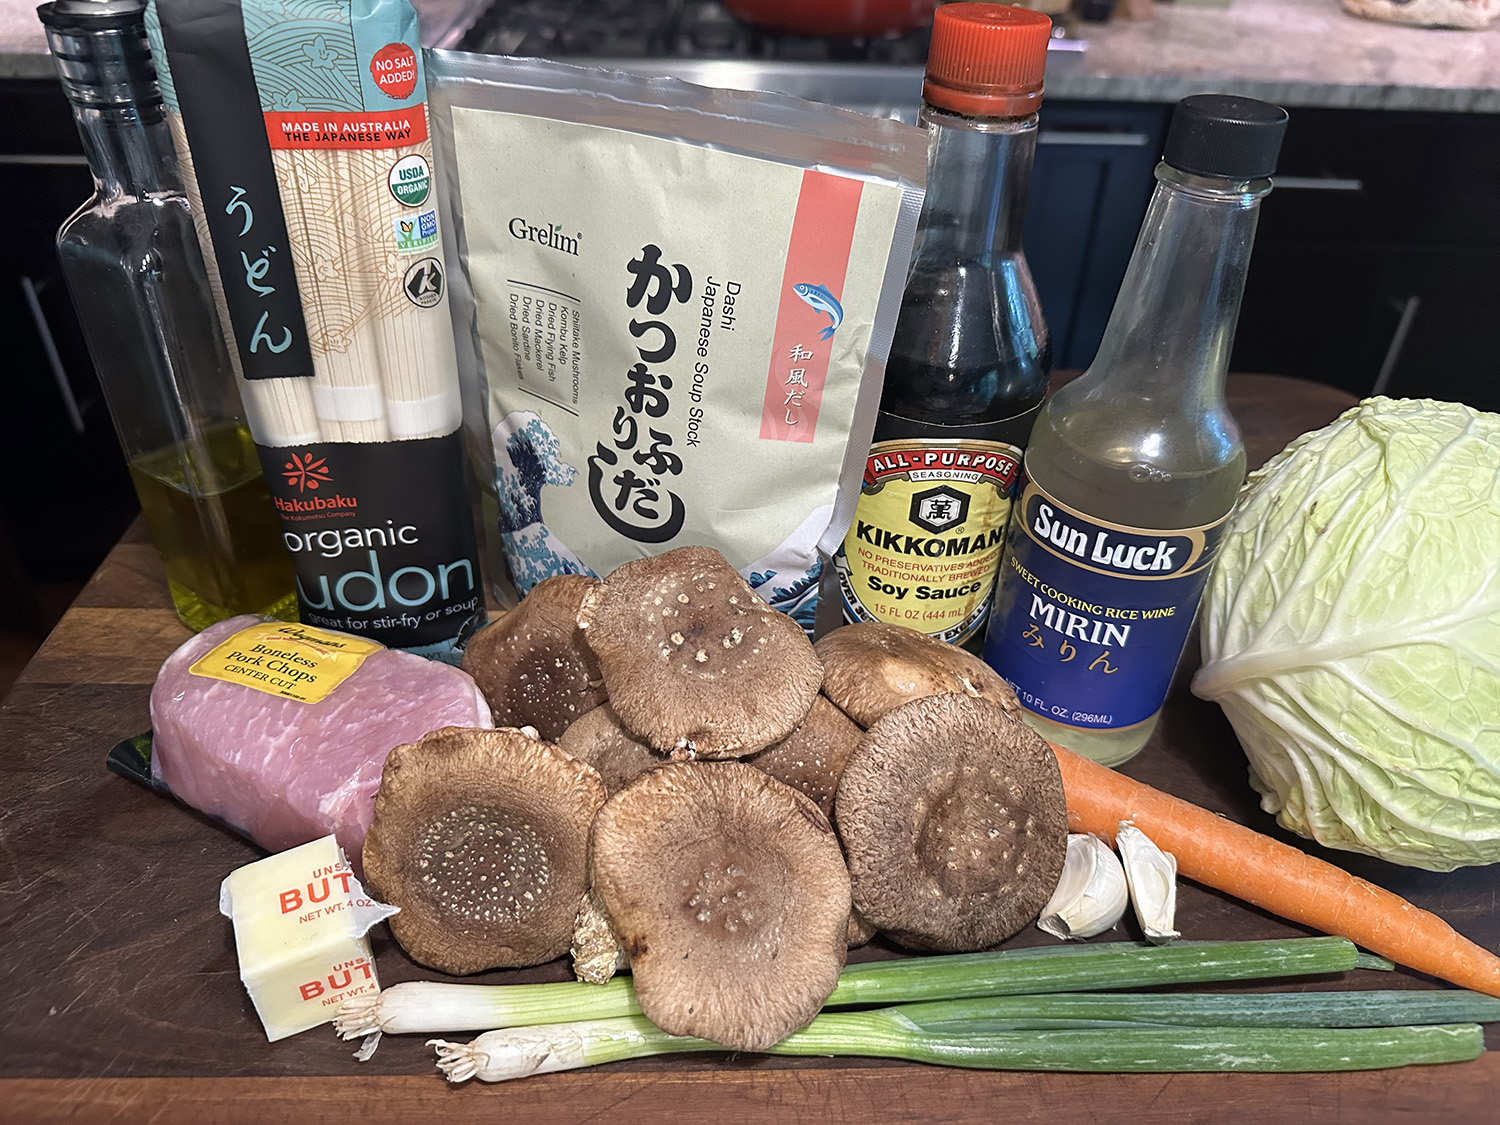
Ingredients
- ⅓ cup plus 2 Tbsp. extra-virgin olive oil
- 2 Tbsp. red wine vinegar
- 1 tsp. minced garlic (1 small clove)
- ½ tsp. dried oregano
- Salt and pepper
- 3 medium tomatoes, cored, seeded and diced into ½-inch pieces (or 1 cup halved cherry tomatoes)
- 1 15-oz. can chickpeas, rinsed
- 1 orange or yellow bell pepper, halved, seeded and diced into ½-inch pieces
- ½ large English cucumber, halved, seeded and diced into ½-inch pieces
- ½ cup pitted Kalamata olives
- ¼ cup chopped fresh parsley
- ¼ cup minced red onion or shallot
- 2 Tbsp. drained capers, coarsely chopped
- 2 scallions, thinly sliced
- 1 6-inch pita
- 1 8-oz. block halloumi cheese, patted dry and cut into ¾-inch-thick slices


Directions
- In a small bowl, combine ⅓ cup olive oil with the vinegar, garlic and oregano. Whisk vigorously to combine then season to taste with salt and pepper.
- In a large bowl, combine the tomatoes, chickpeas, bell pepper, cucumber, olives, parsley, red onion, capers and scallions. Pour the dressing over the salad and toss well.
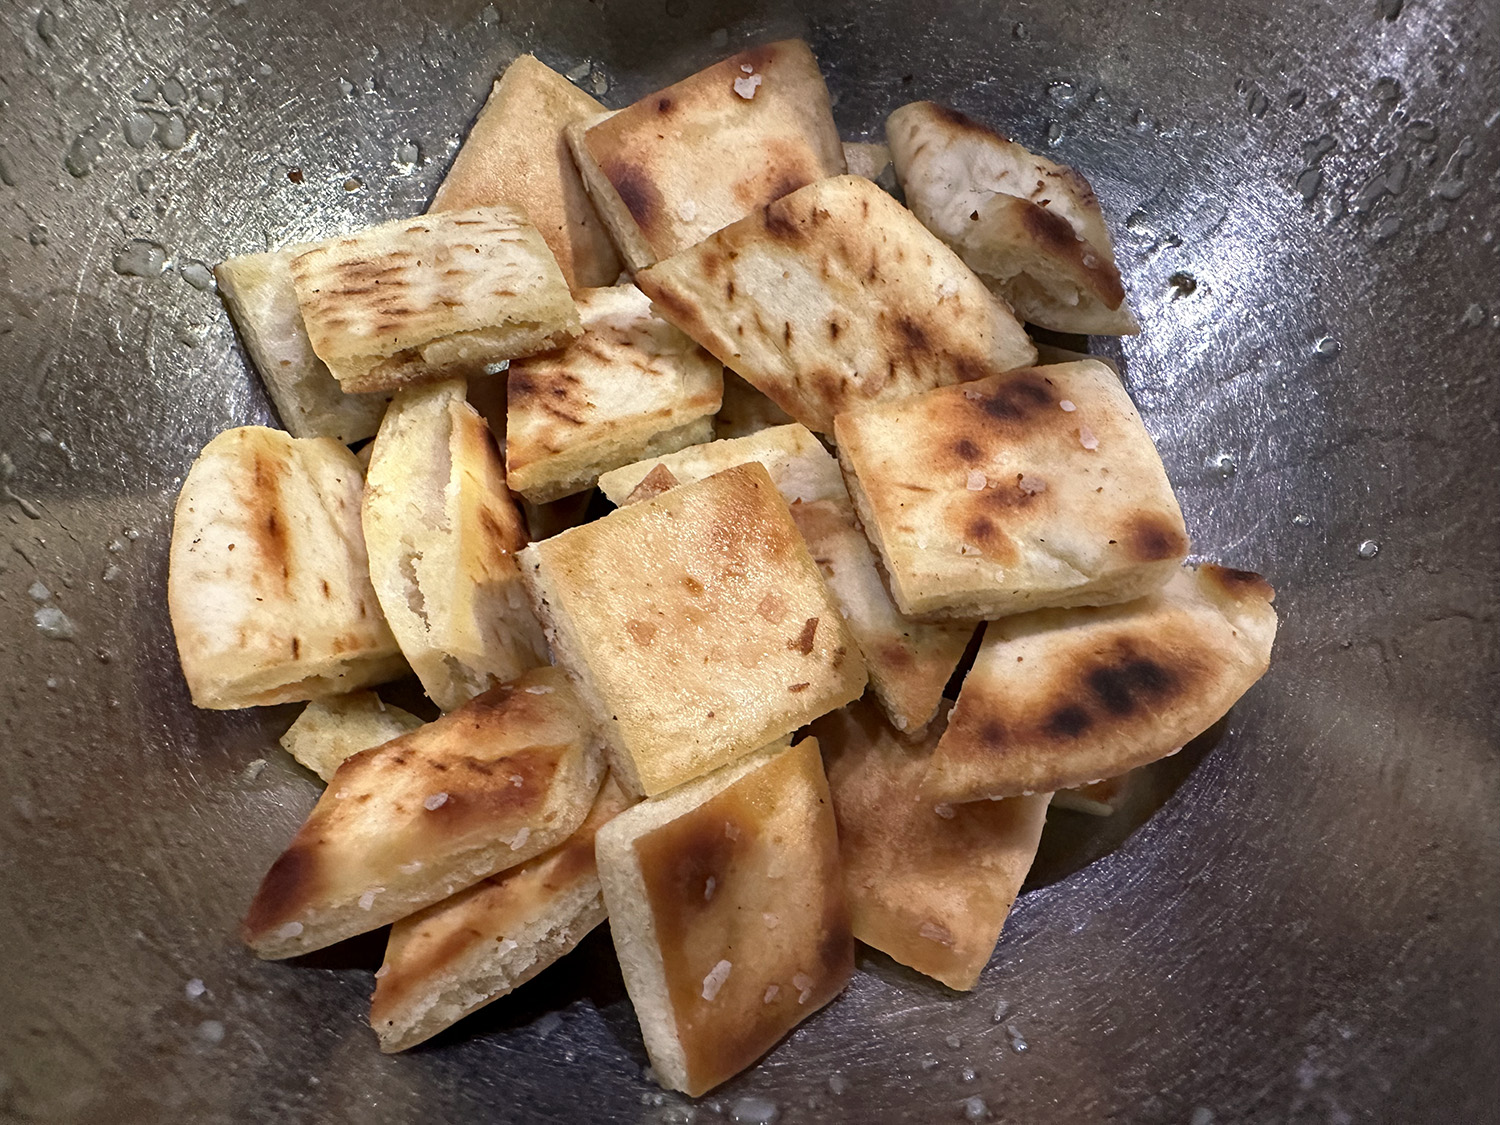
- Chop the pita into 1-inch pieces and place them in a small bowl. Drizzle with 1 tablespoon olive oil, sprinkle with salt and toss to coat. Heat an 8-inch skillet over medium. Add the pita pieces and cook, tossing often, until toasted and golden brown, about 5 minutes. Return to the small bowl to cool, reserving the skillet.
- Place the halloumi slices on a small plate and drizzle with 1 tablespoon olive oil. Heat the same skillet over medium-high heat, and cook the halloumi until golden brown, 2 to 3 minutes per side. Transfer to a cutting board and cut the slices into bite-size cubes.
- Add the pita and halloumi to the salad, toss well and serve.
Recipe by Lidey Heuck for NYTimes Cooking