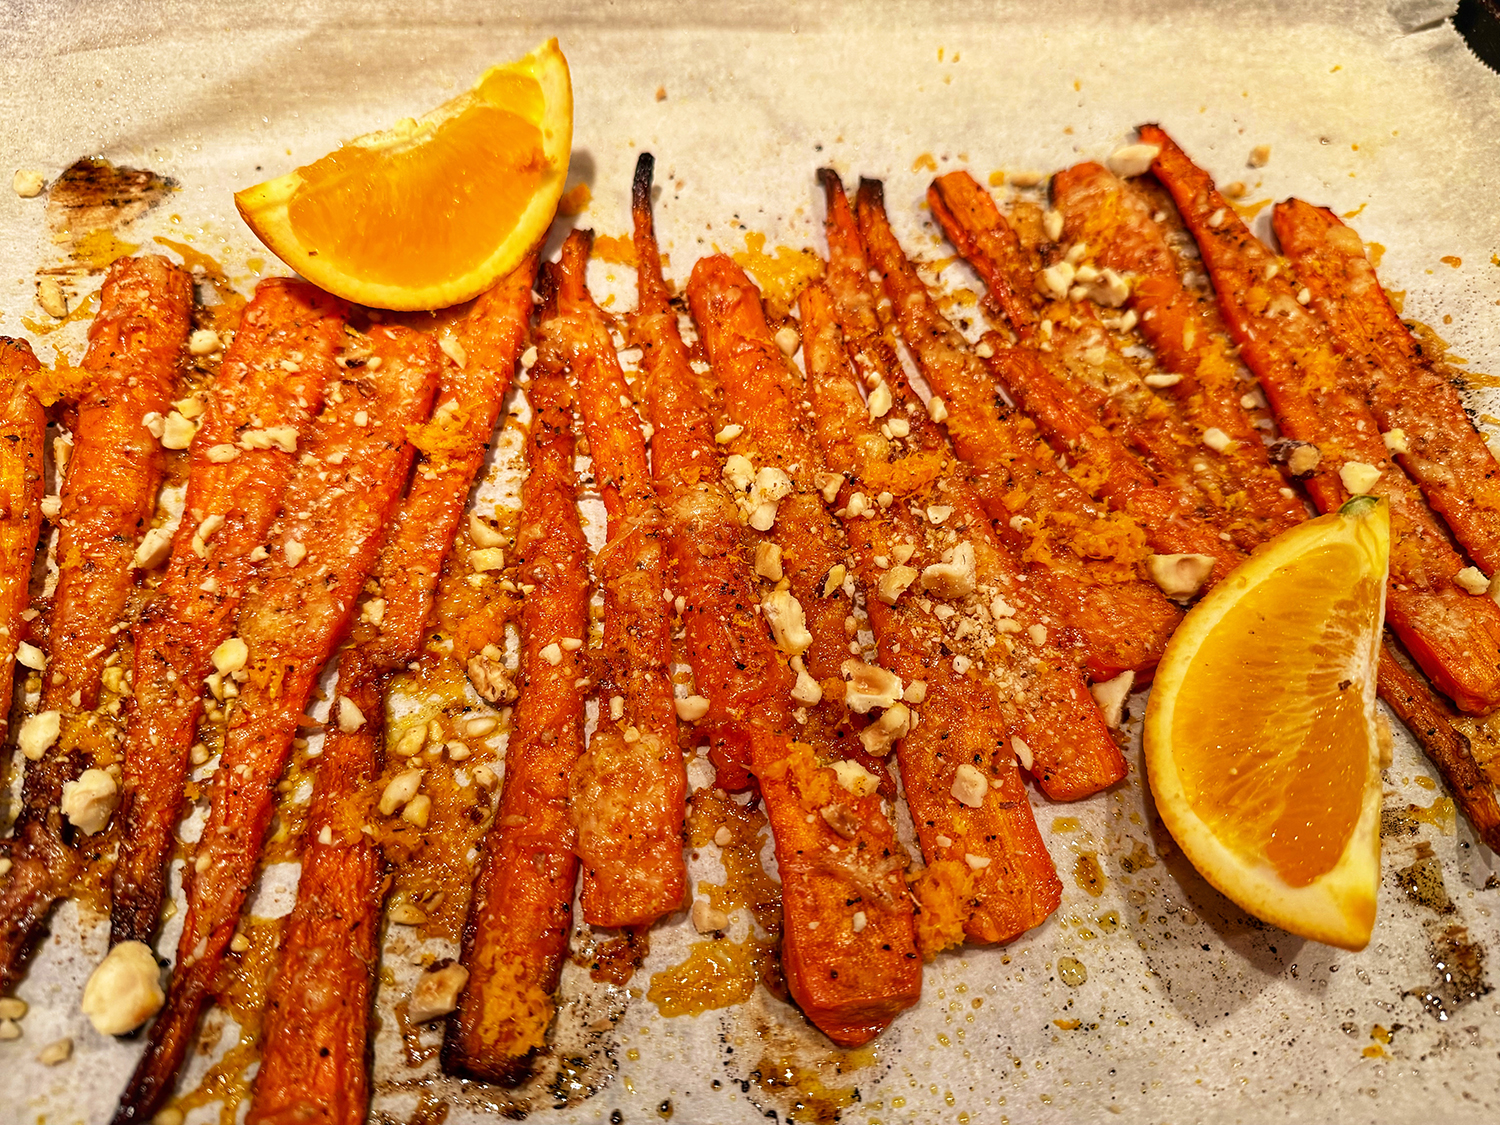
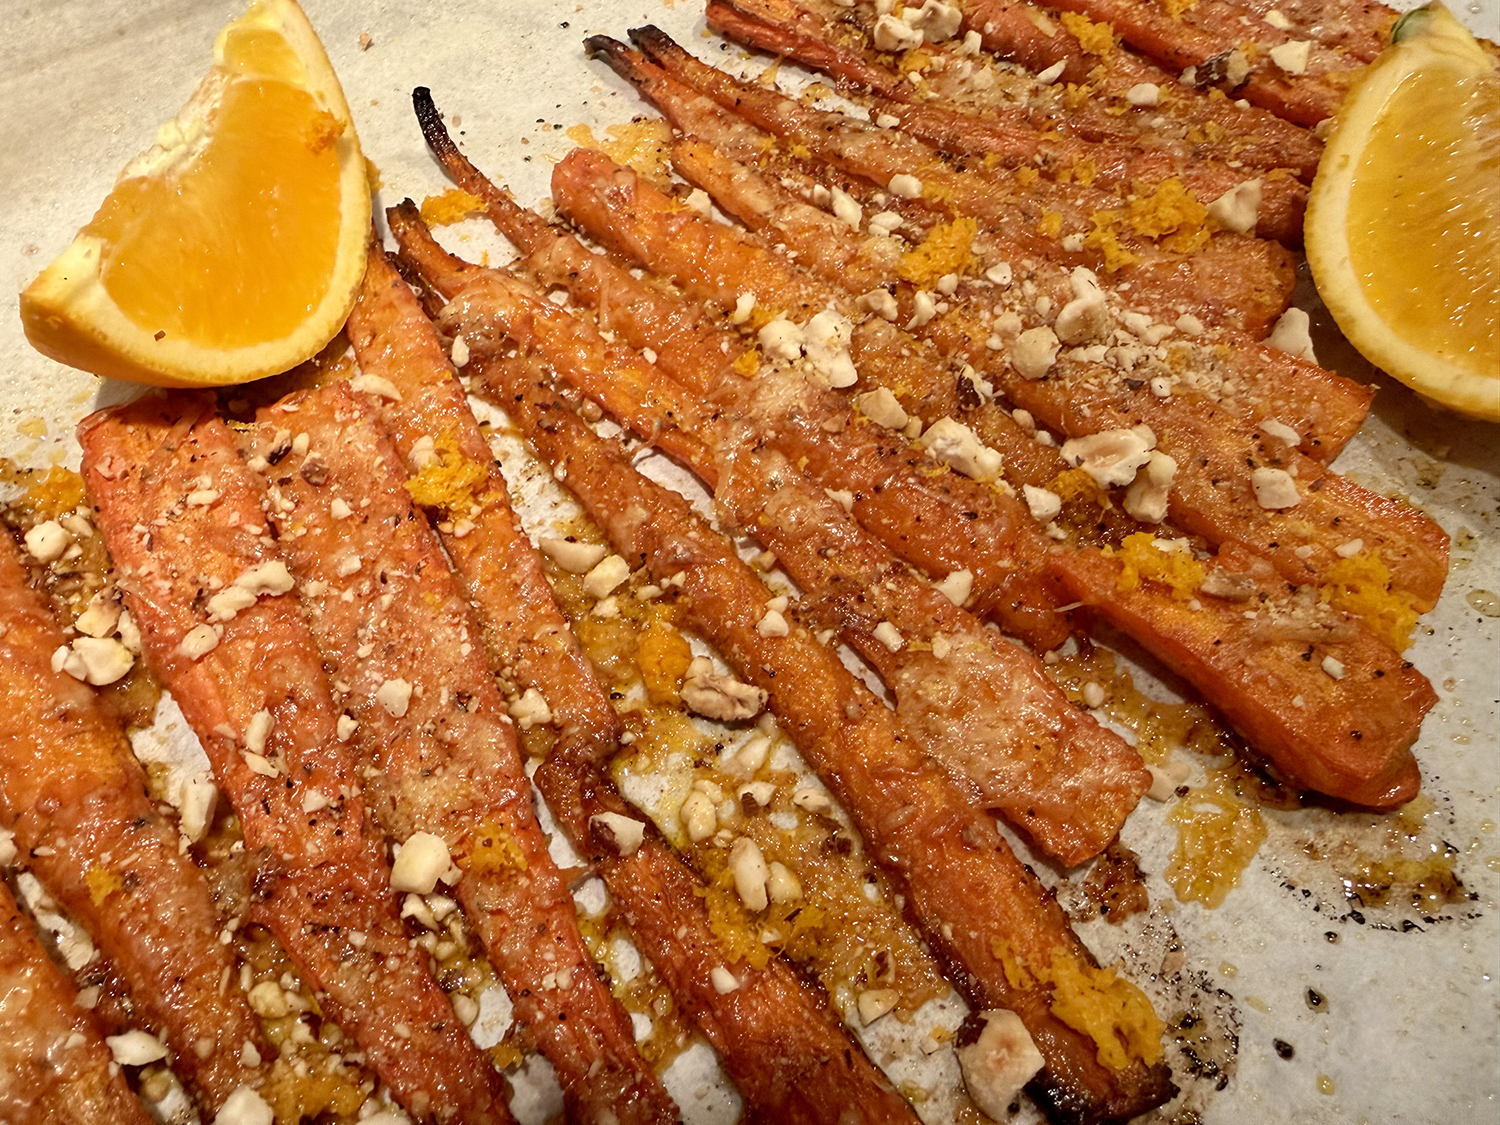
Crispy, caramelized, and totally irresistible! Barely roasted carrot halves are smashed to create more surface area and caramelly edges. Manchego and hazelnuts reinforce their nutty earthy flavor. A lovely, impressive way to prepare an ordinary side dish.
Bring out carrots’ natural sweetness by roasting them in the oven. Although it takes longer than steaming or microwaving, the tender, caramelized outcome makes the extra cook time worthwhile. Simply roast the carrots until they’re fork-tender, then smash them (without breaking), sprinkle with a little cheese, and roast again until the edges are nice and crispy and the cheese is melted.
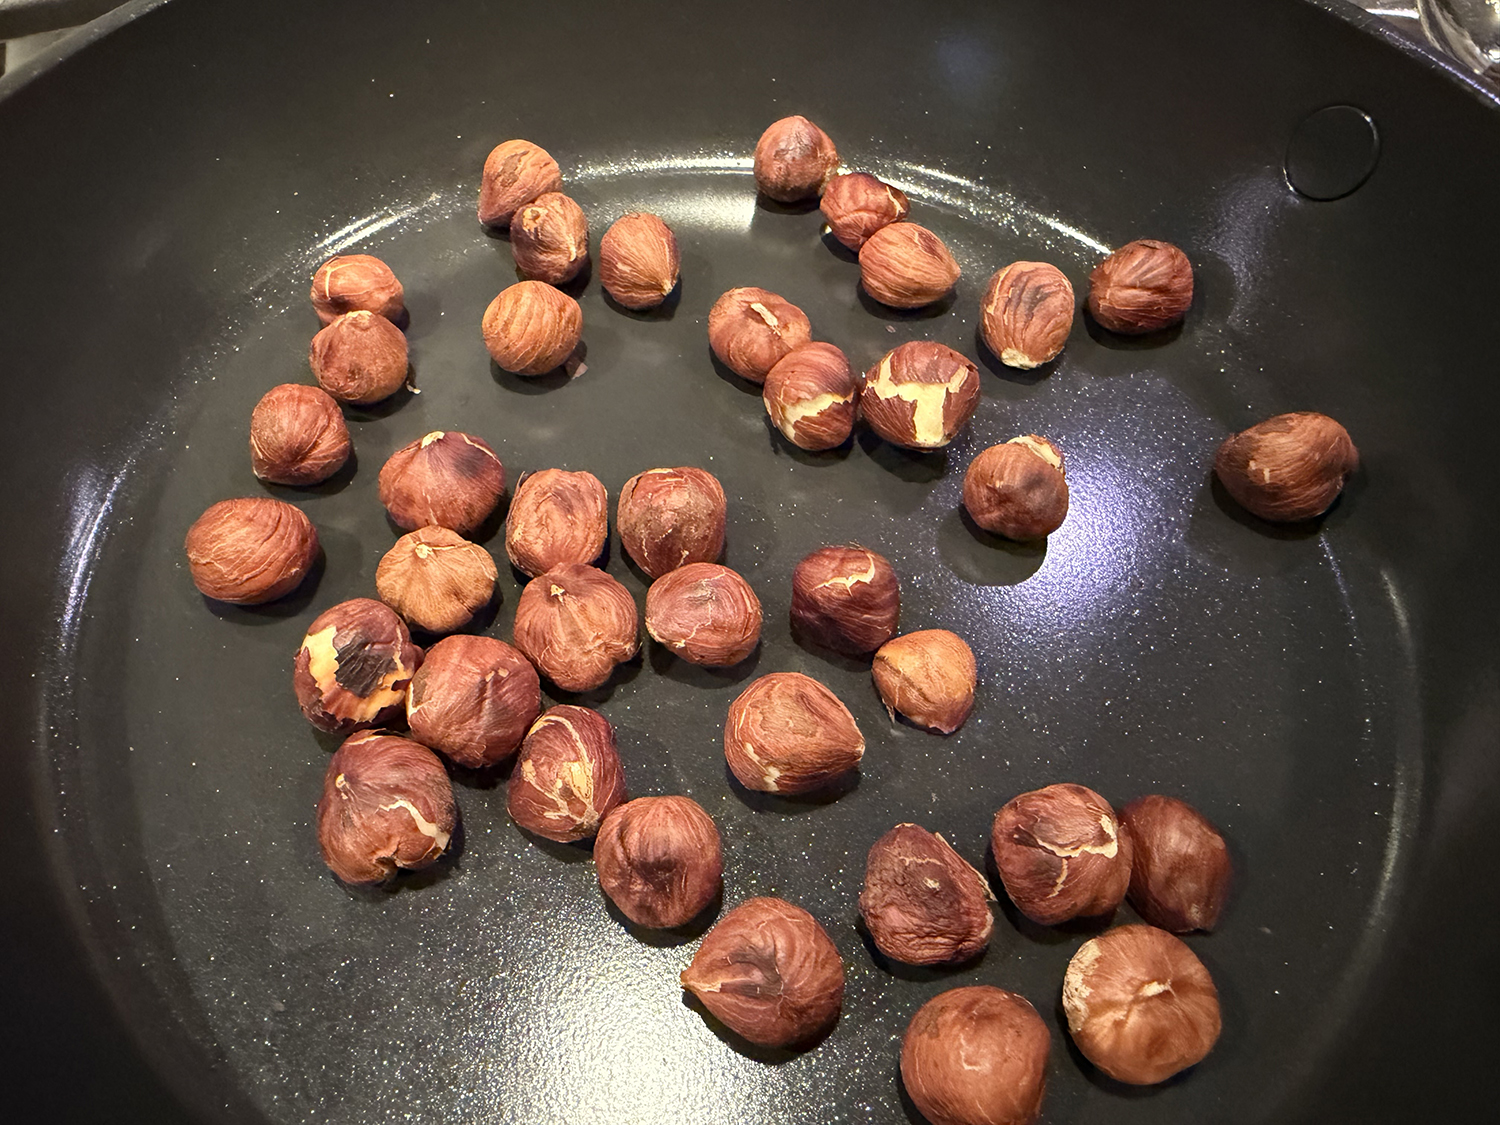
If you are starting with raw filberts, toast the nuts in a dry pan. When cooled, removed the skins as much as possible. The hazelnuts can be chopped in a small mini food processor, or hit with a mallet while inside a ziploc bag.
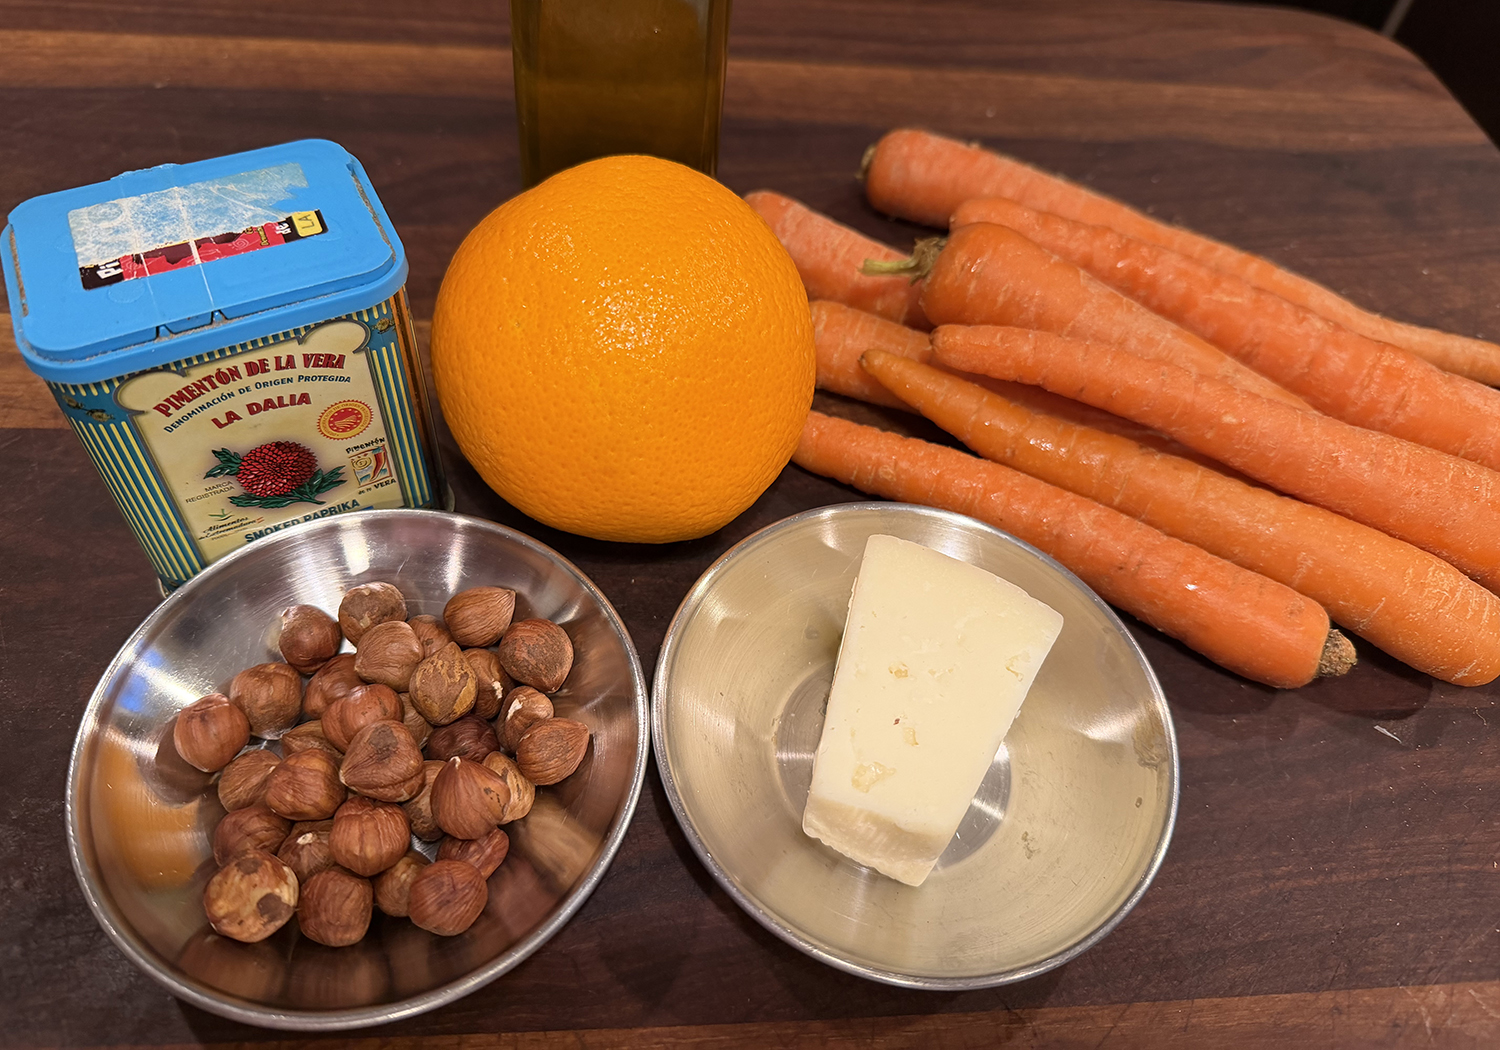
1 lb. medium carrots, peeled and halved lengthwise
2 Tbsp. olive oil, divided
1/2 tsp. salt
1/4 tsp. smoked paprika
1/4 tsp. black pepper
1/4 to 1/2 cup shredded Manchego cheese (1 to 2 oz.)
2 Tbsp. chopped toasted hazelnuts, skins removed
1/2 tsp. orange zest (optional)
1 orange wedge (optional)
Directions
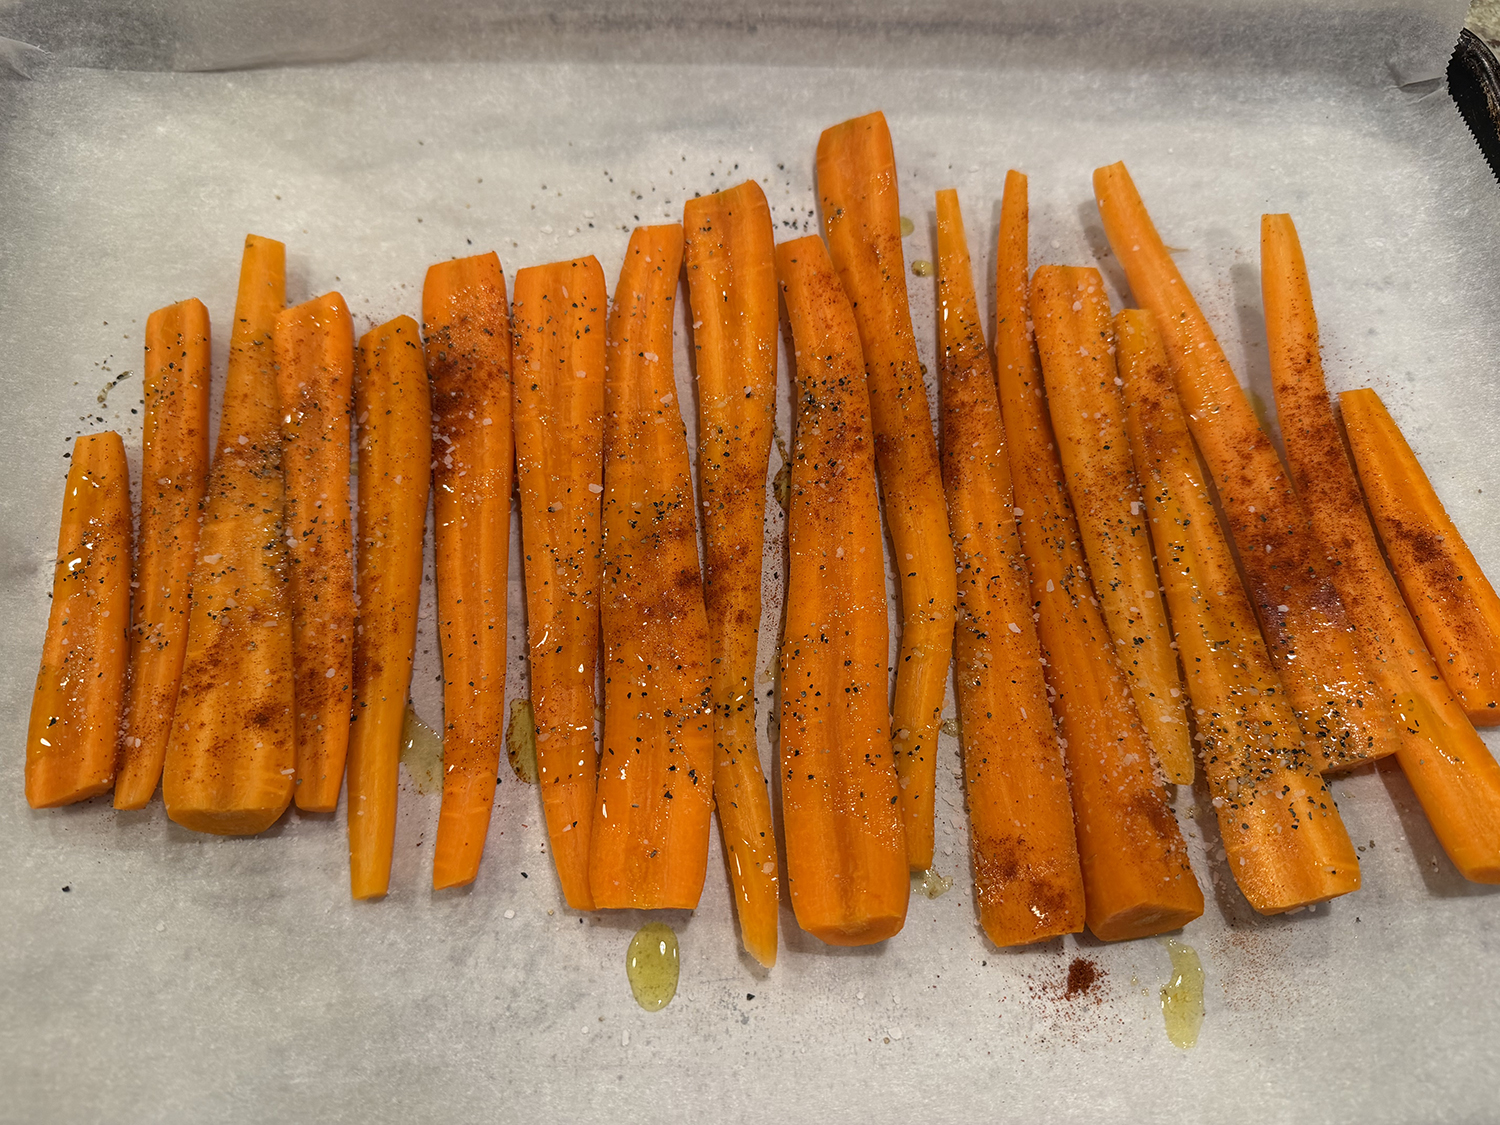
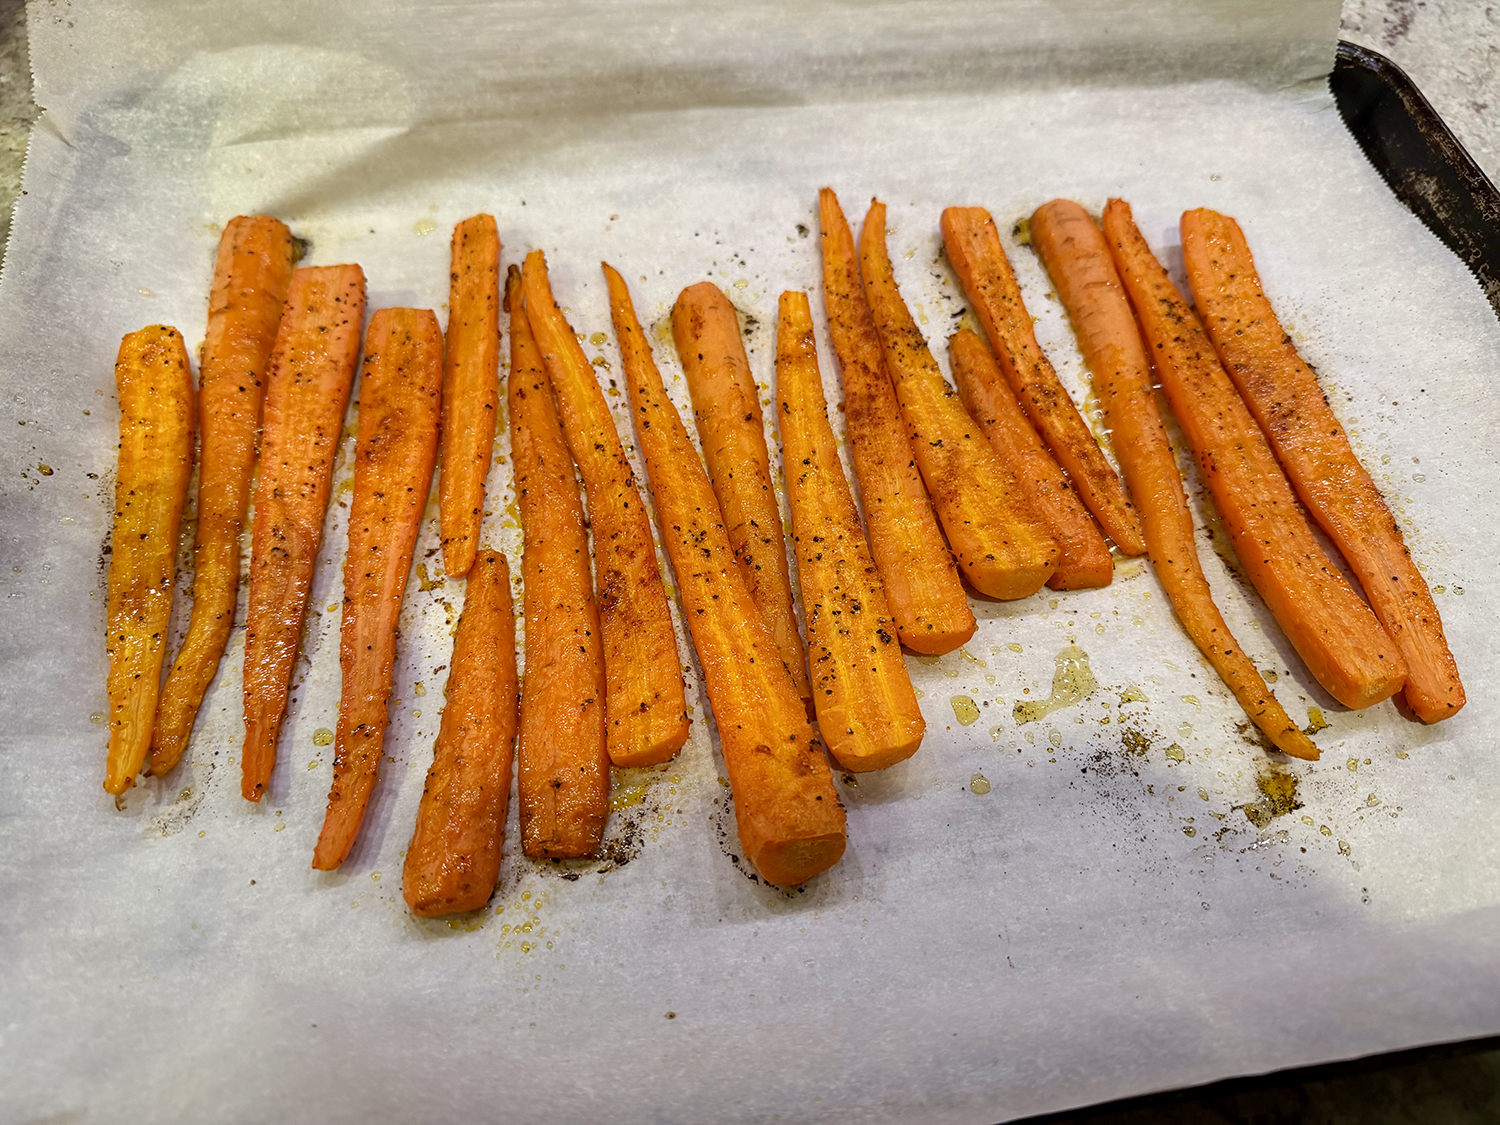
Preheat oven to 400°F. Line a 15×10-inch baking pan with parchment paper. Place carrots in prepared pan. Drizzle with 1 Tbsp. of the oil. Sprinkle with salt, paprika, and pepper; toss to coat.
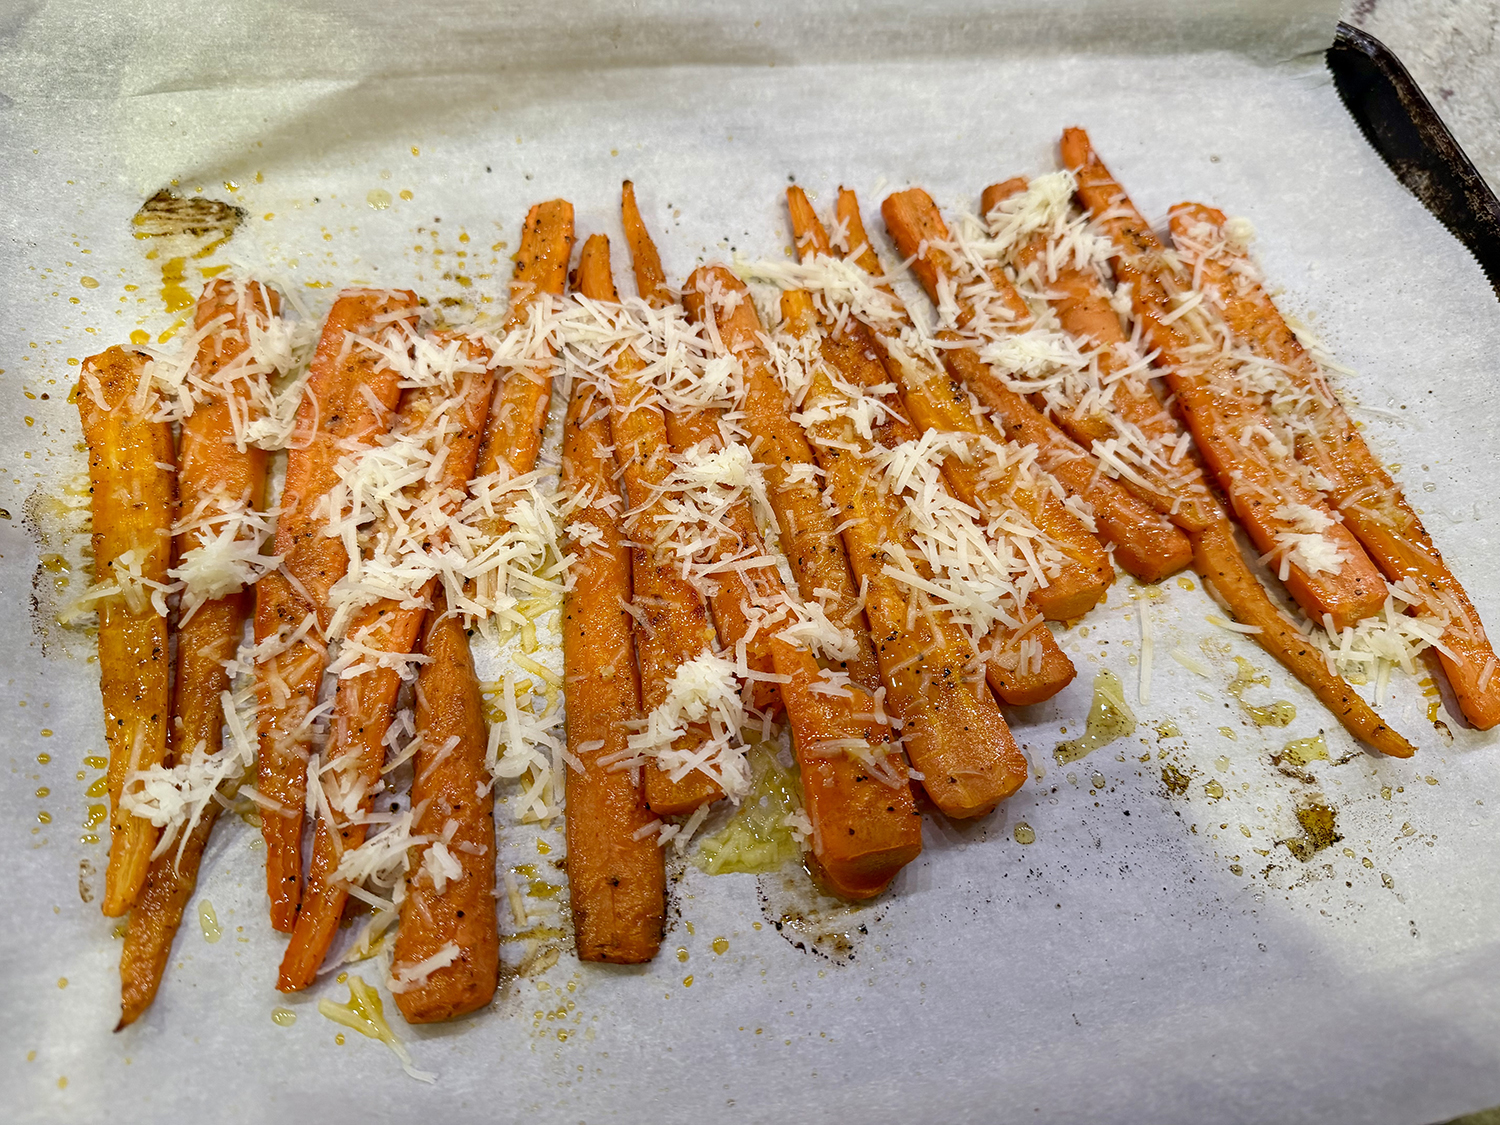
Roast until carrots are fork tender, 20 to 25 minutes. Use the bottom of a heavy glass or measuring cup to smash carrots, without breaking them, to about 1/2-inch thickness. Drizzle with remaining 1 Tbsp. oil. Sprinkle with cheese. Roast until edges of carrots are lightly browned and crisp, 15 to 20 minutes more.
Sprinkle with hazelnuts. If you like, top with orange zest and squeeze orange wedge over carrots. Serve immediately.
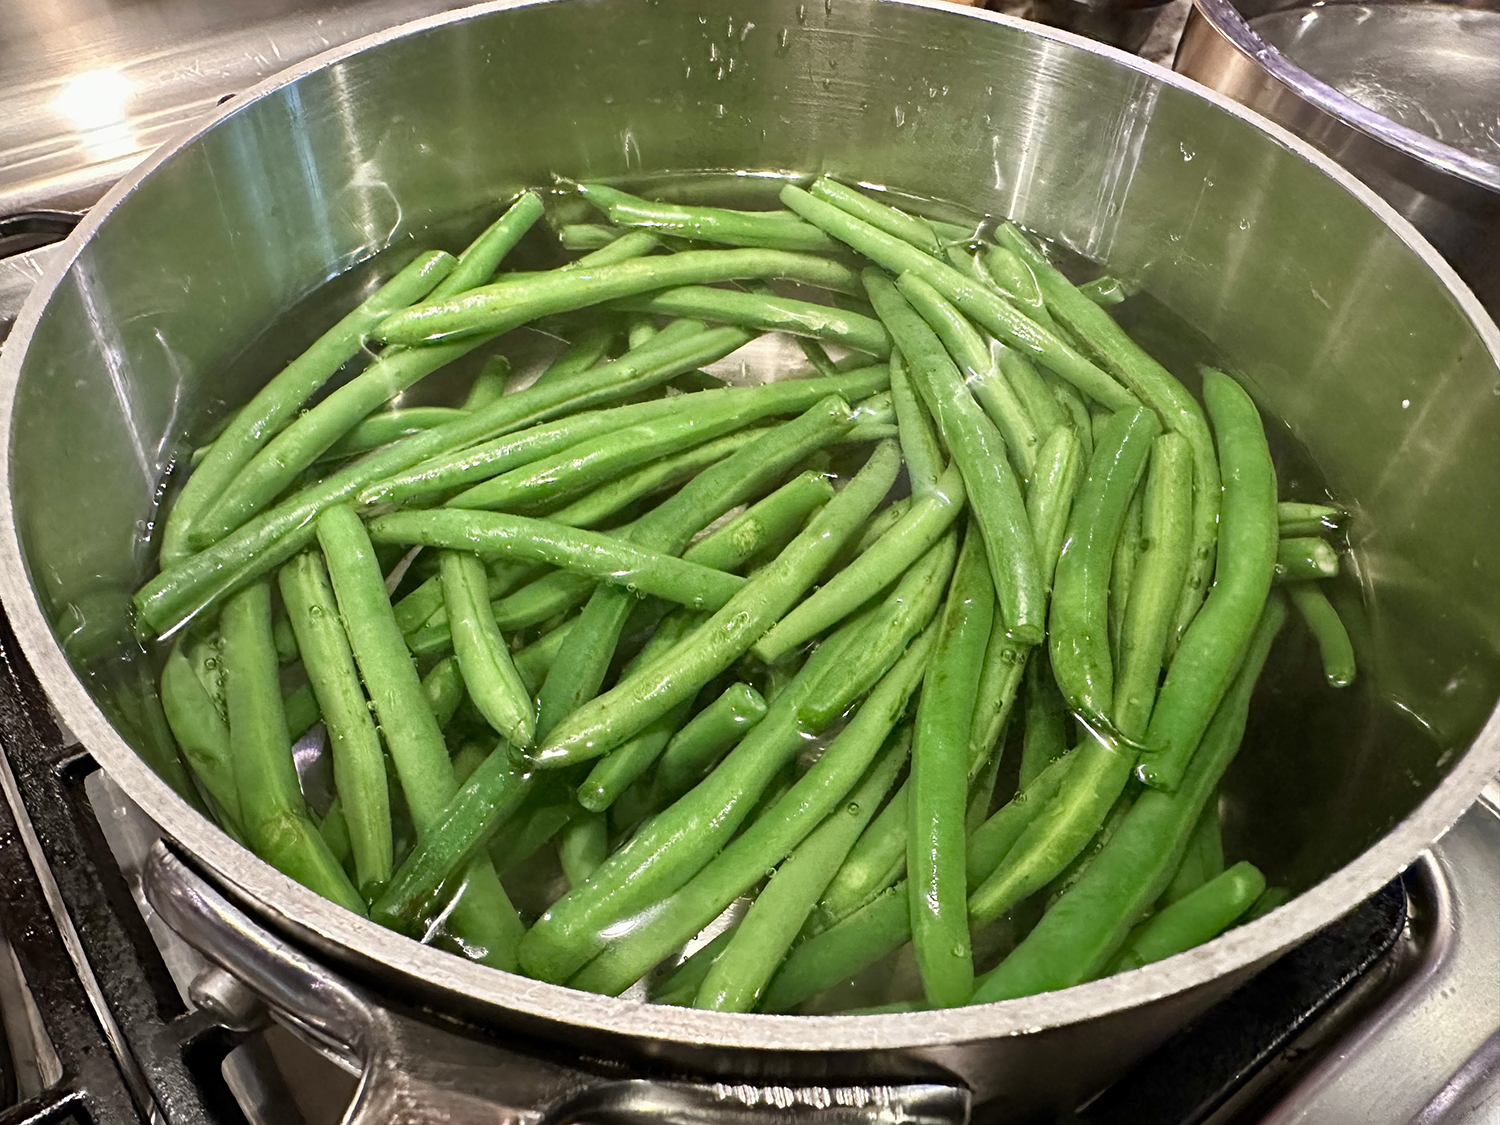
This version on Genoese-style green beans (Fagiolini alla Genovese) creates tender blanched green beans tossed in a bold, zippy dressing made with anchovies, lemon juice, and olive oil. Finished with crispy garlic chips, it’s a quick, flavor-packed vegetable side dish that’s both easy and elegant. Definitely company-worthy.
Blanch the green beans. Set a bowl of cold water and ice near the stove. Bring a medium pot of water to a boil and salt the water very well (estimate about 1 tablespoon of kosher salt per quart of boiling water). Drop the green beans into the boiling salted water and cook for 2 to 3 minutes, just until bright green. Then, use tongs to transfer the green beans to the bowl of iced water and let cool (this will stop the cooking process so the beans stay crisp).
Make the garlic chips. In a small saucepan warm the olive oil over medium heat until just shimmering. Drop the sliced garlic in and cook for about 1 minute or until the garlic has turned golden brown and crispy (it should not be burned). Remove the garlic with a slotted spoon and set aside for now.
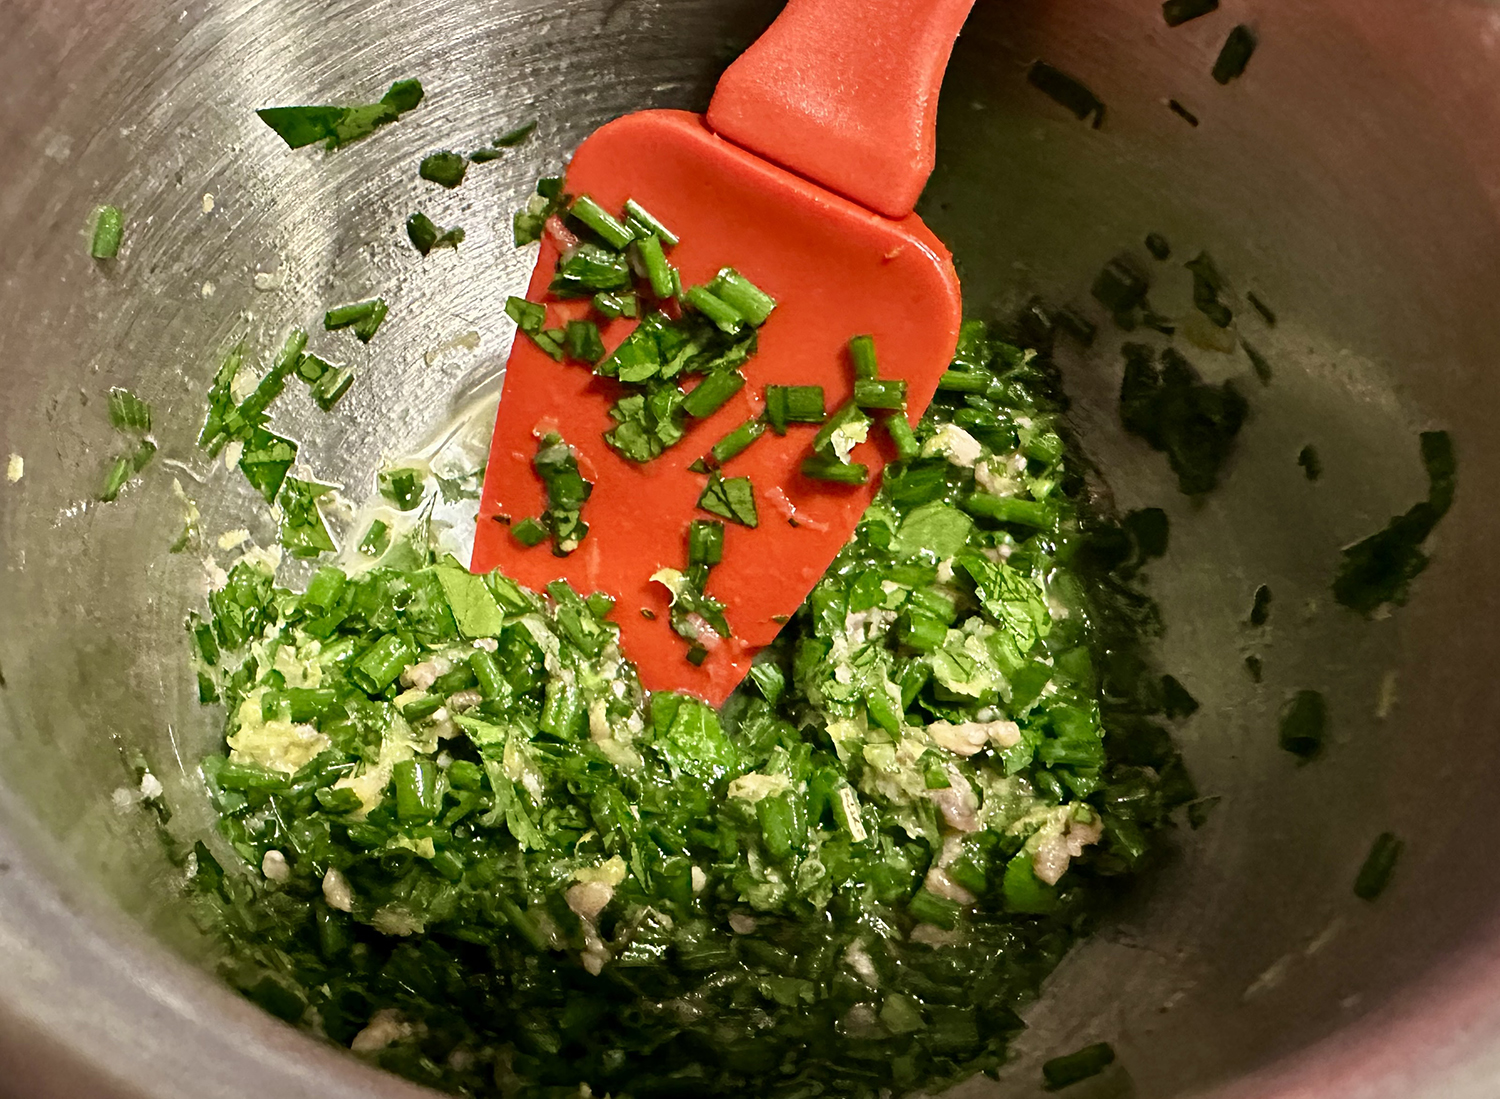
Make the dressing. In a small bowl, combine the chives, parsley, finely chopped anchovies, lemon zest and juice. Pour the olive oil slowly into the bowl while whisking continuously until the dressing has emulsified. Taste and, if needed, add a small pinch of salt and whisk again to combine.
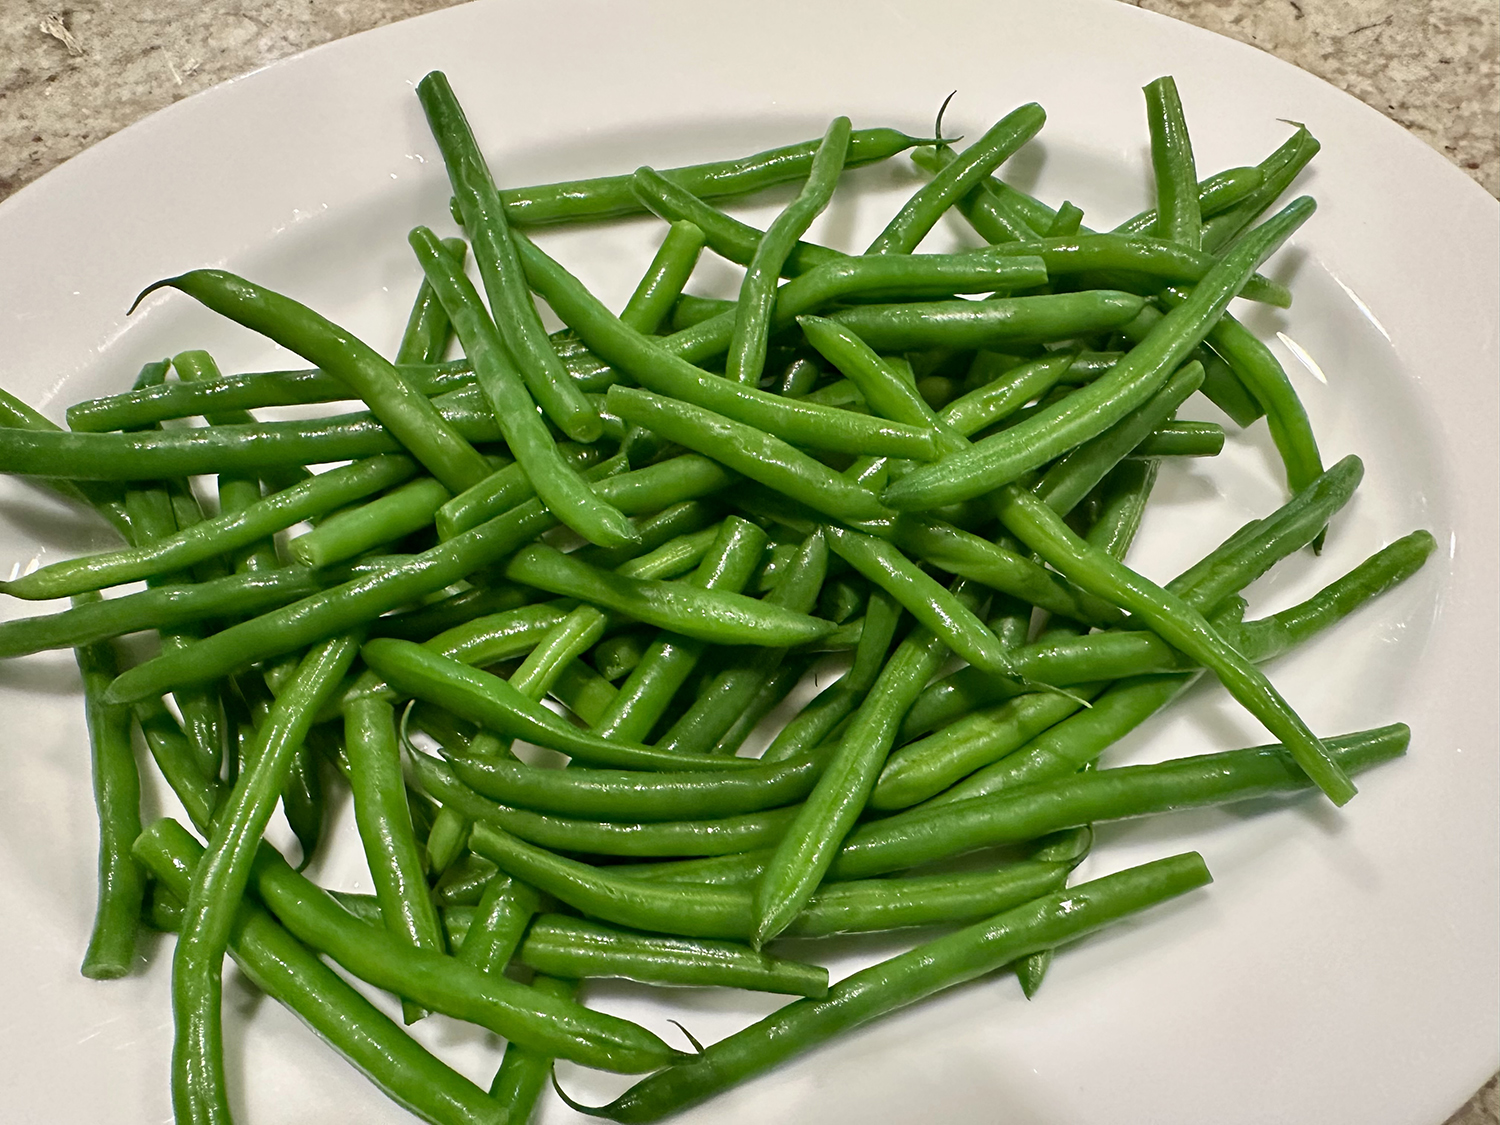
Finish and serve. Drain the green beans well and transfer to a serving platter. Pour the dressing all over the beans and toss gently. Garnish with the crispy garlic and serve.
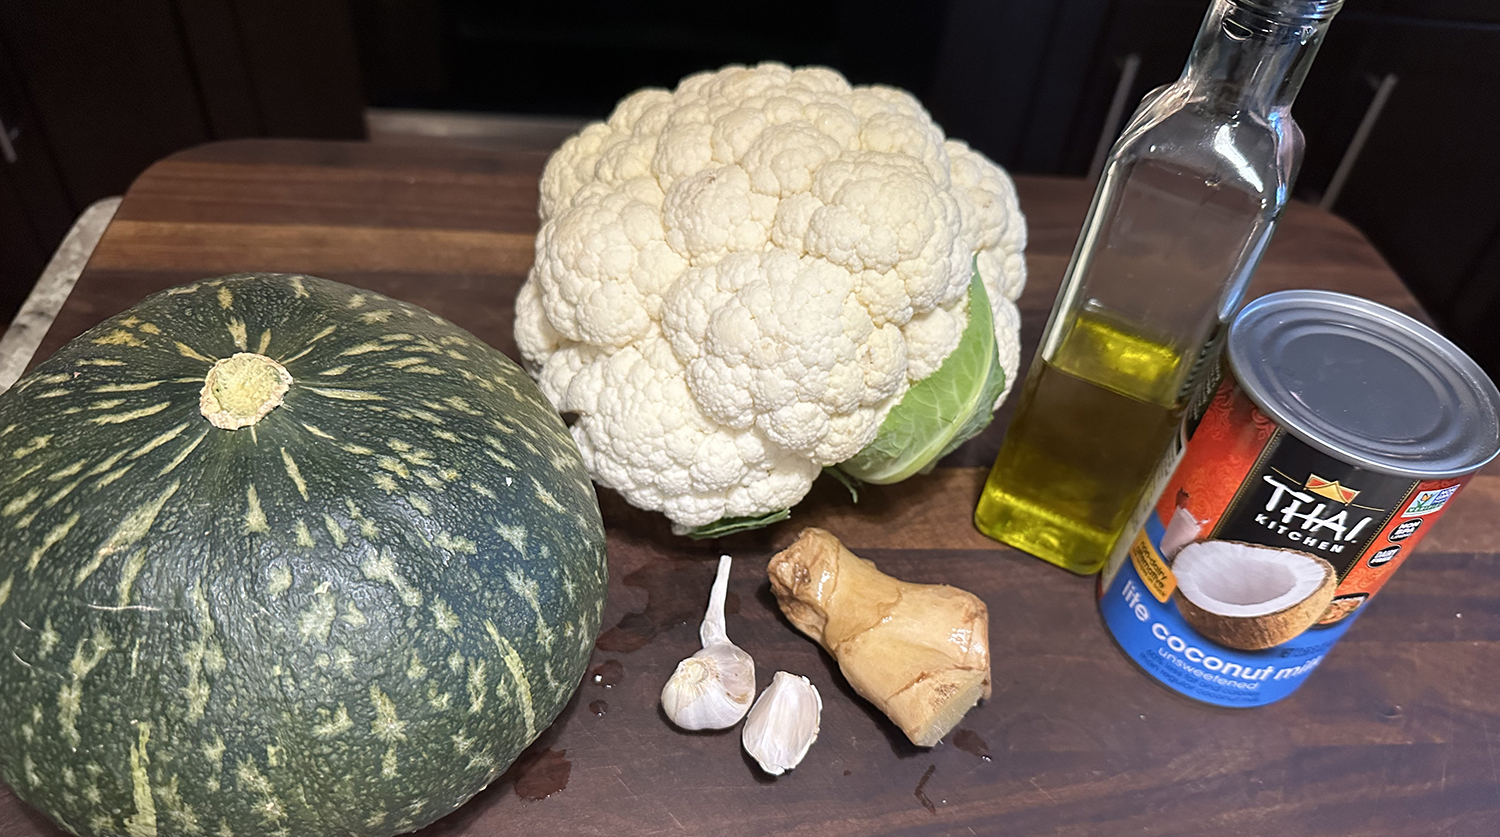
This dairy-free mash allows for everyone at the table to take a scoop no matter what the dinner may be. Kabocha squash and cauliflower blend seamlessly with creamy coconut milk and minced ginger. The resulting dish is a luscious, Asian-inspired alternative to mashed potatoes—without a speck of cream or butter in sight.
While it suggests to use a ricer, and we did, it’s probably easier to just use a hand mixer. Can’t find, or not a fan of Kabocha squash? Acorn or butternut squash would work just as well.
2 ½ lbs. kabocha squash (from 1 medium), halved, peeled, seeded, and cut into 2-inch pieces
Kosher salt and freshly ground pepper
2 lbs. cauliflower (from 1 medium), cored and cut into large florets
¼ cup extra-virgin olive oil
2 tsp. minced fresh ginger (from a 1-inch piece)
2 tsp. minced garlic (from 2 cloves)
¾ cup light coconut milk
Chicken or vegetable broth, or water, if needed
Directions
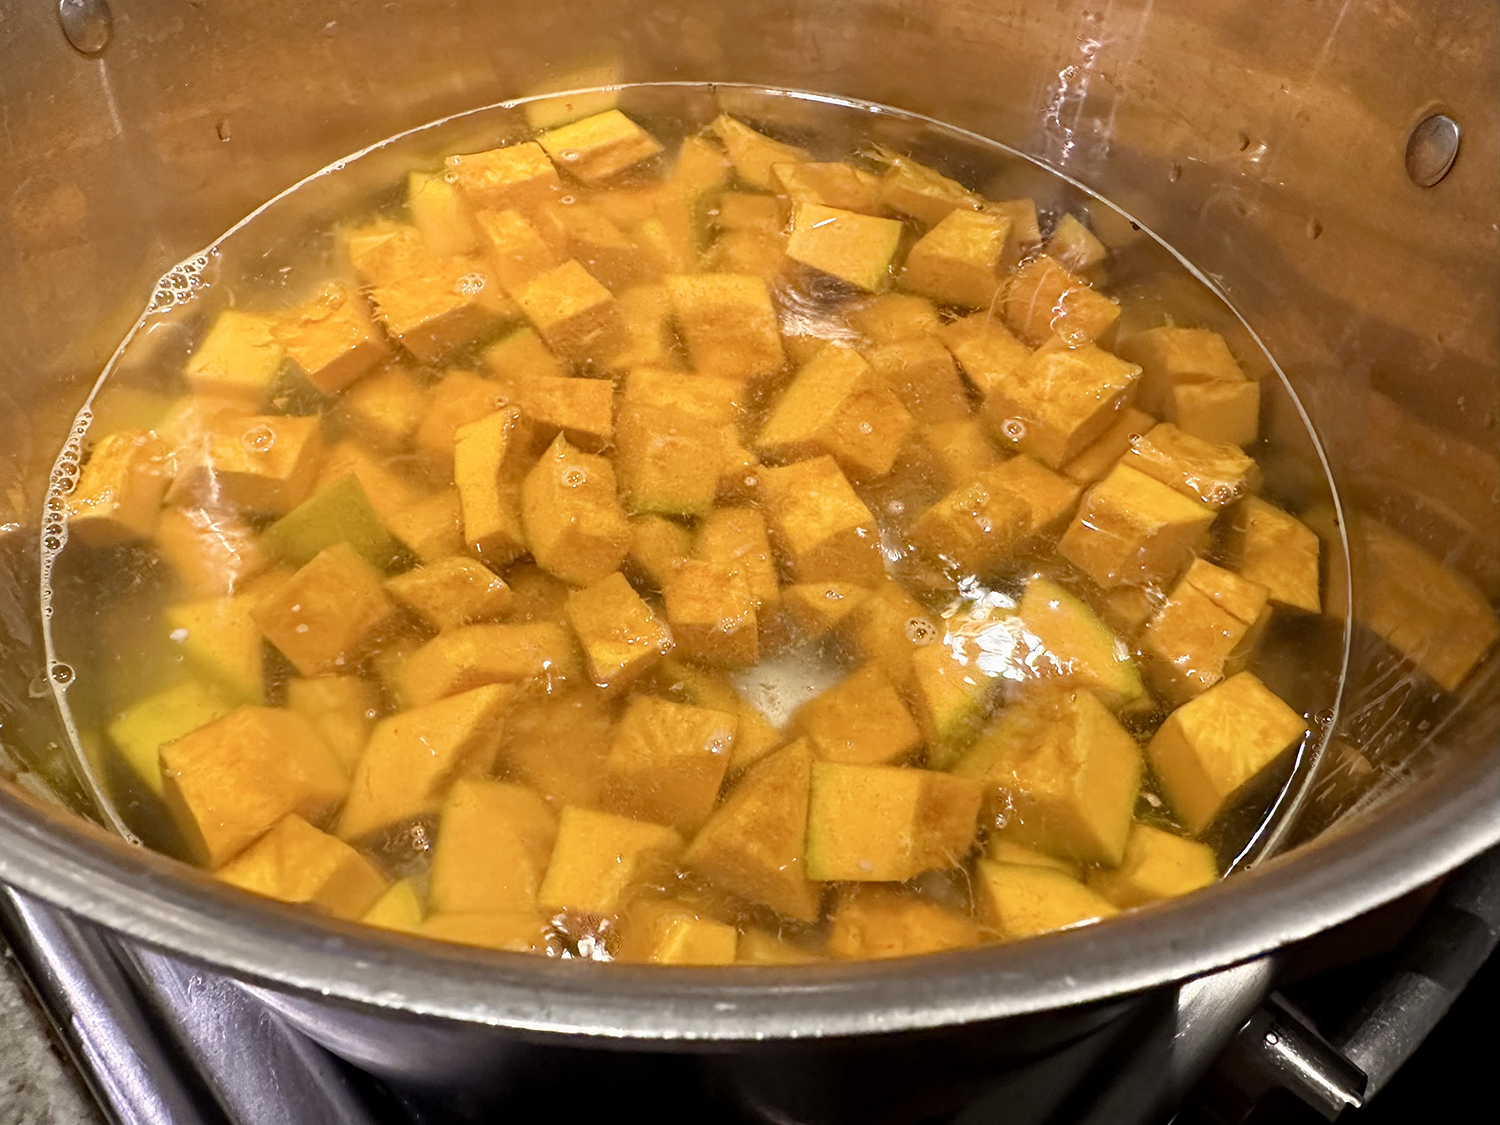
Cook squash in a large pot of simmering (not boiling) salted water 6 minutes. Add cauliflower; continue simmering until vegetables are very tender, 10 to 12 minutes more.
Drain, then return vegetables to pot. Cook over medium heat, stirring frequently, until vegetables appear dry and a film forms on bottom of pot, 3 to 4 minutes.
Pass vegetables through a ricer, food mill, or chinois strainer; cover to keep warm.
Heat oil in a saucepan over medium. When it shimmers, add ginger and garlic; cook until fragrant and sizzling, about 30 seconds. Add coconut milk; season with salt and pepper. Bring to a simmer, then remove from heat and stir into vegetable mixture until smooth.
If mash is too stiff, add broth, coconut milk, or water, a few tablespoons at a time. Season with salt and pepper and serve warm.
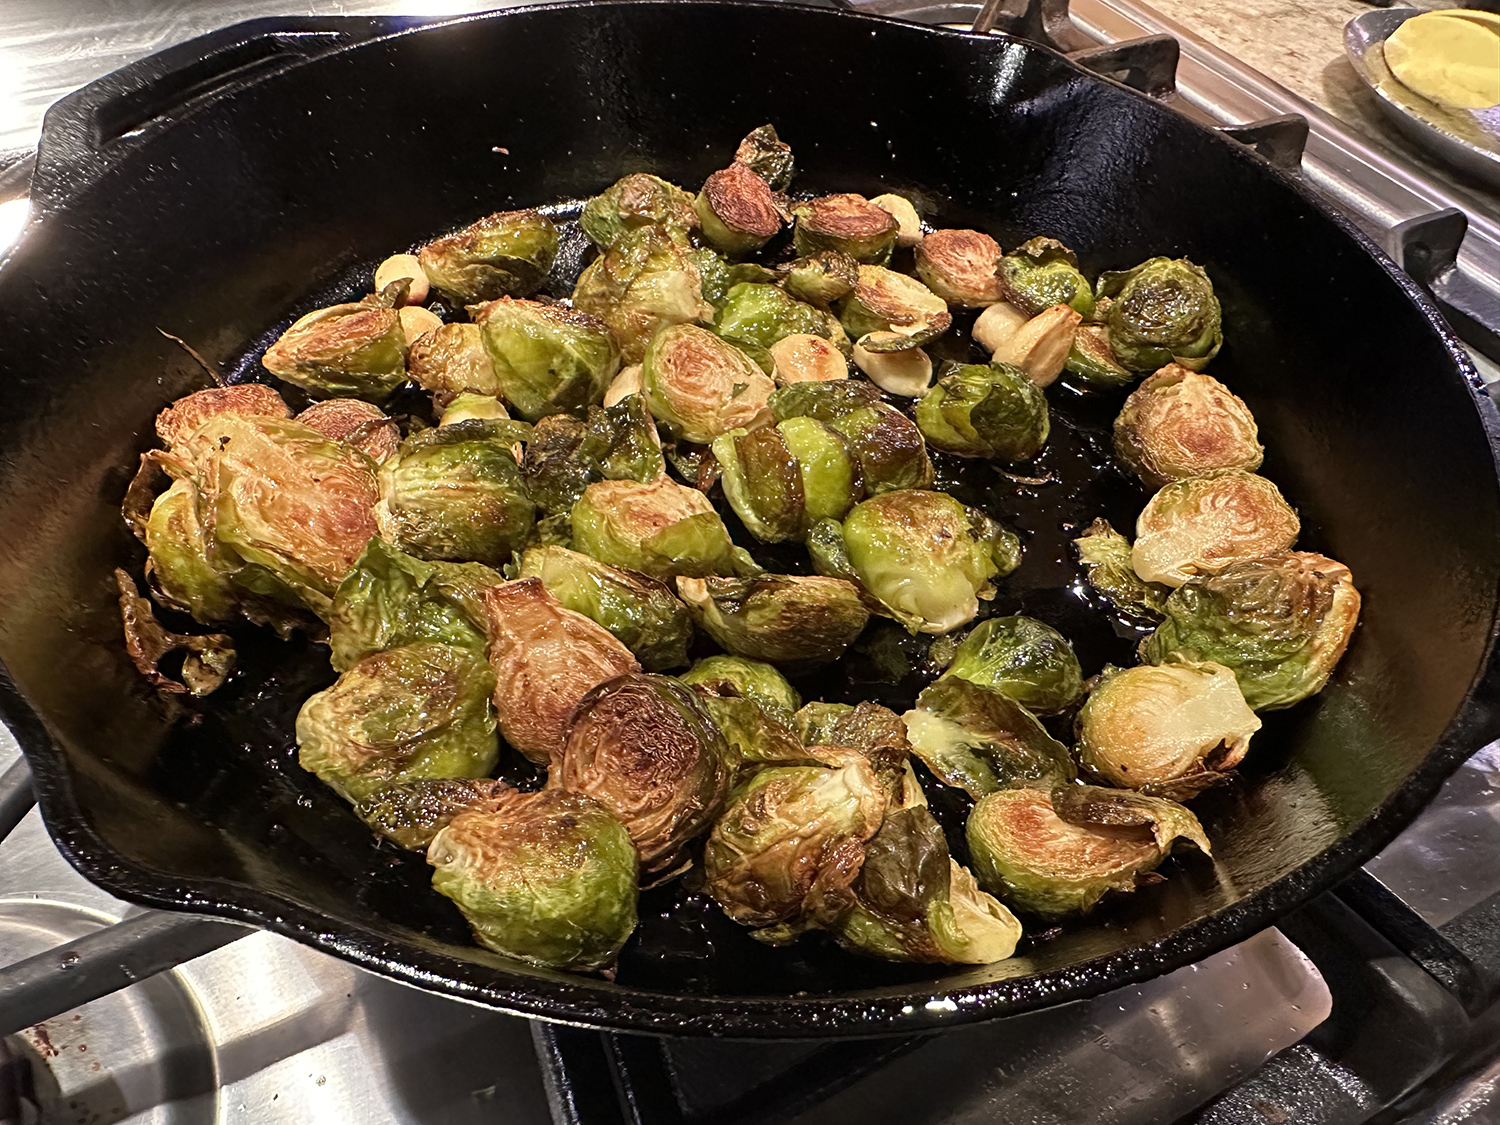
So easy, yet so elegant. This recipe for roasted Brussels sprouts from Mark Bittman is an ATK popular version and is perfect as a holiday side dish. If you haven’t yet figured out a go-to recipe, this simple preparation is the answer. It results in sweet caramelized Brussels sprouts which is sure to satisfy just about anyone.
Use oven-safe cast-iron pan, as noted above.
Getting sprouts brown is important to avoid bitter taste.
Smaller quantity of large, hand-selected sprouts is better than big bag of assorted sprouts.
Don’t cook more than can fit in pan with cut side down.
4-6 Tbsp extra virgin olive oil, to coat bottom of pan
5 cloves garlic, peeled salt and pepper to taste
1 Tbsp. balsamic vinegar (maybe less, to taste)
Directions
Heat oven to 400°F. Trim bottom of Brussels sprouts, and slice each in half top to bottom. Heat oil in cast-iron pan over medium-high heat until it shimmers; put sprouts cut side down in one layer in pan. Put in garlic, and sprinkle with salt and pepper.
Cook, undisturbed, until sprouts begin to brown on bottom, and transfer to oven. roast for 10-20 minutes at 400°F with a few shakes of the pan in between..
Taste, and add more salt and pepper if necessary. Stir in (CAREFUL, NOT TOO MUCH) balsamic vinegar, and serve hot or warm.
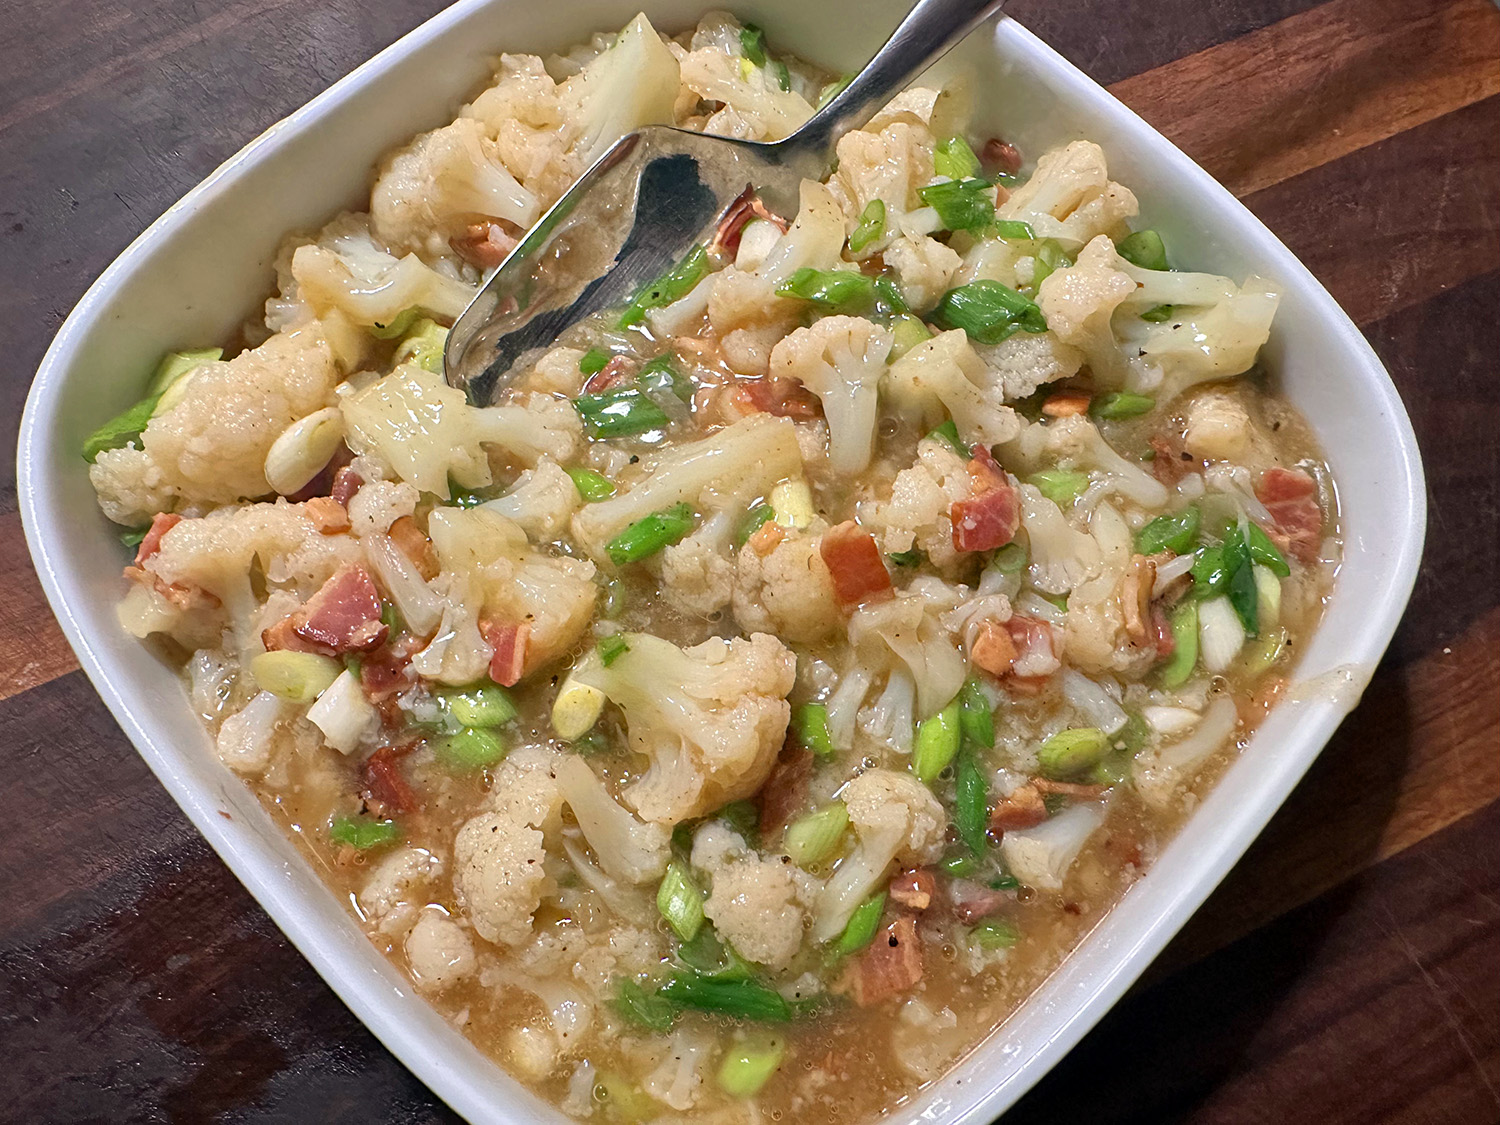
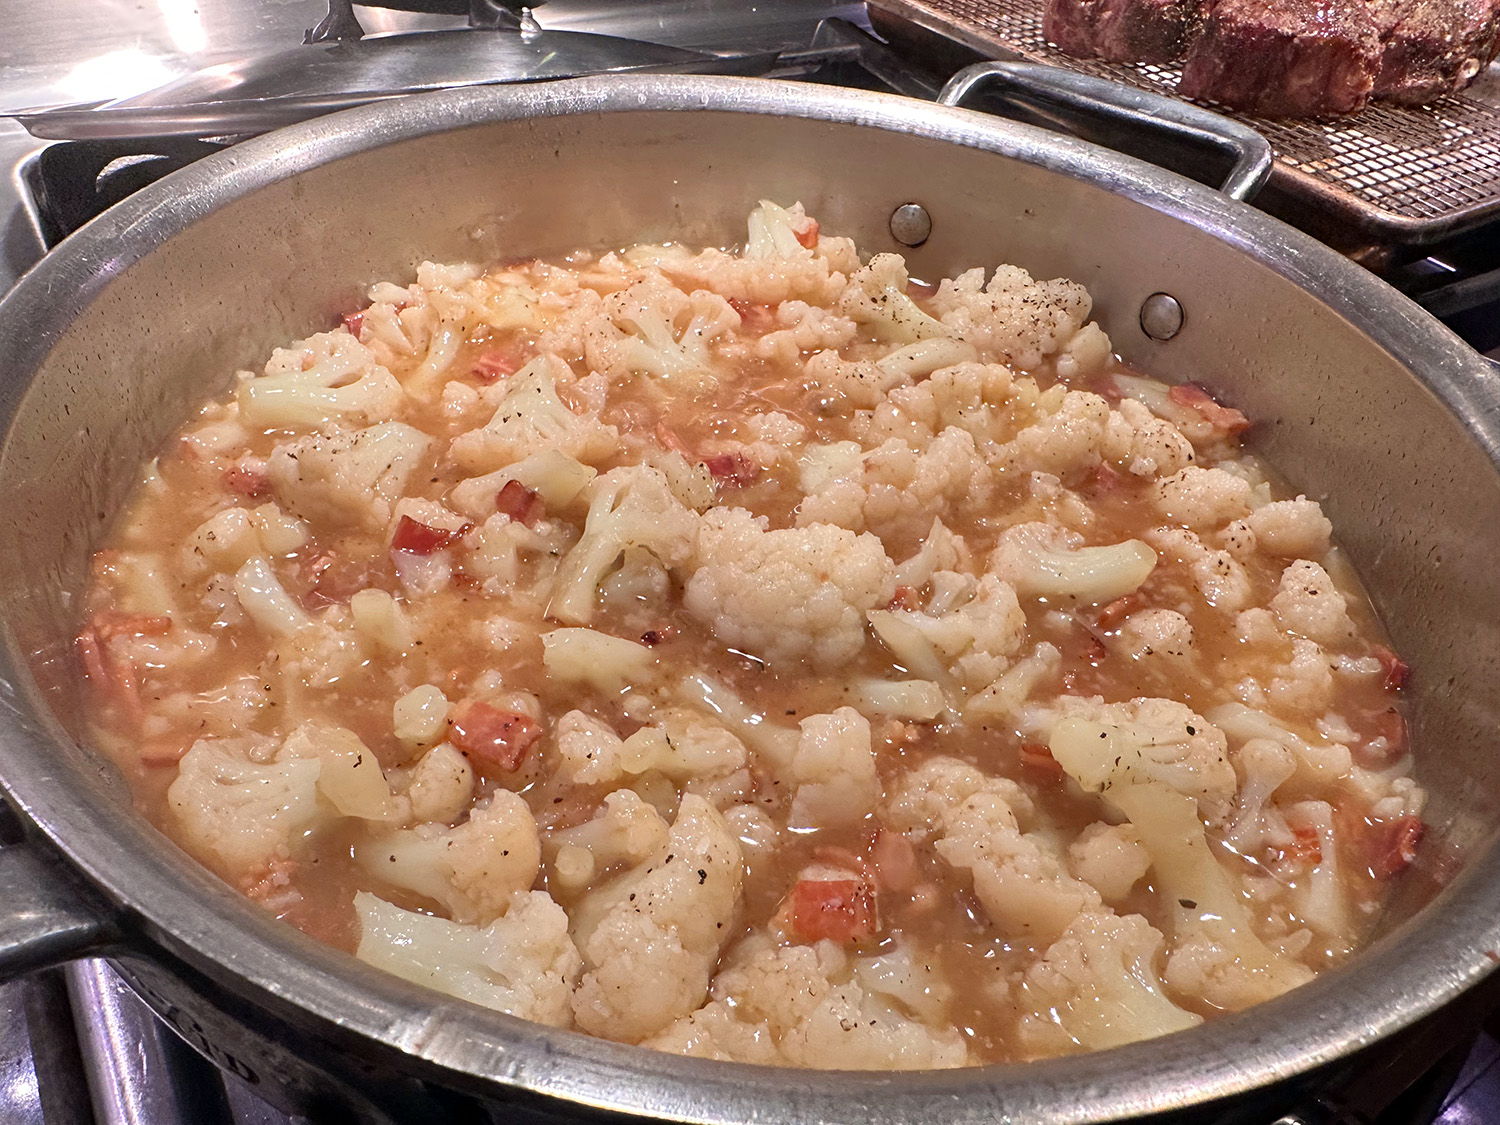
Looking for a unique and tasty side dish? Cauliflower tends to be quite bland on its own, but perks up when seasoned with any number of different flavorings. Known as the chameleon of the culinary world, cauliflower adapts well to everything from “rice” to pizza crusts. But no matter how you use it, the key is pairing it with high impact ingredients.
Here, salty, smoky bacon and lightly toasted garlic bring loads of flavor to cauliflower simmered in chicken broth. At the end of cooking, the broth is thickened with a cornstarch slurry to create a velvety sauce. A full bunch of scallions, thinly sliced and stirred in to finish, adds punchy allium flavor.
According to Milk Street, this method gently—and quickly—cooks the chopped veggie, ensuring the pieces are toothsomely tender. As the ingredients mingle, complex layers of savory, sweet and vegetal permeate all the nooks and crannies of the florets. To finish the dish, a smattering of chopped scallions rounds out the flavors, balancing the savory notes with oniony freshness.
In the end, while the flavor profile was spot on, we both thought that it was too liquidy, more soupy if you will. The ingredients list below is adjusted to reflect cutting back the amount of broth and corn starch by half. This should give the cauliflower more of a glaze than a broth.
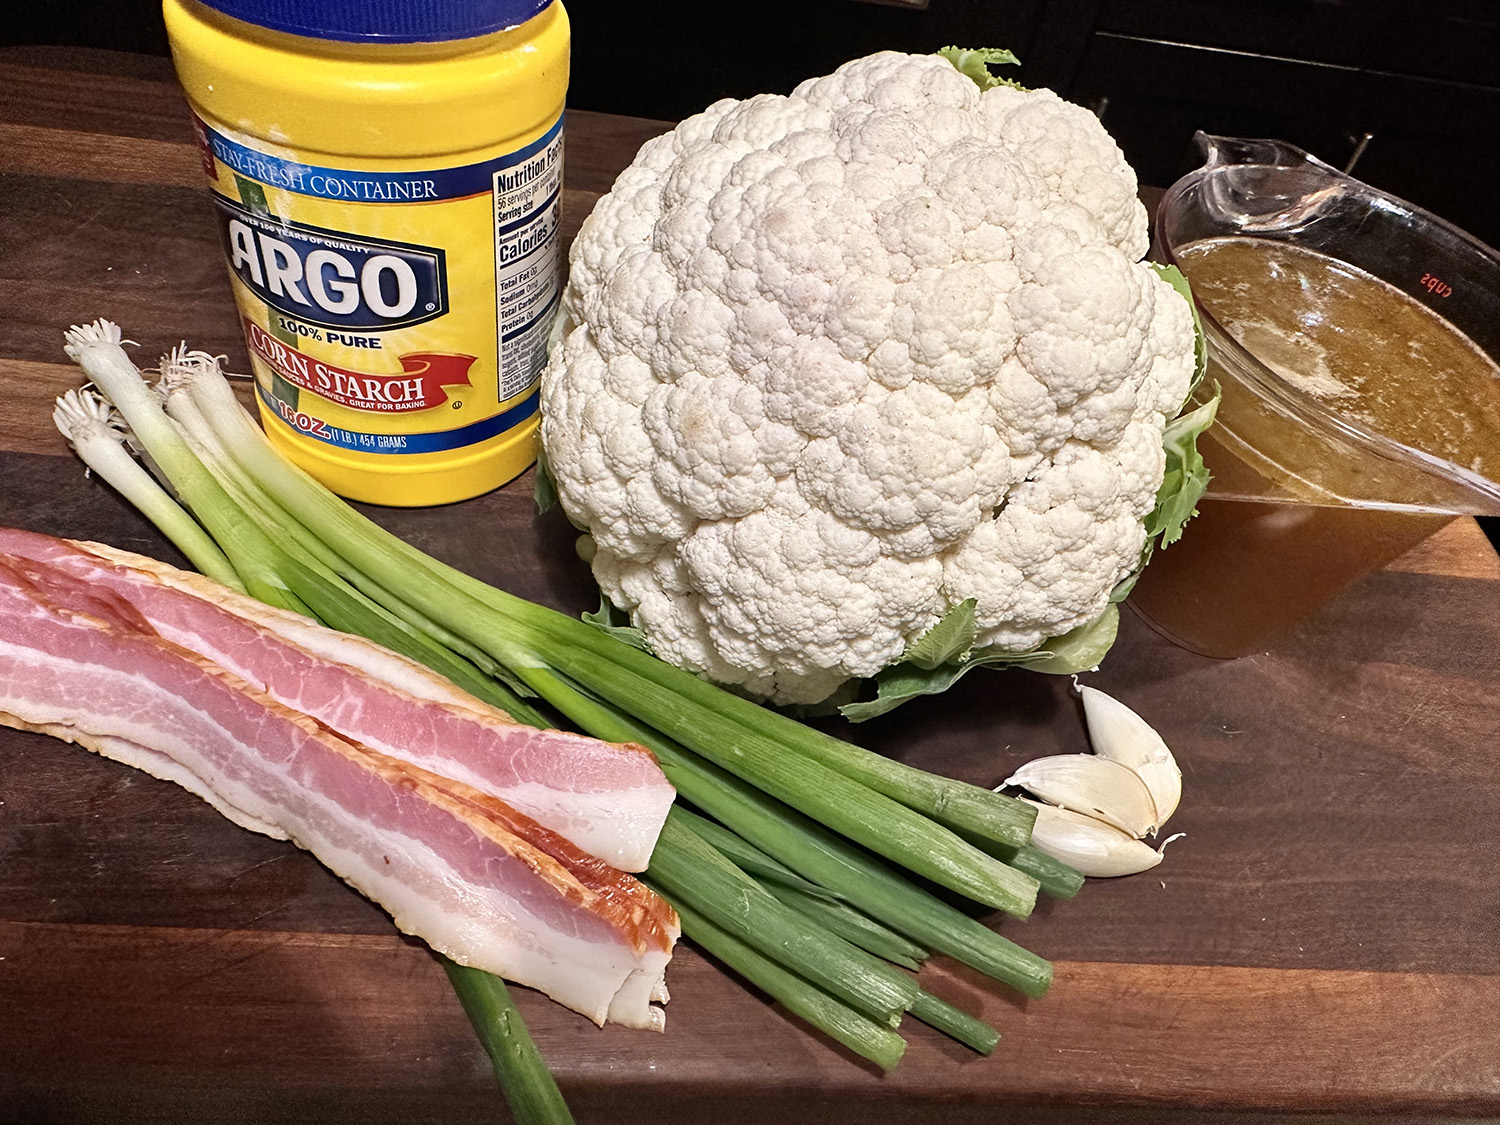
4-6 oz. thick-cut bacon, cut crosswise into ½-inch pieces
3 medium garlic cloves, thinly sliced
1 2- to 2½-lb. head cauliflower, trimmed and cut into 1-inch florets
1 cups chicken broth, preferably homemade
1 Tbsp. cornstarch
Kosher salt and ground black pepper
1 bunch scallions, thinly sliced on the diagonal
Optional garnish: Chili oil OR hot sauce
Directions
In a 12-inch skillet, cook the bacon, stirring occasionally, until browned and crisp. Add the garlic and cook, stirring, until lightly browned.
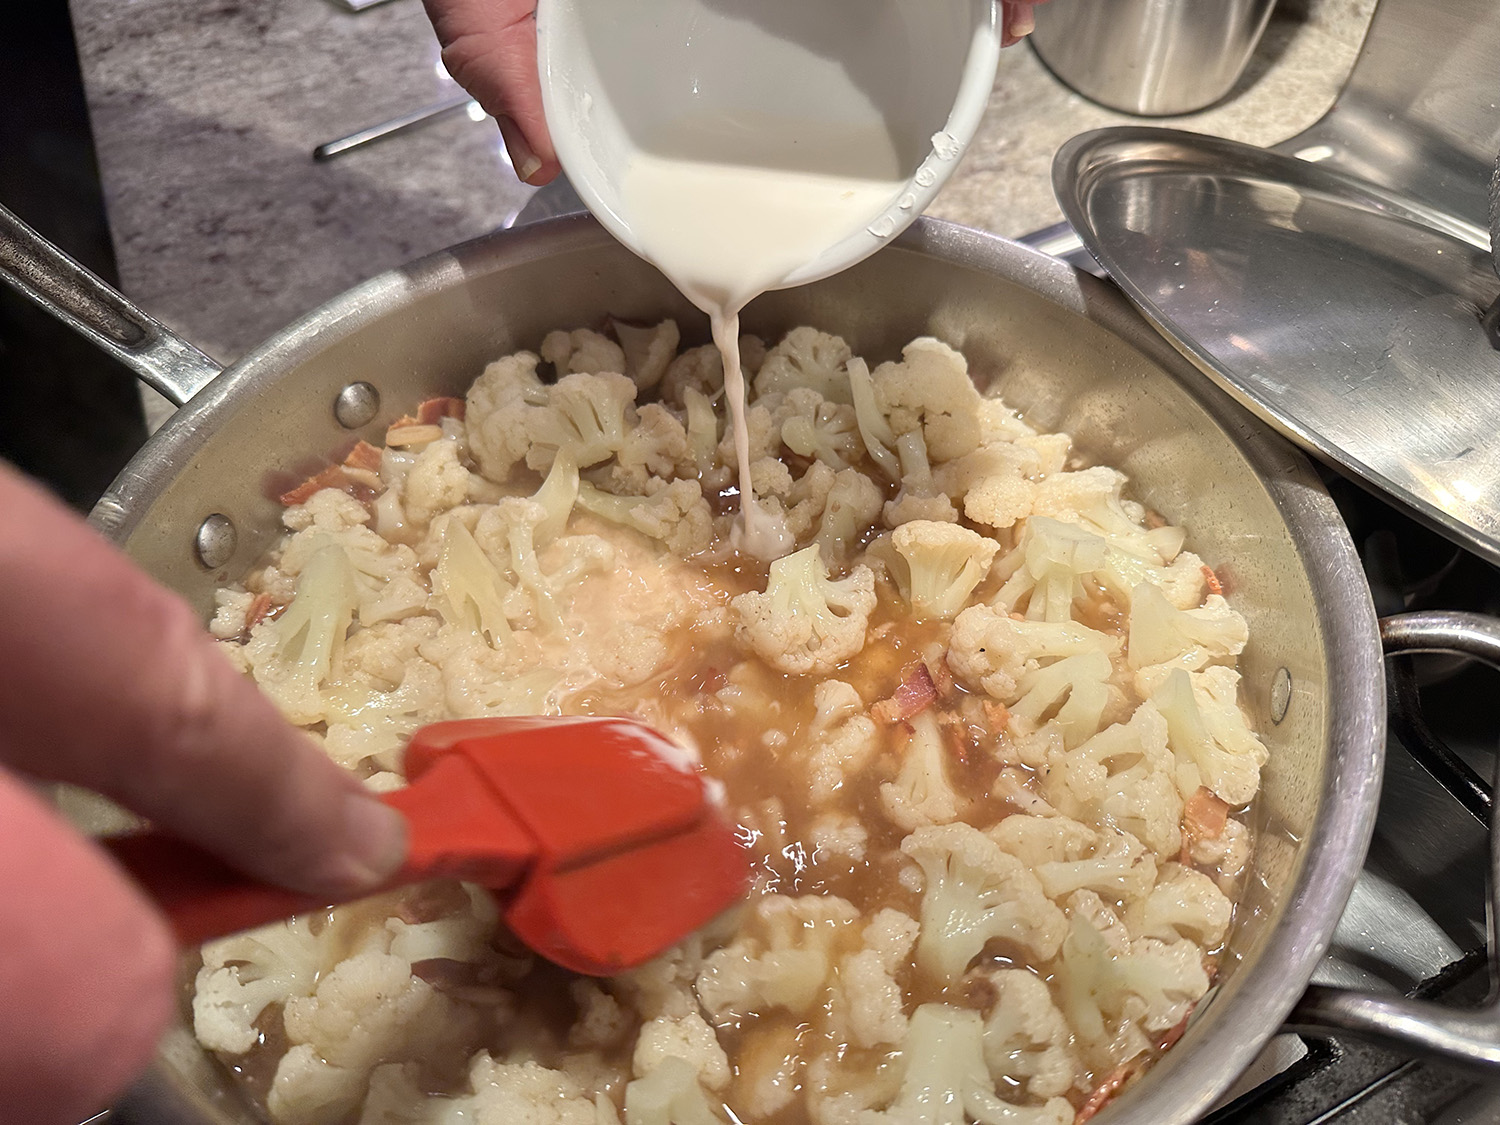
Stir in the cauliflower and broth. Cover, bring to a simmer and cook until the florets are tender.
In a small bowl, whisk together the cornstarch and 1 tablespoon water. Stir the cornstarch slurry into the cauliflower mixture and cook, stirring, until the sauce returns to a simmer and has thickened.
Season with salt and pepper, then stir in the scallions.
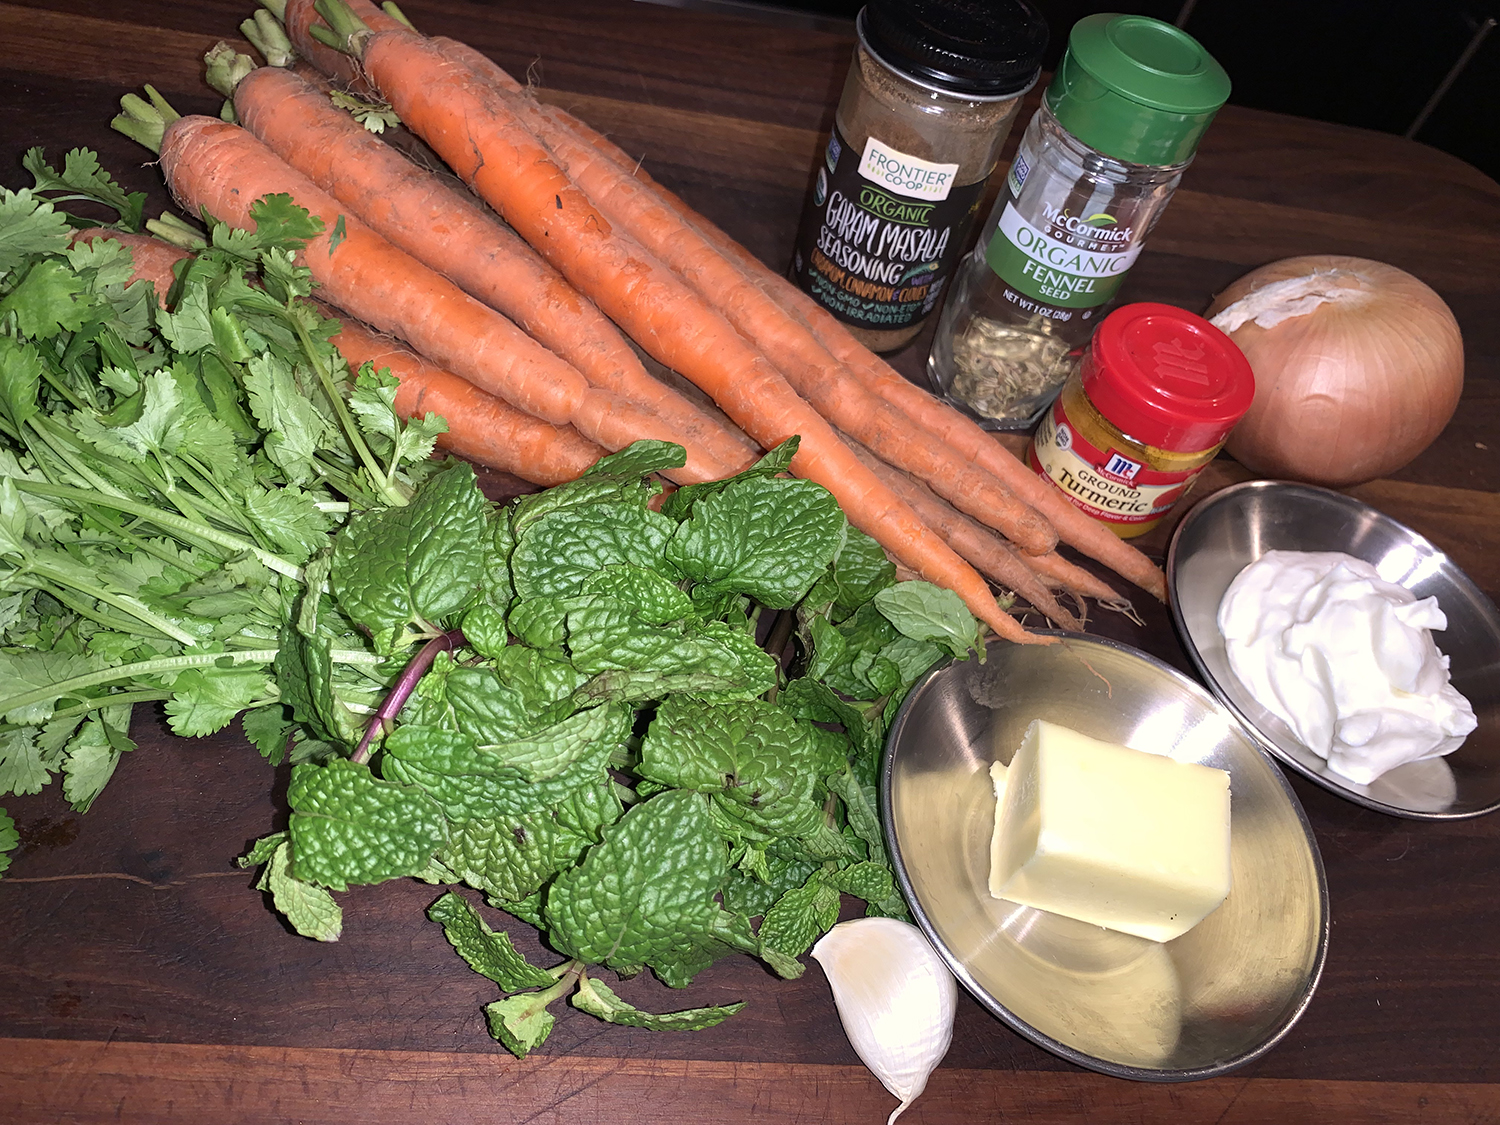
In this tandoori-inspired recipe from Milk Street, garam masala is combined with crushed fennel seed and turmeric for the carrot seasoning. A shallot-infused melted butter topping includes more of the spice mix with fresh cilantro and mint. Full-fat Greek yogurt better facilitates charring due to its lower moisture content.
It is recommended that you buy carrots with their green tops still attached. Even though you discard the greens, they tend to be fresher and on the slimmer side. The greens are super delicious and loaded with nutrients so if you’re not keen on tossing them, consider using them in a variety of ways such as pesto, chimichurri, fritters, or in your homemade vegetable broth.
Don’t forget to coat the baking sheet with cooking spray. The yogurt-covered carrots otherwise will char and stick to the pan. Don’t use large carrots for this recipe. Bunched carrots with tops are thinner and more tender than bagged carrots.
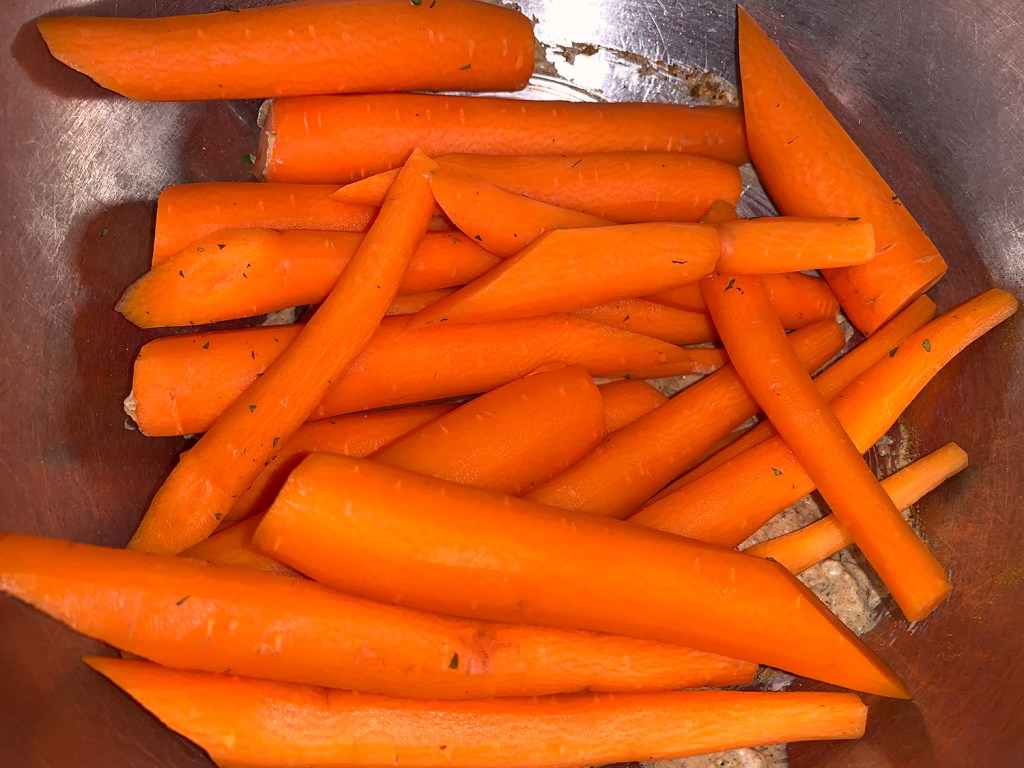
2 bunches carrots with tops (1 lb. total), tops removed and discarded, halved crosswise on a sharp diagonal
4 Tbsp. salted butter
1 small shallot, finely chopped
1 medium garlic clove, finely grated
1/3 cup lightly packed fresh cilantro, chopped
1/3 cup lightly packed fresh mint, chopped
Directions
Heat the oven to 500°F with a rack in the middle position. Mist a rimmed baking sheet with cooking spray.
In a small bowl, mix together the garam masala, fennel, turmeric and ½ teaspoon each salt and pepper. In a large bowl, mix the yogurt with 4 teaspoons of the spice mix. Add the carrots and toss to coat. Distribute the carrots in an even layer on the prepared baking sheet.
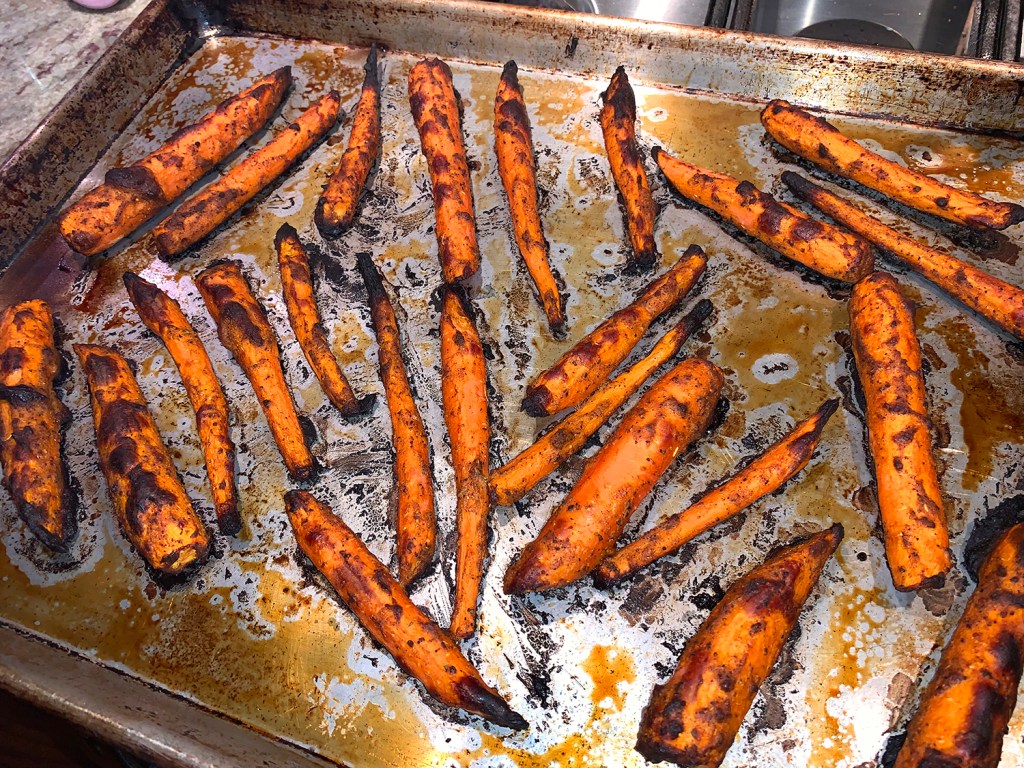
Roast until well charred and a skewer inserted into the carrots meets no resistance, 25 to 30 minutes; stir the carrots once about halfway through.
Meanwhile, in an 8-inch skillet over medium, melt the butter. Add the shallot and garlic, then cook, stirring, until beginning to brown and crisp, 3 to 5 minutes.
Add the remaining spice mix and cook, stirring, until fragrant, 30 to 60 seconds. Remove from the heat and set aside.
When the carrots are done, add the spiced shallot mixture, cilantro and mint directly to the baking sheet and toss with tongs. Taste and season with salt and pepper, then transfer immediately to a serving platter. NOTE: Don’t let them stay on the baking sheet which will char the tender herbs and onions. Cover with foil if your other dishes are not ready.
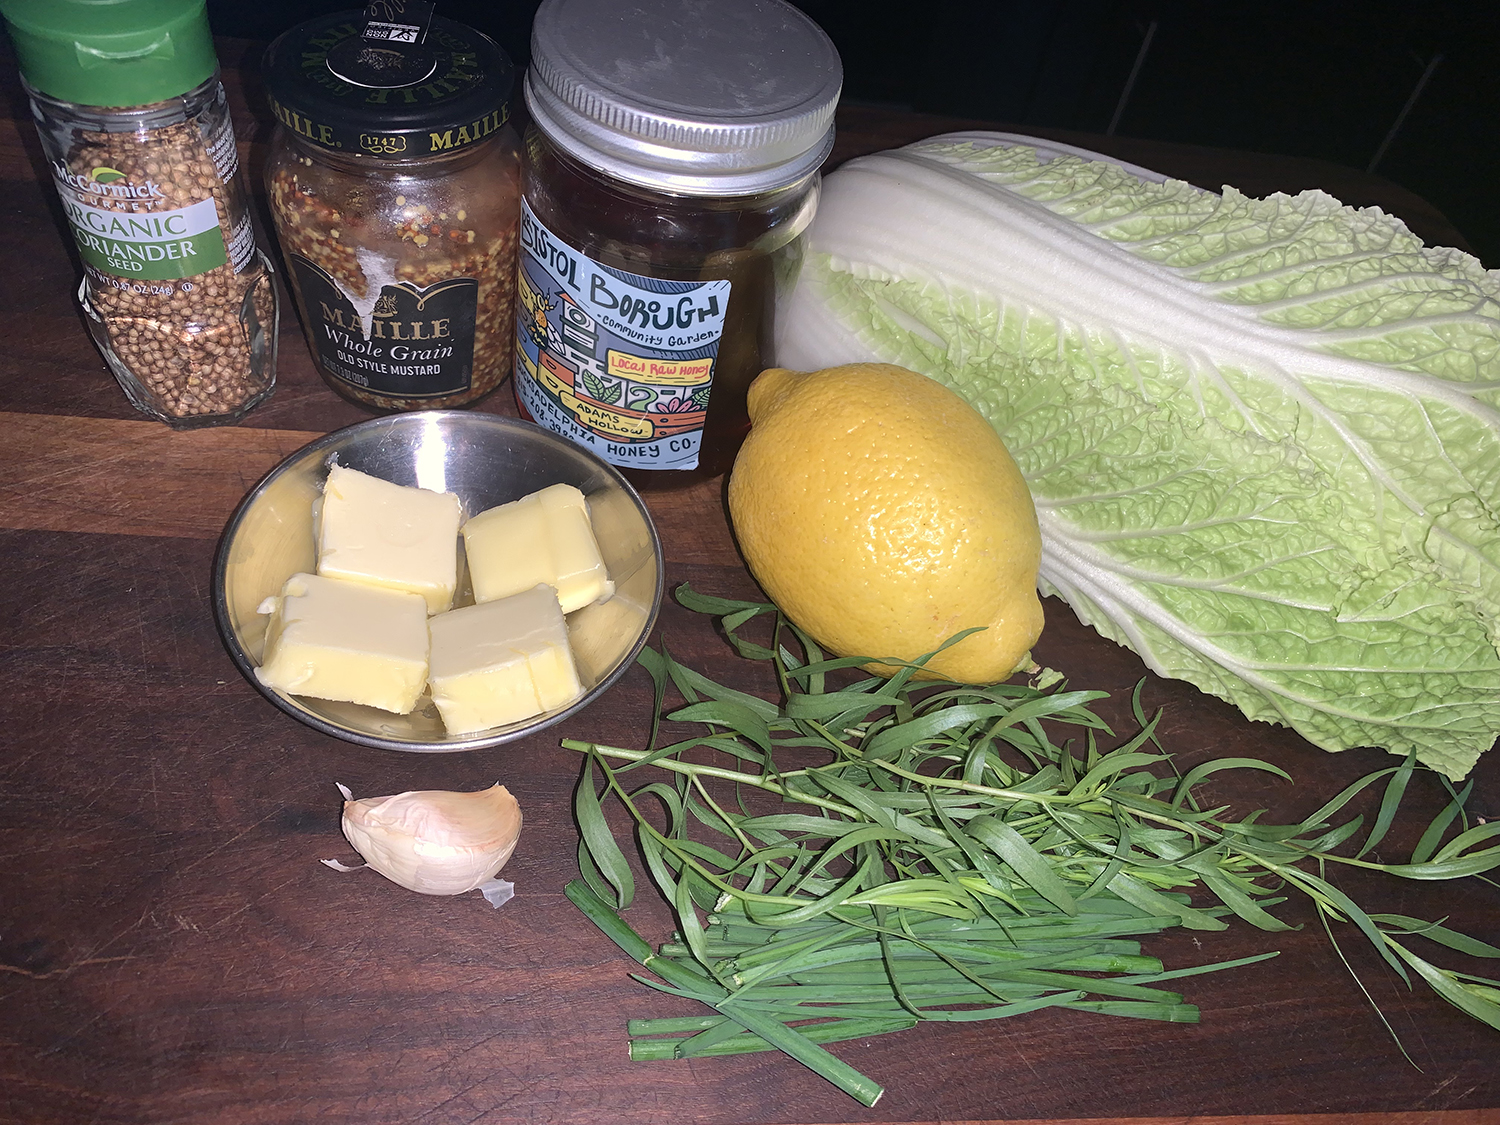
An interesting twist that elevates humble cabbage into something special. Softened butter is rubbed on edges of a cut head and then sprinkled with a fragrant combination of citrus zest, garlic and coriander. As the wedges roast, the exterior leaves become deeply browned and crispy, while the interior remains silky, sweet and tender. A bright, citrusy dressing completes the dish.
This side dish was born out of necessity. We were a few short days away from leaving for vacation, thus trying to use up any food that might spoil before we got back home. In our auxiliary refrigerator was a half-head of savoy cabbage which prompted us to look in our copy of Milk Street’s Vegetables cookbook for an appropriate recipe.
We had every ingredient on hand except for the hazelnuts (which is omitted in the list below) and decided to make it anyway, forgoing any nuts altogether. Since the half-head was just shy of 2 pounds, we kept all of the other staples at full value. As far as the herbs, we used a combination of chives and tarragon freshly picked from the garden.
NOTES: Don’t forget to allow the butter to soften. Make sure to line the baking sheet with foil (which I forgot to do).
1 tsp. grated grapefruit OR lemon zest, plus a 1/2 cup of its juice
Kosher salt and ground black pepper
4 Tbsp. salted butter, cut into 1-tablespoon pieces and softened
2-lb. head of savoy OR napa cabbage, tough outer leaves removes, quartered
2 Tbsp. whole grain mustard OR Dijon mustard
2 tsp. honey
2 Tbsp. chopped fresh tarragon OR fresh chives OR fresh flat-leaf parsley OR a combination
Directions
Heat the oven to 475°F with a rack in the middle position. Line a rimmed baking sheet with foil.
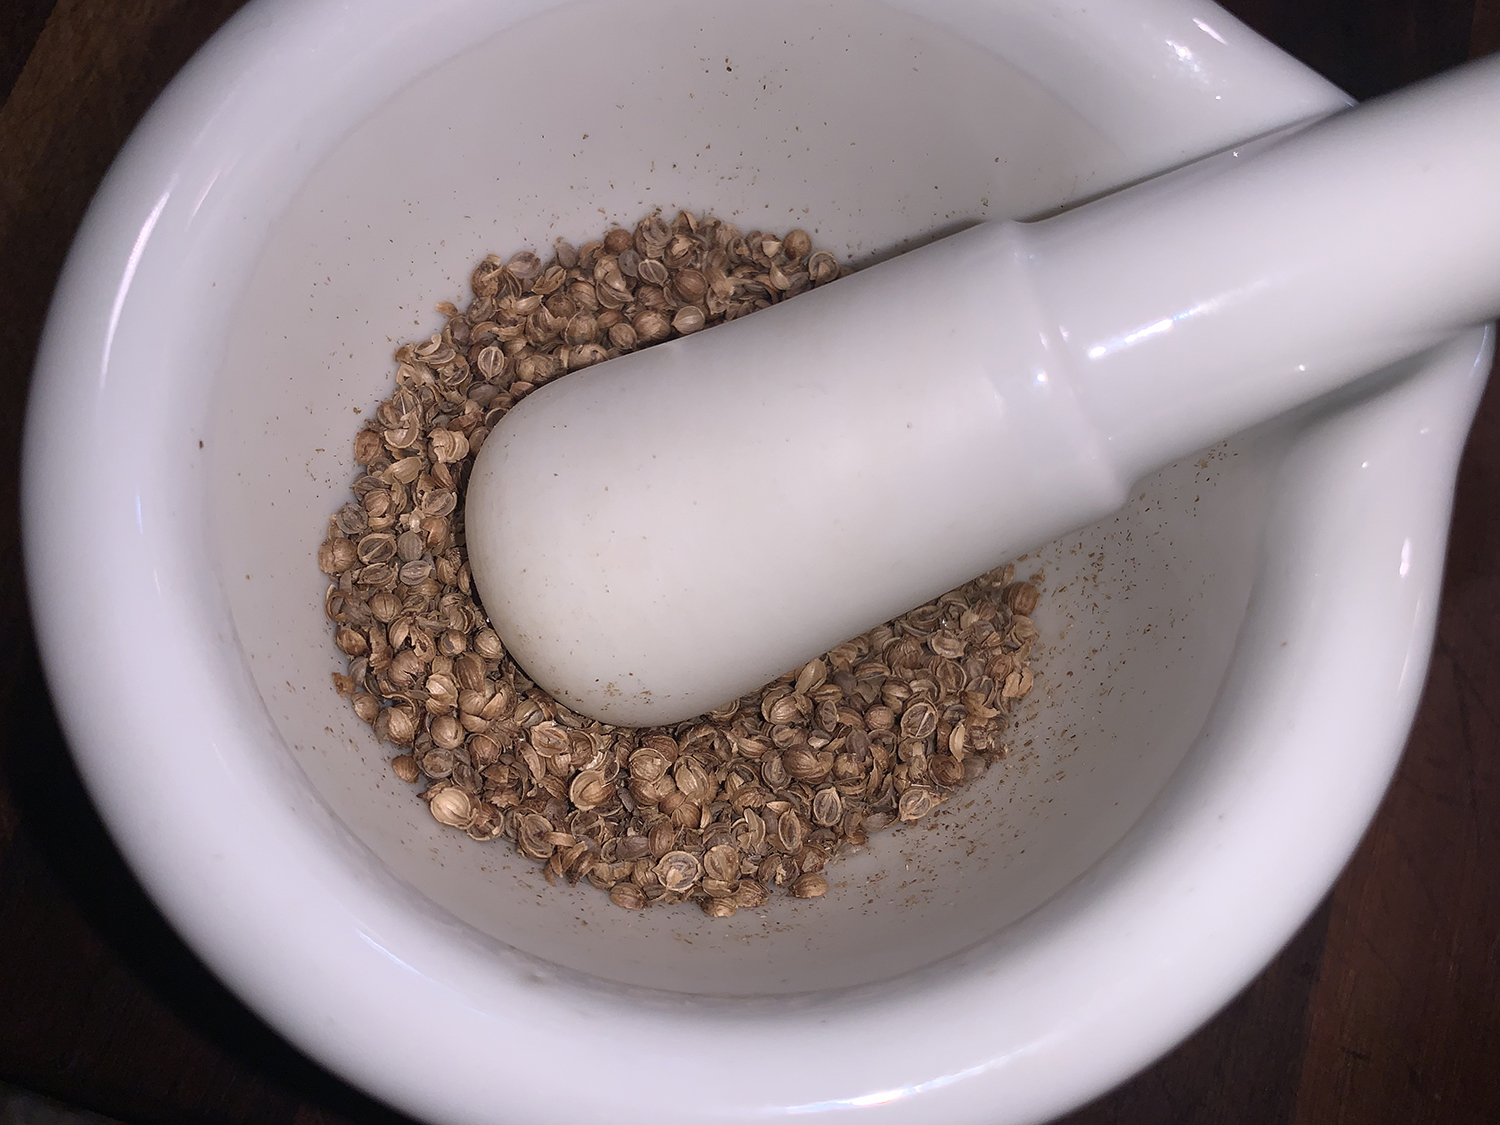
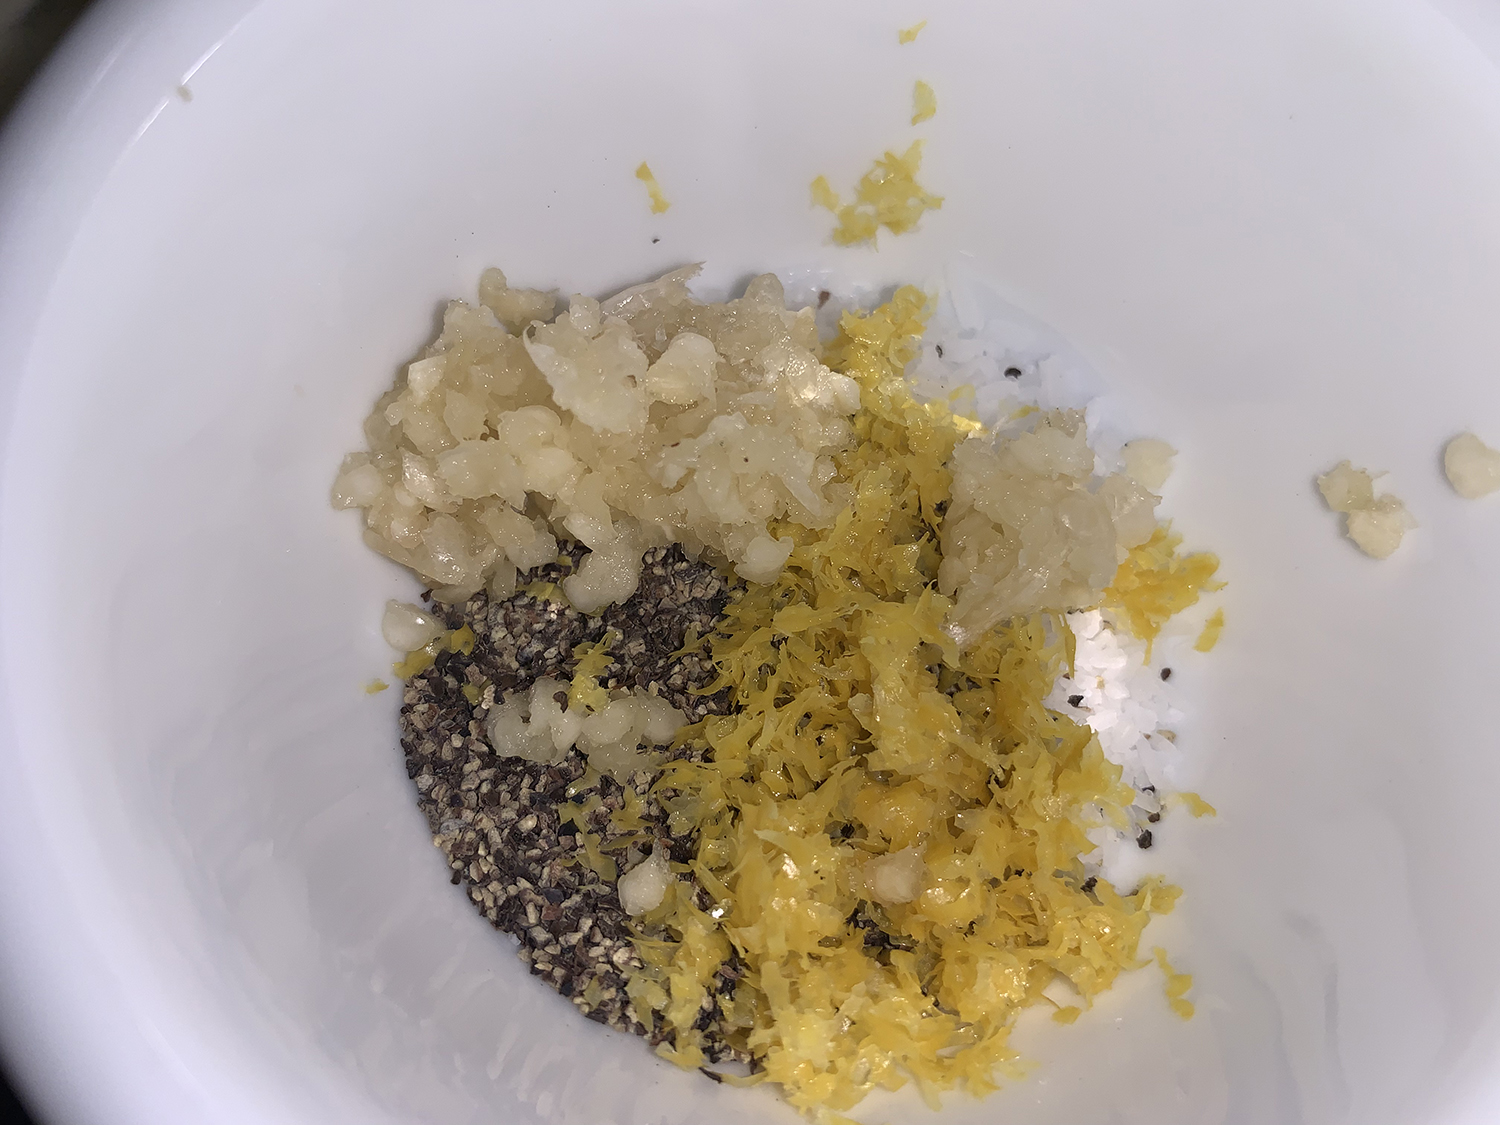
In a small bowl, stir together the coriander, garlic, zest and 1/4 teaspoon each of salt and pepper.
Using your hands and 1 tablespoon of butter per cabbage wedge, rub the butter on all sides and into the layers. Sprinkle the wedges evenly with the spice mixture, rubbing it in to adhere, reserve the bowl.
Place cabbage wedges cut side down on the prepared baking sheet. Cover tightly with foil and roast until a skewer inserted into the thickest part meets little resistance, 20 to 30 minutes.
Uncover the baking sheet and roast until the cabbage is deeply browned on all sides, about 15 minutes more, flipping halfway through.
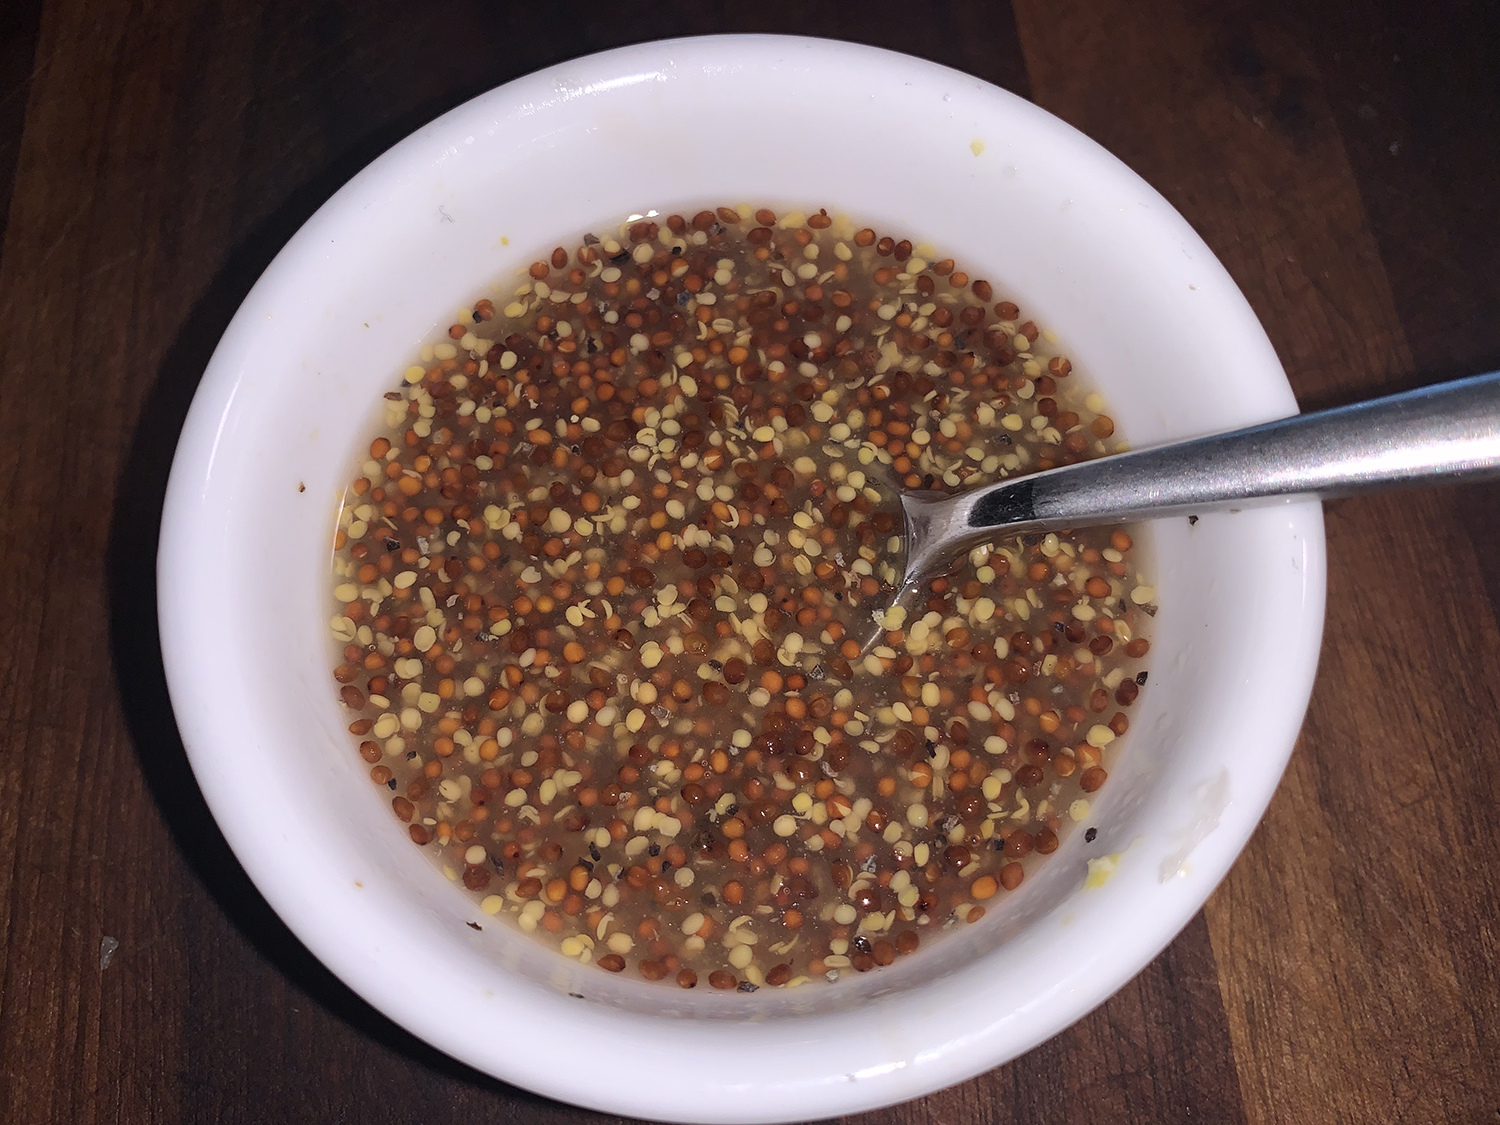
Meanwhile in the reserved bowl, whisk together the citrus juice, mustard, honey, 1/2 teaspoon salt and 1/4 teaspoon pepper. Set aside.
Place wedges on a platter and drizzle each with 1 tablespoon of the sauce. Sprinkle with chopped herbs and serve with any remaining sauce on the side.
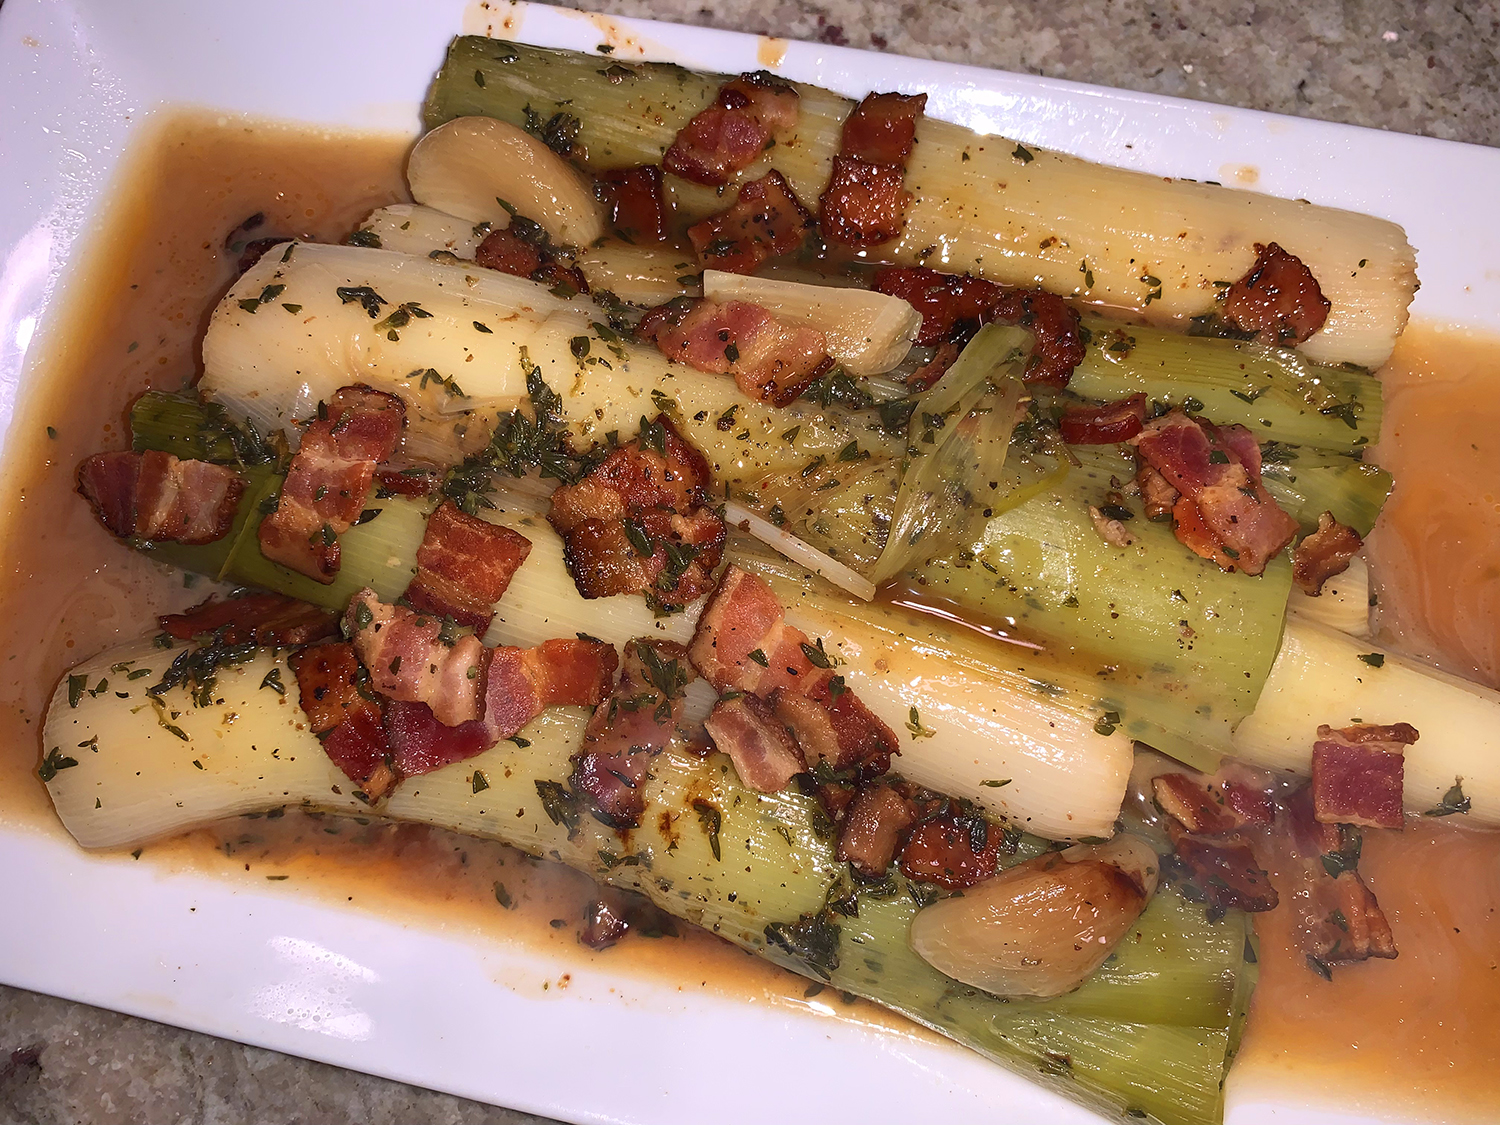
In the allium family, leeks are the tallest and offer the sweet taste of onion but with an earthier, grassy herbal character, and we love them! This first Braised Leeks with Bacon and Thyme recipe hailing from Molly Stevens “All About Braising” cookbook braises the leeks slowly in chicken broth until they collapse into blessed tenderness.
As Molly describes, braising reveals all of their goodness and brings out a complexity of flavor that would be lost by boiling or steaming. They are infinitely versatile and made a perfect accompaniment to our roasted chicken dinner. Serve them hot, warm, at room temperature or even a little chilled. They’ll keep for several days in the refrigerator.
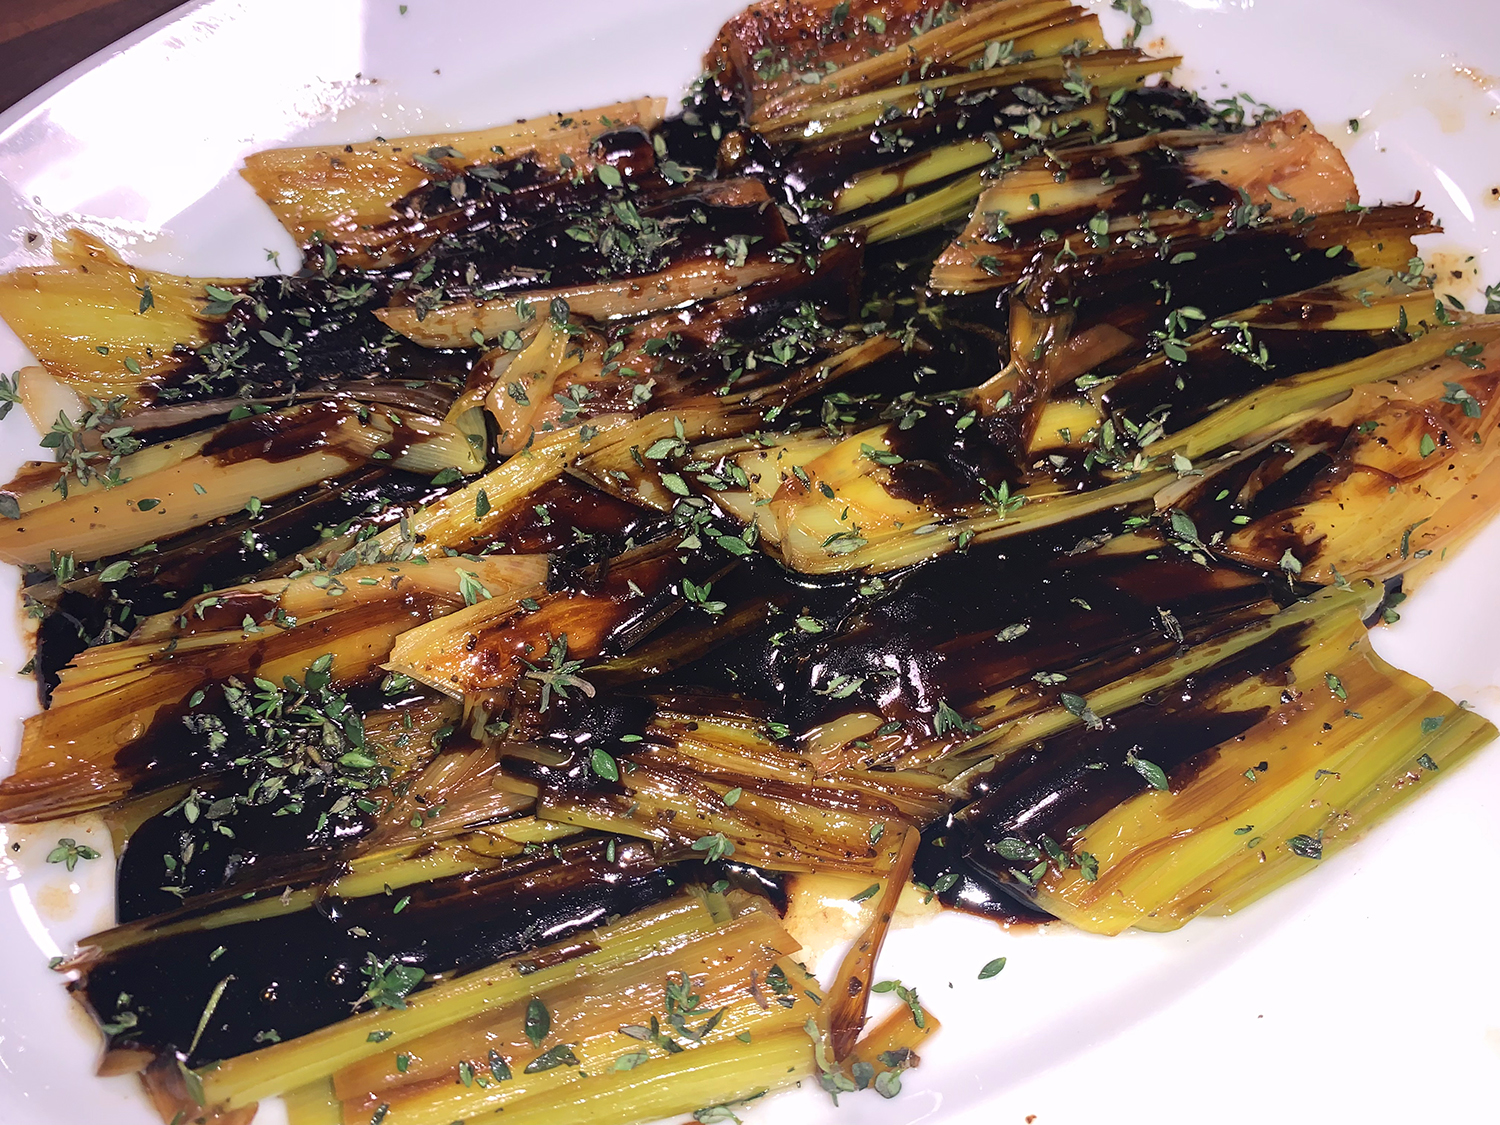
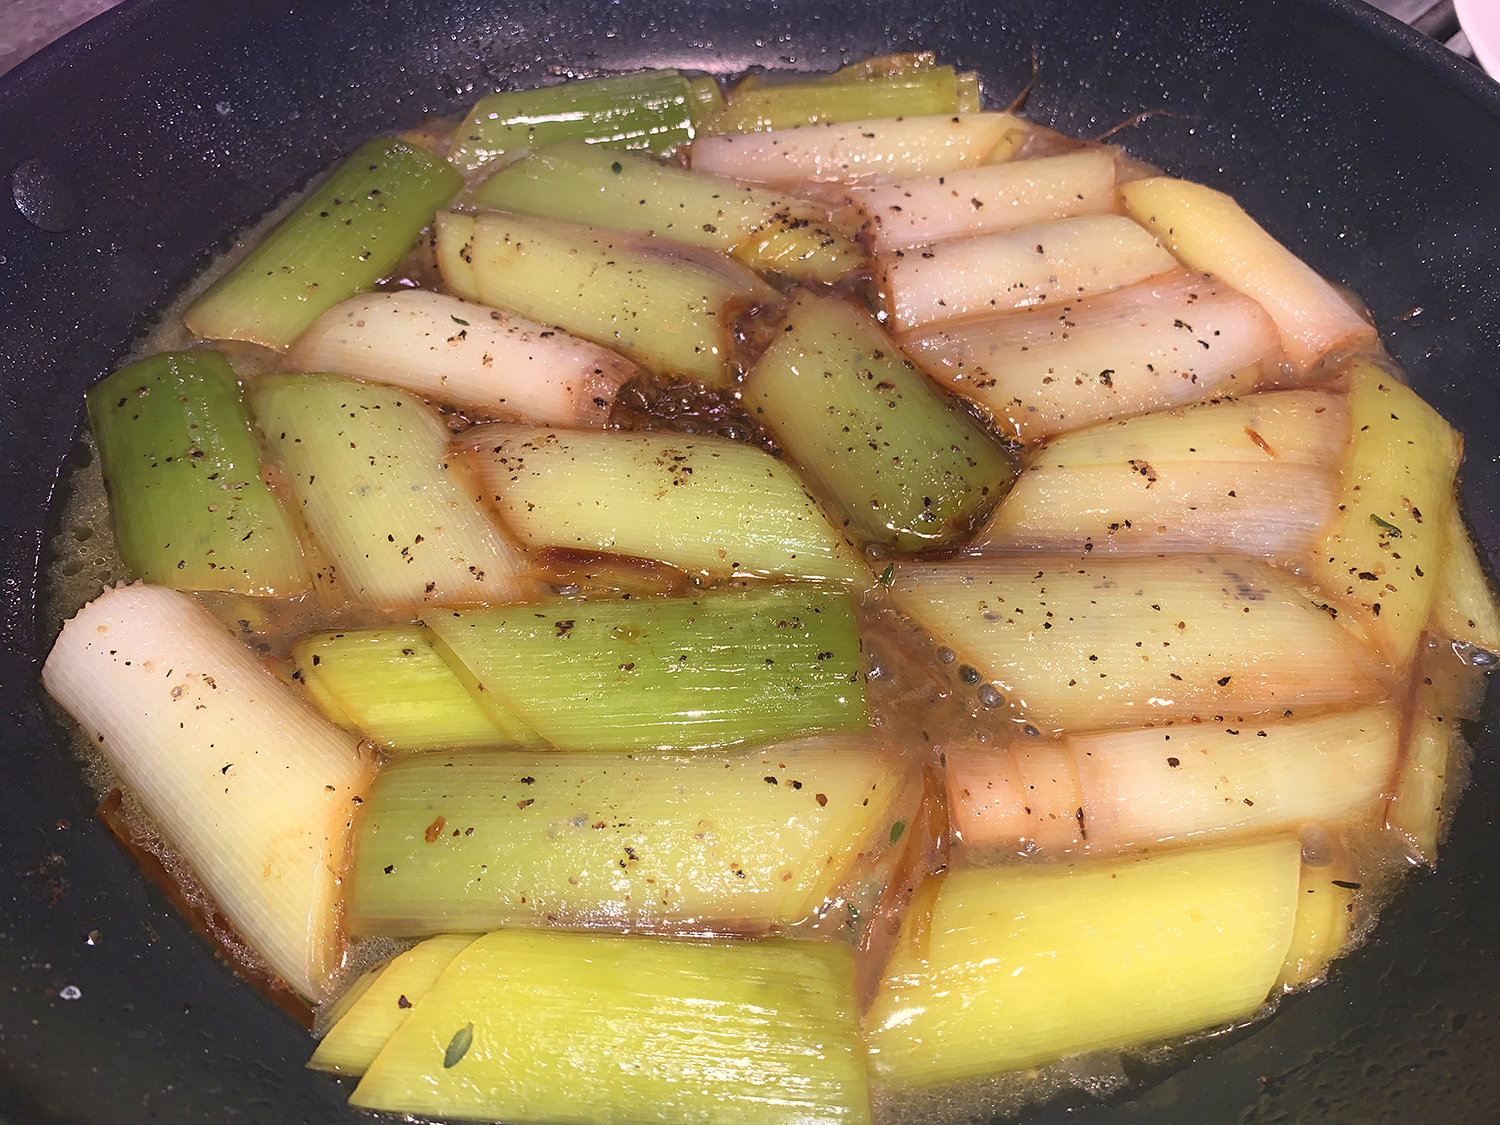
Option number two is a vegetarian dish from Milk Street. Braised Leeks with Balsamic Glaze are meltingly tender. They are poached in olive oil and water then drizzled with a tangy-sweet balsamic glaze. The vegetable retains its mild spring onion flavor with none of the raw allium pungency—a wonderful example of letting the natural flavor of an ingredient shine through!
Leeks are at their best in the fall and winter. Shop for leeks that feel solid at the base, not at all squishy. The green top portion should be dark, not dried out. Inspect the white portion to see that it’s smooth and bright, not split or slimy. Late-season leeks may have developed solid woody cores, an indication it is way past their prime, and shouldn’t be purchased.
4 slices thick-cut bacon, cut into 1/2-inch-wide strips
1 tsp. butter
4 to 5 lbs. medium to large leeks
2 garlic cloves, peeled and cut lengthwise in half
Coarse salt and freshly ground pepper
Freshly grated nutmeg
1 1/2 Tbsp. chopped fresh thyme (do not substitute dried)
1 cup chicken stock, preferably homemade
1/2 lemon
Directions
Place the bacon in a medium skillet, set over medium heat, and fry, stirring often with a slotted spoon, until mostly crisp but with some softness remaining, 8-10 minutes. Transfer the bacon to a plate lined with paper towels to drain, and set the skillet aside.
Preheat the over to 325°F. Butter a 13-by-9-inch baking dish. (We didn’t have as many leeks so we used a 9×9 square dish.)
With a large knife trim off the root end of each leek, but leave the base intact. Get rid of the heaviest green part and any tough white parts. Cut off the tops at the point where the green turns from pale and smooth to dark and leathery.
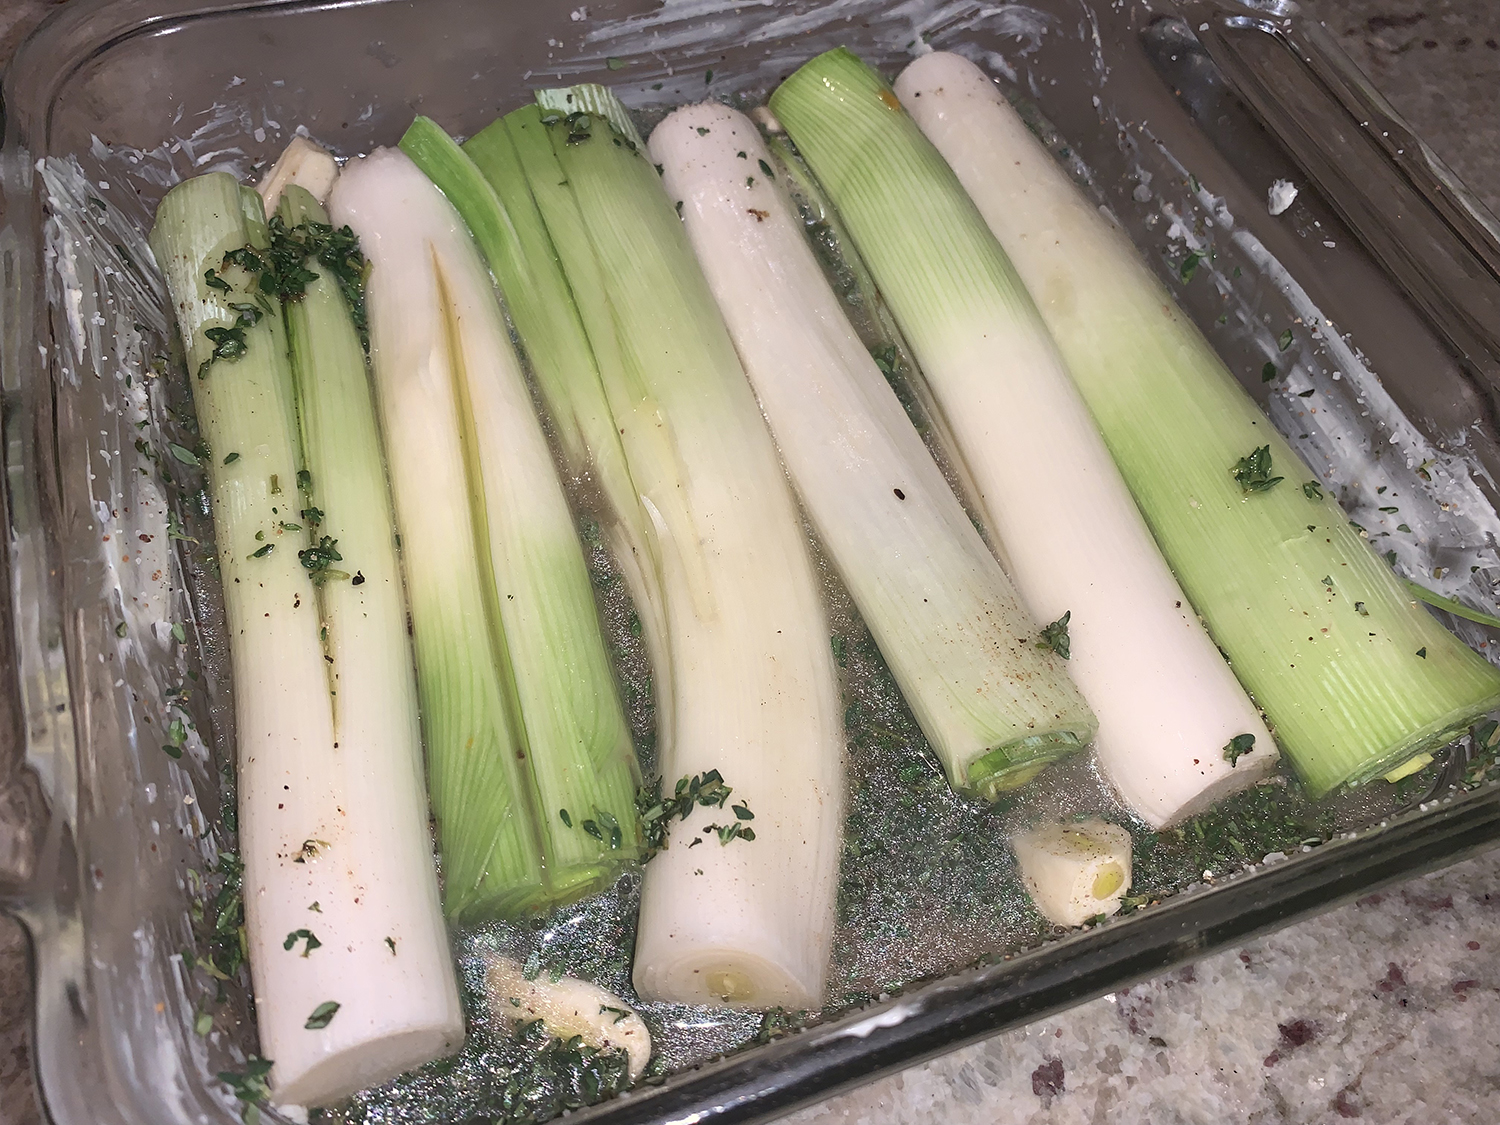
Cut the leeks lengthwise in half, without cutting completely through the root end, Wash the leeks thoroughly, holding them upside down under cold running water and flaring the layers to let the water run through to remove all the sand.
Shake off the excess water and place them in one layer in the prepared baking dish. Tuck the garlic halves in the dish and season with salt, pepper and nutmeg. Sprinkle on the thyme.
Pour off as much fat from the reserved bacon skillet, without discarding the bacon drippings. Place over high heat, add the stock, and bring to a boil to deglaze the pan, scraping with a wooden spoon. Pour the hot stock over the leeks.
Cover the dish tightly with foil and place on a rack in the lower third of the oven. Braise for 30 minutes.
Turn the leeks over with tongs, and continue braising uncovered until the leeks are fork tender, another 15-25 minutes. Scatter the reserved bacon over the leeks and continue braising for an additional 15 minutes, or until the leeks are soft enough to be easily pierced with the tip of a knife.
With tongs and a slotted spoon, transfer the leeks and bacon to a platter, and cover with foil to keep warm. Pour any remaining juices, along with those from the platter, into a skillet and reduce down to 1/4 cup. Add a generous squeeze of lemon, taste for salt and pepper, and simply pour over the leeks. Serve warm or room temperature.
You want to make sure not to stir the leeks too vigorously or too often when browning them. Stir gently just once or twice, without flipping them, so they color evenly. And once the water goes into the pan and the cover goes on, it’s best to simply shake the skillet, not stir its contents, so the leeks hold together.
These leeks just melted in the mouth! We omitted the sliced almonds for this meal; and next time we would cut the glaze in half. Although it was very good, we didn’t even use all of it and it was still a lot.
1 lb. leeks, white and light green parts only, outer layers removed
2 cup extra-virgin olive oil
2 Tbsp. salted butter, cut into 2 pieces
Kosher salt and ground black pepper
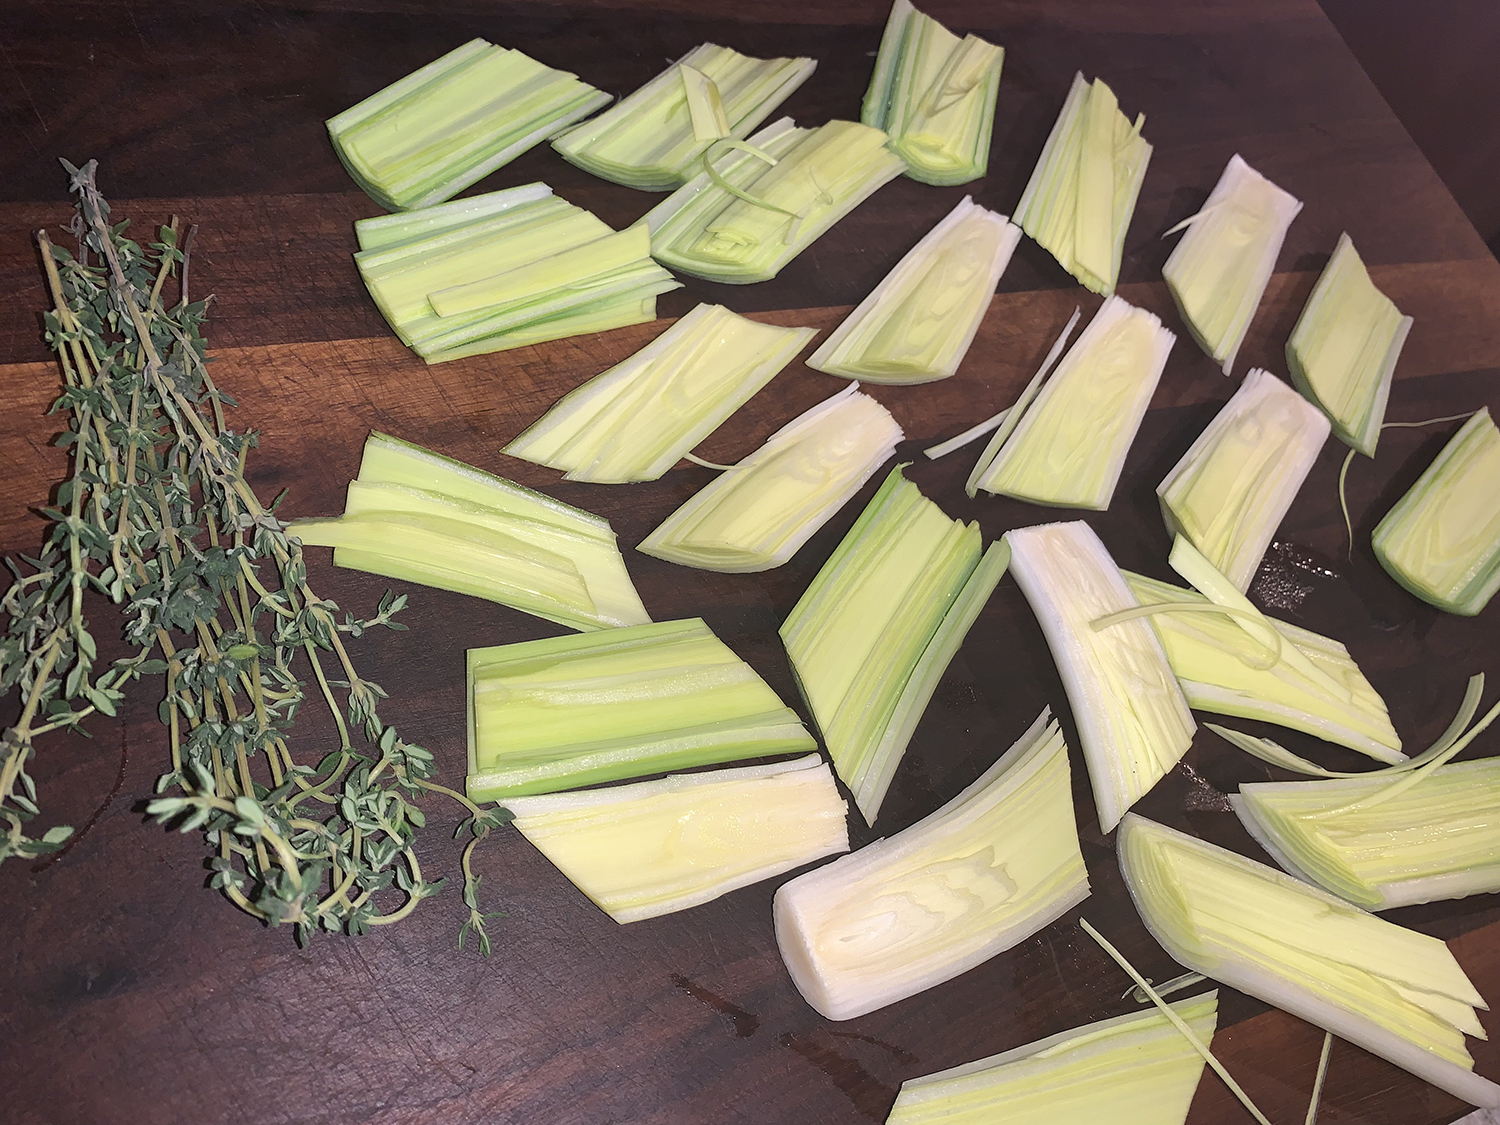
6 thyme sprigs, plus 1 teaspoon chopped fresh thyme
1/4 cup balsamic vinegar
1 tsp. honey
3 Tbsp. sliced almonds, toasted (optional)
Directions
Cut the leeks in half lengthwise. Fill a large bowl with water, submerge the leek halves and swish them around to remove the grit between the layers. Pour off the water and repeat until the leeks are clean, then pat dry. Cut the leeks on the diagonal into 2-inch sections, keeping the layers intact as much as possible.
In a 12-inch skillet, combine the oil, butter and leeks, adding them to the pan cut side down. Set the pan over medium-high and cook, gently stirring only once or twice so the layers do not separate, until the leeks are lightly browned, 4 to 6 minutes.
Add ¼ teaspoon salt and ½ teaspoon pepper, then slowly add ⅔ cup water. Add the thyme sprigs, cover and reduce to medium-low. Cook, occasionally shaking the skillet, until a knife inserted into the leeks meets no resistance and most of the water has evaporated, about 20 minutes.
Using a slotted spoon, transfer the leeks to a platter, leaving the oil in the skillet. Remove and discard the thyme sprigs. Add the vinegar and honey to the pan, then cook over medium, stirring often, until the mixture is syrupy, 2 to 4 minutes.
Taste and season with salt and pepper, then pour over the leeks. Sprinkle with the chopped thyme and the almonds, if using.
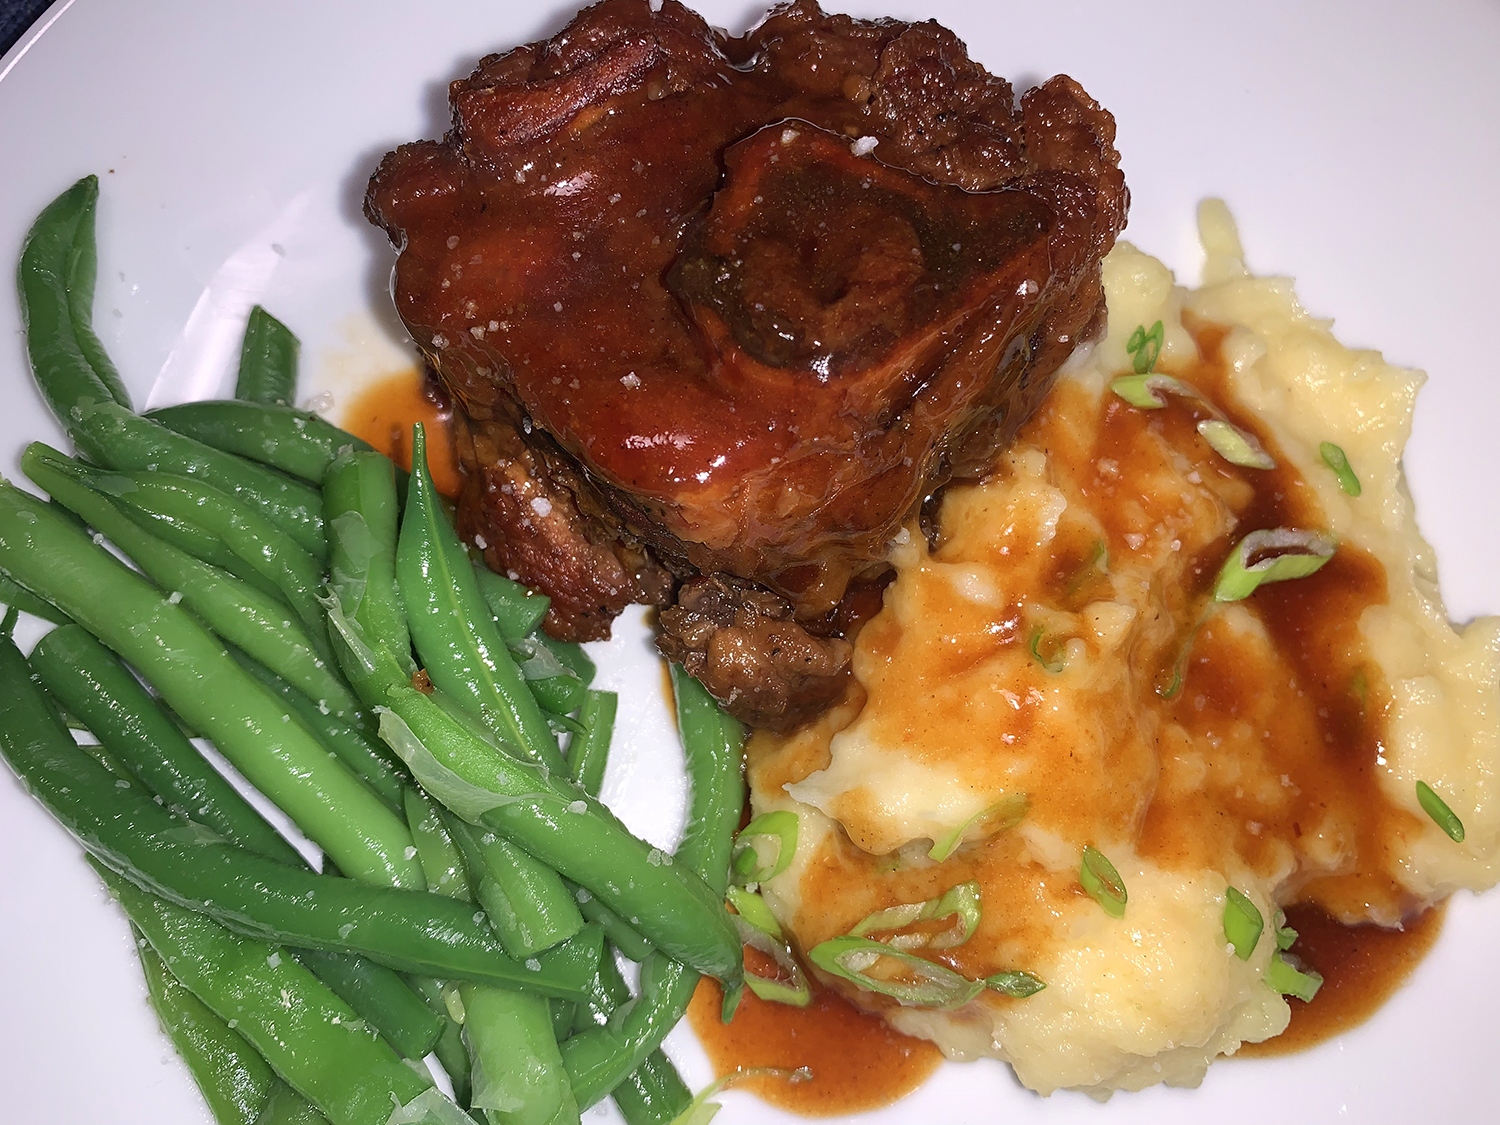
In the most recent issue of Bon Appétit Magazine, the minute I saw this recipe I knew we had to make them. Then serendipitously, while deciding our weeks menus, The Hubs came across a Braised Asian-Style Pork Shank entree which we knew would pair well with these potatoes—and we had shanks in our freezer!
But back to those potatoes. The original serves eight, so we cut it in half for just the two of us (with leftovers). After rereading the recipe numerous times, and the fact that I’ve made mashed potatoes for decades—and am pretty darn good at them—I instinctively knew there was WAY too much butter and cream, resulting in potato soup. After I made them my way, I went back to the online comments and sure enough, many disappointed reviewers noted that fact.
For example, the BA recipe called for 1 1/2 cups heavy cream which I cut back by 2/3, to only a 1/2 cup. The butter was listed as two full sticks, cut that by at least 50% and use only one stick, or less, if making the full recipe. And I always like to use ground white pepper in my potatoes, but that’s a personal preference. Ground pepper of any kind is a must.
“A couple of spoonfuls of miso adds a little extra umami and saltiness to these spuds, a subtle bridge between the roasted garlic and dairy that nobody will quite be able to put their finger on. And yes: These potatoes are actually mashed. I’m not going to stop you from pulling out a ricer or food mill if supersmooth is your thing, but I personally like a bit of texture—a few bits of intact potato remind you that you’re actually eating, you know, potatoes.” —Brad Leone
NOTE: You can either make the garlic paste ahead (Steps 1 through 3), or if you already have some in the fridge, you are way ahead of the game. You’ll save an hour and a half on dinner day.
In the end, even with my diminished amounts of butter and cream, I still found the mash too loose, especially the reheated leftovers, so consider scaling back even more… although they were indeed delicious!
The silver dish on the left holds the homemade silky garlic paste.
Preheat oven to 350°. Cut ½” off top of each head of garlic to expose just the tops of the cloves inside. Place on a 12″-square piece of parchment paper or foil. Drizzle with oil and season with salt. Drizzle 1 tsp. water over.
Bring edges of parchment up and over garlic and fold together to make a packet and seal. Place on a small rimmed baking sheet and bake until very tender, 60–75 minutes.
Let garlic sit until cool enough to handle, then squeeze out cloves into a medium bowl. Add butter and mash together into a paste with a wooden spoon or stiff rubber spatula. Add miso and mix well. Season garlic-miso butter with salt and pepper; set aside.
Peel and quarter potatoes. Place in a large pot and pour in water to cover by 1″; season generously with salt. Bring water to a boil over medium-high, then reduce heat and simmer gently, stirring occasionally, until potatoes are very tender (a tester or paring knife should easily slide into flesh), about 20 minutes from the time water starts to simmer. Drain potatoes and let sit 5 minutes to dry out; reserve pot.
Bring cream to a simmer in reserved pot over medium-high. Remove from heat and return potatoes to pot. Set aside about 3 Tbsp. garlic-miso butter for serving and add remaining garlic-miso butter to pot. Using a potato masher (or use a potato ricer or food mill if you prefer a silkier texture), smash potatoes until mostly smooth; taste and season mashed potatoes with salt.
Transfer mashed potatoes to a large shallow bowl. Top with reserved garlic-miso butter and season generously with more pepper.
Do ahead: Mashed potatoes can be made 2 days ahead. Cover and chill potatoes and reserved garlic-miso butter separately. Reheat potatoes over medium, stirring often and adding 1 tablespoon milk at a time to thin if needed.
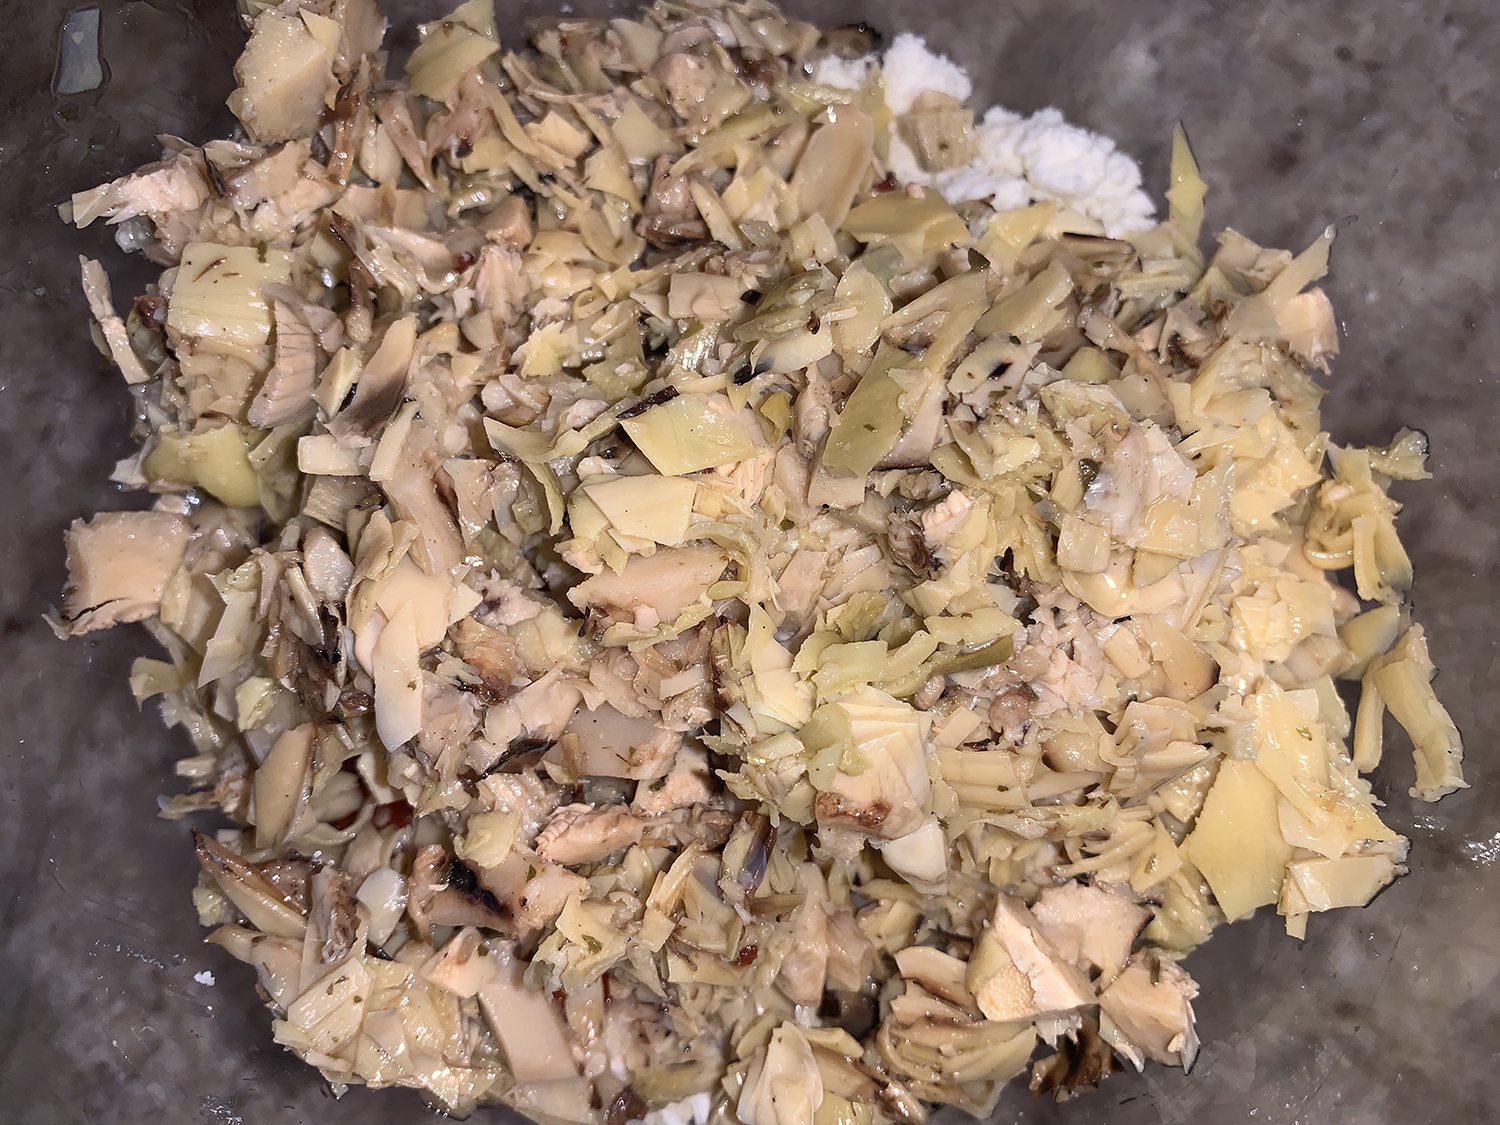
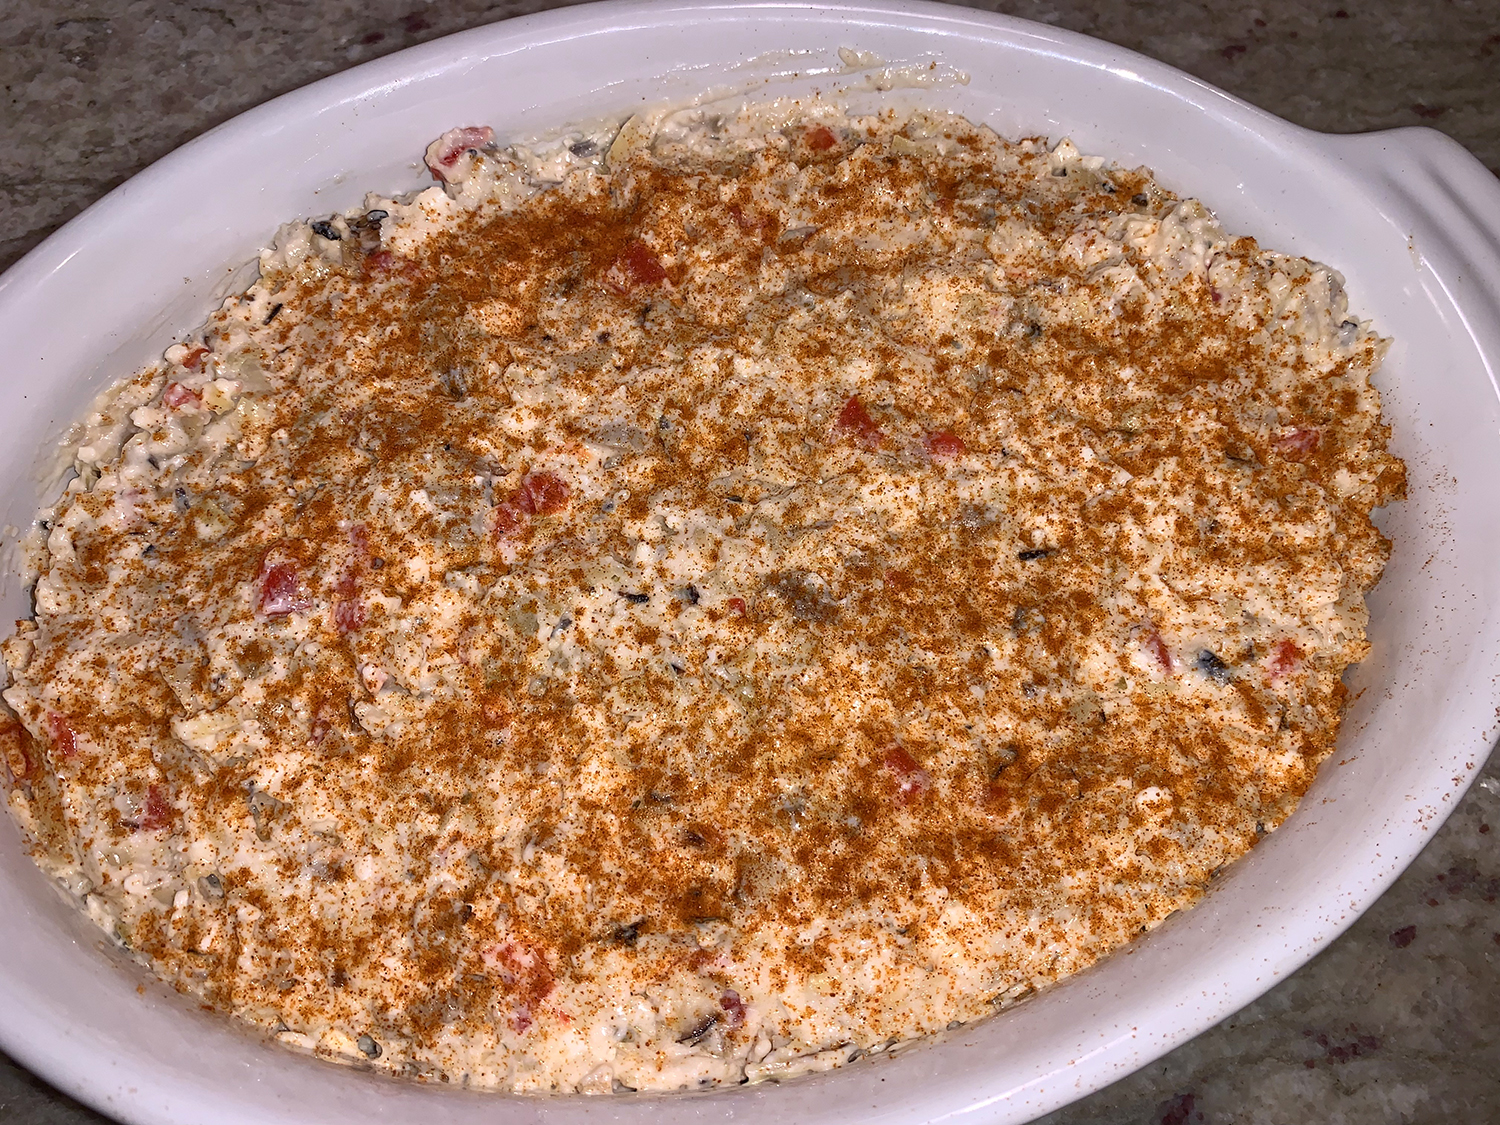
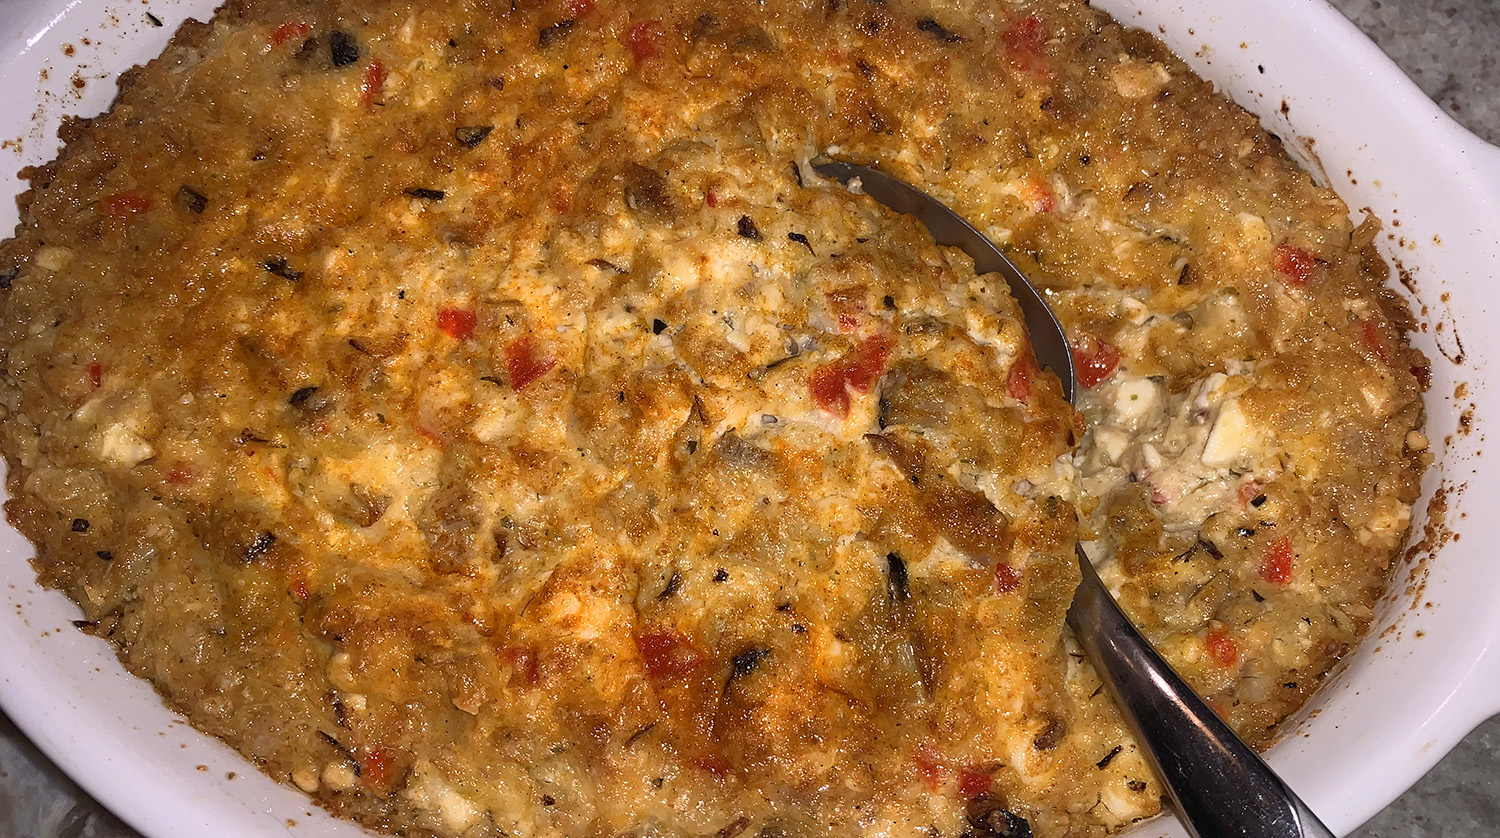
This is one of the easiest appetizers to make, thanks Trisha Yearwood! Instead of canned artichokes, we used the marinated jarred version, and we sprinkled some paprika on top for a touch of color and even more depth of flavor.
To lighten our load on the day of the party, the dish was made and put in a small casserole dish covered with foil, then refrigerated overnight. About an hour before it went into a 350° oven, it sat on the countertop to warm up. Make sure to uncover the dish before popping it in the oven.
One 14-oz. can artichoke hearts, drained and finely chopped
5 oz. feta cheese, crumbled
3/4 cup mayonnaise
1/2 cup grated Parmesan
2-oz. jarred roasted red peppers, drained and diced
2 cloves garlic, minced
Paprika for topping, optional
Sea salt pita chips, for dipping
Directions
Preheat the oven to 350 degrees F.
In a medium bowl, stir together the artichoke hearts, feta, mayonnaise, Parmesan, red pepper and garlic until thoroughly combined. Sprinkle paprika on top, if desired.
Transfer the mixture to a small casserole or glass pie plate and bake, uncovered, for 20 to 25 minutes, or until lightly browned.
To serve, place the dish on a larger platter and surround with pita chips.
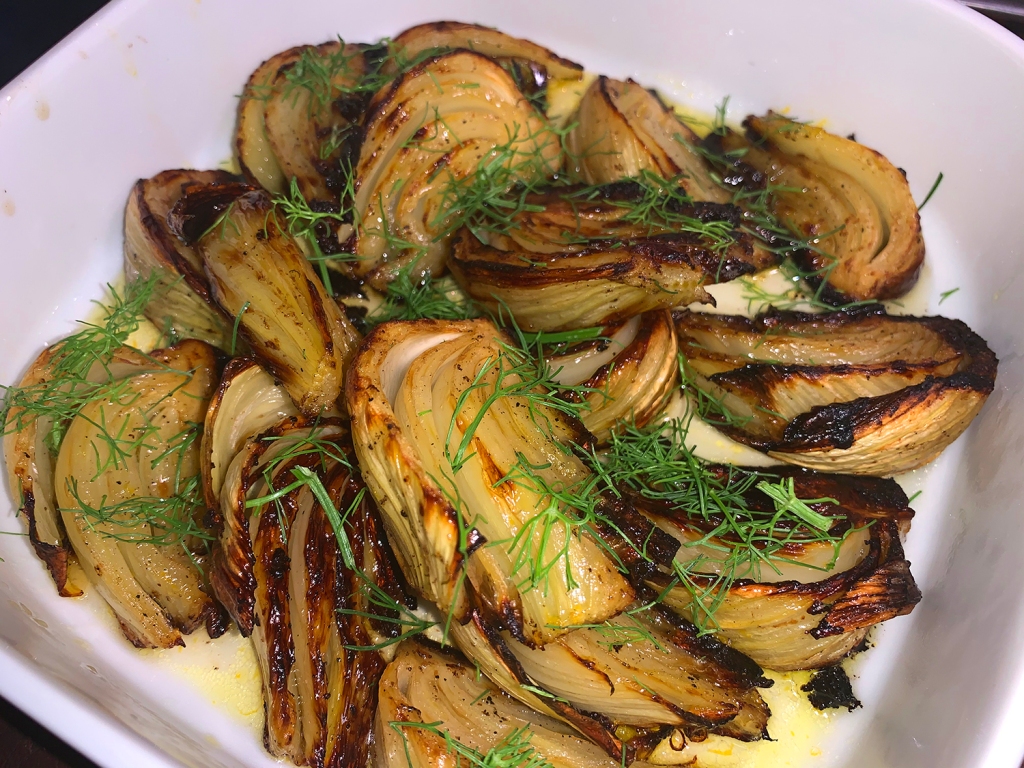
Fennel is a love it or hate it vegetable because of the intense anise flavors. But roasting the bulbous veggie helps mellow the licorice notes and turns its fibrous texture luxuriously creamy. For this roasted fennel, Cook’s Illustrated (CI) began by cutting the bulbs into wedges, which had two benefits: It provided good surface area for browning, and the attached core kept the pieces intact.
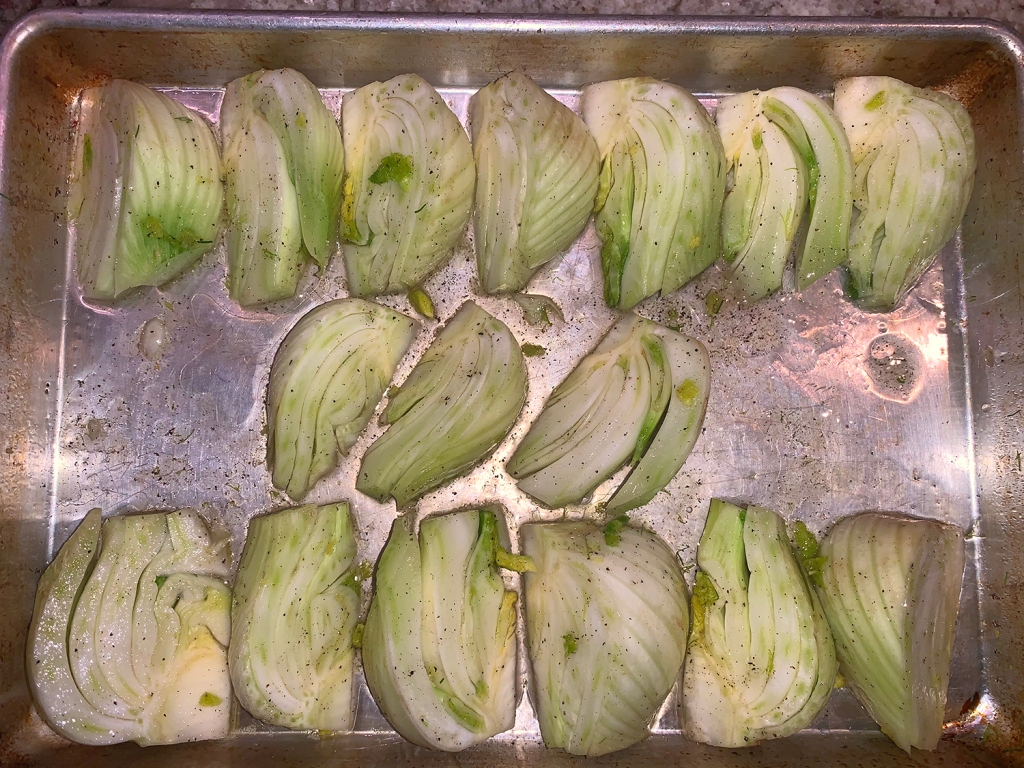
Covering the pieces with foil for most of the cooking time allowed them to steam and turn creamy; then remove the foil for the last 10 minutes of roasting so that they can turn golden and deliciously caramelized. Toss the wedges with salted water before covering them, which provides moisture for steaming and helps get seasoning between the layers.
Arranging the pieces on the long sides of a rimmed baking sheet ensures that all the pieces get equal exposure to the heat and browned evenly. However, the original recipe did not specify what size rimmed baking sheet and we used the smaller quarter sheet pan instead of a half sheet pan. Because of that, we think it took much longer for the liquid to evaporate, thus much longer for the fennel wedges to brown. In fact, we even put them under the broiler at the end for a minute or so.
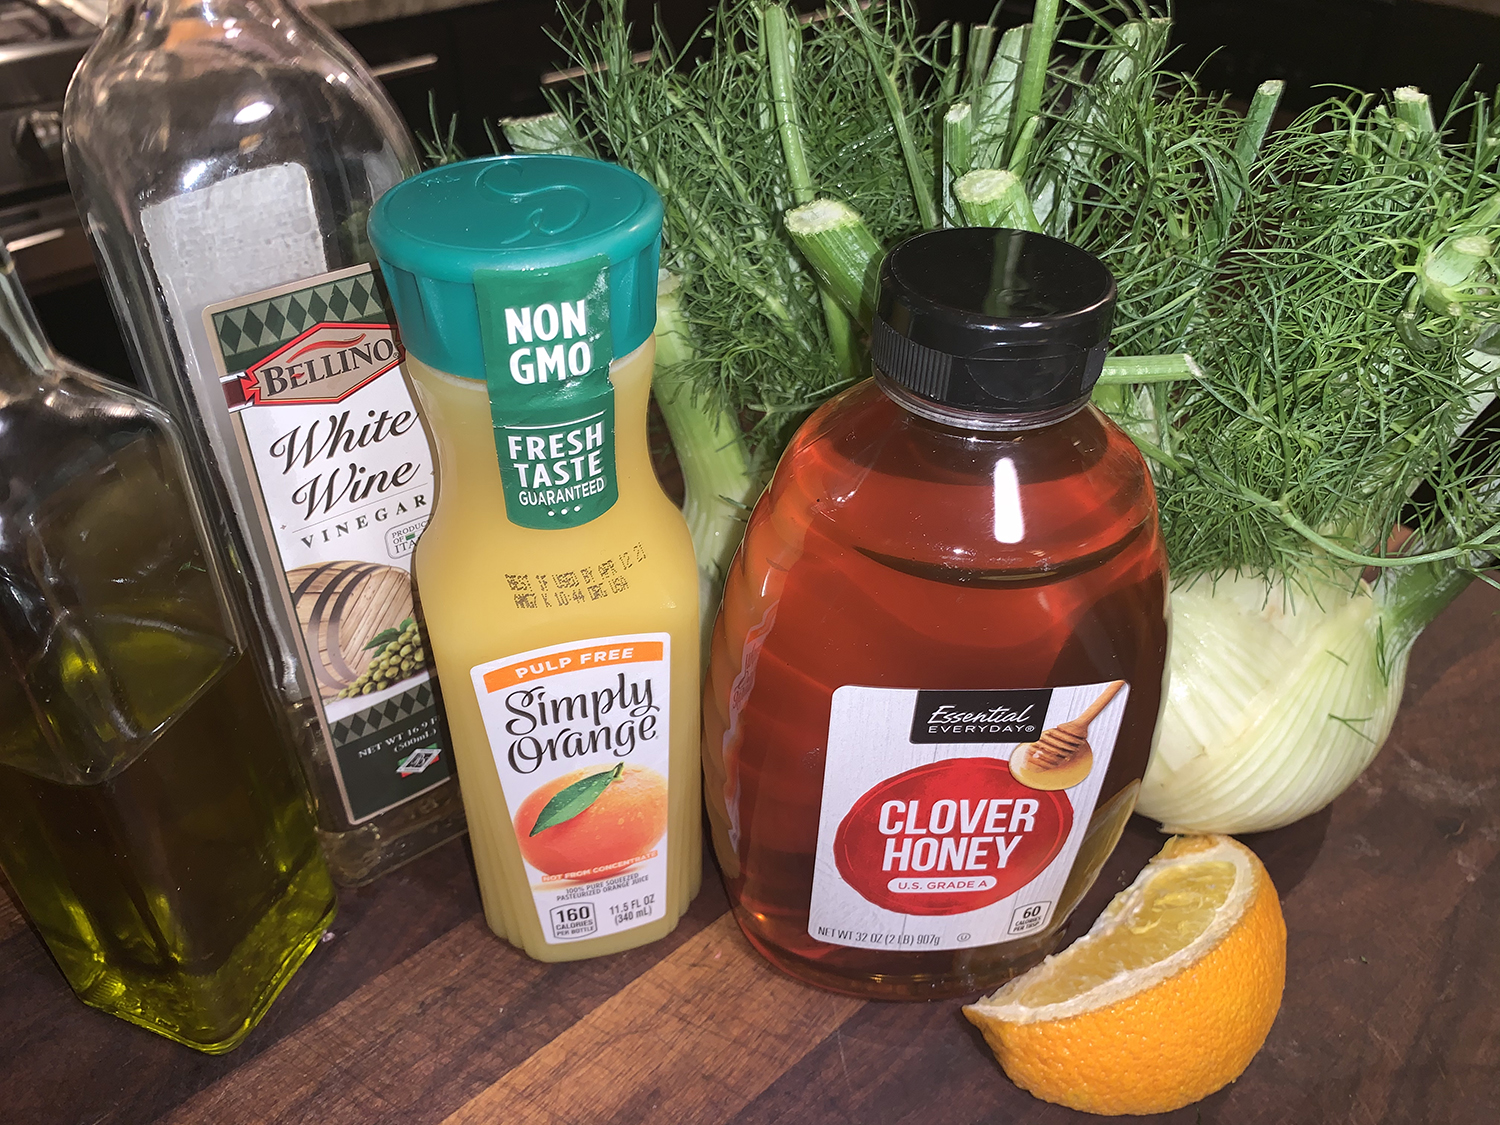
The tart dressing made with orange juice and honey is the perfect complement to the sweet fennel. WOW, we practically swooned when eating it! And it was a great side dish to complement our Sear Roasted Salmon entrée, but I changed the number of servings from 4-6 to 3-4; we almost finished it off between the two of us.
CI Note: Look for fennel bulbs that measure 3½ to 4 inches in diameter and weigh around 1 pound with the stalks (12 to 14 ounces without); trim the bases very lightly so that the bulbs remain intact.
2 fennel bulbs, trimmed of stalks (but save some fronds for garnish), bases lightly trimmed
2 Tbsp. fronds chopped coarse, stalks discarded
2 Tbsp. water
1 tsp. kosher salt
3 Tbsp. vegetable oil
¼ tsp. pepper
Dressing
1 Tbsp. extra-virgin olive oil
2 tsp. honey
1 ½ tsp. white wine vinegar
⅛ tsp. grated orange zest plus 1 tablespoon juice
Pinch kosher salt
Directions
FOR THE FENNEL: Adjust oven rack to lower-middle position and heat oven to 450 degrees. Spray rimmed baking sheet with vegetable oil spray.
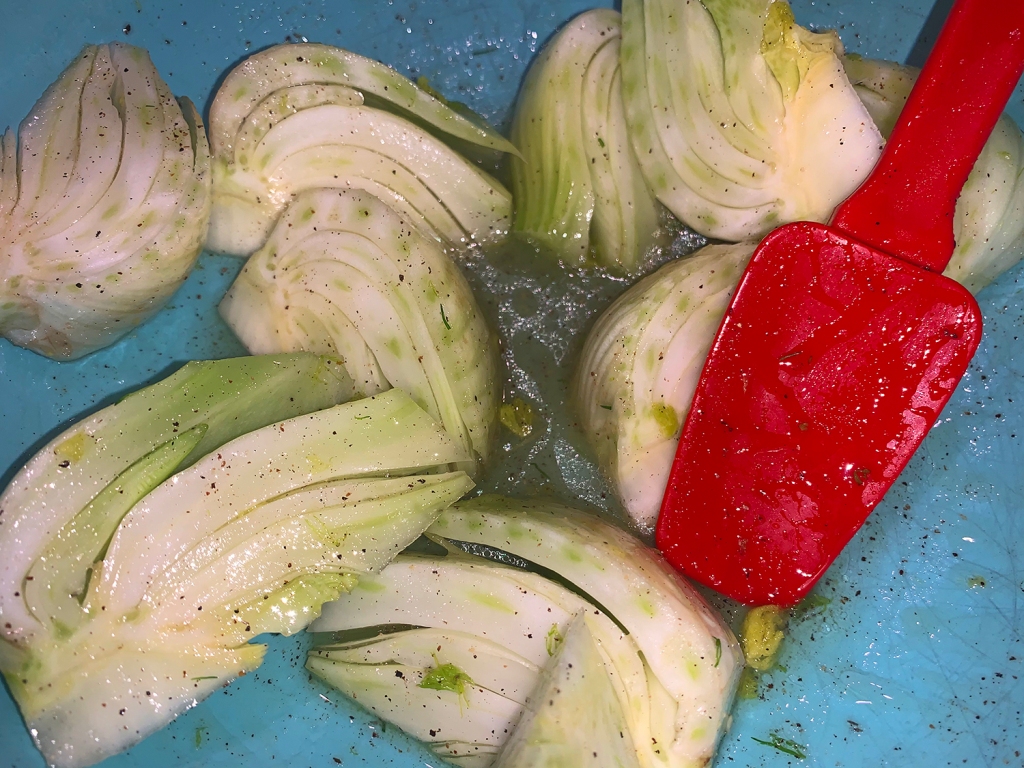
Cut each fennel bulb lengthwise through core into 8 wedges (do not remove core). Whisk water and salt in large bowl until salt is dissolved. Add fennel wedges to bowl and toss gently to coat. Drizzle with oil, sprinkle with pepper, and toss gently to coat.
Arrange fennel wedges cut side down along 2 longer sides of prepared sheet. Drizzle any water in bowl evenly over fennel wedges. Cover sheet tightly with aluminum foil and roast for 20 minutes.
Remove the foil from the sheet and continue to roast until side of fennel touching the sheet is browned, 5 to 8 minutes longer (this may take even longer than that), rotating sheet halfway through roasting.
Flip each fennel wedge to second cut side. Continue to roast until second side is browned, 3 to 5 minutes (or more) longer. Transfer to serving dish.
FOR THE DRESSING: While fennel roasts, whisk all ingredients together in small bowl.
Whisk dressing to recombine when ready to use. Drizzle dressing over fennel, sprinkle with fennel fronds, and serve.