During our childhood, most families undoubtedly served canned cranberry jelly at Thanksgiving dinner. The ribbed, “cylindrical beauty plops out of the can like a gavel marking the start of the holiday”, retaining its signature shape so guests can slice off just the right amount. OK, I admit, I was NOT a fan favorite then, nor am I now. But in this recipe it works!
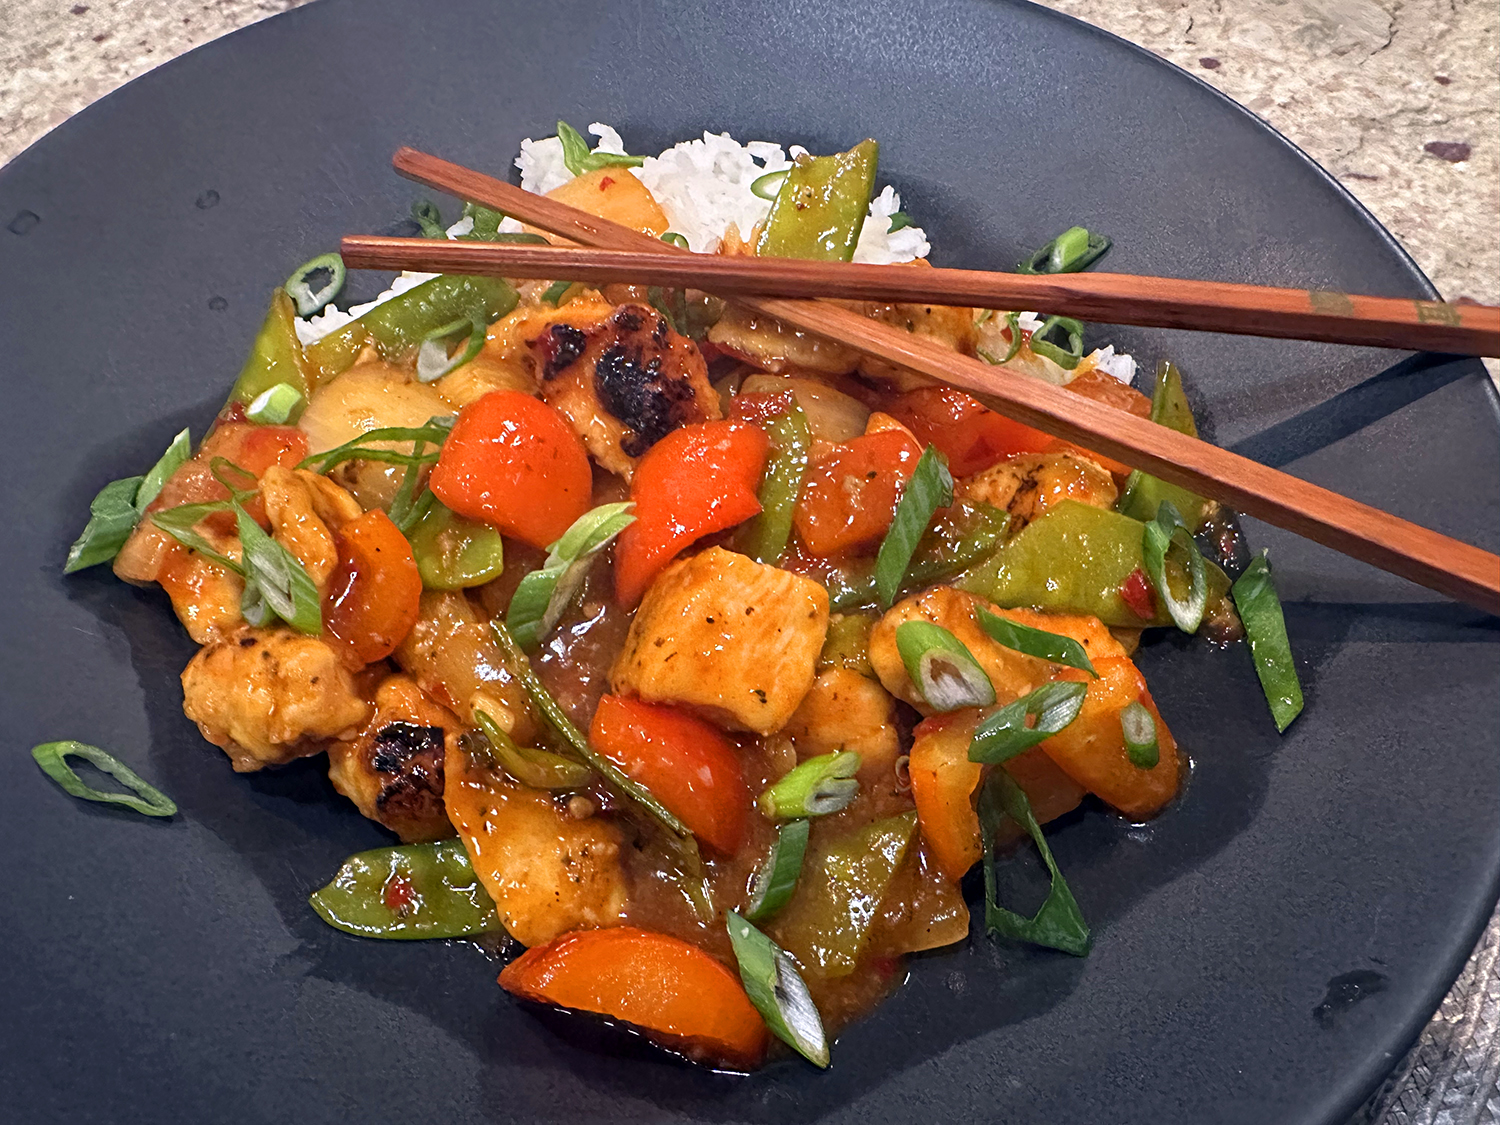
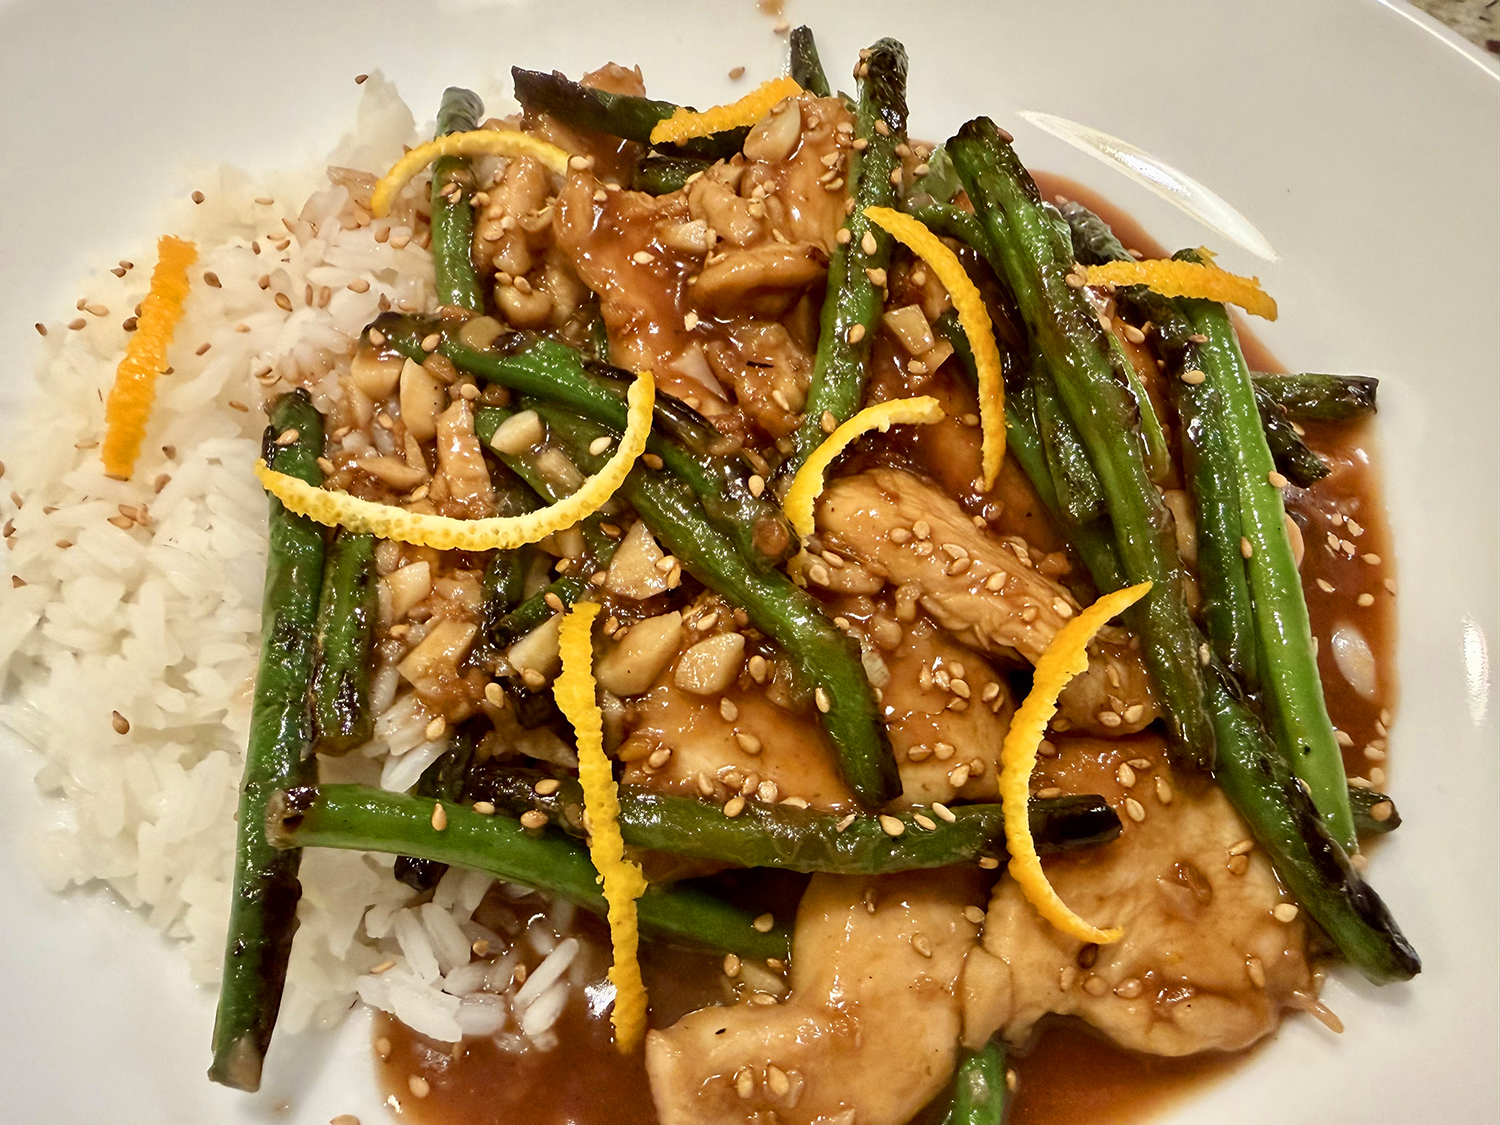
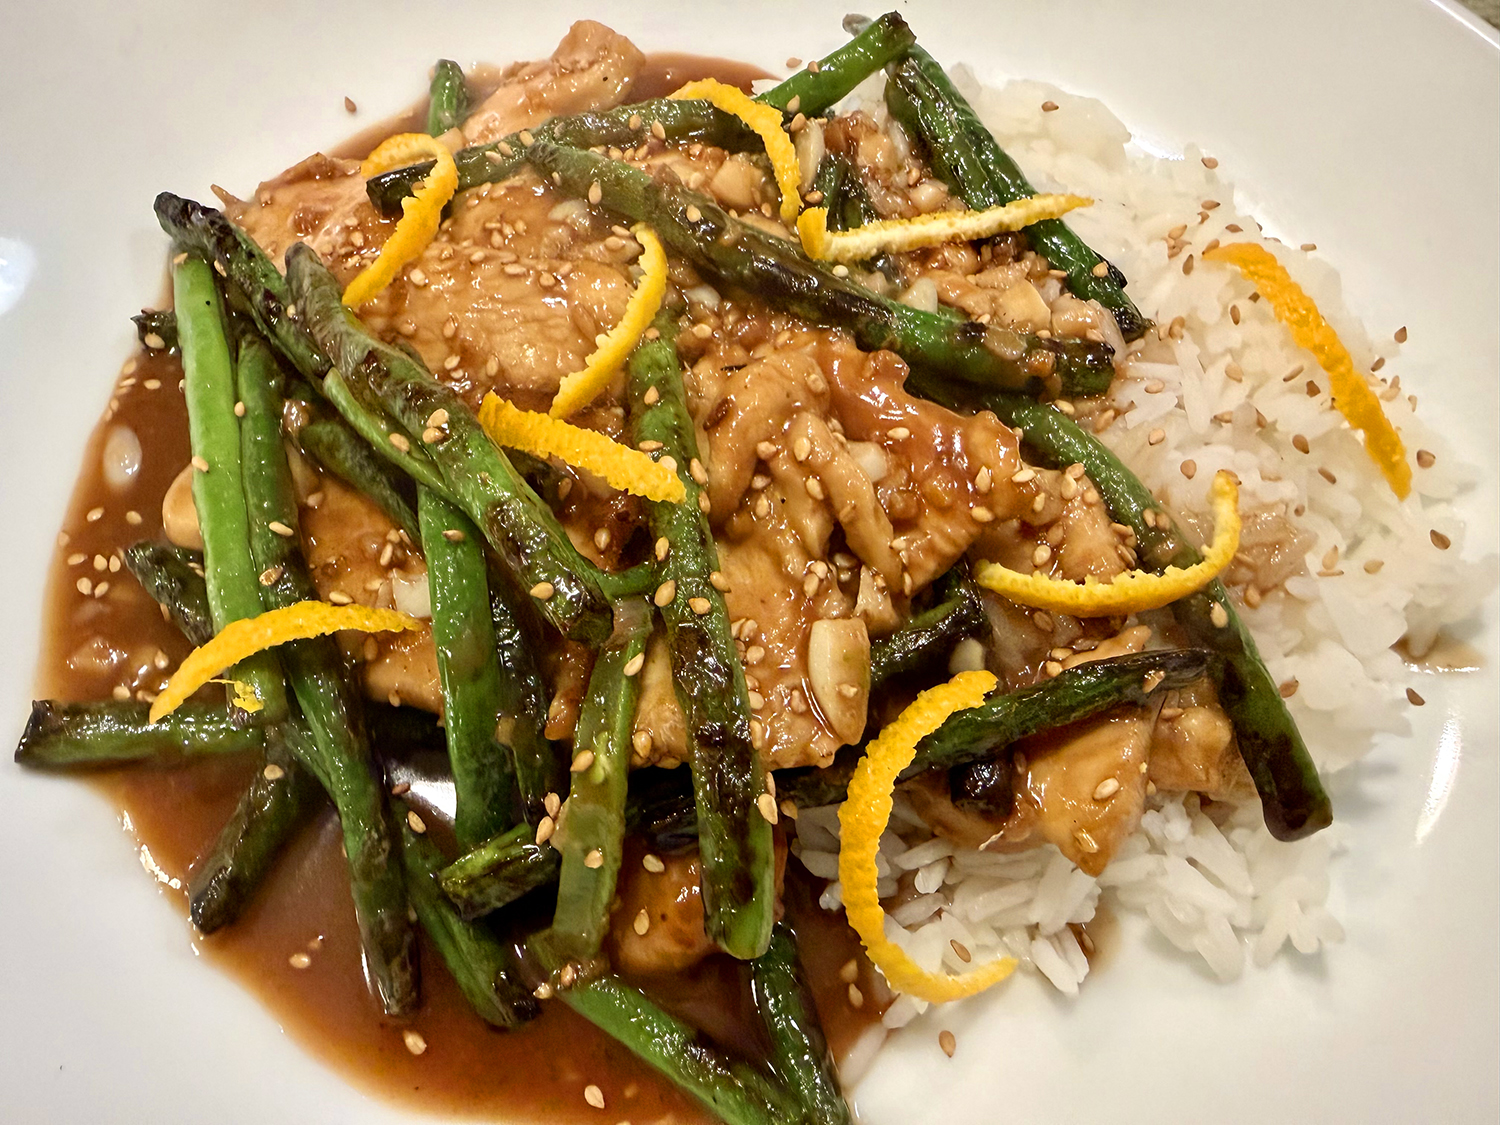
While slicing is a perfectly acceptable (if not somewhat encouraged) way of serving, here the jelly is used as a weeknight dinner shortcut, transforming into a quick stir-fry sauce that coats chicken and green beans in a glossy sweet-and-sour sauce reminiscent of orange chicken.
Just make sure to grab a can of jellied cranberry sauce, not the whole-berry kind. While they might look similar, the former will result in a smooth and glossy glaze (the berries in the other will clump it up). BUT, it contains high fructose corn syrup.
High-fructose corn syrup is a liquid sweetener made from corn. When corn starch is broken down into individual molecules, it becomes corn syrup, which is 100% glucose, a simple sugar. Enzymes are added to convert some of this glucose into fructose. High-fructose corn syrup is cheaper than sugar, with better flavor enhancement and longer shelf life. It’s more stable and consistent, especially in acidic foods and drinks. It works well in this recipe and is up to you on whether or not it fits your life style diet. We can honestly say, it was darn-right delicious!
All-in-all, most of the other ingredients are healthy for you…
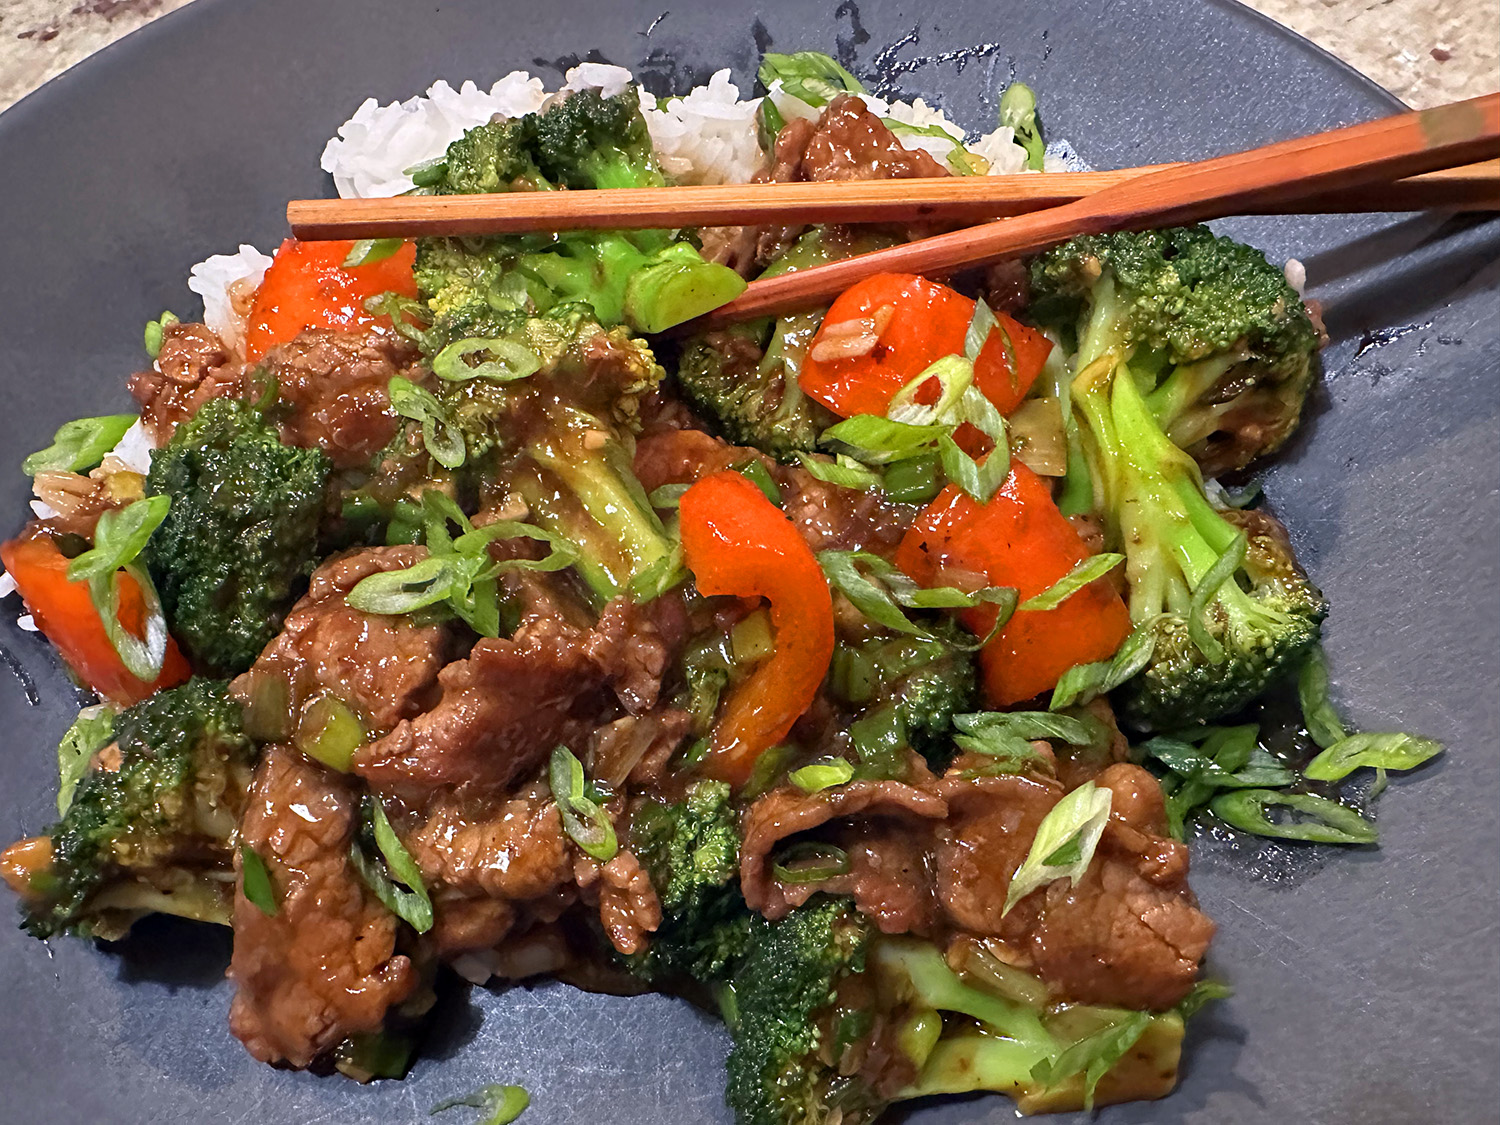
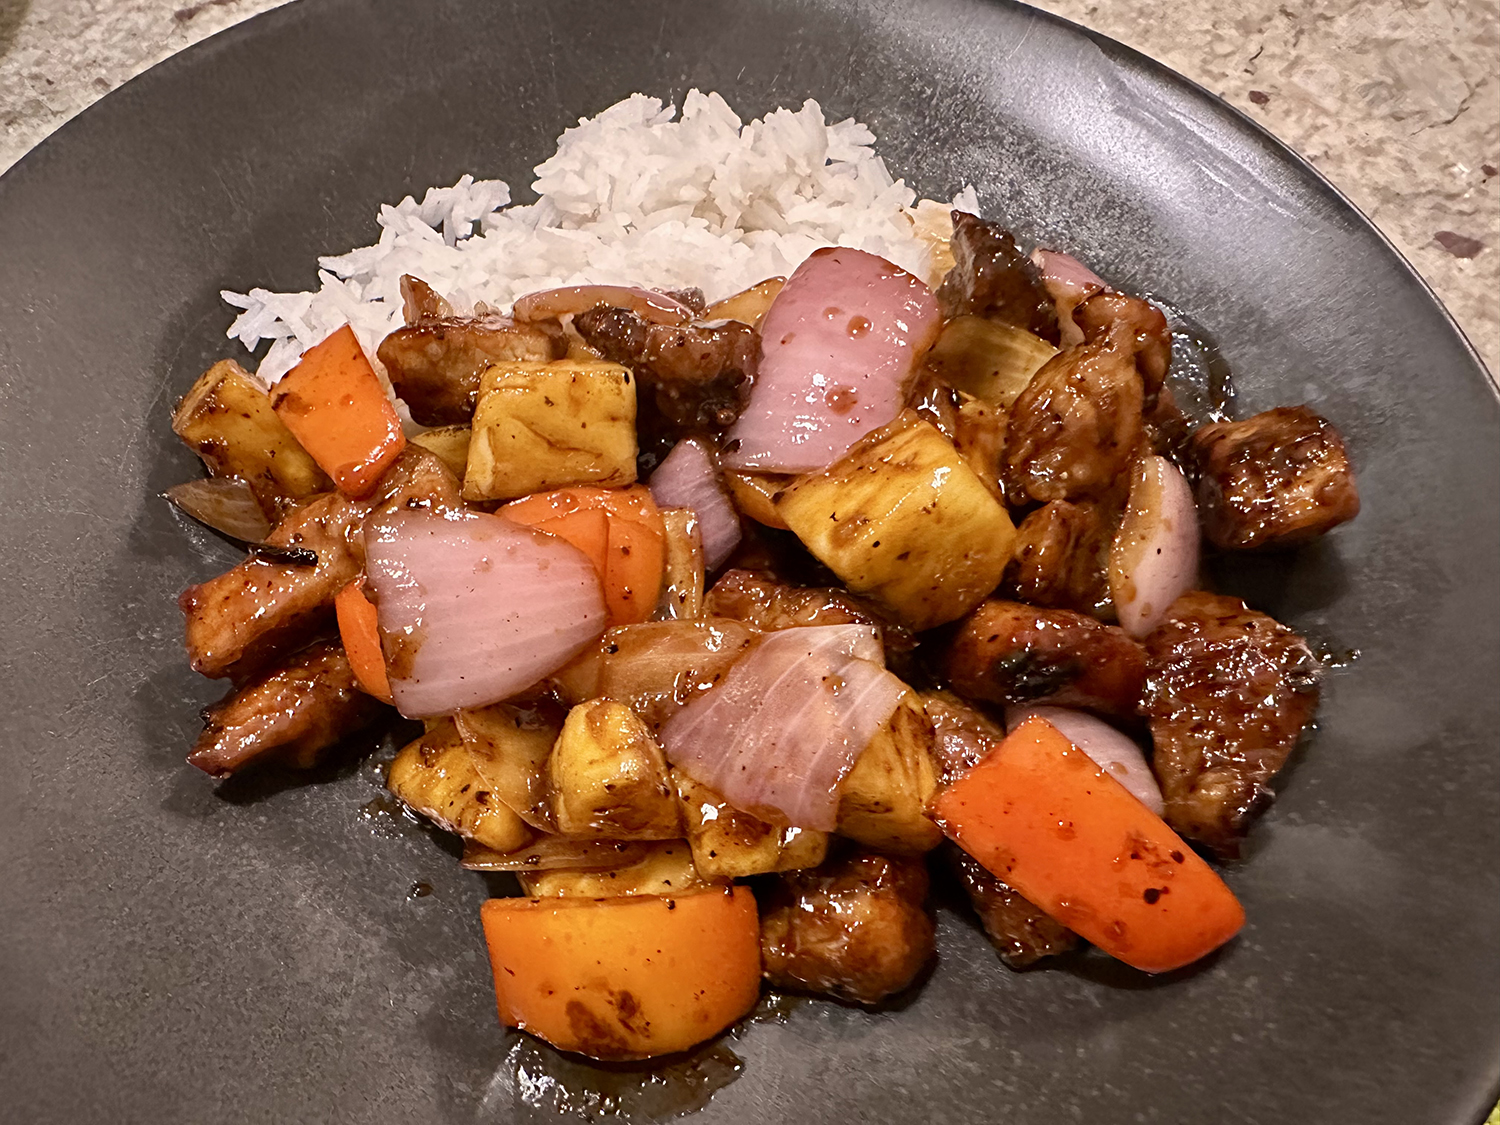
Sweet-and-Sour Cranberry Chicken Stir-Fry
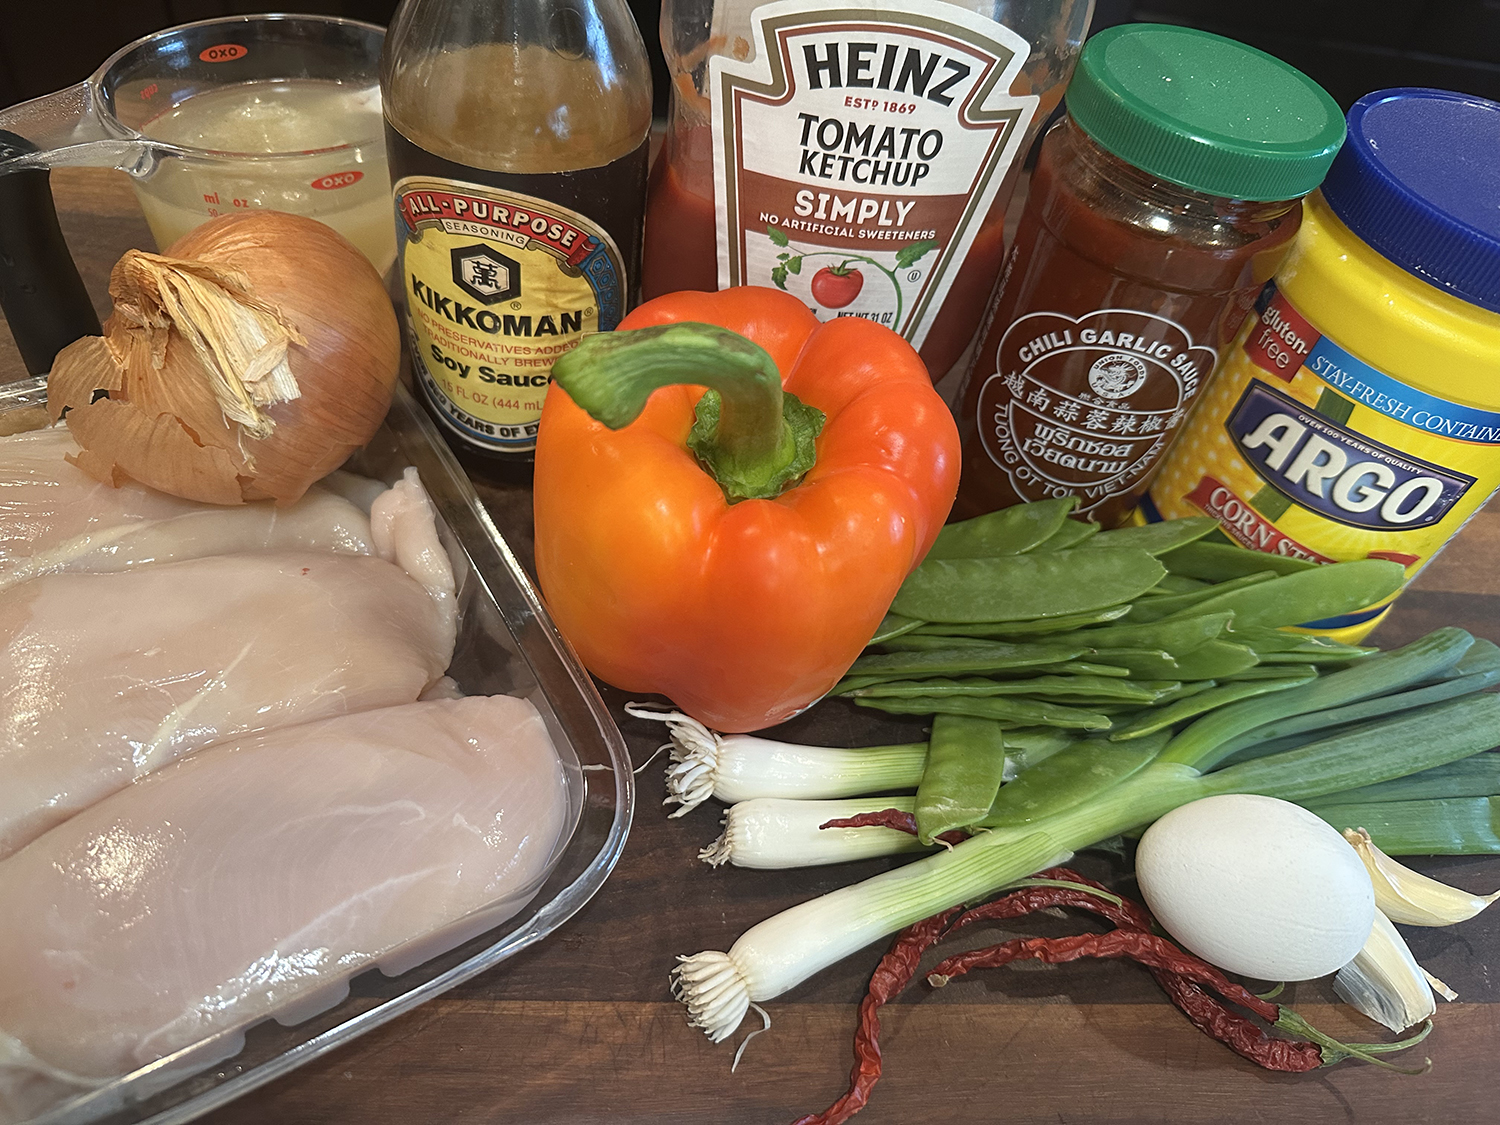
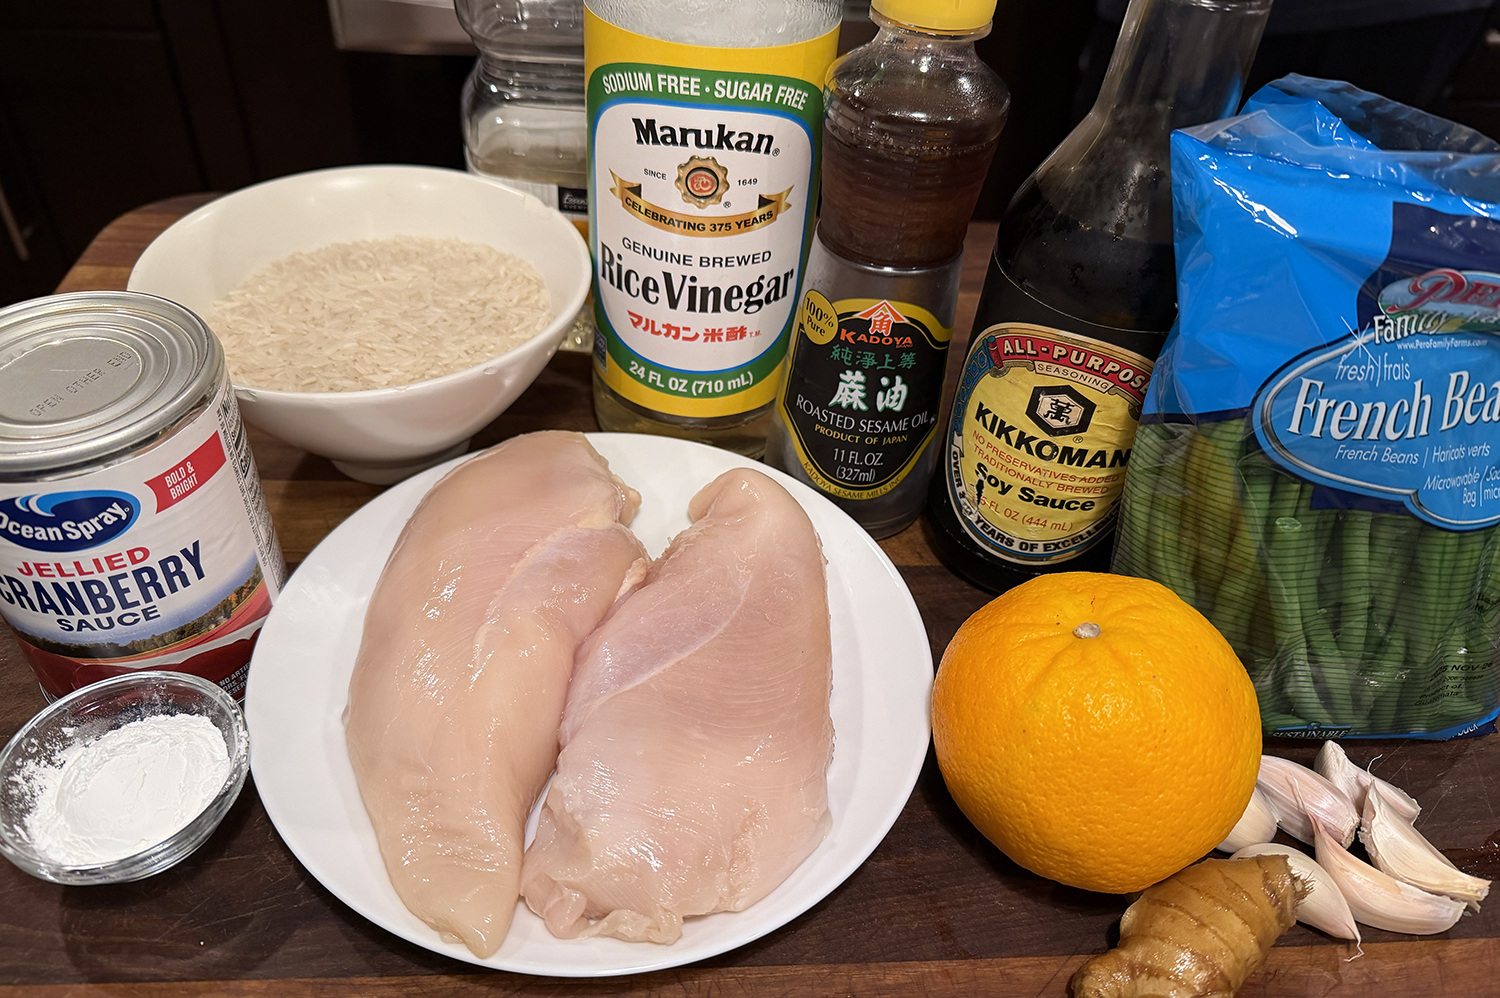
Ingredients
- 1 cup jellied cranberry sauce (from a 14-oz. can)
- 3 Tbsp. unseasoned rice vinegar
- 2 tsp. finely grated orange zest
- ¼ cup fresh orange juice
- 2 tsp. toasted sesame oil
- 3 Tbsp. soy sauce, divided
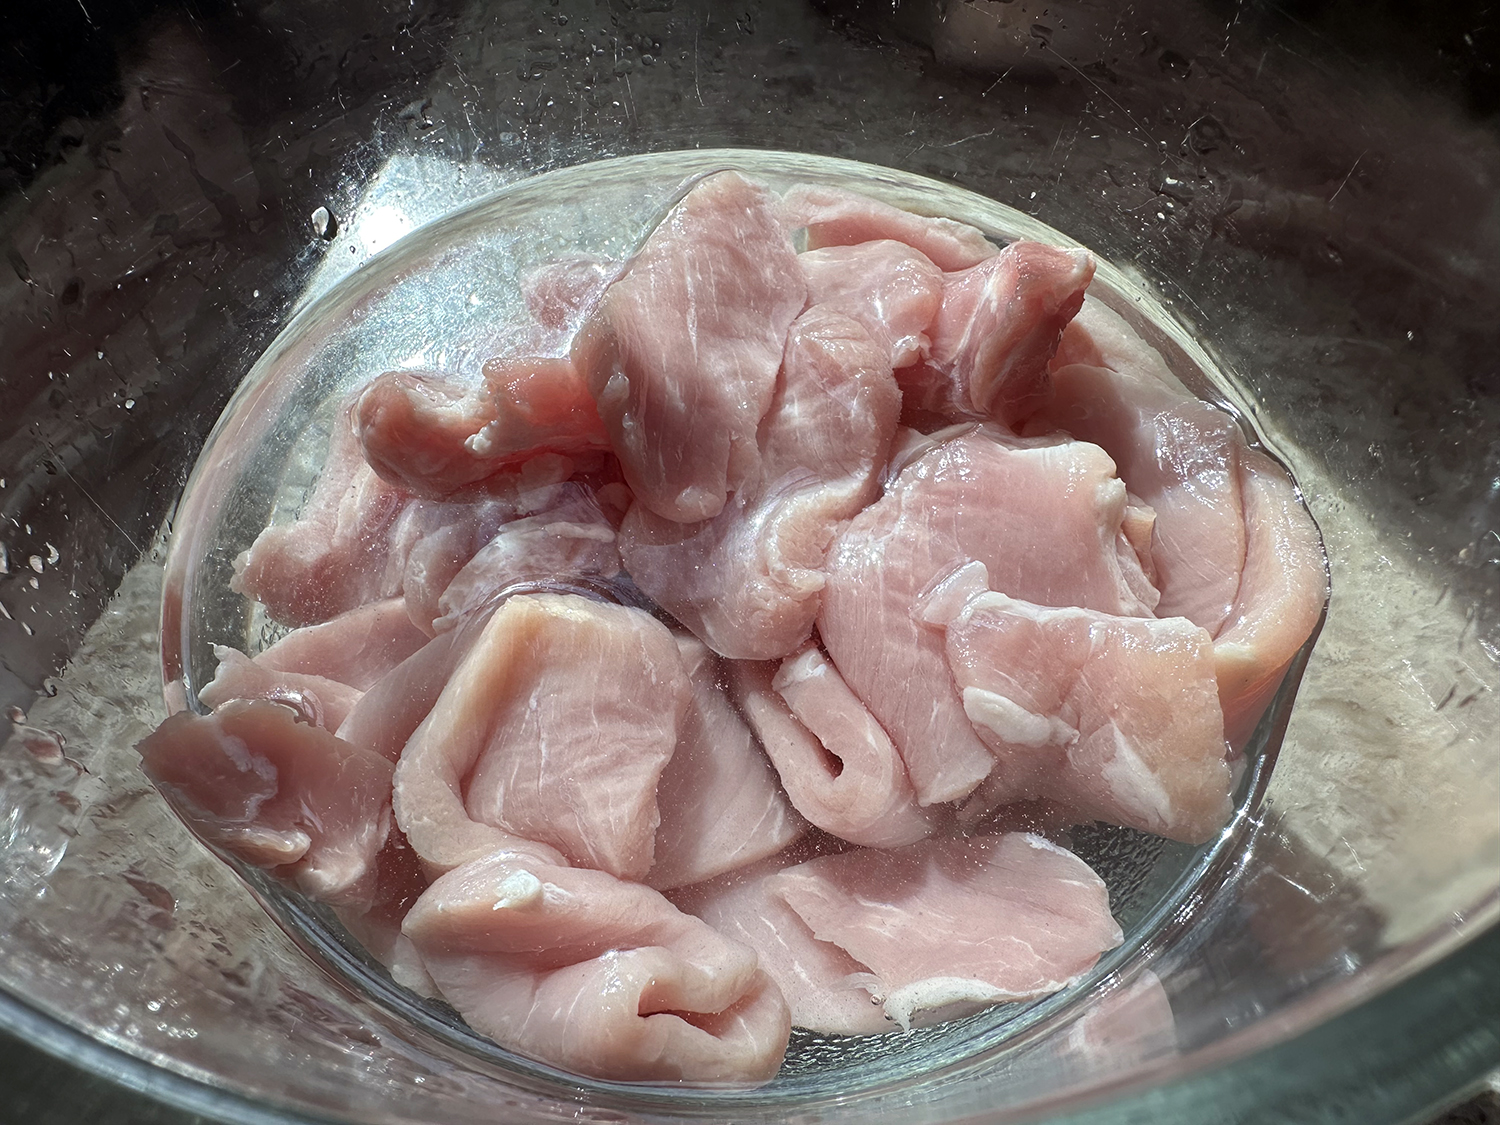
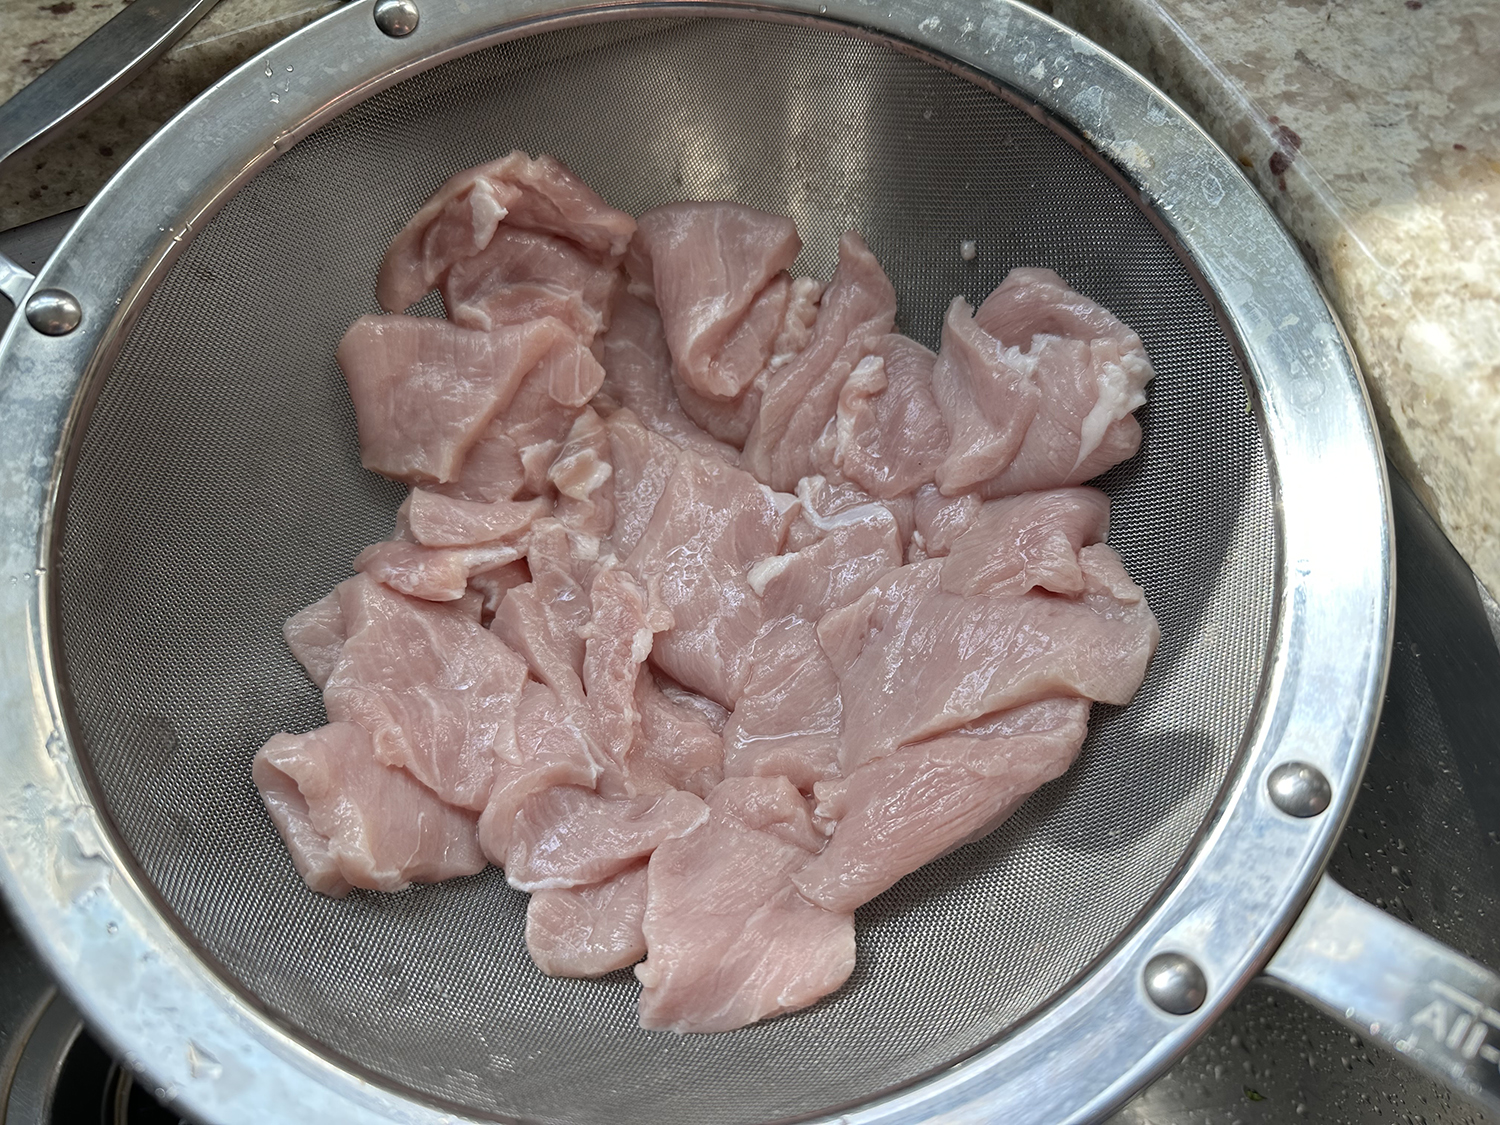
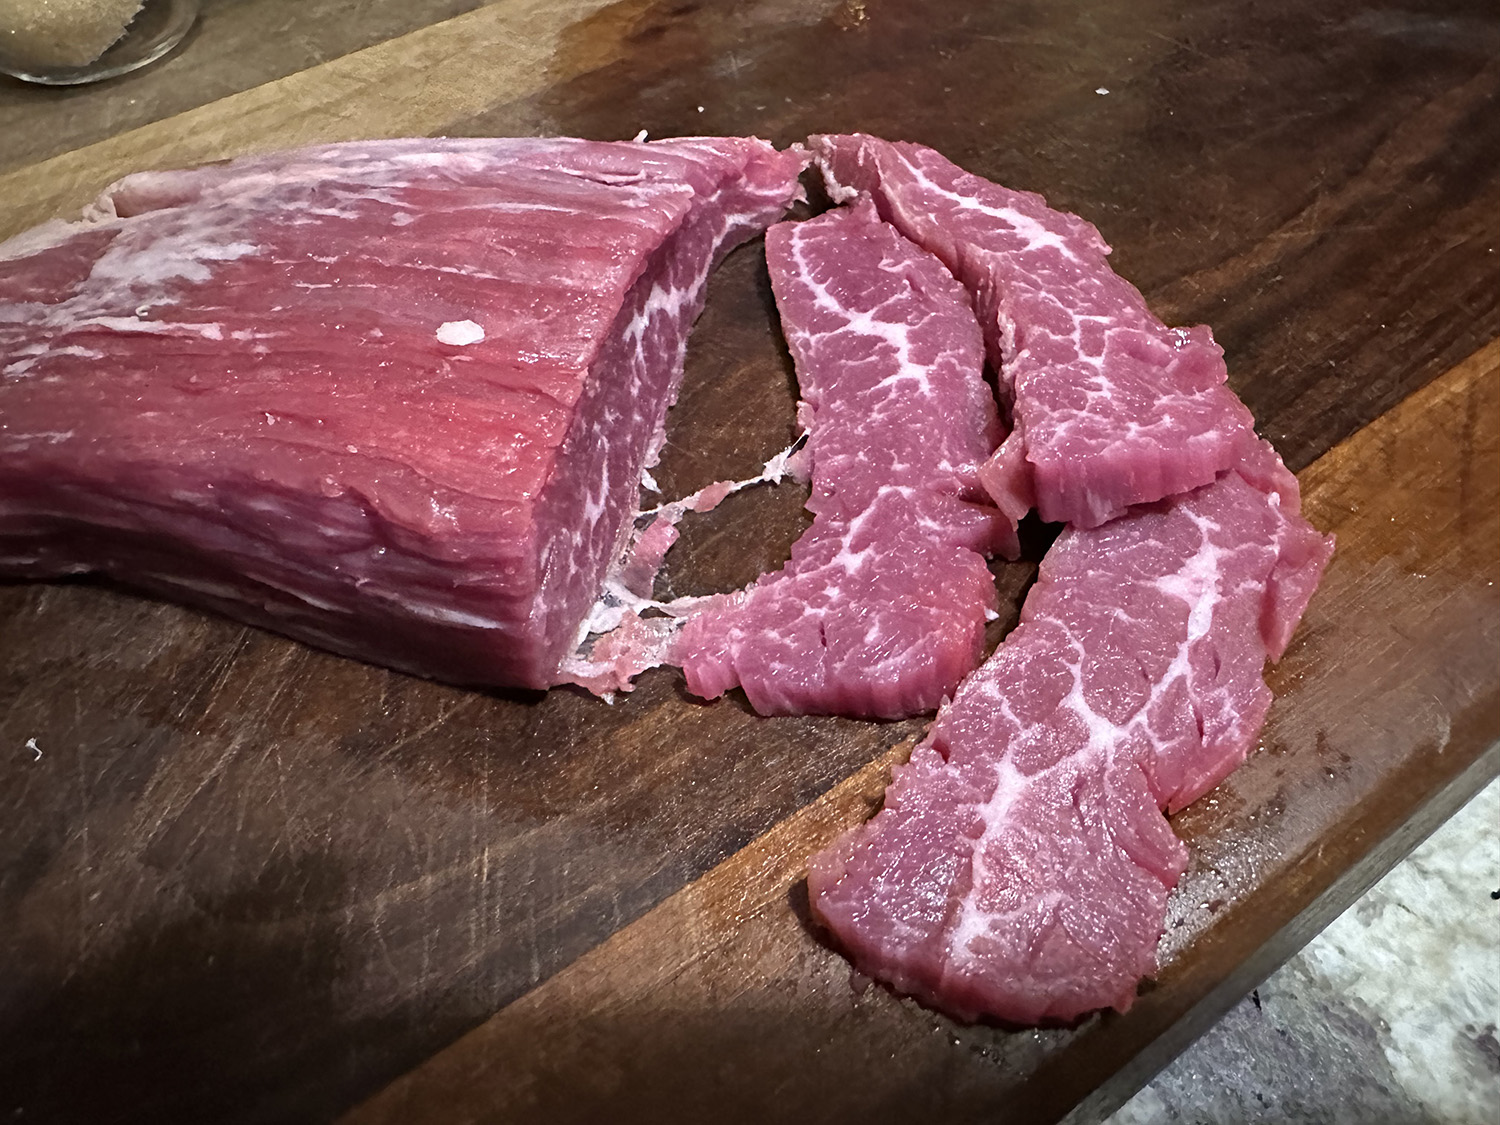
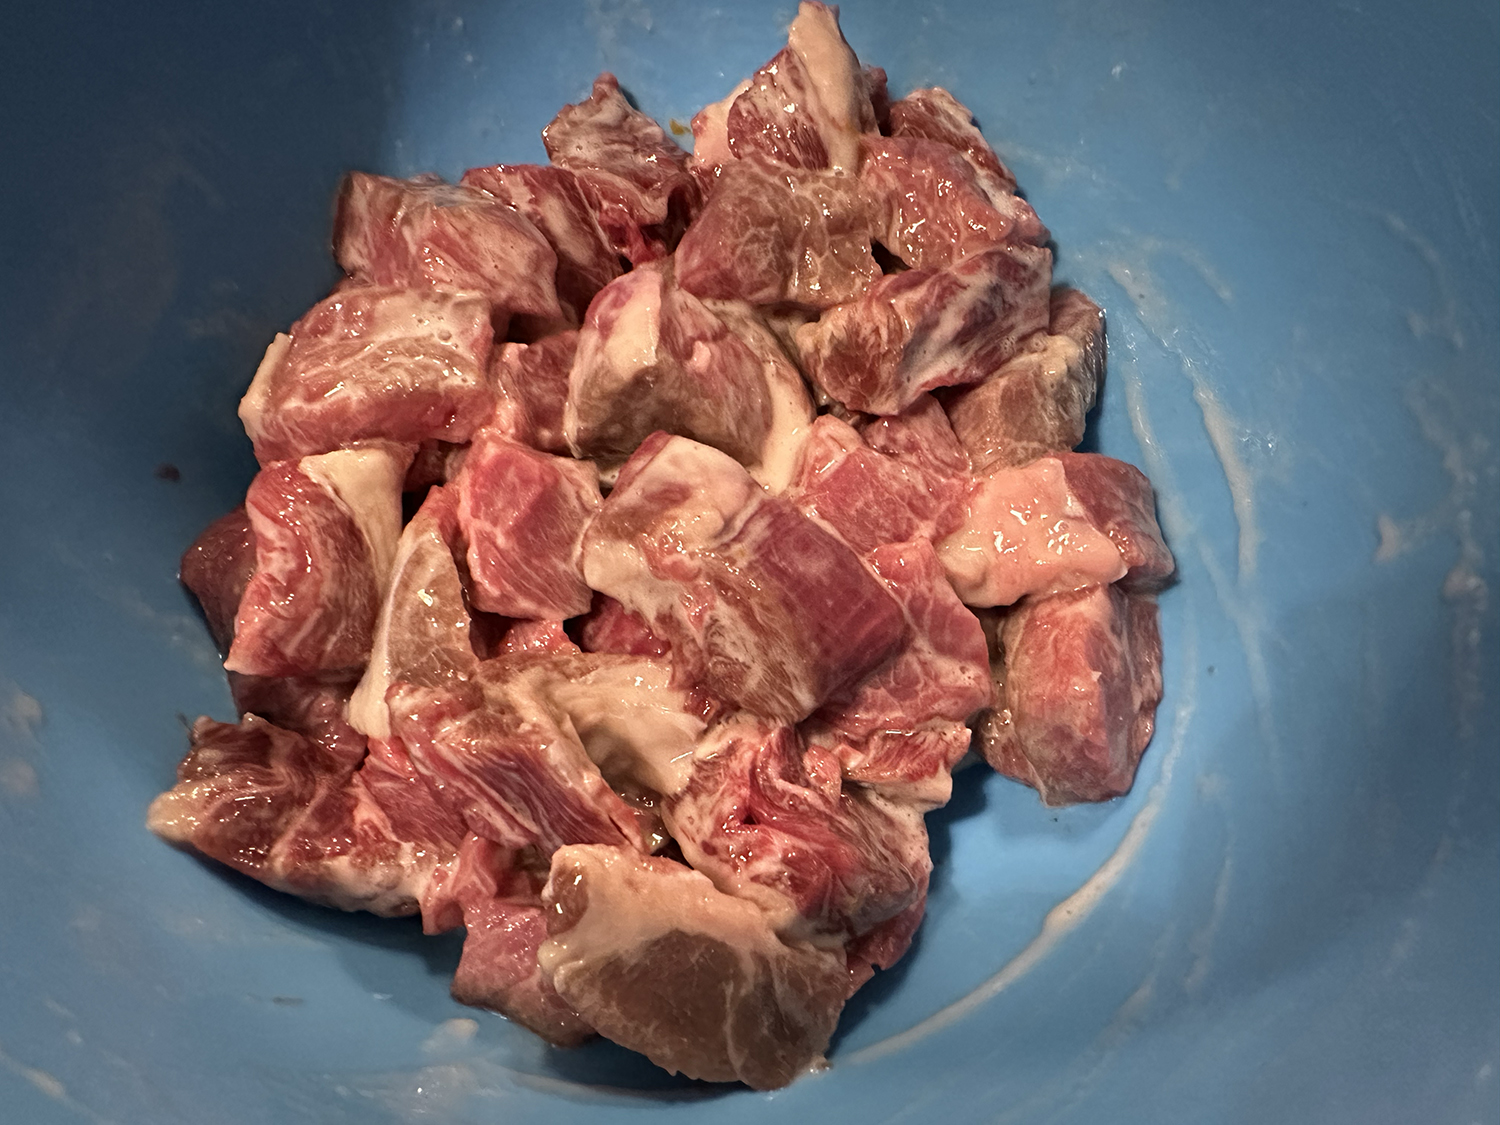
- 1 lb. skinless, boneless chicken breasts, halved crosswise, thinly sliced against the grain
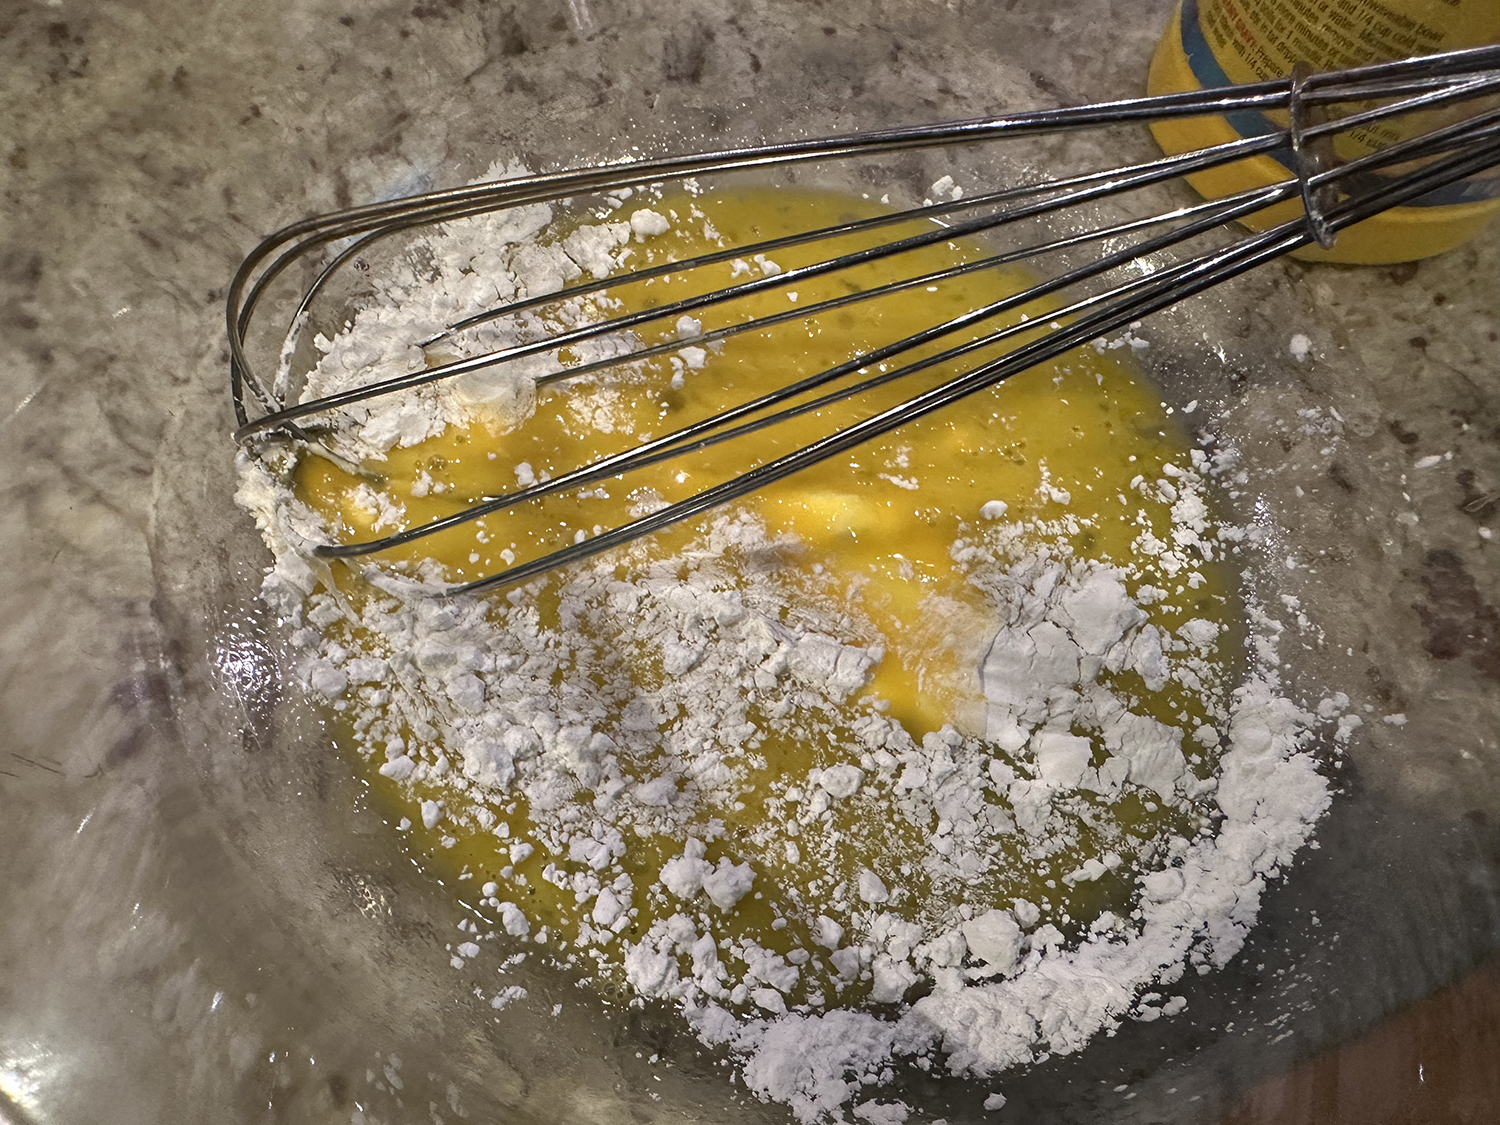
- 1 Tbsp. cornstarch
- 4 Tbsp. (or more) vegetable oil, divided
- 1 lb. green beans, trimmed
- 6 garlic cloves, finely chopped
- 1 ½” piece ginger, peeled, finely chopped
- Kosher salt
- Thinly sliced orange zest and toasted sesame seeds (for serving)
- Steamed white rice (for serving; optional)
Directions
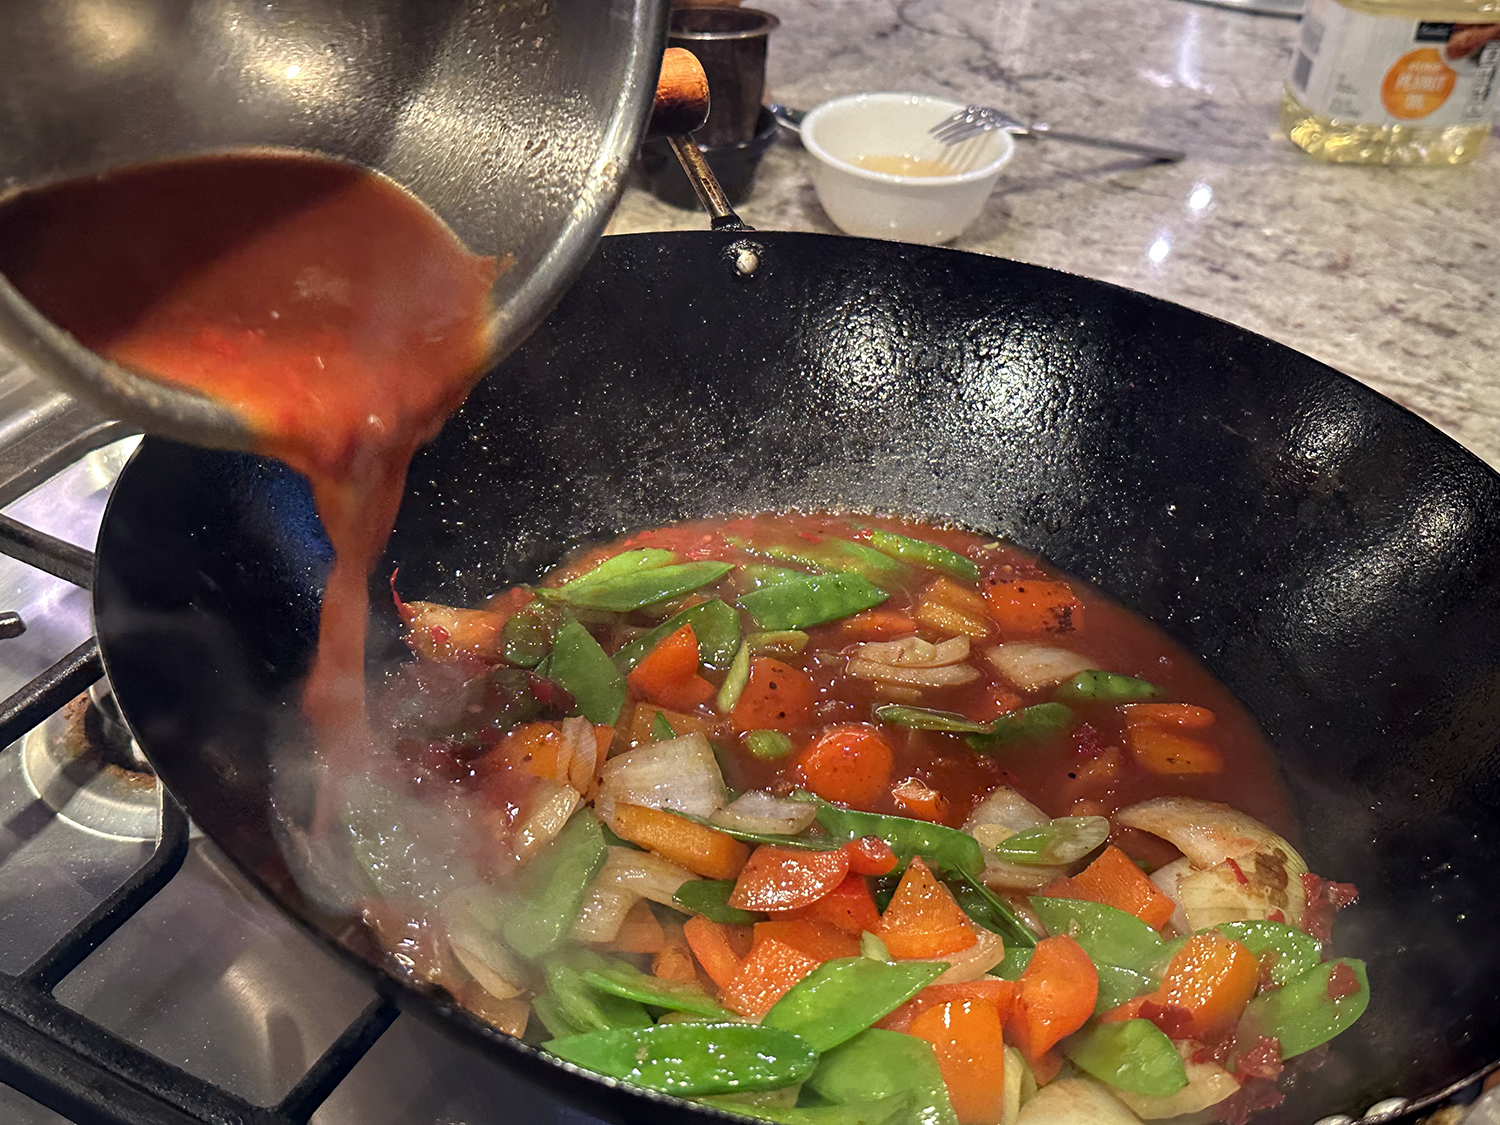
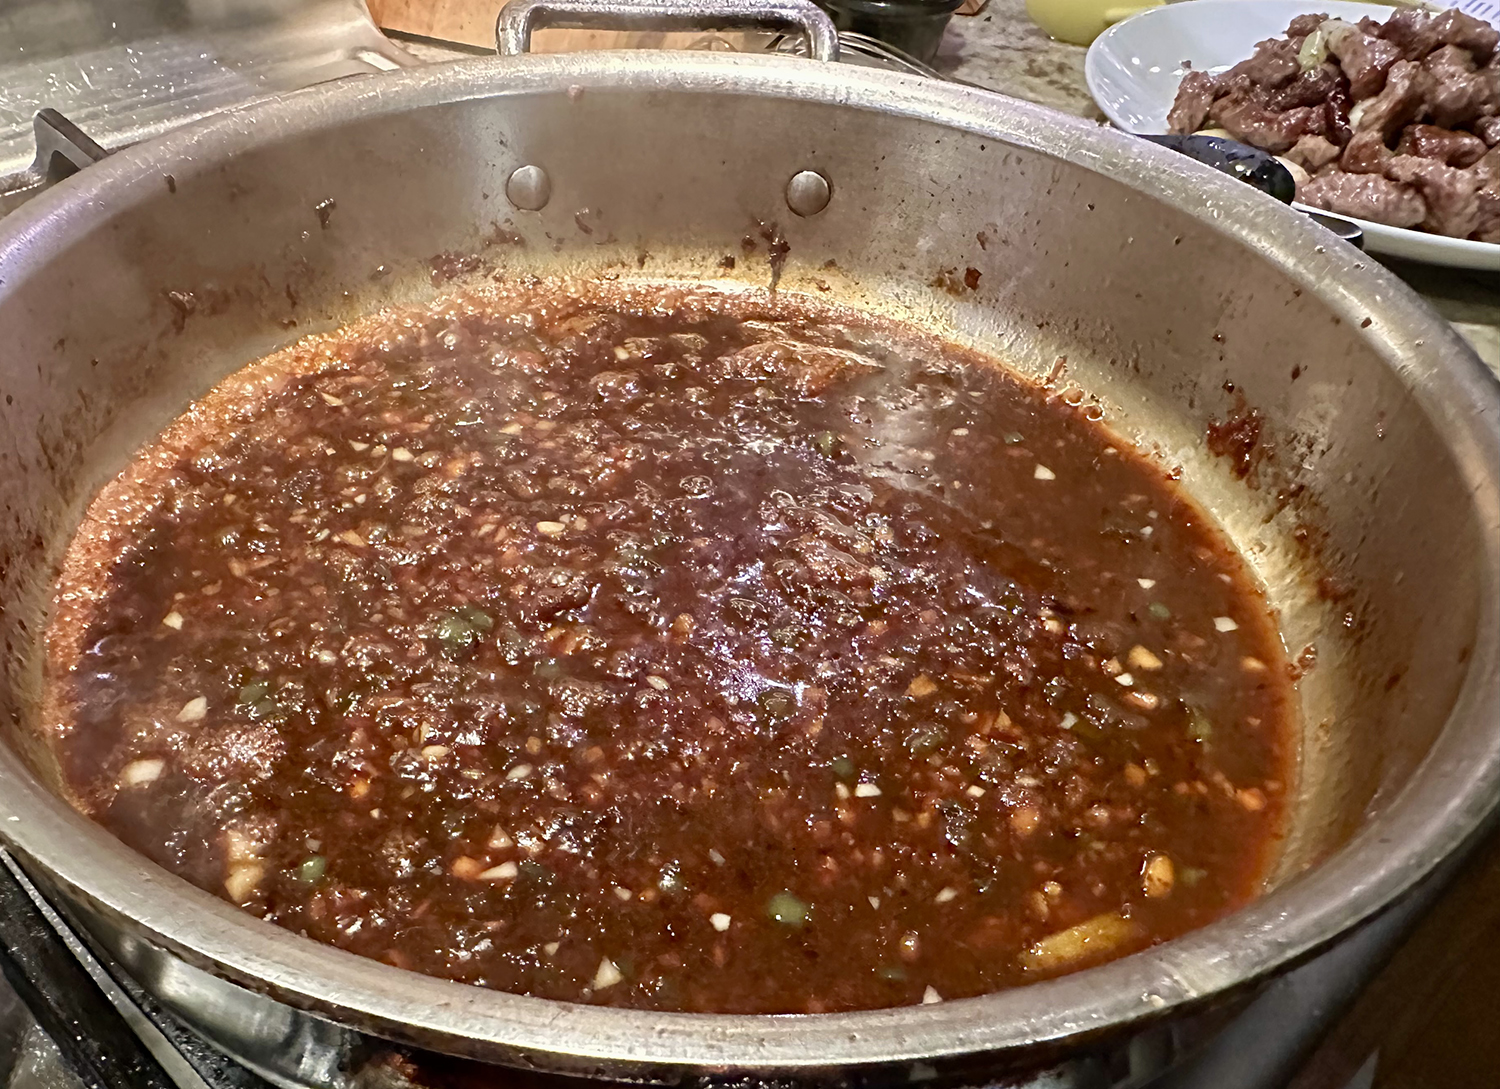
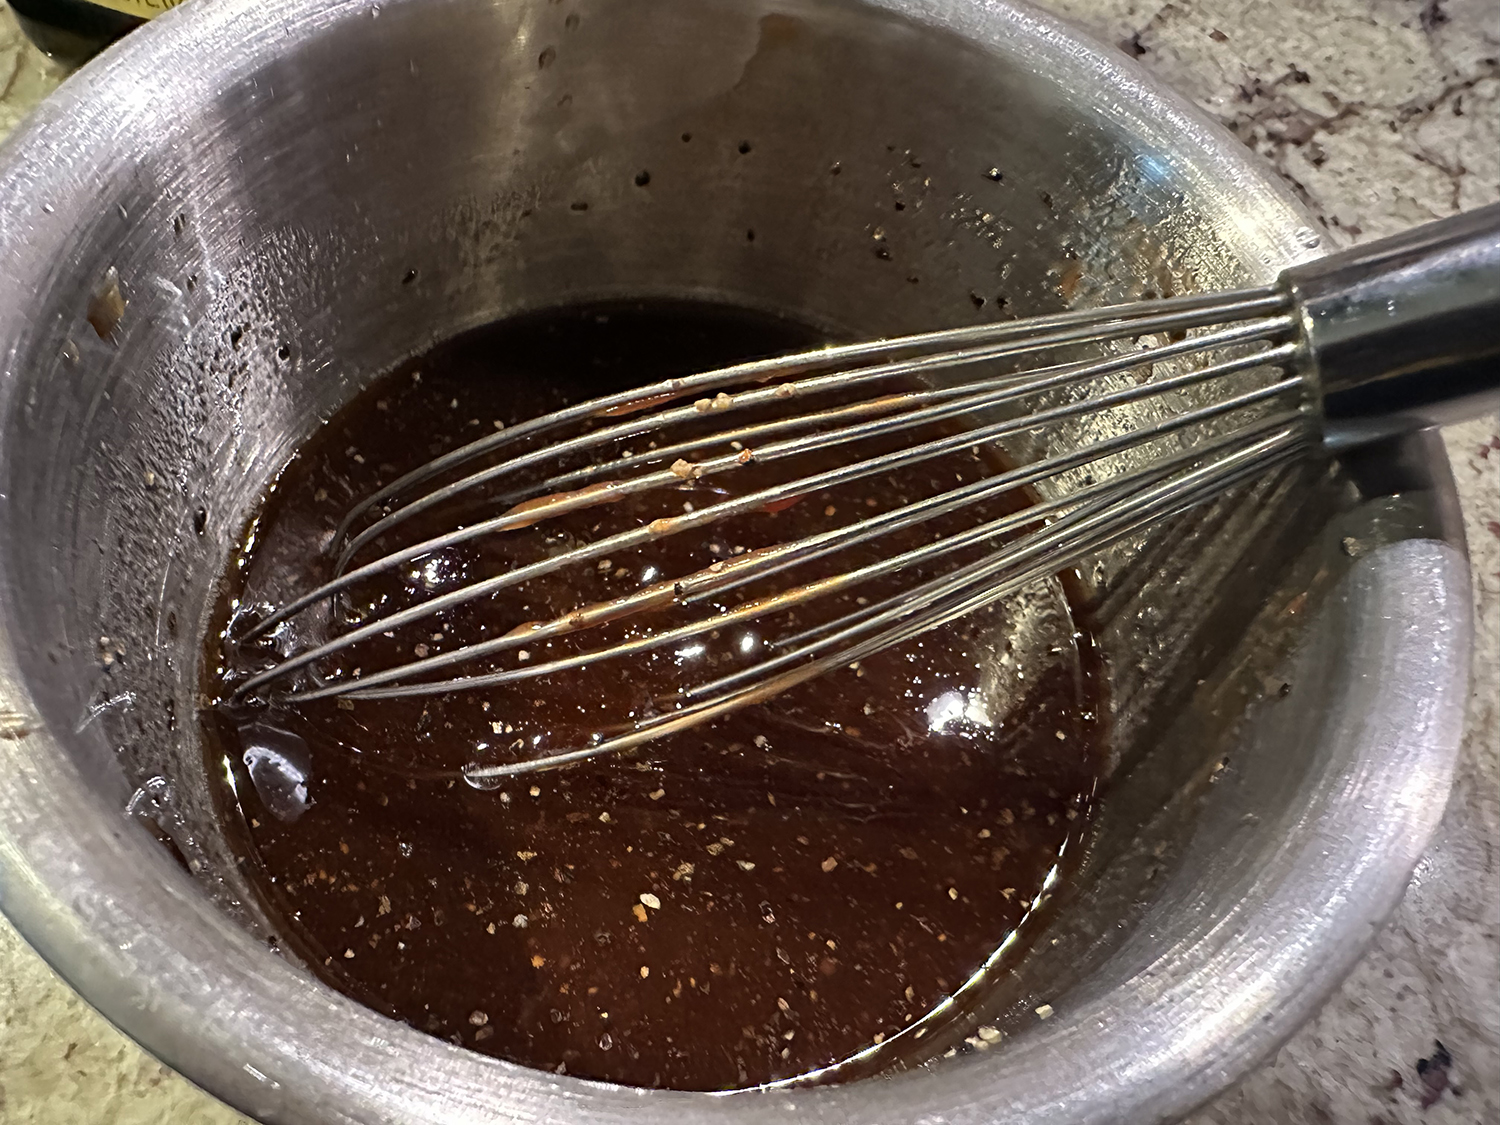
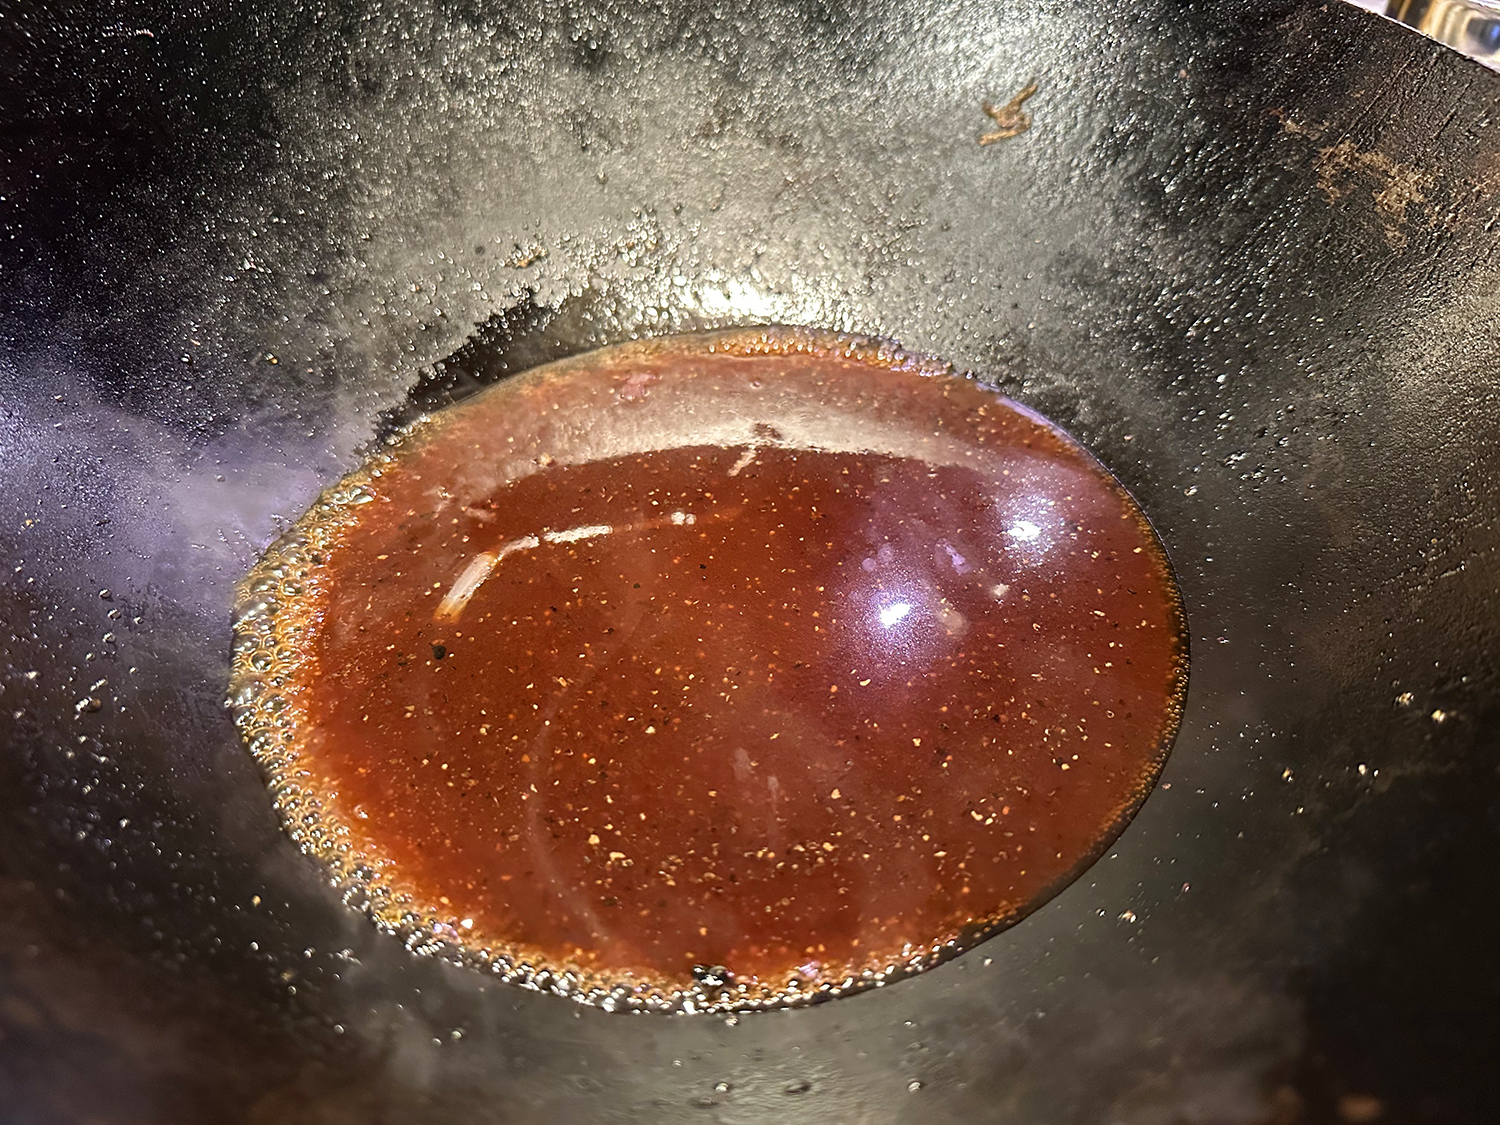
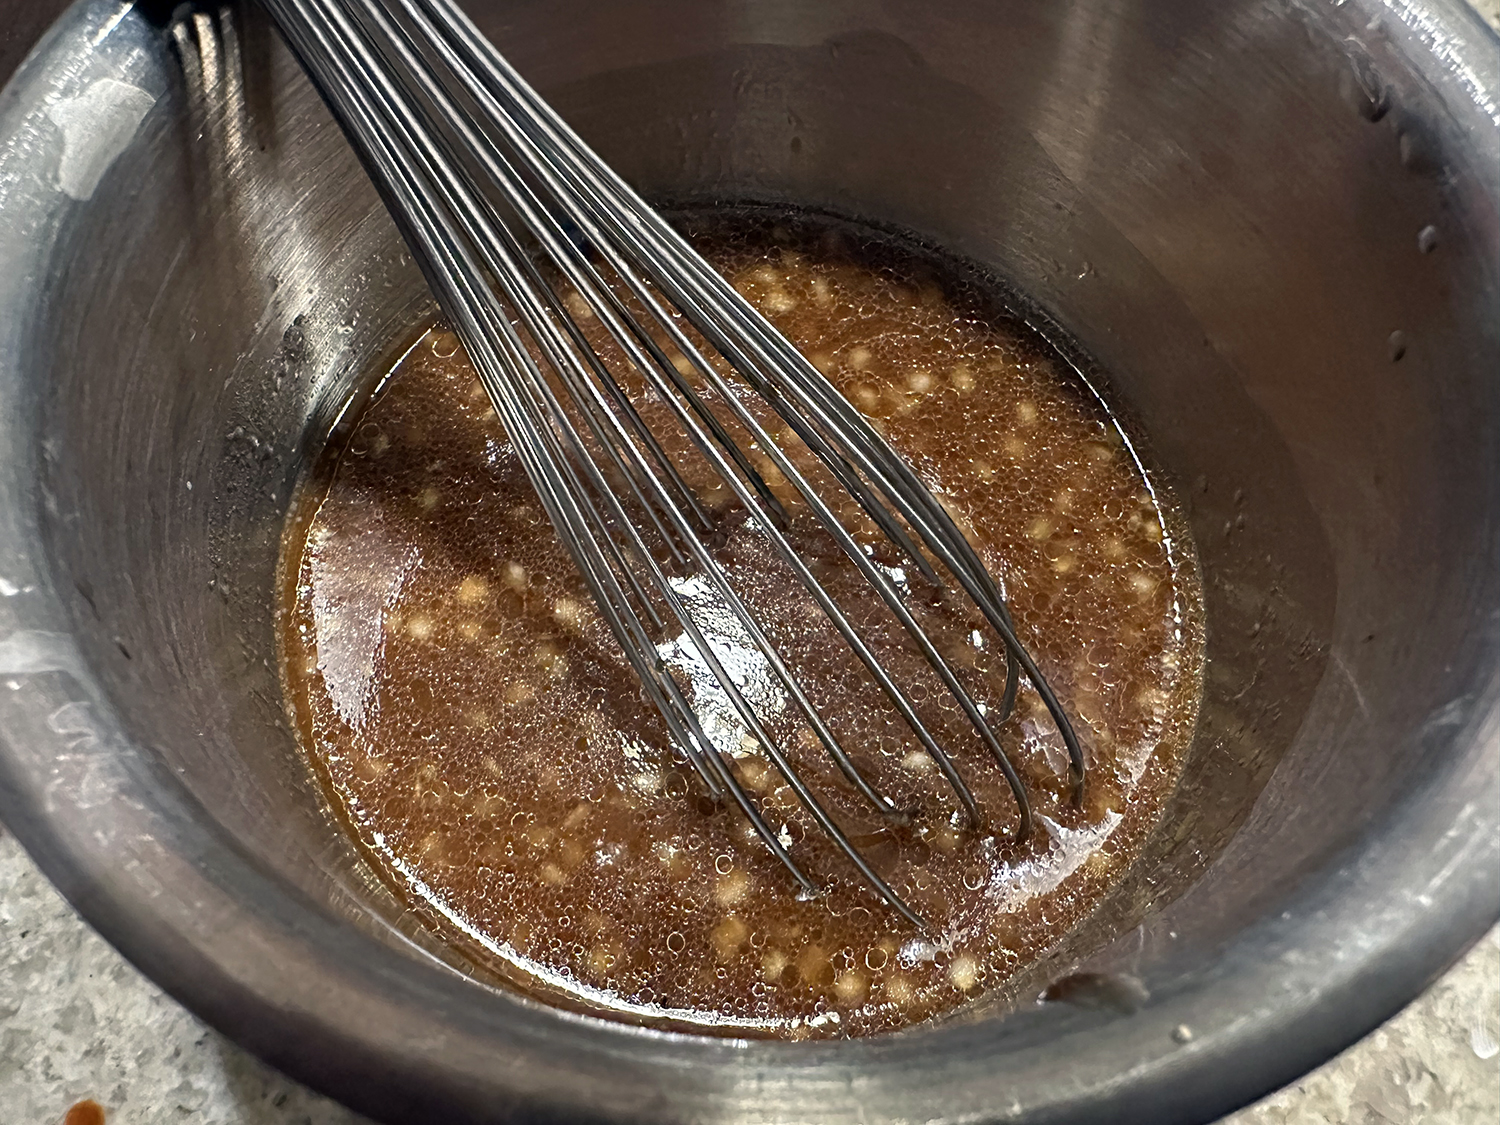
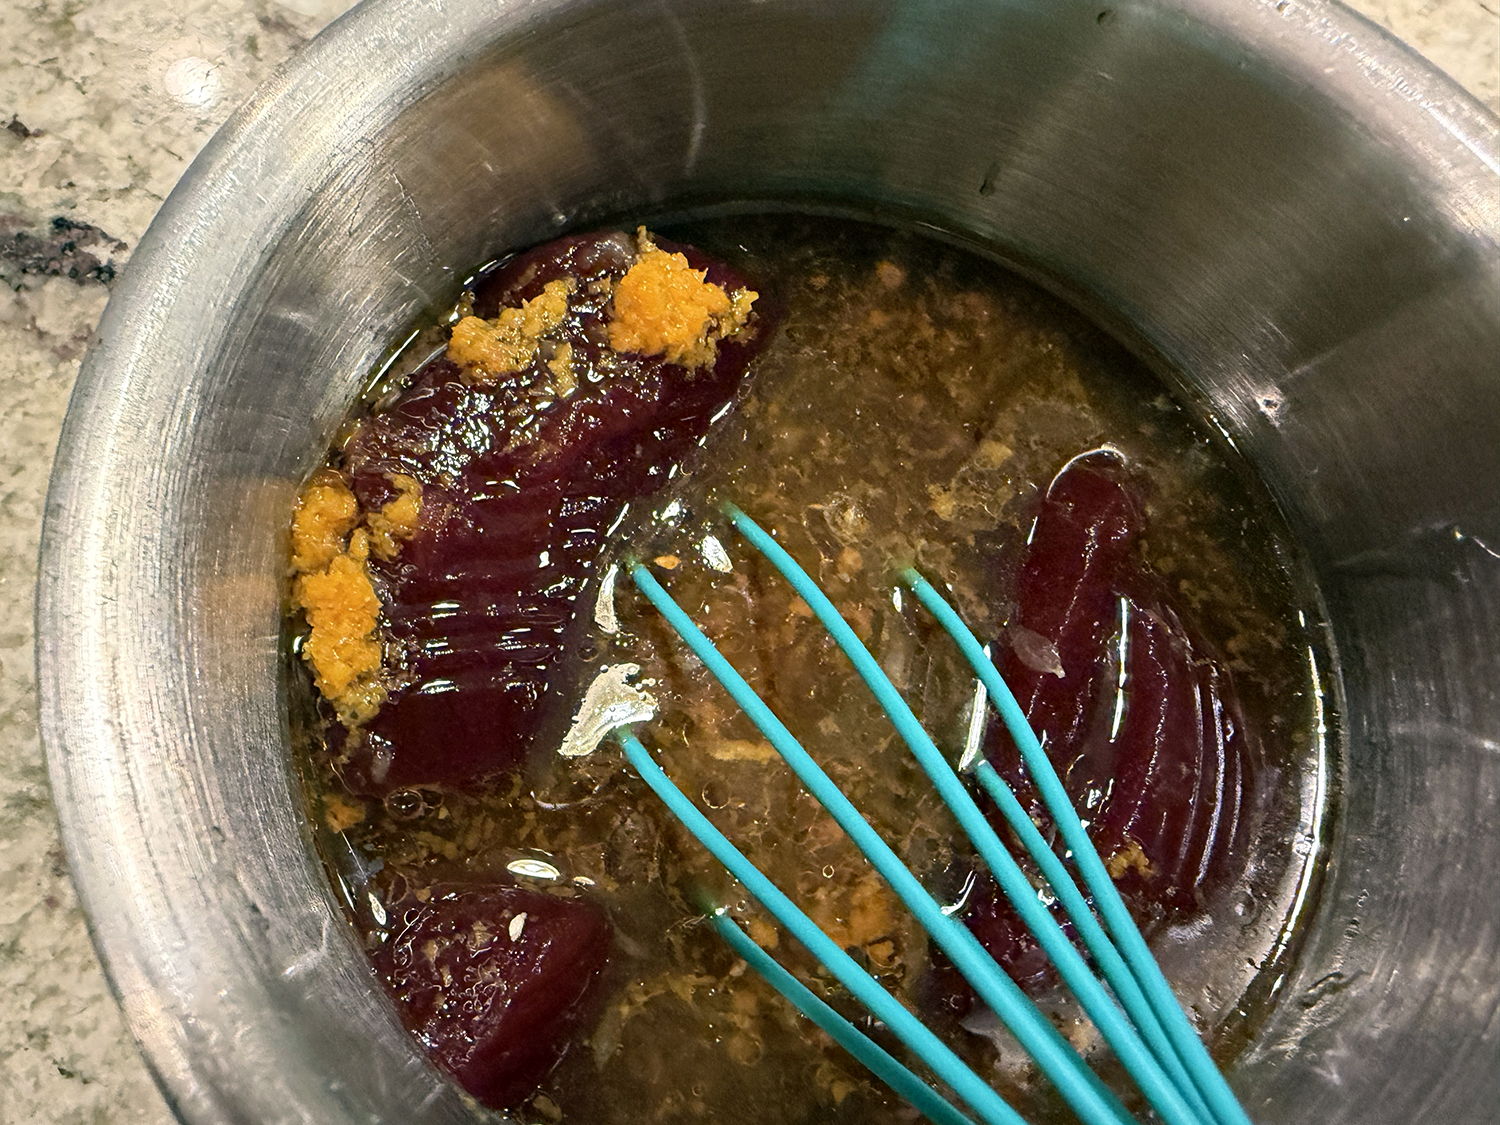
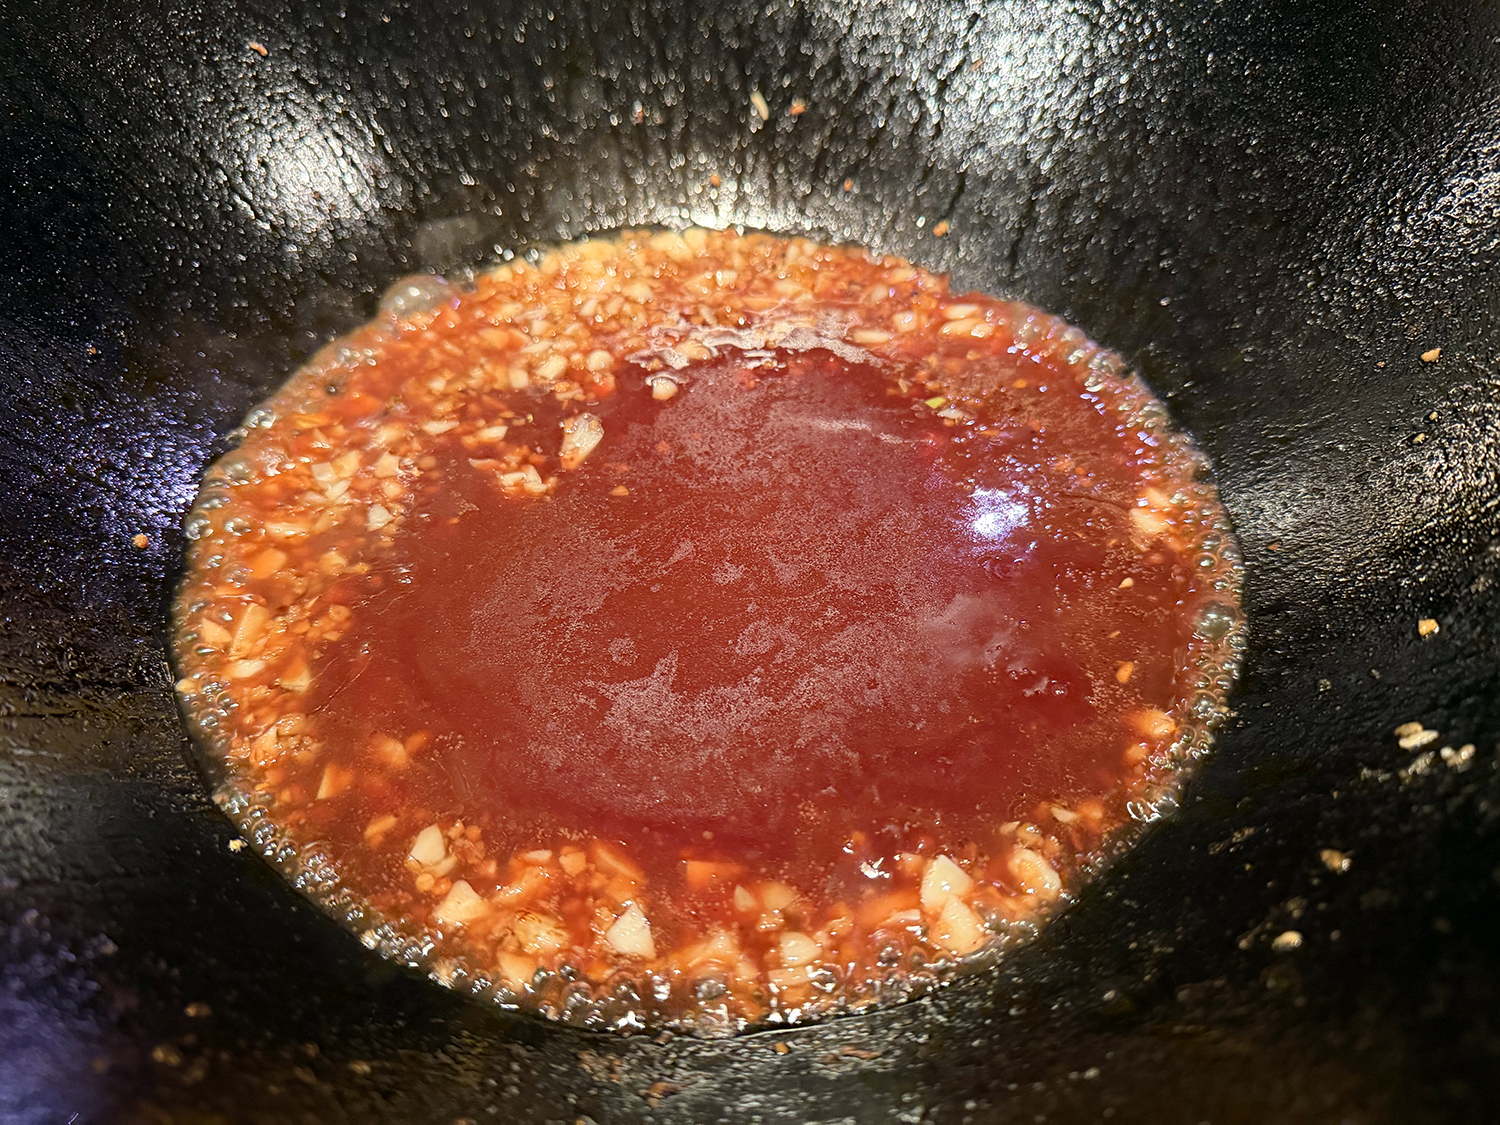
- Whisk 1 cup jellied cranberry sauce (from a 14-oz. can), 3 Tbsp. unseasoned rice vinegar, 2 tsp. finely grated orange zest, ¼ cup fresh orange juice, 2 tsp. toasted sesame oil, and 2 Tbsp. soy sauce in a small bowl until jelly is mostly dissolved (some lumps are okay); set sauce aside.
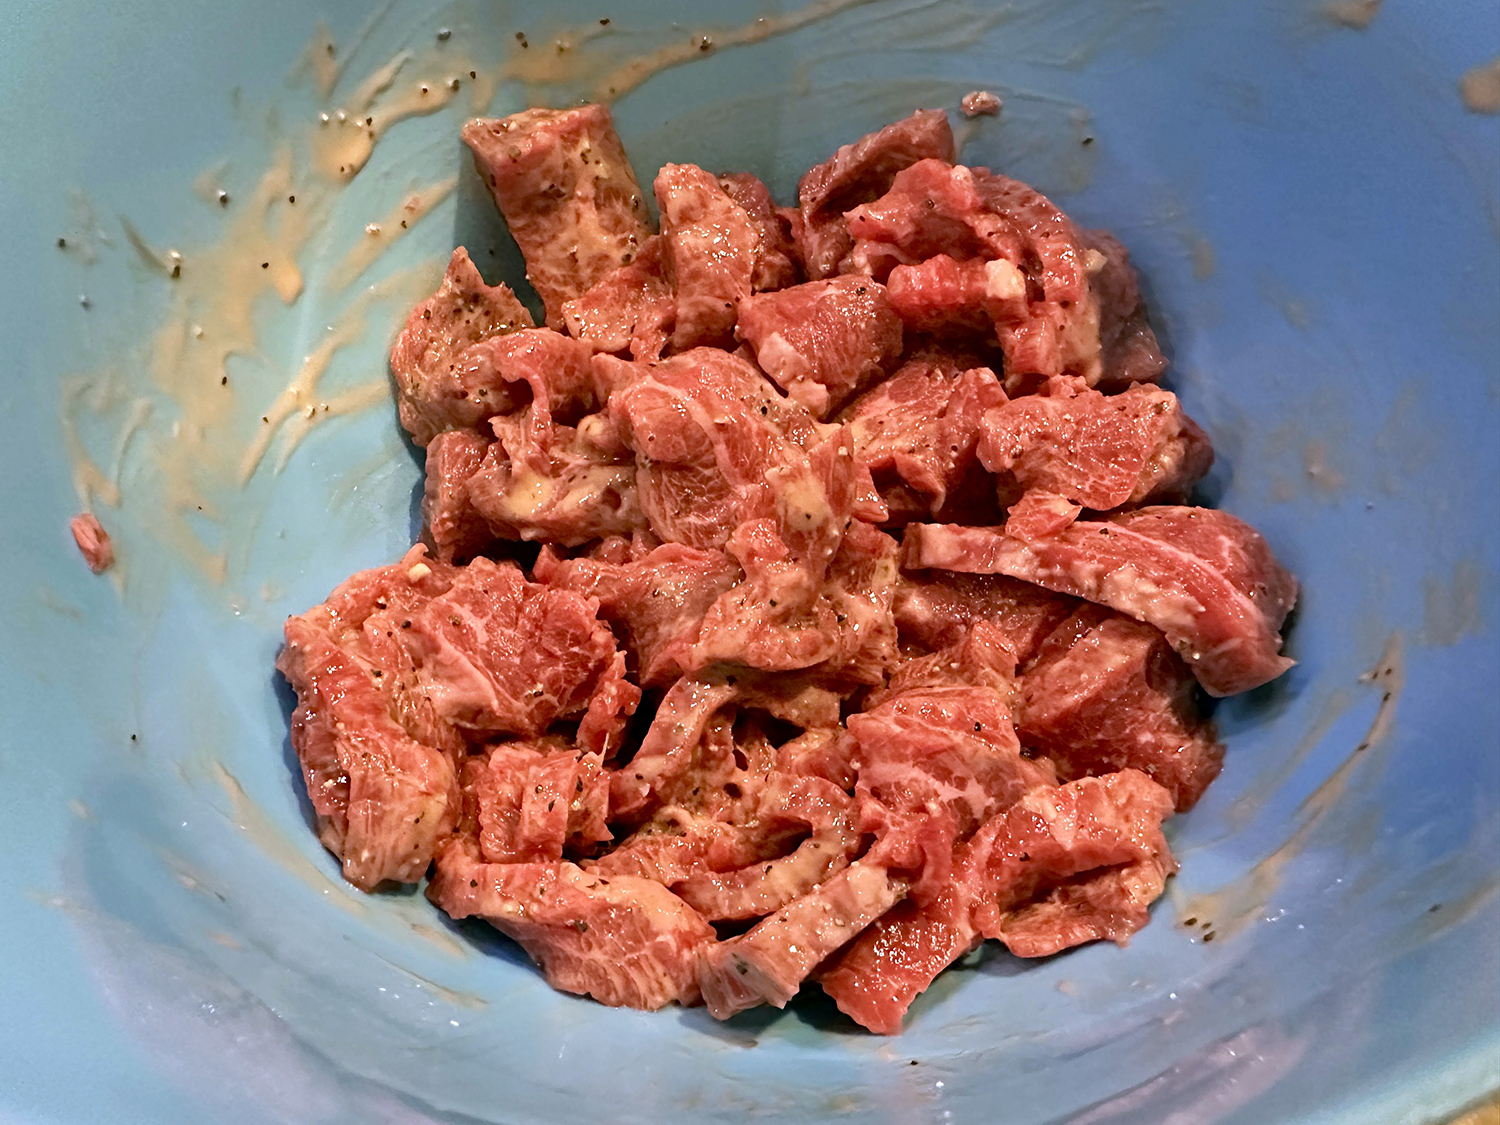
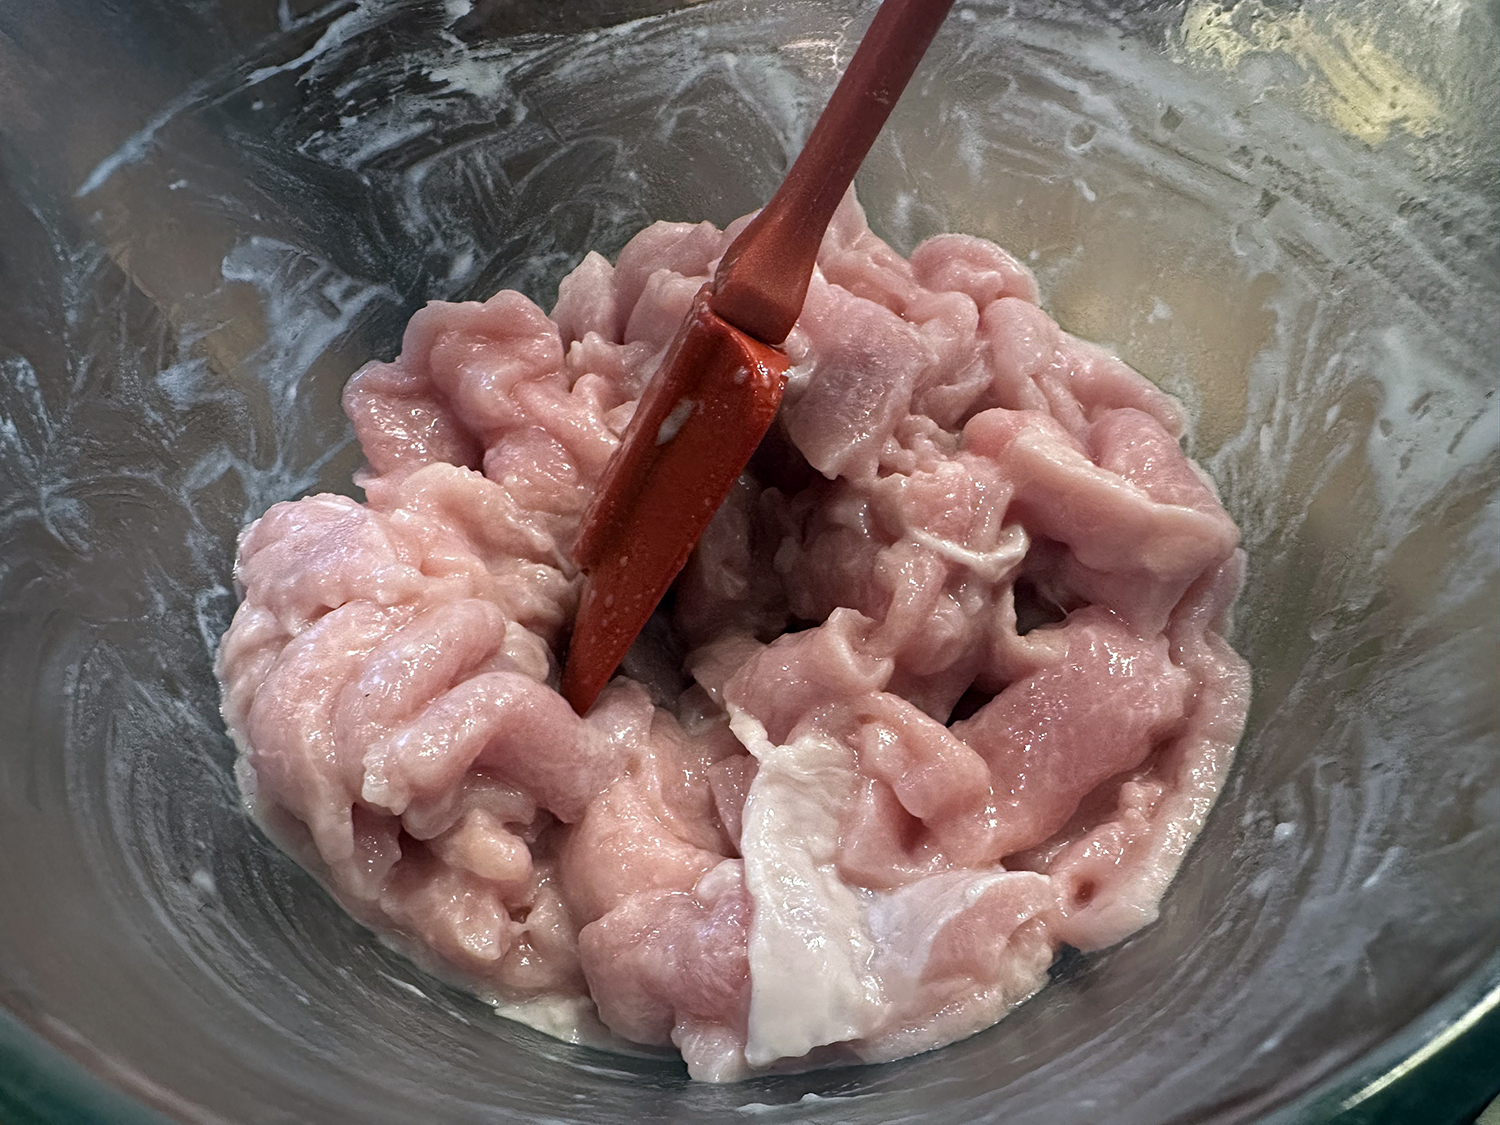
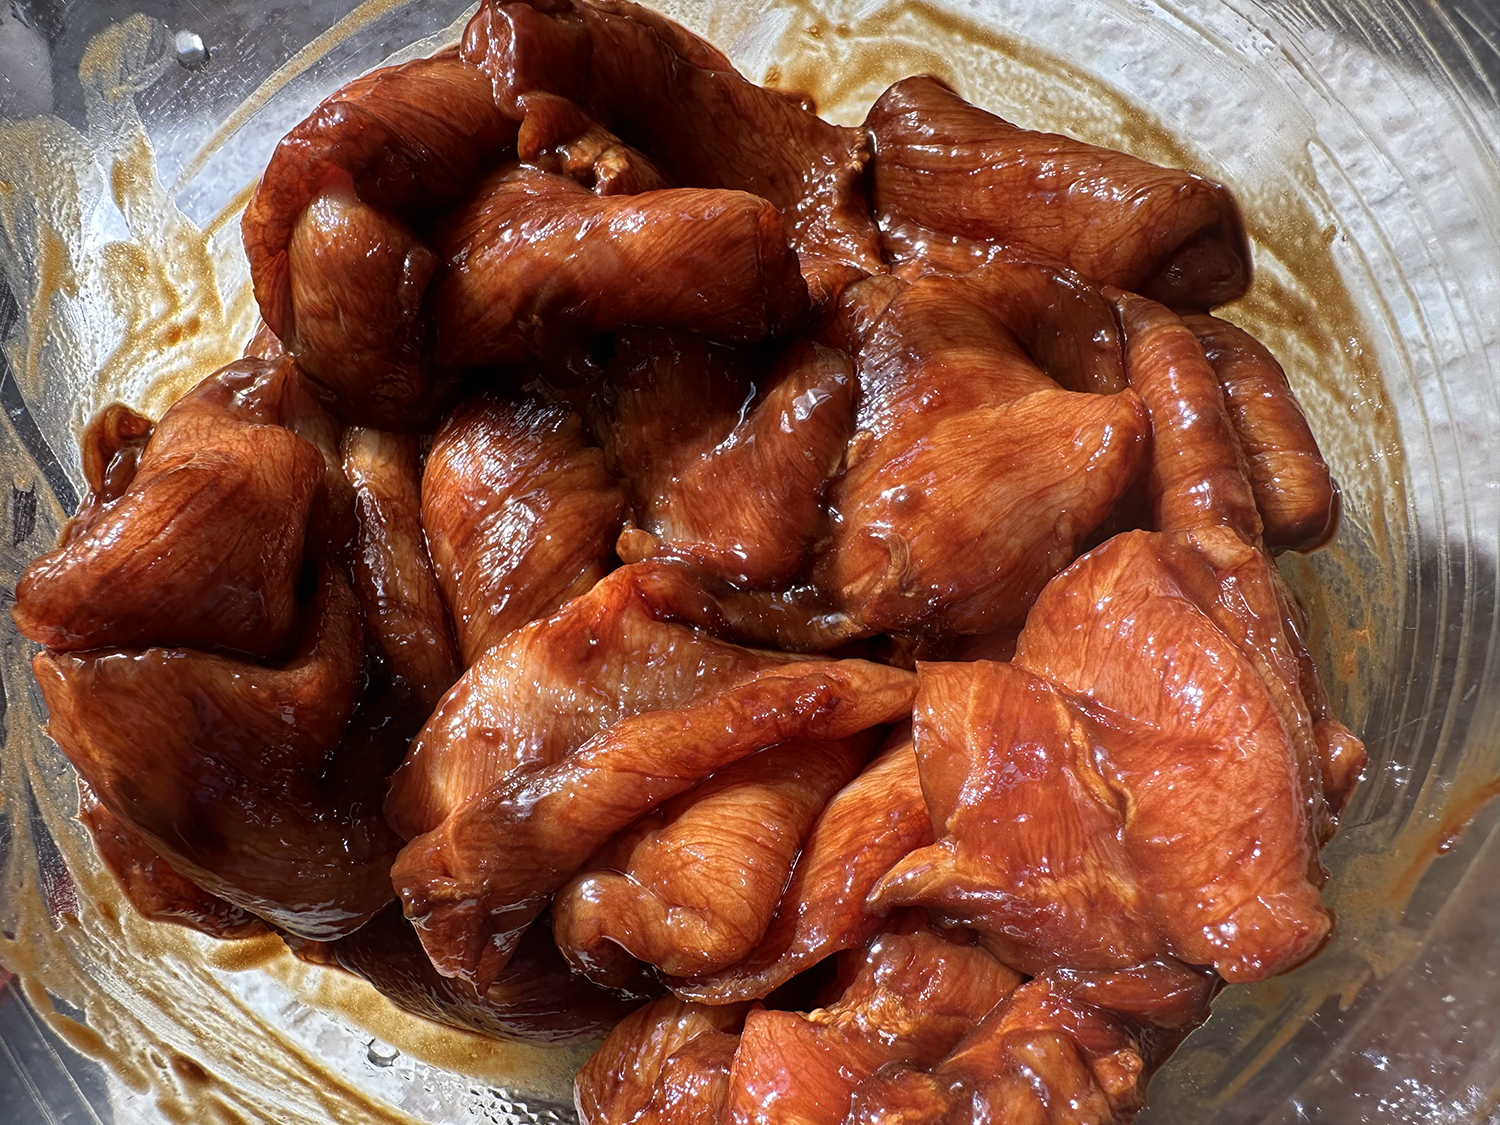
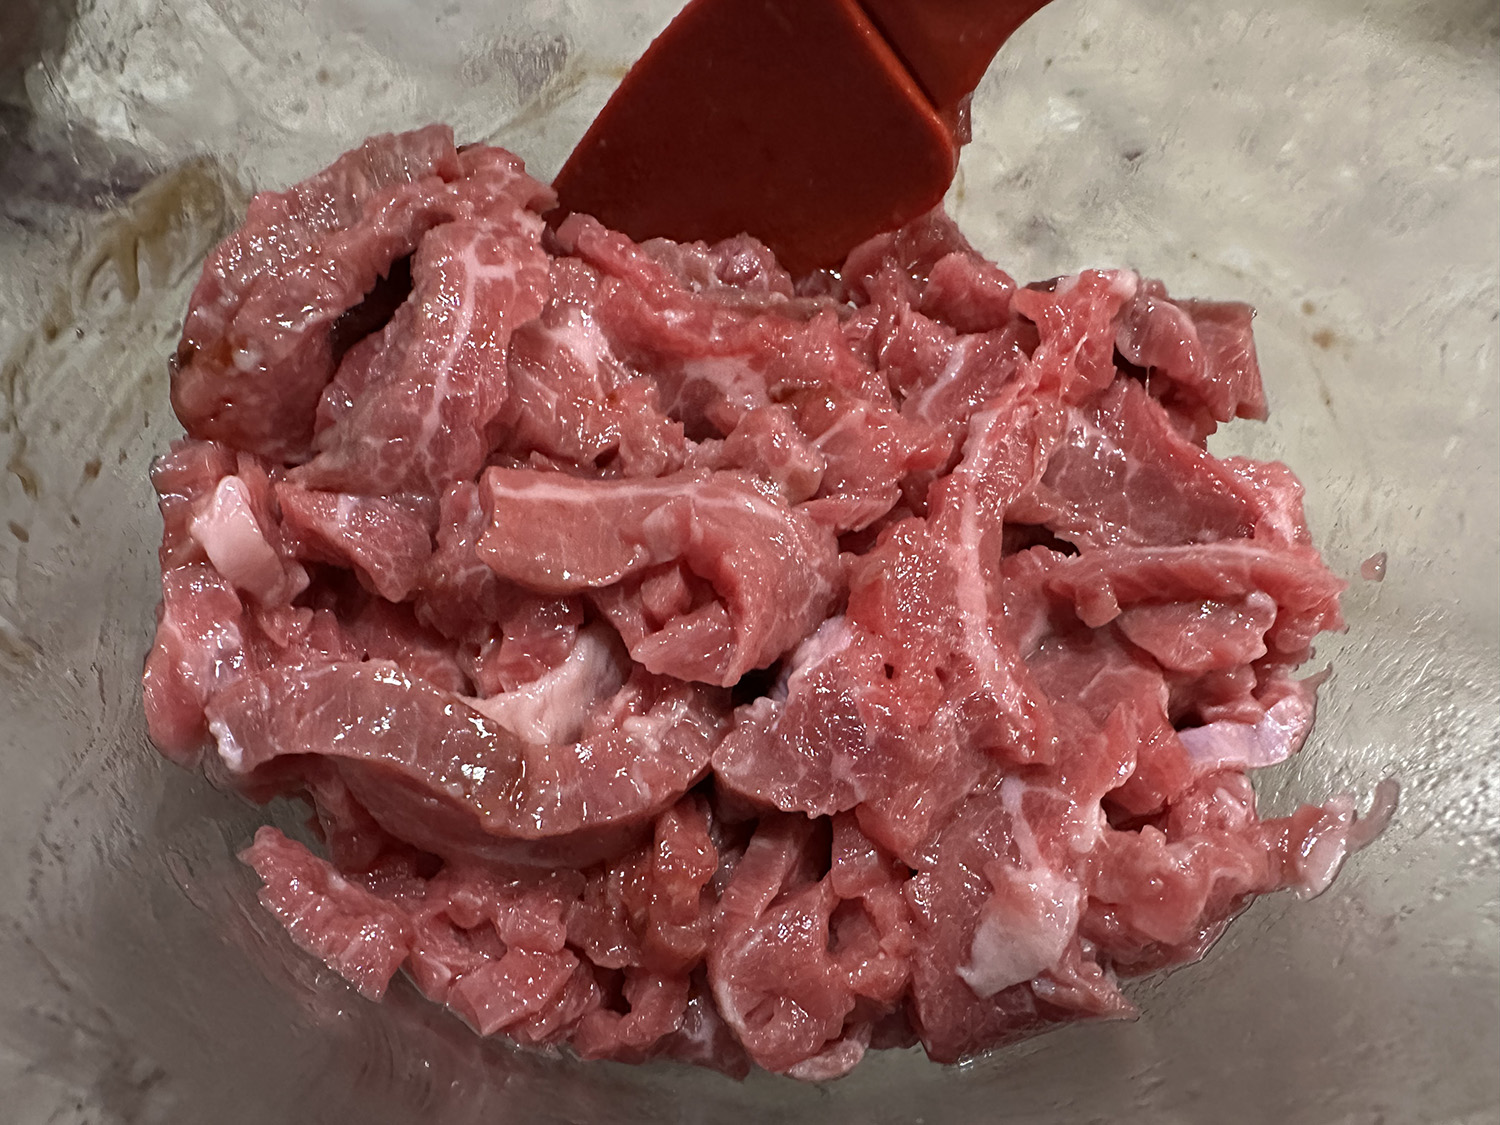
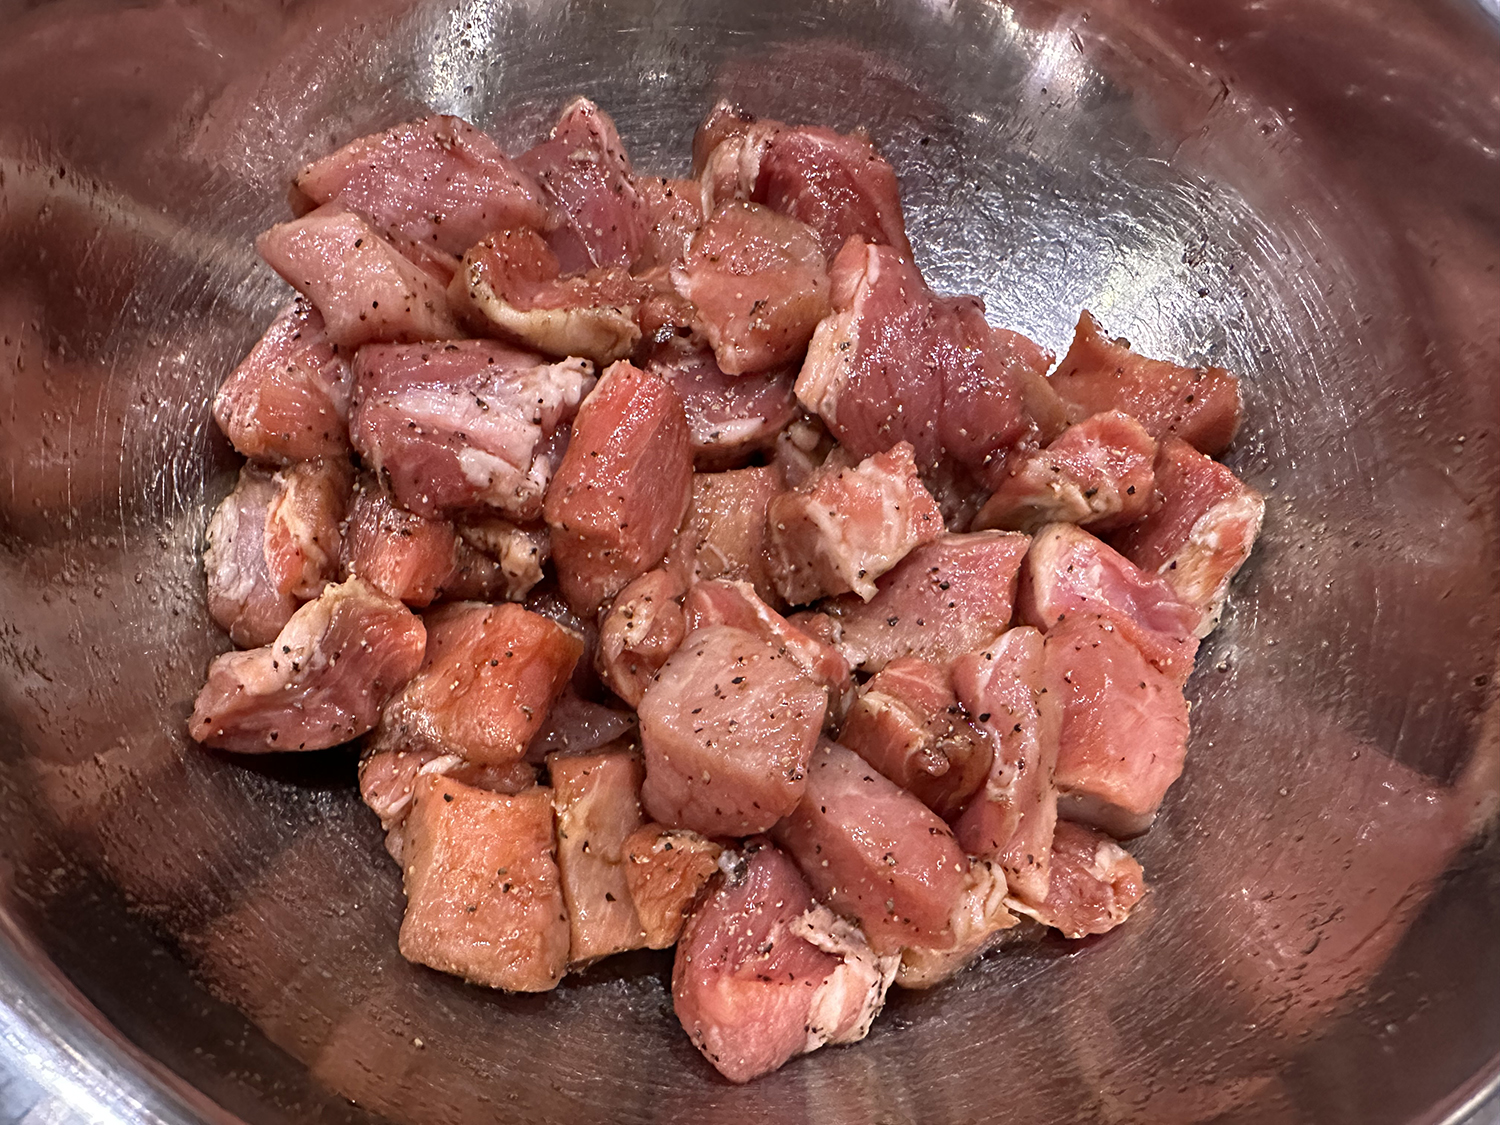
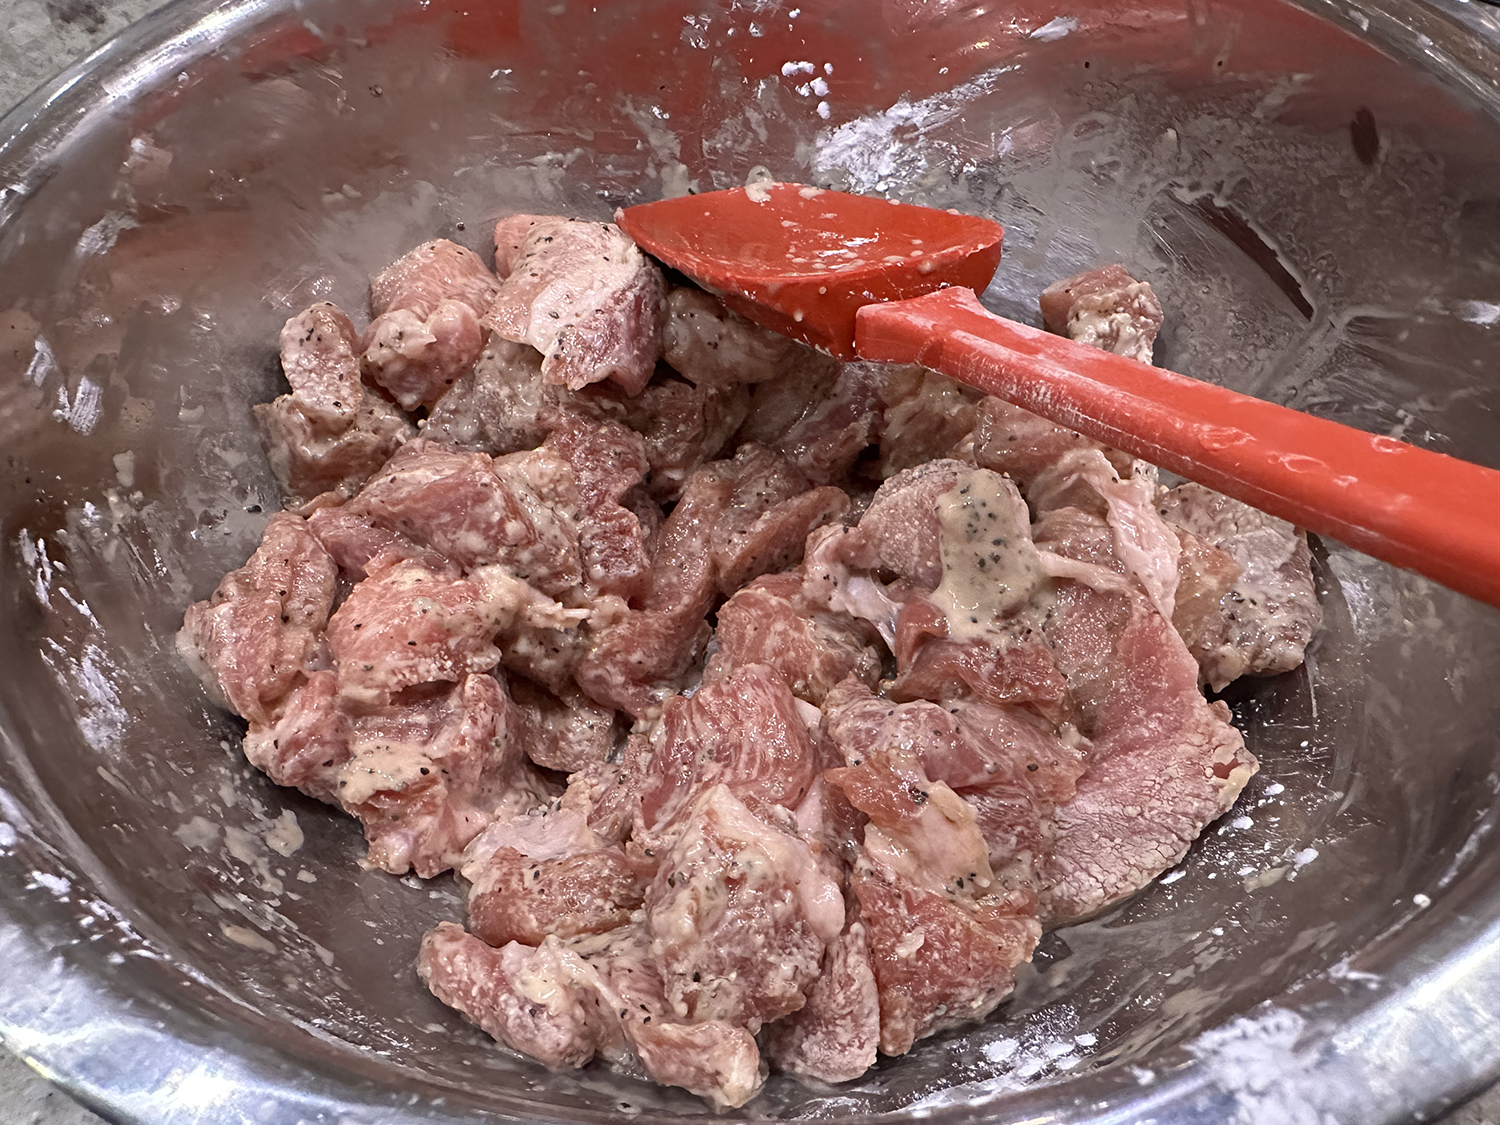
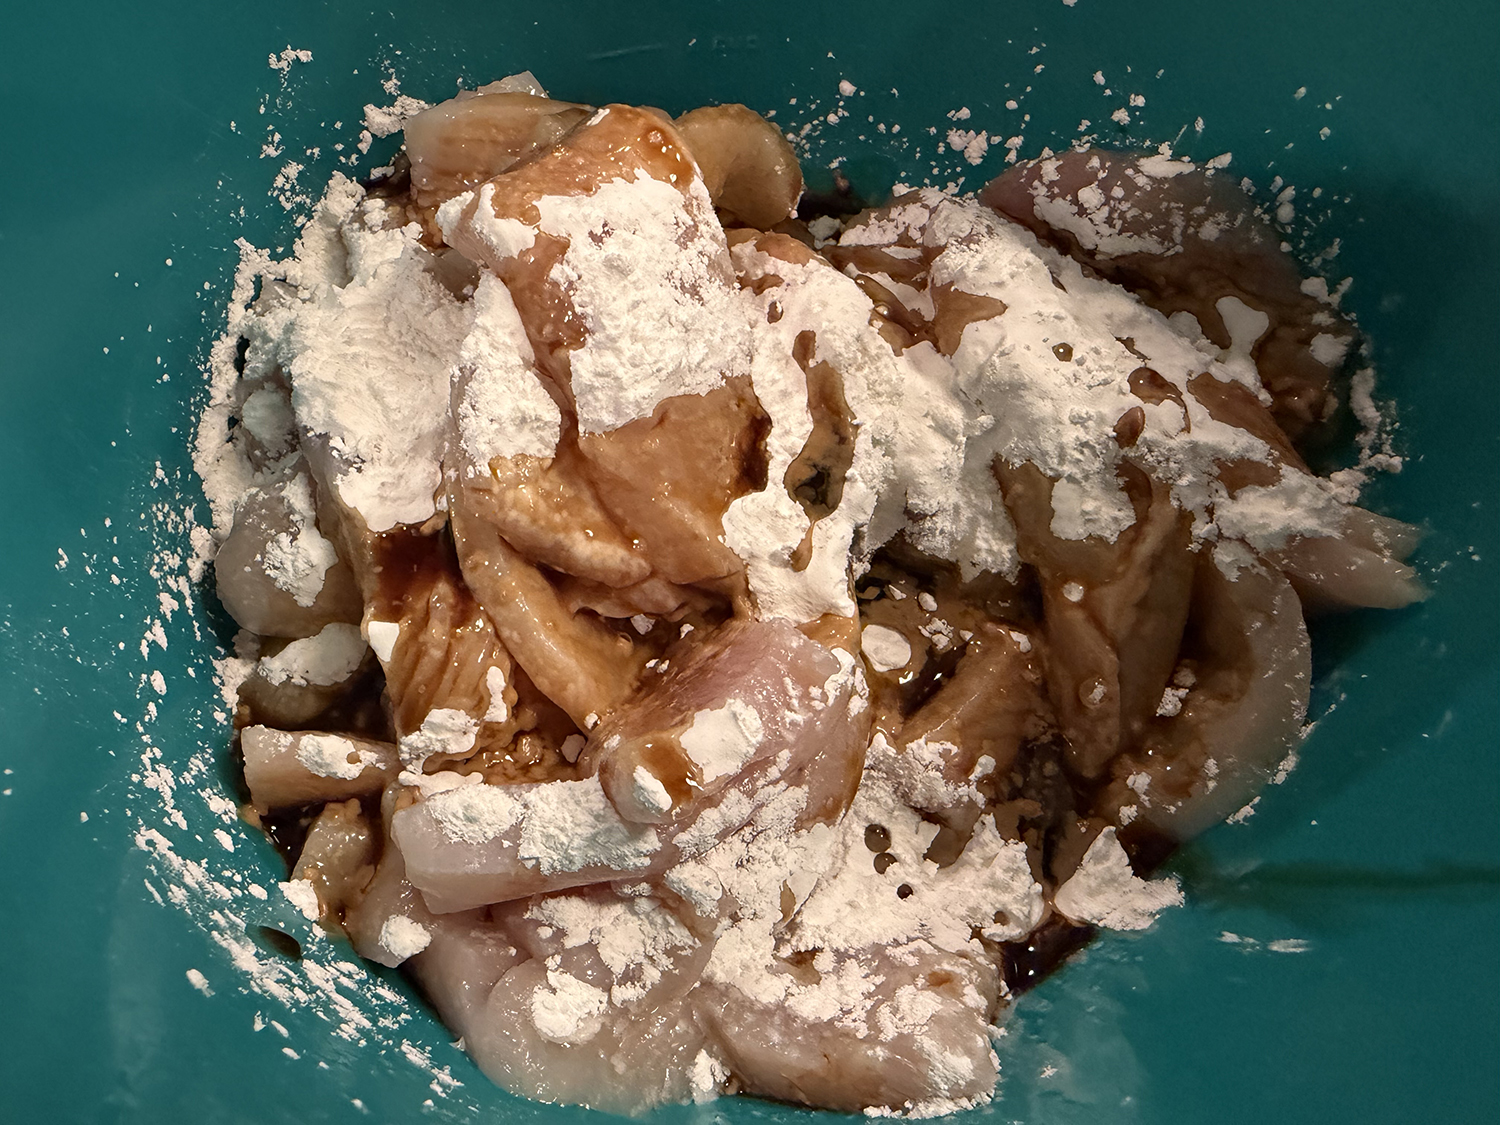
- Toss 1 lb. skinless, boneless chicken breasts, halved crosswise, thinly sliced against the grain, 1 Tbsp. cornstarch, and remaining 1 Tbsp. soy sauce in a medium bowl until chicken is well coated; set aside.
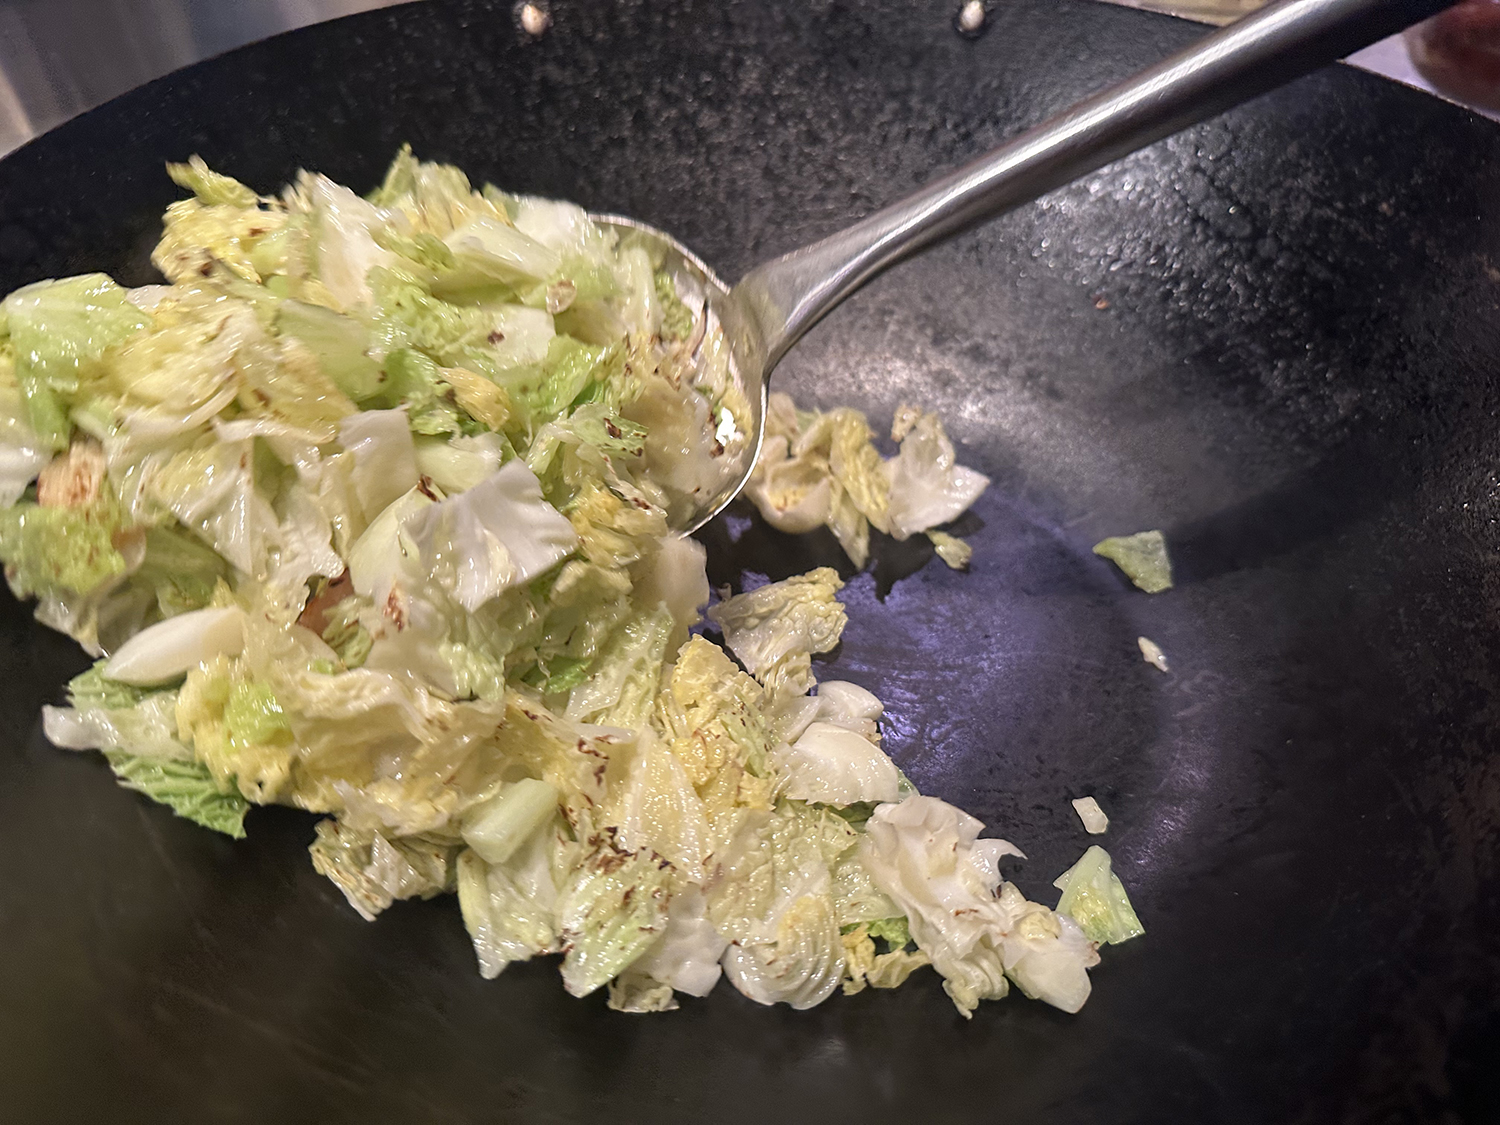
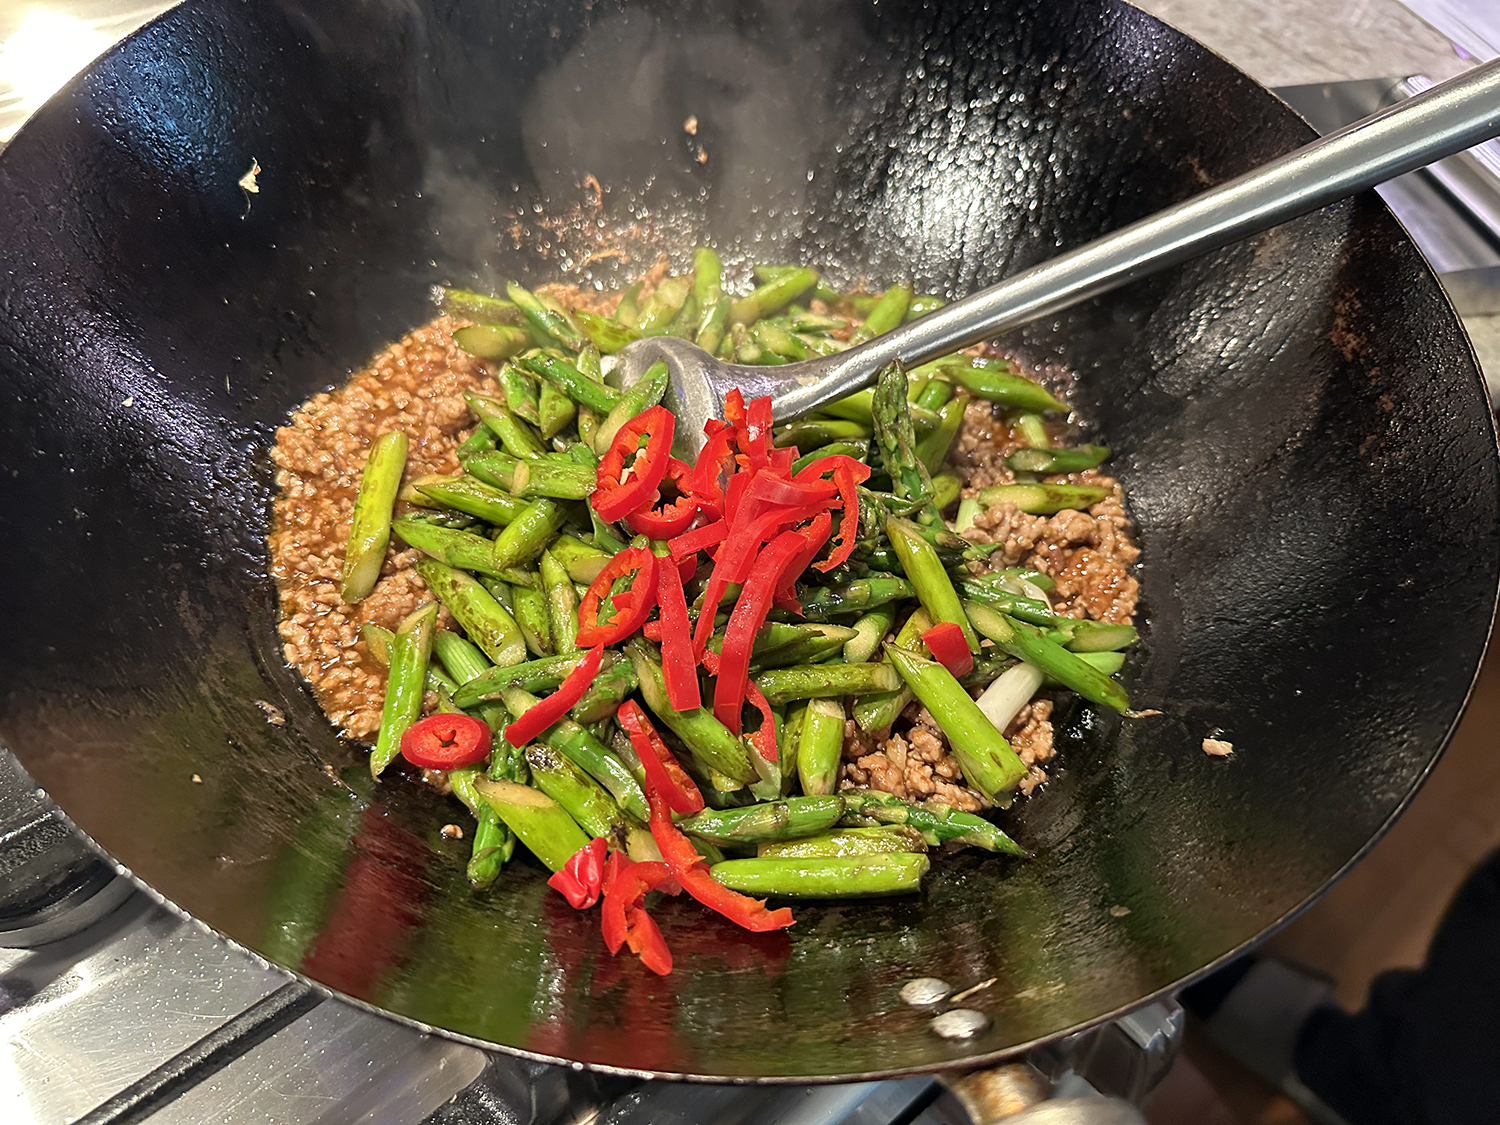
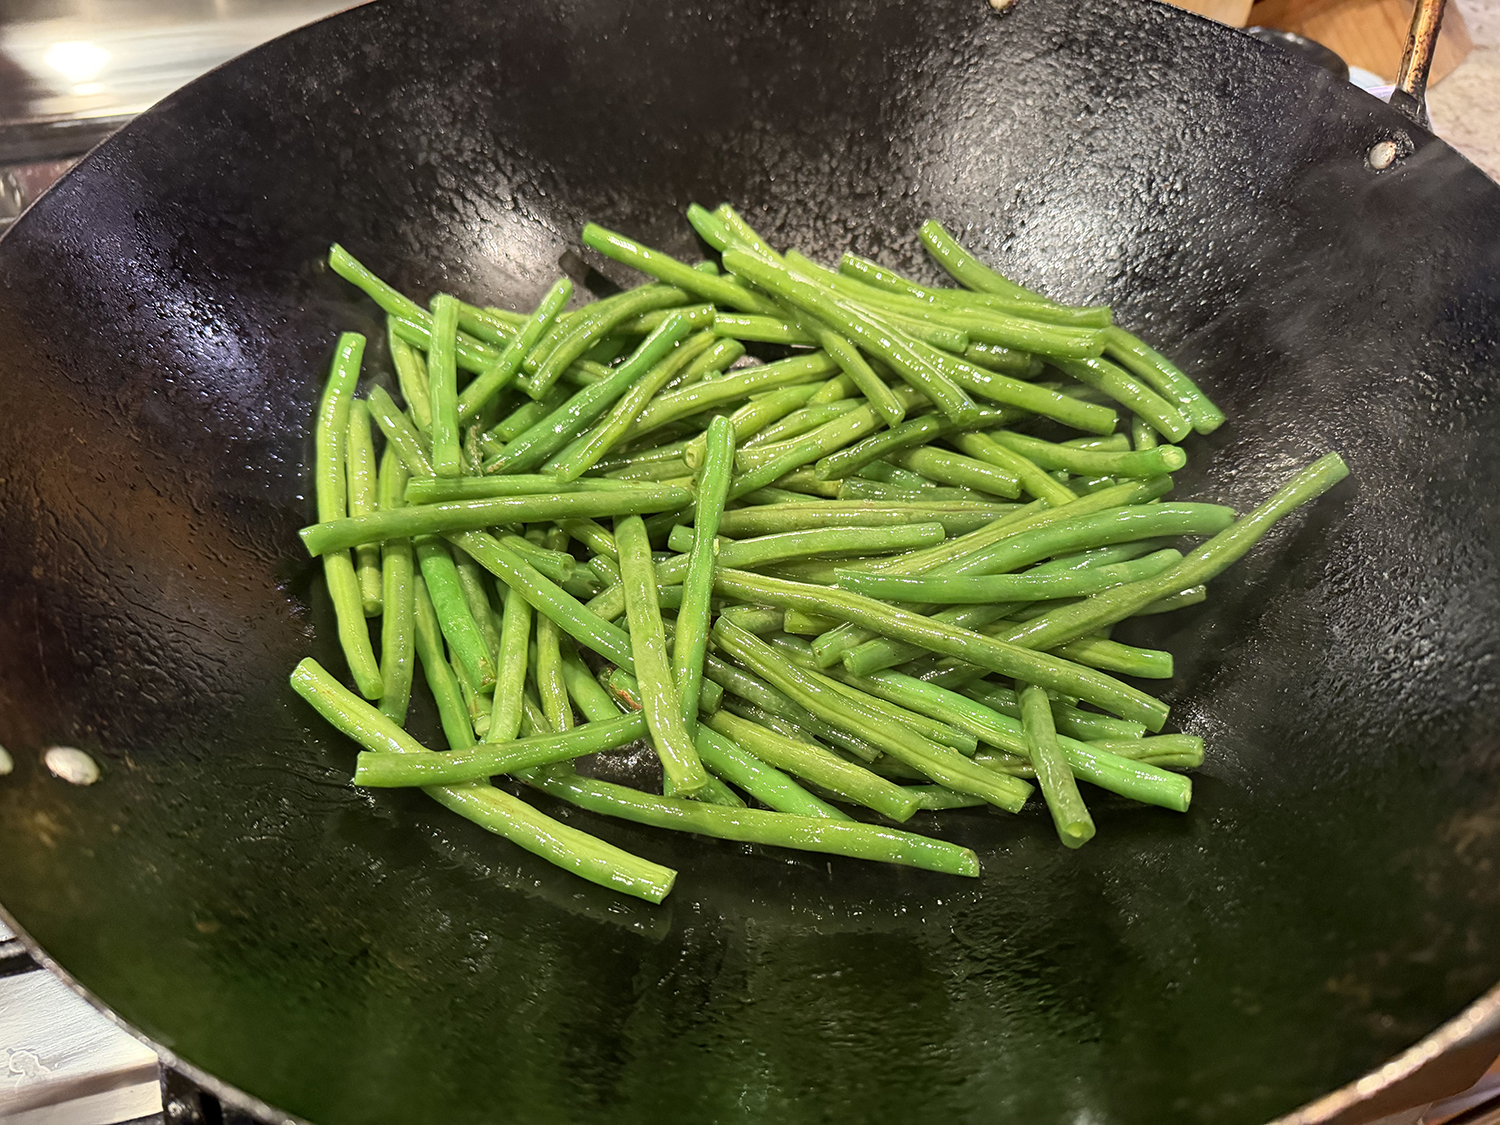
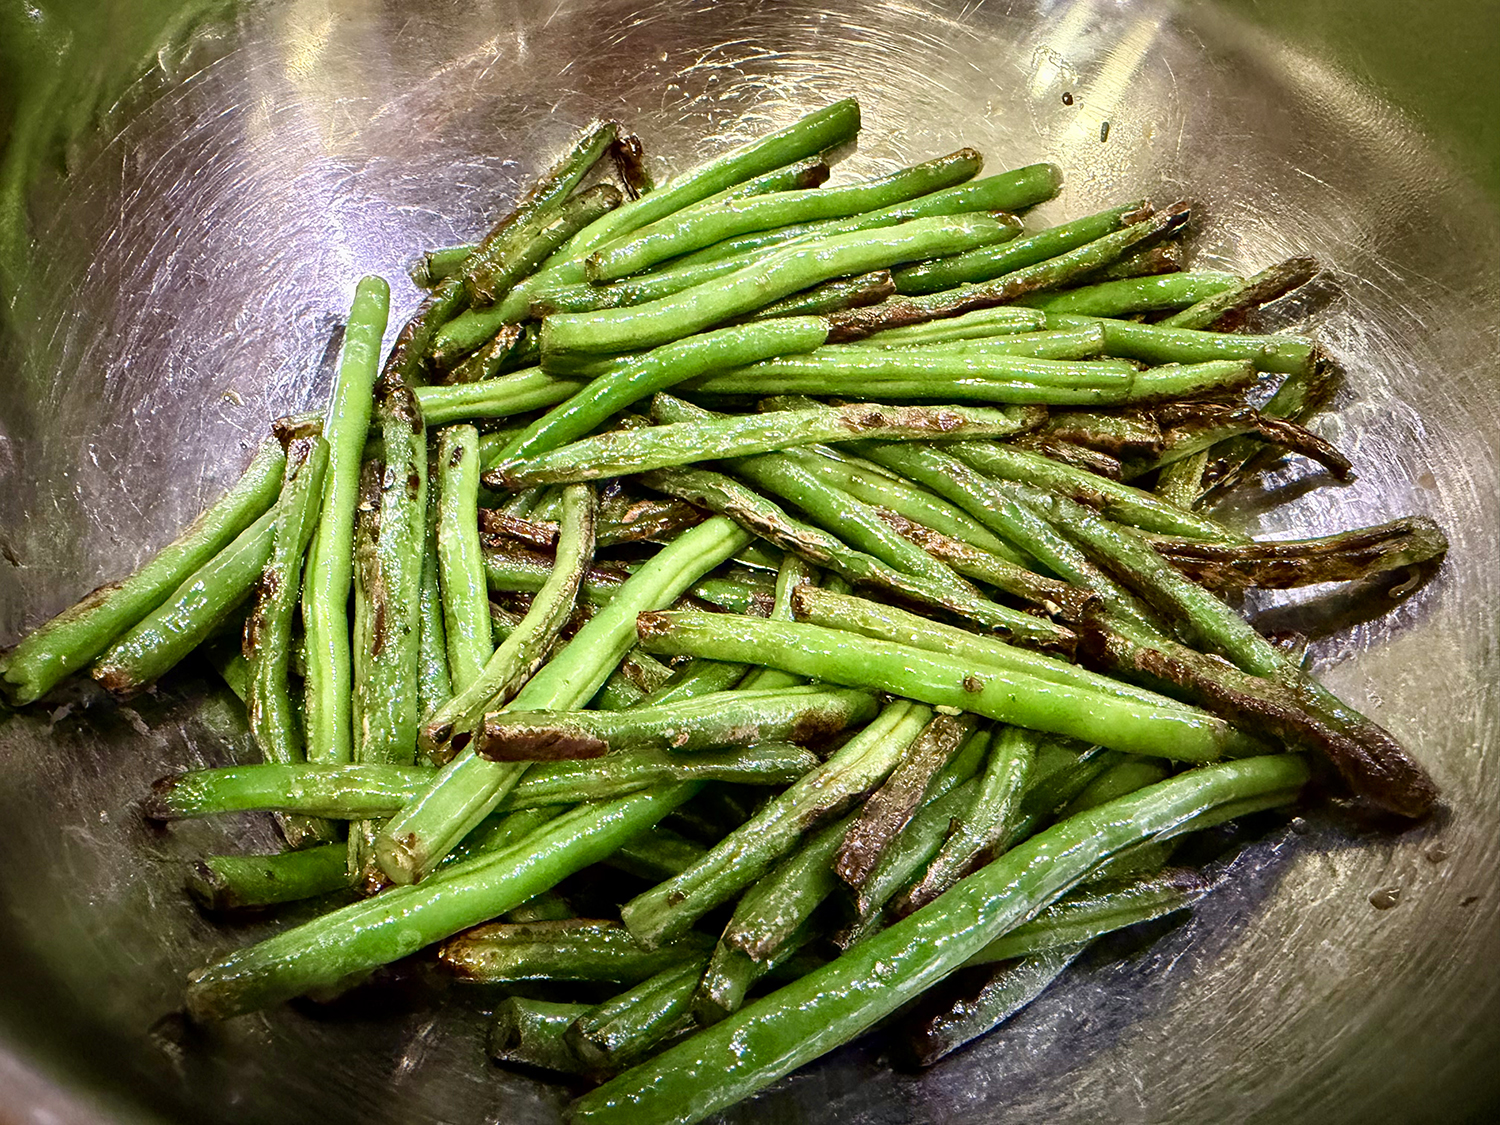
- Heat 2 Tbsp. vegetable oil in a large skillet over high. Cook 1 lb. green beans, trimmed, tossing very occasionally, until tender and deeply browned in spots, 6–8 minutes. Using tongs, transfer to a large bowl.
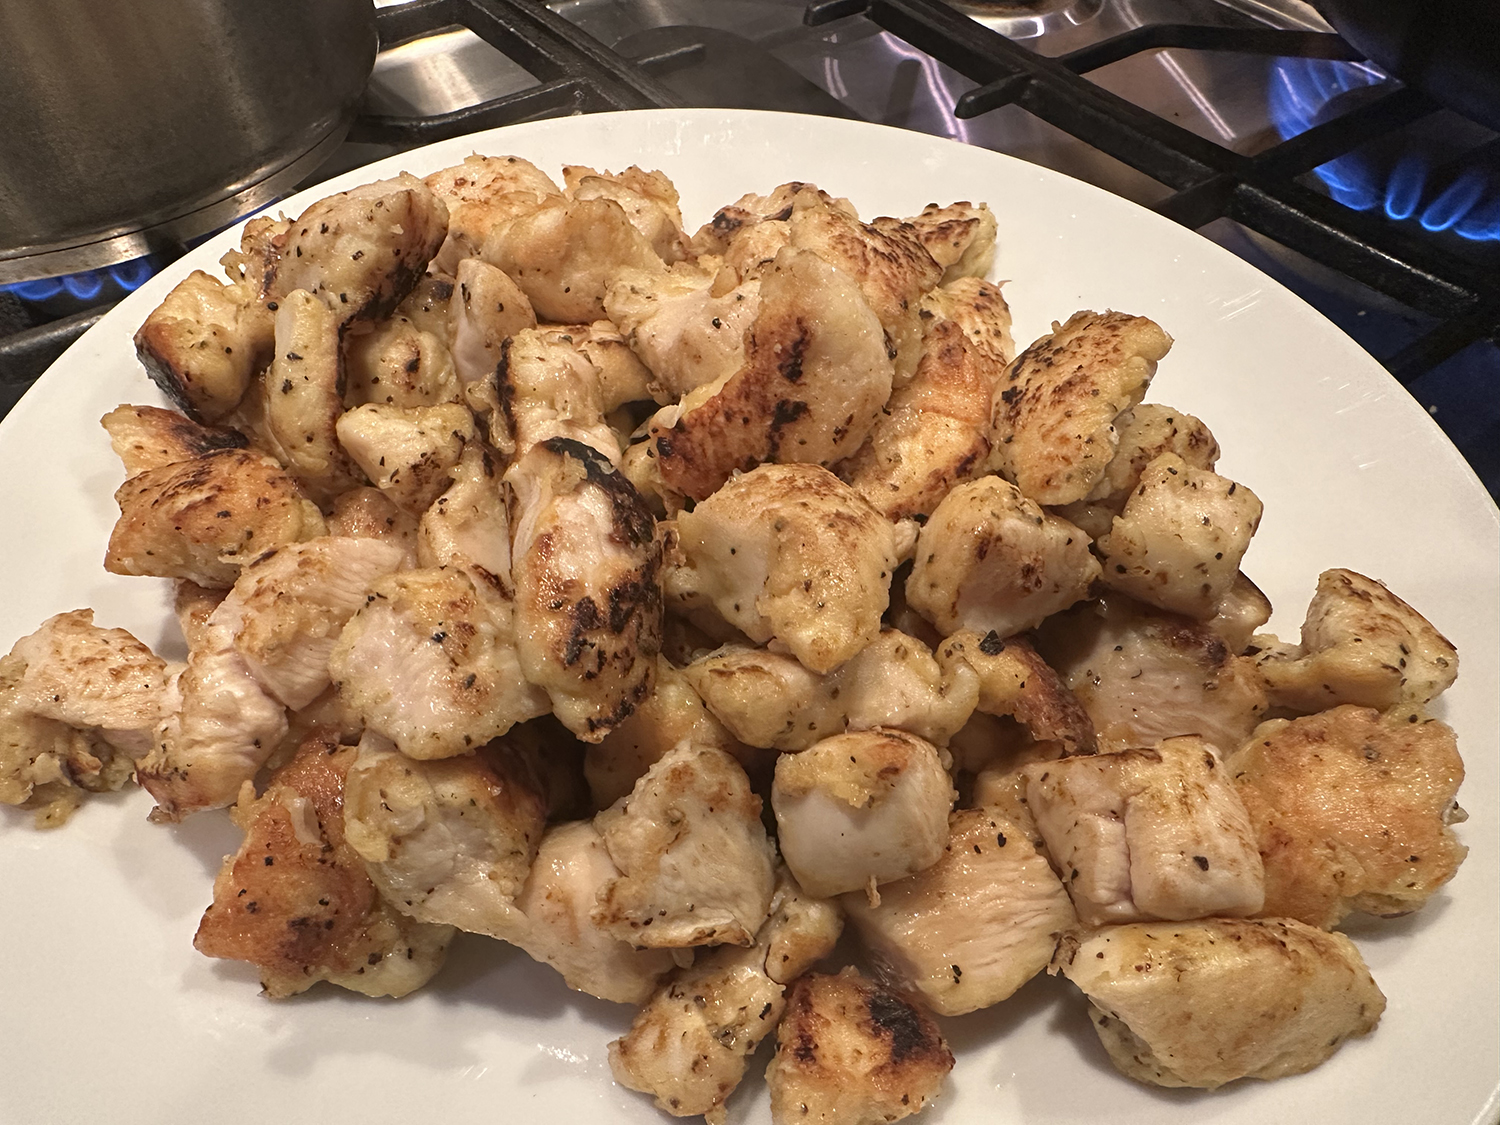
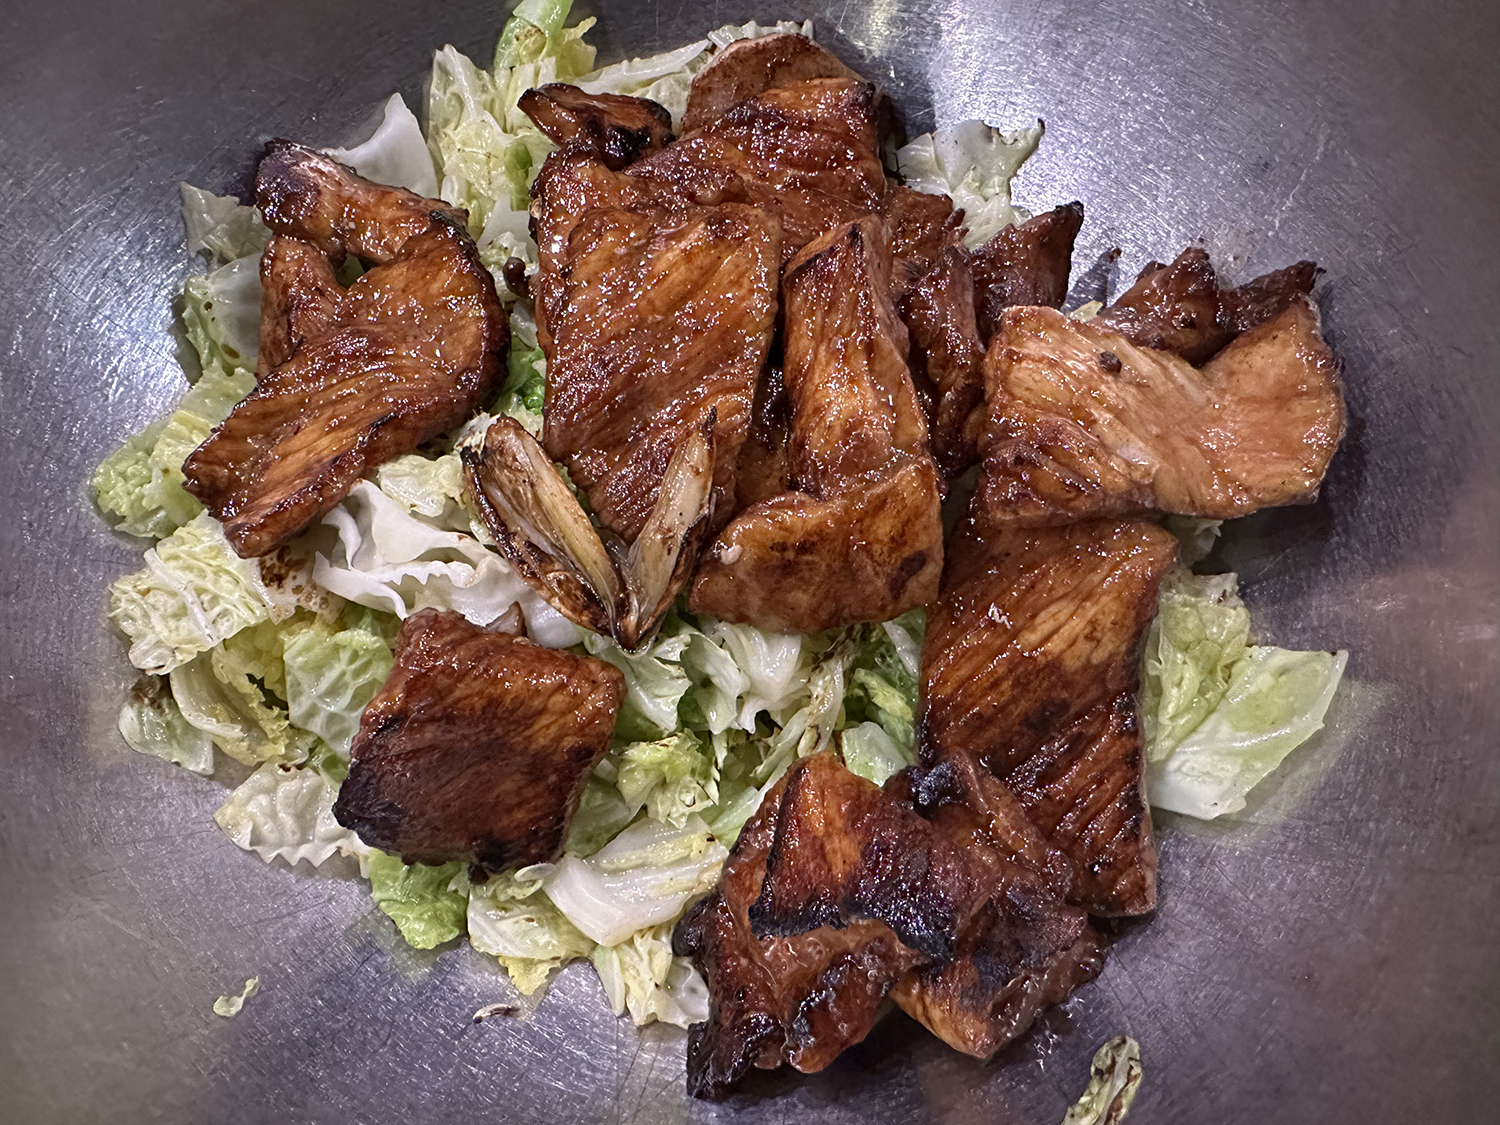
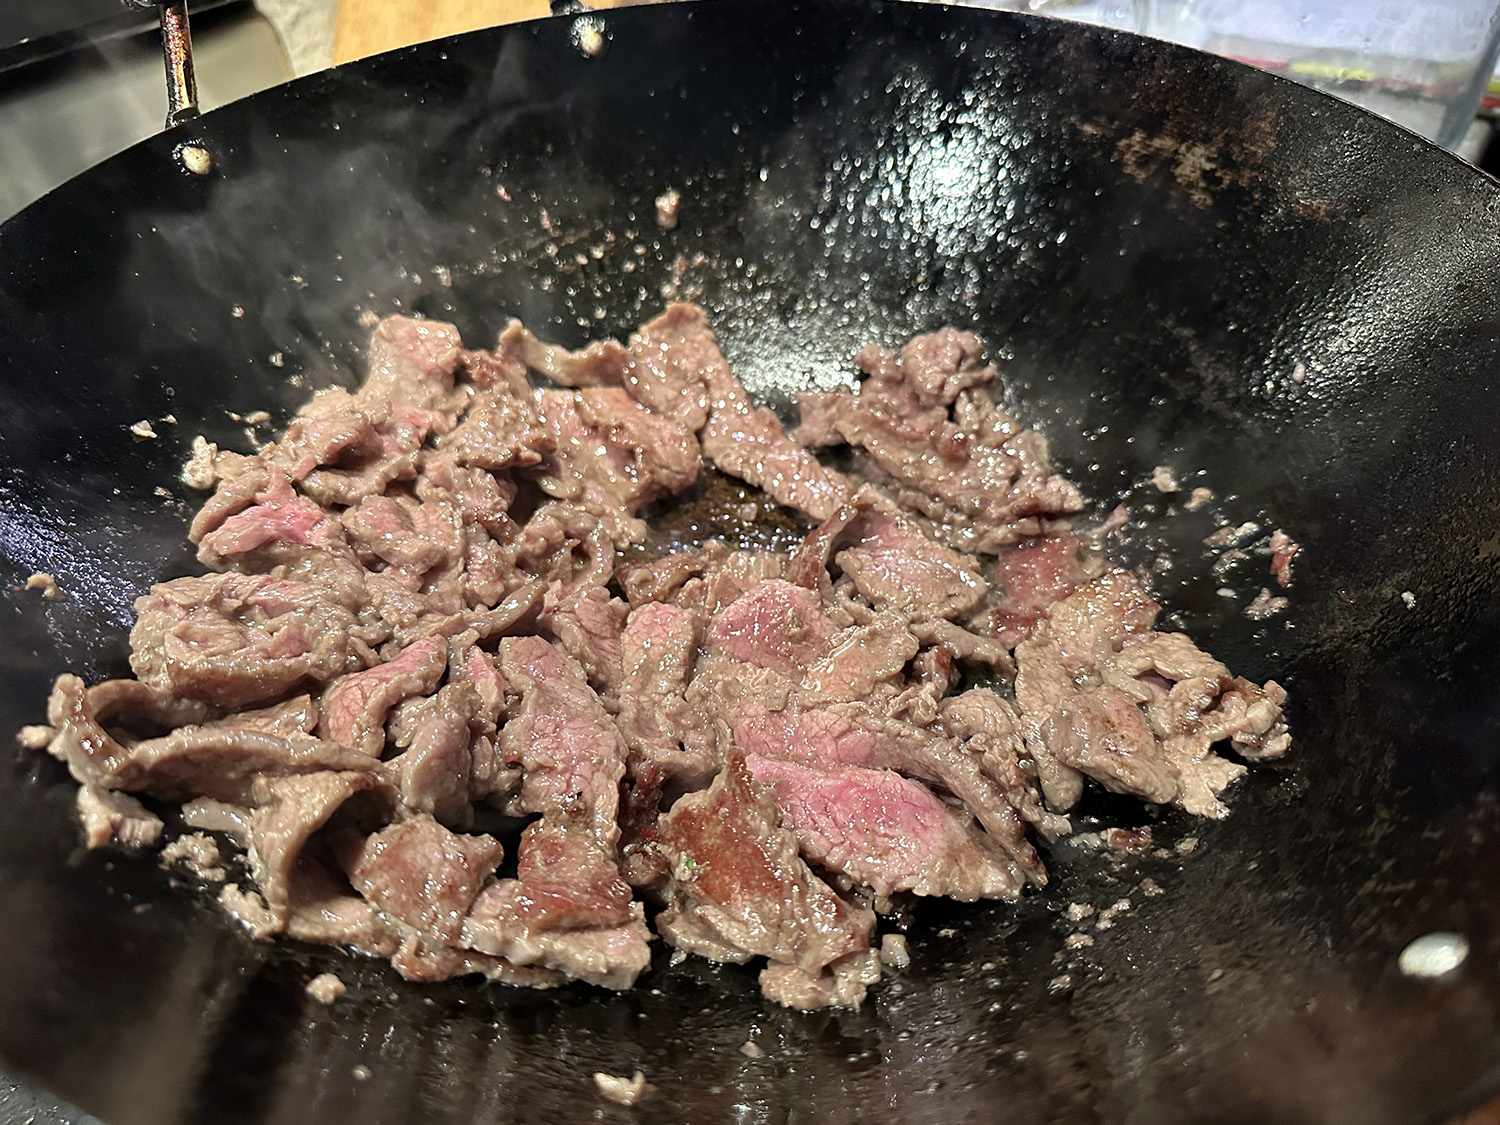
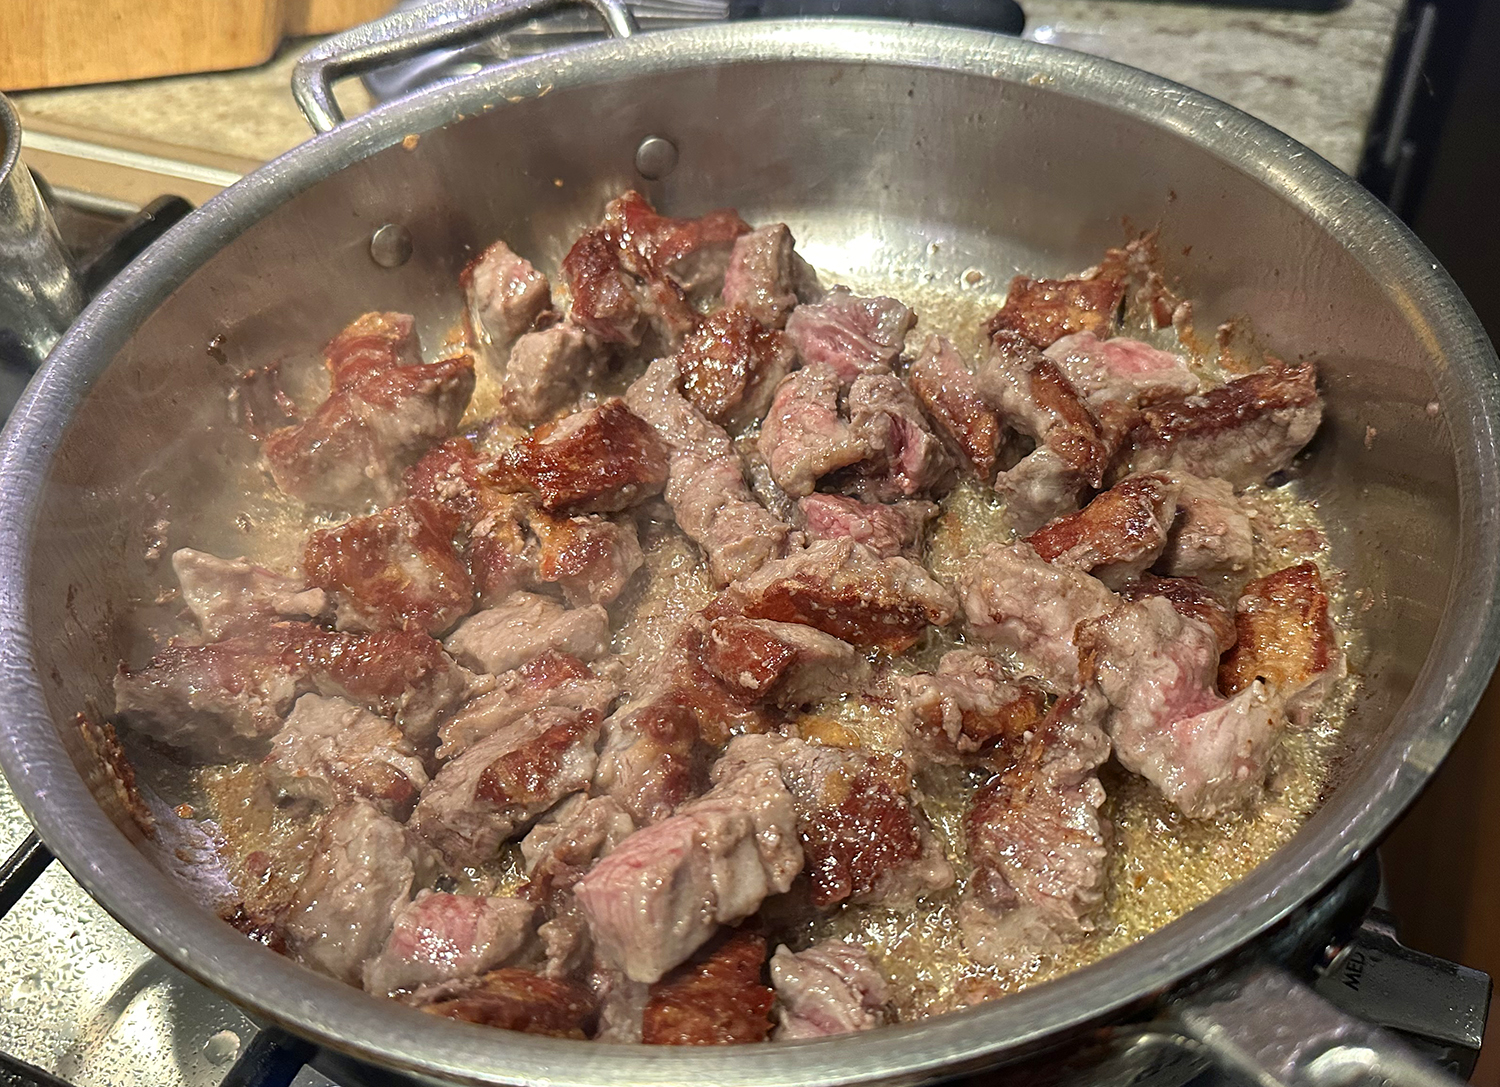
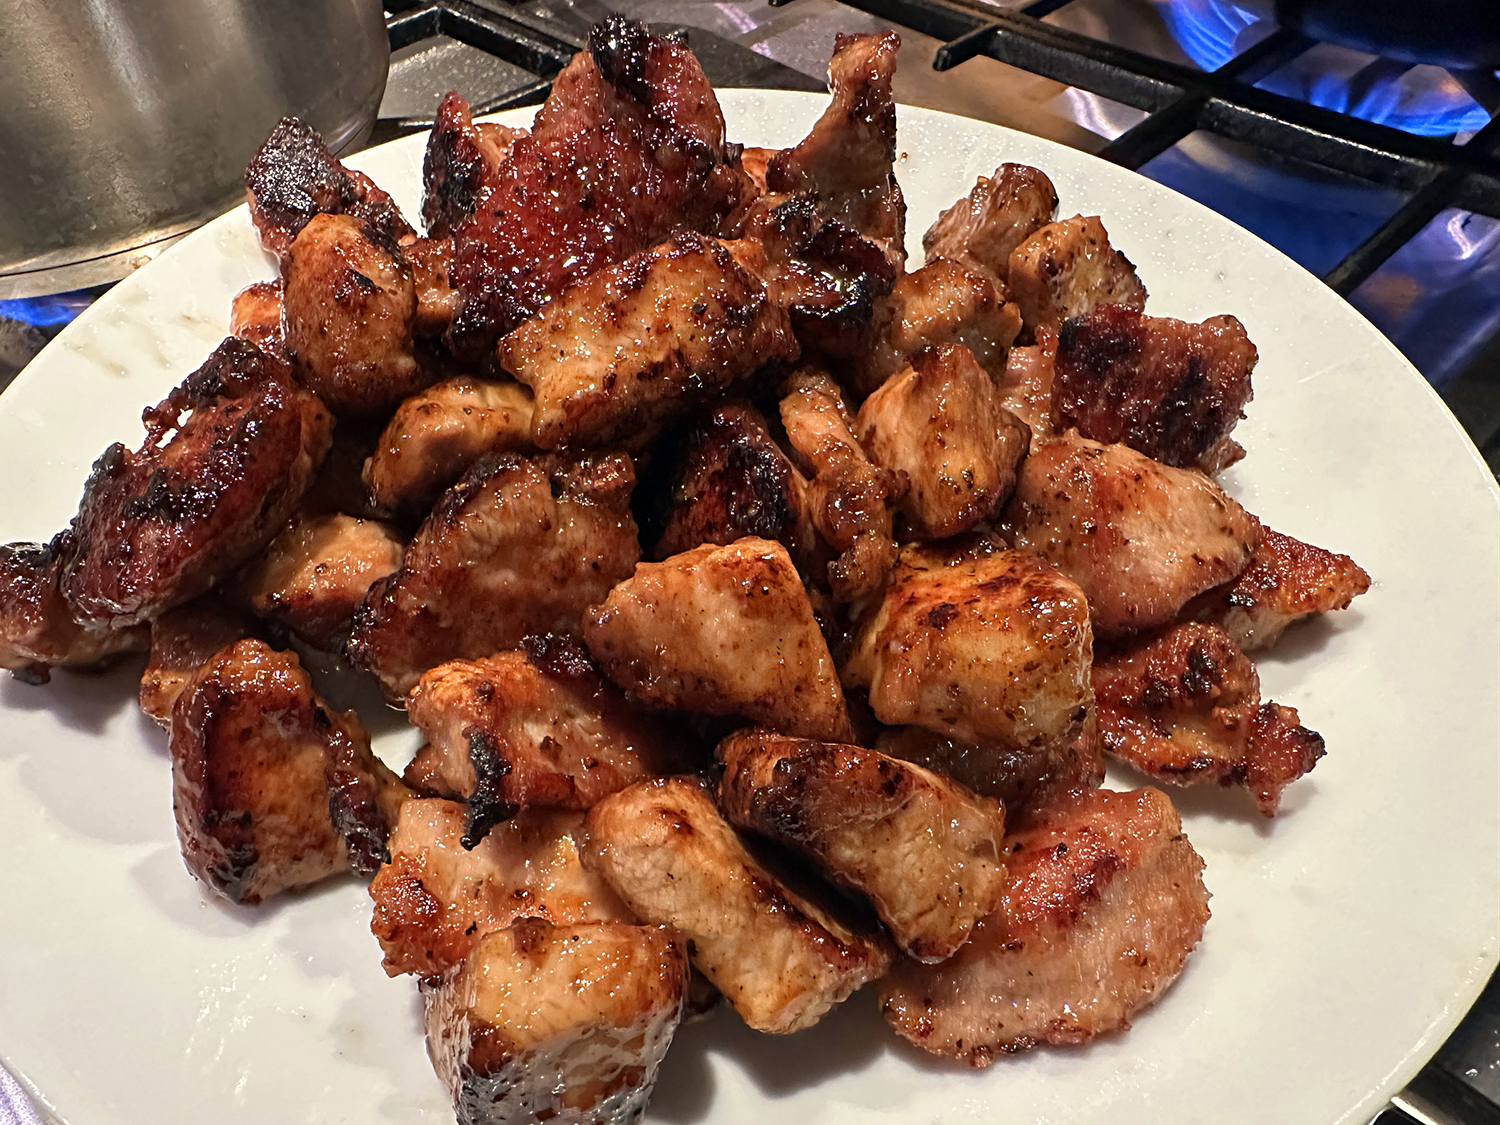
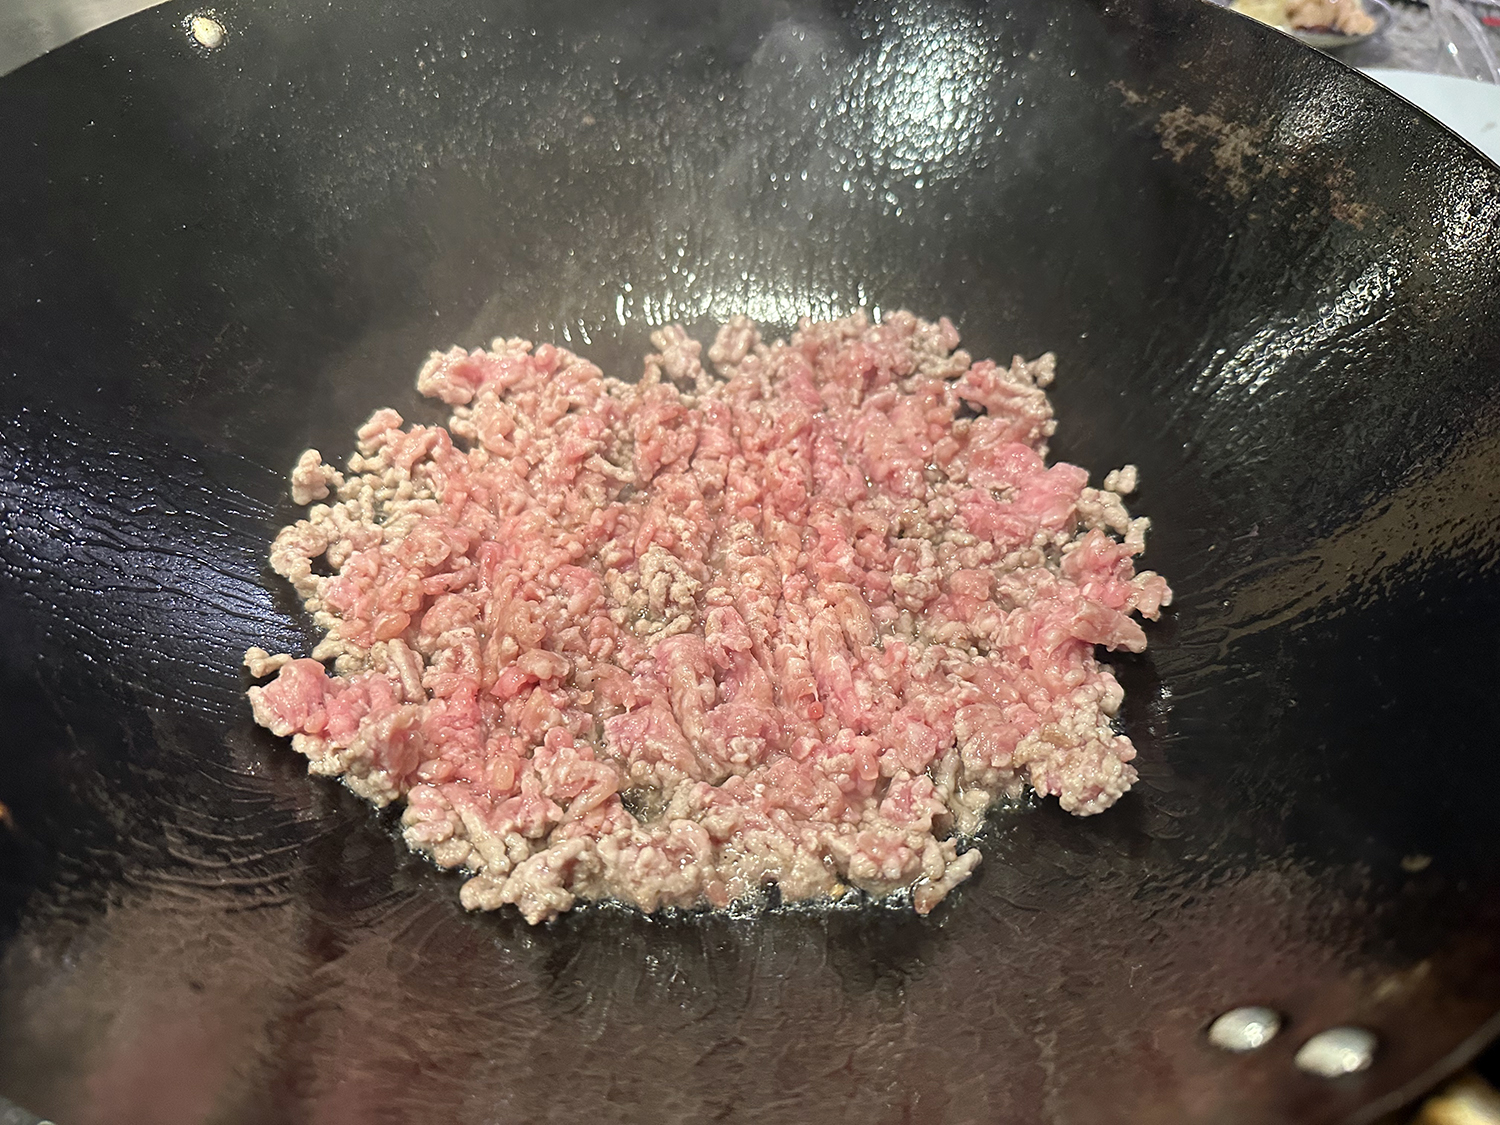
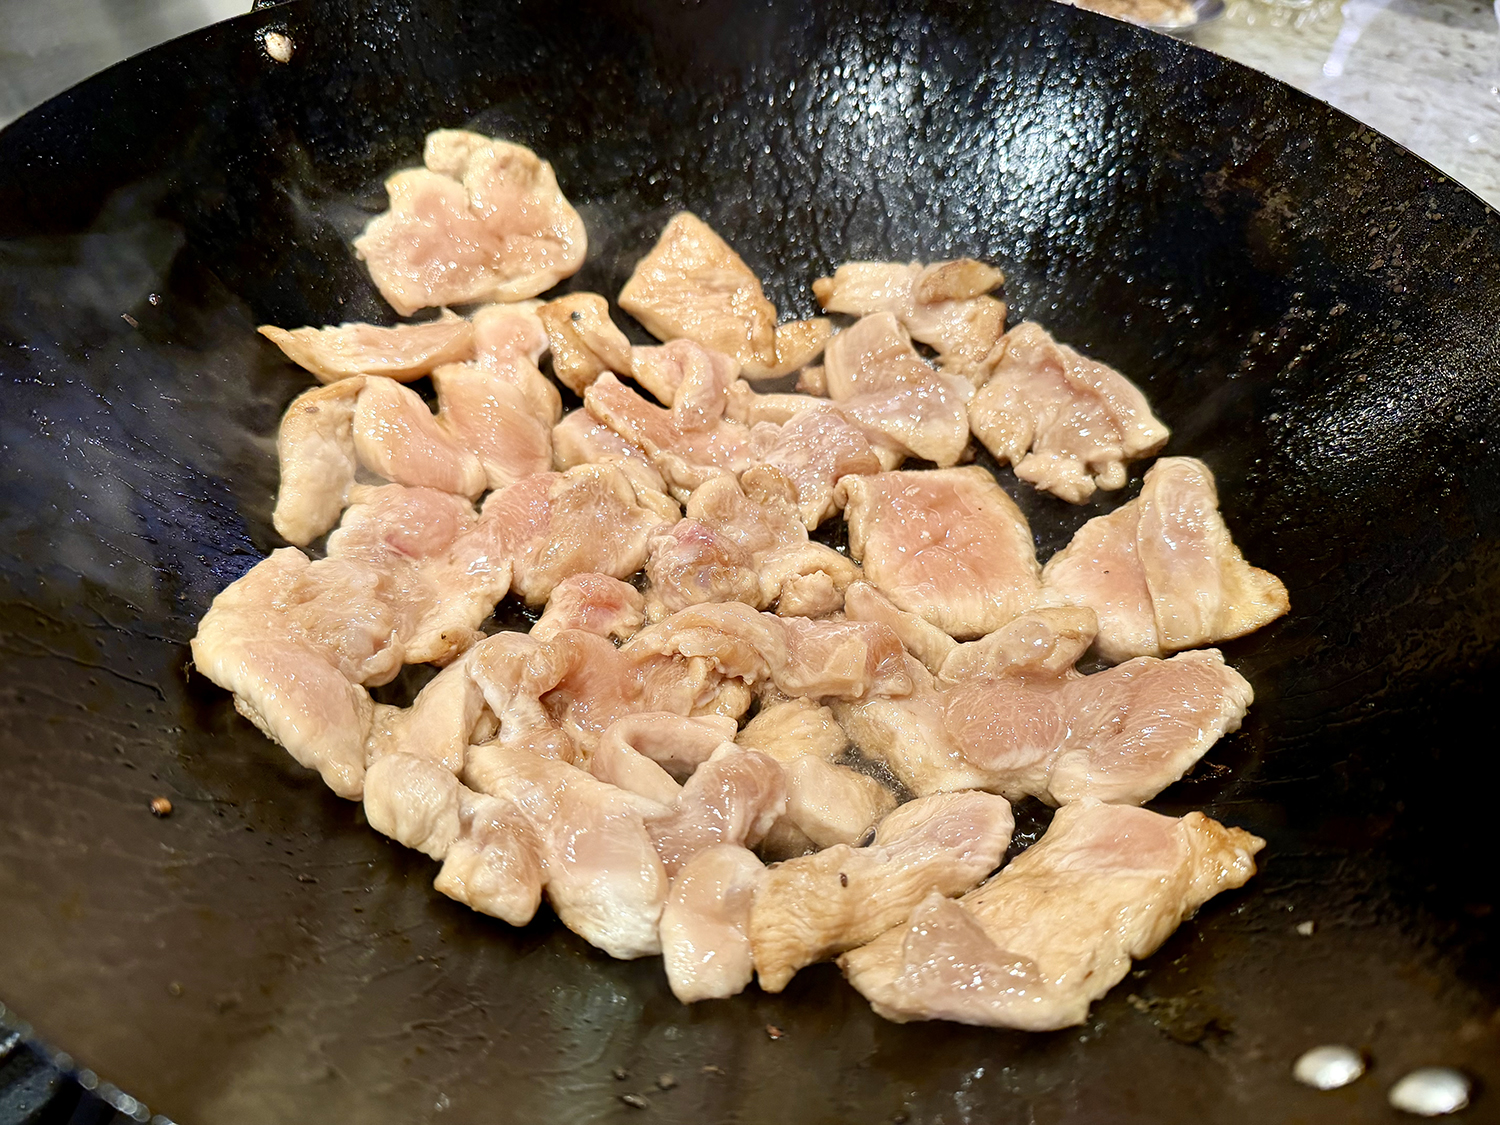
- Heat remaining 2 Tbsp. vegetable oil in same pan. Arrange reserved chicken in a single layer and cook, tossing very occasionally, until golden brown and cooked through, about 5 minutes. Transfer to bowl with green beans.
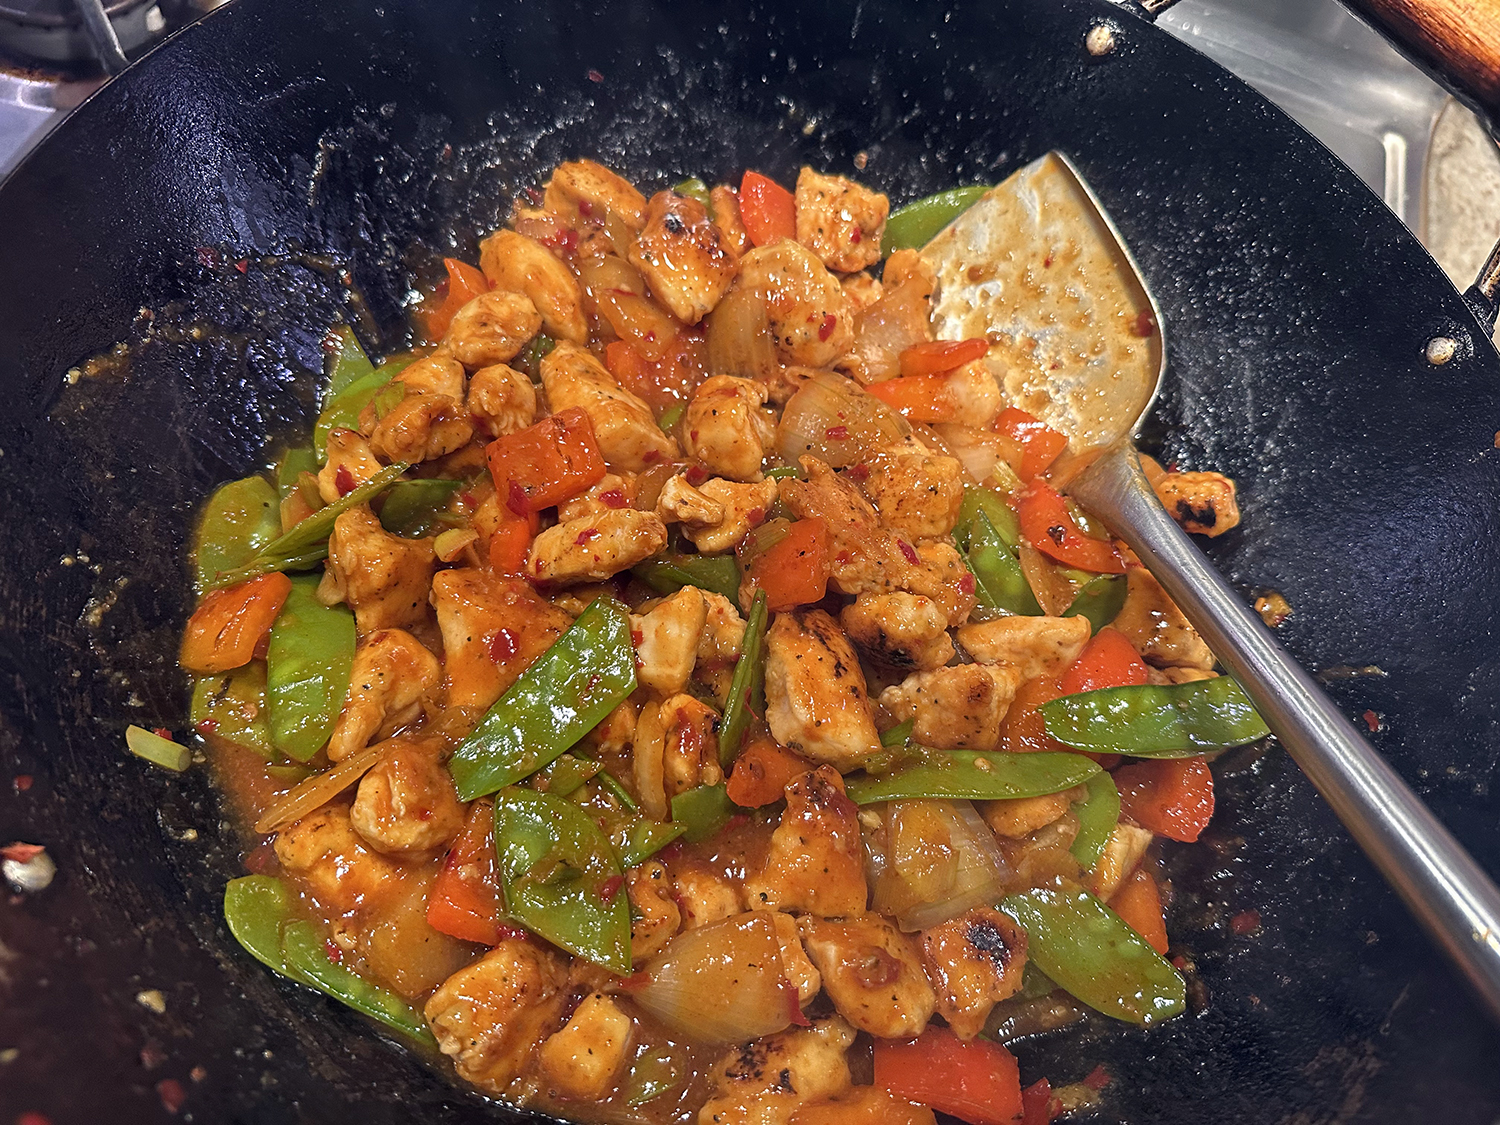
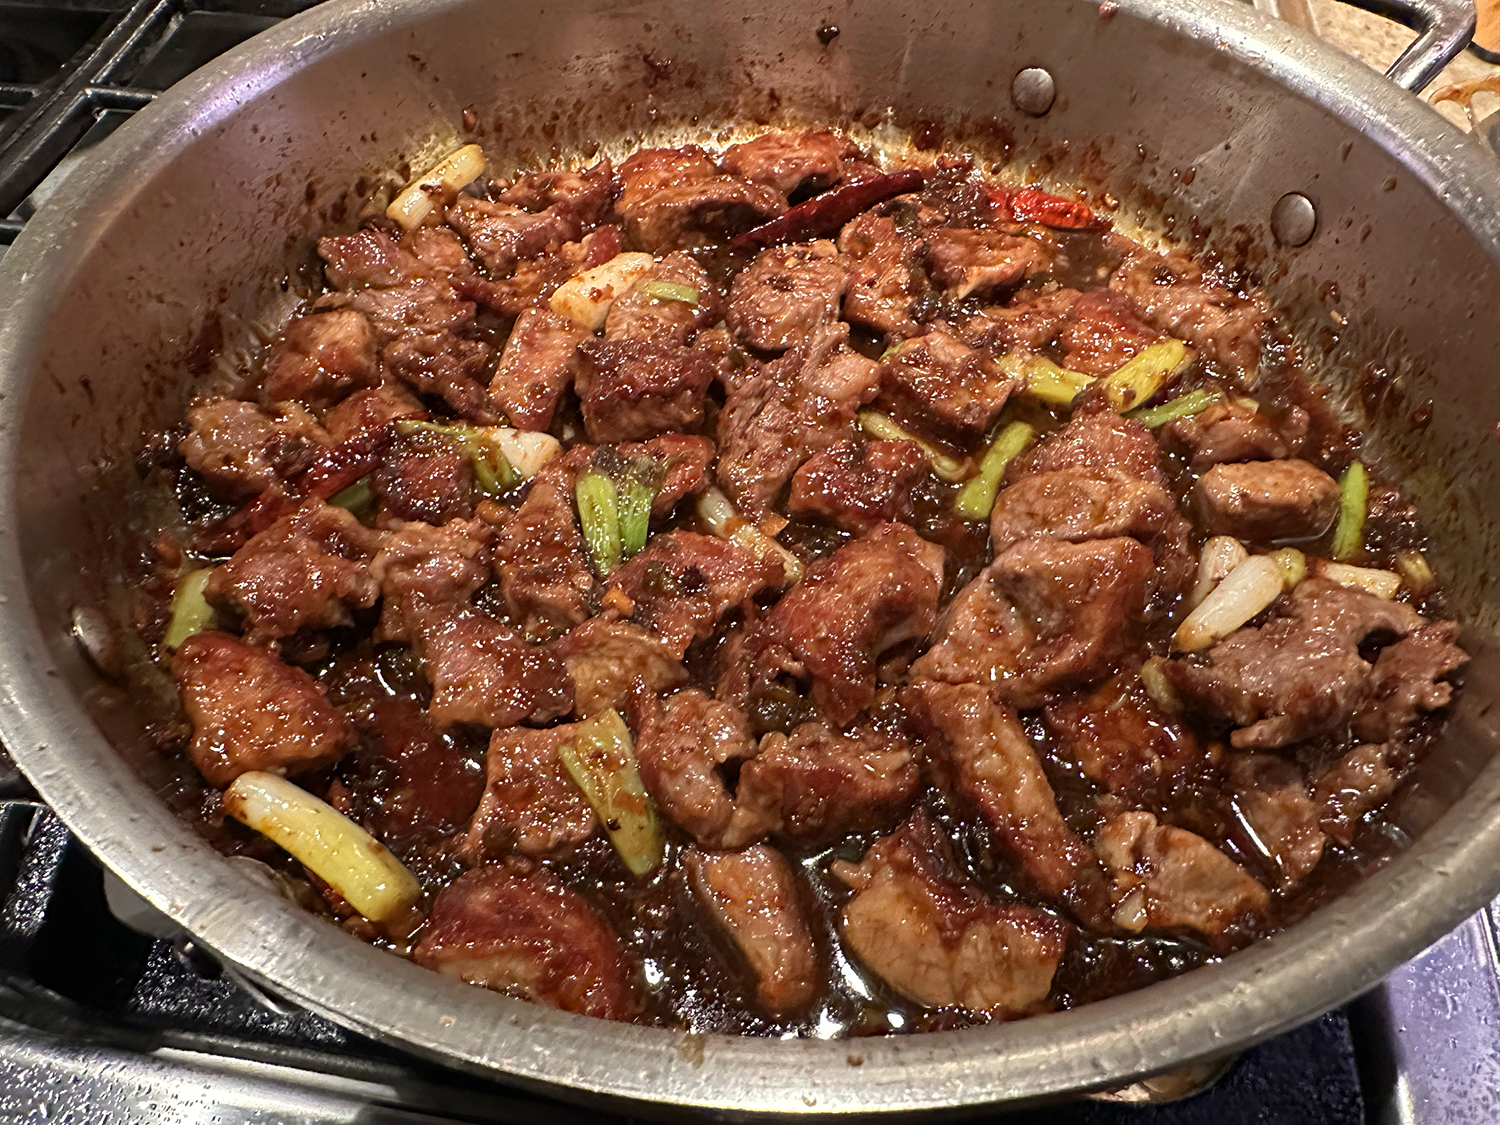
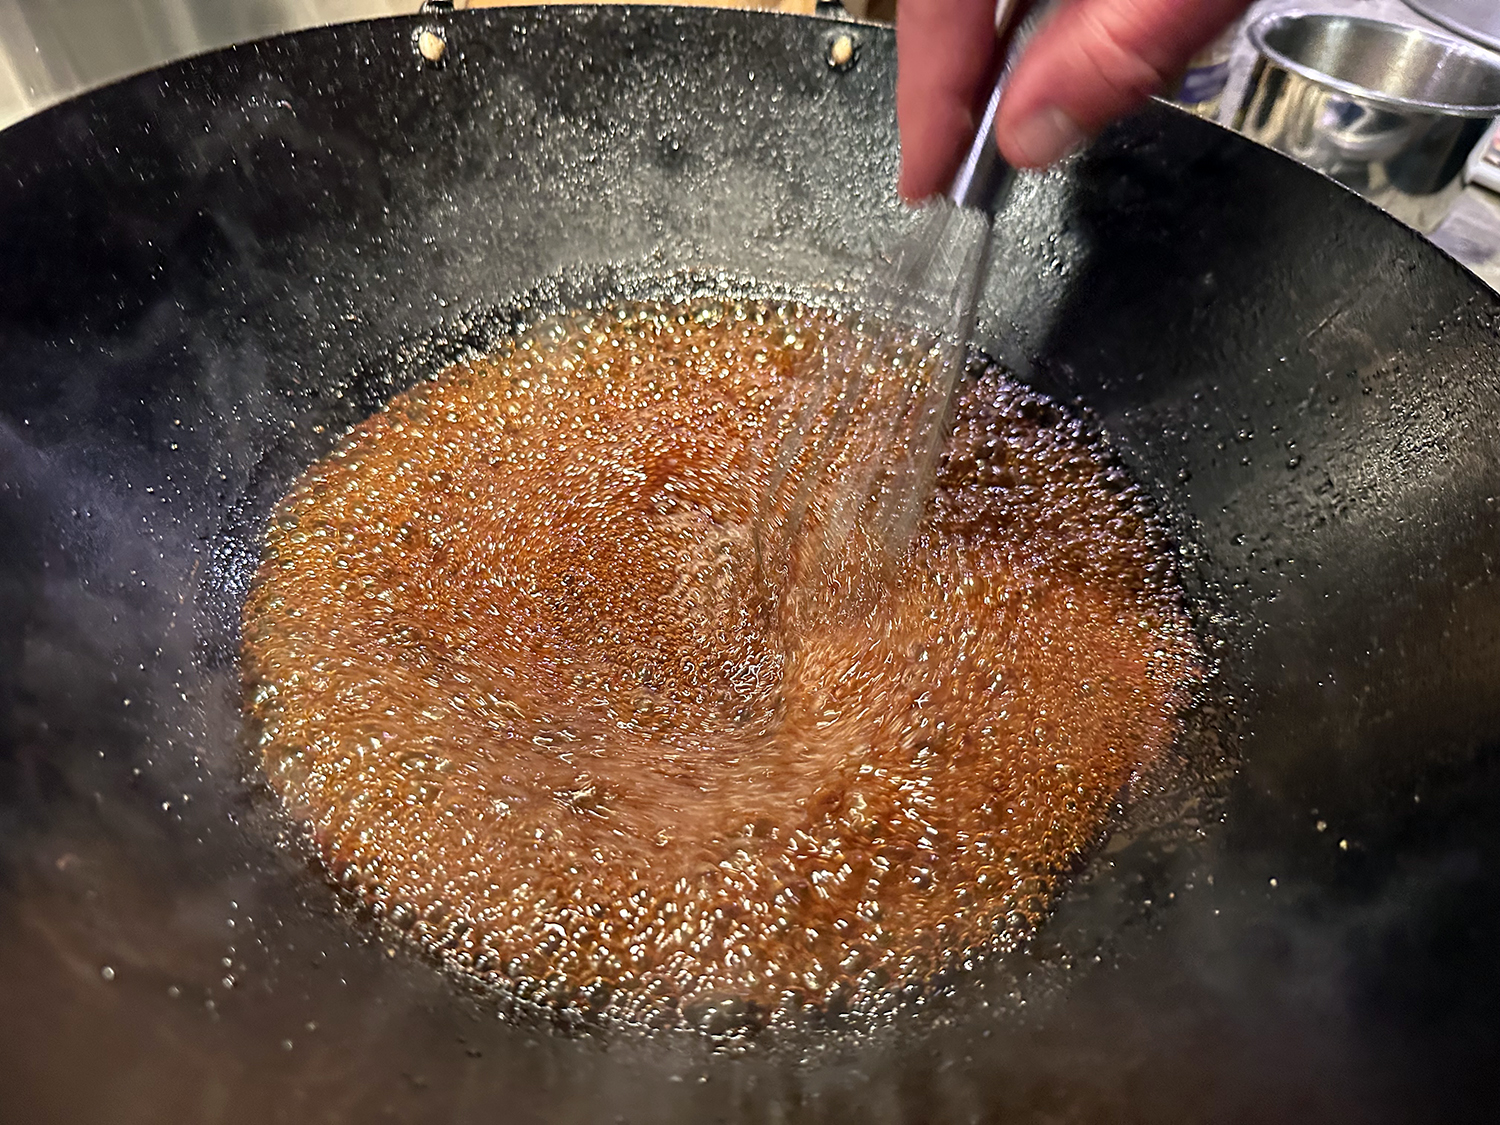
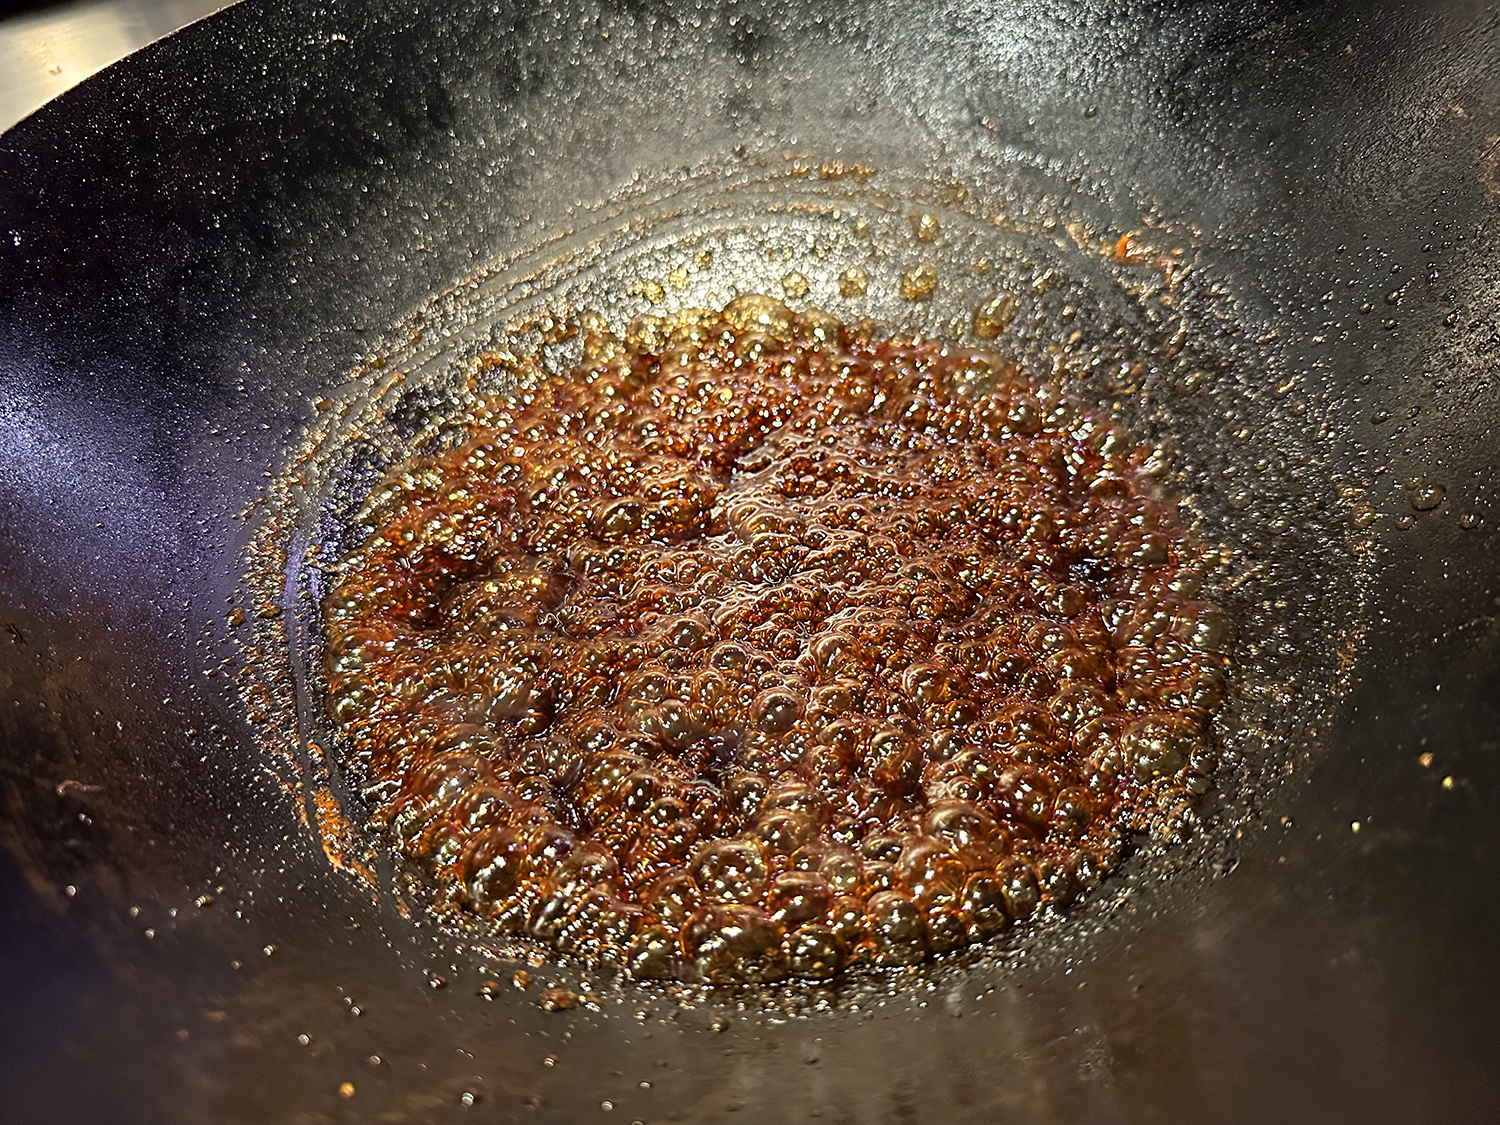
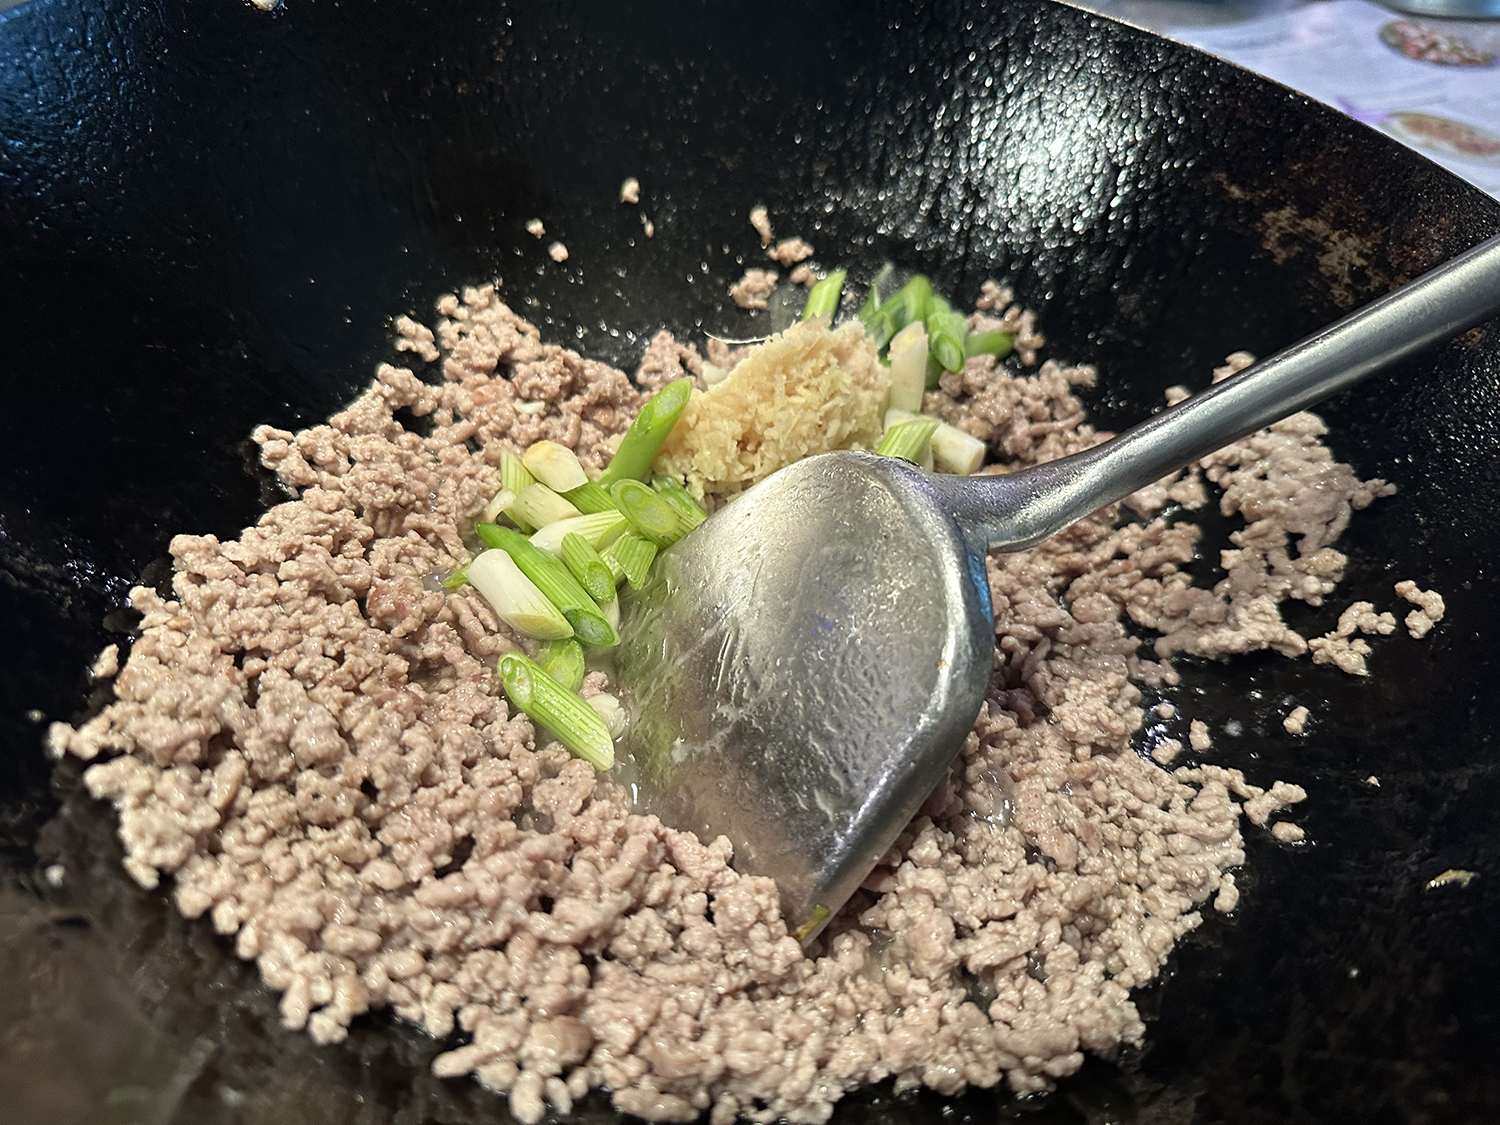
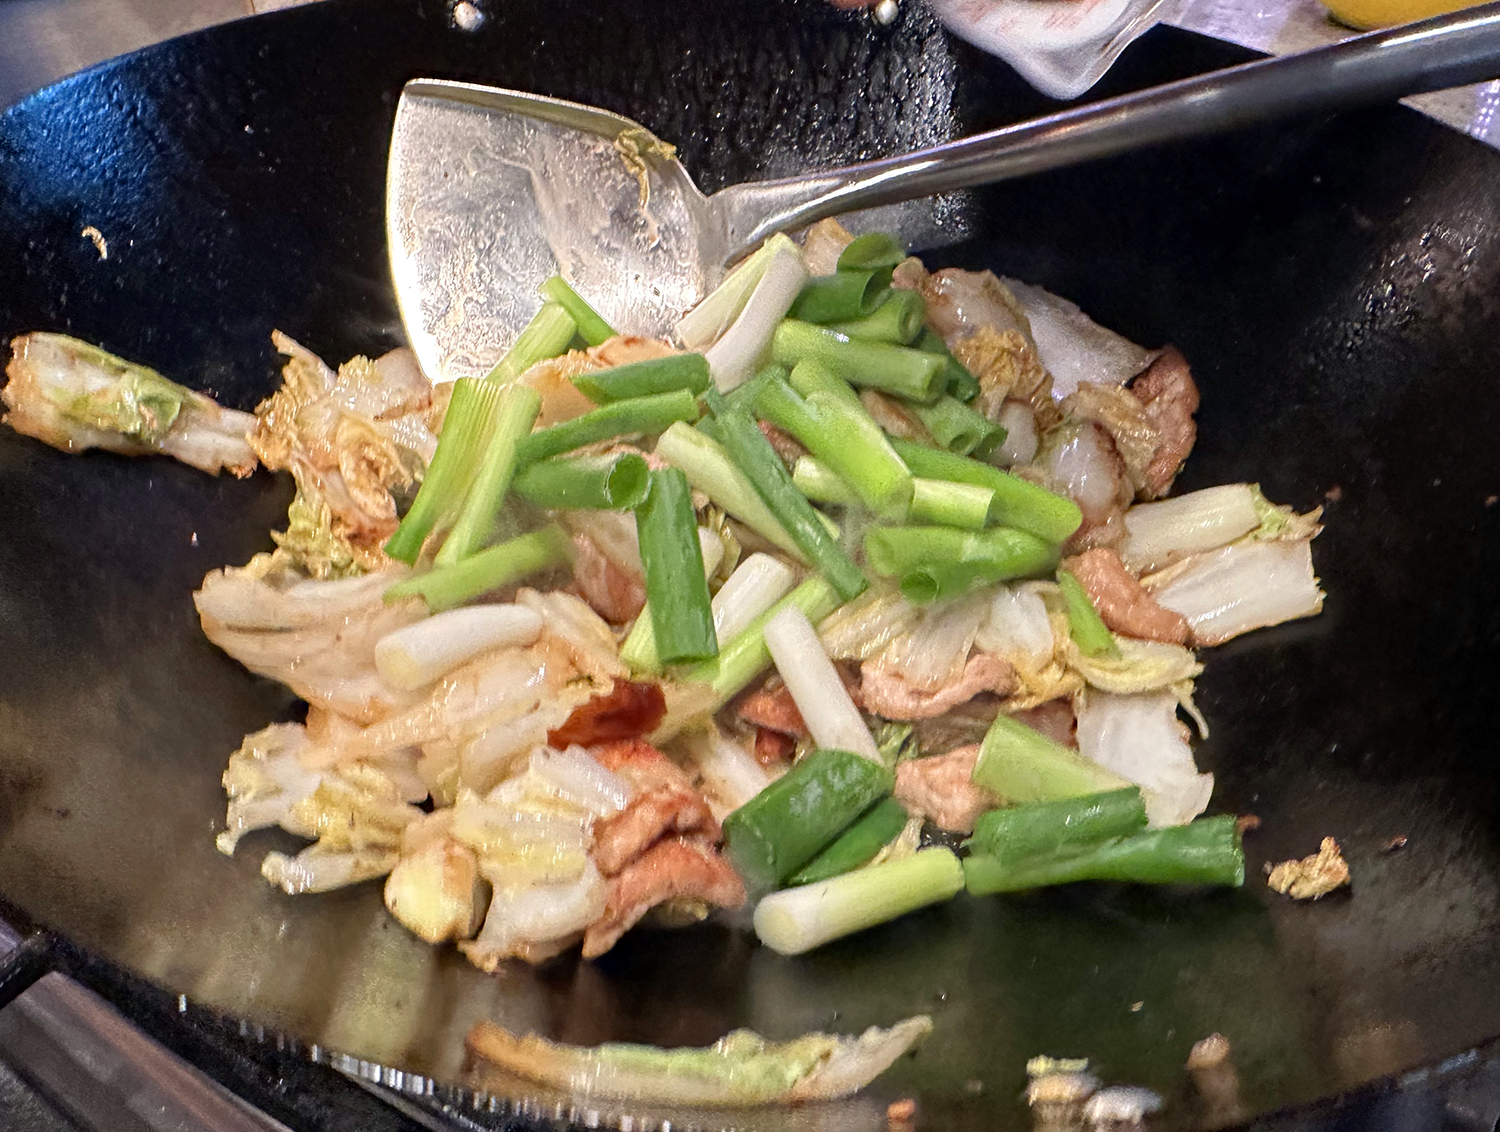
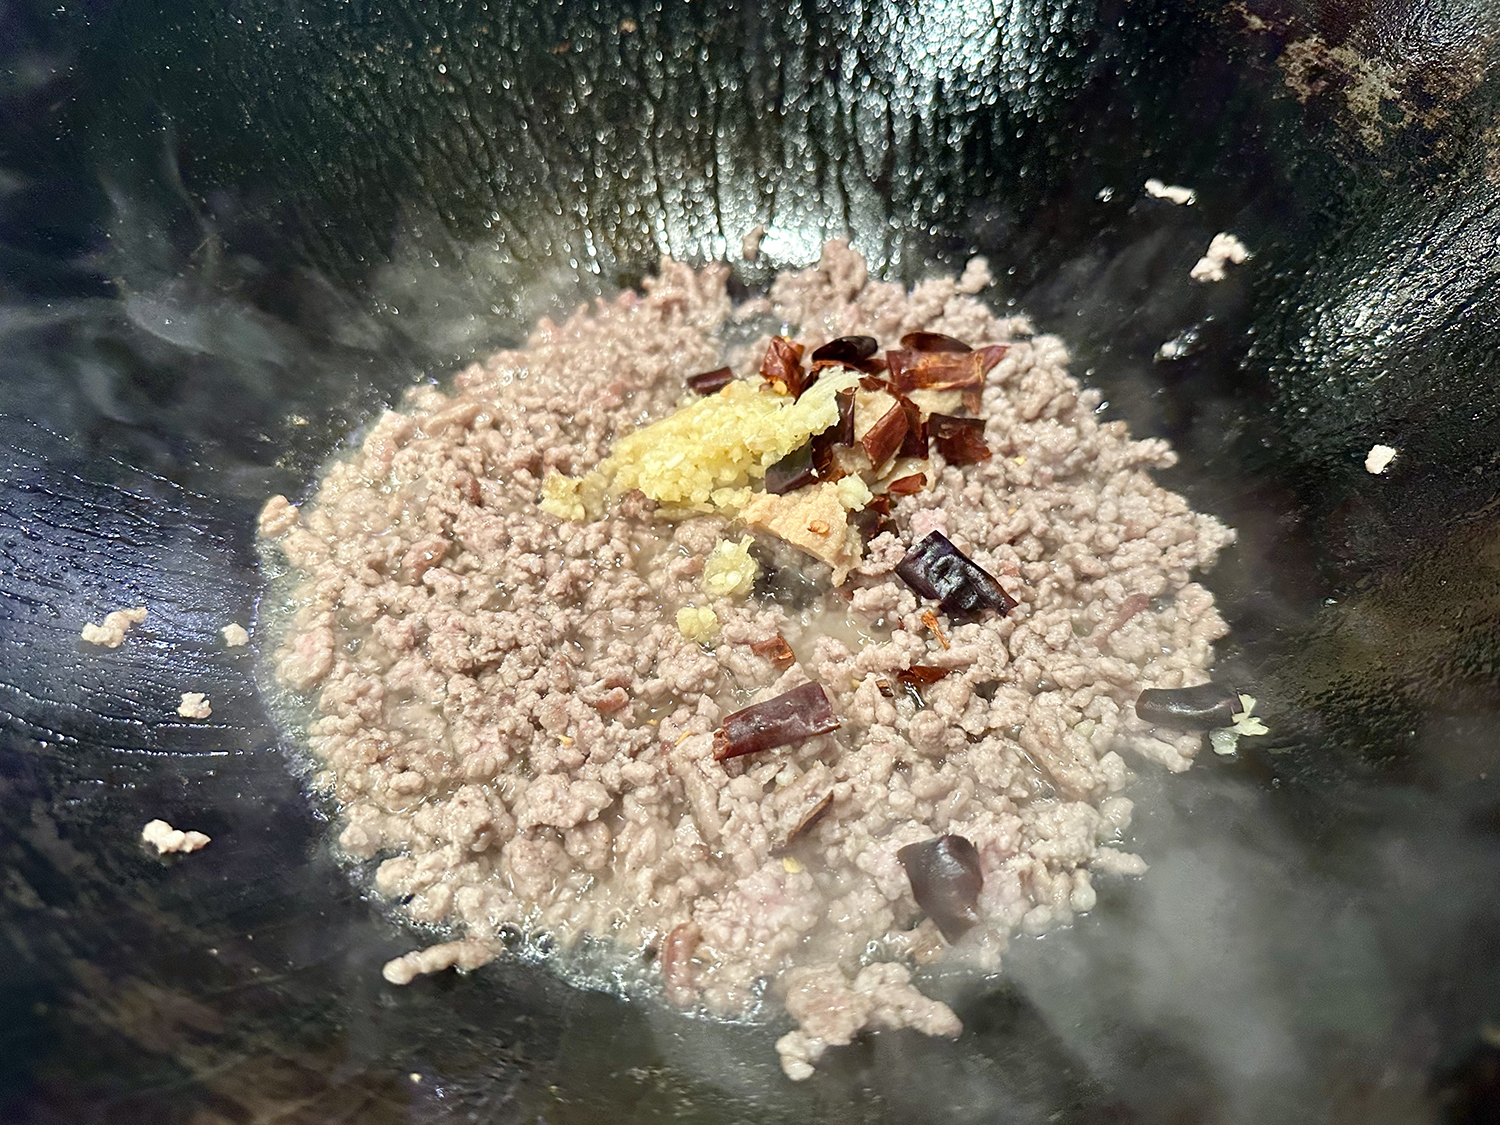
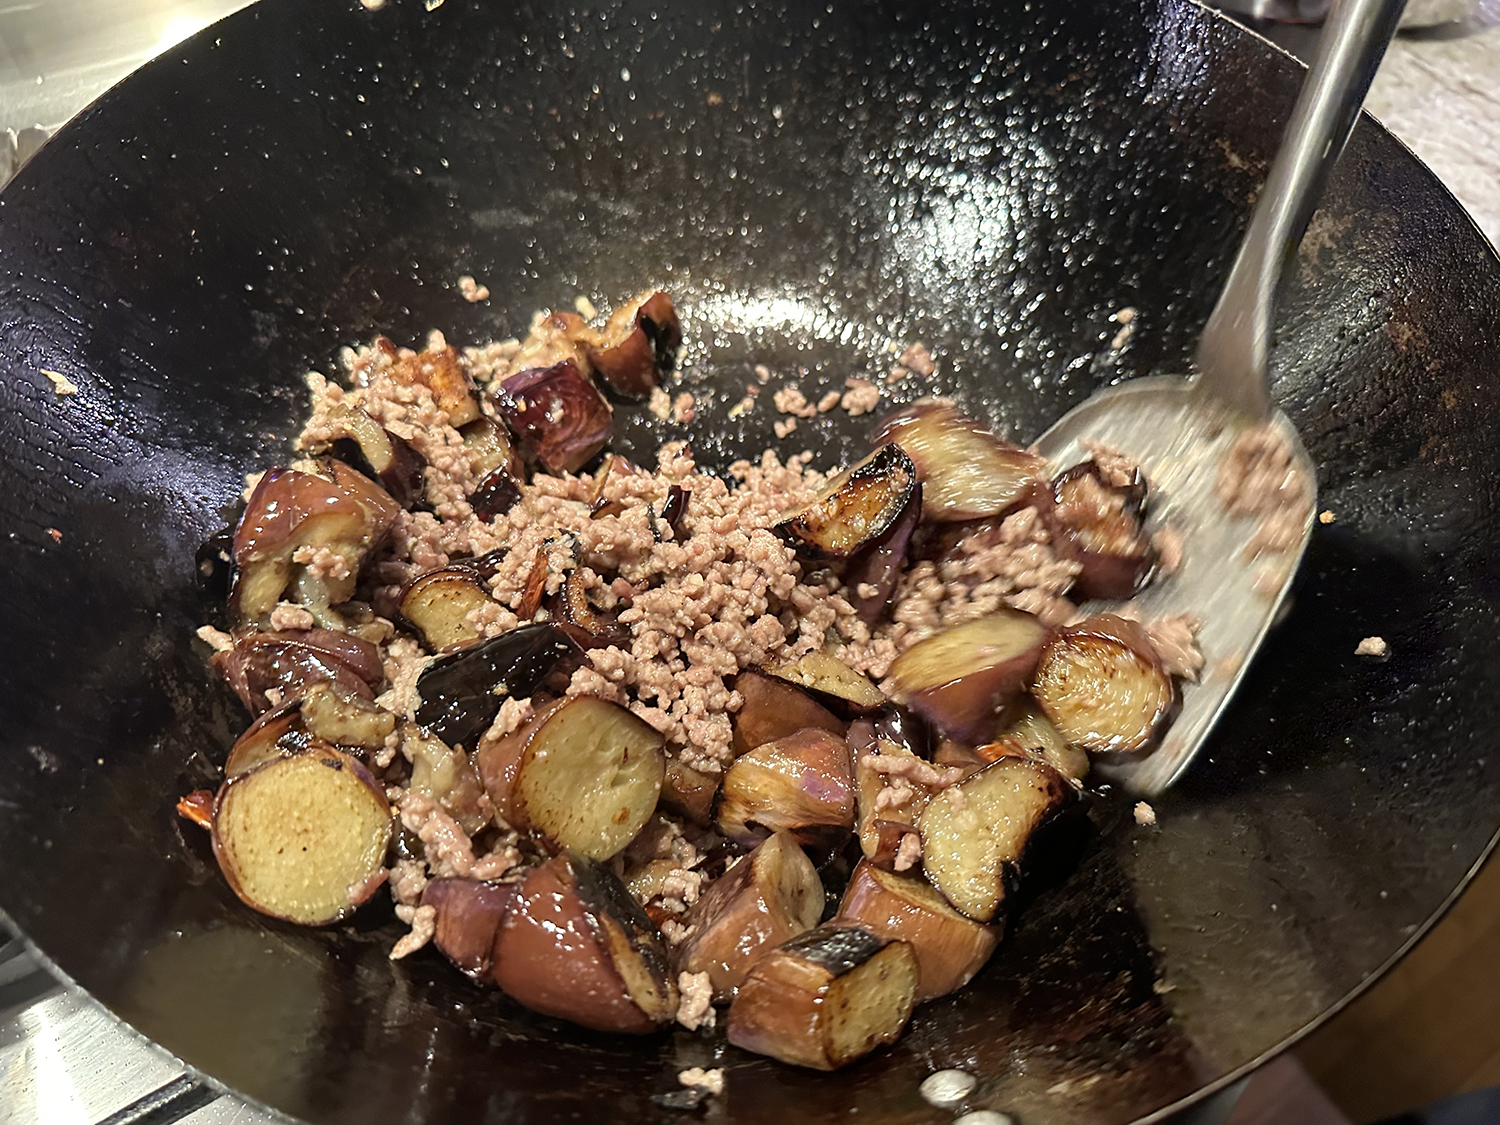
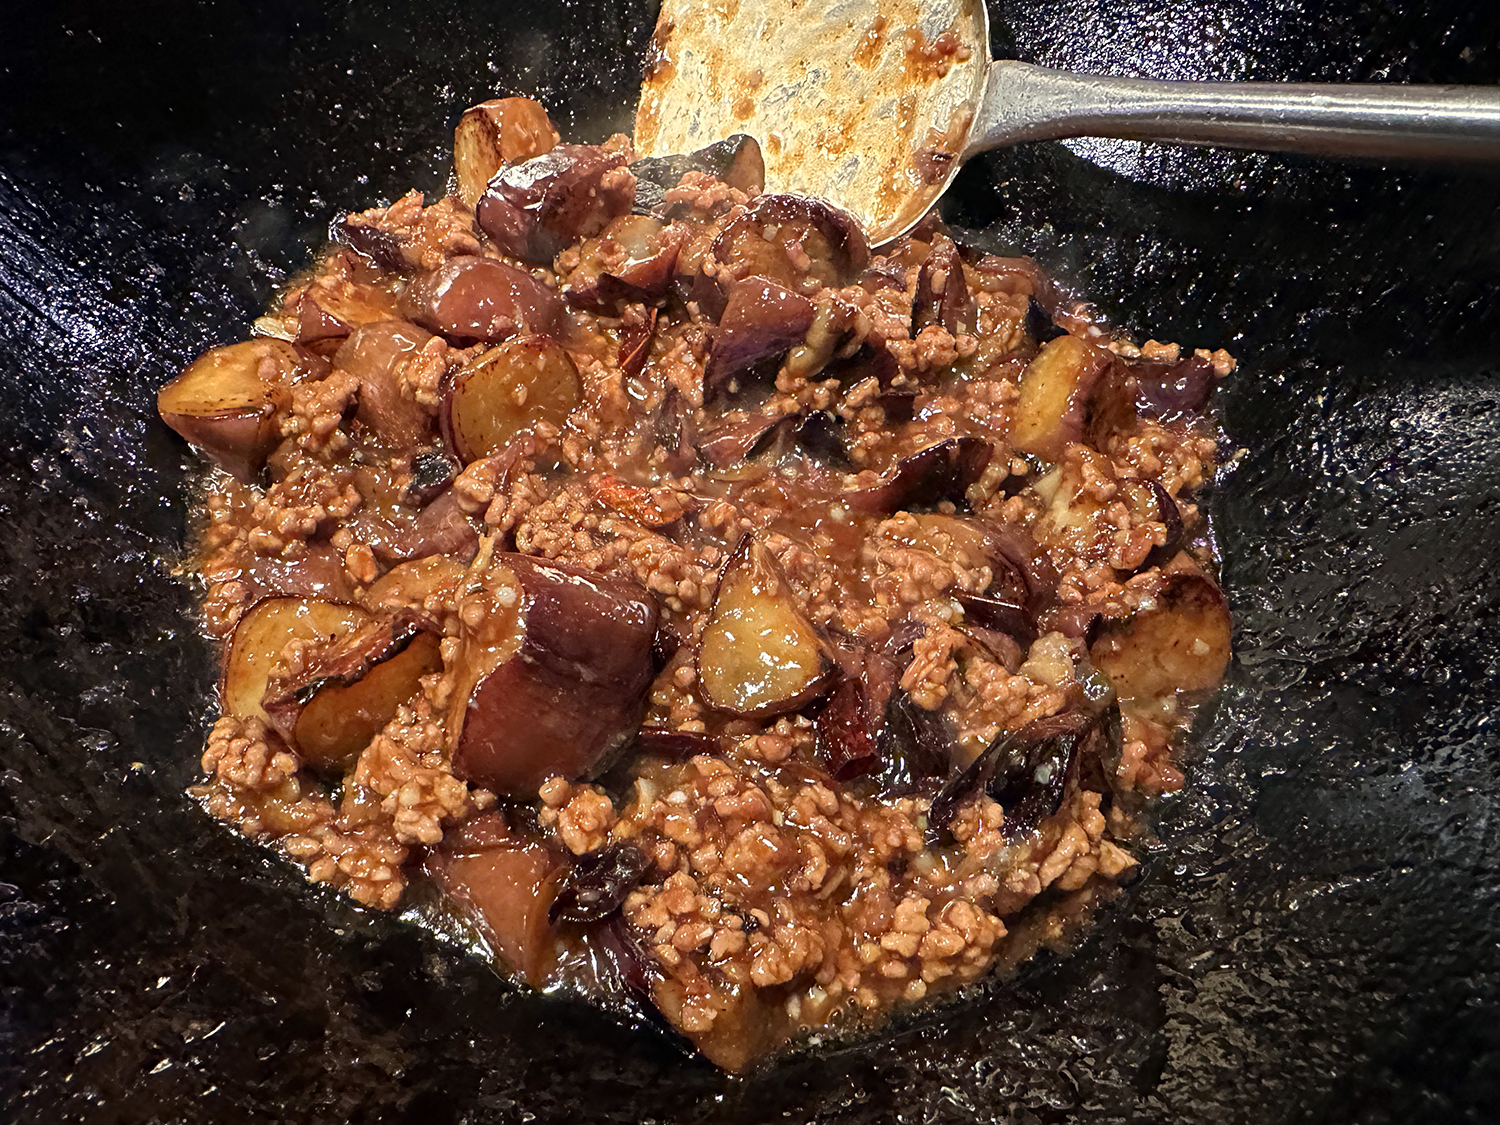
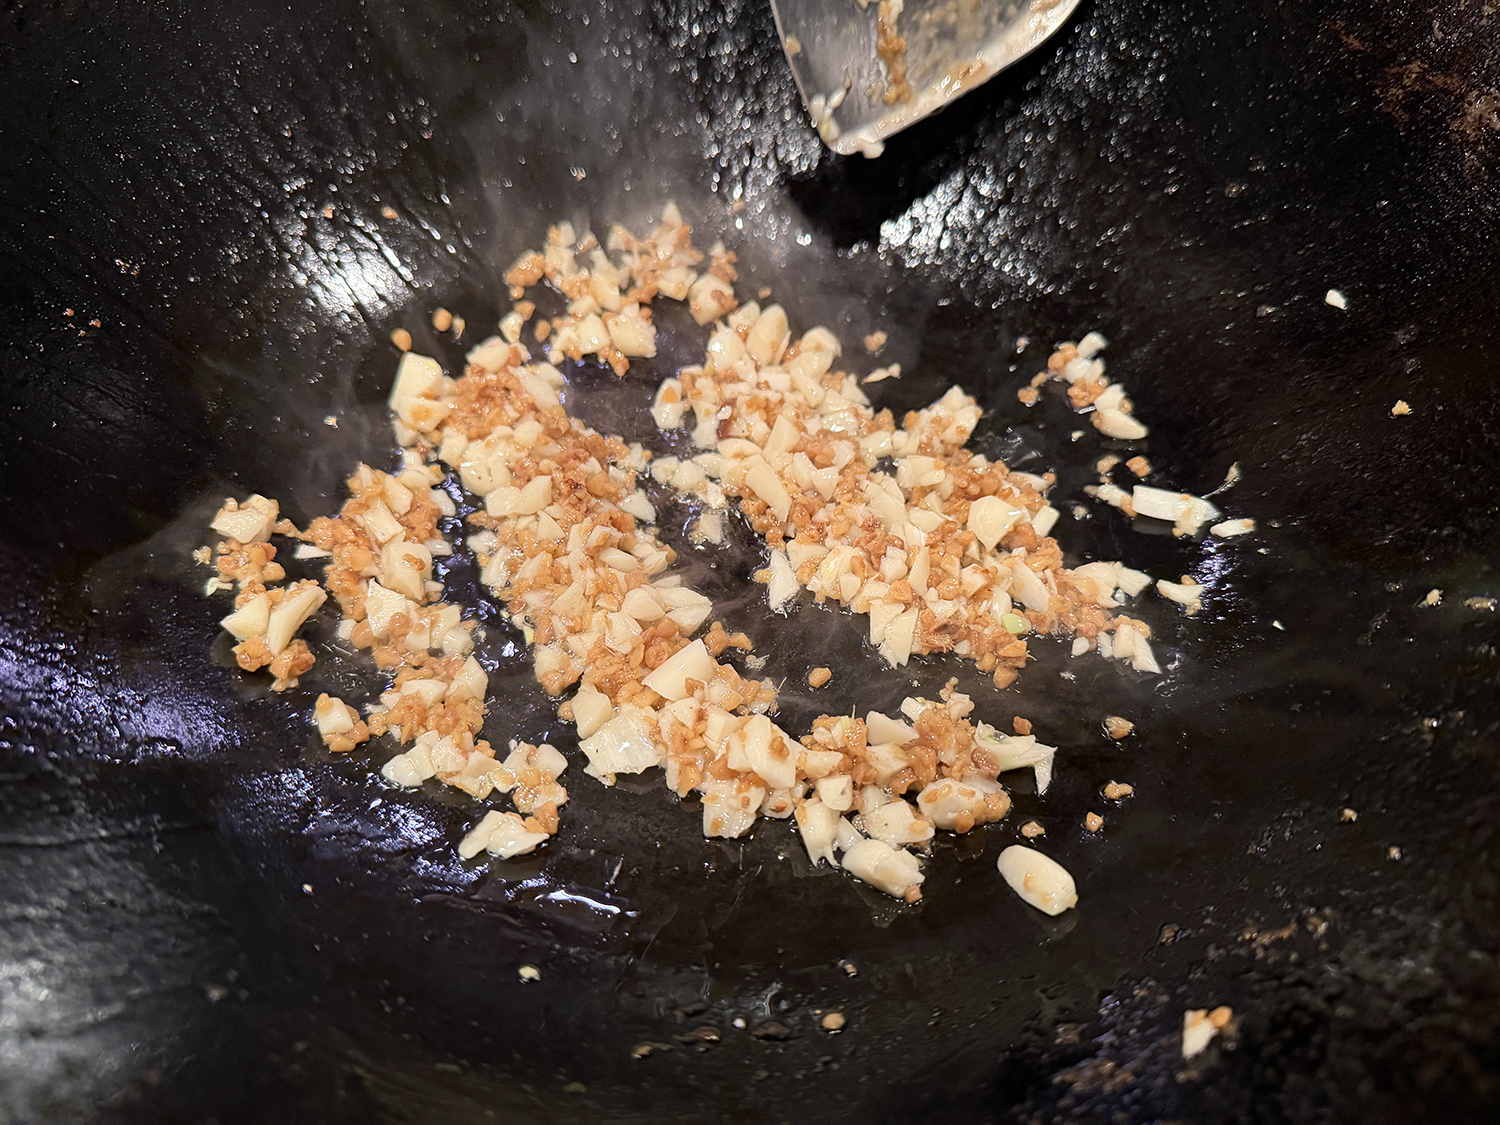
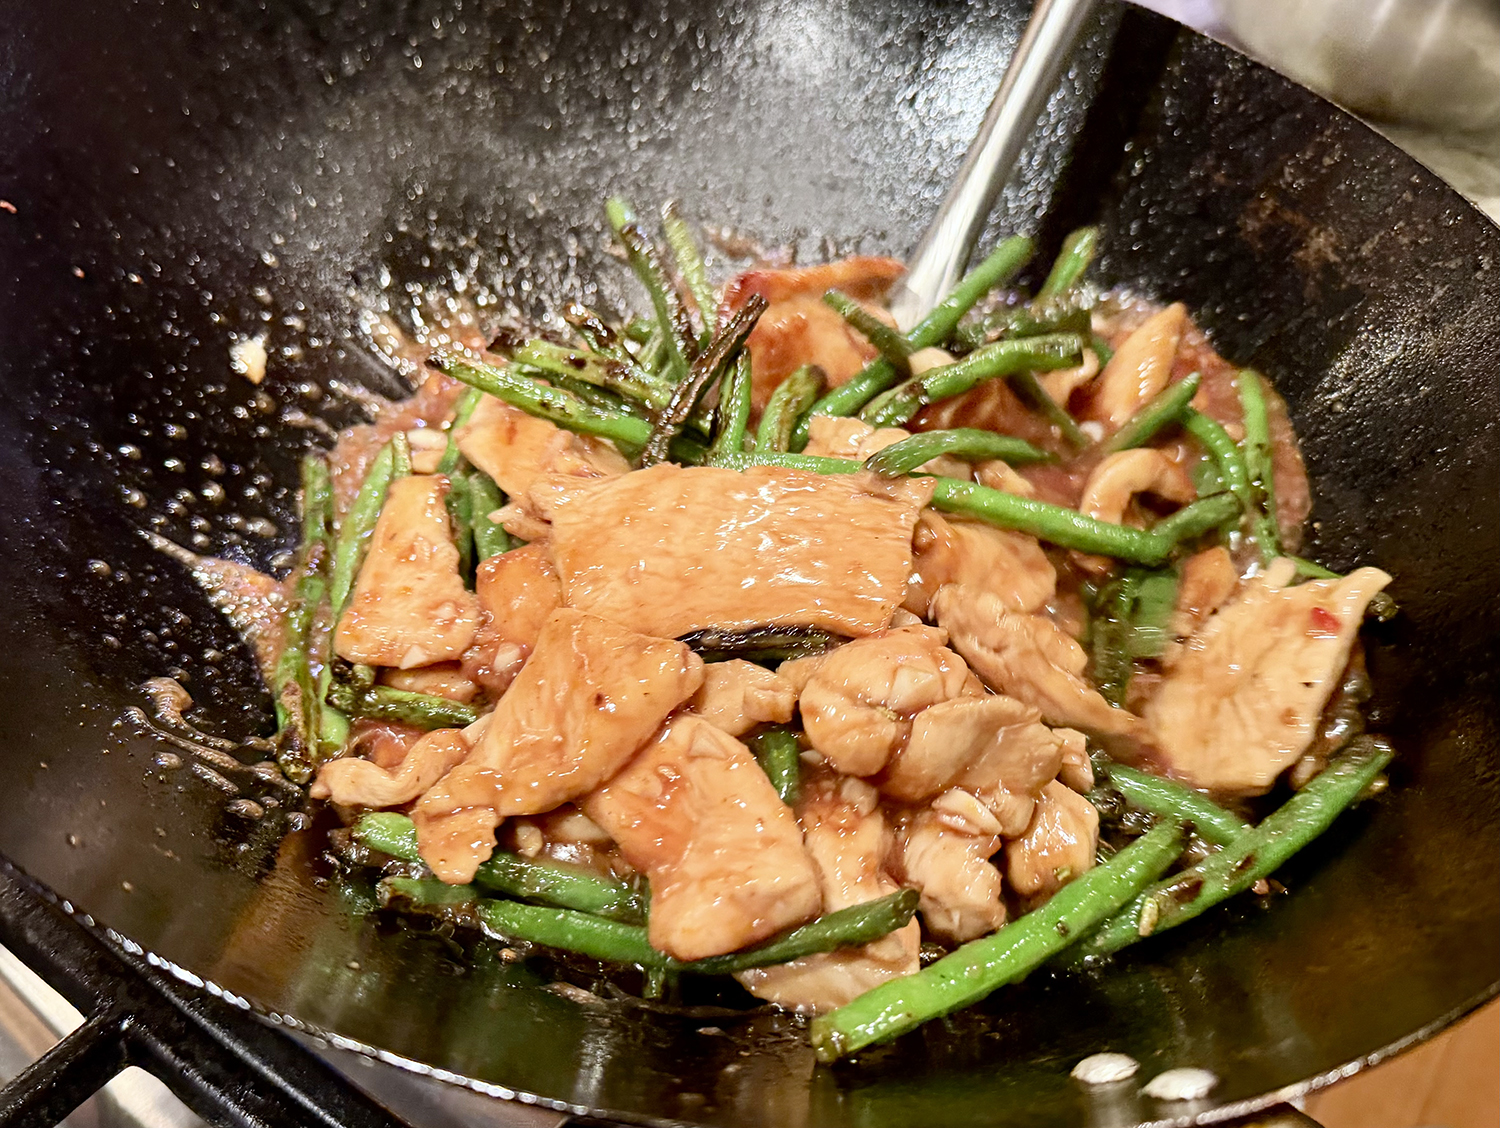
- If pan is dry, add more vegetable oil (up to 2 Tbsp.). Add 6 garlic cloves, finely chopped, and one ½” piece ginger, peeled, finely chopped, and cook, stirring constantly, until fragrant, about 1 minute. Add reserved sauce; cook, stirring, until thickened slightly, about 1 minute. Return green beans and chicken to pan; toss to coat.
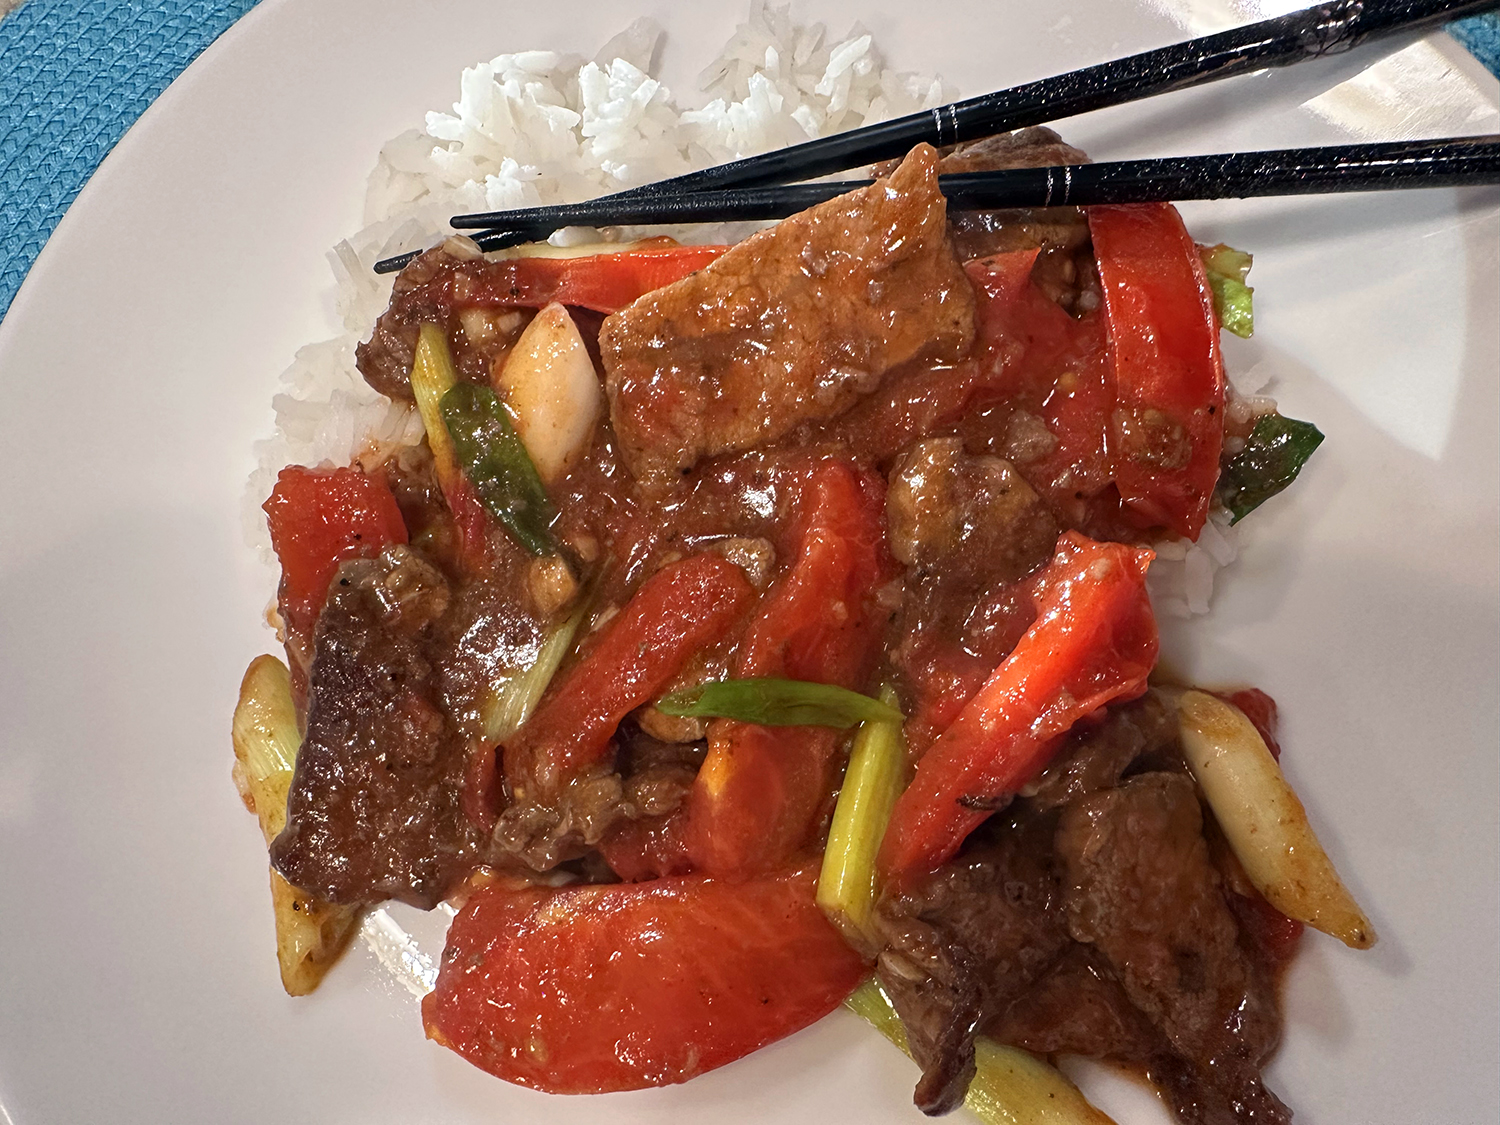
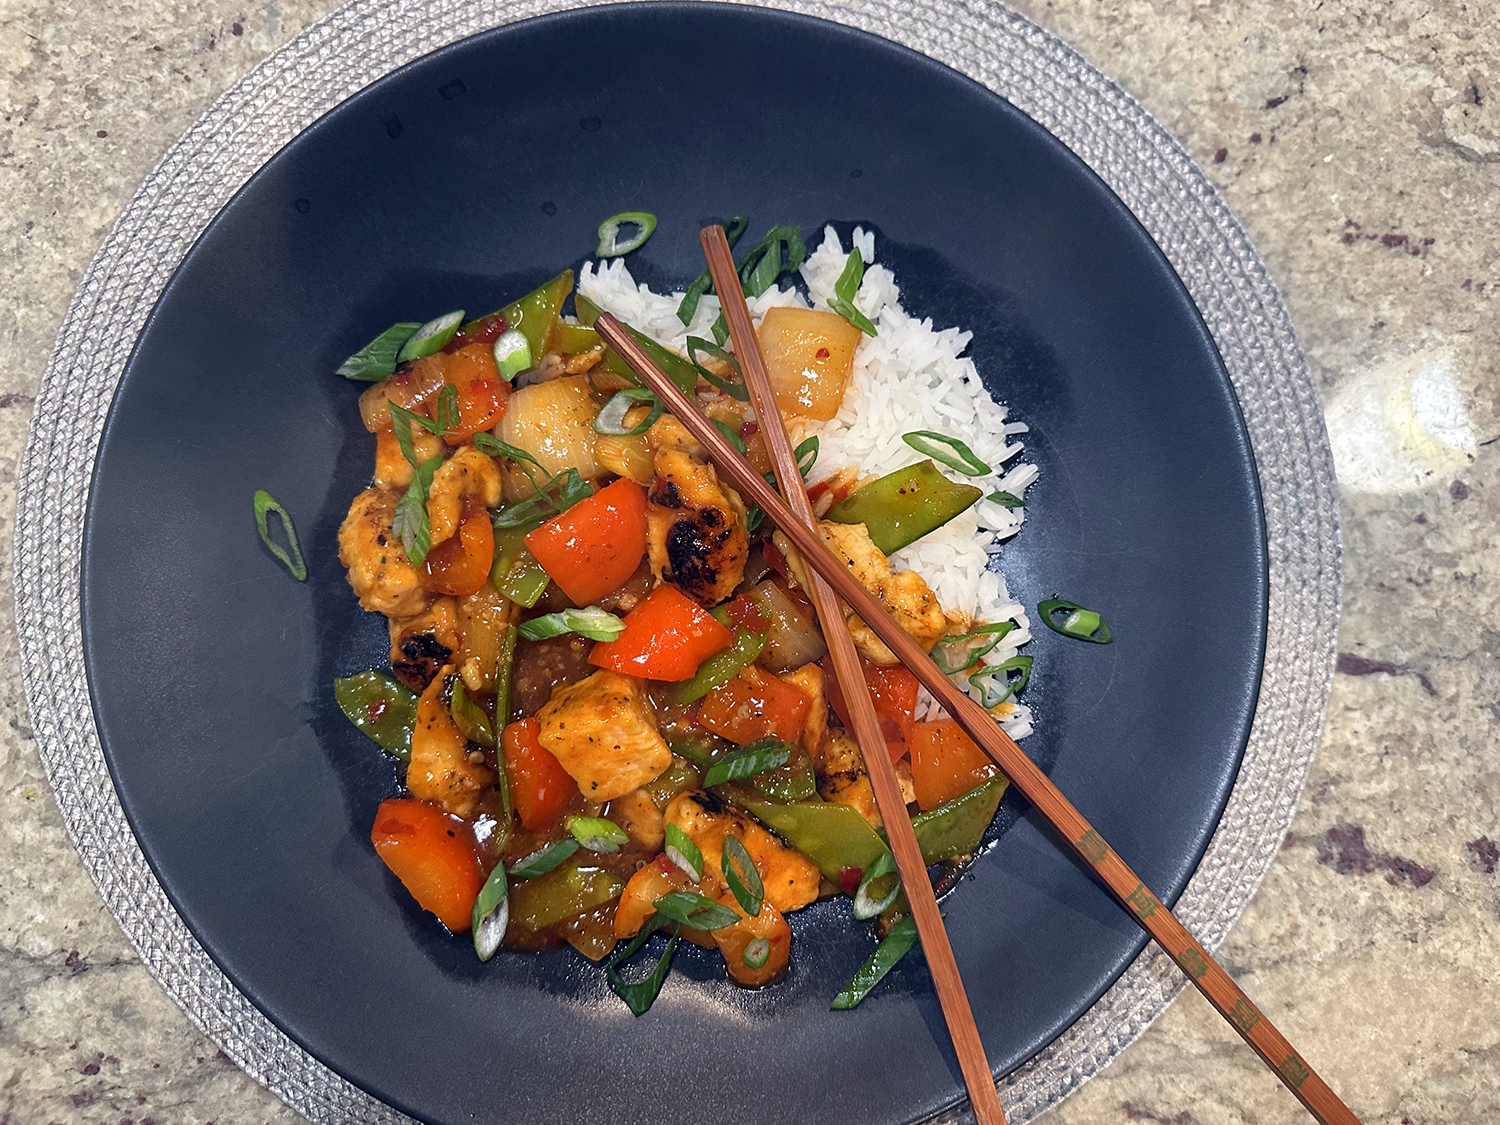
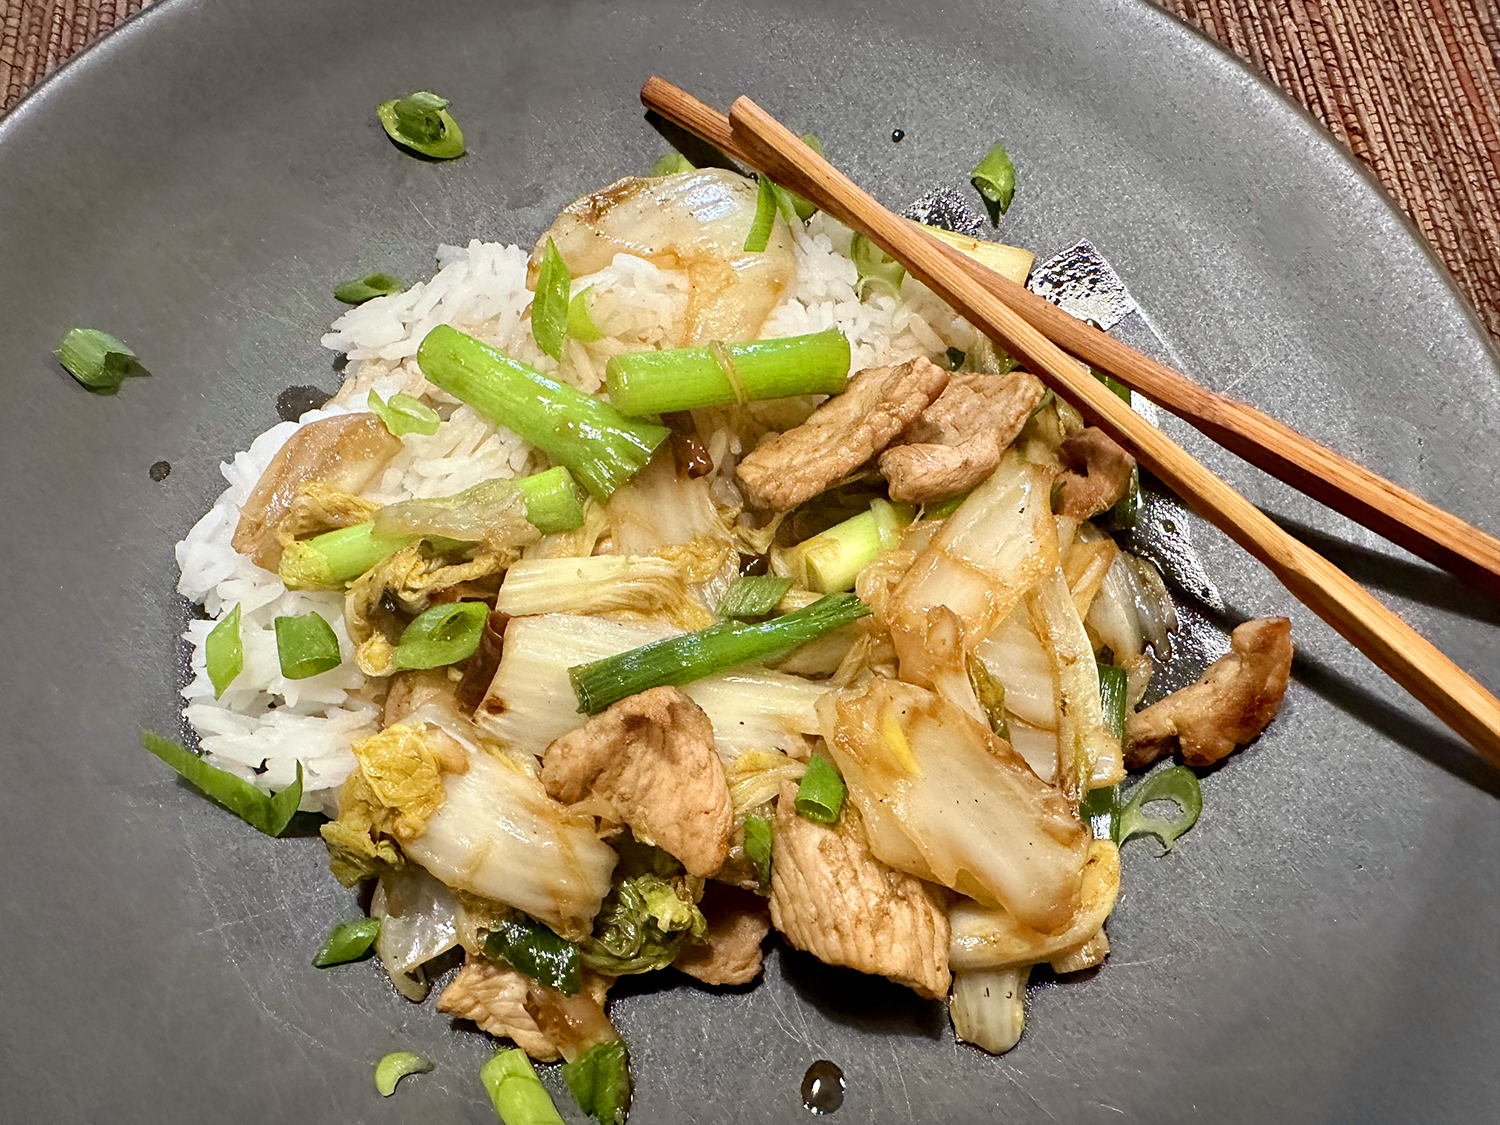
- Remove stir-fry from heat; season with kosher salt. Top with thinly sliced orange zest and toasted sesame seeds. Serve with steamed white rice if desired.
Recipe by Jess Szewcyck for Bon Appétit