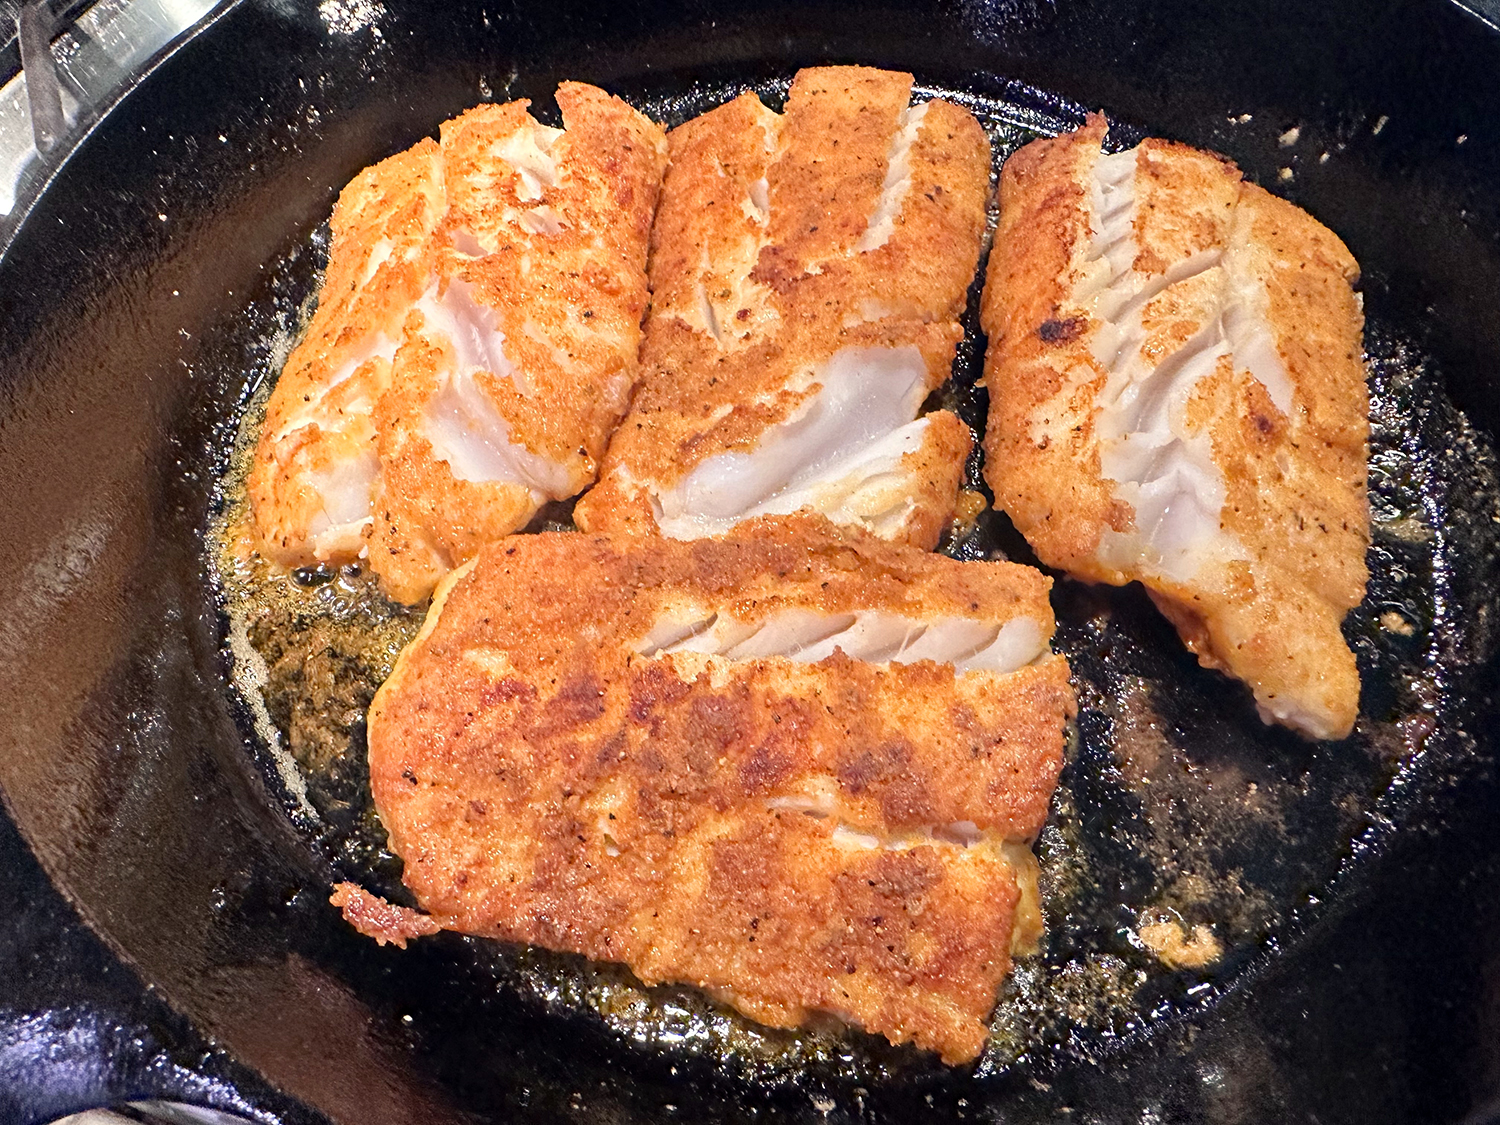
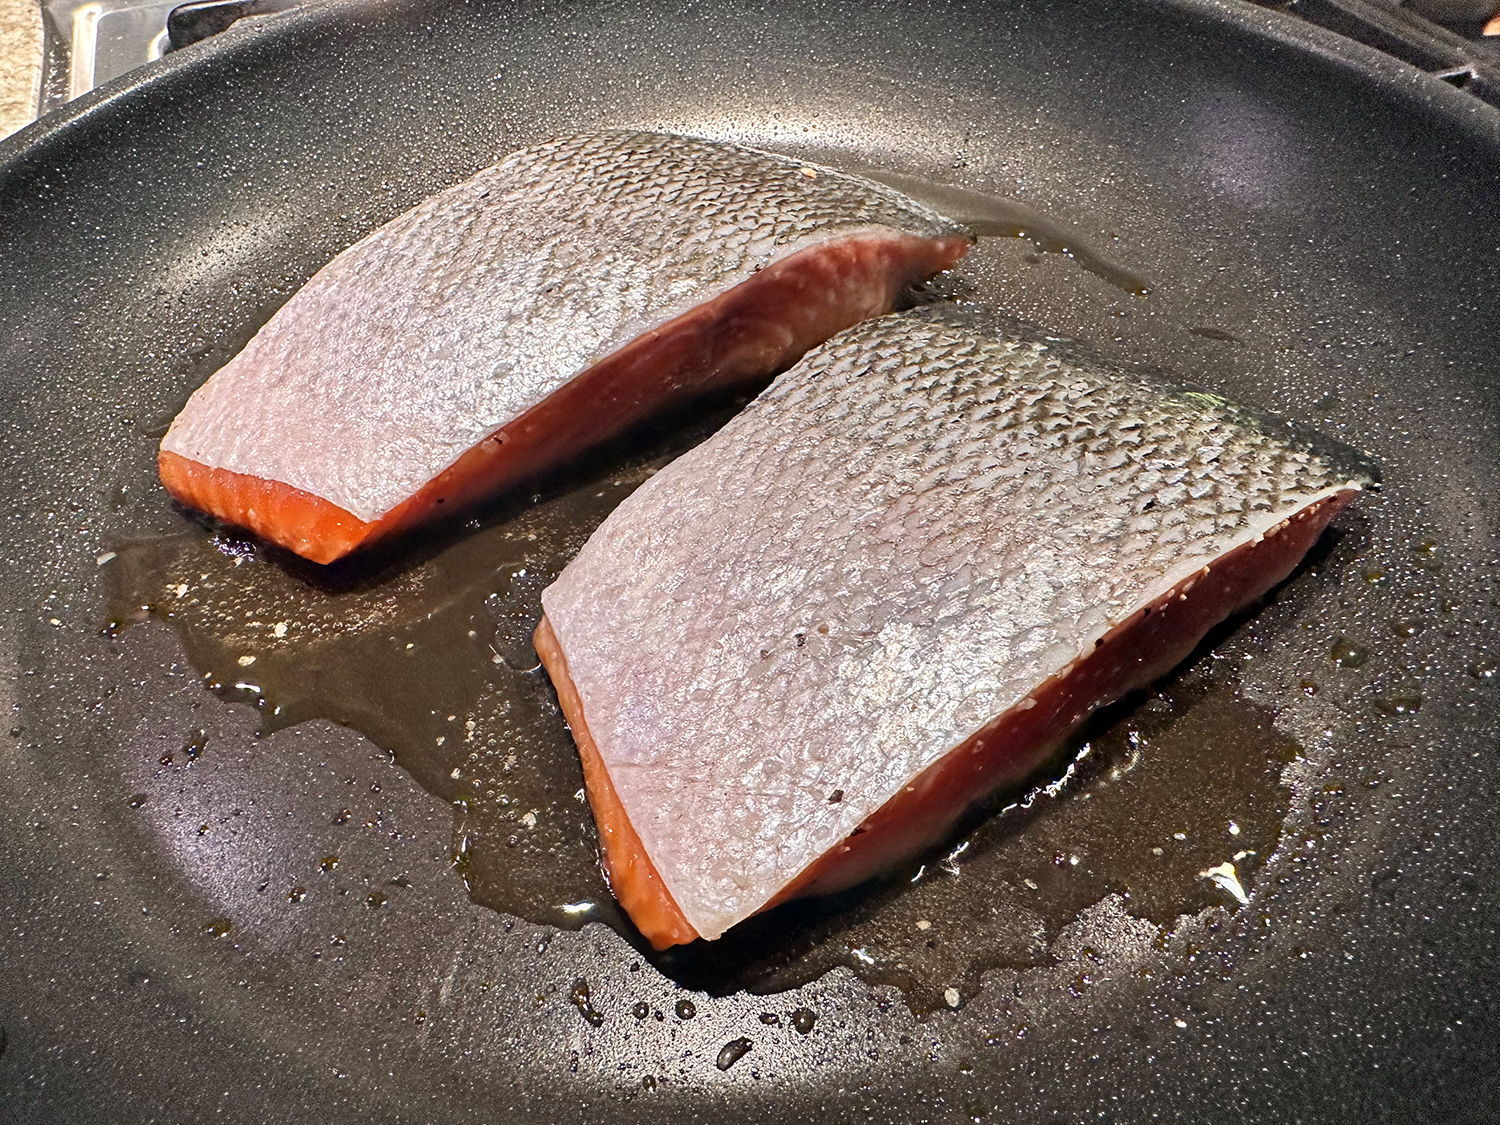
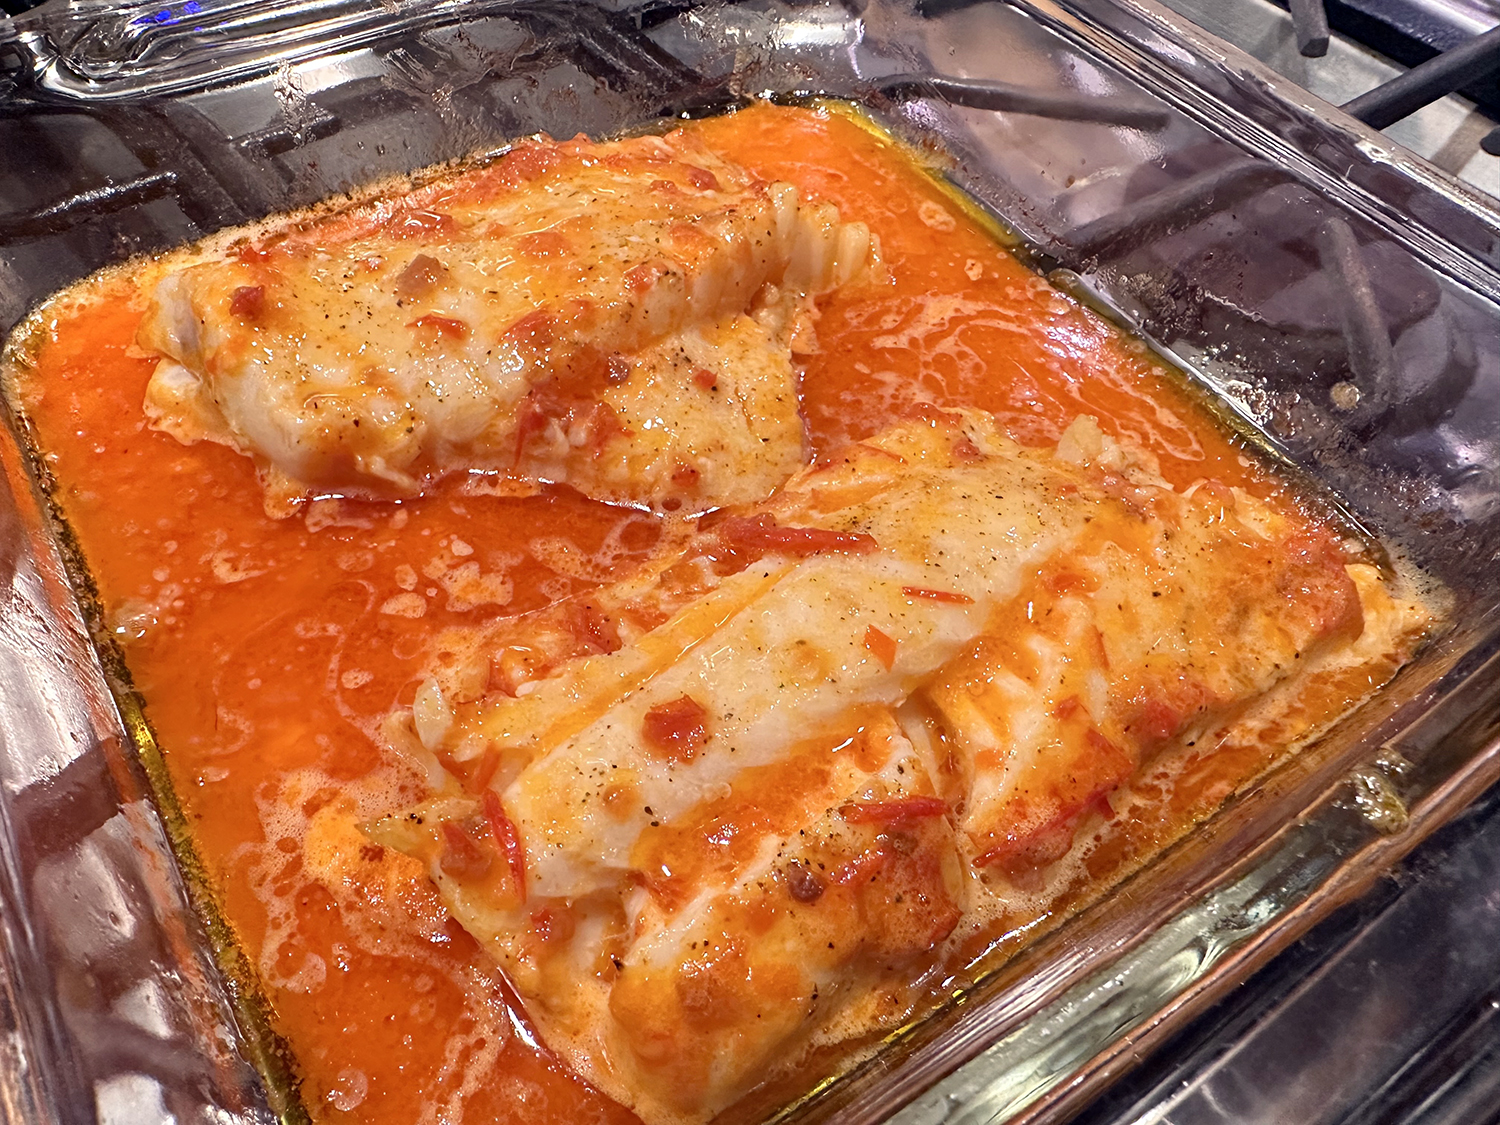
There was a good sale on tuna steaks at our favorite supermarket a few weeks back, even though tuna was not on our short list for the week’s meals. But we repackaged them for future use and placed them in the freezer. A few weeks later we remembered we had the tuna and found a perfect recipe from America’s Test Kitchen.
Problem was, the recipe was for 4 people, which in normal cases, typically is not an issue because we will eat them for lunch the next day. No problem, we just cut the recipe in half, including the ginger soy sauce.

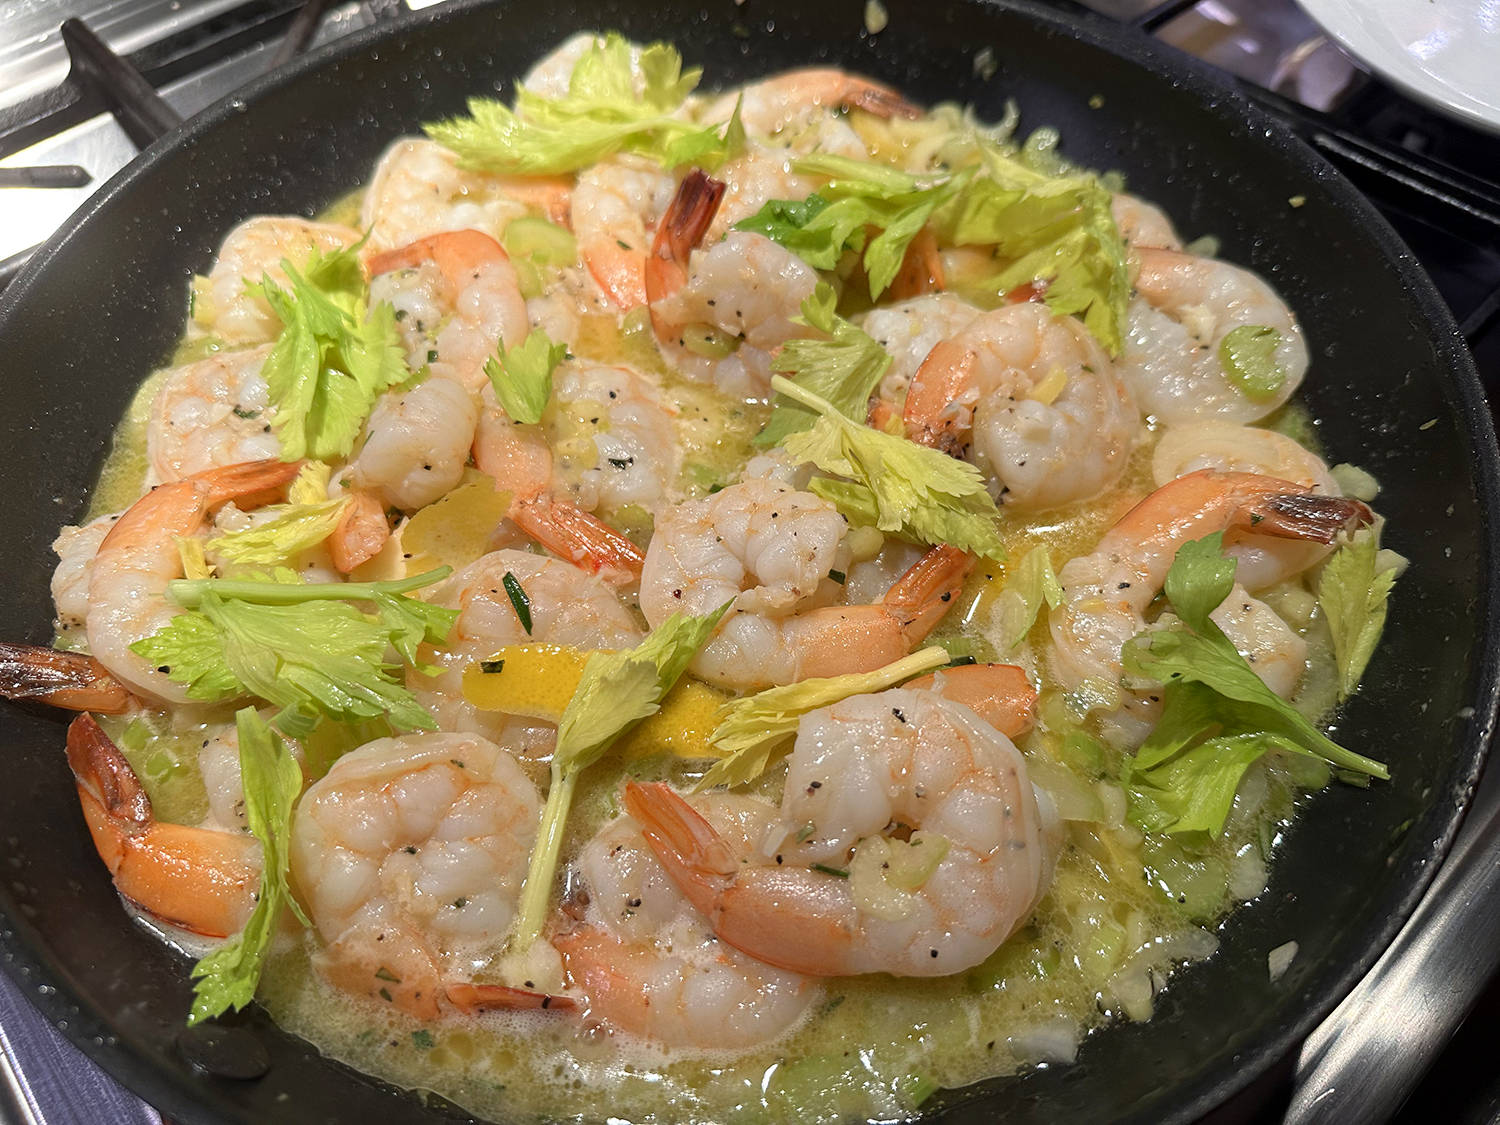
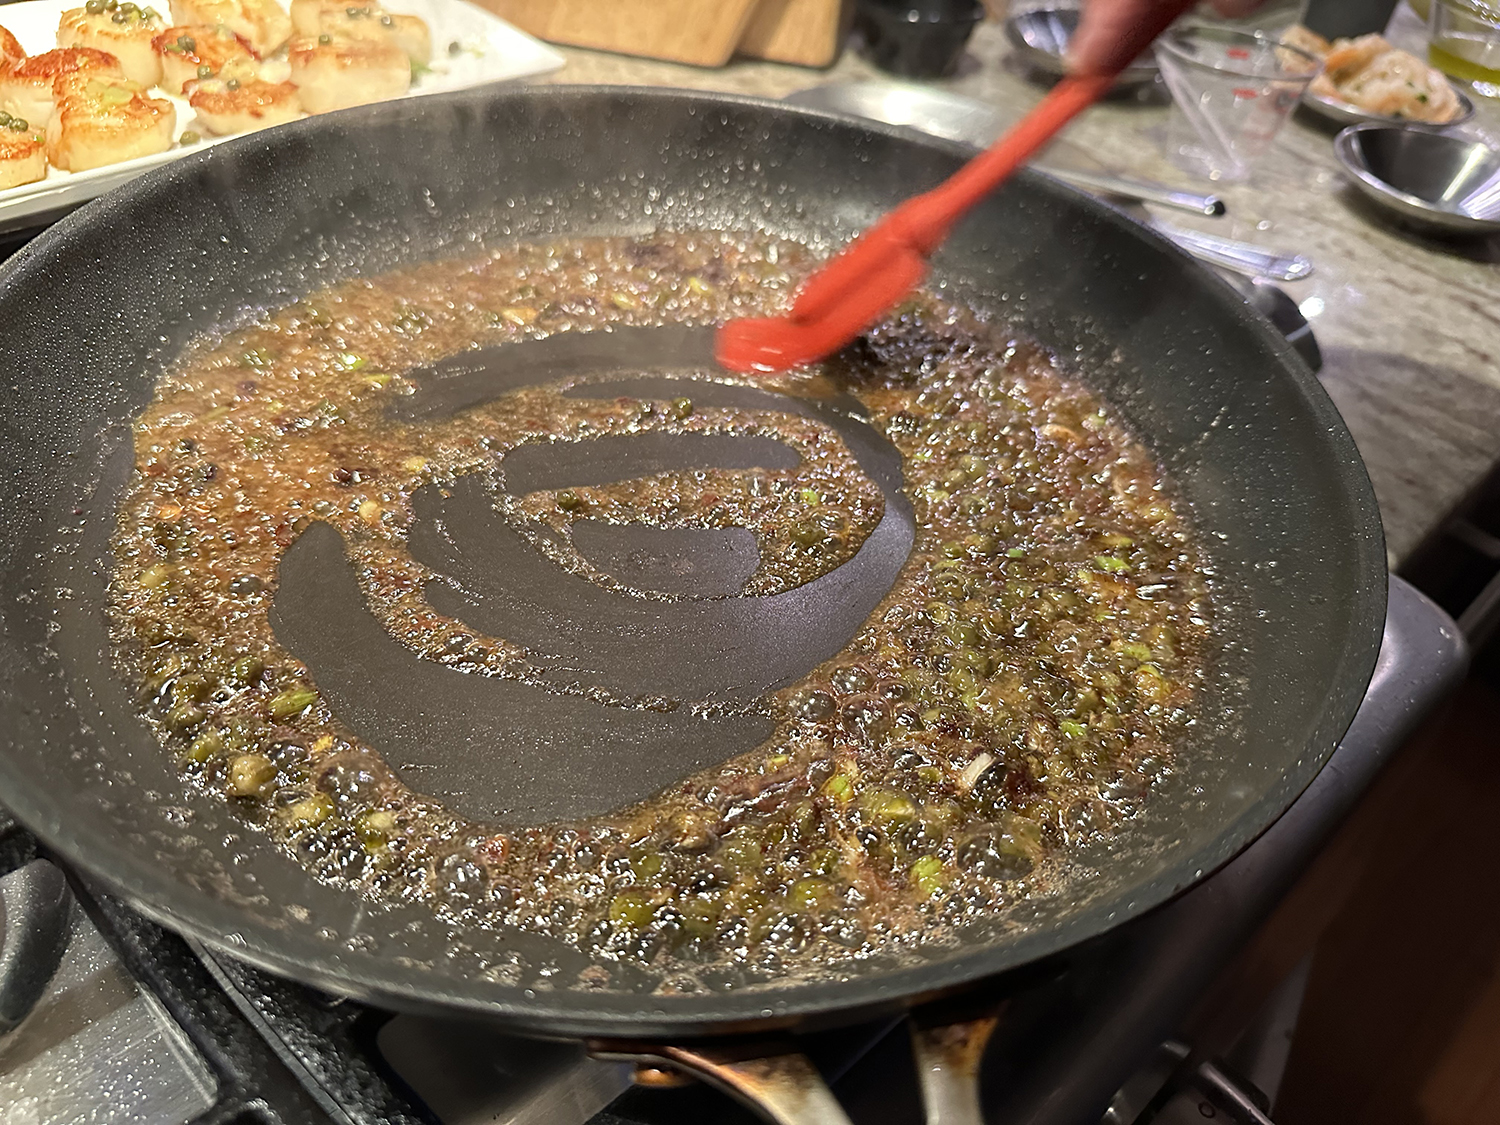
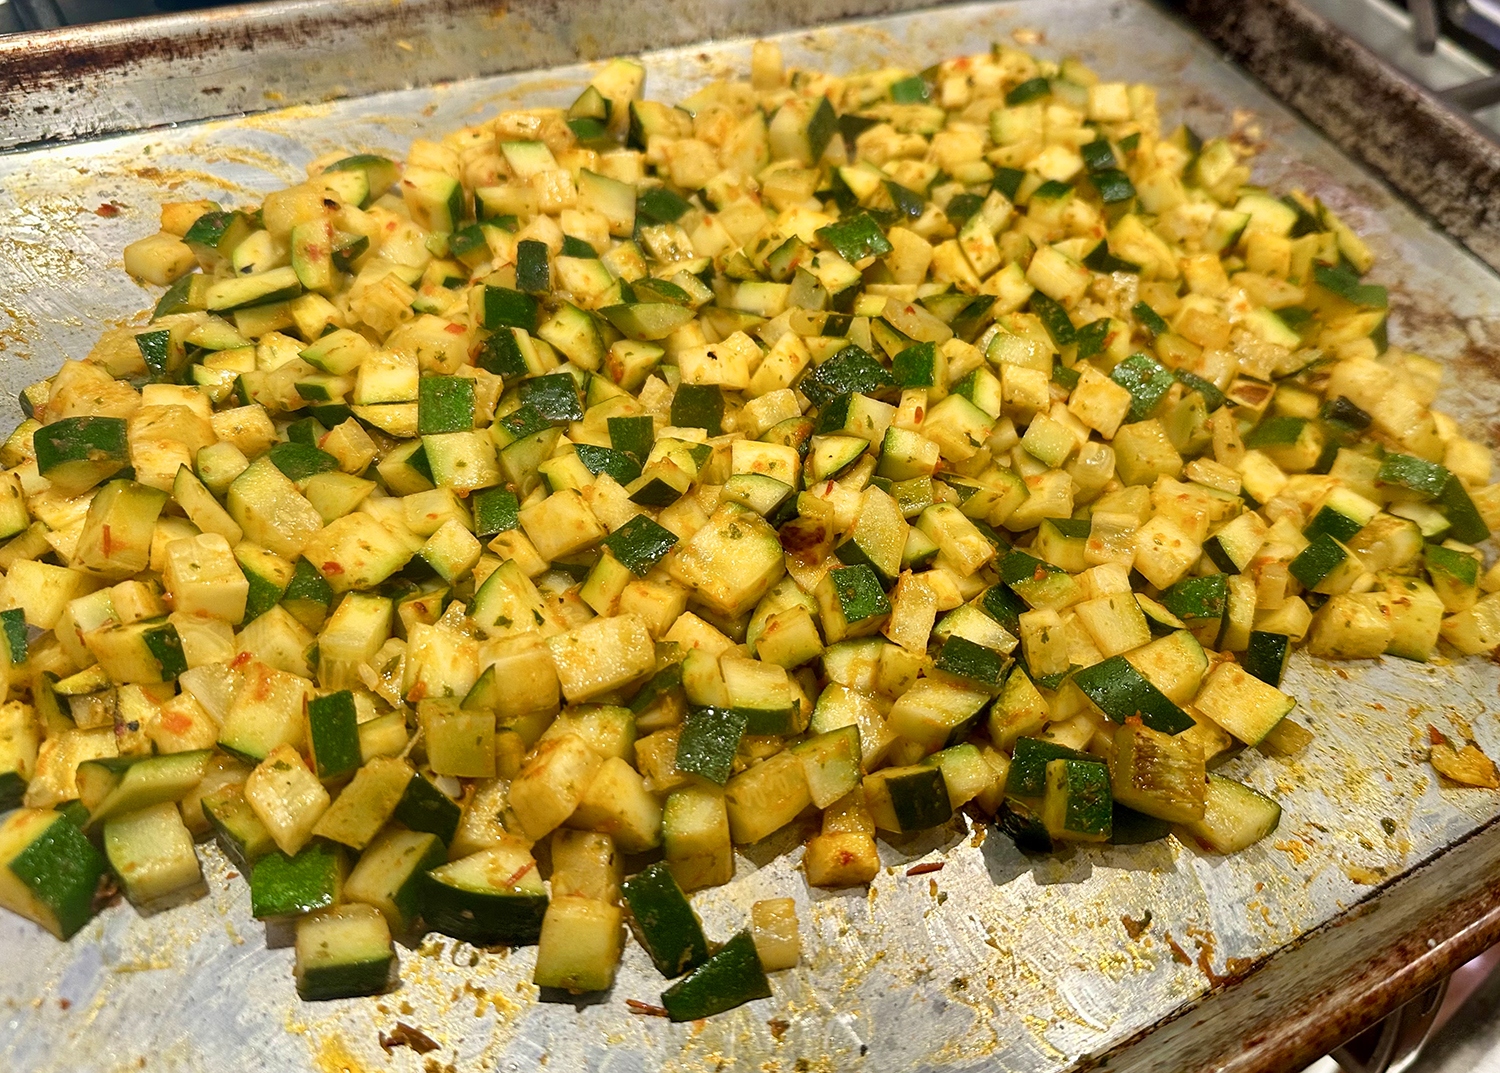
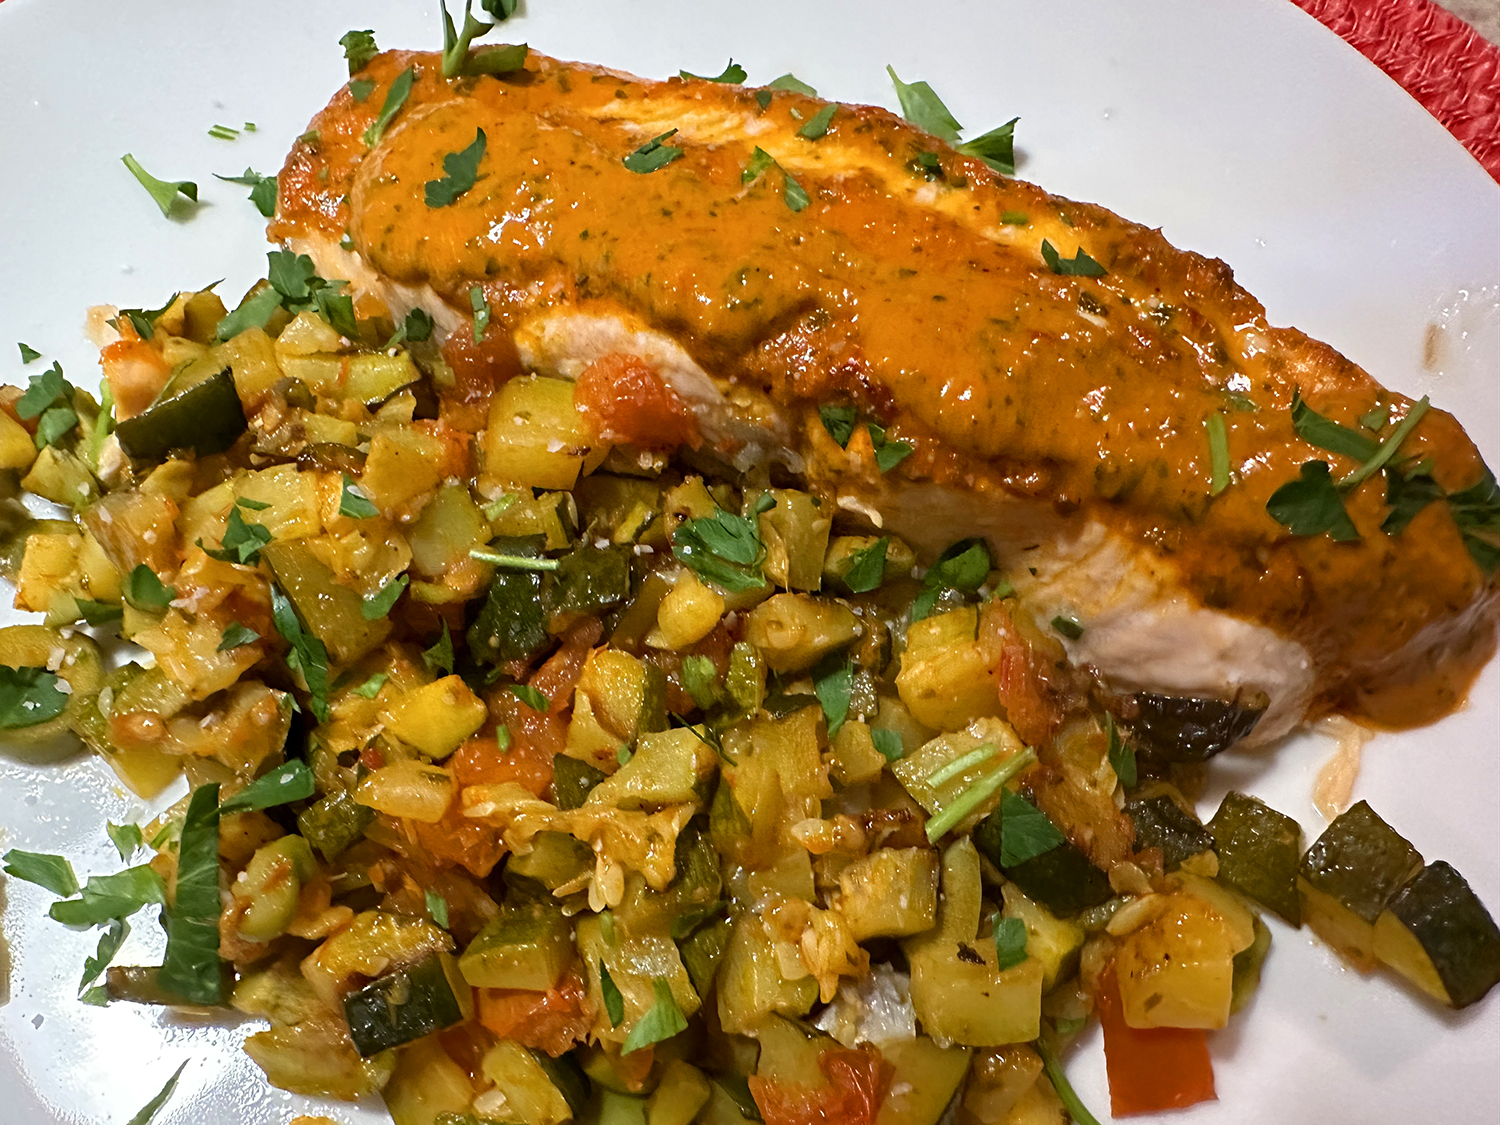
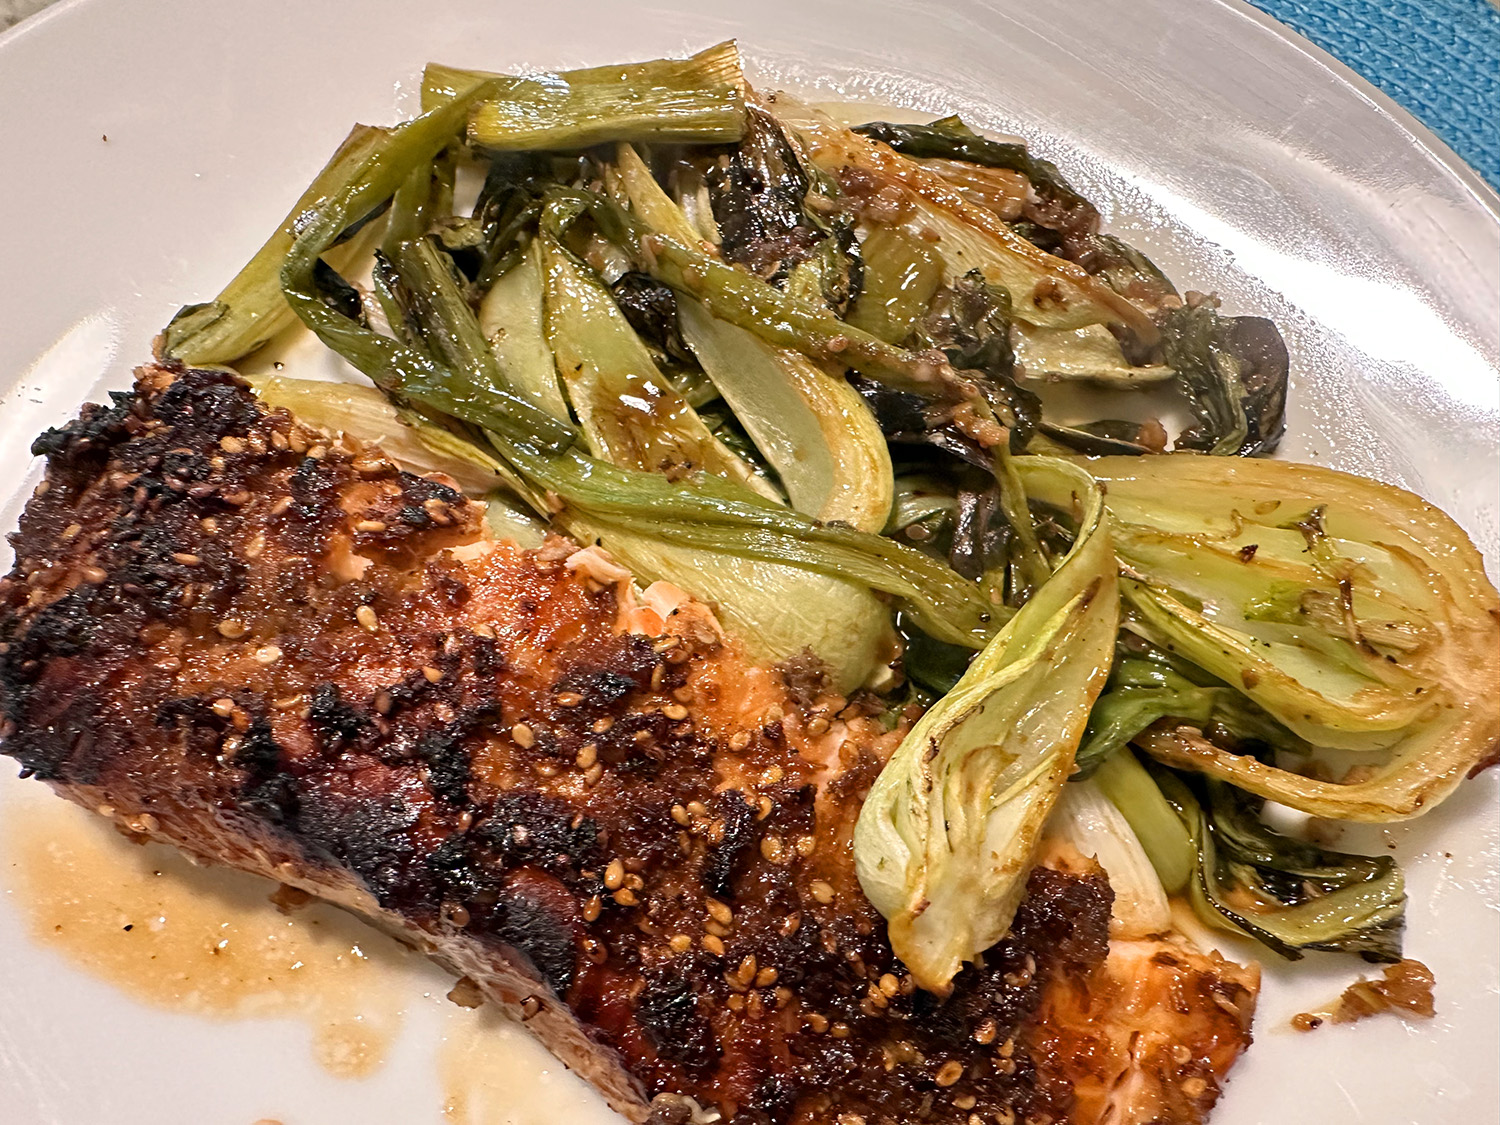
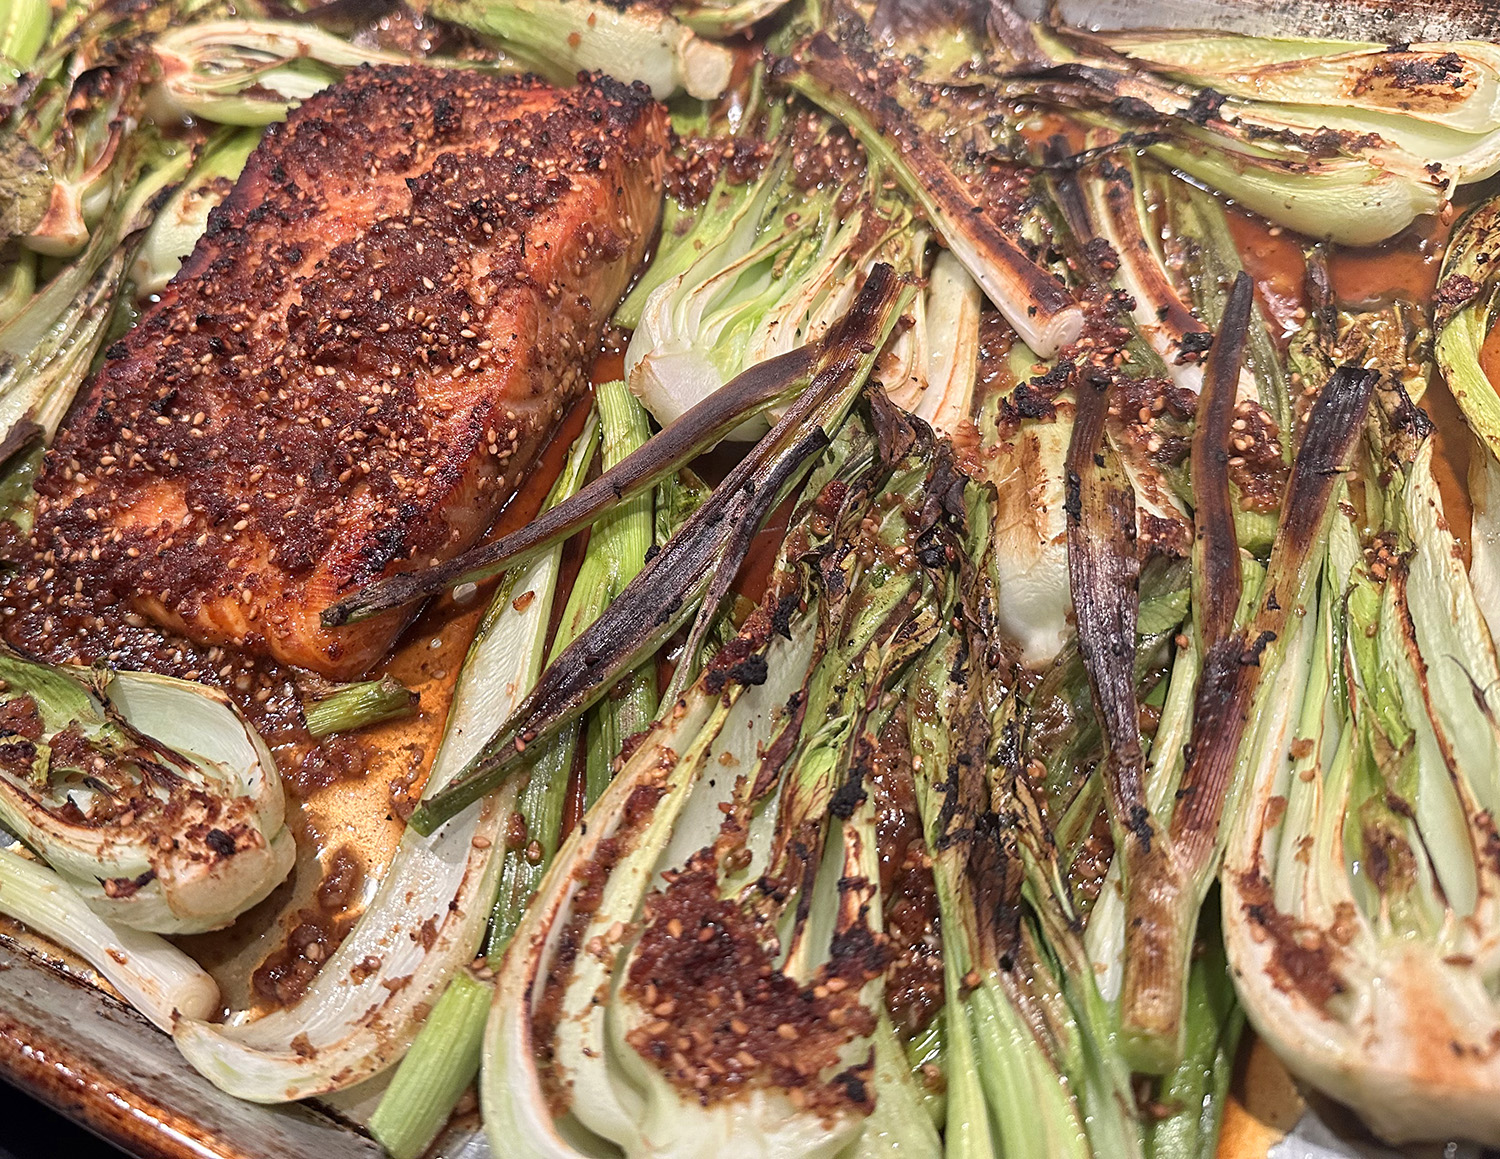
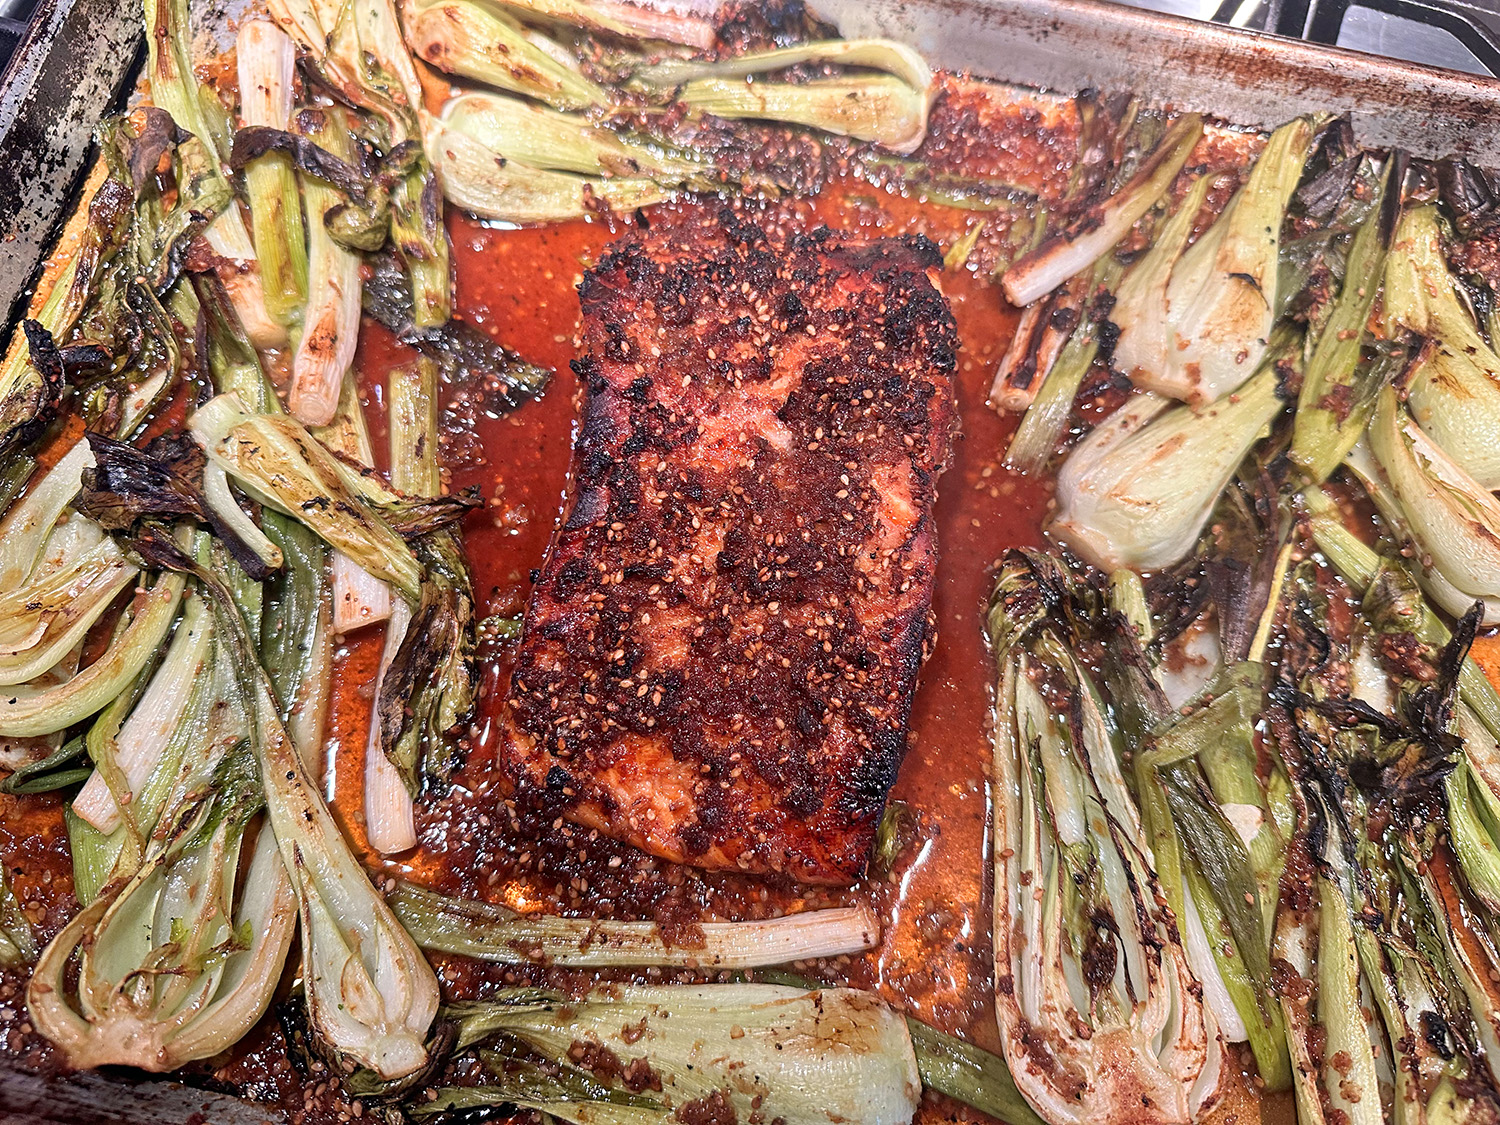
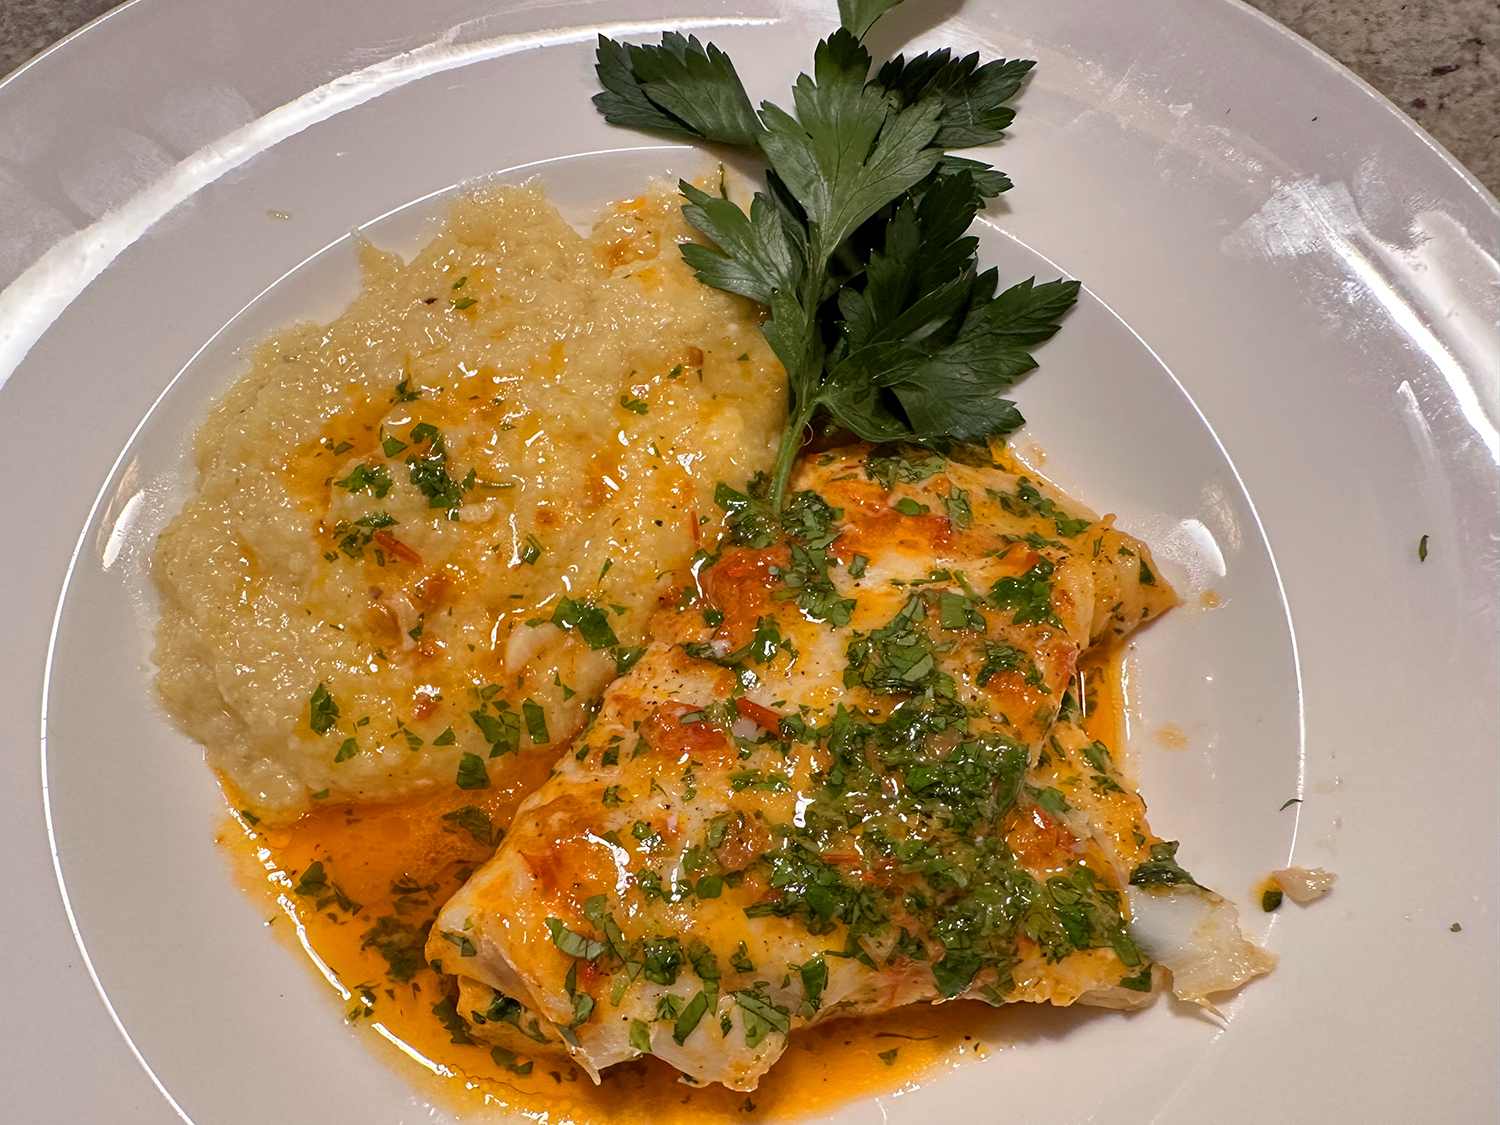
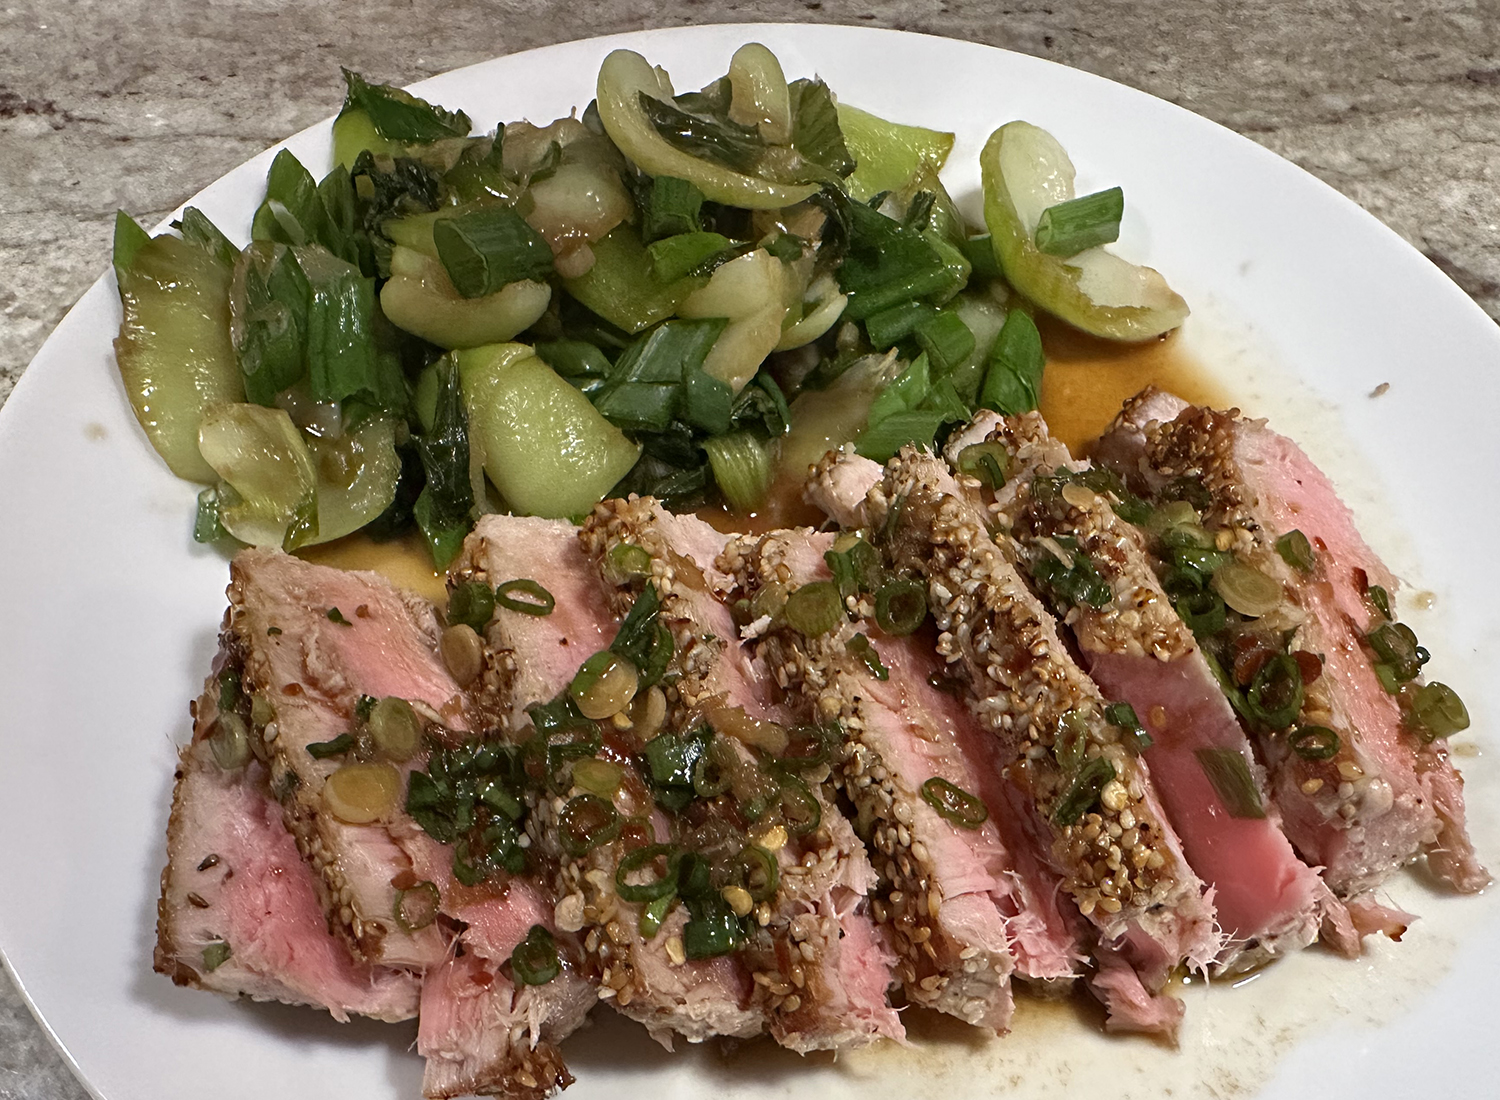
The fact that there are minimal ingredients, and takes very little time for prep and cooking, makes it a winner-dinner for mid-week. Paired with a side dish of Soy-Braised Baby Bok Choy, we enjoyed a tasty, healthy and quick dinner.
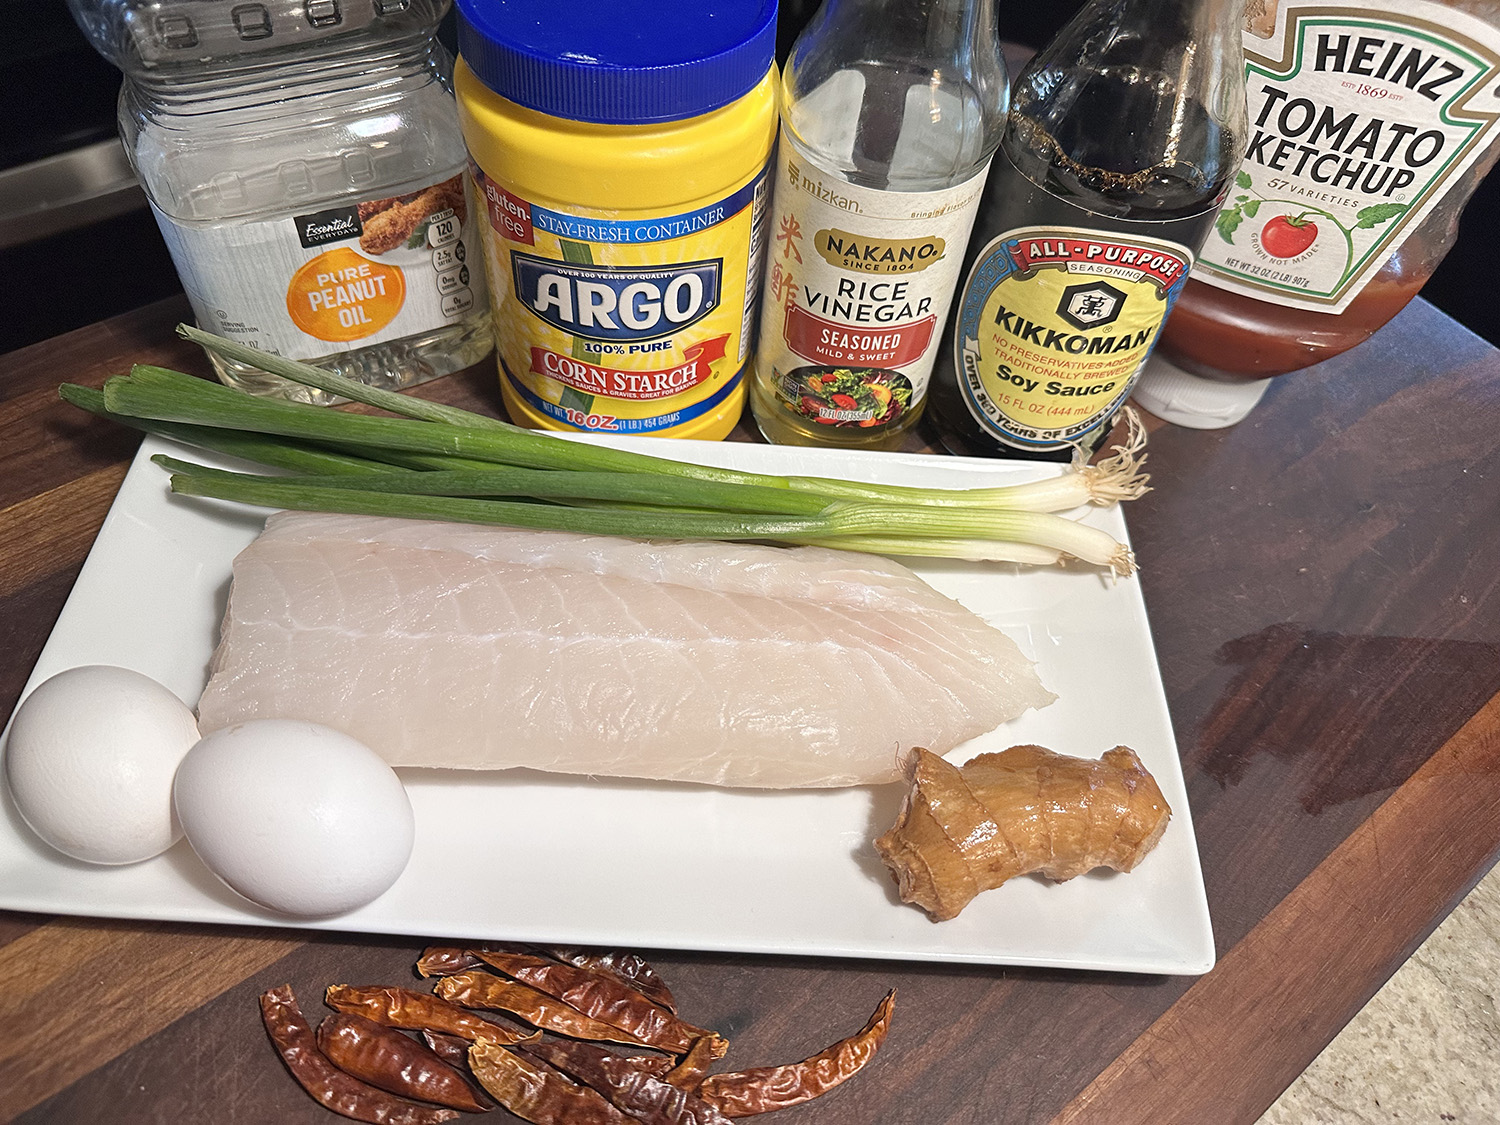
Pan-Seared Sesame-Crusted Tuna Steaks
Ingredients
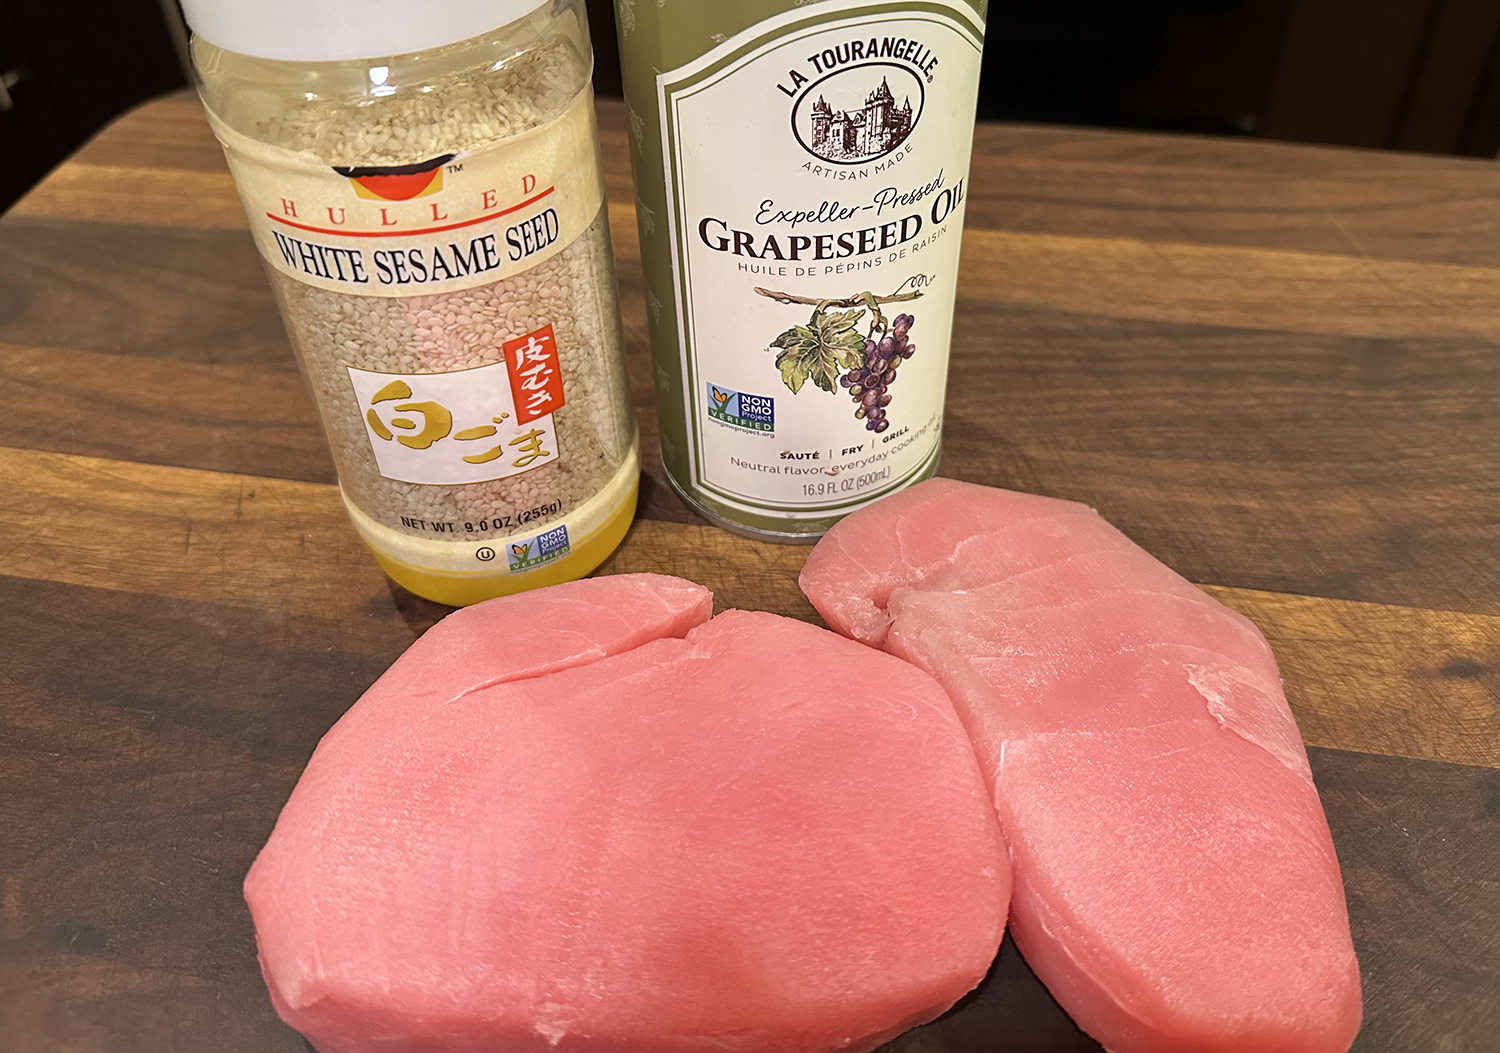
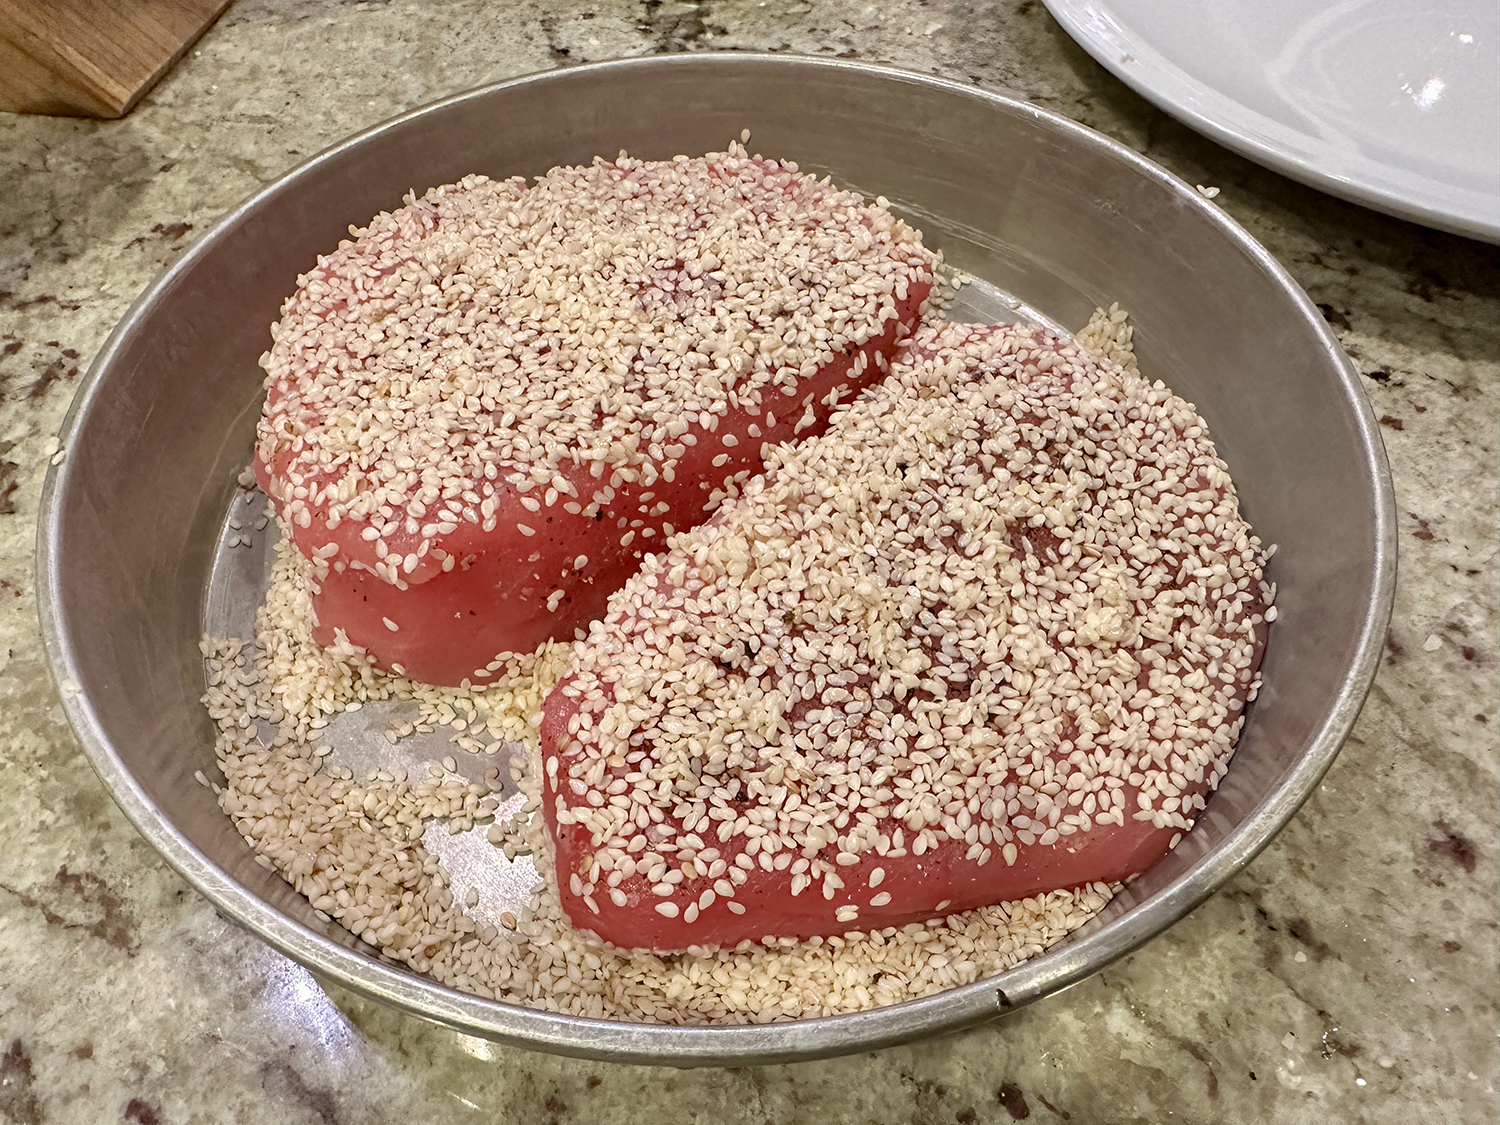
- ¾ cup sesame seeds
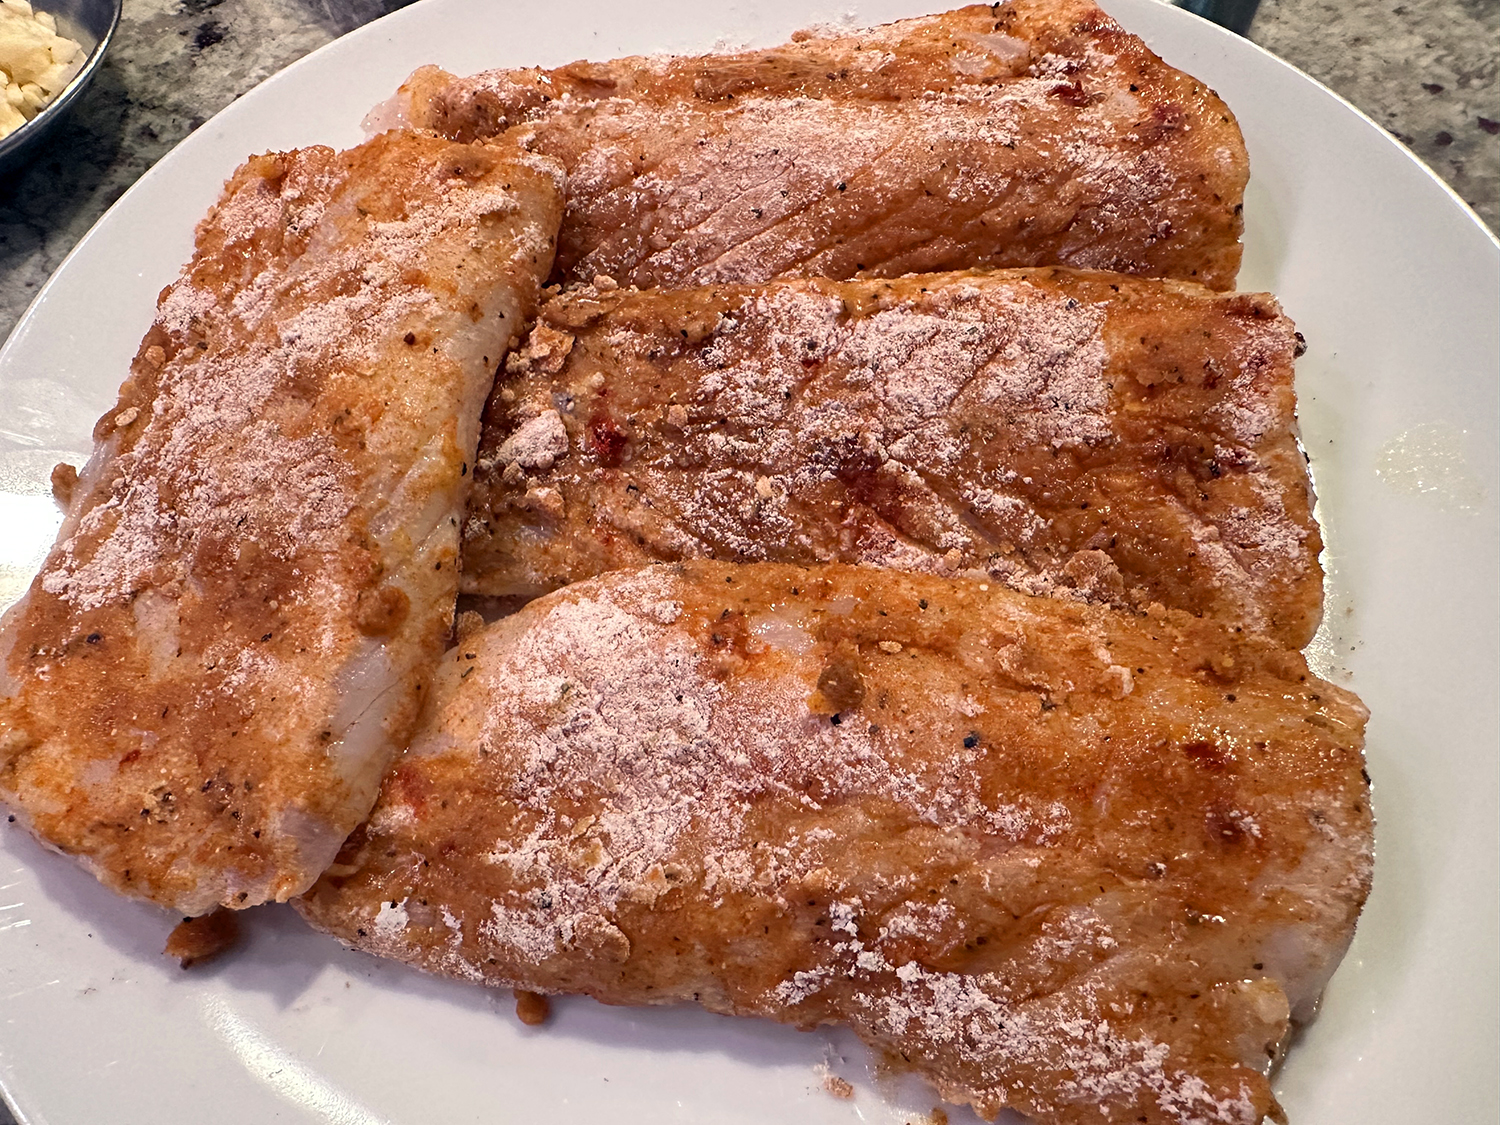
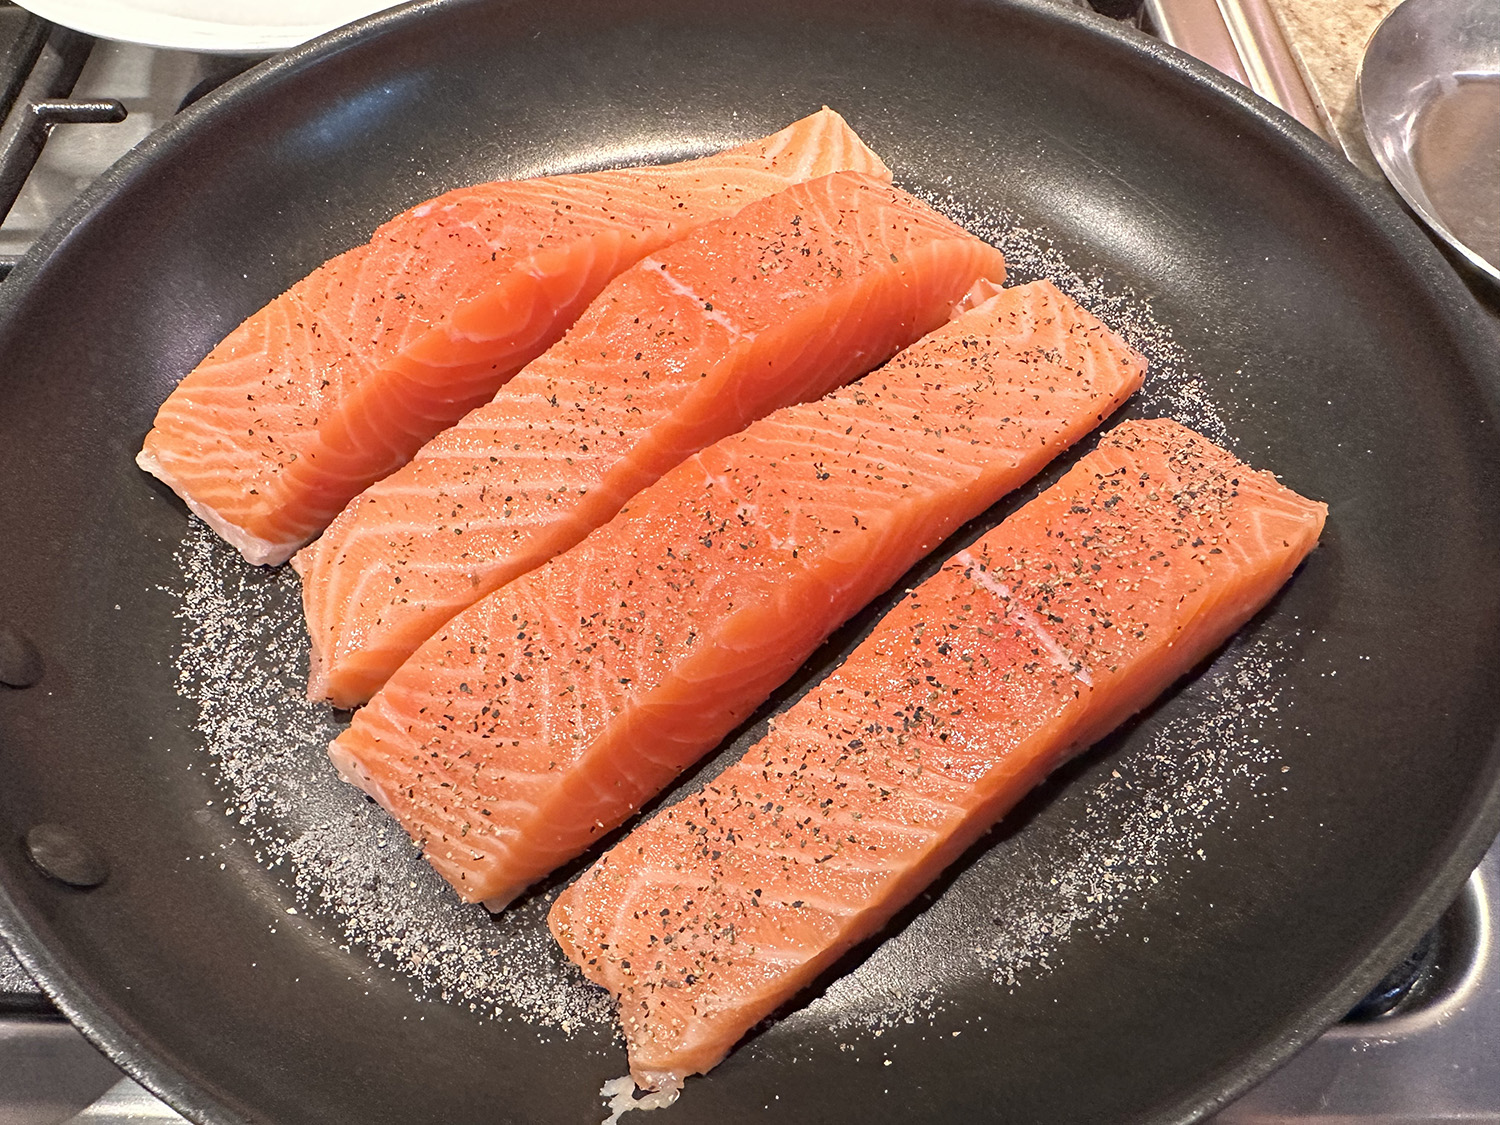
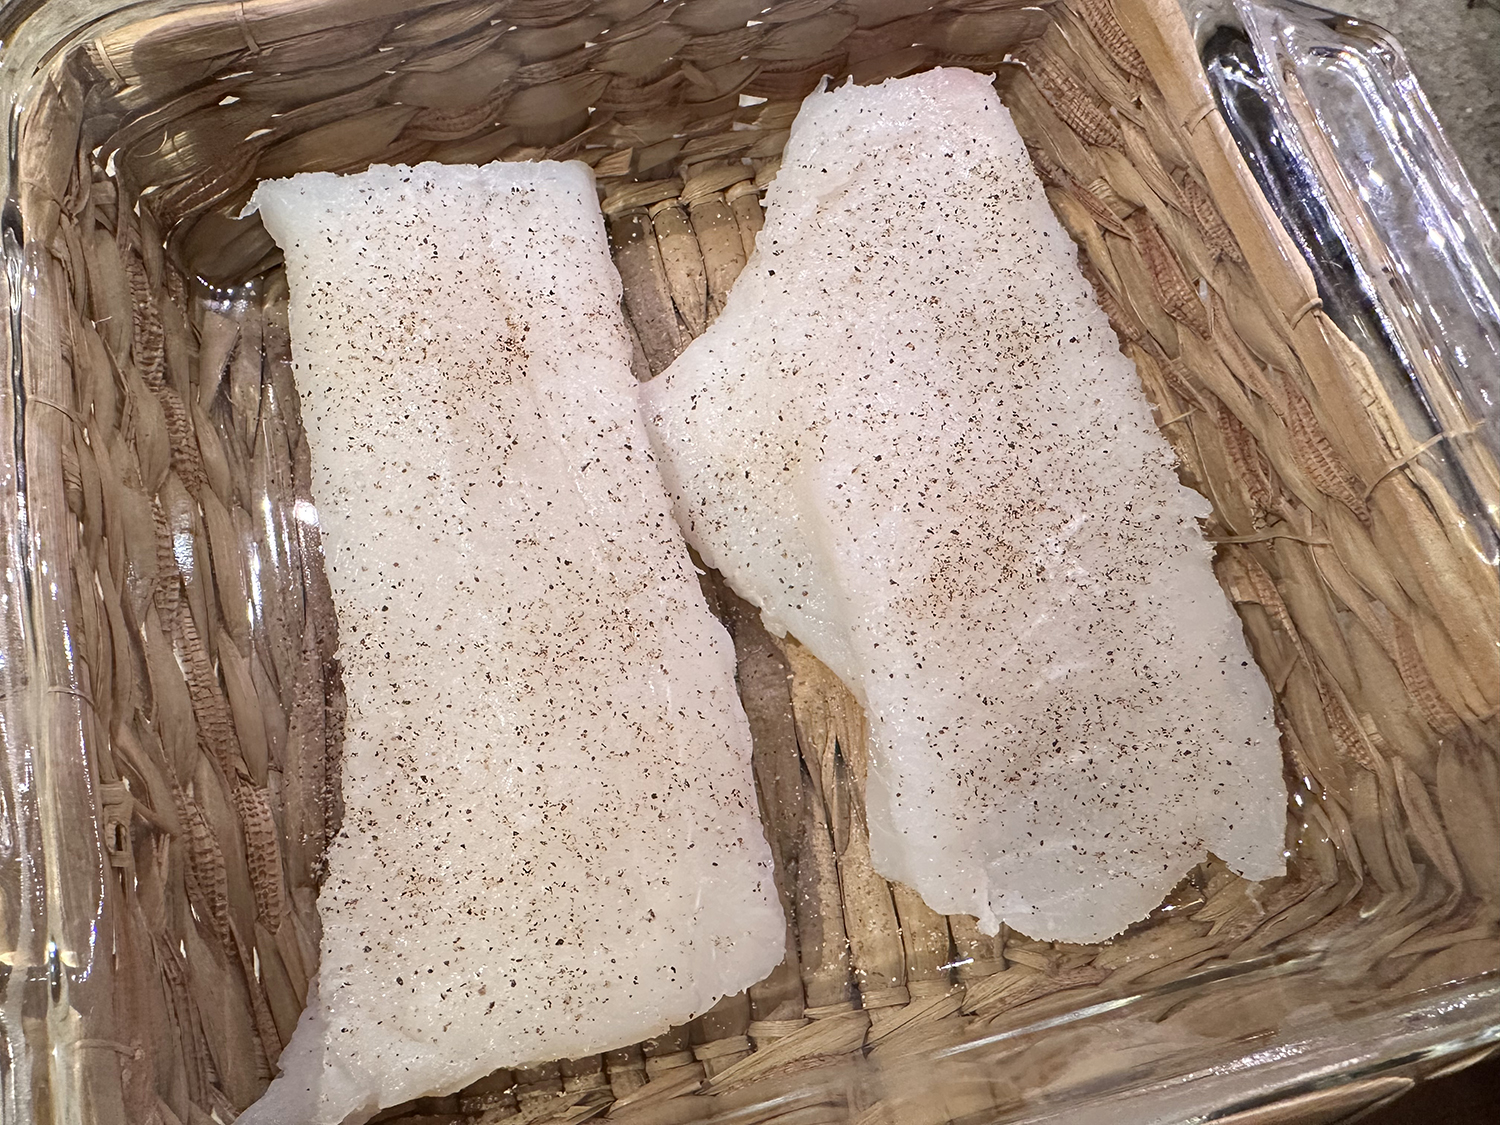
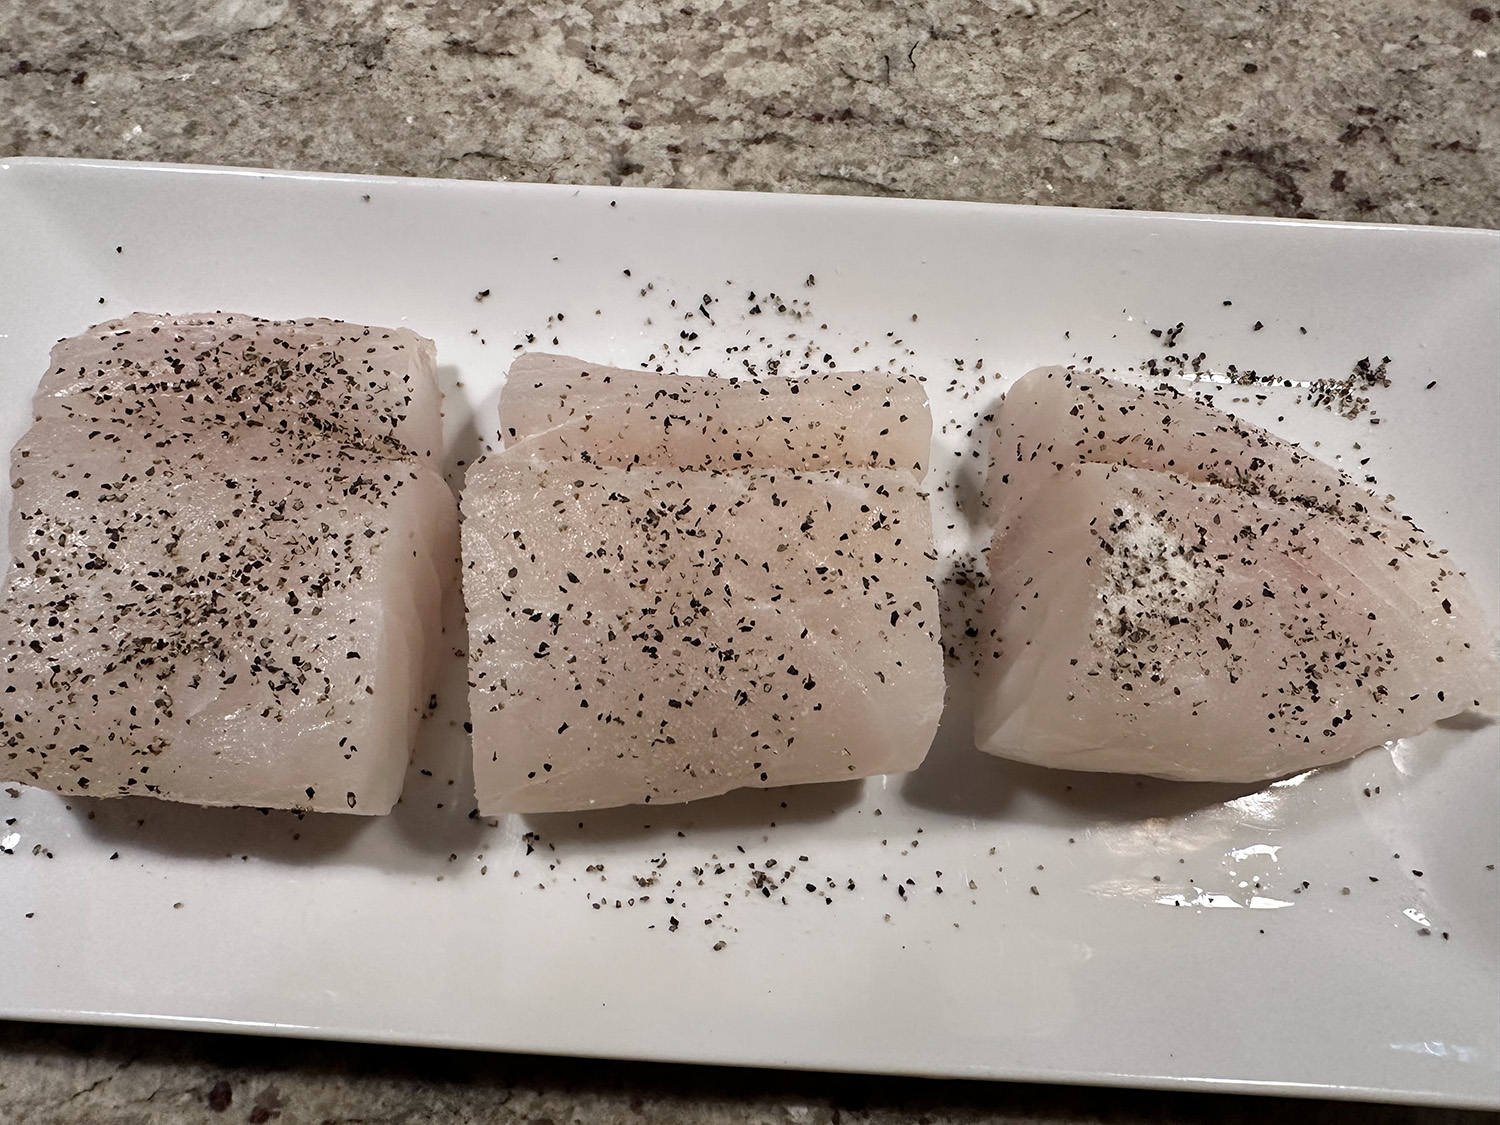
- 4 tuna steaks, 8 oz. each and about 1 inch thick
- 2 Tbsp. vegetable oil
- Salt and ground black pepper
Directions
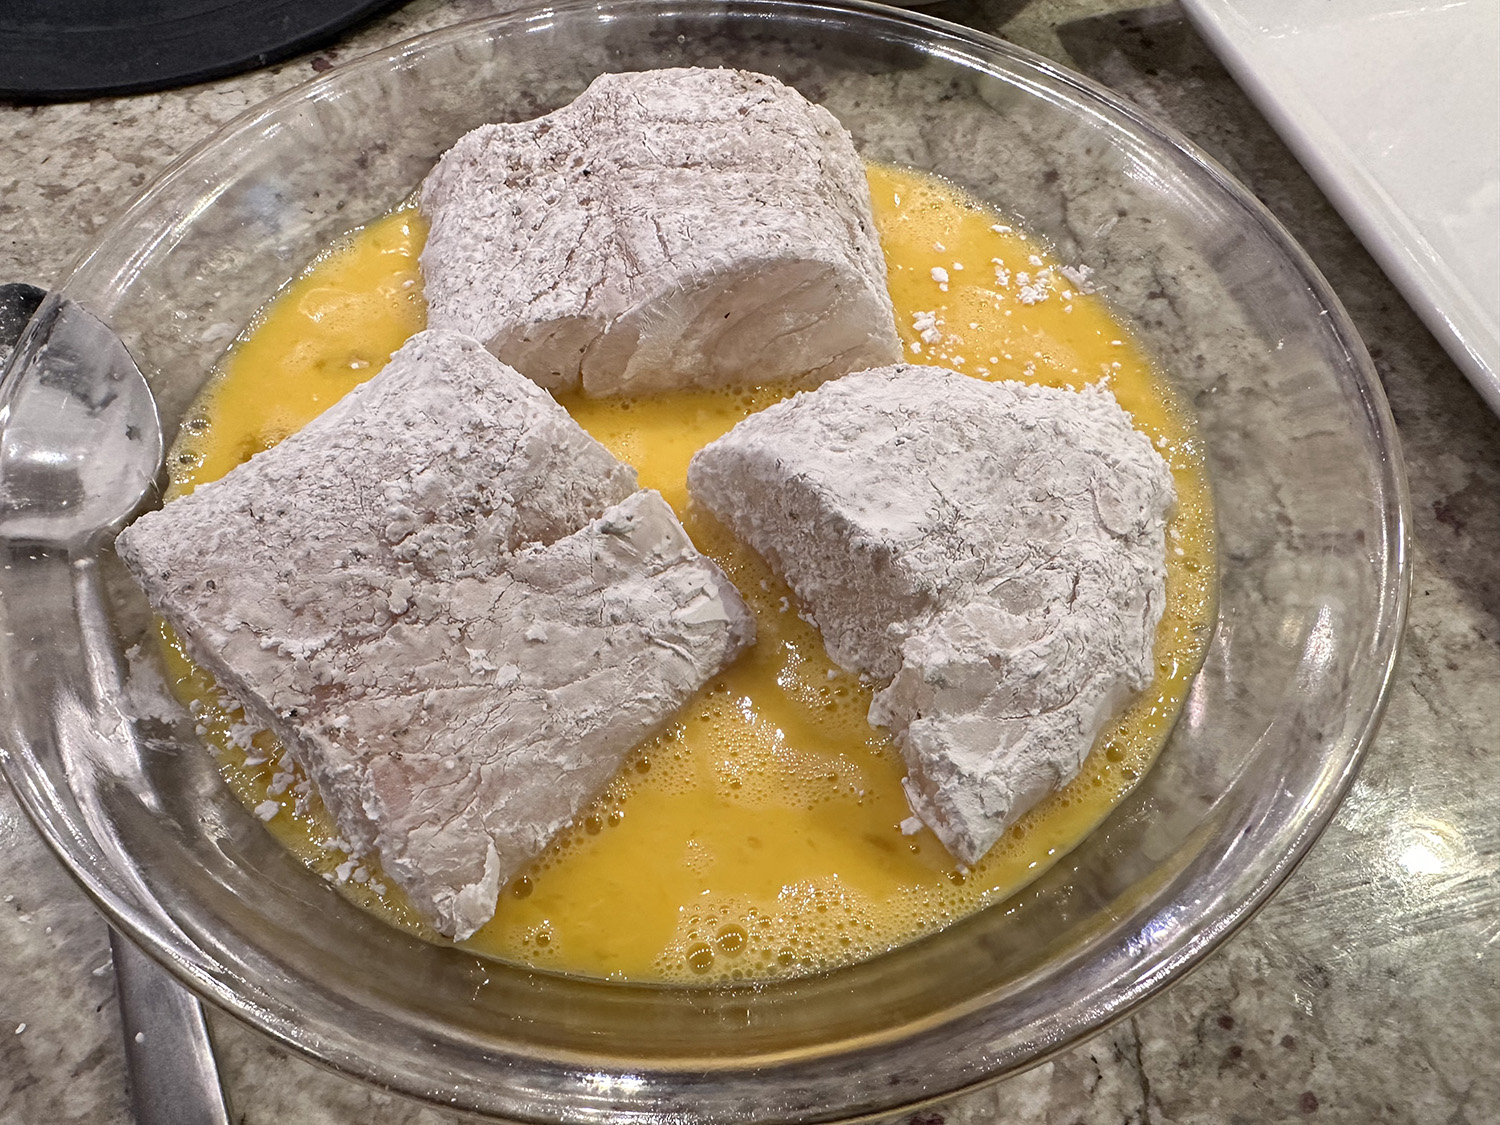
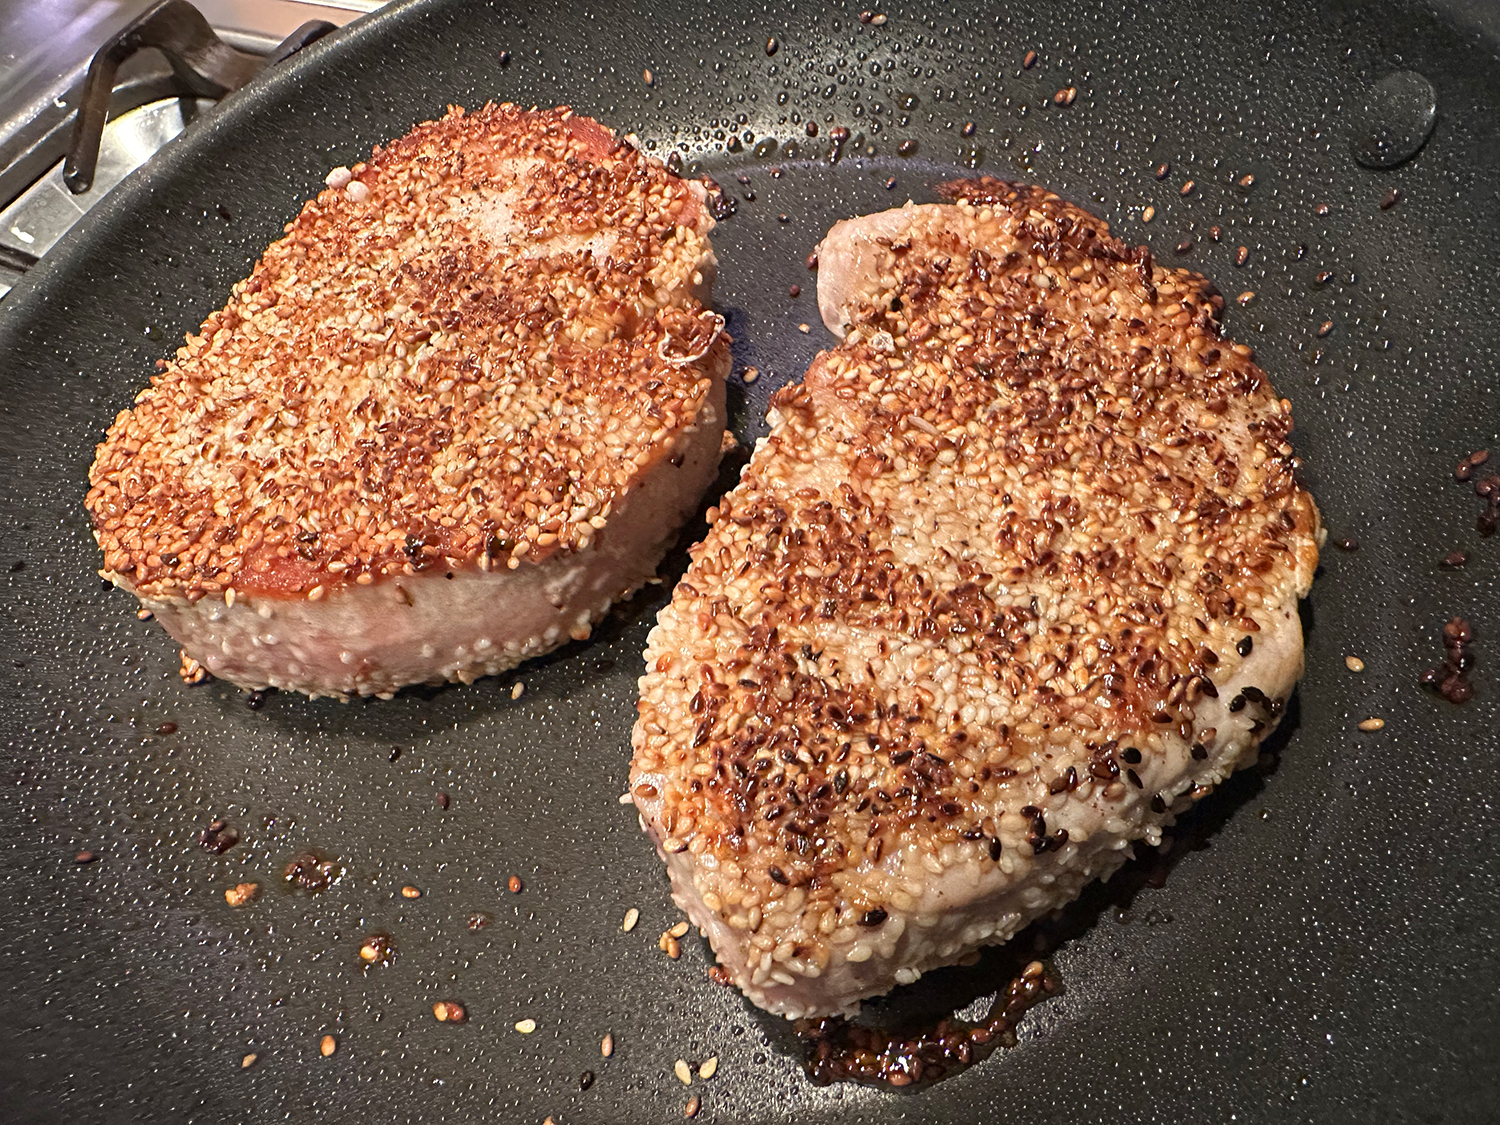
- Spread sesame seeds in shallow baking dish or pie plate. Pat tuna steaks dry with paper towel; use 1 tablespoon oil to rub both sides of steaks, then sprinkle with salt and pepper. Press both sides of each steak in sesame seeds to coat.
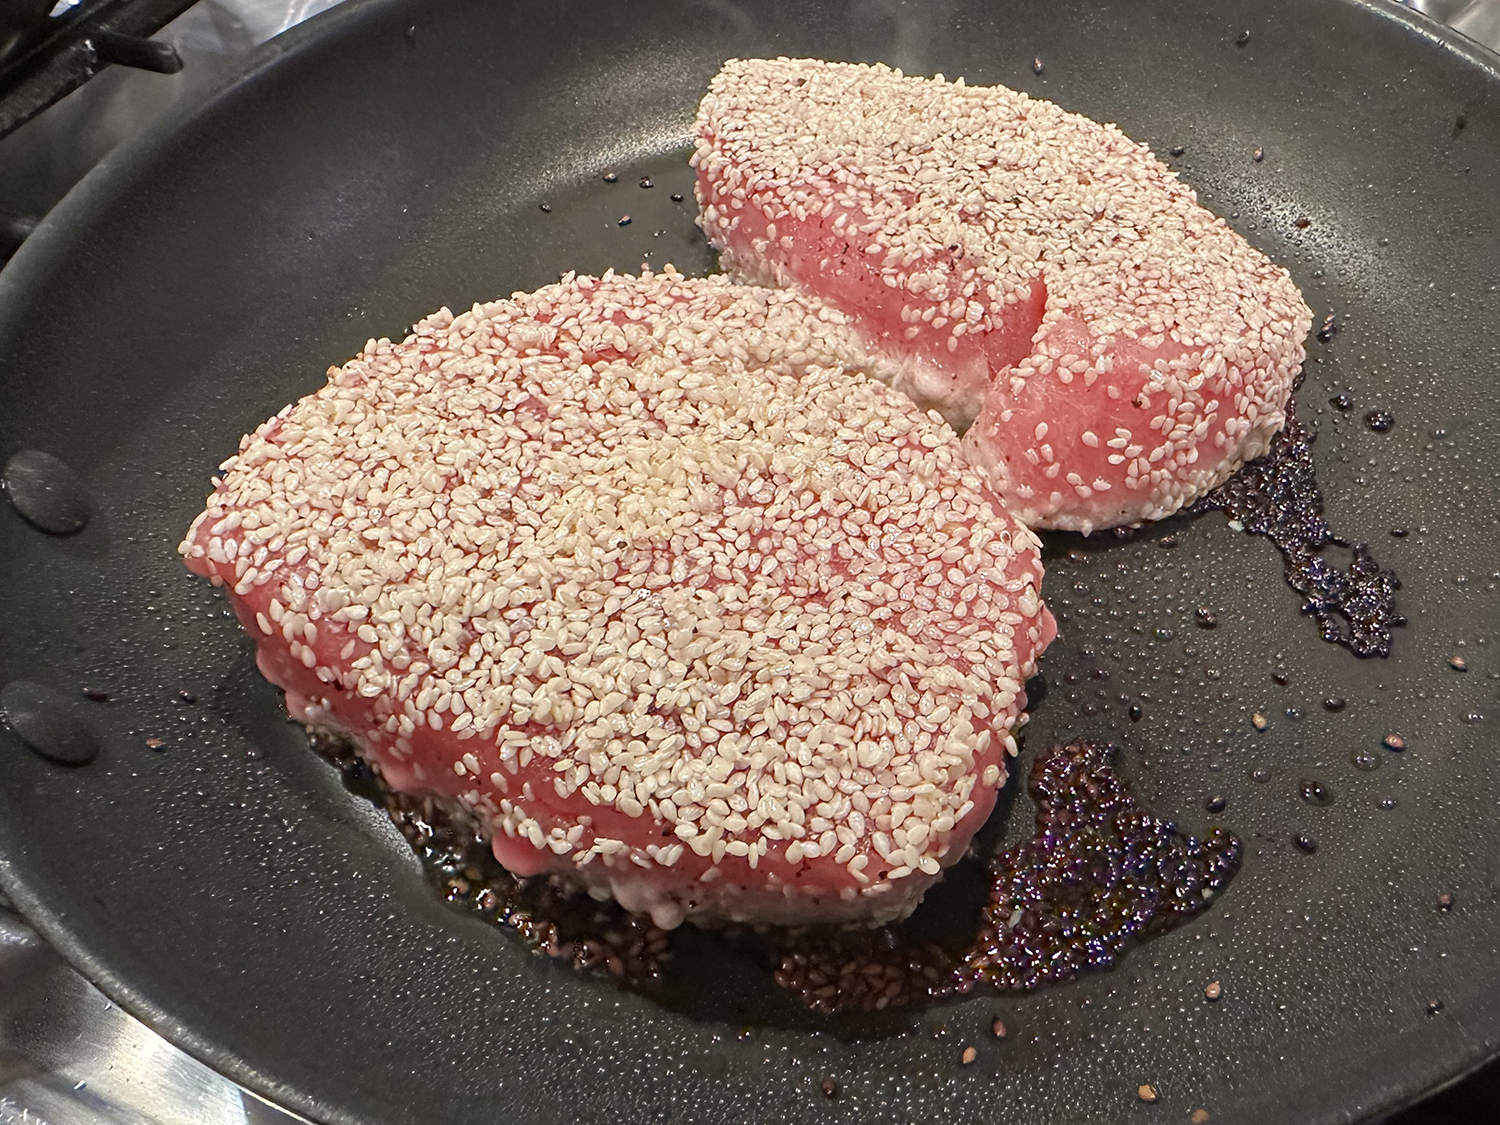
- Heat remaining 1 tablespoon oil in 12-inch nonstick skillet over high heat until just beginning to smoke; swirl to coat pan. Add tuna steaks and cook 30 seconds without moving steaks. Reduce heat to medium-high; continue to cook until seeds are golden brown, about 1 1/2 minutes.
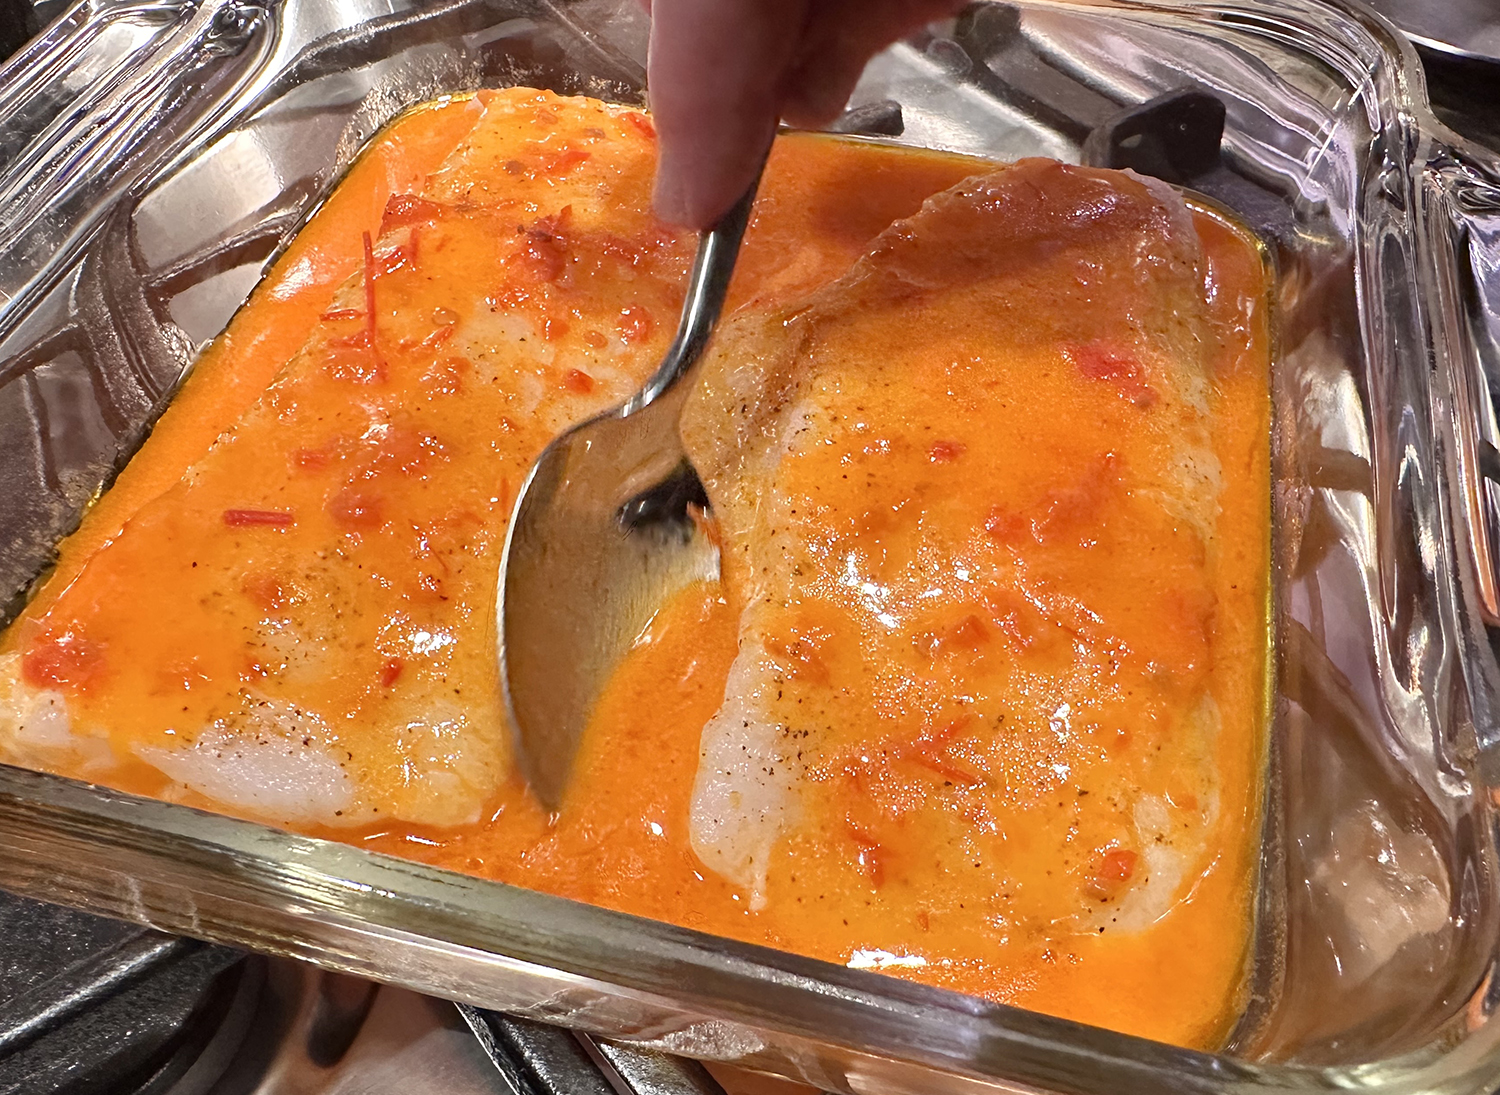
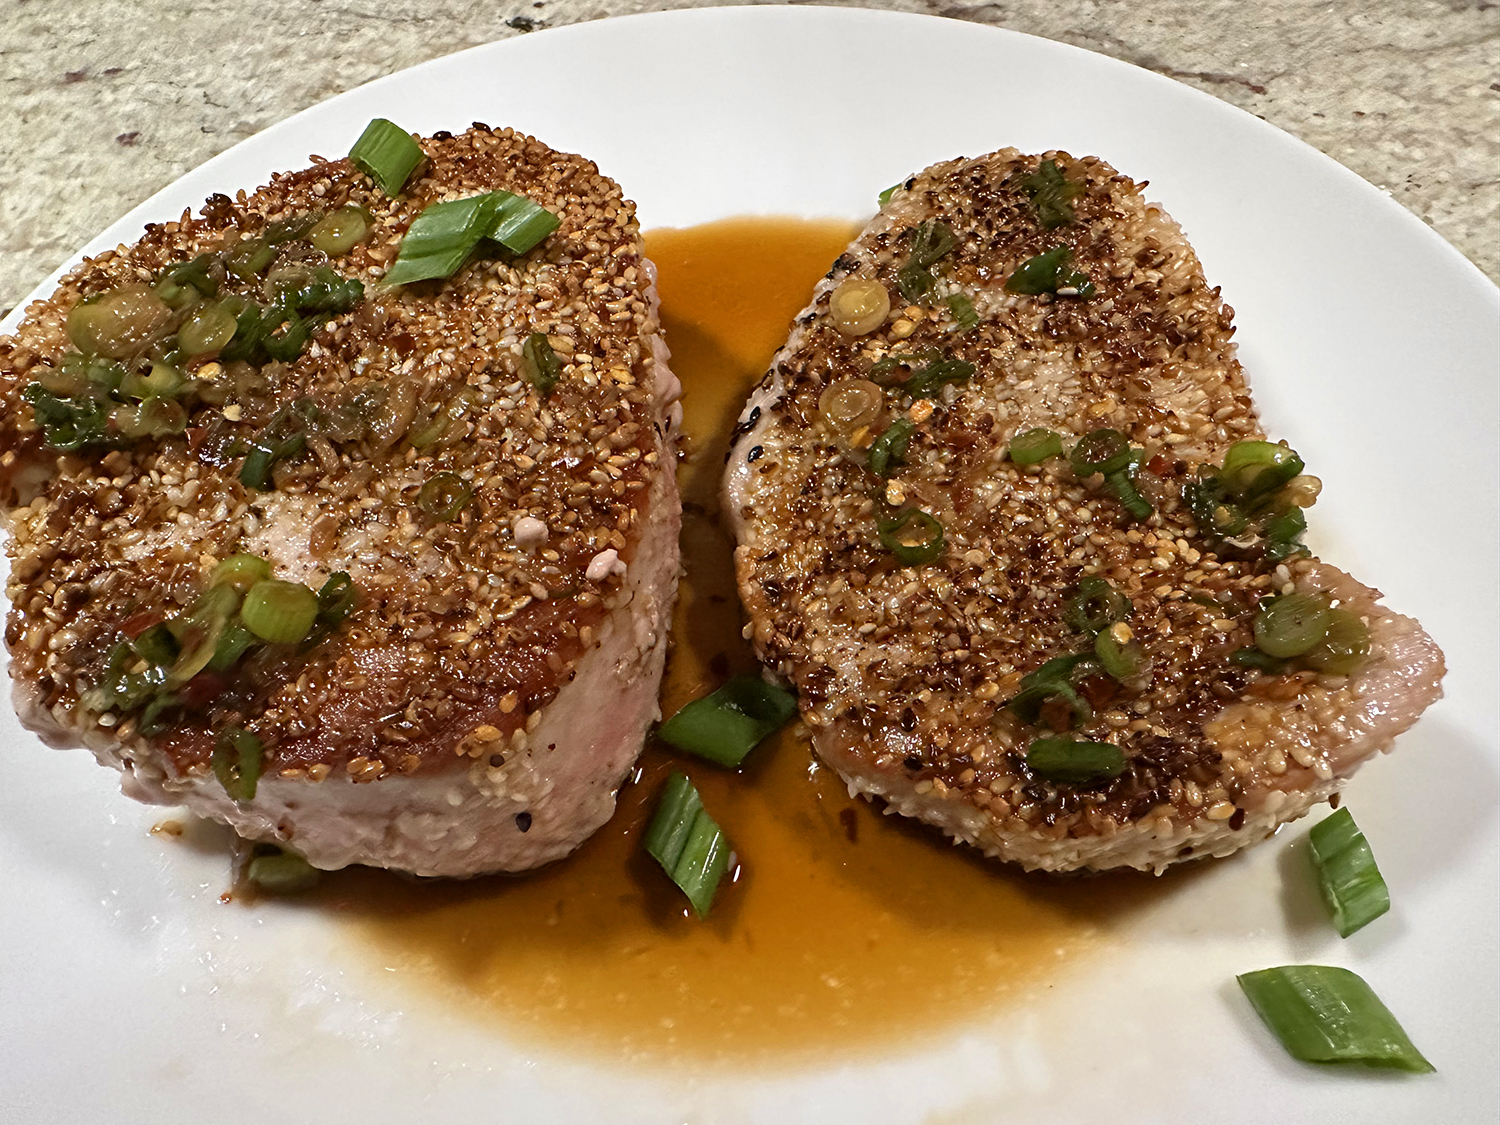
- Using tongs, carefully flip tuna steaks; cook, without moving steaks, until golden brown on second side, about 1 1/2 minutes for rare (opaque at perimeters and translucent red and cool at center when checked with tip of paring knife) or 3 minutes for medium-rare (opaque at perimeters and reddish pink at center). To serve, cut into 1/4-inch-thick slices.
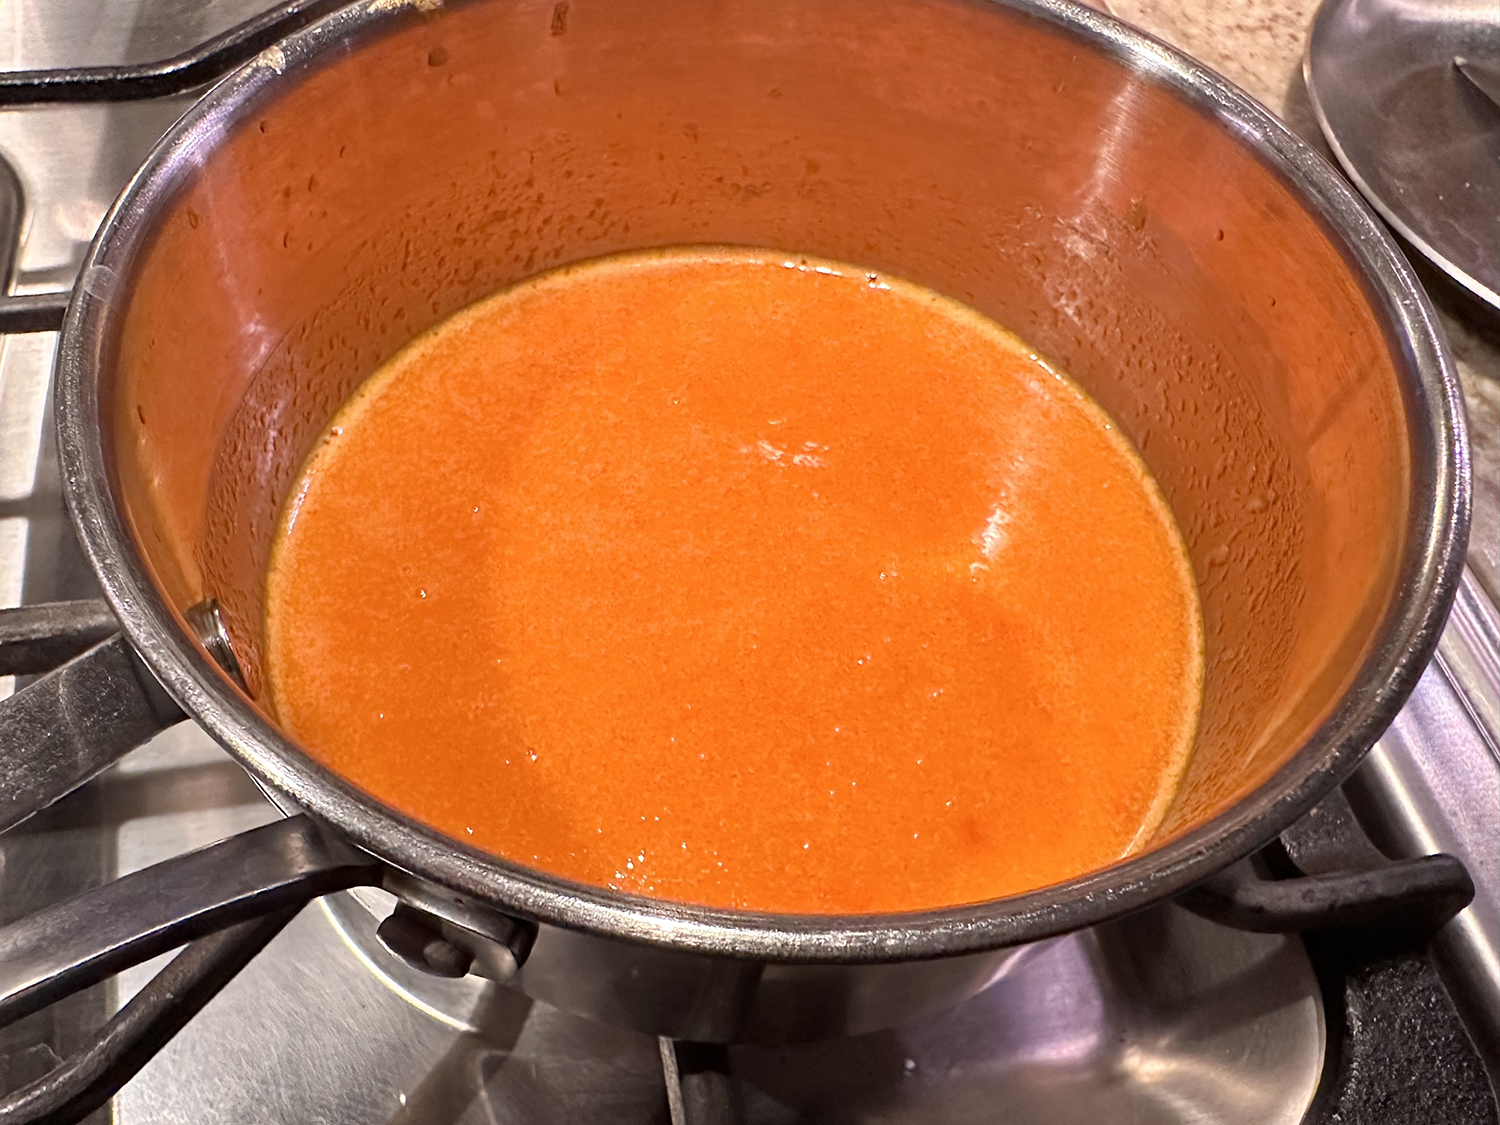
Ginger Soy Sauce with Scallions
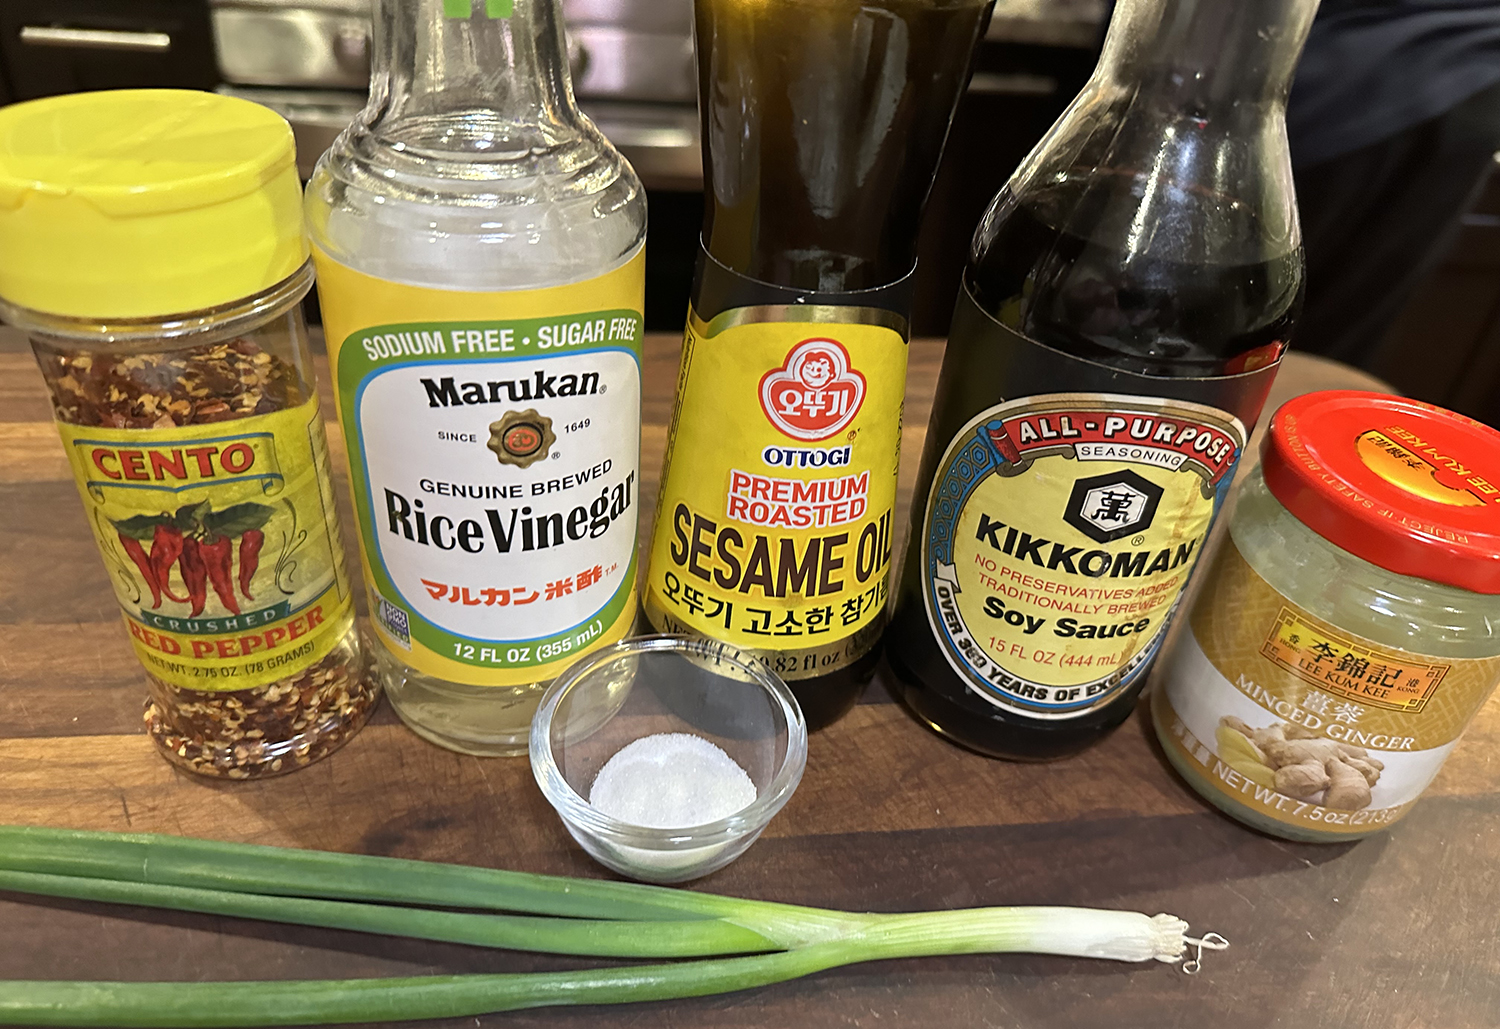
This savory sauce flavored with fresh ginger and scallions is the perfect accompaniment for our Pan-Seared Sesame-Crusted Tuna Steaks.
Ingredients
- ¼ cup soy sauce
- ¼ cup rice vinegar
- ¼ cup water
- 2 ½ tsp. sugar
- 1 medium scallion, sliced thin
- 2 tsp. minced fresh ginger
- 1 ½ tsp. toasted sesame oil
- ½ tsp. red pepper flakes

Directions
Combine all ingredients in a small bowl, stirring to dissolve sugar.