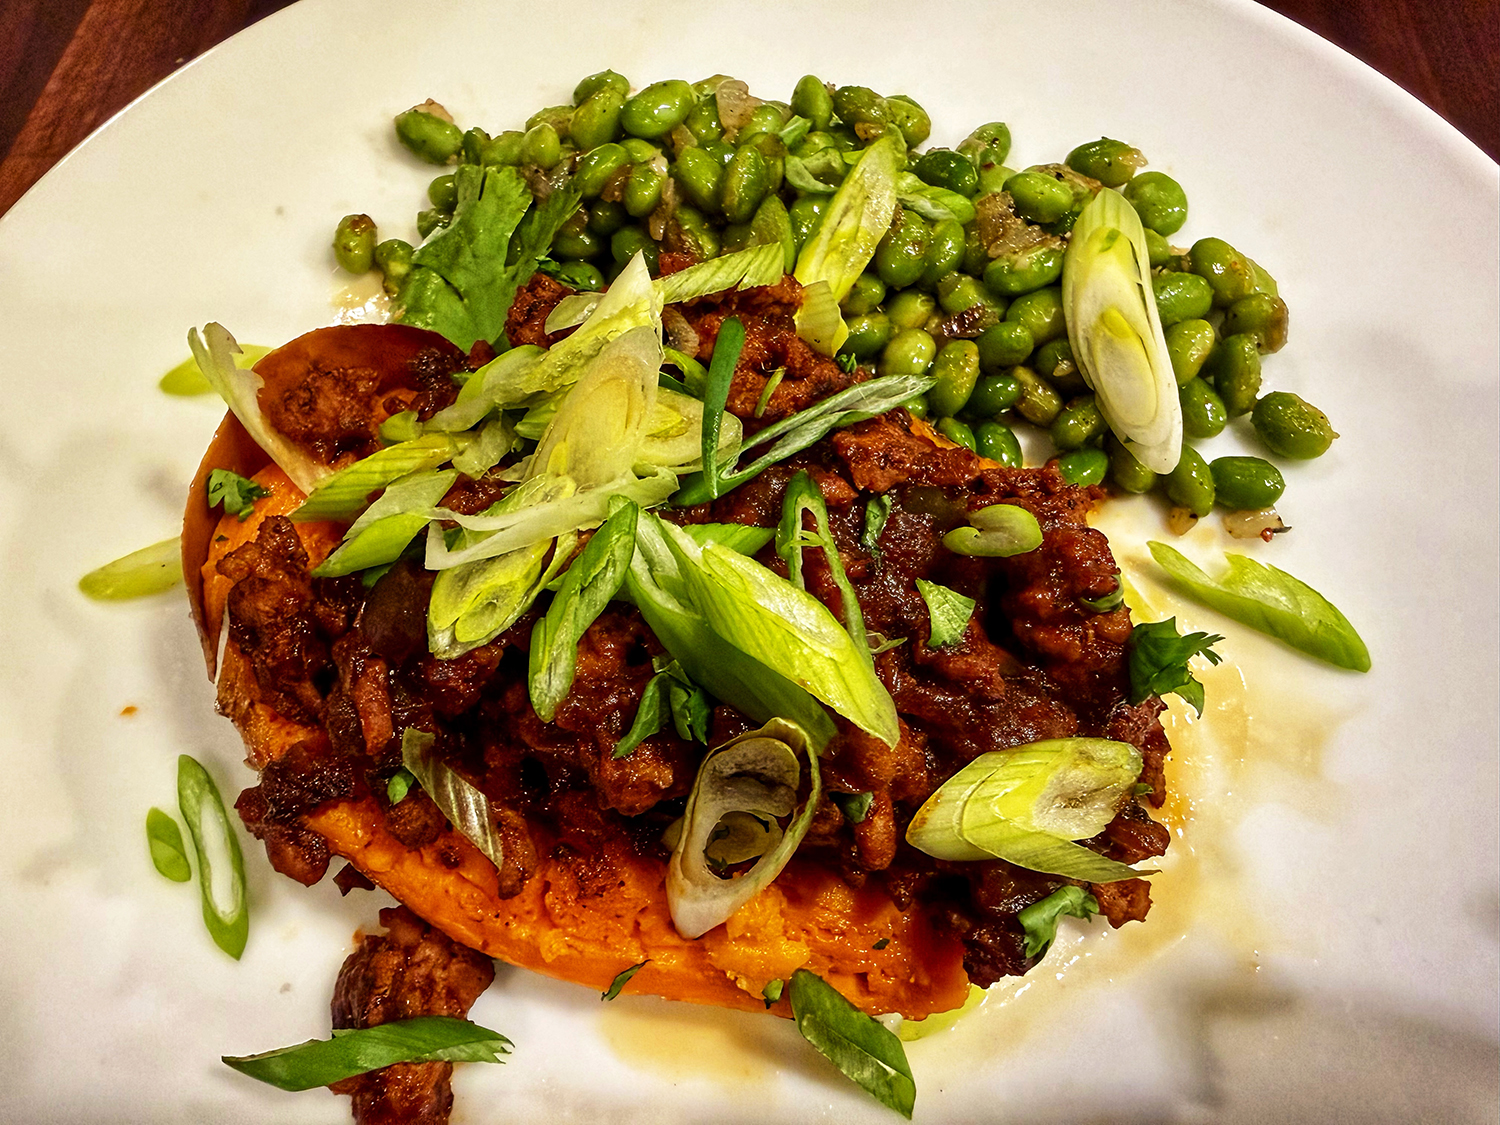
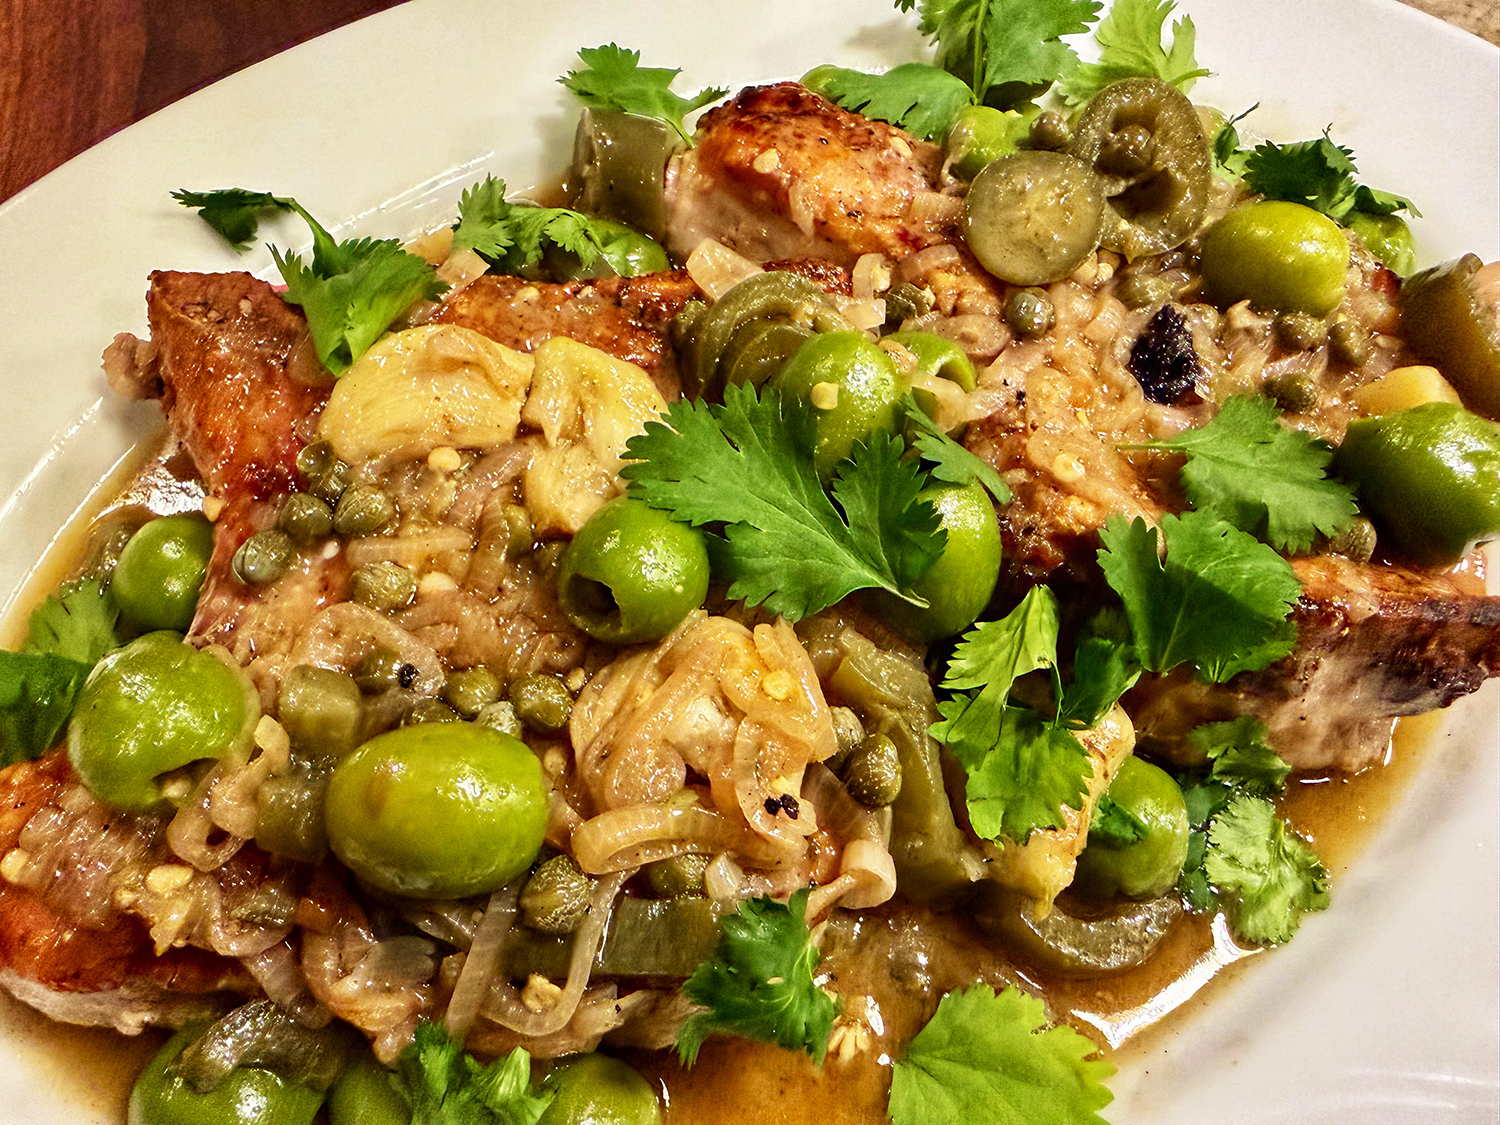
Piquant was my initial descriptor as I savored my first bite; delicious was a very quick second. As chef Chris Morocco from Bon Appétit explains, every pork chop is a bit different, depending on its thickness and where it has been cut along the ribs or sirloin. That means each chop is somewhat unique and they often don’t cook evenly, particularly when seared like steaks.
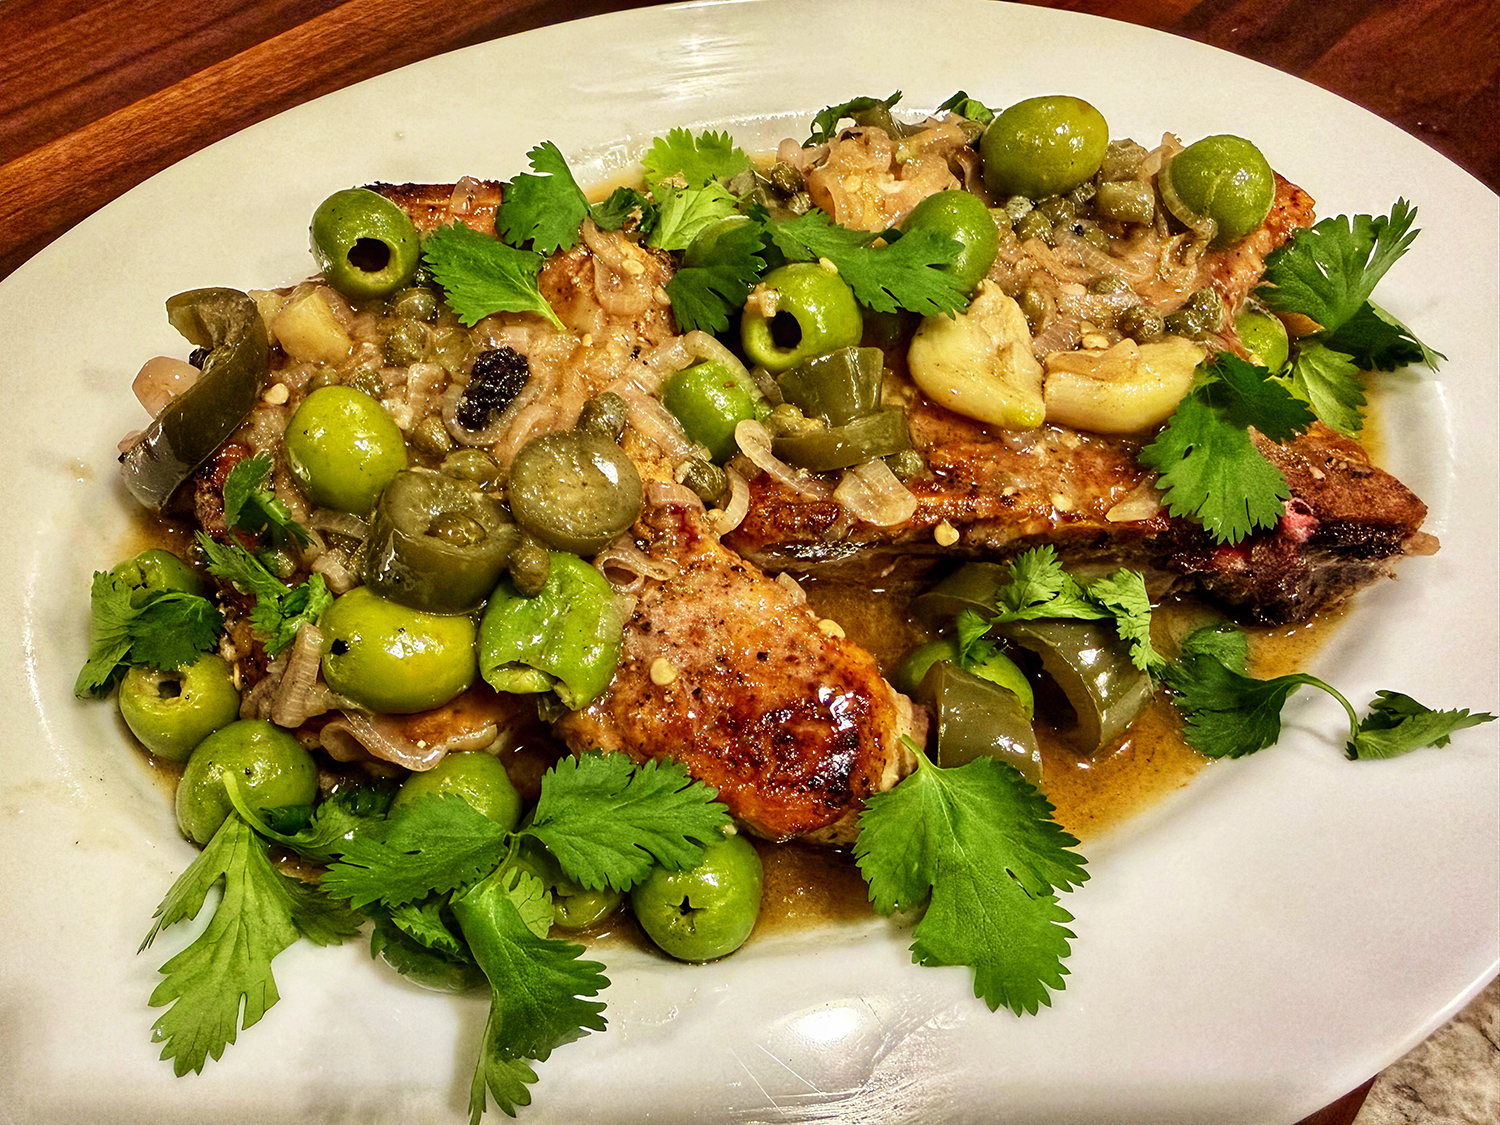
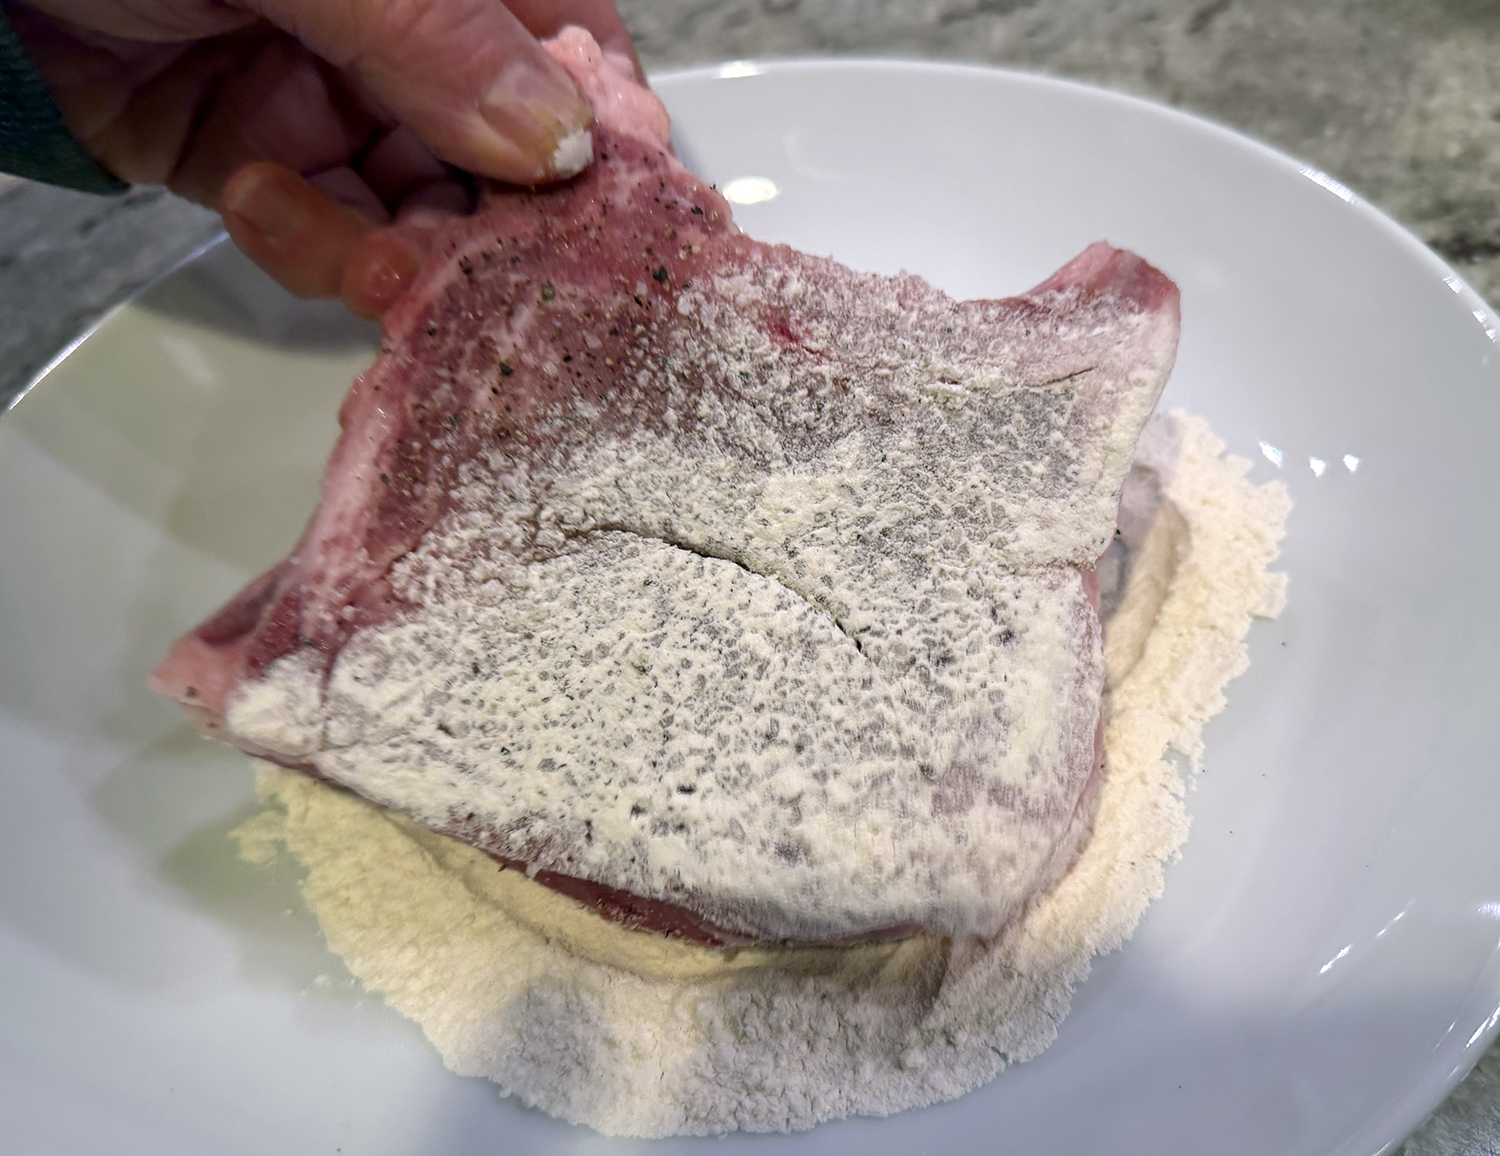
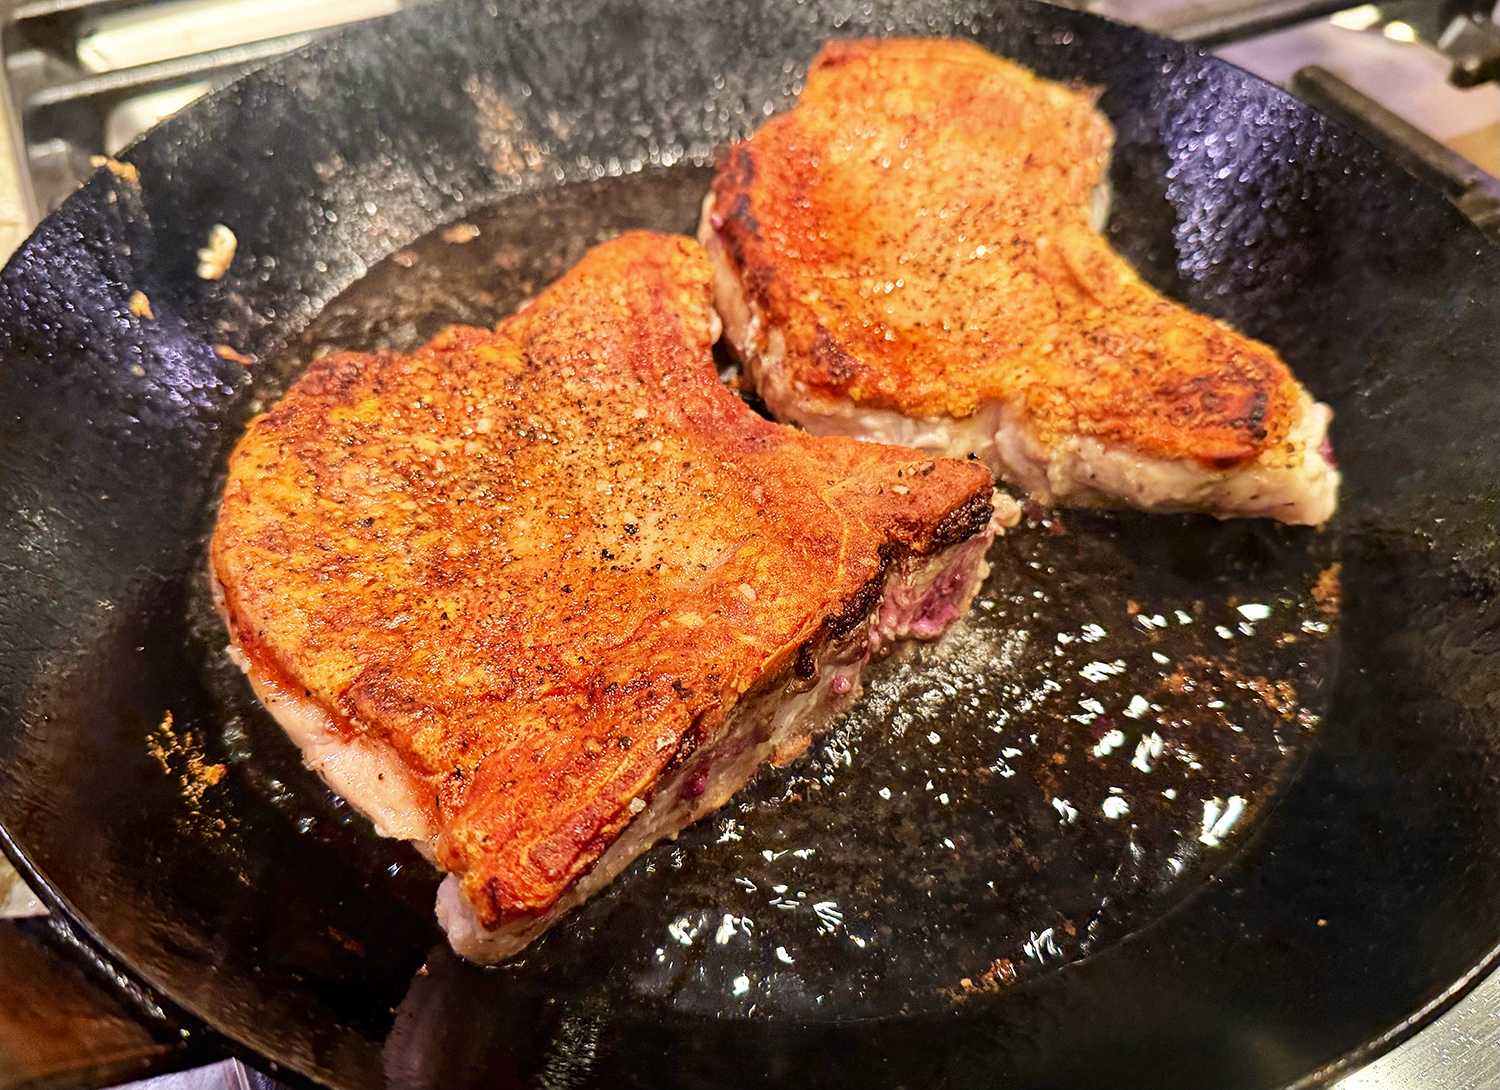
However, this recipe calls for a two-step cooking process that mitigates this tendency, ideally starting with thinner chops of around ½” thickness, but the technique works for thicker chops as well (which ours were). A light dusting of flour allows for a deeper sear in less time, which is followed by a very fast and gentle braise in the pan sauce, allowing the chops to cook through but stay wonderfully juicy.
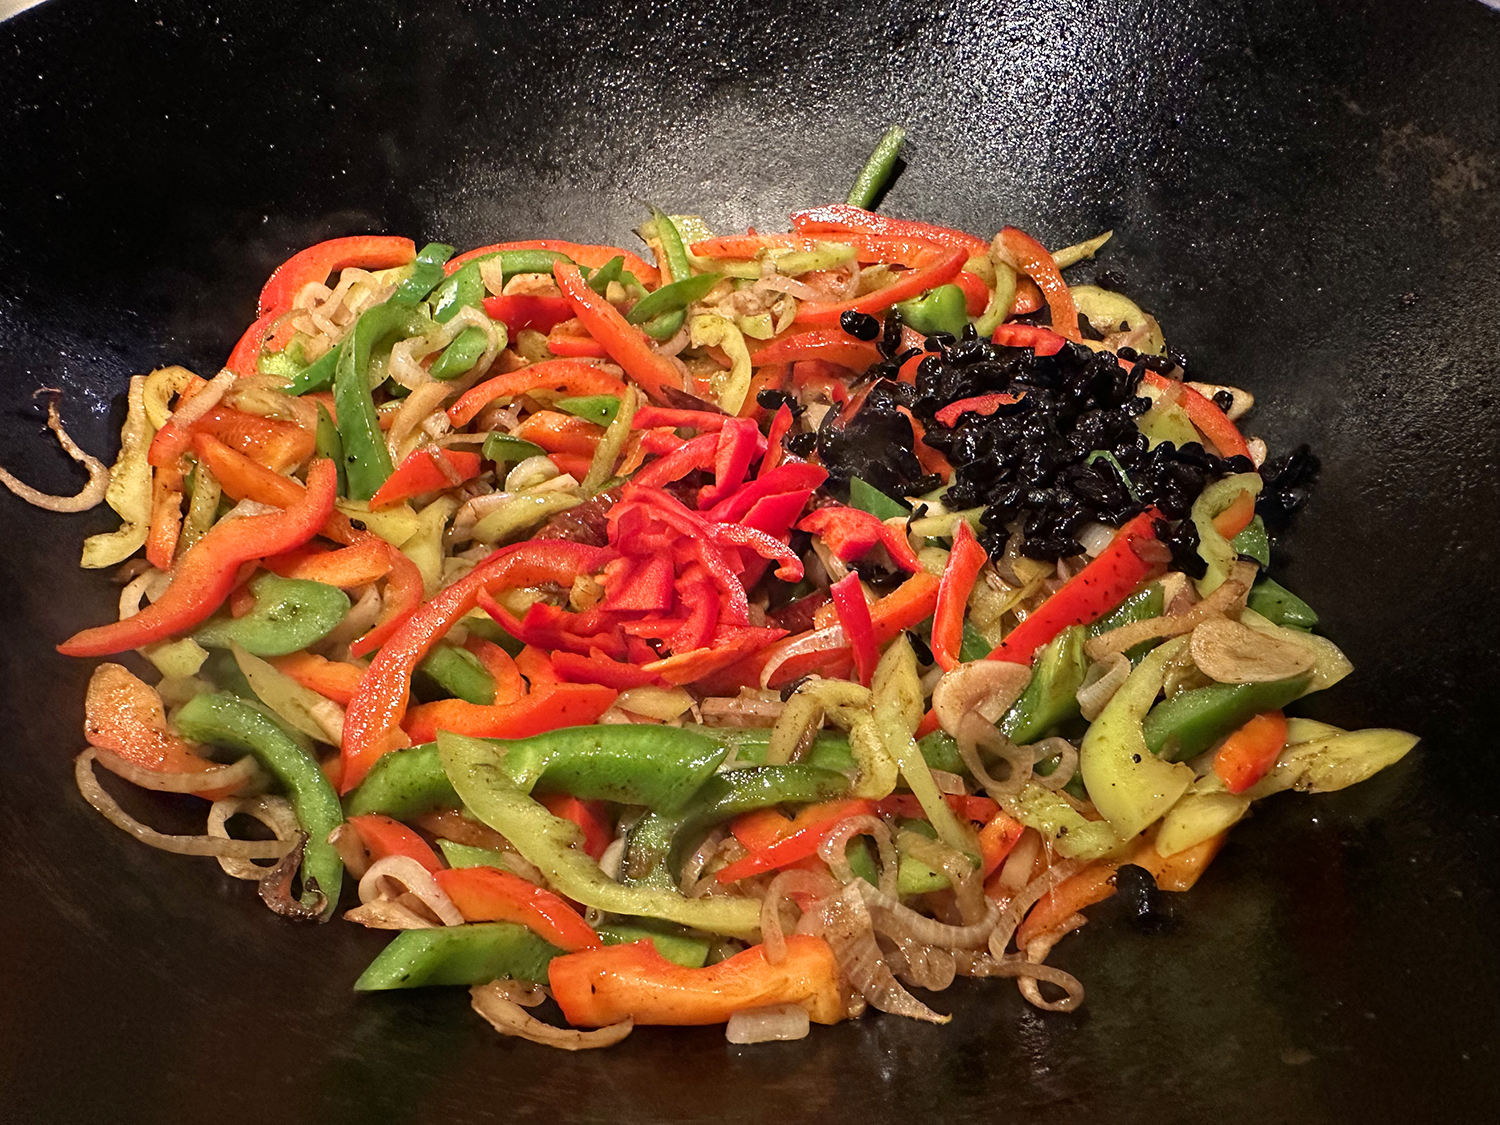
The heat of store-bought pickled chiles, like jalapeños (we always have our own pickled chiles on hand) and guindillas, brings a welcome zing that integrates seamlessly with the salty elements of puttanesca (made with pantry staples like olives and capers) and acts like a counterweight to rich pork chops.
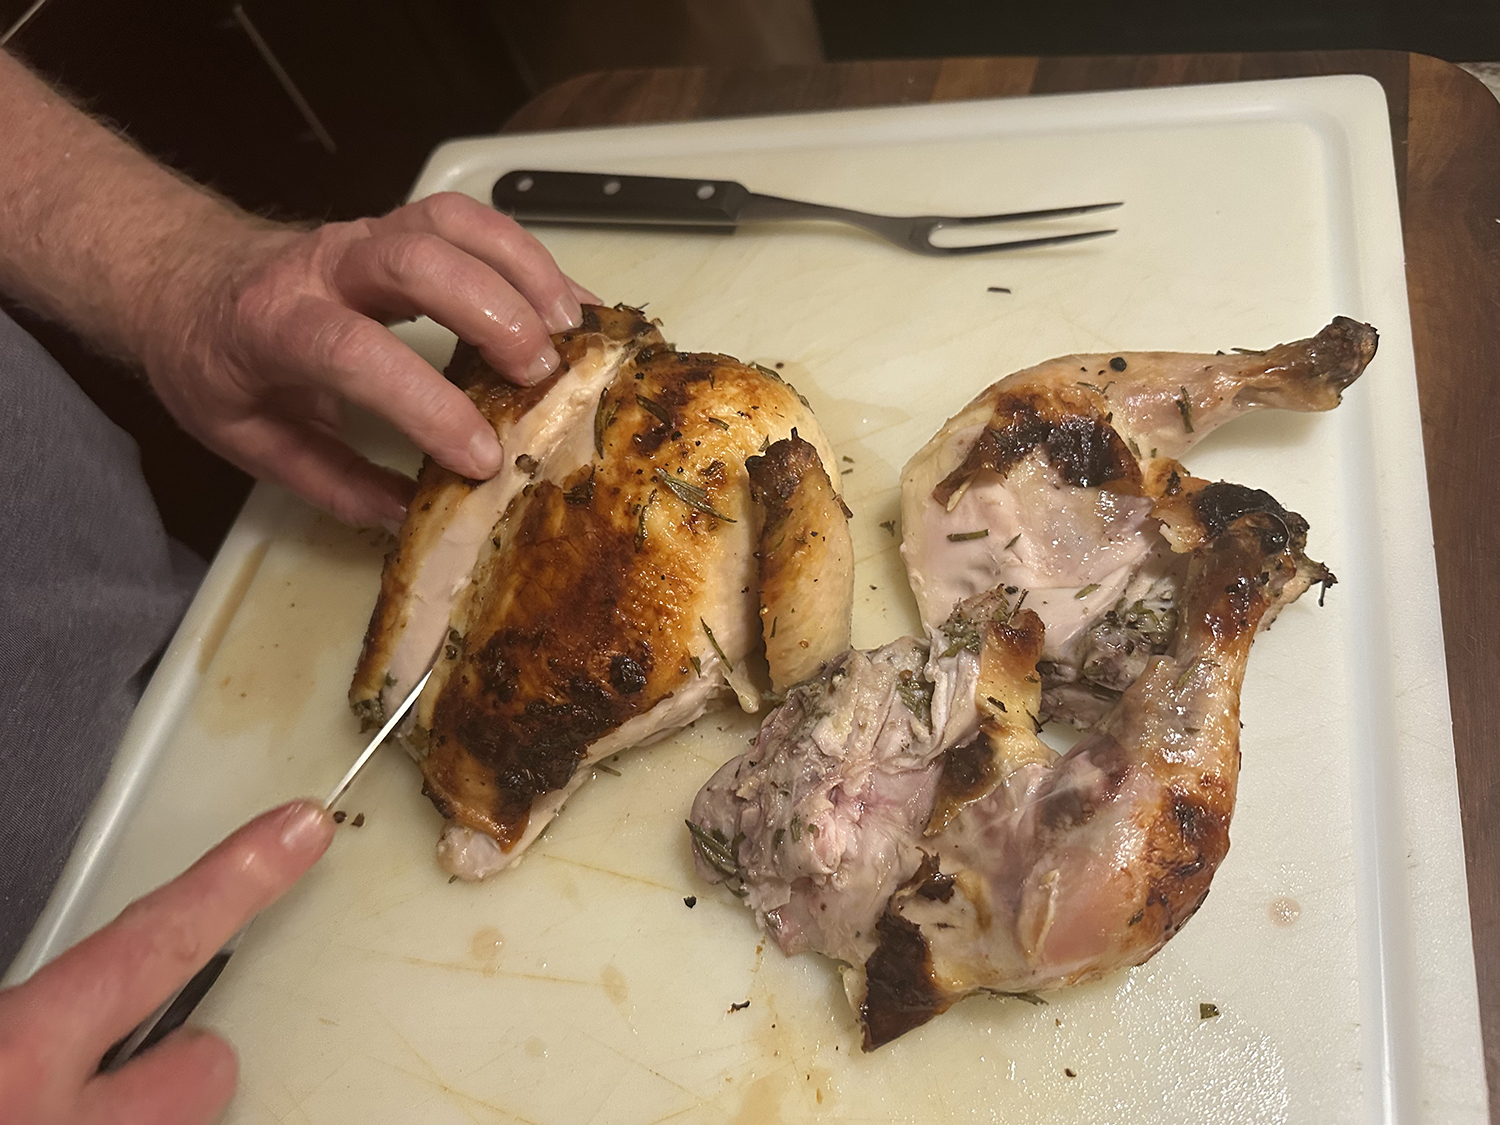
With only two of us for dinner, and not wanting leftovers (unusual for us), we created the dish using only two chops, but did not decrease the other ingredients (except the flour, way too much!) You can easily cut that amount of flour by half, or more (which is indicated in ingredients list below).
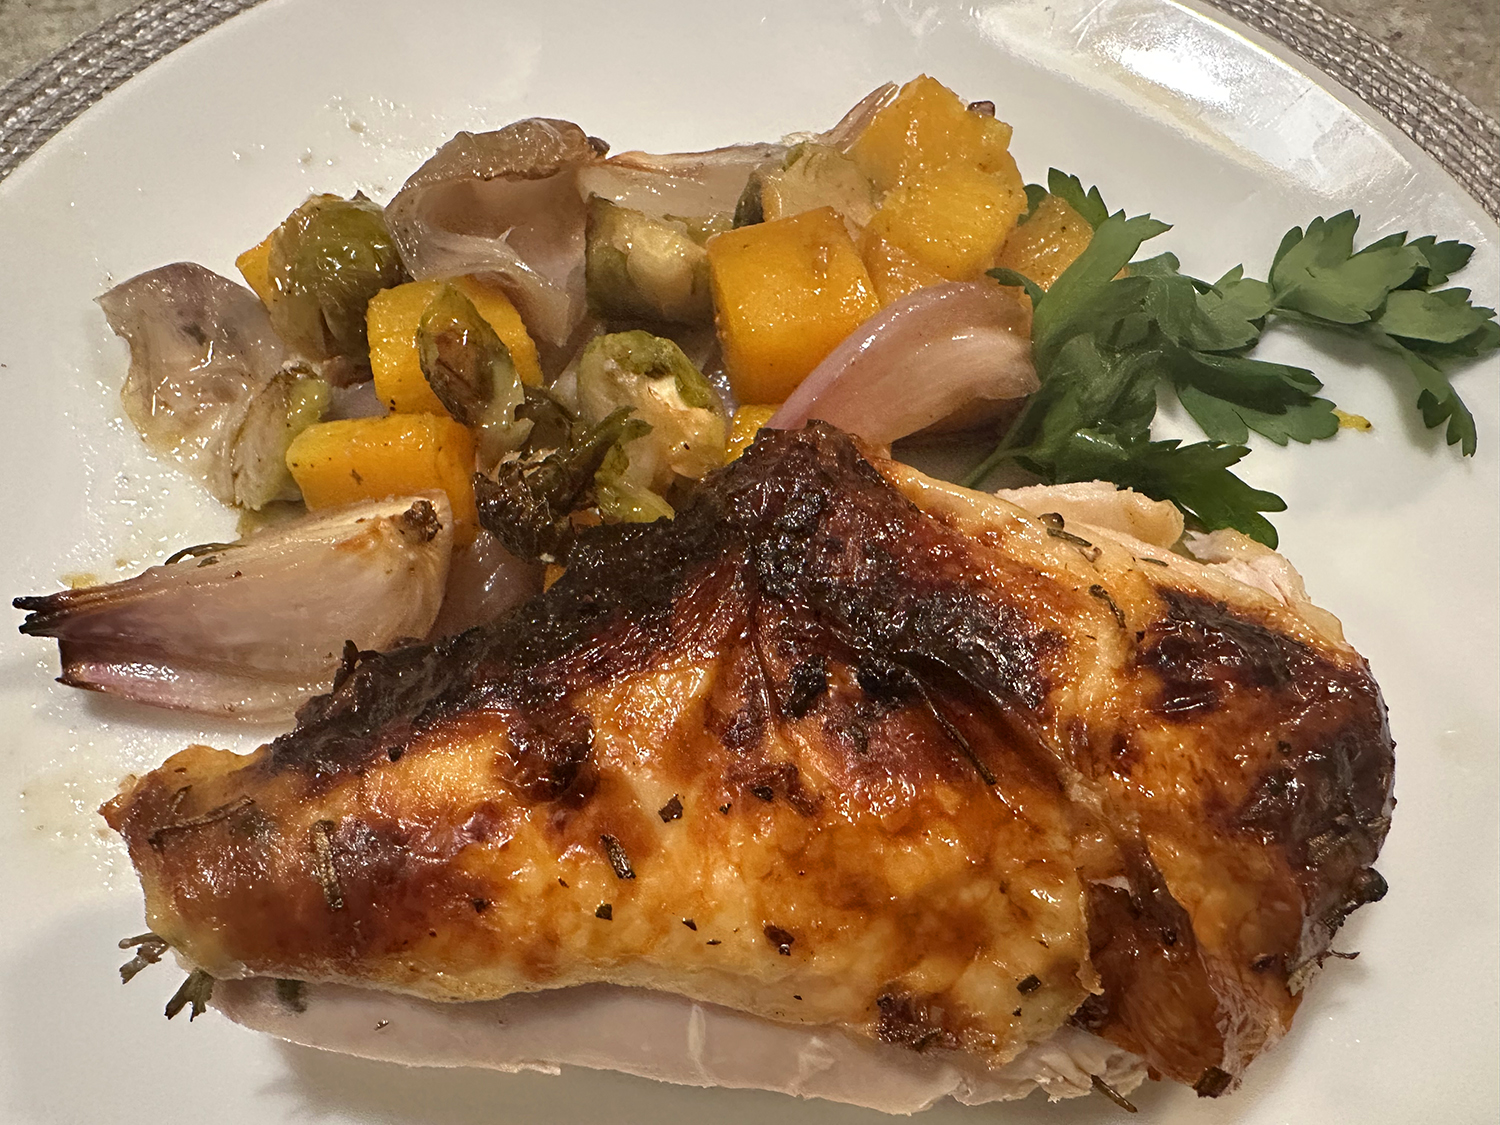
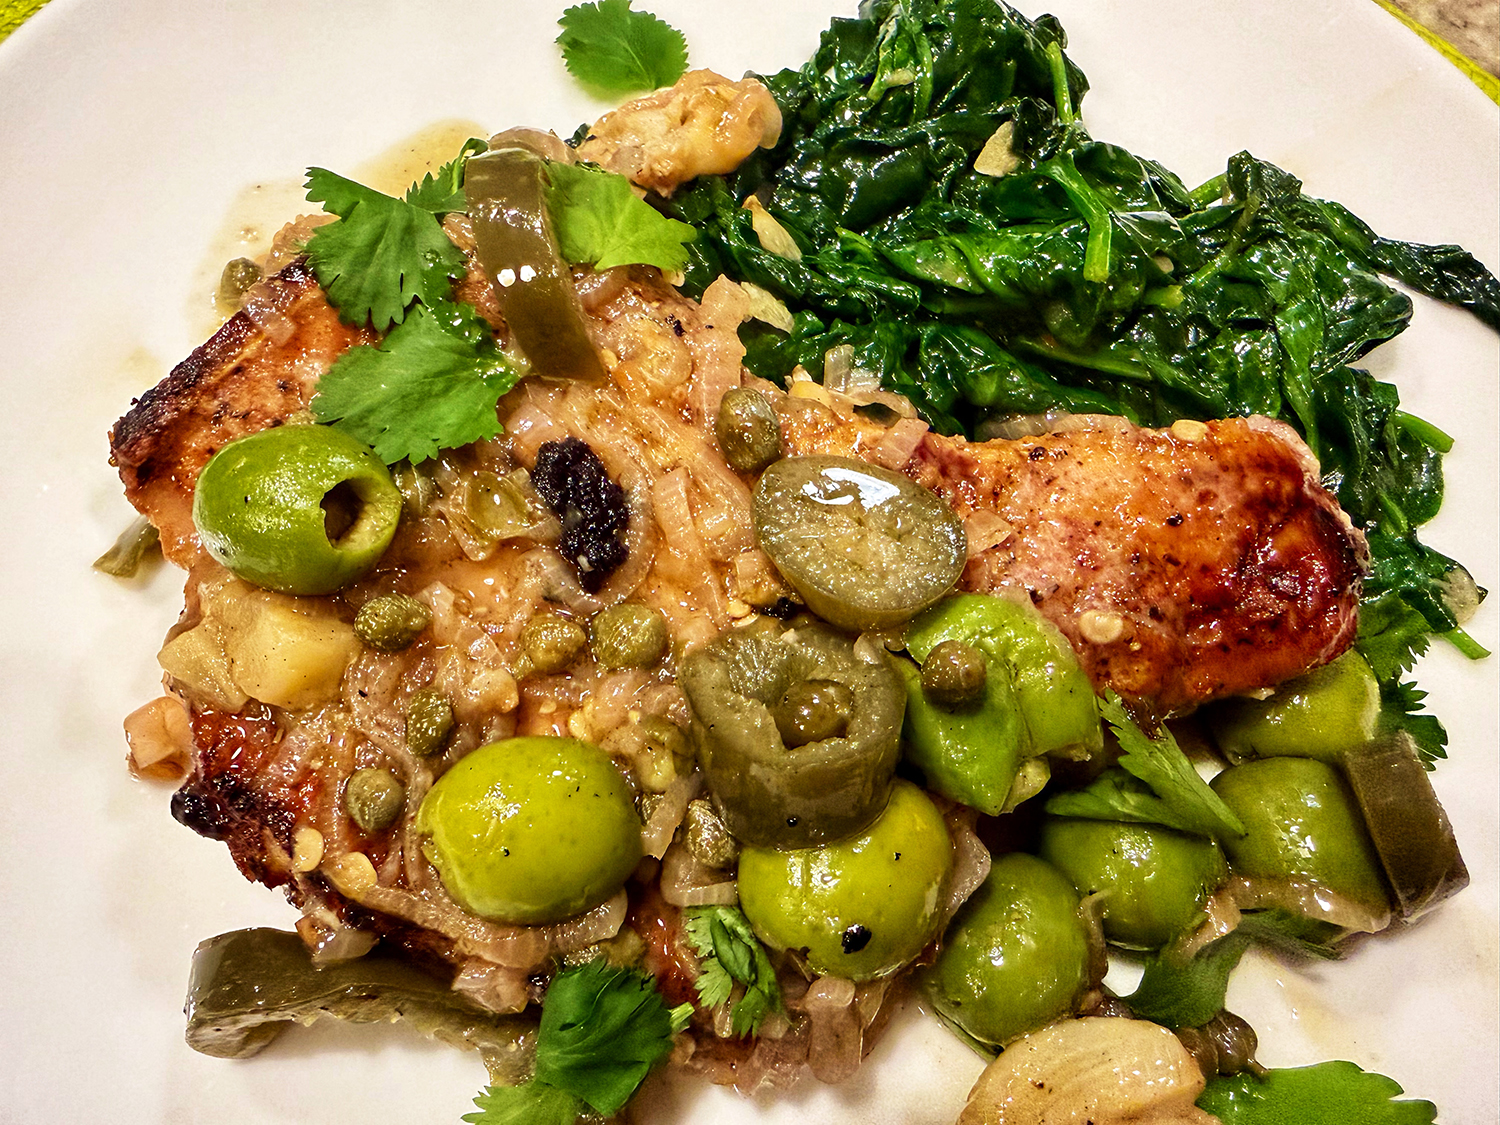
Our accompaniment was sautéed baby spinach with garlic (yes, more!). If you would like to pair with a starch, polenta would make a good choice.
Green Chile Puttanesca Pork Chops
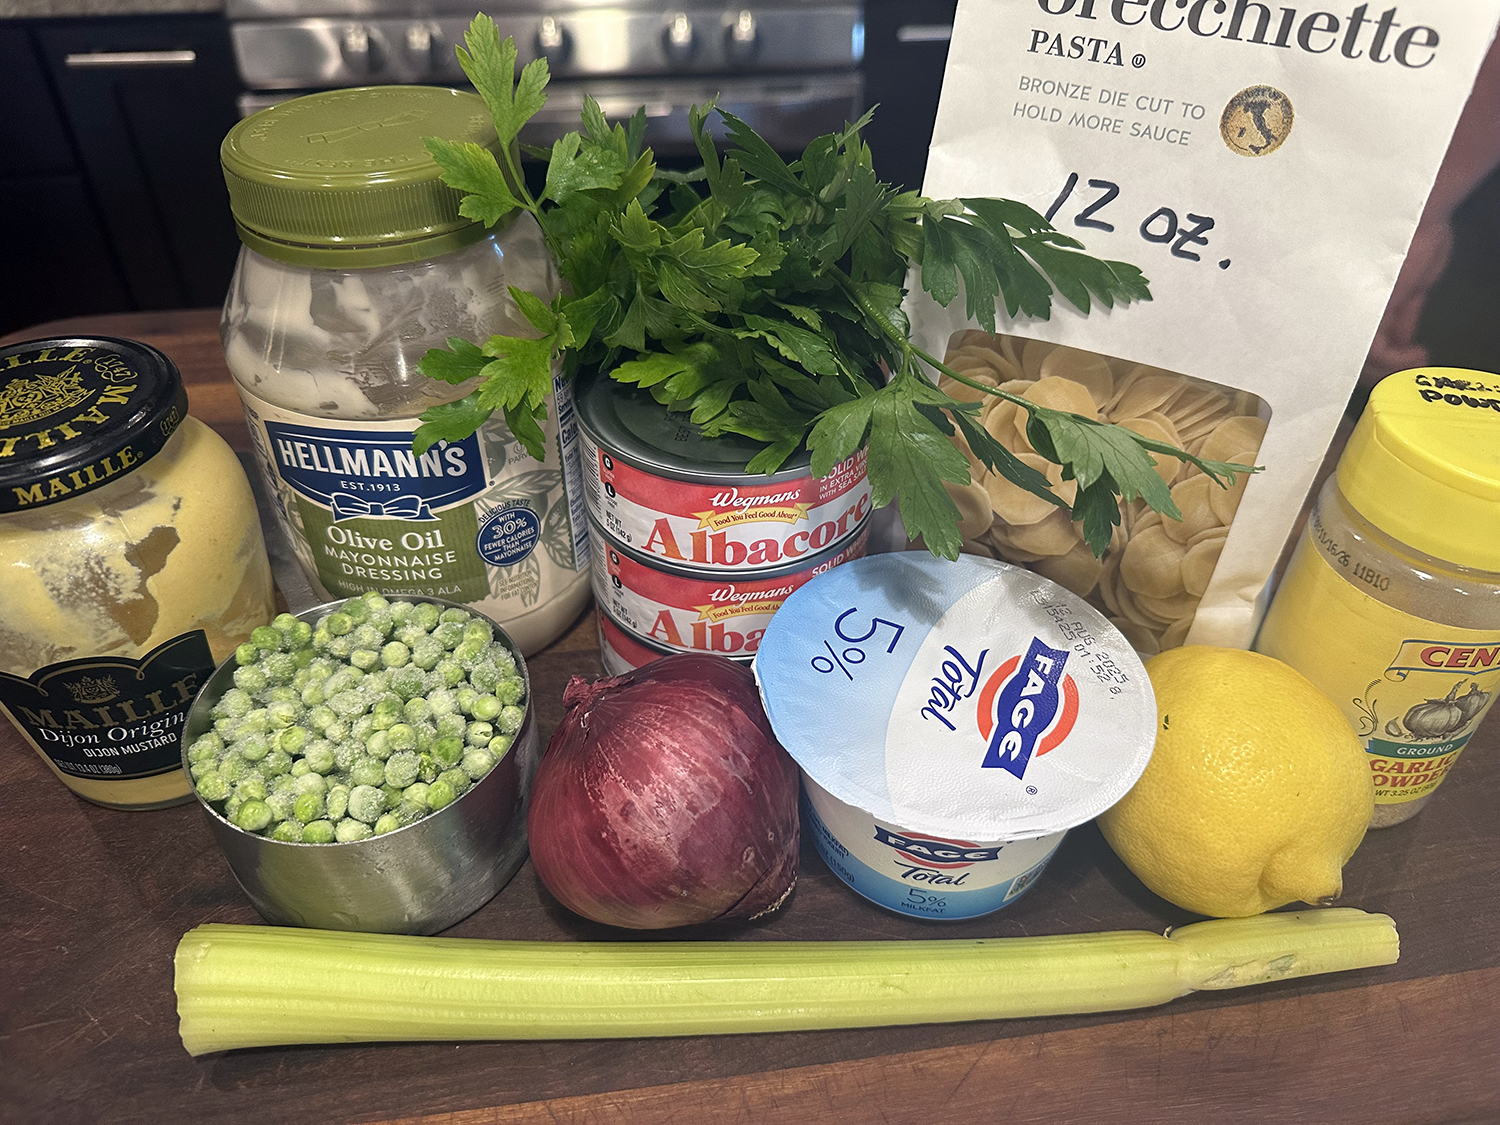
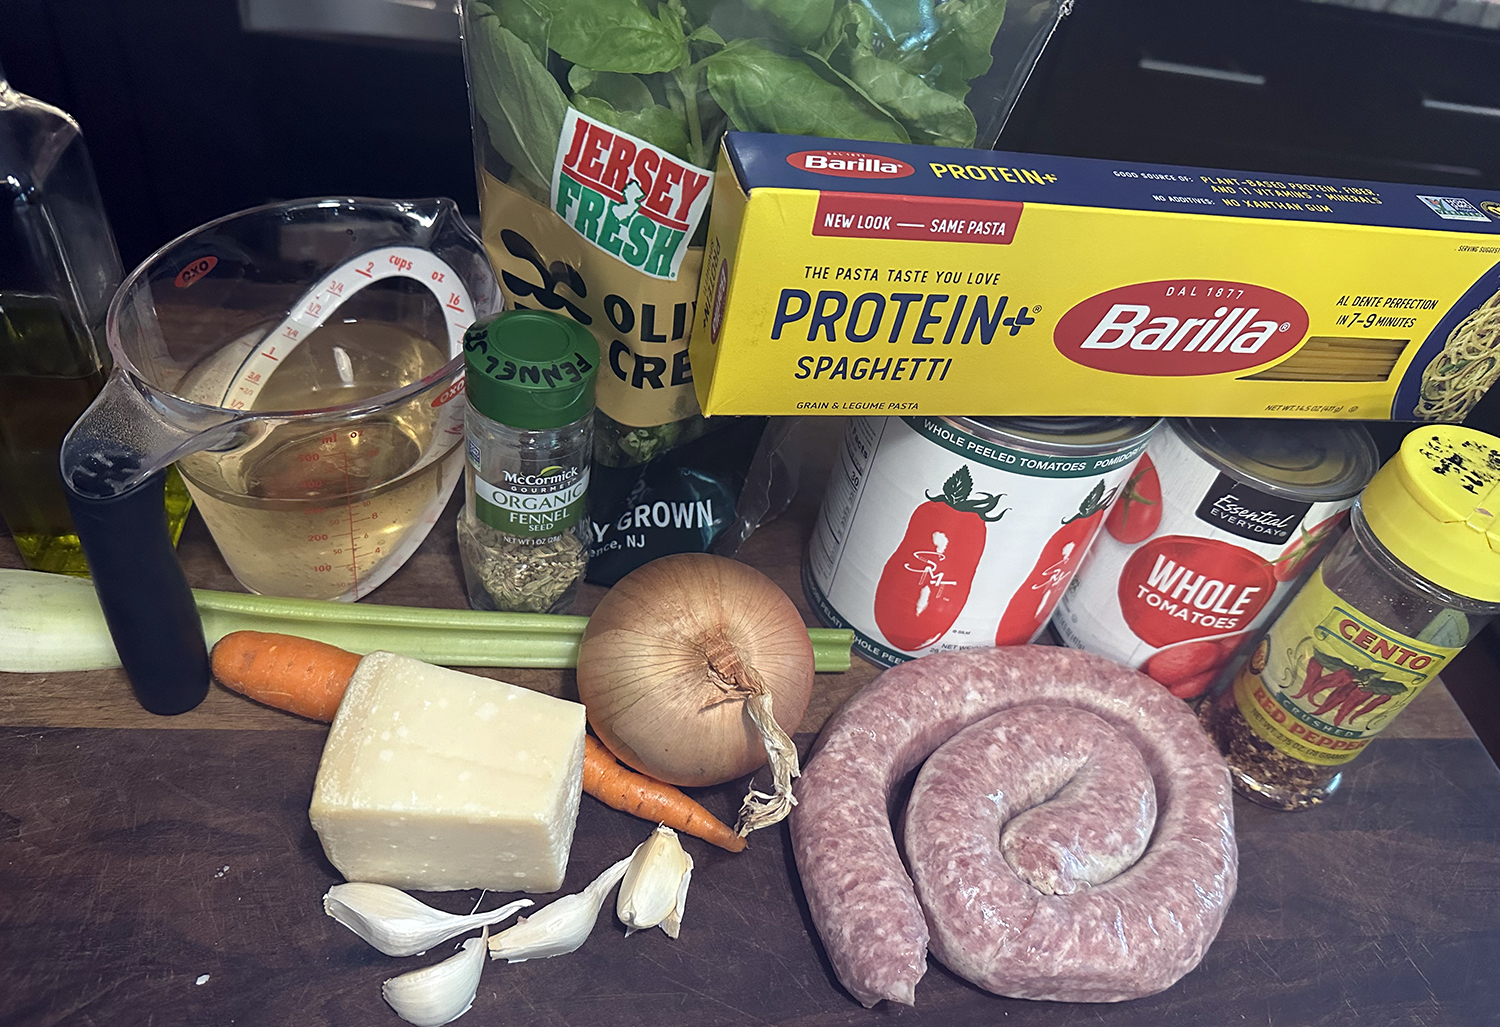
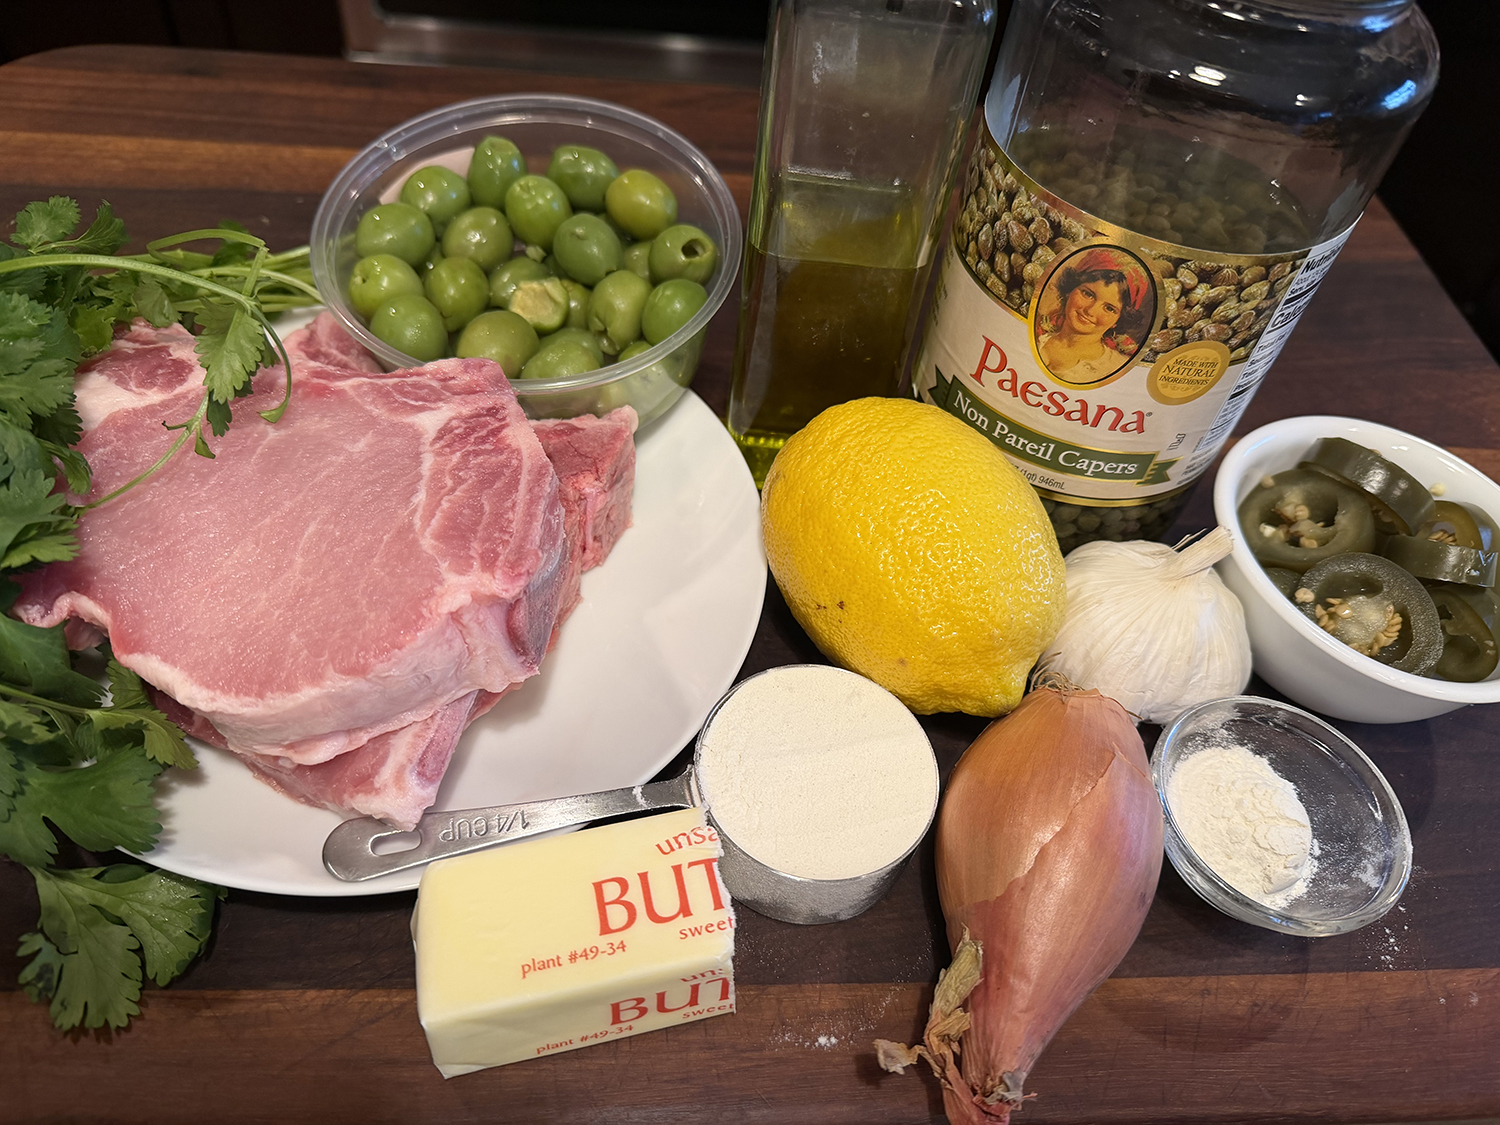
Ingredients
- ½ cup, all-purpose flour; plus 2 tsp. from dusting leftovers for sauce
- 4 ½”-thick pork rib chops (look for the most marbled ones you can find), preferably bone-in (1½–2 lb.)
- Kosher salt, freshly ground pepper
- 3 Tbsp. extra-virgin olive oil, divided
- 1 large shallot, thinly sliced into rings
- 8 garlic cloves, crushed
- ½ cup pitted Castelvetrano or other green olives
- ¼ cup (or more) halved or sliced pickled jalapeños or guindilla peppers
- 2 Tbsp. drained capers
- ¼ cup fresh lemon juice
- 4 Tbsp. unsalted butter, cut into pieces
Directions
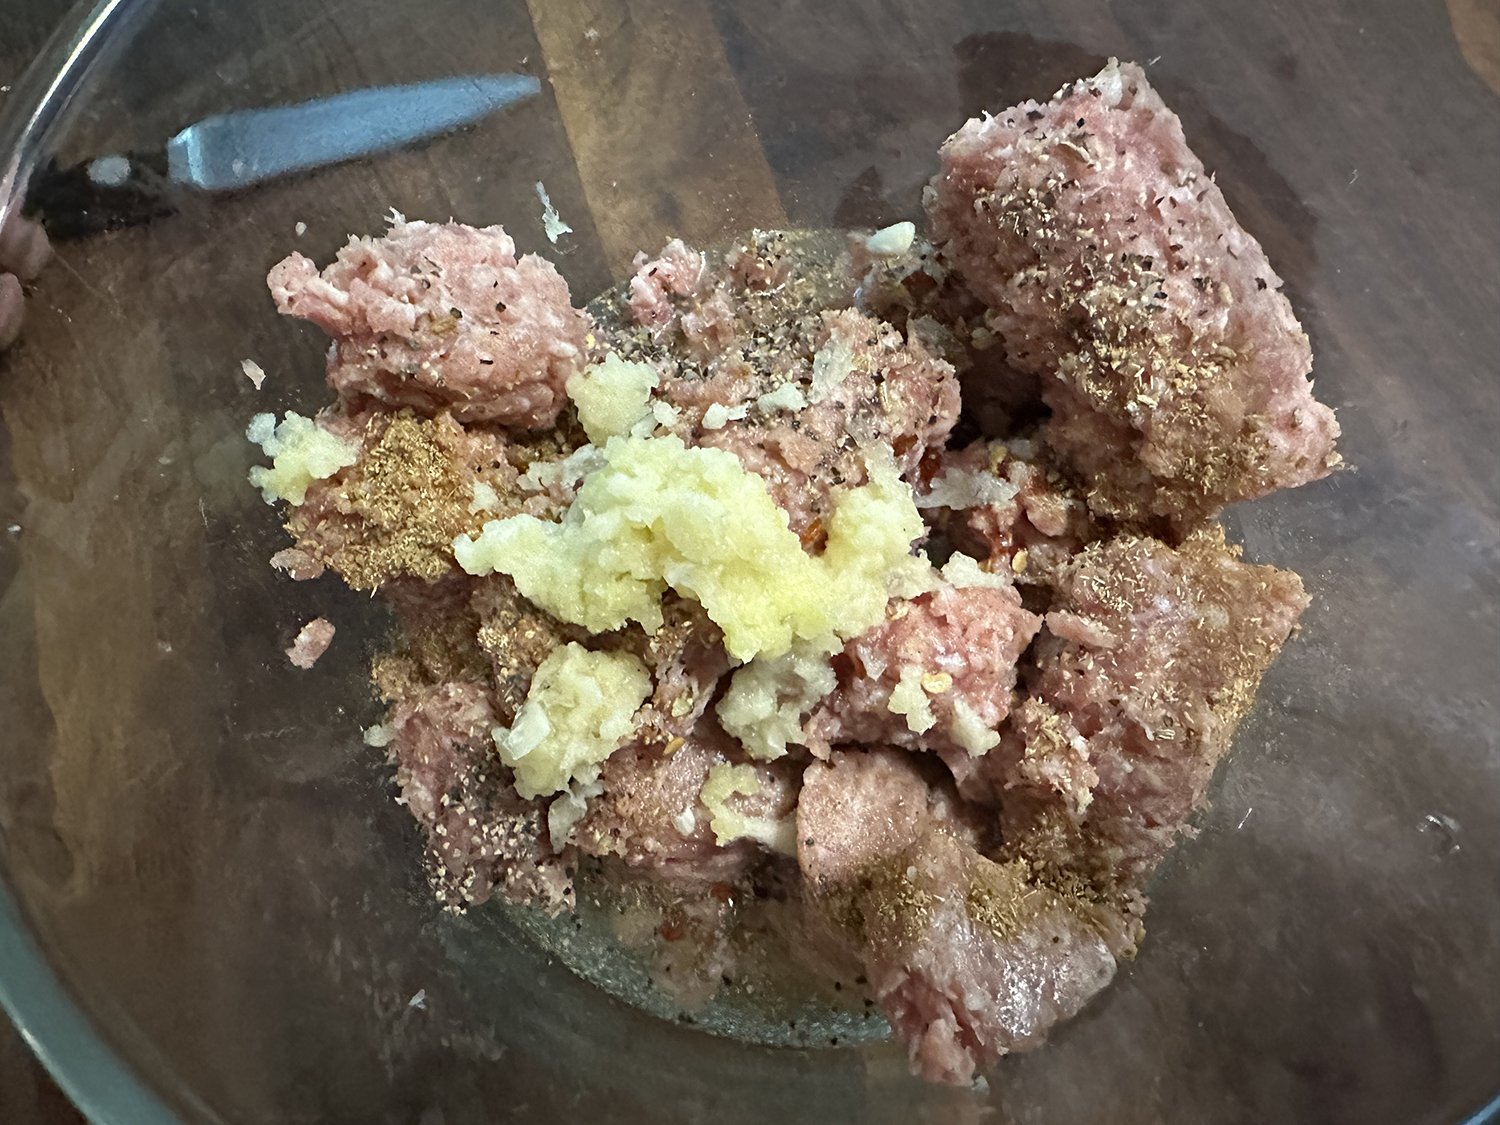
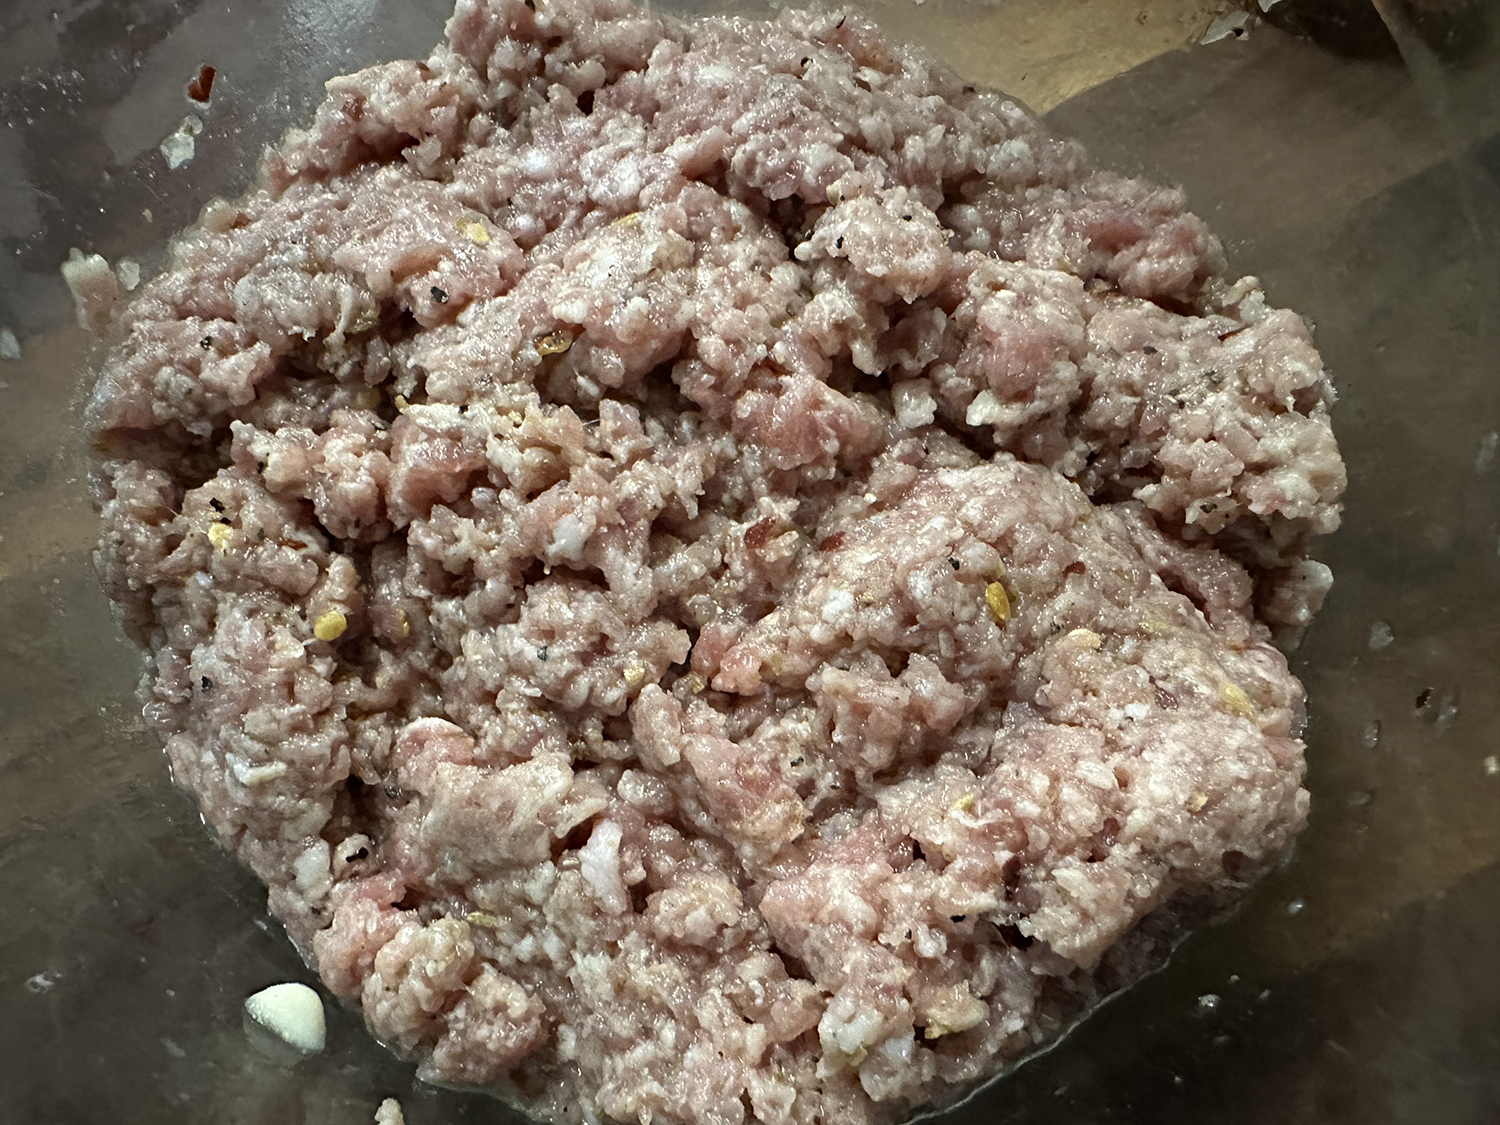
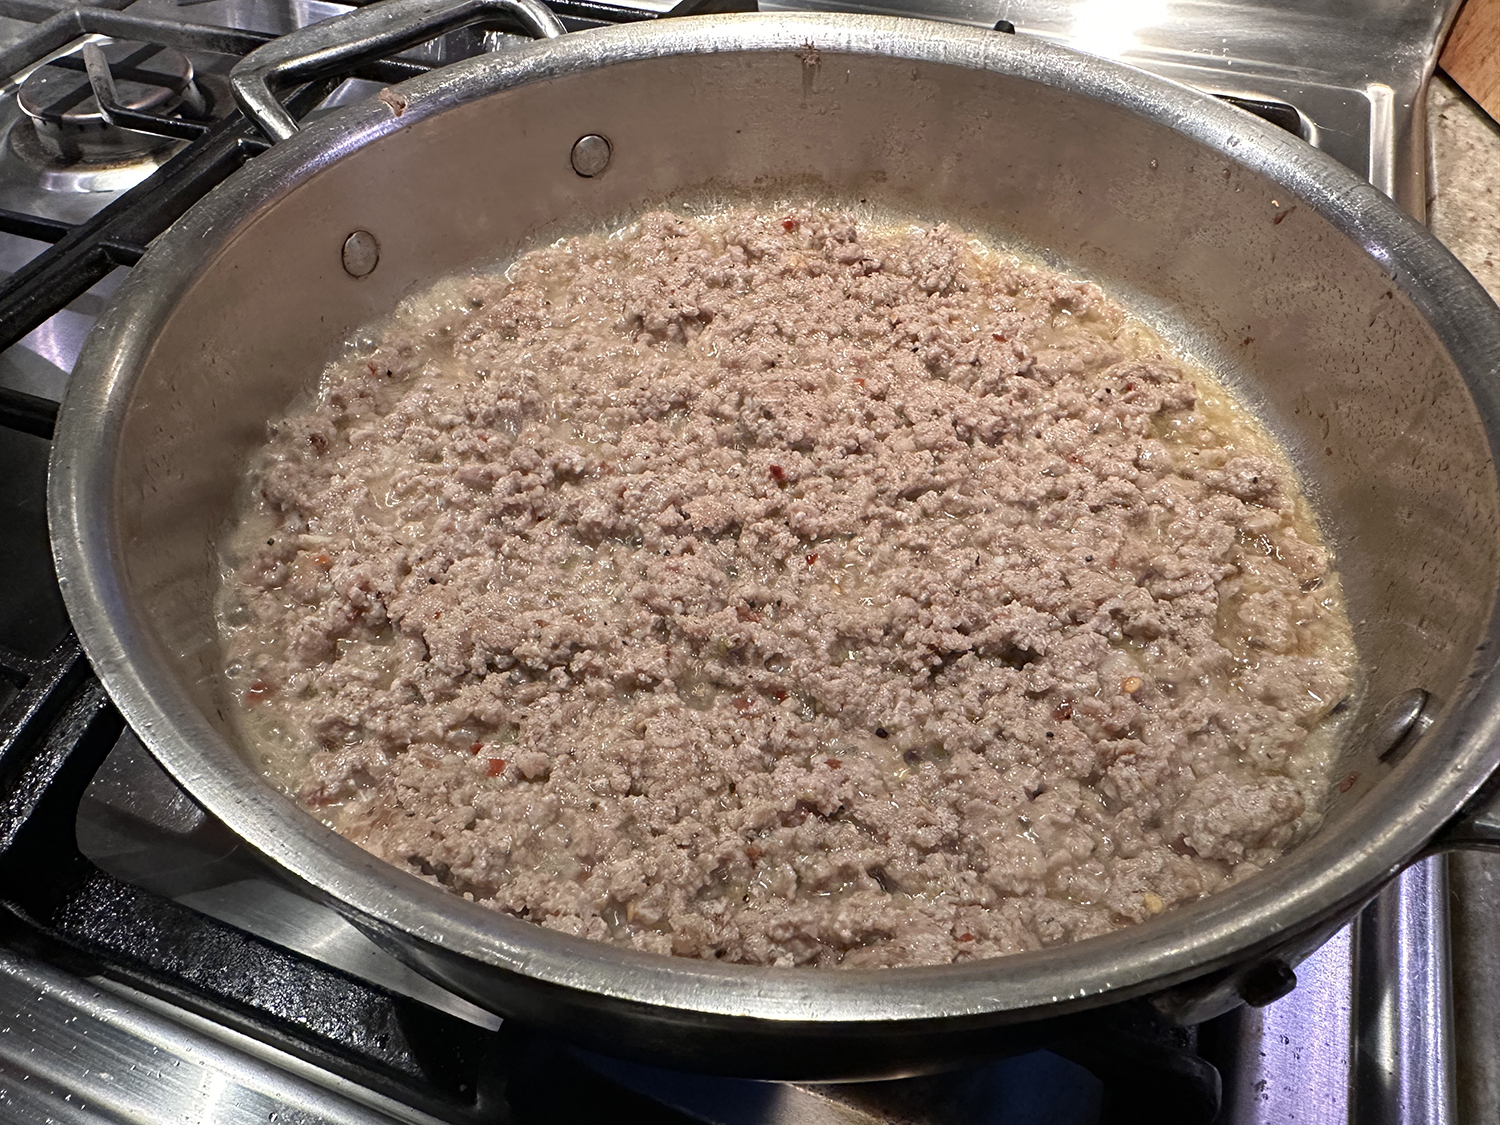
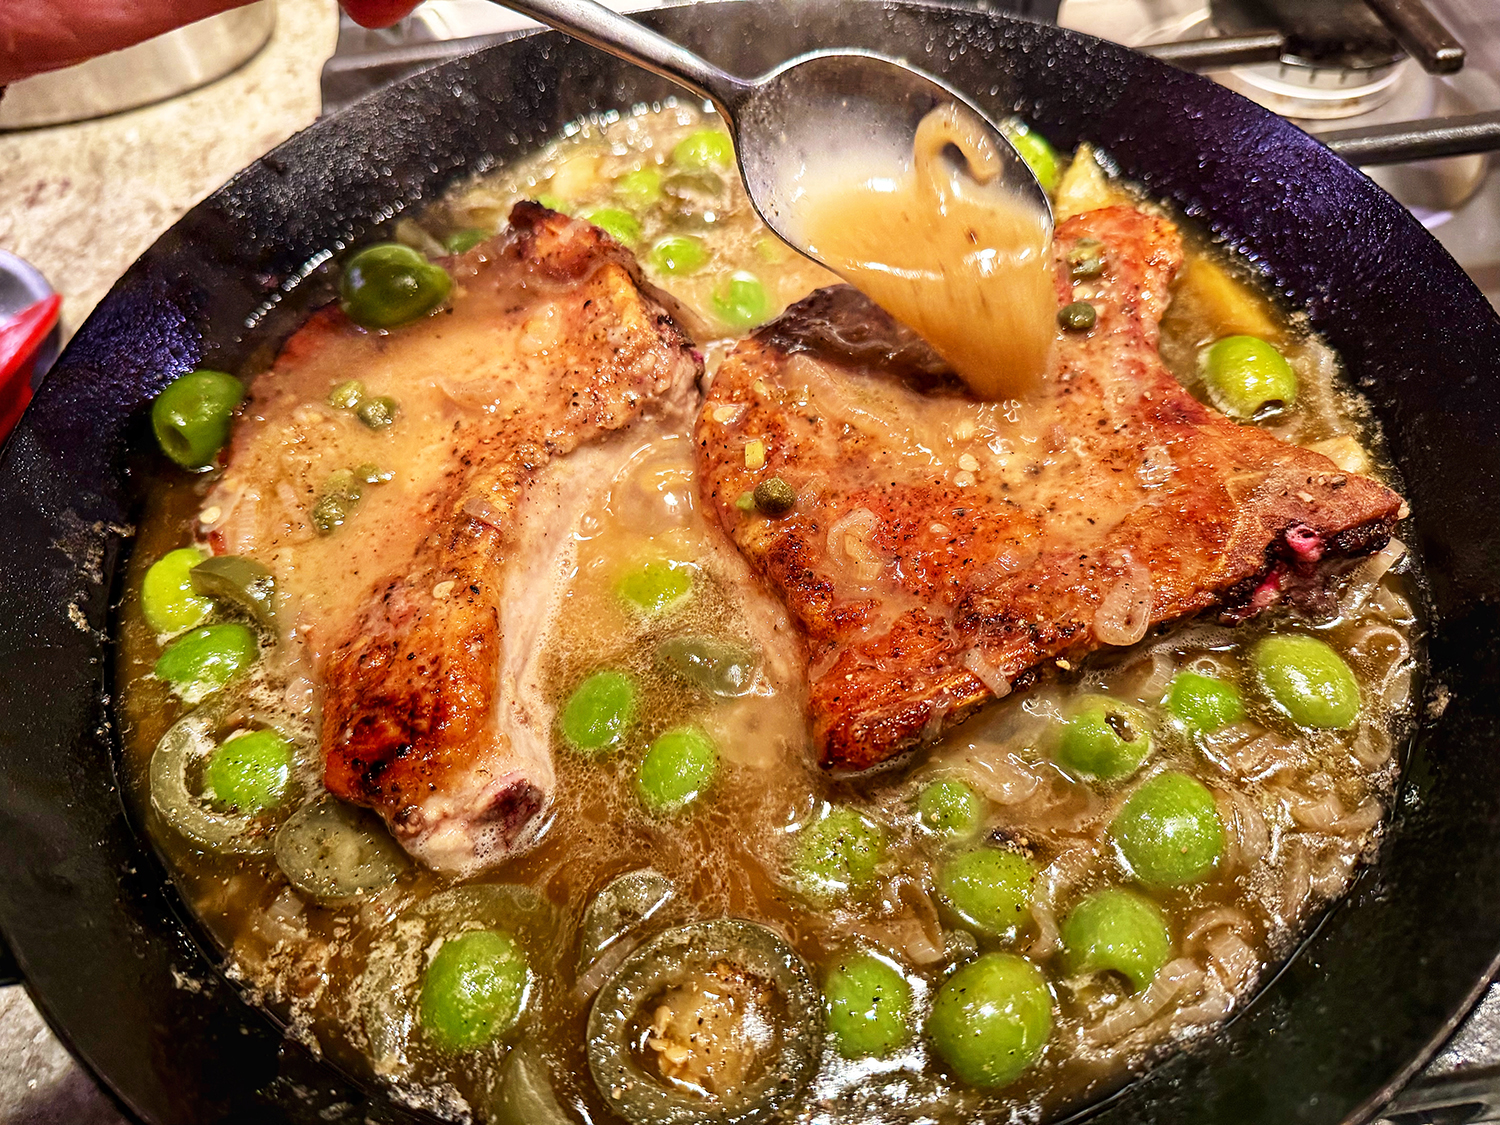
- Place 1 cup all-purpose flour in a shallow bowl. Season four ½”-thick pork rib chops, preferably bone-in (1½–2 lb.), with kosher salt and freshly ground pepper; lightly dredge in flour, shaking off excess. Heat 2 tablespoons. extra-virgin olive oil in a large skillet over medium-high. Working in batches if needed, cook pork chops until deep golden brown underneath, about 5 minutes. Turn; cook until light golden on other side, about 2 minutes. Transfer to a plate.
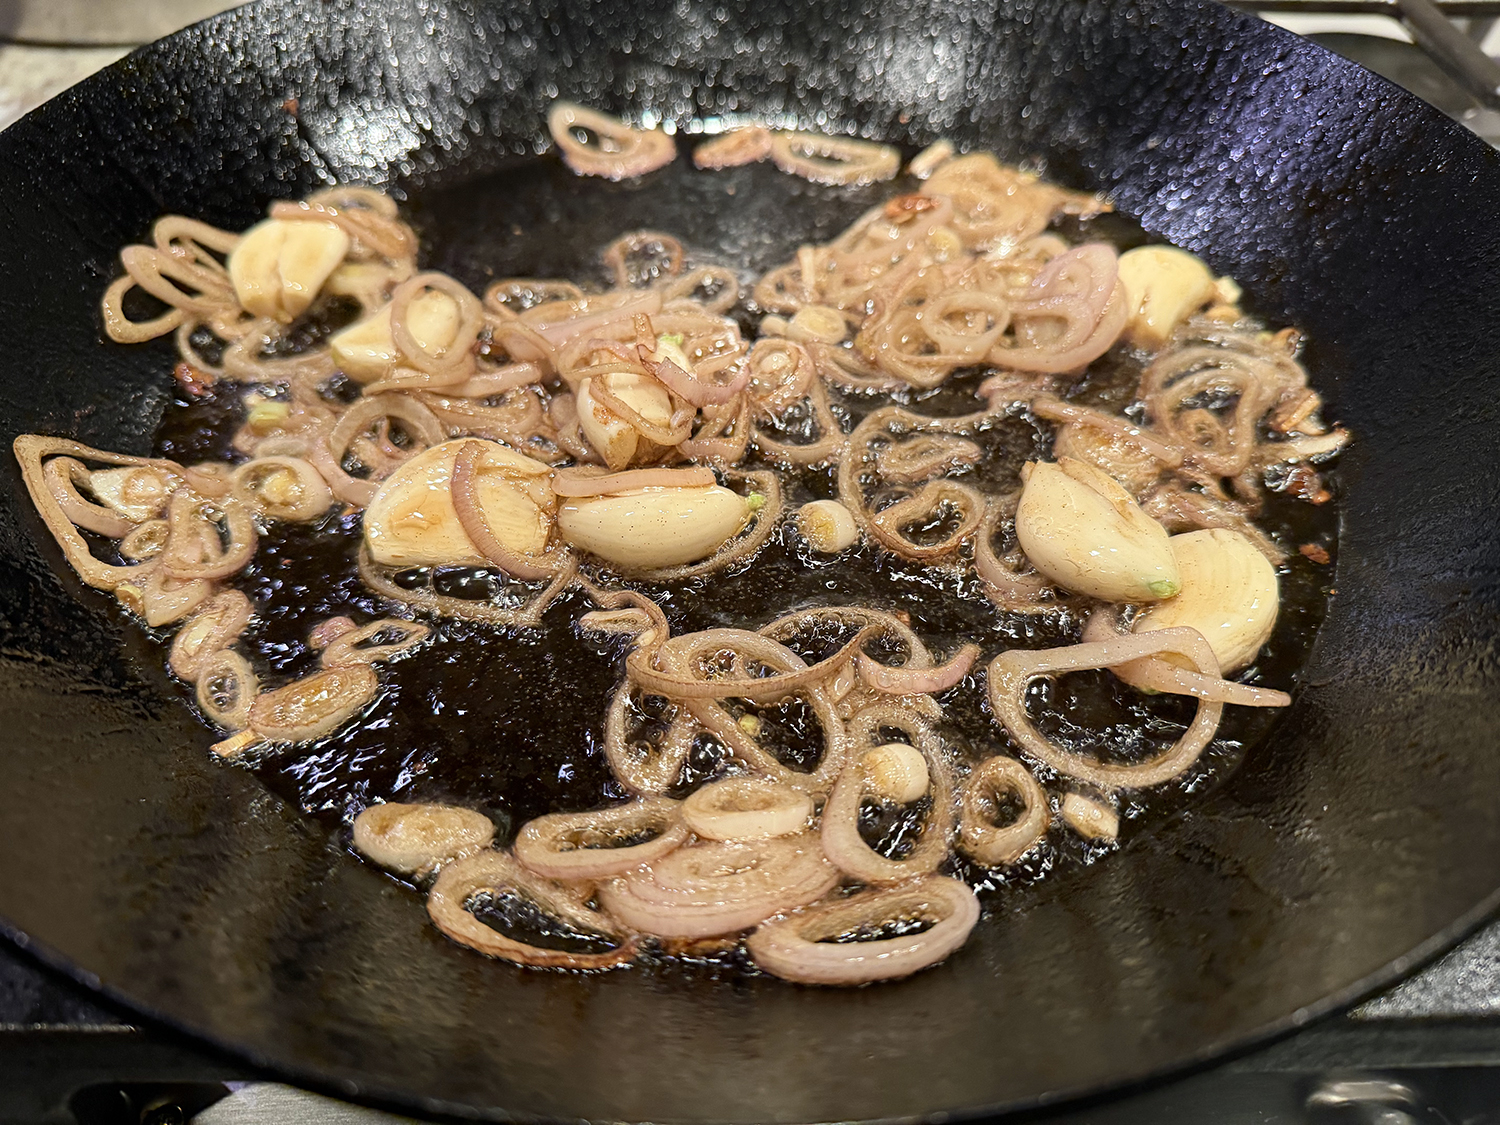
- Reduce heat to medium; pour remaining 1 tablespoons extra-virgin olive oil into pan. Add 1 large shallot, thinly sliced into rings, and 8 garlic cloves, crushed, and cook, stirring often, until softened and light golden around the edges, 3–4 minutes.
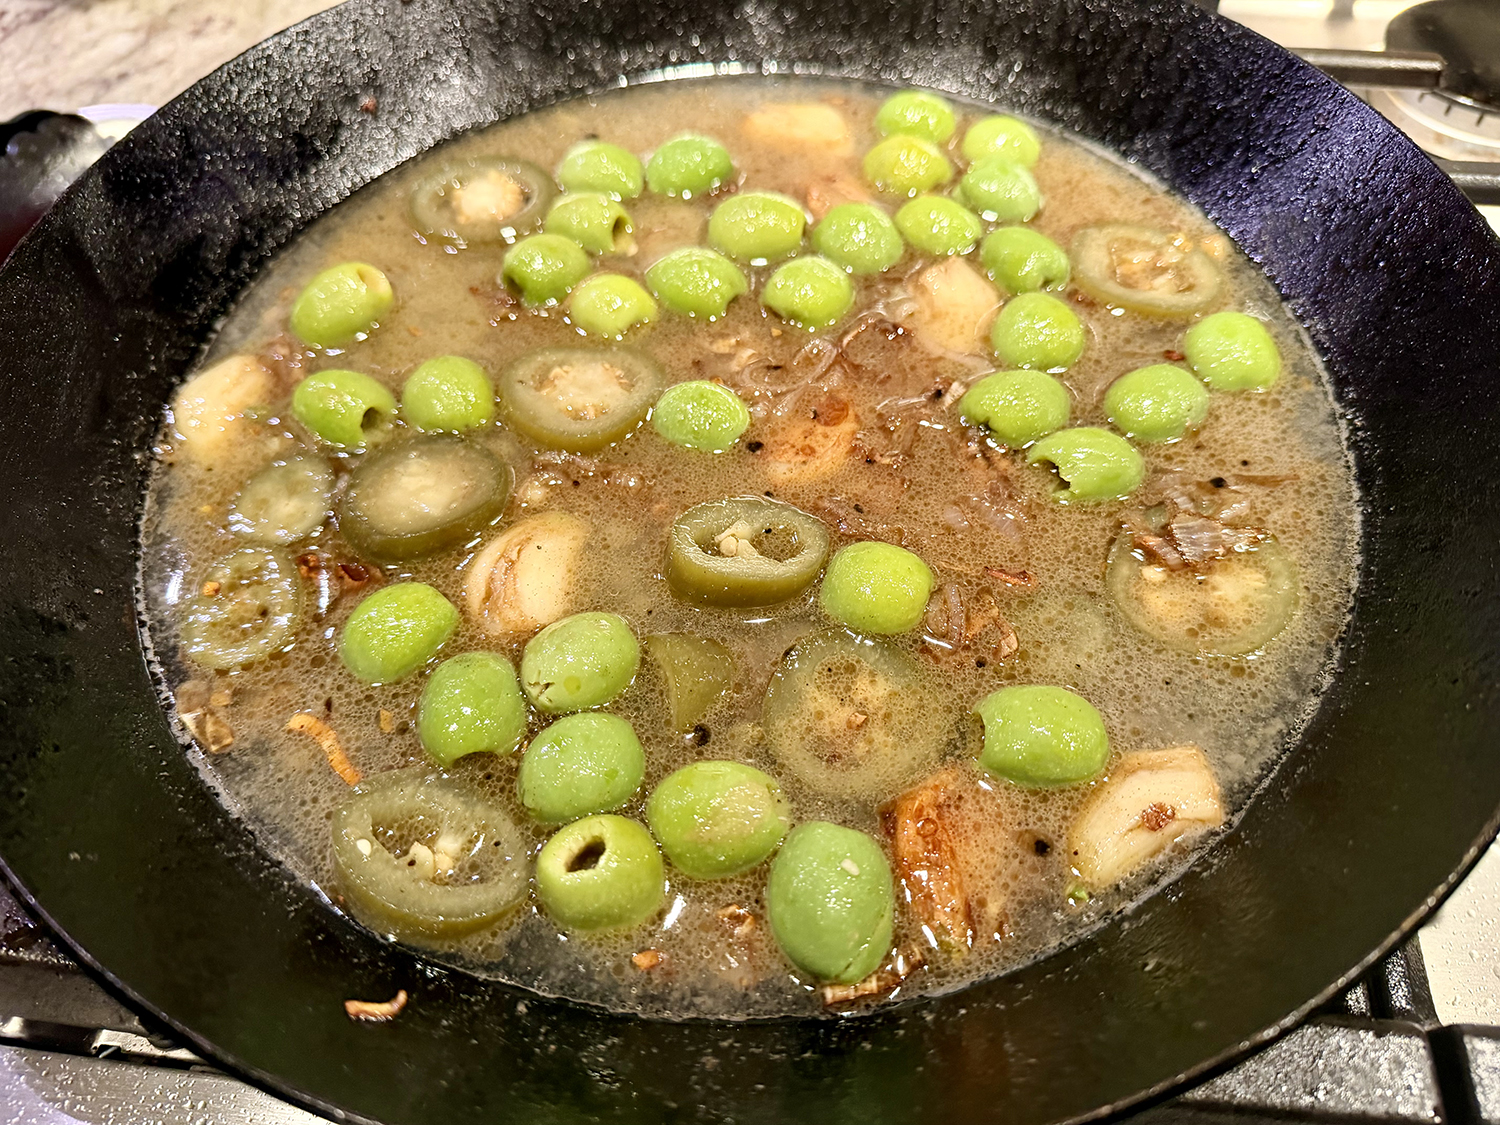
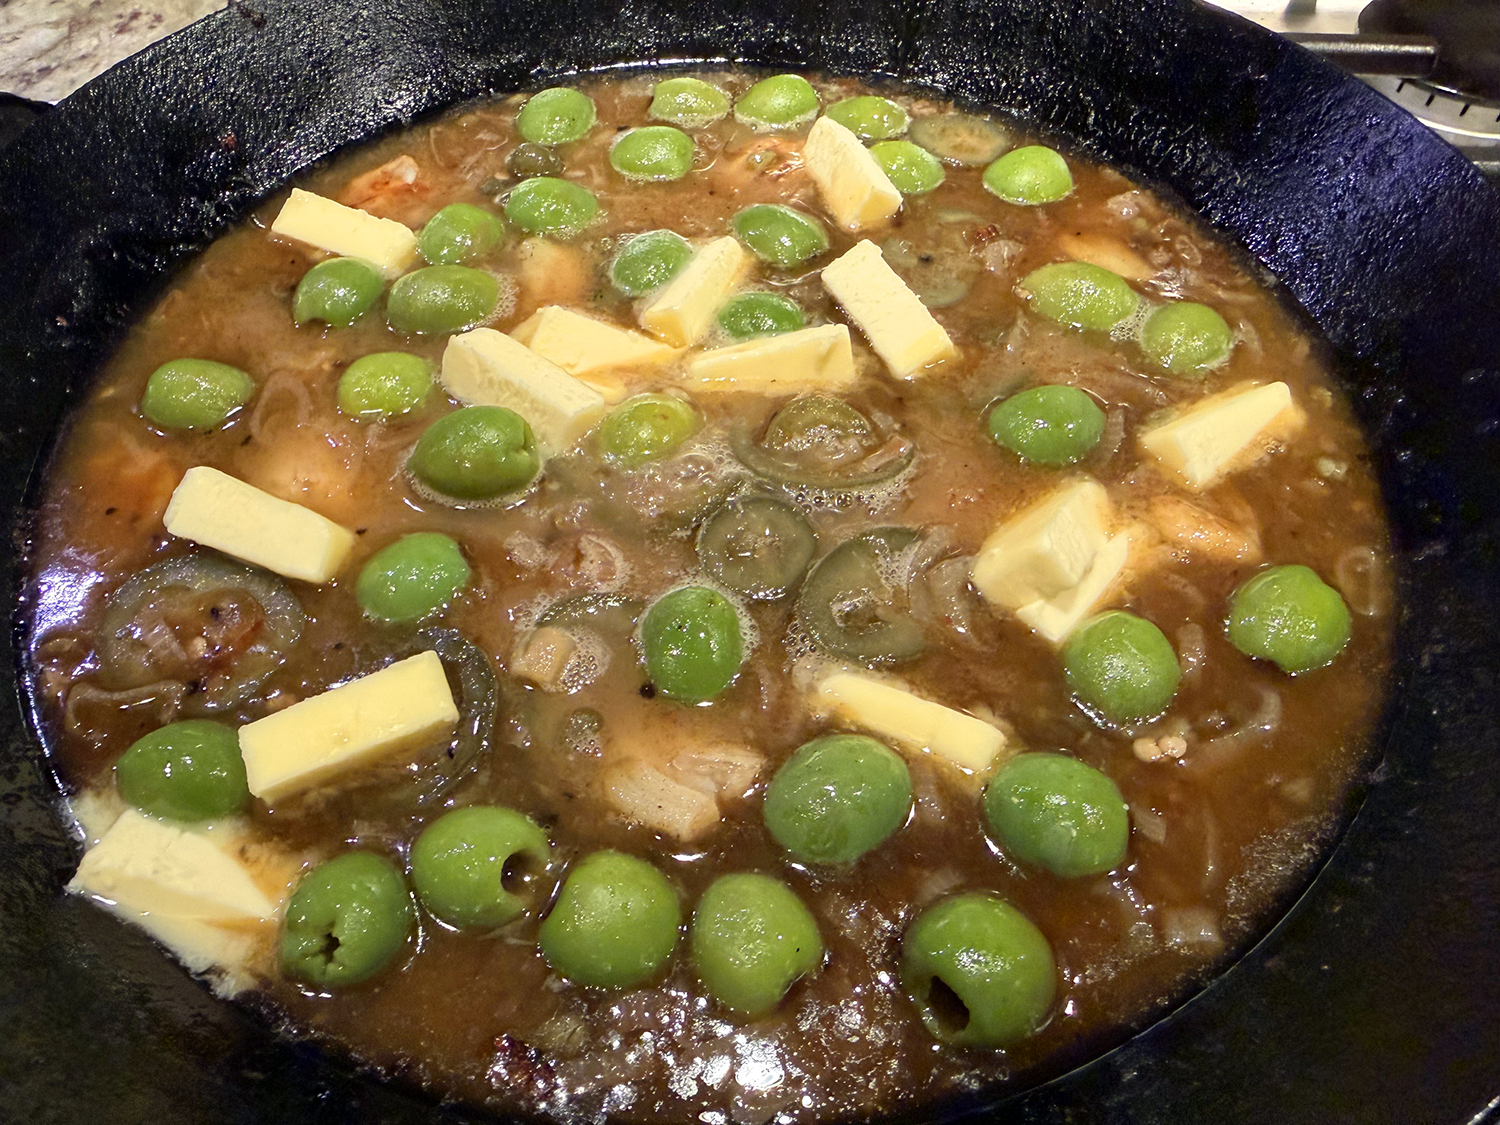
- Add 2 teaspoons of leftover flour; cook, stirring constantly, until aromatics are coated, about 1 minute. Add ½ cup pitted Castelvetrano or other green olives, ¼ cup halved or sliced pickled jalapeños or guindilla peppers, 2 tablespoons drained capers, and 1 cup water and cook, stirring constantly and scraping up any browned bits, until sauce is simmering and beginning to thicken, about 2 minutes. Add ¼ cup fresh lemon juice and 4 Tbsp. unsalted butter, cut into pieces, and swirl pan until butter is incorporated. Taste sauce; season with salt and add more jalapeños and/or some brine if needed.
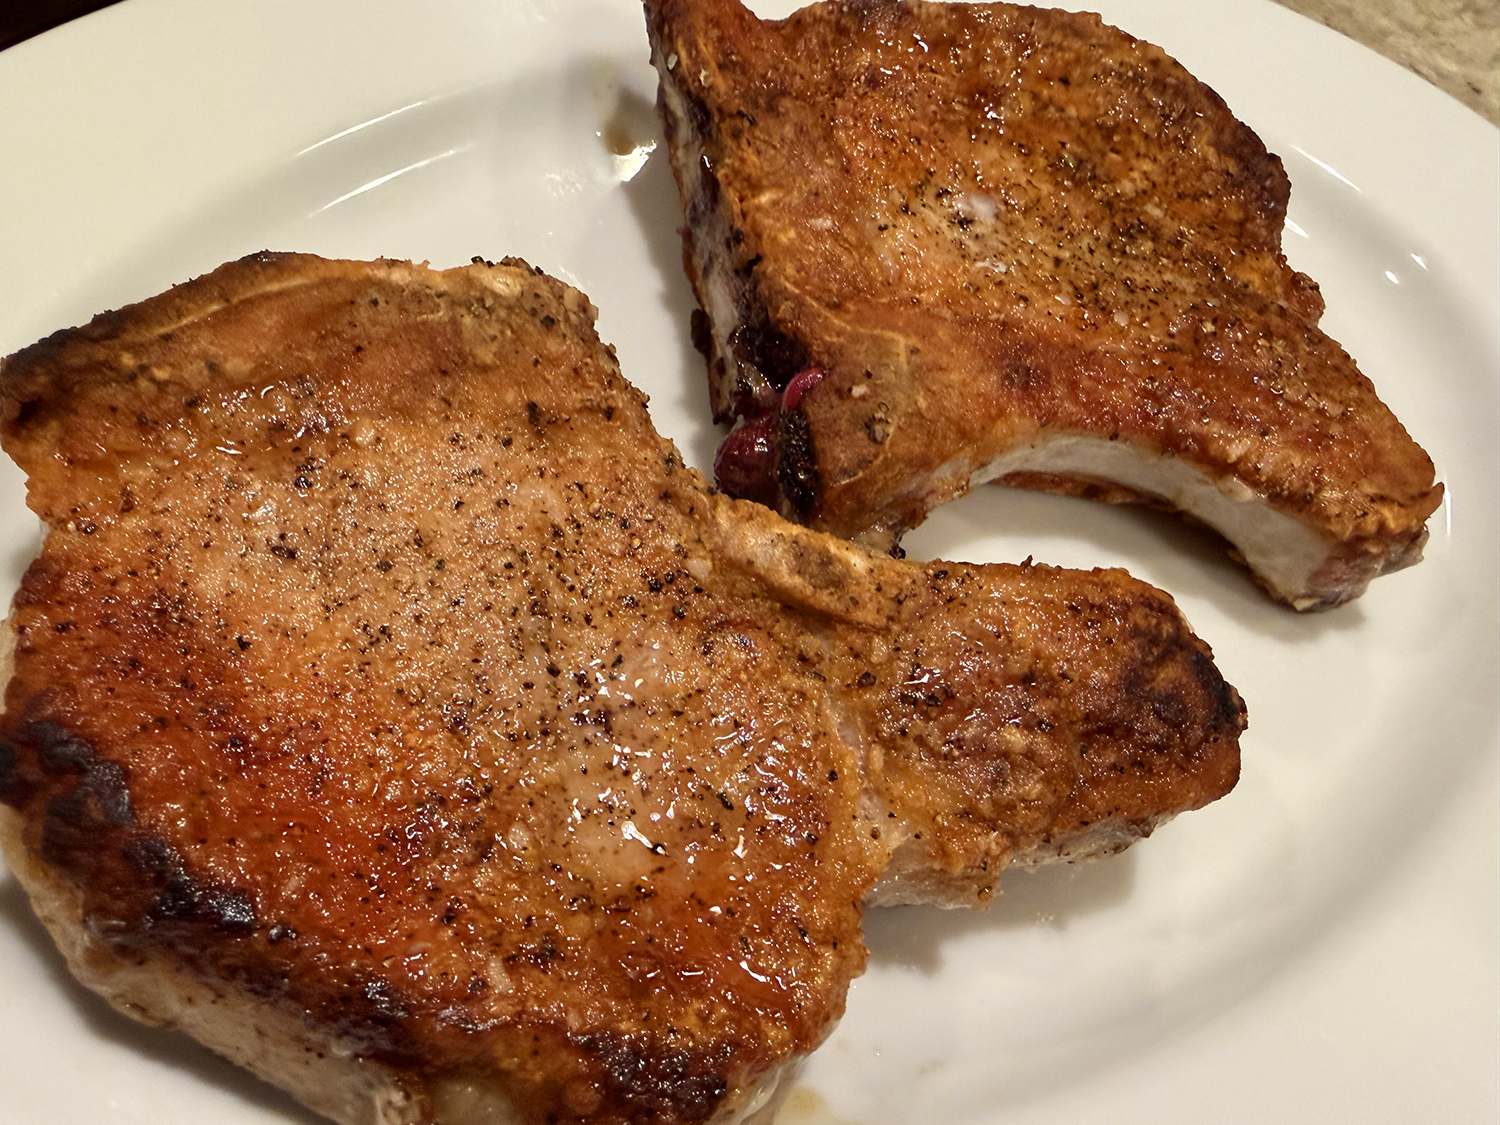
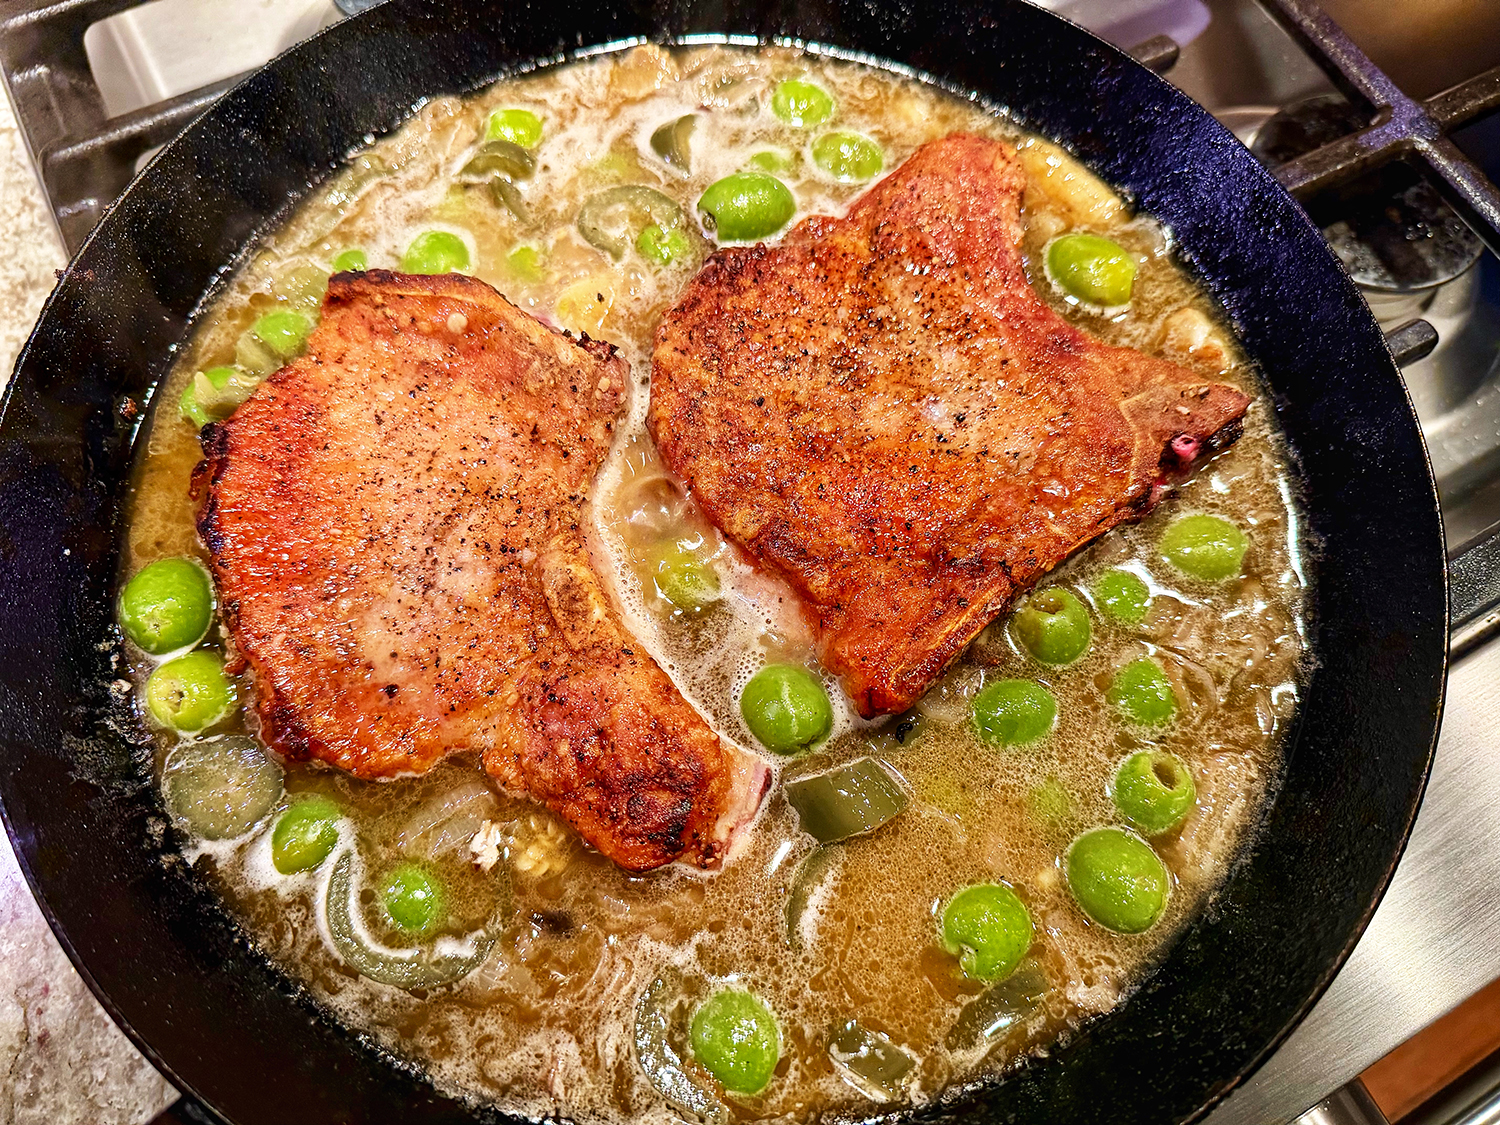
- Return pork chops to pan, reduce heat to medium-low, and bring sauce to a gentle simmer. Cook, basting with sauce, just until warmed and cooked through, 3–4 minutes. Transfer pork chops to a platter and top with sauce and cilantro.
Adapted from a recipe by Chris Morocco for Bon Appétit