Mustard-Braised Pork is a deeply satisfying, rustic dish where cubed pork shoulder slowly transforms in a rich, tangy braising liquid into something tender and boldly flavored.
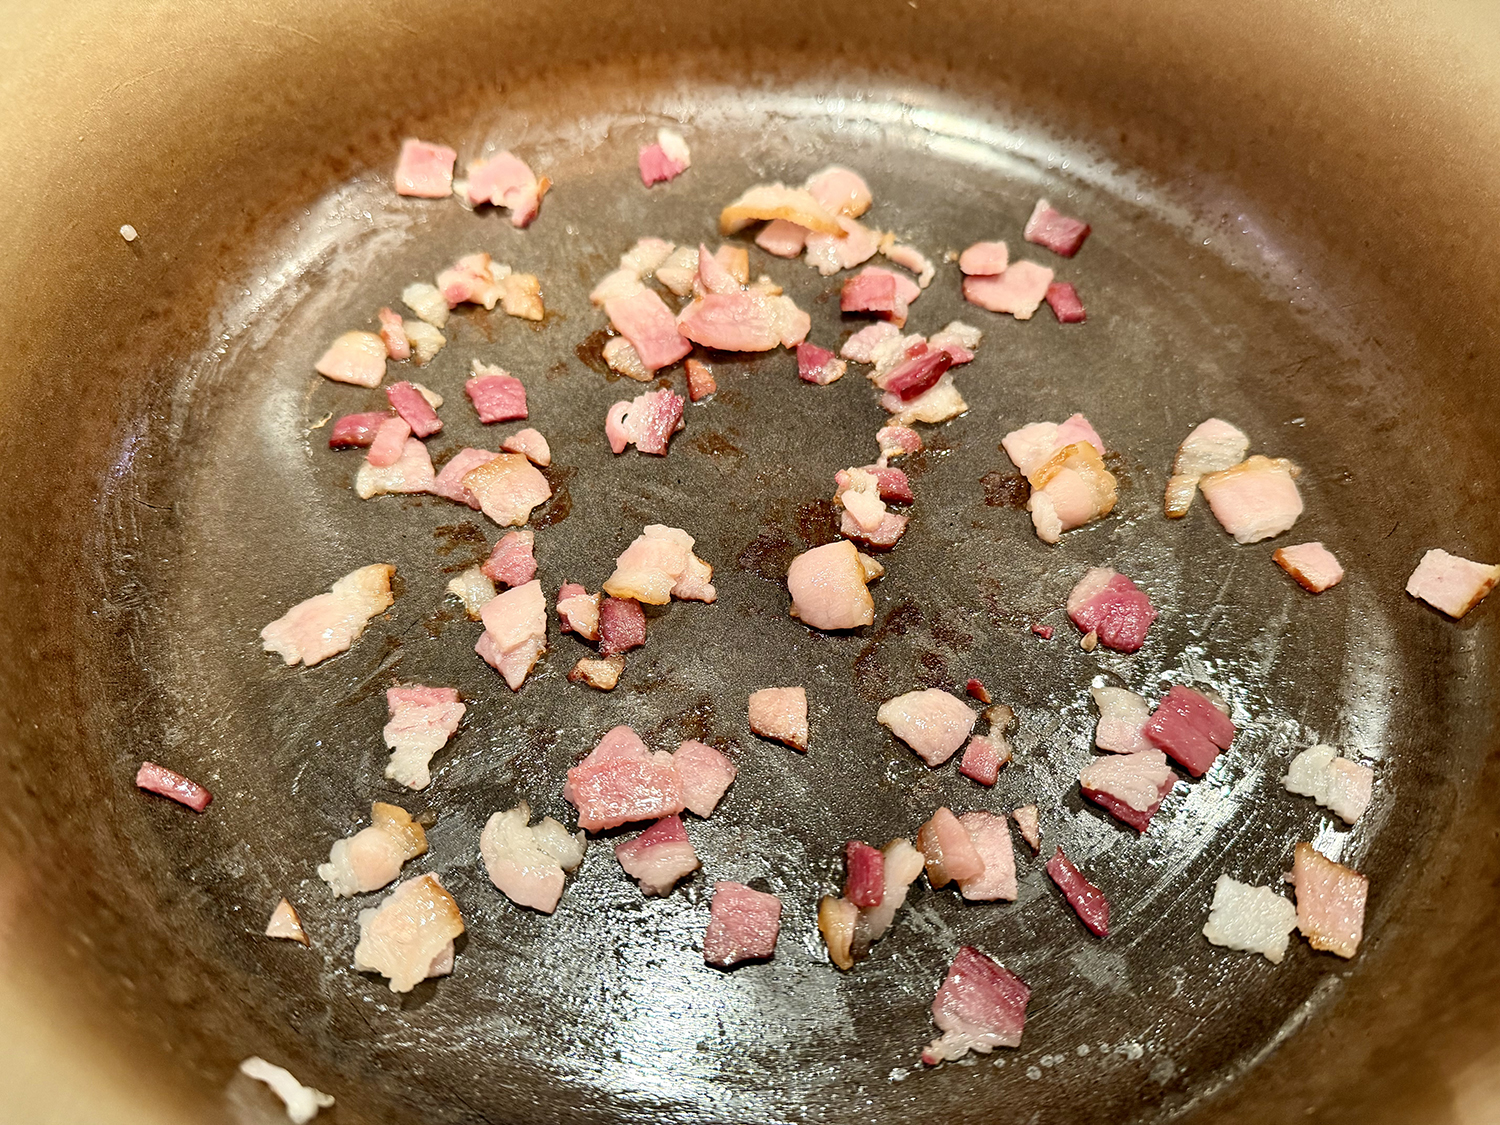
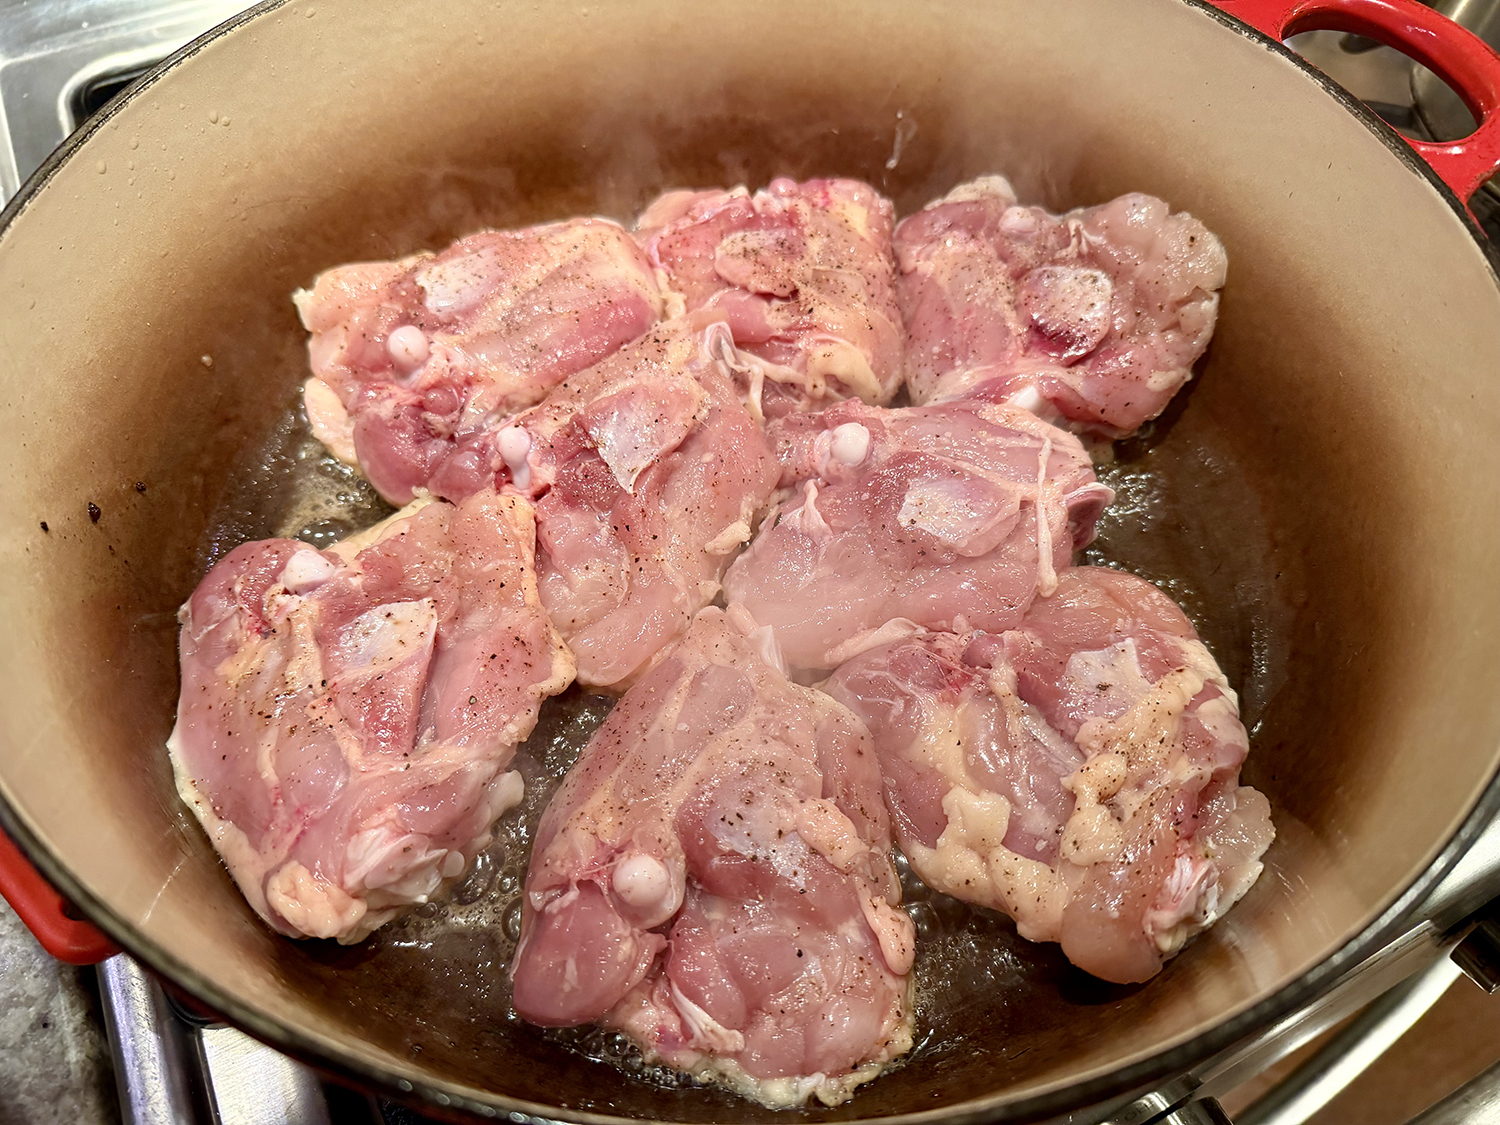
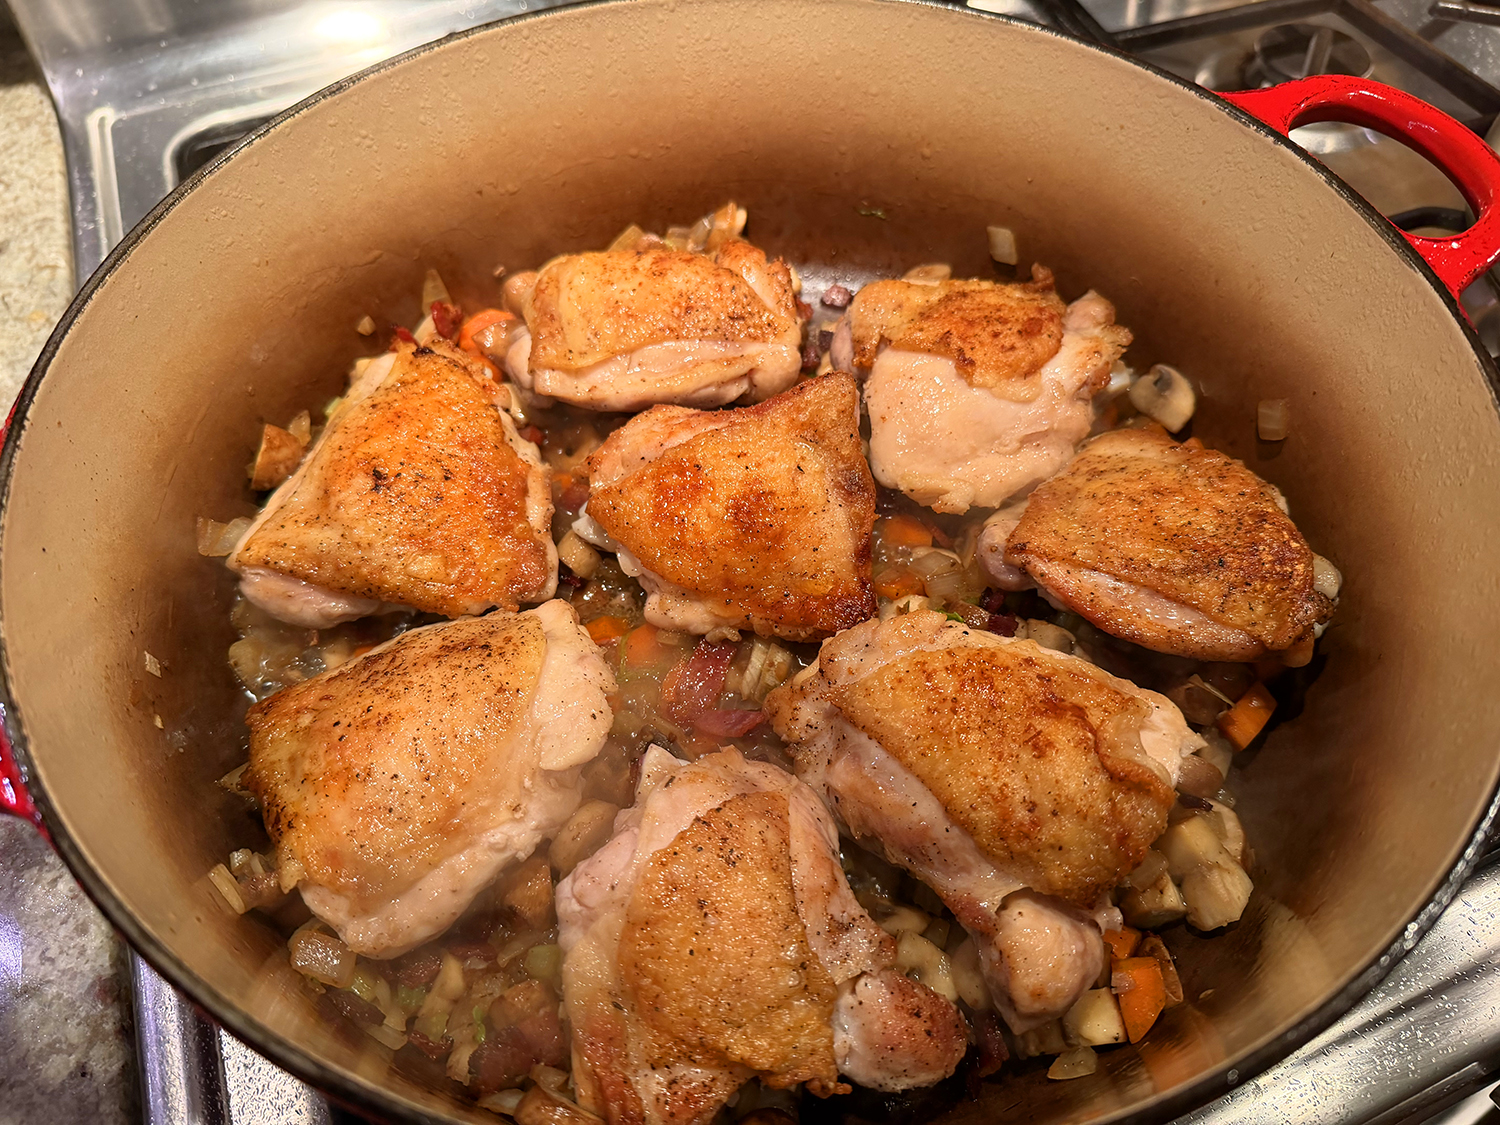
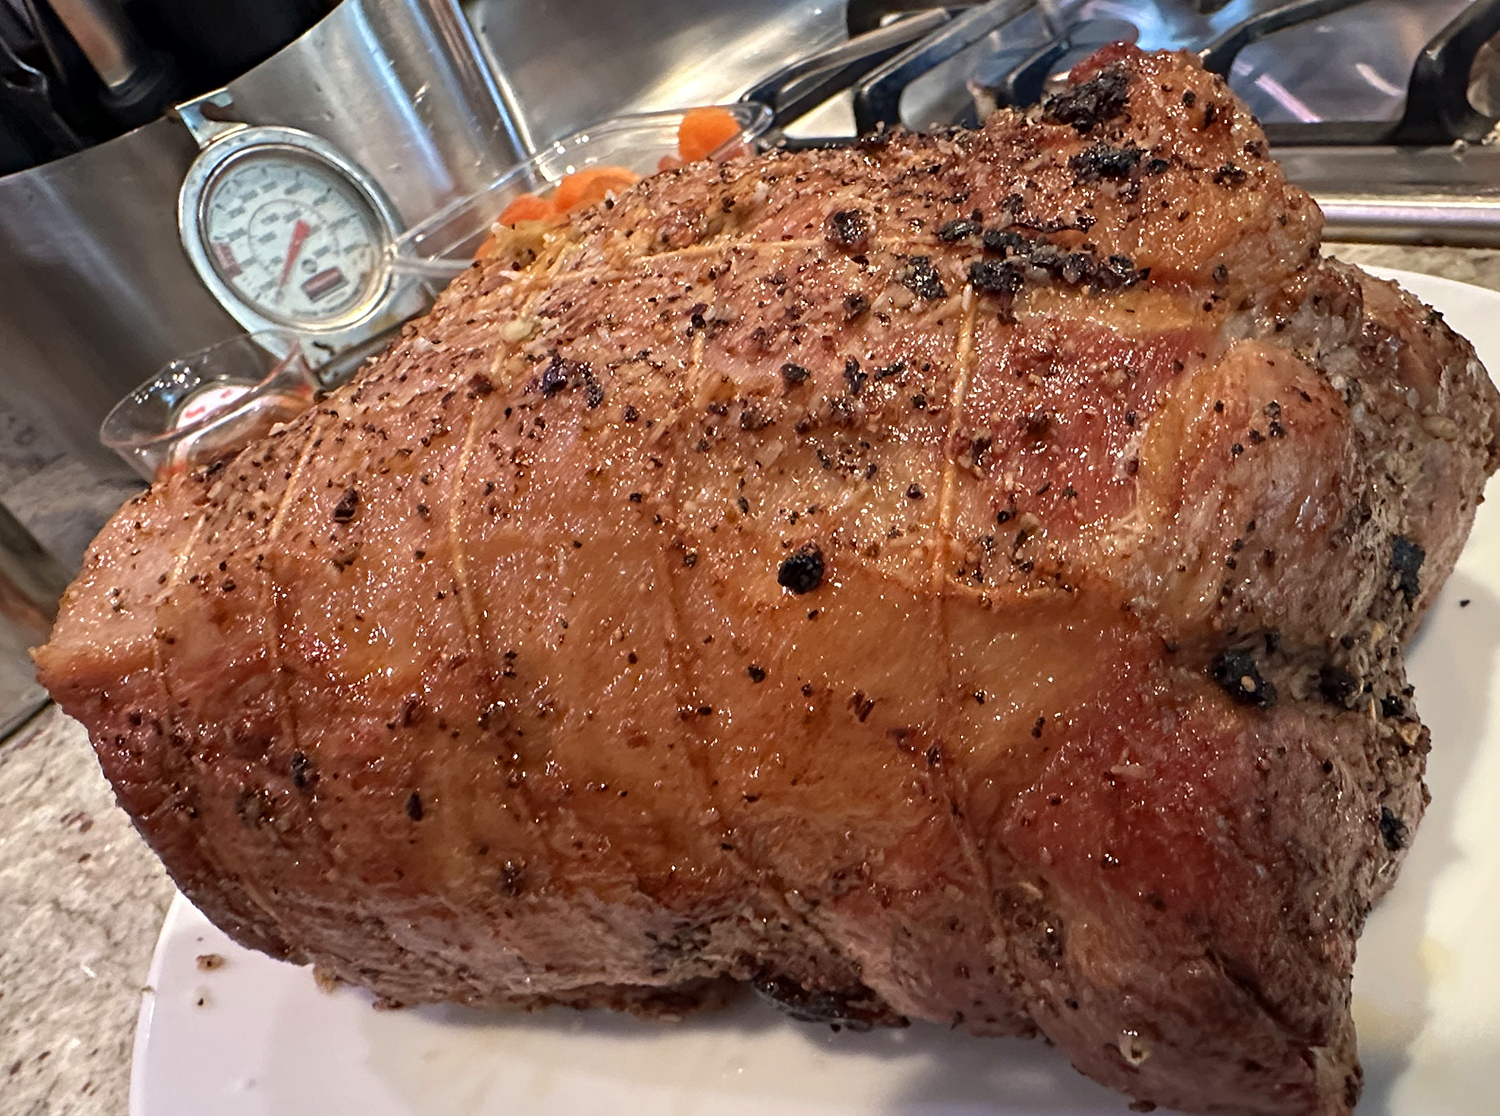
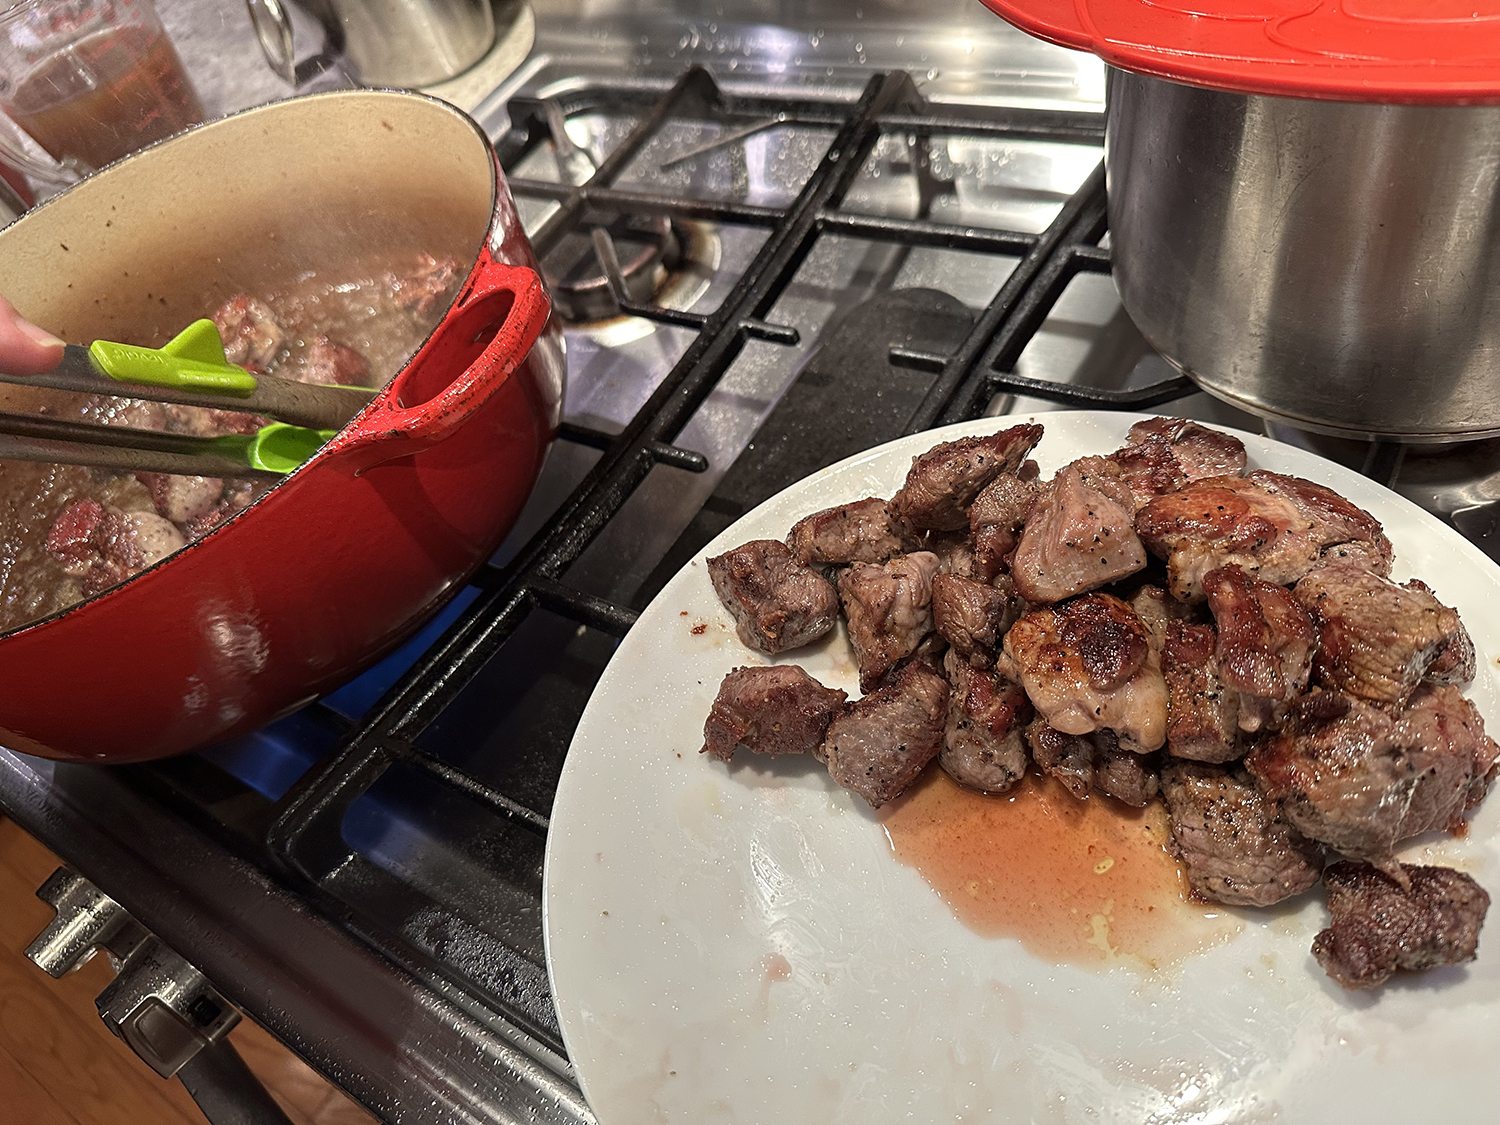
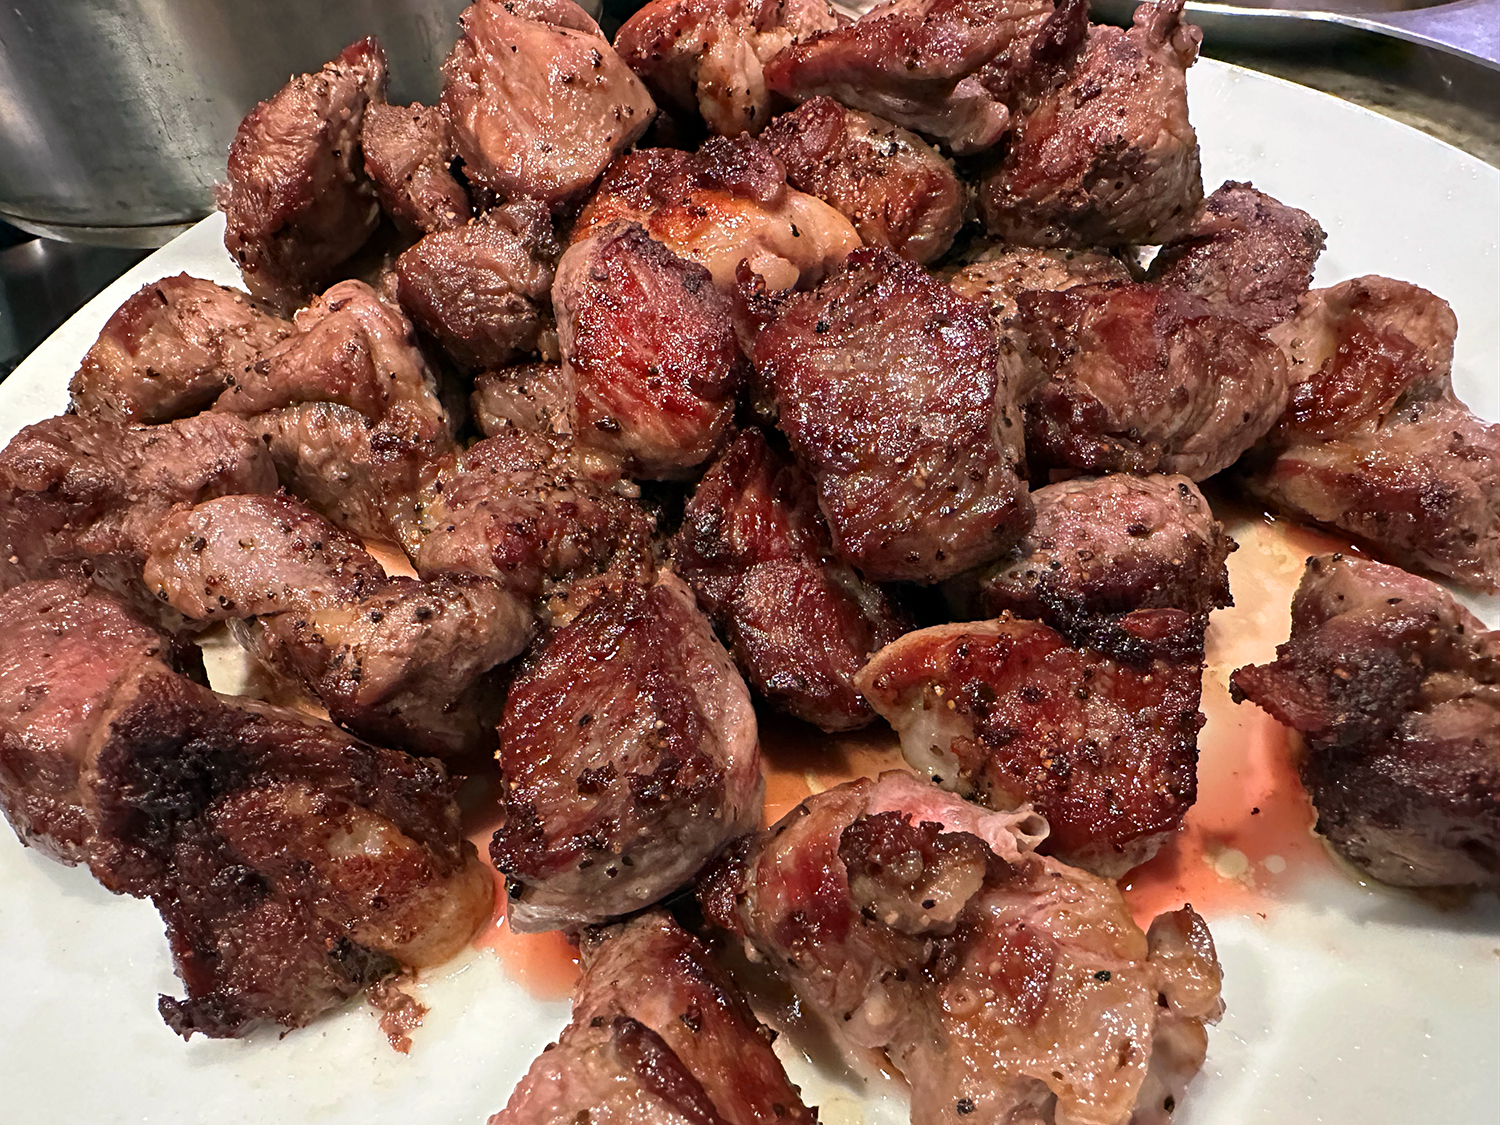
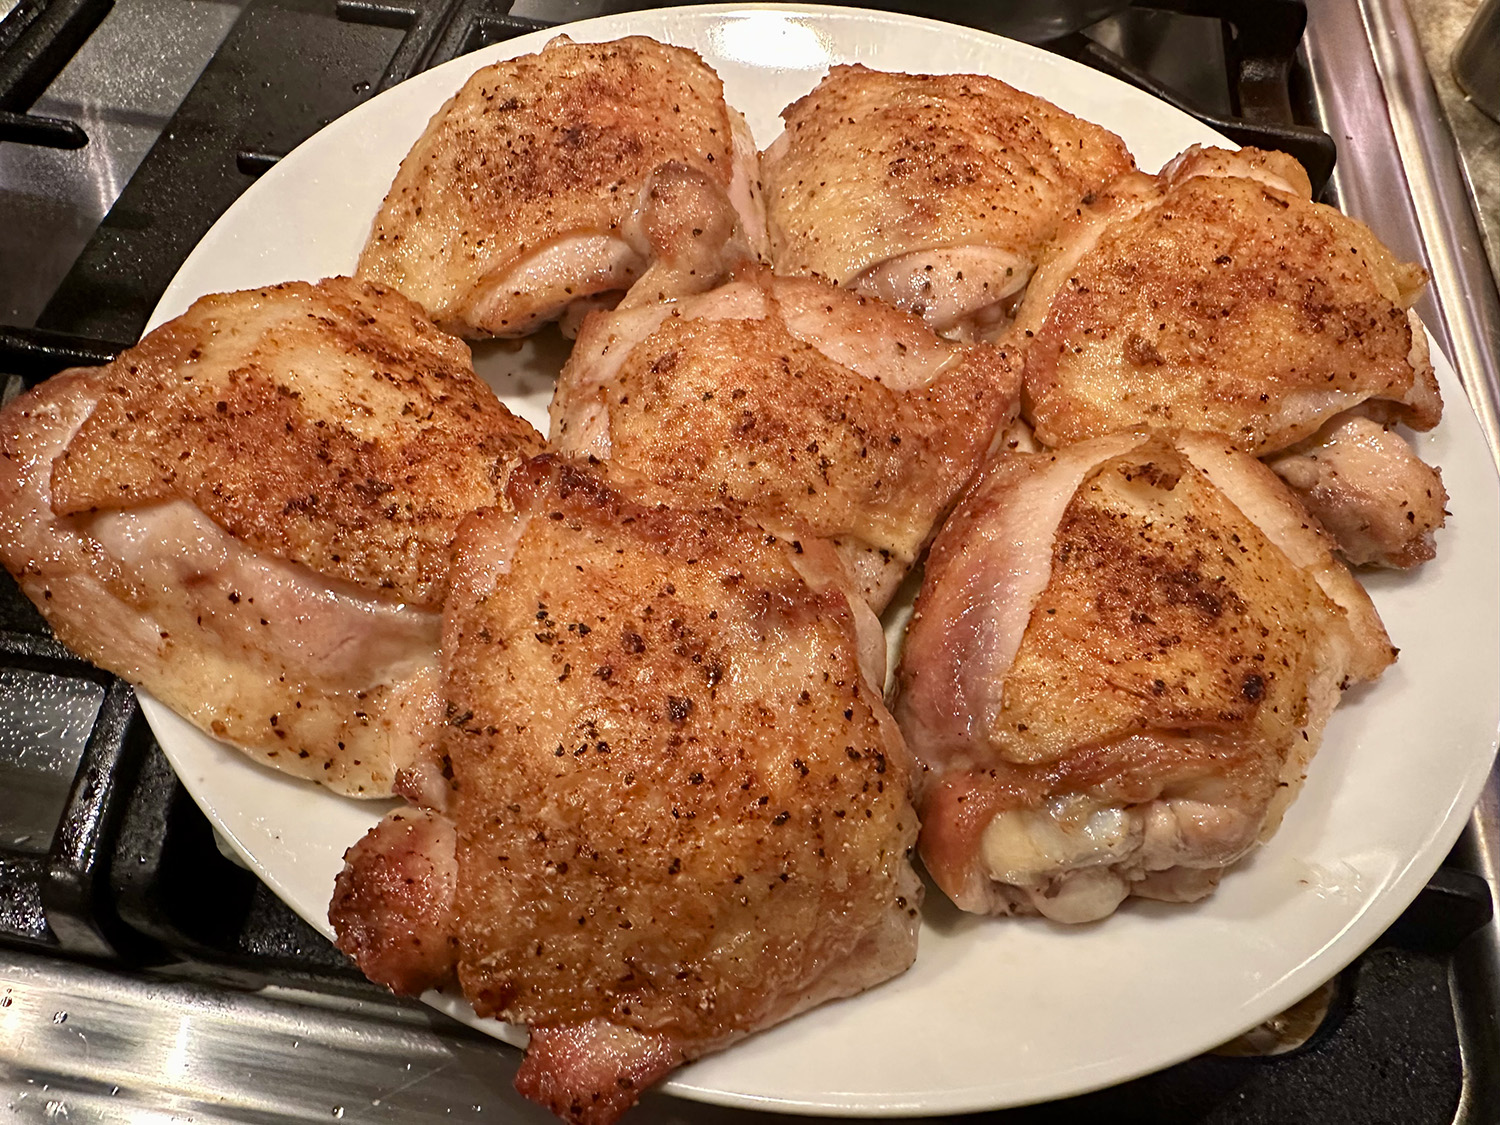
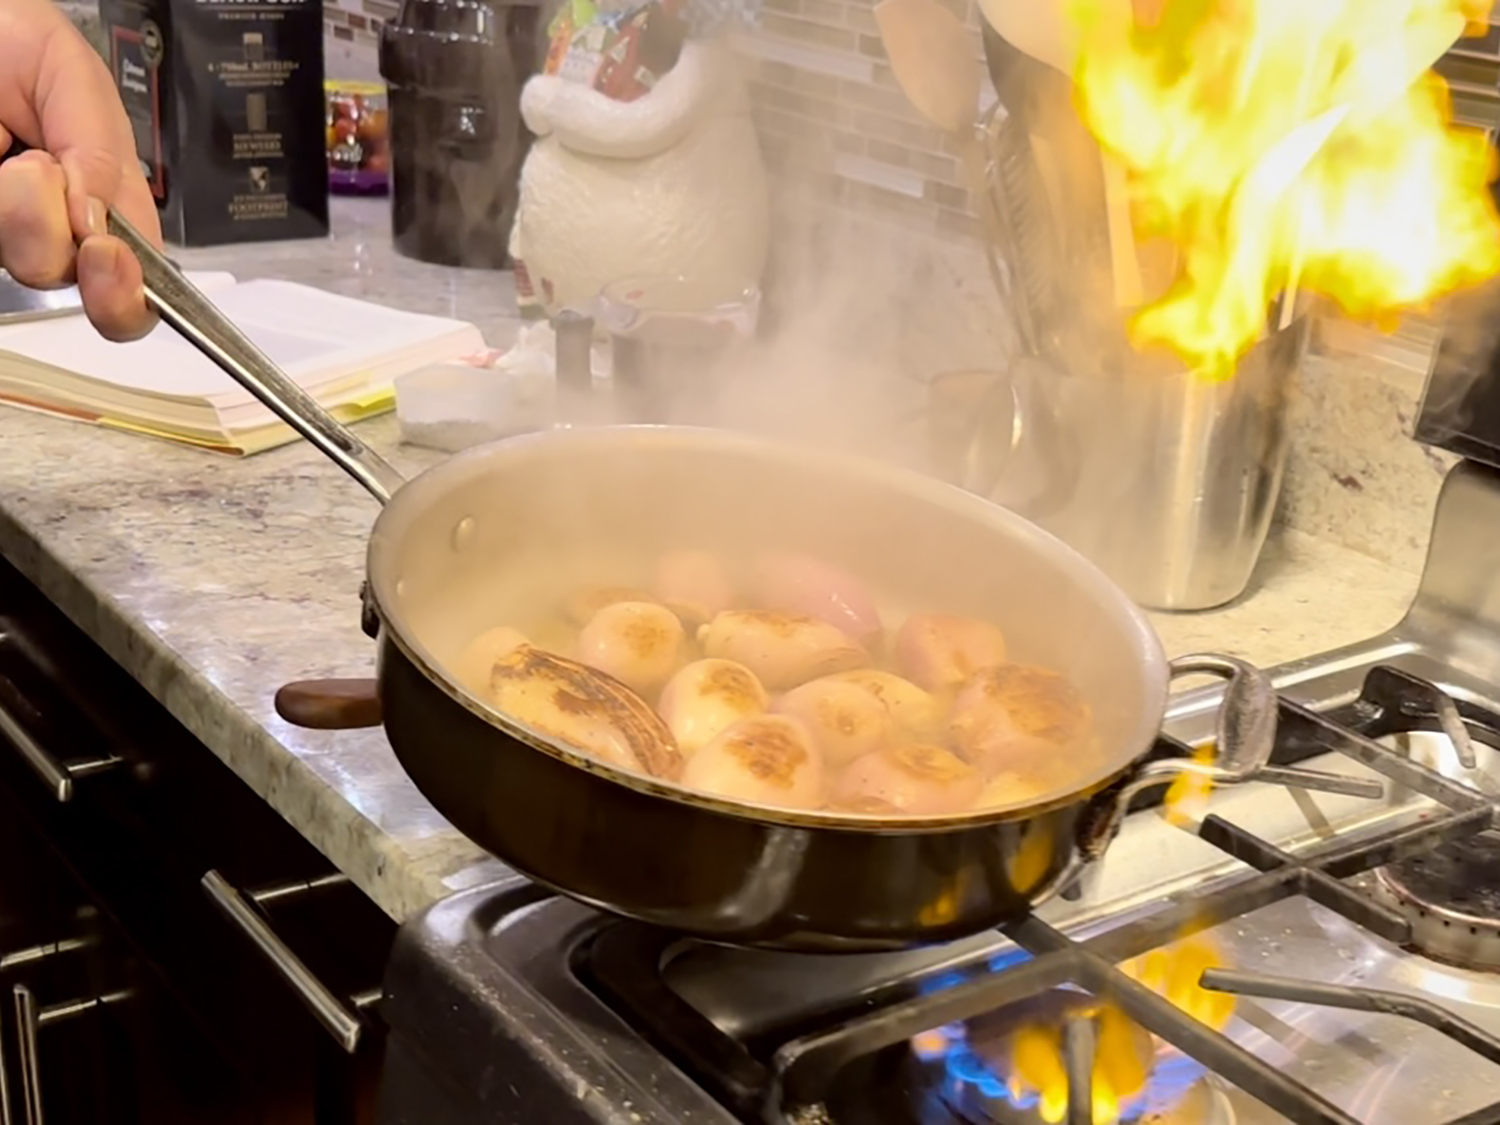
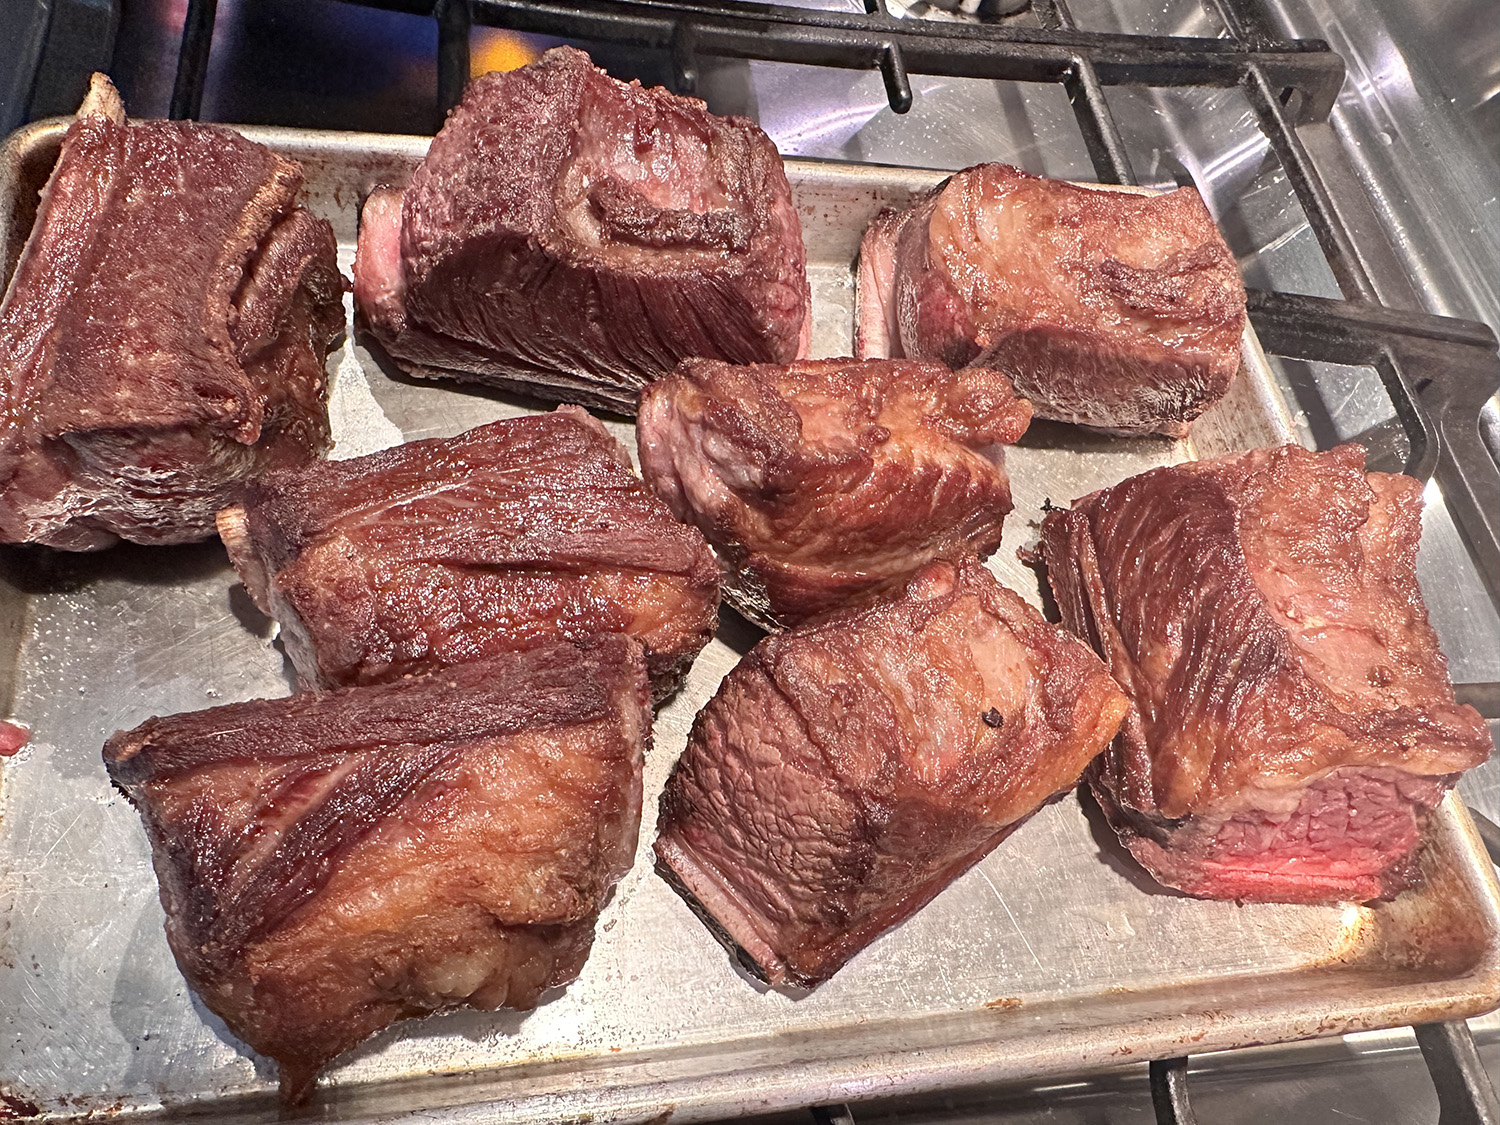
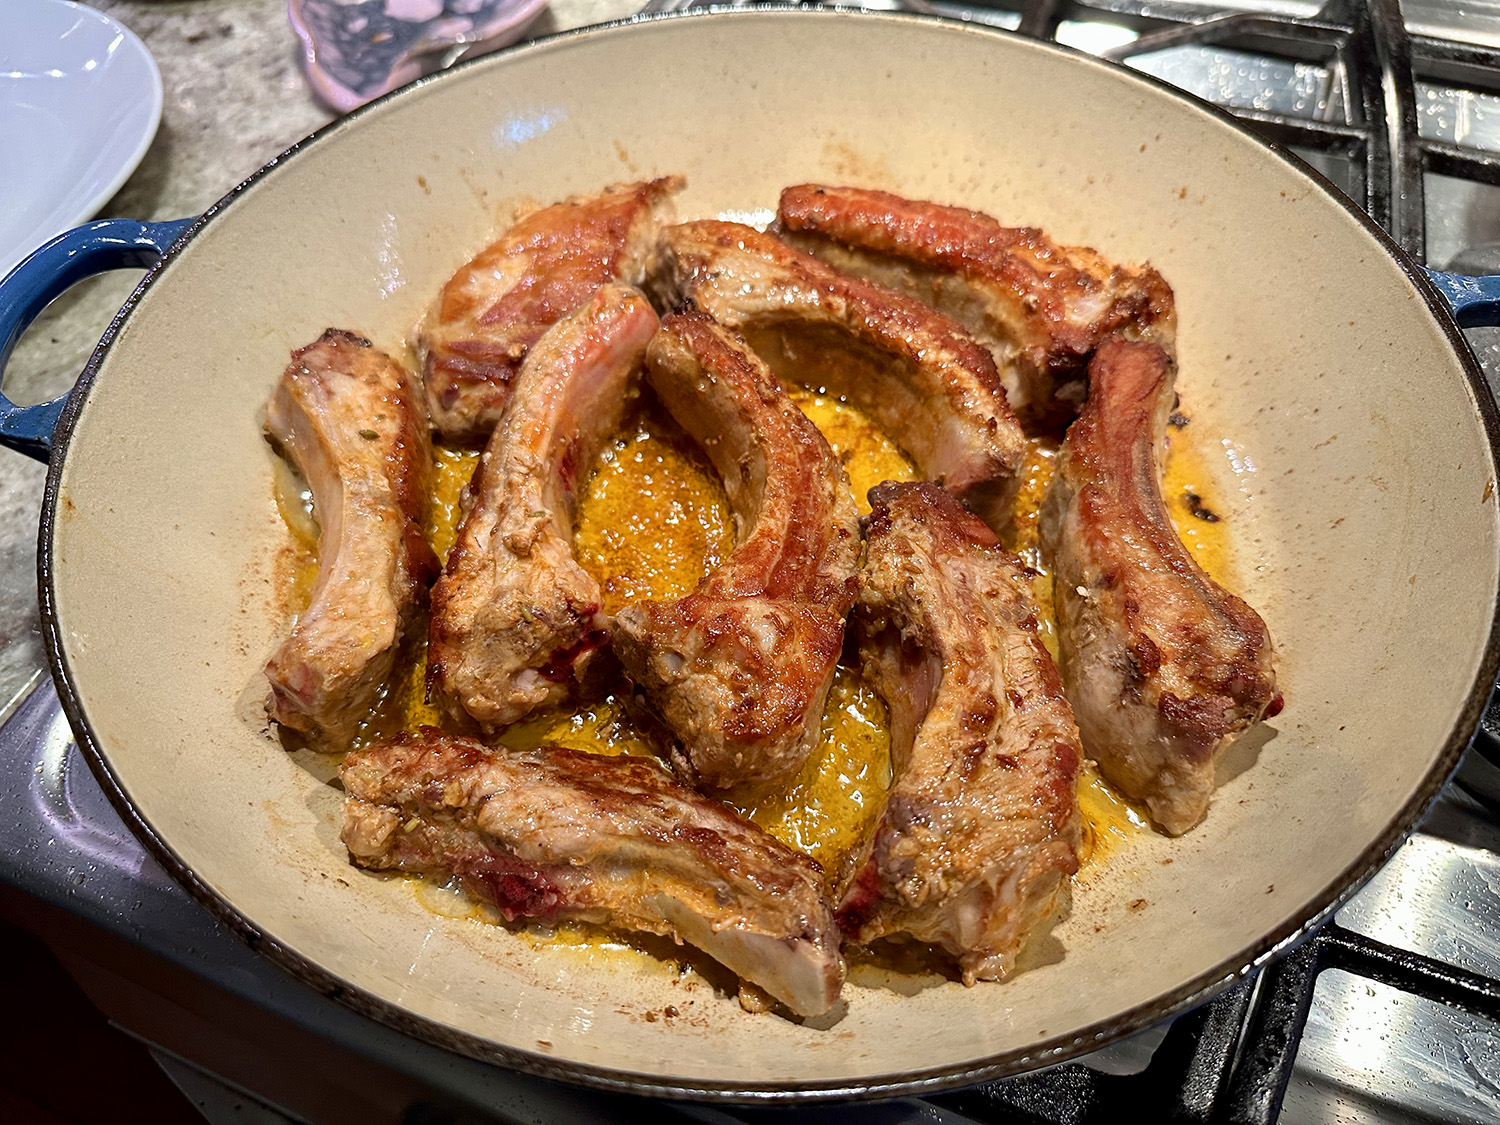
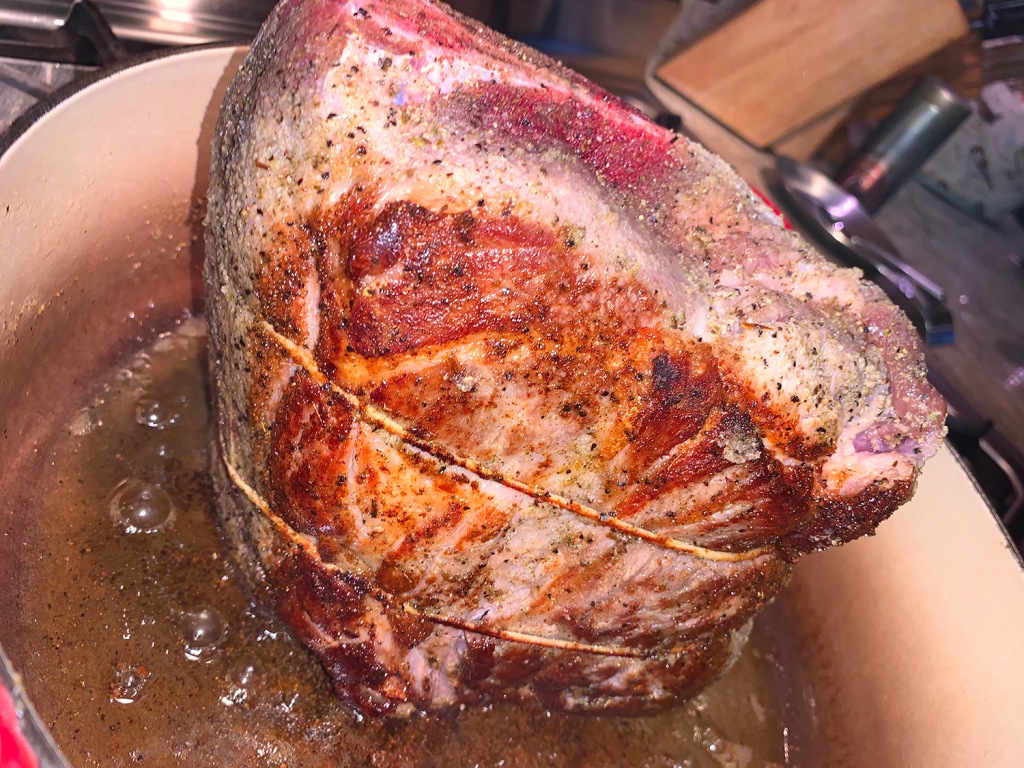
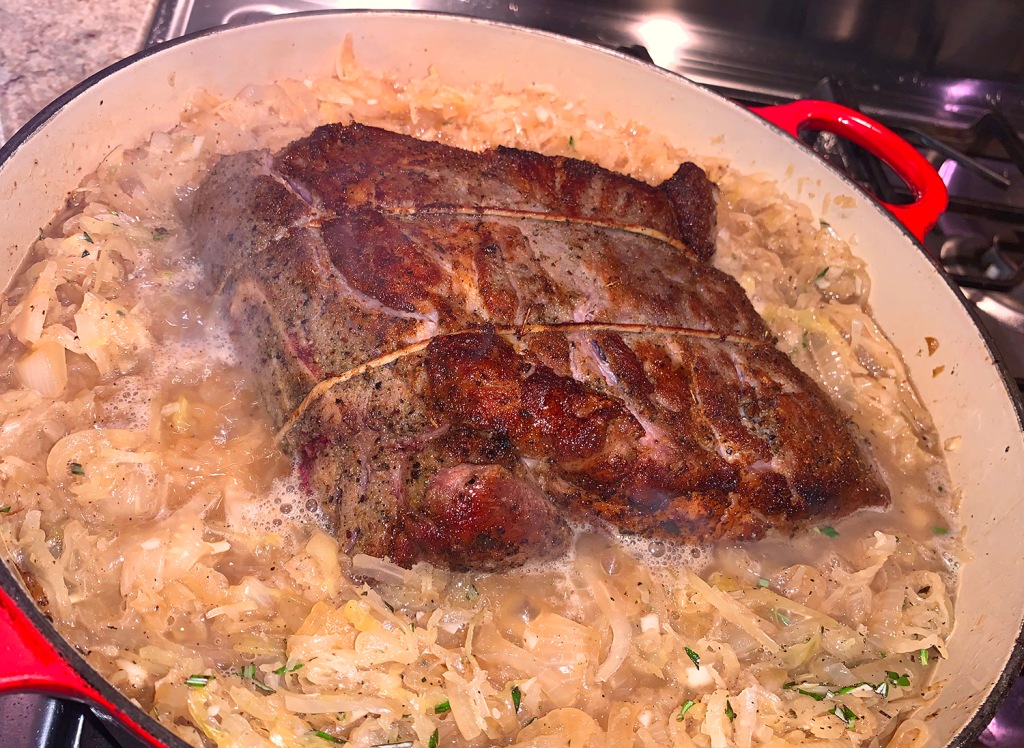
The pork shoulder is ideal here because its generous fat marbling and connective tissue break down over long, gentle heat, releasing gelatin that gives the braising liquid a silky body. Once the pork is seared to a deep golden crust — building fond and locking in savory depth — the real magic happens in the braise itself.
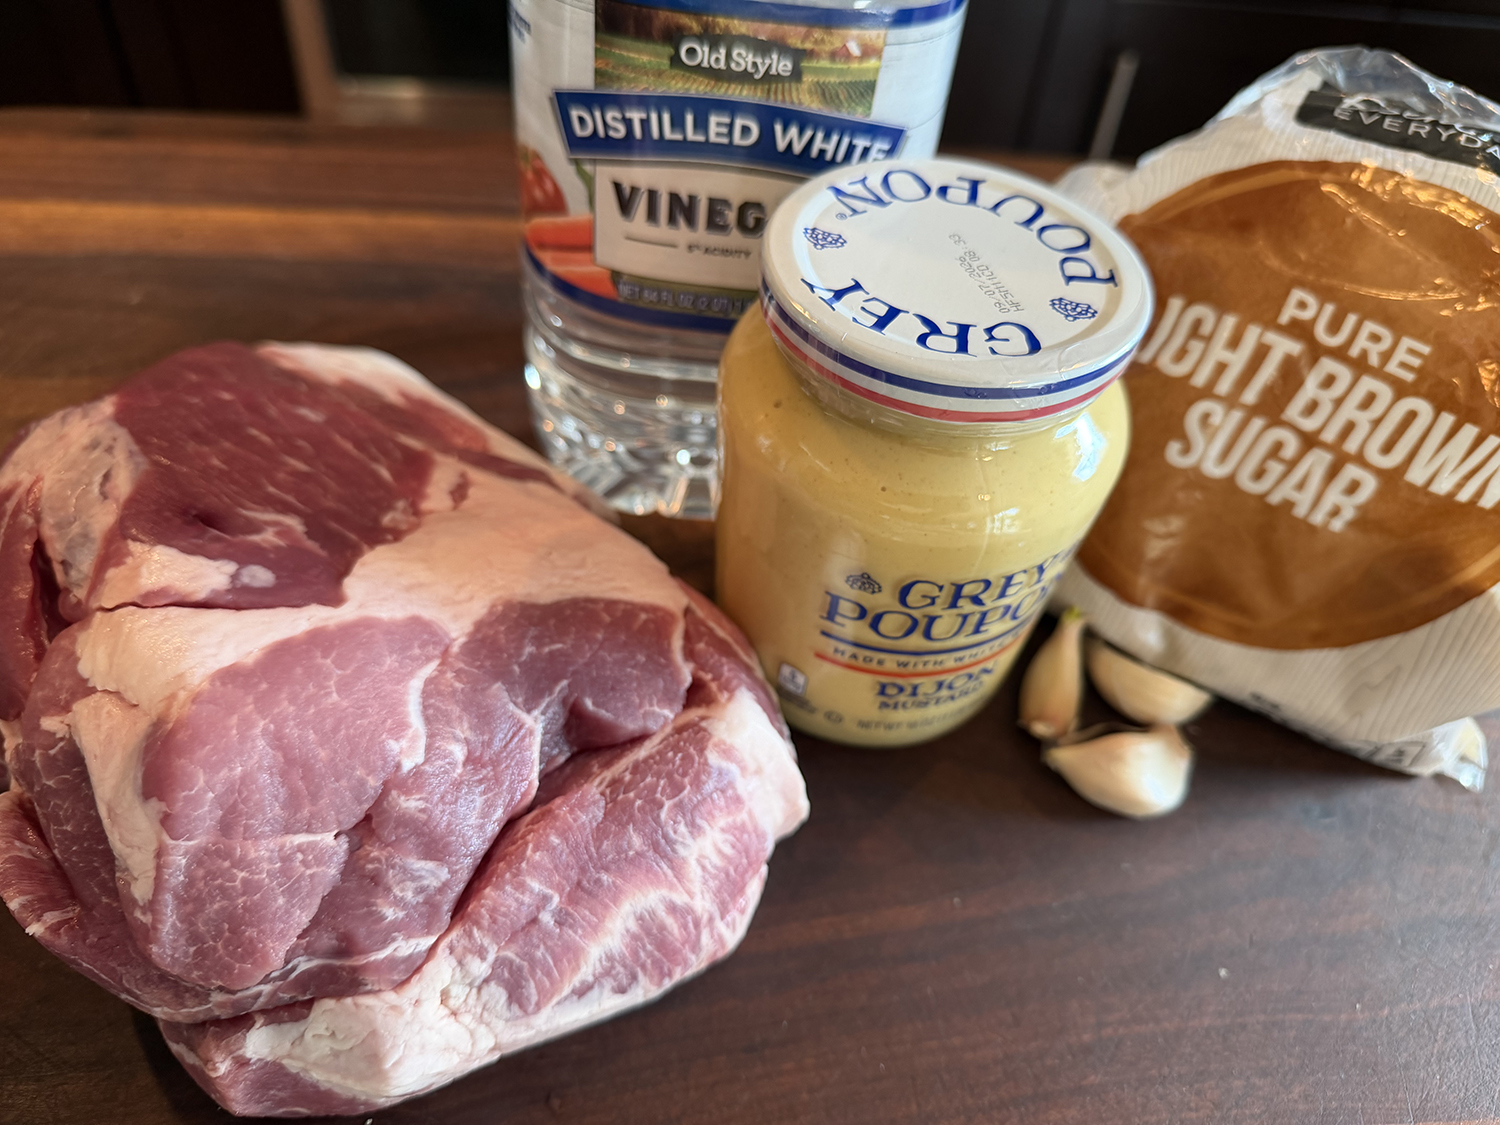
Dijon mustard is the backbone of the seasonings. It’s sharp and complex, with a subtle heat that mellows as it cooks but never disappears entirely, acting as an emulsifier. The white wine vinegar cuts through the richness of the pork and brightens everything, keeping the dish from feeling heavy despite the long cooking time.
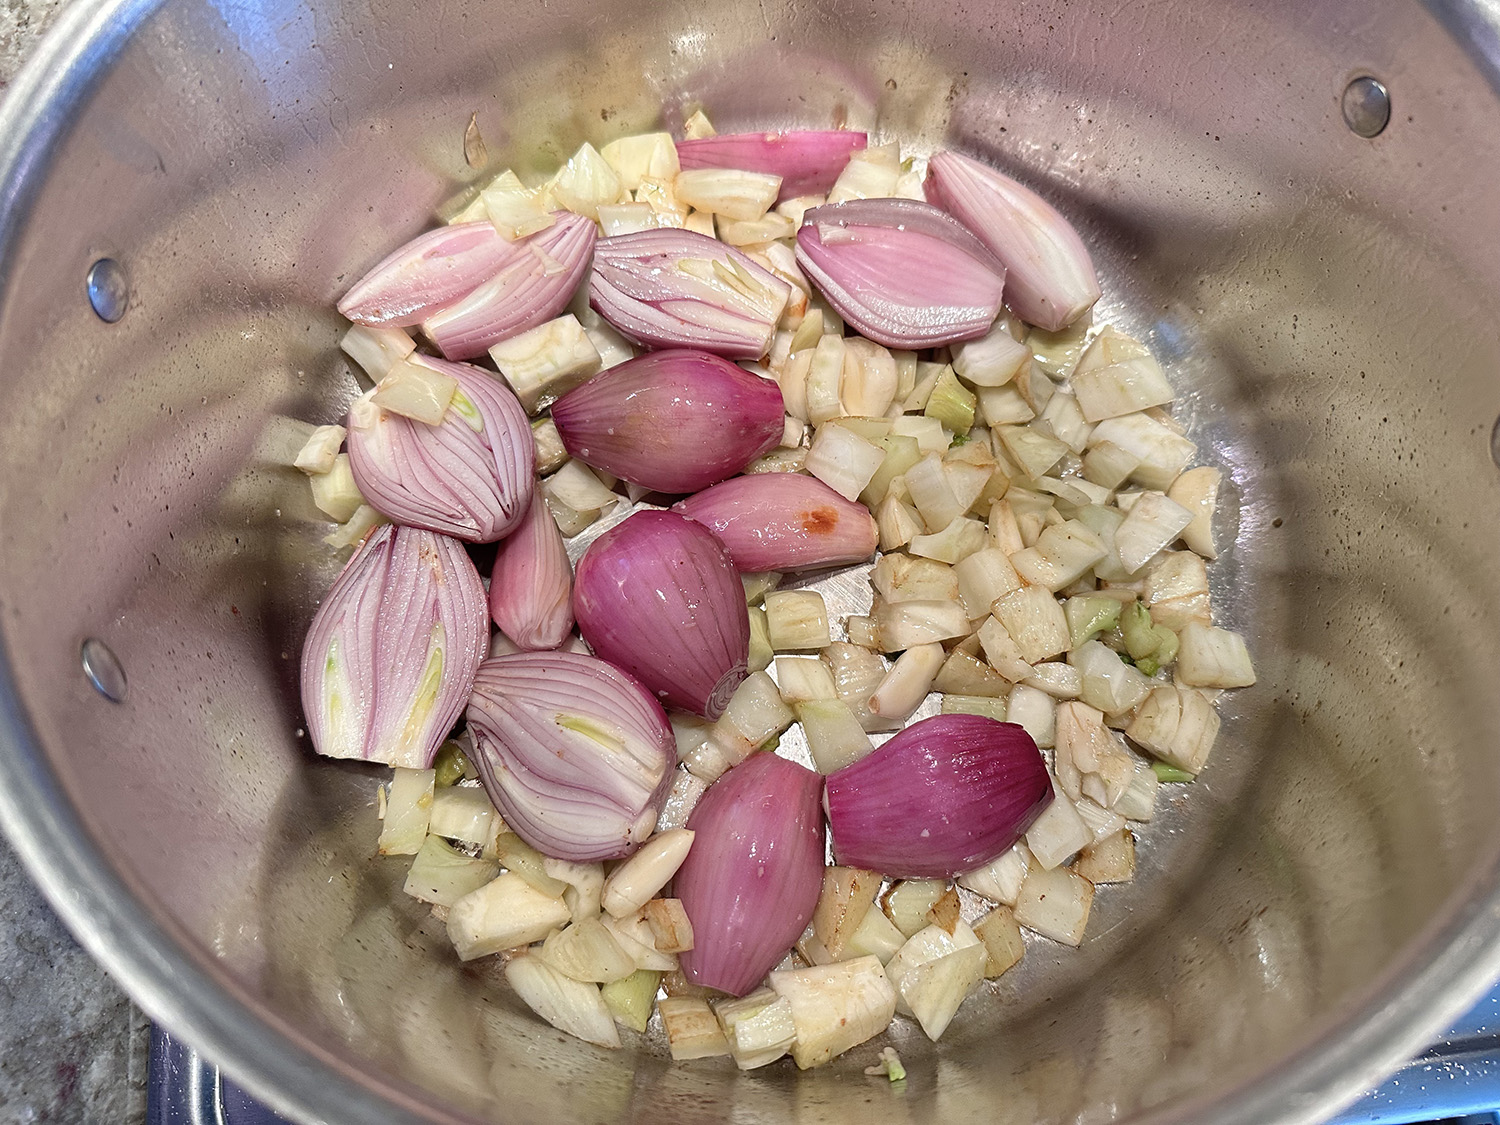
Brown sugar balances the acidity and mustard’s bite, lending a subtle caramel warmth that rounds out the sharp edges without tipping the dish into sweetness. Garlic, braised low and slow, loses its pungency and becomes soft, nutty, and almost sweet, weaving through the flavors as a quiet, aromatic thread.
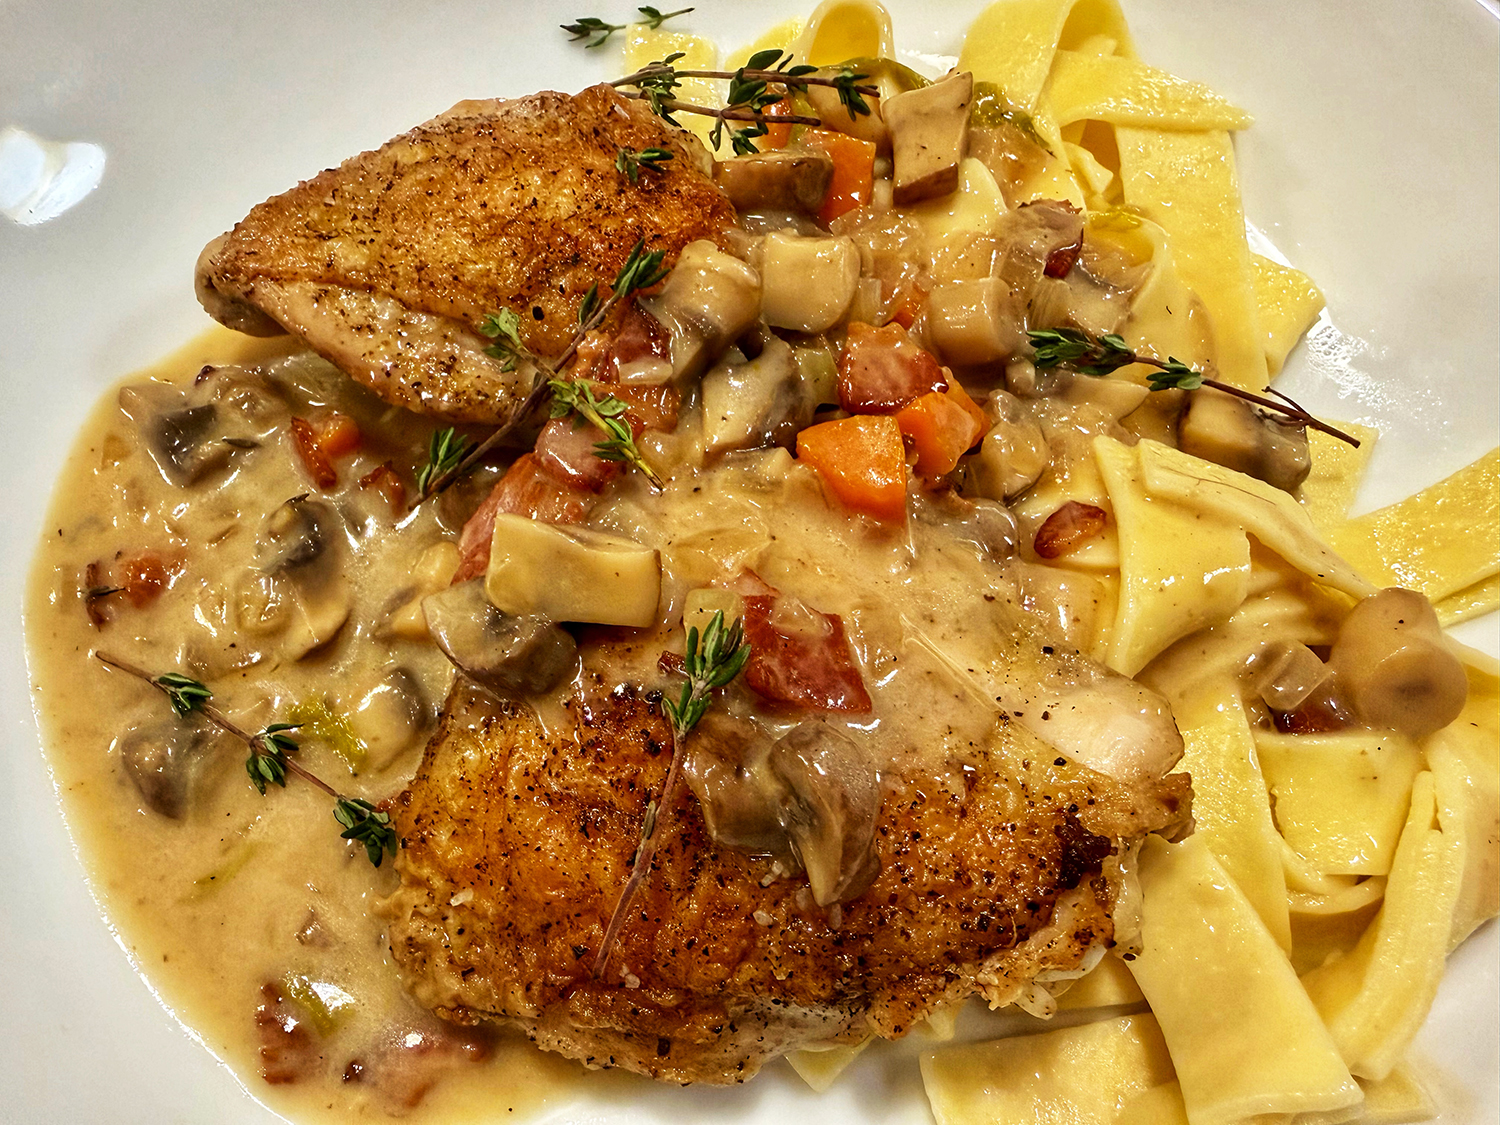
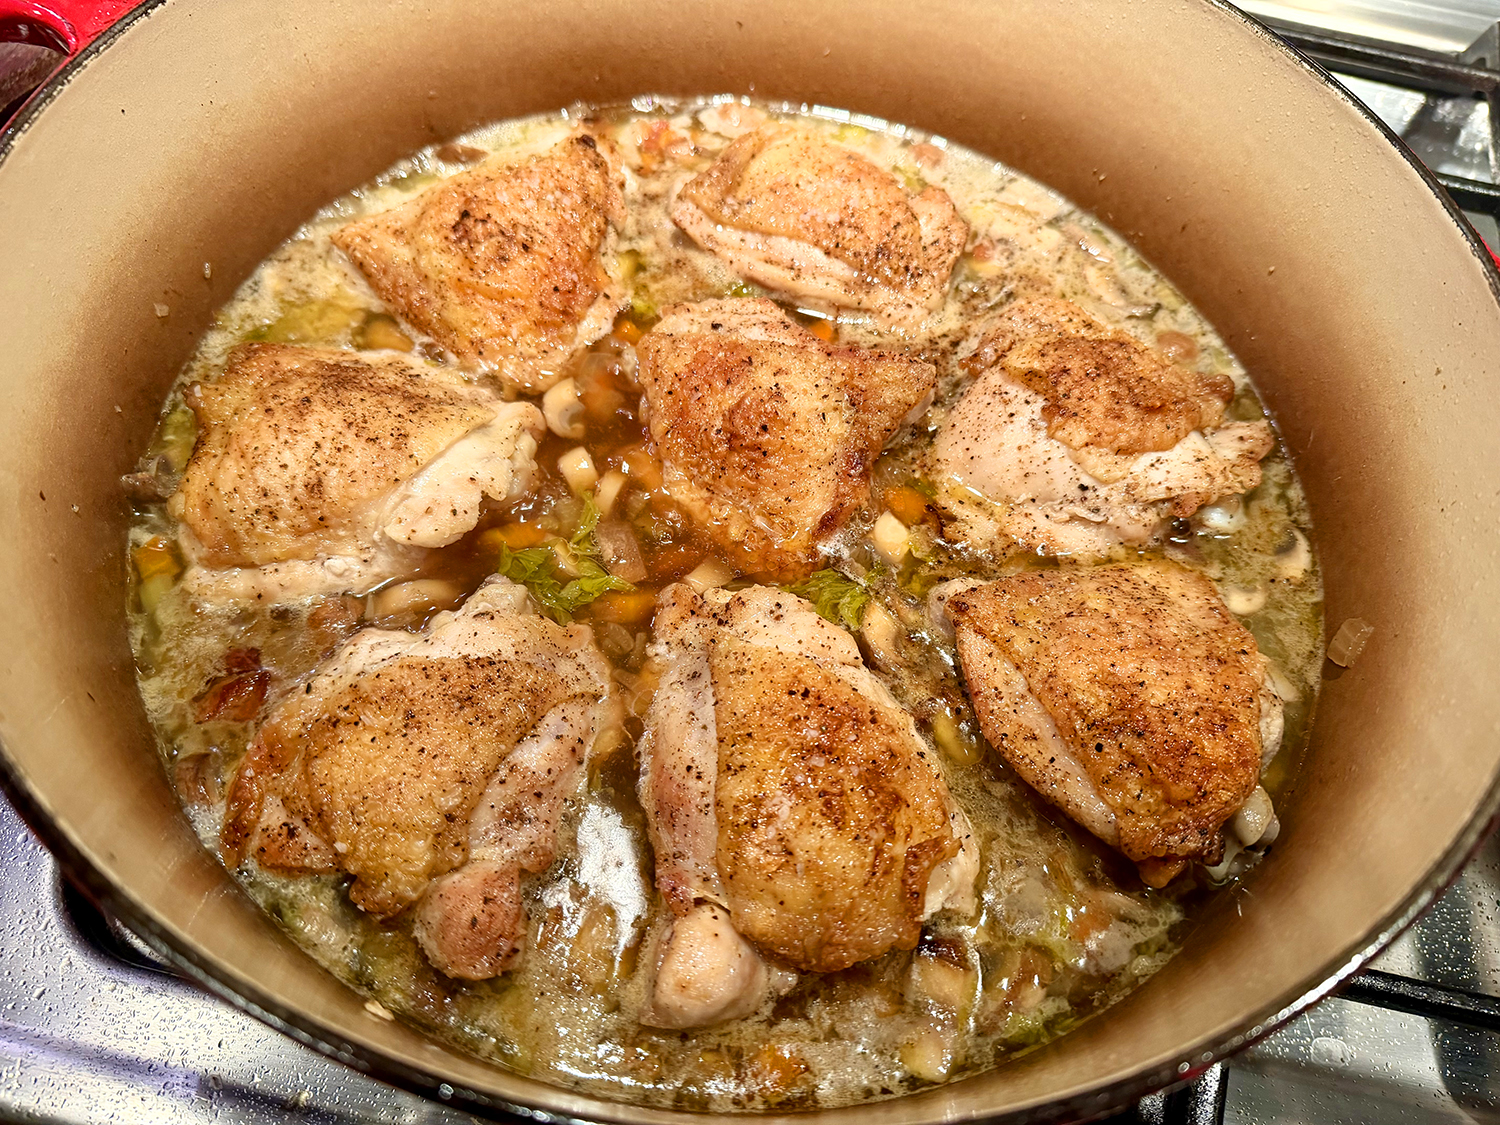
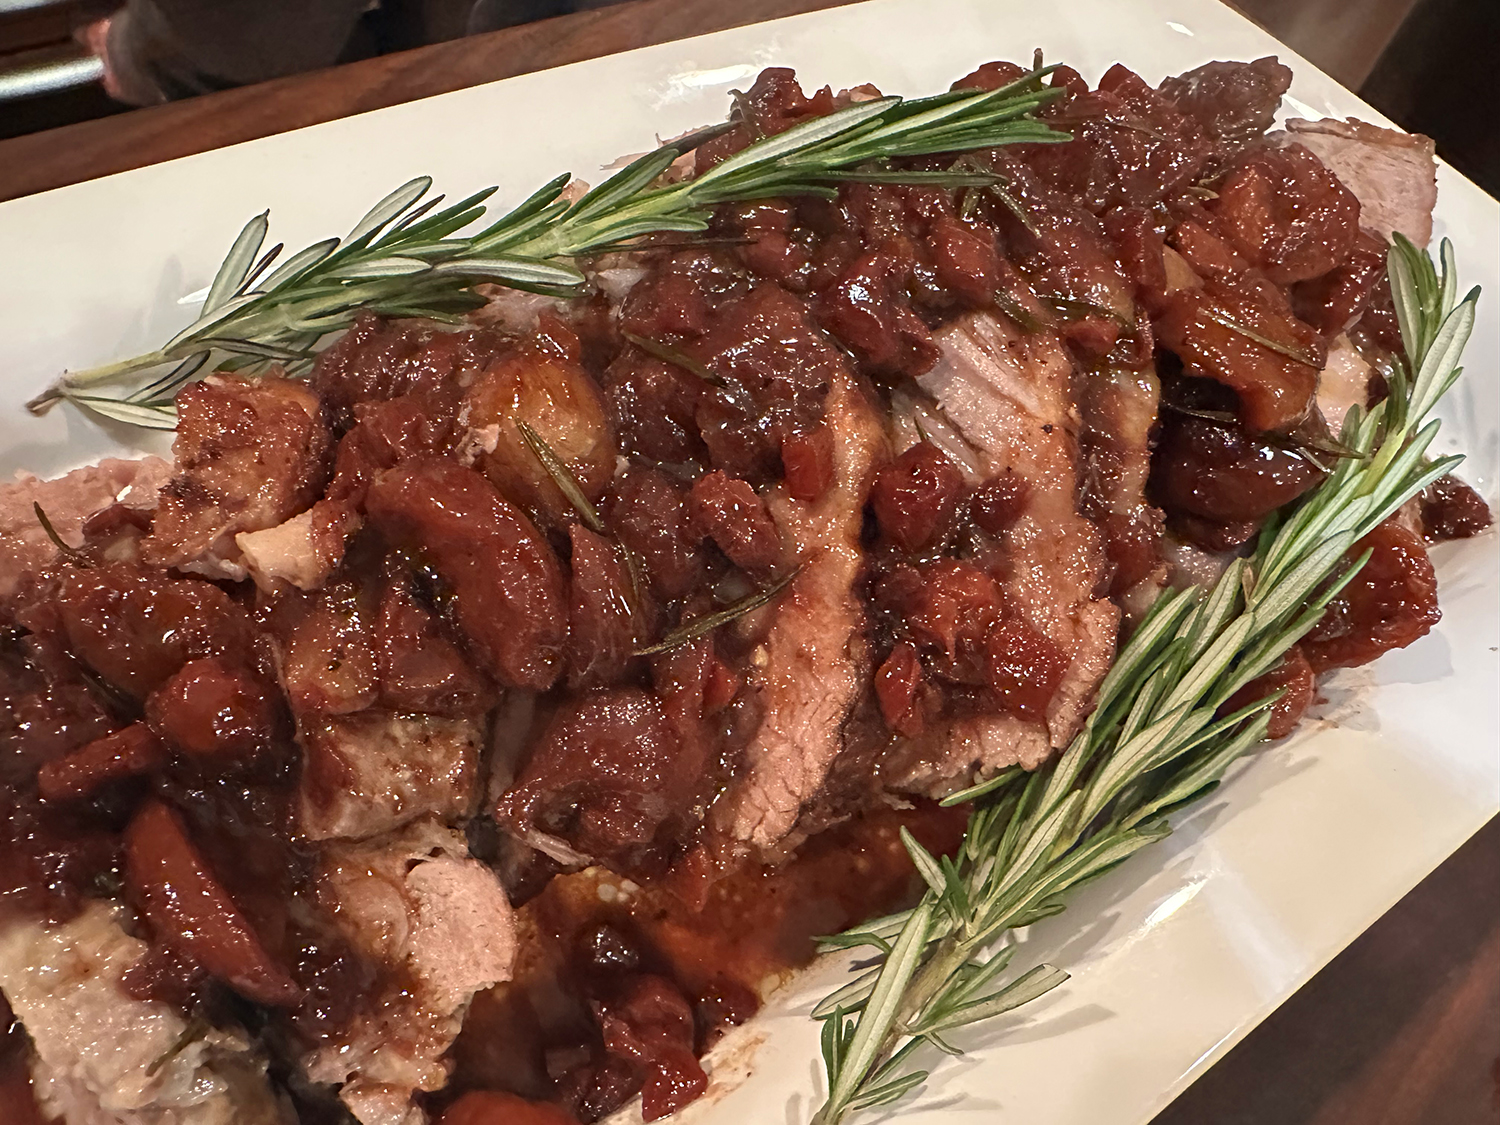
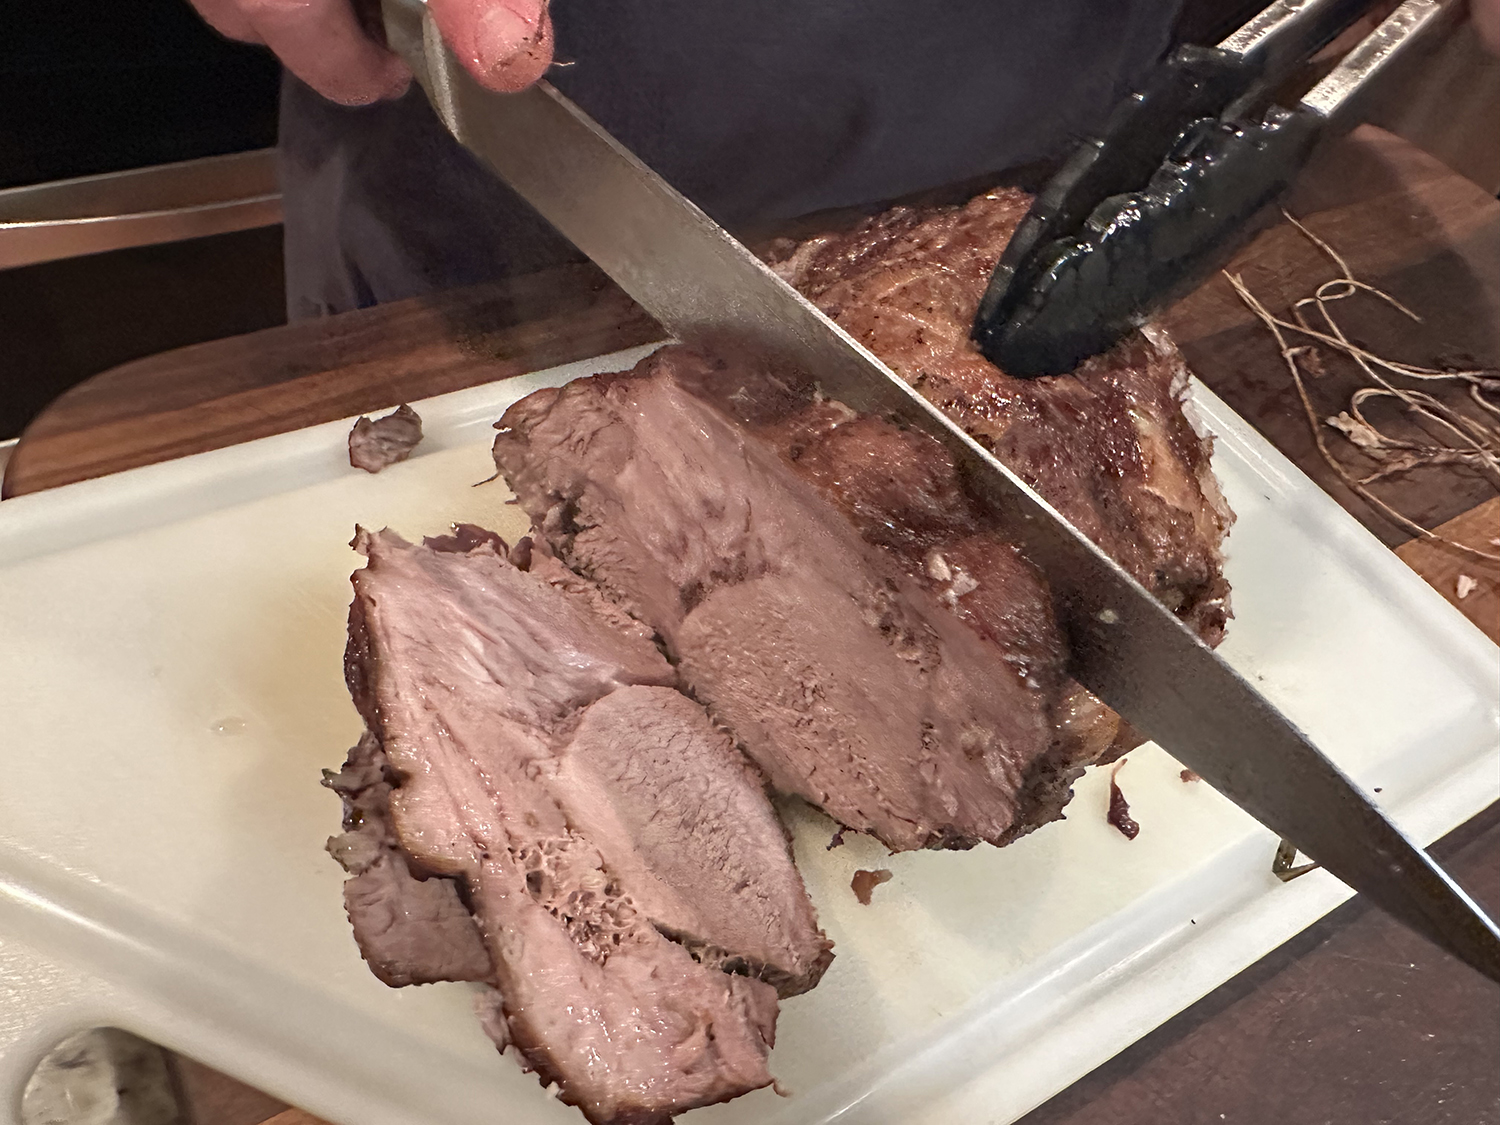
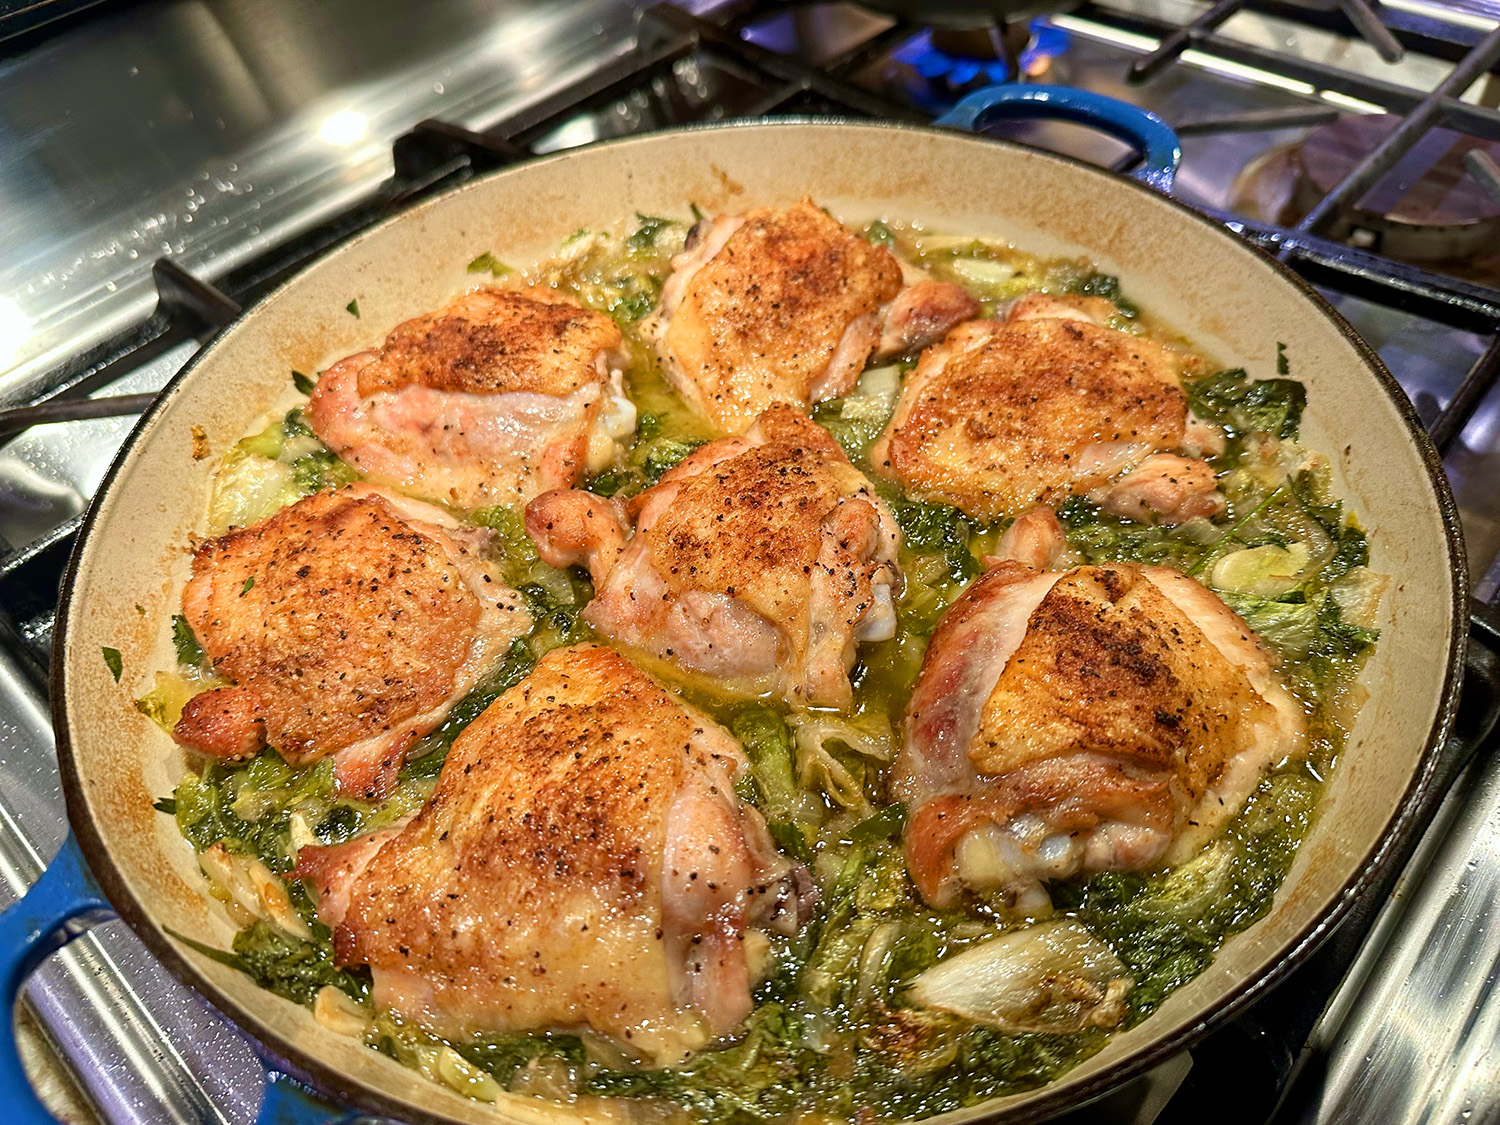
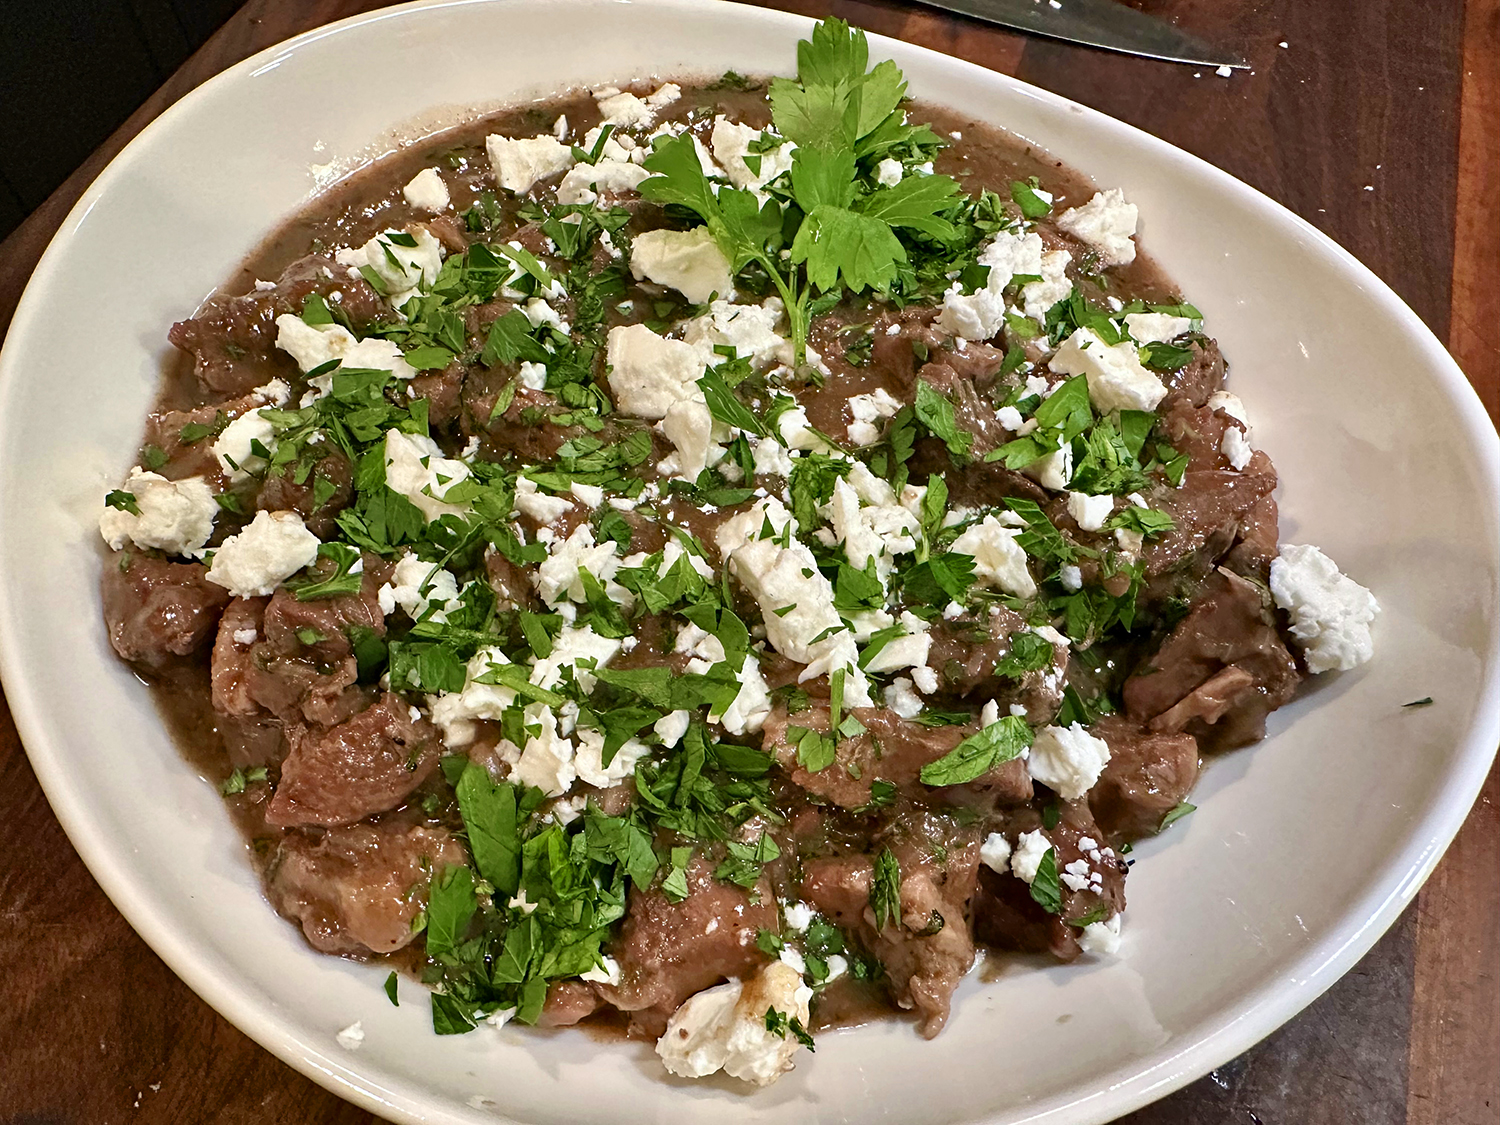
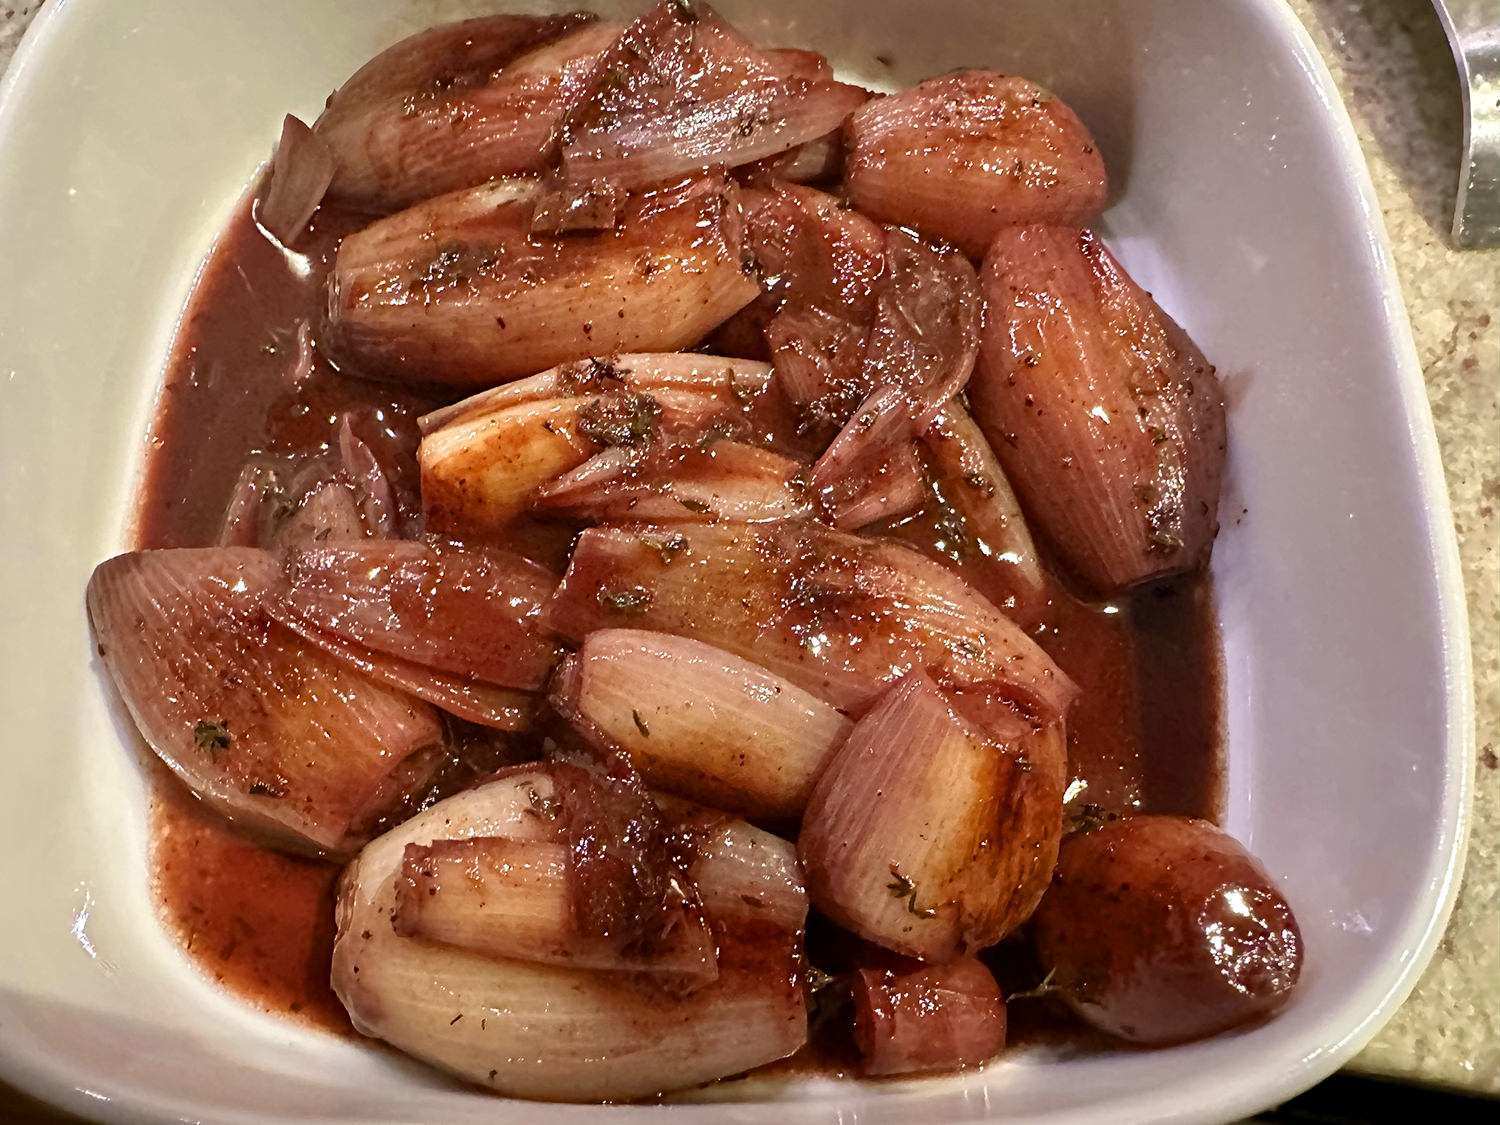
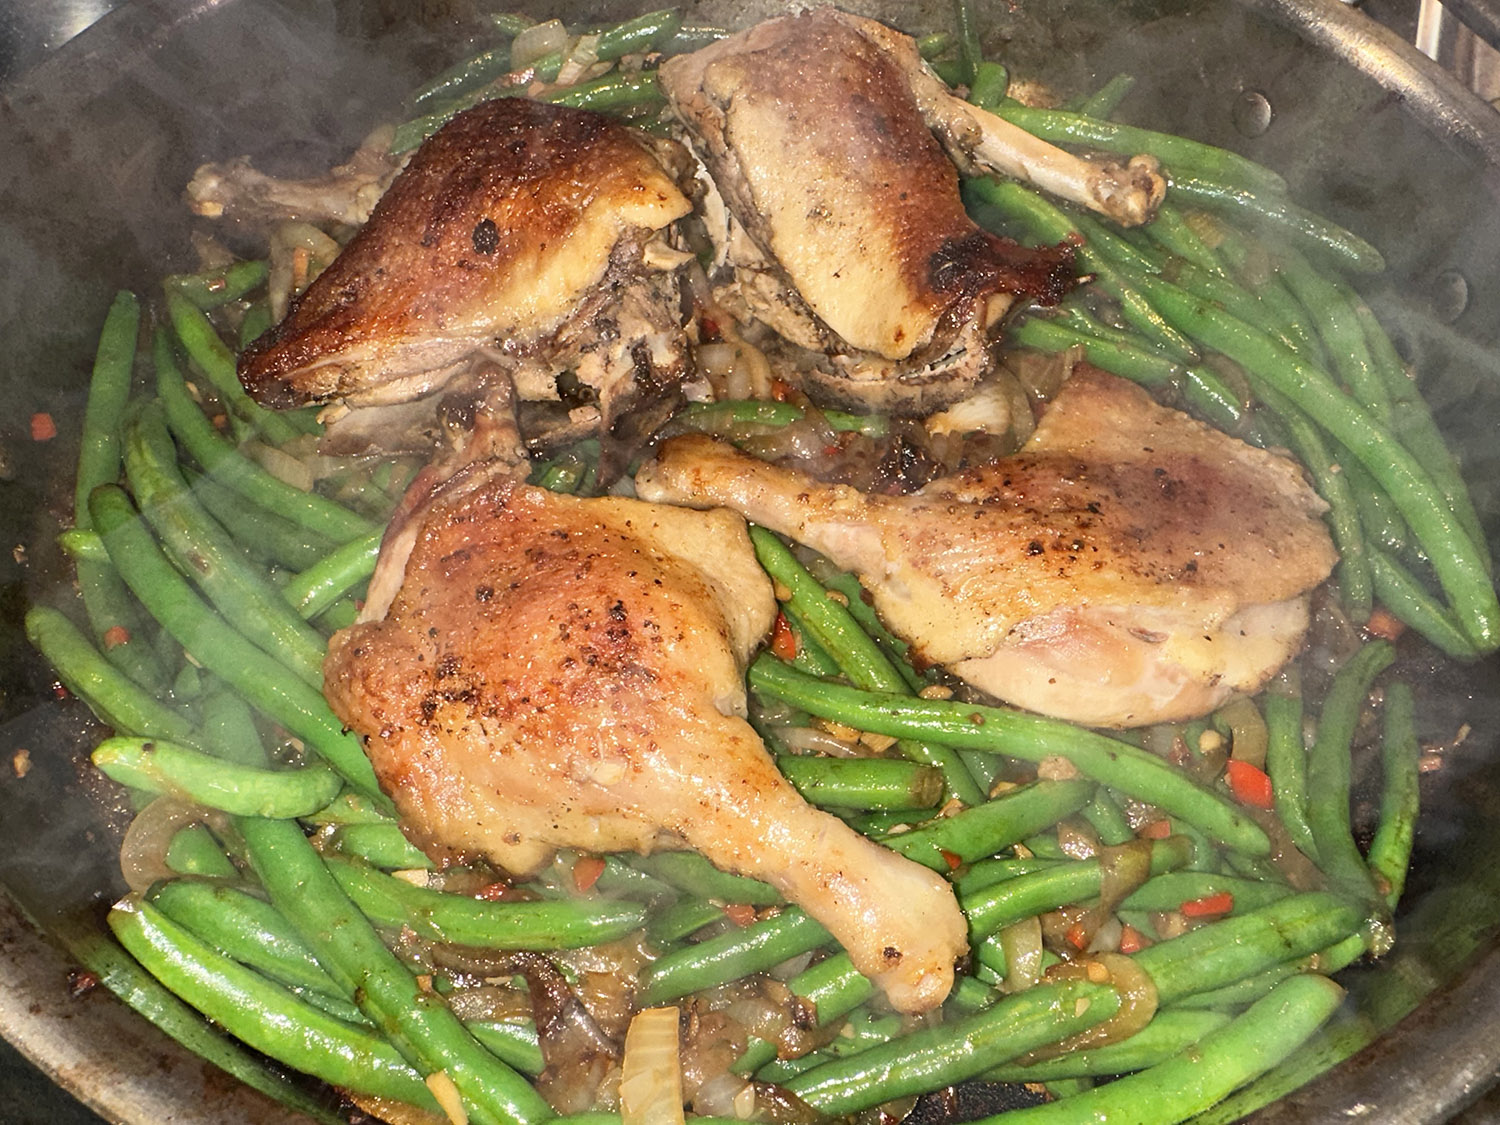
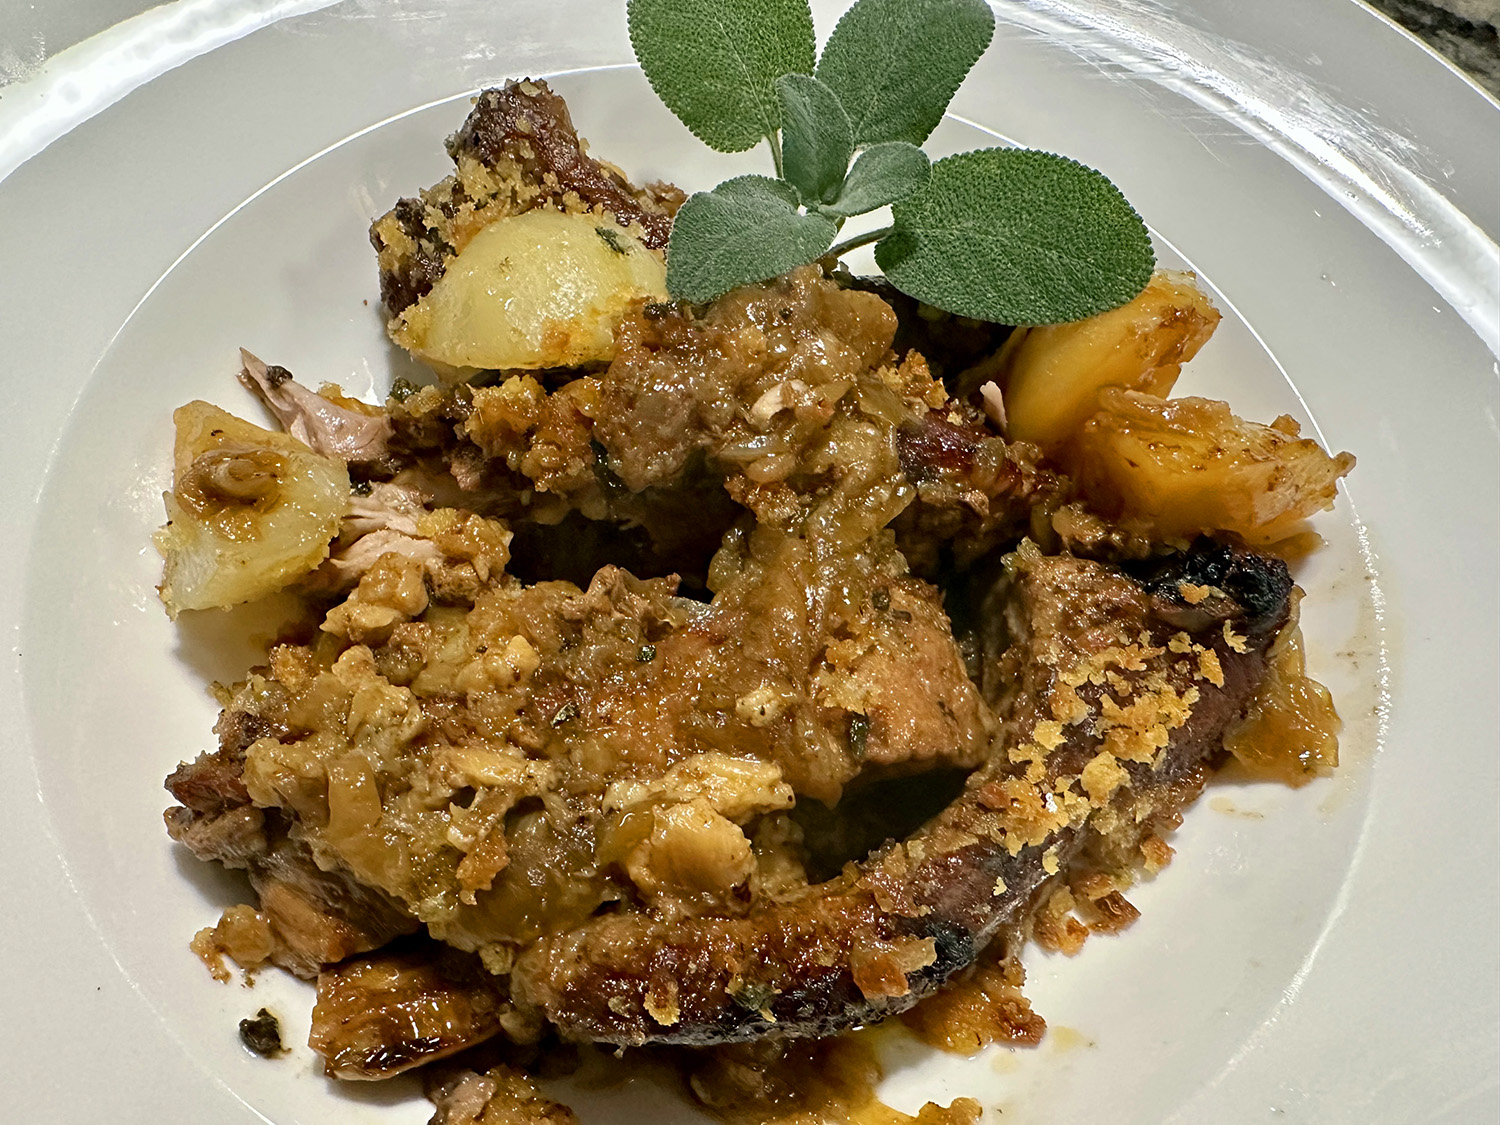
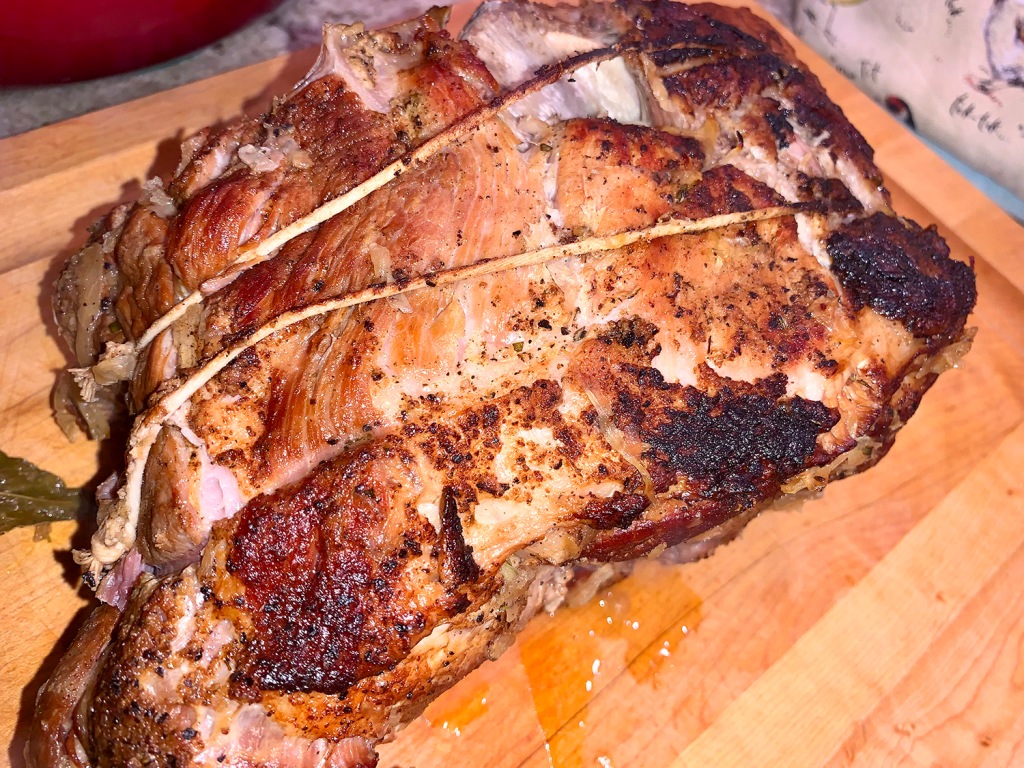
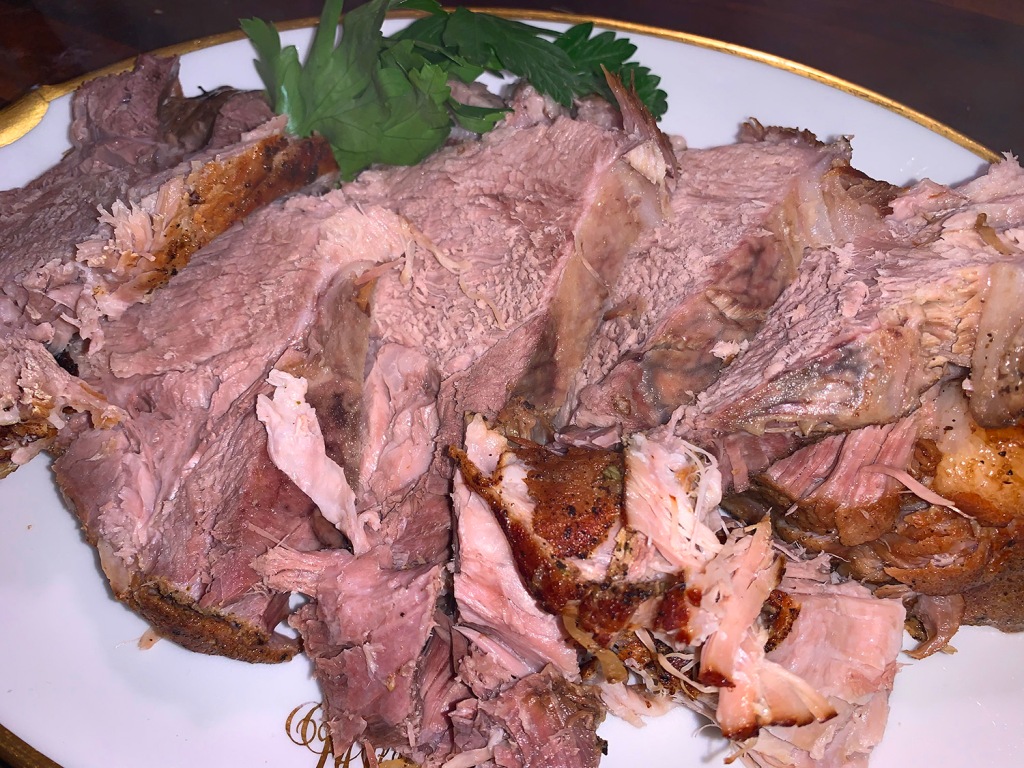
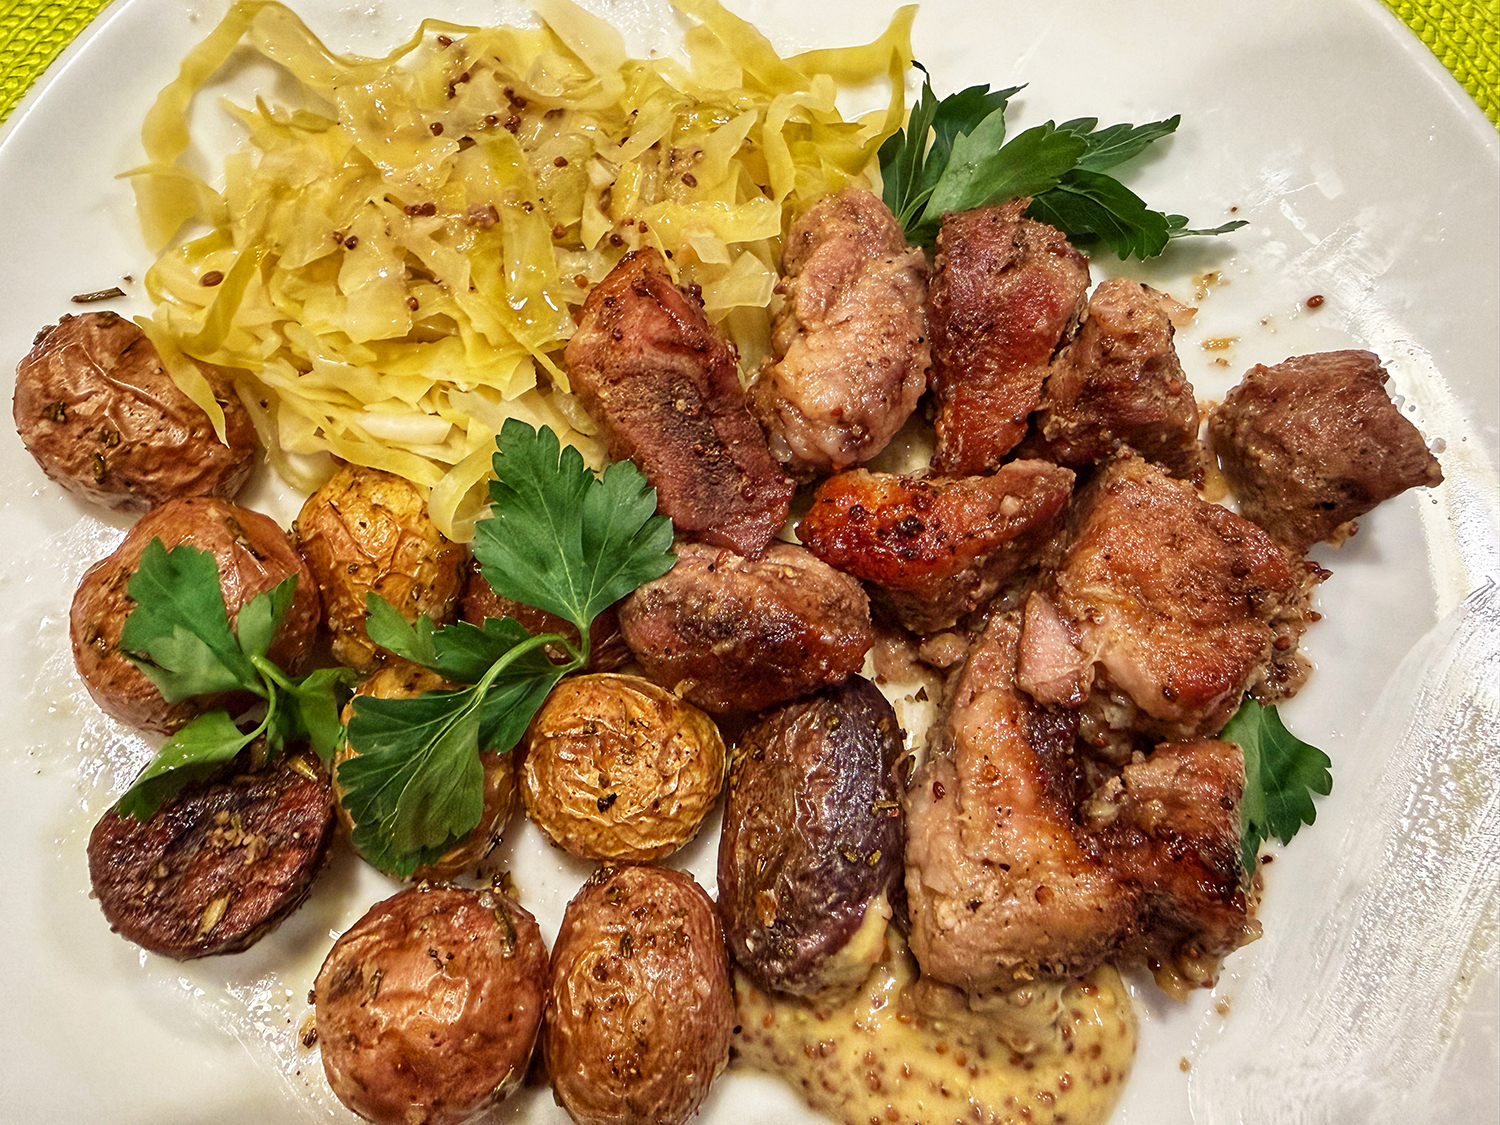
The finished dish is a study in contrasts held in harmony — tangy and rich, savory and faintly sweet, sharp and mellow all at once. The pork chunks are fork-tender, practically falling apart, with a savory crust. It’s the kind of dish that smells incredible for hours as it cooks and tastes even better the next day after the flavors have had time to deepen and settle together.
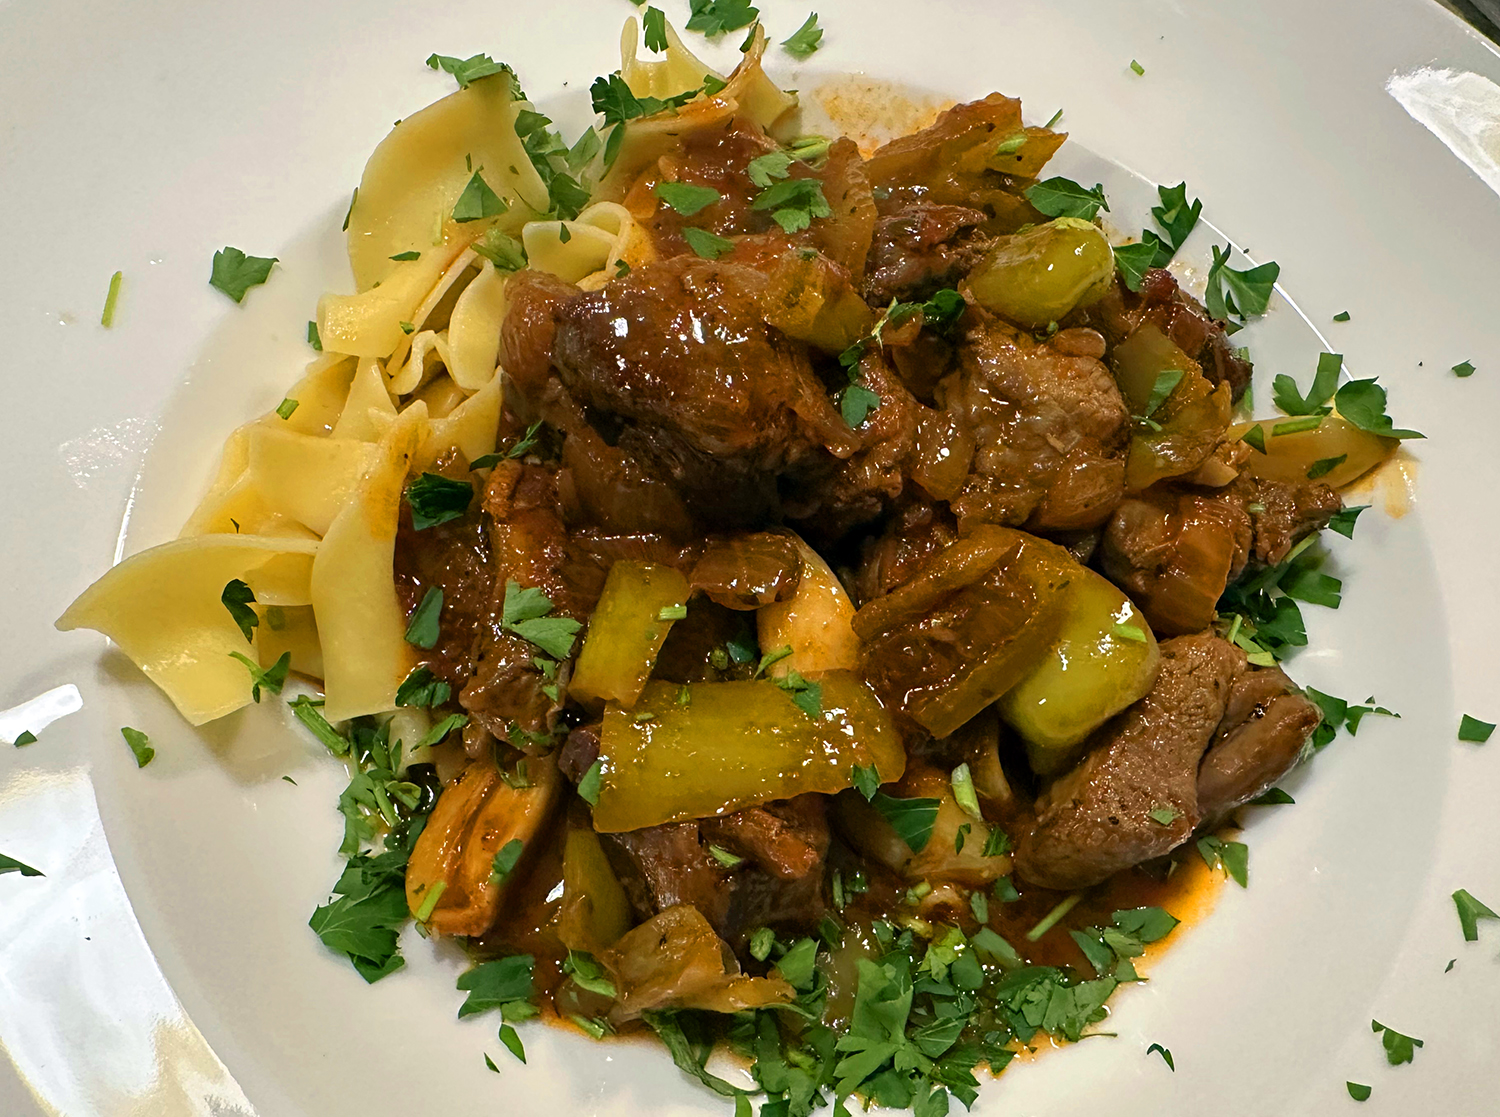
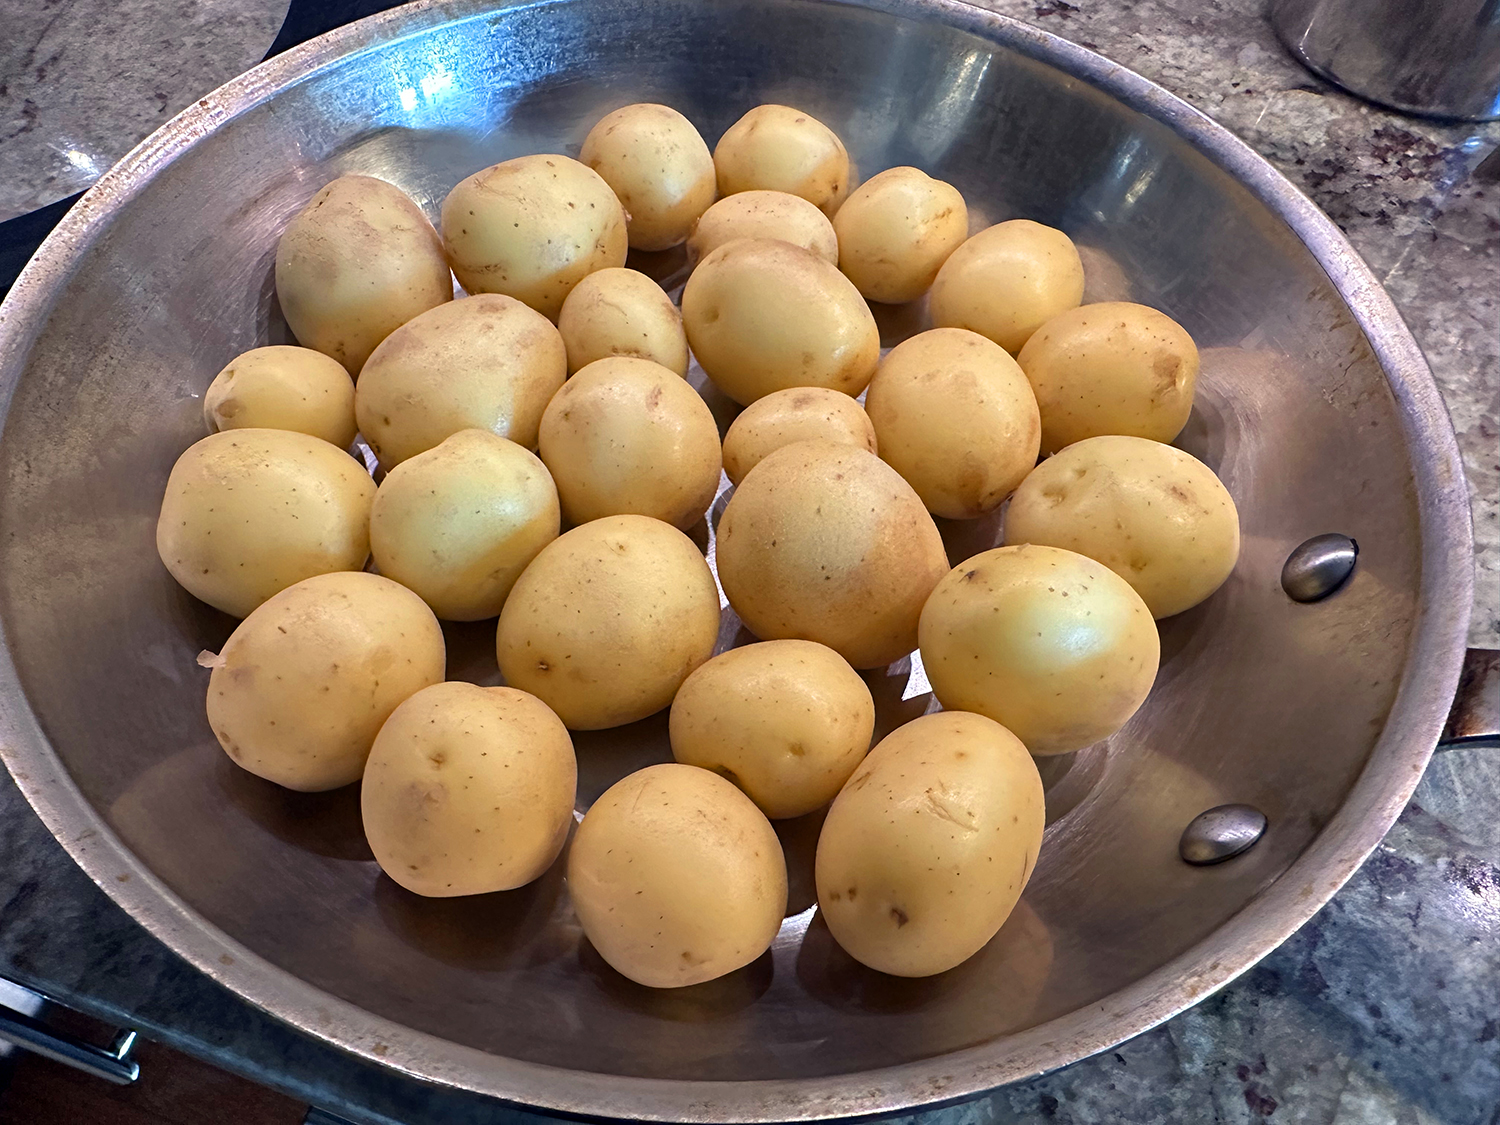
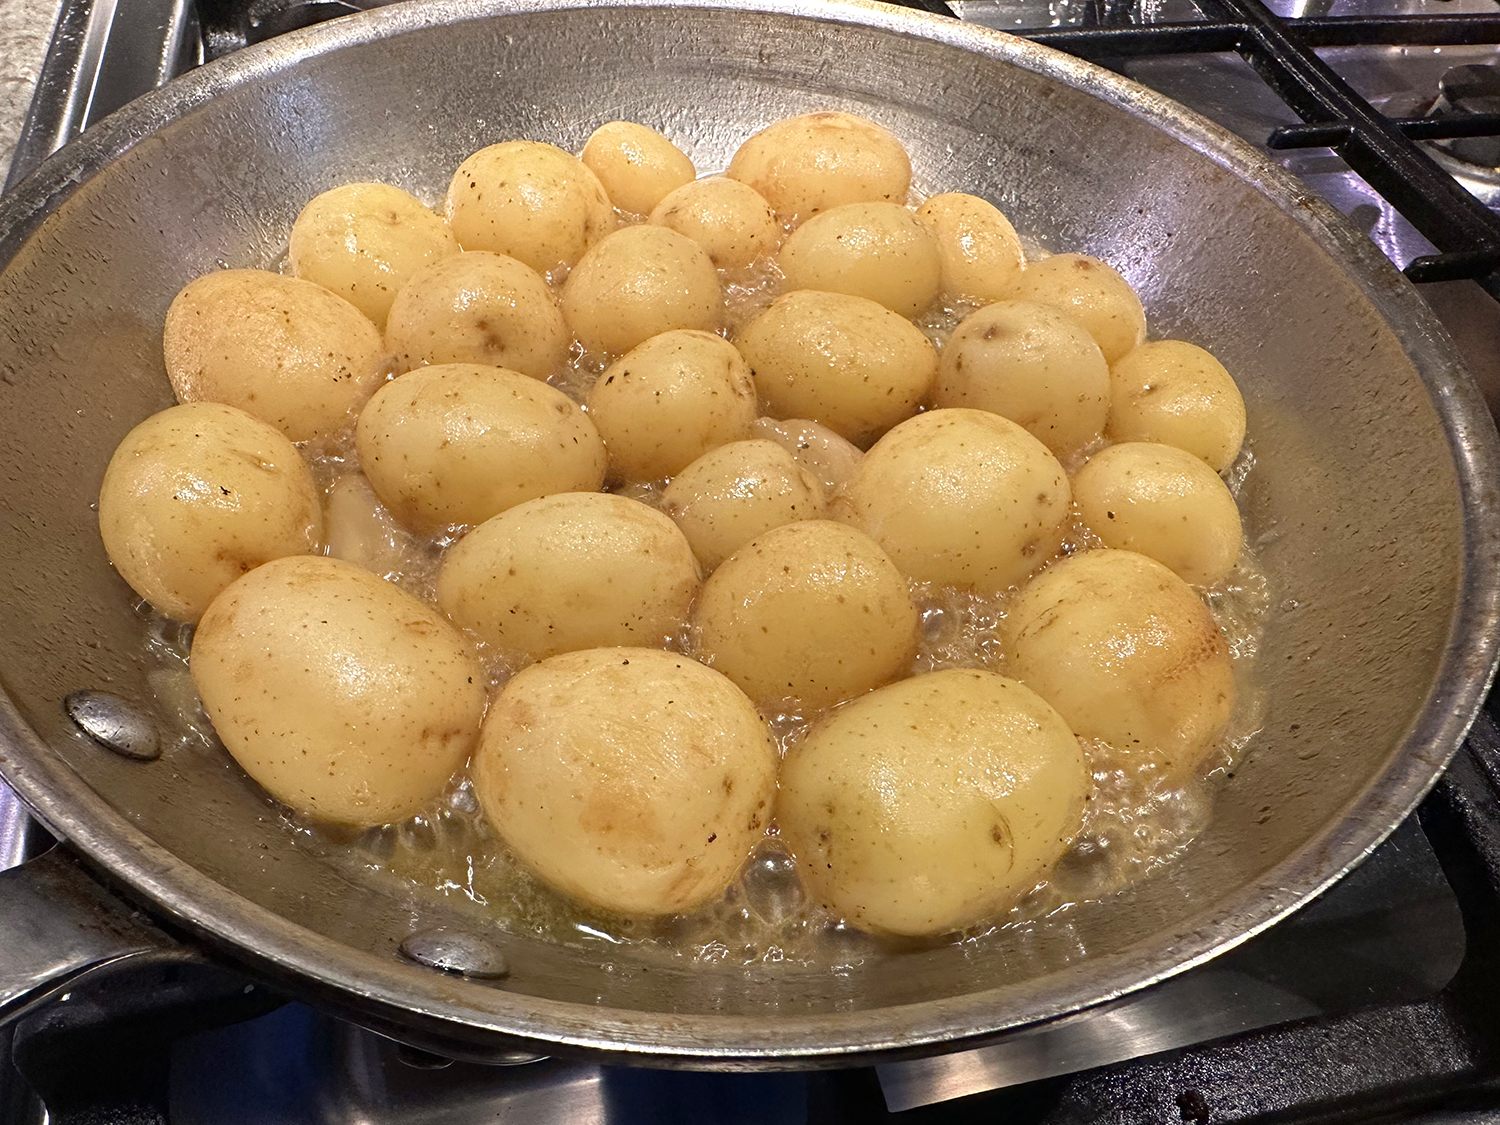
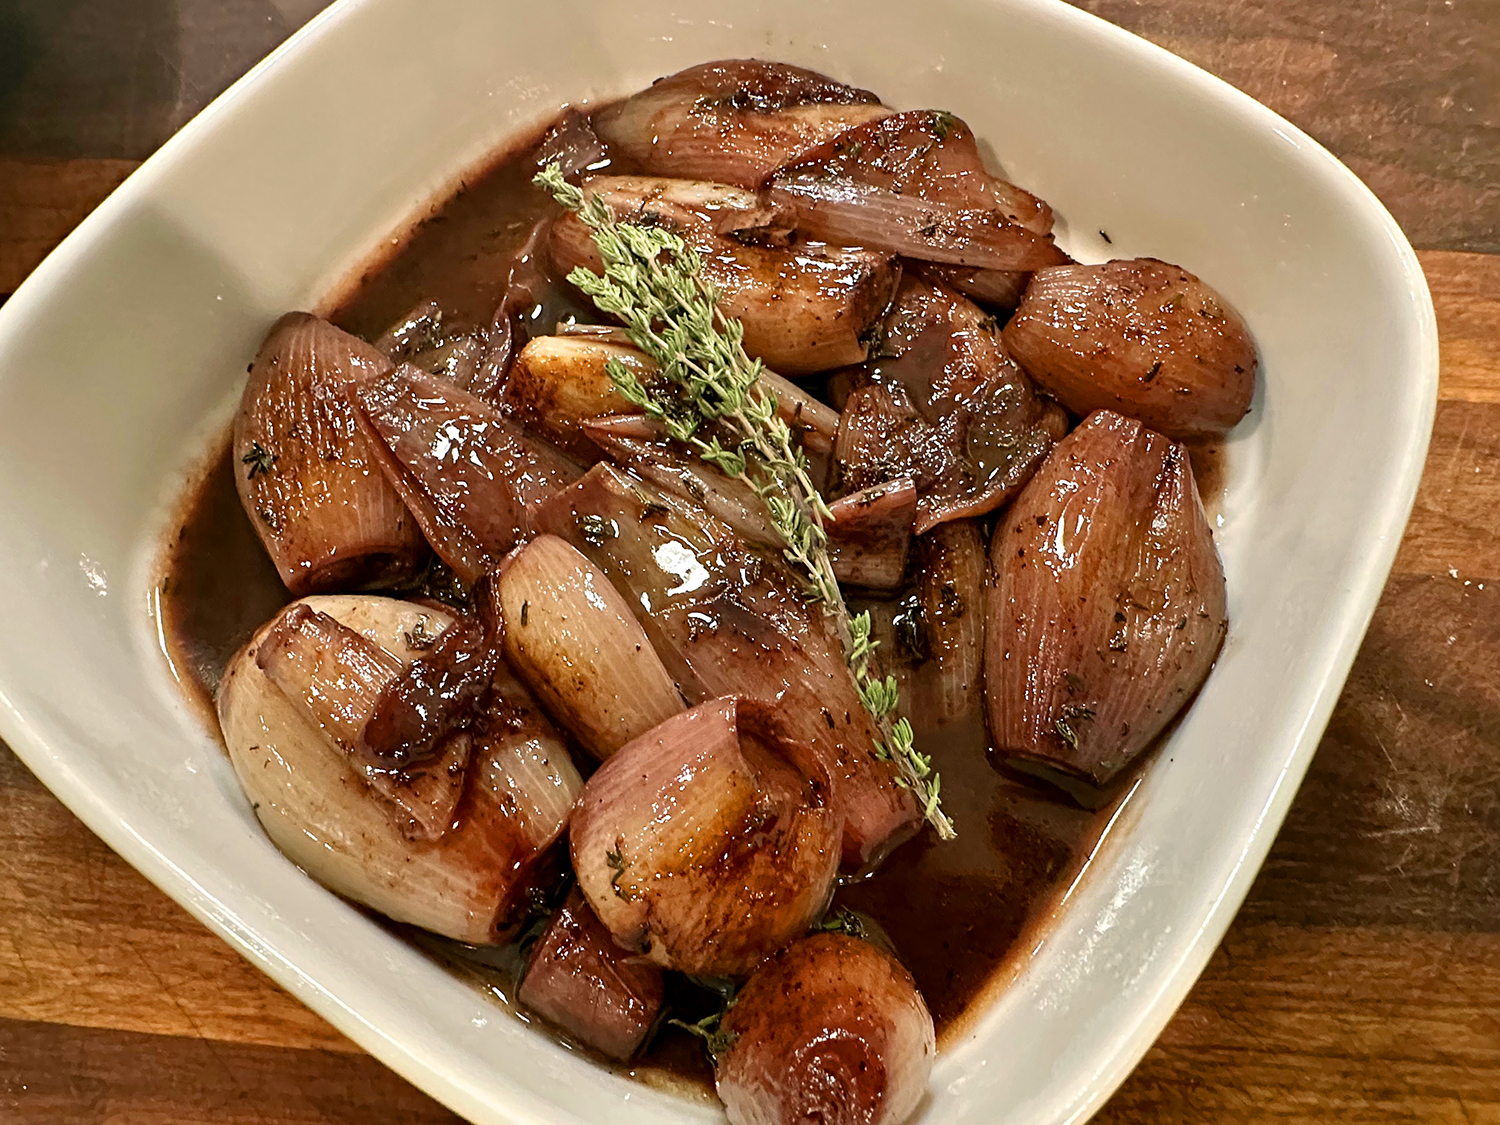
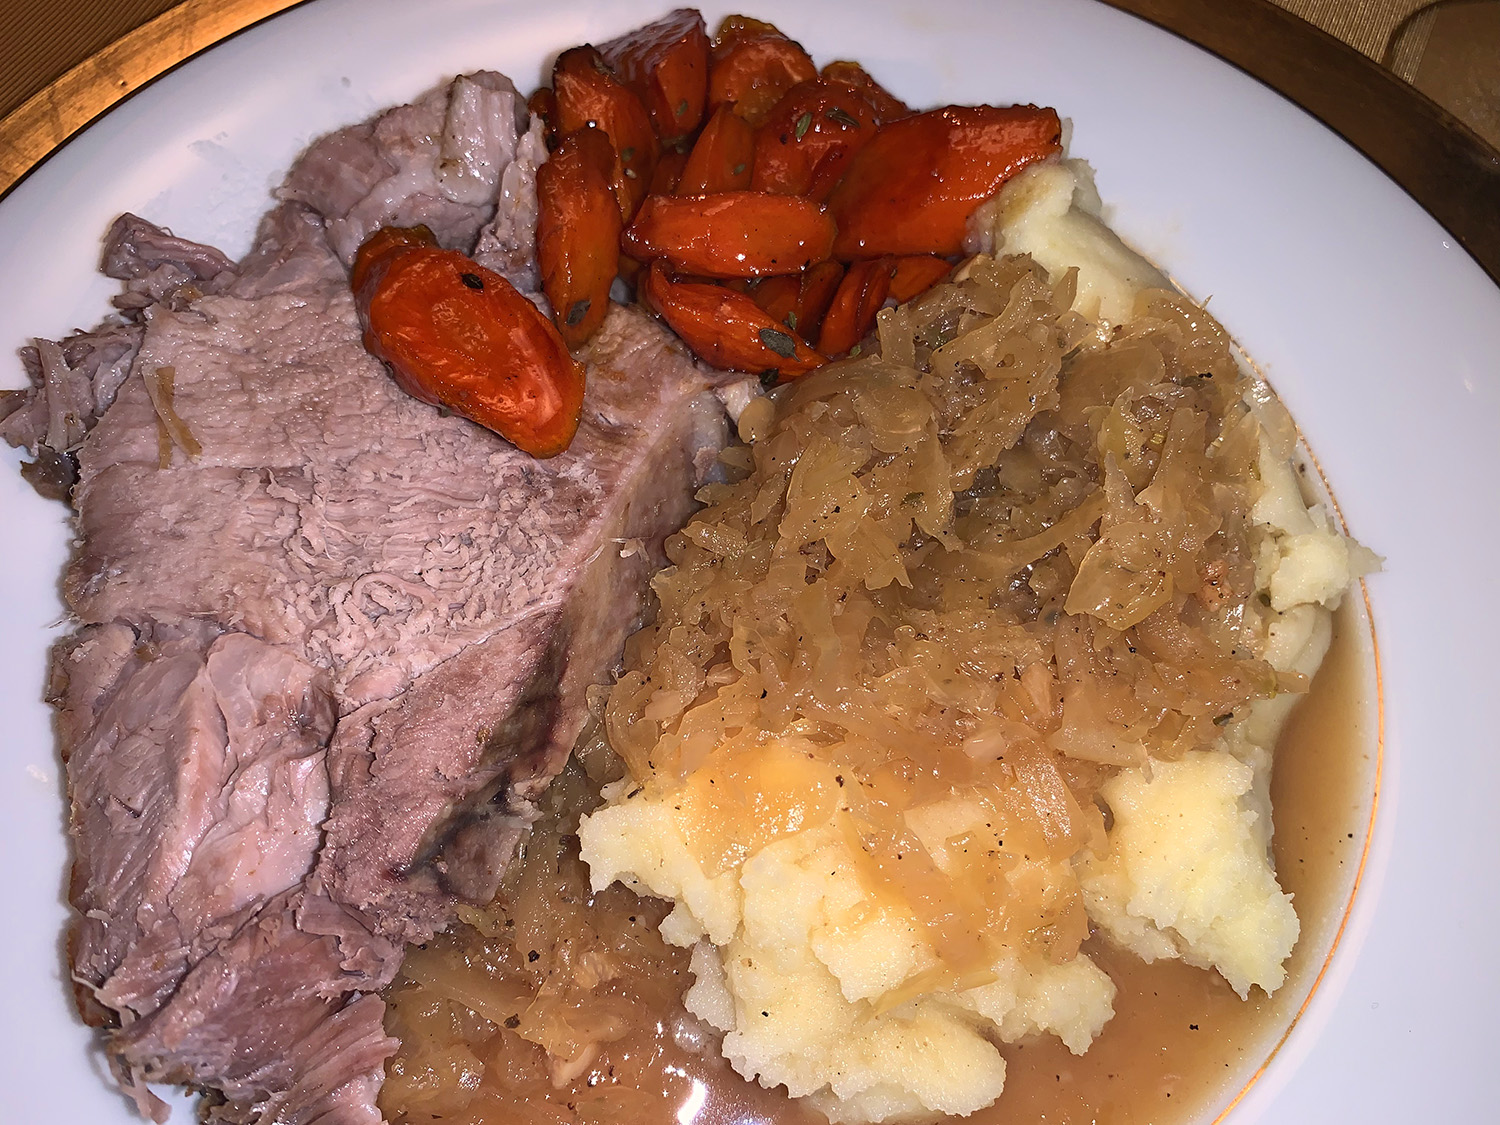
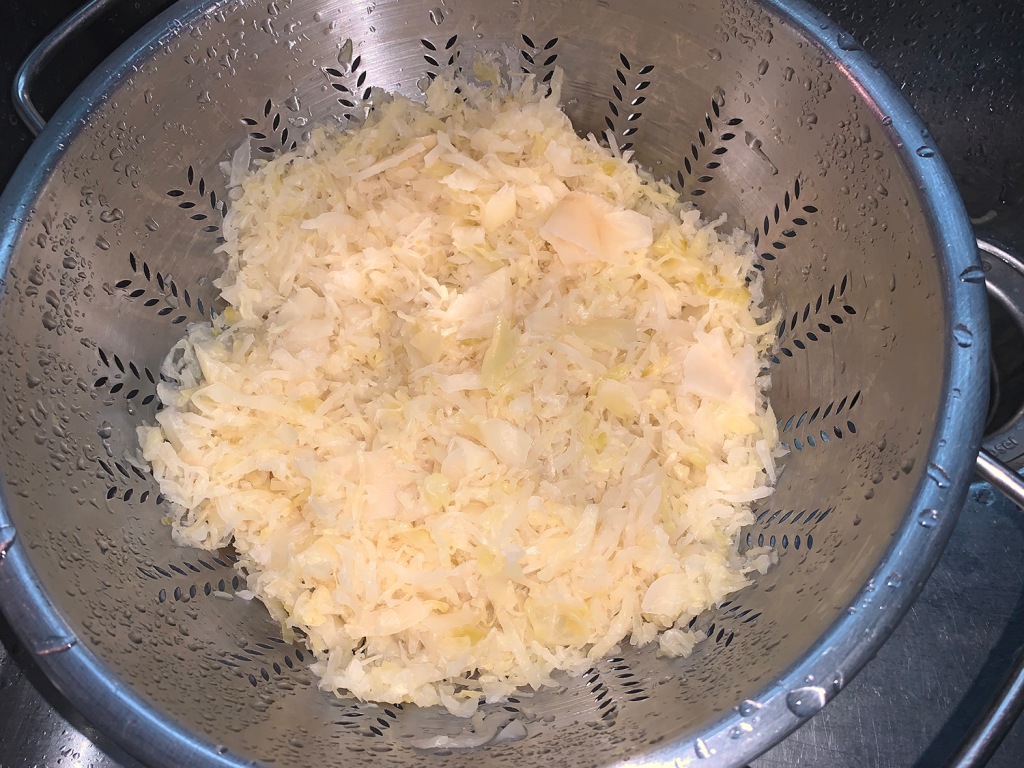
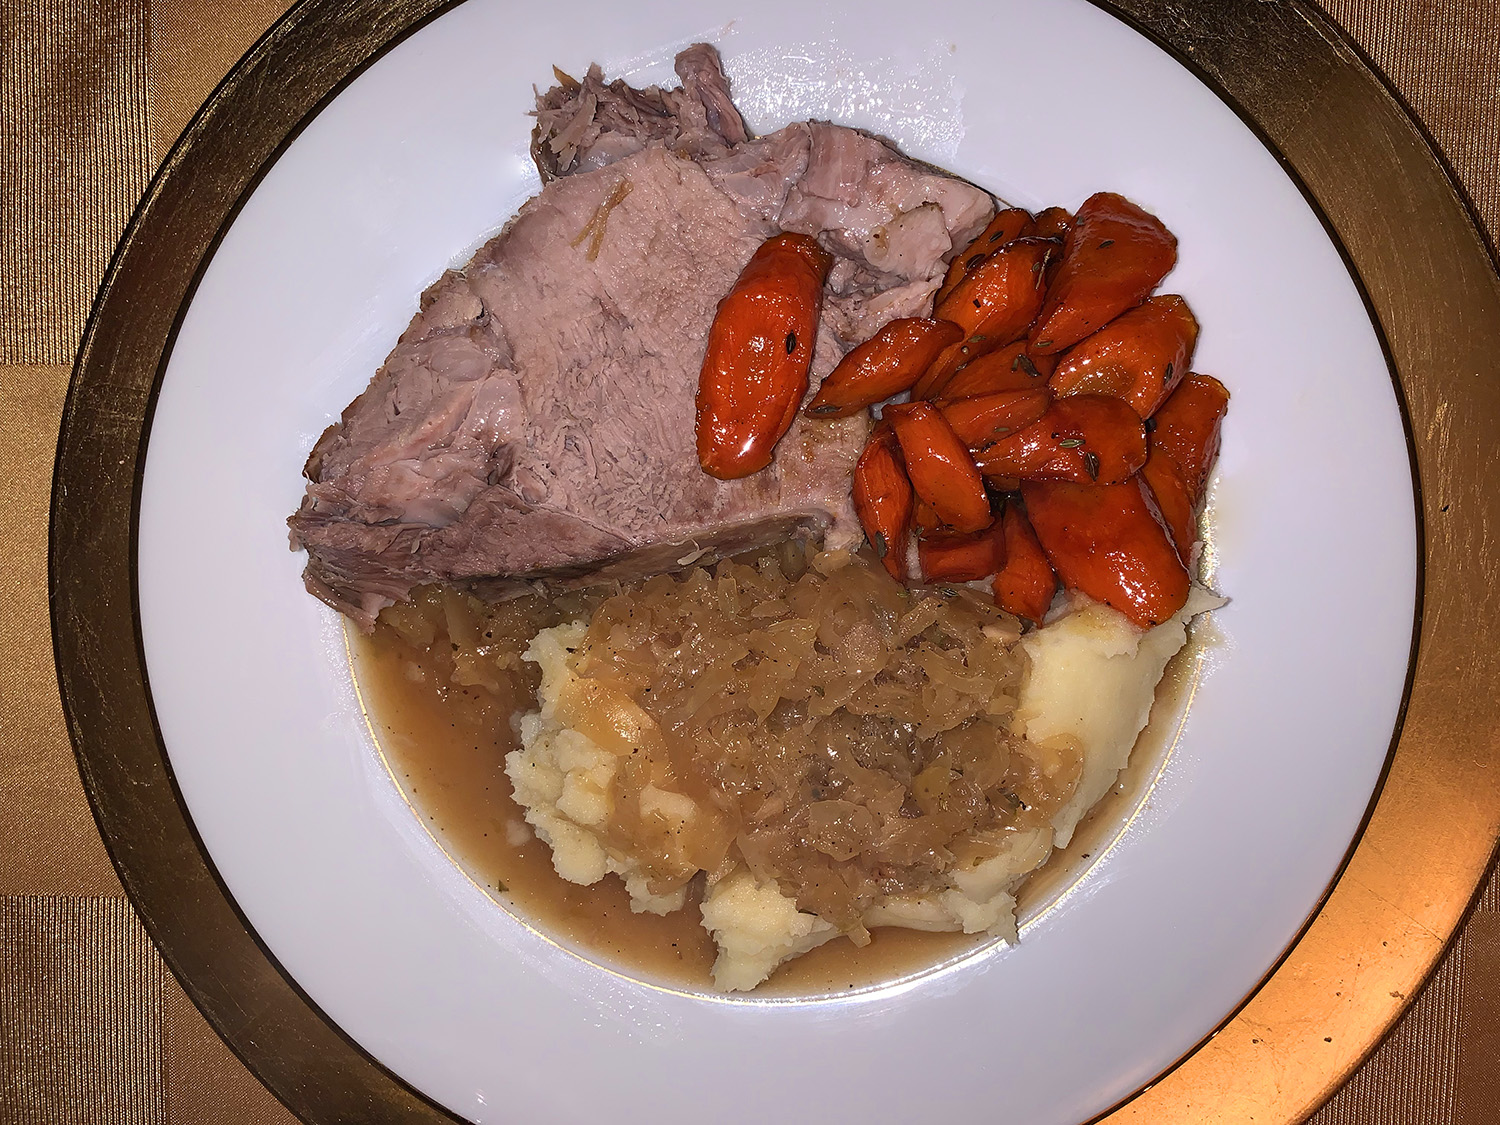
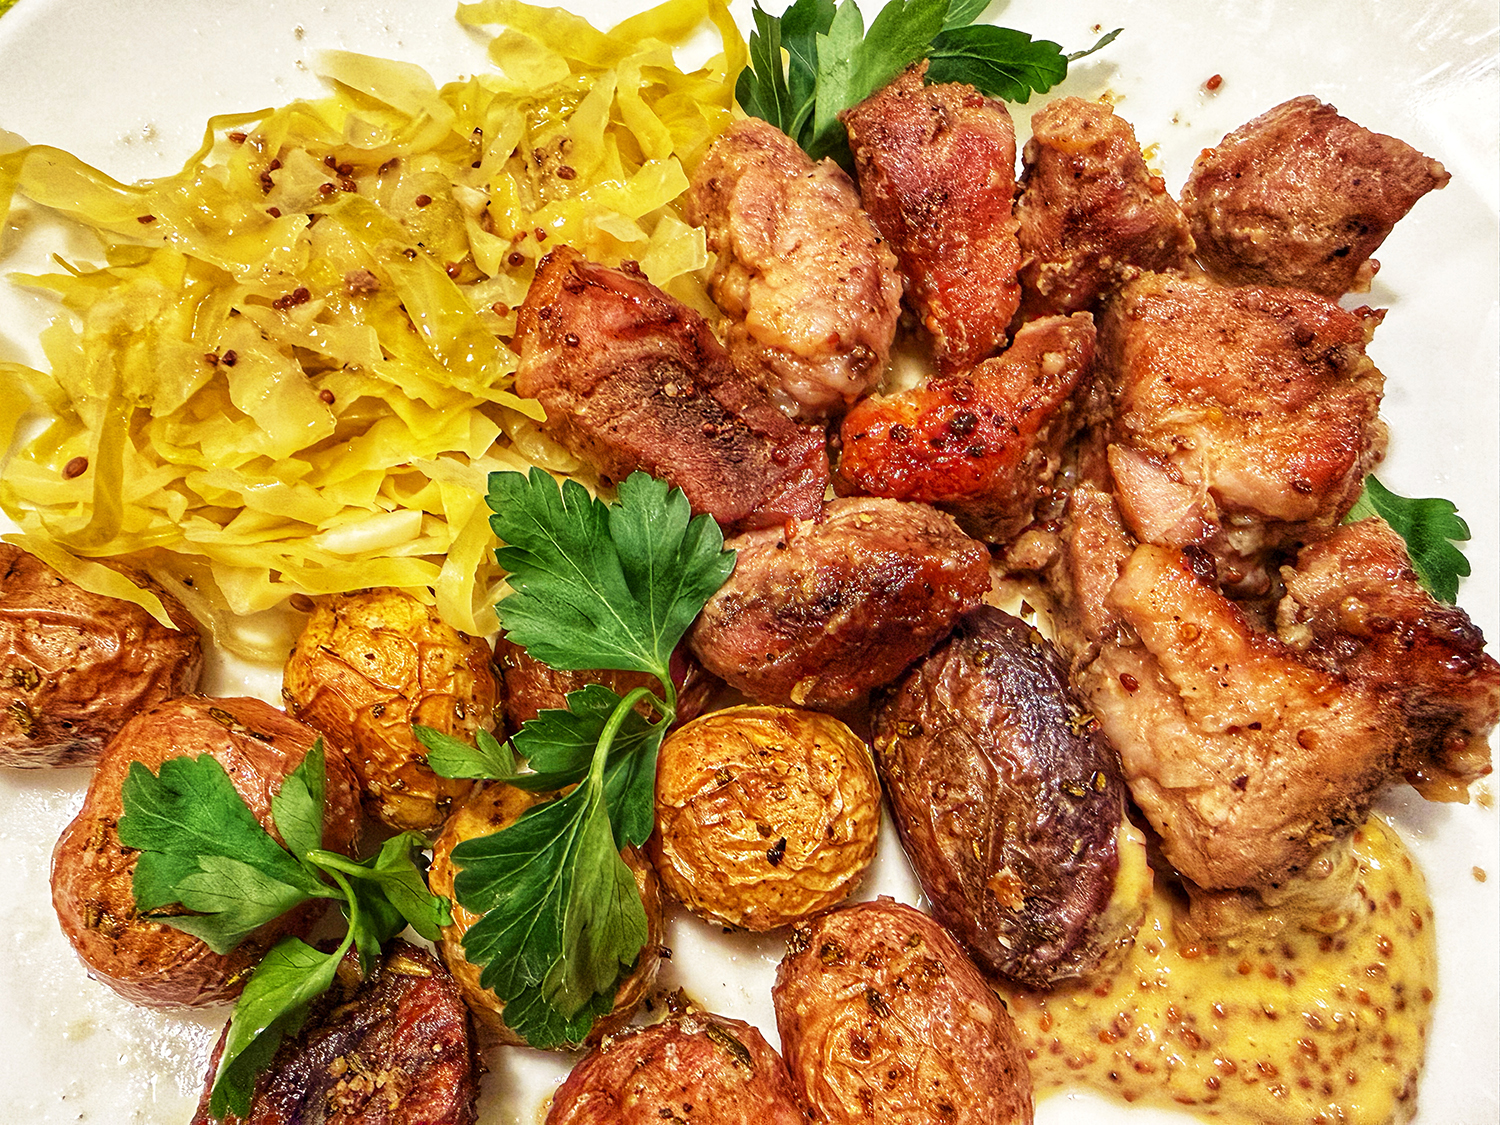
Serve the pork with anything from roasted potatoes and sauerkraut to rice and beans or even a simple green salad. Other options include over creamy mashed potatoes, egg noodles, or crusty bread to soak up the sauce, it’s straightforward comfort food with real sophistication underneath.
Mustard-Braised Pork
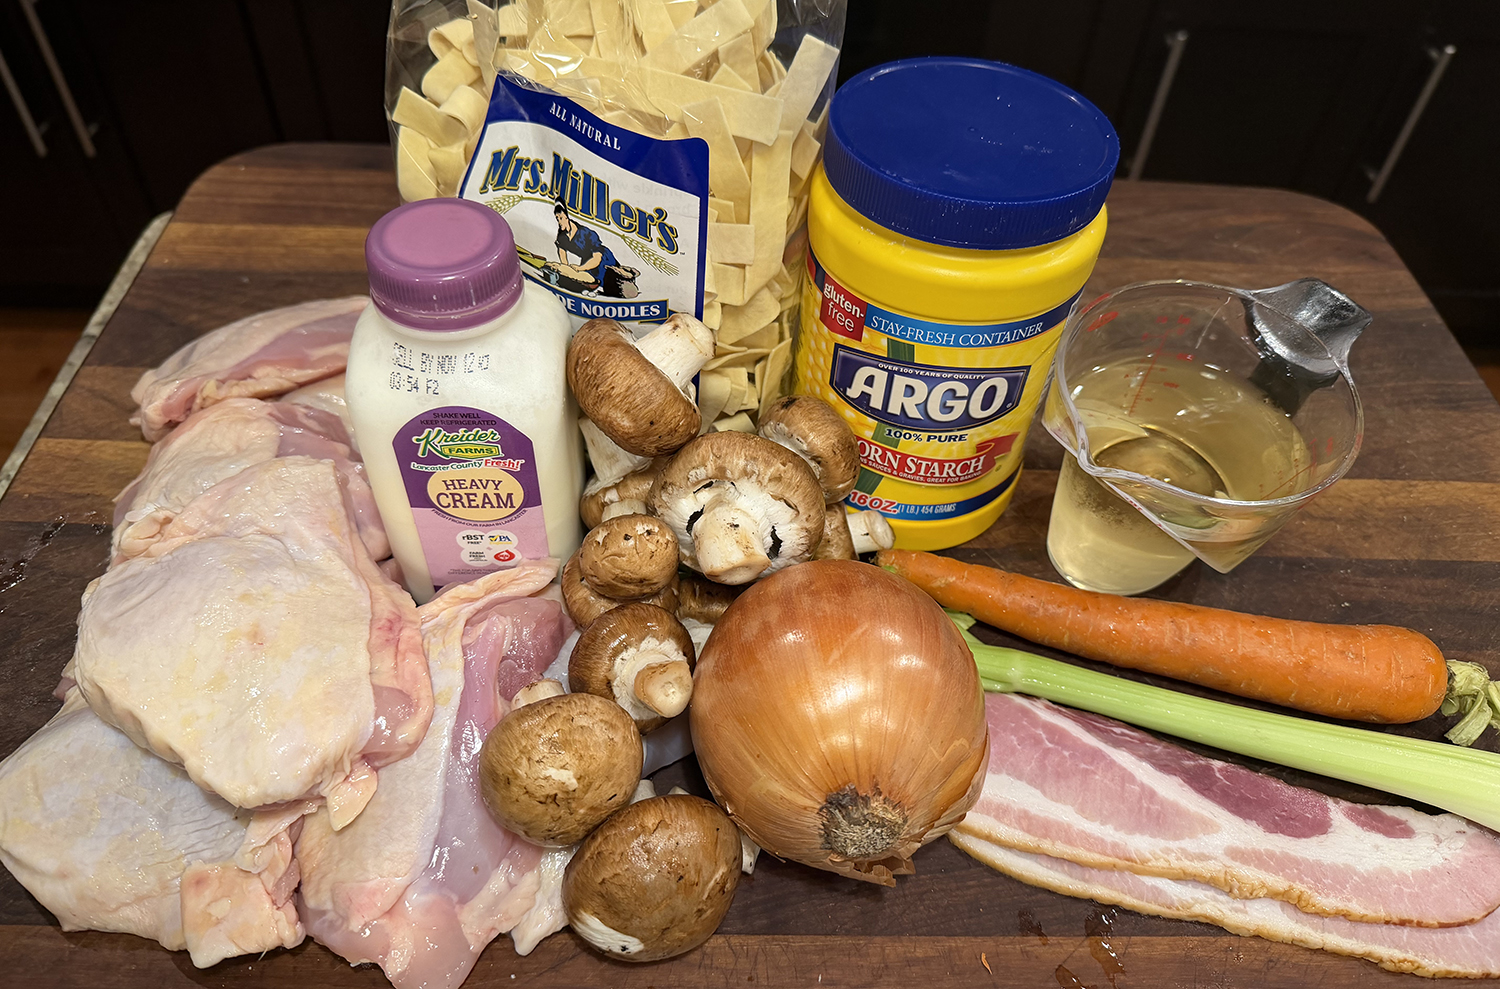
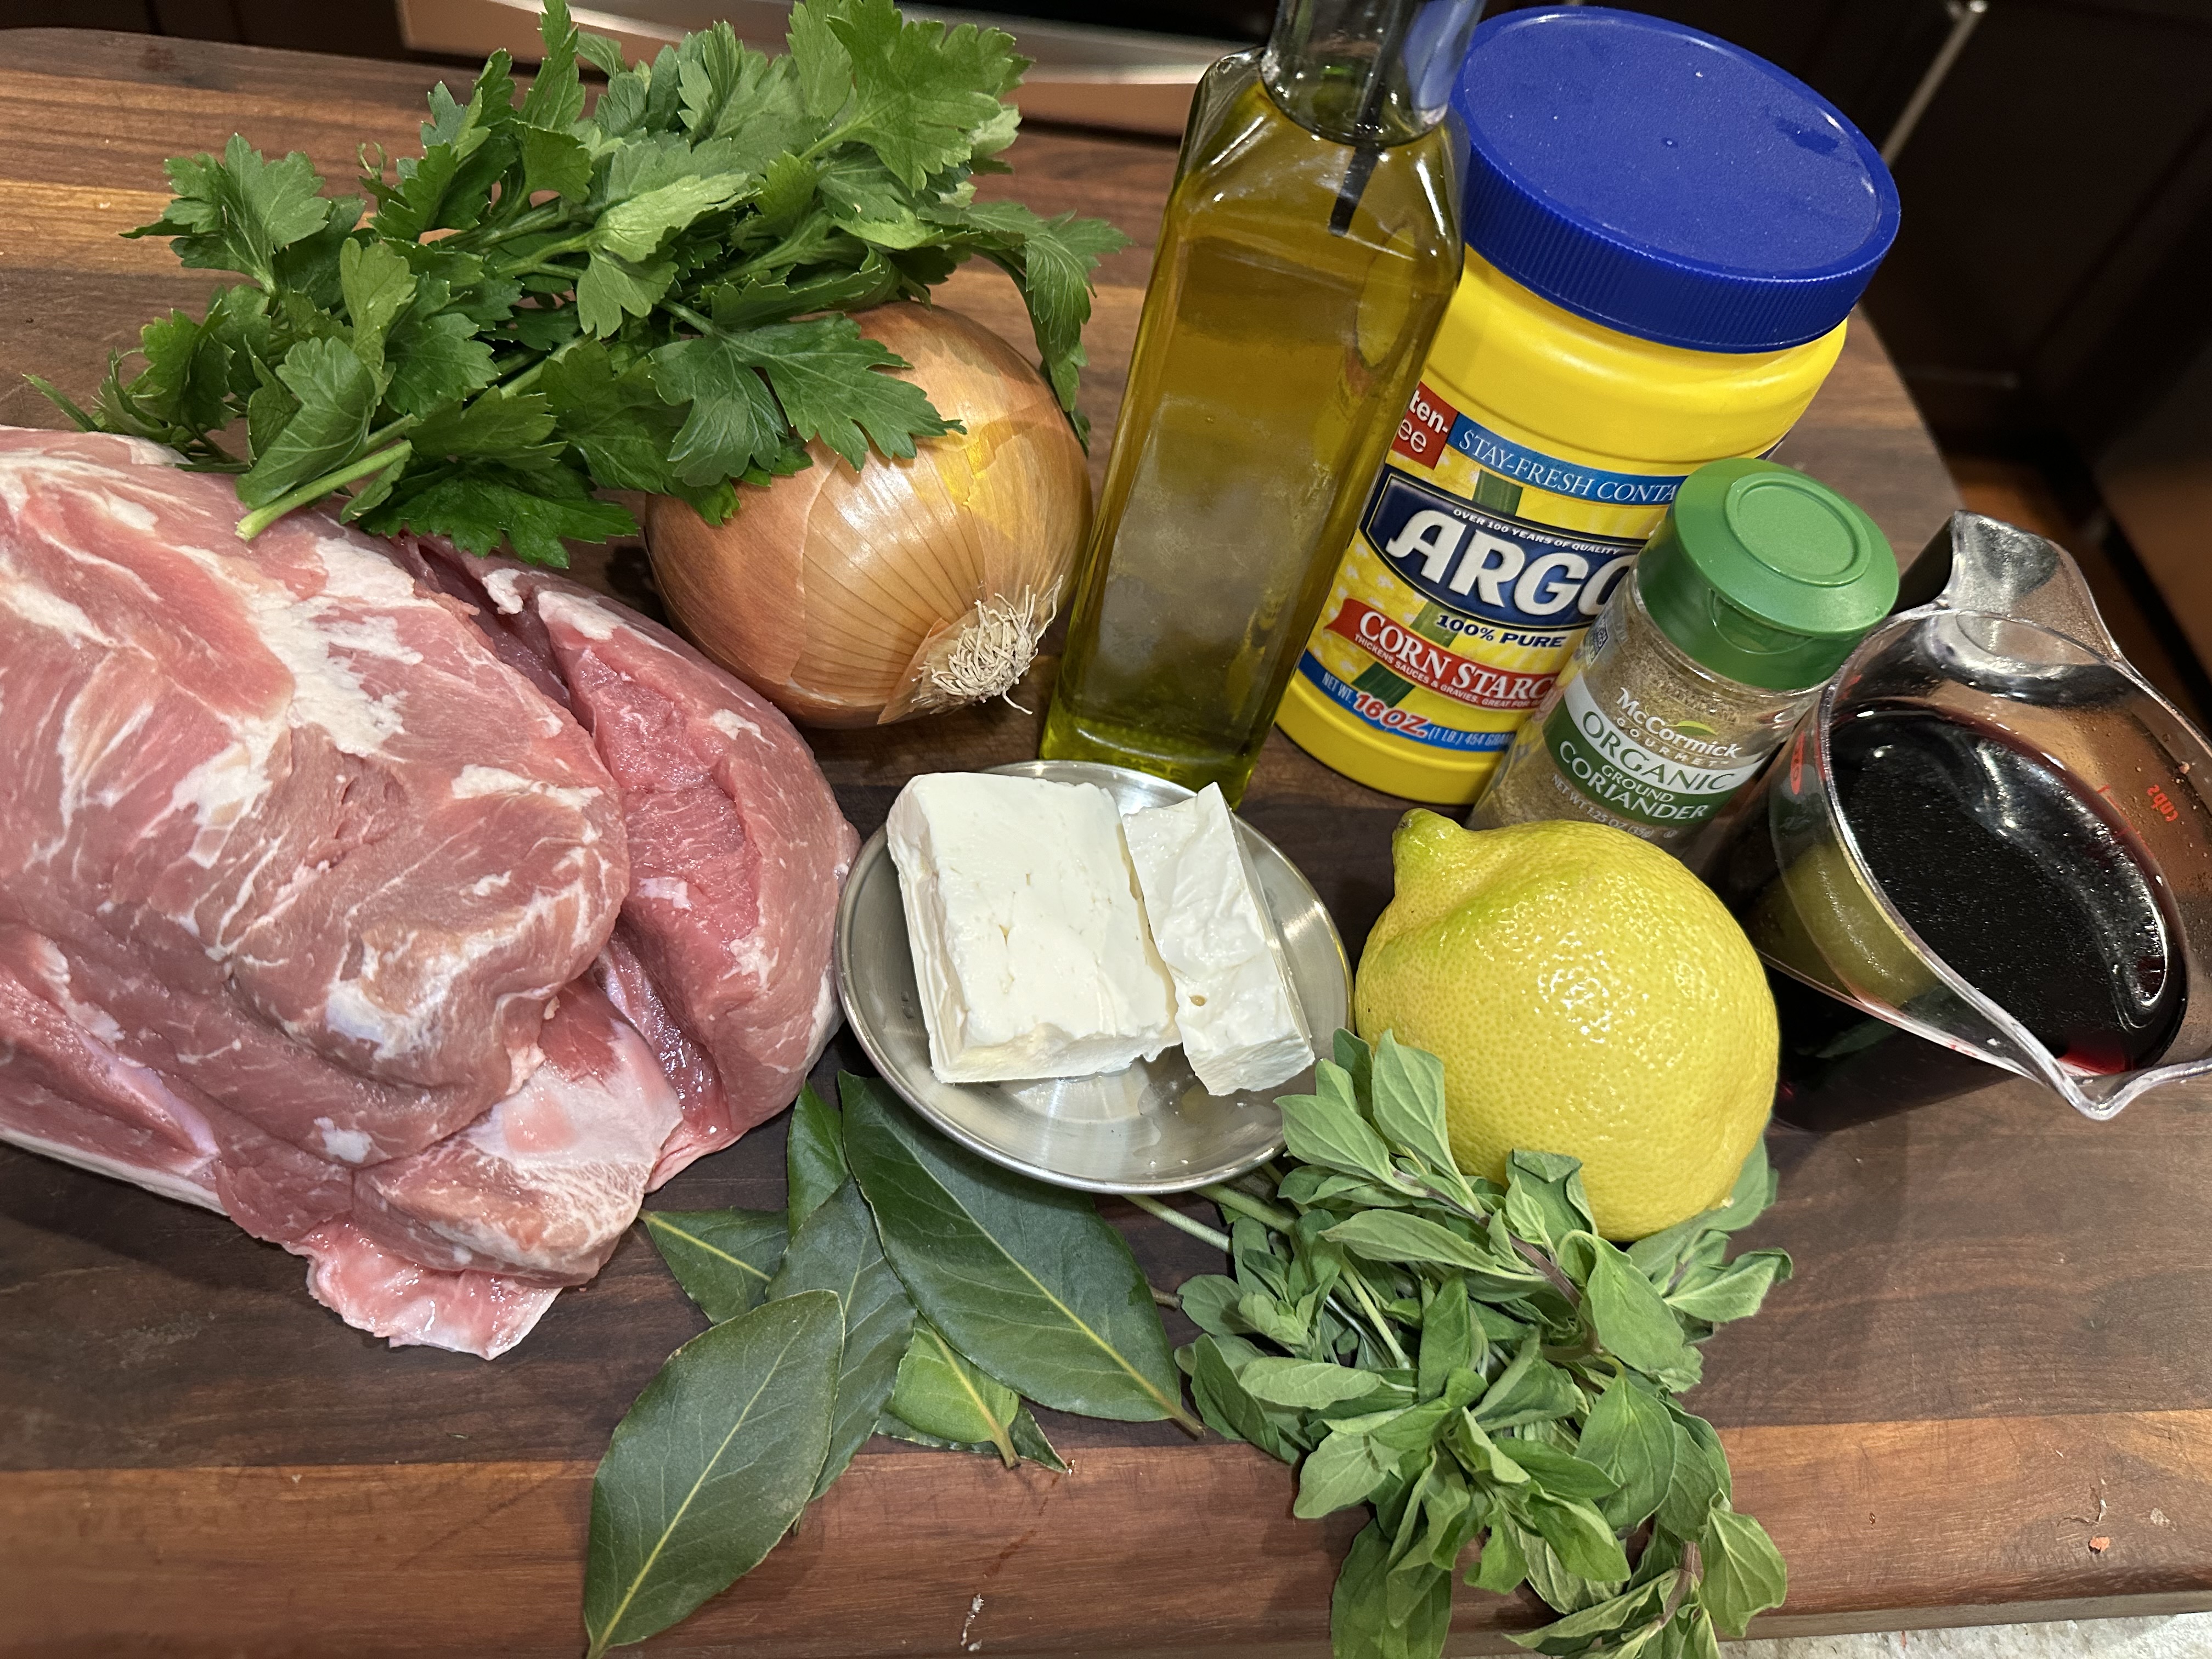
Ingredients
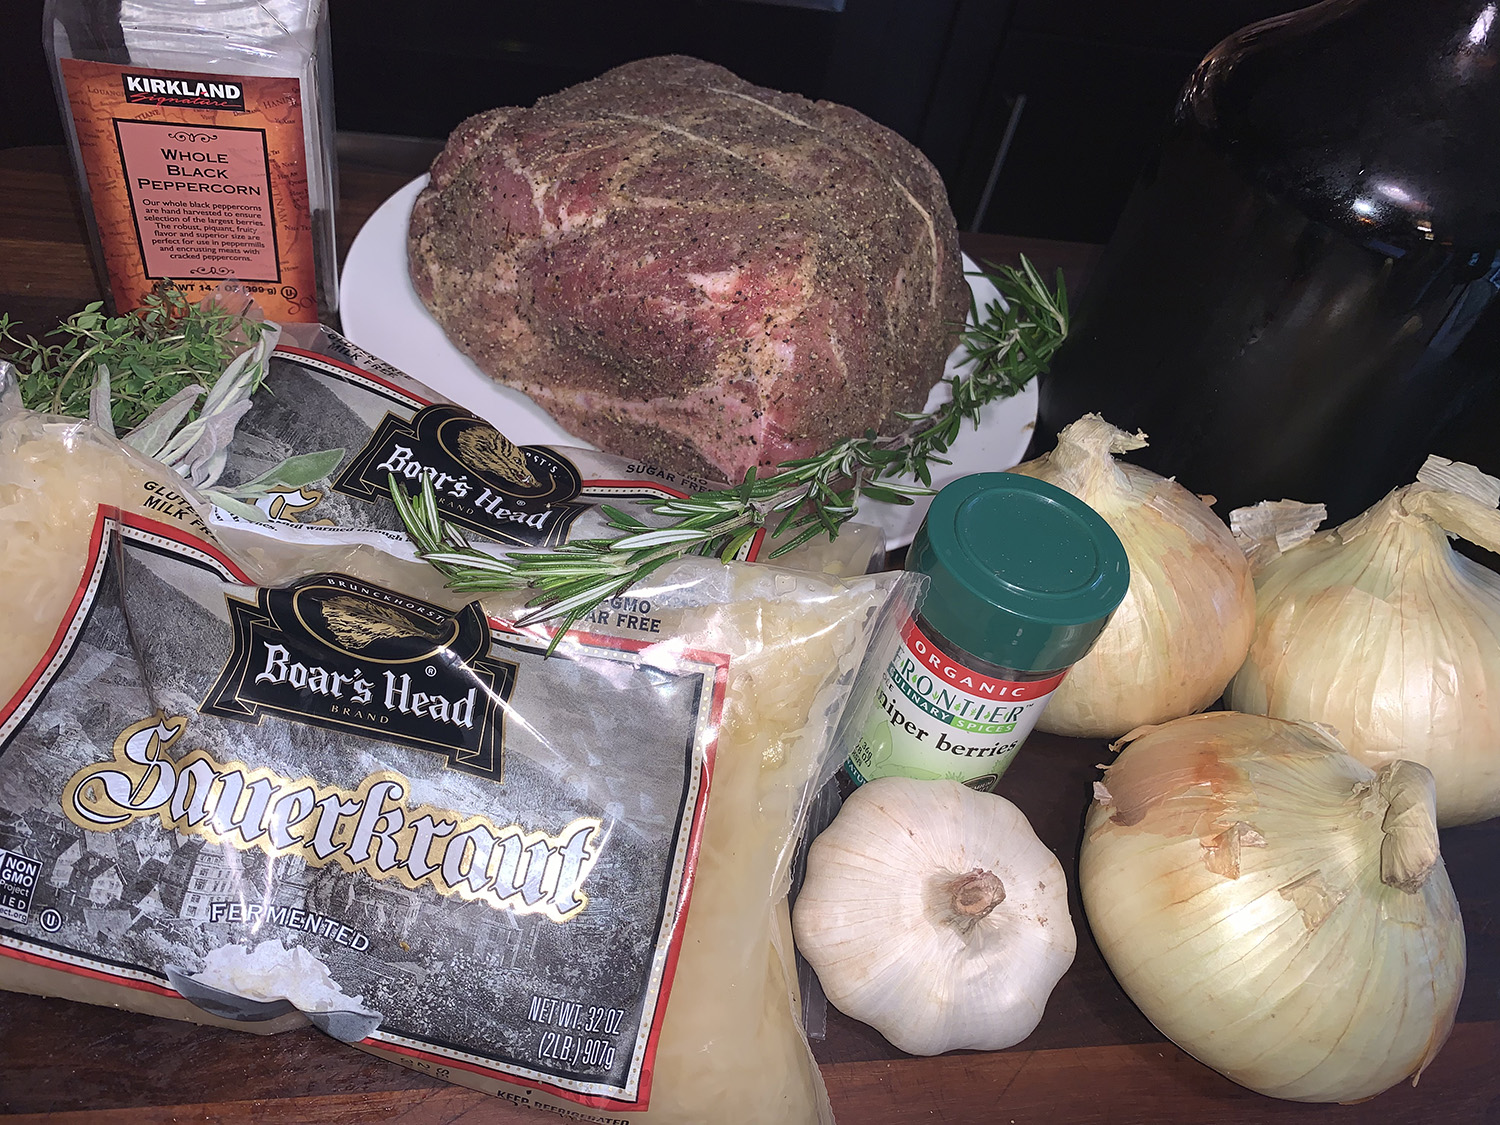
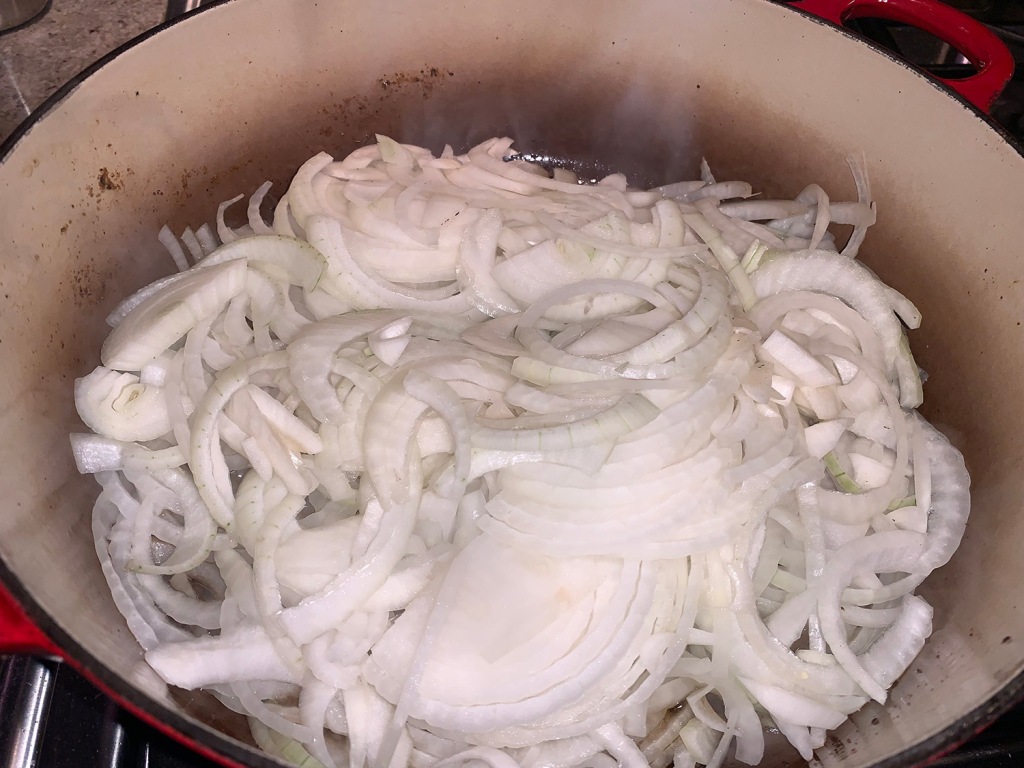
- 2½ to 3 lbs. boneless pork shoulder, cut into 2-inch chunks
- Salt and pepper
- ¼ cup Dijon mustard (or a mixture of whole grain and Dijon), plus more for serving
- 2 Tbsp. white wine vinegar, distilled white vinegar or apple cider vinegar
- 3 Tbsp. brown sugar
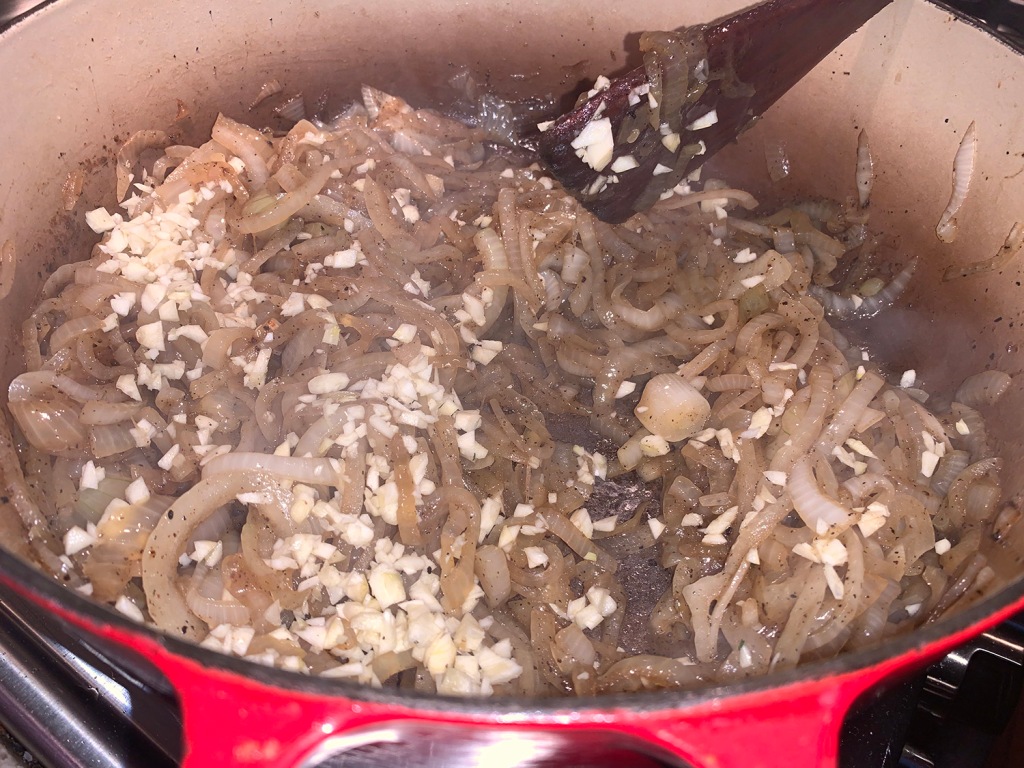
- 3 garlic cloves, finely chopped or finely grated
- Warmed cooked white beans and a green salad (optional), for serving
Directions
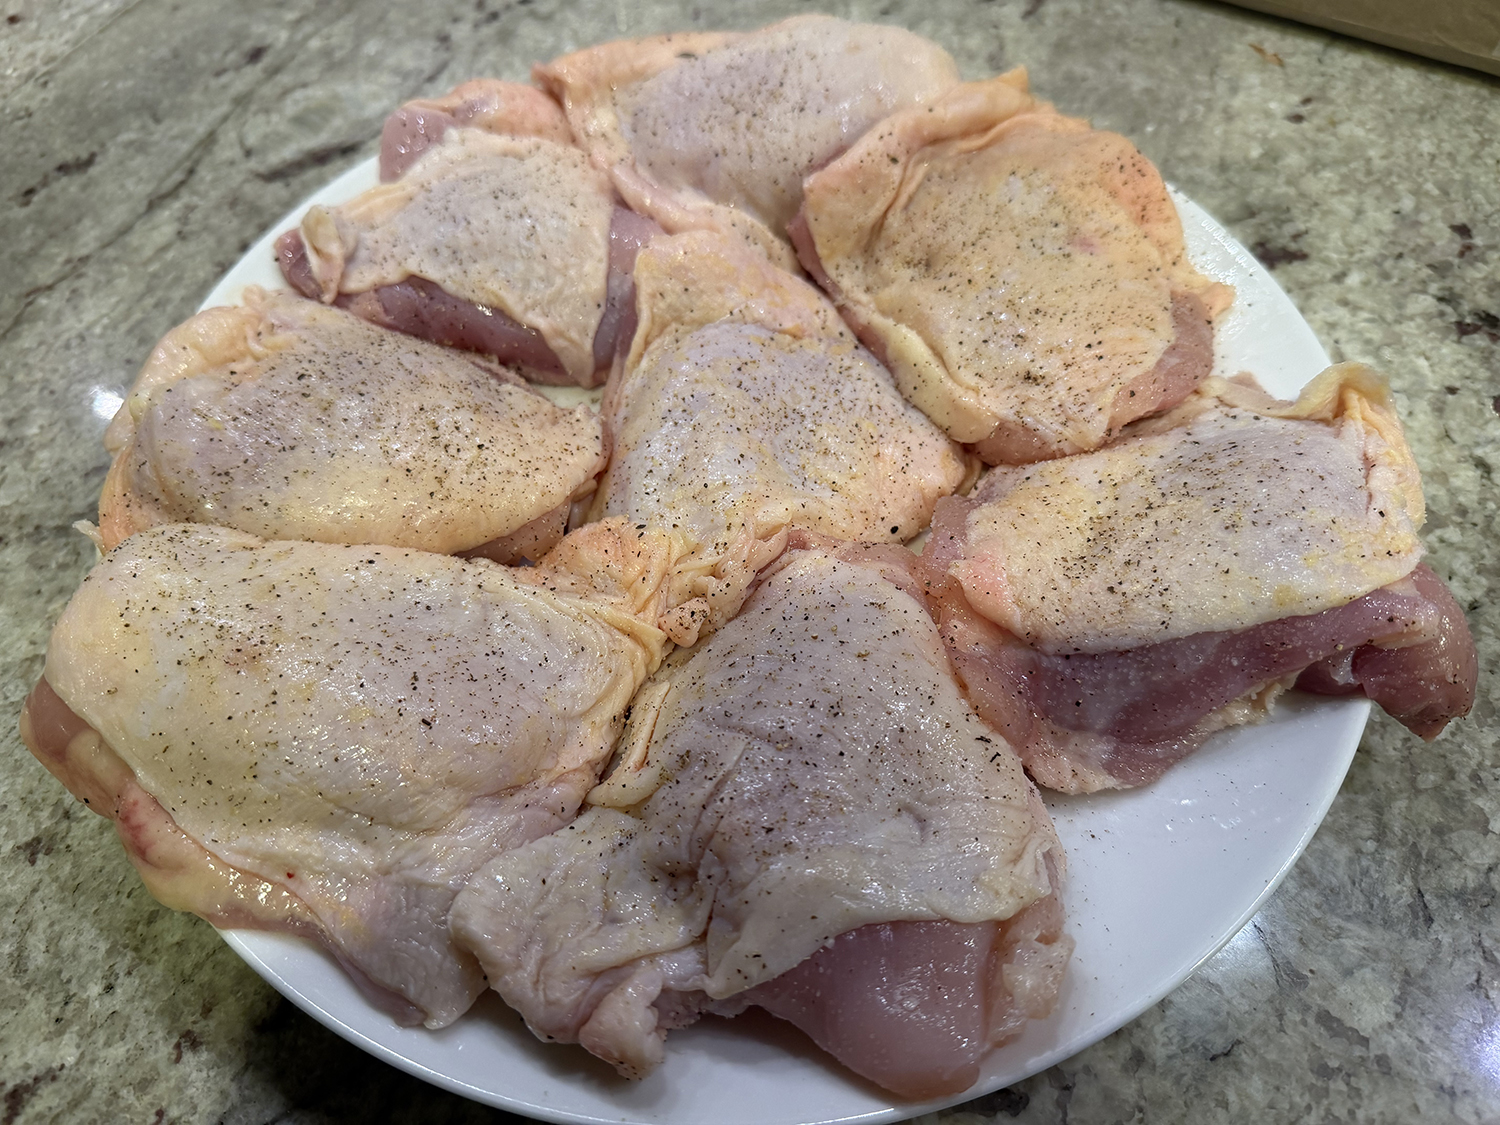
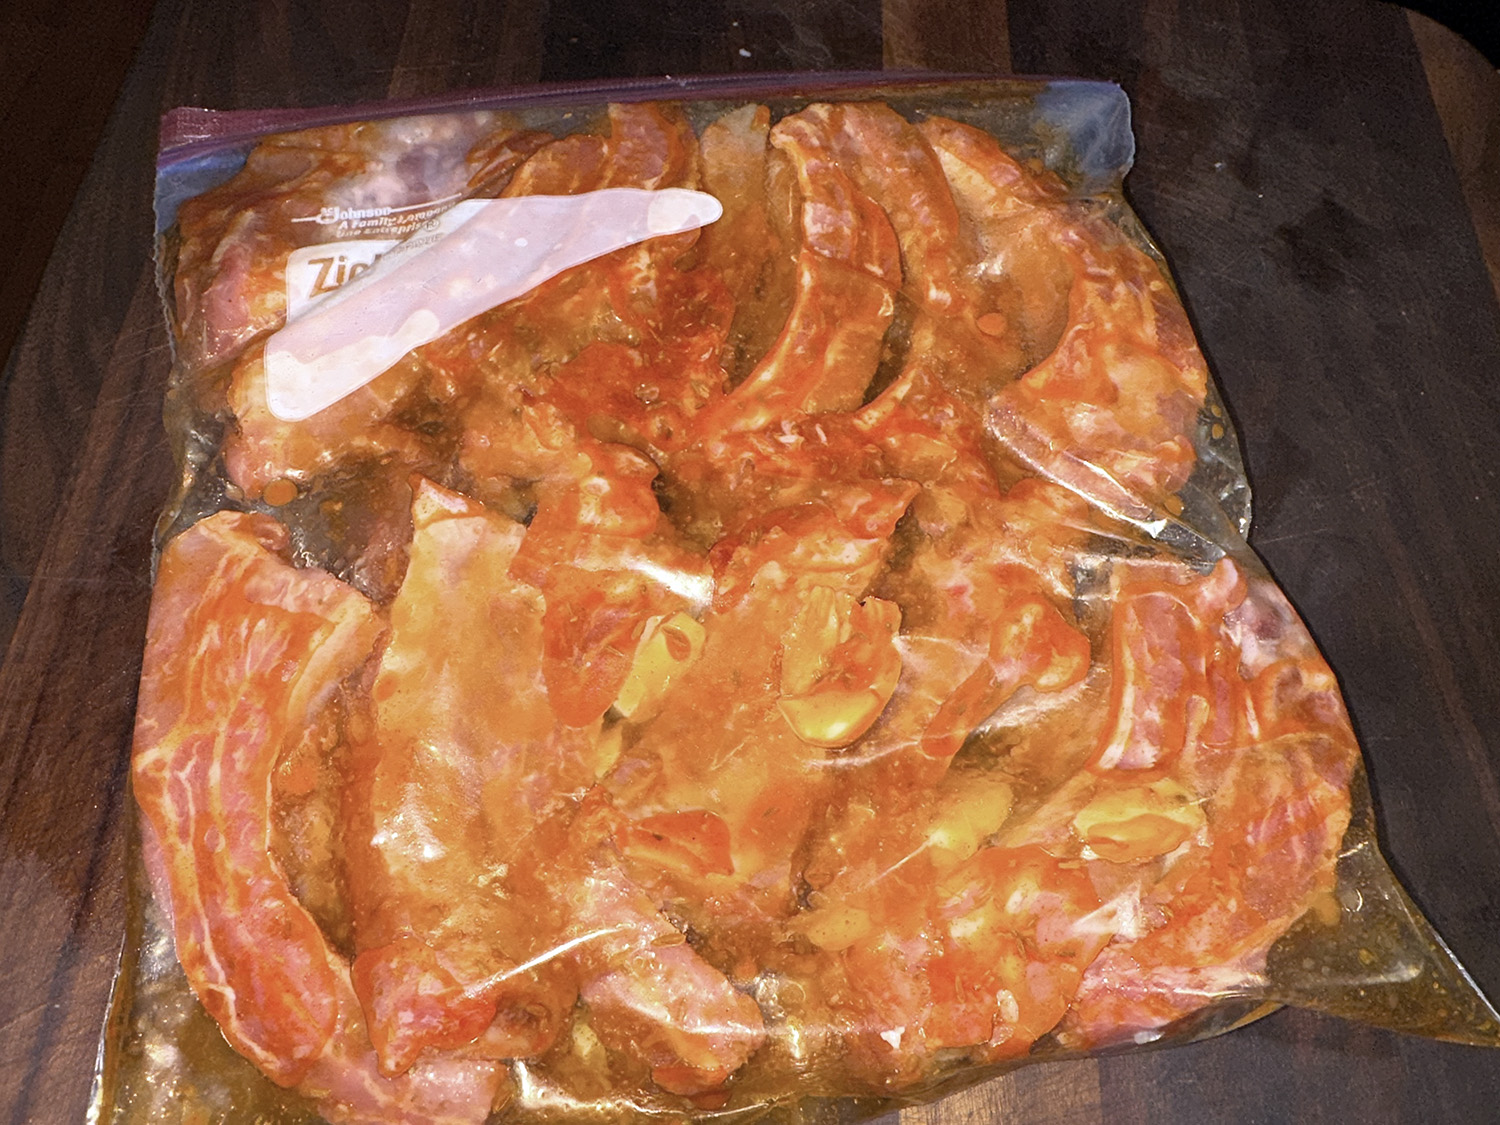
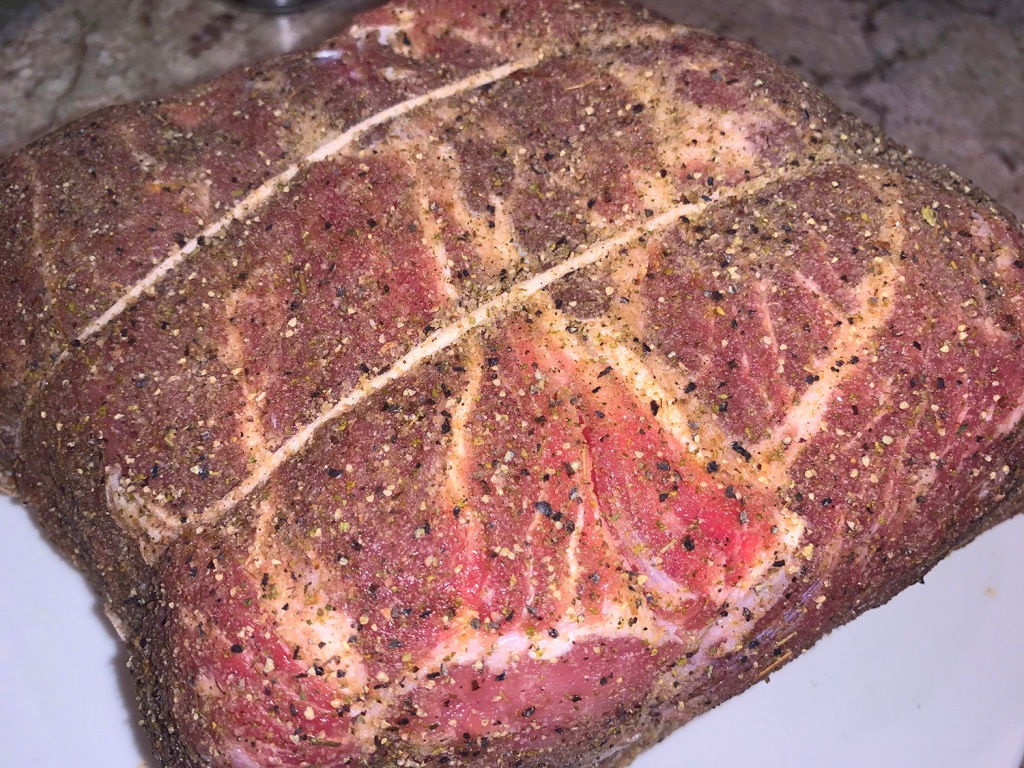
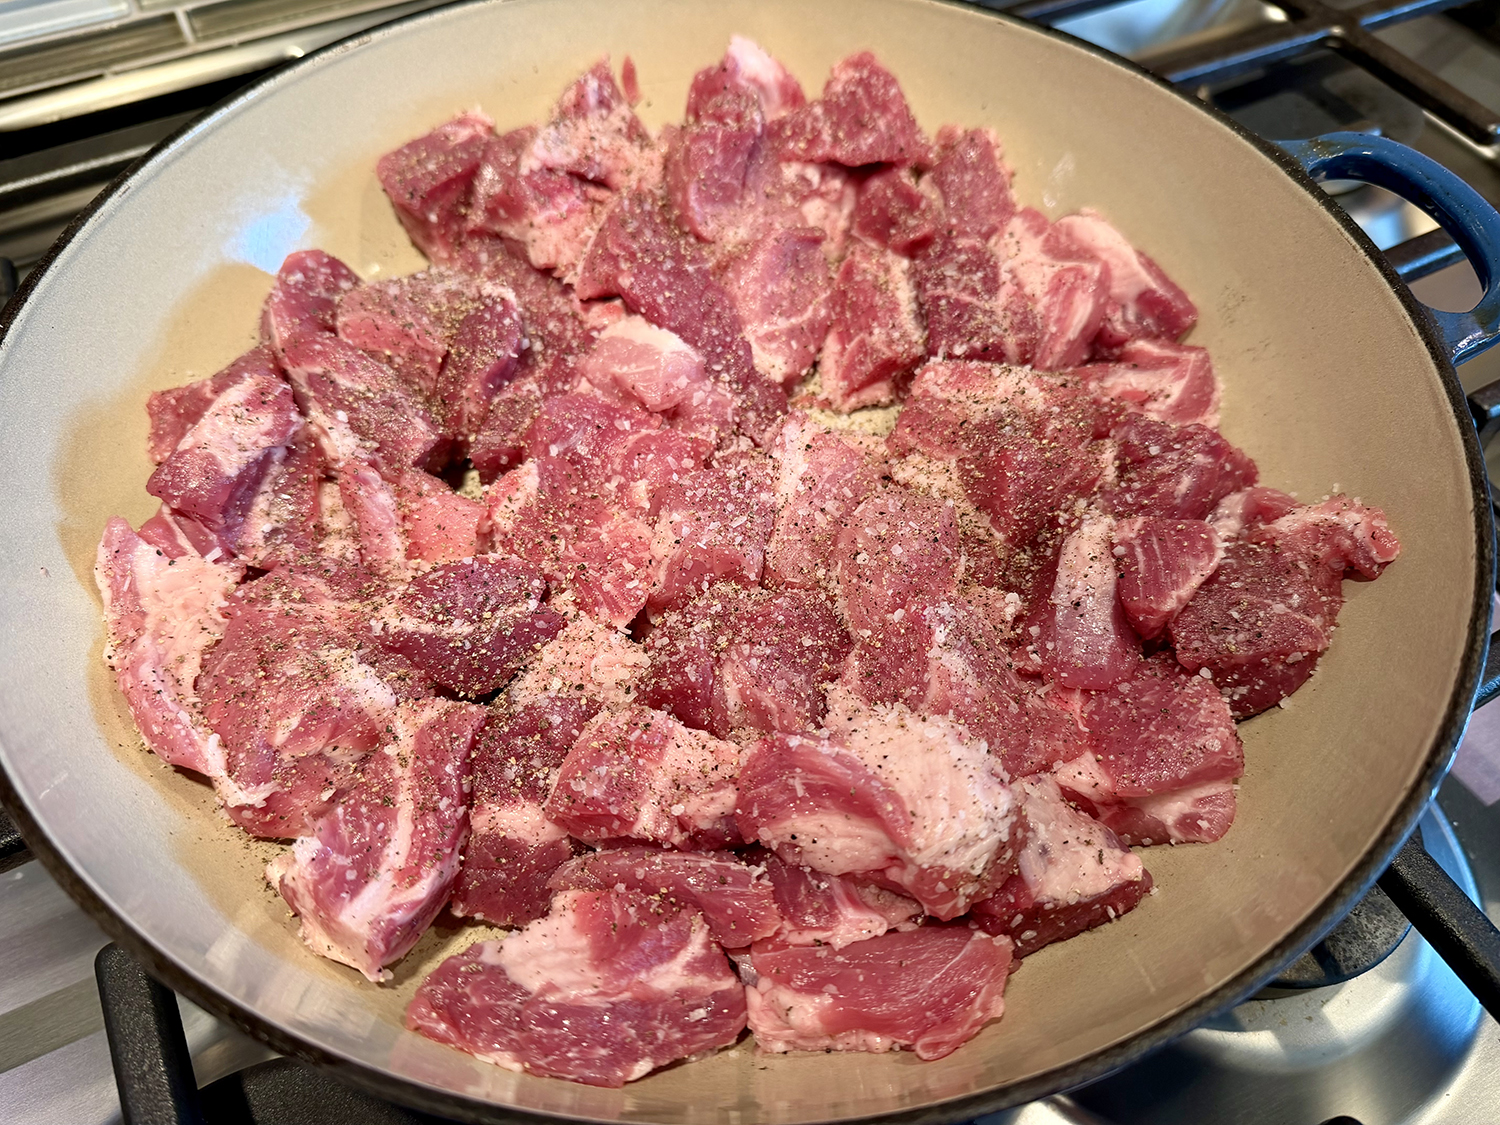
- Arrange a rack in the middle of the oven and heat the oven to 350 degrees. Place the pork in a Dutch oven or other large ovenproof pot with a lid and season all over with salt and pepper.
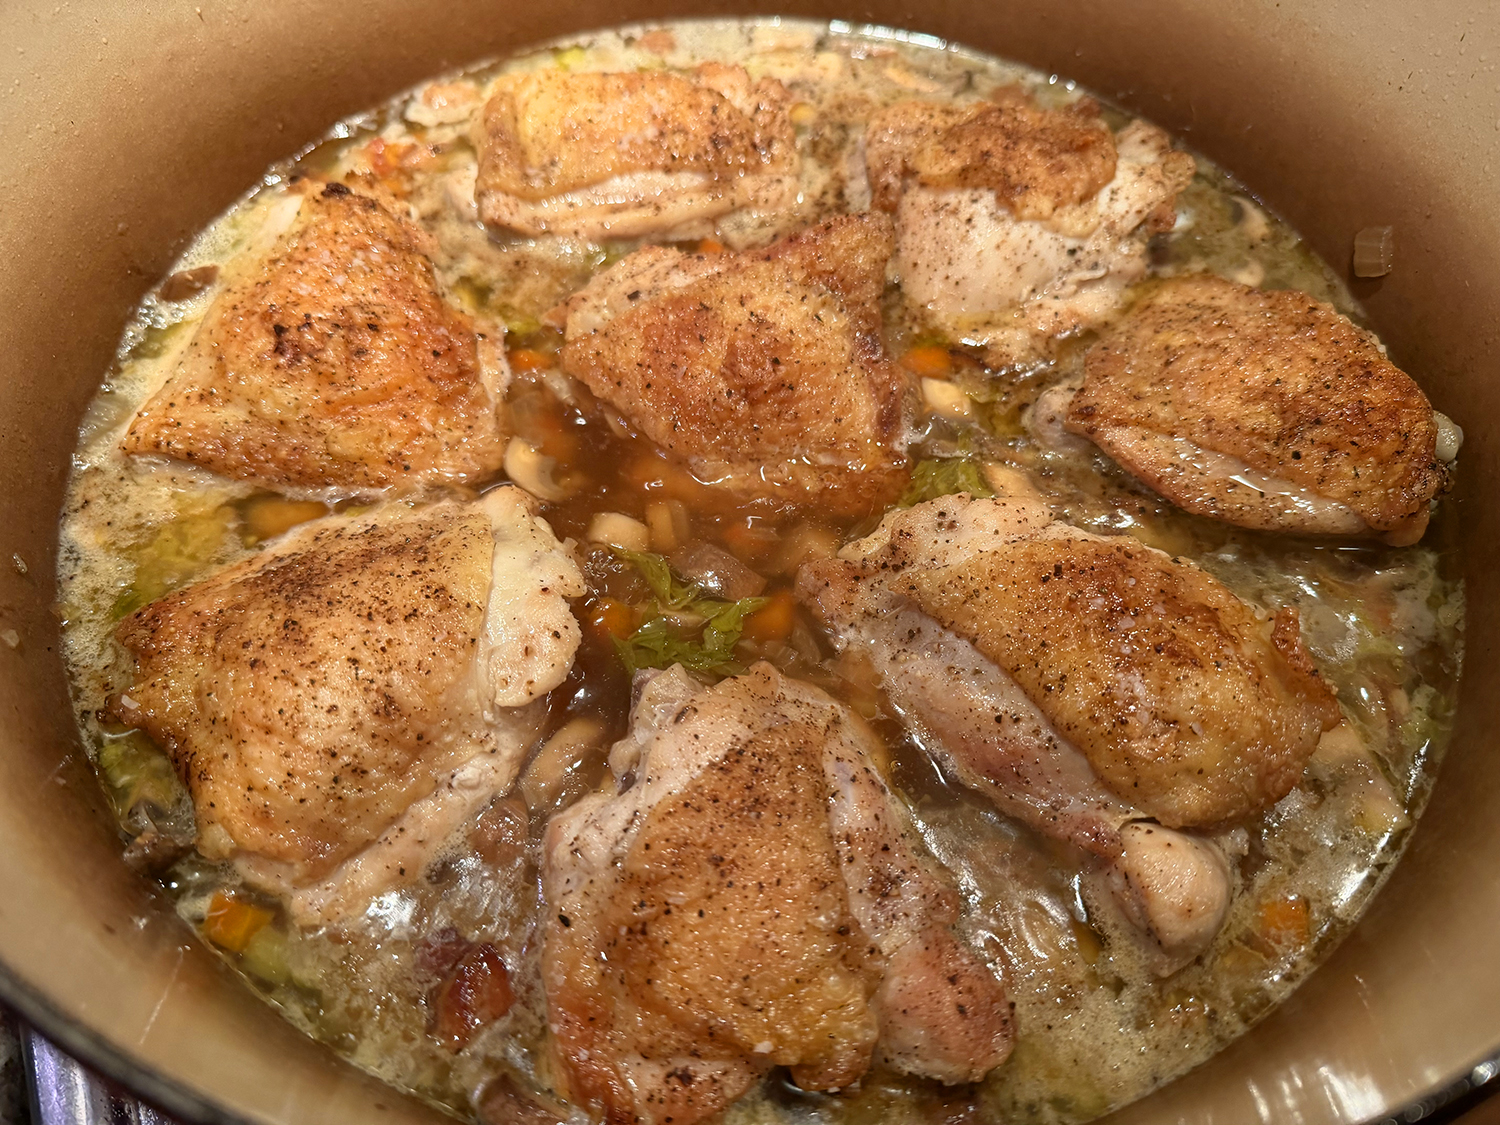
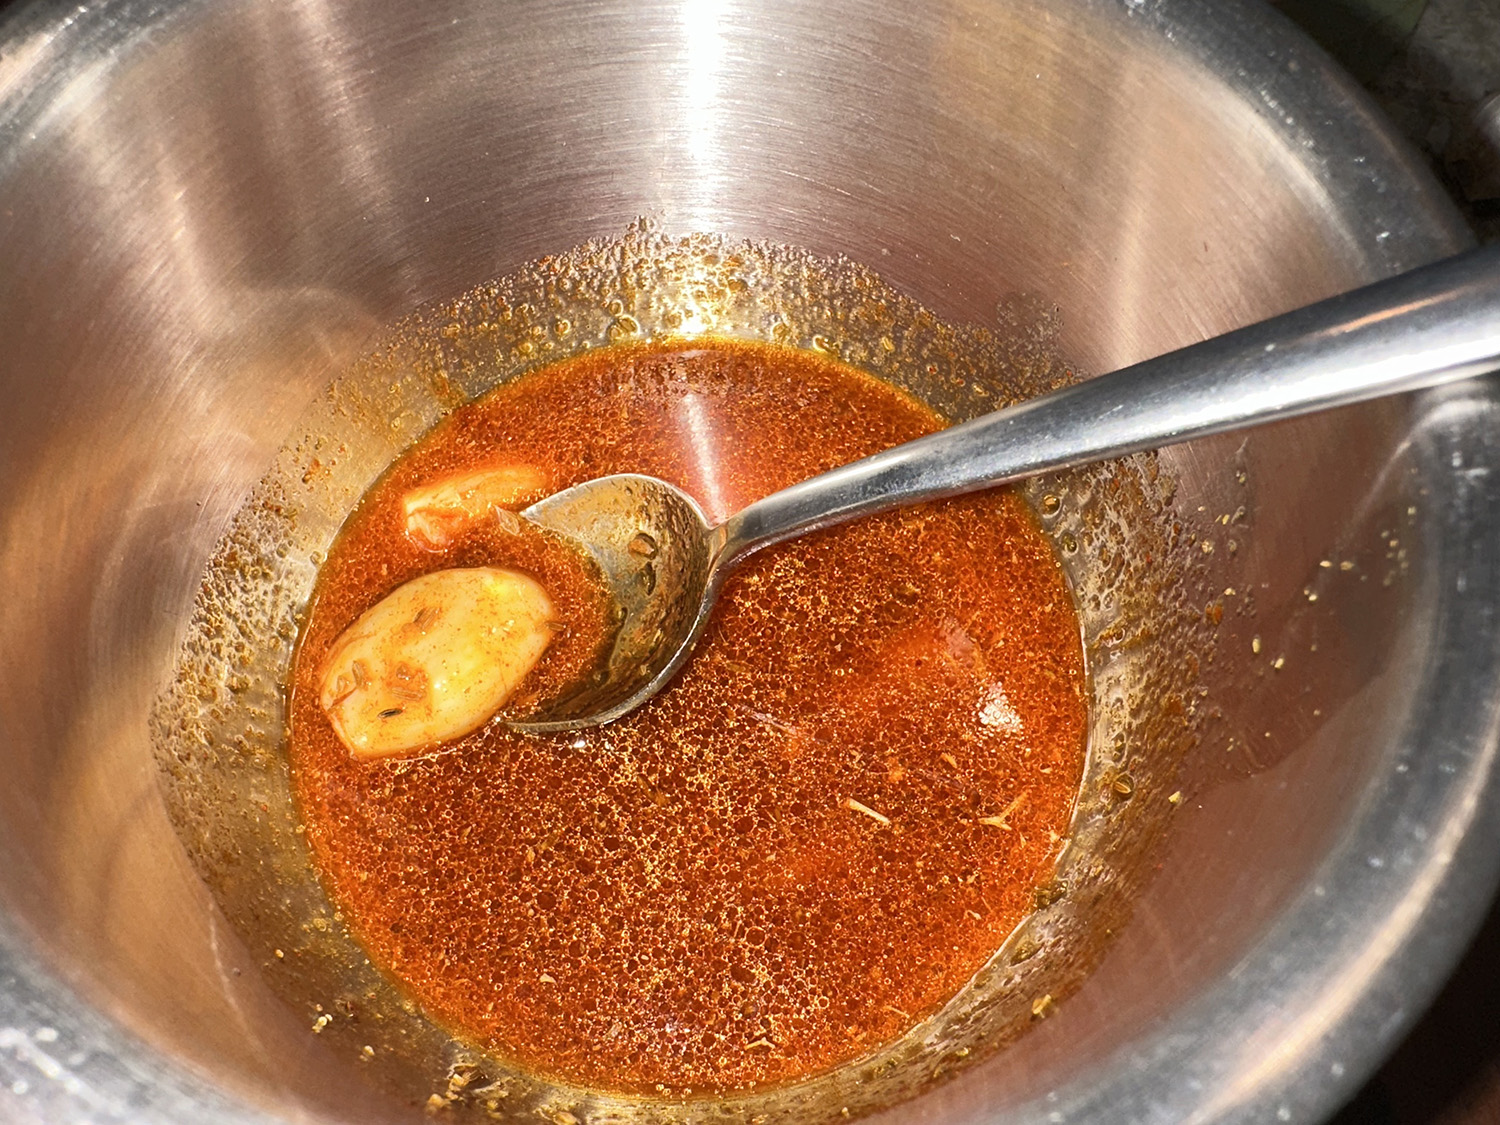
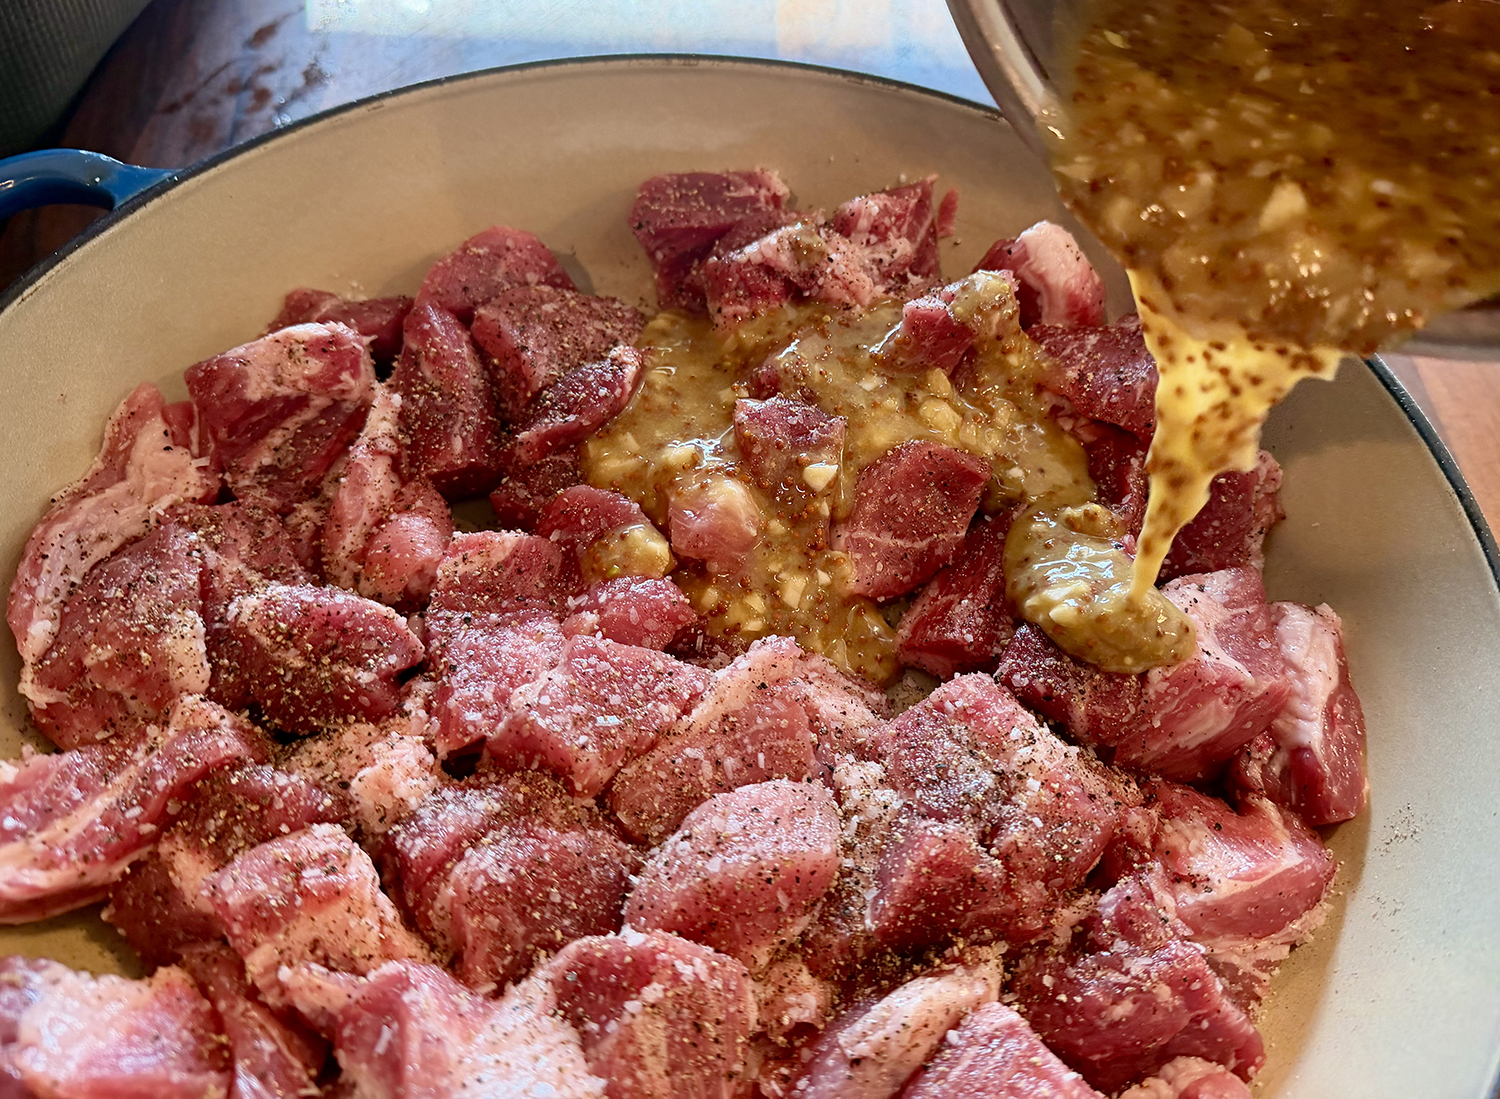
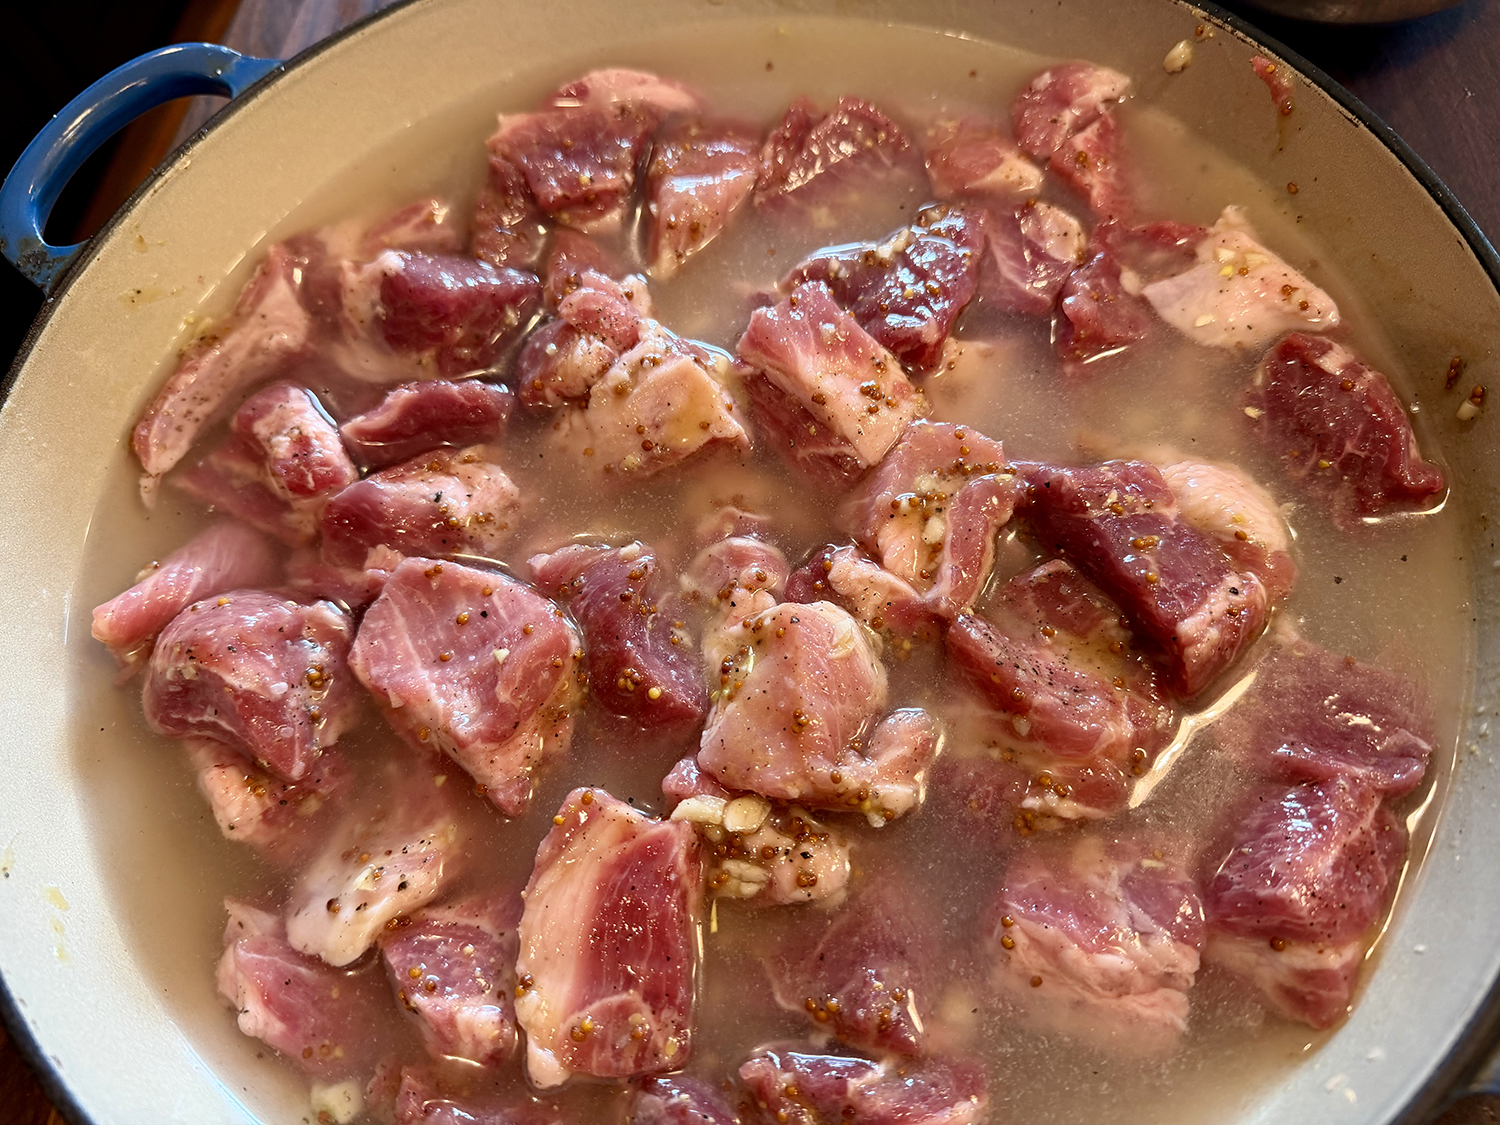
- In a small bowl, whisk together the mustard, vinegar, brown sugar and garlic until the sugar has dissolved. Pour the mixture all over the pork chunks and rub it in with your hands. Without pouring it directly over the pork, add 2 cups of water to the pot.
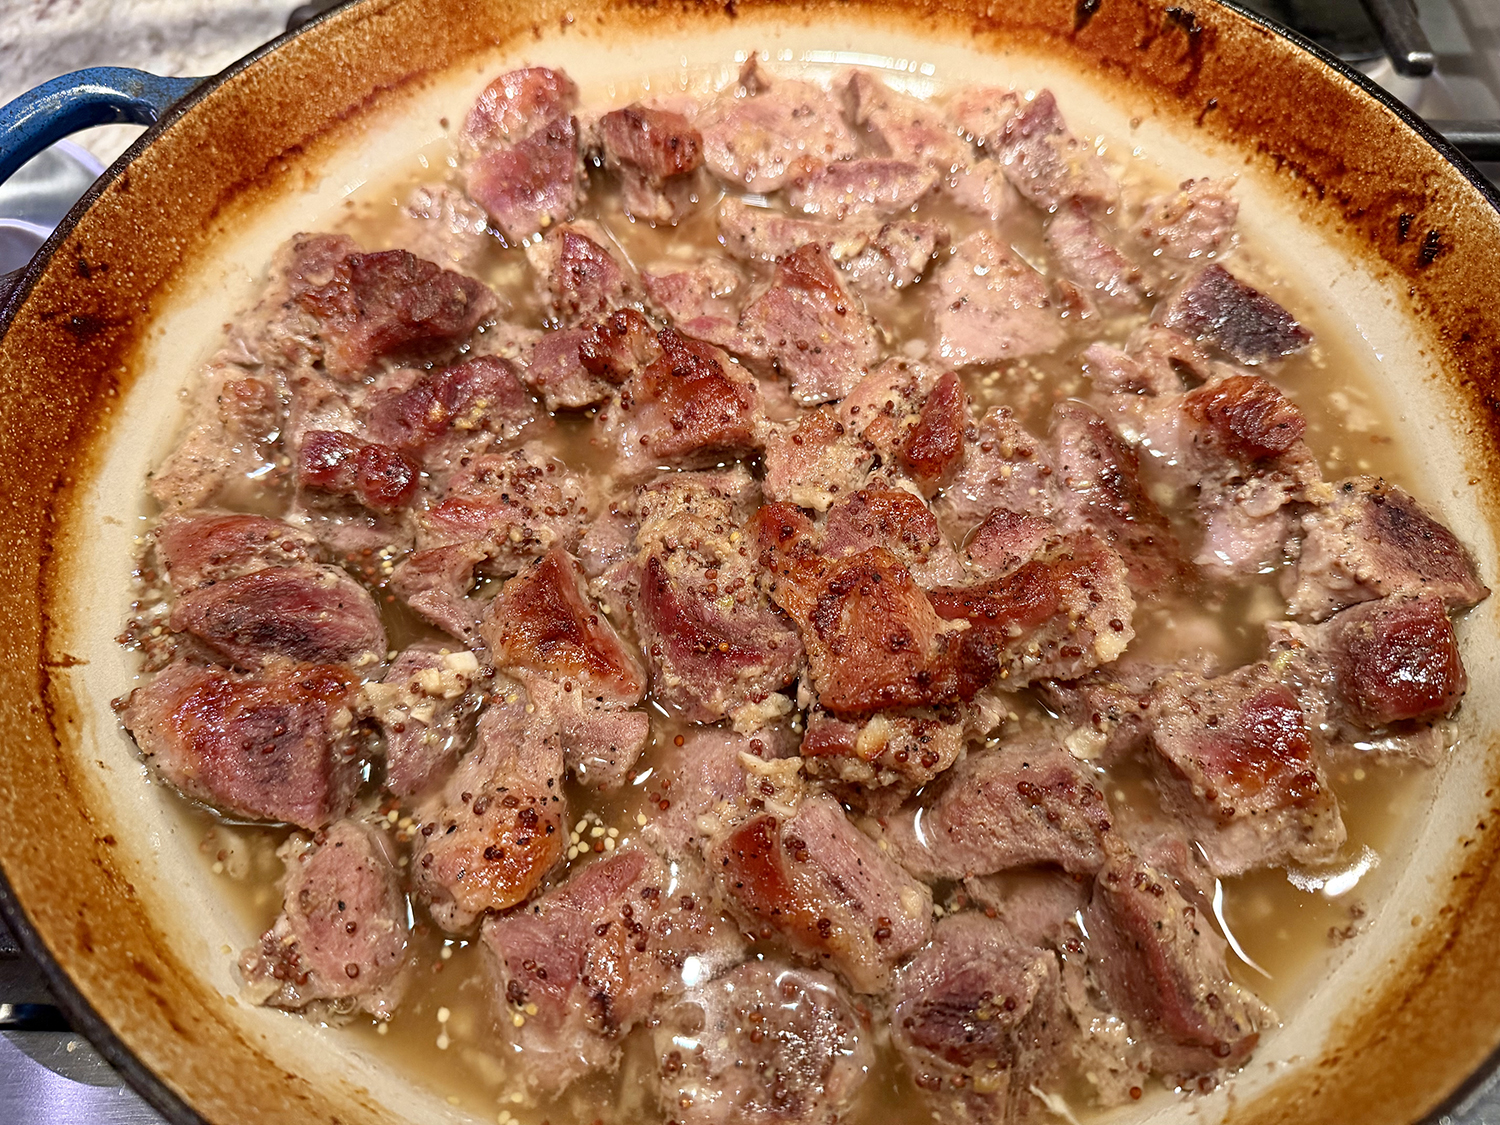
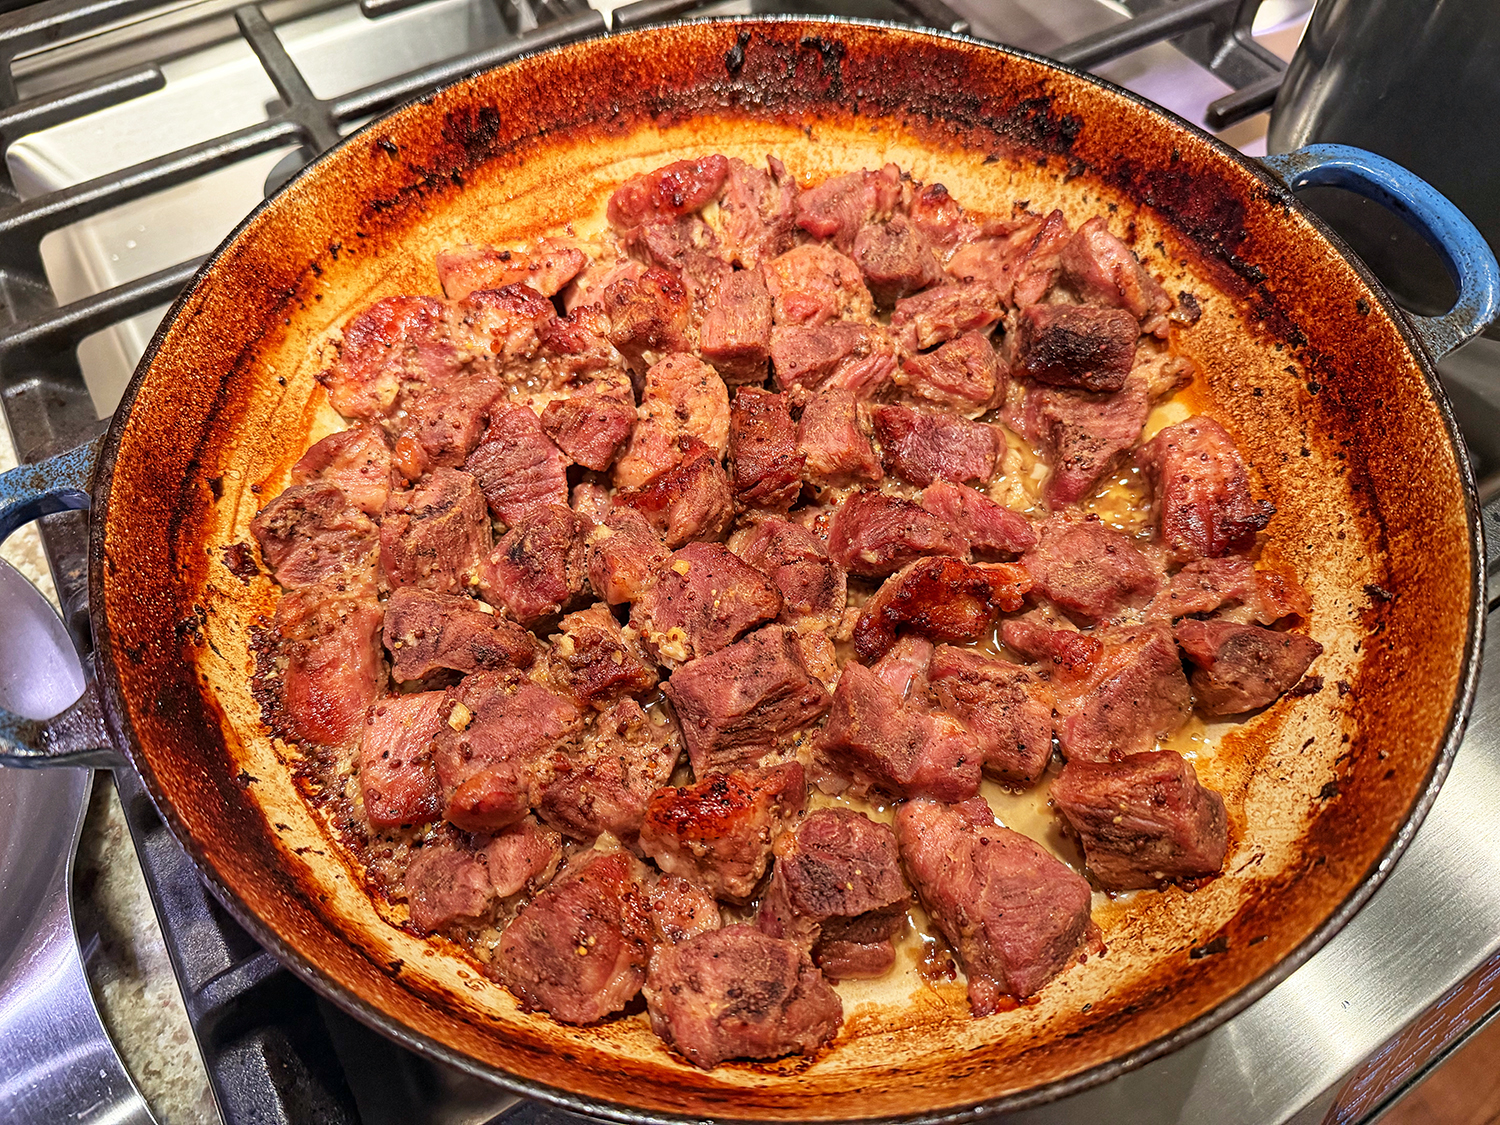
- Cover the Dutch oven and bake for 1¼ hours. Adjust the oven temperature to 450 degrees and carefully uncover the pot. Bake until almost all of the liquid has evaporated (leaving mostly rendered fat) and the pork is golden brown and tender, about 30 minutes more.
- Serve the pork with sides as desired, and a dollop of mustard, if you like.
Recipe by Christian Reynoso for NYTimes Cooking