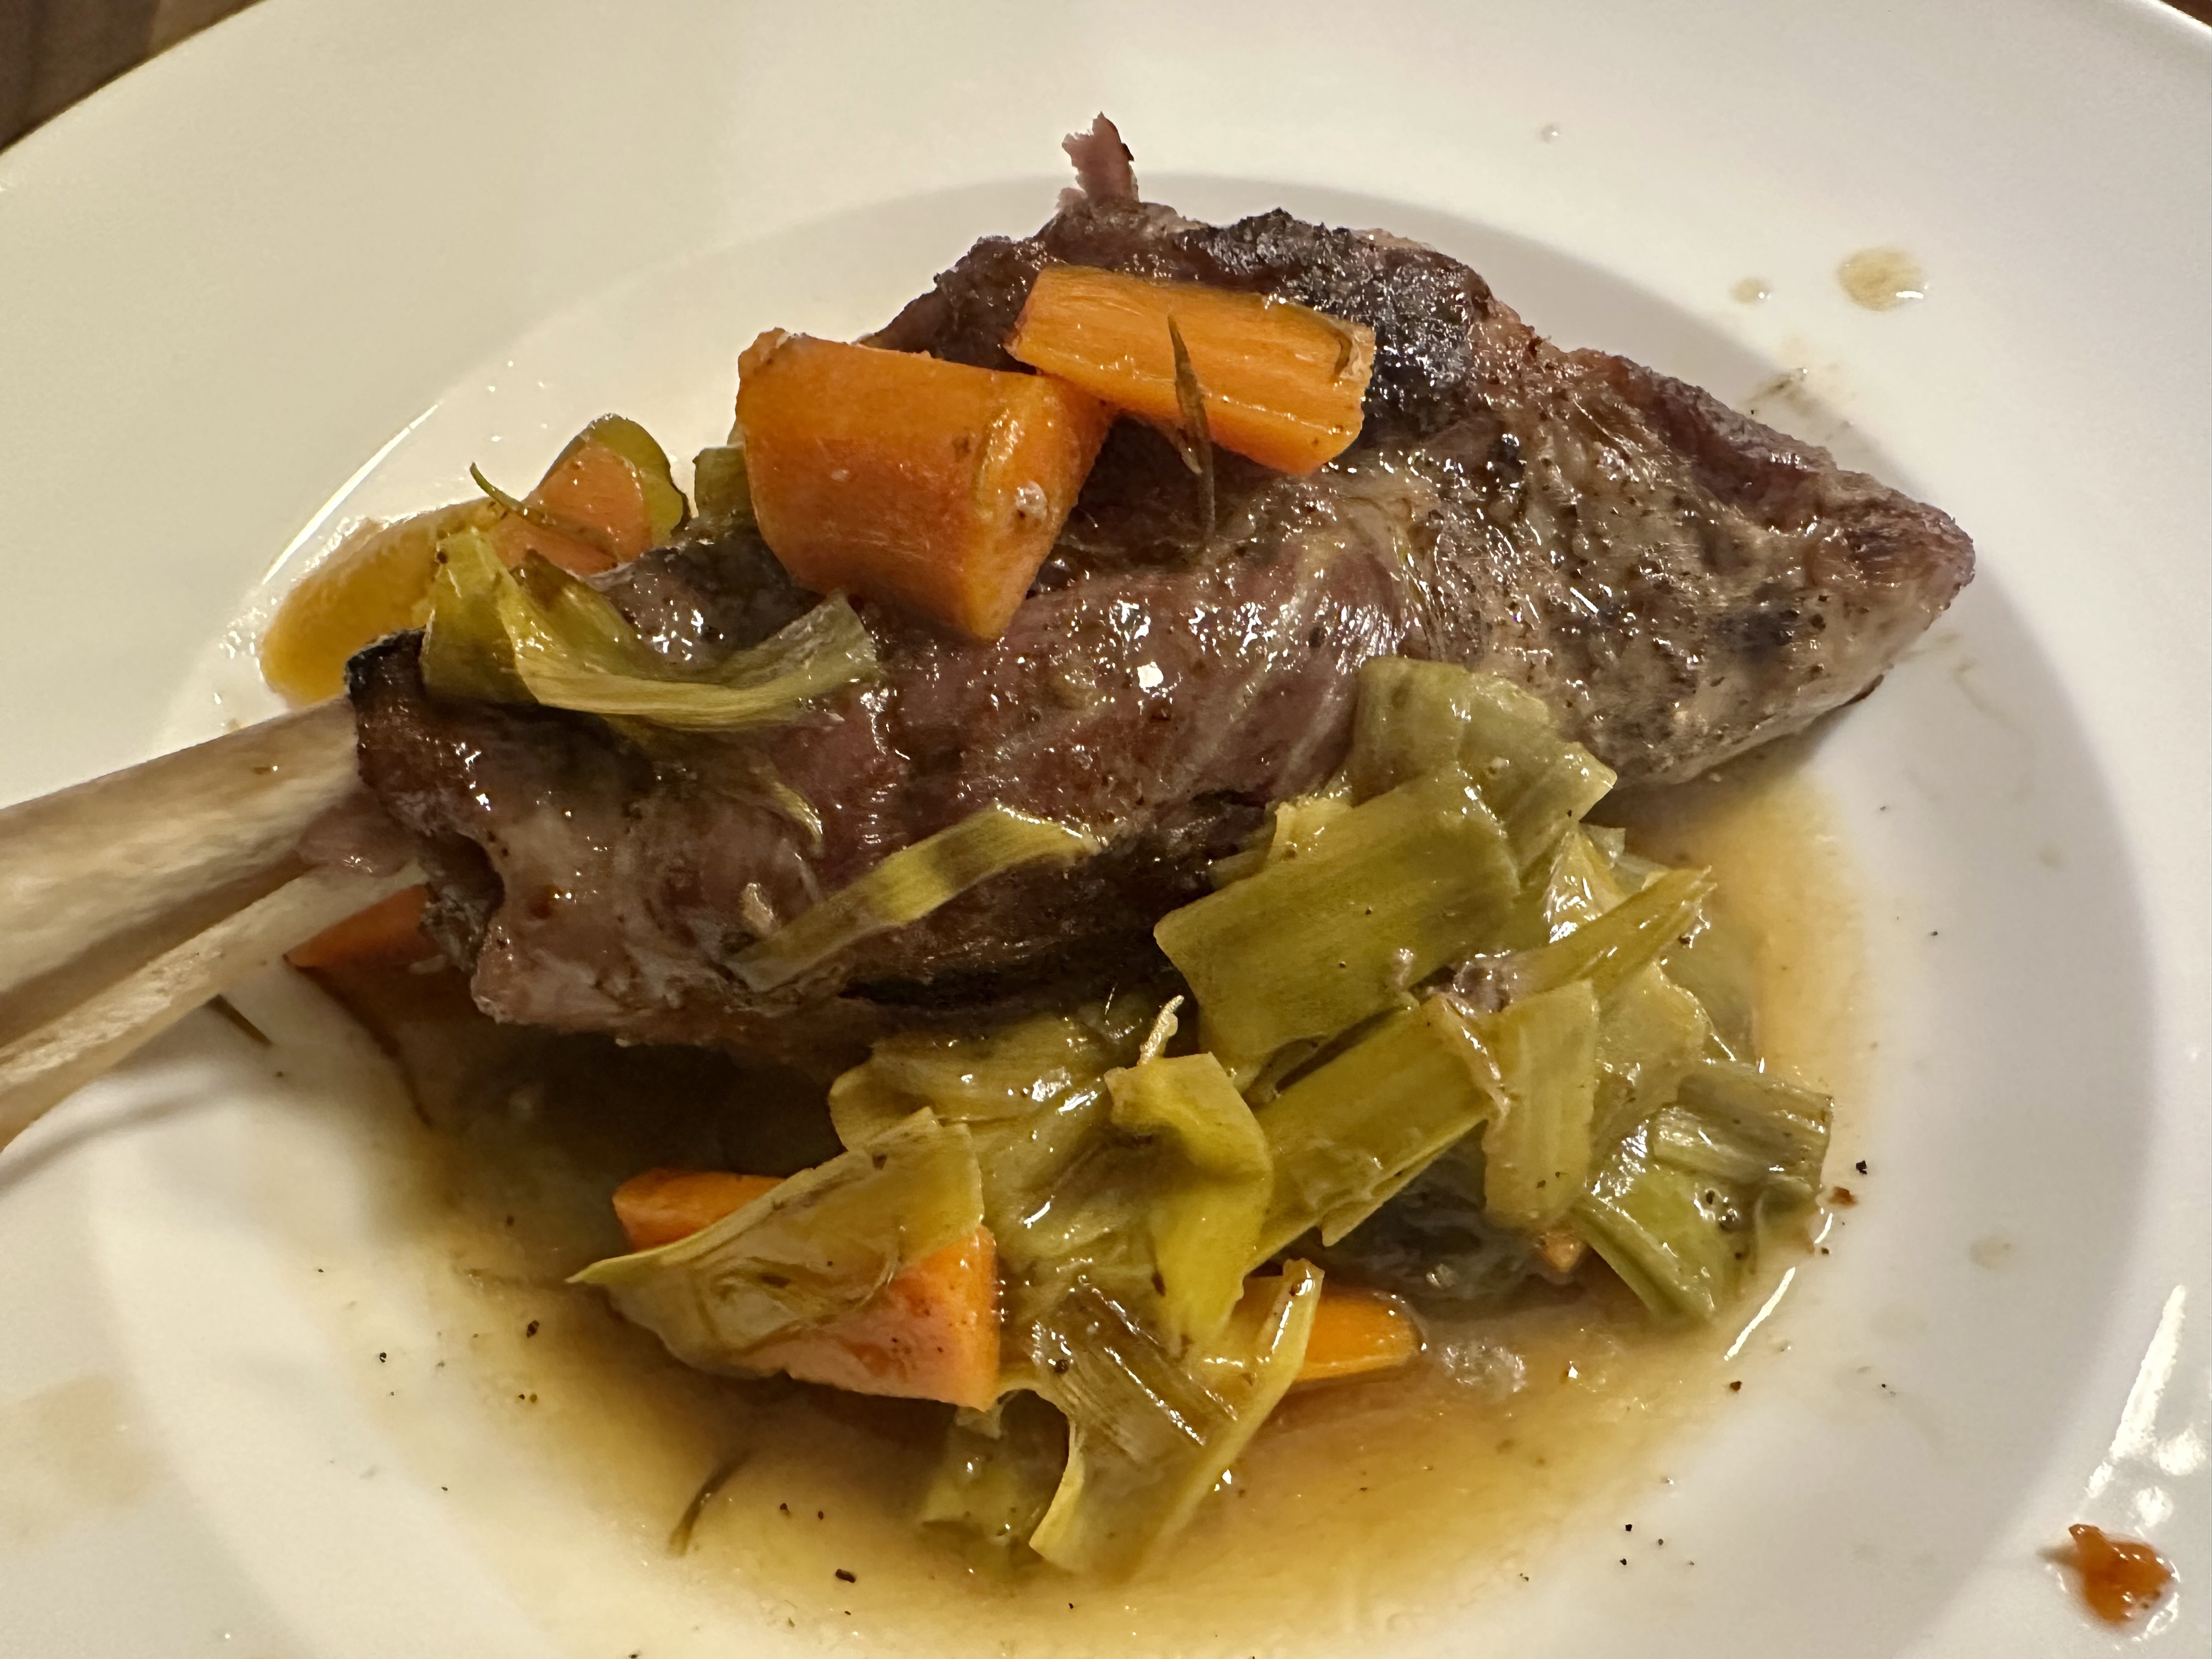
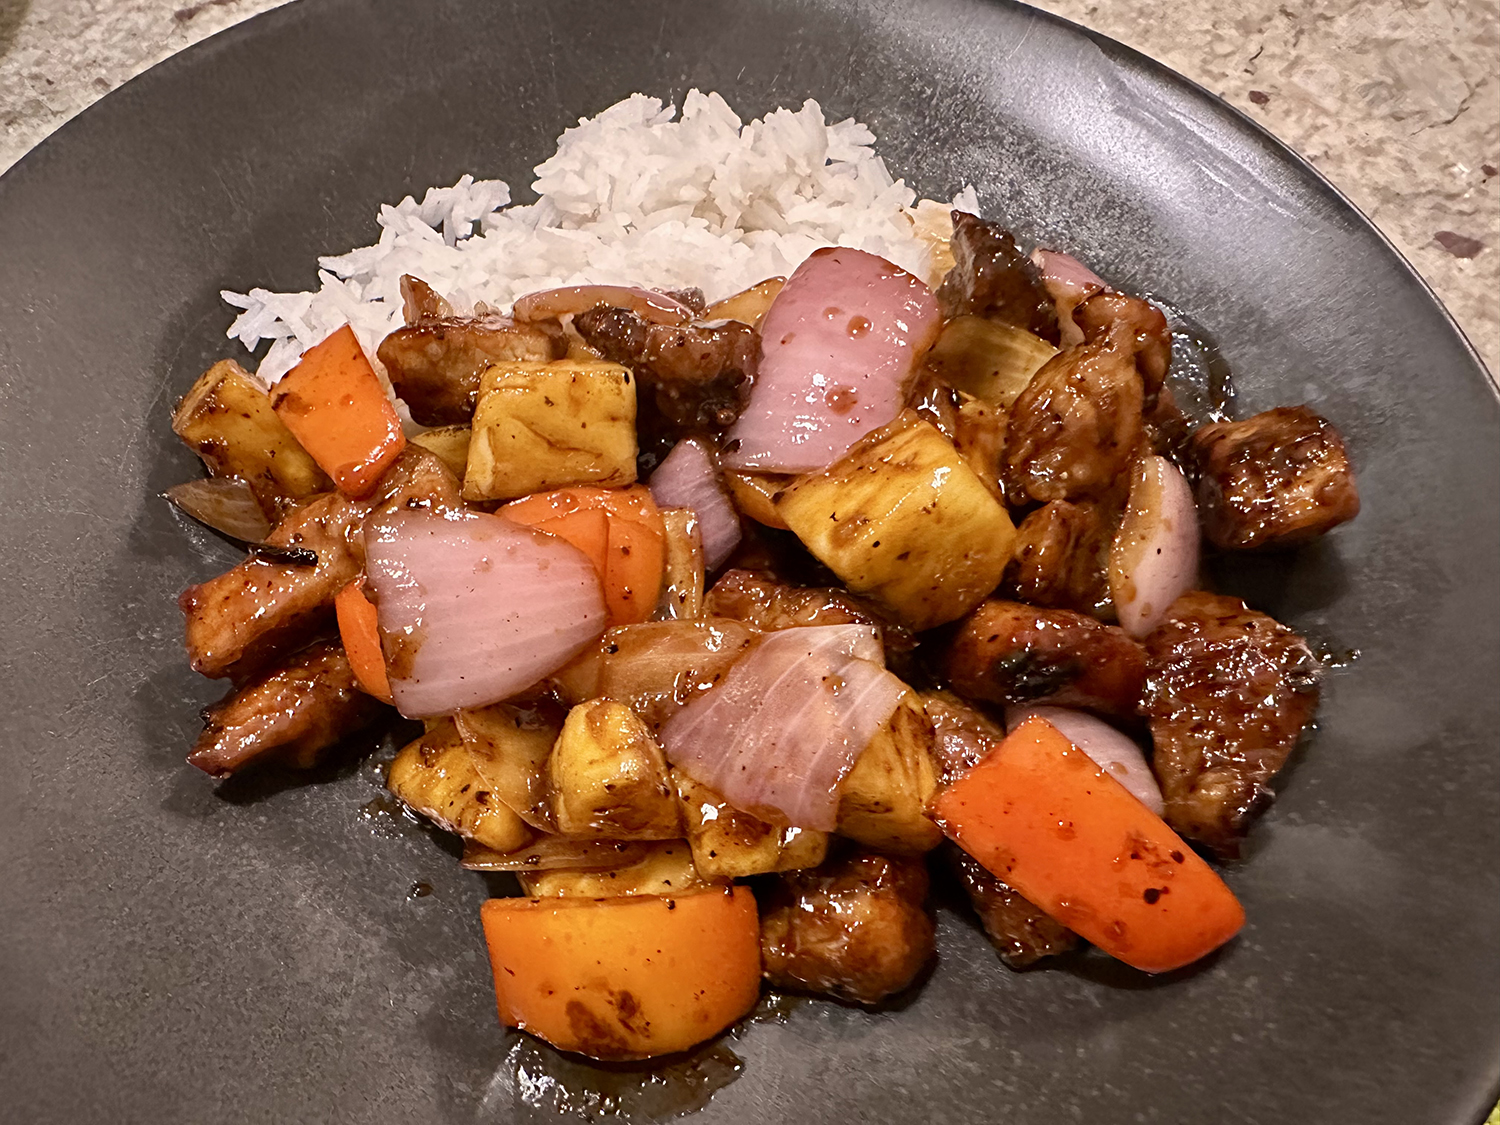
Many years ago when we were first dating, there was this local Chinese restaurant that had a wonderful Orange Beef on their menu. Once they closed down, we never found another satisfactory restaurant nearby with a version that quite measured up. Recently we saw this home cook’s recipe in the NYTimes Cooking by Sam Sifton that certainly looked fantastic, and tasted phenomenal.
This recipe for takeout-style orange beef, has a more intense orange-flavored sauce than many. It is important to use very good steak, and cook it fast, so that below the lovely crust of its egg-white-and-cornstarch batter, the meat remains rare and luscious.
And make it a few times because what appears difficult, and a lot of prep, the first time through — the coating of the beef, the making of the sauce, the stir-frying of the aromatics, the stir-frying of the beef — is in fact, fast and easy work, and much, much better than takeout.
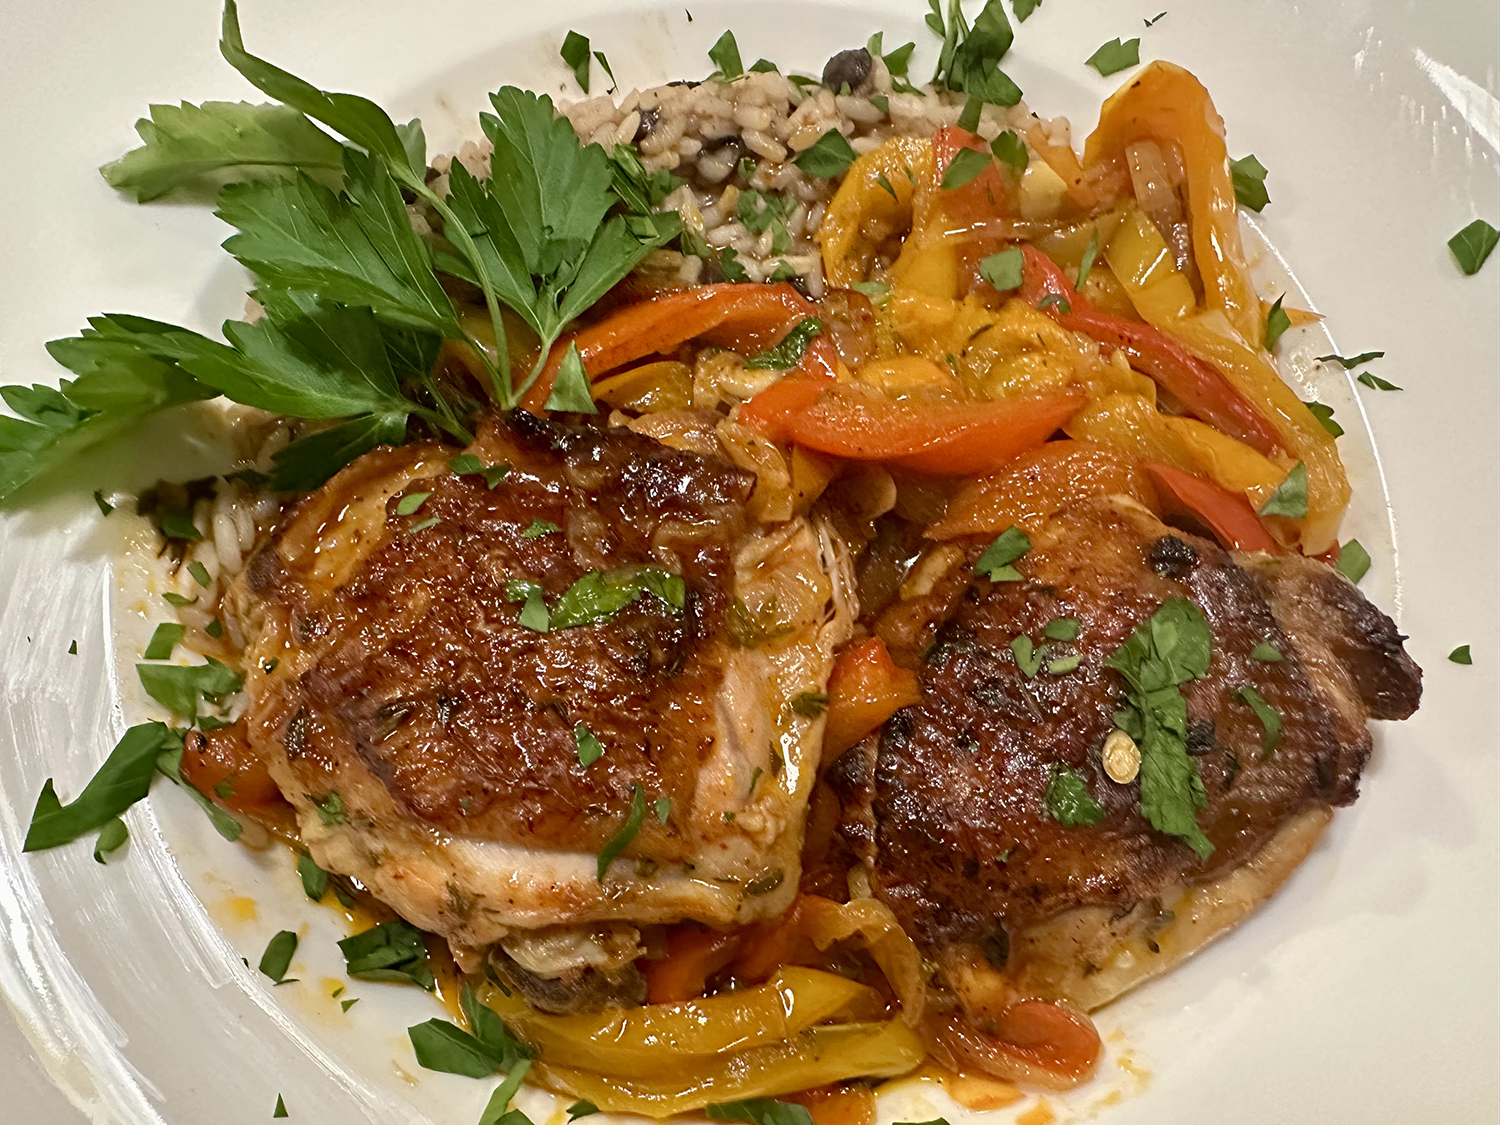
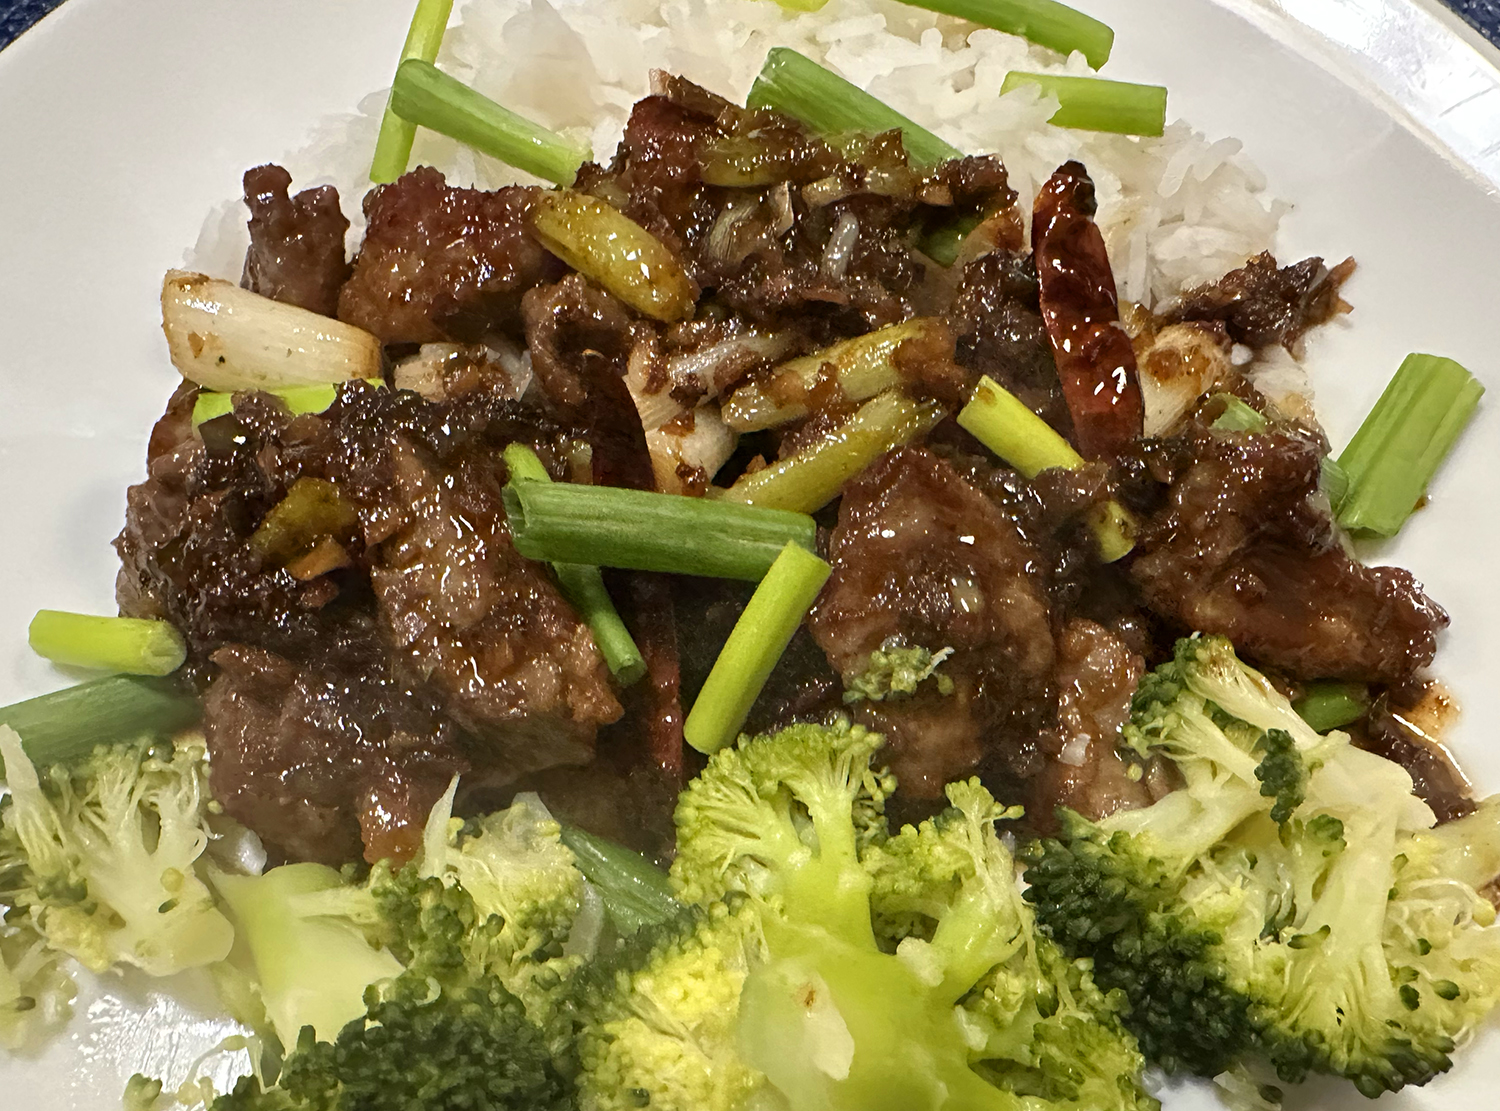
As suggested, we served with steamed broccoli and white rice. But there is no way that you get 4 decent servings* out of it—between 2 and 3 is more realistic. Based on some reviewer’s comments on the longish prep time, go ahead and make the sauce the night before while cooking something else, then throw it in the fridge. This will certainly expedite the prep time.
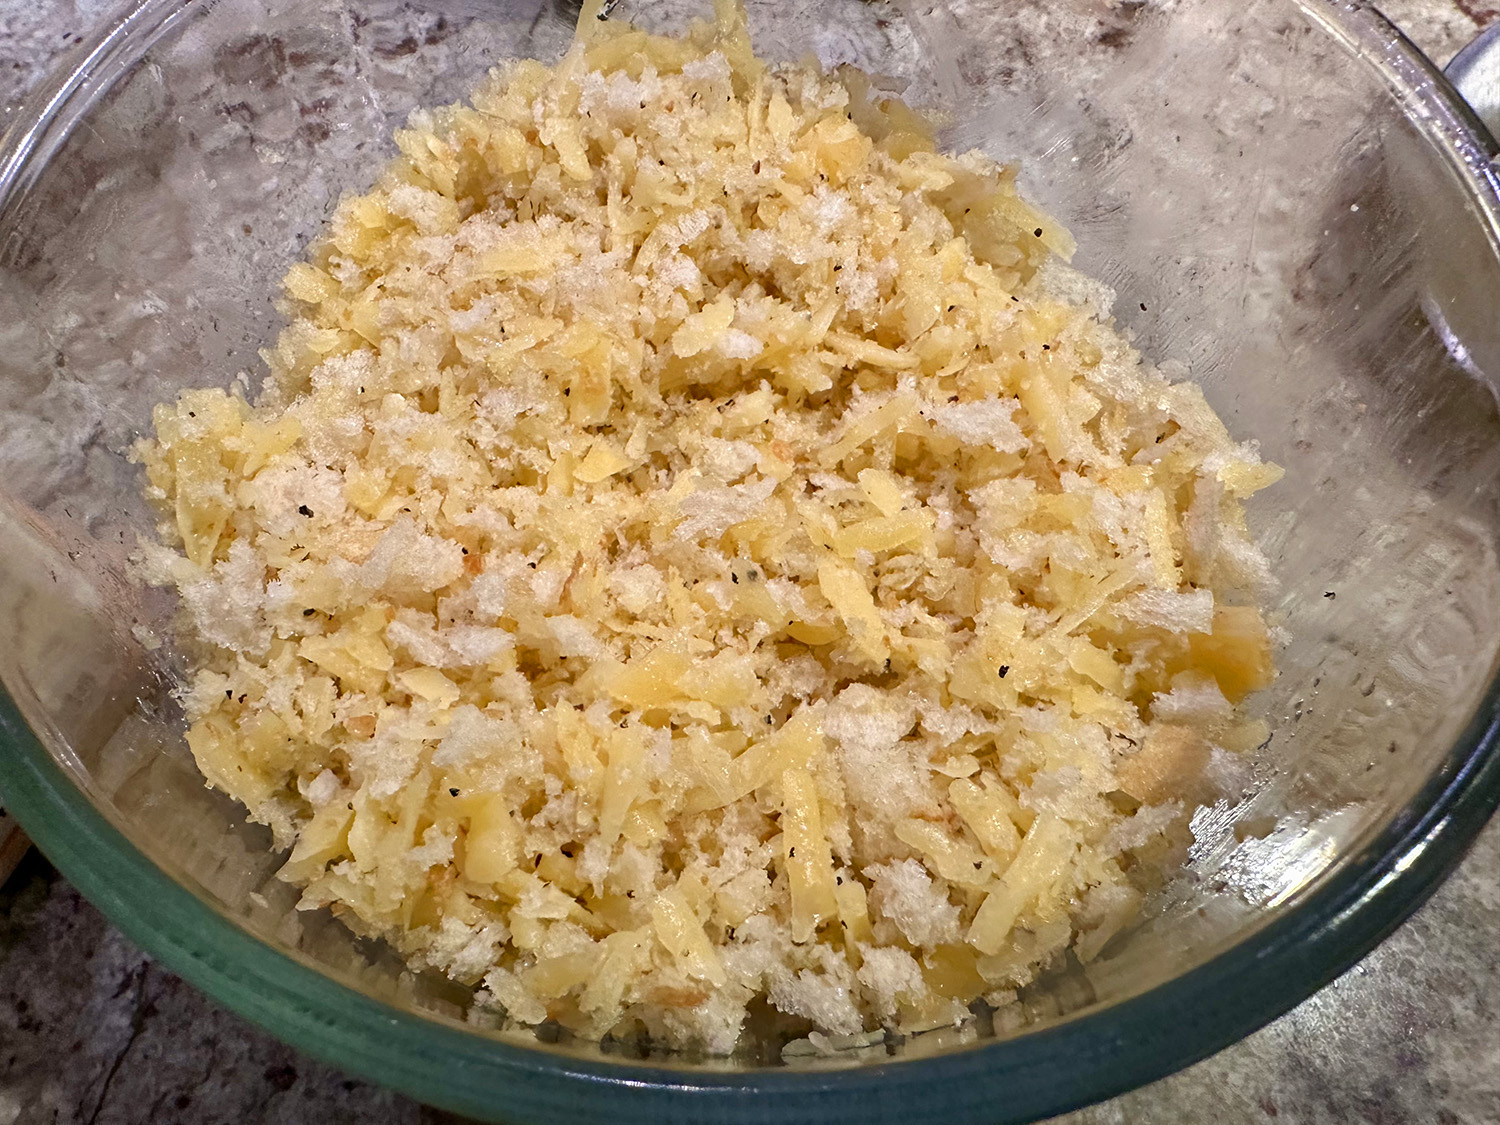
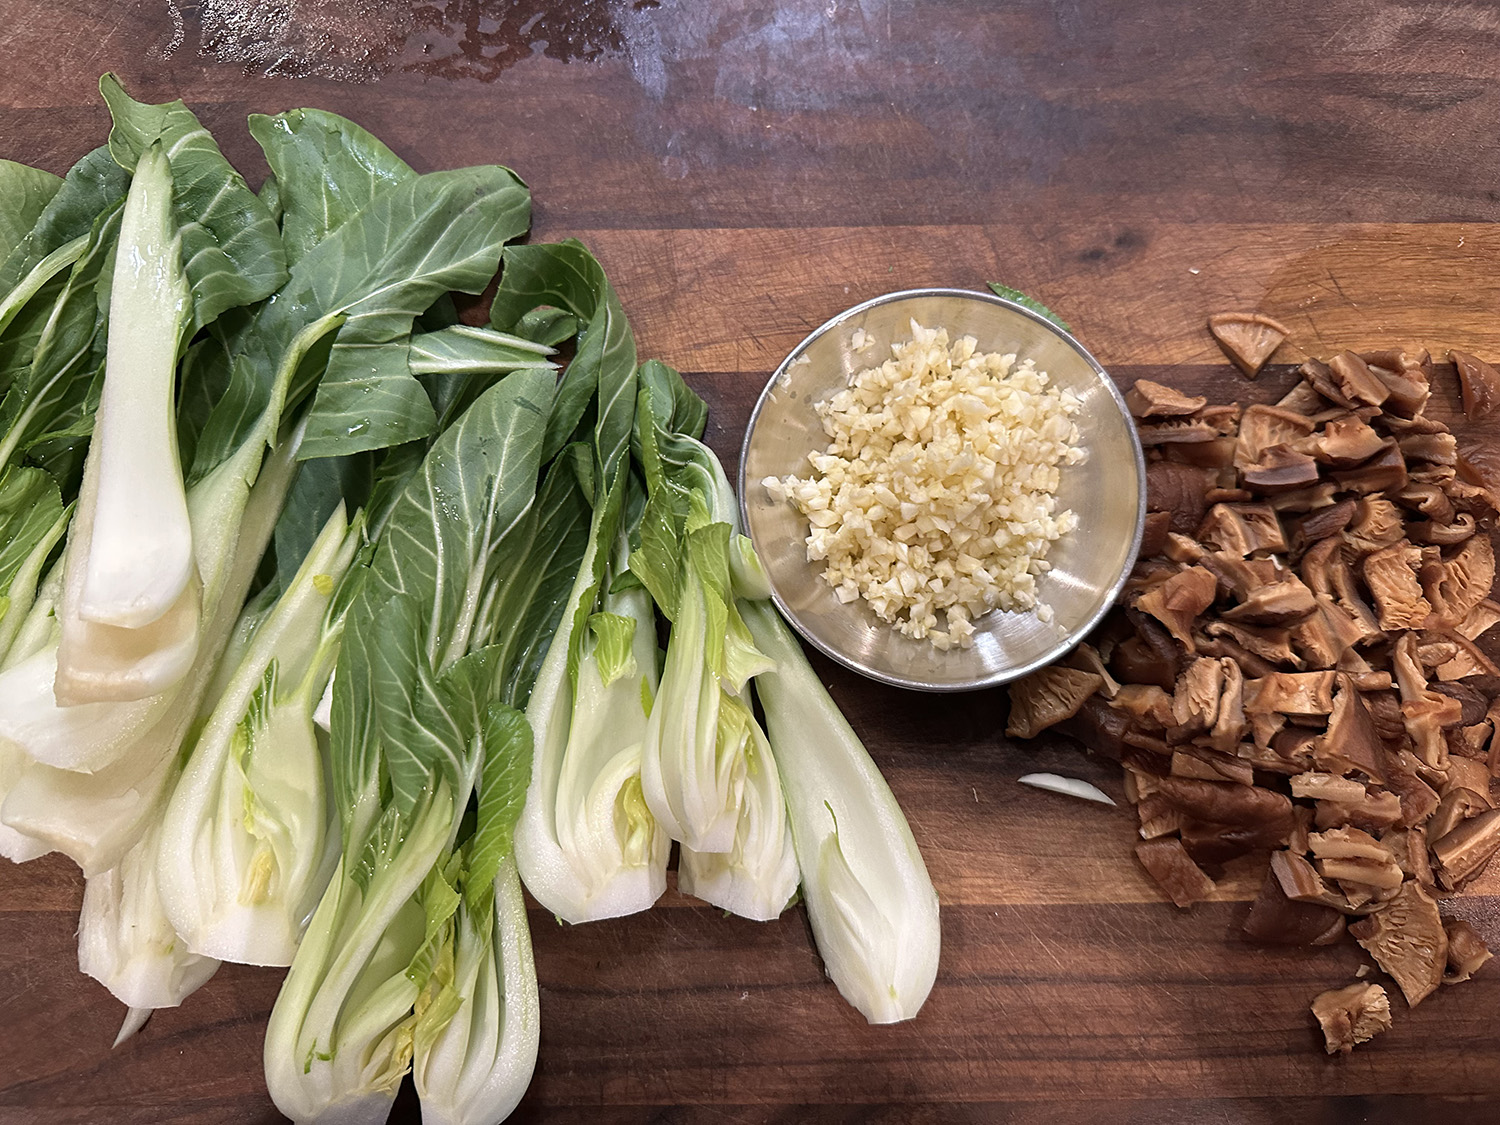
One suggestion: *Throw in some veggies and cook them for 3-5 min in a hot wok/sauté pan. Some examples are snap peas, red and yellow peppers and some mushrooms. It would be a more balanced and substantial meal.

Orange Beef
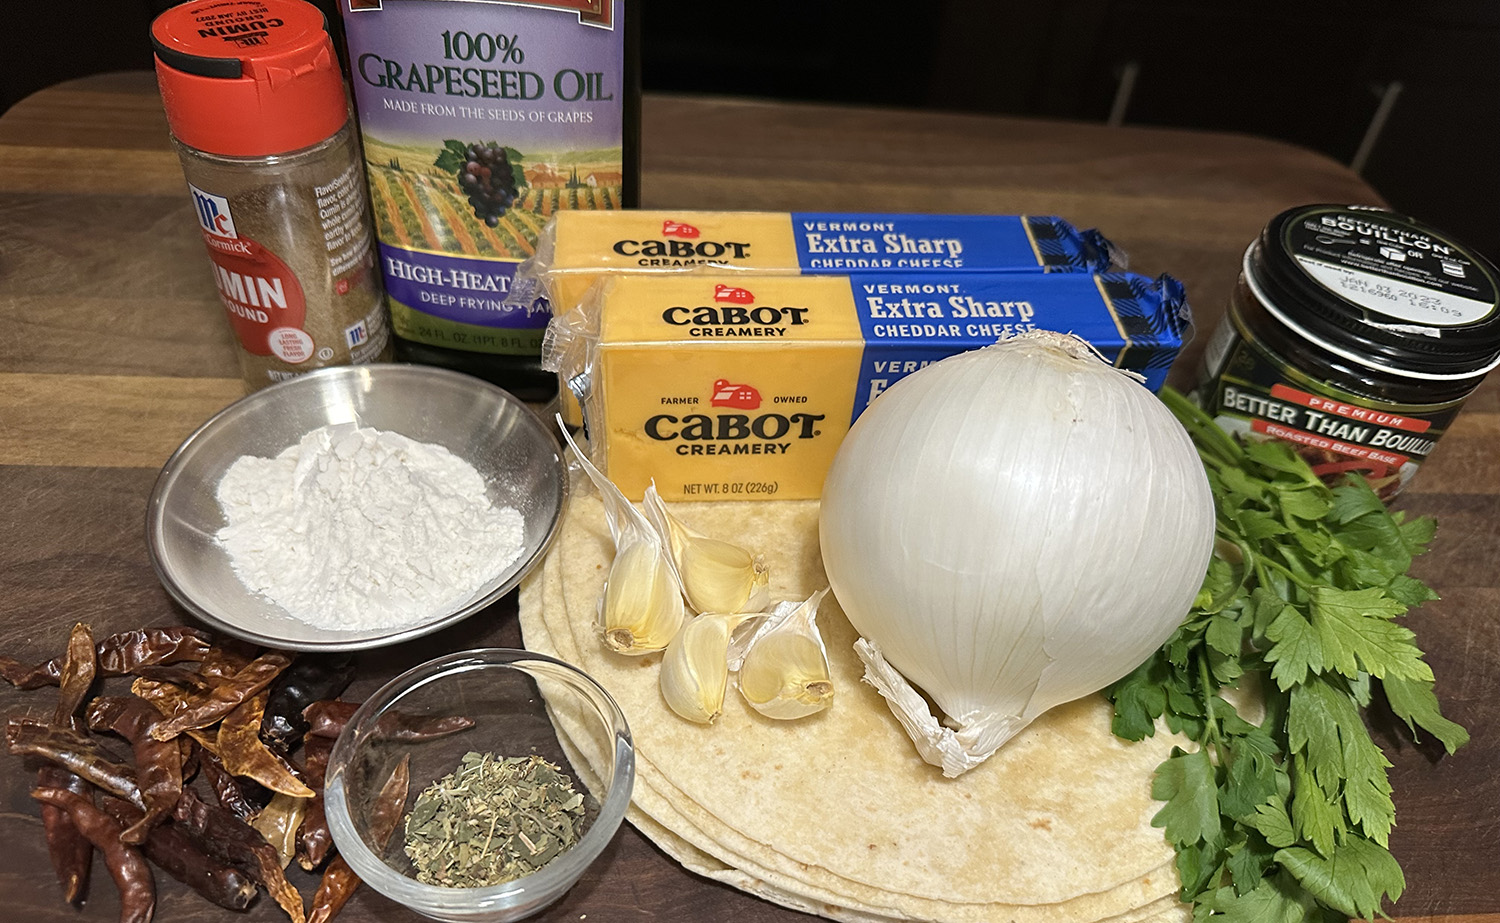
Ingredients
For the Sauce
- 1 Tbsp. neutral oil
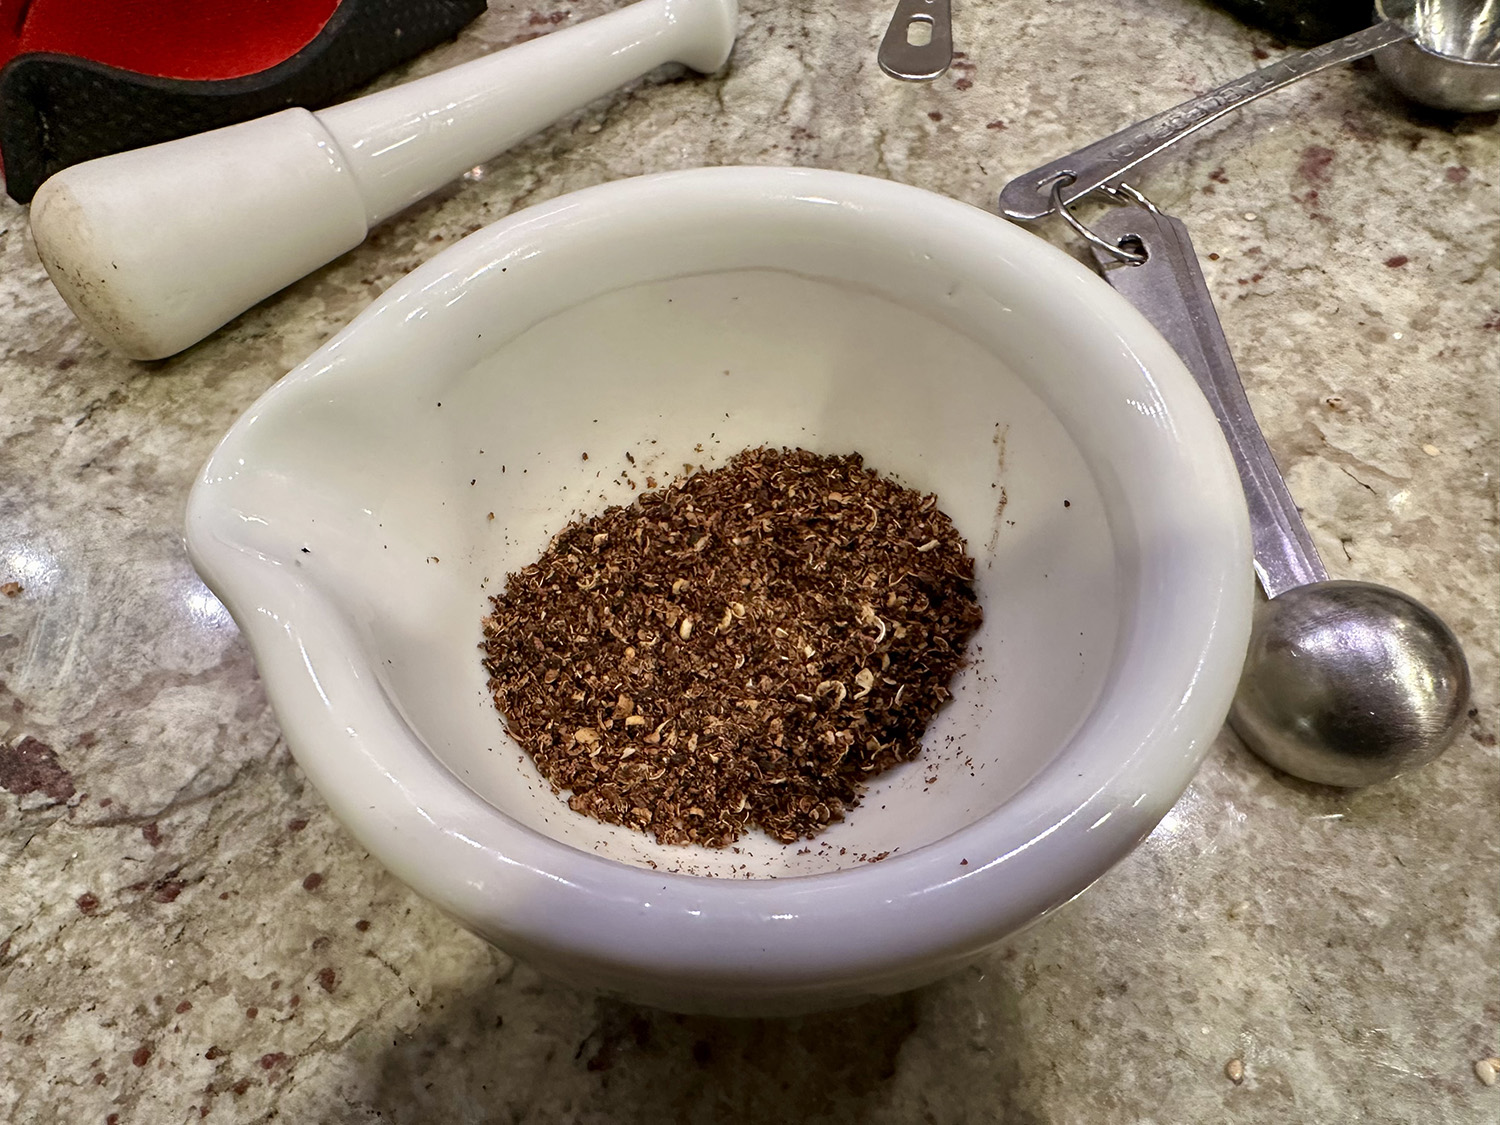
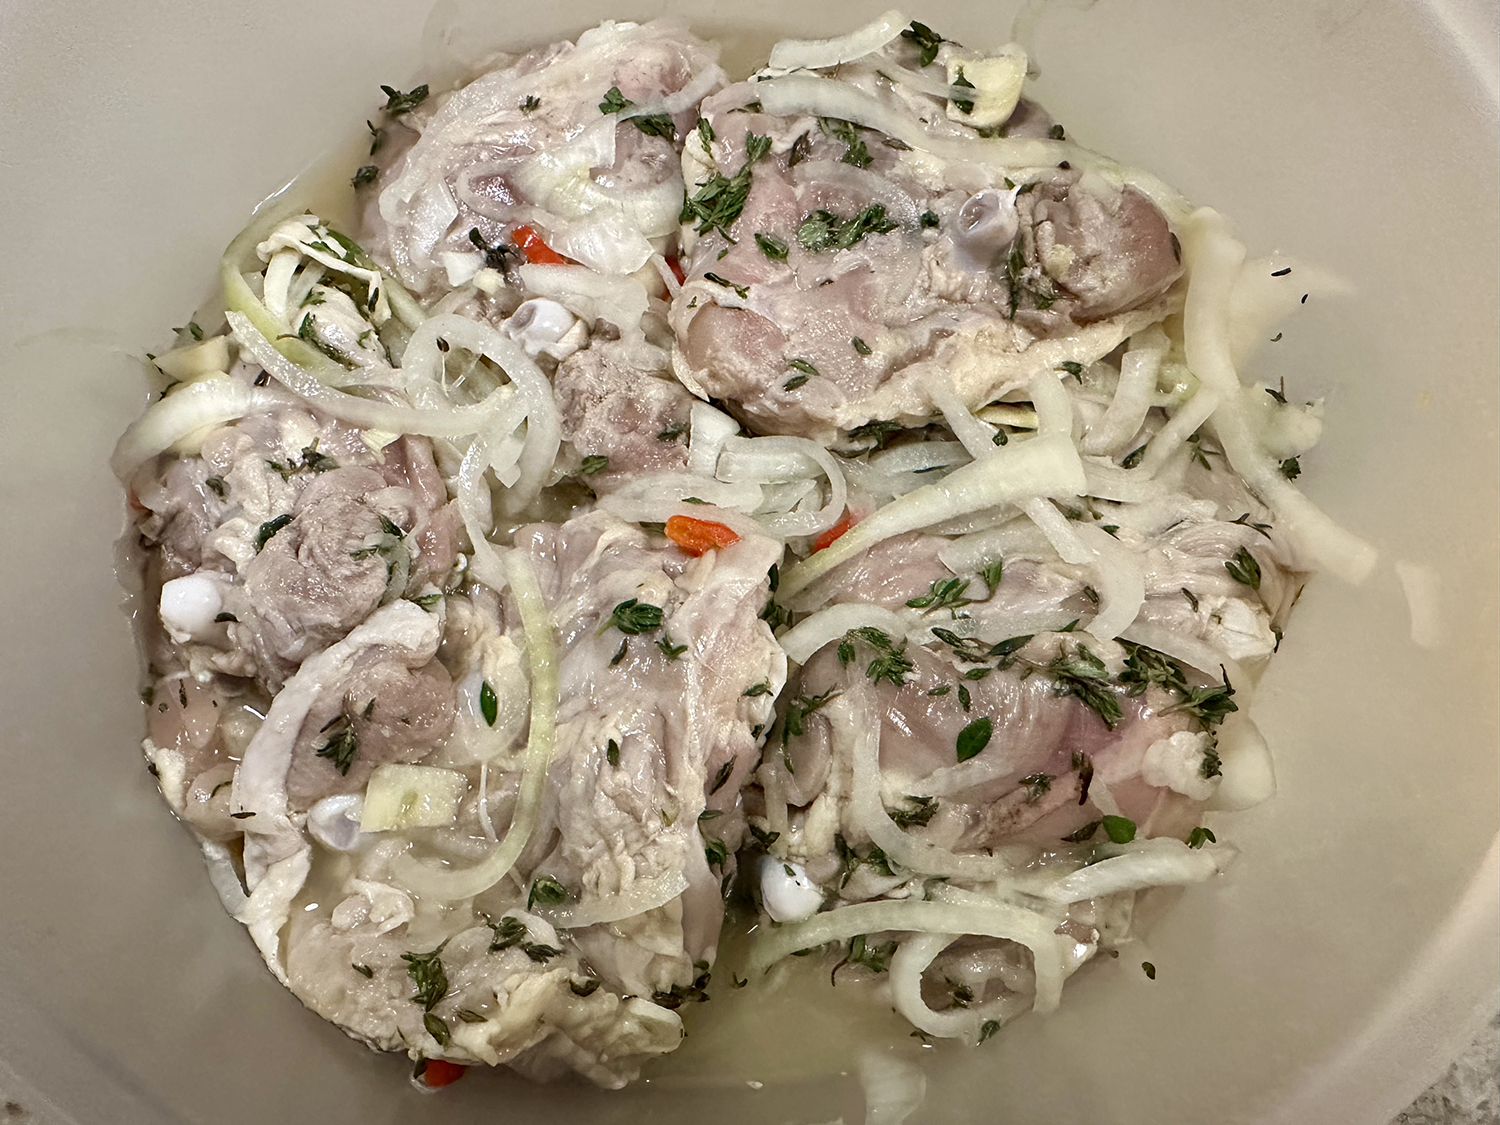
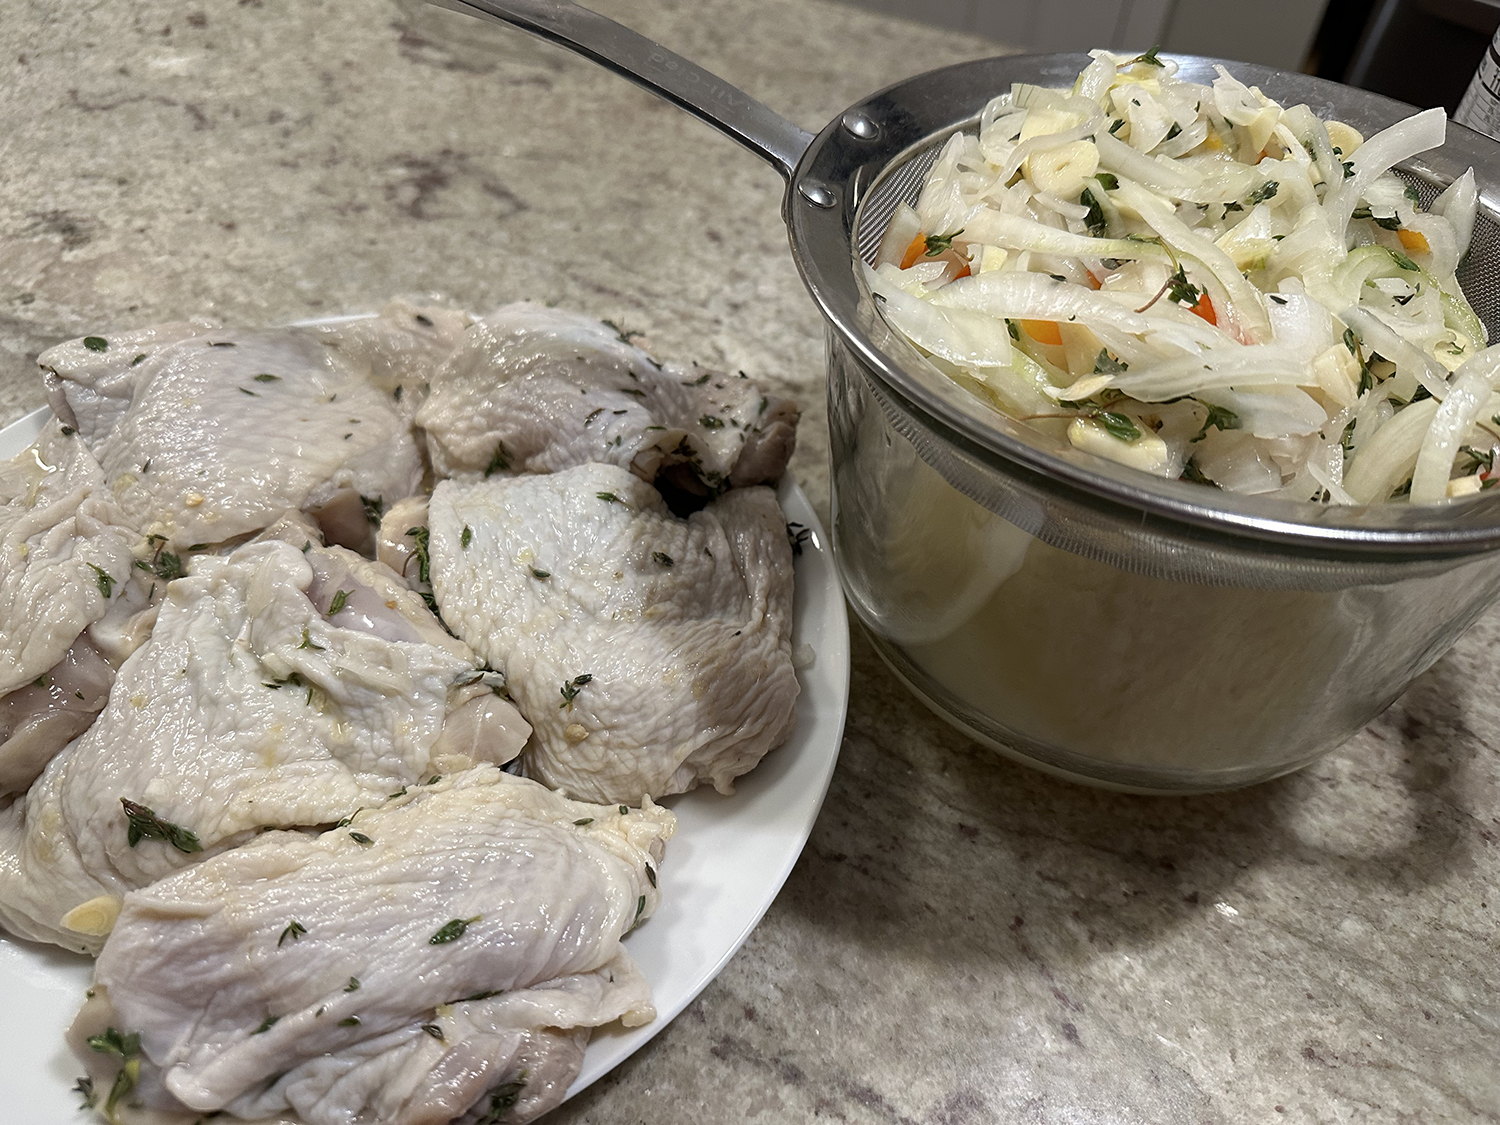
- 1 1½-inch piece fresh ginger, peeled and minced
- 1 jalapeño pepper, seeded and minced
- 2 Tbsp. orange zest, plus the juice of one orange
- 3 garlic cloves, peeled and minced
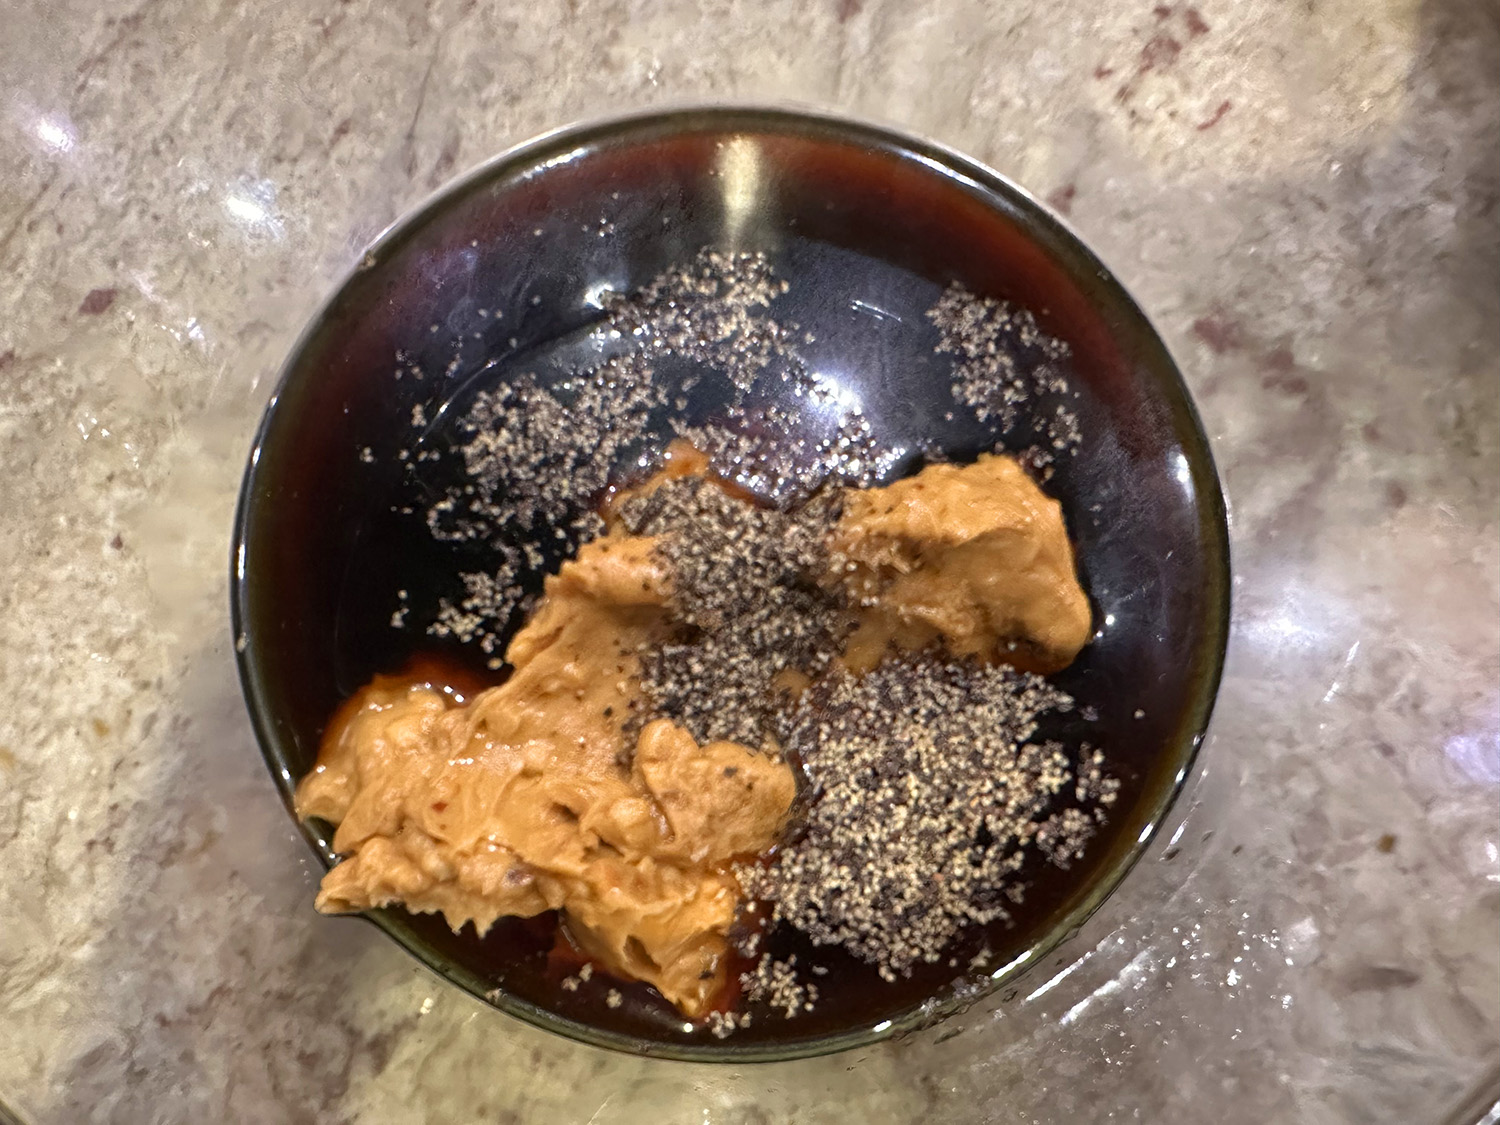
- ¼ cup light brown sugar
- ¼ cup rice vinegar (do not use seasoned rice vinegar)
- ¼ cup soy sauce
- 1 Tbsp. fish sauce
For the Beef
- 1 large egg white
- 1 Tbsp. cornstarch
- 1 pinch kosher salt
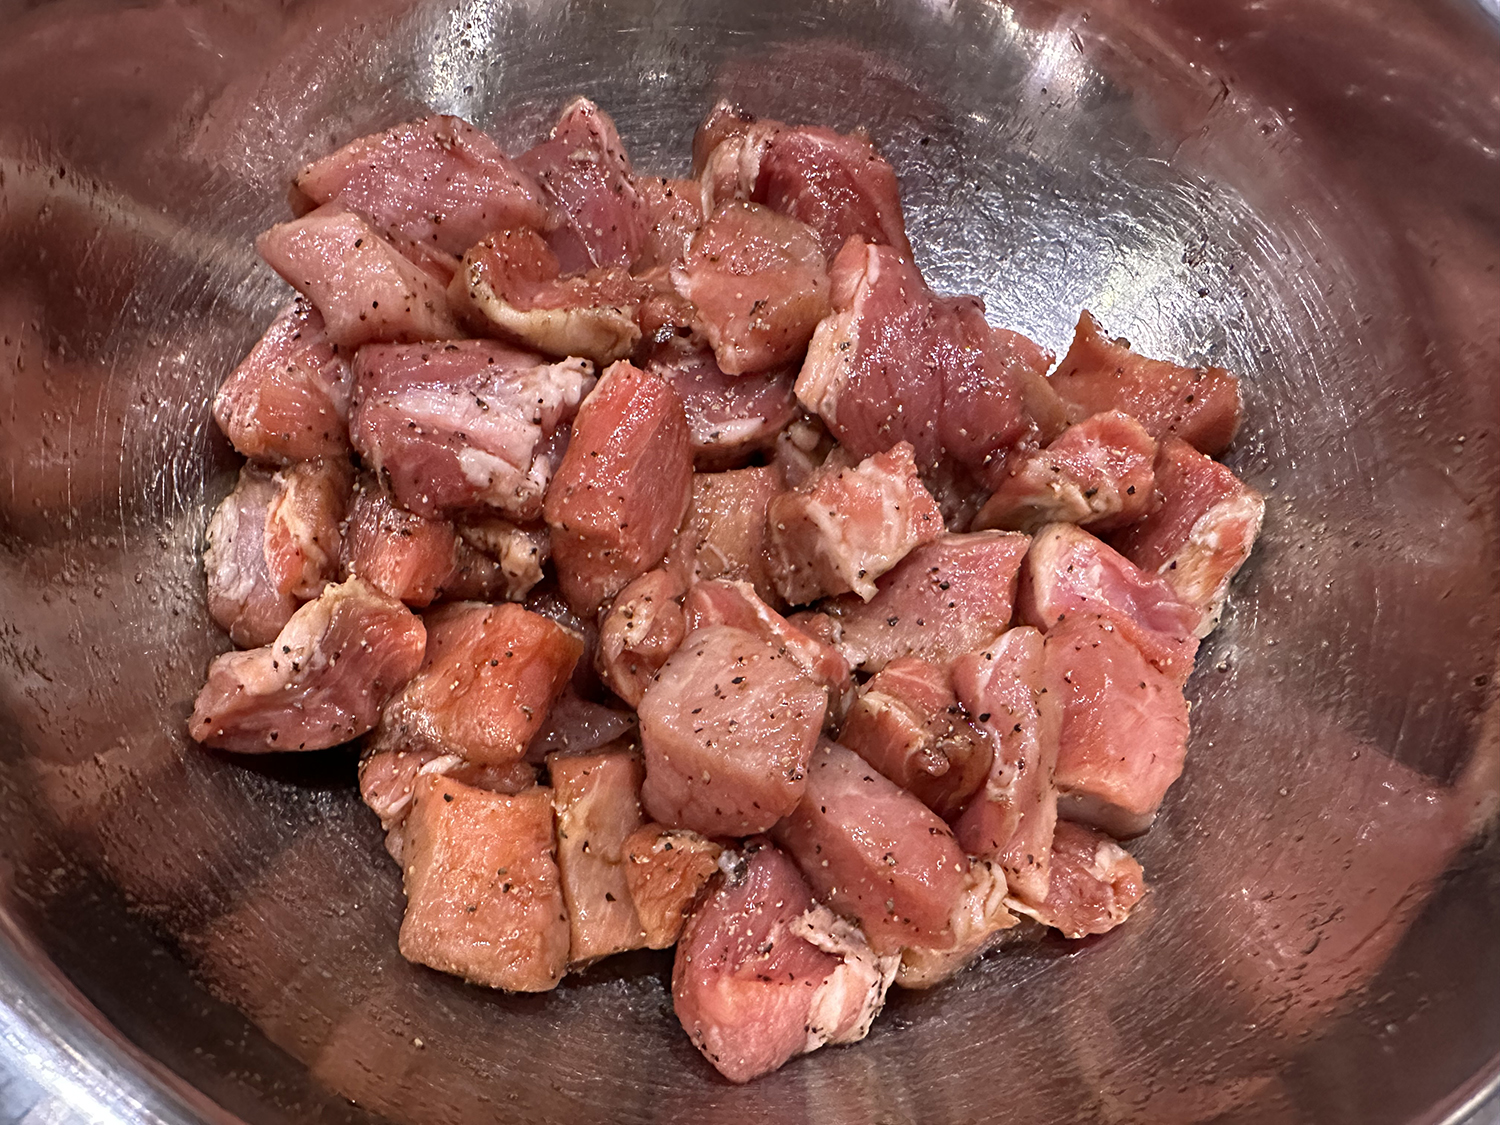
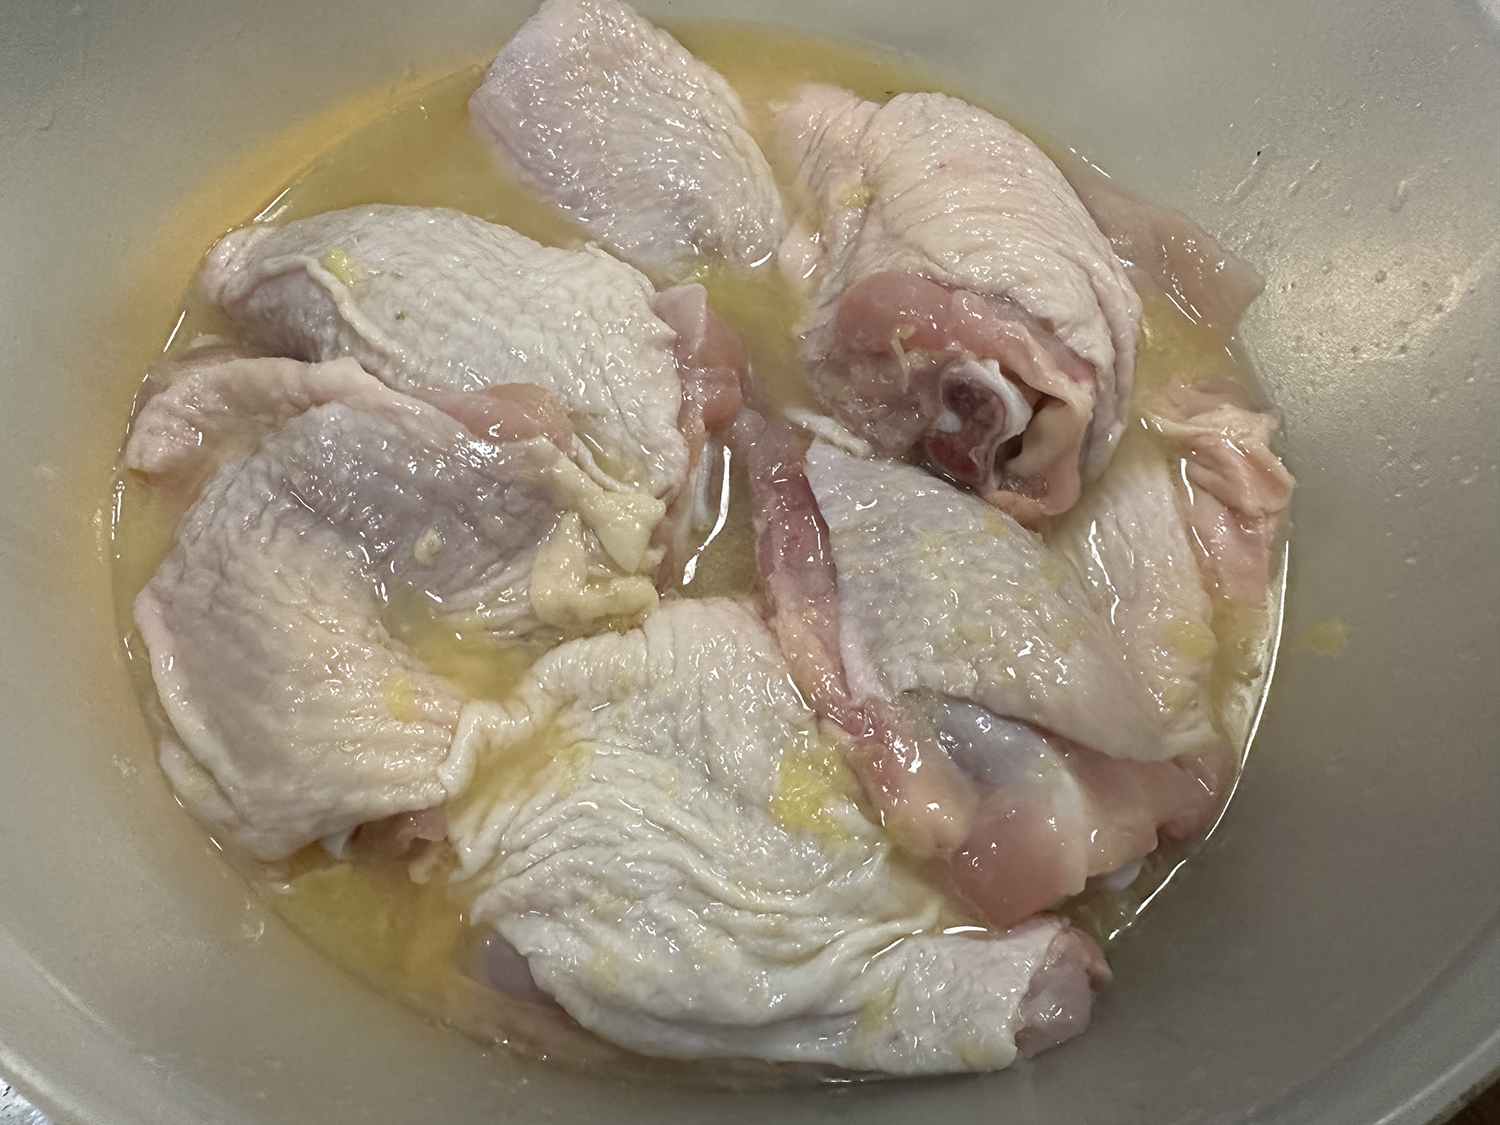
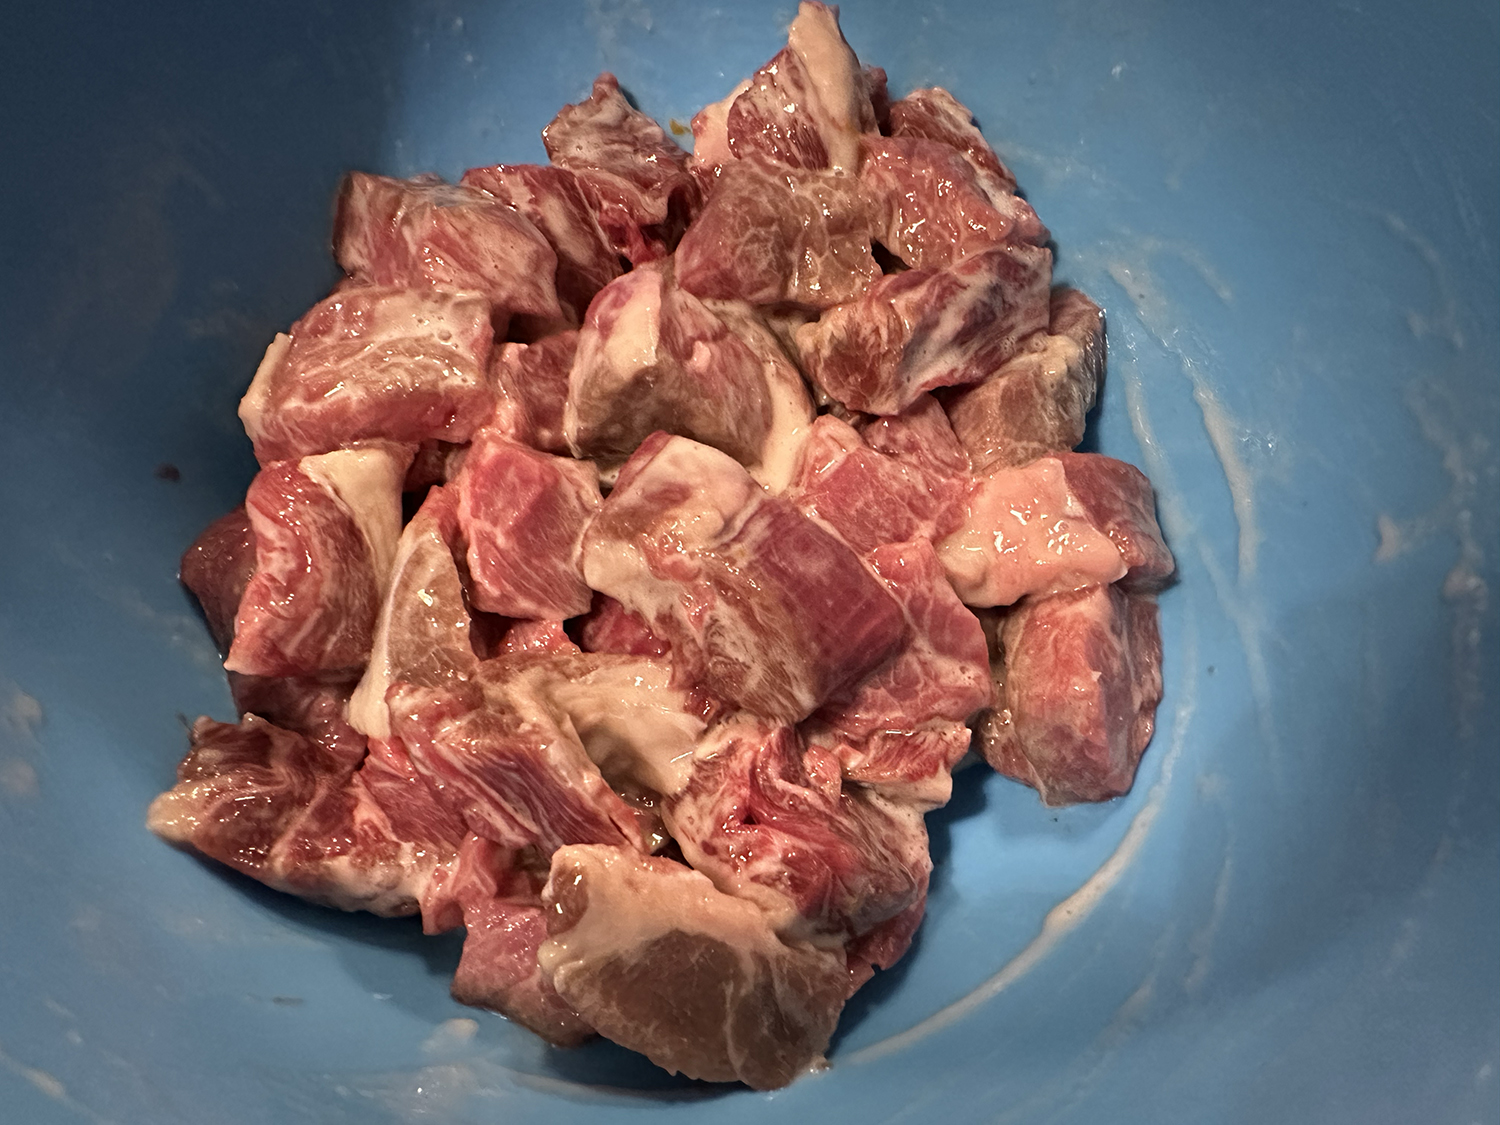
- 1 boneless rib-eye steak, approximately 1 to 1½ lbs, cut into 1-inch pieces
- ¼ cup neutral oil
- 6 scallions, white and green parts cut into inchlong pieces and separated
- 2 to 4 dried red chiles, or to taste


Directions
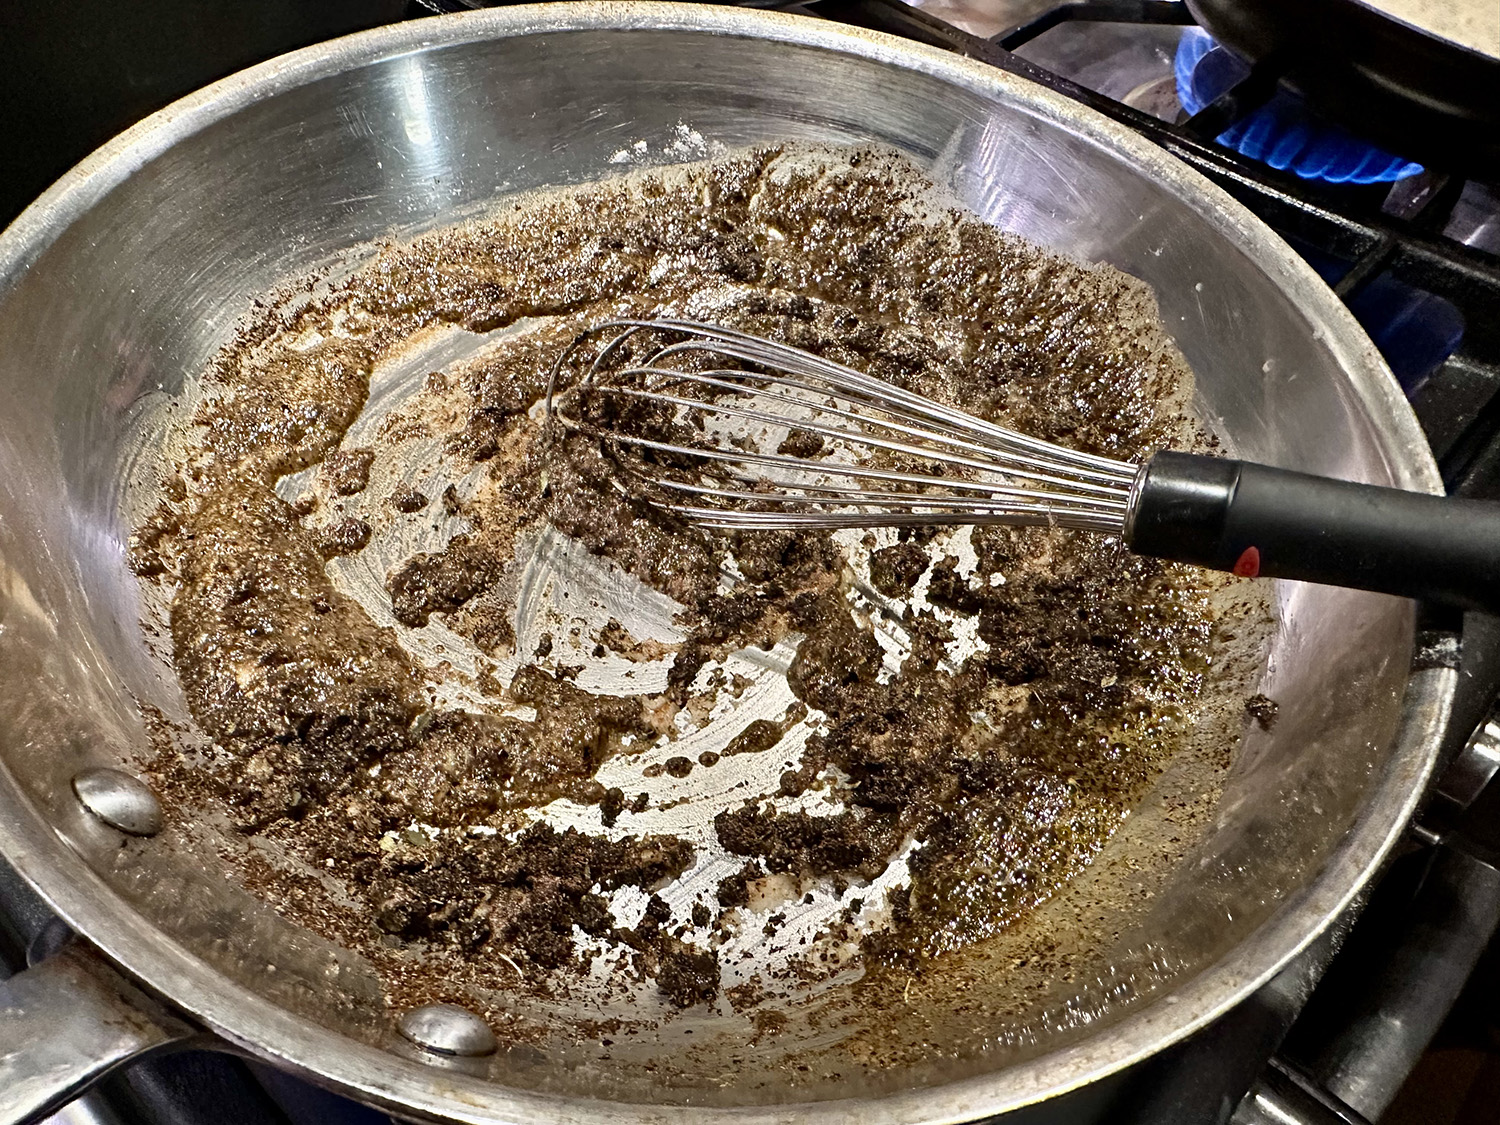
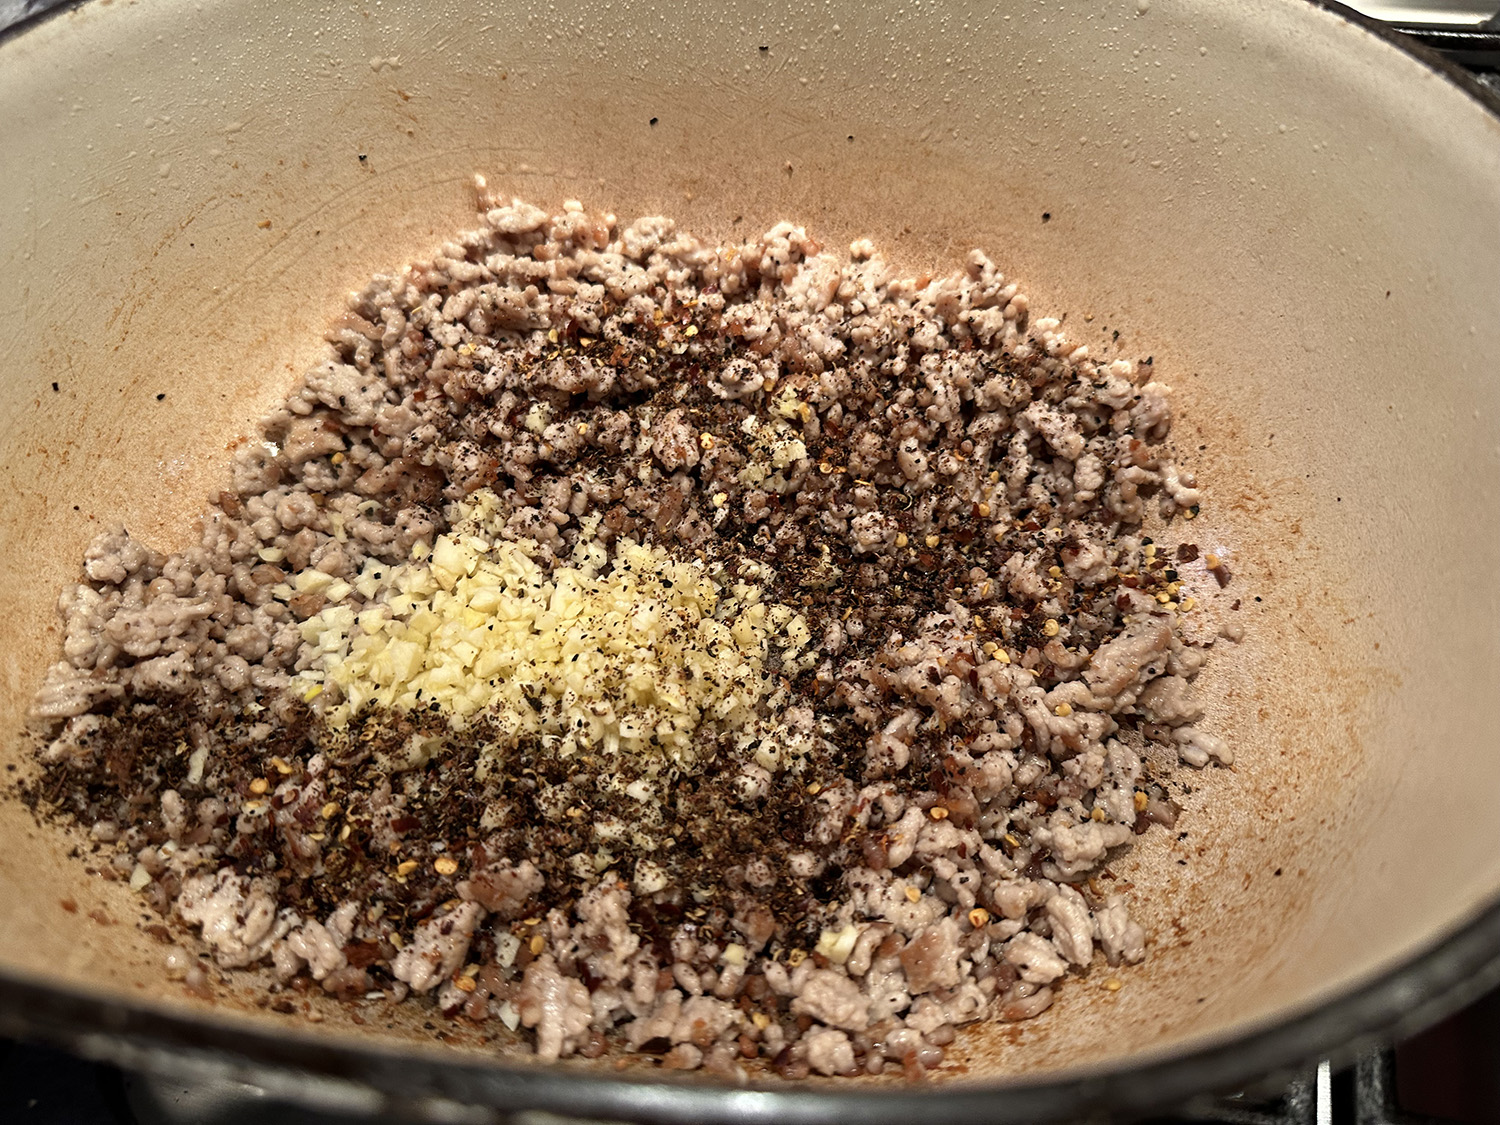
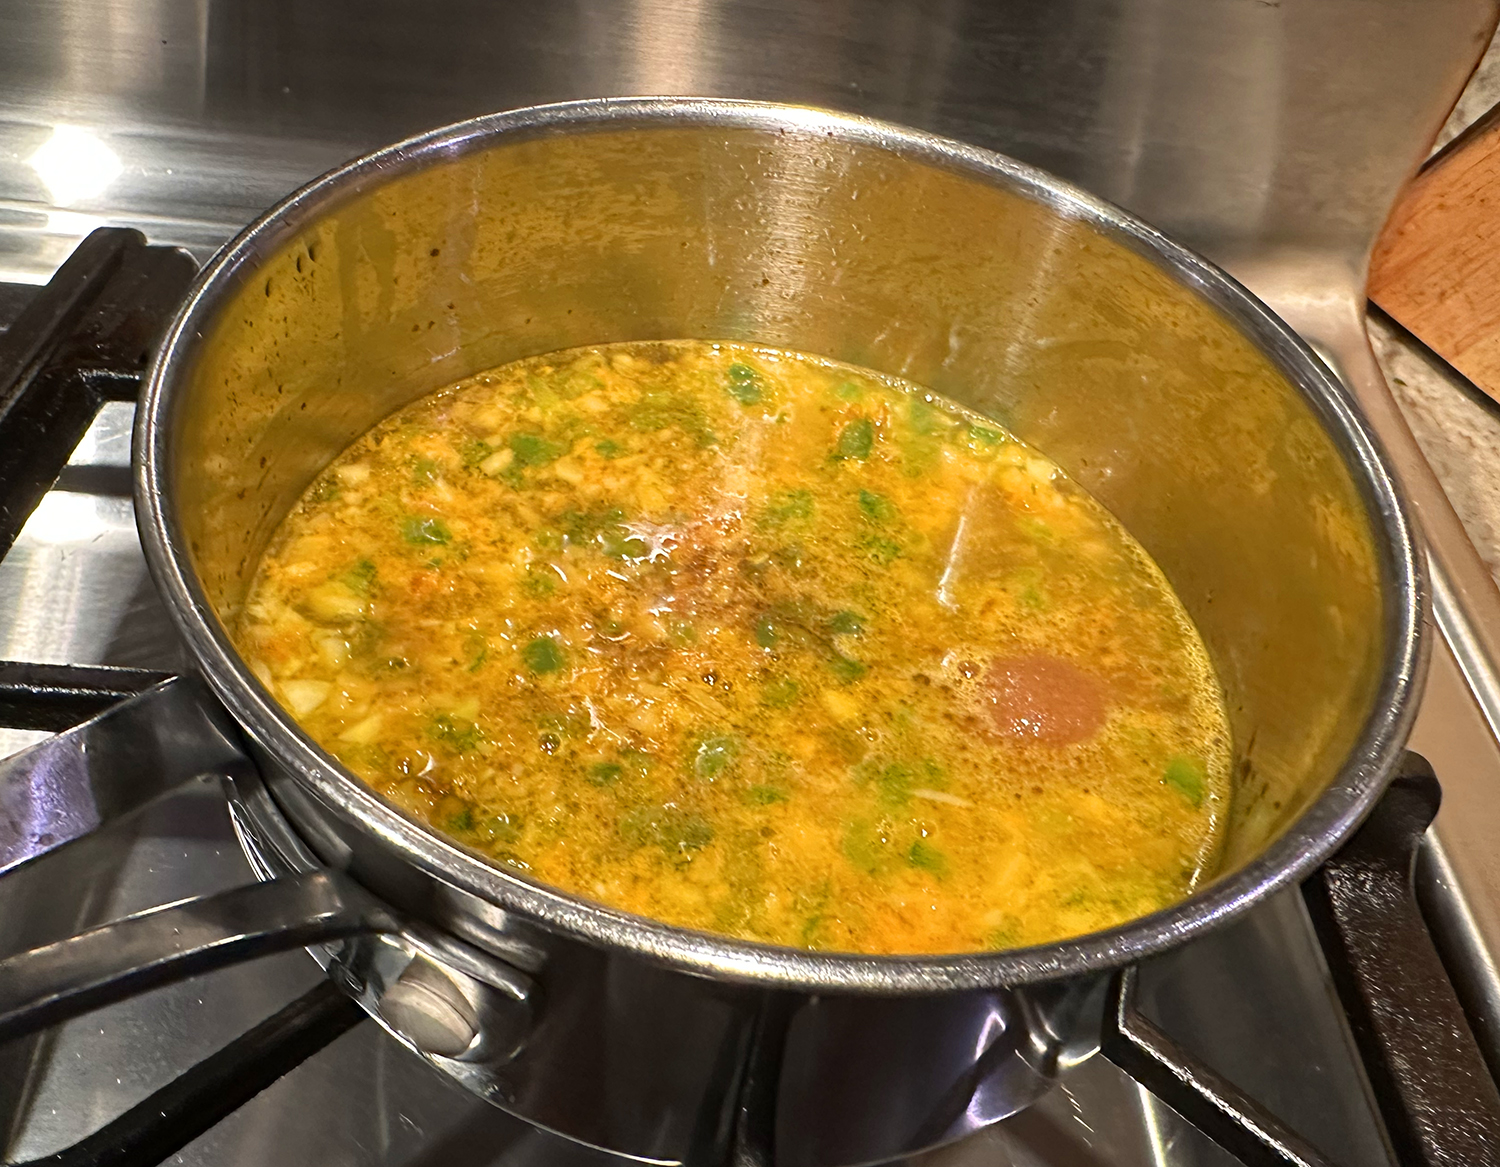
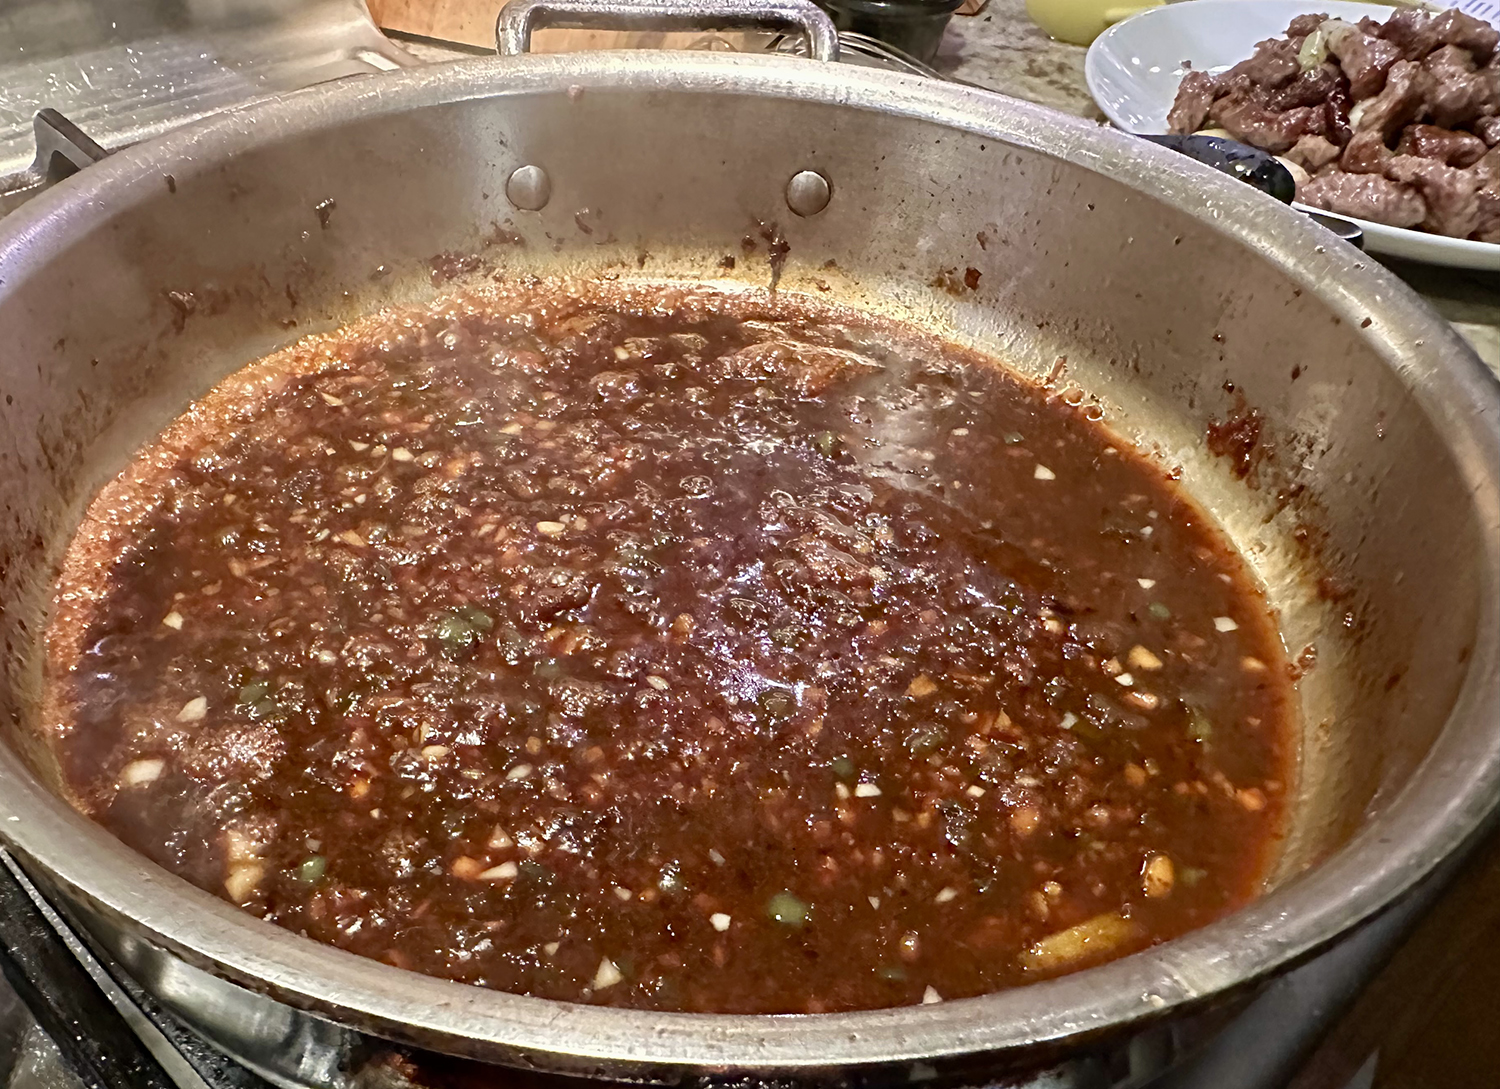
- Make the sauce: Heat oil in a small sauce pan set over medium-high heat. When it begins to shimmer, add ginger, jalapeño and orange zest and stir to combine. Sauté mixture until ingredients soften, approximately 2 to 3 minutes, then add garlic and continue cooking until it softens, approximately 1 to 2 minutes longer.
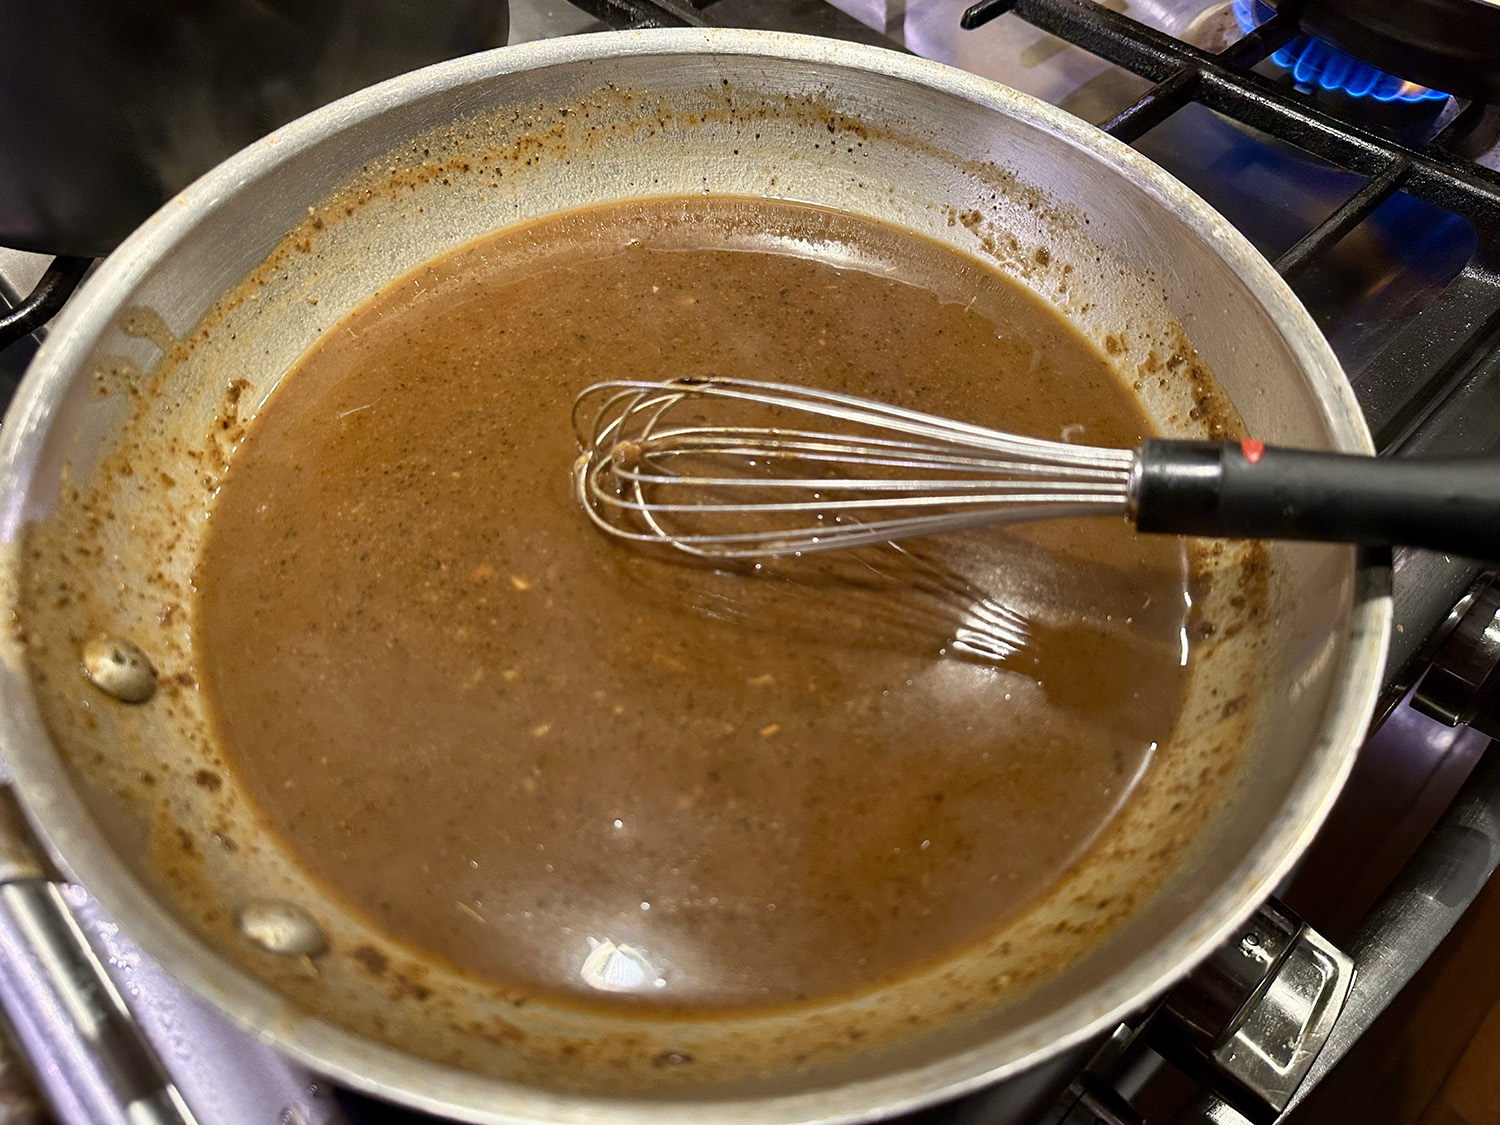
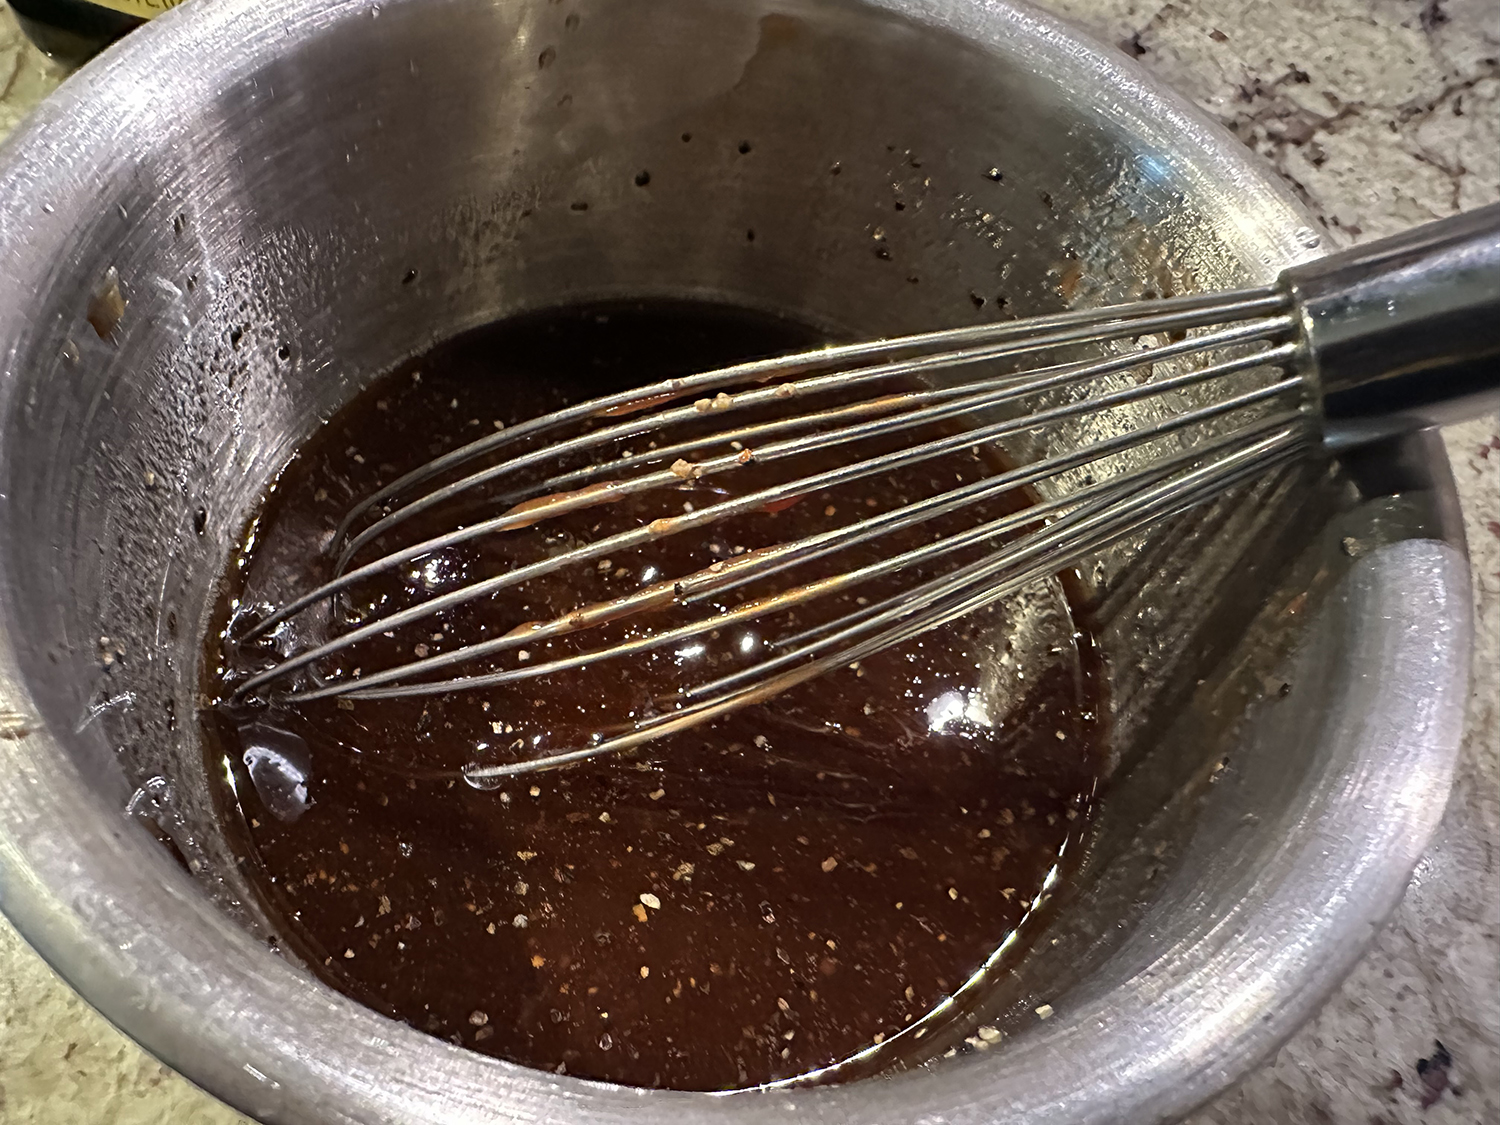
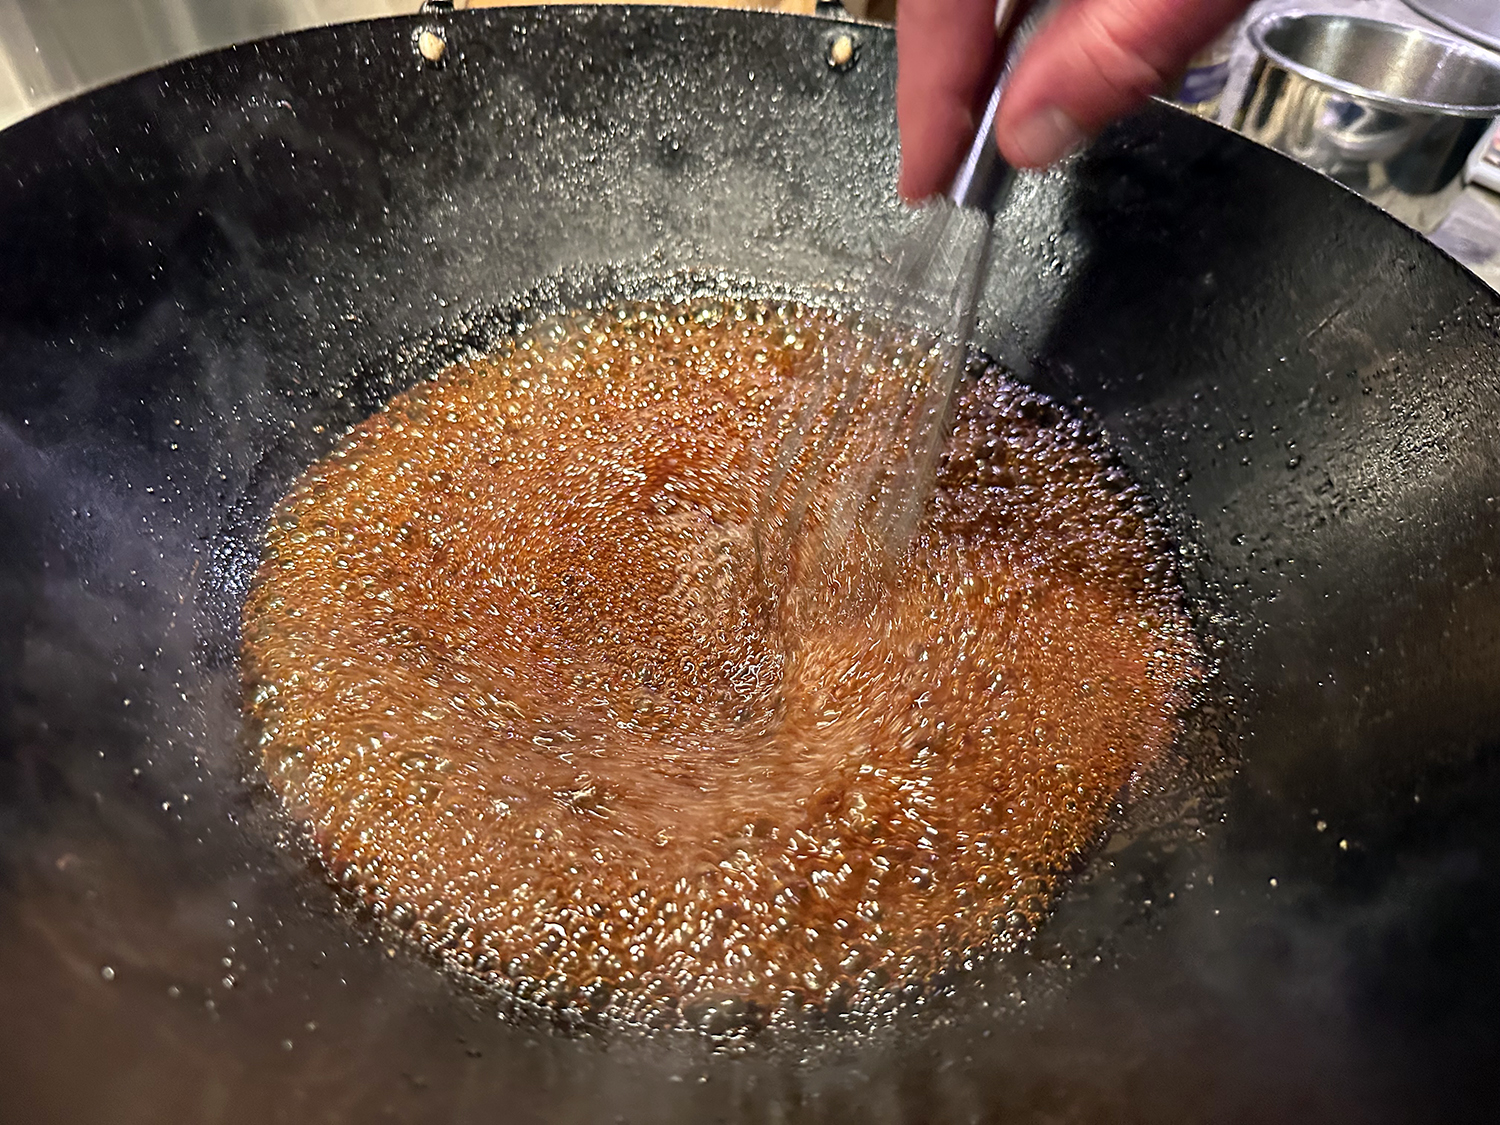
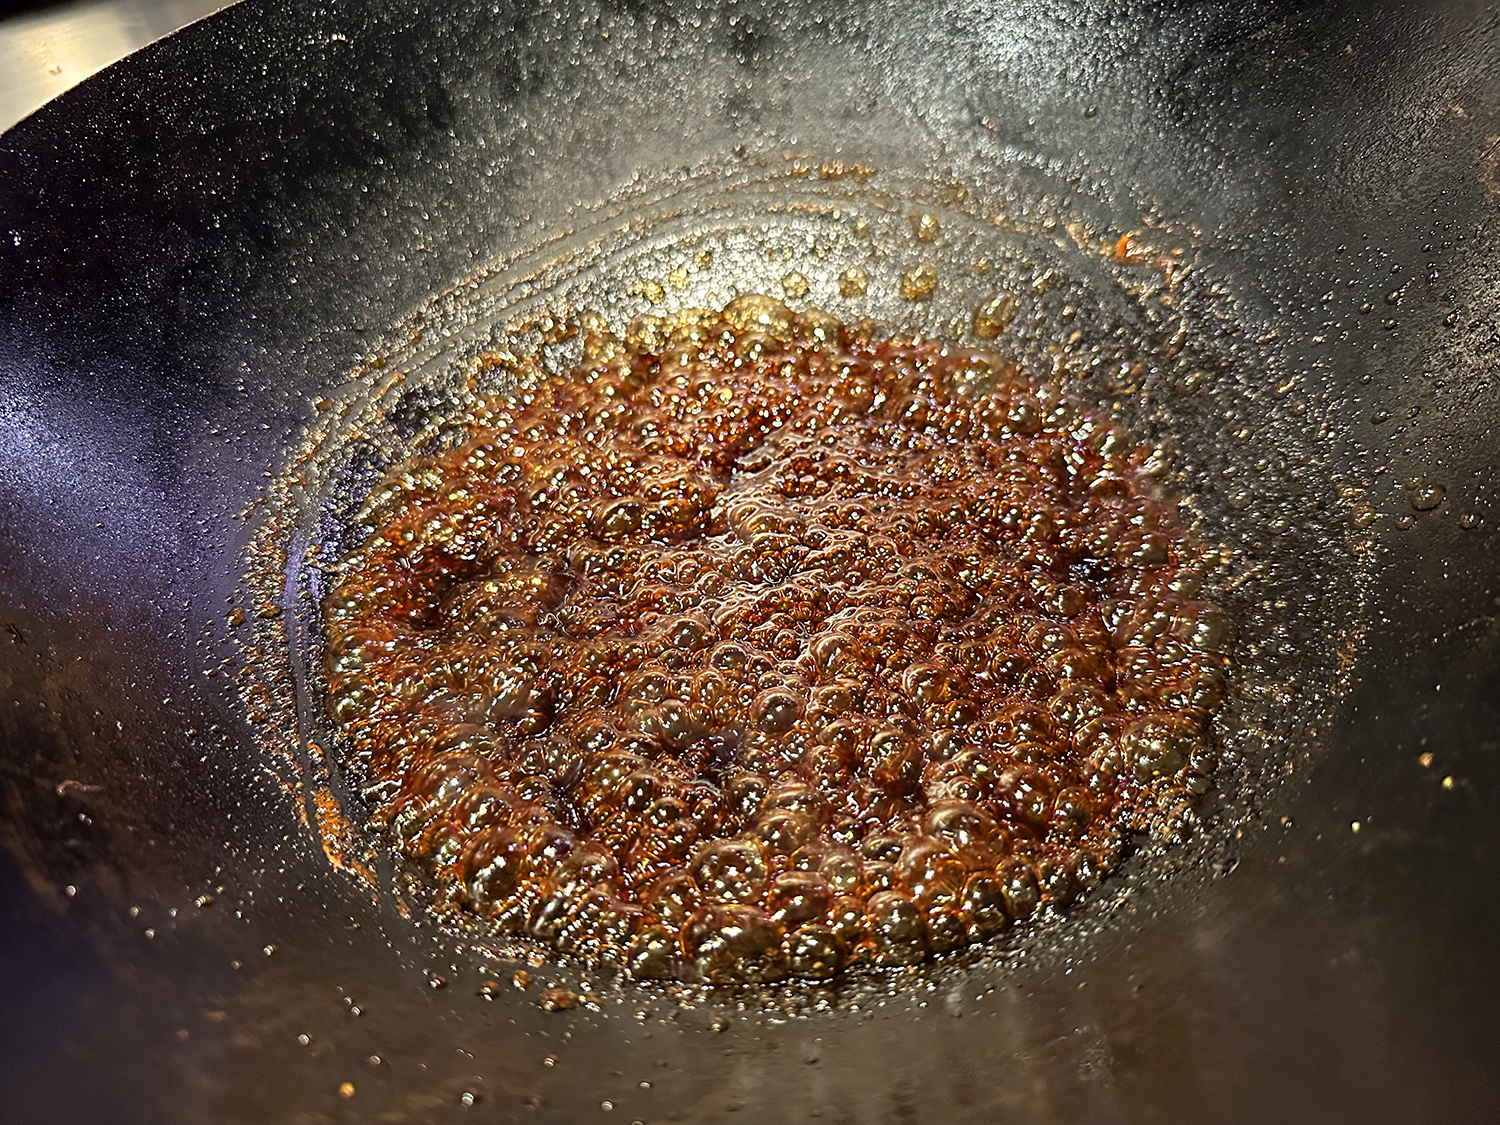
- Add orange juice, brown sugar, rice vinegar, soy sauce and fish sauce to pan and stir to combine. Allow mixture to come to a boil, then lower the heat and cook, stirring occasionally, until it thickens and reduces by half, approximately 10 to 15 minutes.
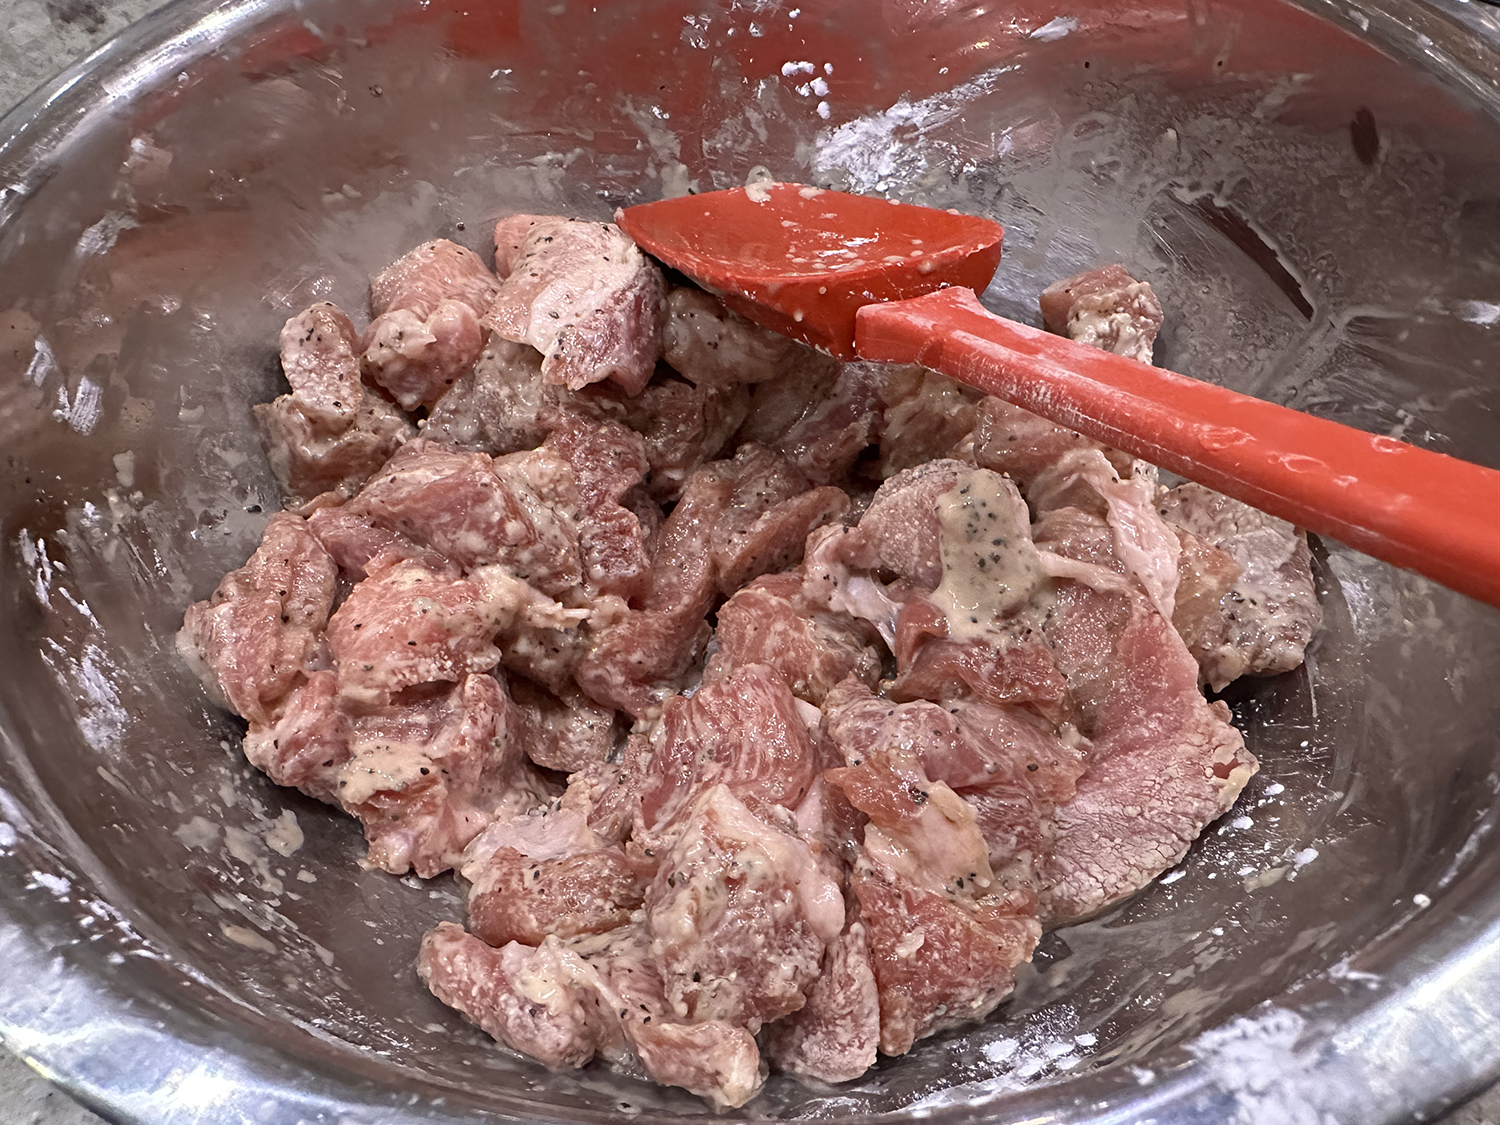
- Meanwhile, prepare the meat: Combine egg white, cornstarch and salt in a bowl. Add steak, tossing to coat the meat with the batter.
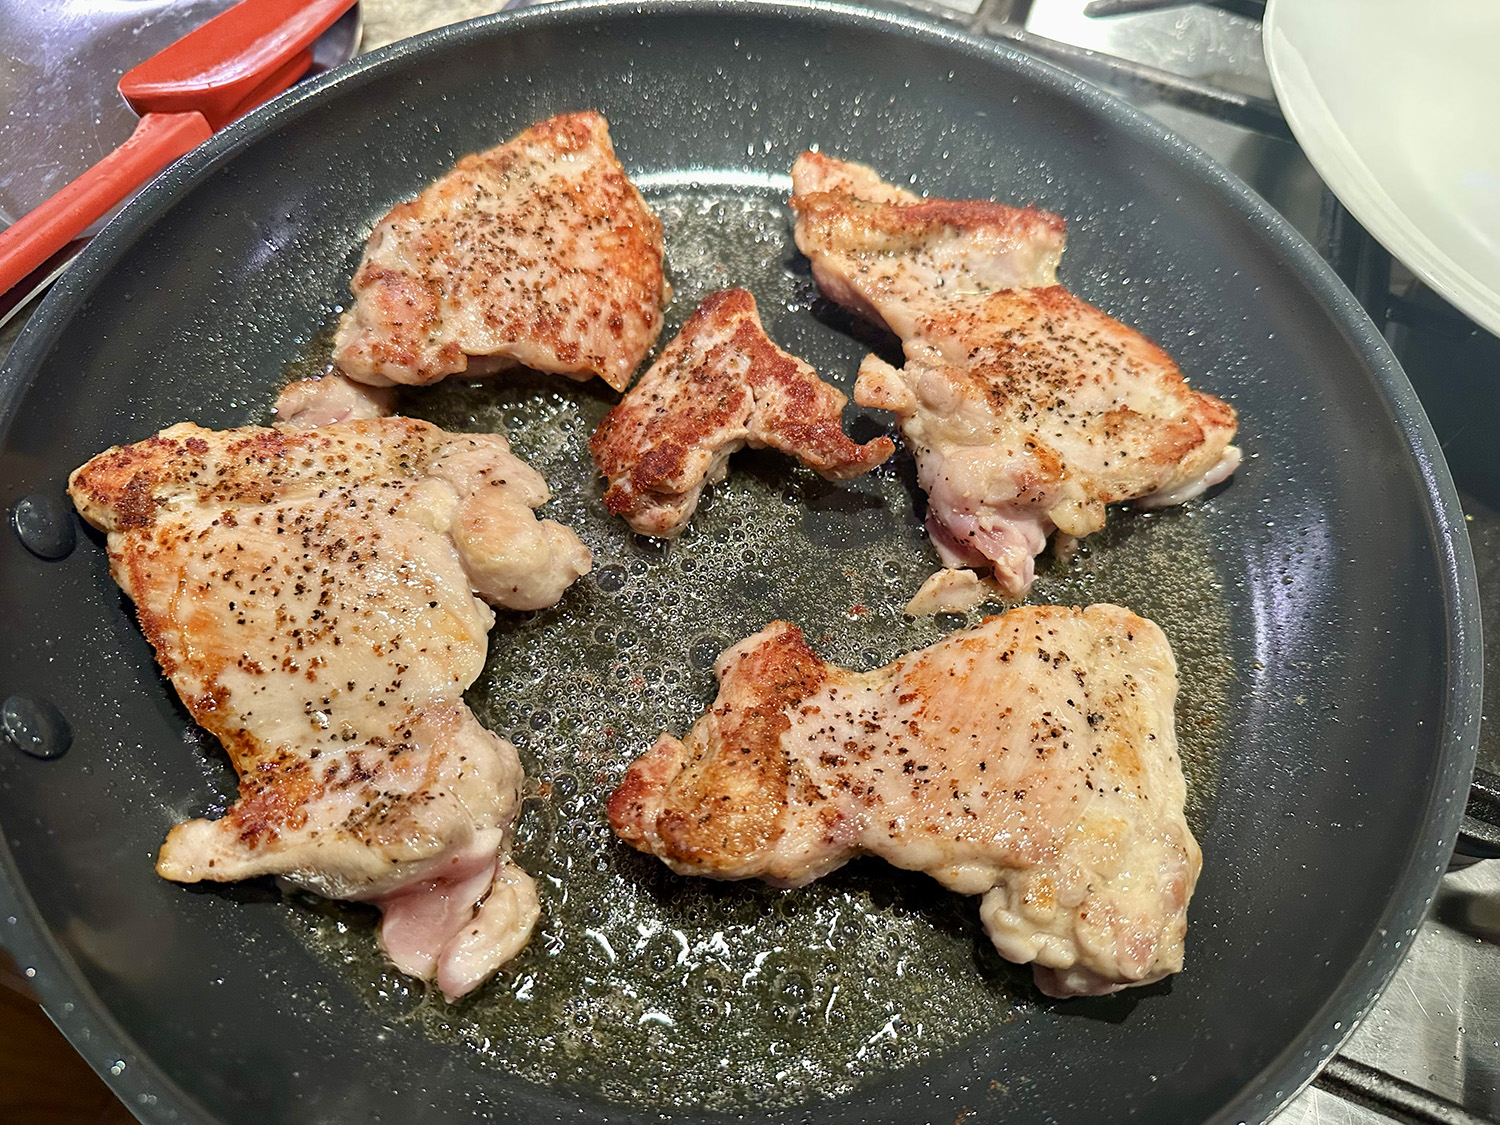
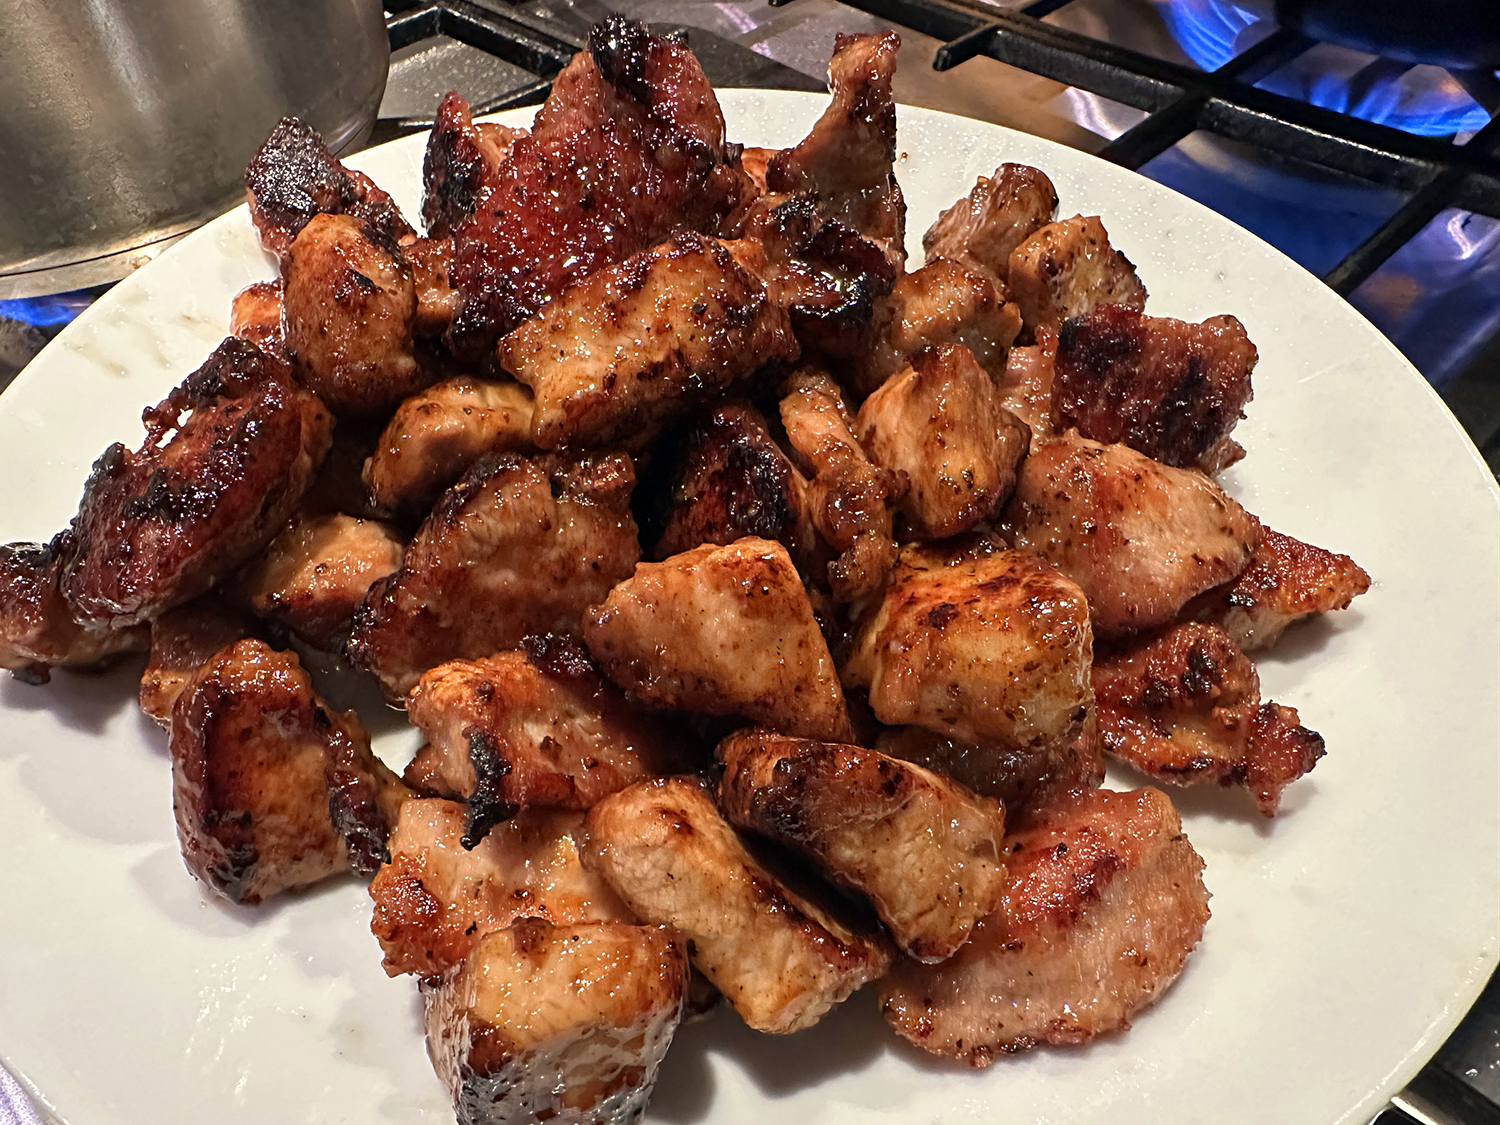
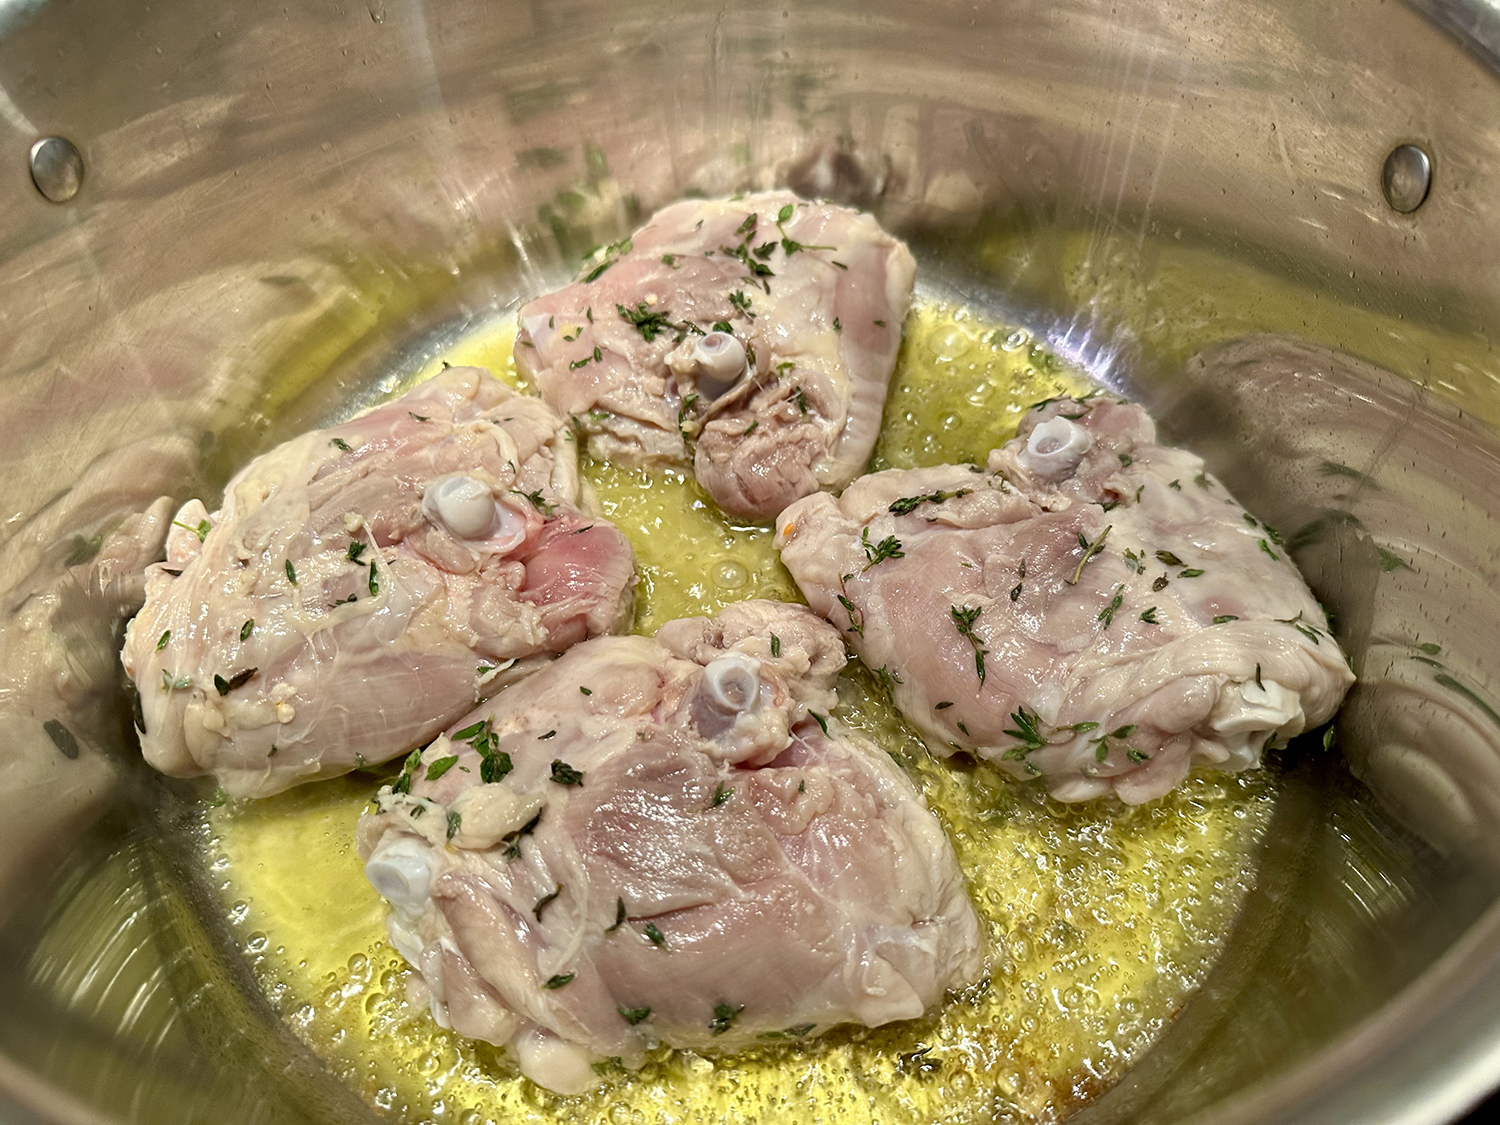
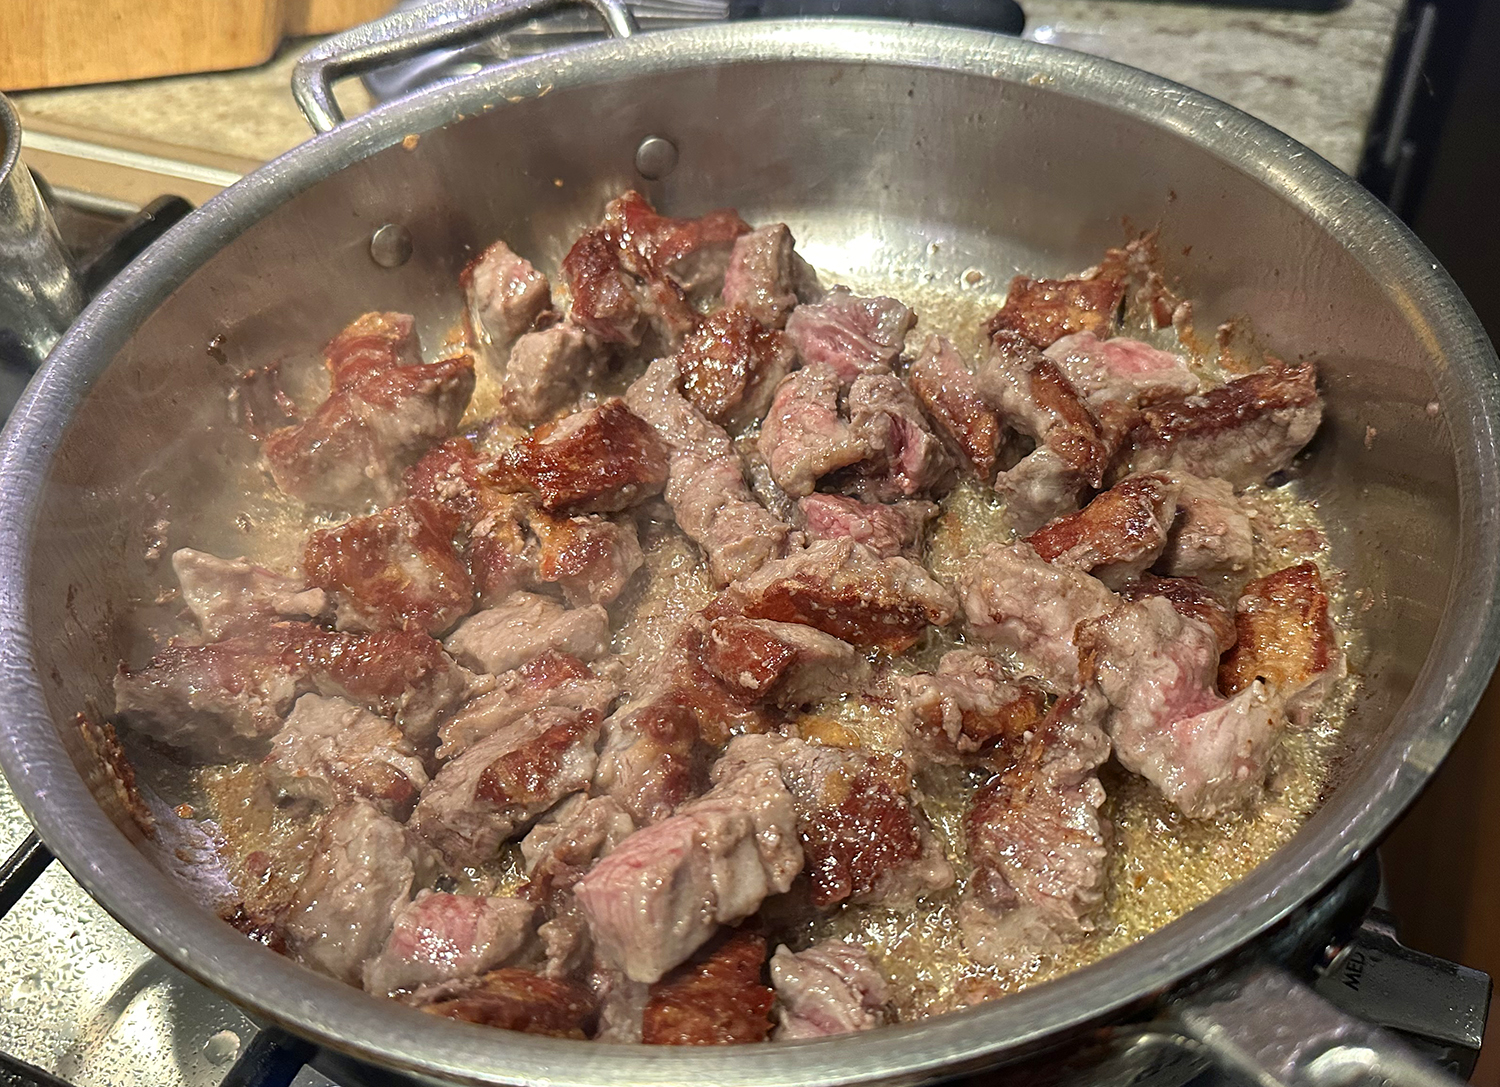
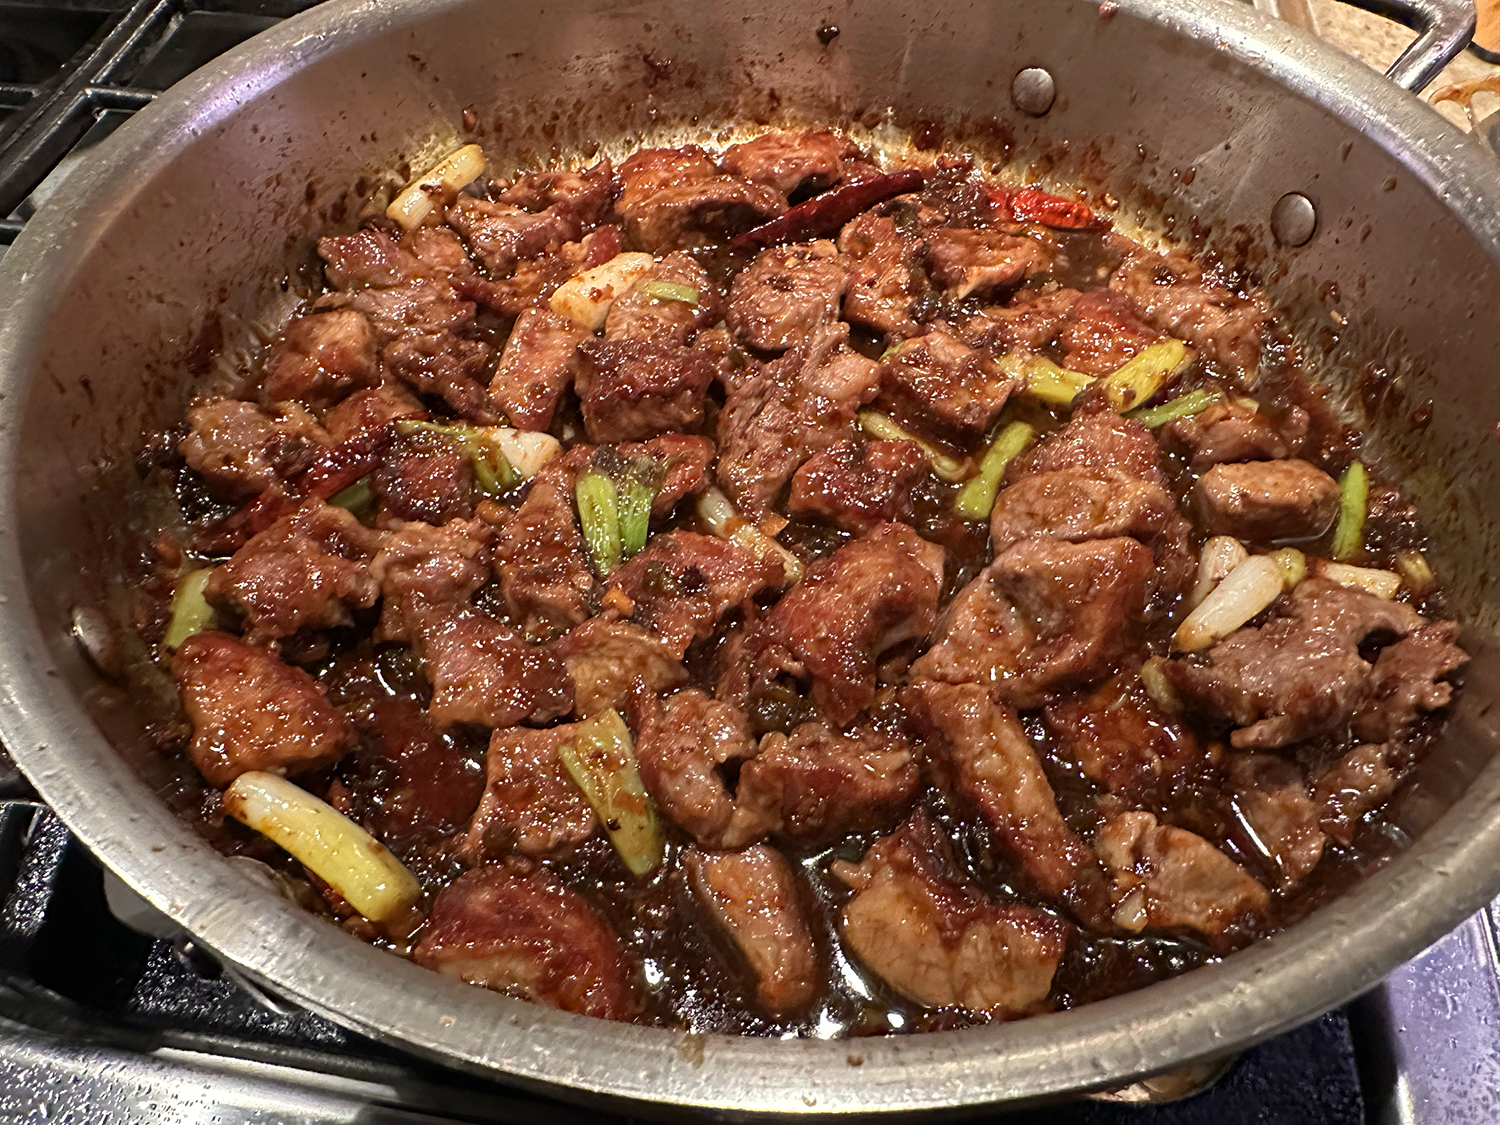
- In a large skillet or wok set over high heat, heat oil until it shimmers and is about to smoke. Add beef to the pan or wok in a single layer and cook without stirring until the bottoms of the pieces are crisp and golden, approximately 60 to 90 seconds. Add white pieces of scallion and chiles to the pan, then turn the beef pieces over and cook the other sides, stirring occasionally, about 3 minutes more for medium-rare. Transfer to a platter.
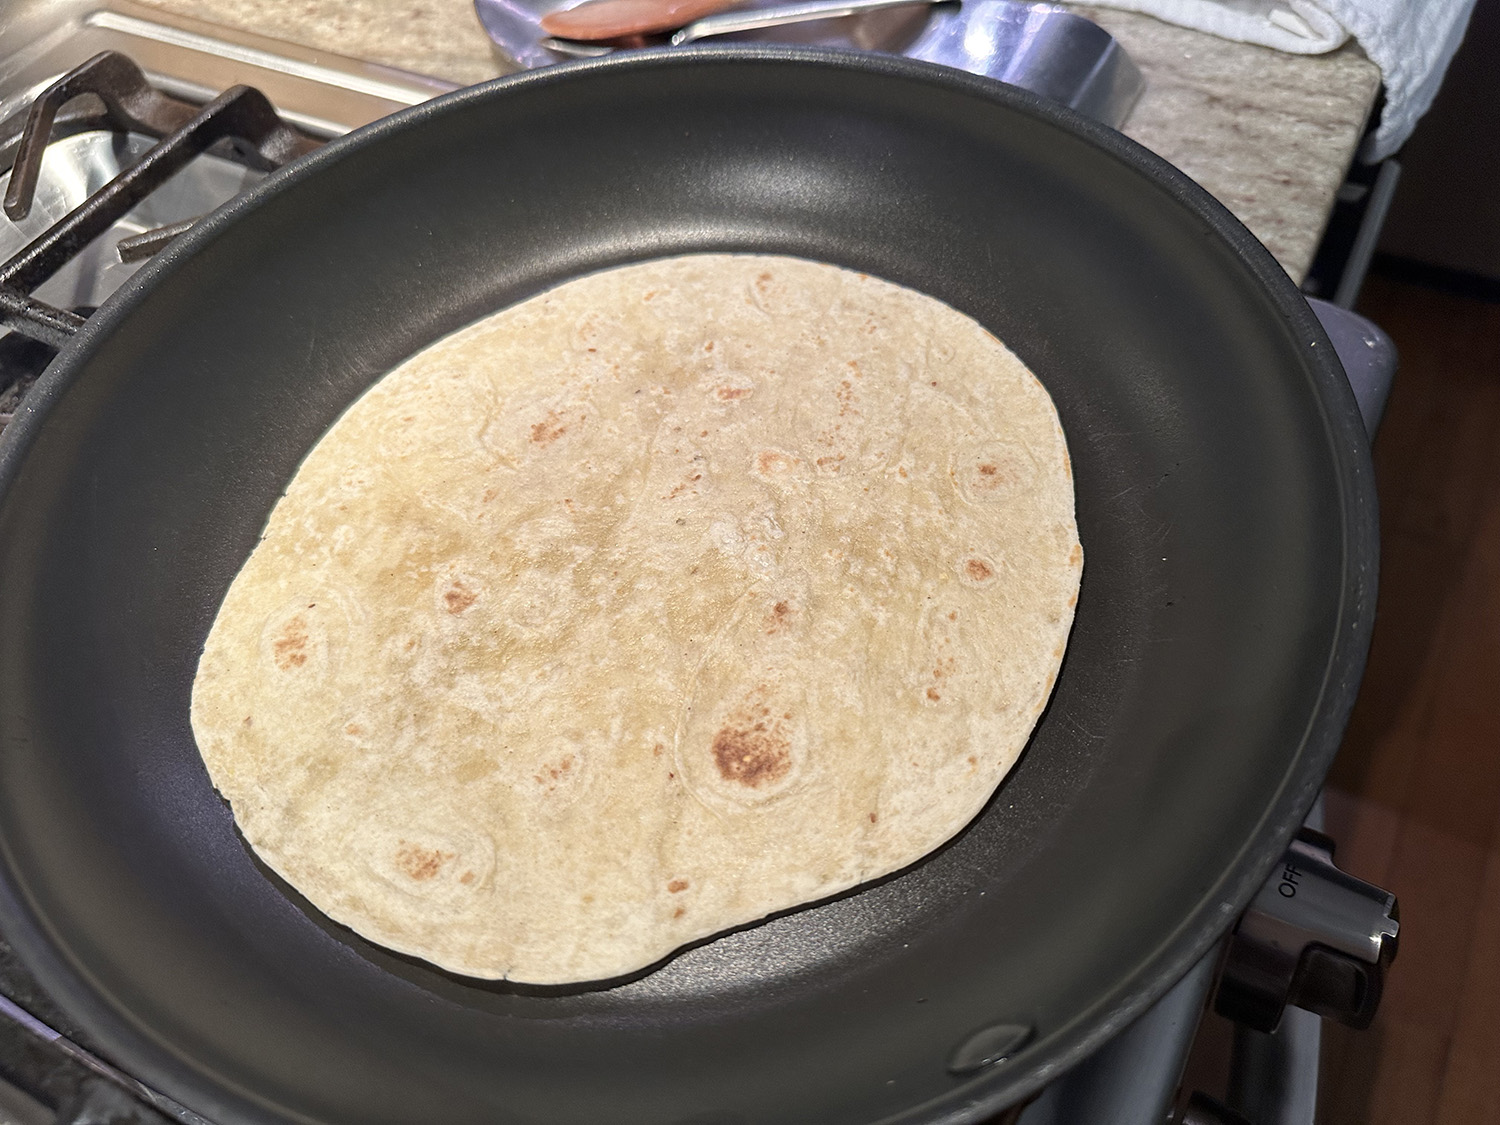
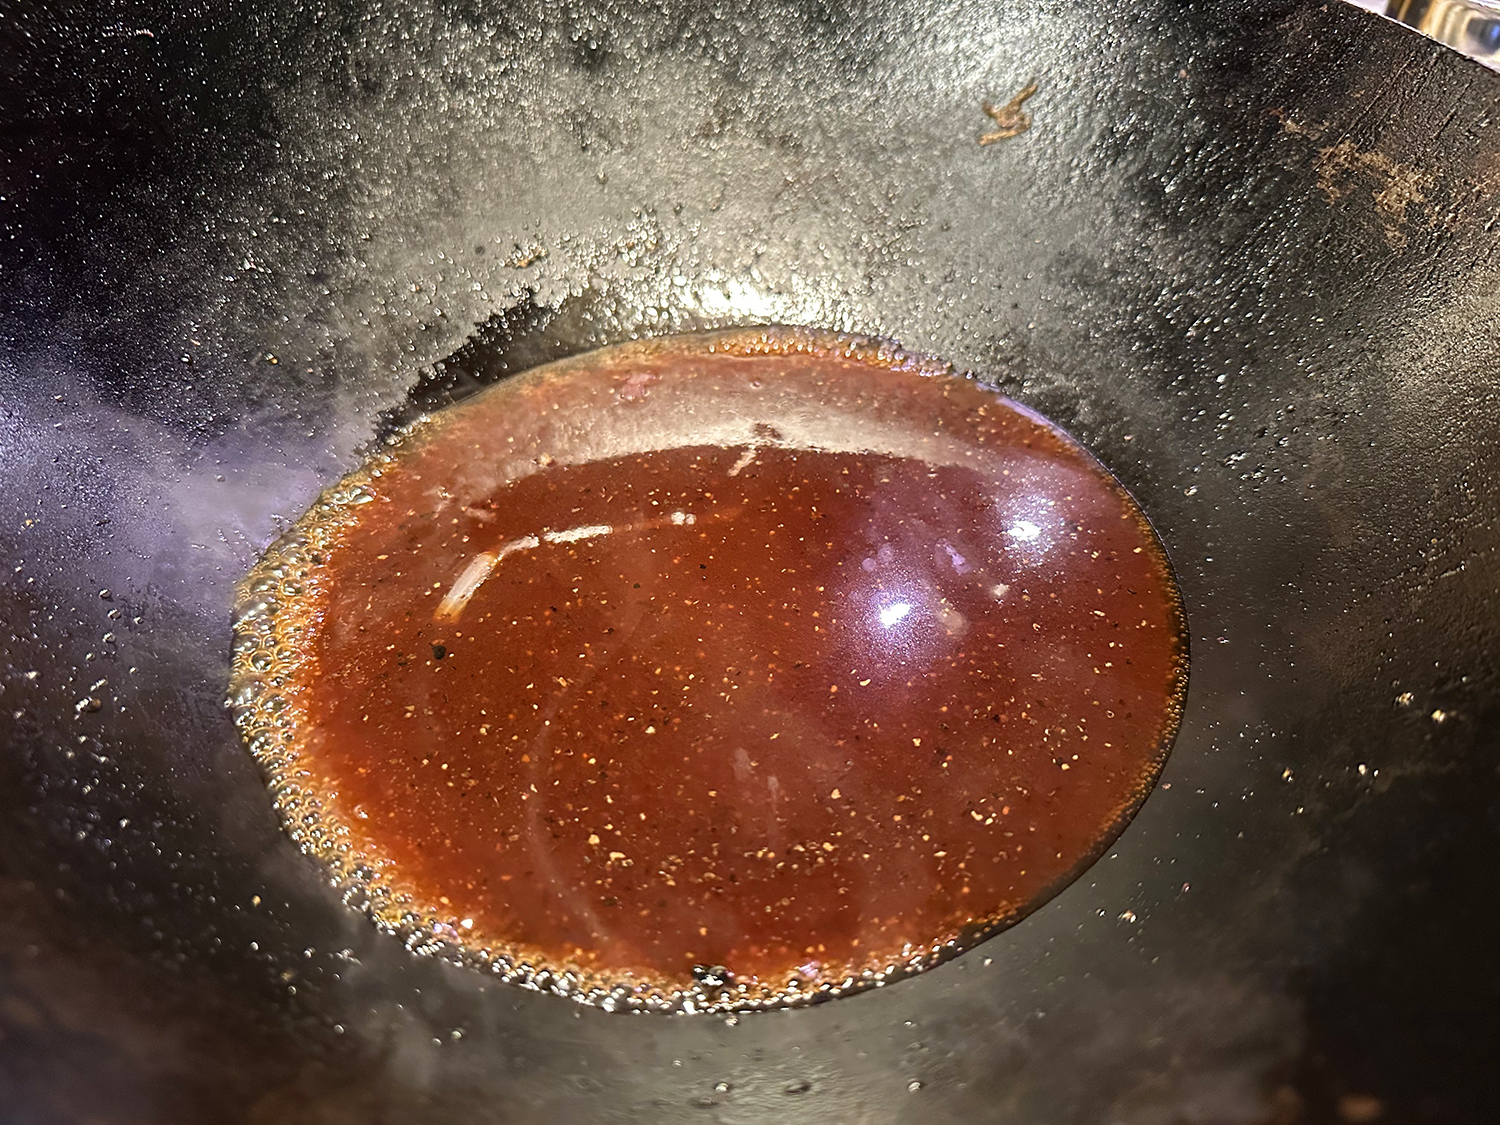
- Pour orange sauce into the hot pan or wok, let it boil and stir it as it thickens. Add meat and white scallions and stir to coat with the sauce. Return meat and sauce to the platter and scatter green scallions over the top. Serve with steamed broccoli and white rice.
Recipe by Sam Sifton for the NYTimes Cooking