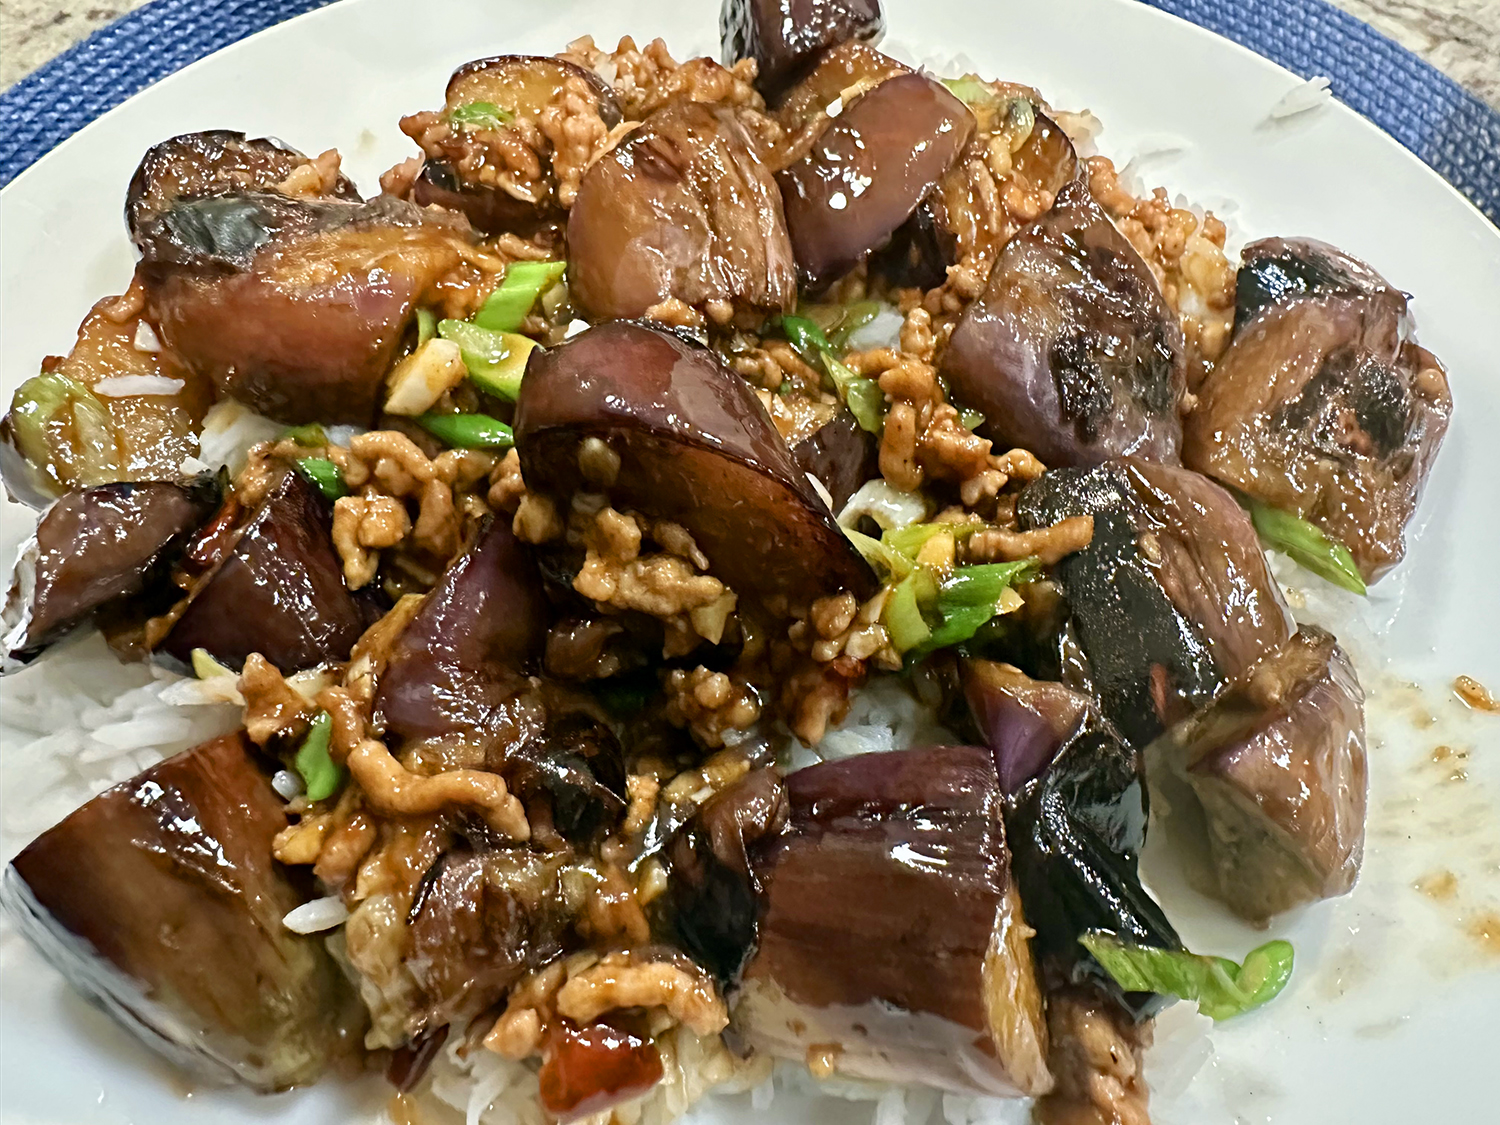
This is a flavorful , easy-to-make weeknight dish. Here, you simmer juicy chicken thigh pieces in an umami-rich soy-based sauce with earthy shiitake mushrooms and sweet mini peppers for this 30-minute, one-pan dinner.
This version of the comforting Hunan classic, lao jiang men ji, from cookbook author Andrea Nguyen is a simple braise that gets its heat from a generous handful of unpeeled fresh ginger root. However, we decided to peel our ginger…

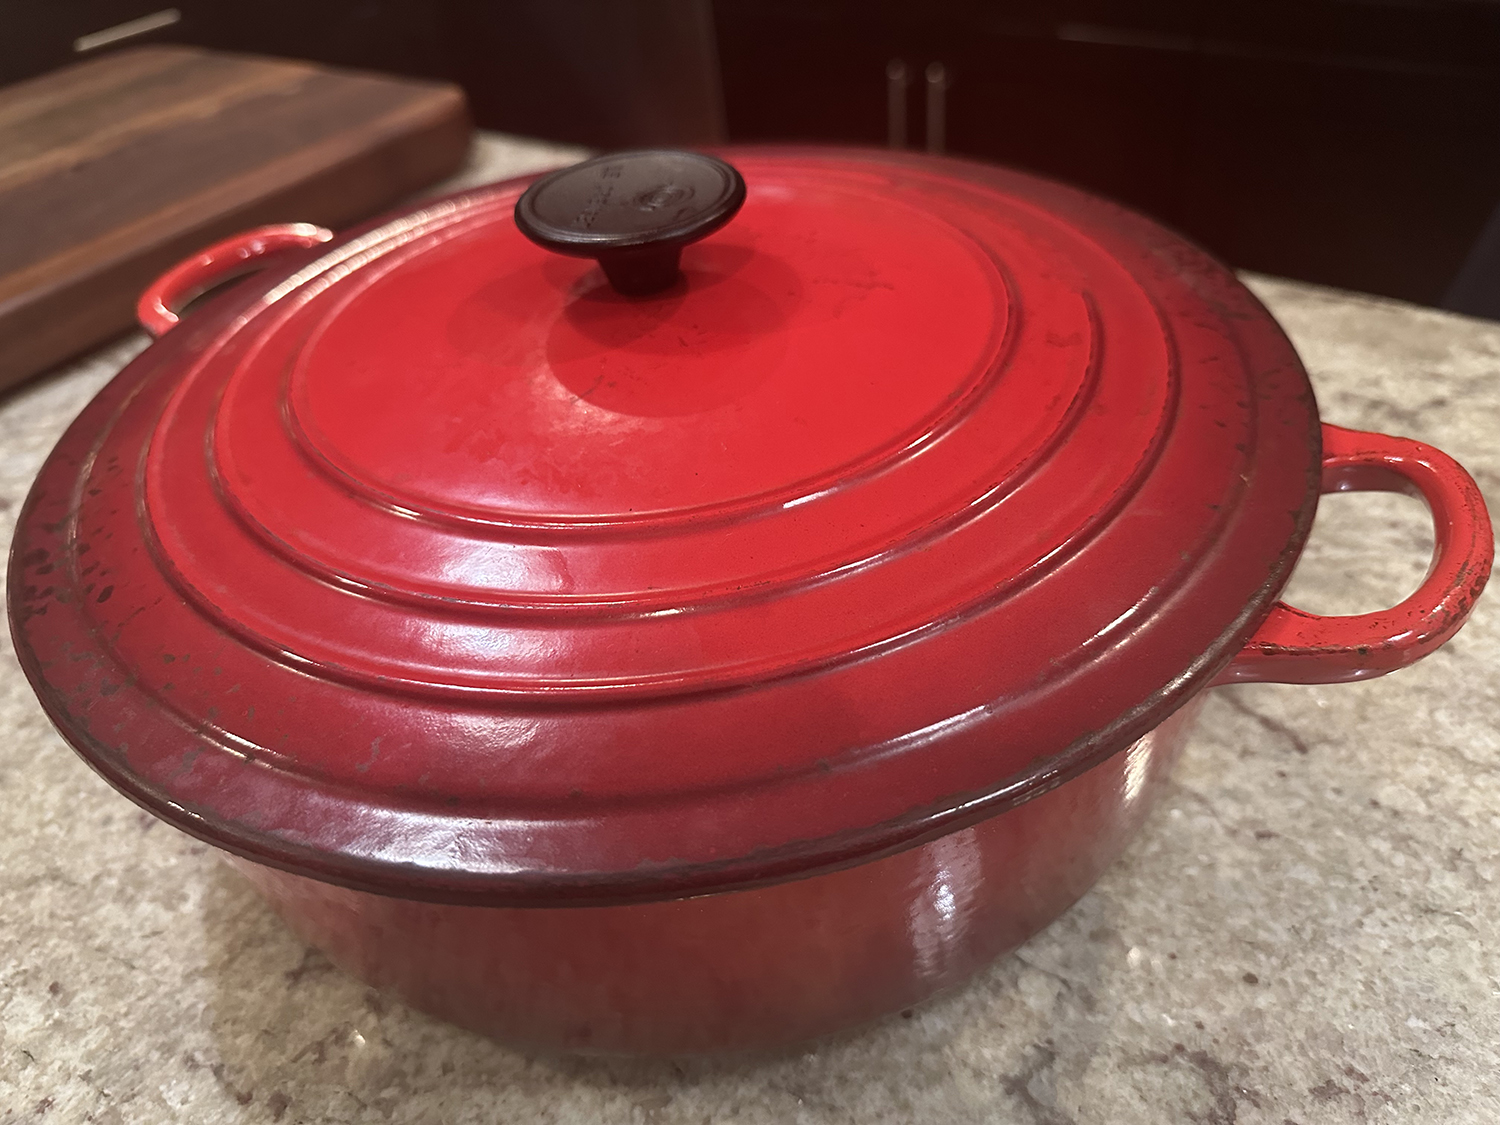
If you don’t have a wok, a large skillet, with plenty of surface area, will also work well. It is recommended to use a cast-iron skillet, which has a naturally nonstick surface. (Avoid using a skillet with a nonstick Teflon coating when cooking over high heat, such is the case in this recipe.)
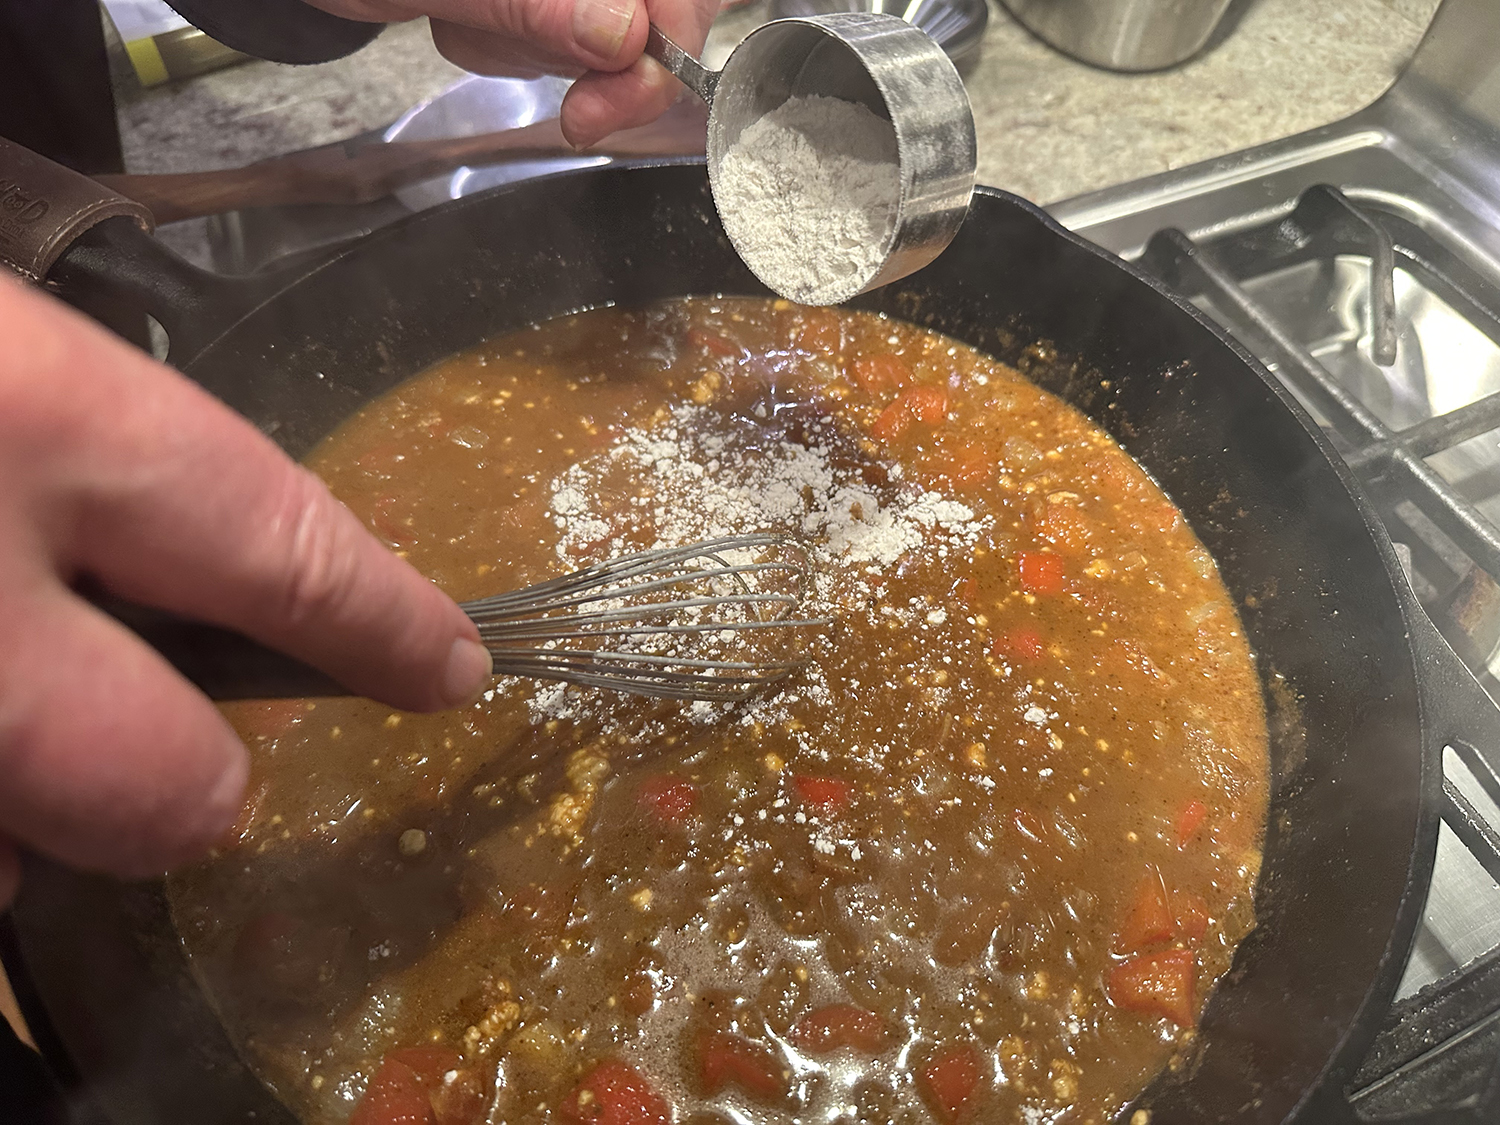
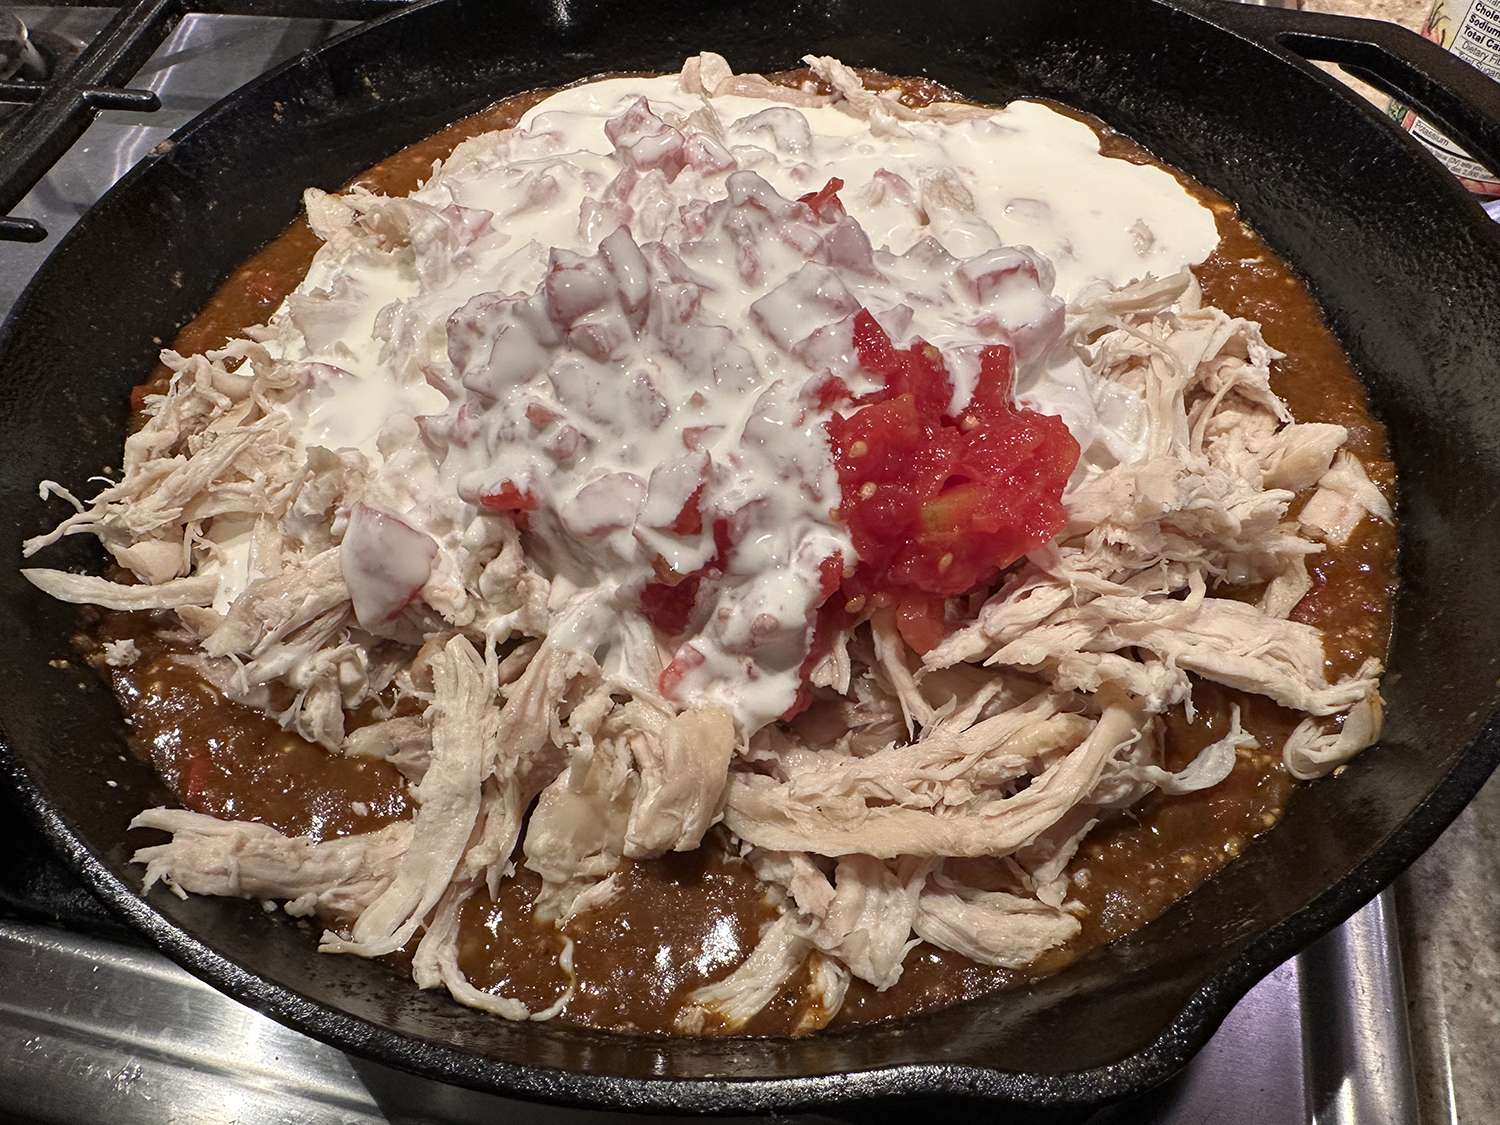
Our changes? We had a frozen packet of chicken thighs that weighed in at 2 1/4 pounds, more than the recipe called for. That fact, plus only 4 ounces of bell pepper just seemed too paltry so we tripled that amount, doubled the scallions, and replaced the water with chicken stock. With all of the “extra” ingredients, we decided to double the sauce ingredients too. Then, at the end, the sauce didn’t seem thick enough so we mixed in a small cornstarch slurry.
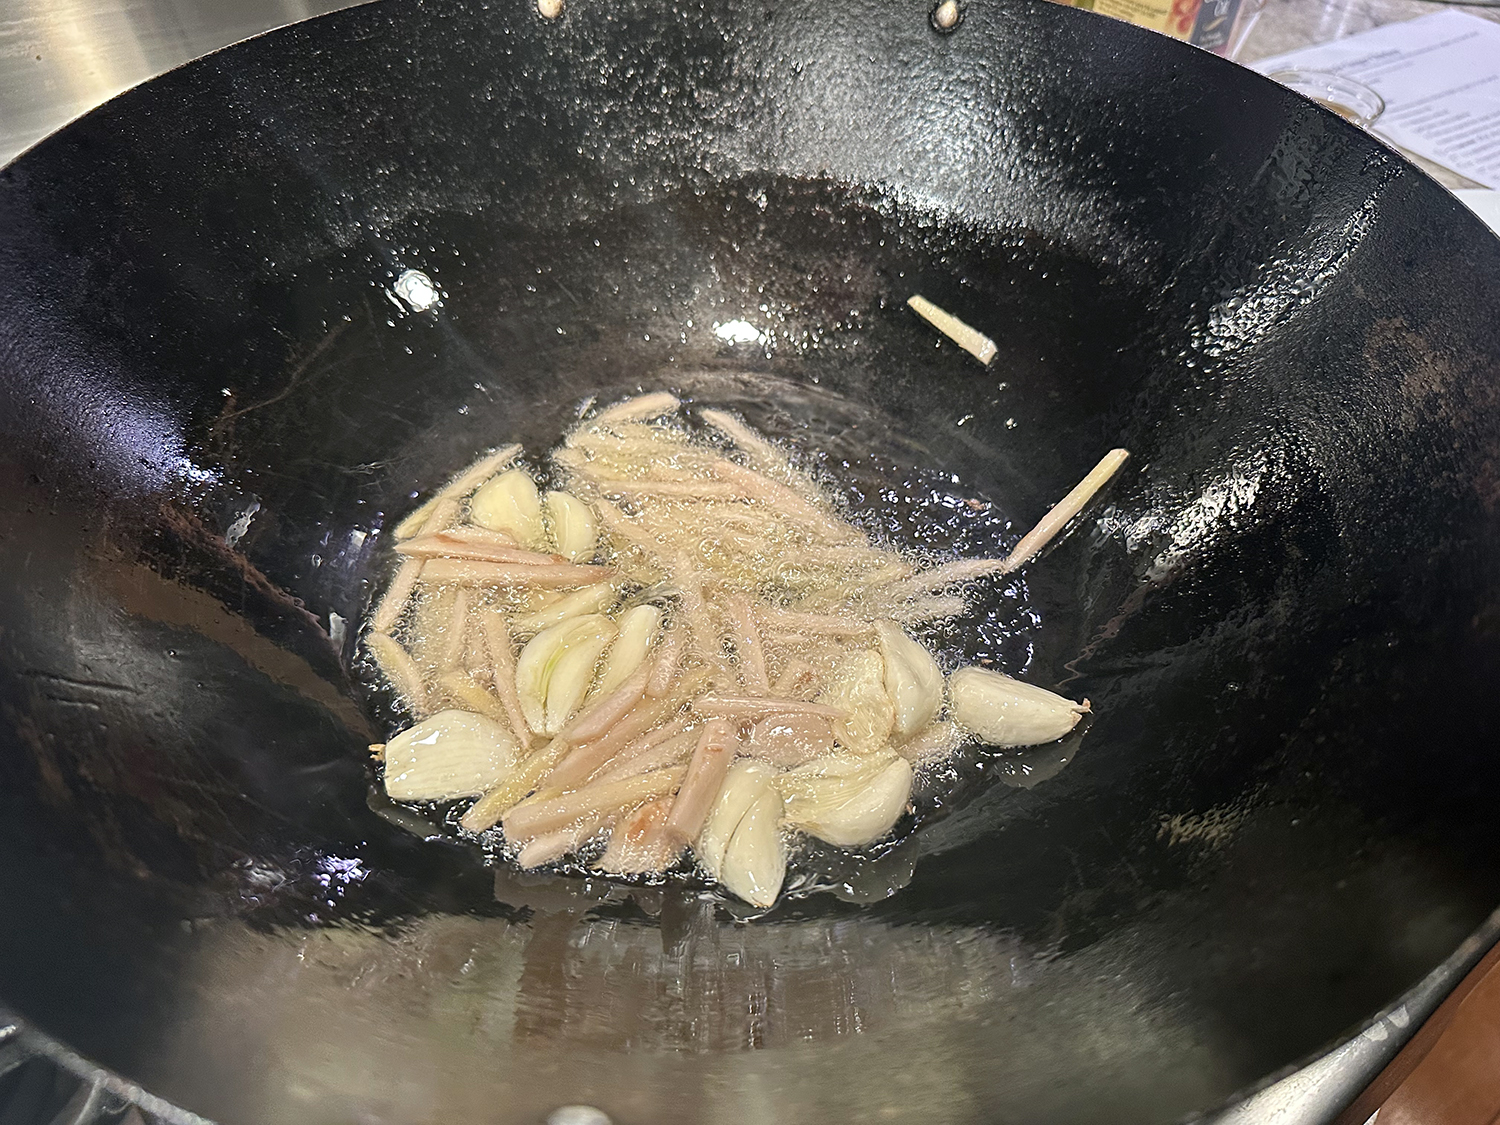
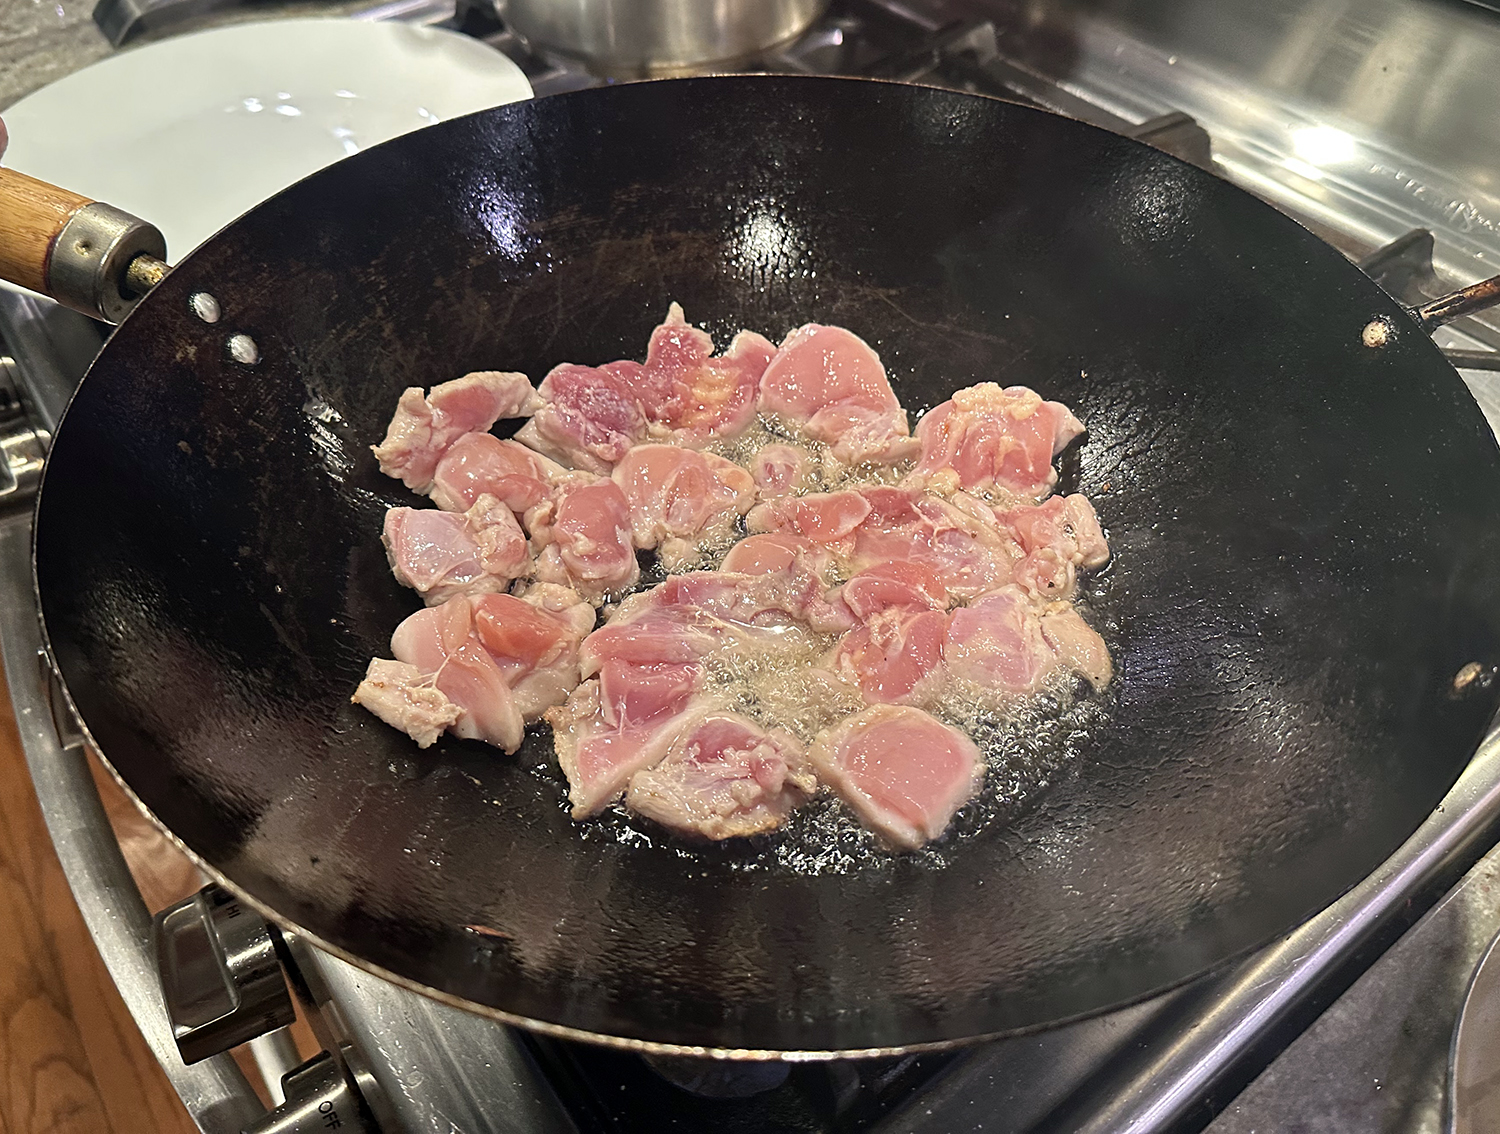
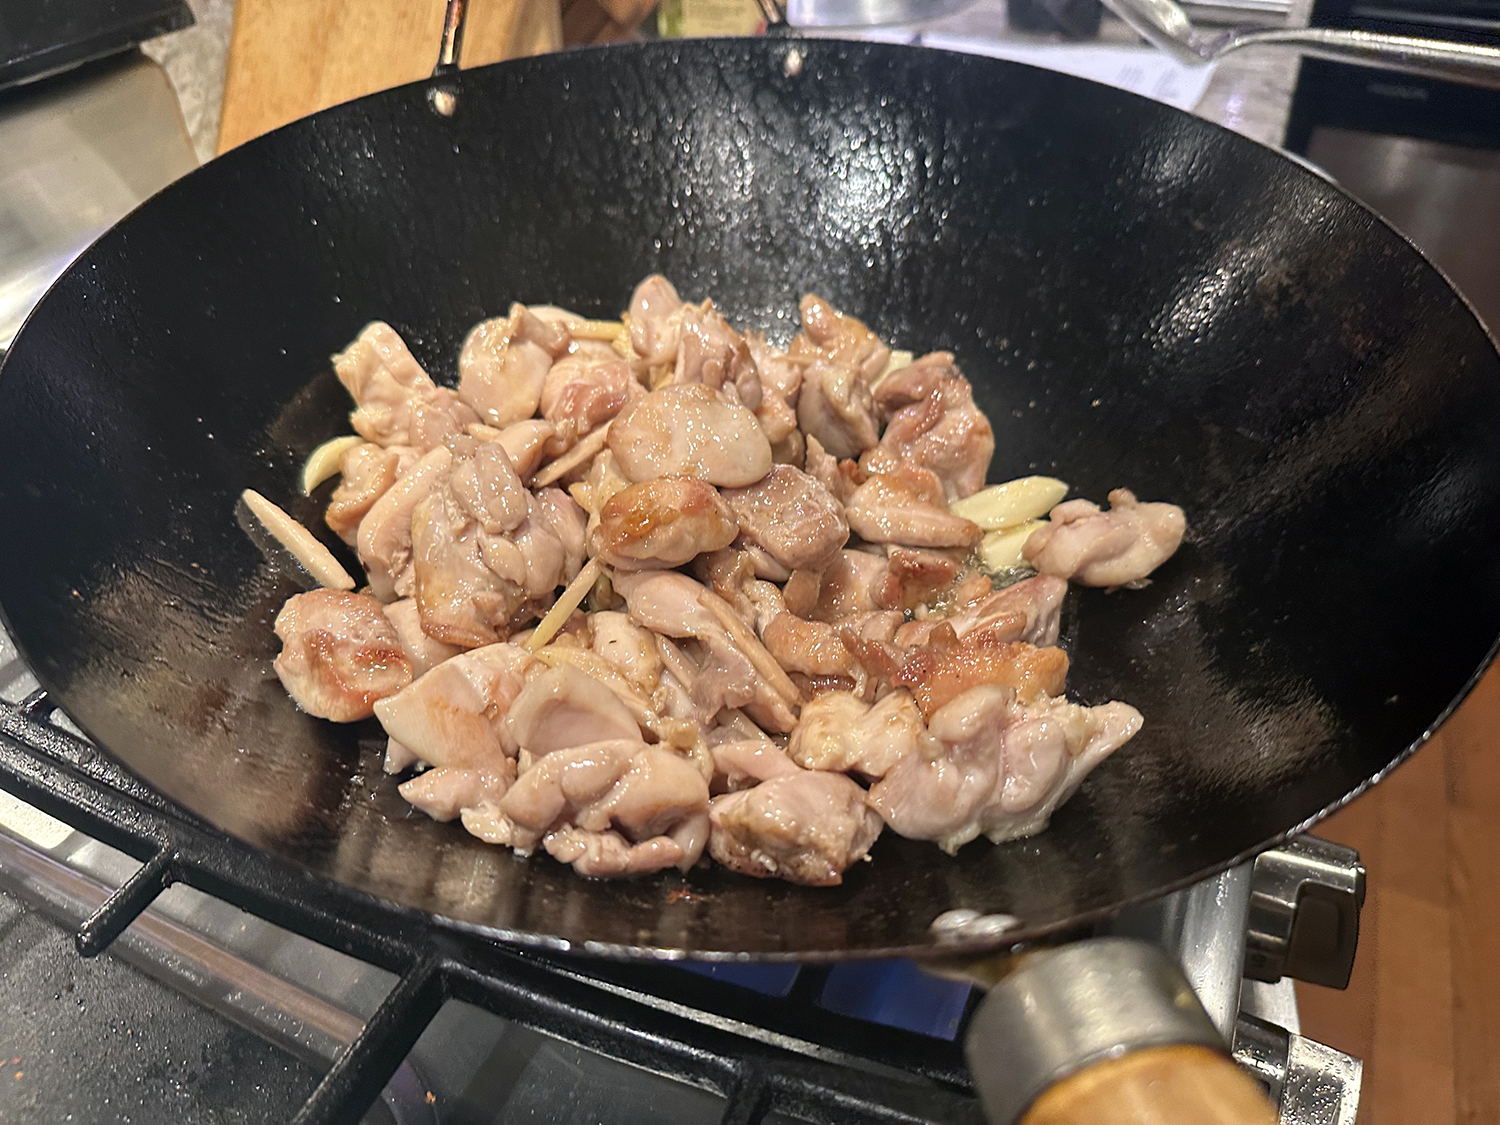
The Hubs decided to stir-fry the ginger and garlic, then instead of pushing them to the side, he removed them to a side plate so as not to burn. Next he stir-fried the chicken in two batches (remember we had more than the instructed amount), and added the ginger and garlic back to the wok with the chicken. While the recipe was very good, it just didn’t contain enough “heat” for us, so next time we’ll add some dried chili peppers to kick it up a notch.

Hunan-Style Ginger Chicken
Ingredients
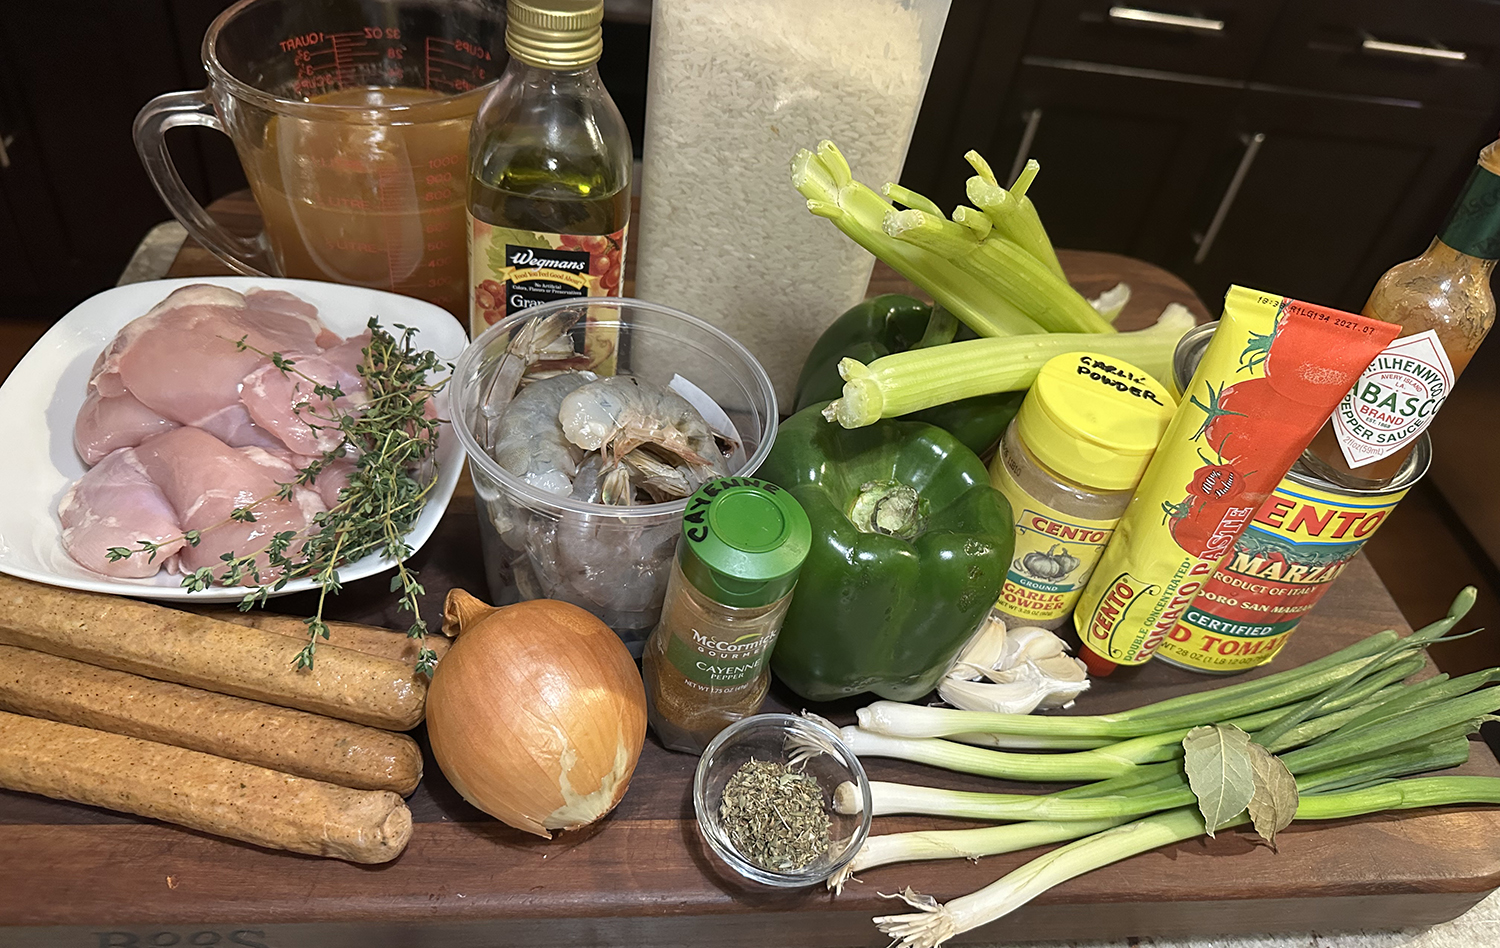
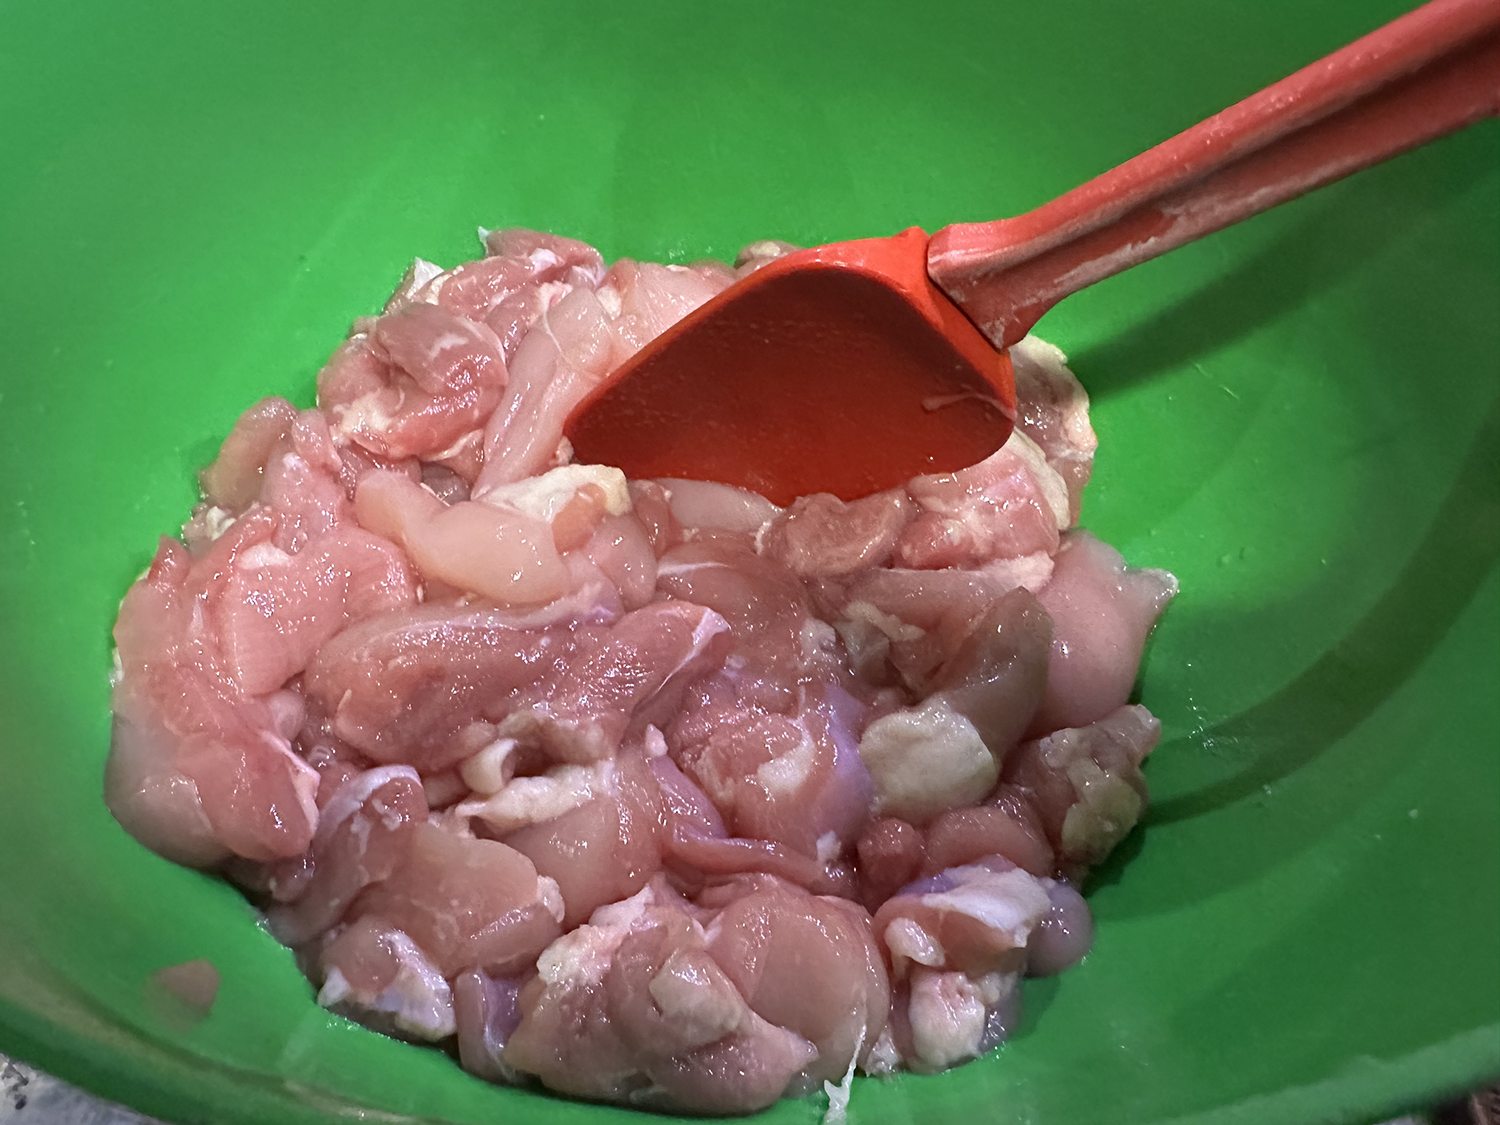
- 1 1/2 lbs. boneless, skinless chicken thighs, cut into 1 1/2-inch pieces
- 3/4 tsp. kosher salt
- 2 1/2 Tbsp. canola oil
- 3 garlic cloves, halved lengthwise
- 1 (3-inch) piece fresh ginger, halved crosswise and cut into 1/8-inch-thick matchsticks
- 6 oz. shiitake mushrooms, stemmed and caps halved (quartered if large)
- 2/3 cup chicken stock
- 1 1/2 Tbsp. Shaoxing wine
- 2 tsp. soy sauce, plus more to taste
- 1 1/2 tsp. dark soy sauce
- 1/2 tsp. granulated sugar
- 4 oz. multicolored sweet mini peppers, stemmed and thinly sliced crosswise
- 1 tsp. toasted sesame oil
- 3 scallions, thinly sliced
- Steamed white rice


Directions
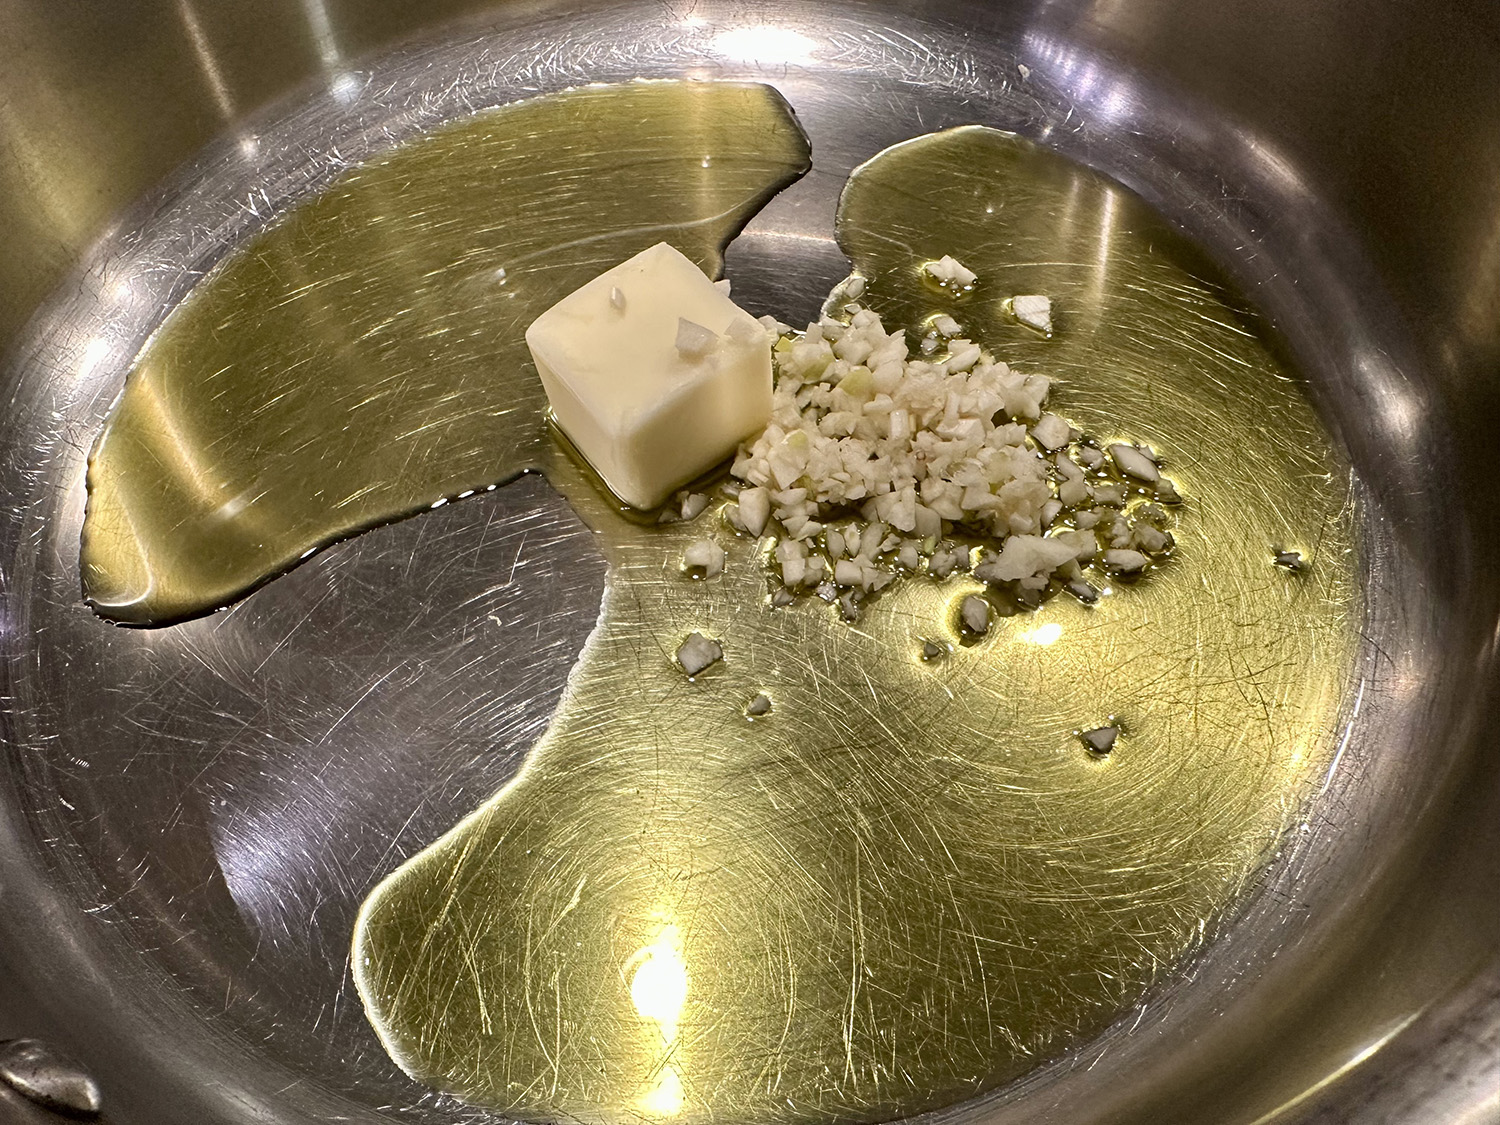
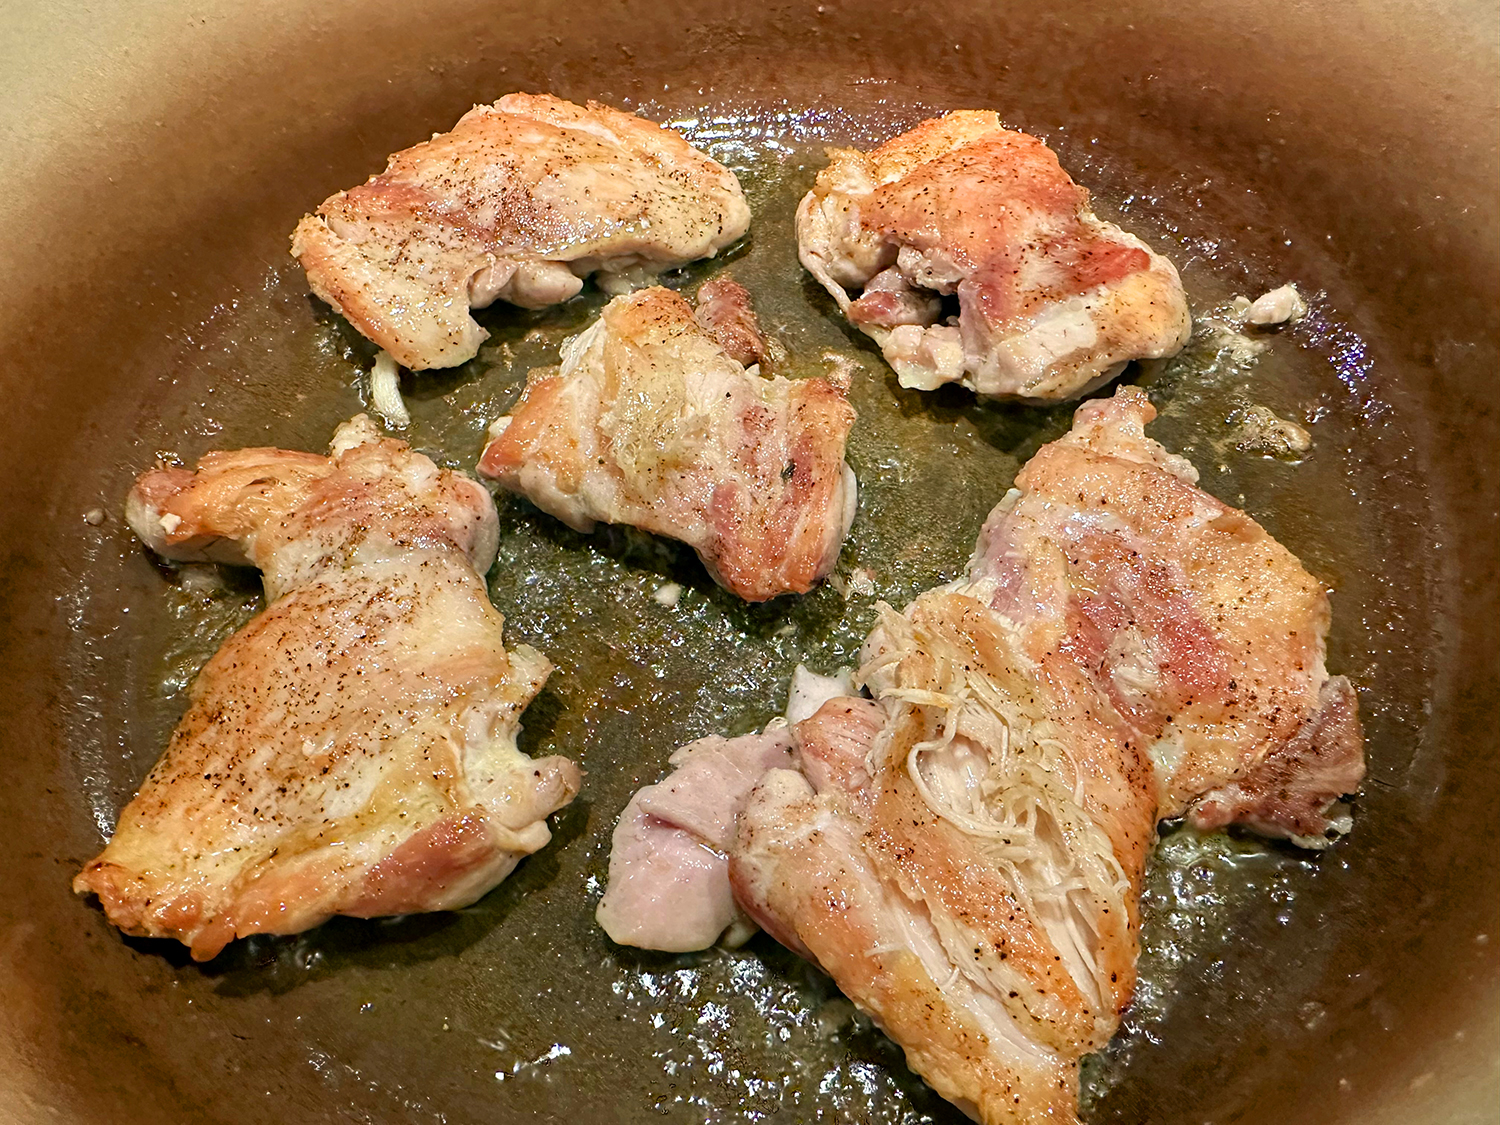
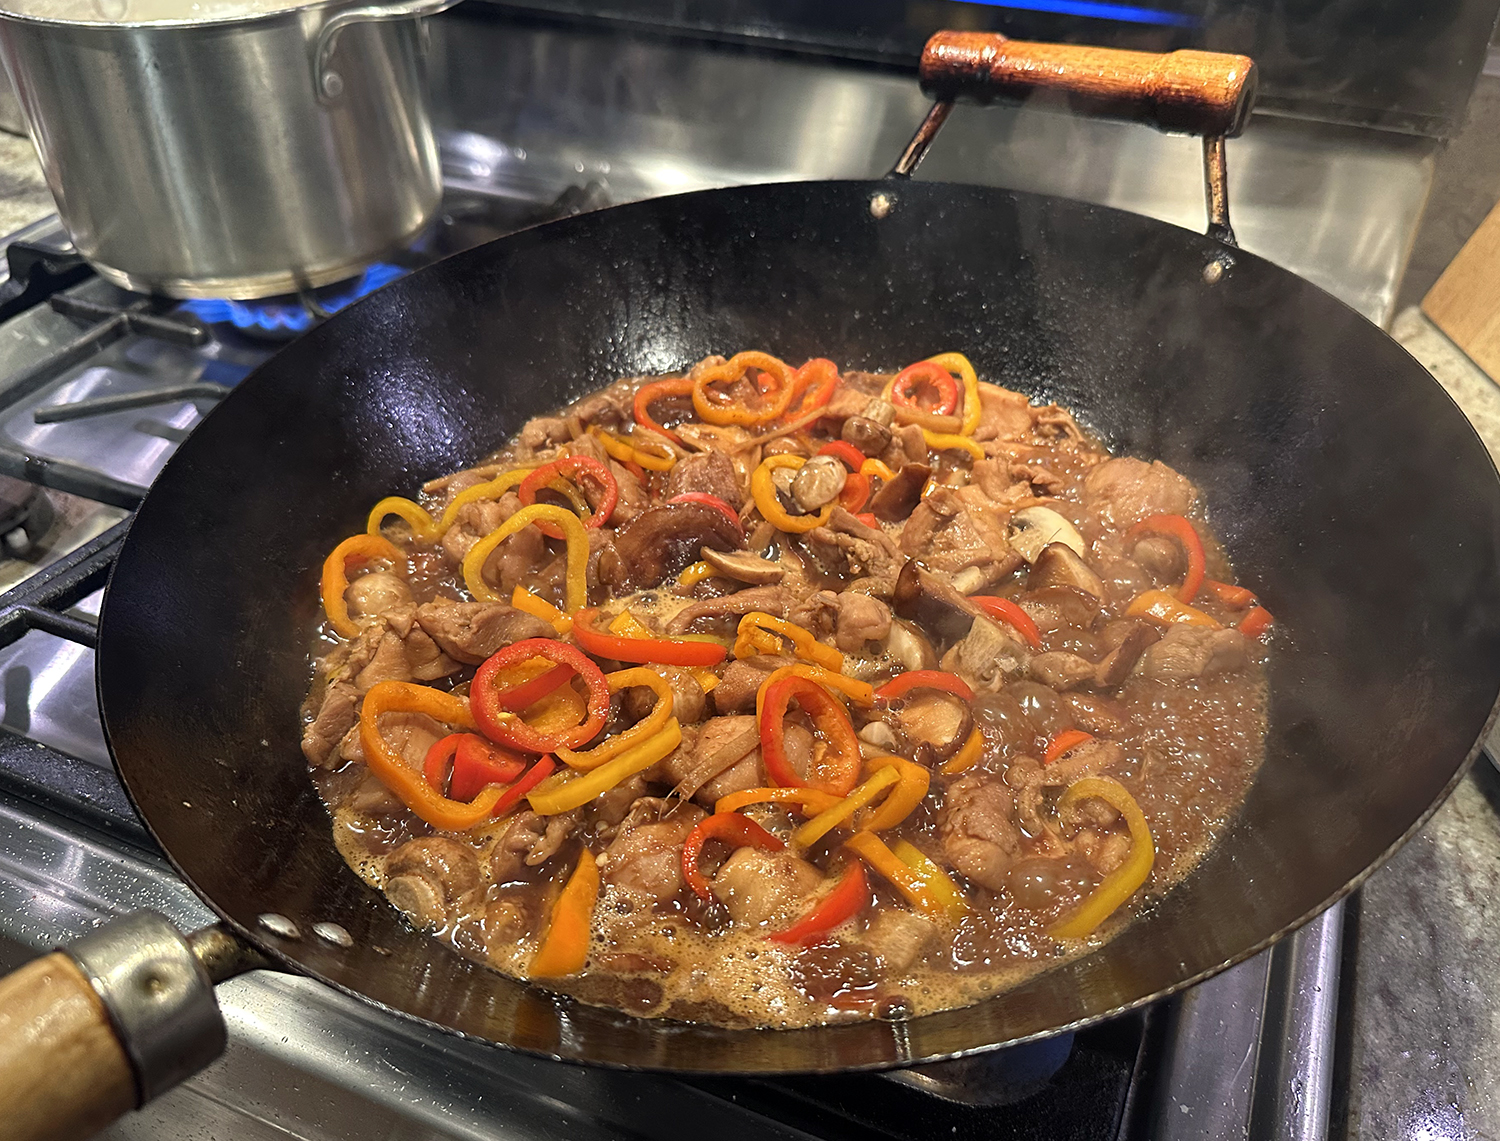
- Toss together chicken and salt in a large bowl; set aside. Heat oil in a wok or large cast iron skillet over medium. Add garlic and ginger; cook, stirring constantly, until fragrant, about 30 seconds. Push garlic and ginger to one side of wok; increase heat to high, and add chicken pieces in a single layer. Cook, undisturbed, until browned in spots, about 2 minutes. Continue cooking, stirring occasionally, until chicken is no longer pink, about 3 minutes.
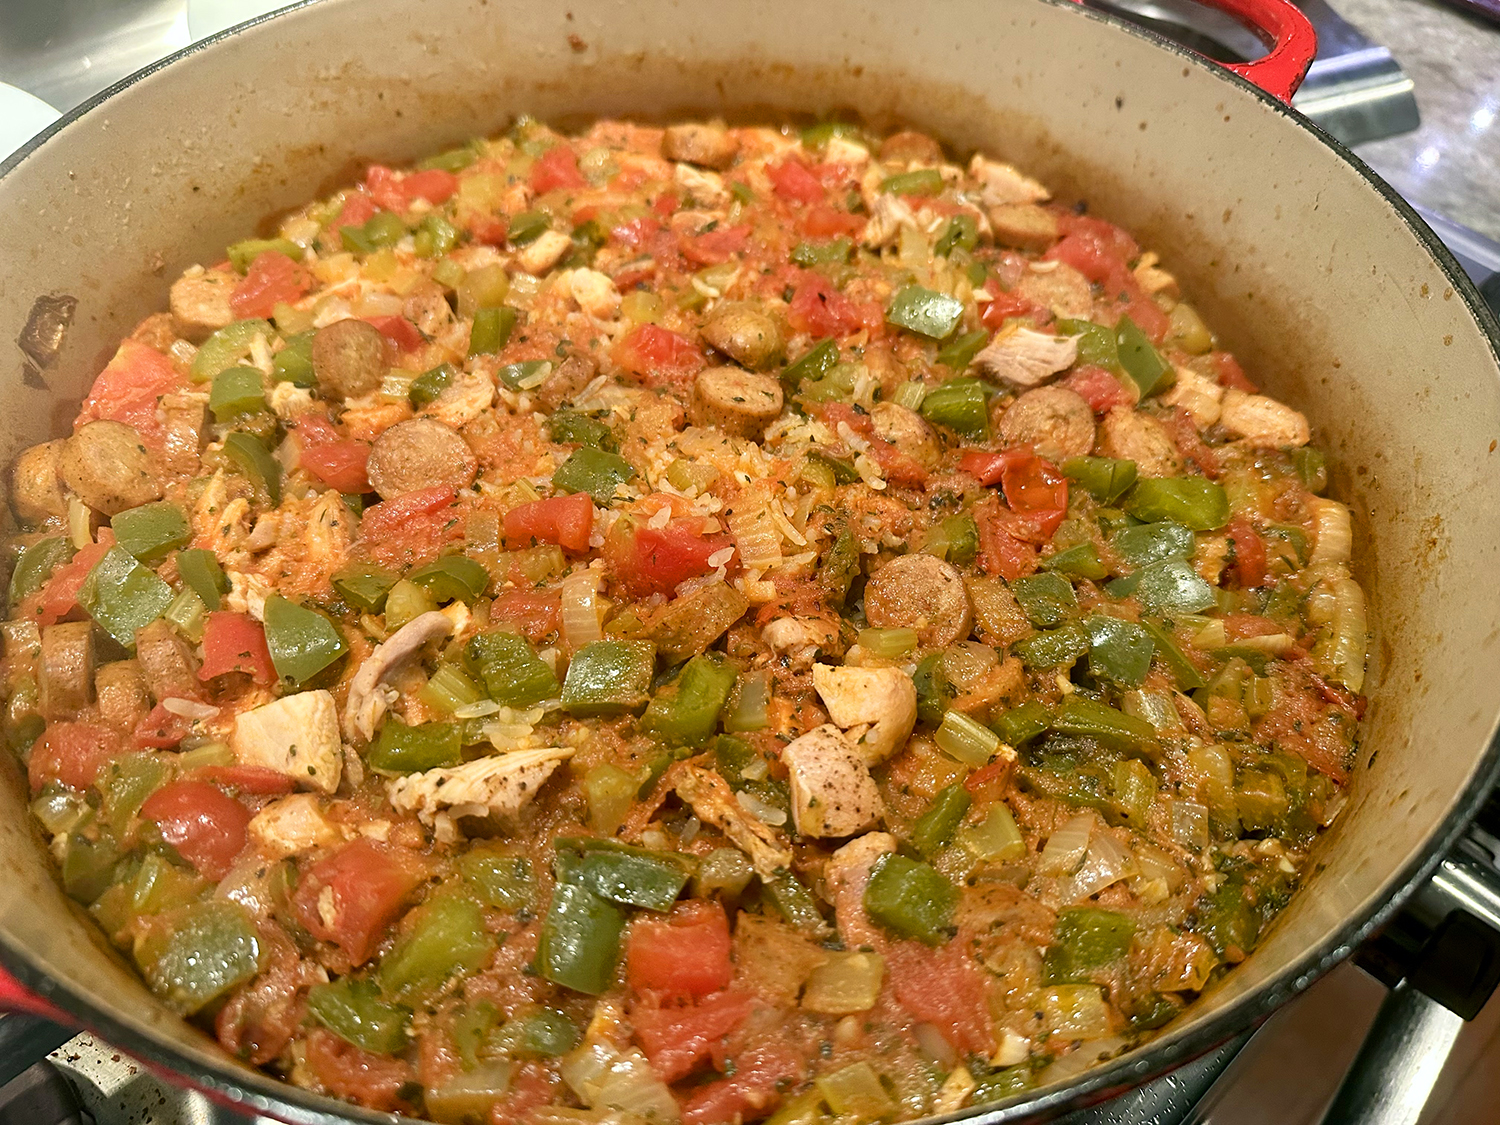
- Stir mushrooms, 2/3 cup chicken stock, Shaoxing wine, soy sauce, dark soy sauce, and sugar into wok. Bring to a boil over high. Reduce heat to medium; cover and simmer vigorously, undisturbed, until a thermometer inserted in the thickest piece of chicken registers 165°F, 5 to 8 minutes.
- Uncover wok, and increase heat to high. Add peppers and sesame oil; cook, stirring occasionally, until liquid has reduced into a thick sauce, 3 to 5 minutes. If not thick enough to your liking, stir in a small amount of cornstarch slurry.
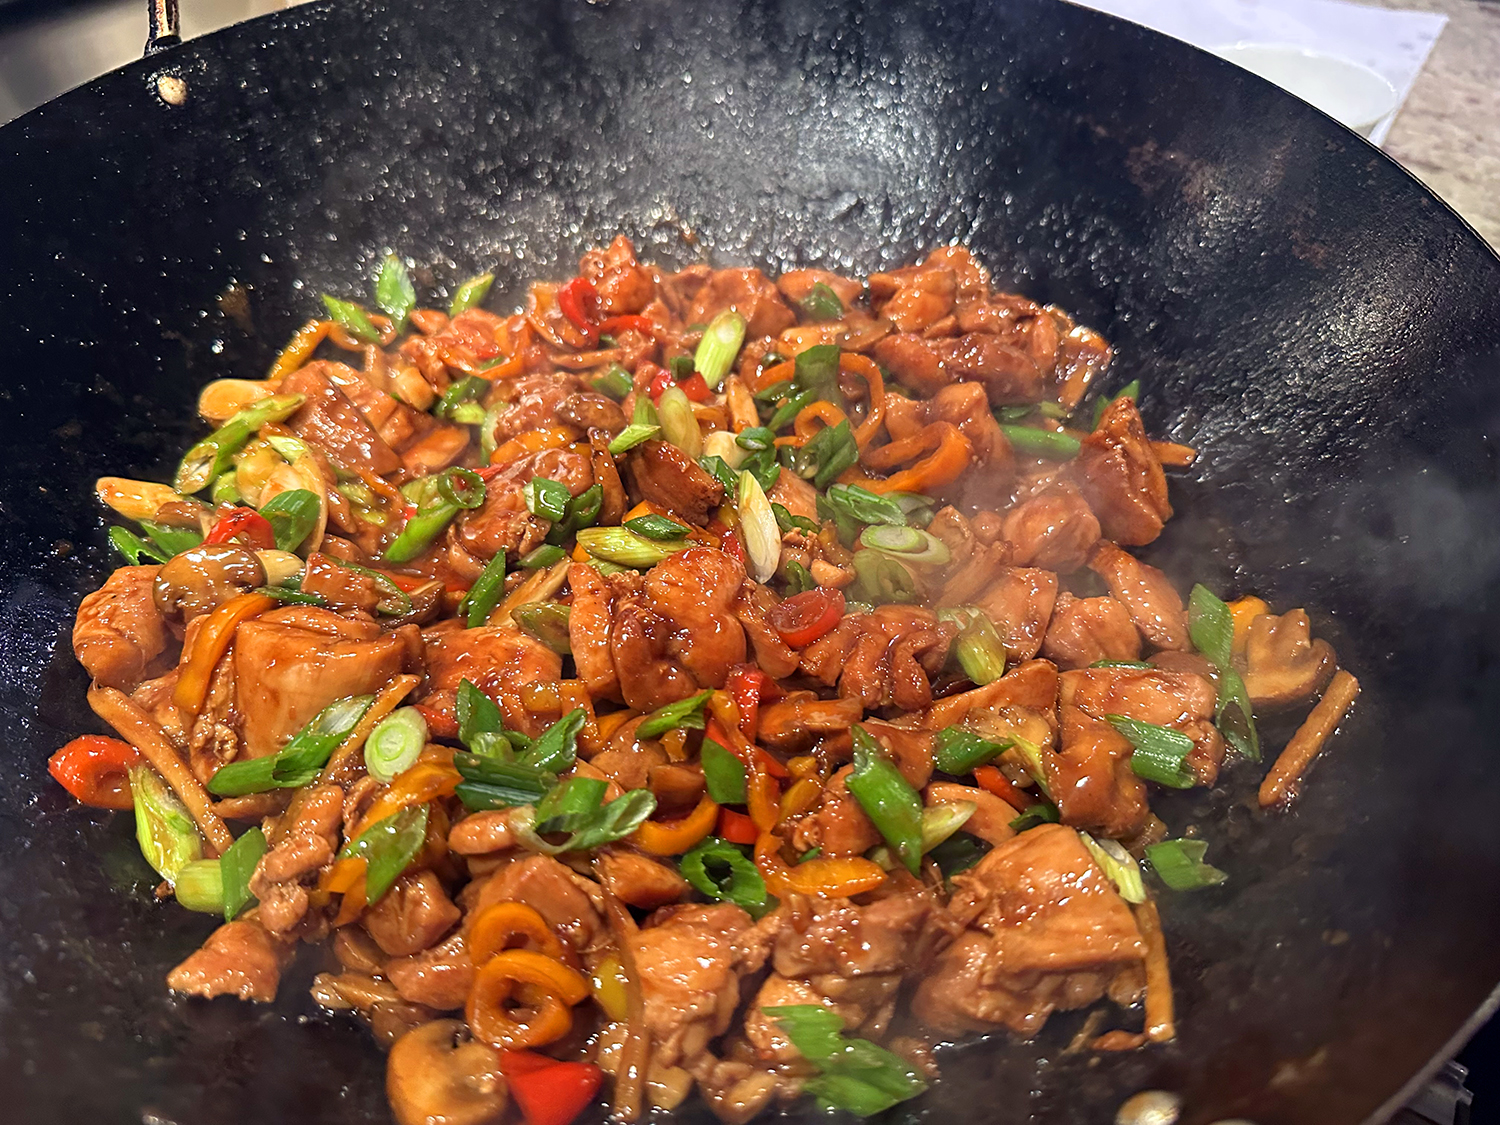
- Remove from heat, and stir in scallions. Season to taste with additional soy sauce. Serve with steamed rice on the side.
Adapted from a recipe by Andrea Nguyen for Food & Wine