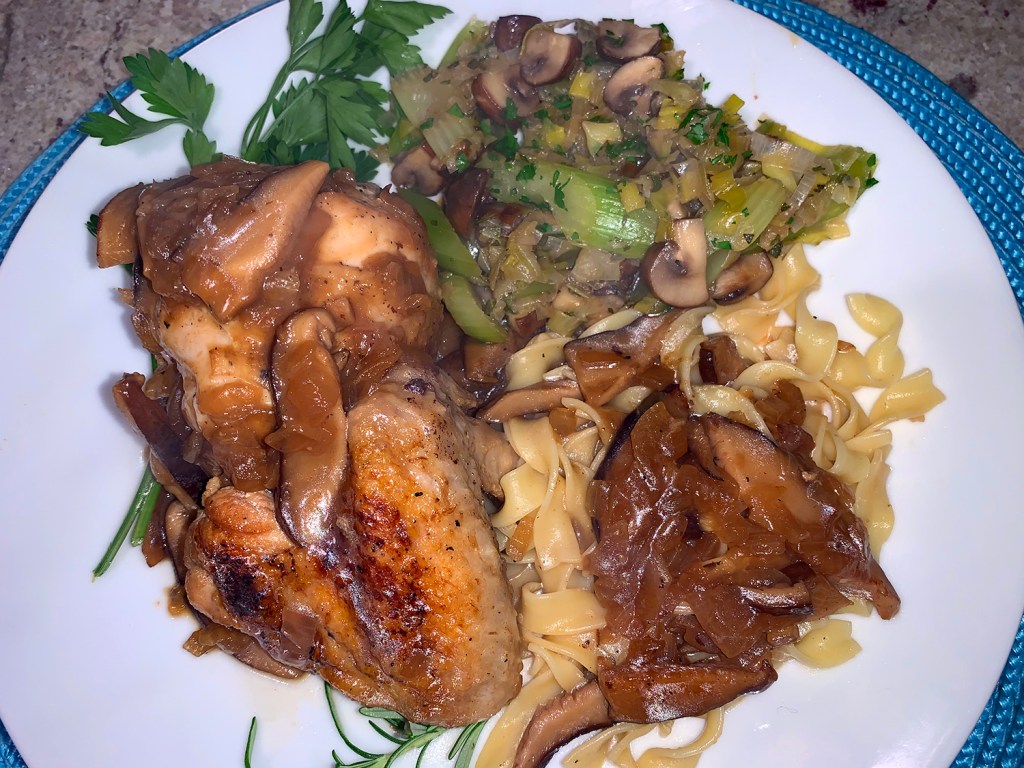
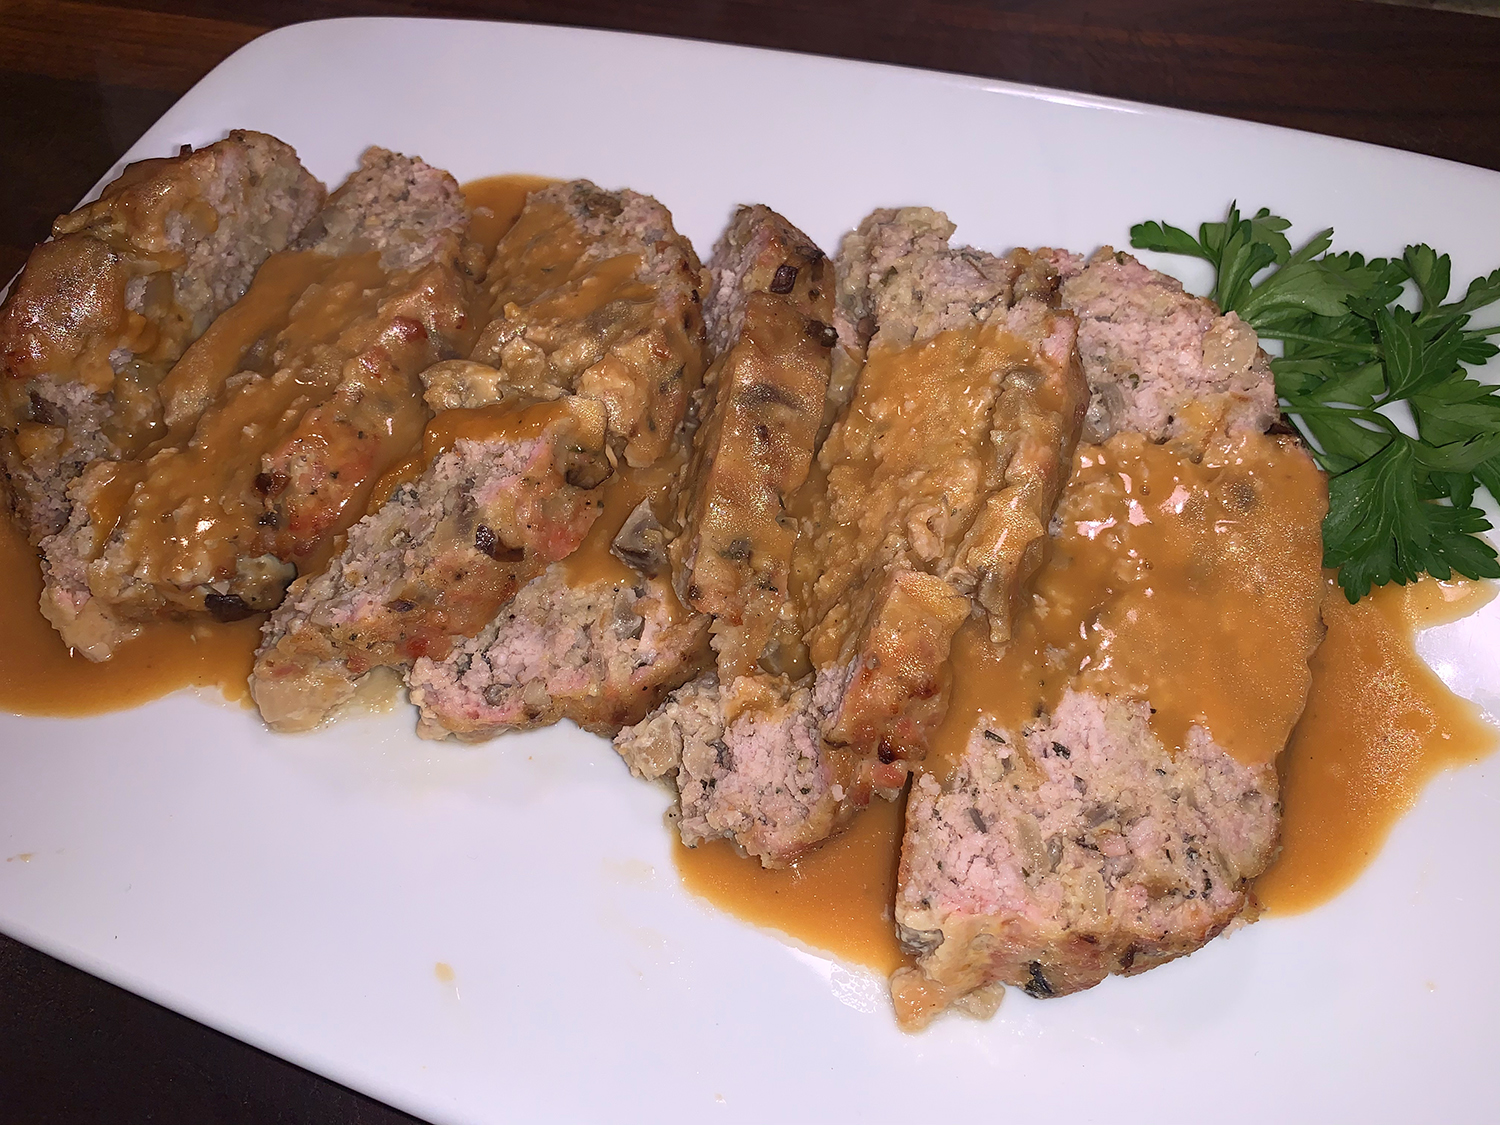
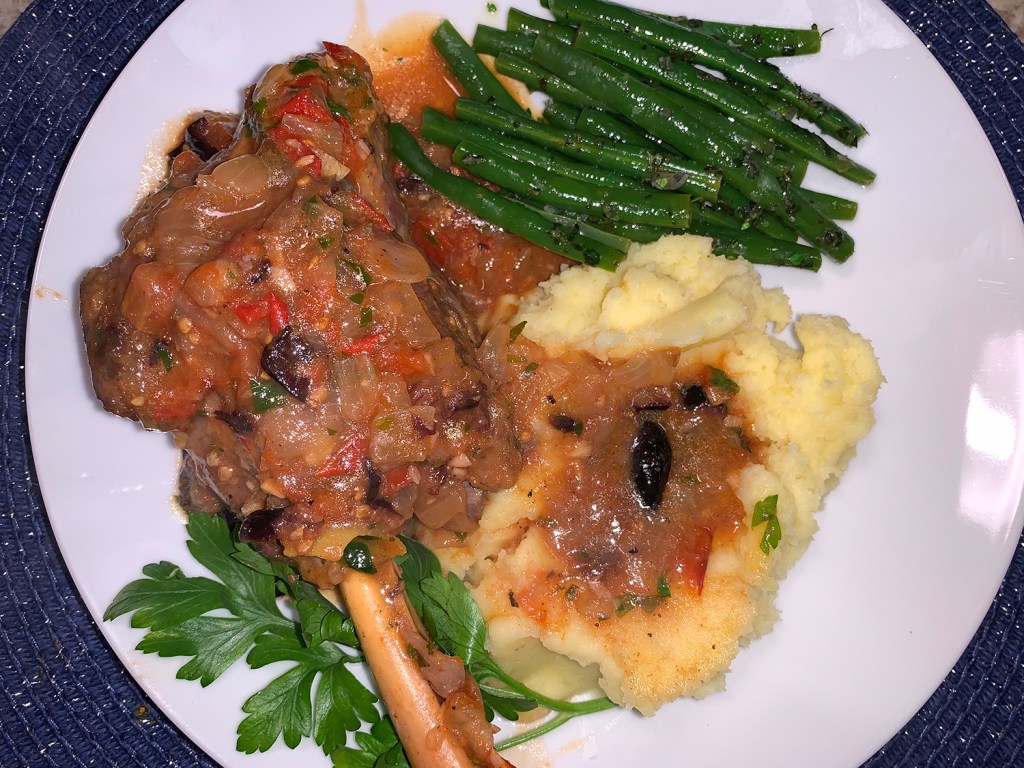
This savory herb-flecked sauté tastes just like stuffing, but without the bread—goodbye carbs! It embraces celery’s crisp texture and distinctive flavor. Found in a decade-old issue of Fine Cooking Magazine, it intrigued us enough to include as a side dish for our Smothered Chicken with Bourbon and Miso.
One rarely thinks of cooked celery as the star of a side dish. It typically takes a back burner as a mix-in to salads, additive to soups, or an accompaniment to hot wings. But here it shines and surprises. We have now added the recipe to our favorites and plan to serve to guests, especially those who are vegetarian.

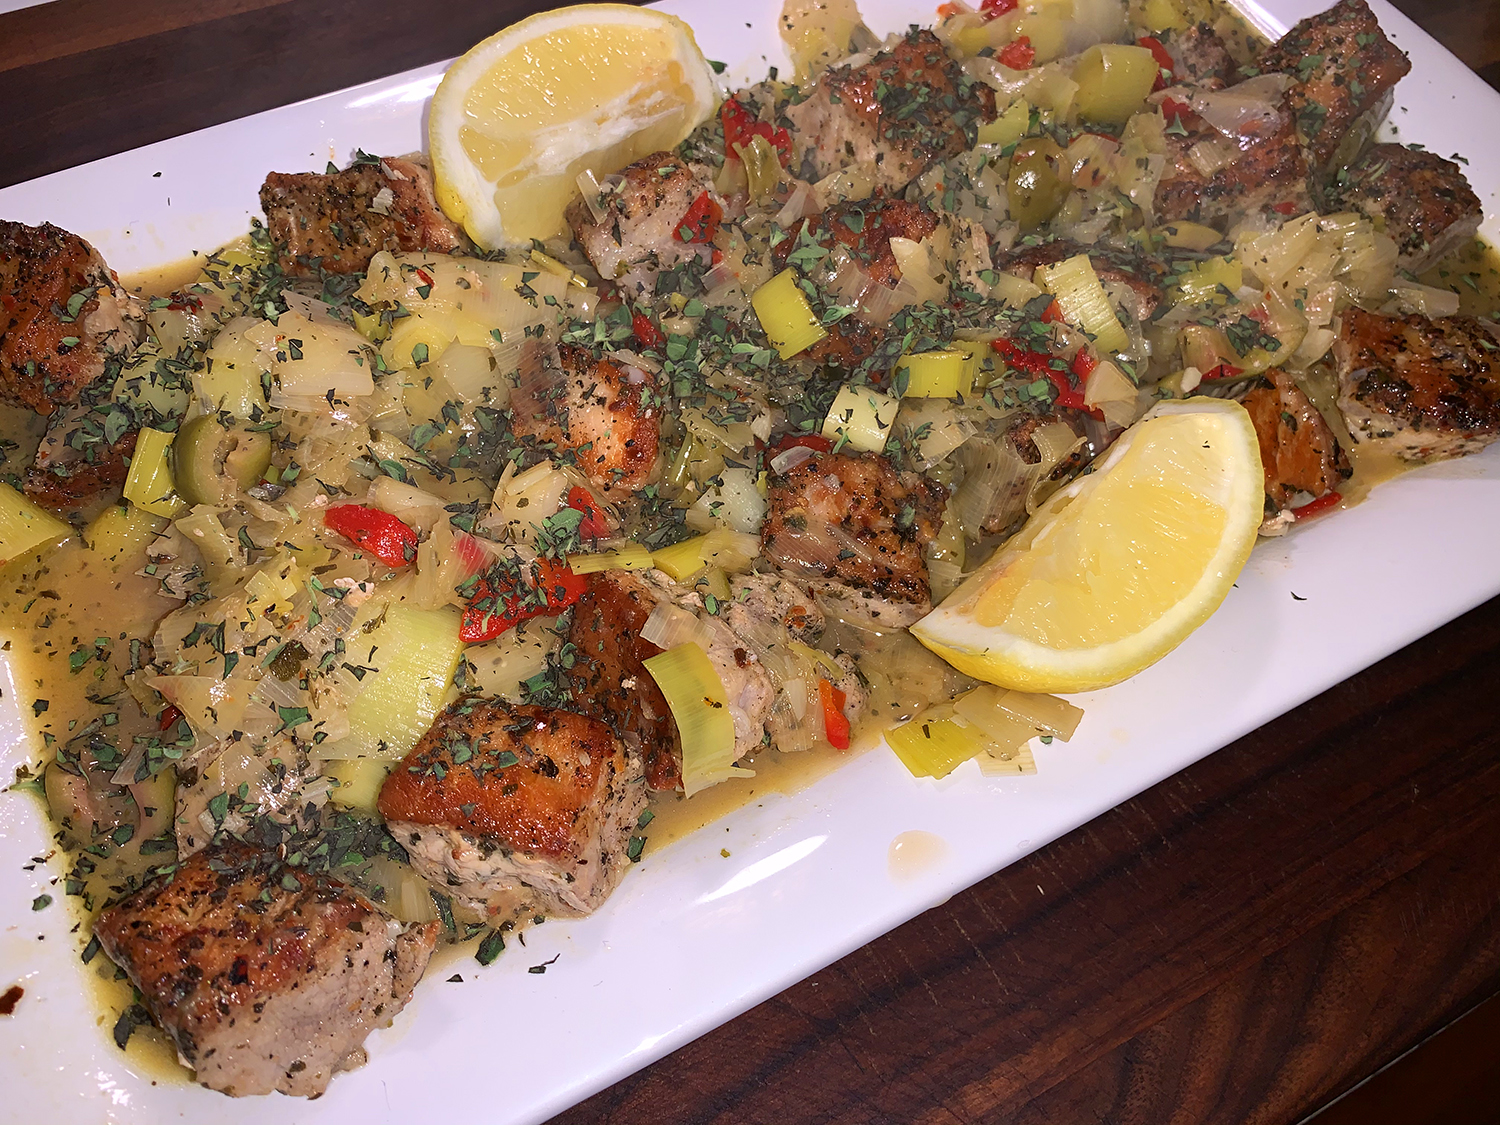
Sautéed Celery and Leeks with Mushrooms
Ingredients
- 2 Tbsp. extra-virgin olive oil
- 1 medium leek, rinsed, halved lengthwise and thinly sliced crosswise (white and light green parts only)
- 6 stalks celery, cut in a diagonal in 1/2″ slices
- Kosher salt
- 8 oz. cremini mushrooms, quartered
- 1 Tbsp. fresh lemon juice
- 1 1/2 tsp. finely chopped fresh rosemary
- 1 tsp. chopped fresh sage
- 2 Tbsp. chopped fresh flat-leaf parsley
- Freshly ground black pepper
- 2 Tbsp. chicken broth or water


Directions
- Heat a 12-inch skillet over medium heat. Add the oil, leek, and a pinch of salt; cook stirring often, until just tender, 3 to 4 minutes.
- Add the mushrooms and another pinch of salt and cook until the mushrooms are lightly browned and tender, 4 to 5 minutes.
- Add the celery and a pinch of salt and cook until crisp-tender, 5 to 8 minutes.
- With a wooden spoon, stir in the lemon juice and scrape up any browned bits from the bottom of the pan.
- Stir in the rosemary and sage and cook until fragrant, about 1 minute.
- Stir in the parsley and season to taste with salt and pepper. Transfer the mixture to a bowl.
- Return the pan to medium heat, add the chicken broth or water, and scrape up any remaining bits. Let this liquid reduce by half and then pour over the celery.
- Serve immediately.
Compliments of Melissa Pellegrino