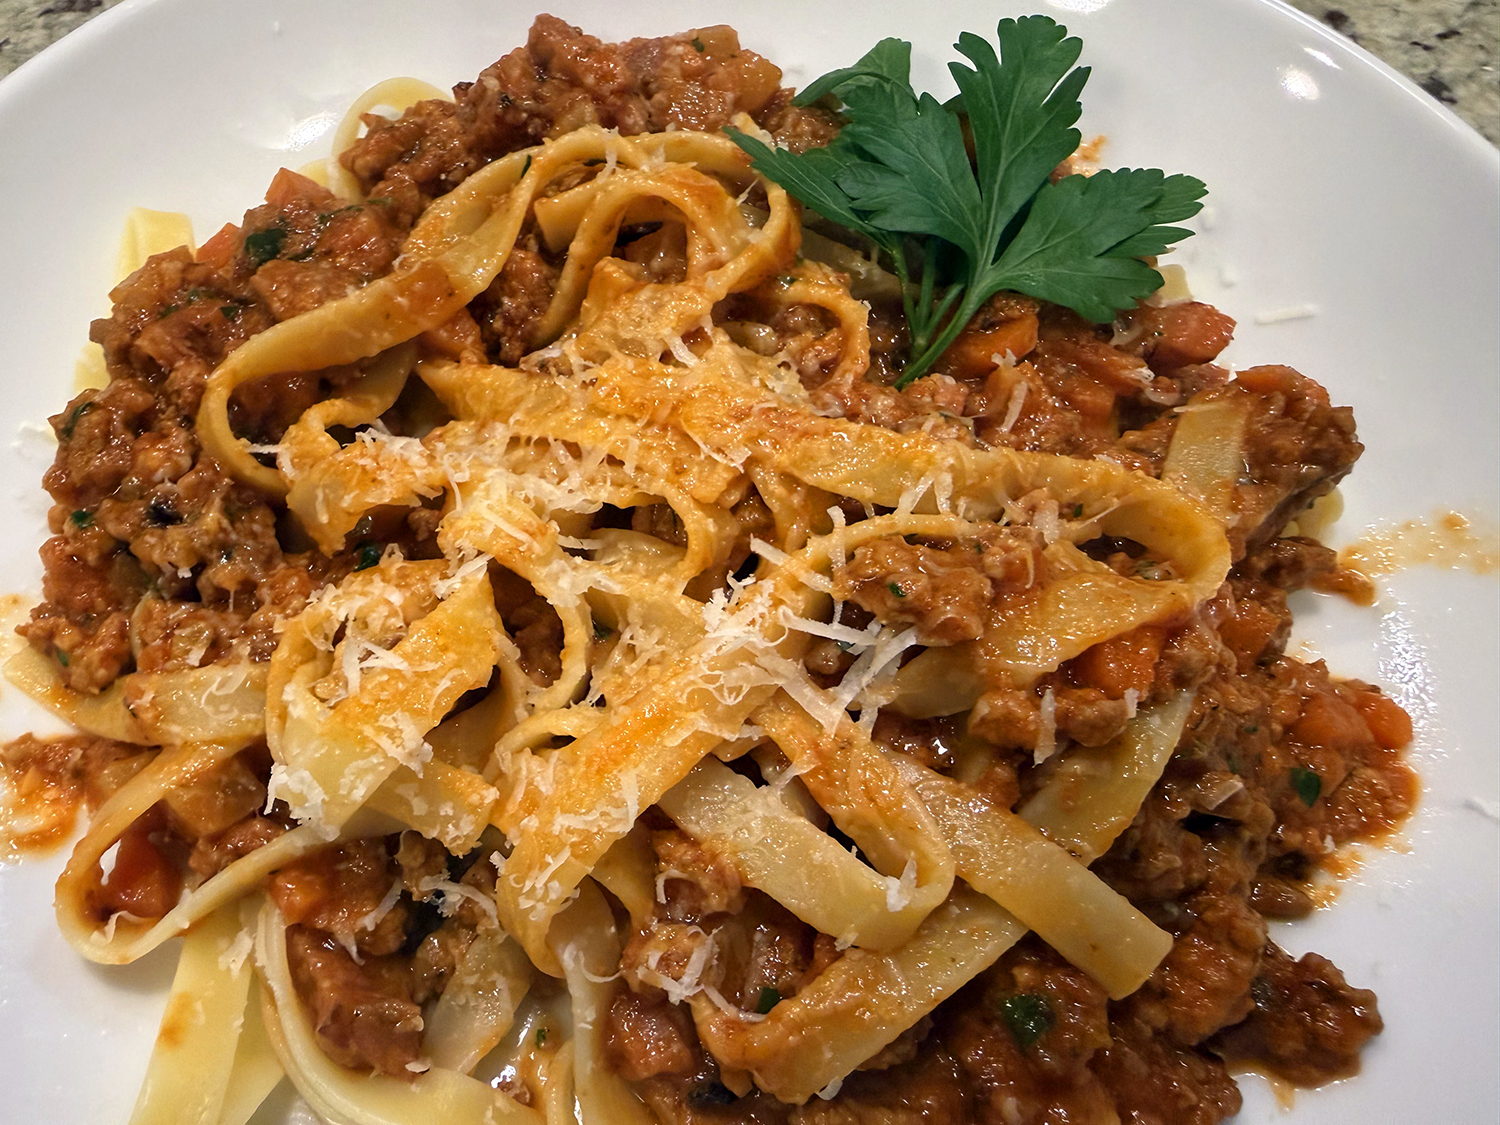
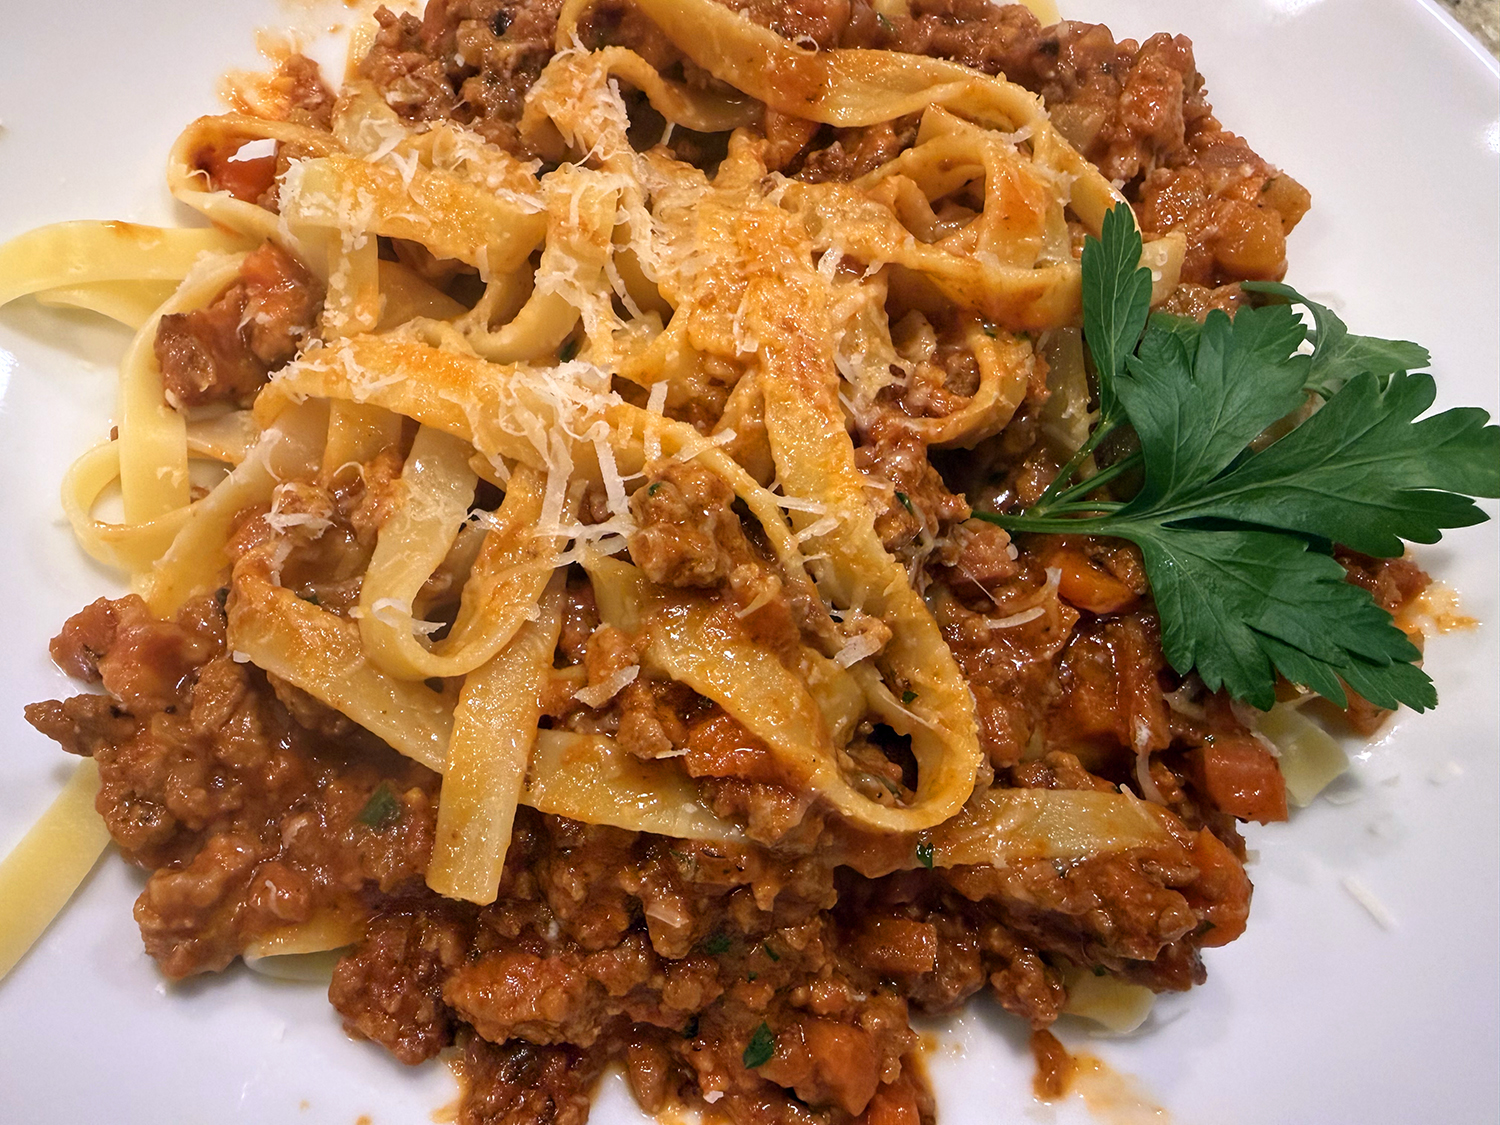
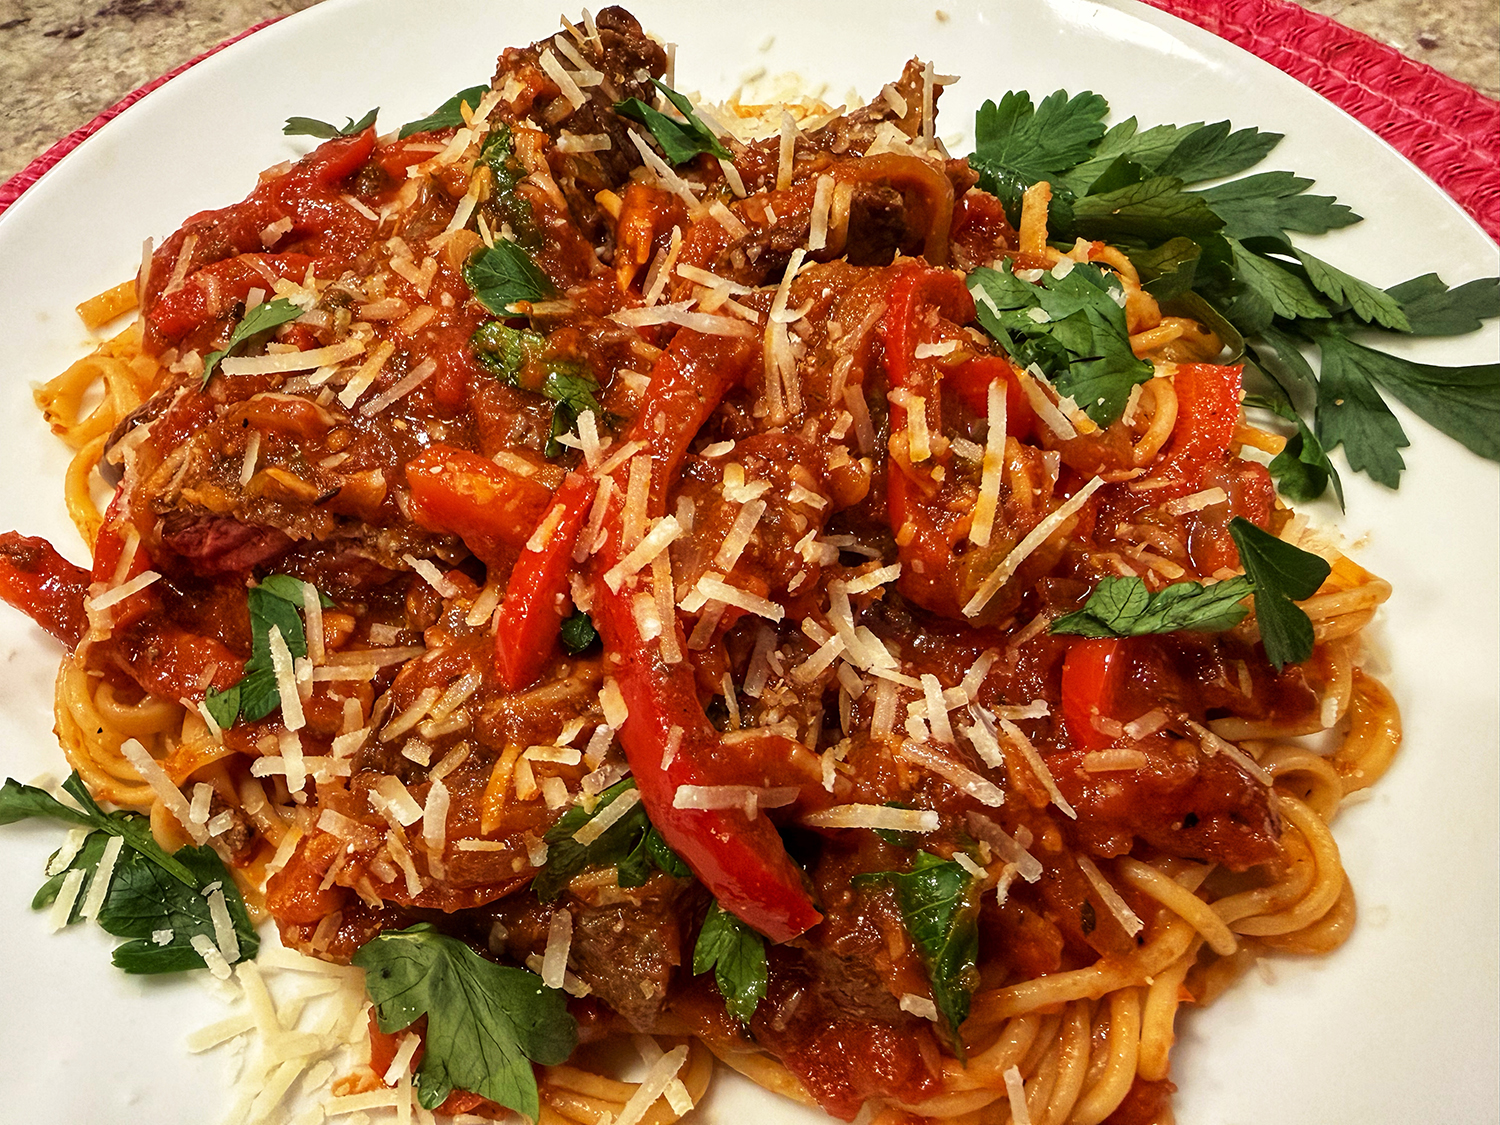
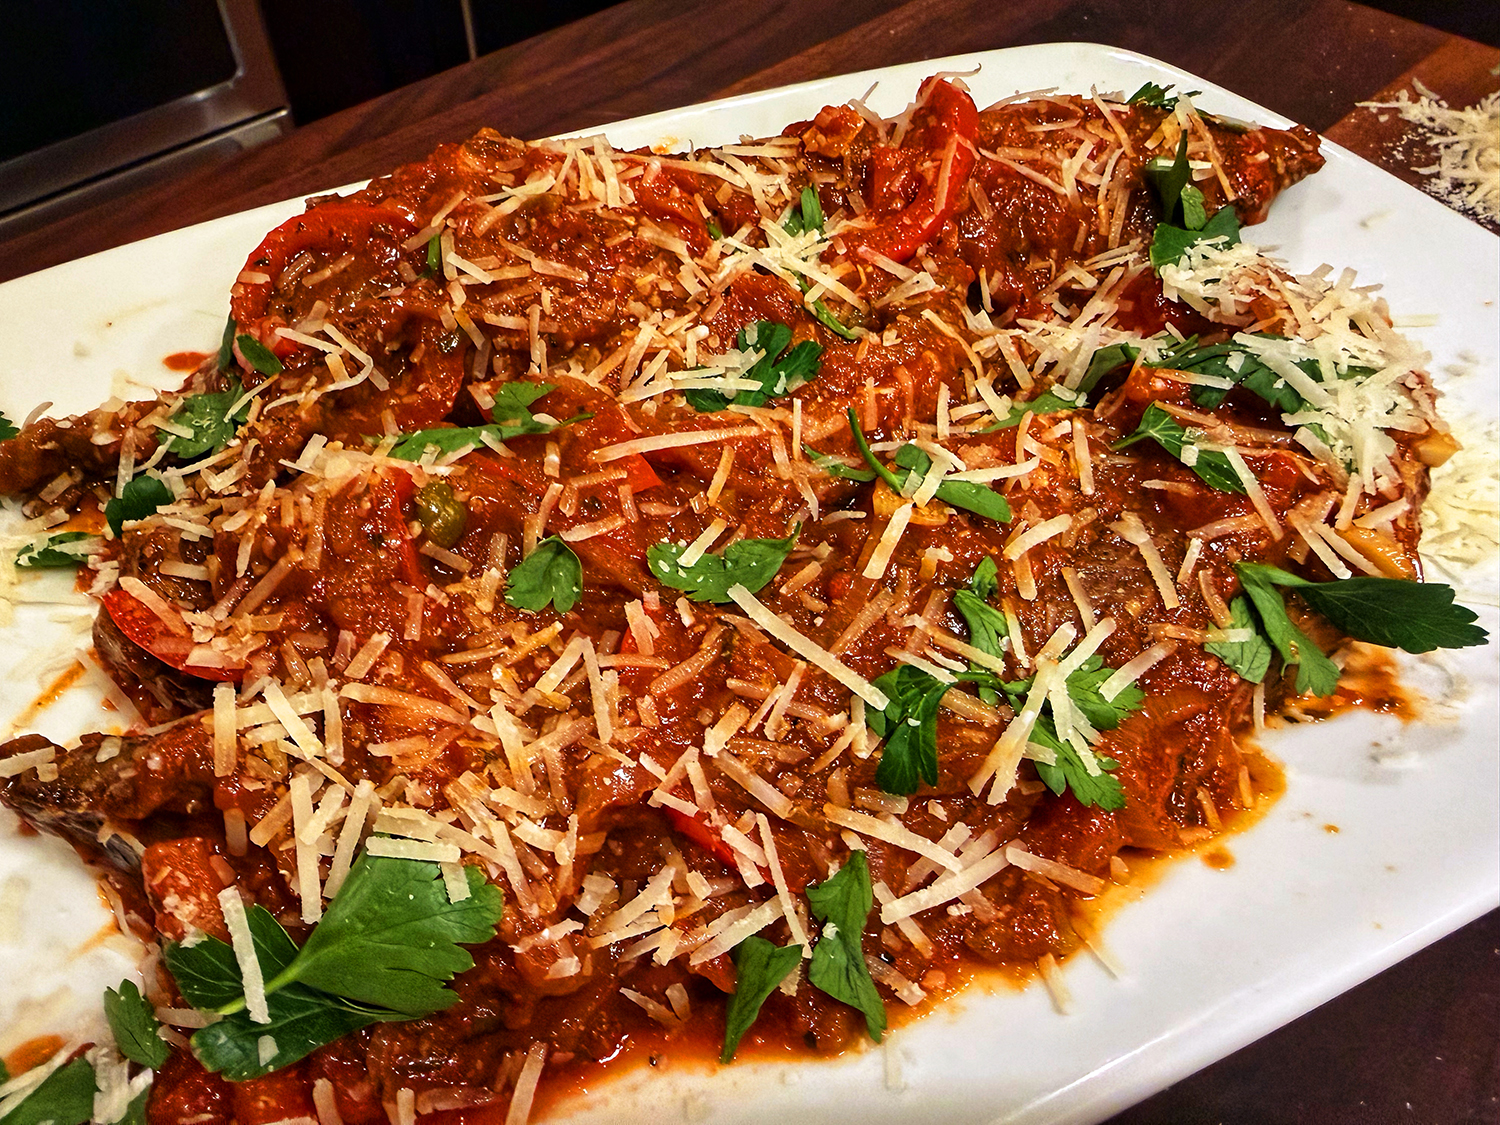
This is a deeply special pasta — one that rewards patience and rewards you for paying attention to its distinctly Florentine character.
What separates Penne Strascicate from every other meat sauce you’ve had is the warm spice profile. Nutmeg, cinnamon, and coriander appear in small amounts, but their effect is transformative — they don’t make the dish taste sweet or exotic, but instead add a haunting, aromatic depth that lingers on the palate and makes you wonder what’s in there. It’s a medieval culinary tradition that survived in Tuscany long after the rest of Italy moved away from spiced meat sauces.
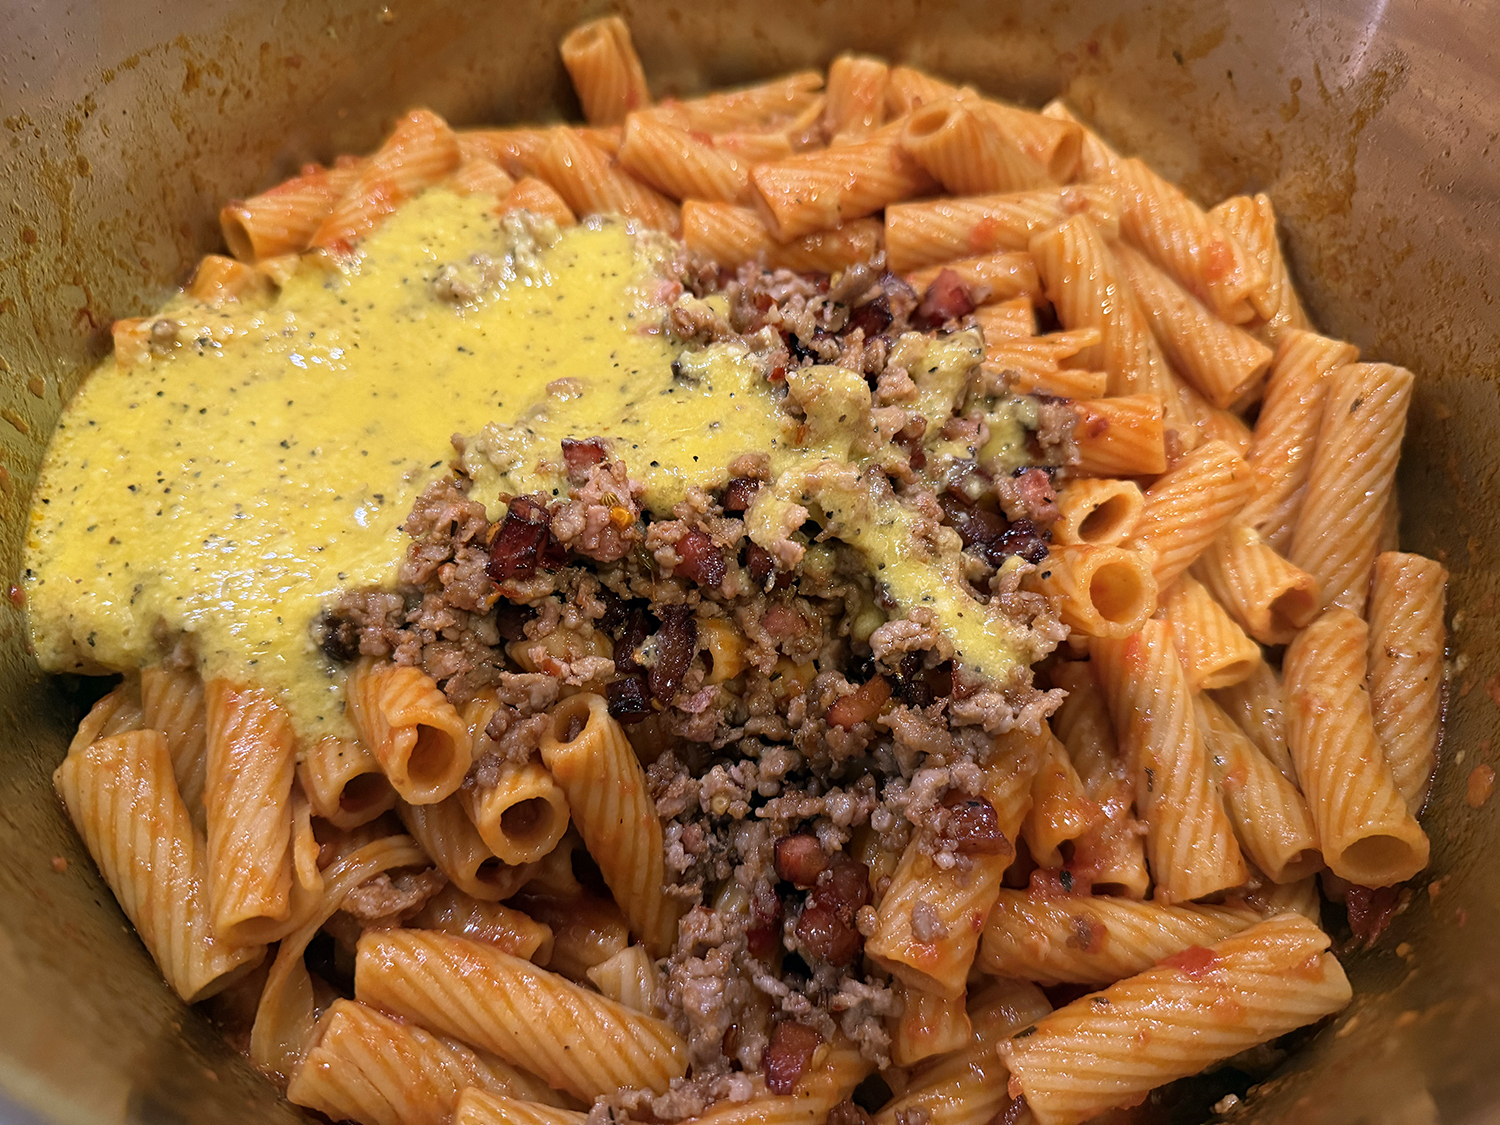
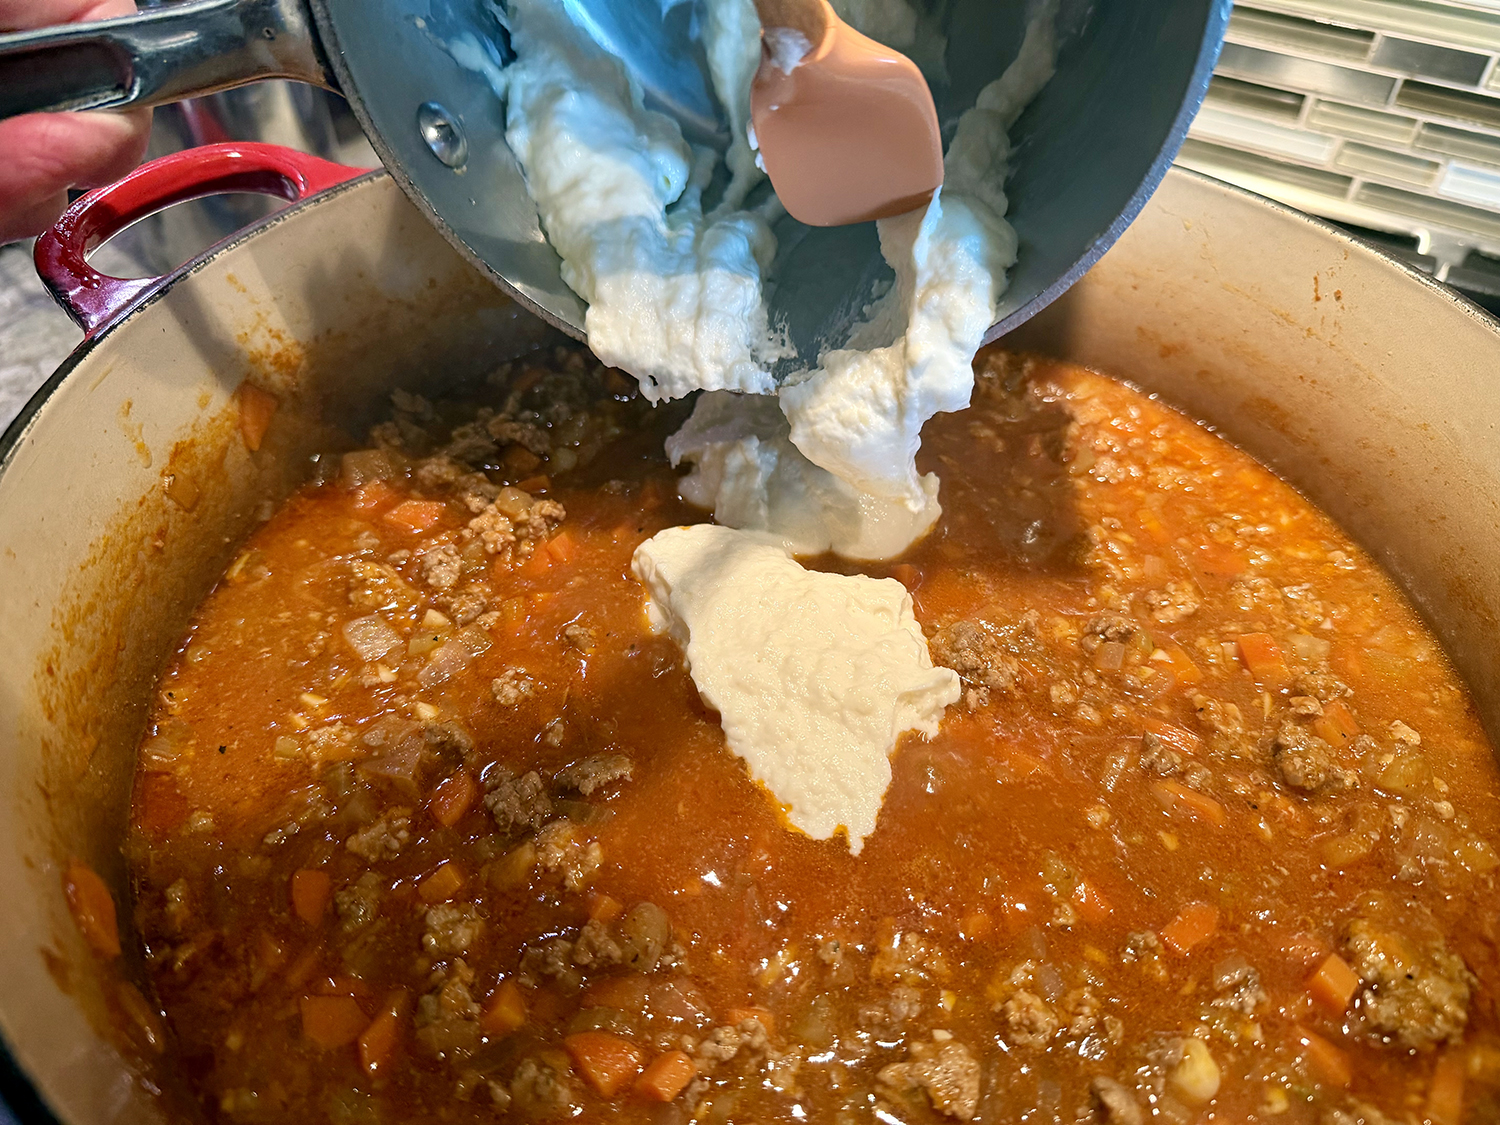
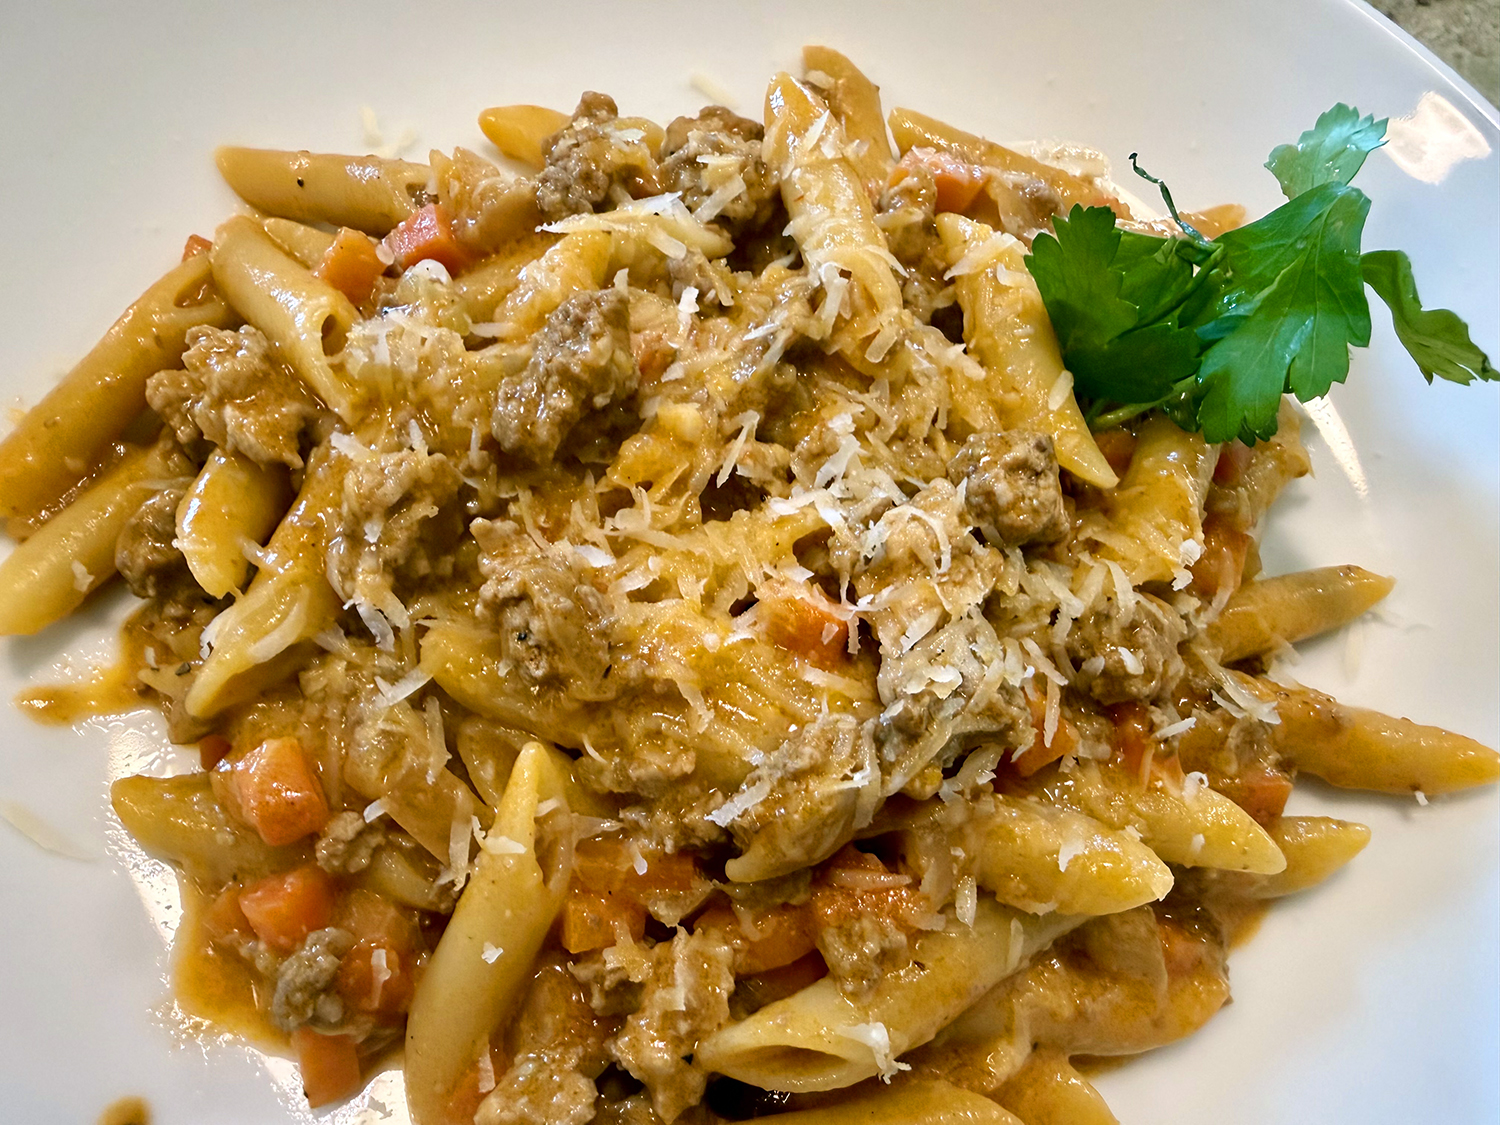
The besciamella is used not as a dominant sauce but almost as a finishing emulsifier — a few spoonfuls stirred in at the very end that transform the ragù from something rustic into something almost lacquered. It bridges the richness of the beef-pork mixture and the starch of the pasta into a unified, glossy whole.
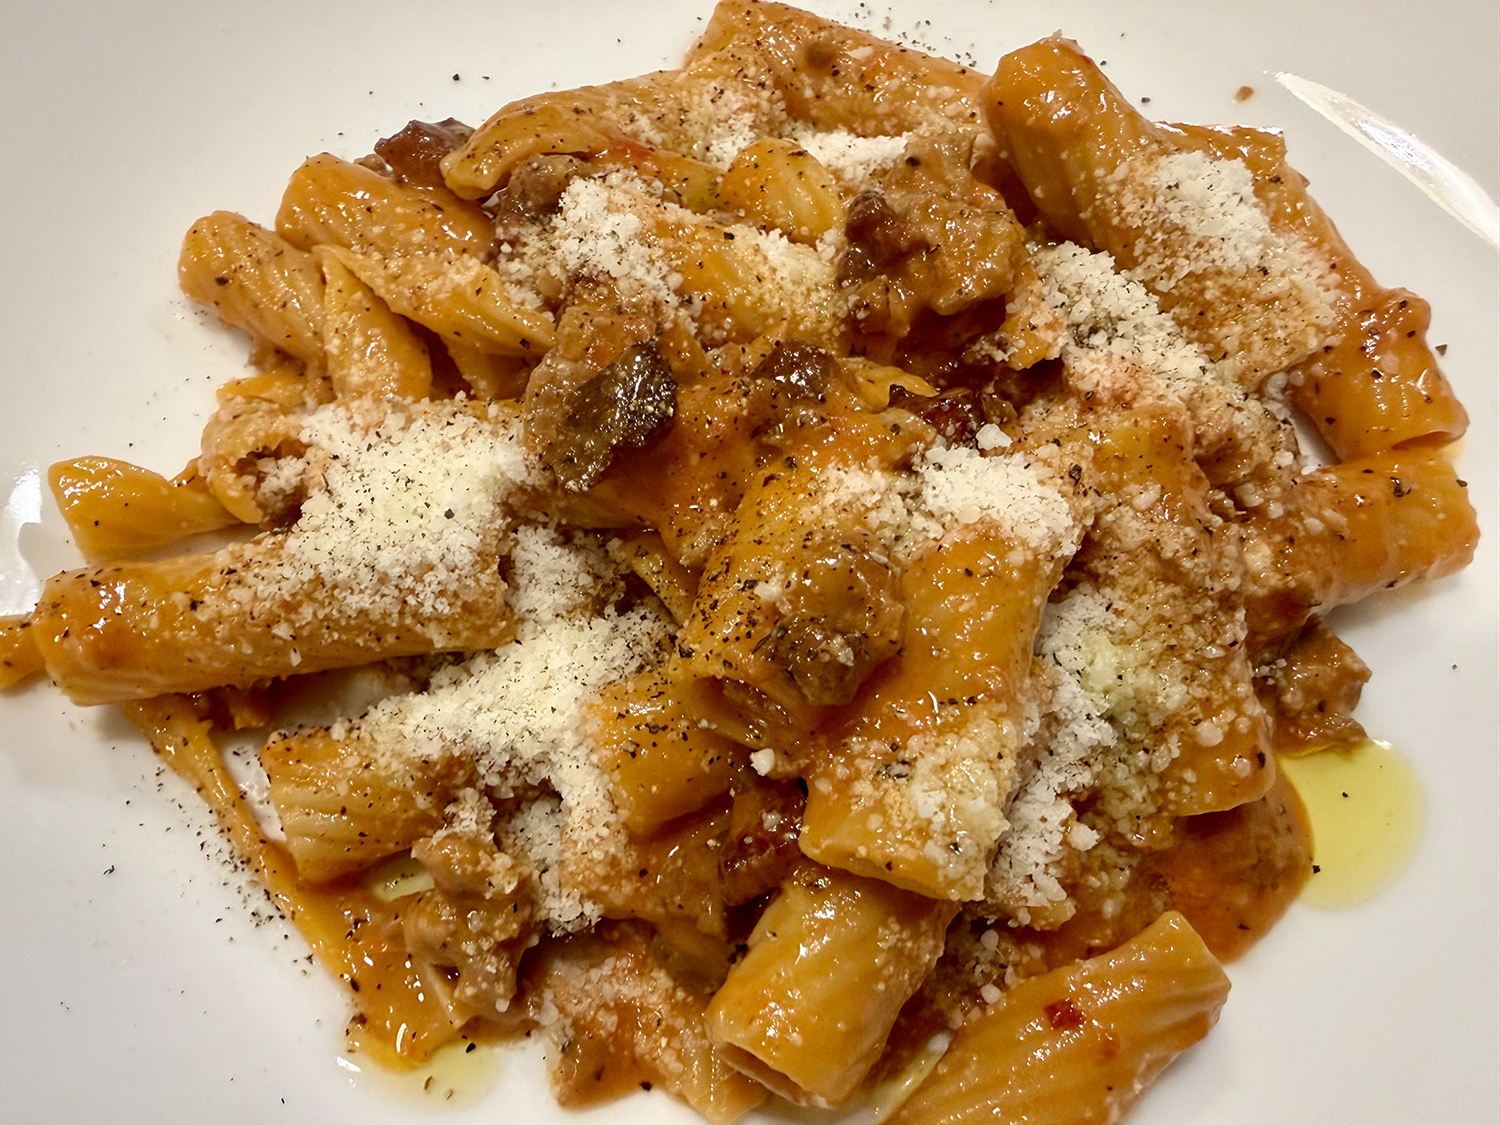
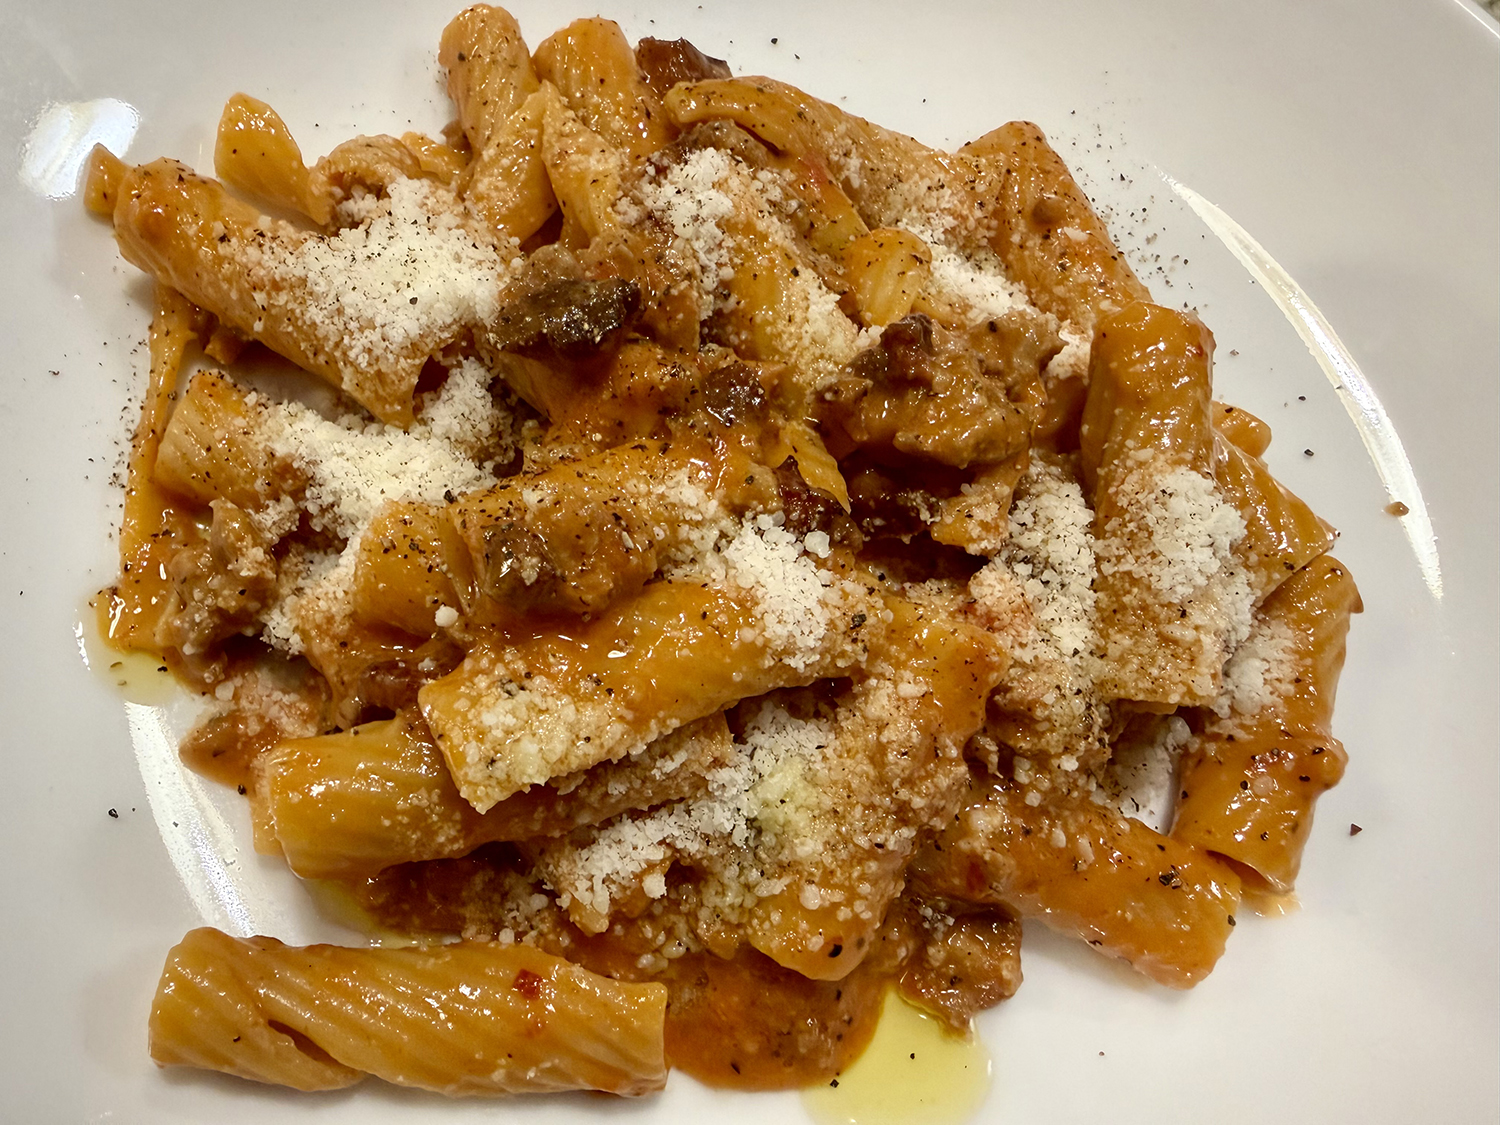
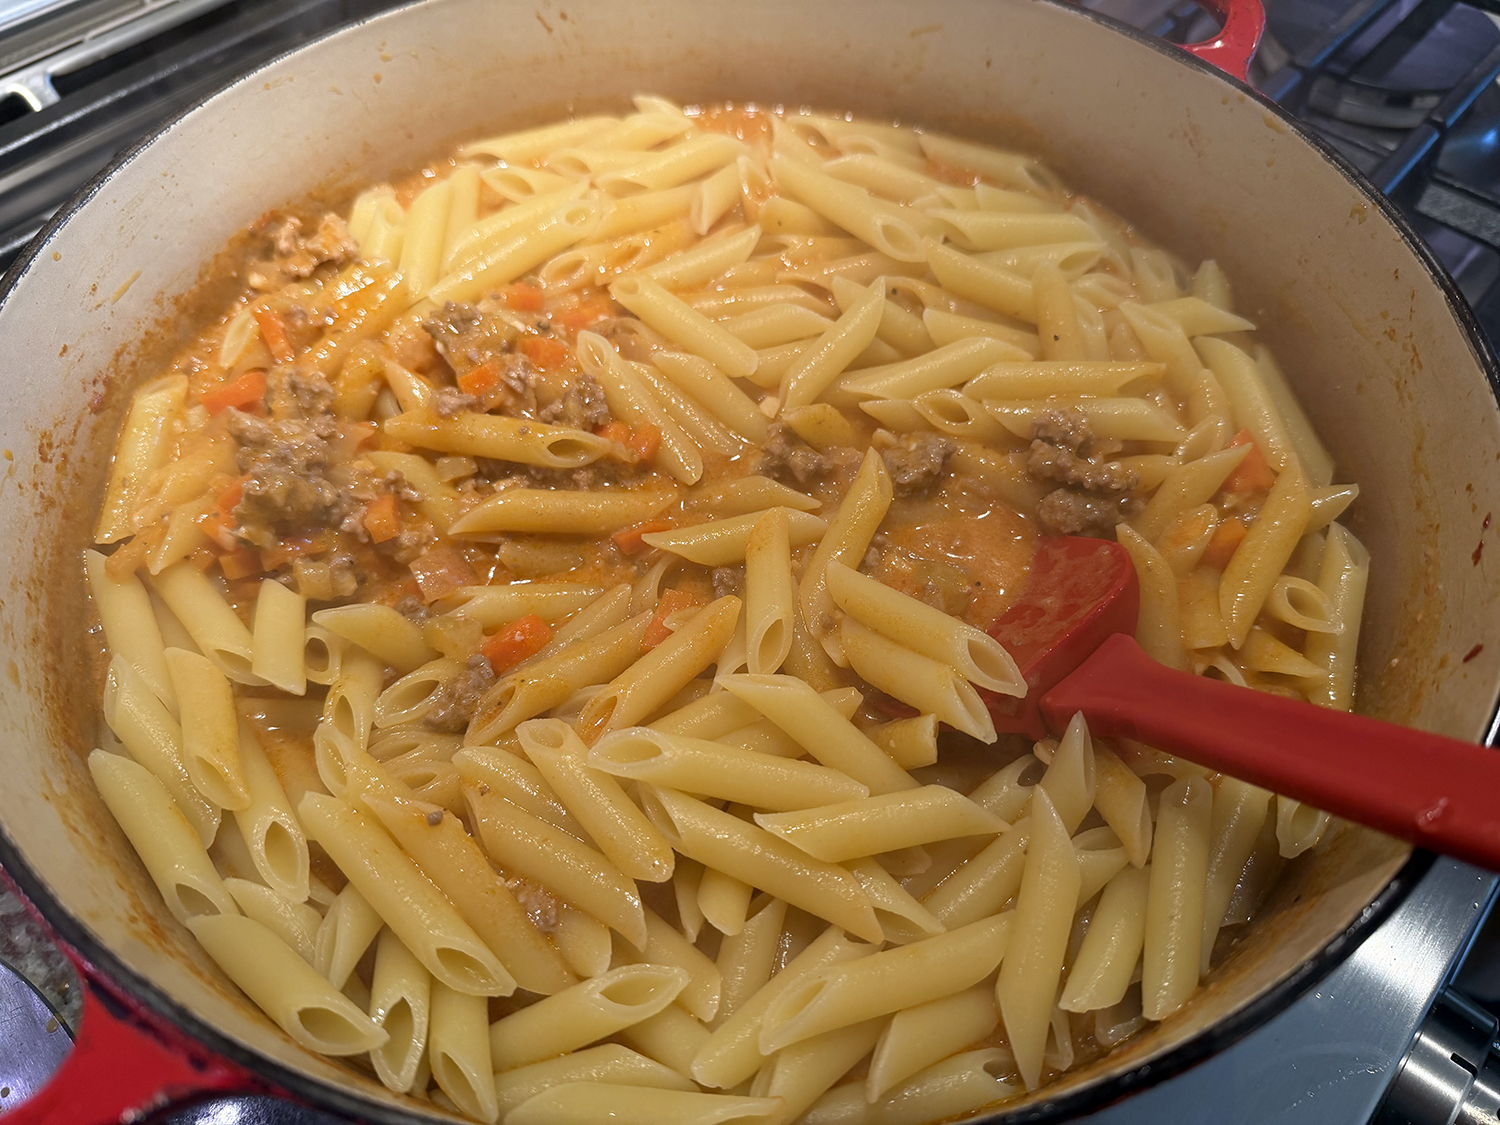
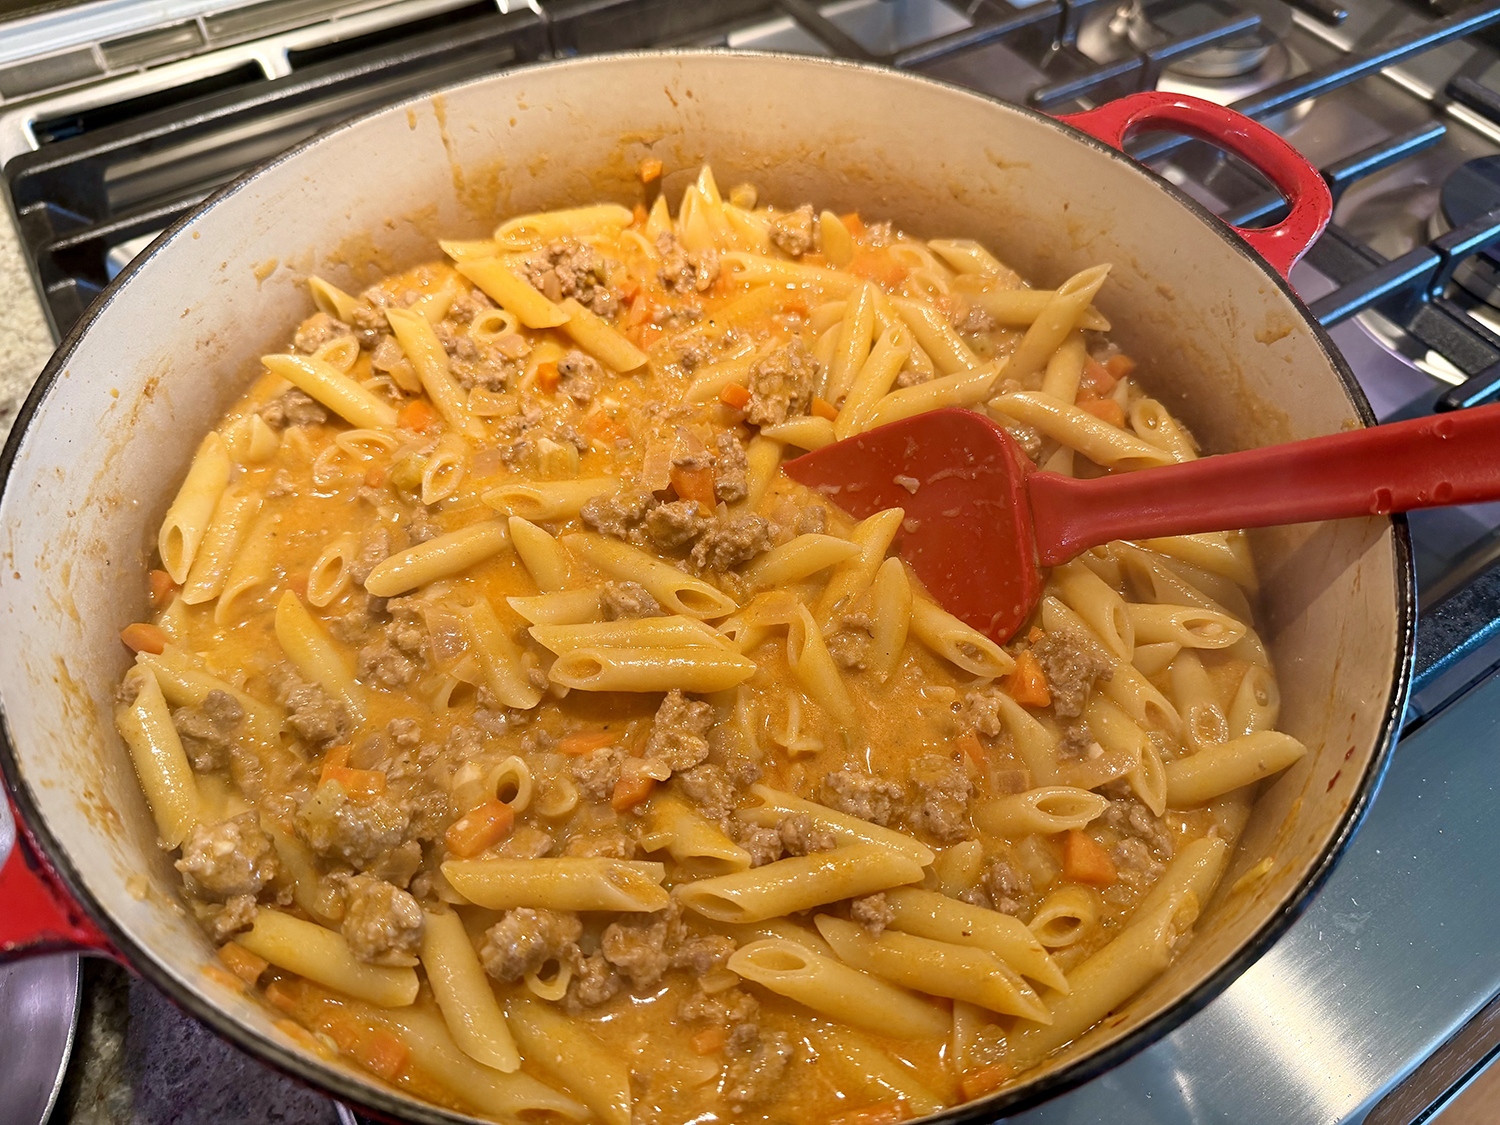
And then there’s the technique itself — the strascicare. By pulling the parboiled penne into the still-simmering ragù and dragging it continuously through the sauce, each tube finishes cooking inside the meat sauce rather than water. The pasta swells and absorbs the flavors from the inside out, and the released starch thickens the sauce around it. The result is something you simply cannot achieve by boiling pasta to done and ladling sauce on top. It’s a dish where the process is the point — and where Florence quietly reminds you it does things its own way — well.
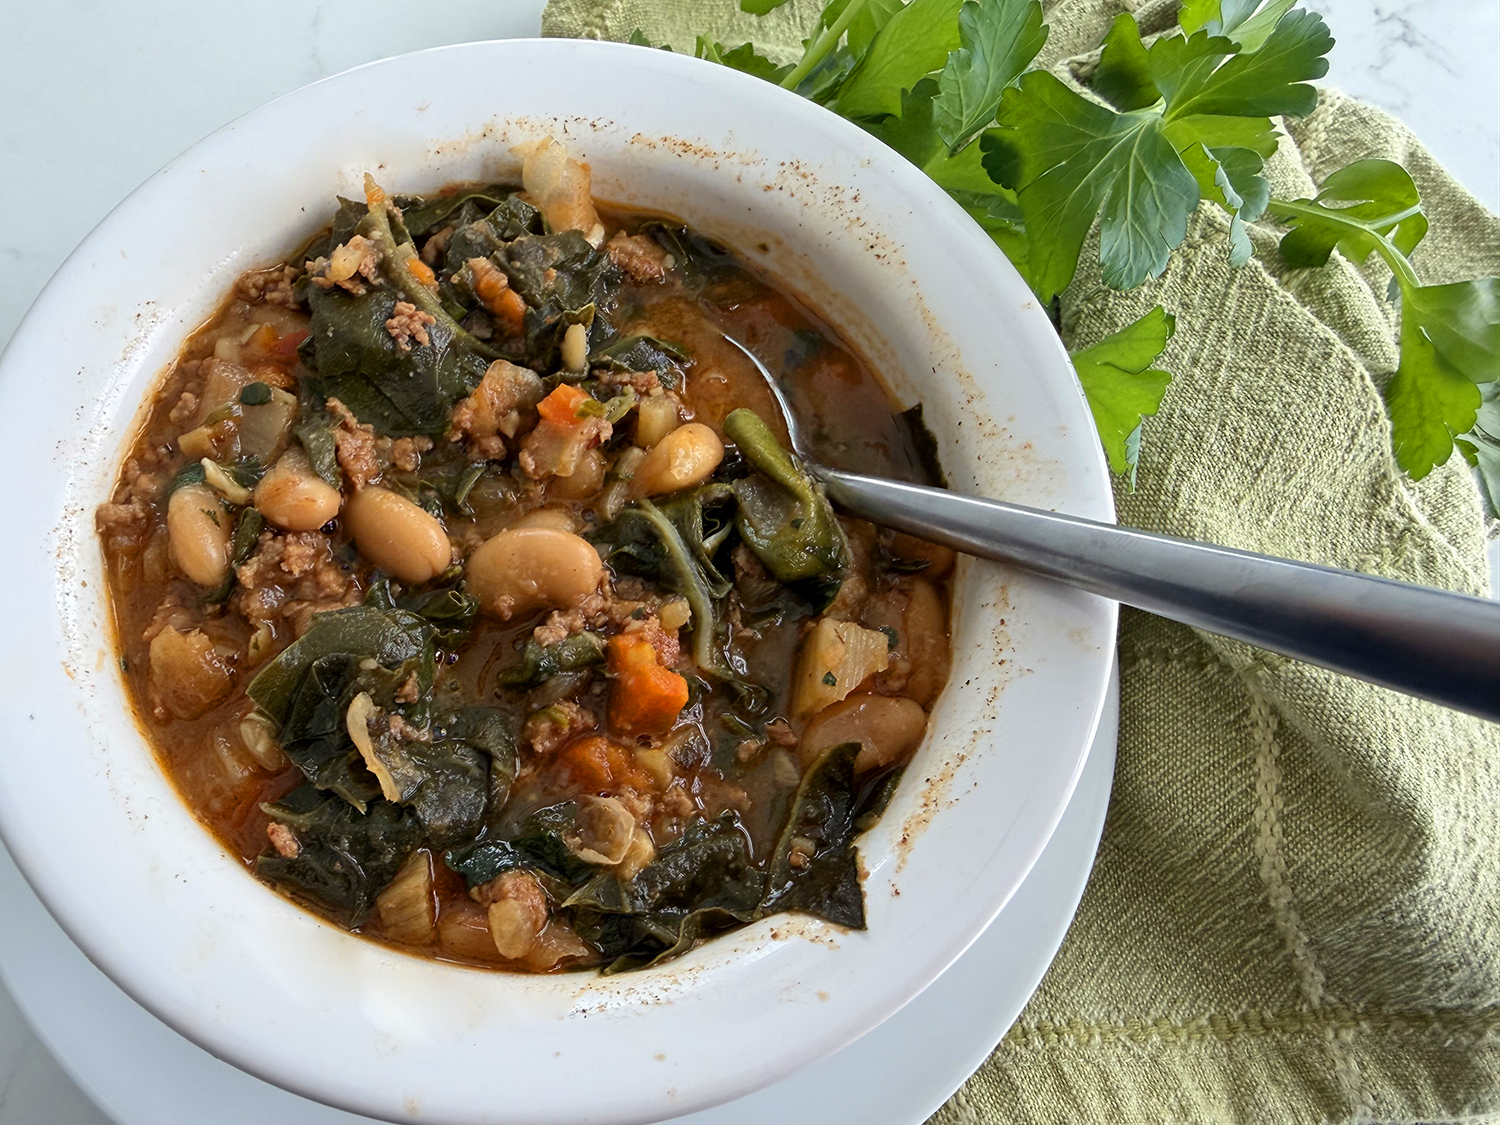
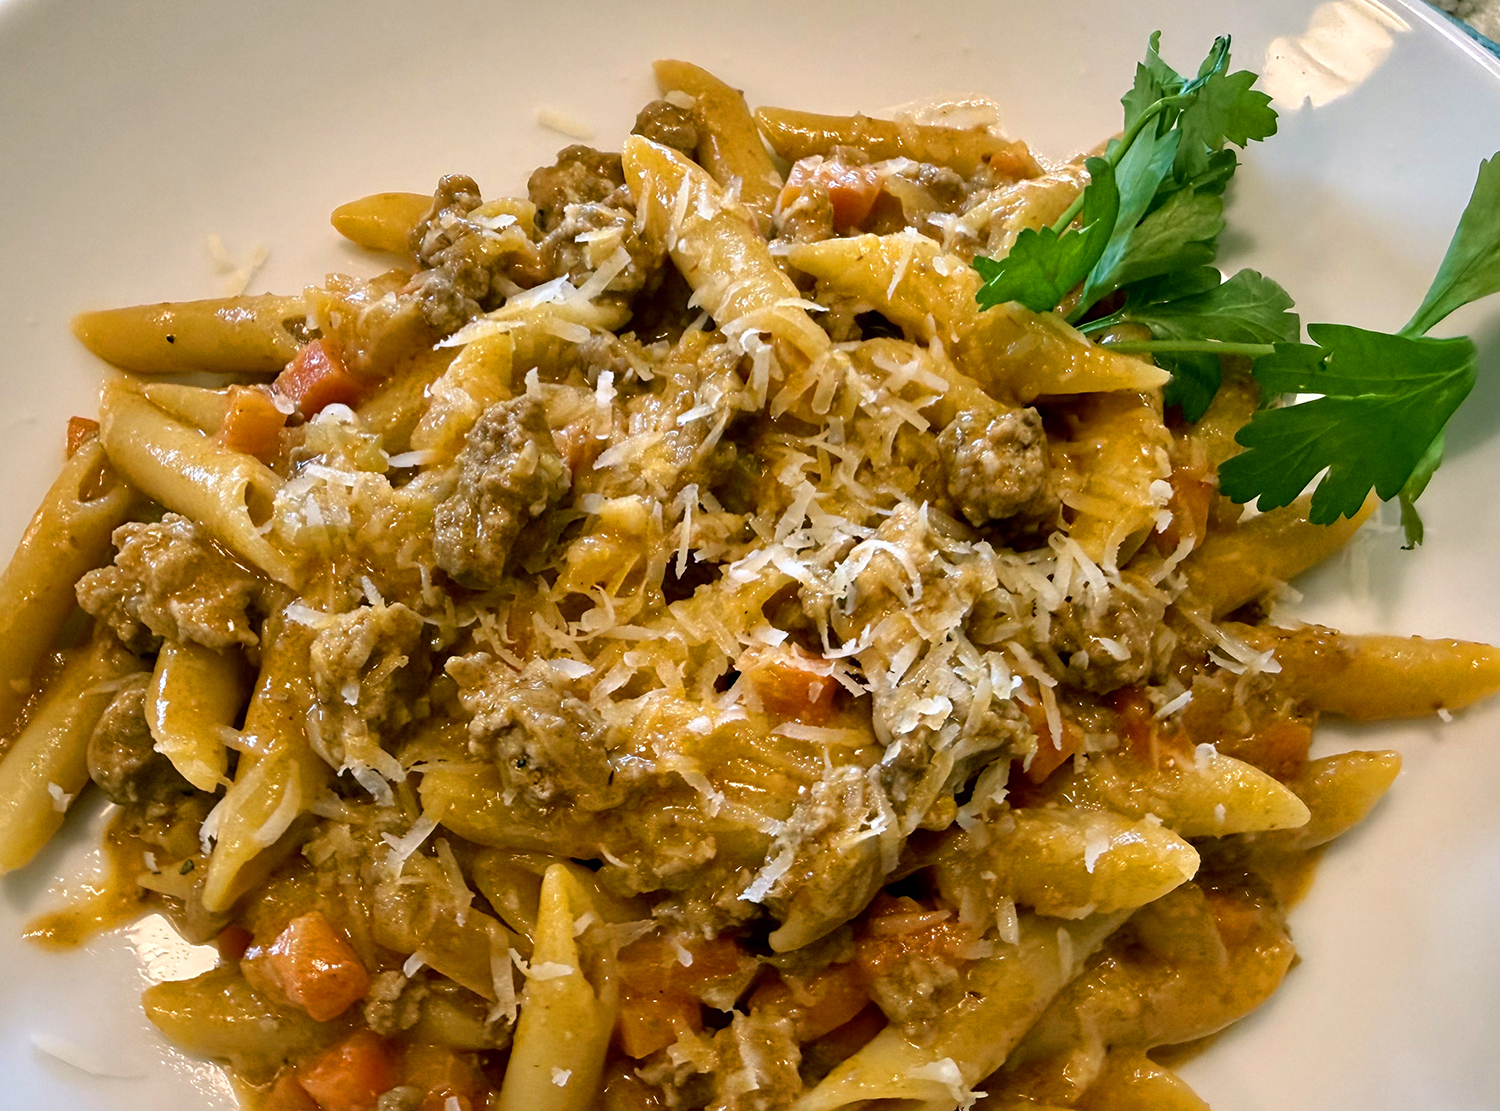
We happened to have 1 1/2 pounds of meatloaf mix which is 50% more than the recipe calls for but we used it all, and glad we did. With this addition, the dish could easily feed eight people — paired with a side salad. BTW, we thought the dish was even better the next day as leftovers!
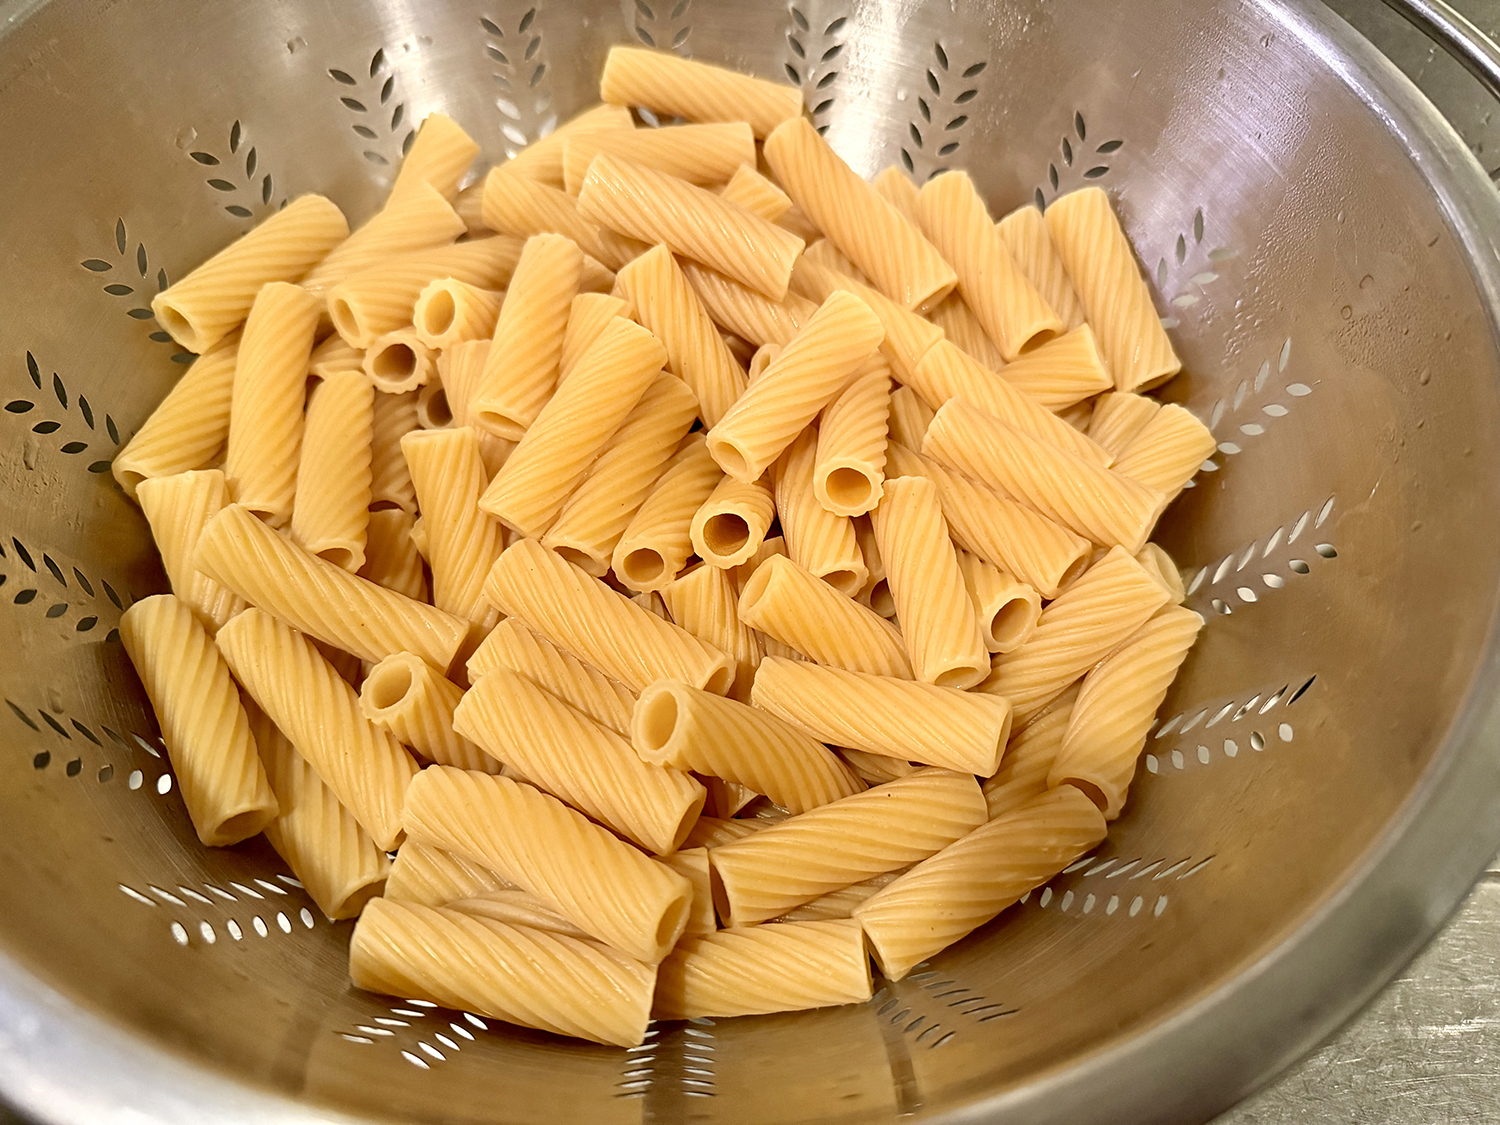
TIP: Don’t boil the pasta until al dente. Drain it when it when it’s a good deal shy of al dente—tender on the outside but still very firm and underdone at the core. (Start checking doneness about 5 minutes before the recommended cooking time on the package.) This ensures the pasta will not end up overdone after cooking in the ragù.
VARIATIONS: The spices are non-negotiable: Nutmeg, cinnamon, and coriander are the soul of this dish — a Florentine fingerprint that sets it apart from Bolognese. Trust the recipe even if the amounts seem small. Don’t skip the drag: Finishing the pasta in the ragù rather than simply tossing at the end is the whole point. Those extra minutes of stirring allow the starch from the pasta to thicken and bind the sauce. Besciamella is the secret weapon: It’s not a heavy addition — just a few spoonfuls lend the final dish a silky, restaurant-quality gloss that coats each piece of pasta. Make the ragù ahead: It improves significantly overnight. The spices mellow and integrate beautifully. Reheat gently and make the besciamella fresh. Penne rigate is ideal: The ridges grip the meaty sauce far better than smooth penne or any other shape.
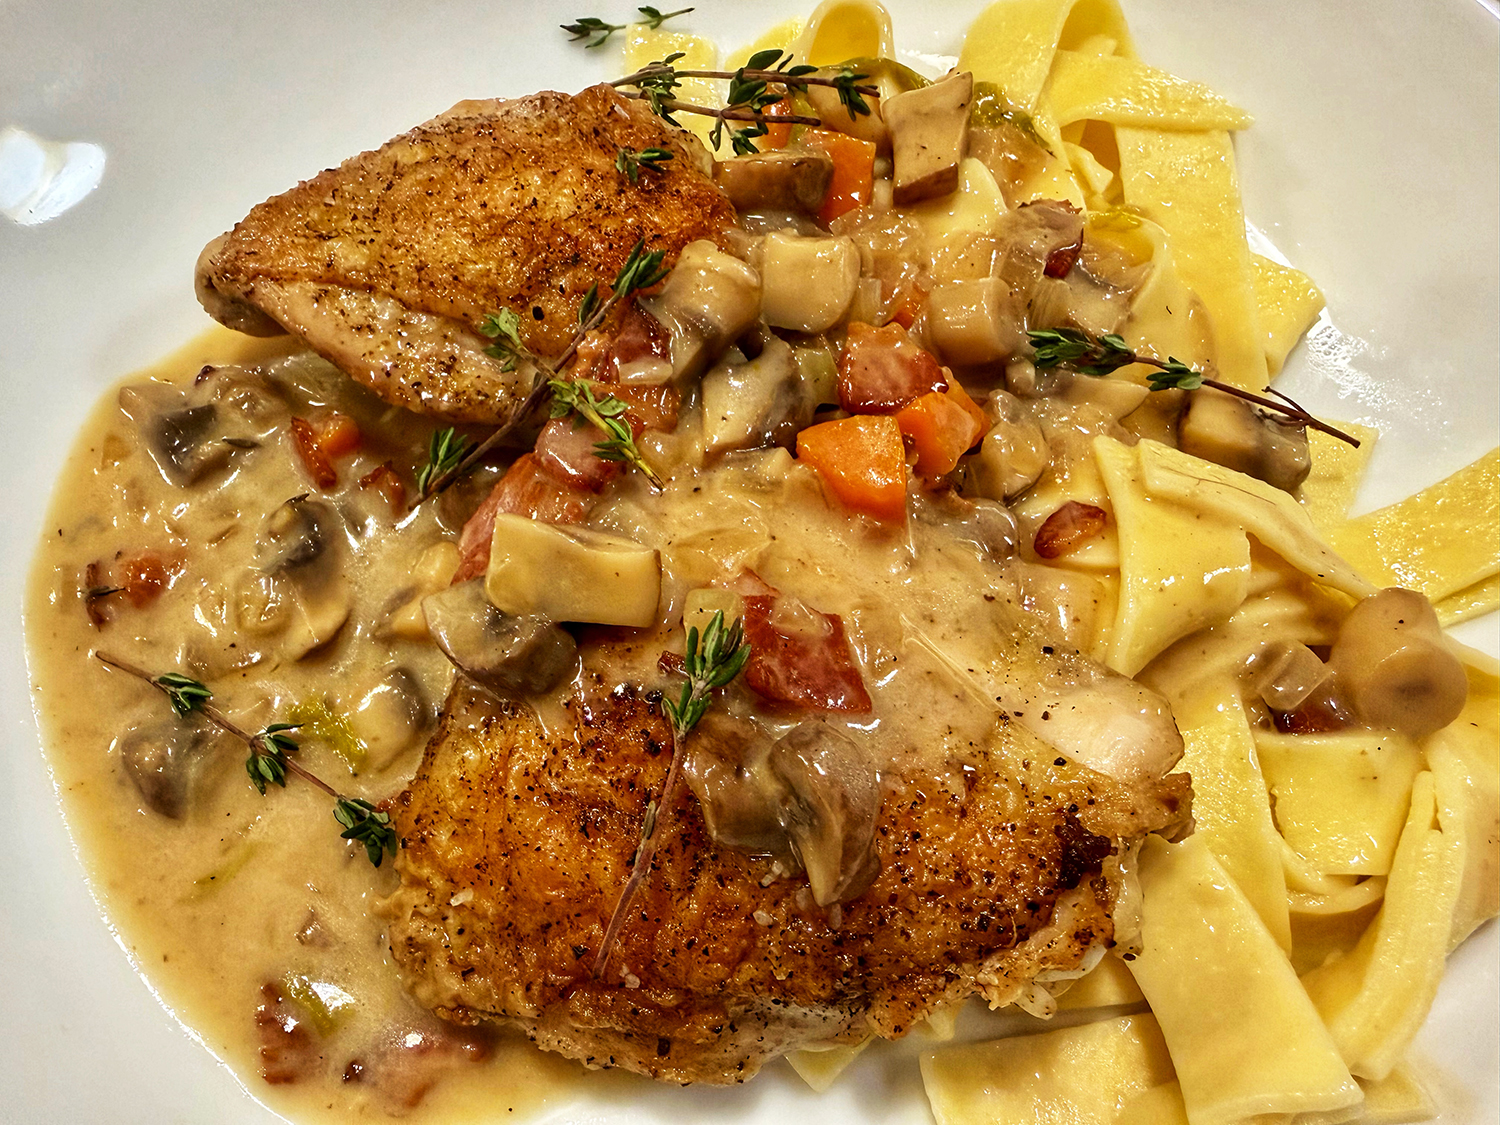
Penne Strascicate
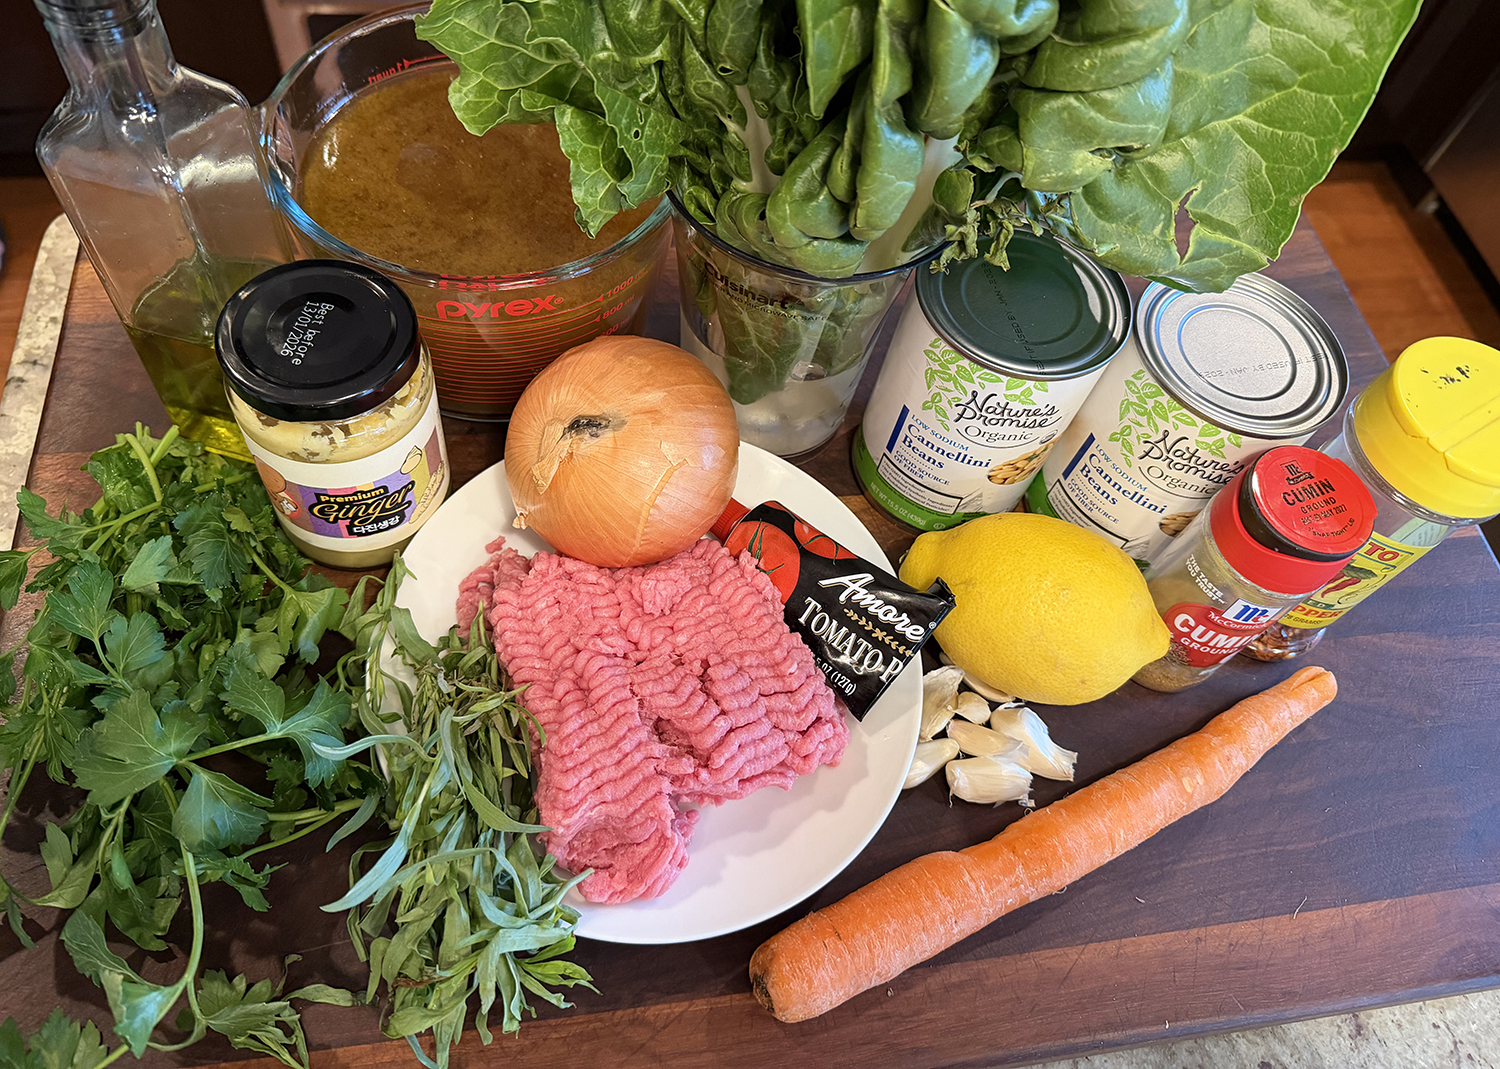
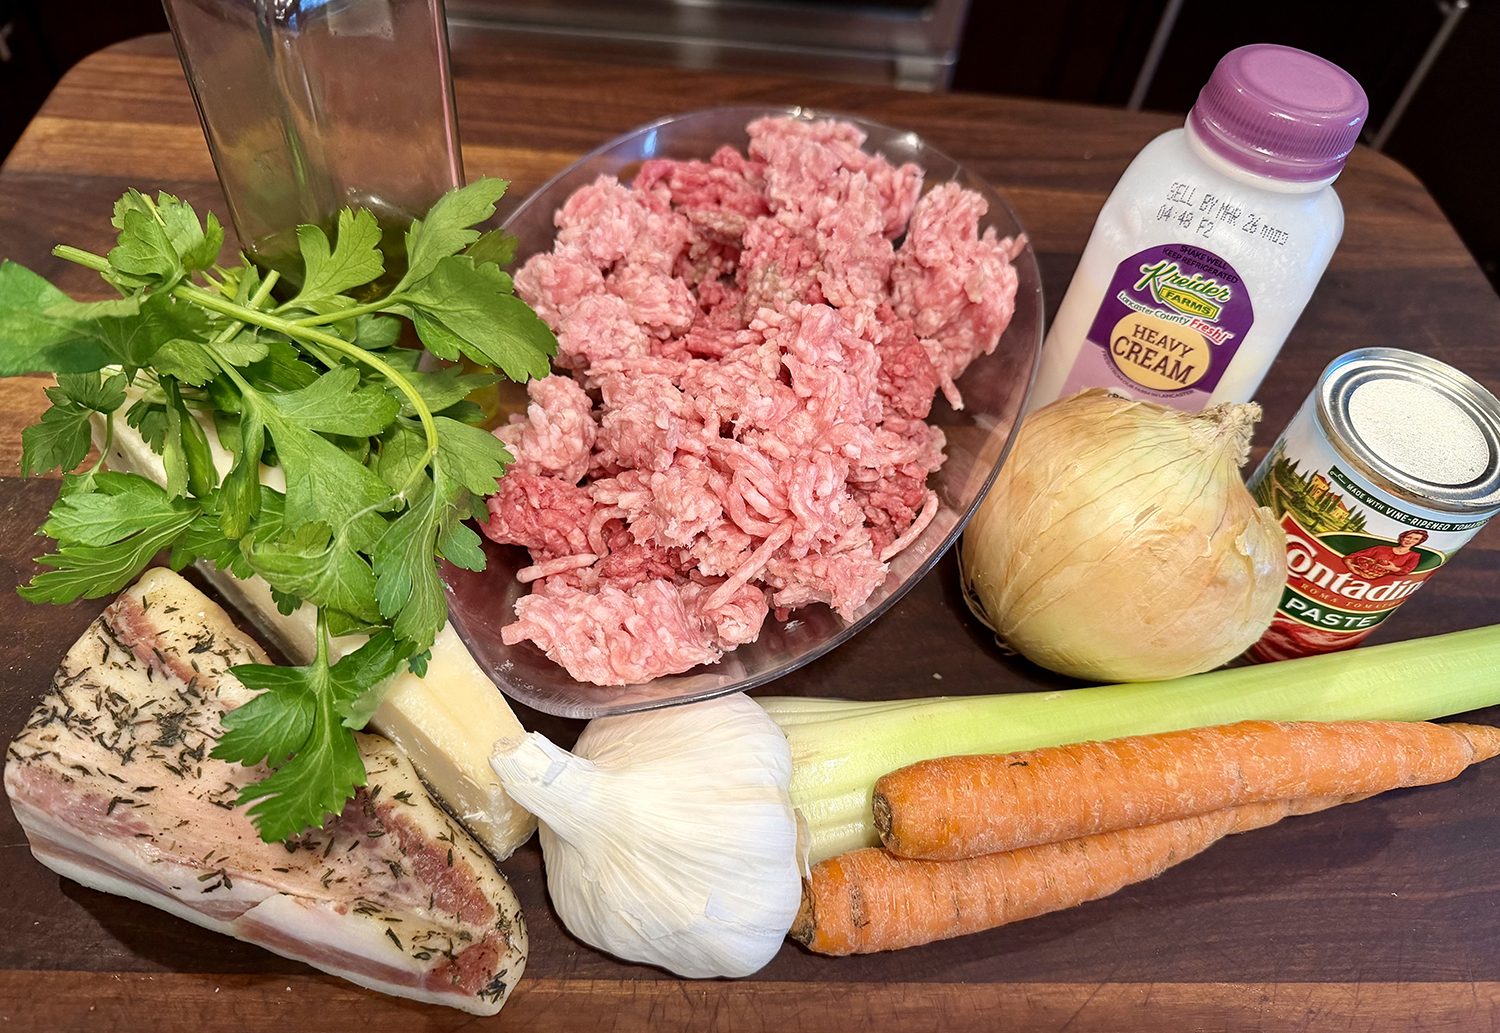
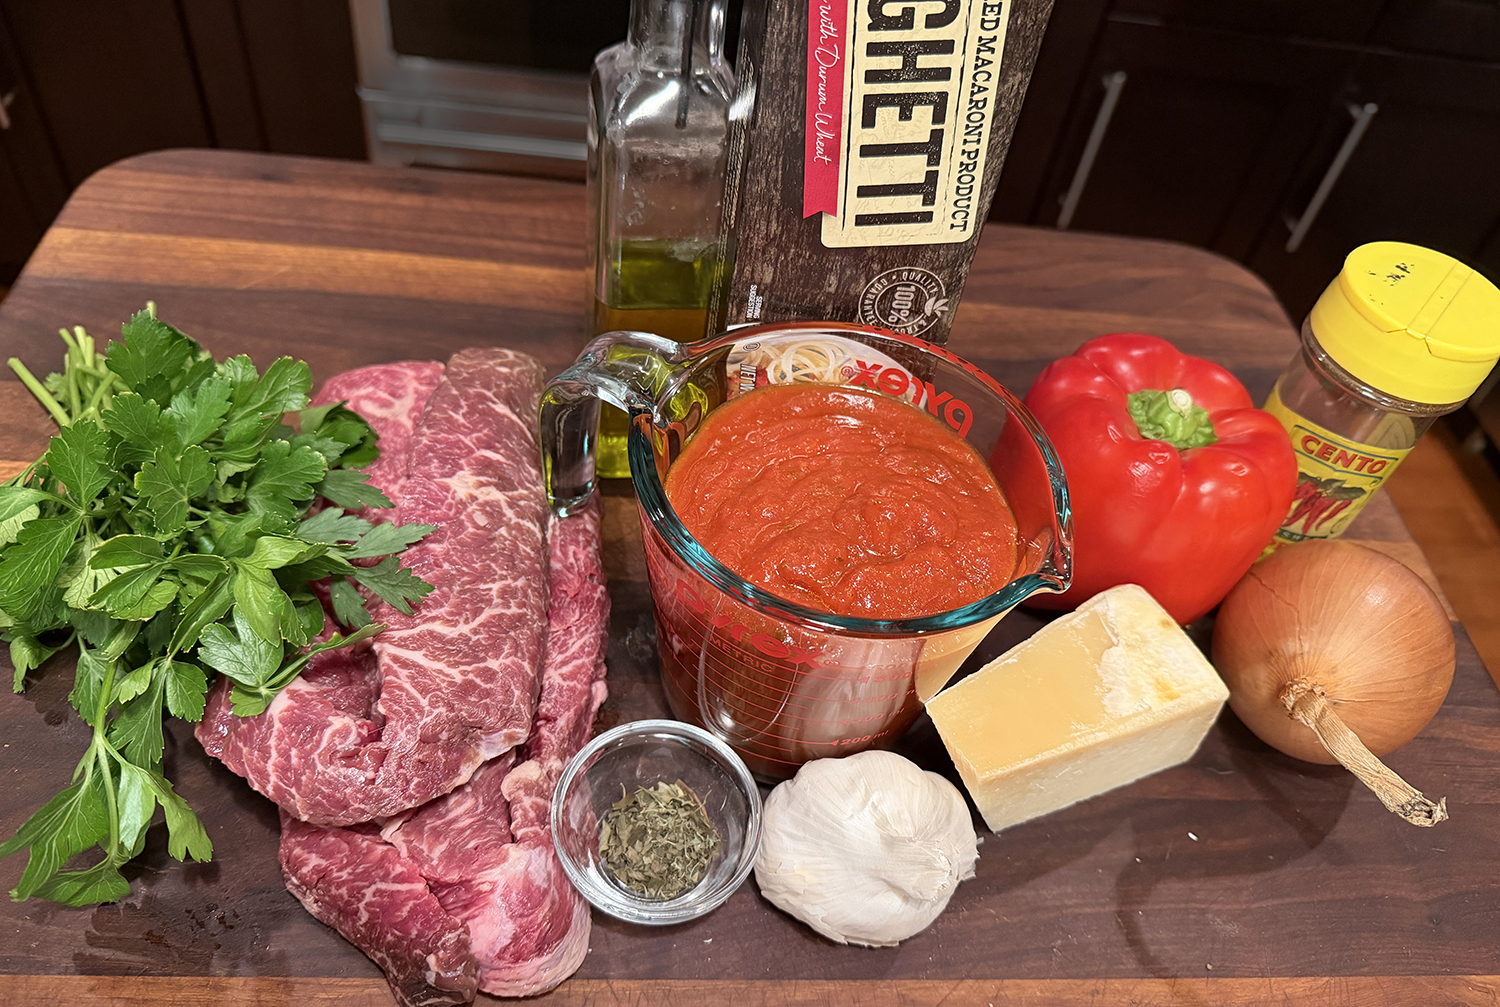
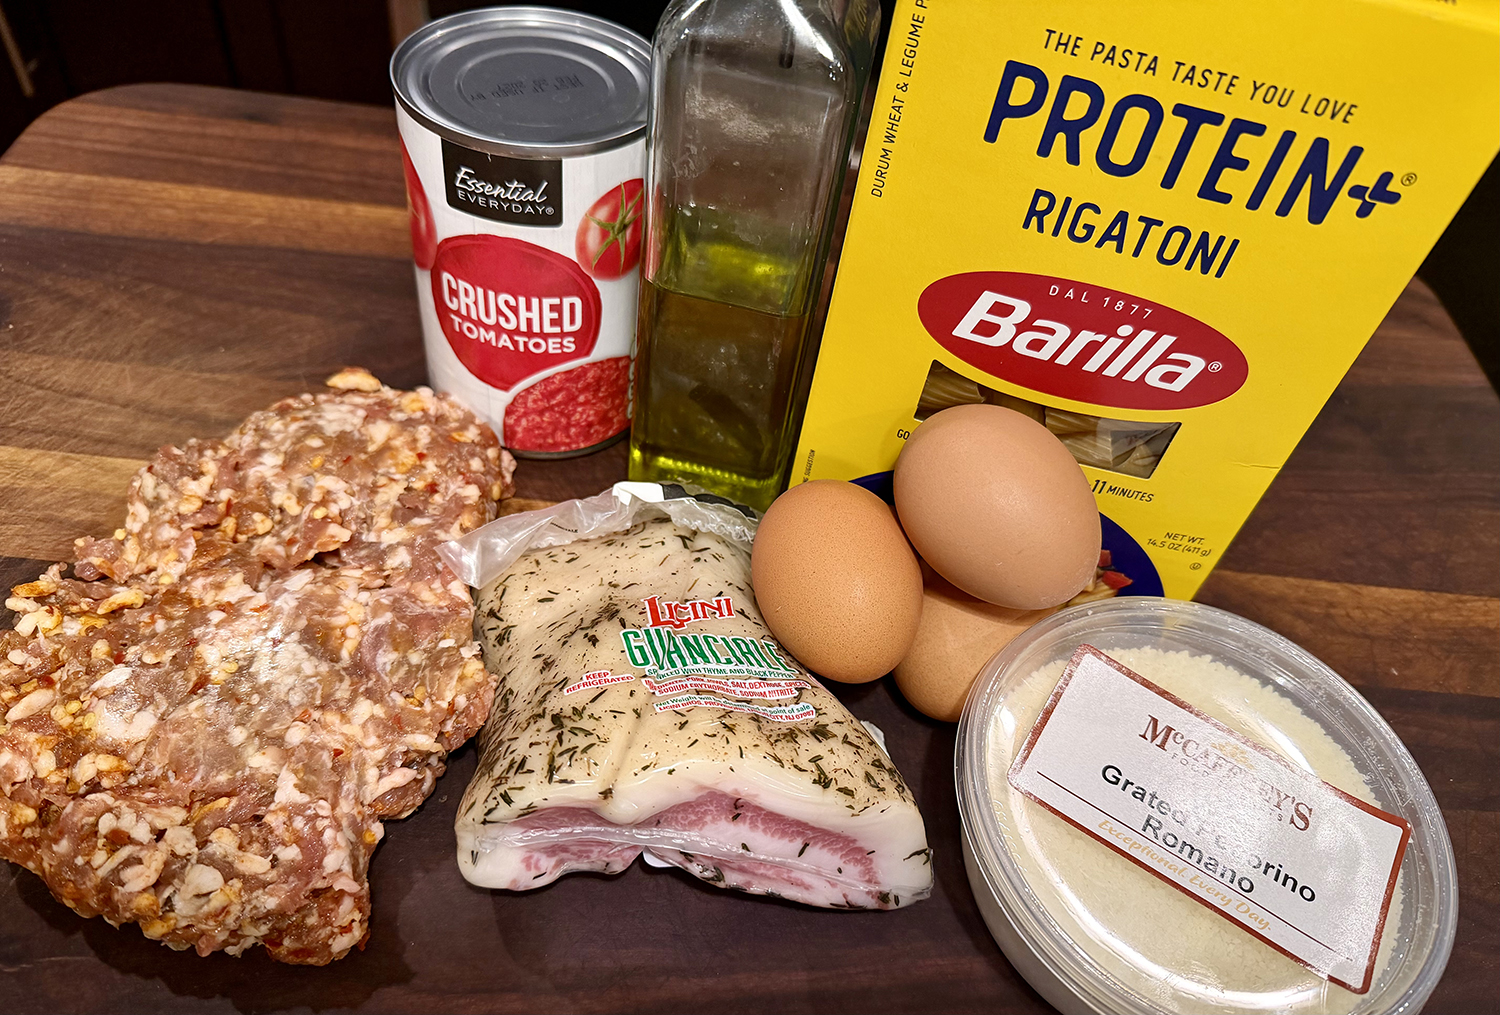
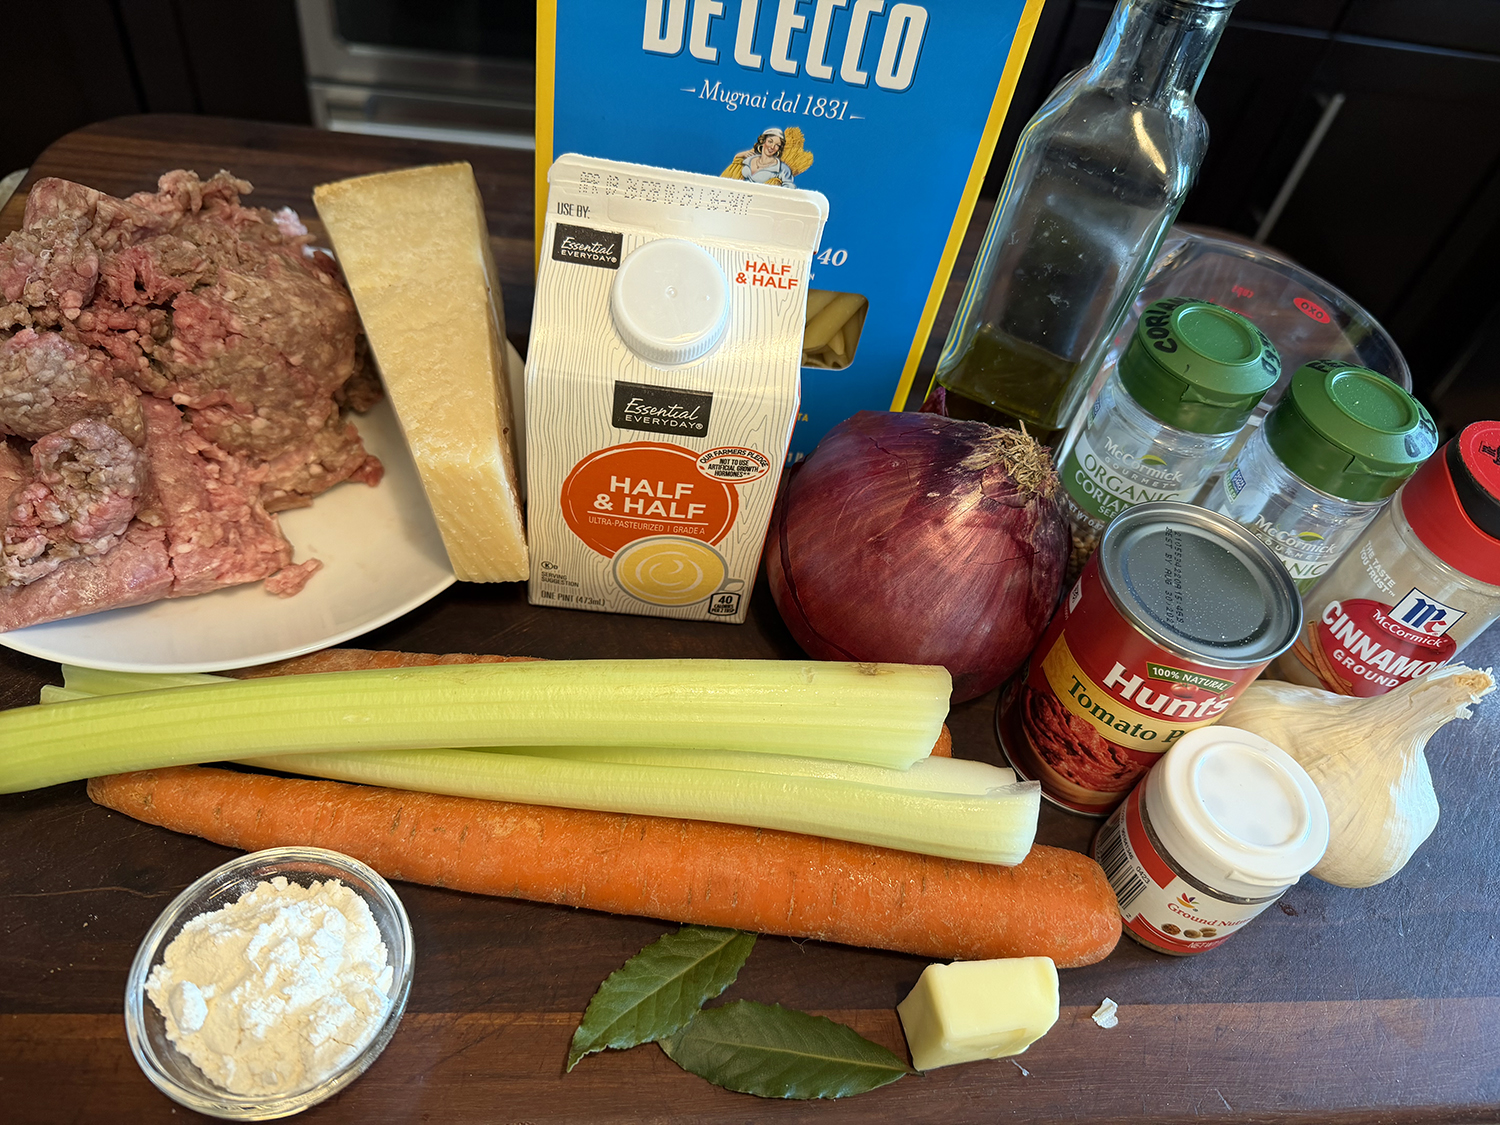
Ingredients
For the ragù:
- 1/4 cup extra-virgin olive oil
- 2 medium carrots, peeled and finely chopped
- 2 medium celery stalks, finely chopped
- 1 medium red onion, finely chopped
- Kosher salt and ground black pepper
- 8 oz. 80 percent lean ground beef
- 8 oz. ground pork
- 1 tsp. coriander seeds, crushed
- 1 tsp. fennel seeds, crushed
- 1/4 tsp. ground cinnamon
- 1/4 tsp. freshly grated nutmeg
- 6 oz. can tomato paste (⅔ cup)
- 4 medium garlic cloves, finely chopped
- 1/2 cup dry white wine
- 2 bay leaves
For the besciamella:
- 1 Tbsp. salted butter
- 1½ Tbsp. all-purpose flour
- 1 cup half-and-half
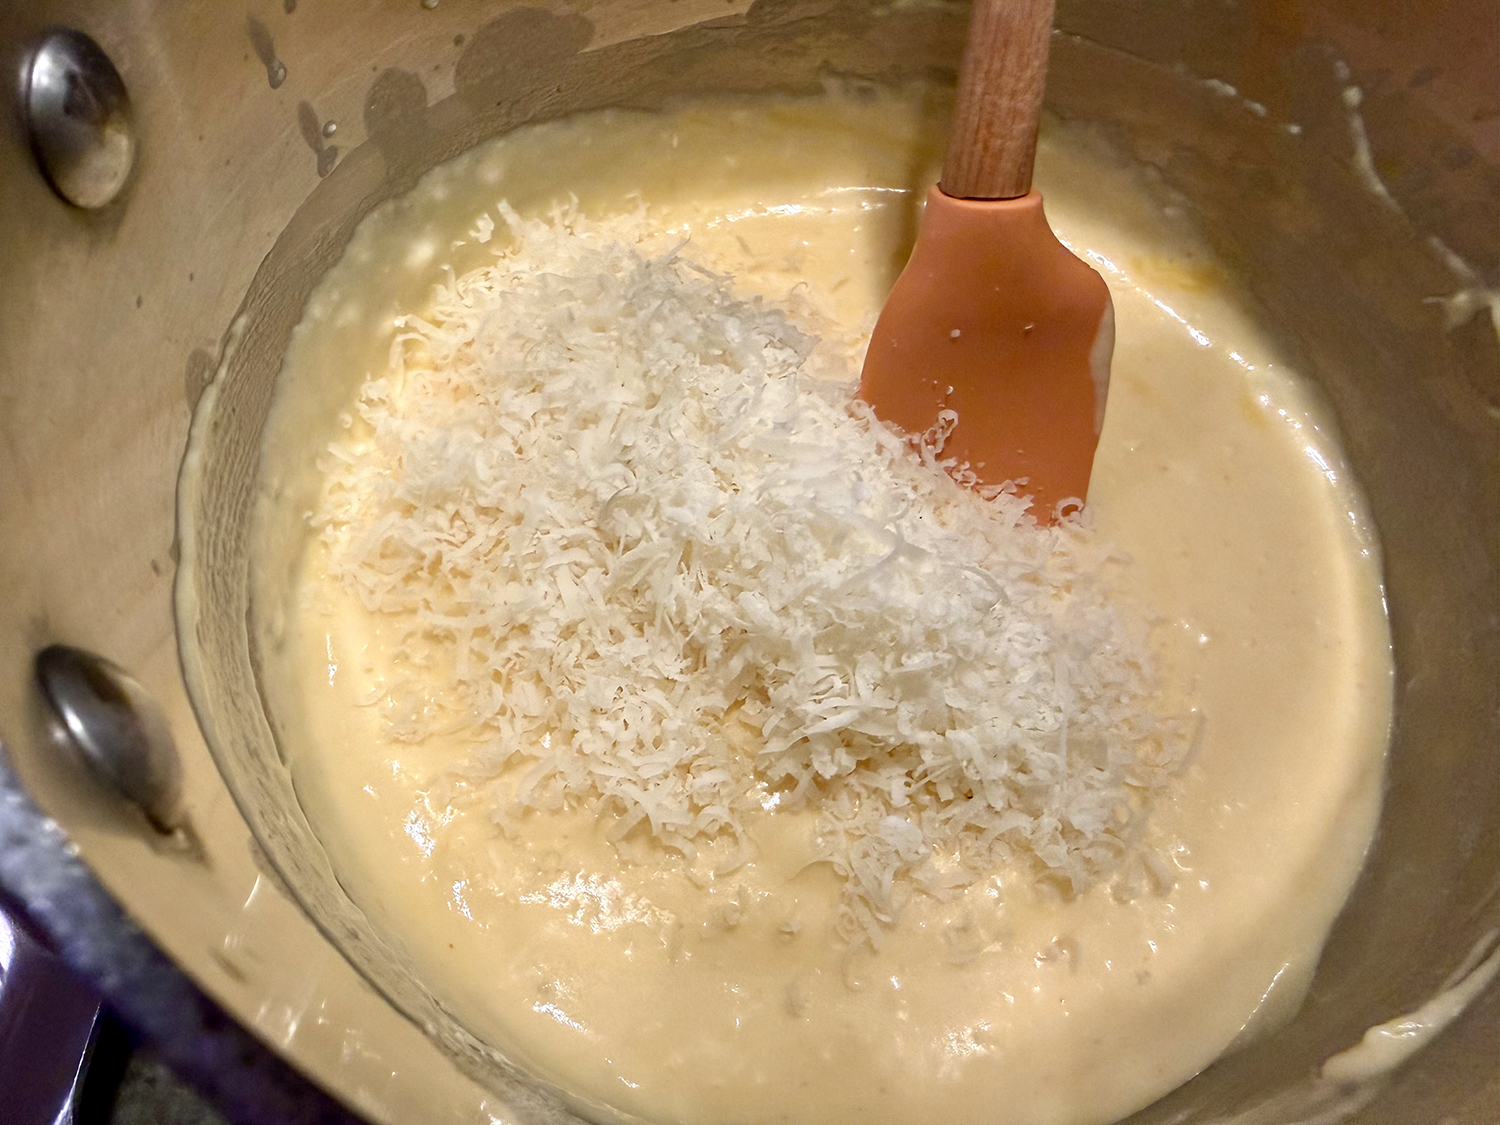
- 1 oz. Parmesan cheese, finely grated (½ cup)
For the pasta and serving:
- 1 lb. penne pasta
- Kosher salt
- Finely grated Parmesan cheese, to serve
Directions
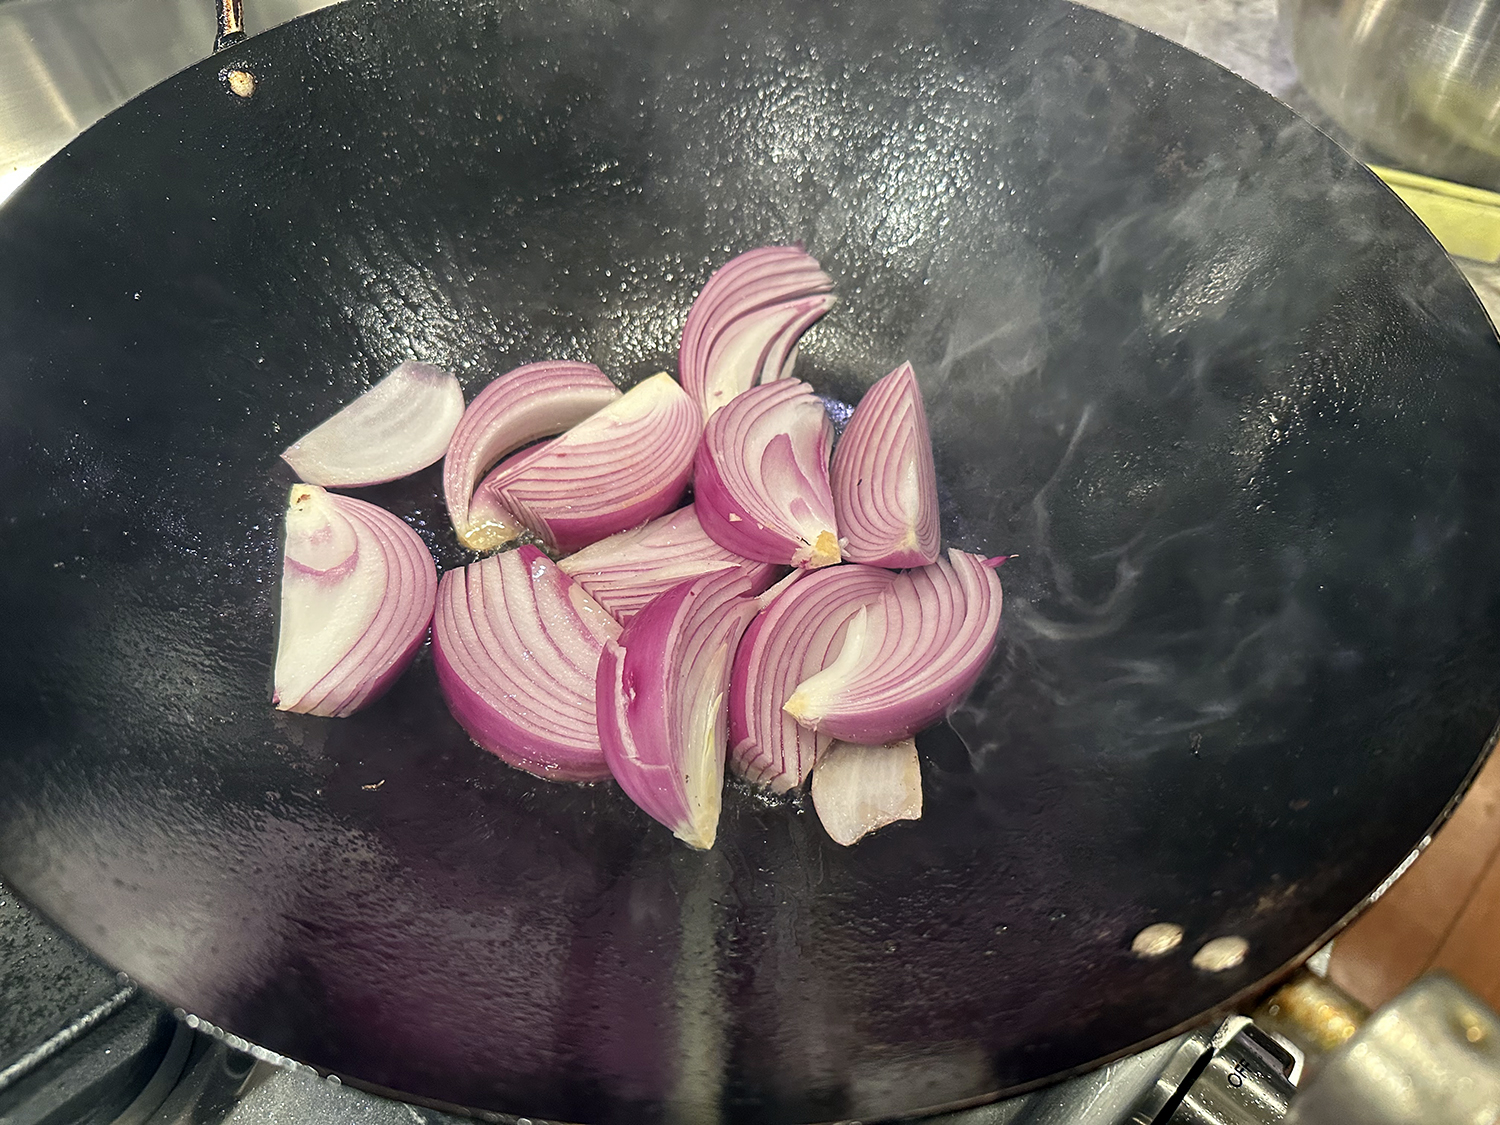
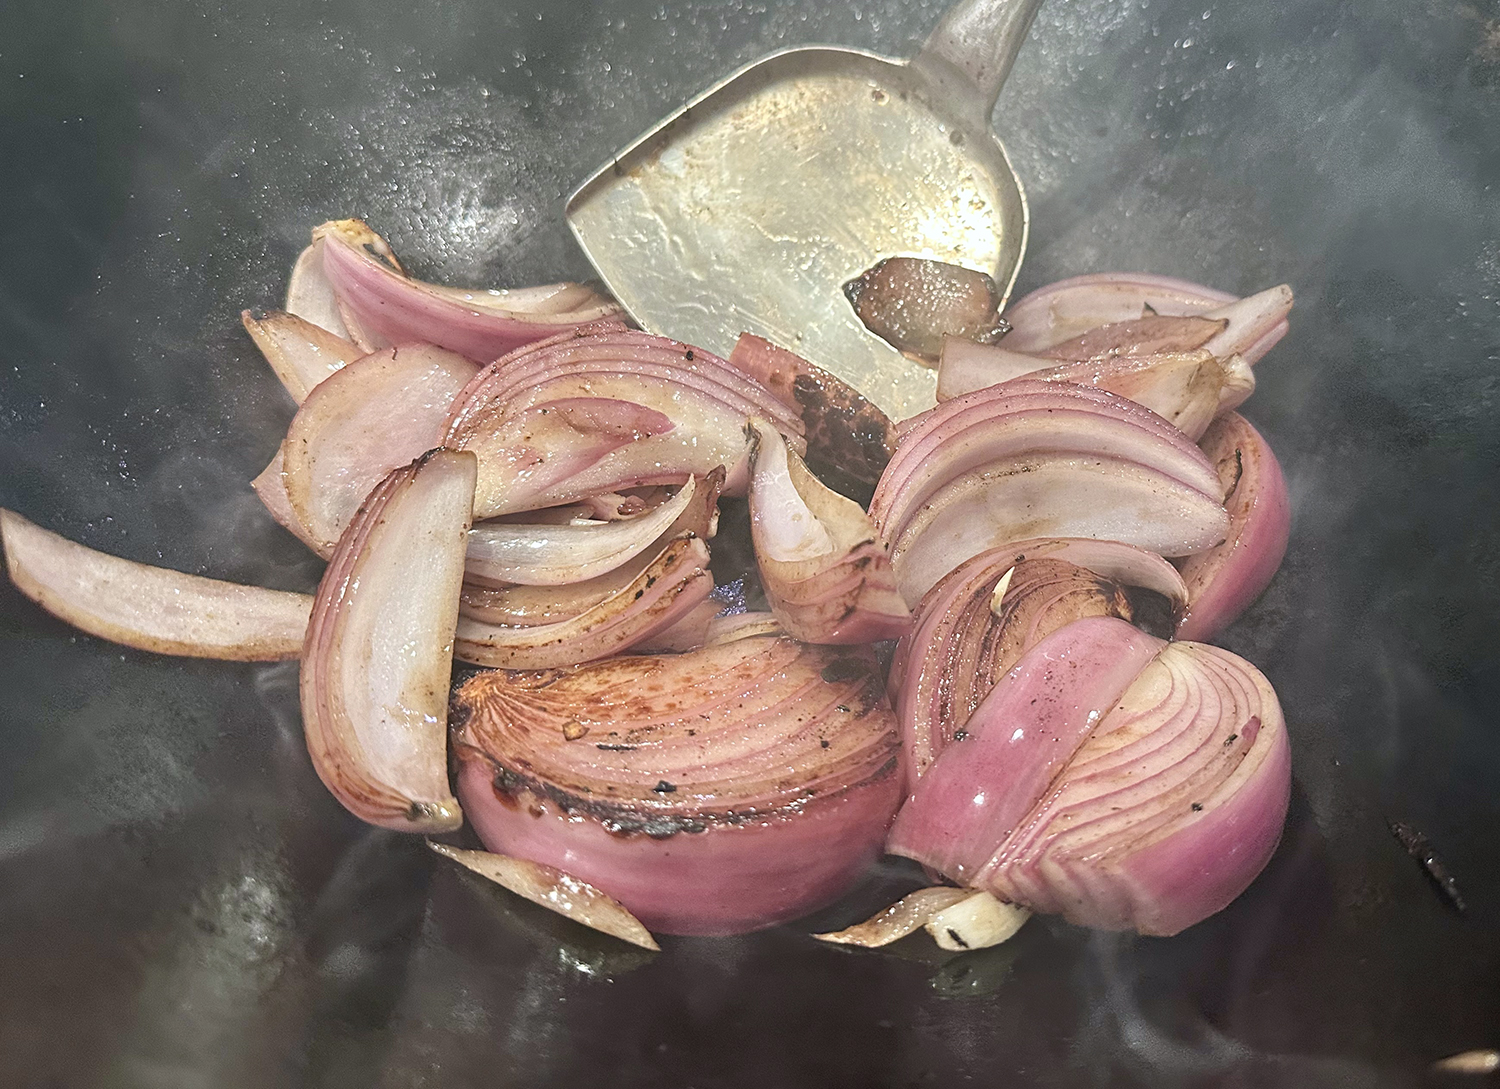
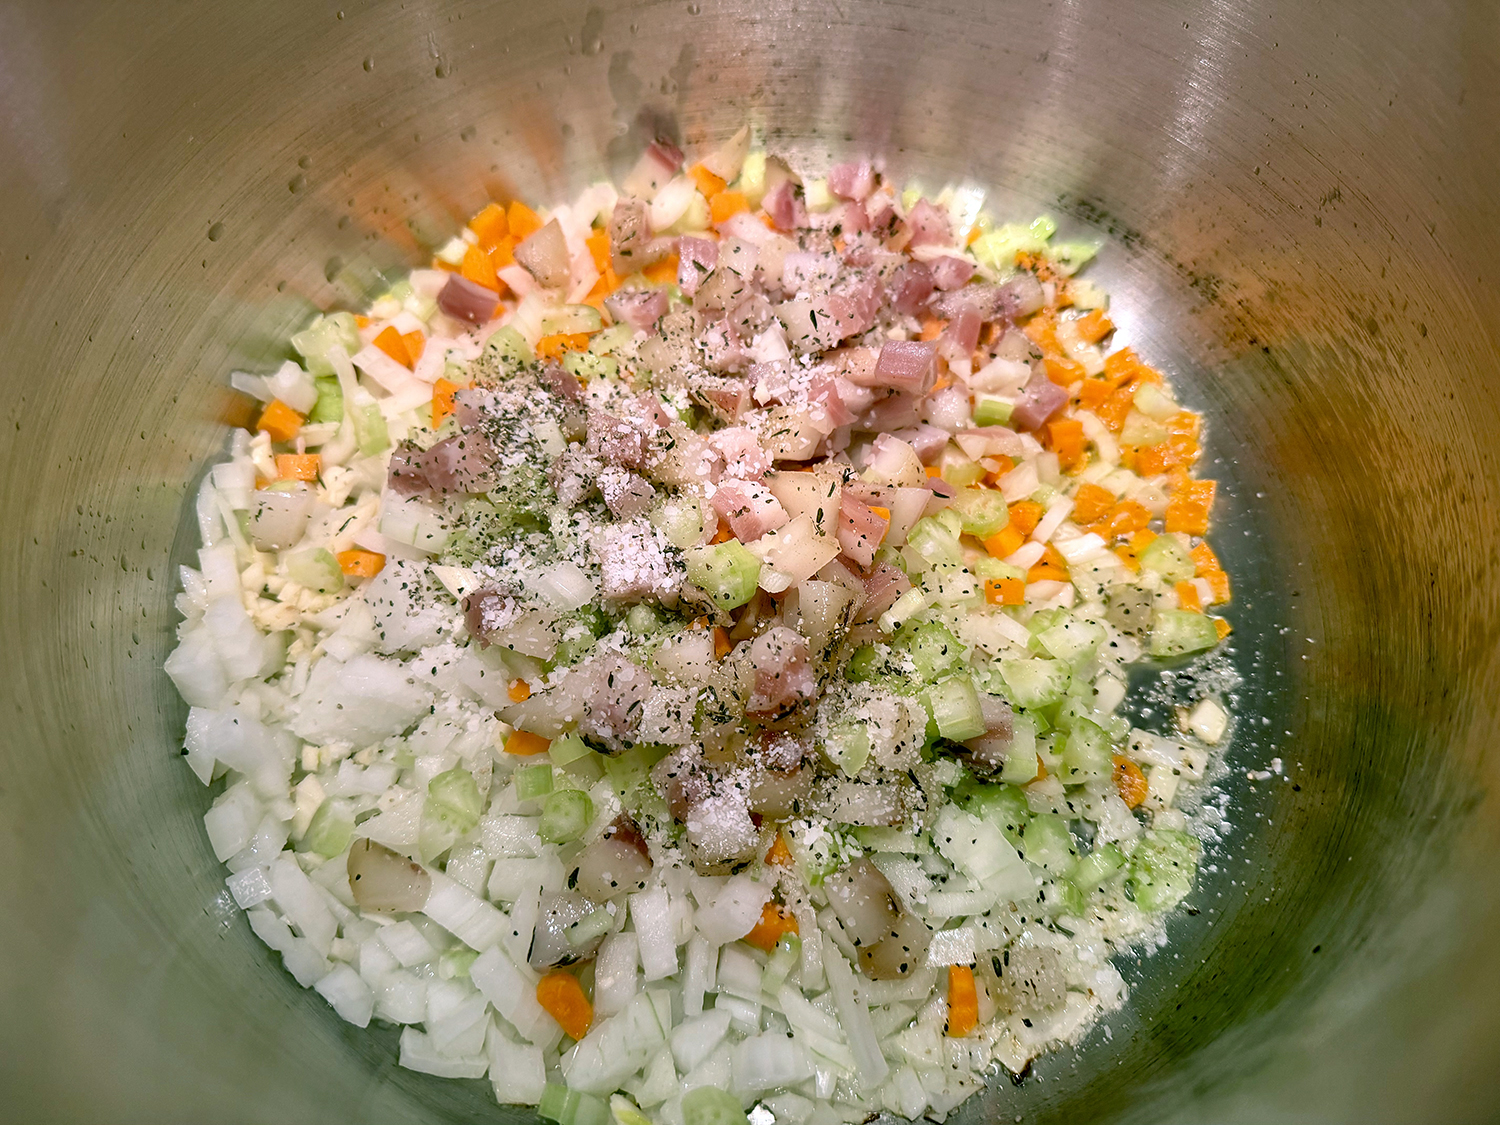
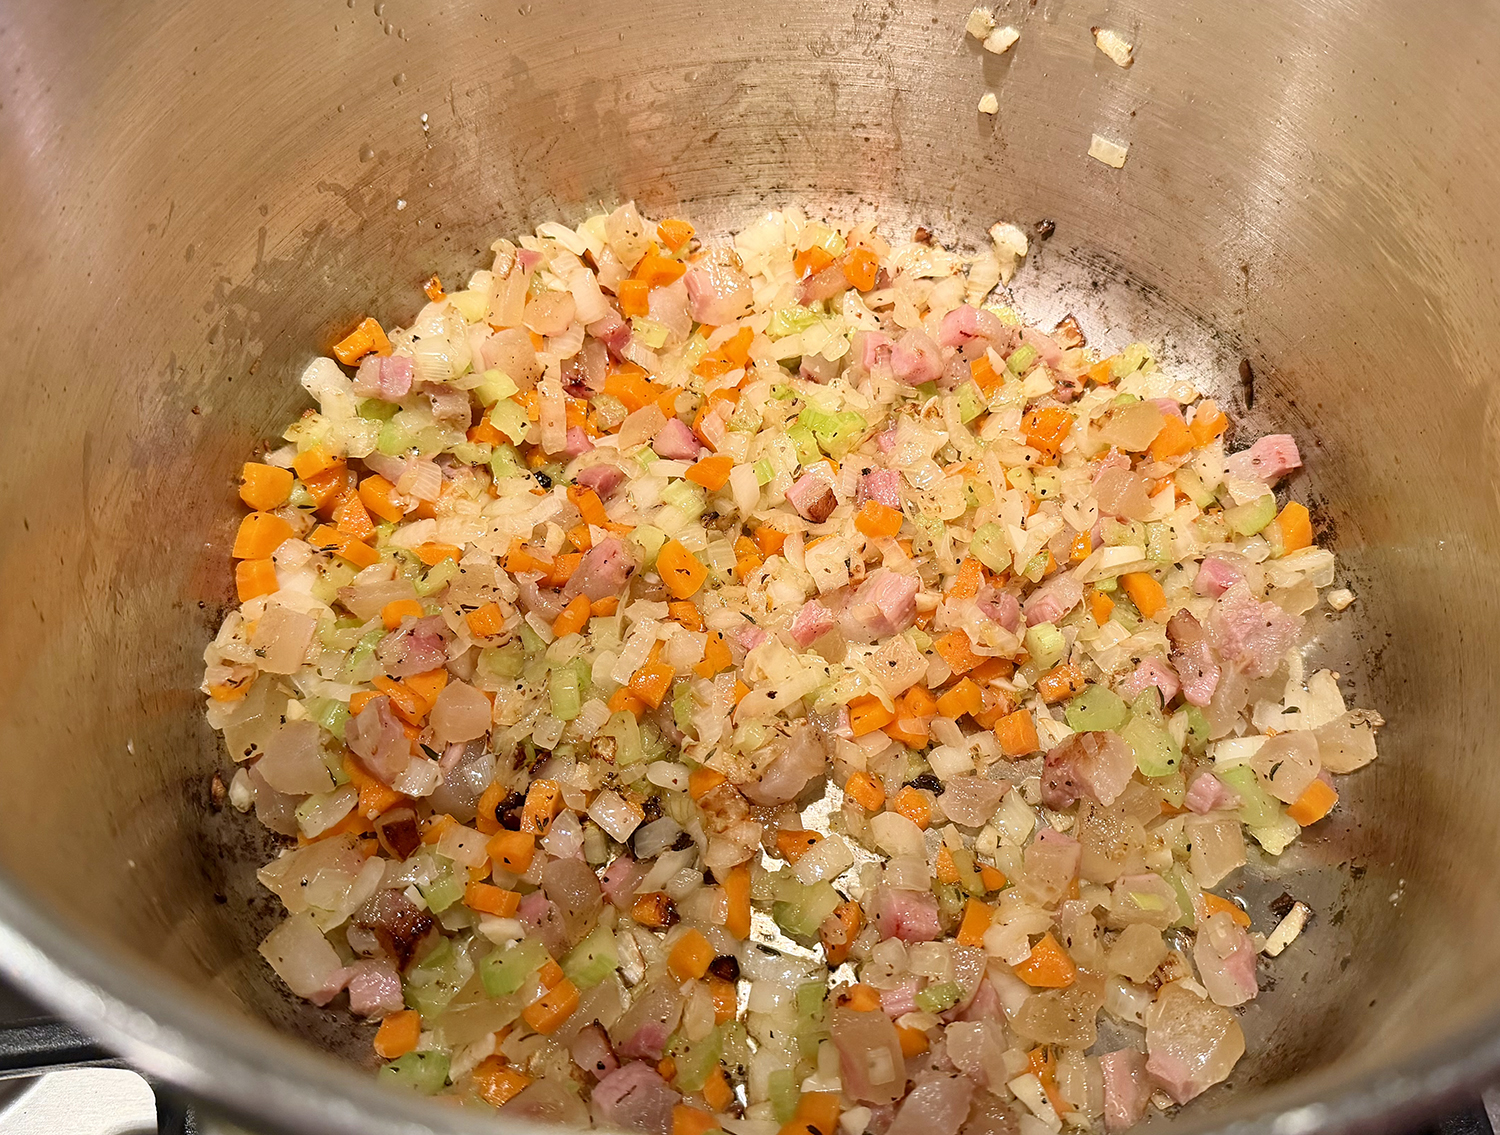
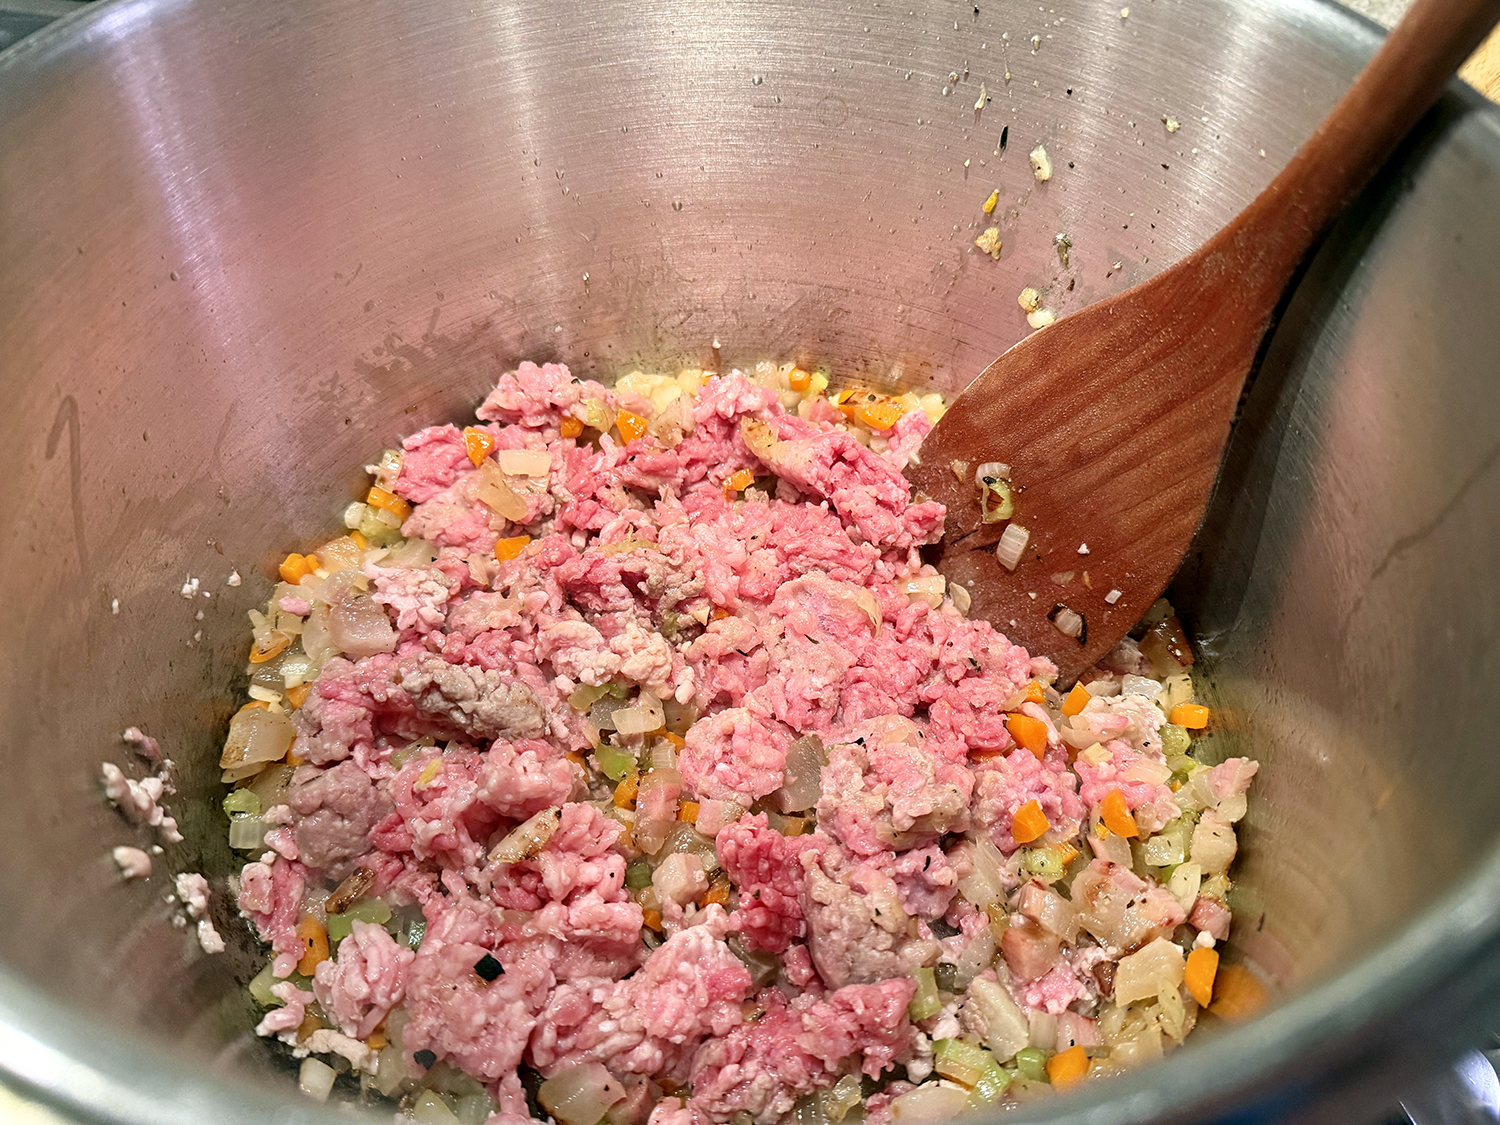
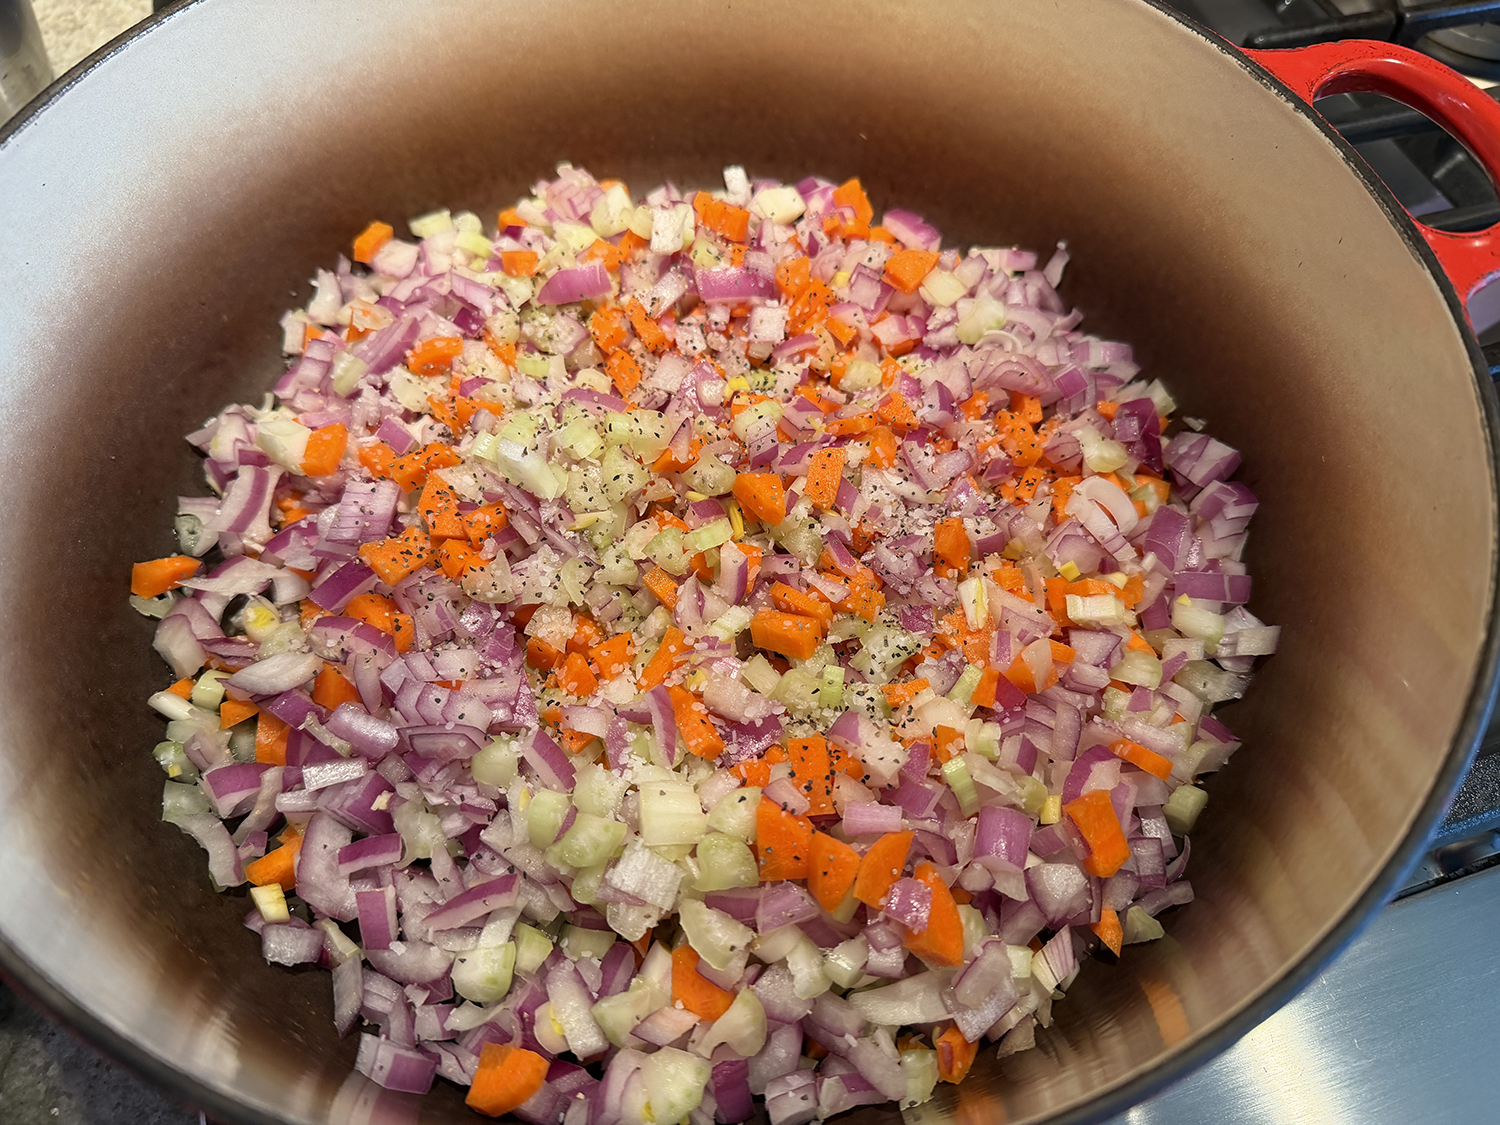
- To make the ragù, in a large Dutch oven over medium-low, combine the oil, the carrots, celery, onion, 1 teaspoon salt and ½ teaspoon pepper. Cook, stirring often, until the vegetables are fully softened but not browned, 25 to 30 minutes.
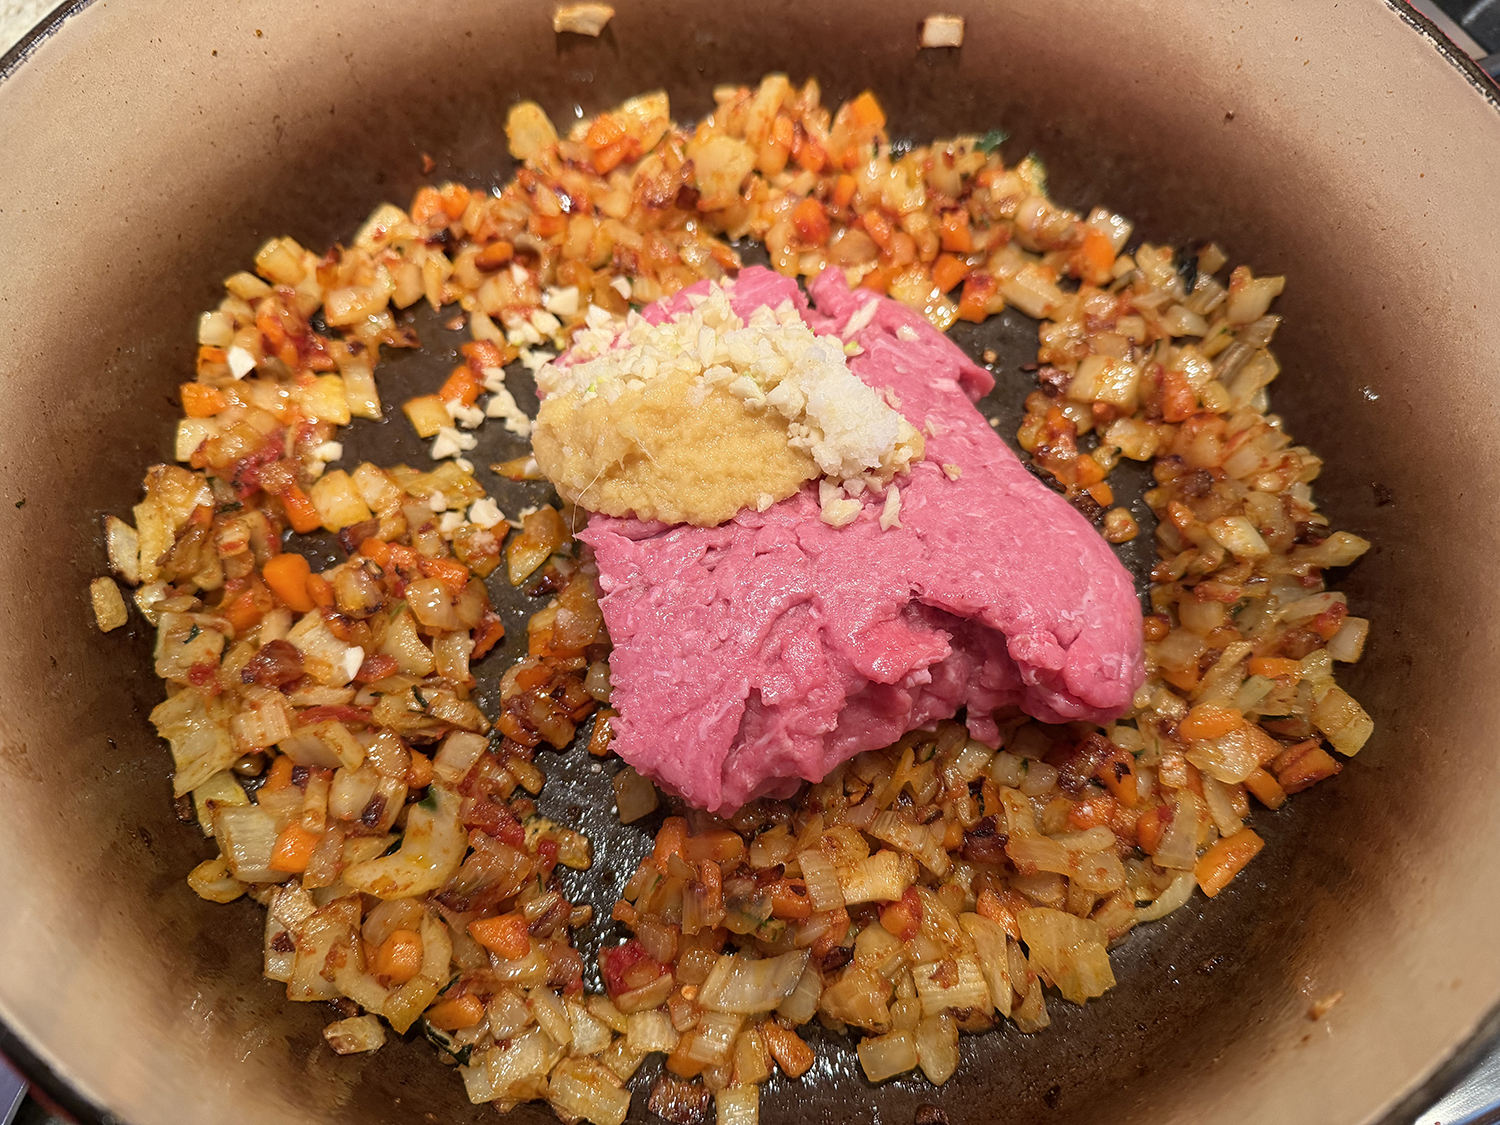
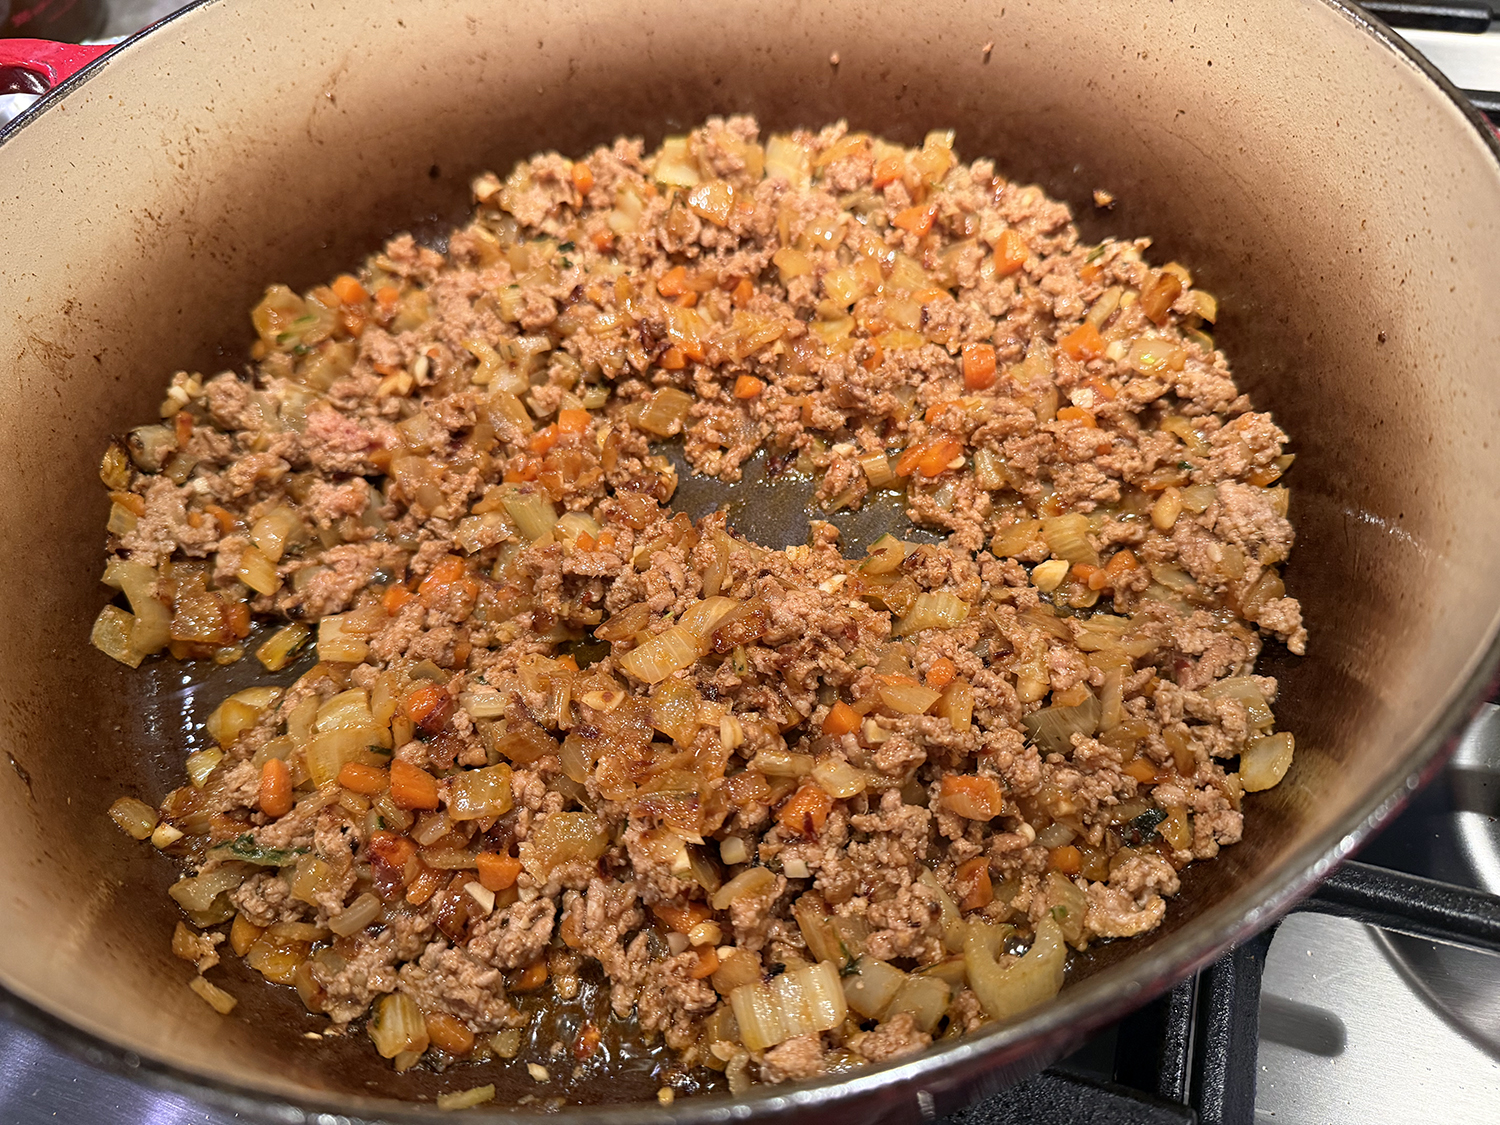
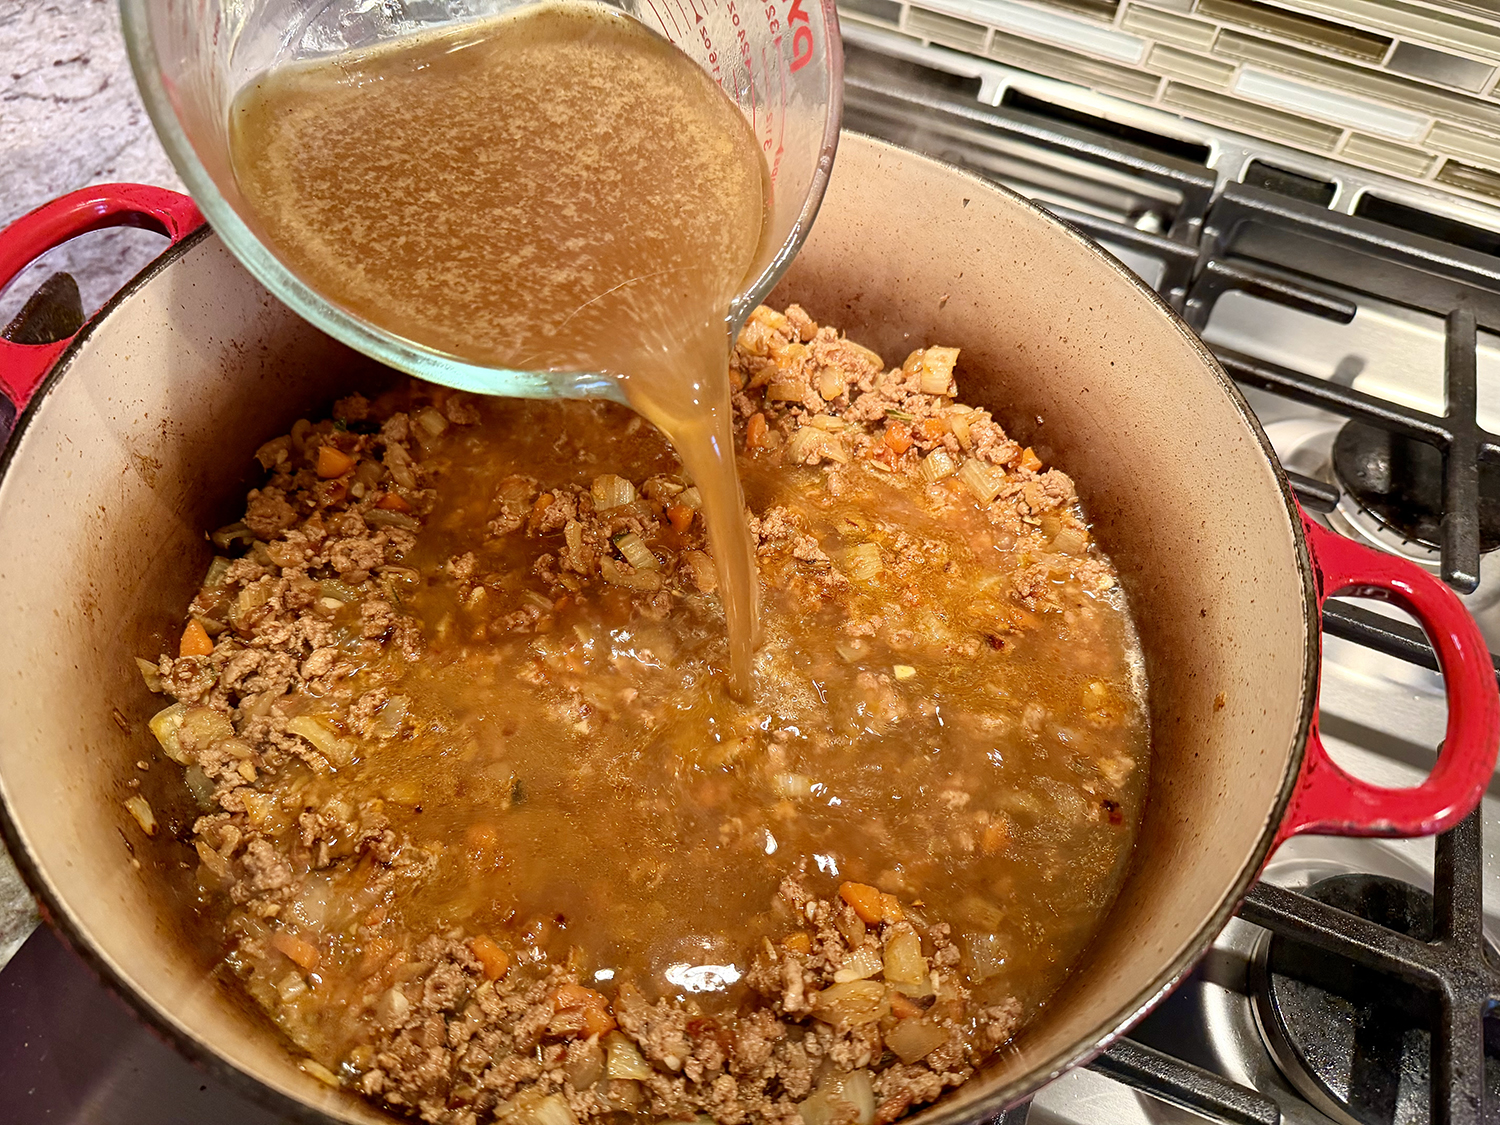
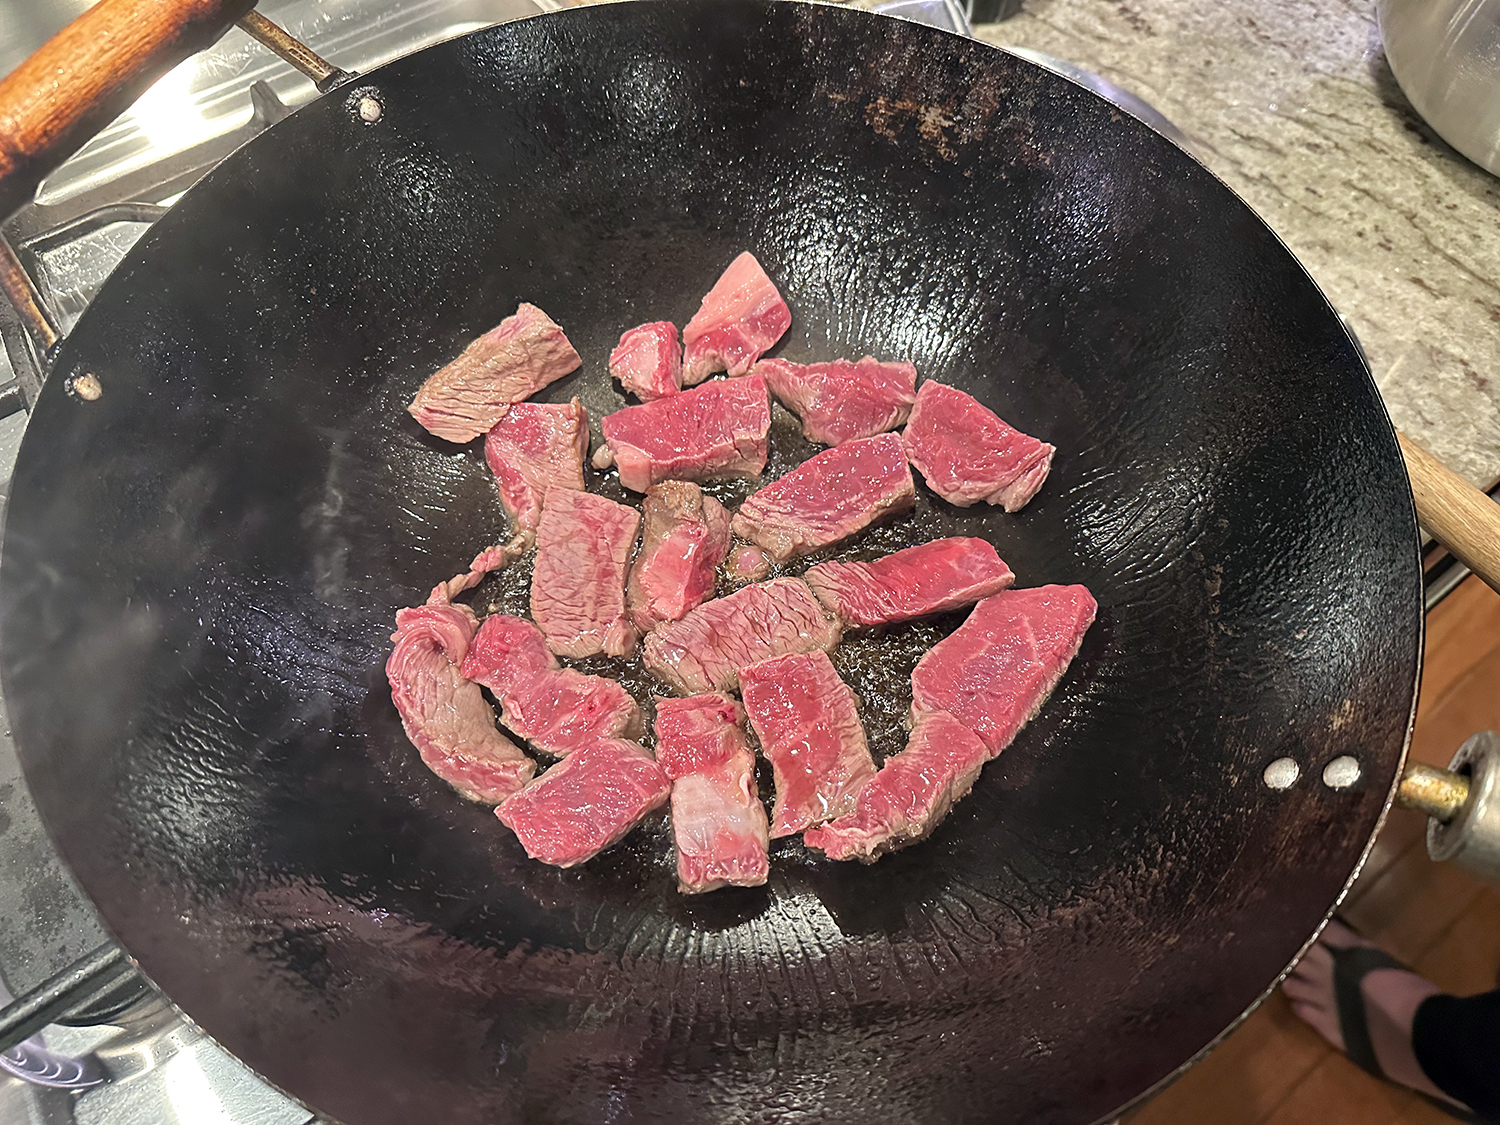
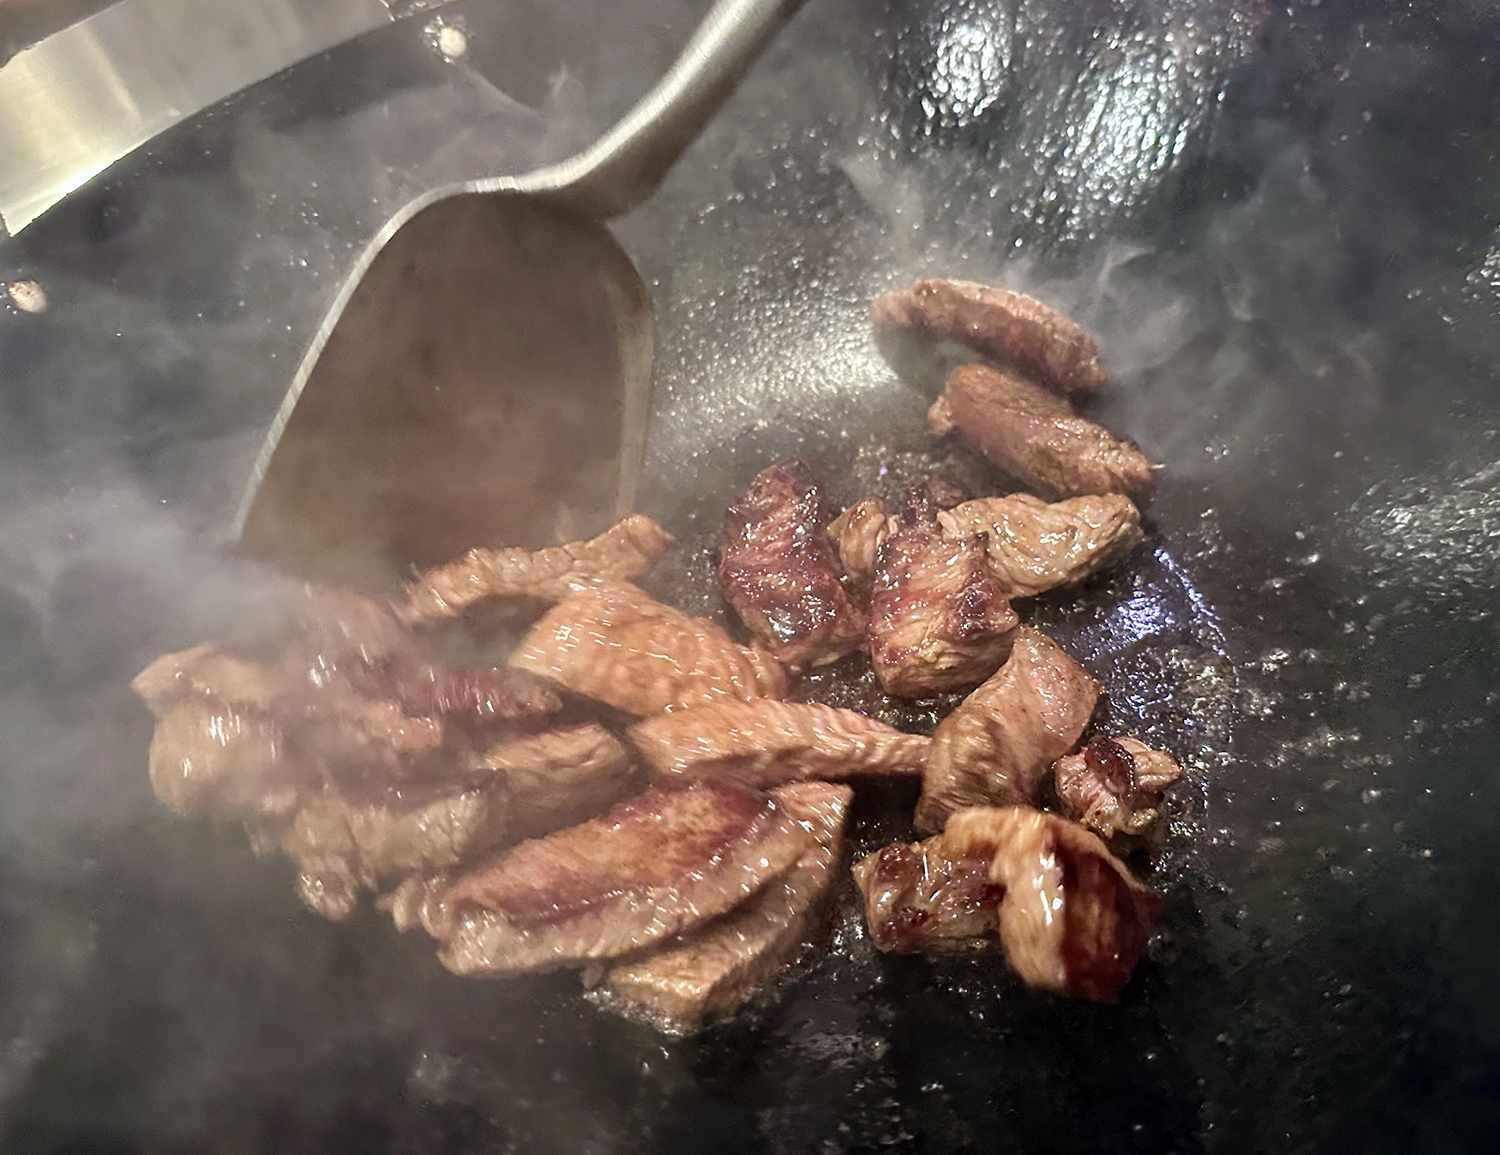
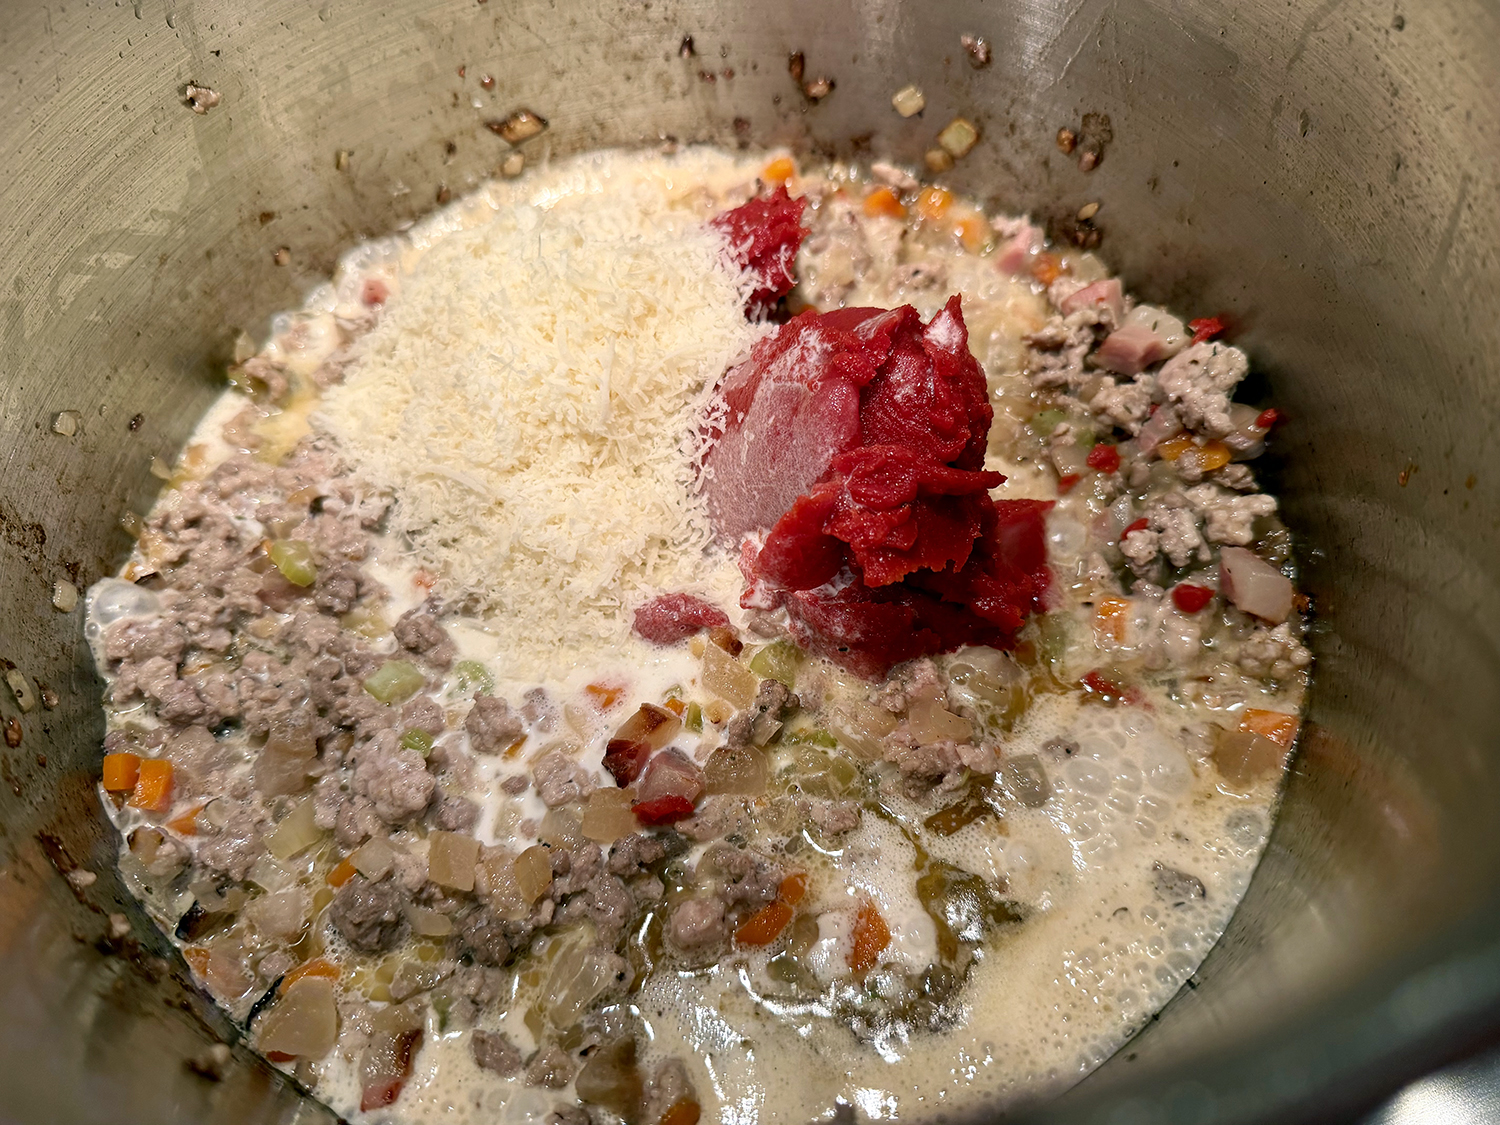
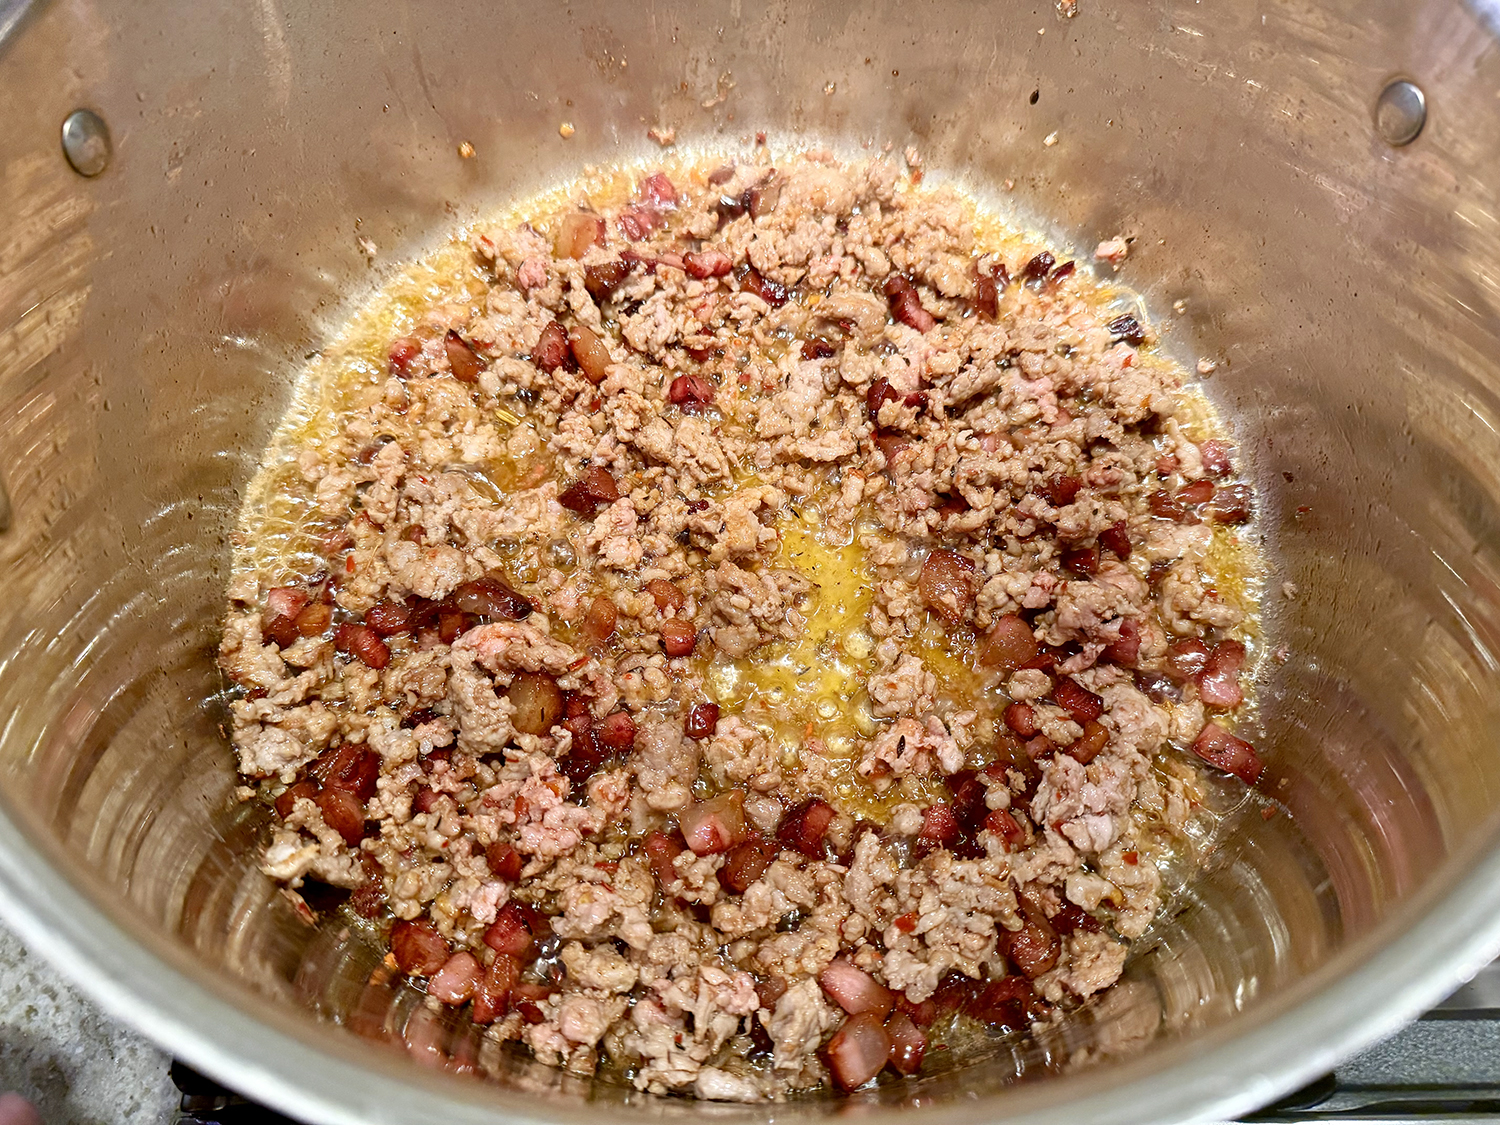
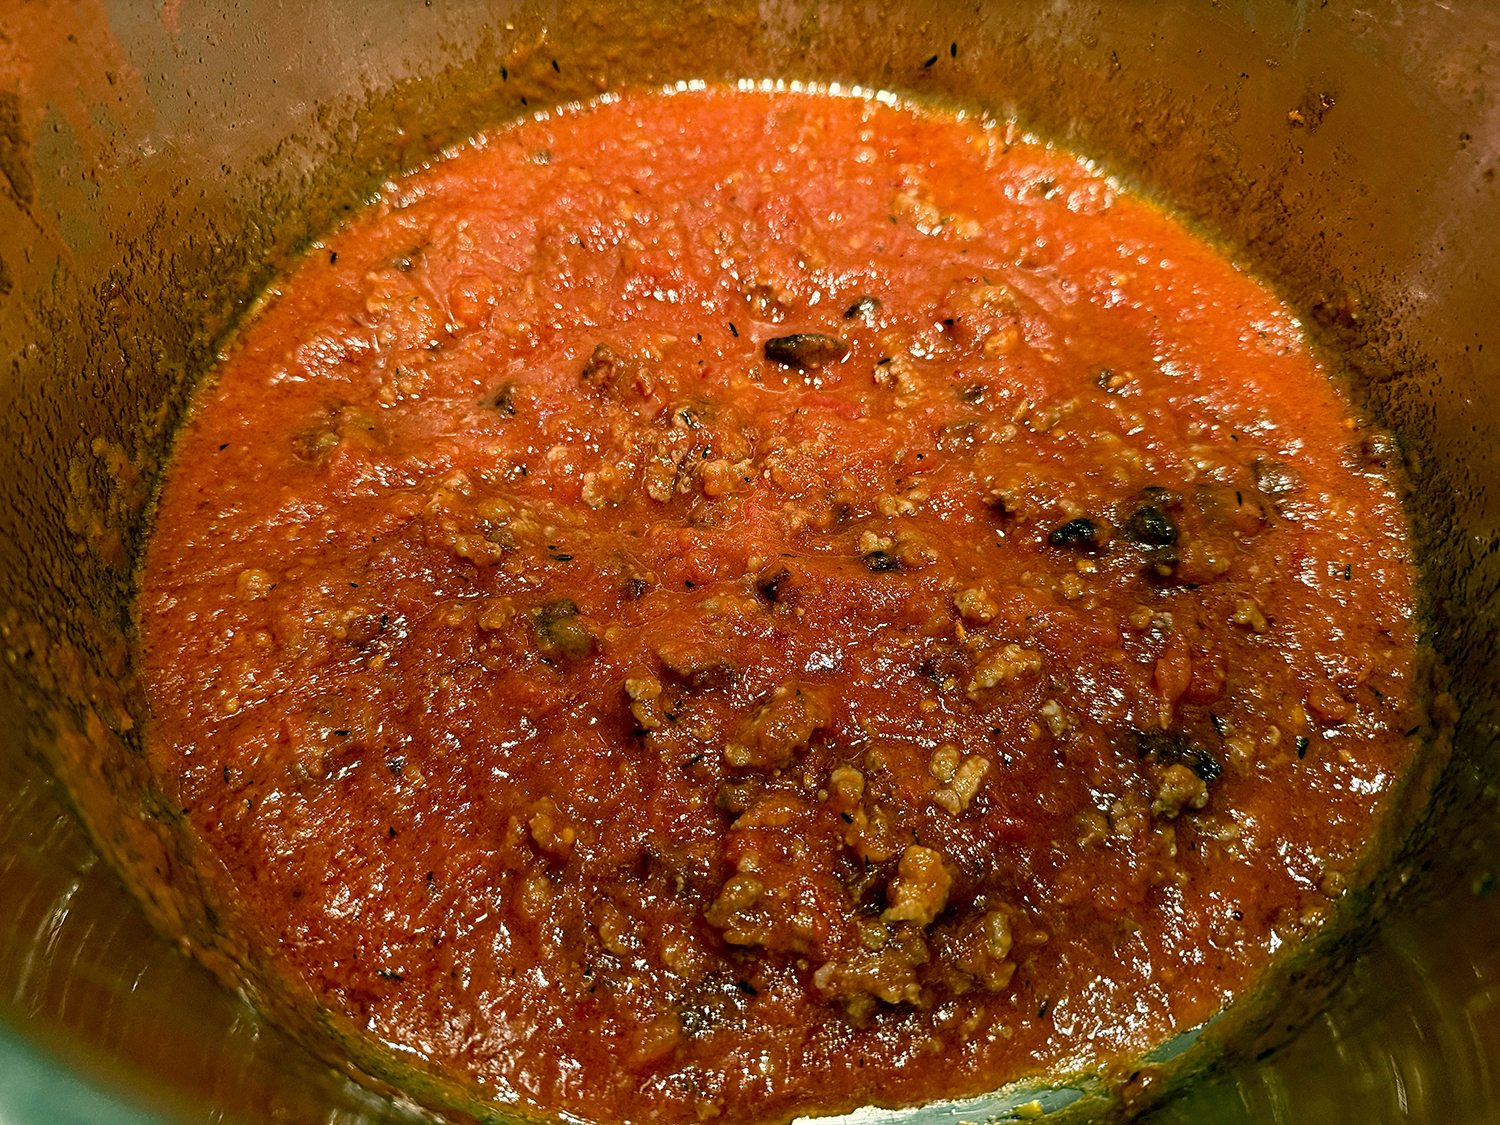
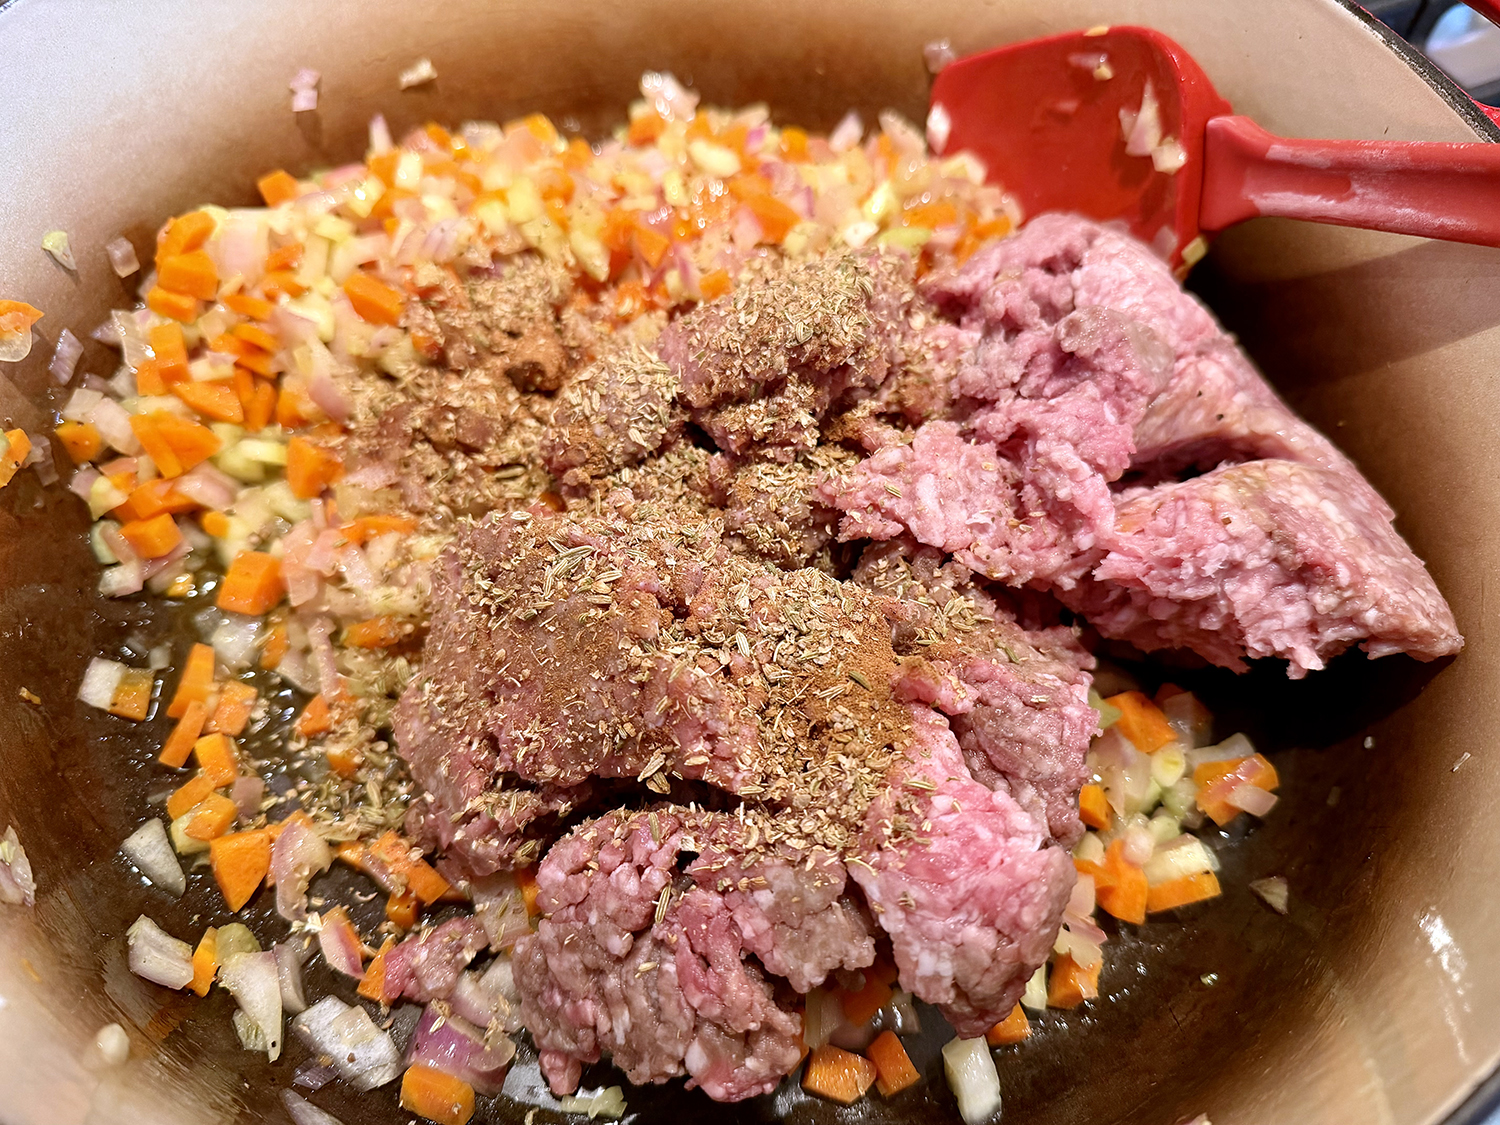
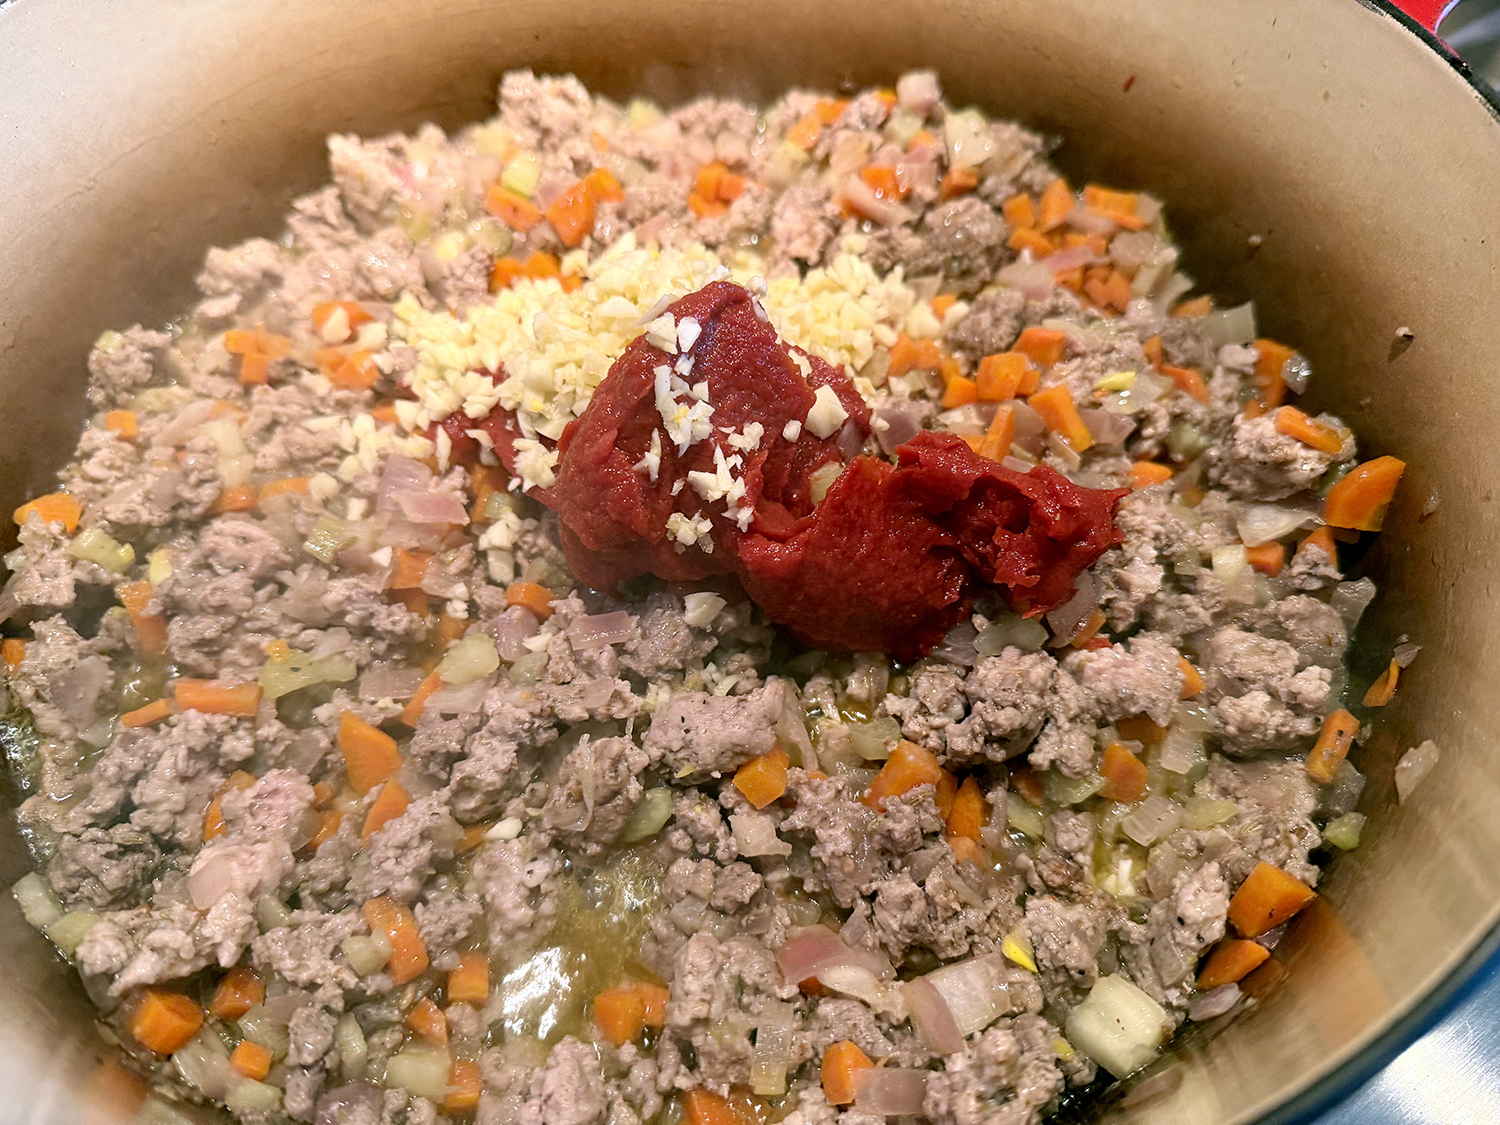
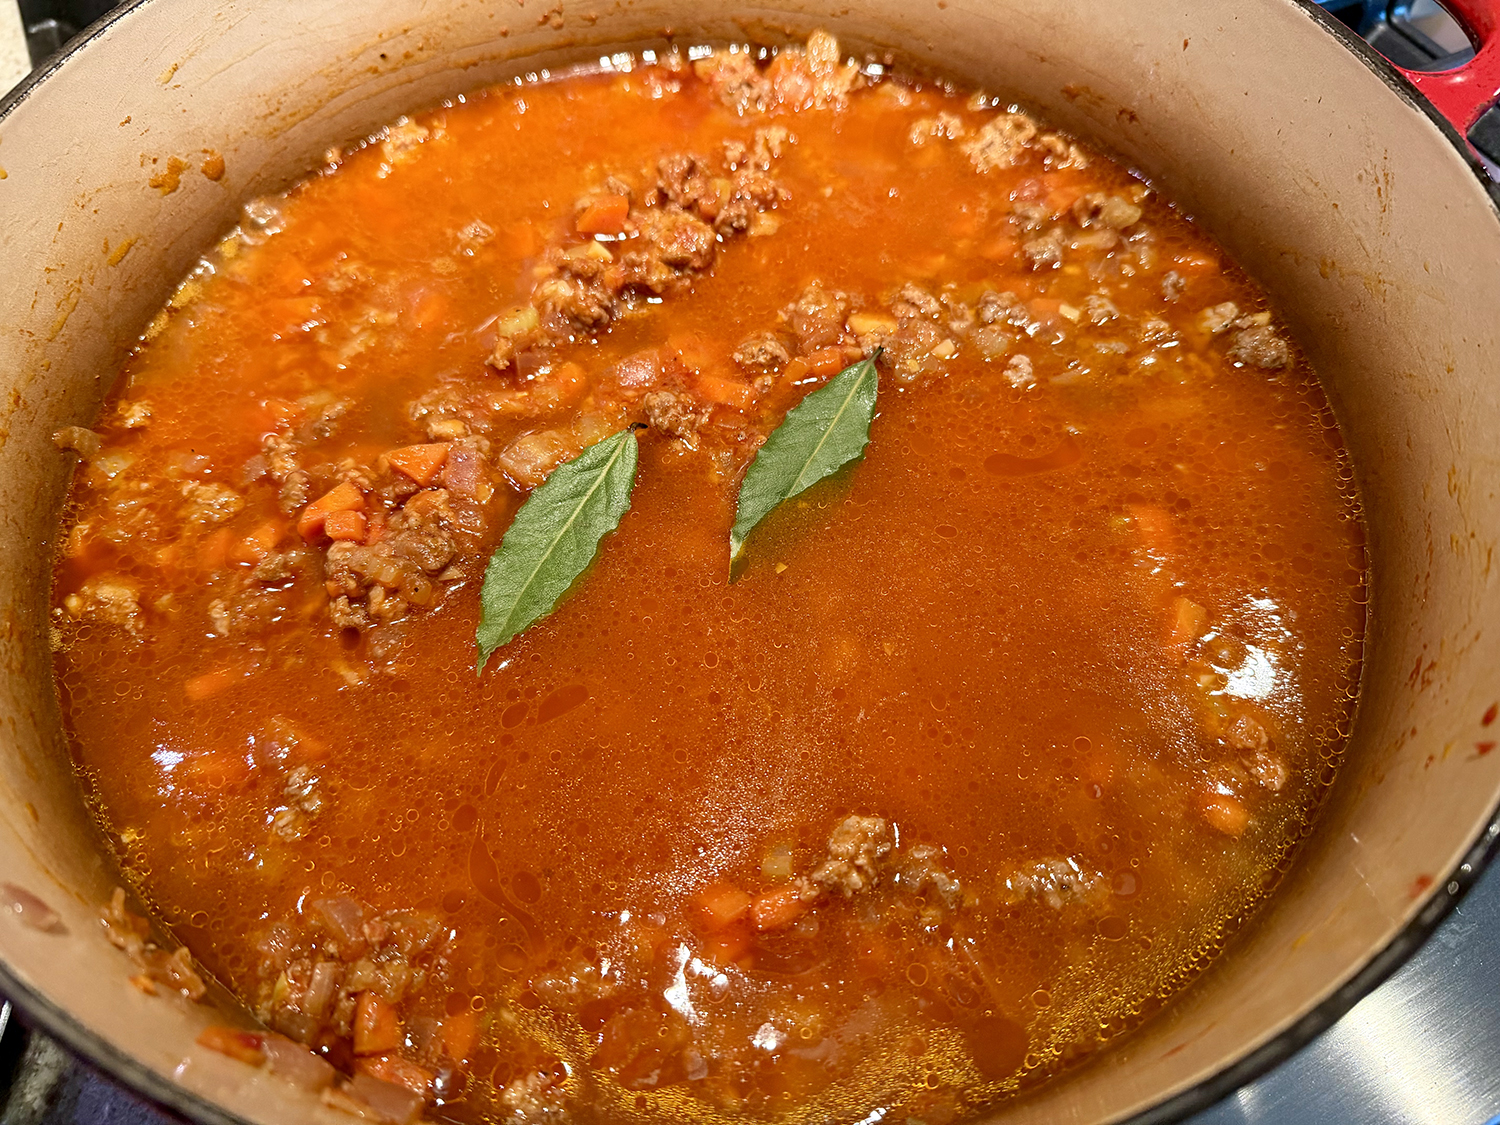
- Increase to medium, then add the beef, pork, coriander, fennel, cinnamon and nutmeg; cook, stirring occasionally and breaking the meat into small pieces, until the meat is no longer pink, 4 to 6 minutes. Add the tomato paste and garlic; cook, stirring, until the tomato paste darkens slightly, 1 to 2 minutes. Add the wine and cook, scraping up any browned bits, until almost fully evaporated, about 2 minutes. Add 3 cups water and the bay, then bring to a simmer over medium-high. Reduce to medium-low and cook, uncovered and stirring occasionally, until the meat is tender and the liquid has reduced by about half, 30 to 35 minutes.
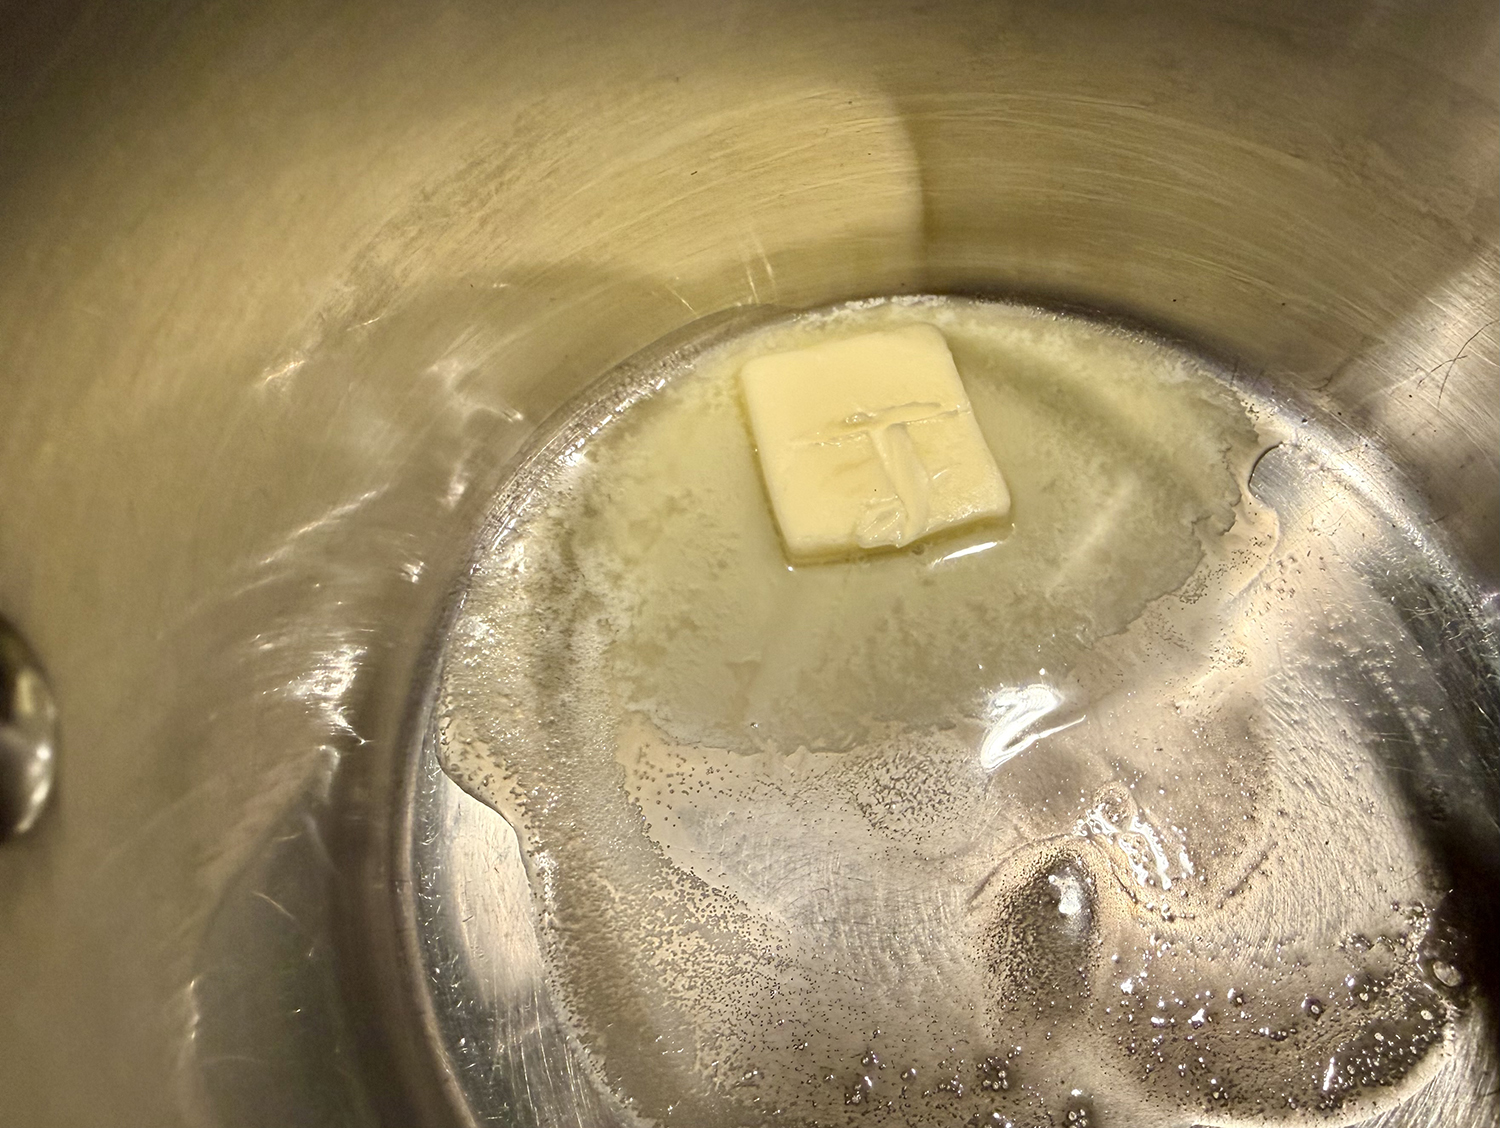
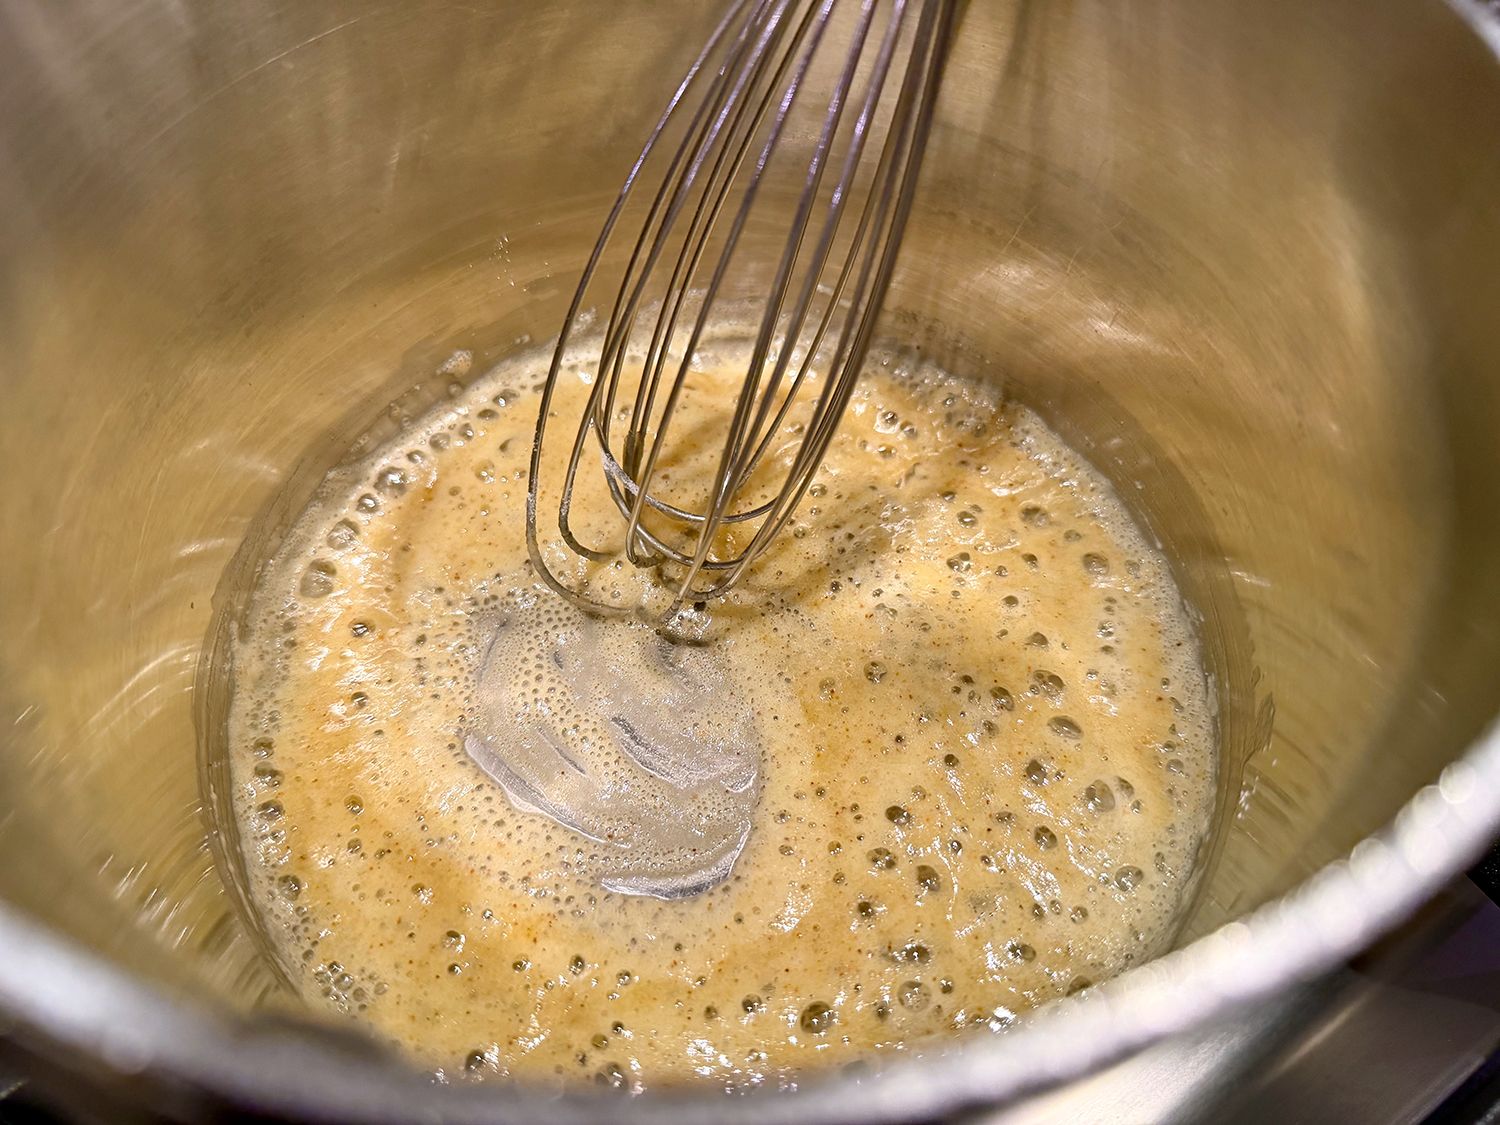
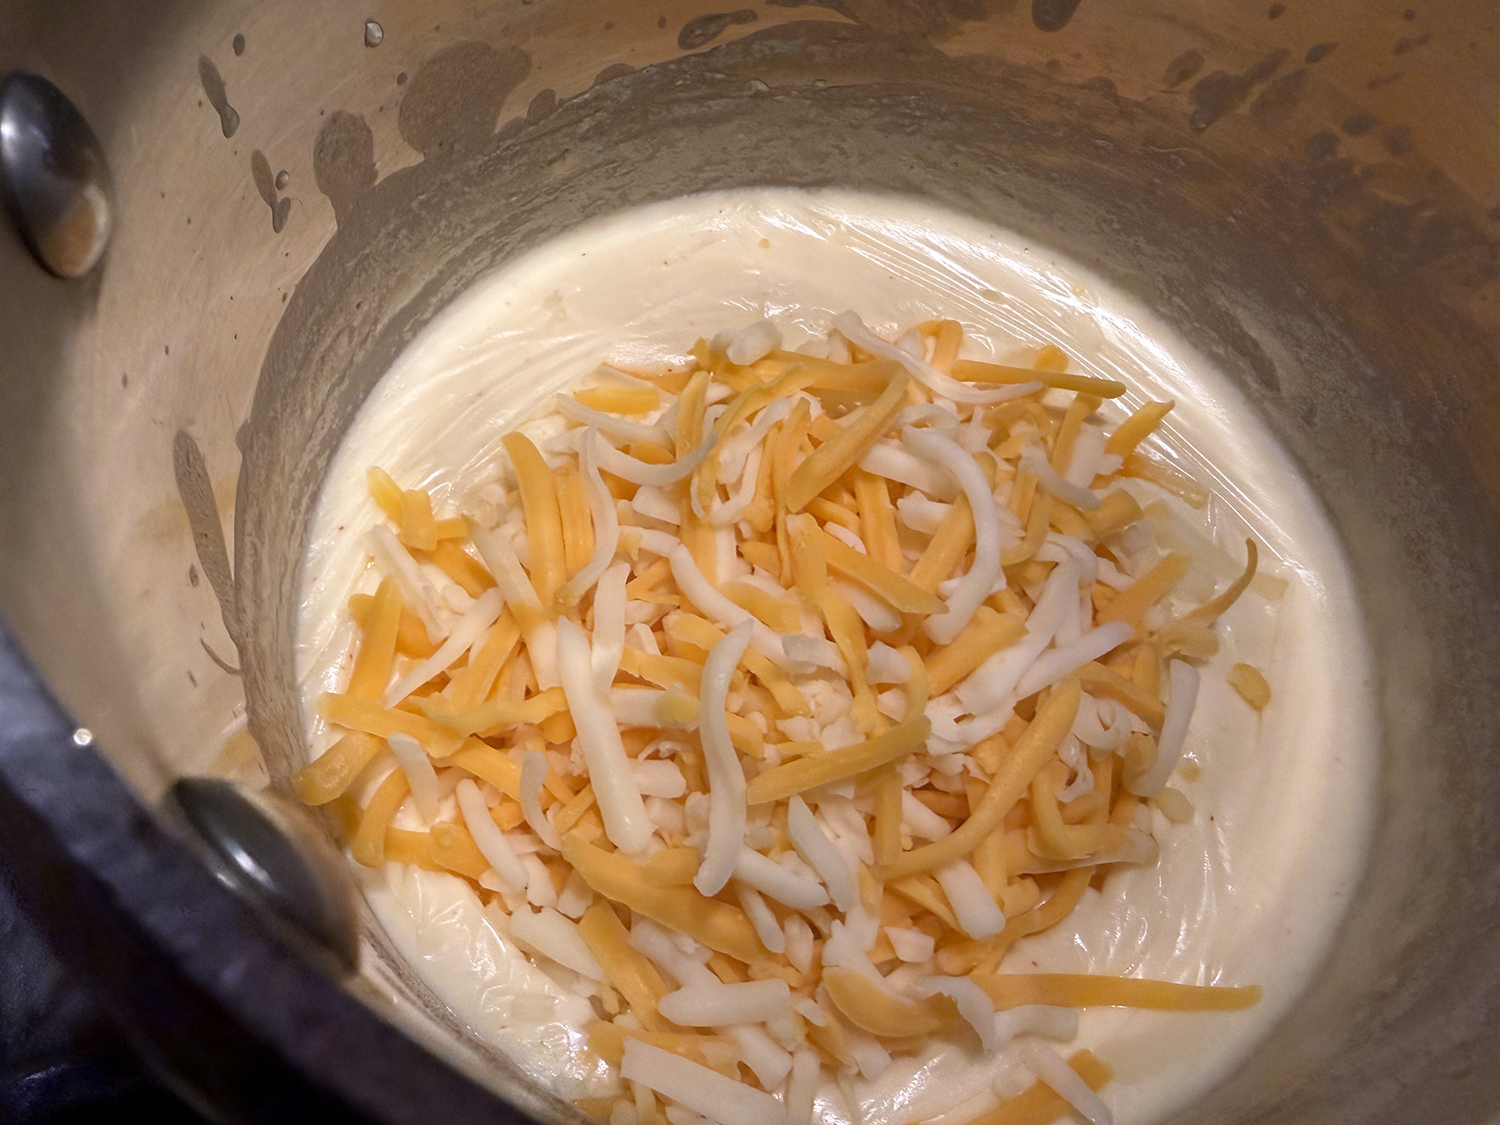
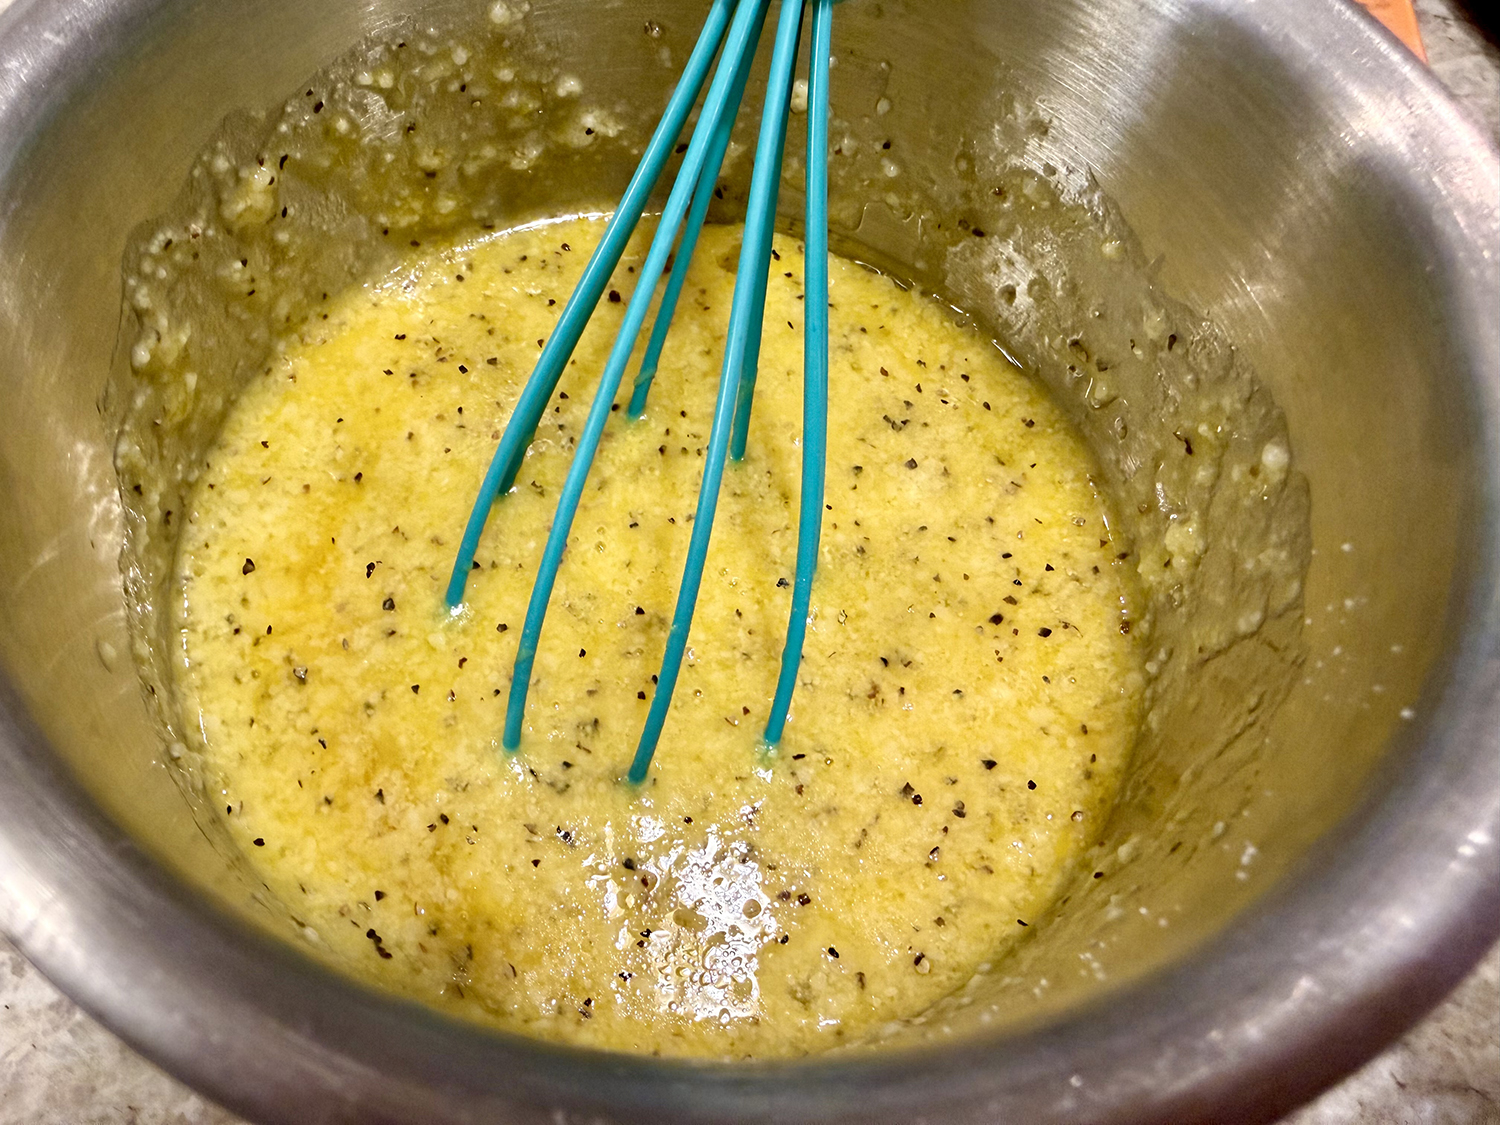
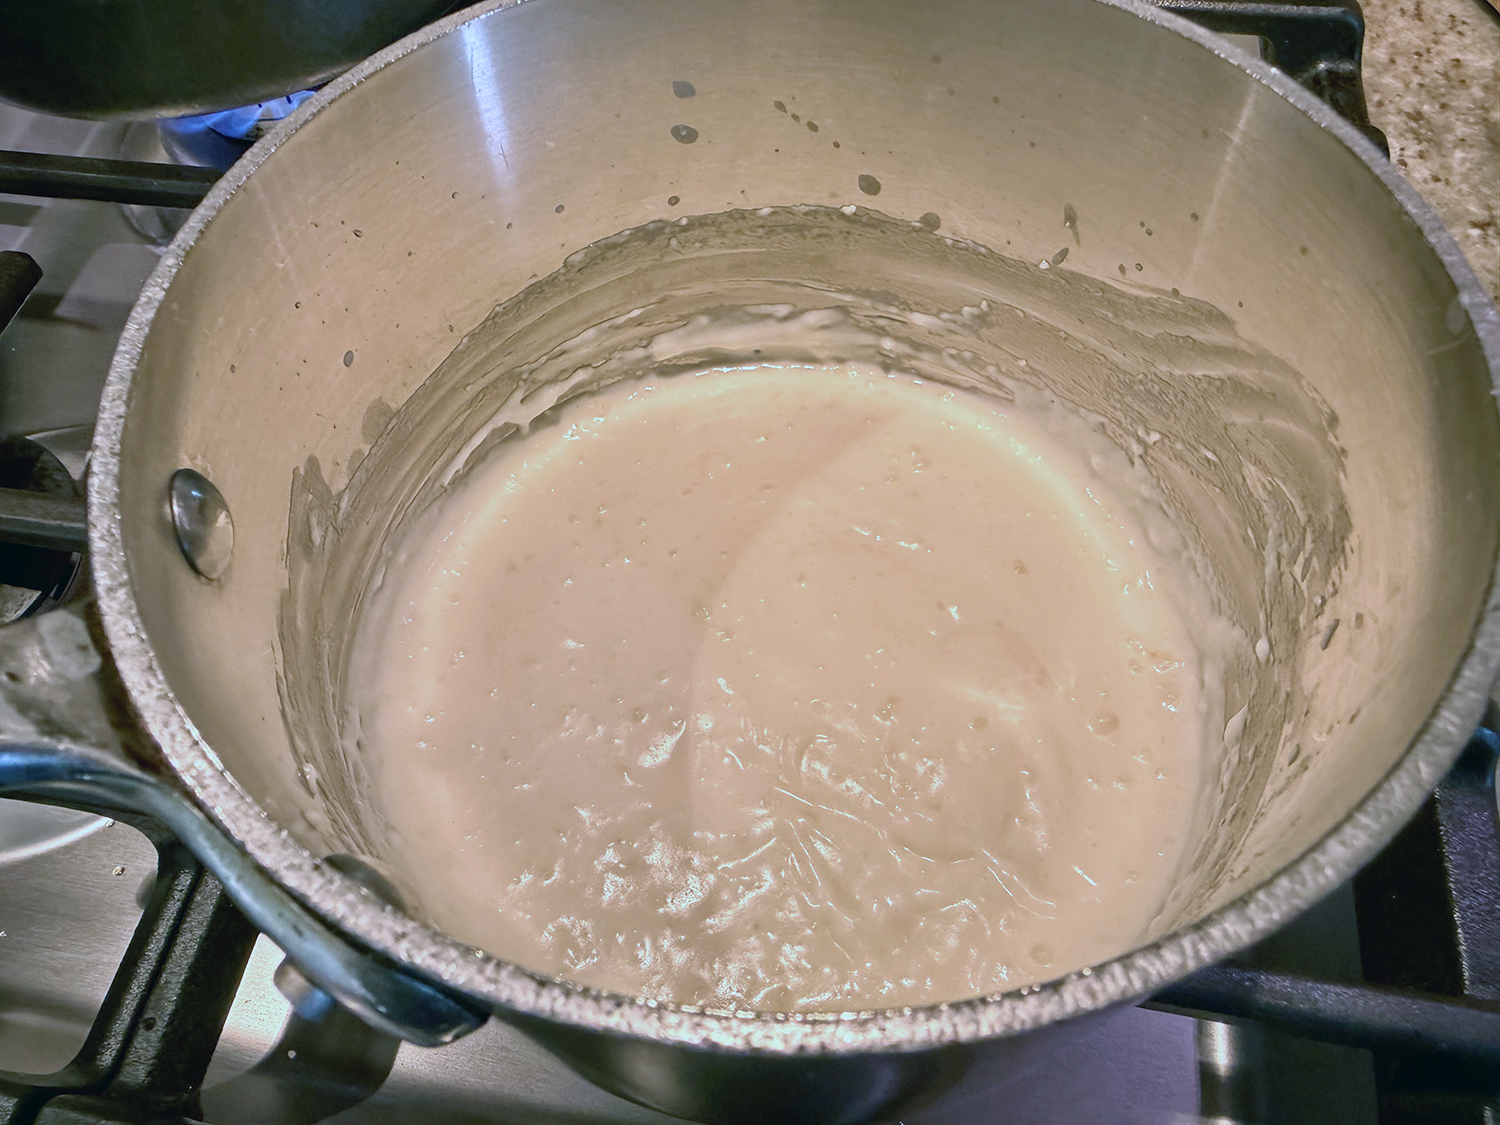
- Meanwhile, make the besciamella. In a small saucepan over medium, melt the butter. Whisk in the flour and cook, whisking constantly, for 2 minutes. While whisking, gradually add the half-and-half, then bring to a simmer. Cook, whisking often, until the sauce thickens and no longer tastes of raw starch, 3 to 4 minutes. Off heat, stir in the Parmesan; set aside until ready to use.
- About 20 minutes into simmering the ragù, cook the pasta. In a large pot, bring 4 quarts water to a boil. Add the penne and 2 tablespoons salt, then cook, stirring occasionally, until the pasta is somewhat softened but still very firm at the core (begin testing about 5 minutes before the recommended cooking time on the package). Drain the pasta in a colander.
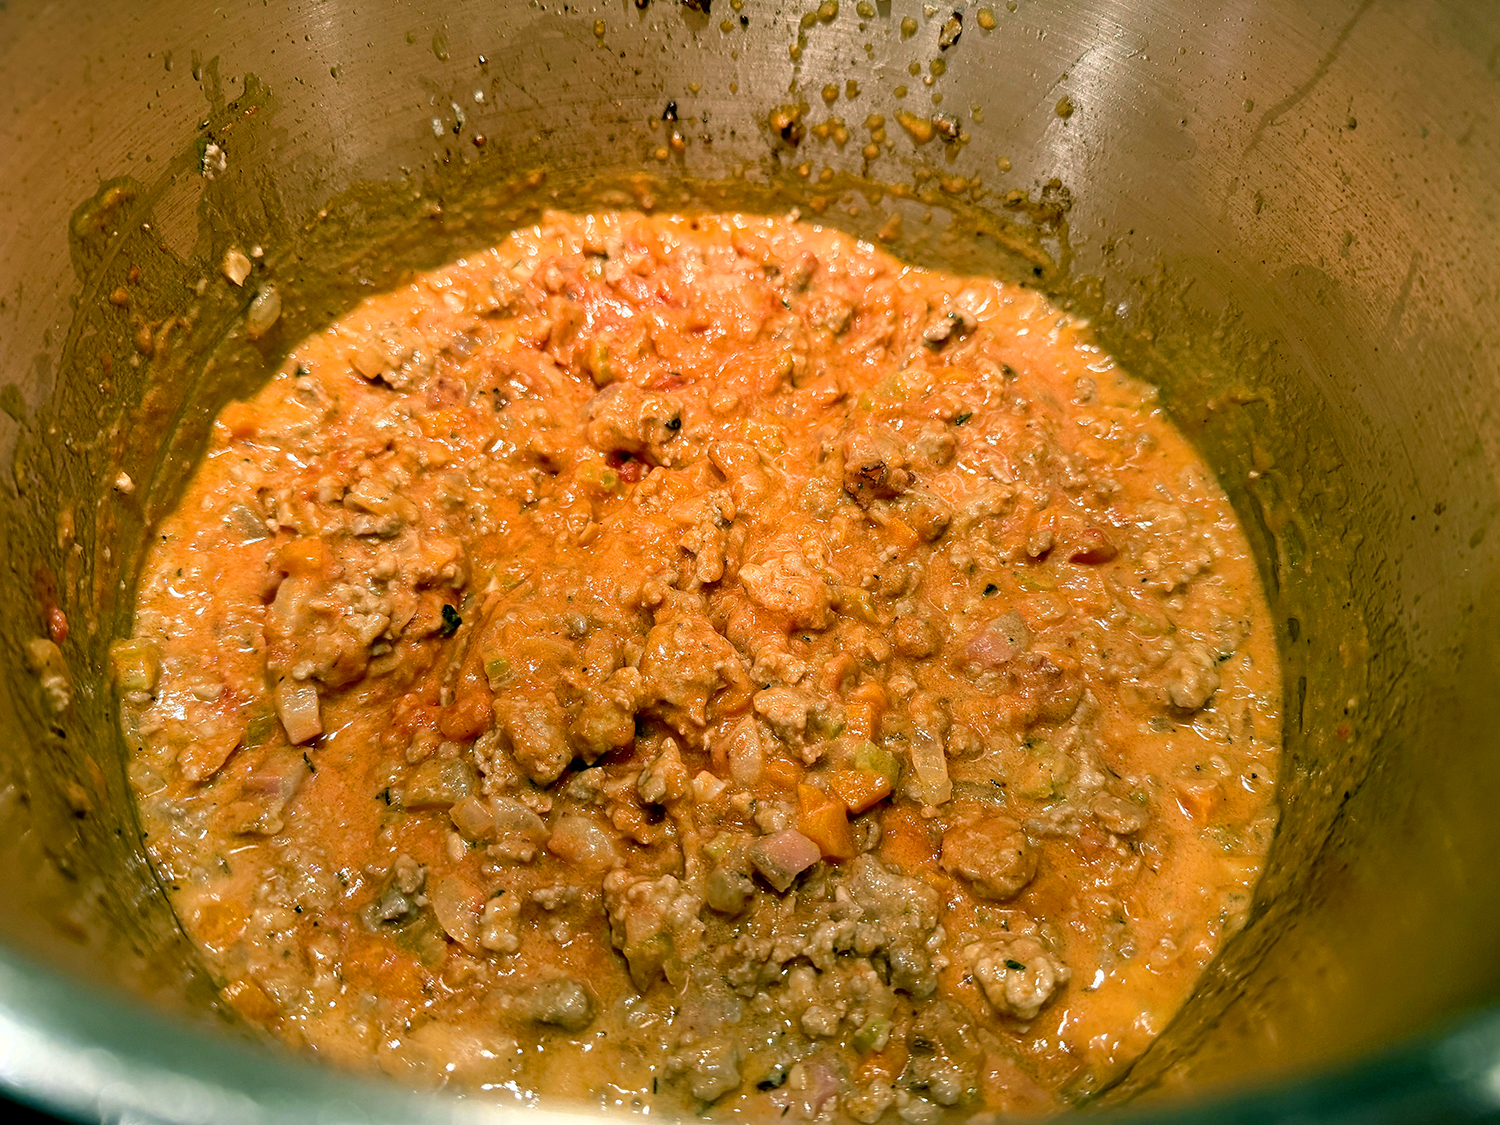
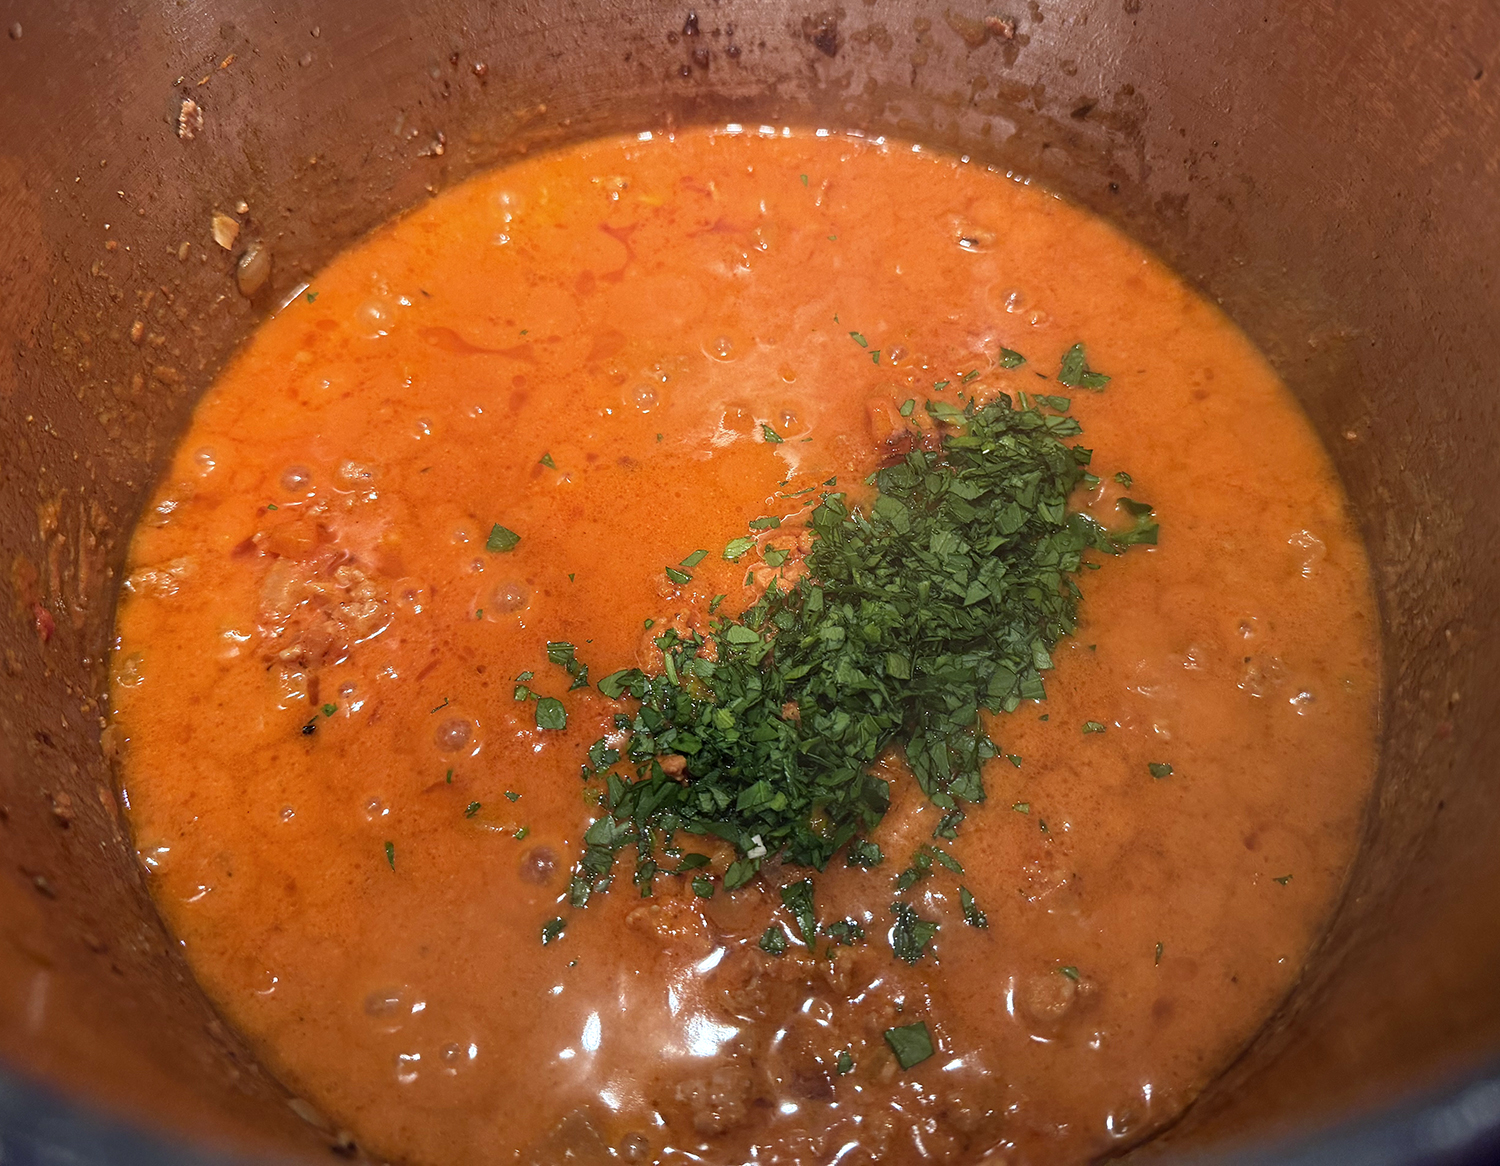
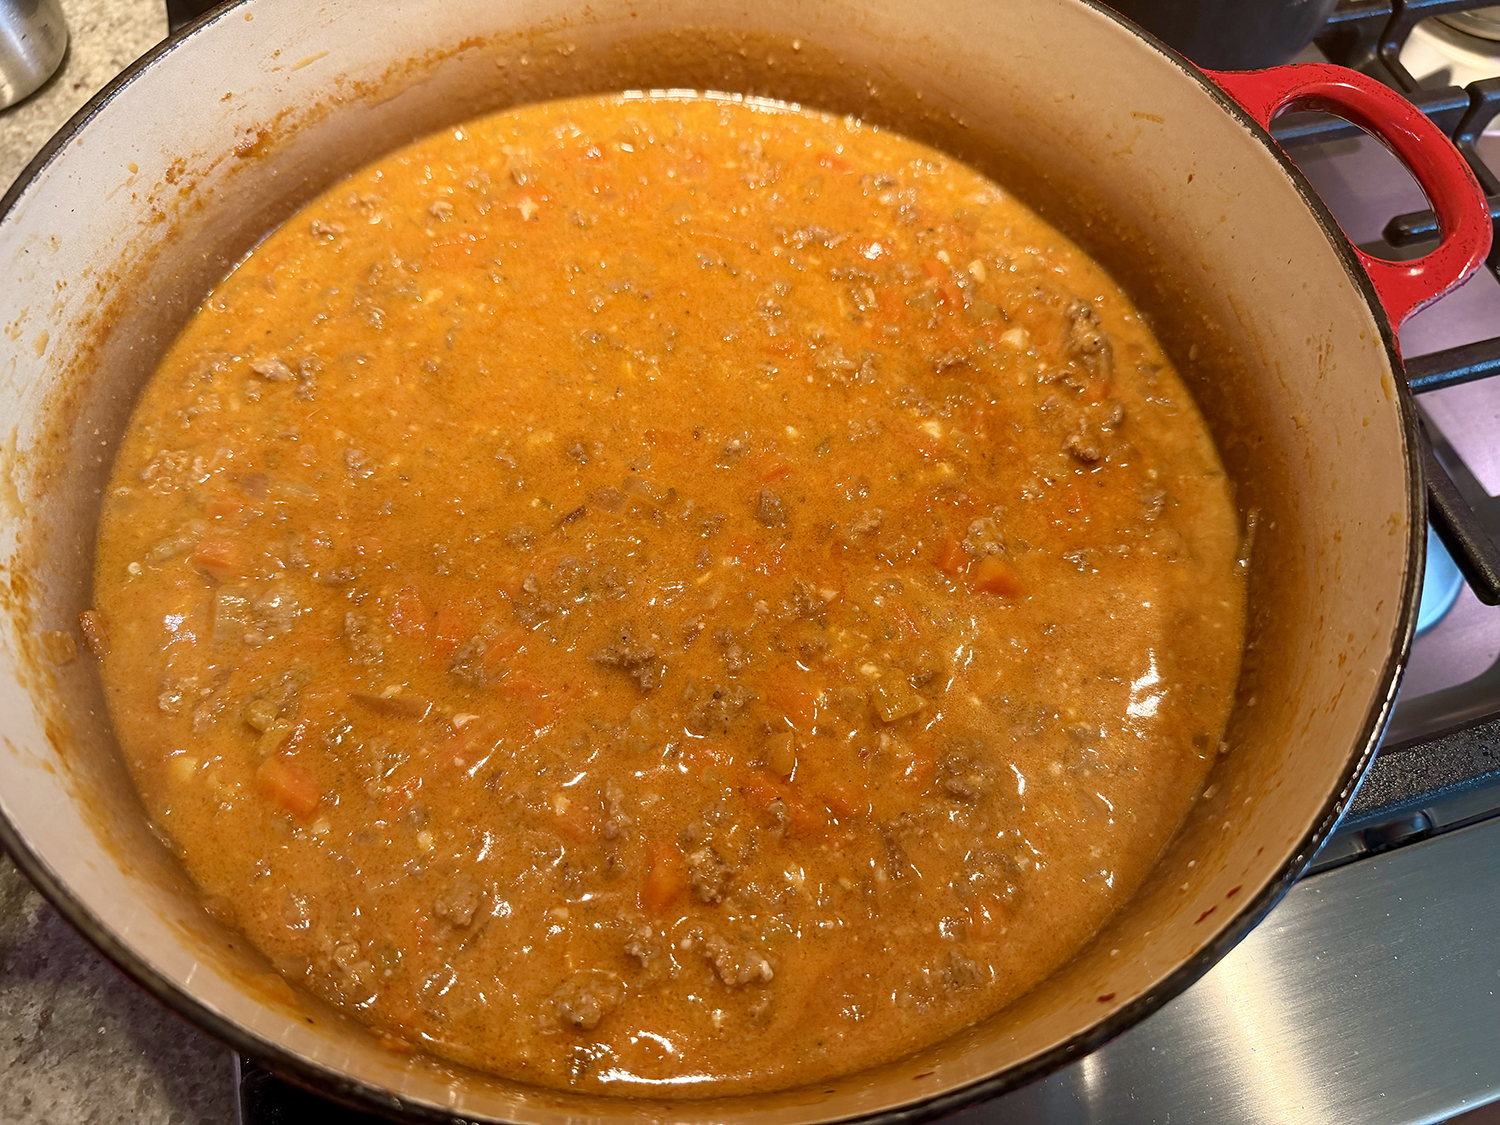
- When the ragù is ready, remove and discard the bay, then add the besciamella; cook over medium-low, stirring, until the mixture is slightly thickened, about 2 minutes. Gradually add the pasta, stirring to coat and break up clumps. Cook, stirring and “dragging” the pasta through the sauce, until the pasta is al dente, 2 to 3 minutes. Off heat, taste and season with salt and pepper. Serve sprinkled with Parmesan.
Adapted from a recipe by Lawman Johnson for Milk Street