Come summertime, zucchini is everywhere—if not in your own garden, then an abundance can be found at local farm markets, neighbor’s backyards and the nearby grocery store. But let’s forget dull and watery. “If you treat summer’s most ubiquitous squash with intention, it can sear like a steak and turn downright lush”—so claims Cook’s illustrated (CI). So we had to see for ourselves. OMG, the most luscious zucchini dish we’ve ever experienced!
For dense, meltingly soft, and dramatically browned zucchini, CI says to start by halving and scoring the cut surfaces of the squashes, rubbing them with salt, and briefly microwaving them. The salt and heat draws moisture from the flesh, and the slits provided escape routes for the water so that the surfaces are primed for browning.
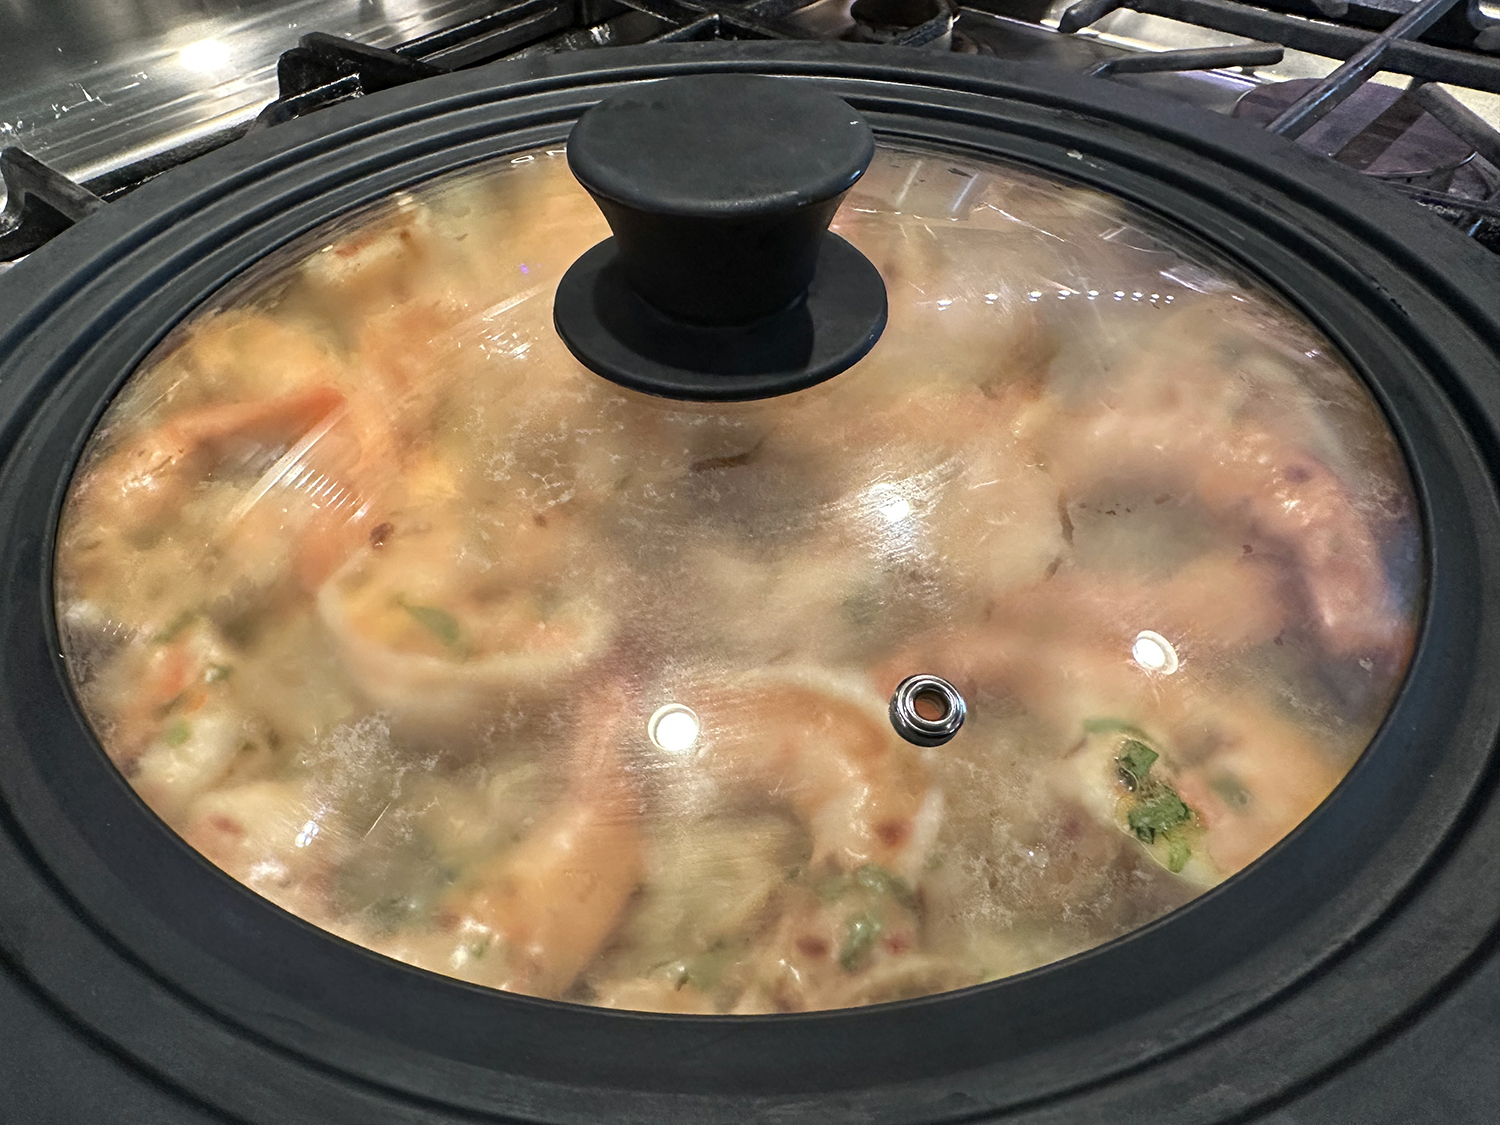
Cooking in a well-oiled cast-iron skillet encourages rich browning; the metal holds the heat really well, and the fat facilitates heat transfer between the pan and the food. Covering the skillet for most of the cooking time traps moist heat that forces air out of the flesh and also dissolves its pectin, rendering the flesh fork-tender.
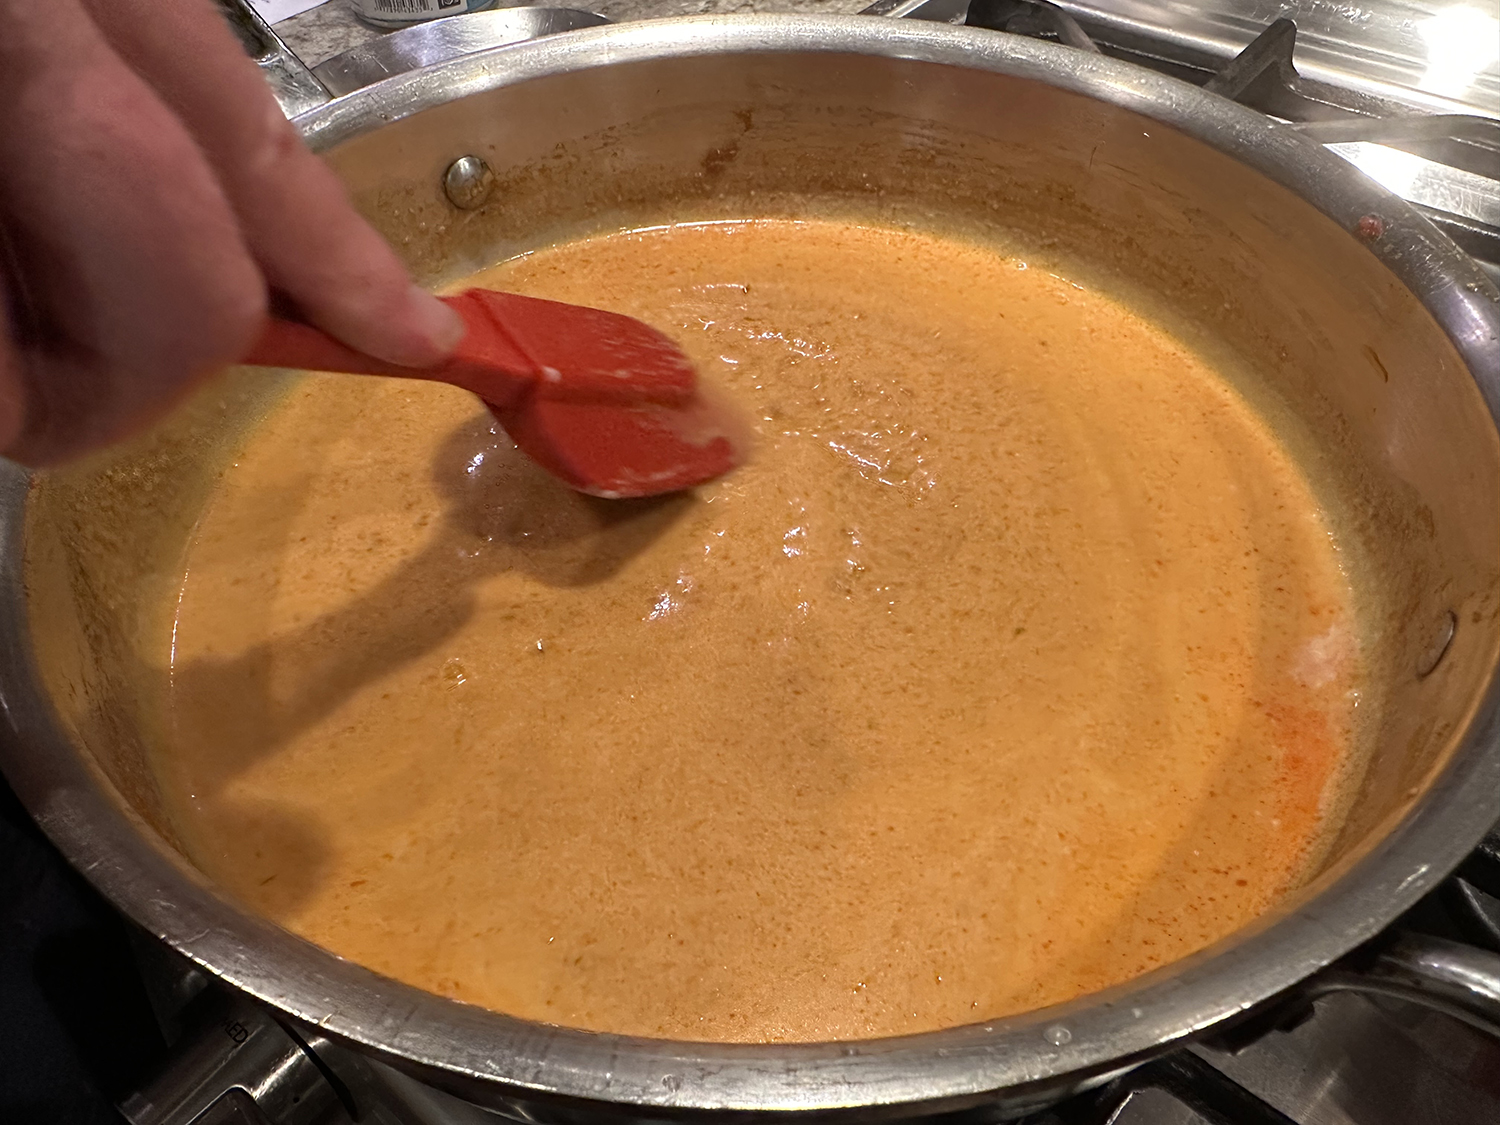
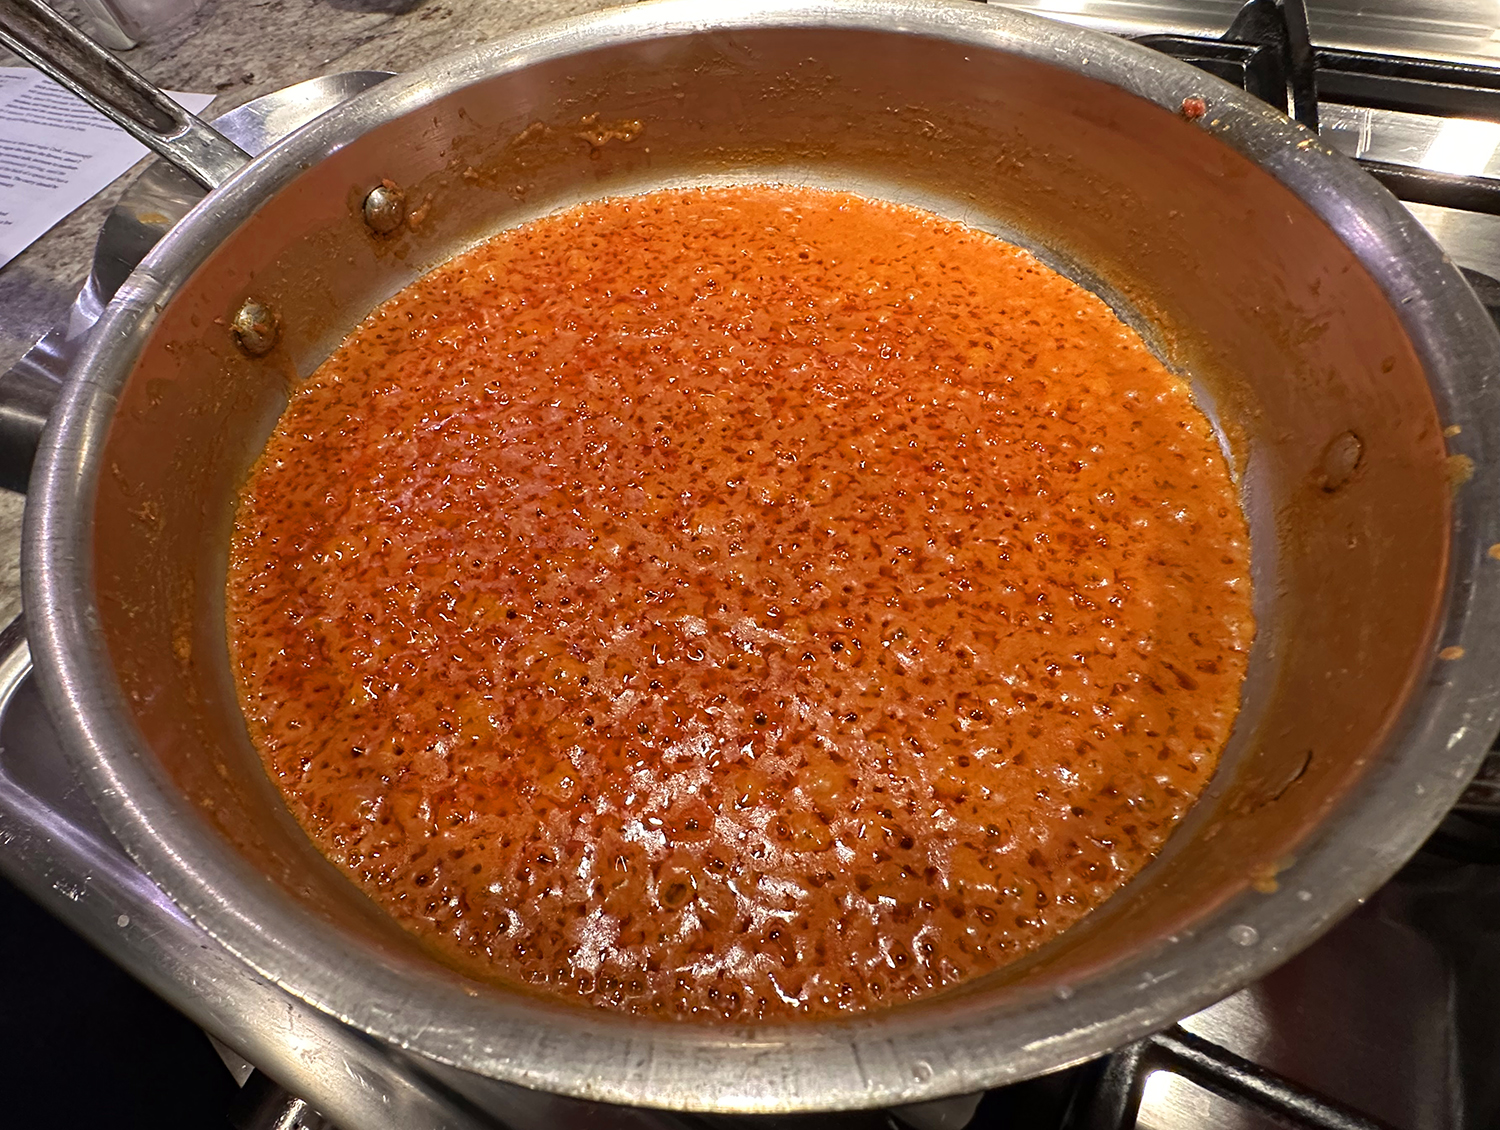
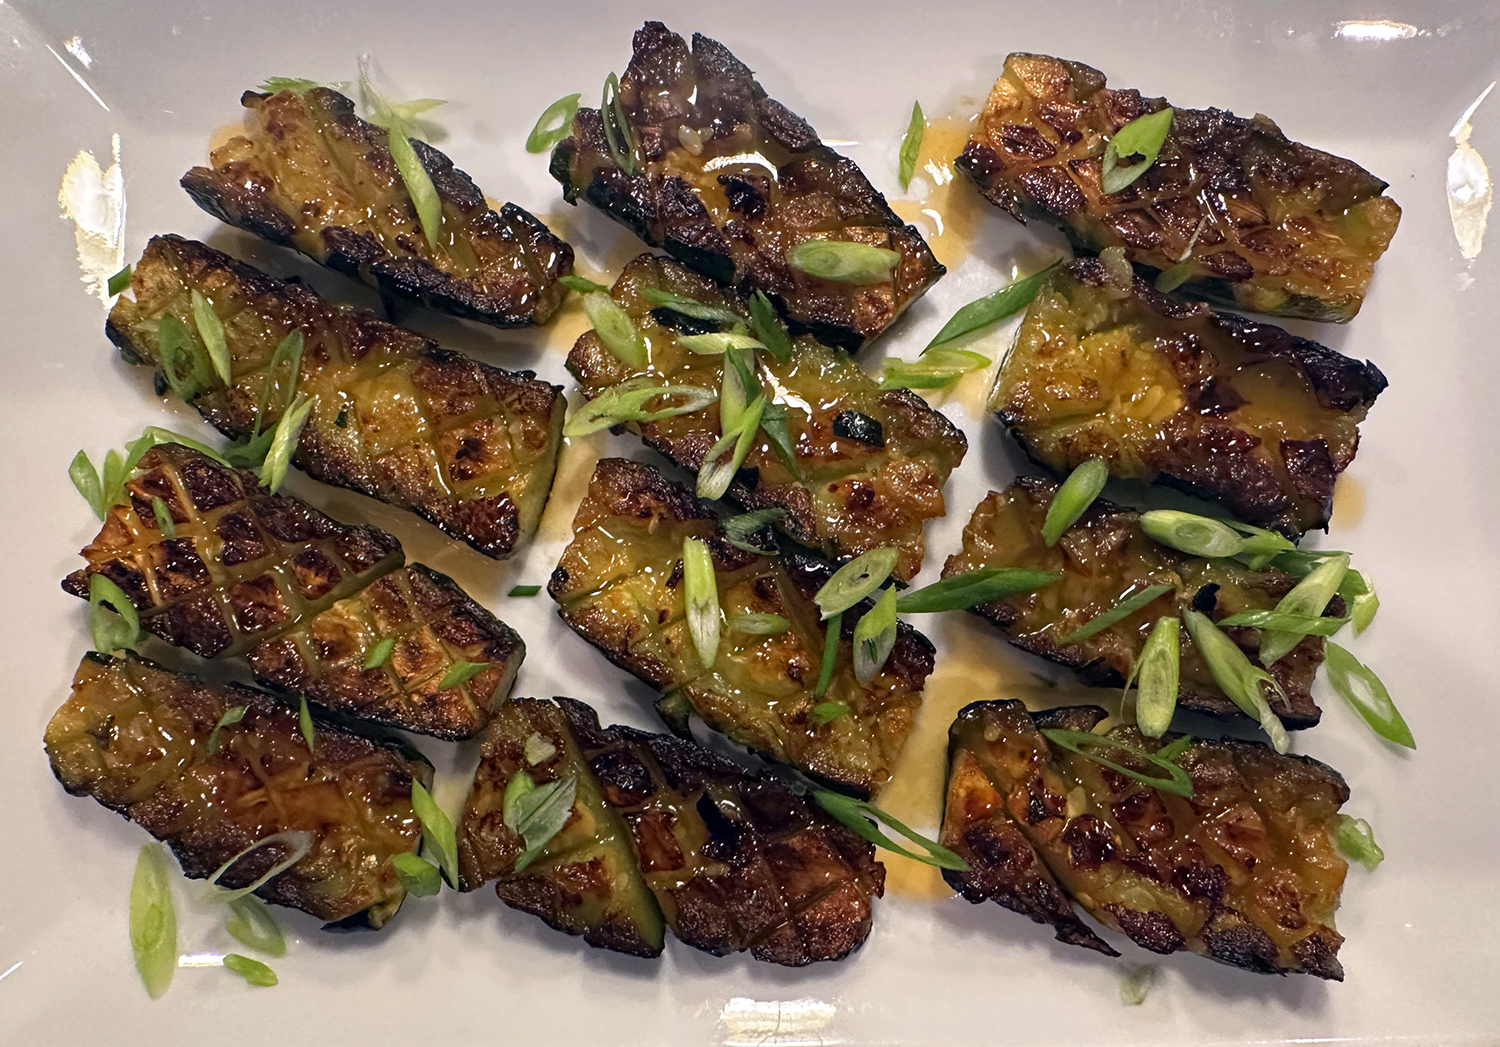
A mixture of honey and hot sauce, microwaved (or heated in a sauce pan) to a glaze consistency, adds sweetness with a bit of heat; while sliced scallions bring fresh crunch and color. If you taste the sauce by itself, it may seem too spicy. However, once it is spread on the cooked zucchini, it mellows into the perfect blend of sweet and spicy.
Instead of microwave: Reduce the honey mixture in a saucepan on the stovetop. Leave the salted zucchini cut side down on the paper towels for 30 minutes to drain and add a couple of minutes to the cooking time.
*NOTE: After reading other recipe reviewers comments that after you remove the lid from the pan and flip the zucchini, the pieces on the outer edge were not fully browned. This happened to us also. So if needed, rearrange zucchini from middle to outer edges, and cook the scored surfaces another 3 minutes without covering to char all pieces evenly.
Then flip, and cook another 3 minutes uncovered.

Pan-Seared Zucchini with Spicy Honey and Scallions
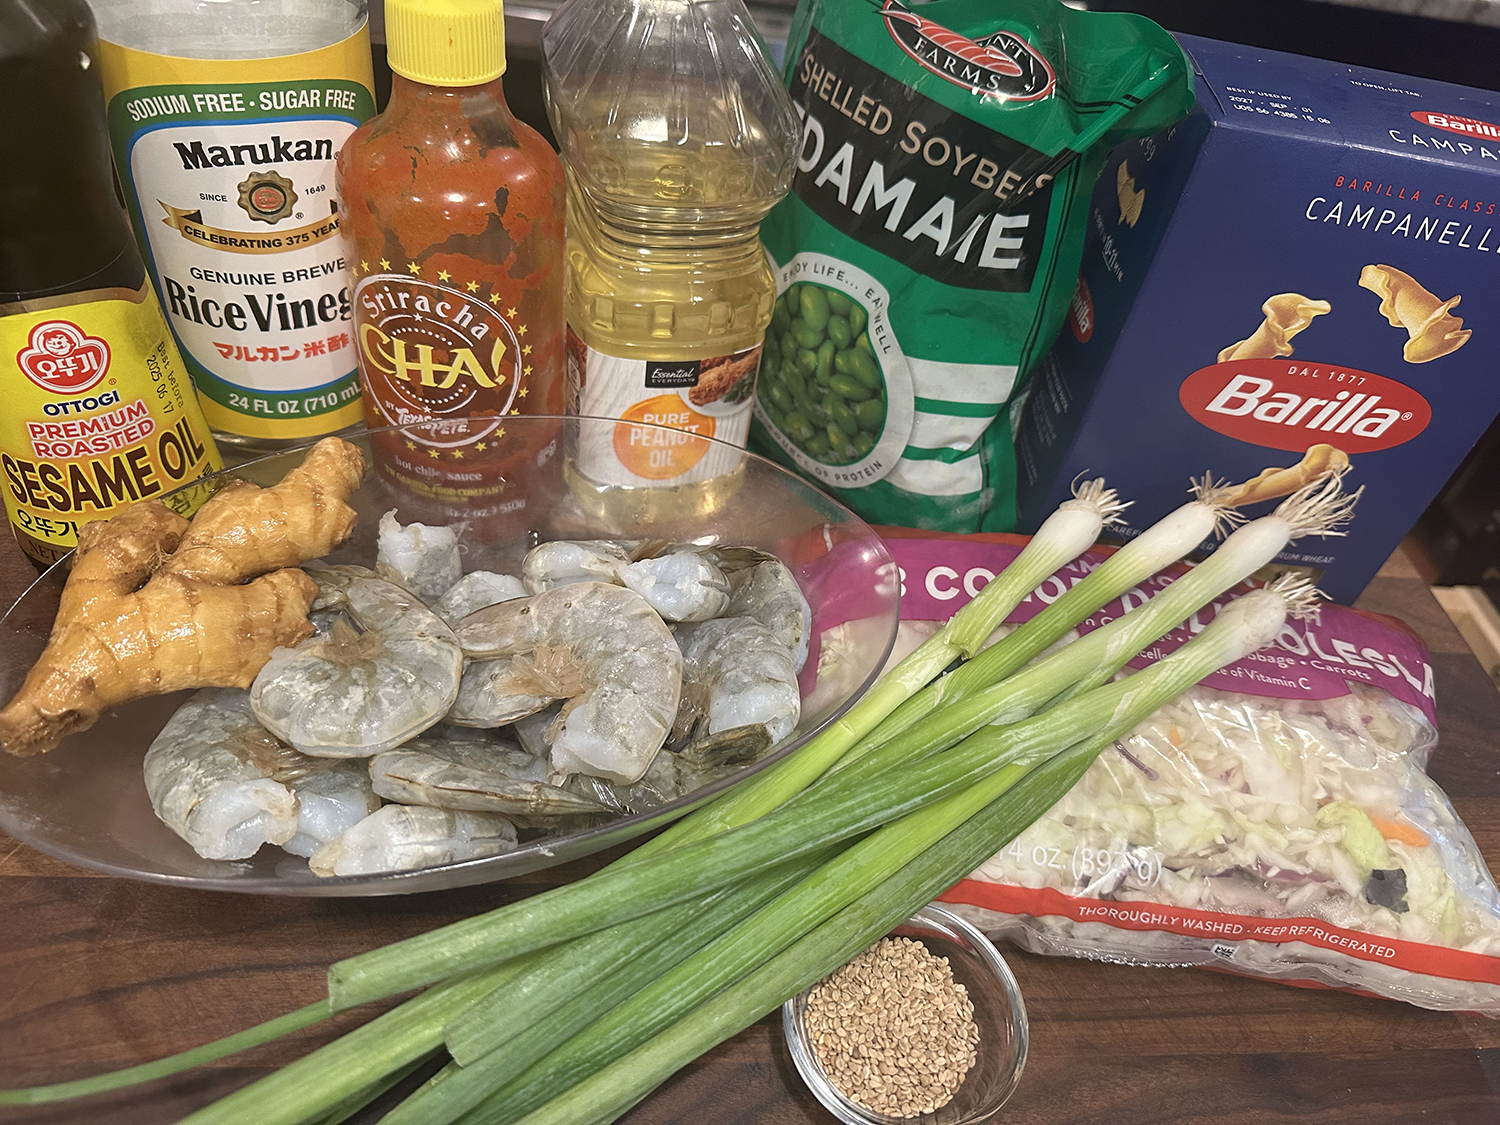
Ingredients
- 2 Tbsp. honey
- 1 Tbsp. hot sauce
- 3 zucchini (8 oz. each), halved lengthwise
- 2 tsp. kosher salt
- 3 Tbsp. vegetable oil
- 1 scallion, sliced thin on bias


Directions
- Whisk honey and hot sauce together in 1-cup liquid measuring cup. Microwave until mixture comes to boil, 30 to 45 seconds. Continue to microwave, stirring every 30 seconds, until sauce is slightly thickened, about 1 minute (sauce will continue to thicken as it cools).
- Using sharp paring knife, score cut sides of zucchini diagonally, about ¼ inch deep, at ½-inch intervals. Turn zucchini 90 degrees and score again in opposite direction. Place scored zucchini halves close to each other, cut side up, on cutting board. Sprinkle salt evenly over halves. Rub salt into cut sides until mostly dissolved.
- Line large plate with double layer of paper towels. Place zucchini cut side down on paper towels and press gently. Microwave until zucchini has exuded water and is hot to touch, about 3 minutes. Cut each piece in half crosswise.
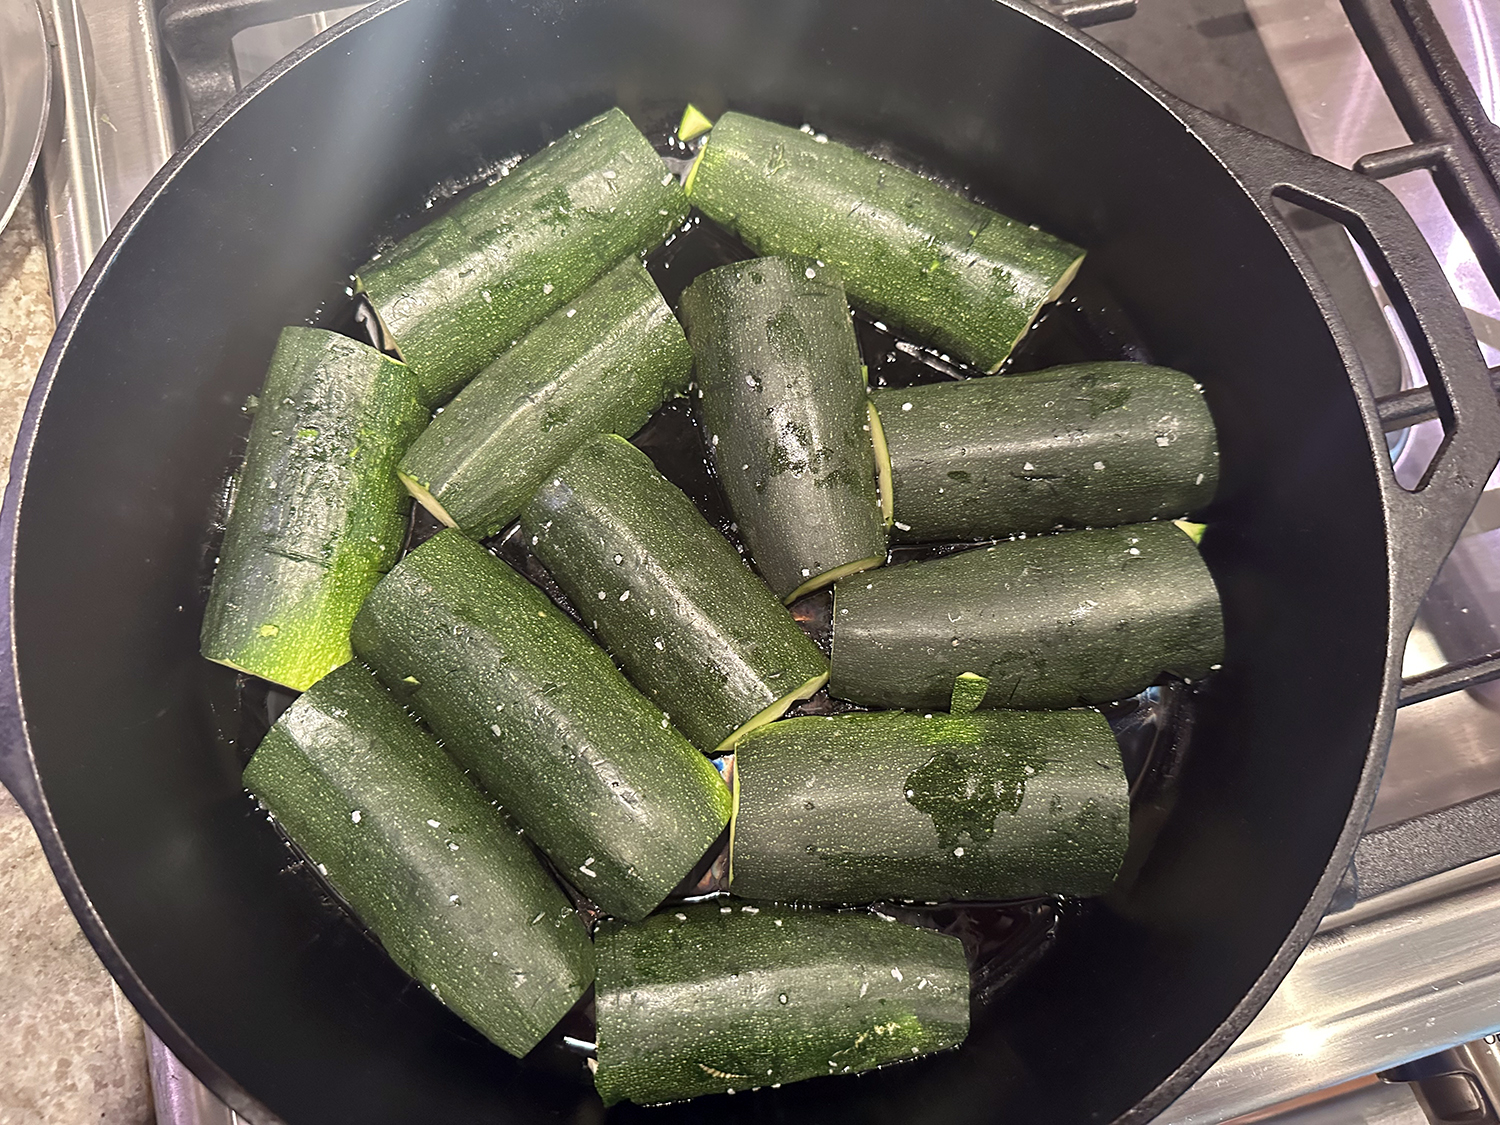
- Spread oil over surface of cold 12-inch cast-iron skillet. Arrange zucchini cut side down in skillet and press to ensure that cut sides are flush with skillet surface (reserve paper towel–lined plate). Cover skillet. Cook over medium-high heat, rotating skillet one-quarter turn every 2 minutes for even cooking, until cut sides are deeply browned, 8 to 10 minutes.
- Slide skillet off heat. Uncover and turn zucchini cut side up. (*See above note regarding evenly browned surfaces.) Return to medium-high heat and continue to cook, uncovered, until paring knife meets little to no resistance when slipped into center of squash, 2 to 3 minutes longer. Transfer zucchini cut side up to reserved paper towel–lined plate to drain for 5 minutes.
- Transfer zucchini cut side up to platter. Drizzle with honey mixture, sprinkle with scallion, and serve.
Adapted from a recipe by Andrea Geary for Cook’s Illustrated