America’s test Kitchen tells us why sausages are a great focal point for speedy one-pan meals. Starting the sausages in a covered skillet with some water keeps their casings from turning tough and leathery. The links are then pricked with the tip of a paring knife so that they give up a bit of their fat and juices. When the juices evaporate, they form a robust fond that could be deglazed from the pan with wine and used to create a braising liquid that deeply infuses the fennel with savory, meaty flavor. Quick-to-prep and quick-to-cook ingredients rounds out the meal.

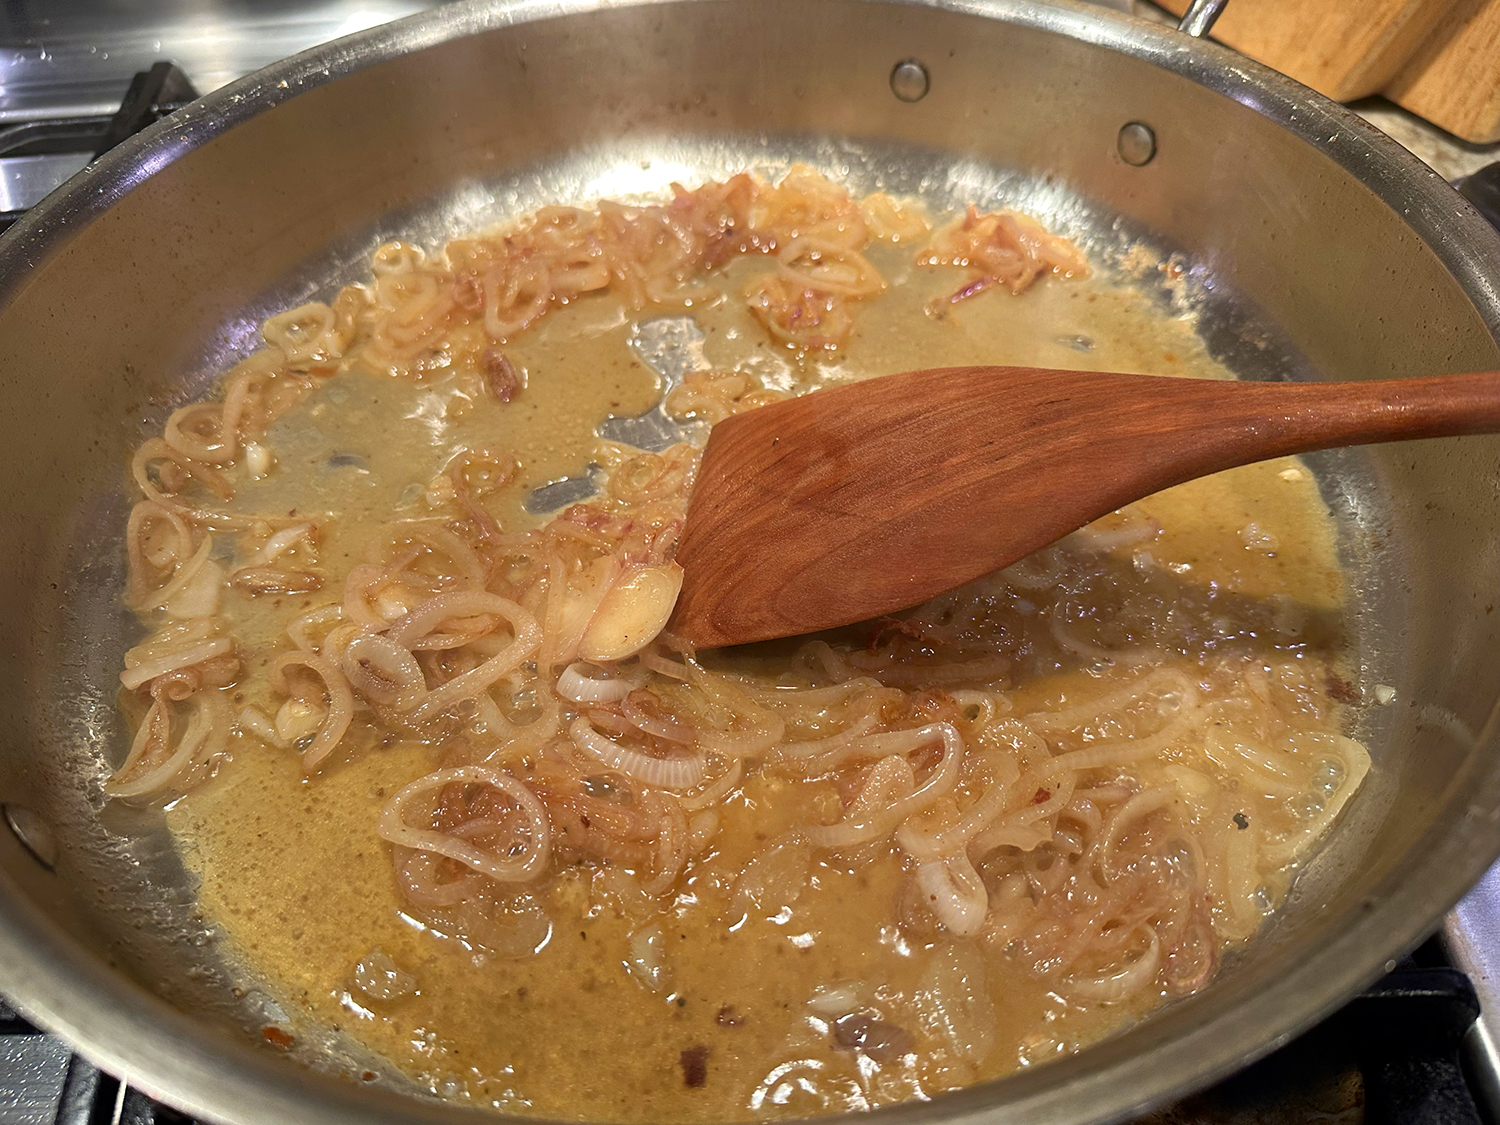
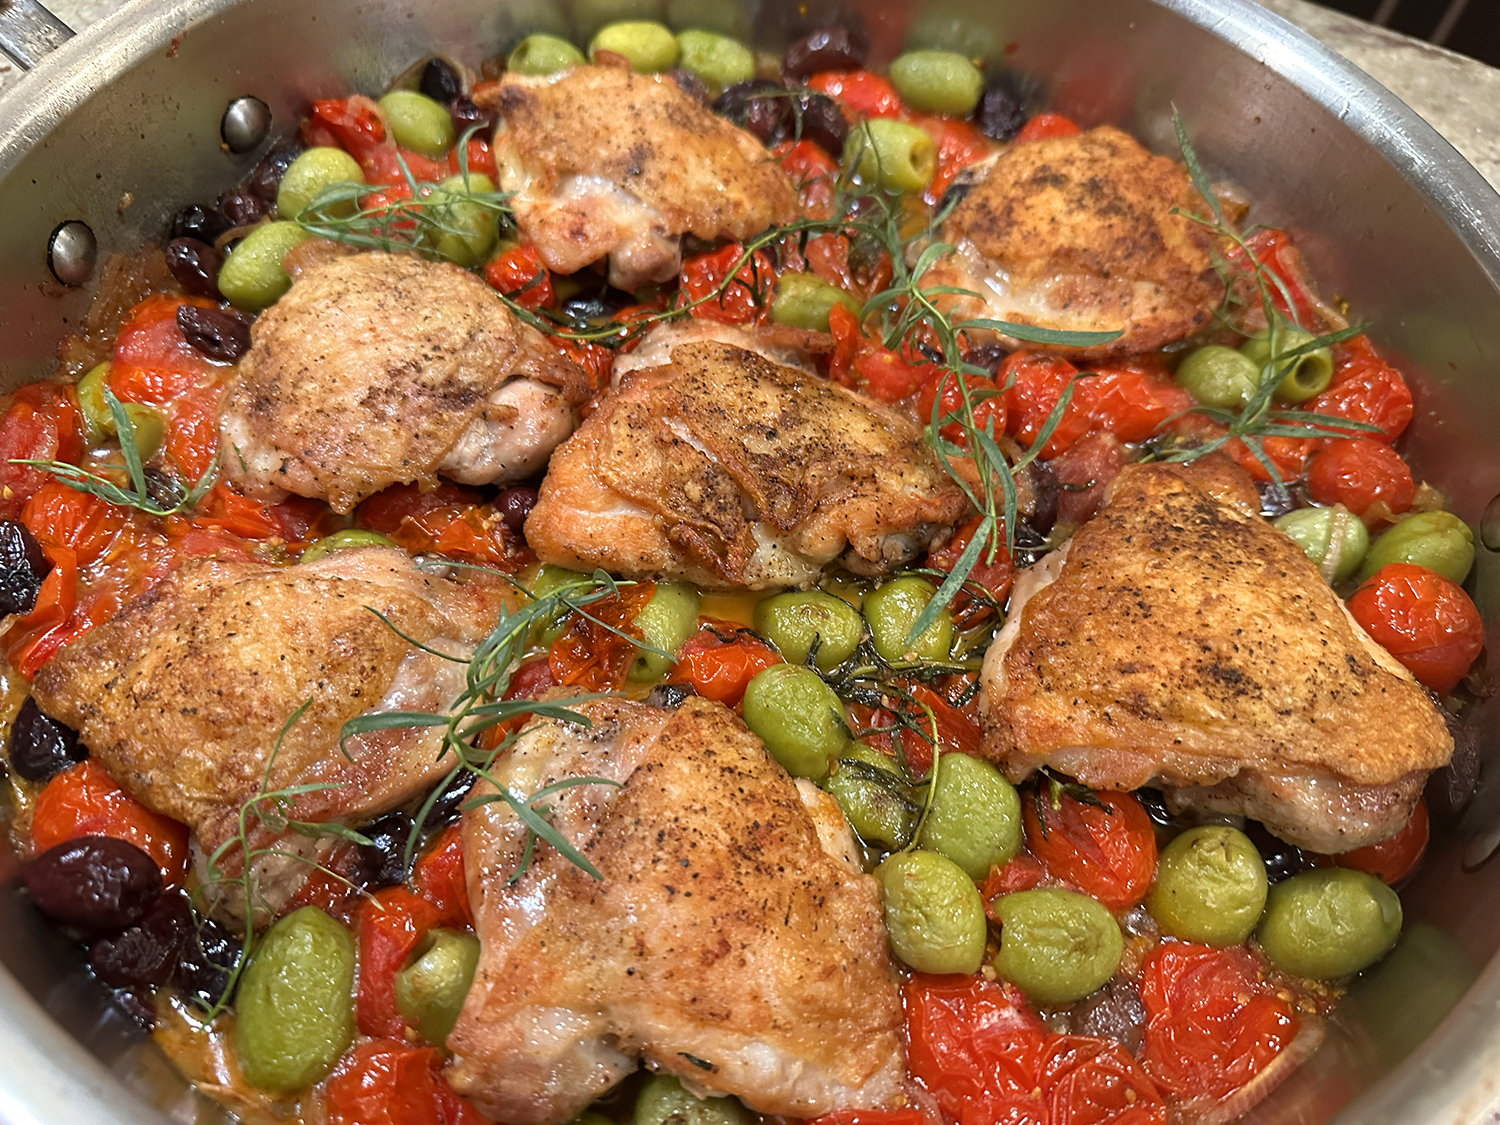
The fond—the savory superstar of the kitchen—infuses every bite of the meal with porky goodness. “Though unassuming in appearance, the bronzed bits that form on the bottom of a pan as meat juices sizzle, evaporate, and brown are pure flavor, and the more of it that you can create, the meatier, richer, and all-around better-tasting your food will be.”
Pricking the links before too much pressure has built up inside the casings is vital, as it allows the meat to exude just enough fat and moisture to create a generous fond but not so much that the meat’s succulence is diminished.
We were beta testers for this recipe in the early summer of 2024. The final recipe and article were published in the Jan/Feb 2025 issue of Cook’s Illustrated.

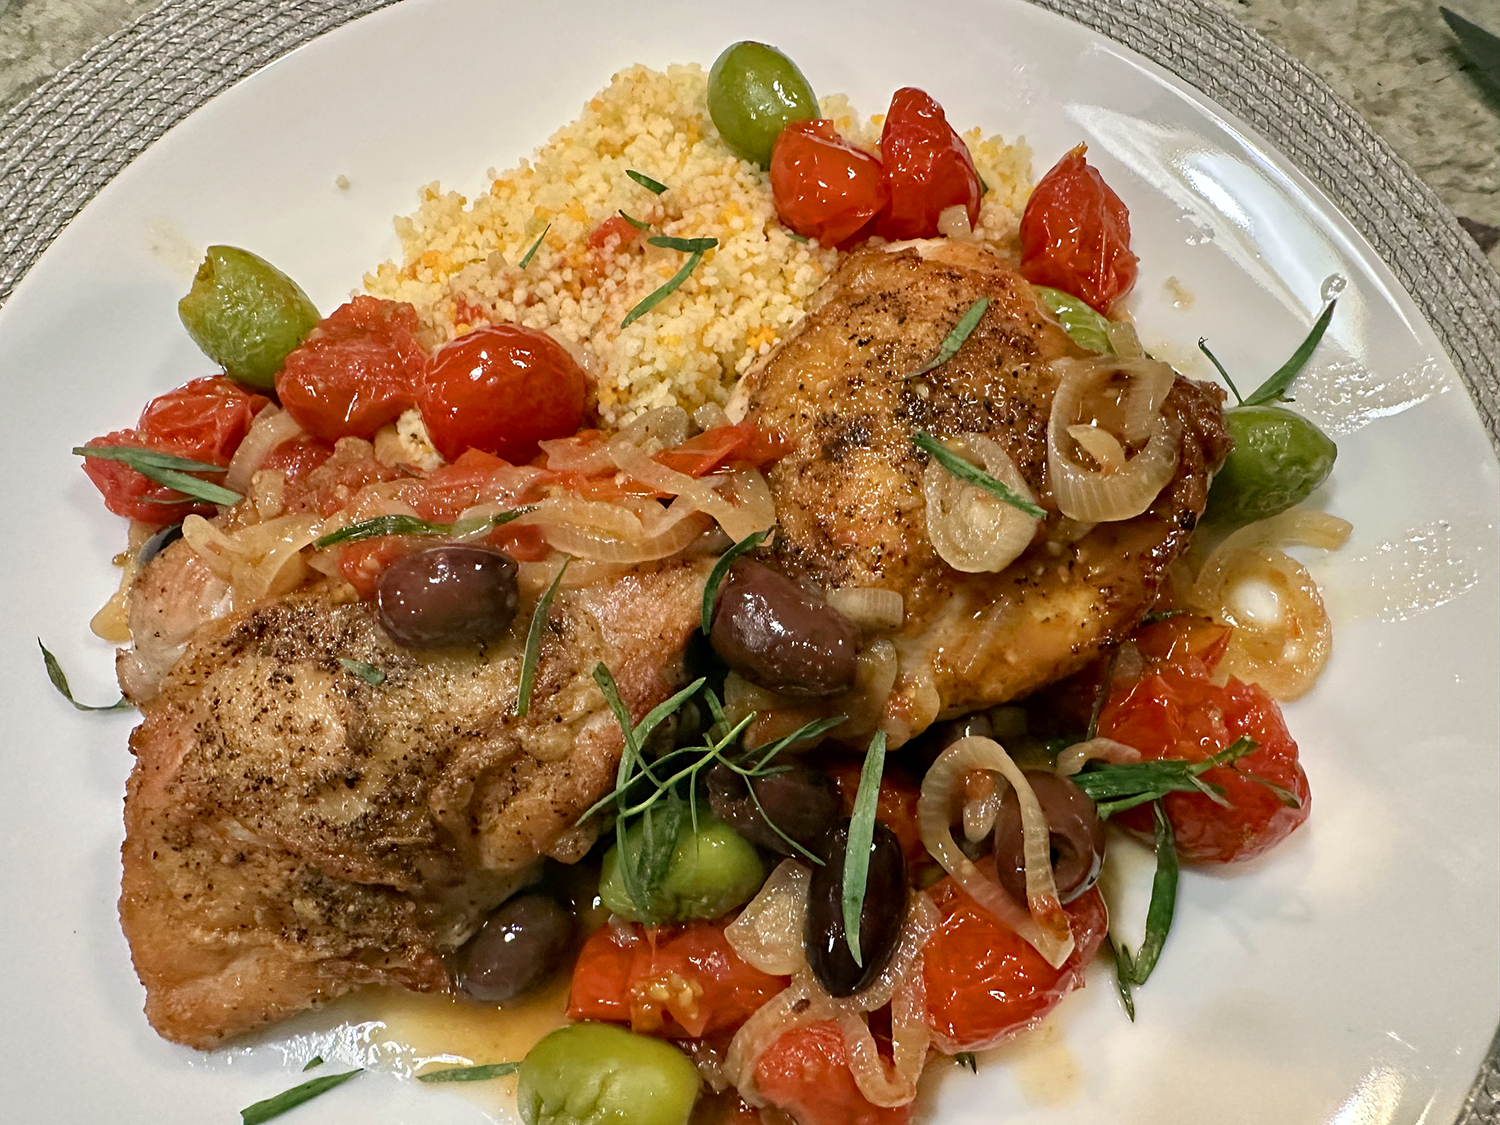
One-Pan Bratwurst with Fennel, Olives, and Oranges
Ingredients
- 2 fennel bulbs, bases lightly trimmed
- 2 Tbsp. fronds minced, divided, stalks discarded
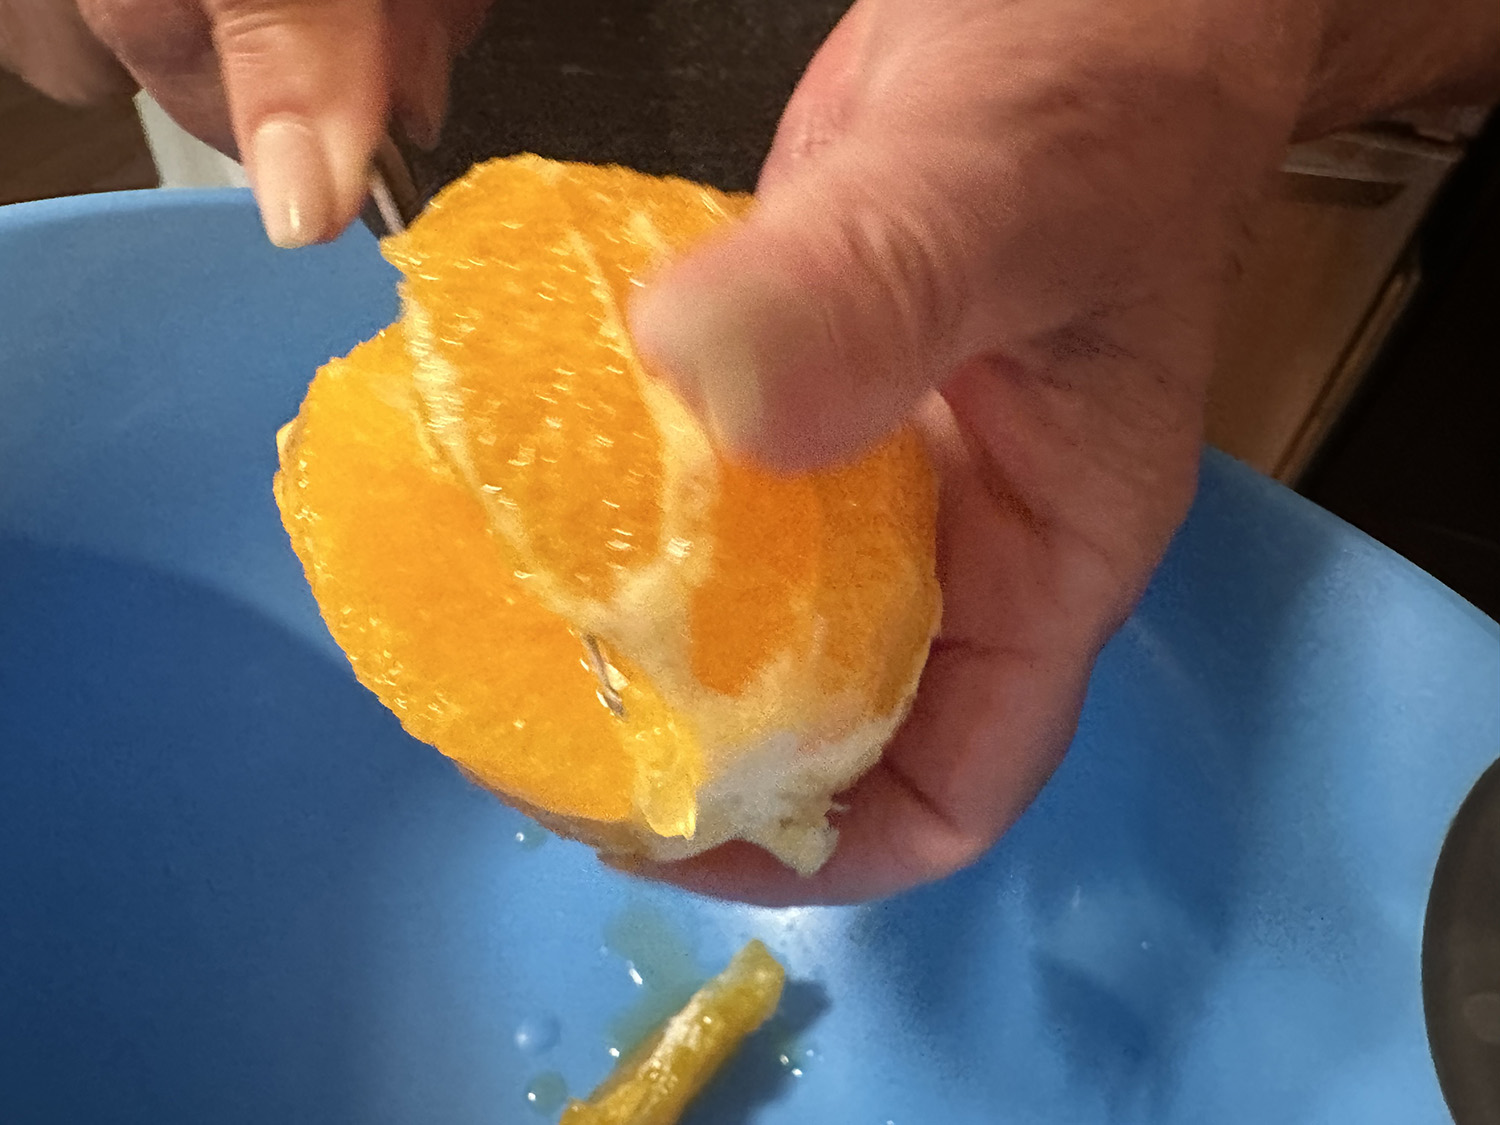
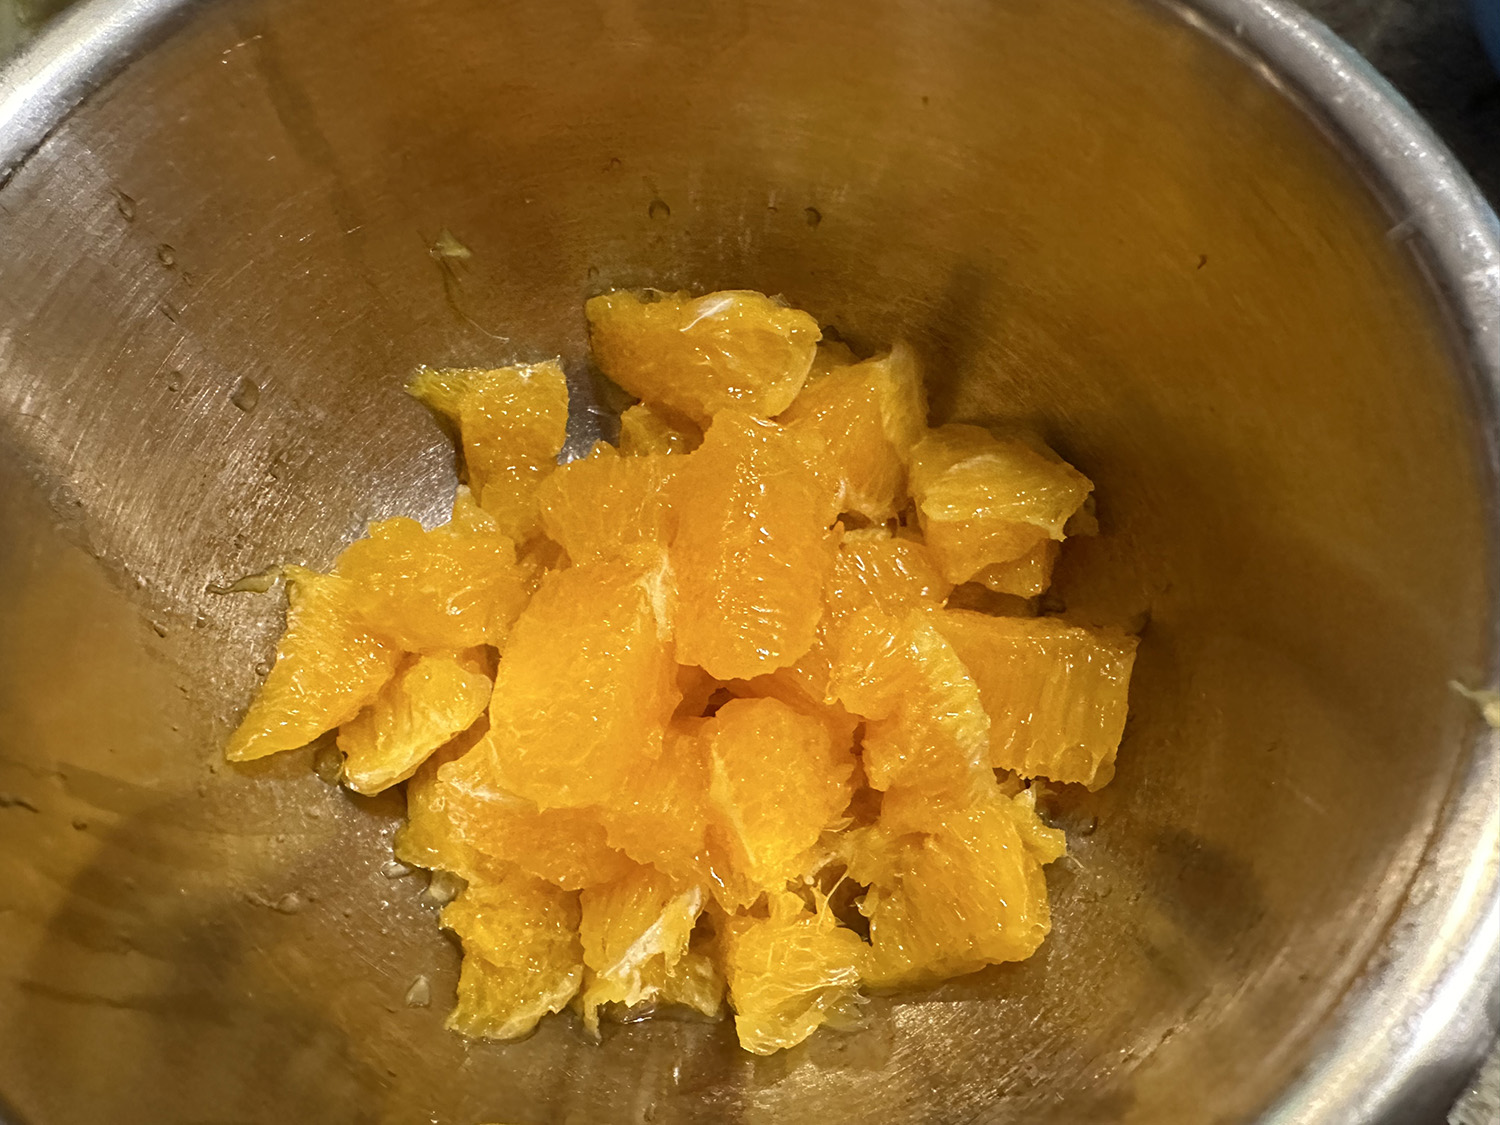
- 2 navel oranges
- 1 lb. bratwurst
- 2 cups water, divided, plus extra as needed
- 1⁄2 cup dry white wine
- 2 Tbsp. plus 2 tsp. extra-virgin olive oil, divided
- 1⁄4 tsp. table salt
- 1⁄8 tsp. pepper
- 16 pitted Castelvetrano olives, halved lengthwise
- 2 tsp. sherry vinegar
- 1½ tsp. cornstarch
- 1 tsp. honey


Directions
- Cut each fennel bulb lengthwise through core into 8 wedges (do not remove core); set aside. Cut away peel and pith from oranges. Holding fruit over bowl, use paring knife to slice between membranes to release segments. Squeeze remaining juice from membranes to yield 2 tablespoons; set aside. Cut segments in half and place in second bowl.
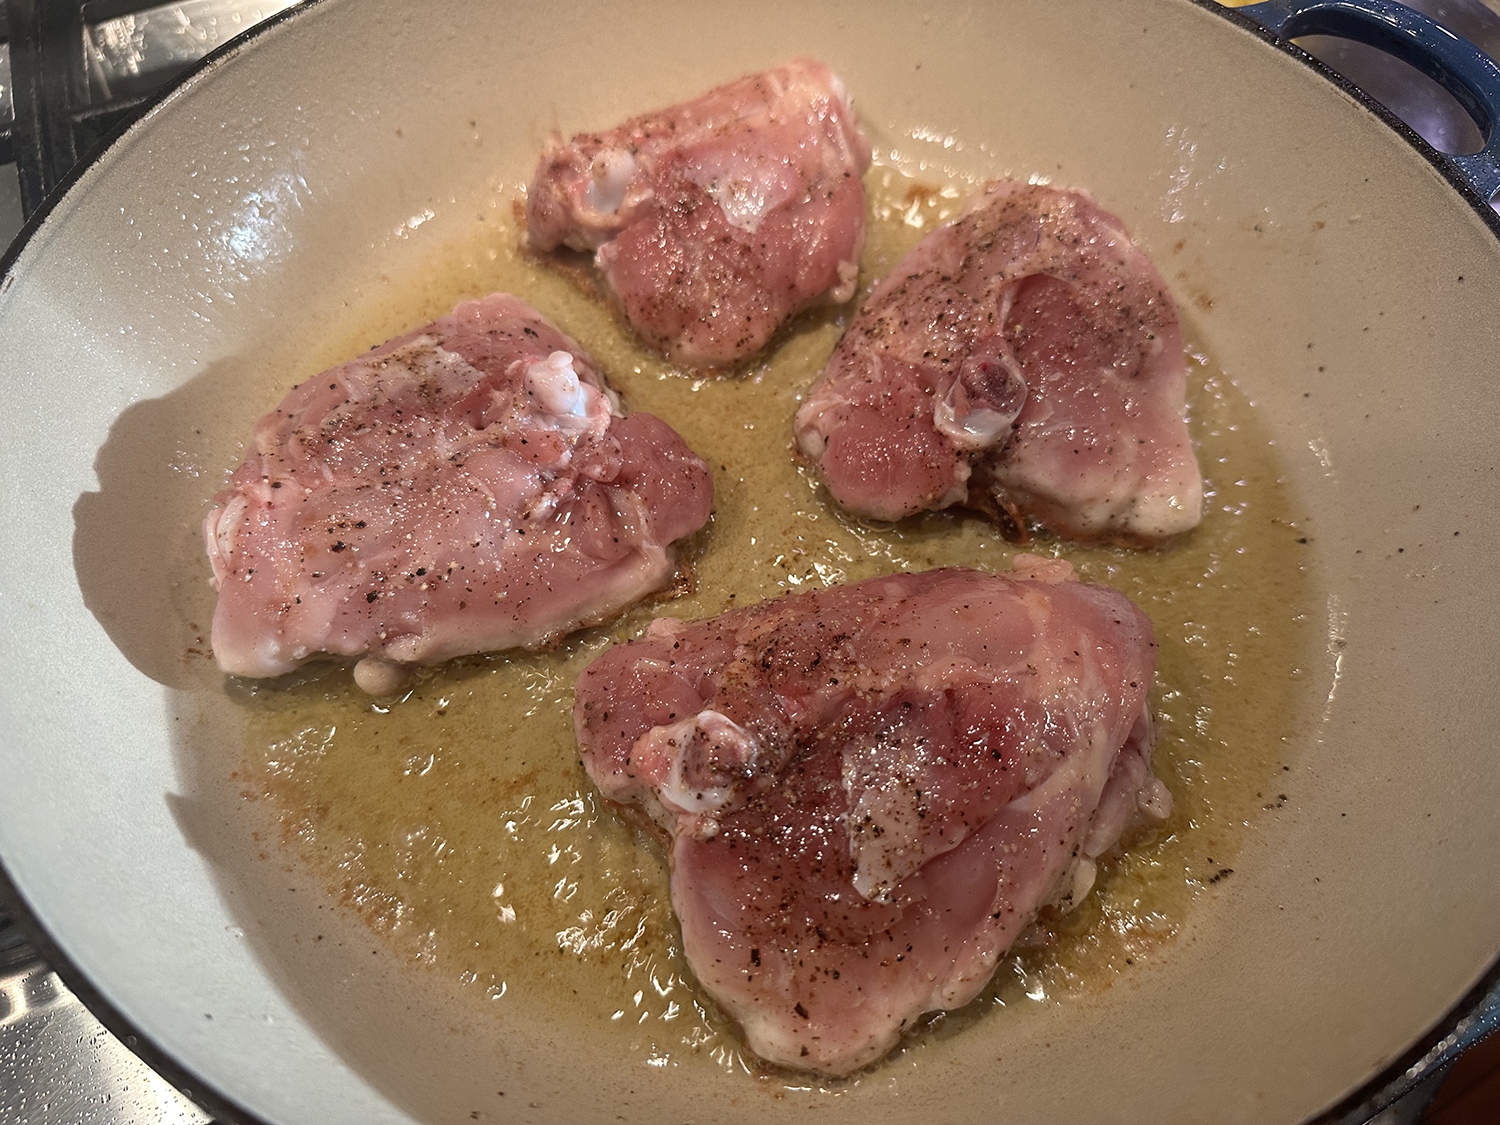
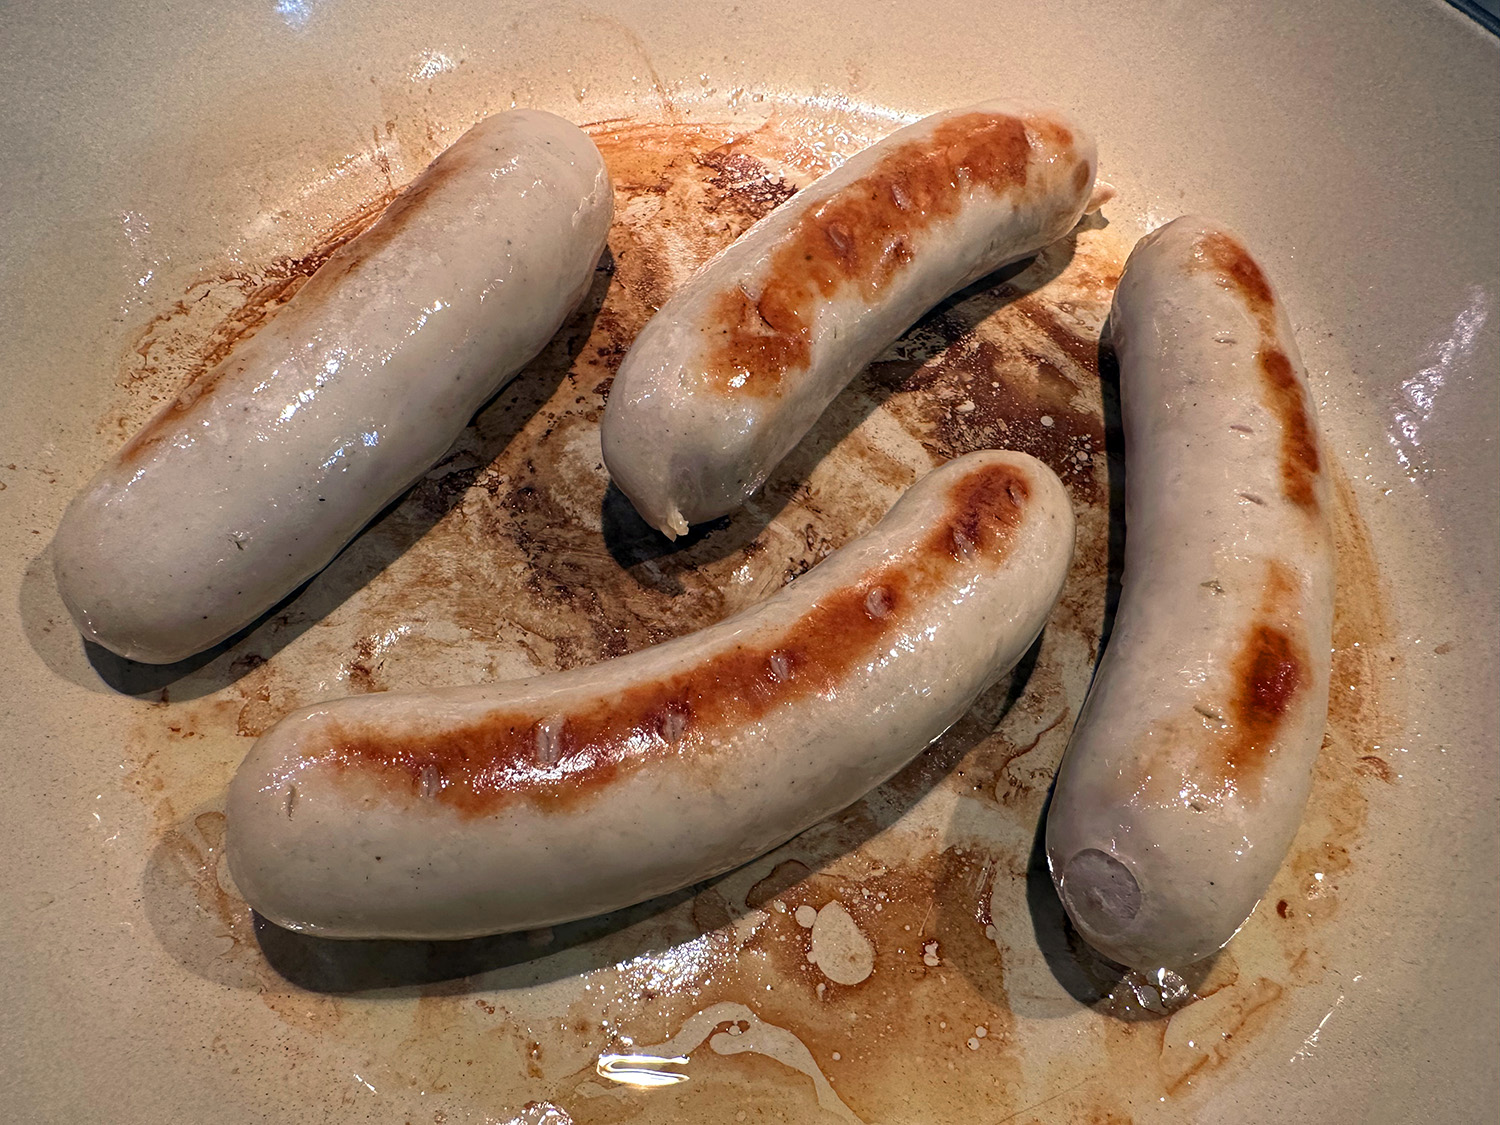
- Bring bratwursts and ¼ cup water to simmer in 12-inch skillet over medium heat. Cover and cook until bratwursts register about 135 degrees, 5 to 7 minutes. (If skillet contents begin to sizzle, add ¼ cup water.)
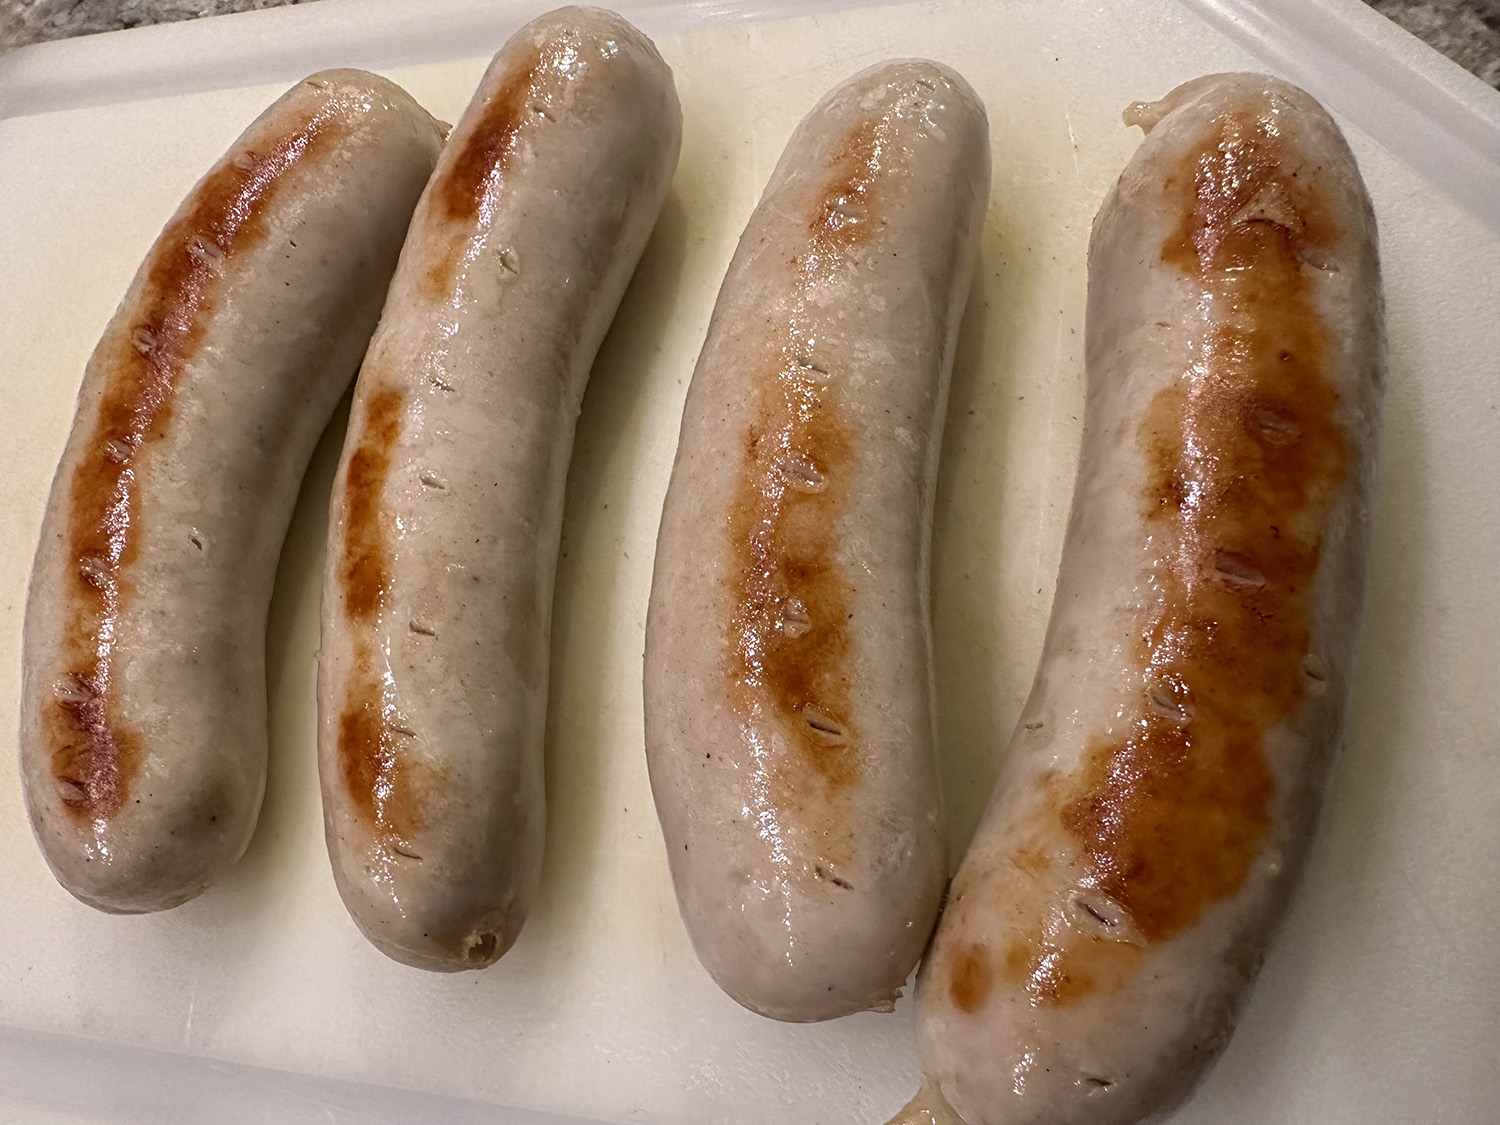
- Uncover and, using paring knife, pierce each bratwurst in 8 to 10 spots to release fat and juices. Continue to cook, uncovered, moving bratwursts as necessary, until dark fond forms on bottom of skillet, 2 to 4 minutes longer. Transfer bratwursts to cutting board.
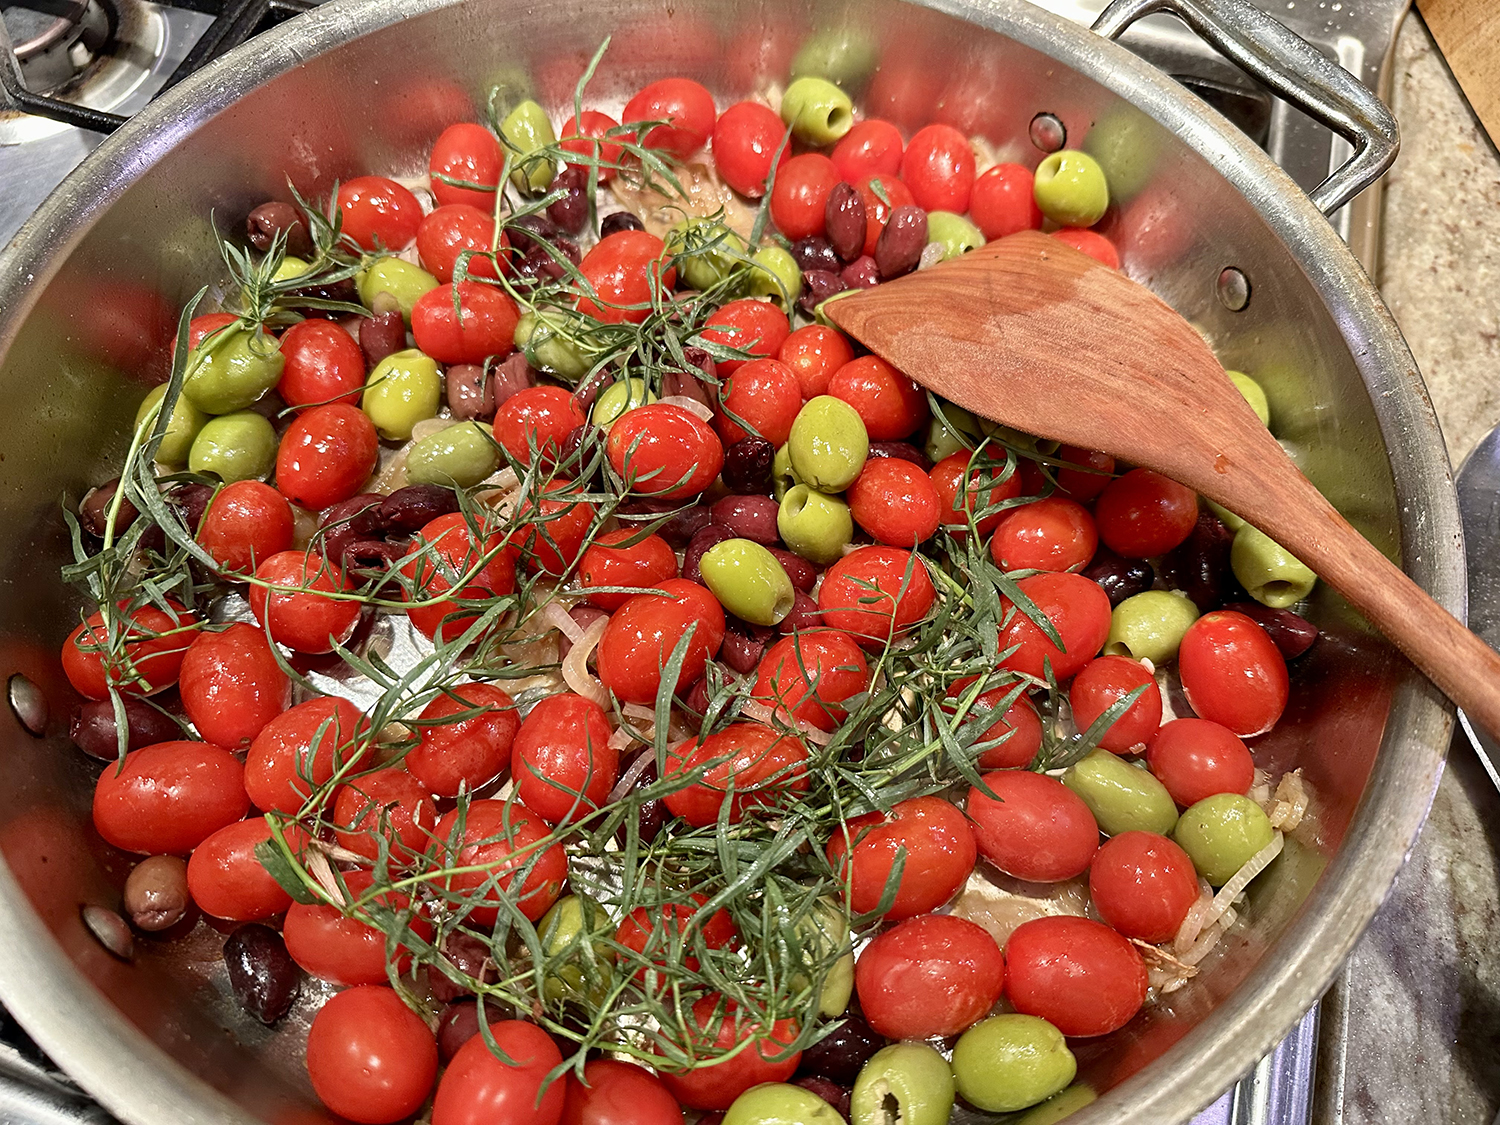
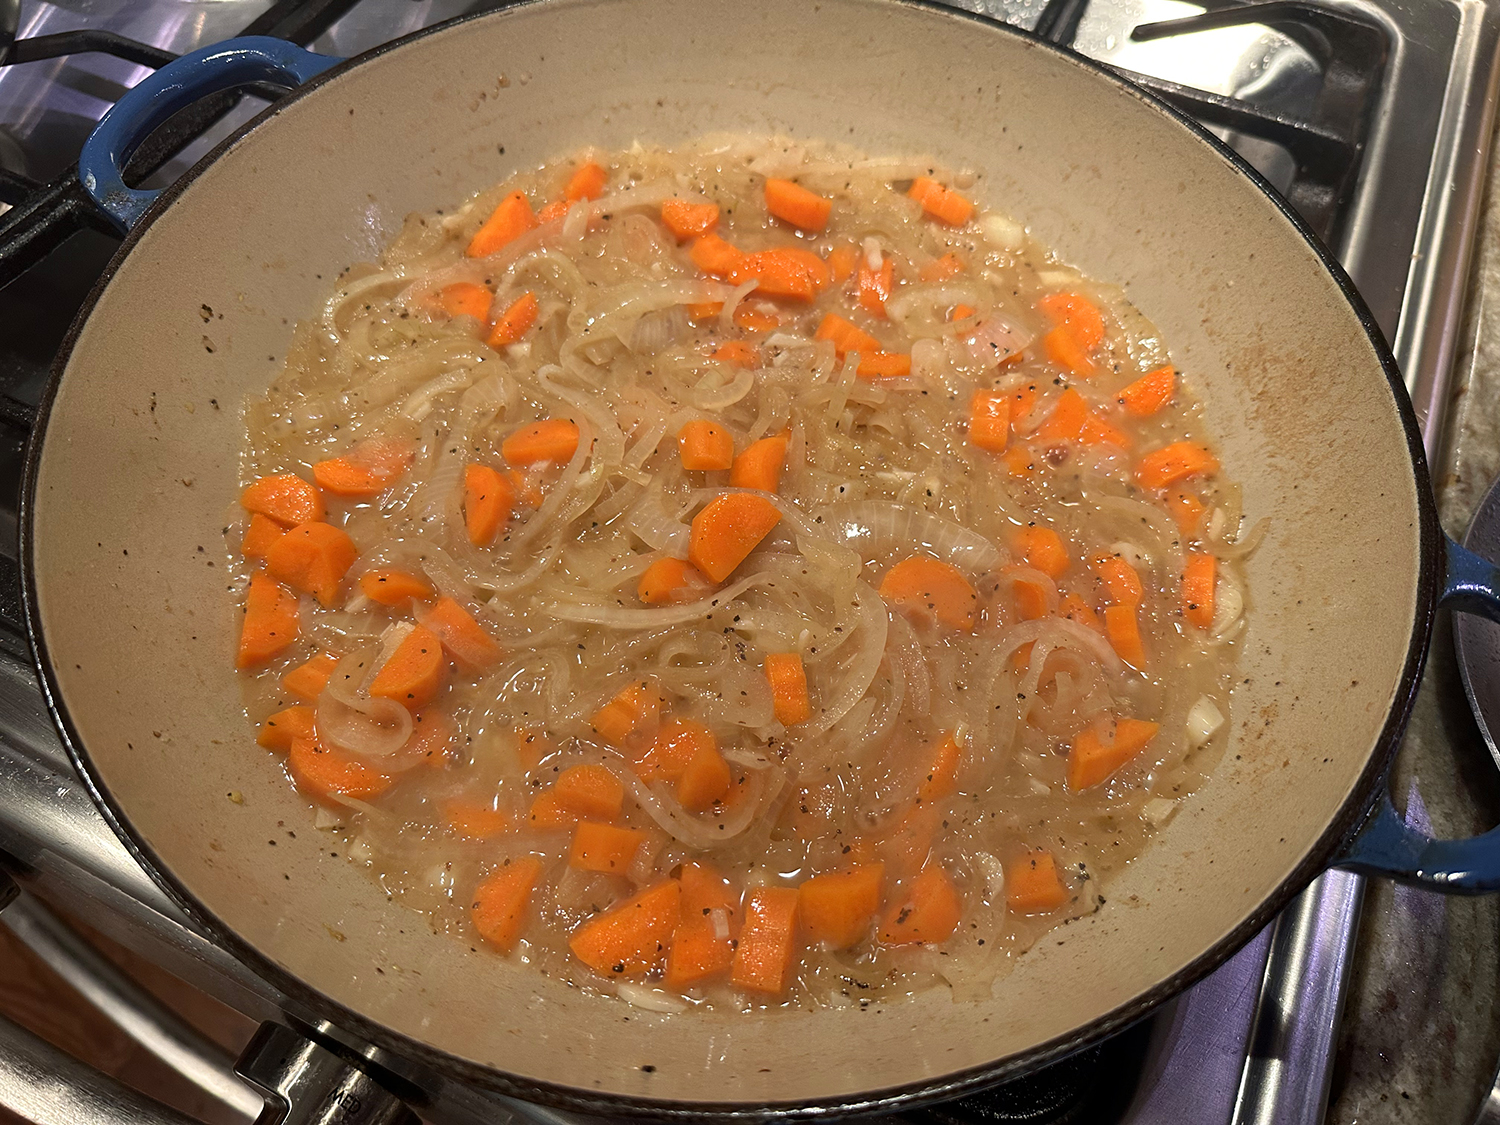
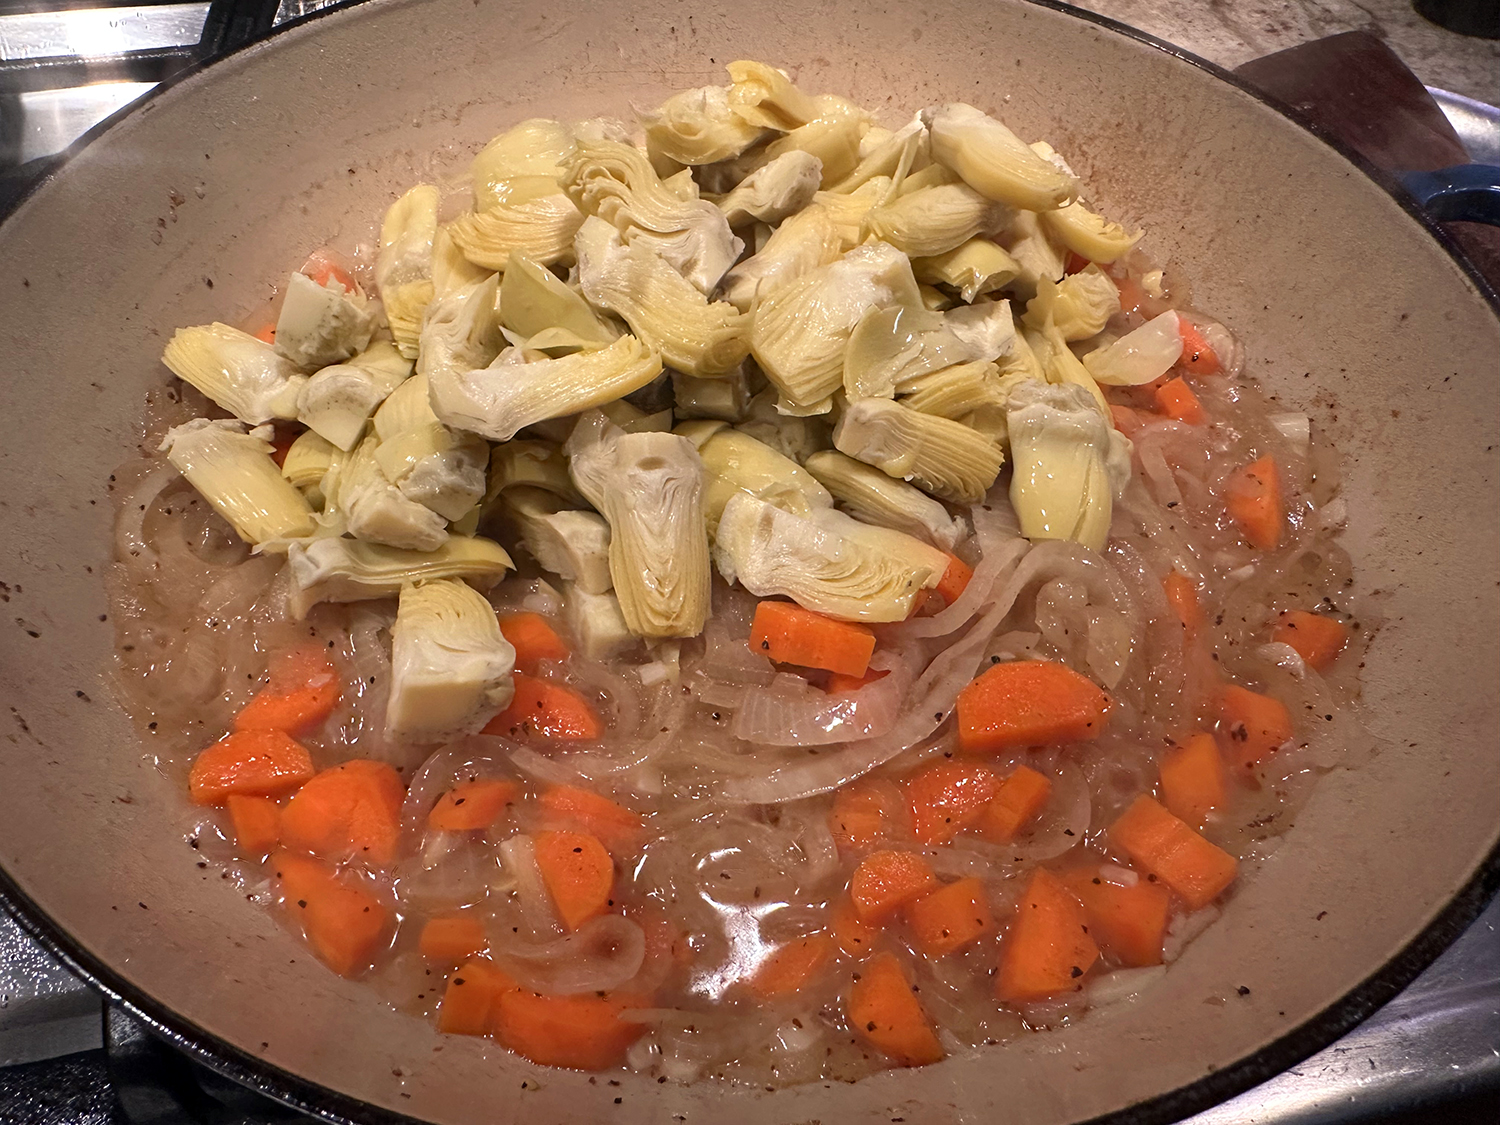
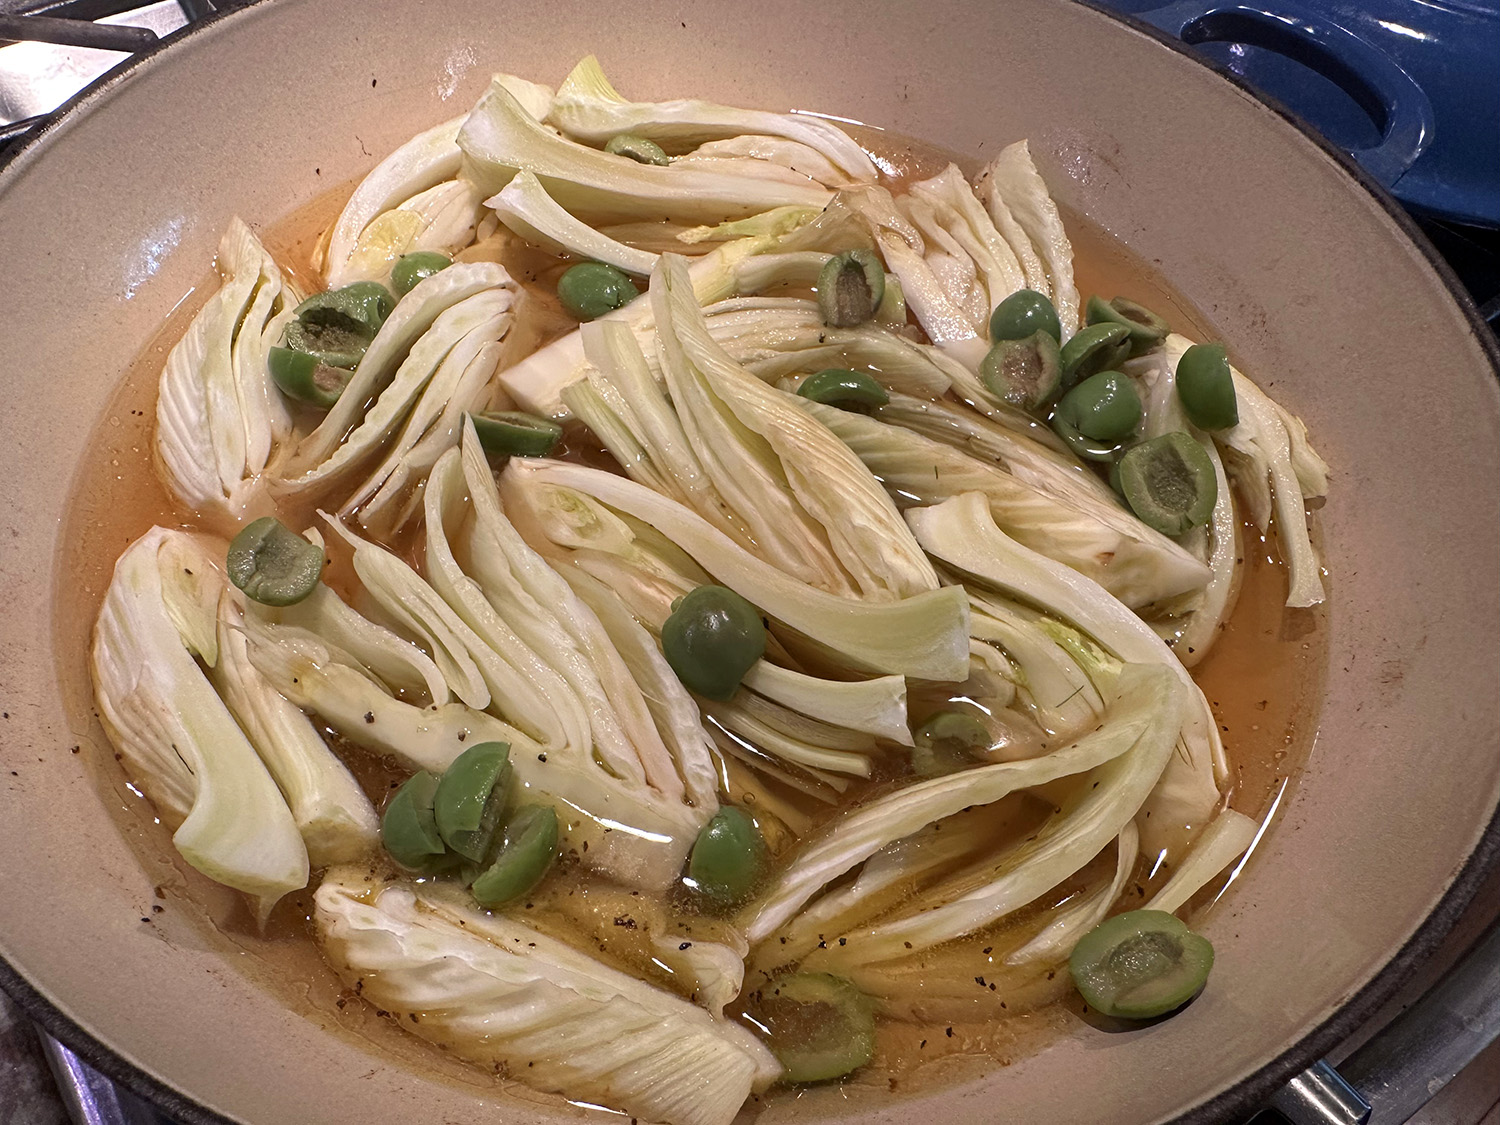
- Add wine, 1 tablespoon oil, salt, pepper, and remaining 1¾ cups water to now-empty skillet. Stir, scraping up any browned bits. Add fennel wedges, arranging them cut side down in single layer. Add olives and bring to boil over medium-high heat. Adjust heat to maintain simmer; cover; and cook until fennel is tender, 10 to 12 minutes. Flip wedges and continue to cook, uncovered, until liquid is reduced by half, 5 to 7 minutes longer.
- While fennel cooks, add 2 teaspoons fennel fronds, vinegar, cornstarch, honey, and remaining 5 teaspoons oil to reserved orange juice and whisk to combine.
- Return bratwursts to pan, nestling links between fennel. Cover and continue to cook until bratwursts register 160 degrees, 7 to 12 minutes. Transfer bratwursts to cutting board and slice each link into thirds.
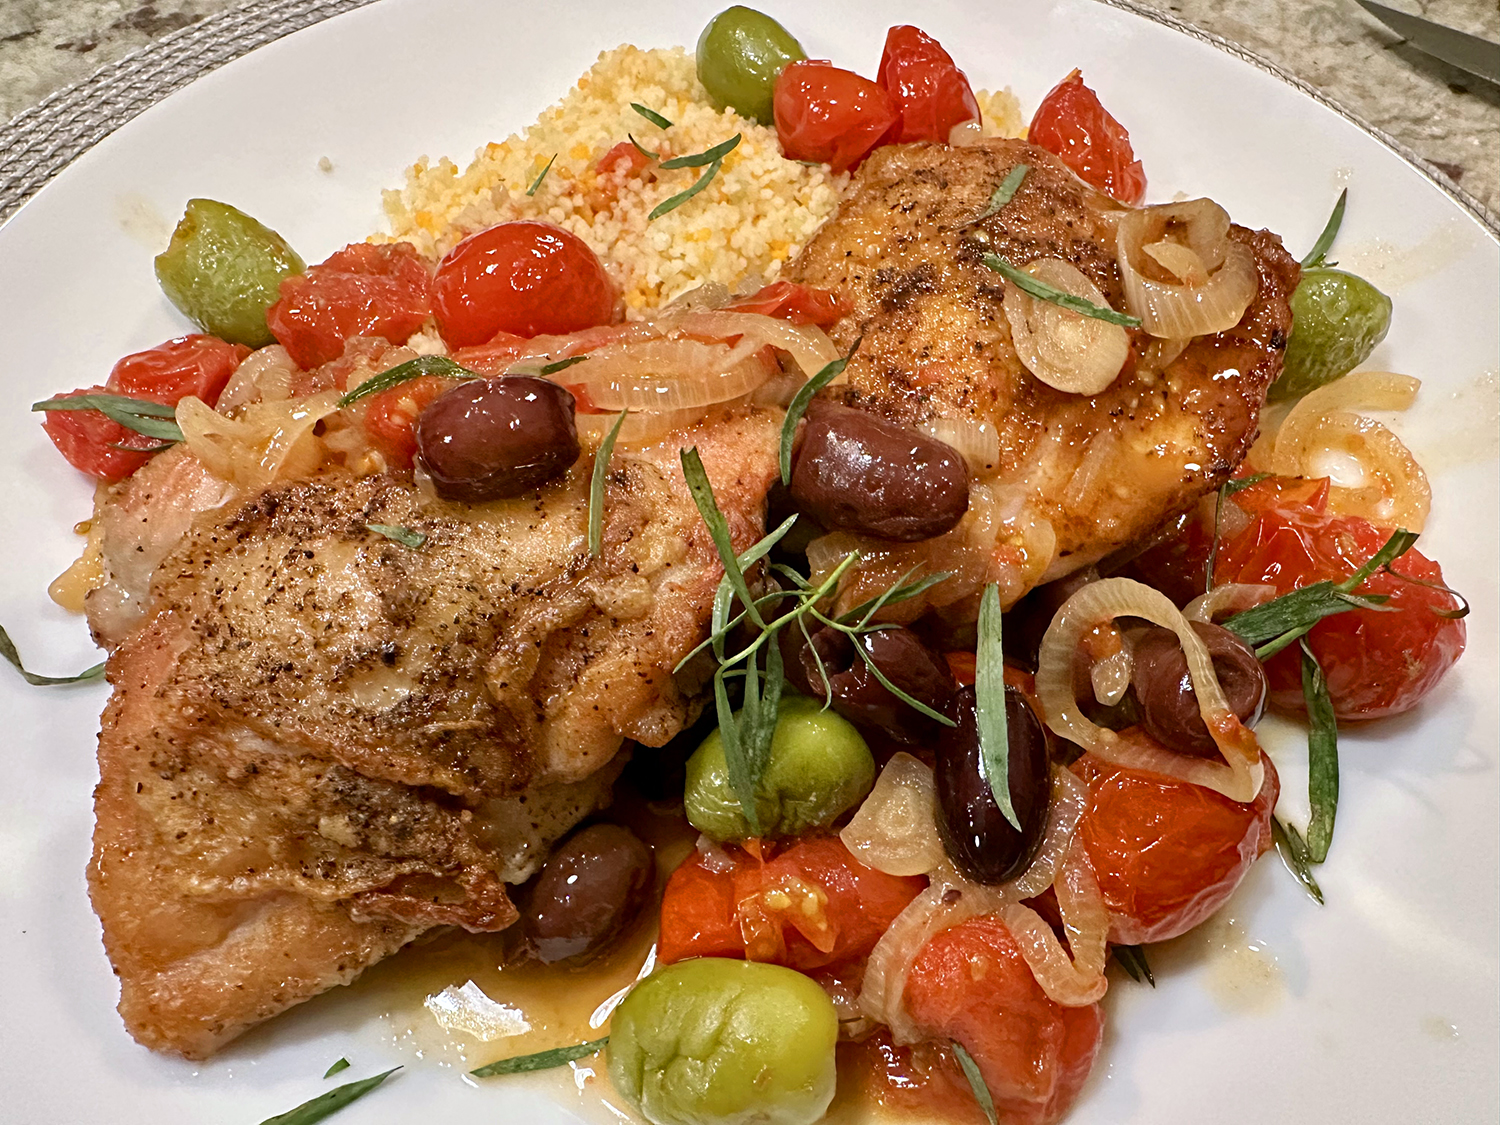
- Whisk orange juice mixture to recombine, then add to skillet. Cook, stirring constantly, until sauce is thickened and glossy, about 1 minute. Off heat, season with salt and pepper to taste. Divide fennel and sauce among shallow bowls. Top with bratwursts and orange segments and garnish with remaining 4 teaspoons fronds. Serve.
Recipe from Steve Dunn for America’s Test Kitchen