Monthly Archives: December 2024

Cheesy French Onion Garlic Bread

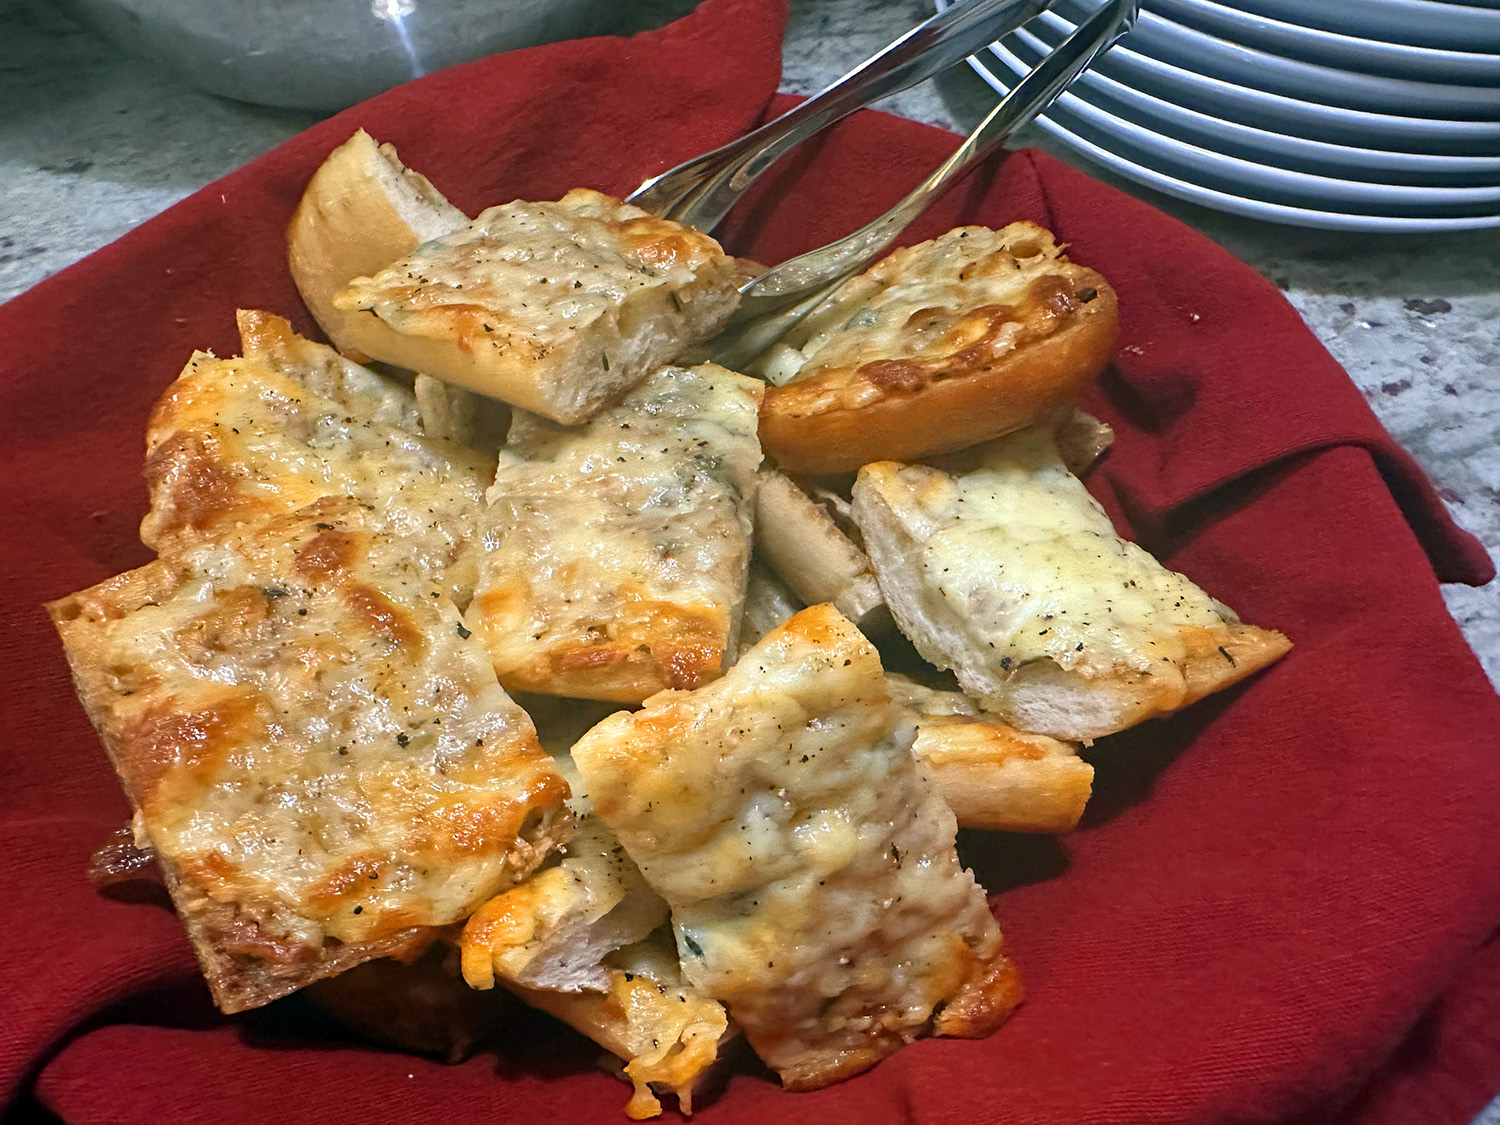
Love garlic bread? Well, this cheesy French onion garlic bread is the best of both worlds, combining garlic bread and French onion soup, with none of the hassle. With just a few ingredients and a little help from the grocery store, you’ll have a delicious twist on garlic bread in no time. A great addition to most dinner parties.

Here, I use a packet of onion soup mix and some butter to season the bread. Topping it with gooey mozzarella, Gruyère, fresh thyme, and black pepper achieves that signature French onion soup flavor. The bread crisps up in the oven to become a buttery, cheesy delight. It’s the ideal companion to any pasta dish — or perhaps a great midday snack. No matter what you pair it with, it’s one of the best complements to any meal.

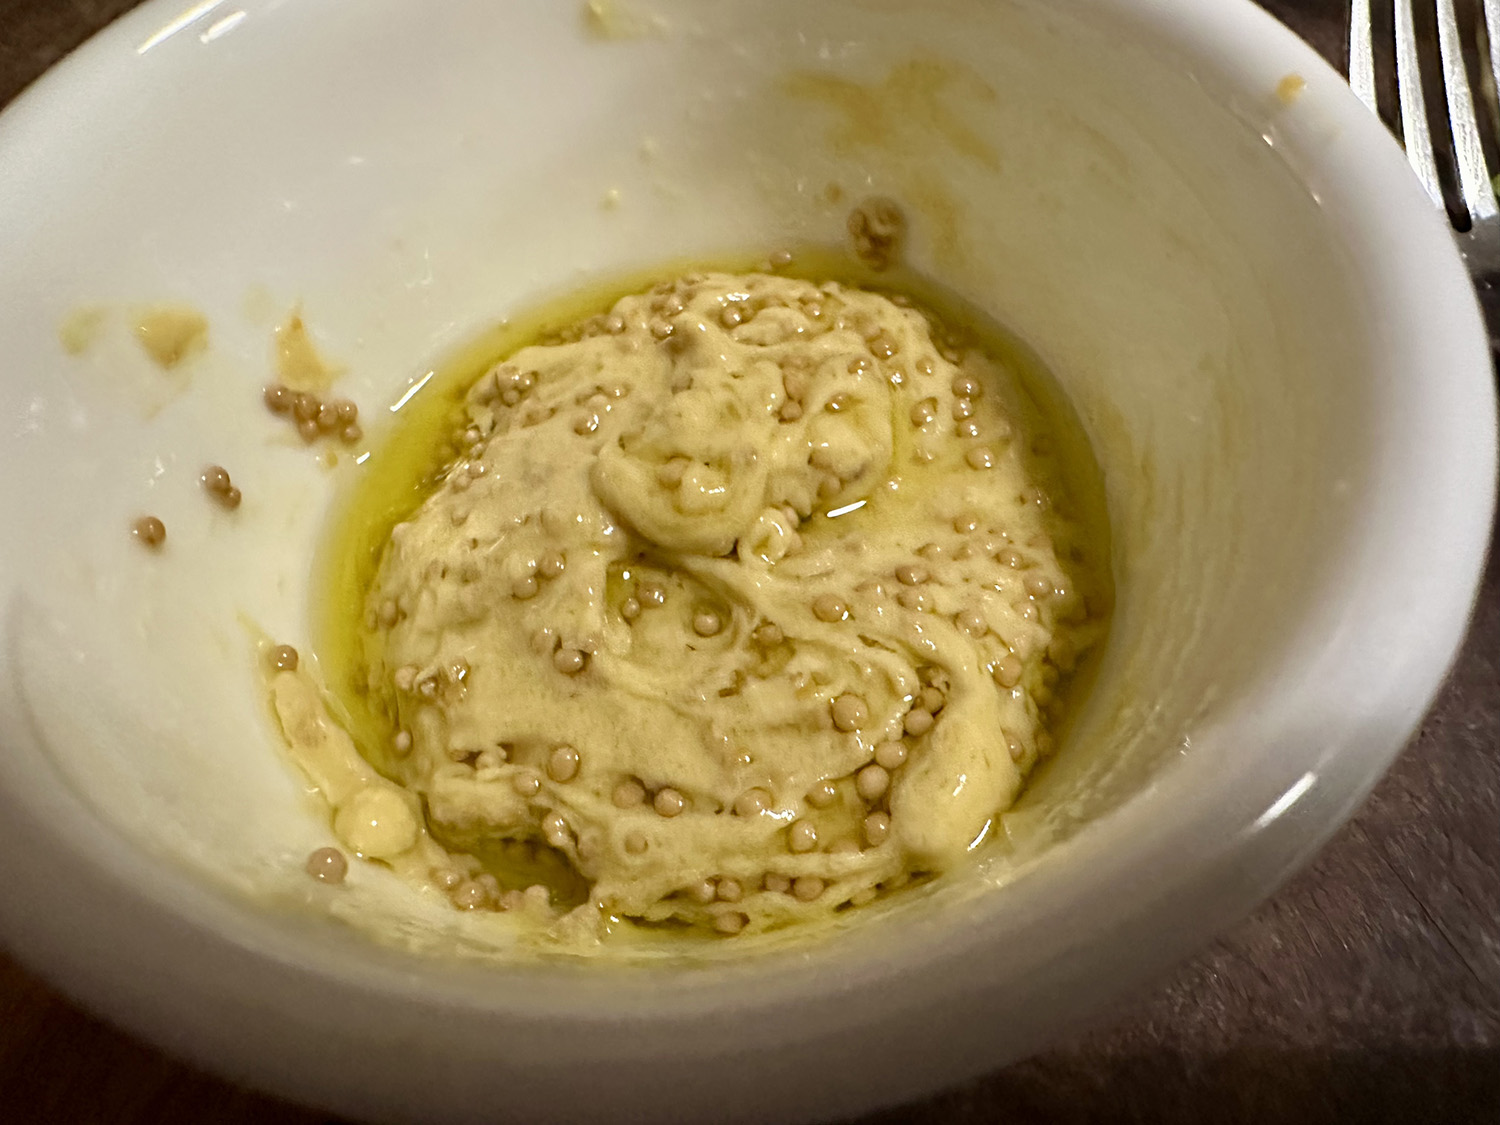
While the original recipe didn’t say to, we found it’s best to let the butter/onion soup mix sit at room temperature so that the dried bits of onion hydrate some.

Make ahead: The butter mixture can be made up to two days ahead and refrigerated in an airtight container. Let sit at room temperature until softened before using.

Storage: Leftover bread can be refrigerated in an airtight container for up to four days. Reheat in a 350ºF oven until warmed through, about 8 minutes.

Cheesy French Onion Garlic Bread

  • Servings: 8-10
  • Difficulty: easy
  • Print

Ingredients

For the Butter

  • 9 Tbsp. unsalted butter, at room temperature
  • 3 Tbsp. mayonnaise
  • 1 1-oz. packet of dried onion soup mix, such as Lipton’s
  • 3 cloves garlic, minced

For the Bread

  • 1 12-oz. loaf French or Italian bread
  • 4 1/2 oz. low-moisture mozzarella cheese, shredded
  • 4 1/2 oz. Gruyère cheese, shredded
  • 1 Tbsp. fresh thyme leaves from about 5 sprigs, plus more for garnish
  • Freshly ground black pepper

Directions

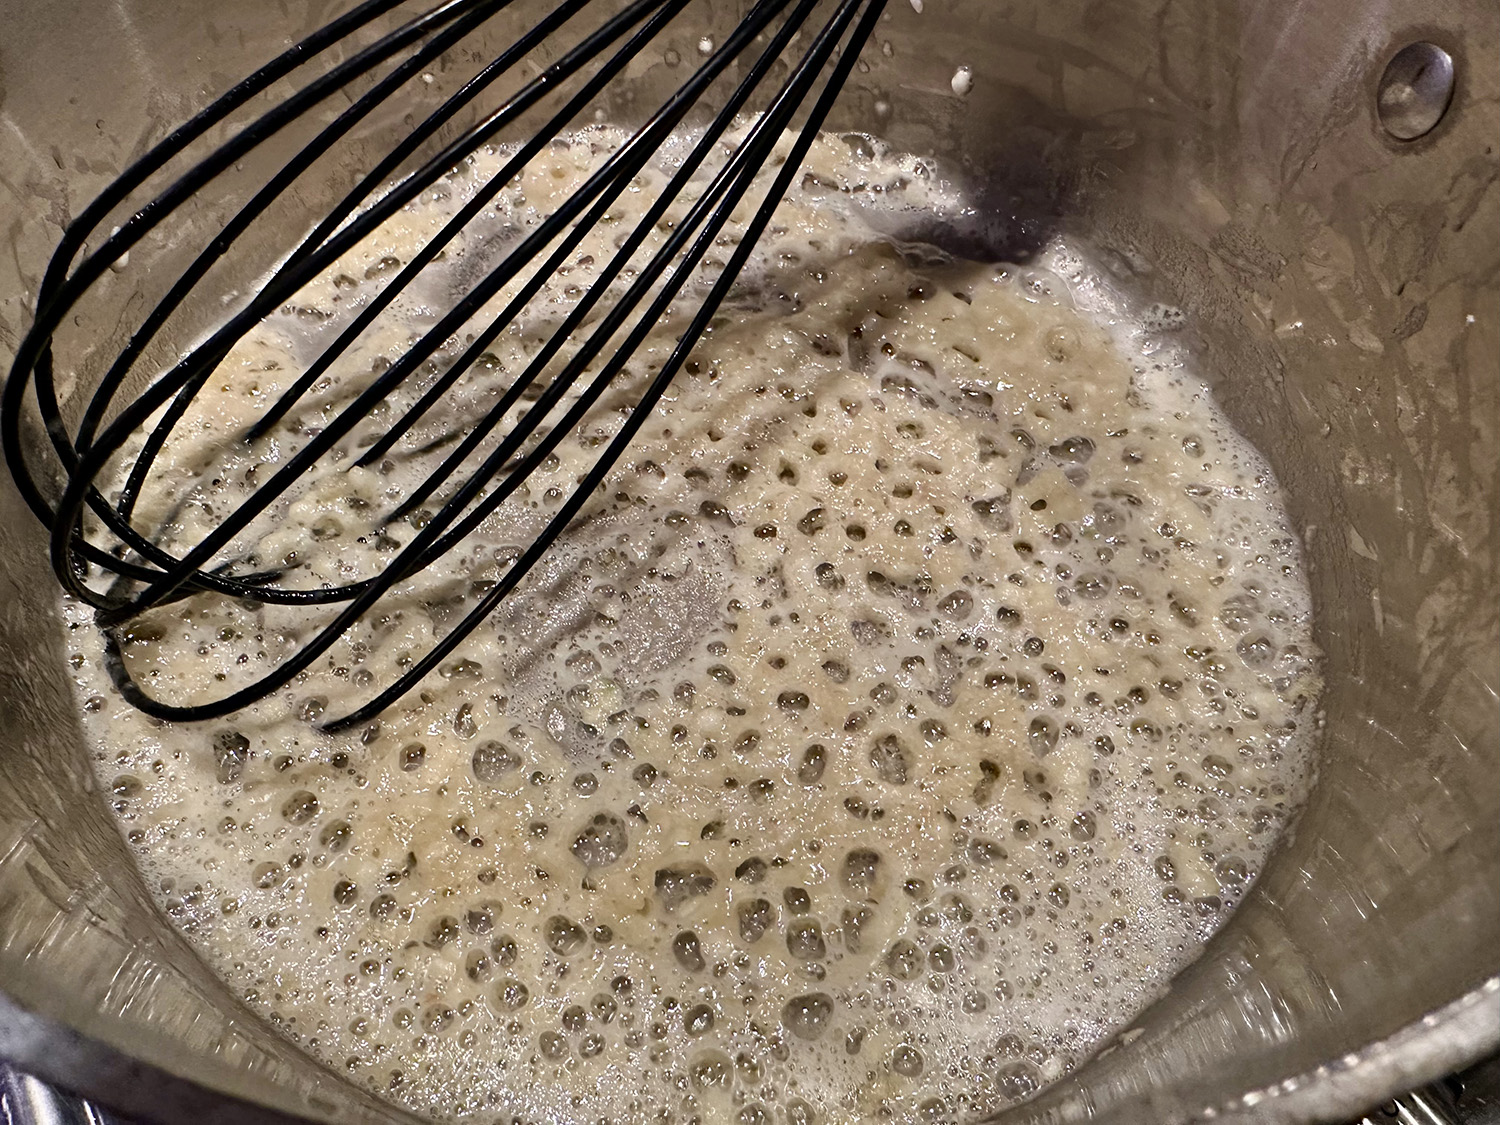
  1. Make the butter: Stir and smash room-temperature unsalted butter, mayonnaise, onion soup mix, and minced garlic cloves together with a flexible spatula in a small bowl until combined. Let sit for about 30 minutes to ensure the dried onion bits hydrate.
  2. Assemble the bread: Heat the oven to 375ºF. Line a baking sheet with parchment paper or aluminum foil.
  3. Use a serrated knife to split 1 loaf French bread in half. Place cut side up on the baking sheet. Spread the butter mixture evenly onto the bread.
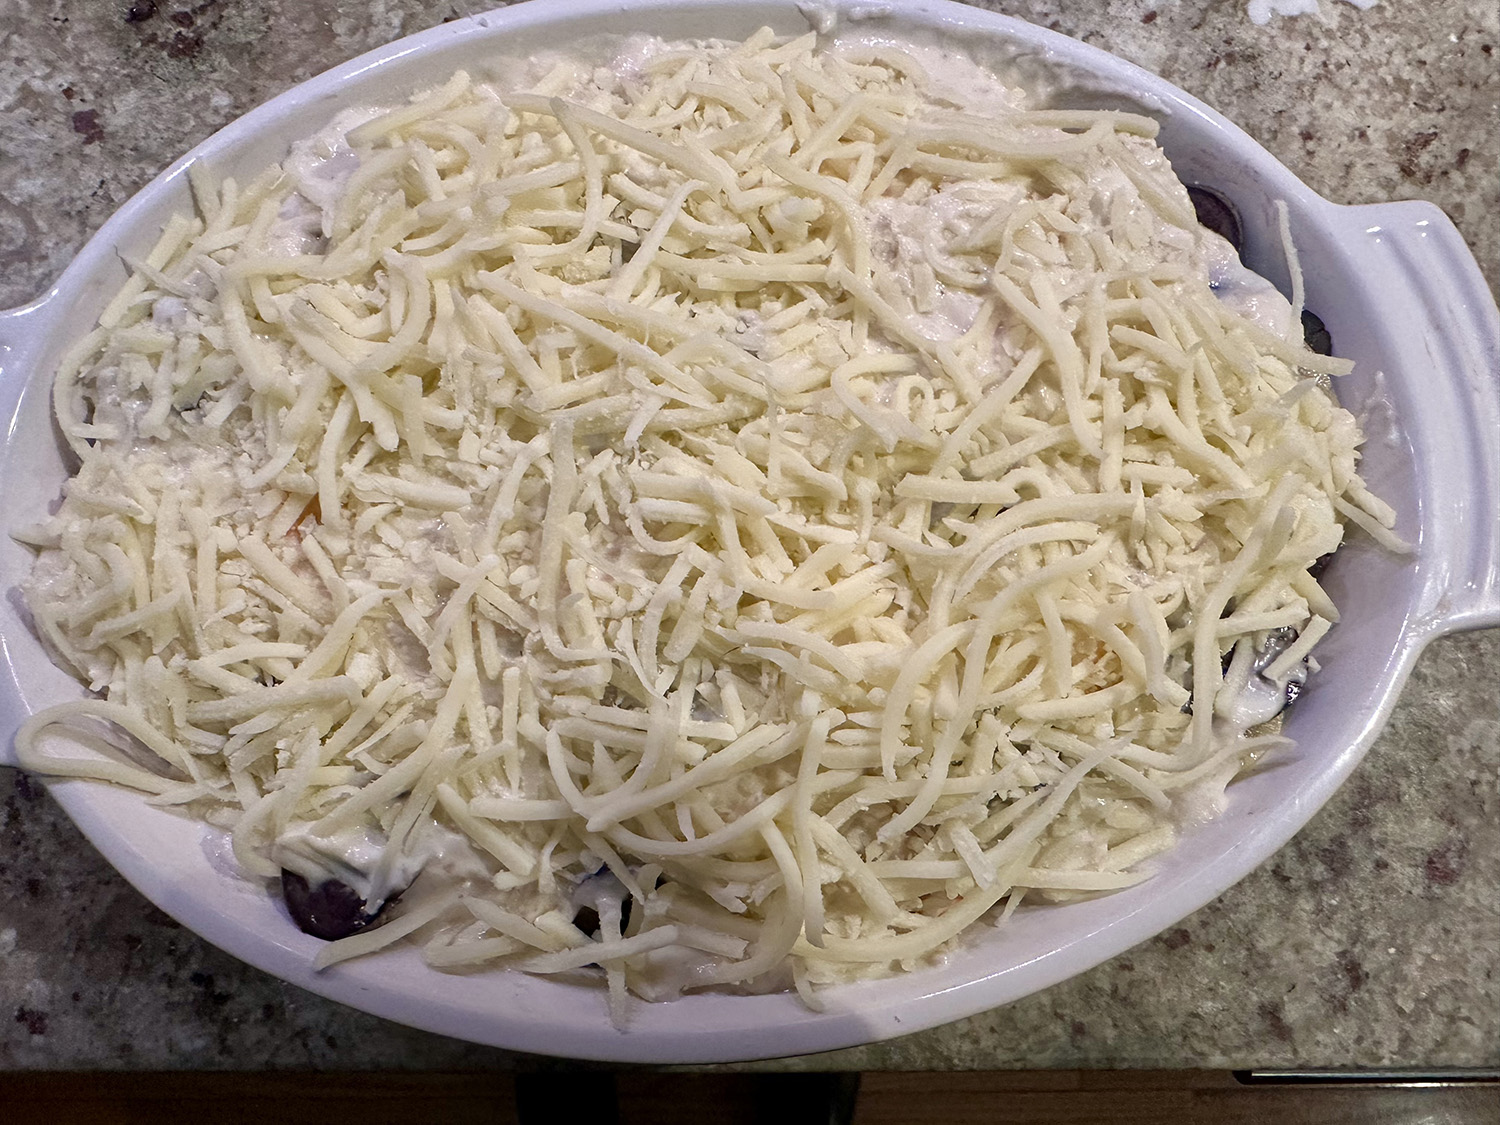
  4. Sprinkle evenly with shredded mozzarella cheese, shredded Gruyère cheese, fresh thyme leaves, and liberally season with black pepper.
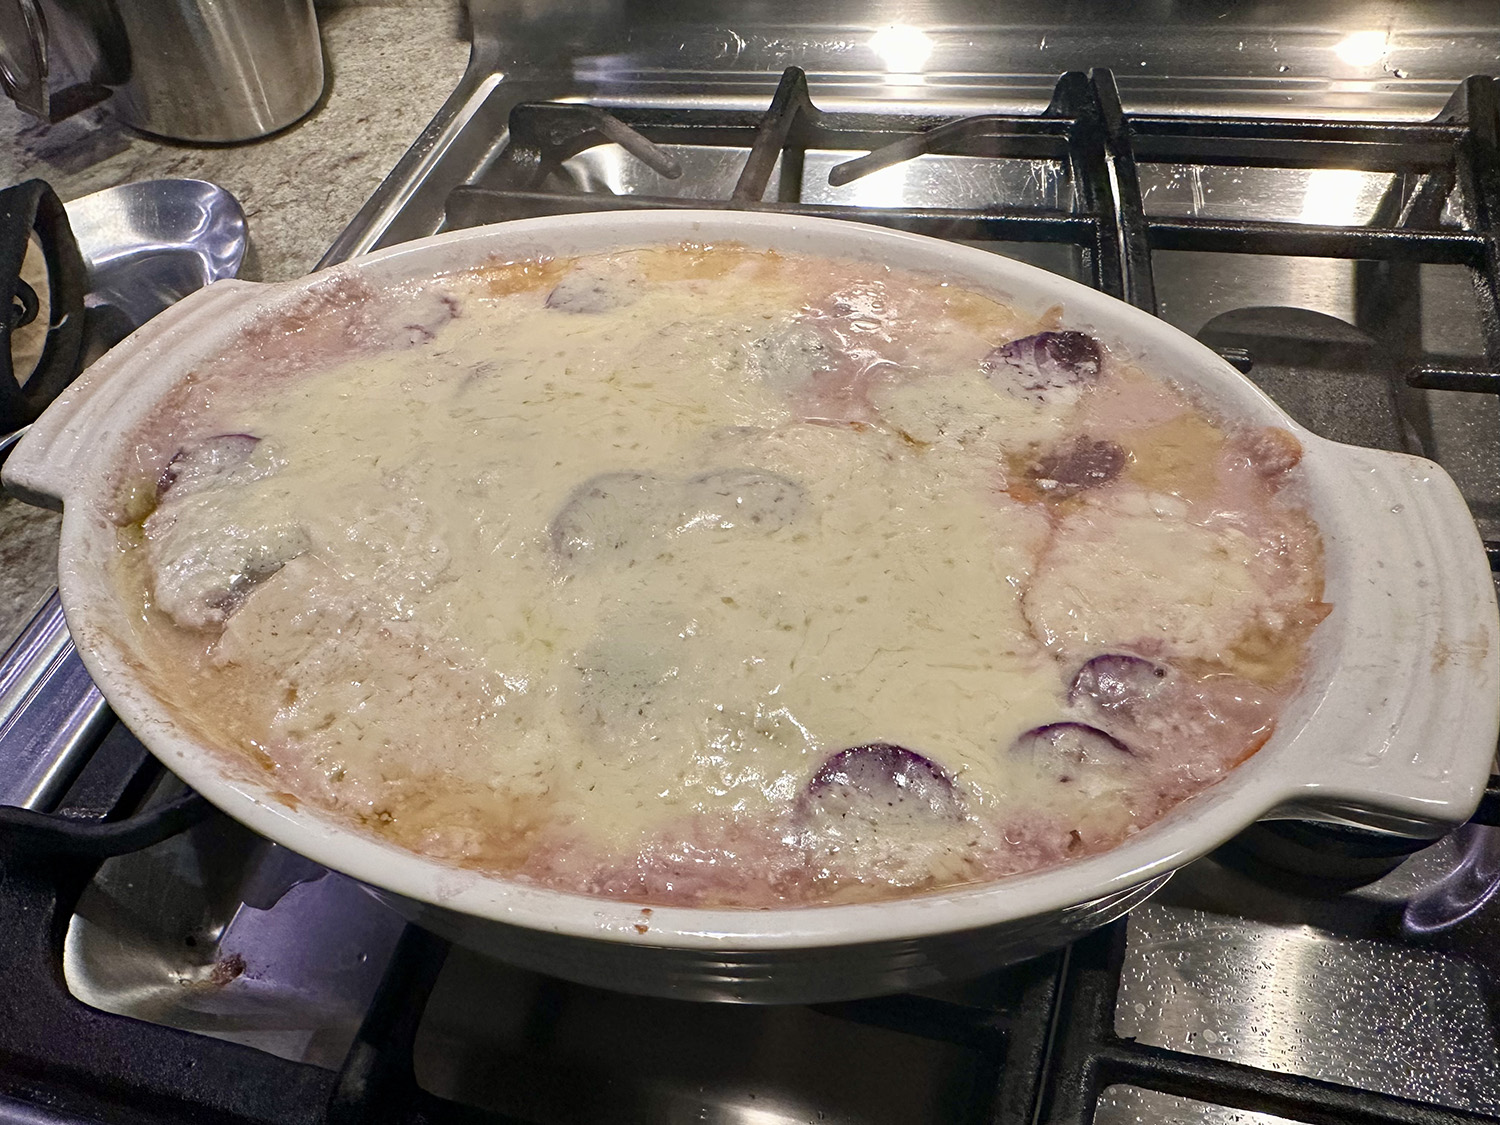
  5. Bake, rotating halfway through, until the cheese is melted and the top is browned in spots, about 15 minutes total. Let cool for at least 10 minutes. Garnish with more fresh thyme leaves if desired and cut crosswise into pieces.

http://www.lynnandruss.com

Recipe by Janette Zepeda for The Kitchn.com

Triple-Chocolate Mousse Cake

This Triple Chocolate Mousse Cake is definitely labor-intensive, but is a truly decadent dessert, and OH SO WORTH IT! It is bakery-quality and has that wow factor that will have your guests talking about it for years to come!

Here, America’s Test Kitchen (ATK) set out to tweak this showy confection. By finessing one layer at a time, starting with the dark chocolate base and building to the top white chocolate tier, ATK aimed to create a triple-decker that was incrementally lighter in texture than normal—and richness.

For simplicity’s sake, ATK decided to build the whole dessert, layer by layer, in the same springform pan. For a base layer that had the heft to support the upper two tiers, flourless chocolate cake was chosen instead of the typical mousse. Folding egg whites into the batter helped lighten the cake without affecting its structural integrity.

For the middle layer, the eggs were removed and the chocolate was cut back a bit—this resulted in a lighter, creamier layer. And for the crowning layer to the cake, ATK made an easy white chocolate mousse by folding whipped cream into melted white chocolate—and to prevent the soft mousse from oozing during slicing, a little gelatin was added to the mix.

This recipe requires a springform pan at least 3 inches high. It is imperative that each layer is made in sequential order. Cool the base completely before topping it with the middle layer. For best results, chill the mixer bowl before whipping the heavy cream. The entire cake can be made through step 8 and refrigerated up to a day in advance; leave it out at room temperature for up to 45 minutes before releasing it from the cake pan and serving. For neater slices, use a cheese wire or dip your knife in hot water before cutting each slice.

Triple-Chocolate Mousse Cake

  • Servings: 10-14
  • Difficulty: moderately difficult
  • Print

Ingredients

Bottom Layer

  • 6 Tbsp. (3/4 stick) unsalted butter, cut into 6 pieces, plus extra for greasing pan
  • 7 oz. bittersweet chocolate, chopped fine (see note)
  • ¾ teaspoon instant espresso powder
  • 1 ½ teaspoons vanilla extract
  • 4 large eggs, separated
  • Pinch table salt
  • ⅓ cup packed (about 2 1/2 oz.) light brown sugar, crumbled with fingers to remove lumps

Middle Layer

  • 2 Tbsp. cocoa powder, preferably Dutch-processed
  • 5 Tbsp. hot water
  • 7 oz. bittersweet chocolate, chopped fine (see note)
  • 1 ½ cups cold heavy cream
  • 1 Tbsp. granulated sugar
  •  tsp. table salt

Top Layer

  • ¾ tsp. powdered gelatin
  • 1 Tbsp. water
  • 6 oz. white chocolate chips (see note)
  • 1 ½ cups cold heavy cream
  • Shaved chocolate or cocoa powder for serving, optional (see note)

Directions

  1. FOR THE BOTTOM LAYER: Adjust oven rack to middle position and heat oven to 325 degrees. Butter bottom and sides of 91/2-inch springform pan. Melt butter, chocolate, and espresso powder in large heatproof bowl set over saucepan filled with 1 inch of barely simmering water, stirring occasionally until smooth. Remove from heat and cool mixture slightly, about 5 minutes. Whisk in vanilla and egg yolks; set aside.
  2. In stand mixer fitted with whisk attachment, beat egg whites and salt at medium speed until frothy, about 30 seconds. Add half of brown sugar and beat until combined, about 15 seconds. Add remaining brown sugar and beat at high speed until soft peaks form when whisk is lifted, about 1 minute longer, scraping down sides halfway through. Using whisk, fold one-third of beaten egg whites into chocolate mixture to lighten. Using rubber spatula, fold in remaining egg whites until no white streaks remain. Carefully transfer batter to prepared springform pan, gently smoothing top with offset spatula.
  3. Bake until cake has risen, is firm around edges, and center has just set but is still soft (center of cake will spring back after pressing gently with finger), 13 to 18 minutes. Transfer cake to wire rack to cool completely, about 1 hour. (Cake will collapse as it cools.) Do not remove cake from pan.
  4. FOR THE MIDDLE LAYER: Combine cocoa powder and hot water in small bowl; set aside. Melt chocolate in large heatproof bowl set over saucepan filled with 1 inch of barely simmering water, stirring occasionally until smooth. Remove from heat and cool slightly, 2 to 5 minutes.
  5. In clean bowl of stand mixer fitted with whisk attachment, whip cream, granulated sugar, and salt at medium speed until mixture begins to thicken, about 30 seconds. Increase speed to high and whip until soft peaks form when whisk is lifted, 15 to 60 seconds.
  6. Whisk cocoa powder mixture into melted chocolate until smooth. Using whisk, fold one-third of whipped cream into chocolate mixture to lighten. Using rubber spatula, fold in remaining whipped cream until no white streaks remain. Spoon mousse into springform pan over cooled cake and gently tap pan on counter 3 times to remove any large air bubbles; gently smooth top with offset spatula. Wipe inside edge of pan with damp cloth to remove any drips. Refrigerate cake at least 15 minutes while preparing top layer.
  7. FOR THE TOP LAYER: In small bowl, sprinkle gelatin over water; let stand at least 5 minutes. Place white chocolate in medium bowl. Bring ½ cup cream to simmer in small saucepan over medium-high heat. Remove from heat; add gelatin mixture and stir until fully dissolved. Pour cream mixture over white chocolate and whisk until chocolate is melted and mixture is smooth, about 30 seconds. Cool to room temperature, stirring occasionally, 5 to 8 minutes (mixture will thicken slightly).
  8. In clean bowl of stand mixer fitted with whisk attachment, whip remaining cup cream at medium speed until it begins to thicken, about 30 seconds. Increase speed to high and whip until soft peaks form when whisk is lifted, 15 to 60 seconds. Using whisk, fold one-third of whipped cream into white chocolate mixture to lighten. Using rubber spatula, fold remaining whipped cream into white chocolate mixture until no white streaks remain. Spoon white chocolate mousse into pan over middle layer. Smooth top with offset spatula. Return cake to refrigerator and chill until set, at least 2½ hours.
  9. TO SERVE: If using, garnish top of cake with chocolate curls or dust with cocoa. Run thin knife between cake and side of springform pan; remove side of pan. Run cleaned knife along outside of cake to smooth sides. Cut into slices and serve.

http://www.lynnandruss.com

Recipe from America’s Test Kitchen

The Ultimate Beef Wellington with Green Peppercorn Sauce

It’s the holidays, so not only do you dress to impress, but you dazzle with the ultimate in decadence when it comes to the star of the show, your entrée. This Beef Wellington recipe is not for culinary novices, so perhaps engage a more knowledgeable foodie to assist in the preparation.

That being said, it’s definitely a special-occasion meal, so plan on giving it your all, and neither you, nor your guests, will be disappointed. In fact it was exclaimed the “BEST Christmas dinner ever” by a few at the table, and we couldn’t disagree.

We decided to prep much of the work ahead, so we made the duxelles and the green peppercorn sauce the day before. The beef tenderloin had dry-aged overnight in the refrigerator the day before and got the wrap treatment after we finished making the duxelles, then again went into the fridge overnight. The puff pastry exterior was accomplished slightly before it made it’s way into the oven to roast.

And of course being a designer/artist, I couldn’t just wrap the beef in puff pastry without adding some sort of embellishment, in this case, various sized stars.

The Ultimate Beef Wellington with Green Peppercorn Sauce

  • Servings: 6-8
  • Difficulty: moderate
  • Print

Ingredients

For the Duxelles:

  • 3 pints (1 1/2 lbs.) white button mushrooms
  • 2 shallots, peeled and roughly chopped
  • 4 cloves garlic, peeled and roughly chopped
  • 2 sprigs fresh thyme, leaves only
  • 2 Tbsp. unsalted butter
  • 2 Tbsp. extra-virgin olive oil
  • Kosher salt and freshly ground black pepper

For the Beef:

  • One 3-lb. center cut beef tenderloin (filet mignon), trimmed
  • Extra-virgin olive oil
  • Kosher salt and freshly ground black pepper
  • 12 thin slices prosciutto
  • 6 sprigs of fresh thyme, leaves only
  • 2 Tbsp. Dijon mustard
  • Flour, for rolling out puff pastry
  • 1 lb. puff pastry, thawed if using frozen
  • 2 large eggs, lightly beaten
  • 1/2 tsp. coarse sea salt
  • Minced chives, for garnish
  • Green Peppercorn Sauce, recipe follows
  • Roasted Fingerling Potatoes with Fresh Herbs and Garlic, recipe follows

Green Peppercorn Sauce:

  • 2 Tbsp. olive oil
  • 2 shallots, sliced
  • 2 cloves garlic, peeled and smashed
  • 3 sprigs fresh thyme, leaves only
  • 1 cup brandy
  • 1 box beef stock
  • 2 cups cream
  • 2 Tbsp. grainy mustard
  • 1/2 cup green peppercorns in brine, drained, brine reserved

Roasted Fingerling Potatoes with Fresh Herbs and Garlic: 4-6 servings, 25 minutes.

  • 2 lbs. fingerling potatoes, cut in half horizontally
  • 2 sprigs fresh rosemary, leaves removed and coarsely chopped
  • 3 sprigs fresh sage, leaves removed and chopped
  • 3 sprigs fresh thyme, leaves removed and chopped
  • 6 cloves garlic, left unpeeled
  • 2 tsp. whole-grain mustard, (optional)
  • 3 Tbsp. extra-virgin olive oil, plus more for sheet pan
  • Salt and pepper, to taste

Directions

  1. To make the Duxelles: Add mushrooms, shallots, garlic, and thyme to a food processor and pulse until finely chopped. Add butter and olive oil to a large saute pan and set over medium heat. Add the shallot and mushroom mixture and saute for 8 to 10 minutes until most of the liquid has evaporated. Season with salt and pepper and set aside to cool.
  2. To prepare the beef: Tie the tenderloin in 4 or more places so it holds its cylindrical shape while cooking. Drizzle with olive oil, then season with salt and pepper and sear all over, including the ends, in a hot, heavy-based skillet lightly coated with olive oil – about 2 to 3 minutes. Meanwhile set out your prosciutto on a sheet of plastic wrap (plastic needs to be about a foot and a half in length so you can wrap and tie the roast up in it) on top of your cutting board. Shingle the prosciutto so it forms a rectangle that is big enough to encompass the entire filet of beef. Using a rubber spatula cover evenly with a thin layer of duxelles. Season the surface of the duxelles with salt and pepper and sprinkle with fresh thyme leaves. When the beef is seared, remove from heat, cut off twine and smear lightly all over with Dijon mustard. Allow to cool slightly, then roll up in the duxelles covered prosciutto using the plastic wrap to tie it up nice and tight. Tuck in the ends of the prosciutto as you roll to completely encompass the beef. Roll it up tightly in plastic wrap and twist the ends to seal it completely and hold it in a nice log shape. Set in the refrigerator for 30 minutes, up to overnight, to ensure it maintains its shape.
  3. Preheat oven to 425 degrees F.
  4. On a lightly floured surface, roll the puff pastry out to about a 1/4-inch thickness. Depending on the size of your sheets you may have to overlap 2 sheets and press them together. Remove beef from refrigerator and cut off plastic. Set the beef in the center of the pastry and fold over the longer sides, brushing with egg wash to seal. Trim ends if necessary then brush with egg wash and fold over to completely seal the beef – saving ends to use as a decoration on top if desired. Top with coarse sea salt. Place the beef seam side down on a baking sheet.
  5. Brush the top of the pastry with egg wash then make a couple of slits in the top of the pastry using the tip of a paring knife—this creates vents that will allow the steam to escape when cooking. Bake for 40 to 45 minutes until pastry is golden brown and beef registers 125 degrees F on an instant-read thermometer. Remove from oven and rest before cutting into thick slices. Garnish with minced chives, and serve with Green Peppercorn Sauce and Roasted Fingerling Potatoes with Fresh Herbs and Garlic.
  6. For the Green Peppercorn Sauce: Add olive oil to pan after removing beef. Add shallots, garlic, and thyme; sauté for 1 to 2 minutes, then, off heat, add brandy and flambé using a long kitchen match. After flame dies down, return to the heat, add stock and reduce by about half. Strain out solids, then add 2 cups cream and mustard. Reduce by half again, then shut off heat and add green peppercorns. Can be made ahead, covered and put into the refrigerator. Reheat slowly in a saucepan when ready to eat.
  7. Roasted Fingerling Potatoes with Fresh Herbs and Garlic: Preheat oven to 500 degrees F and place a baking sheet inside to heat. Add potatoes, rosemary, sage, thyme, garlic, and mustard (if using) to a medium bowl. Drizzle with the olive oil, season to taste with salt and pepper, and toss well.
  8. Remove sheet pan from oven, lightly coat it with olive oil, and pour potatoes onto pan, reserving the bowl. Place potatoes in oven and reduce heat to 425 degrees F. Roast for 20 minutes, or until crispy on outside and tender on inside.
  9. Place roasted potatoes in the bowl. Remove the garlic cloves from their peels and place in a small bowl. Mash the garlic, then return it to the bowl and blend it well with the potatoes. Serve.

http://www.lynnandruss.com

Adapted from recipes by Tyler Florence

Hearty Tuscan Bean Stew with Sausage and Cabbage

In Tuscany, creamy, flavorful beans transform rustic soups and stews into something special, perfect for hunkering down on a cool weather afternoon/evening. But you want to avoid tough, exploded beans in this Tuscan bean stew recipe. Therefore, soak the beans overnight in salted water, which softens the skins.

Gently cooking the beans in a 250-degree oven produces perfectly cooked beans that stay intact. To complete the bean stew recipe, add tomatoes toward the end of cooking, since their acid keeps the beans from becoming too soft.

Please note: The creamier texture of beans soaked overnight are preferred for this recipe. If you’re short on time, quick-soak them: Place the rinsed beans in a large heat-resistant bowl. Bring 2 quarts of water and 3 tablespoons of salt to a boil. Pour the water over the beans and let them sit for 1 hour. Drain and rinse the beans well before proceeding with step 2. For a more substantial dish, serve the stew over toasted bread. This variation has much more meat than the Hearty Tuscan Bean Stew and is made with crinkly Savoy cabbage.

Hearty Tuscan Bean Stew with Sausage and Cabbage

  • Servings: 8
  • Difficulty: easy
  • Print

Ingredients

  • Table salt
  • 1 lb. dried cannellini beans (about 2 cups), rinsed and picked over
  • 1 Tbsp. extra virgin olive oil, plus extra for drizzling
  • 1 ½ lbs. sweet Italian sausage, casings removed
  • 1 large onion, chopped medium (about 1 1/2 cups)
  • 2 medium celery ribs, cut into 1/2-inch pieces (about 3/4 cup)
  • 2 medium carrots, peeled and cut into 1/2-inch pieces (about 1 cup)
  • 8 medium garlic cloves, peeled and crushed
  • 4 cups chicken broth, preferably homemade
  • 3 cups water
  • 2 bay leaves
  • ½ medium head savoy cabbage, cut into 1-inch pieces
  • 1 (14.5-oz.) can diced tomatoes drained and rinsed
  • 1 sprig fresh oregano leaves
  • Ground black pepper
  • 8 slices country white bread, each 1 1/4 inches thick, broiled until golden brown on both sides and rubbed with garlic clove, (optional)

Directions

  1. Dissolve 3 tablespoons salt in 4 quarts cold water in large bowl or container. Add beans and soak at room temperature for at least 8 hours and up to 24 hours. Drain and rinse well.
  2. Adjust oven rack to lower-middle position and heat oven to 250 degrees. Heat oil and sausage in large Dutch oven over medium heat. Cook, breaking meat into small pieces with wooden spoon until it loses its raw color, about 8 minutes. Transfer sausage to paper towel-lined plate and place in refrigerator. Add onion, celery, and carrots. Cook, stirring occasionally, until vegetables are softened and lightly browned, 10 to 16 minutes. Stir in garlic and cook until fragrant, about 1 minute. Stir in broth, water, bay leaves, and soaked beans. Increase heat to high and bring to simmer. Cover pot, transfer to oven, and cook until beans are almost tender (very center of beans will still be firm), 45 minutes to 1 hour.
  3. Remove pot from oven and stir in greens, sausage, and tomatoes. Cover pot, return pot to oven and continue to cook until beans and greens are fully tender, 30 to 40 minutes longer.
  4. Remove pot from oven and submerge oregano sprig in stew. Cover and let stand 15 minutes. Discard bay leaves and oregano sprig and season stew with salt and pepper to taste. If desired, use back of spoon to press some beans against side of pot to thicken stew. Serve over toasted bread, if desired, and drizzle with olive oil.

http://www.lynnandruss.com

Recipe from America’s Test Kitchen

Italian Wedding Risotto

For a more substantial, main-course variation on Italian wedding soup, serve this garlicky meatball and spinach risotto with a drizzle of olive oil, grated Parmesan, and parsley. Pair with a side salad—dinner done.

Inspired by the classic soup, this heartier Italian wedding risotto is filled with just-wilted spinach and topped with crispy, garlicky meatballs. Use a cookie scoop to quickly portion out the meatballs; make a double batch and freeze half to whip up this dish in a flash. Remove the risotto from the heat while it’s still a little soupy — it will thicken slightly as it rests. 

A few changes we made started with baking (instead of broiling) the meatballs. The size of the meatballs was reduced slightly, creating 25 instead of 20. We preferred a less liquidy finish, so we reduced the water by 1 cup. And the fact that baby spinach wilts down to nothing, we used the entire package of 5 ounces. These alterations are all noted below.

While the original recipe said the total prep/cook time was 45 minutes, it realistically took over an hour; perhaps due to the fact that we baked the meatballs instead of broiled them.

Italian Wedding Risotto

  • Servings: 4-6
  • Difficulty: easy
  • Print

Ingredients

  • 1 lb. ground pork
  • 1/2 cup panko
  • 1 1/2 oz. Parmigiano-Reggiano cheese, finely grated with a Microplane (about 2/3 cup), divided, plus more for garnish
  • 1/4 cup finely chopped fresh flat-leaf parsley, plus more for garnish
  • 1 large egg, lightly beaten
  • 4 garlic cloves, finely chopped, divided
  • 2 tsp. kosher salt, plus more to taste
  • 1 tsp. black pepper, plus more to taste and for garnish
  • 4 cups chicken stock or broth, preferably homemade
  • 1-2 cups water (depending on how liquidy you want it to be)
  • 2 Tbsp. extra-virgin olive oil, plus more for drizzling
  • 1/4 cup unsalted butter (2 oz.), divided 
  • 1 medium-size yellow onion, finely chopped (about 2 cups)
  • 1 medium celery stalk, finely chopped (about 1/3 cup)
  • 1 1/2 cups uncooked arborio rice (about 10 1/2 oz.)
  • 3/4 cup dry white wine
  • 5 oz. packed fresh baby spinach

Directions

  1. Preheat oven to 375°F. Combine pork, panko, 1/3 cup Parmigiano-Reggiano cheese, parsley, egg, 2 teaspoons chopped garlic, salt, and pepper in a medium bowl. Mix gently with hands until just combined.
  2. Roll mixture into 20-25 meatballs (about 1 1/2 to 2 tablespoons each). Place meatballs 1 inch apart on a parchment-lined baking sheet.
  3. Bake until browned and cooked through, 18-22 minutes, or until the internal temperature reads 160°F. Set cooked meatballs aside at room temperature until ready to serve.
  4. Combine stock and 1 cup water in a medium saucepan; bring to a simmer over medium. Reduce heat to medium-low.
  5. Heat oil and 2 tablespoons butter in a large saucepan over medium. Add onion, celery, and remaining chopped garlic; cook, stirring often, until softened, about 5 minutes.
  6. Add rice and cook, stirring constantly, until translucent, 1 to 2 minutes.
  7. Add wine and cook, stirring often, until almost completely reduced, 1 to 2 minutes.
  8. Add 1 cup warm stock mixture and cook, stirring constantly, until most of the liquid has been absorbed.
  9. Add remaining stock mixture, 1 cup at a time, stirring until liquid has been absorbed after each addition, until rice is al dente, about 20 minutes.
  10. Remove from heat. Stir in remaining cheese and remaining 2 tablespoons butter. Stir in spinach; cook, stirring occasionally, until just wilted, about 30 seconds.
  11. Divide risotto and meatballs among bowls. Drizzle with oil; garnish with additional cheese, parsley, and black pepper.

http://www.lynnandruss.com

Adapted from a recipe by Justin Chapple for Food & Wine

Orange Beef

Many years ago when we were first dating, there was this local Chinese restaurant that had a wonderful Orange Beef on their menu. Once they closed down, we never found another satisfactory restaurant nearby with a version that quite measured up. Recently we saw this home cook’s recipe in the NYTimes Cooking by Sam Sifton that certainly looked fantastic, and tasted phenomenal.

This recipe for takeout-style orange beef, has a more intense orange-flavored sauce than many. It is important to use very good steak, and cook it fast, so that below the lovely crust of its egg-white-and-cornstarch batter, the meat remains rare and luscious.

And make it a few times because what appears difficult, and a lot of prep, the first time through — the coating of the beef, the making of the sauce, the stir-frying of the aromatics, the stir-frying of the beef — is in fact, fast and easy work, and much, much better than takeout.

As suggested, we served with steamed broccoli and white rice. But there is no way that you get 4 decent servings* out of it—between 2 and 3 is more realistic. Based on some reviewer’s comments on the longish prep time, go ahead and make the sauce the night before while cooking something else, then throw it in the fridge. This will certainly expedite the prep time.

One suggestion: *Throw in some veggies and cook them for 3-5 min in a hot wok/sauté pan. Some examples are snap peas, red and yellow peppers and some mushrooms. It would be a more balanced and substantial meal.

Orange Beef

  • Servings: 2-3
  • Difficulty: moderately easy
  • Print

Ingredients

For the Sauce

  • 1 Tbsp. neutral oil
  • 1 1½-inch piece fresh ginger, peeled and minced
  • 1 jalapeño pepper, seeded and minced
  • 2 Tbsp. orange zest, plus the juice of one orange
  • 3 garlic cloves, peeled and minced
  • ¼ cup light brown sugar
  • ¼ cup rice vinegar (do not use seasoned rice vinegar)
  • ¼ cup soy sauce
  • 1 Tbsp. fish sauce

For the Beef

  • 1 large egg white
  • 1 Tbsp. cornstarch
  • 1 pinch kosher salt
  • 1 boneless rib-eye steak, approximately 1 to 1½ lbs, cut into 1-inch pieces
  • ¼ cup neutral oil
  • 6 scallions, white and green parts cut into inchlong pieces and separated
  • 2 to 4 dried red chiles, or to taste

Directions

  1. Make the sauce: Heat oil in a small sauce pan set over medium-high heat. When it begins to shimmer, add ginger, jalapeño and orange zest and stir to combine. Sauté mixture until ingredients soften, approximately 2 to 3 minutes, then add garlic and continue cooking until it softens, approximately 1 to 2 minutes longer.
  2. Add orange juice, brown sugar, rice vinegar, soy sauce and fish sauce to pan and stir to combine. Allow mixture to come to a boil, then lower the heat and cook, stirring occasionally, until it thickens and reduces by half, approximately 10 to 15 minutes.
  3. Meanwhile, prepare the meat: Combine egg white, cornstarch and salt in a bowl. Add steak, tossing to coat the meat with the batter.
  4. In a large skillet or wok set over high heat, heat oil until it shimmers and is about to smoke. Add beef to the pan or wok in a single layer and cook without stirring until the bottoms of the pieces are crisp and golden, approximately 60 to 90 seconds. Add white pieces of scallion and chiles to the pan, then turn the beef pieces over and cook the other sides, stirring occasionally, about 3 minutes more for medium-rare. Transfer to a platter.
  5. Pour orange sauce into the hot pan or wok, let it boil and stir it as it thickens. Add meat and white scallions and stir to coat with the sauce. Return meat and sauce to the platter and scatter green scallions over the top. Serve with steamed broccoli and white rice.

http://www.lynnandruss.com

Recipe by Sam Sifton for the NYTimes Cooking

Sheet-Pan Sausages and Brussels Sprouts with Honey Mustard

This hearty pan of sticky, honey mustard-glazed sausages, Brussels sprouts and potatoes only adds to the argument that sheet-pan dinners make the best weeknight meals. As the sausages roast, they yield a delicious fat that coats and seasons the caramelized vegetables. Use any fresh sausage you like, as long as it pairs well with the honey mustard. Feel free to substitute or add other vegetables like red onion, squash, cherry tomatoes, broccoli, carrots or cabbage. The mustard seeds and nuts provide texture and crunch, but leave them out if you prefer.

Our potatoes may look charred in the photo, but they were actually baby purple spuds that hold their deep coloring all the way through. As mentioned, you can substitute, or add vegetables that appeal to your own preferences.

As many other reviewers noted, they would double the honey mustard mix to fully coat all of the ingredients. We agree. An increase by half to 1 1/2 pounds of sausage could be beneficial especially for those meat-centric foodies. We also served additional Dijon mustard on the side.

Sheet-Pan Sausages and Brussels Sprouts with Honey Mustard

  • Servings: 4
  • Difficulty: easy
  • Print

Ingredients

  • 1 lb. fresh sausage, such as sweet or hot Italian, or bratwurst
  • 1 lb. Brussels sprouts, trimmed and halved lengthwise
  • 1 lb. small potatoes, like baby Yukon gold, purple or red potatoes, halved
  • 2 Tbsp. extra-virgin olive oil, plus more as needed
  • Kosher salt and black pepper
  • 4 tsp. honey
  • 1 Tbsp. Dijon mustard
  • 1 Tbsp. yellow mustard seeds (optional)
  • ¼ cup almonds or walnuts, chopped (optional)

Directions

  1. Heat oven to 450 degrees, and place a sheet pan in the oven. Score the sausages in a few places on both sides, making sure not to cut all the way through. Transfer to a large bowl with the brussels sprouts, potatoes and 2 tablespoons olive oil, and stir until coated. (If the mixture seems dry, add a little more oil.) Season with salt and pepper.
  2. Spread the mixture in an even layer on the heated baking sheet, and arrange the vegetables cut-sides down. Roast 15 minutes, until the brussels sprouts and potatoes start to soften. (The sausages will not be cooked through yet.)
  3. Meanwhile, in a small bowl, stir together the honey, mustard and mustard seeds, if using.
  4. Drizzle the honey mustard over the sausages and vegetables, and toss or shake to coat. Flip the sausages. Sprinkle with almonds, if using. Roast until the sausages are cooked through and the vegetables are golden and tender, another 10 minutes or so. Season to taste with salt and pepper.

http://www.lynnandruss.com

Recipe by Ali Slagle for NYTimes Cooking

Chicken Scarpariello

With fast-cooking boneless chicken thighs and sweet-spicy jarred Peppadews, this version of the Italian-American classic is ready in just 45 minutes. And as one reviewer exclaimed, we might just have to call this “Marry Me Again” chicken. It is superb!

Chicken scarpariello means “shoemaker’s chicken,” but the story behind its name isn’t well documented. Most sources agree that it’s an entirely Italian-American construct; some claim it originated in Sicily and Calabria. Given this dish’s vague historical background, it’s no wonder that chicken scarpariello recipes vary quite a bit.

White wine, potatoes, and either sweet and/or hot Italian sausage pop up in some renditions of this recipe but not others. Many include pickled peppers, though some use fresh or a combination of the two. Lemon juice is a popular addition, but white wine vinegar sometimes makes an appearance instead. Comparatively speaking, this chicken scapariello recipe keeps things basic with a relatively short ingredient list. If you’ve never had the dish before, this quick take is a terrific one to start with.

Of course, using a homemade chicken stock adds oodles of flavor on its own. For additional ingredients consider artichoke hearts, or dry vermouth or white wine in place of some of the chicken broth. Serve with crusty bread, or as we did, served over a bed of Spaghetti Aglio e Olio (Garlic Paste). Fantastic!

Chicken Scarpariello

  • Servings: 4
  • Difficulty: easy
  • Print

Ingredients

  • 8 small skinless, boneless chicken thighs (2 lbs.)
  • Kosher salt
  • Freshly ground black pepper
  • All-purpose flour, for dusting
  • 1/2 cup extra-virgin olive oil
  • 8 garlic cloves, halved lengthwise and lightly smashed
  • 4 large rosemary sprigs, broken into 2-inch pieces
  • 2 cup chicken stock/broth, preferably homemade
  • 2 Tbsp. fresh lemon juice
  • 2 Tbsp. unsalted butter 
  • 1/2 cup Peppadew peppers or other pickled peppers, sliced

Directions

  1. Season the chicken with salt and pepper and dust with flour. In a large skillet, heat the oil until shimmering. Add the chicken and cook over high heat, turning once, until browned and crusty on both sides, about 10 minutes.
  2. Add the garlic and rosemary and cook for 3 minutes, until the garlic is lightly browned. Transfer the chicken to a platter, leaving the rosemary and garlic in the skillet.
  3. Add the stock to the skillet and cook over high heat, scraping up any browned bits, until reduced by half, about 5 minutes.
  4. Add the lemon juice and butter and swirl until emulsified. Return the chicken and any accumulated juices to the skillet.
  5. Add the peppers and cook, turning the chicken until coated in the sauce, about 3 minutes. Transfer the chicken and sauce to the platter and serve.

http://www.lynnandruss.com

Recipe by Grace Parisi for Food & Wine

Jamaican-Style Chili-Lime Fish Stew

This dish truly showcases the wonderful fruitiness of habanero and the heat* is a lovely combination with the rest of the ingredients. This simple skillet stew is rich with Caribbean flavors. It’s inspired by a dish called Jamaican run-down, which simmers mackerel in coconut milk, along with tomatoes, thyme and aromatics.

The cooking liquid reduces to a luxurious sauce with spiciness and fruity notes from the habanero chili, tropical flavor from the coconut and brightness from the lime juice. Instead of mackerel, which can be difficult to source and also has an assertiveness that’s polarizing, (and we just flat out don’t like it) mild, firm sea bass or cod fillets are used. Serve with steamed jasmine rice, fried plantains or rice and beans.

TIP: Don’t touch your face if you’ve handled the habanero with bare hands, as there will be residual capsaicin on your fingers. If you have food-safe gloves, consider slipping them on before prepping the chili. And don’t use light coconut milk, as its flavor and consistency are too lean and watery.

*Word to the wise: Do not substitute a Carolina Reaper chili for the Habanero (a Serrano would be an OK choice). The supermarket didn’t have habaneros at the time so we just grabbed a reaper chili and didn’t bother looking at how they compared with the habanero heat-wise on the Scoville Heat Unit Scale. As we ate dinner, while The Hubs was sweating, had teary eyes and a flushed face, I quickly Googled only to find out while habaneros rate between 100,000 and 350,000, the Carolina Reaper clocks in at 2.5 million!! (Luckily when I was prepping the ingredients, I wore food-safe rubber gloves.)

A few changes that we made included adding a 1 1/2-inch piece of ginger cut into fine slices, increasing the coconut milk to one cup and reduced the water to a 1/2 cup.

Jamaican-Style Chili-Lime Fish Stew

  • Servings: 4
  • Difficulty: easy
  • Print

Ingredients

  • 2 Tbsp. grapeseed or other neutral oil
  • 1 medium yellow onion, halved and thinly sliced
  • 1 1/2 inch piece of fresh ginger sliced into thin circles
  • 2 medium garlic cloves, minced
  • 1 habanero chili, stemmed and sliced into thin rings
  • 1/4 tsp. ground allspice
  • 12 oz. ripe tomatoes, cored and chopped
  • 3/4 cup coconut milk
  • 2 large thyme sprigs
  • Kosher salt and ground black pepper
  • 1 1/2 lbs. skinless sea bass or snapper fillets, about 1 inch thick, cut into 1½-inch chunks (we used cod, much more economical)
  • 2 Tbsp. lime juice, plus lime wedges to serve
  • 3 scallions, thinly sliced

Directions

  1. In a 12-inch skillet over medium-high, heat the oil until shimmering. Add the onion and ginger slices and cook, stirring occasionally, until softened and beginning to brown, 4 to 5 minutes. Add the garlic, habanero and allspice; cook, stirring, until fragrant, 30 to 60 seconds. Stir in the tomatoes and cook, stirring occasionally, until they begin to break down and release their liquid, 3 to 4 minutes.
  2. Add the coconut milk and 1⁄2 cup water; scrape up any browned bits. Add the thyme, ½ teaspoon salt and ¼ teaspoon pepper, then bring to a simmer. Cover and simmer, stirring occasionally, until the tomatoes have fully broken down and the sauce is slightly thickened, about 10 minutes.
  3. Nestle the fish into the sauce. Bring to a gentle simmer and cook, stirring gently and occasionally, until the fish is opaque throughout, 4 to 5 minutes. Off heat, remove and discard the thyme, then stir in the lime juice. Taste and season with salt and pepper. Serve with lime wedges.

http://www.lynnandruss.com

Recipe by Calvin Cox for Milk Street

Lamb Shanks en Papillote with Leeks, Carrots, Rosemary and Orange

If only I could add to this post, the aroma that wafted through the house as this dish was cooking — pure nirvana! And in the end, the shanks were “fall off the bone” tender. Certainly company-worthy!

Here, lamb shanks are wrapped in individual foil packets with vegetables, herbs, vermouth, and a sliver of butter and then roasted until luscious and fork-tender. Serve them as is—the vegetables cooked with the meat give you a built-in side dish—or pile them atop creamy polenta, mashed potatoes or roasted fingerlings*.

Be sure to pour every last flavor-packed drop of cooking liquid onto the meat before serving. Do not omit the orange rind. Even a small piece will make a difference and it is subtle. If using large shanks (about 2 pounds each), increase cooking time by 20-30 minutes. And ours were close to 2 pounds each so we added 20 minutes.

Side dish option: *Baby fingerling potatoes sliced in half, tossed in a mixture of olive oil, fresh parsley and oregano, sea salt and pepper, and a dash of pimenton. Next, arrange them on a baking sheet lined with foil and cook at 375 degrees until fork tender, about 20-25 minutes, turning over once to brown both sides.

NOTE: Divide carrots and leeks between the four foil packets, and 1/4 cup vermouth per shank

Lamb Shanks en Papillote with Leeks, Carrots, Rosemary and Orange

  • Servings: 4
  • Difficulty: easy
  • Print

Ingredients

  • 6 medium leeks (white and light-green parts only), halved lengthwise, washed, and cut into 1-1/2-inch lengths
  • 6 medium carrots, halved lengthwise and cut into 1-1/2-inch lengths
  • 4 (2-1/2-inch) sprigs fresh rosemary
  • 4 (2-1/2- to 3-inch) strips orange zest (use a vegetable peeler)
  • Crushed red pepper flakes
  • Kosher salt and freshly ground black pepper
  • 4 lamb shanks (about 1 lb. each), trimmed
  • 1 Tbsp. extra-virgin olive oil
  • 1/2 cup dry vermouth or dry white wine
  • 1-1/2 Tbs. unsalted butter, cut into 4 slices

Directions

  1. Position an oven rack in the lower third of the oven and heat the oven to 300°F.
  2. Arrange four 16×16-inch squares of heavy-duty aluminum foil on a work surface. Put one-quarter of the leeks, one-quarter of the carrots, 1 rosemary sprig, and 1 strip of orange zest on each square. Season each with a pinch of crushed red pepper flakes, salt, and pepper. Set aside.
  3. Pat the lamb shanks dry and season generously with salt and pepper. Heat the oil in a large skillet over medium heat until shimmering hot. Working in batches if necessary to avoid crowding, brown the shanks on all sides, about 10 minutes total per batch. Transfer 1 shank to each foil square, arranging it on top of the vegetables. Draw up the edges of the foil to capture any juice, but don’t seal the packets yet.
  4. Return the skillet to medium heat, add the vermouth, and bring to a simmer, scraping the skillet with a wooden spoon. Remove from the heat. Portion the vermouth evenly among the 4 packets, pouring it over the lamb. Dot each shank with a slice of the butter.
  5. Fold the foil to form rectangular packets, sealing the seams tightly. Arrange the packets on a baking sheet; it’s fine if they touch but they shouldn’t overlap. Bake for 2-1/2 hours; then check for doneness by carefully opening one of the packets (watch out for the steam) and testing the meat with a fork—it should be tender and pulling away from the bone. If necessary, continue to bake for another 10 minutes and check again.
  6. Transfer the contents of the packets to large plates or pasta bowls, surrounding the shanks with the vegetables and juice. Remove the rosemary and orange zest before serving, if you like.

http://www.lynnandruss.com

Recipe by Molly Stevens

Chicken Gratin

This decadent, company-worthy casserole, features tender chicken thighs and melted turnips and leeks bathed in a creamy gratin sauce reminiscent of fondue and topped with garlicky breadcrumbs. Sherry and Cognac join forces to cut through the richness of the gratin while adding a touch of nuttiness.

Allow the flavorful browned bits to build in the skillet as the chicken sears — these golden nuggets are key to building the foundation of the cheese-laden sauce. (If necessary, brown the chicken pieces in two batches so that they brown instead of steam.)

For a more funky and pungent flavor, try Gruyère cheese. For a more mild, buttery, and nutty flavor, opt for aged Gouda. The topping of breadcrumbs helps to provide a pleasantly crunchy contrast to the soft, creamy chicken gratin. Tossing the breadcrumbs with olive oil, garlic, salt, and pepper before baking infuses them with extra flavor.

A few things we did differently was incorporate 3 leeks instead of two, use a bit more cheese, and mixed in the cheese with the breadcrumb mixture (that was actually a mistake, but we liked the result!).

We served ours with a Herbed Barley Pilaf. But upon consideration, it was a rather heavy side dish for the gratin, so a green vegetable or side salad might be a better match.

Chicken Gratin

  • Servings: 6
  • Difficulty: moderately easy
  • Print

Ingredients

  • 8 small boneless, skinless chicken thighs (about 2 1/4 lbs.)
  • 1 3/4 tsp. kosher salt, plus more to taste
  • 1 1/4 tsp. black pepper, divided
  • 5 Tbsp. unsalted butter, divided
  • 2 medium (about 12-oz.) leeks, thoroughly washed, light green and white parts of leeks cut in half lengthwise, and sliced diagonally into 1 1/2-inch pieces
  • 5 garlic cloves, 4 finely chopped and 1 grated
  • 1 1/4 pounds turnips (about 3 medium turnips), peeled and cut into 1/2-inch pieces
  • 2 Tbsp. all-purpose flour
  • 1 cup chicken stock 
  • 3 Tbsp. (1 1/2 oz.) Cognac
  • 2 Tbsp. (1 oz.) dry sherry
  • 3/4 cup heavy cream
  • 1 Tbsp. Dijon mustard
  • 1 1/2 tsp. finely chopped fresh thyme, plus thyme sprigs for garnish
  • 1/2 tsp. ground nutmeg
  • 5 oz. Gruyère or aged Gouda cheese, grated (about 1 1/4 cups)
  • 3 Tbsp. olive oil
  • 1 1/2 cups fresh breadcrumbs (from 1 small French bread loaf)

Directions

  1. Pat chicken dry with paper towels. Sprinkle evenly with 1 teaspoon salt and 1/2 teaspoon pepper. Heat 3 tablespoons butter in a large skillet over medium until foamy. Working in batches, if needed, cook chicken, undisturbed, until well browned, about 10 minutes, adjusting heat as needed to prevent browned bits in skillet from burning. Flip chicken; cook until no longer pink on the outside, about 1 minute. (You may to do this in two batches.) Transfer chicken to a plate, and set aside. Remove skillet from heat; do not wipe clean. Preheat oven to 375°F.
  2. Increase heat to medium-high under skillet. Add turnips, and sprinkle with 1/4 teaspoon salt and 1/4 teaspoon pepper. Cook, stirring occasionally, until turnip edges are browned, 4 to 5 minutes. Transfer turnips to a large (2 1/2- to 3-quart) baking dish; set aside. Reduce heat to medium.
  3. Add leeks to the skillet and sprinkle with 1/4 teaspoon salt and 1/4 teaspoon pepper. Cook over medium, stirring often, until softened, about 3 minutes. Transfer the leeks to the baking dish with turnips. Do not wipe the skillet clean.
  4. Add remaining 2 tablespoons butter to skillet and melt over medium. Add finely chopped garlic; cook, stirring constantly, until fragrant, about 30 seconds. Add flour; cook, stirring constantly, 1 minute. Stir in chicken stock, Cognac, and sherry. Bring to a simmer over medium, and stir using a wooden spoon to scrape up browned bits from the bottom of the skillet. Stir in cream, mustard, chopped thyme, and nutmeg; simmer over medium, stirring occasionally, until sauce is slightly thickened, 2 to 3 minutes. Remove from heat. Season with additional salt to taste.
  5. Arrange chicken thighs over turnip-and-leek mixture in the baking dish. Pour sauce evenly over the mixture; sprinkle with cheese.
  6. Place the grated garlic clove in a medium bowl. Stir in oil. Add breadcrumbs, remaining 1/4 teaspoon salt, and remaining 1/4 teaspoon pepper; toss to combine. Sprinkle evenly over chicken mixture.
  7. Bake in preheated oven, uncovered, until breadcrumbs turn dark amber brown, sauce bubbles in the center, and a thermometer inserted in the thickest portion of chicken registers at least 165°F, 30 to 40 minutes. Remove from oven, and let cool 5 minutes. Garnish with thyme sprigs, and serve.

http://www.lynnandruss.com

Adapted from a recipe by Amy Thielen for Food & Wine

Scalloped Potatoes with Horseradish and Gruyere

Scalloped potatoes are a tried-and-true side dish. There’s no reason to reinvent a classic, but adding a kick, a rather strong kick, can be a fun twist. The piquant horseradish in this recipe does exactly that. It cuts through the double richness of the cream and cheese and makes you crave another serving.

Swapping a single variety of potato for three — purple, sweet and russet — adds more texture and flavor. Purple potatoes (see Tip) pop on the plate and offer that earthy flavor but with a less starchy texture, and the sweet potatoes are meltingly tender. Give this festive, upgraded version of scalloped potatoes a try at your next gathering.

Intended for just the two of us, we cut the recipe me half. It was still enough for six decent-sized portions.

TIP: Go with whatever variety and size of purple potatoes are available. If using ones with thin skins, you can go ahead and skip peeling.

Scalloped Potatoes with Horseradish and Gruyere

  • Servings: 8-10
  • Difficulty: easy
  • Print

Ingredients

  • 1 lb. russet potatoes (about 2 medium)
  • 1 lb. purple potatoes (see Tip)
  • 1 lb. sweet potatoes (about 2 medium)
  • 3 Tbsp. unsalted butter
  • 5 medium garlic cloves, finely grated
  • 3 Tbsp. all-purpose flour
  • 3 cups half-and-half
  • ½ cup prepared horseradish
  • Kosher salt (such as Diamond Crystal)
  • 2 cups shredded Cheddar or Gruyère

Directions

  1. Arrange a rack in the top third of the oven and heat to 400 degrees. Peel all the potatoes (see Tip) and cut into ⅛-inch-thick slices with a sharp knife or mandoline.
  2. In a medium saucepan, melt the butter over medium heat. Add the garlic and cook until just golden, about 1 minute. Sprinkle in the flour and whisk until a paste forms, then continue stirring to cook the flour until bubbling, 30 seconds to 1 minute more. Slowly pour in 1½ cups of the half-the-half and whisk until combined. Whisk in remaining half-and-half, the horseradish and 2 teaspoons salt. Bring to a simmer while whisking constantly, then turn off heat and let steep for about 5 minutes.
  3. Ladle 1 cup of the horseradish cream sauce into a 9-by-13-inch baking dish, spreading to fully coat the bottom of the dish. Add half the sliced potatoes in an even layer; have fun mixing the colors. Sprinkle half the cheese on top and pour over another cup of the sauce, making sure the sauce is fully covering the cheese and potatoes. Add the remaining sliced potatoes, and top with remaining sauce and cheese.
  4. Cover with aluminum foil and bake until potatoes are almost fully tender and sauce is bubbling, about 45 minutes. Remove the foil and continue to bake until the edges are slightly crisp and the cheese is golden brown in spots, about 10 minutes more. Let sit at room temperature for 15 minutes before serving.

http://www.lynnandruss.com

Recipe by Vivian Chan-Tam for NYTimes Cooking