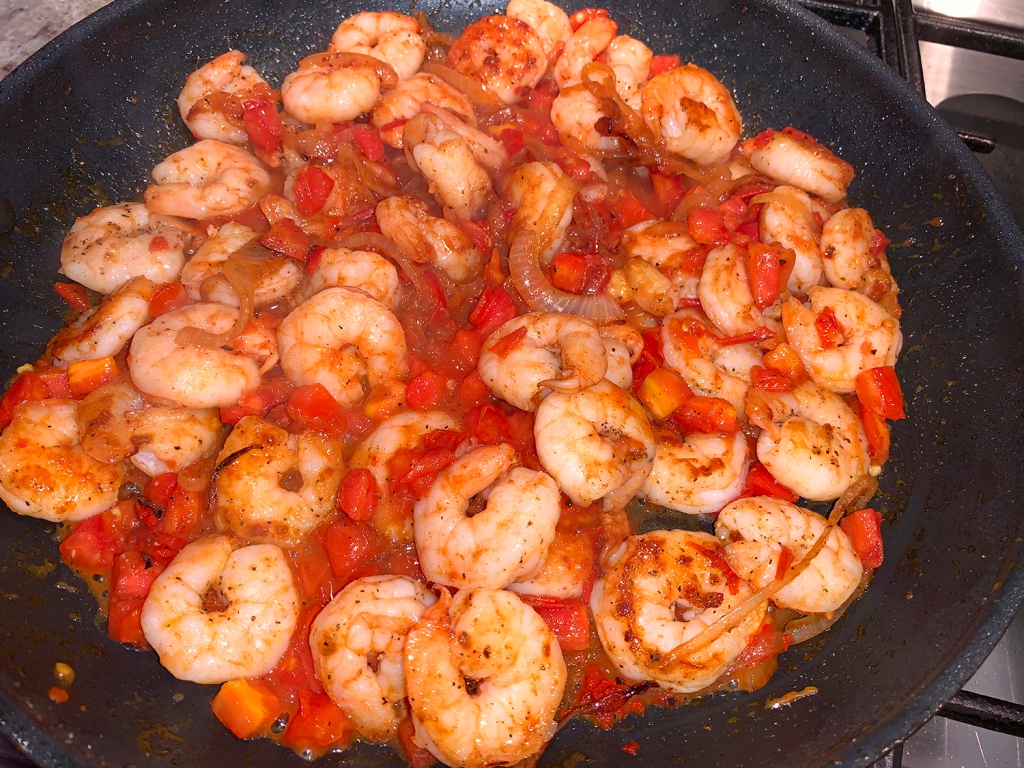
This creamy, hearty, Tex-Mex weeknight casserole is packed with shredded chicken, corn tortillas, melty cheese, and chiles. It combines smoky and spicy ingredients into a comforting weeknight dinner. Shred the meat from a rotisserie chicken the night before, and your ahead of the game when it is time to make dinner.
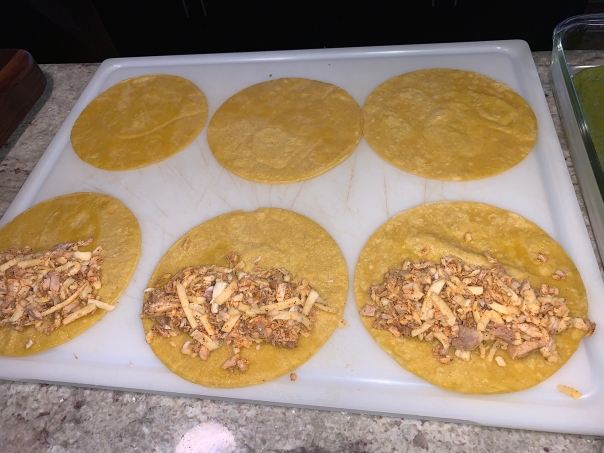
While the flavors are reminiscent of enchilada casserole, the assembly process is even easier — rather than filling and rolling tortillas, the ingredients and melty cheese are layered like a lasagna. The salsa macha verde is a crunchy and spicy dried chile condiment with garlic, nuts, and seeds that adds a punch of spicy umami; chile crisp can be used in place of it.

If you don’t have a large (12-inch) cast-iron skillet, you can bake the casserole in a 9- x 13-inch baking dish. The layering and assembly instructions as well as the bake time will be the same.
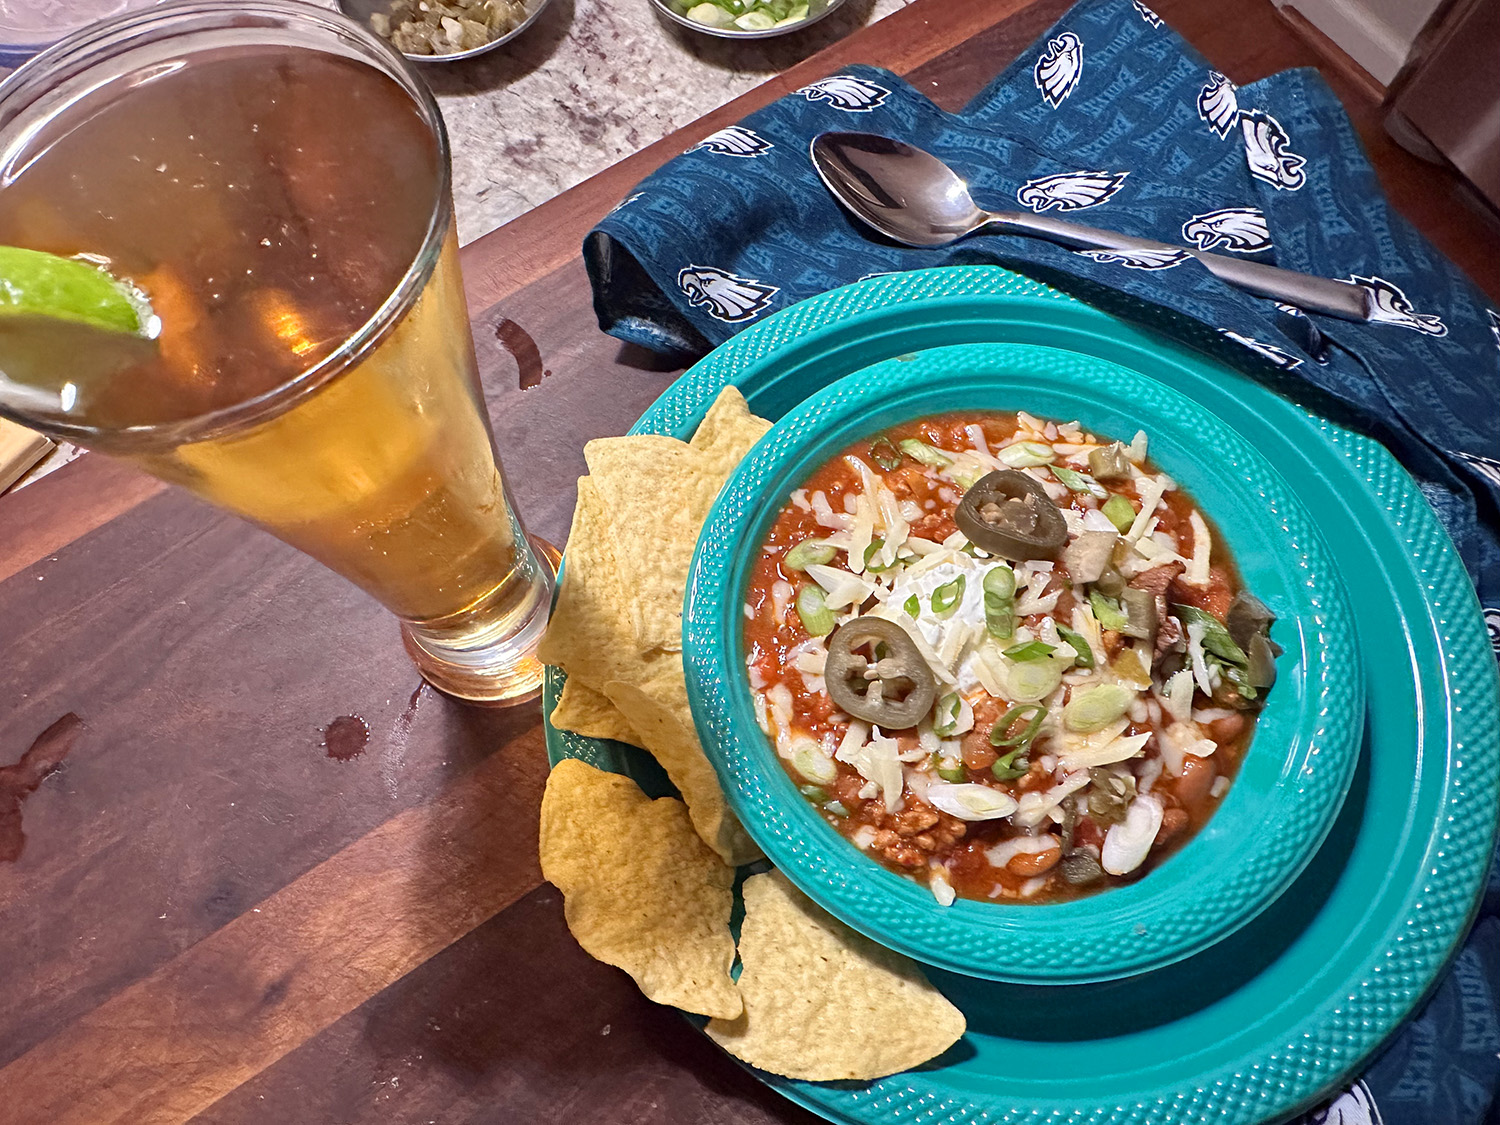
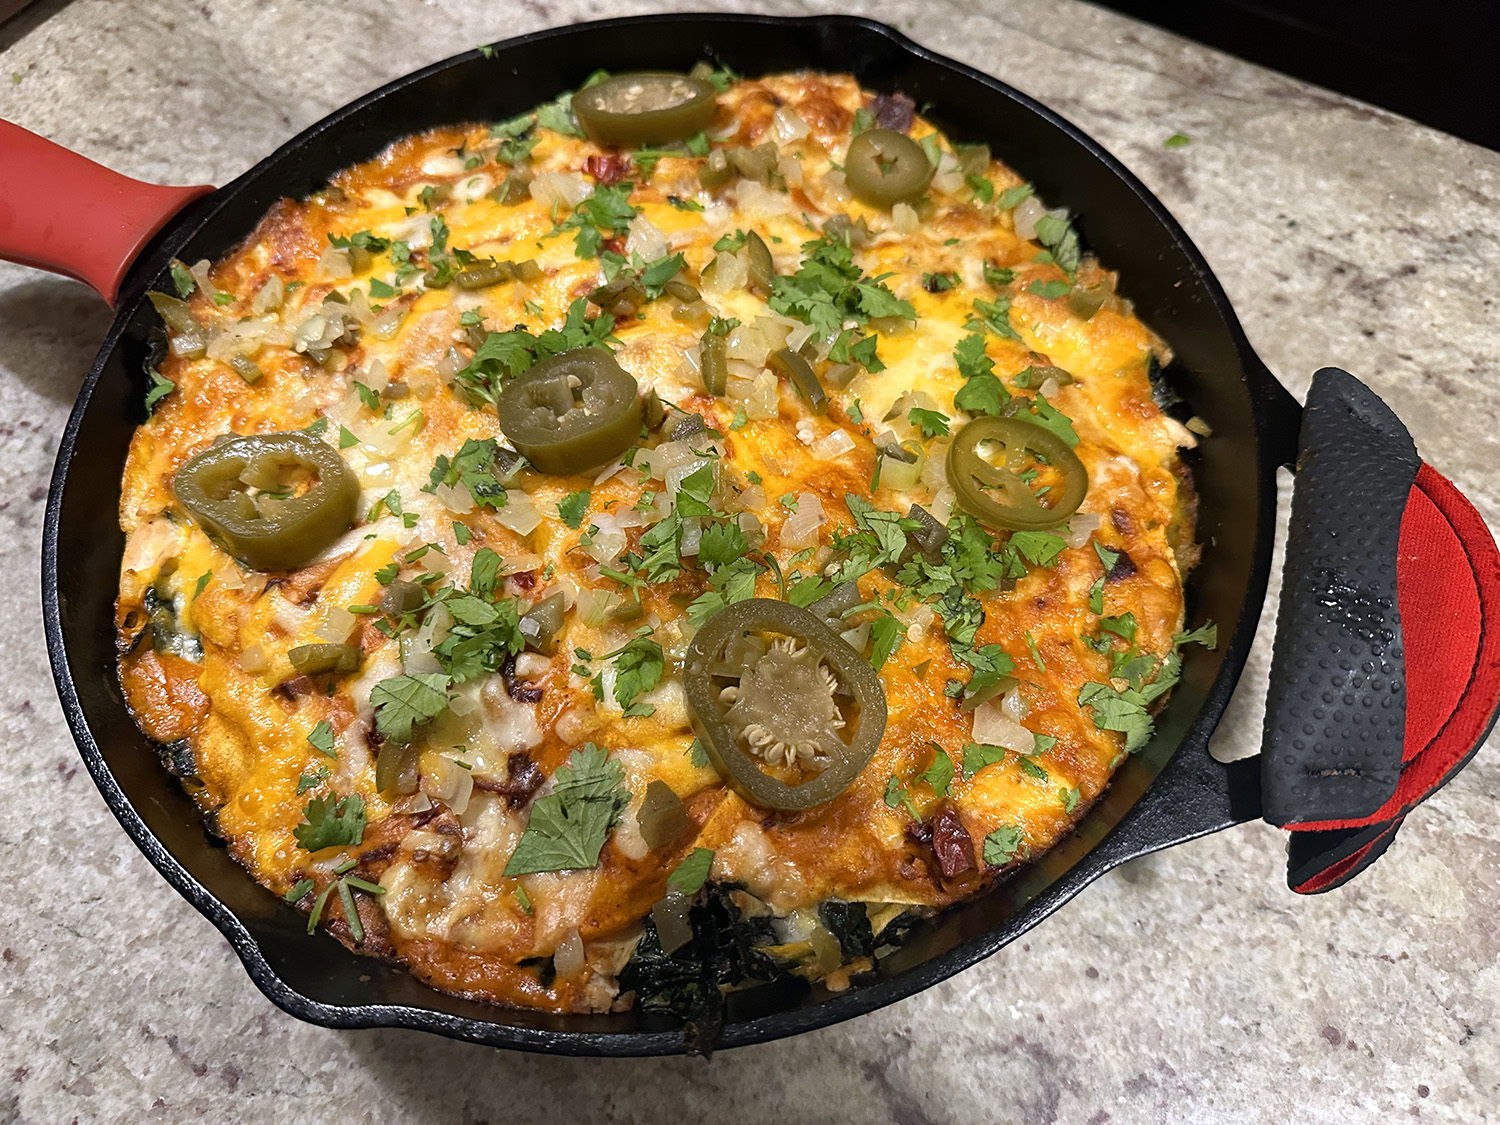
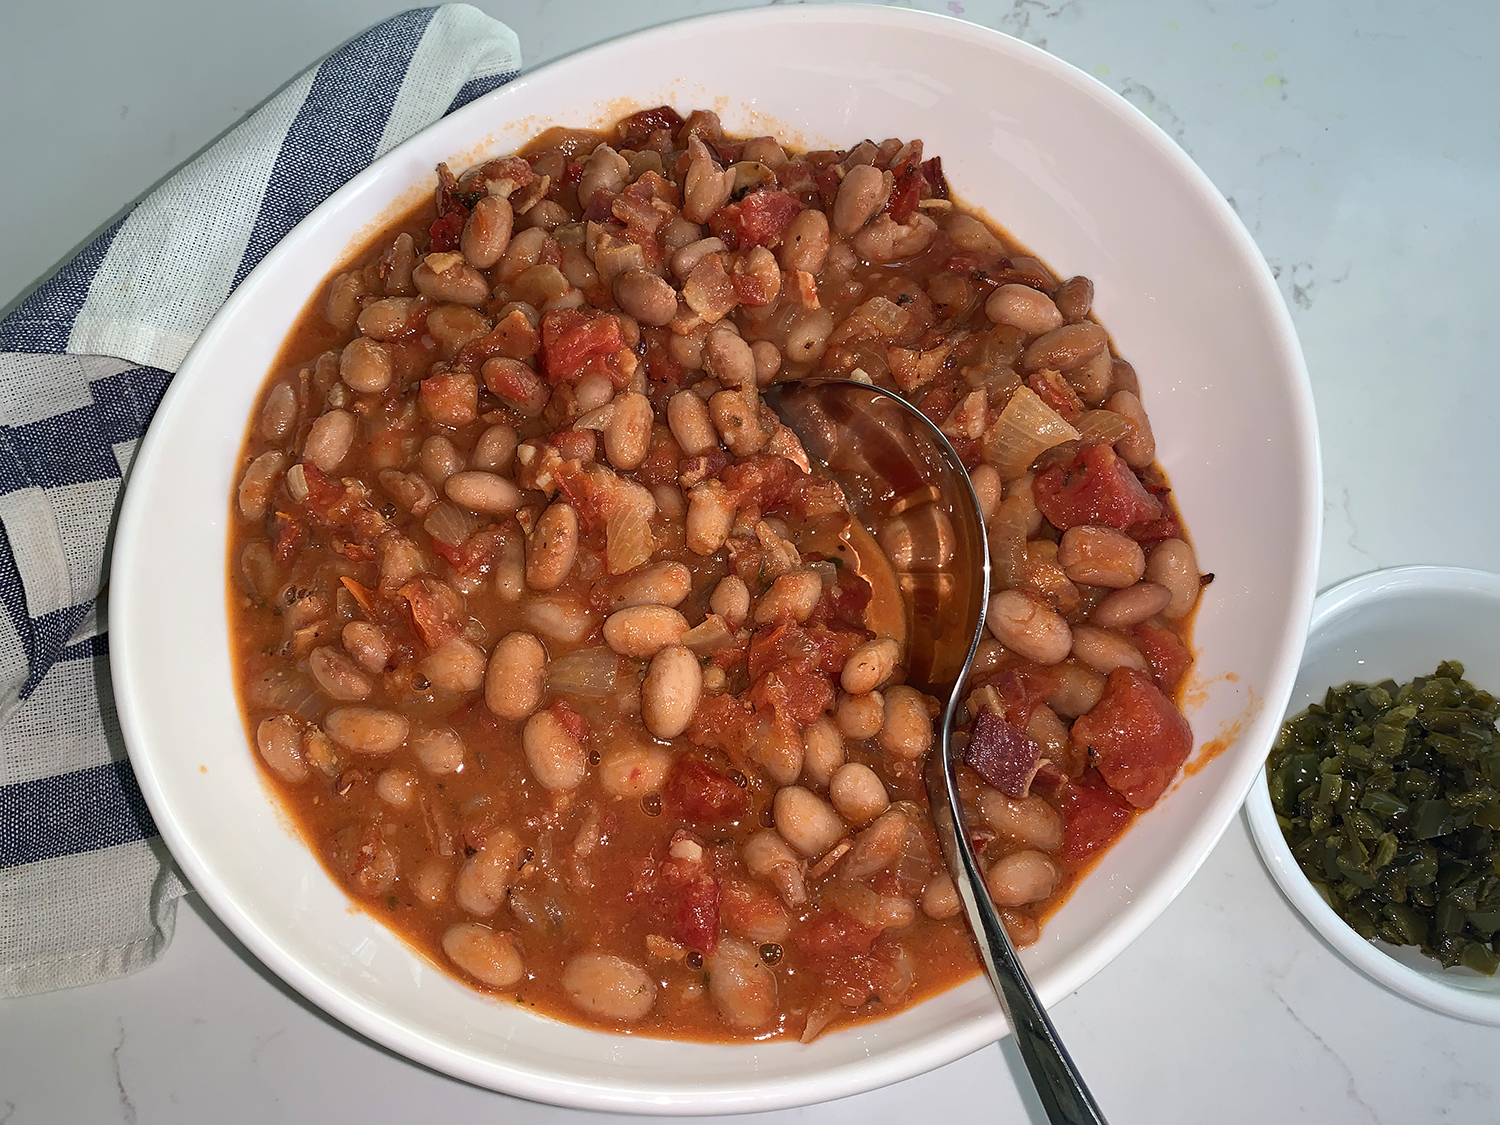
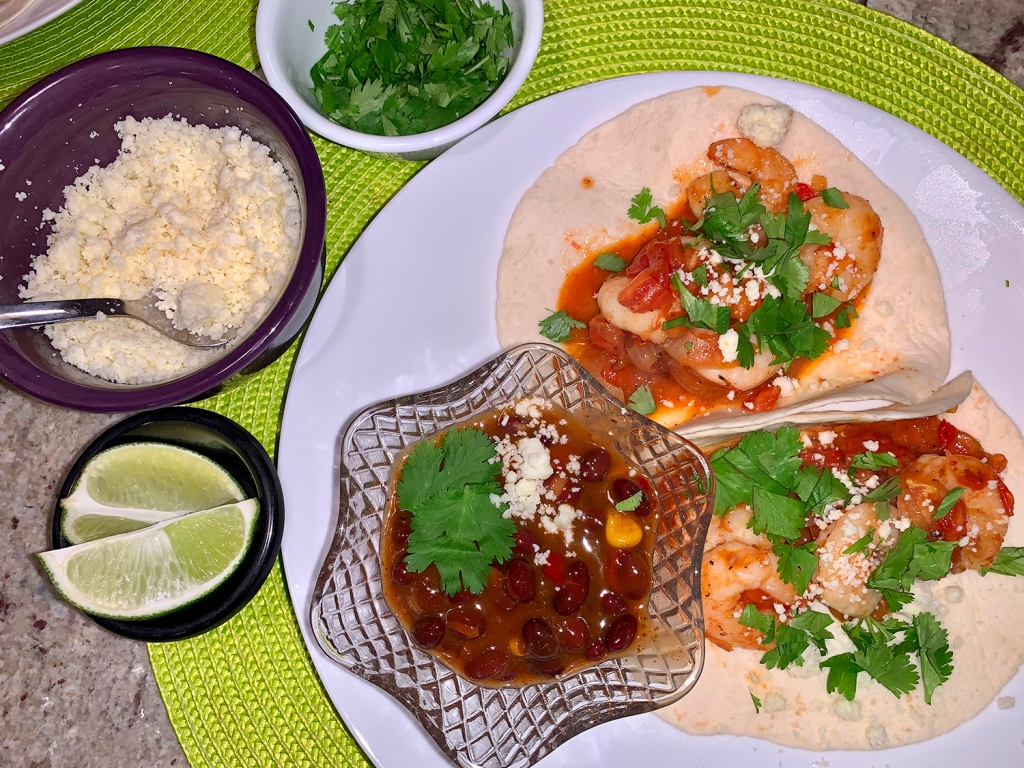
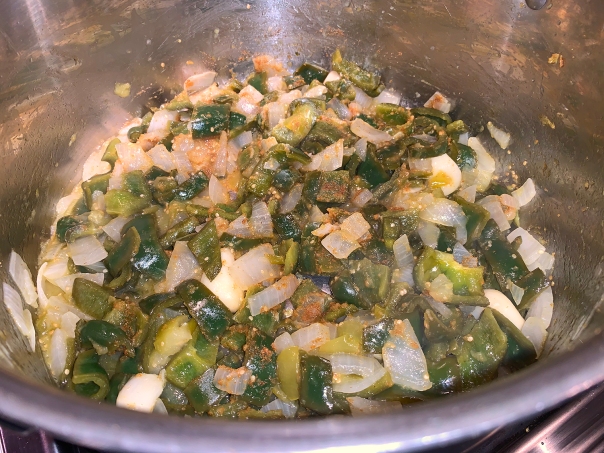
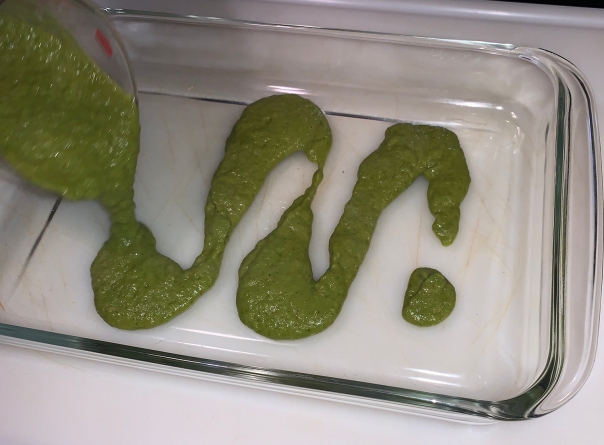
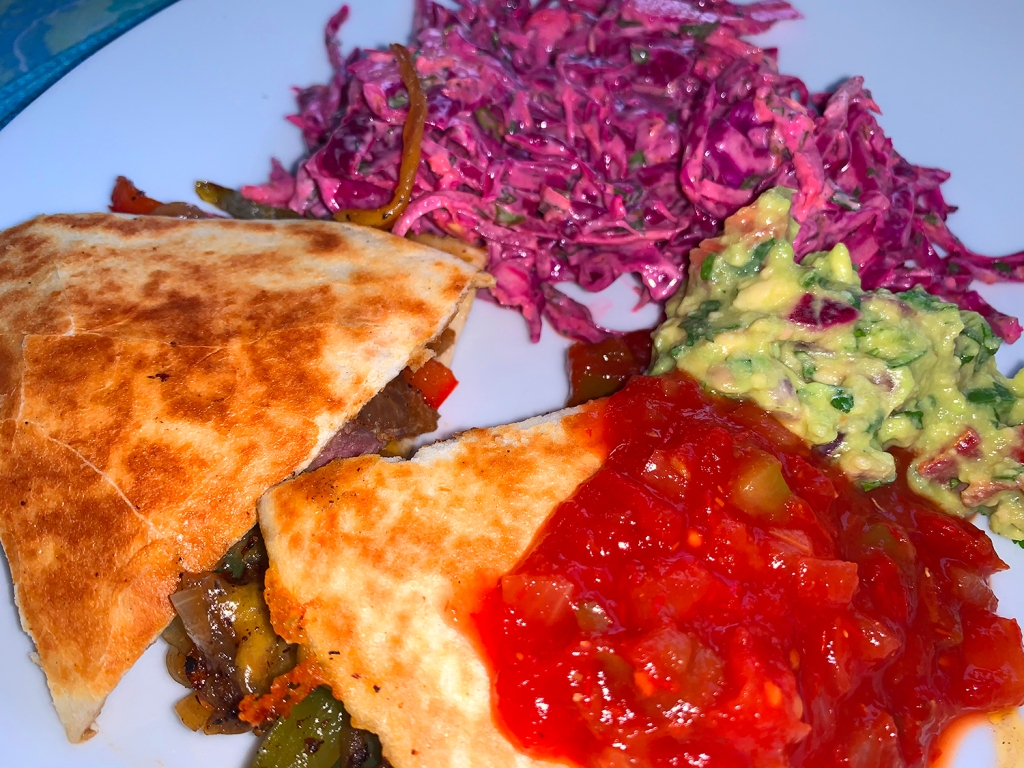
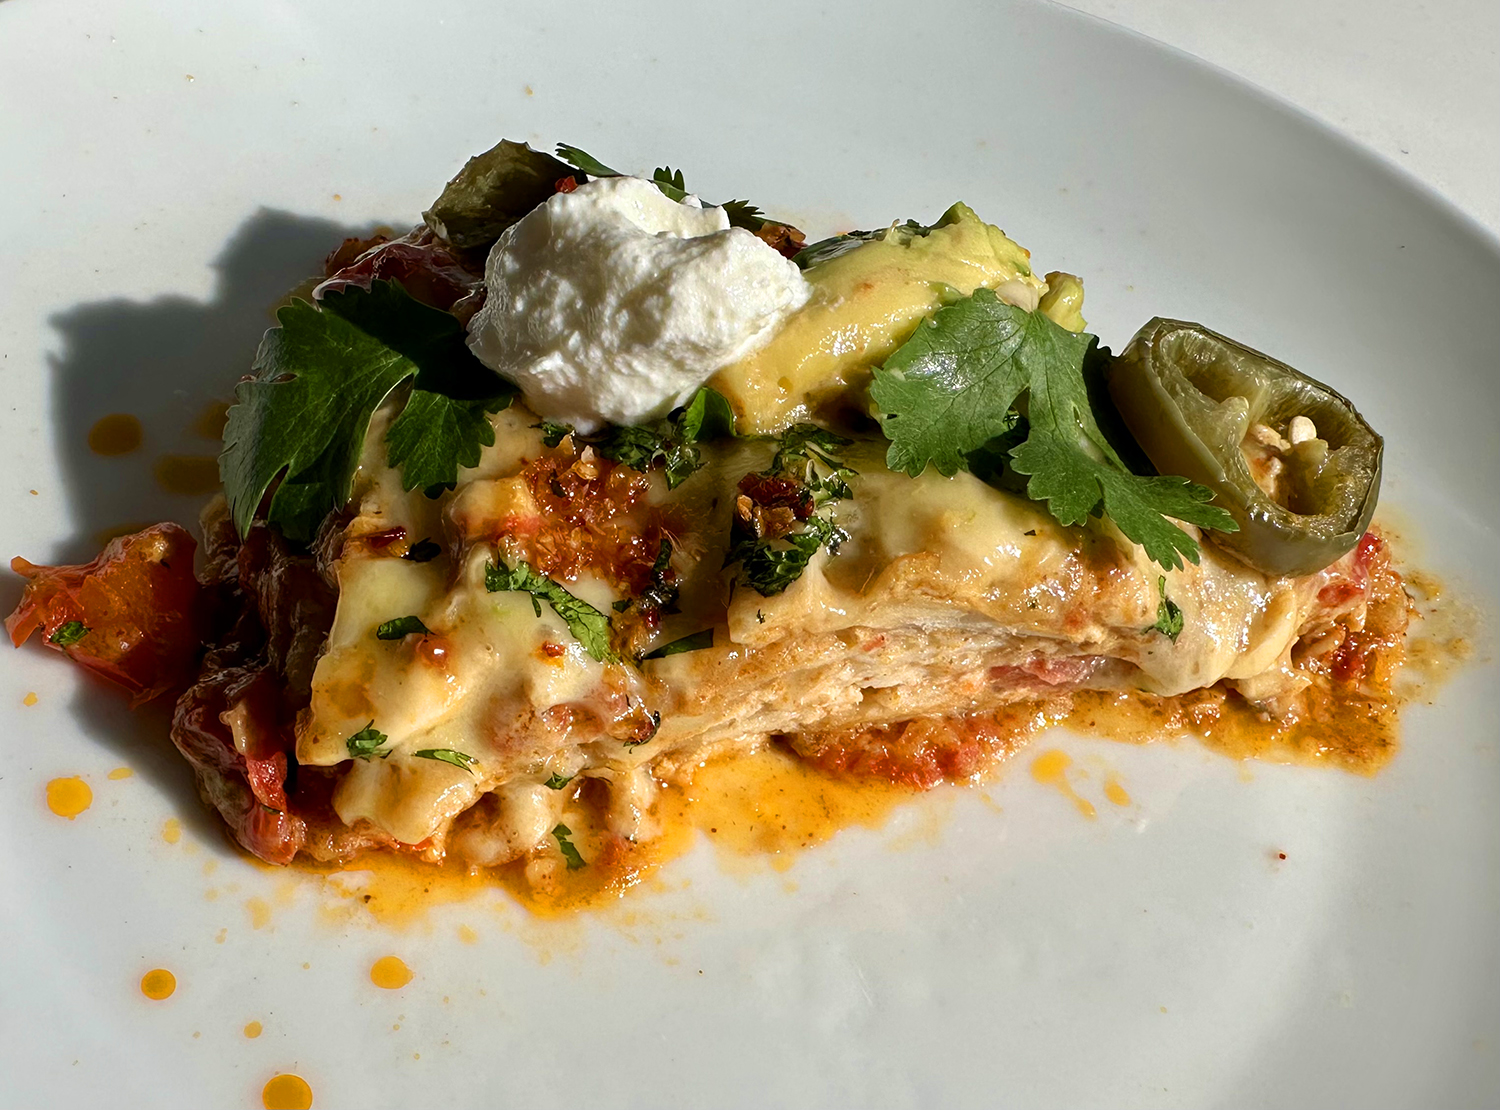
Even though The Hubs added a 1/4 teaspoon of cayenne, we found the dish could have been spicier. So we also included pickled jalapeños as an extra garnish and a salsa verde as a side.
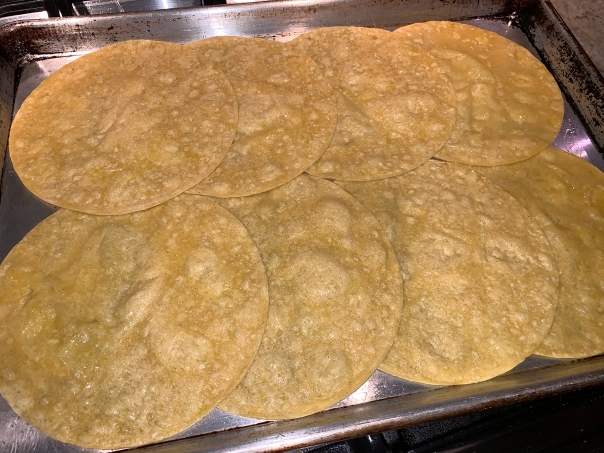
NOTE: Wrap the tortillas in aluminum foil and pop them in the already heated oven for about 10 minutes to soften them and bring out their flavors. You can also char them in a pan on the stove. Or do as we did, wrap them in a moistened paper towel and microwave the stack for one minute.
Let the casserole sit for 10 minutes after removing from the oven. The slices will still be sloppy when first serving, but if you have leftovers, you can easily cut wedges and heat them in a microwave.

King Ranch Casserole
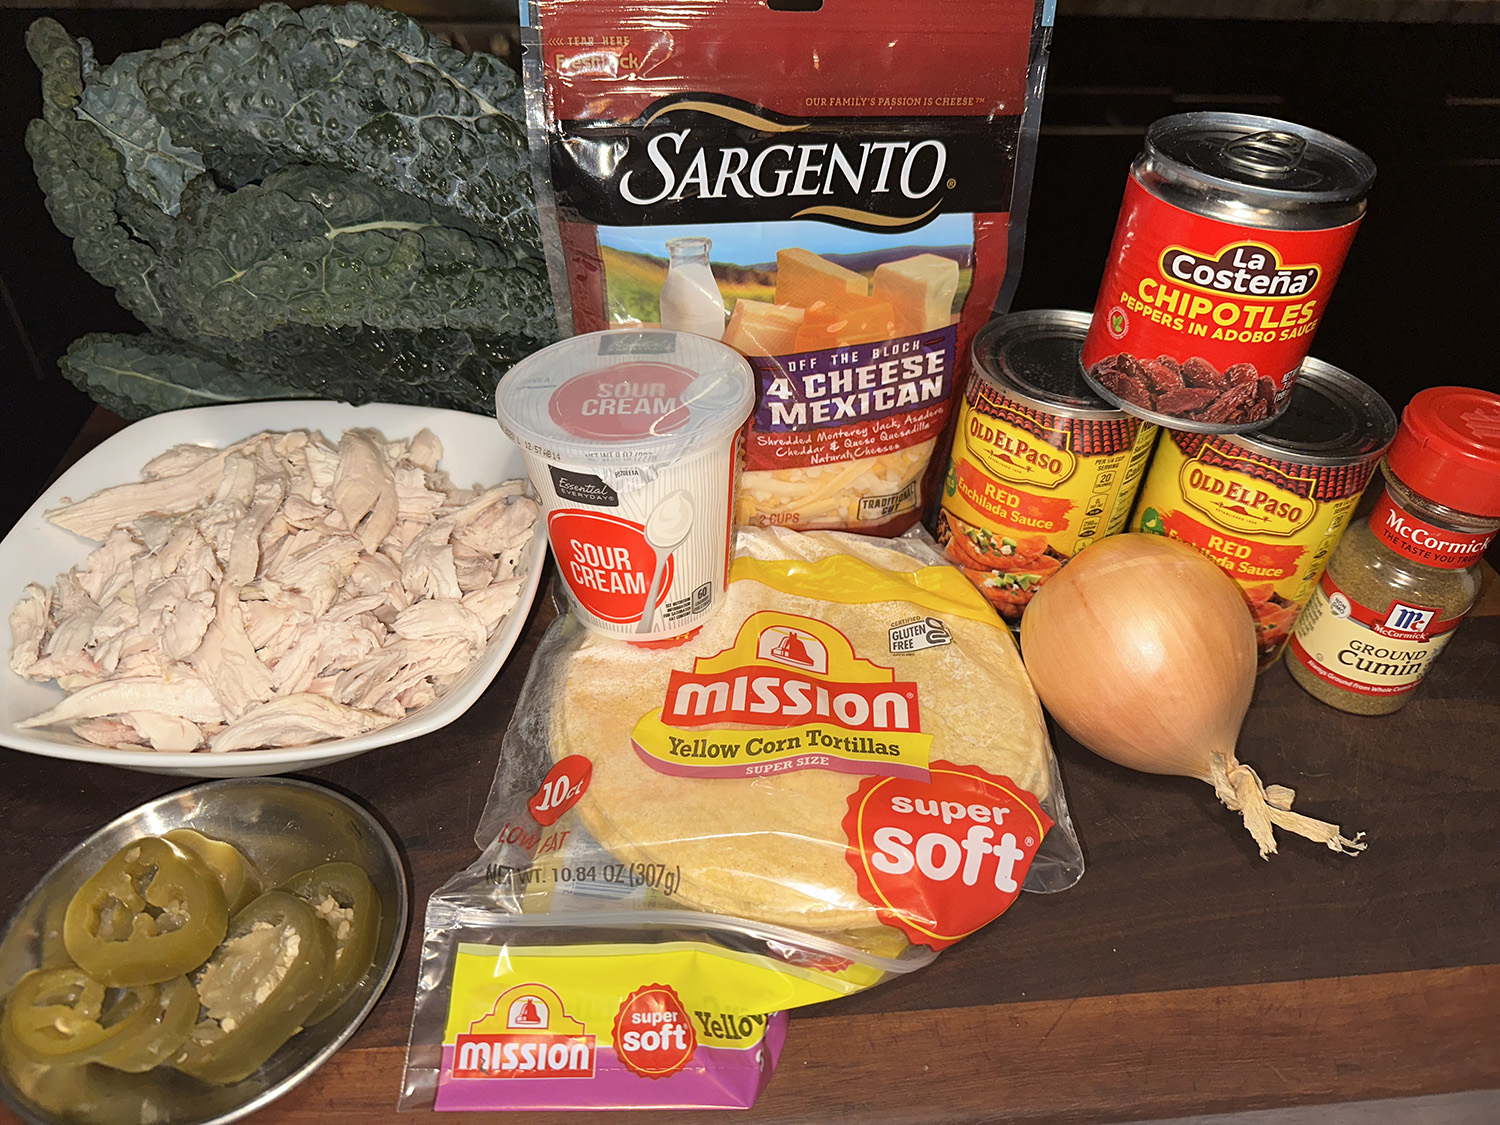
Ingredients
- 3 Tbsp. unsalted butter
- 1 red bell pepper, stemmed, seeded, and chopped (about 1 2/3 cups)
- 1 yellow onion, chopped (about 1 1/2 cups)
- 1 Tbsp. chili powder
- 2 tsp. ground cumin
- 3 1/2 cups chicken broth
- 1/4 cup all-purpose flour
- 3 cups shredded rotisserie chicken (about 1 rotisserie chicken)
- 1 (10-oz.) can diced tomatoes and green chiles (such as Rotel), drained
- 3/4 cup heavy cream
- 3/4 cup sour cream, plus more for garnish
- 3 Tbsp. salsa macha verde or chile crisp, plus more for serving
- 1 tsp. kosher salt
- 2 cups shredded Monterey Jack cheese (about 8 oz.), divided
- 12 (5 1/2-inch) corn tortillas, warmed, divided
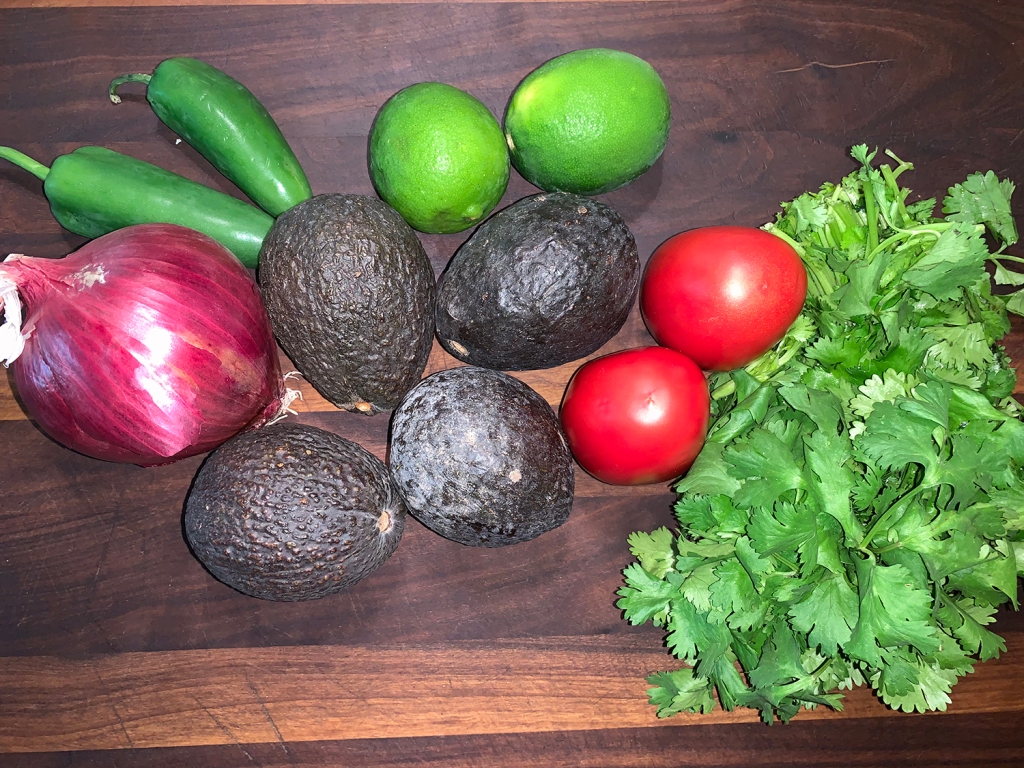
- Sliced avocado and fresh cilantro leaves, for garnish


Directions
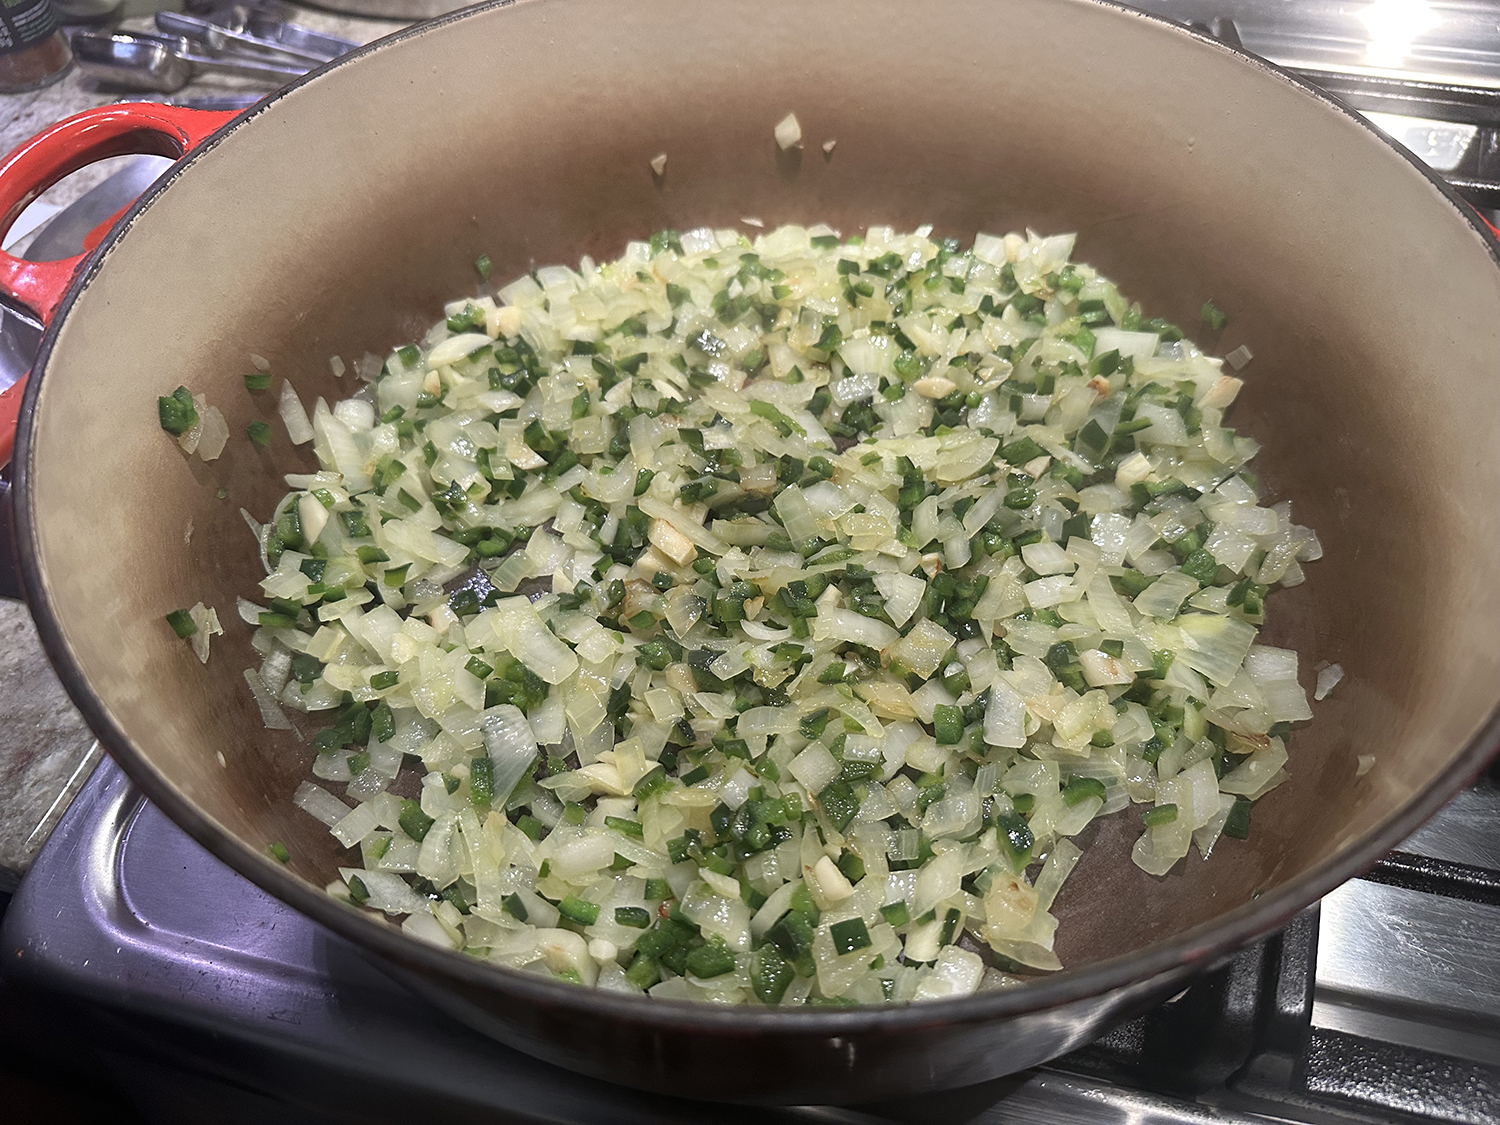
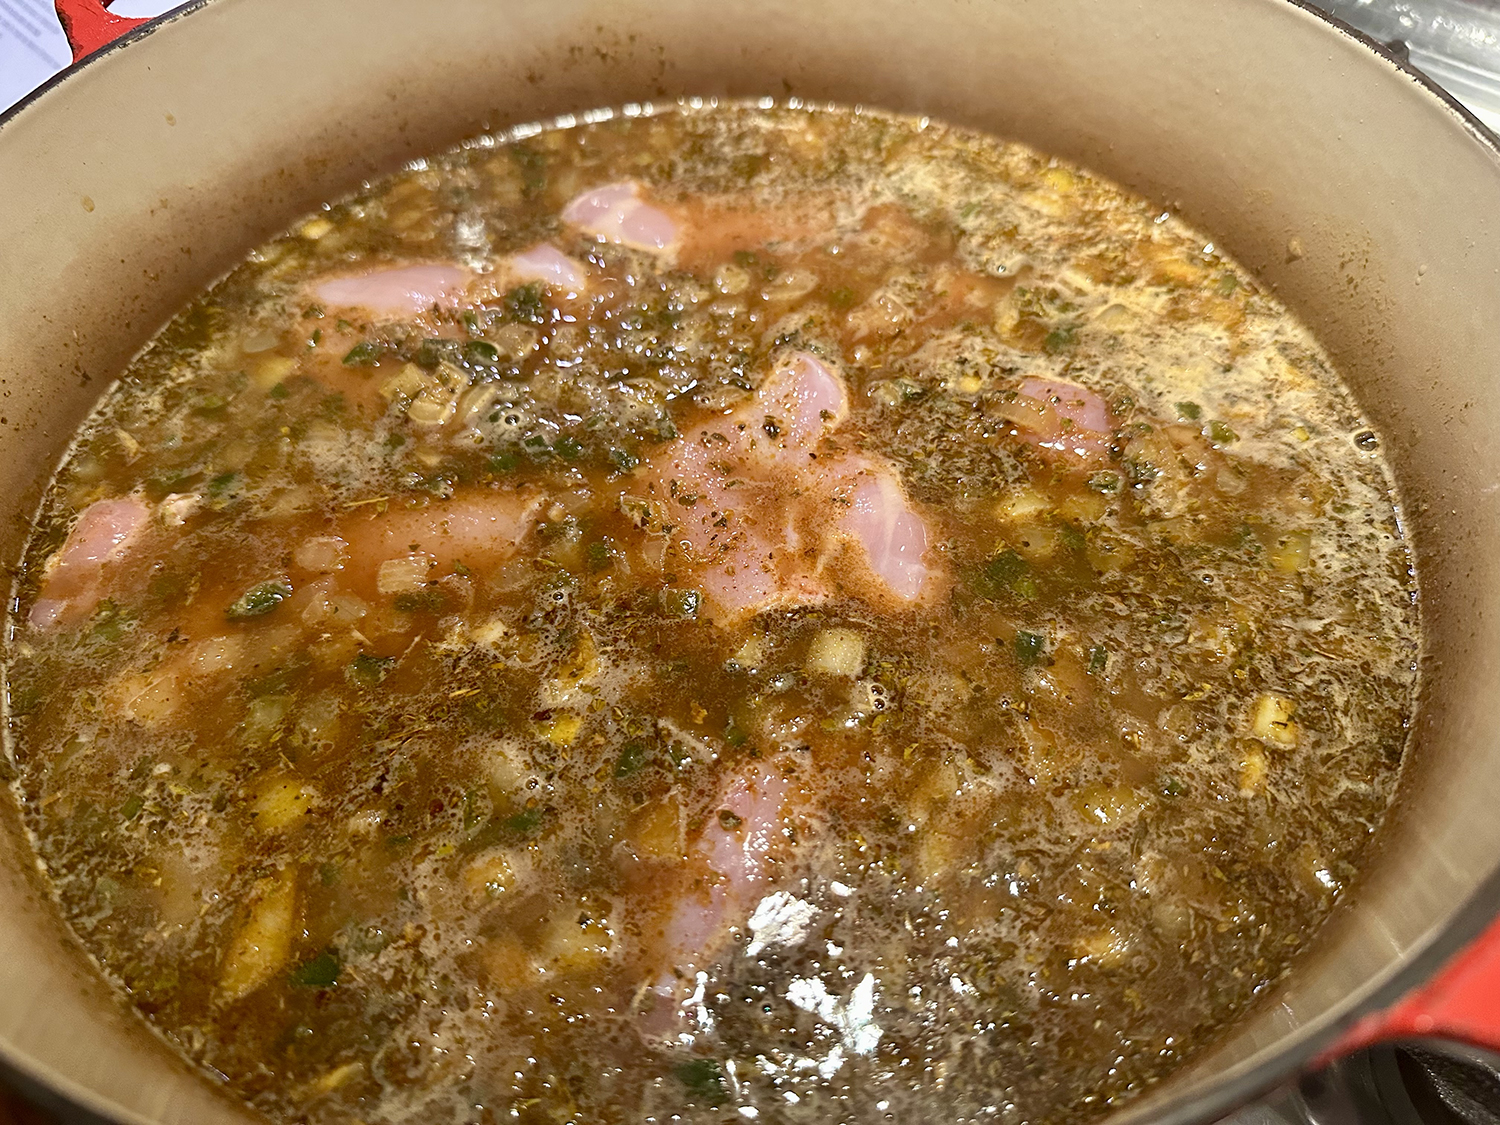
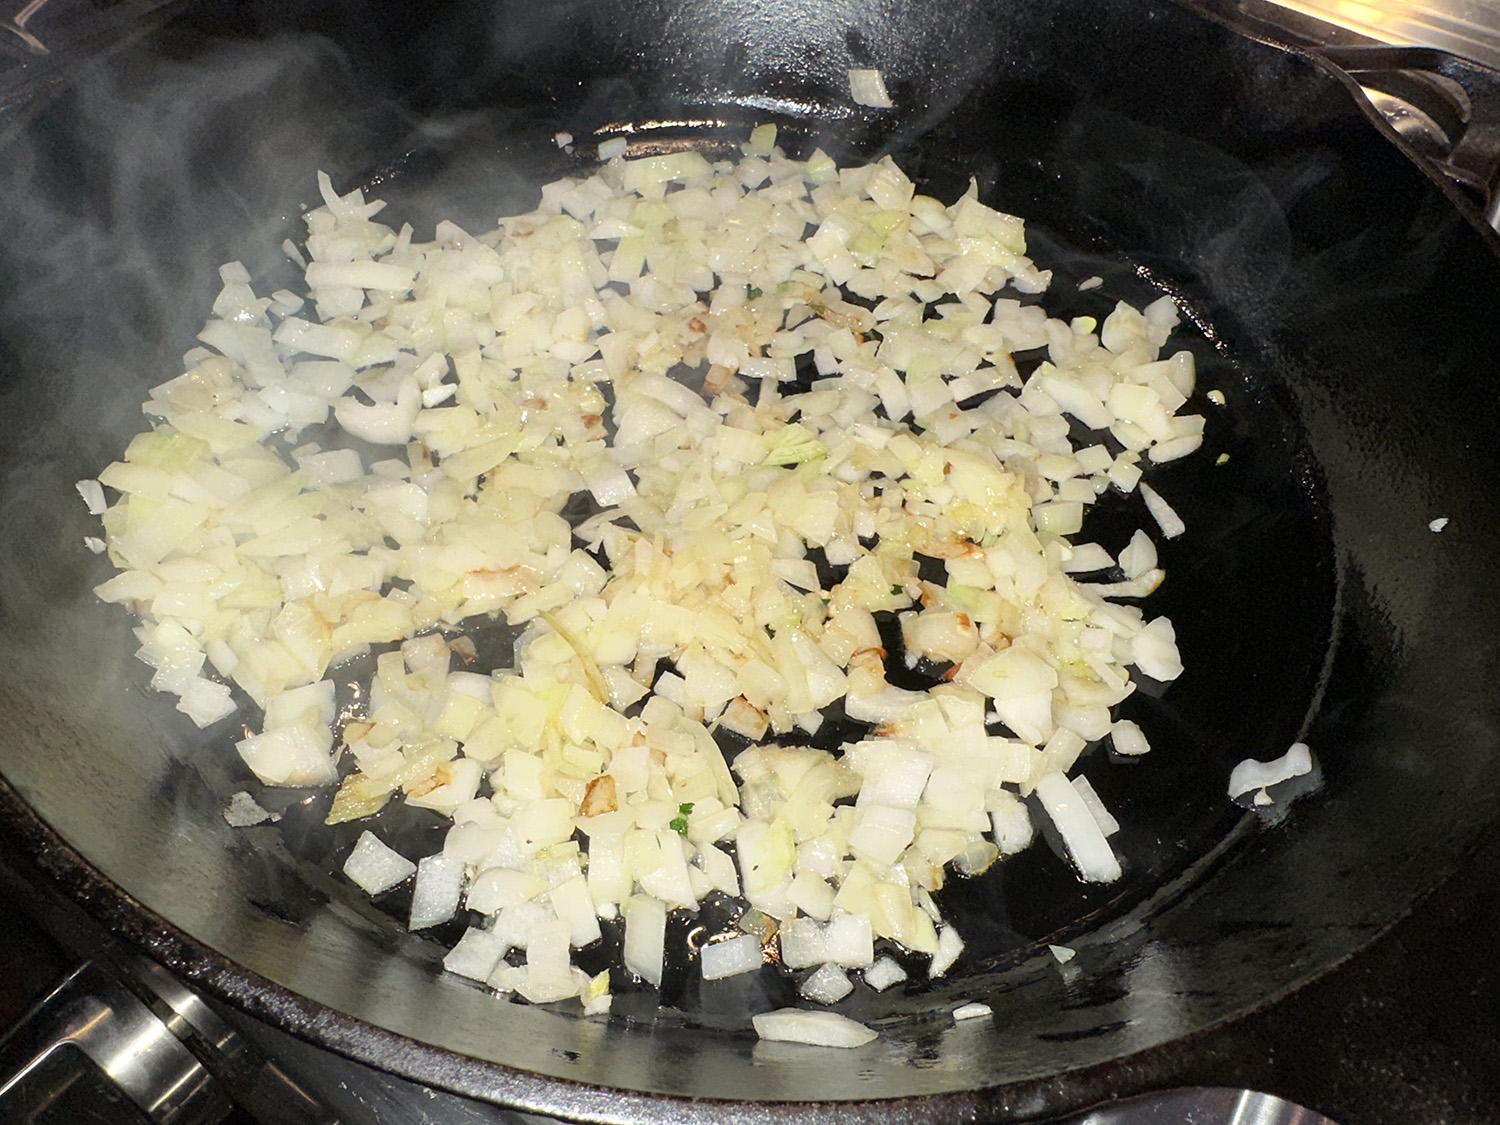
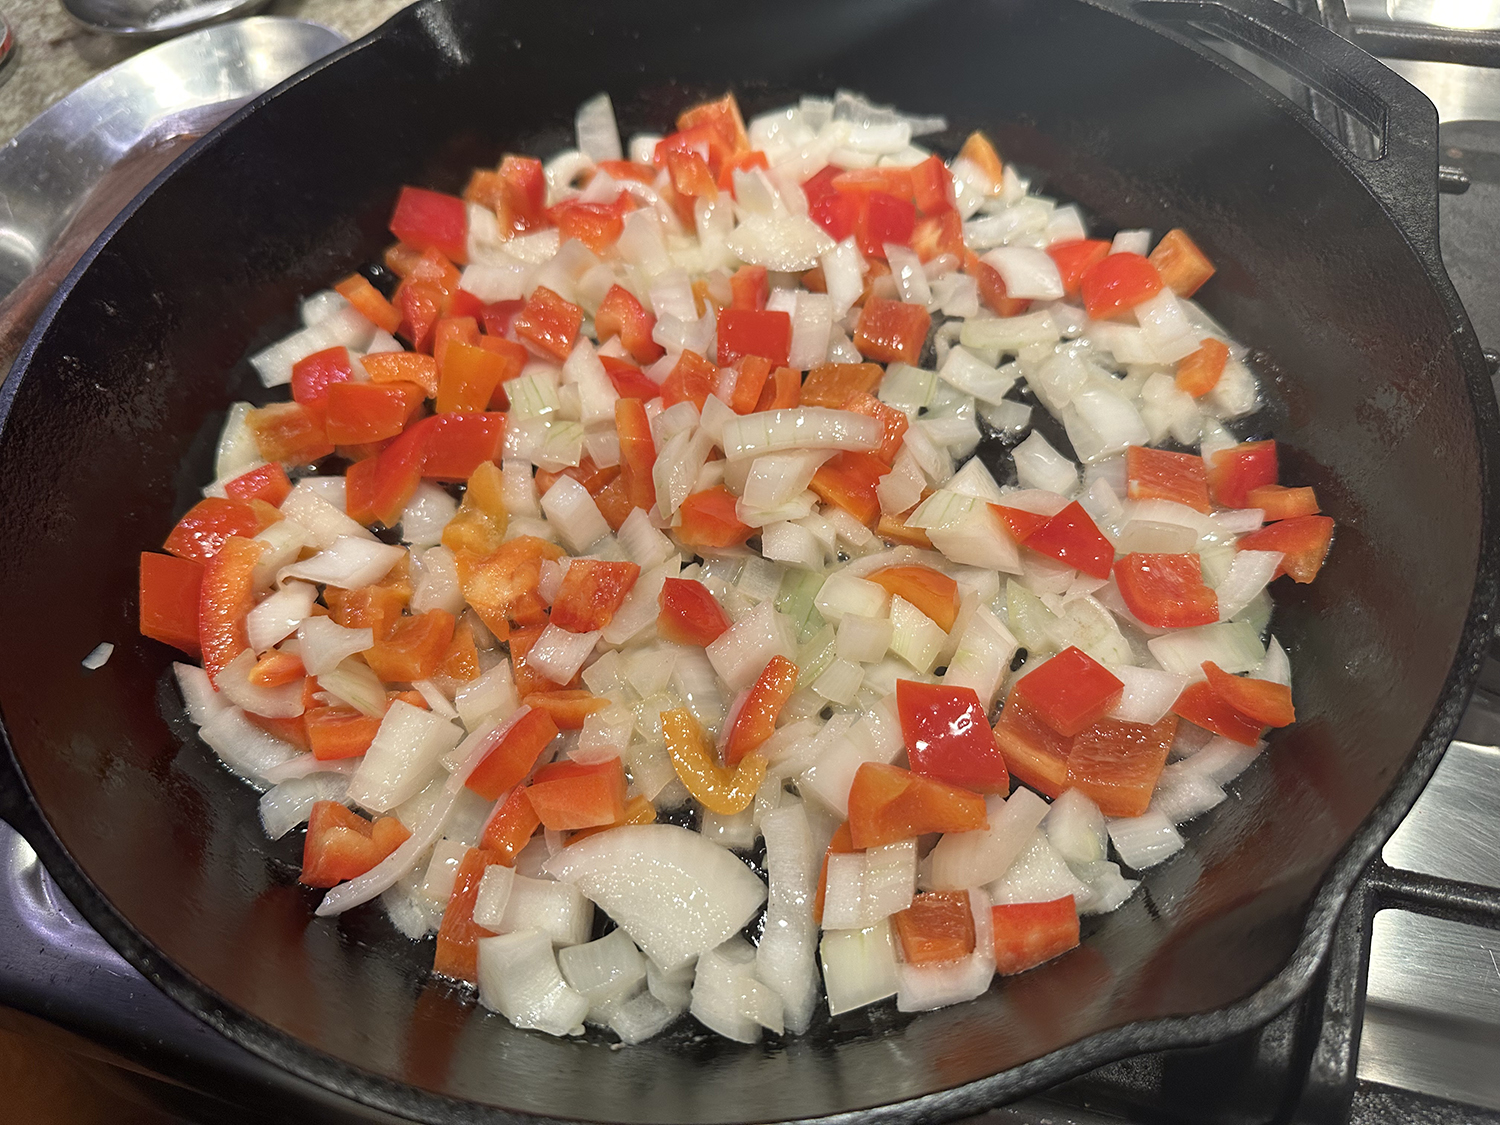
- Preheat oven to 425°F. Melt butter in a 12-inch cast-iron skillet over medium-high. Add bell pepper and onion; cook, stirring occasionally, until softened, about 6 minutes. Add chili powder and cumin, and cook, stirring often, until fragrant, about 1 minute. Add chicken broth; bring to a boil over high, stirring occasionally. Boil until broth is reduced by about one-third, 8 to 10 minutes.
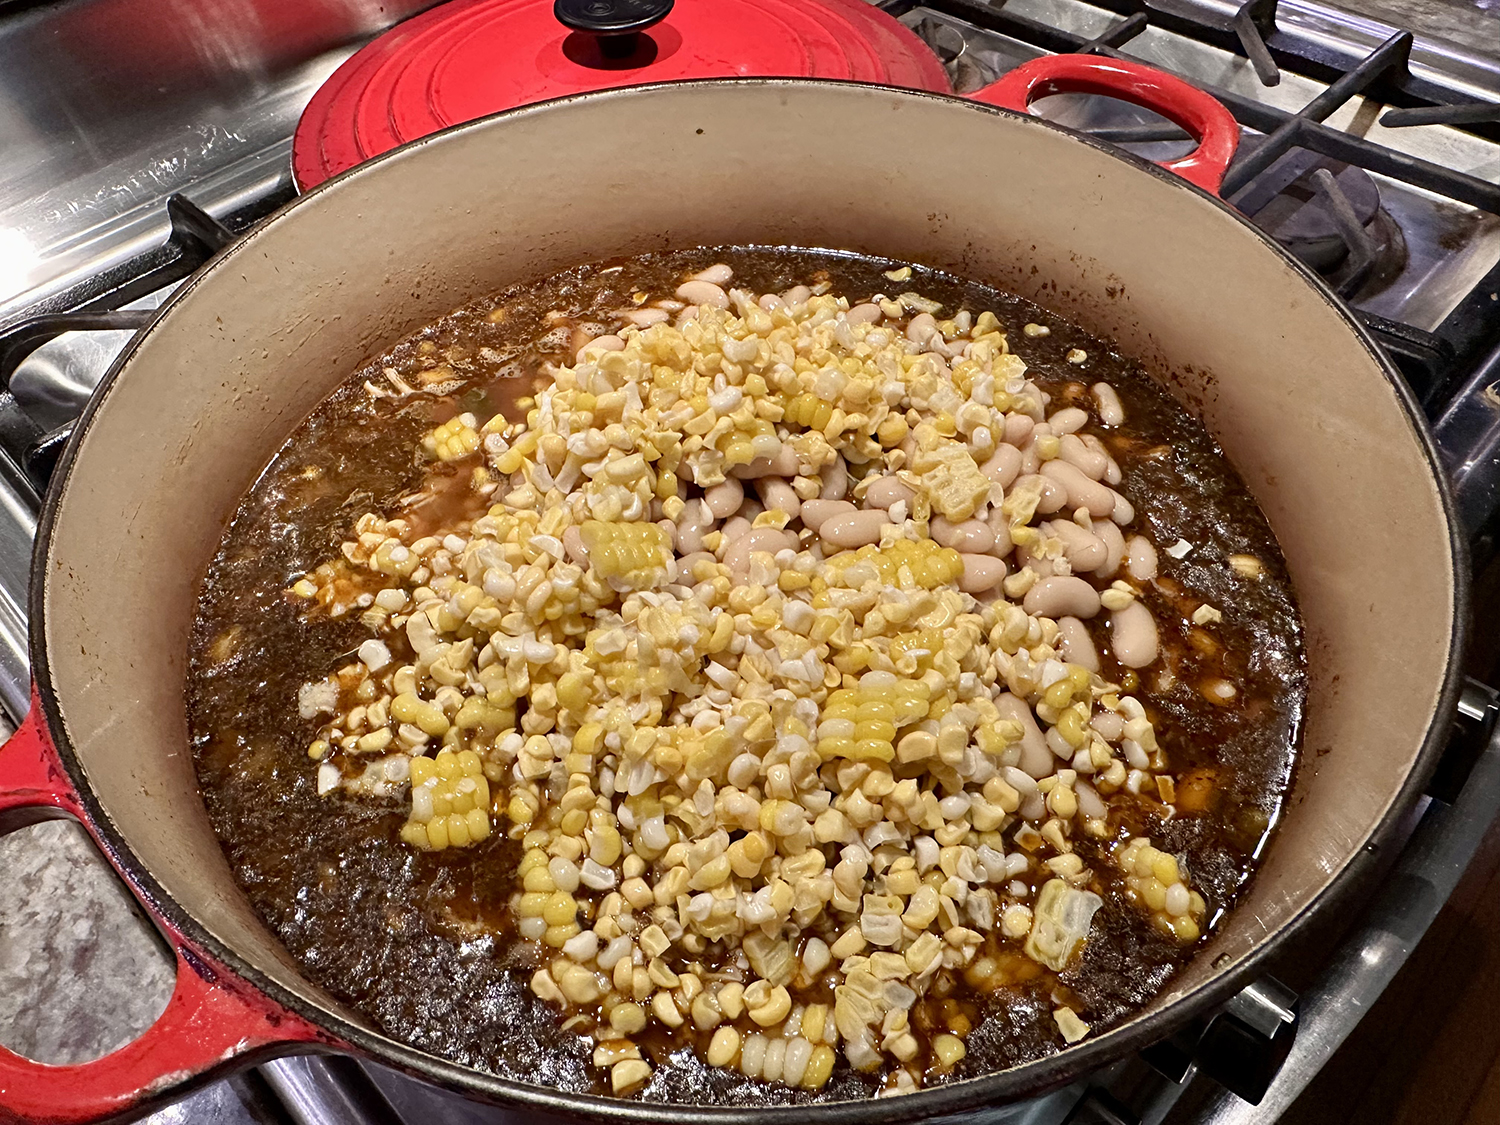
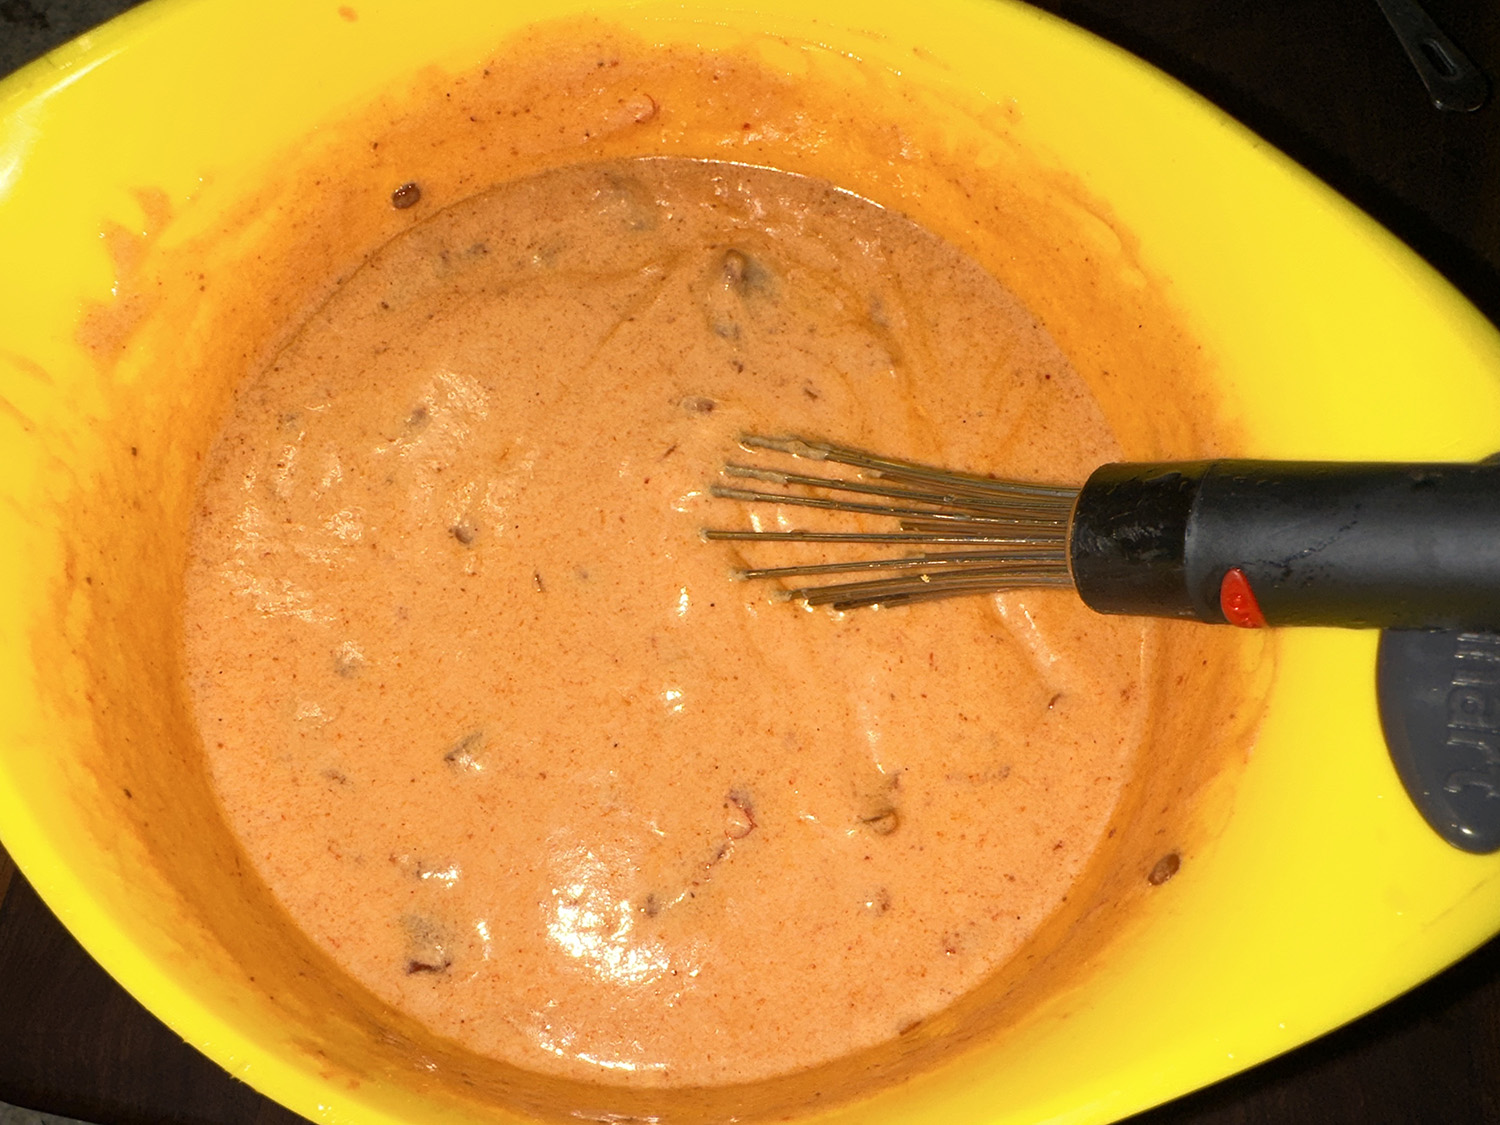
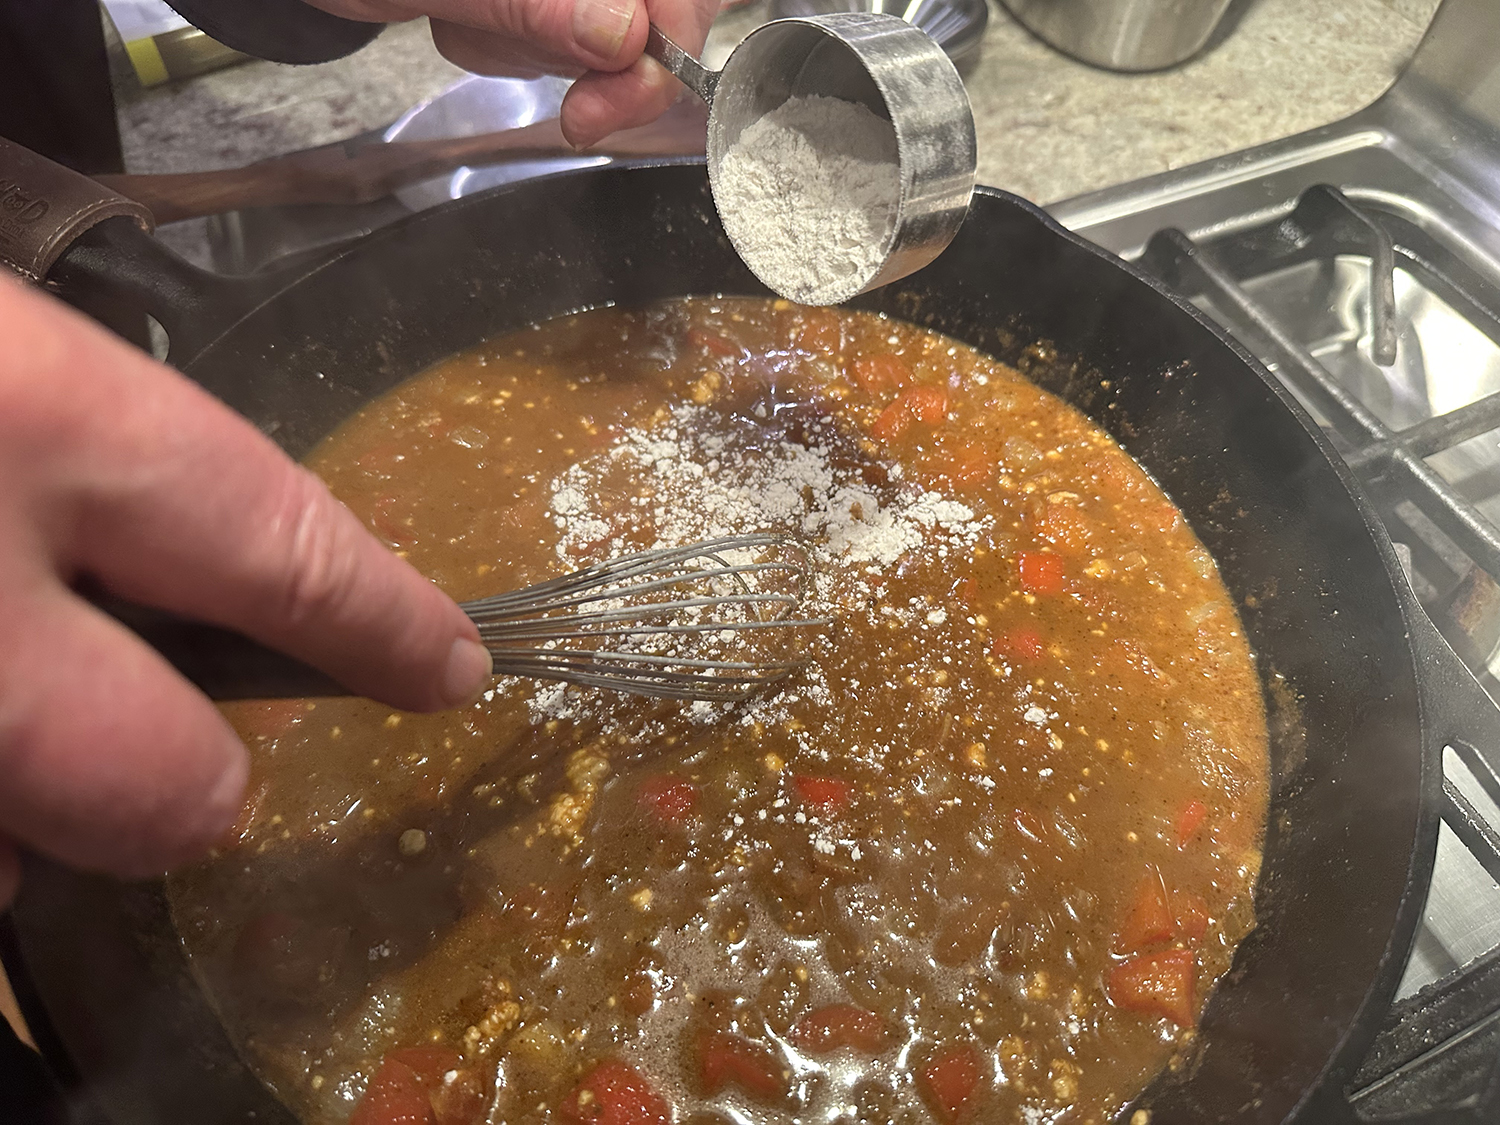
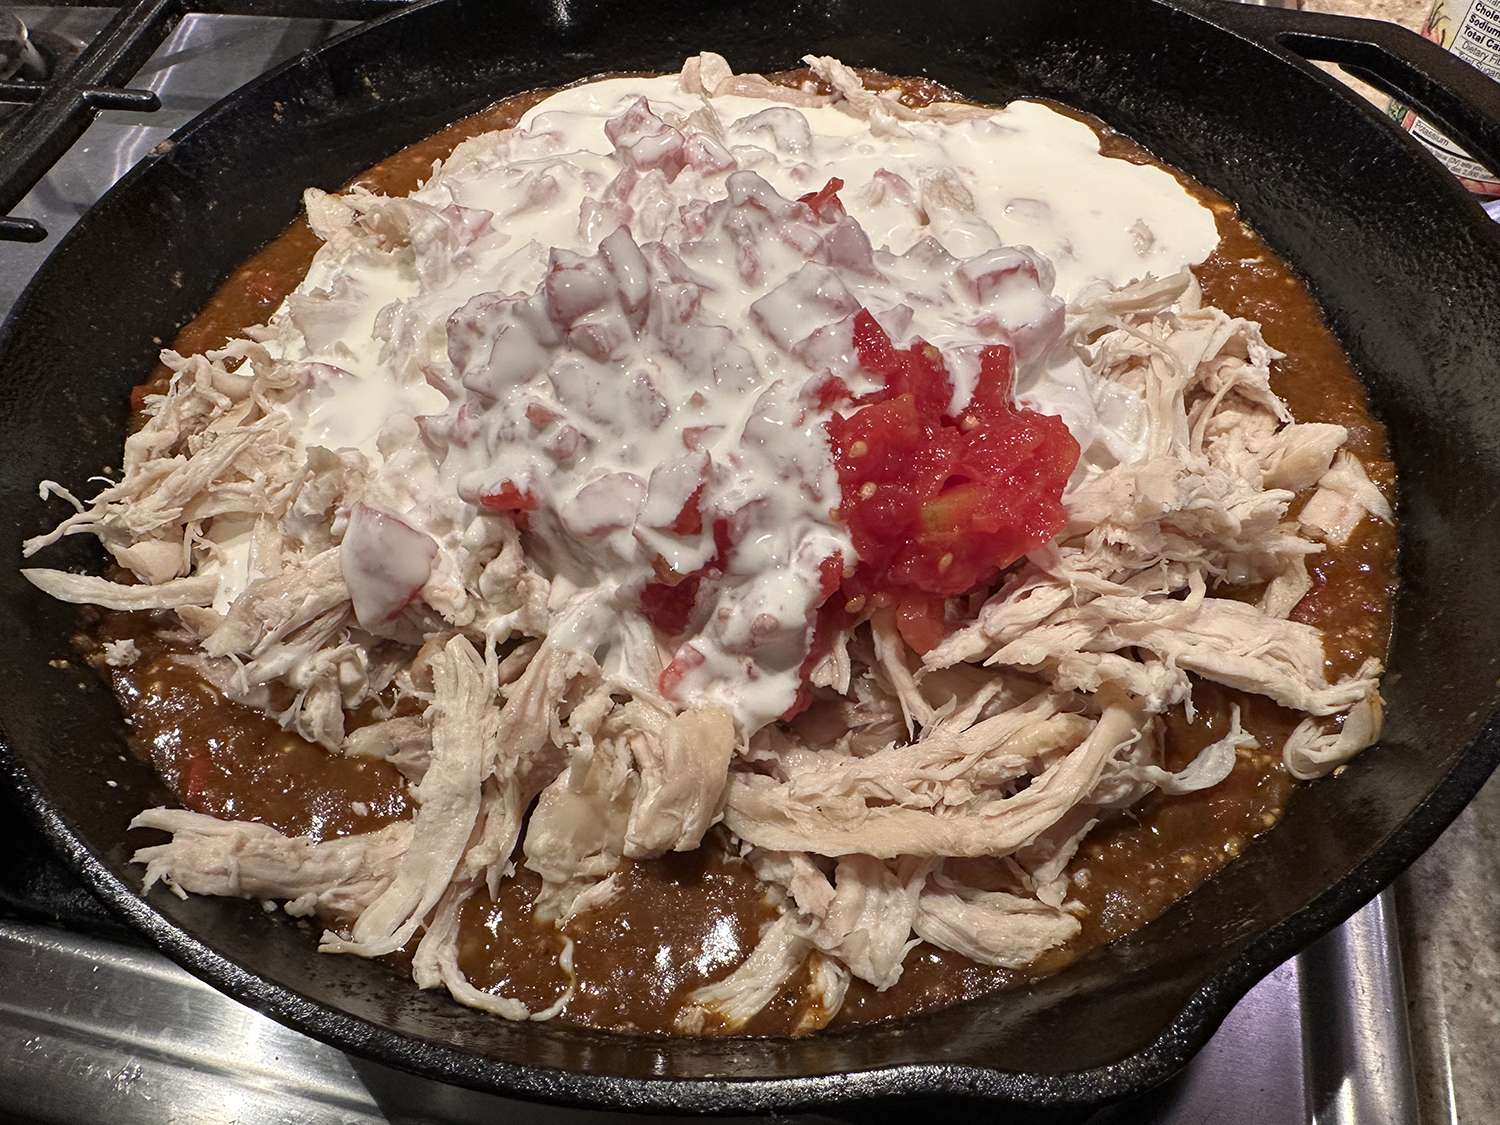
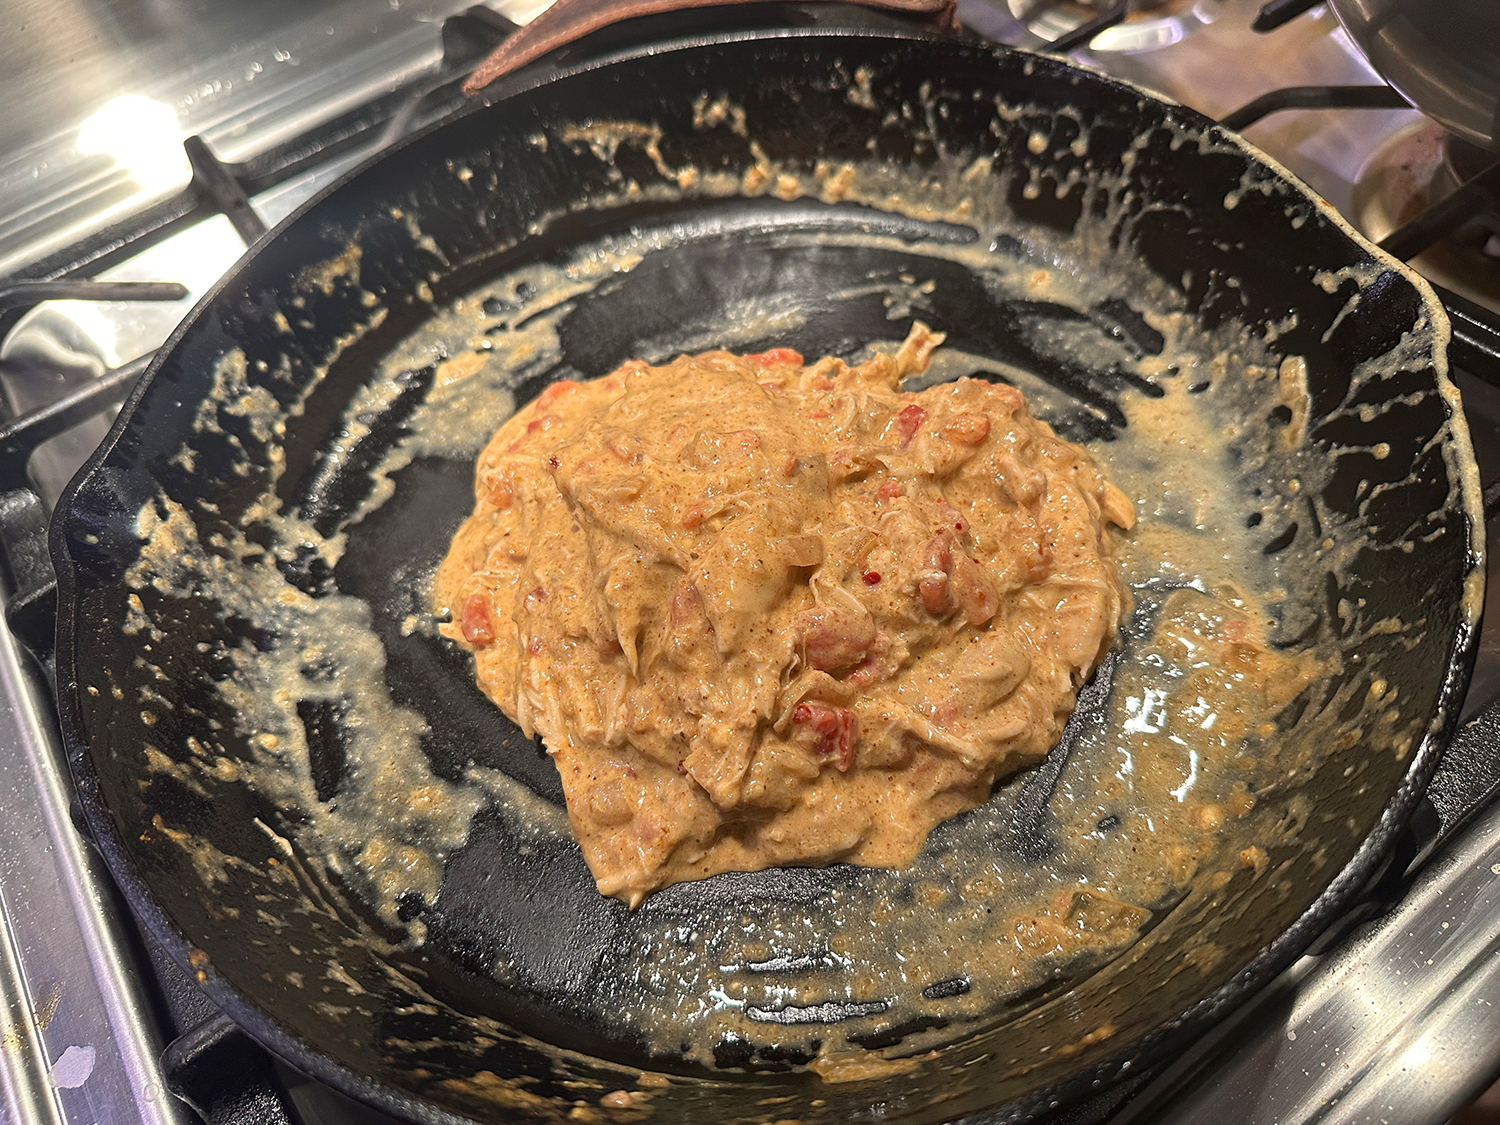
- Reduce heat to low, and gradually whisk in flour; cook, whisking constantly, until broth mixture thickens slightly, about 1 minute. Remove from heat; stir in chicken, diced tomatoes and green chiles, heavy cream, sour cream, salsa macha verde, and salt until well combined; transfer to a large bowl. Do not wipe skillet clean.
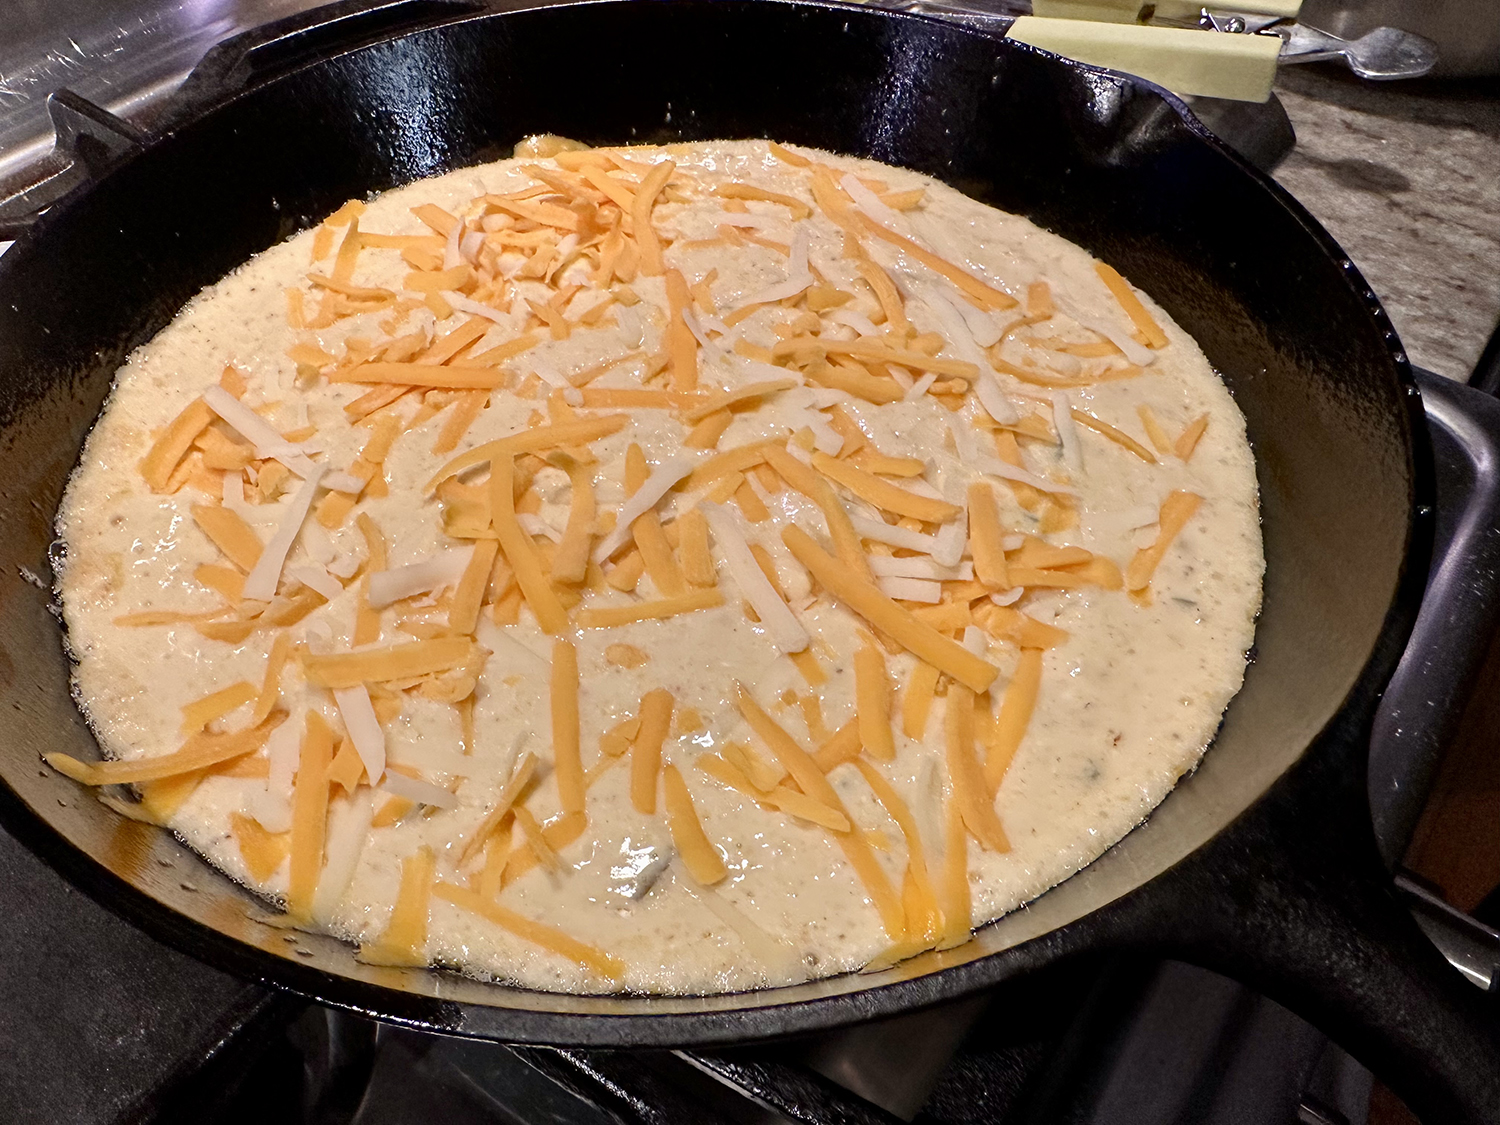
- Spoon 2 cups chicken mixture back into skillet; spread in an even layer. Top evenly with 1/2 cup cheese and 6 tortillas, overlapping slightly and tearing as needed to fit. Repeat layering process with chicken mixture and cheese. Top with remaining 6 tortillas, remaining 2 cups chicken mixture, and remaining 1 cup cheese.
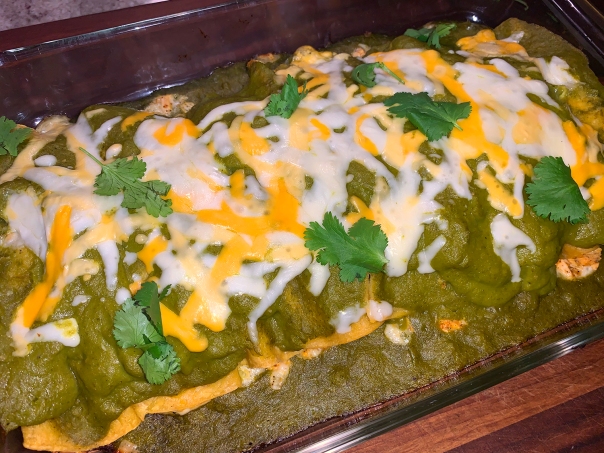
- Bake casserole in preheated oven until bubbly and cheese is browned in spots, 15 to 20 minutes. Let the casserole sit for 10 minutes before slicing into wedges.
- Garnish with sliced avocado, cilantro, and sour cream. Drizzle with salsa macha verde or chili crisp.
Adapted from a recipe by Liz Mervosh for Food and Wine