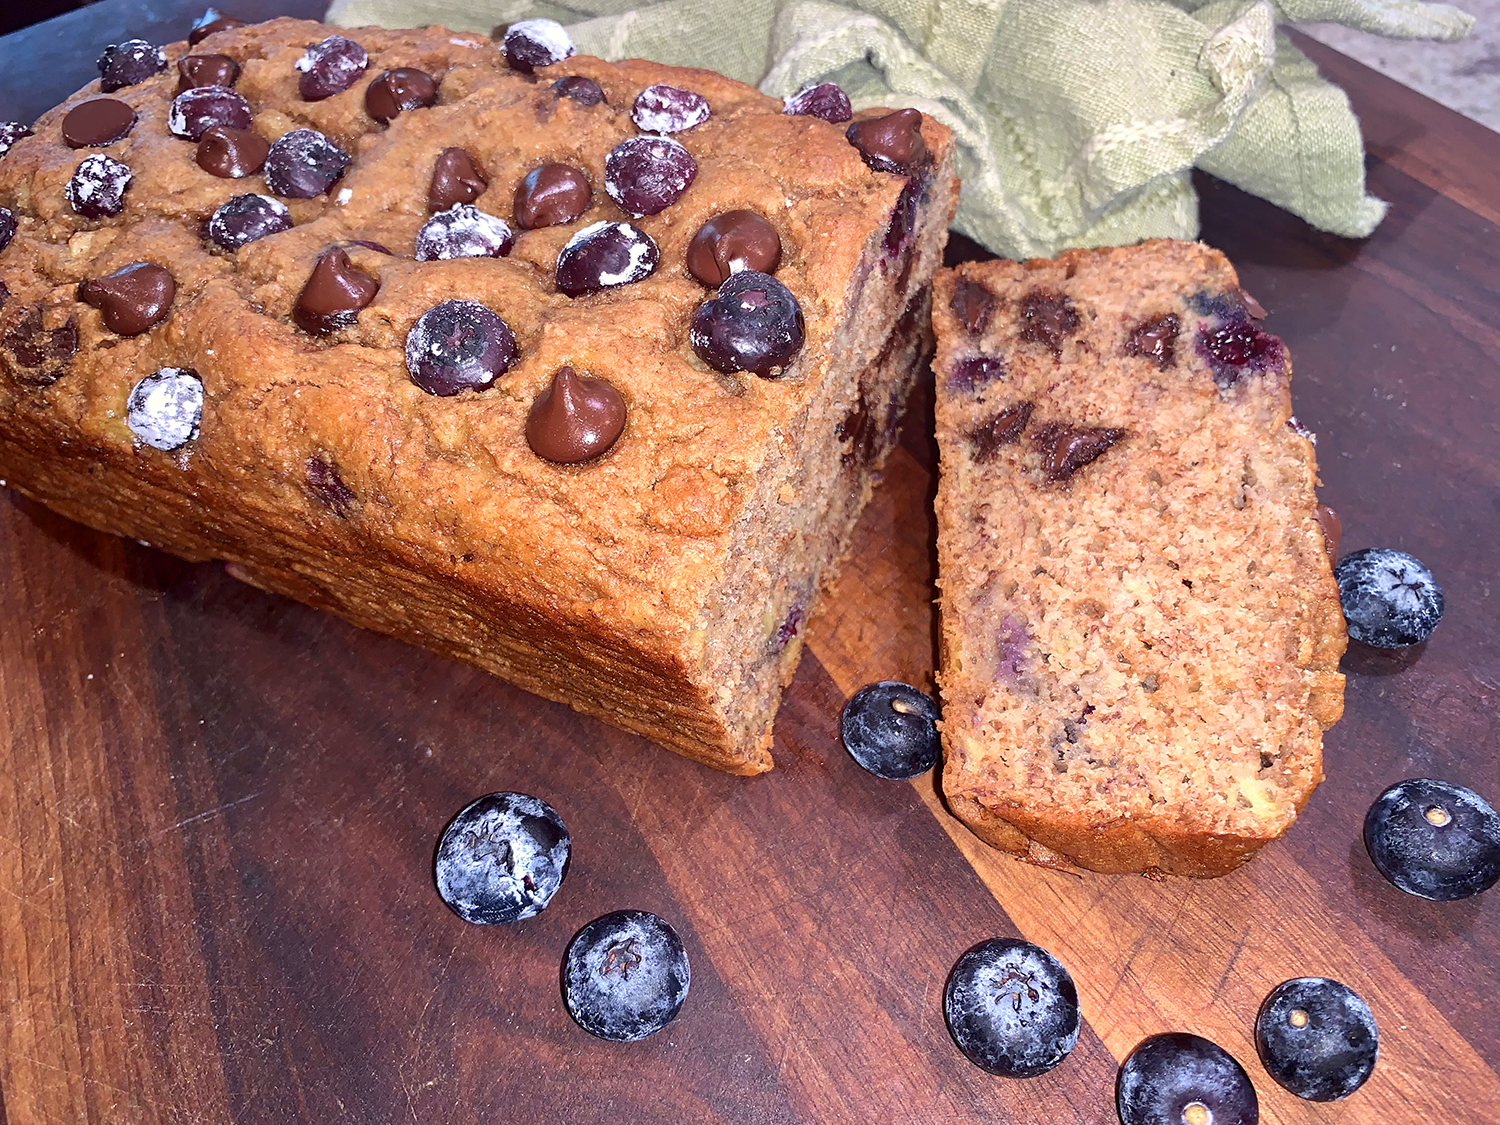
With several bananas nearing their beyond-ripe cycle of life, I was on the search for an “elevated” banana bread, and this intriguing recipe from NYTimes Cooking enticed me. The content noted that adding cardamom to coffee is a well-loved practice throughout the Middle East and one that plays off each ingredient’s traits.
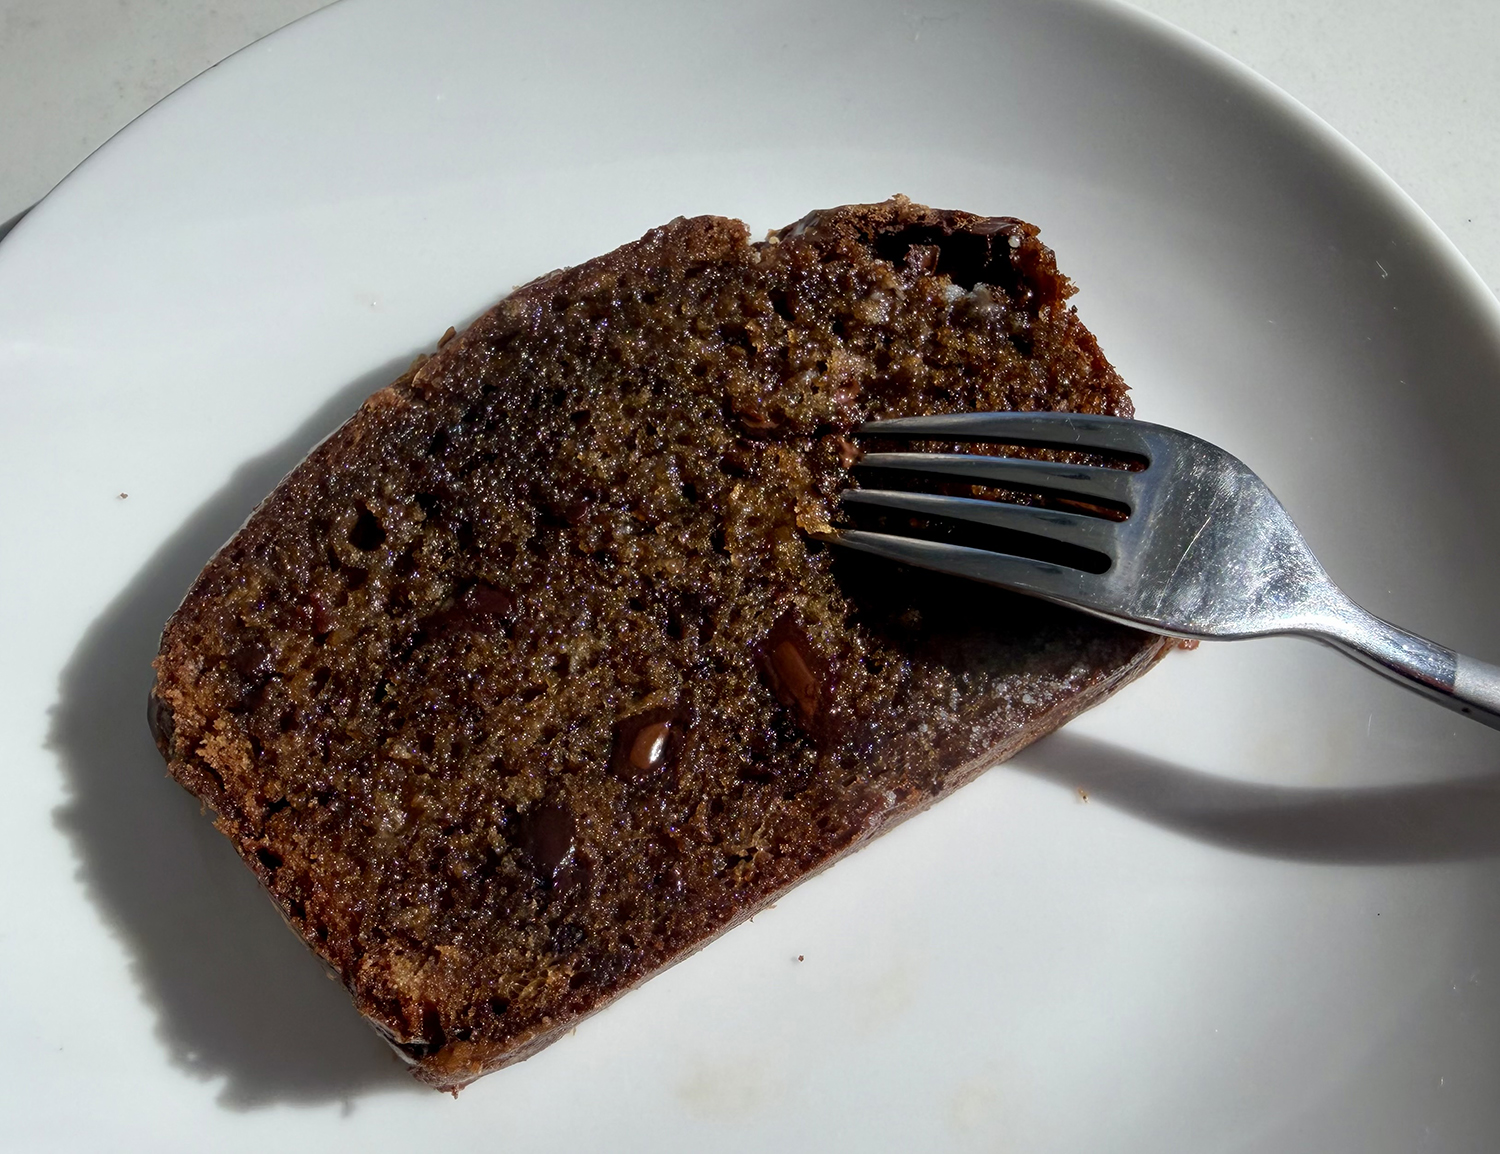
Sweet, floral cardamom mellows the acidity of coffee while coffee’s inherent bitterness keeps the peppery, menthol-like notes of the spice from overpowering. Here, the couple transforms a humble banana bread, perfuming it with extra warmth, while chopped dark chocolate adds richness.
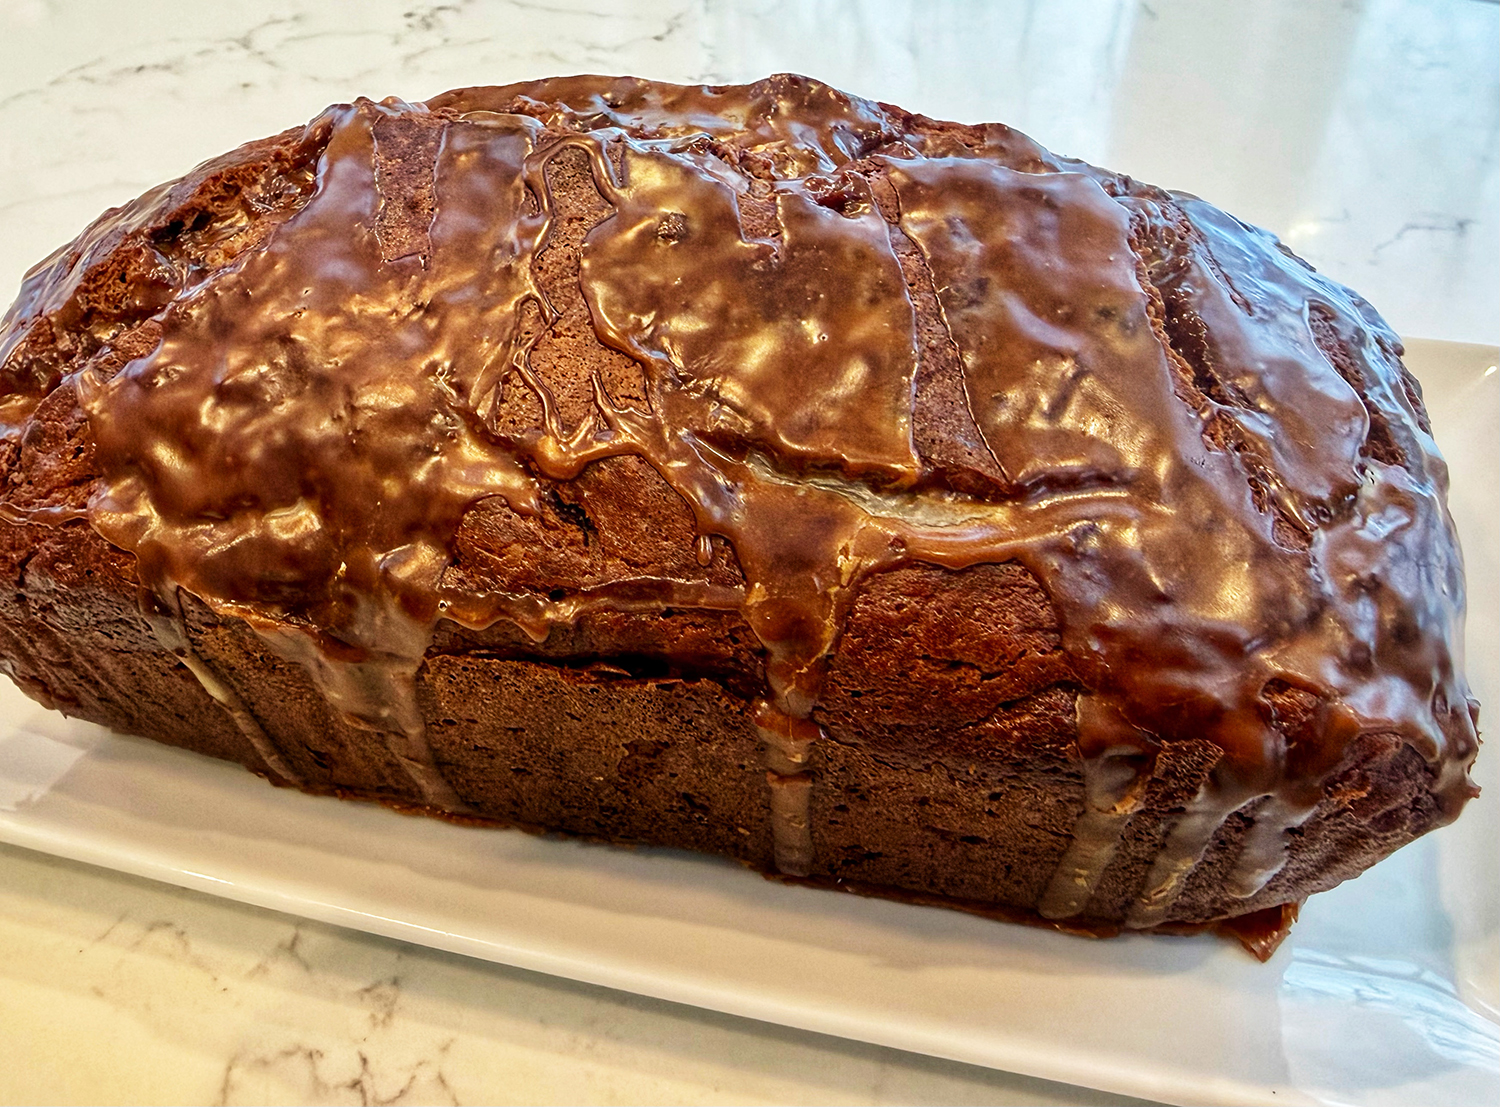
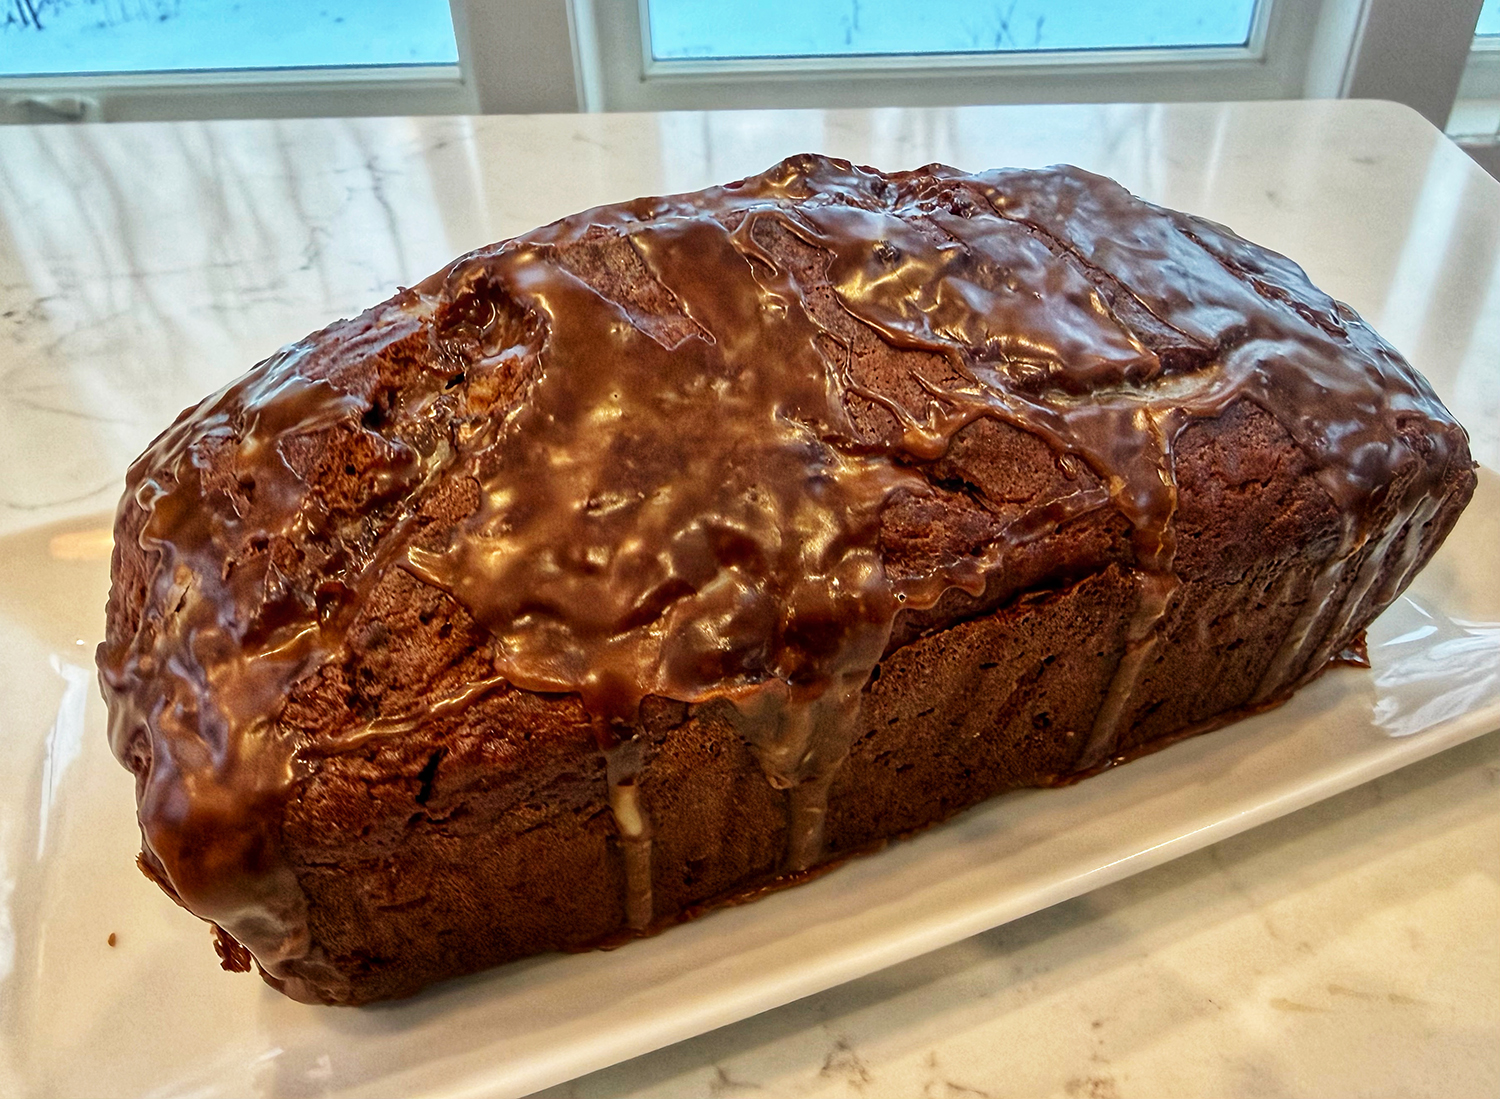
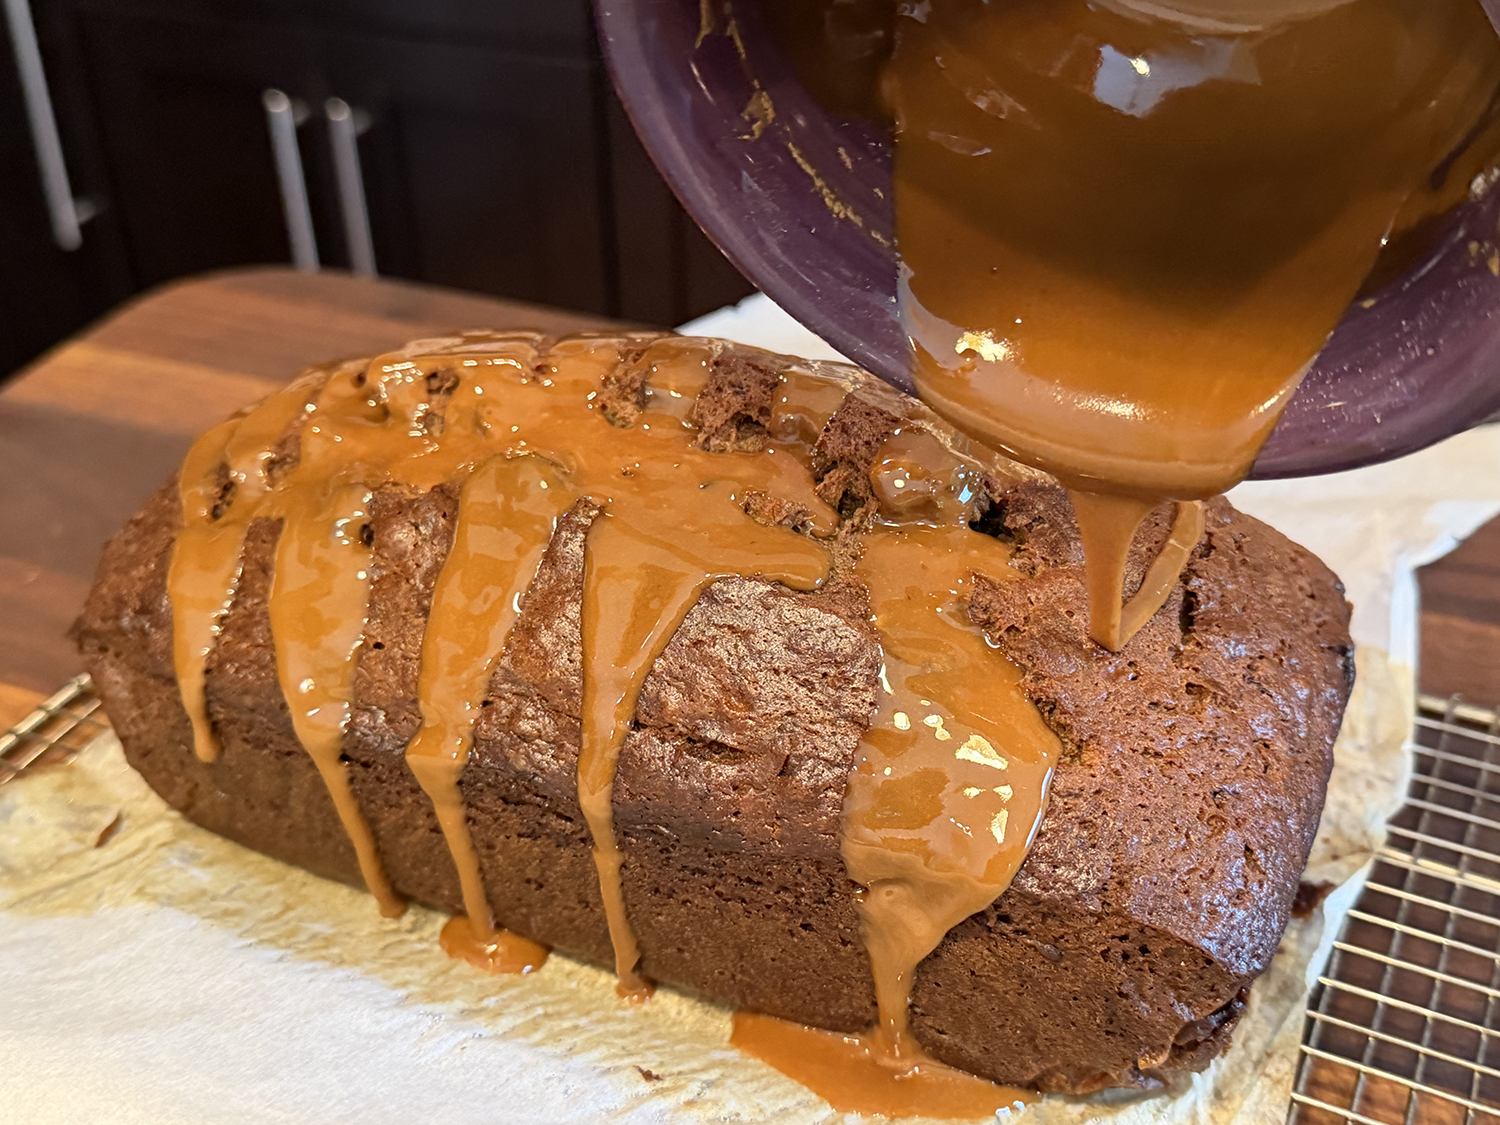
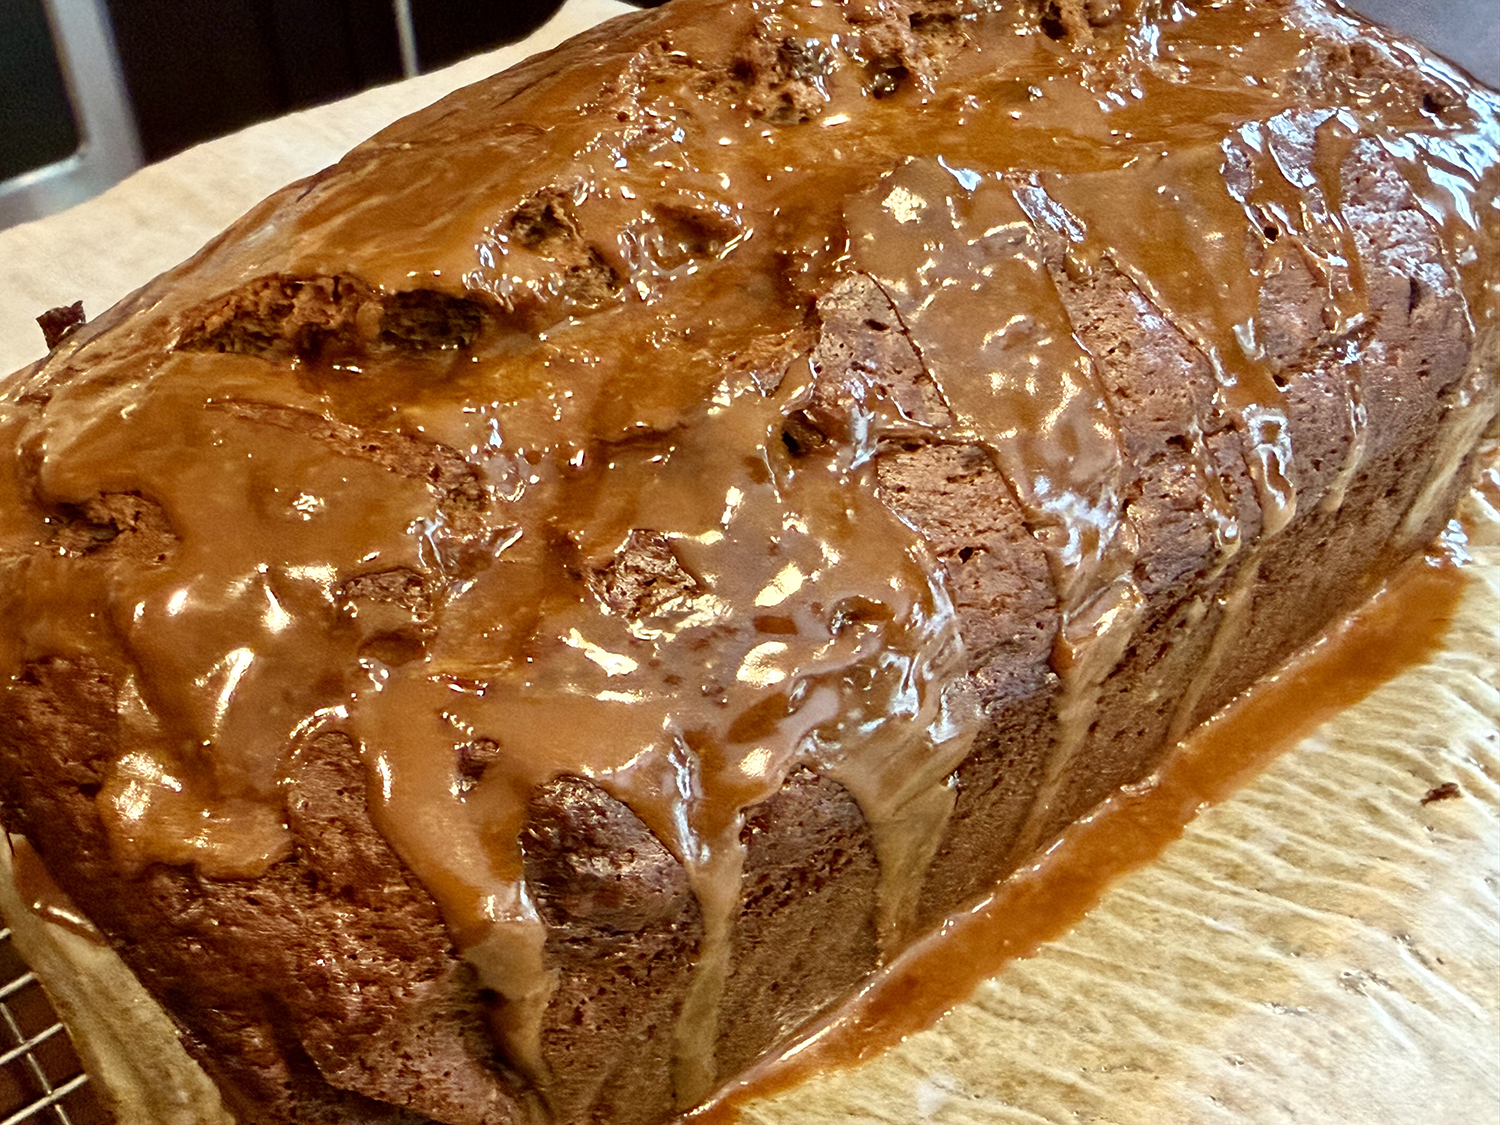
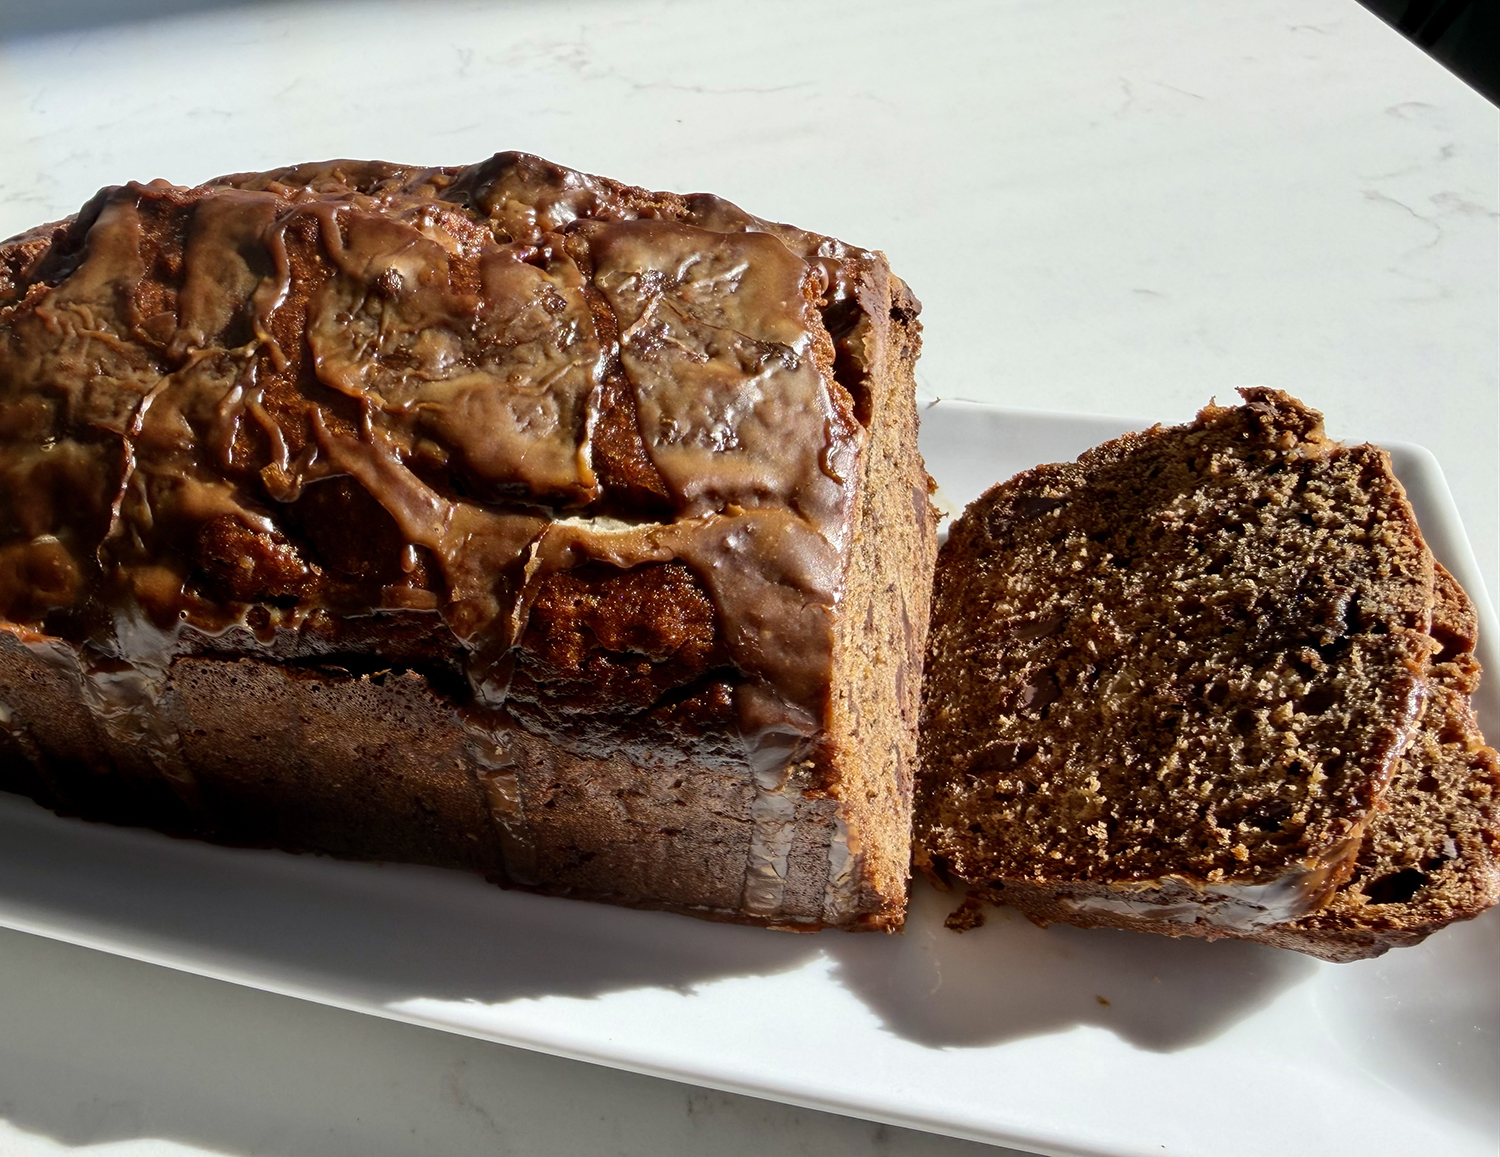
An optional coffee drizzle ensures this loaf is eye-catching but if you’d rather keep things simpler, sprinkle it with coarse turbinado sugar before baking to lend a touch of sparkle as well as pleasant crunch. (For a slight extra punch, we decided to replace the water in the glaze with bourbon, which of course changed the color from white to caramel.)
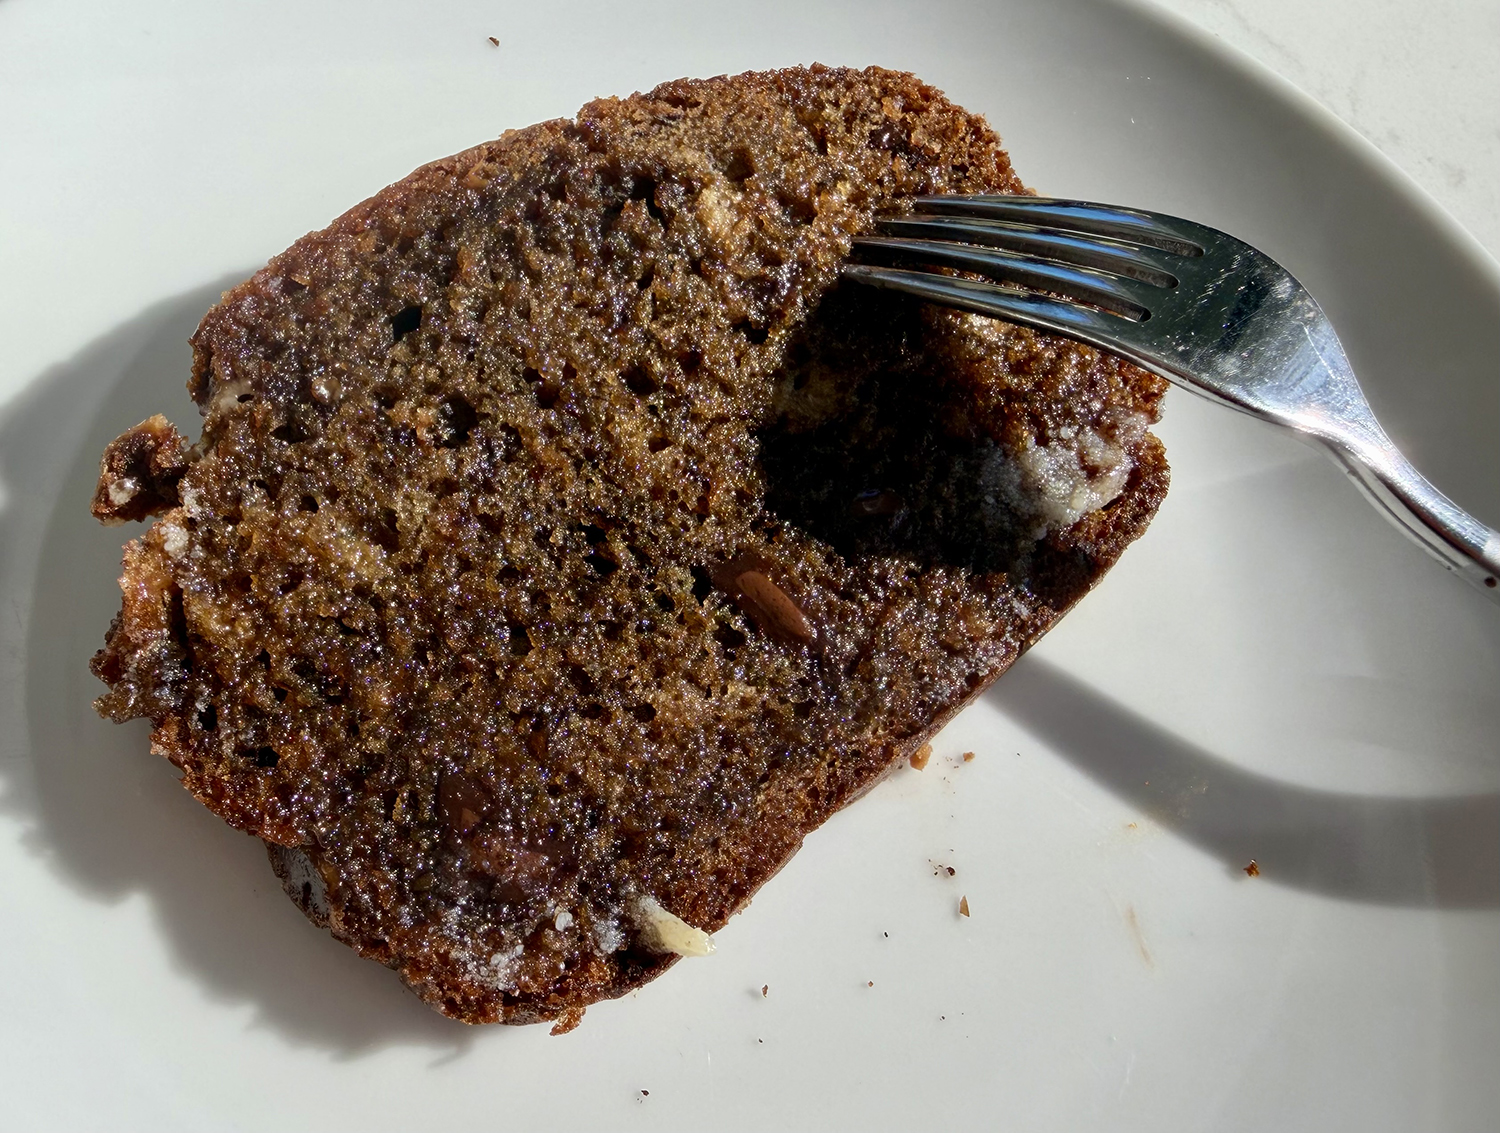
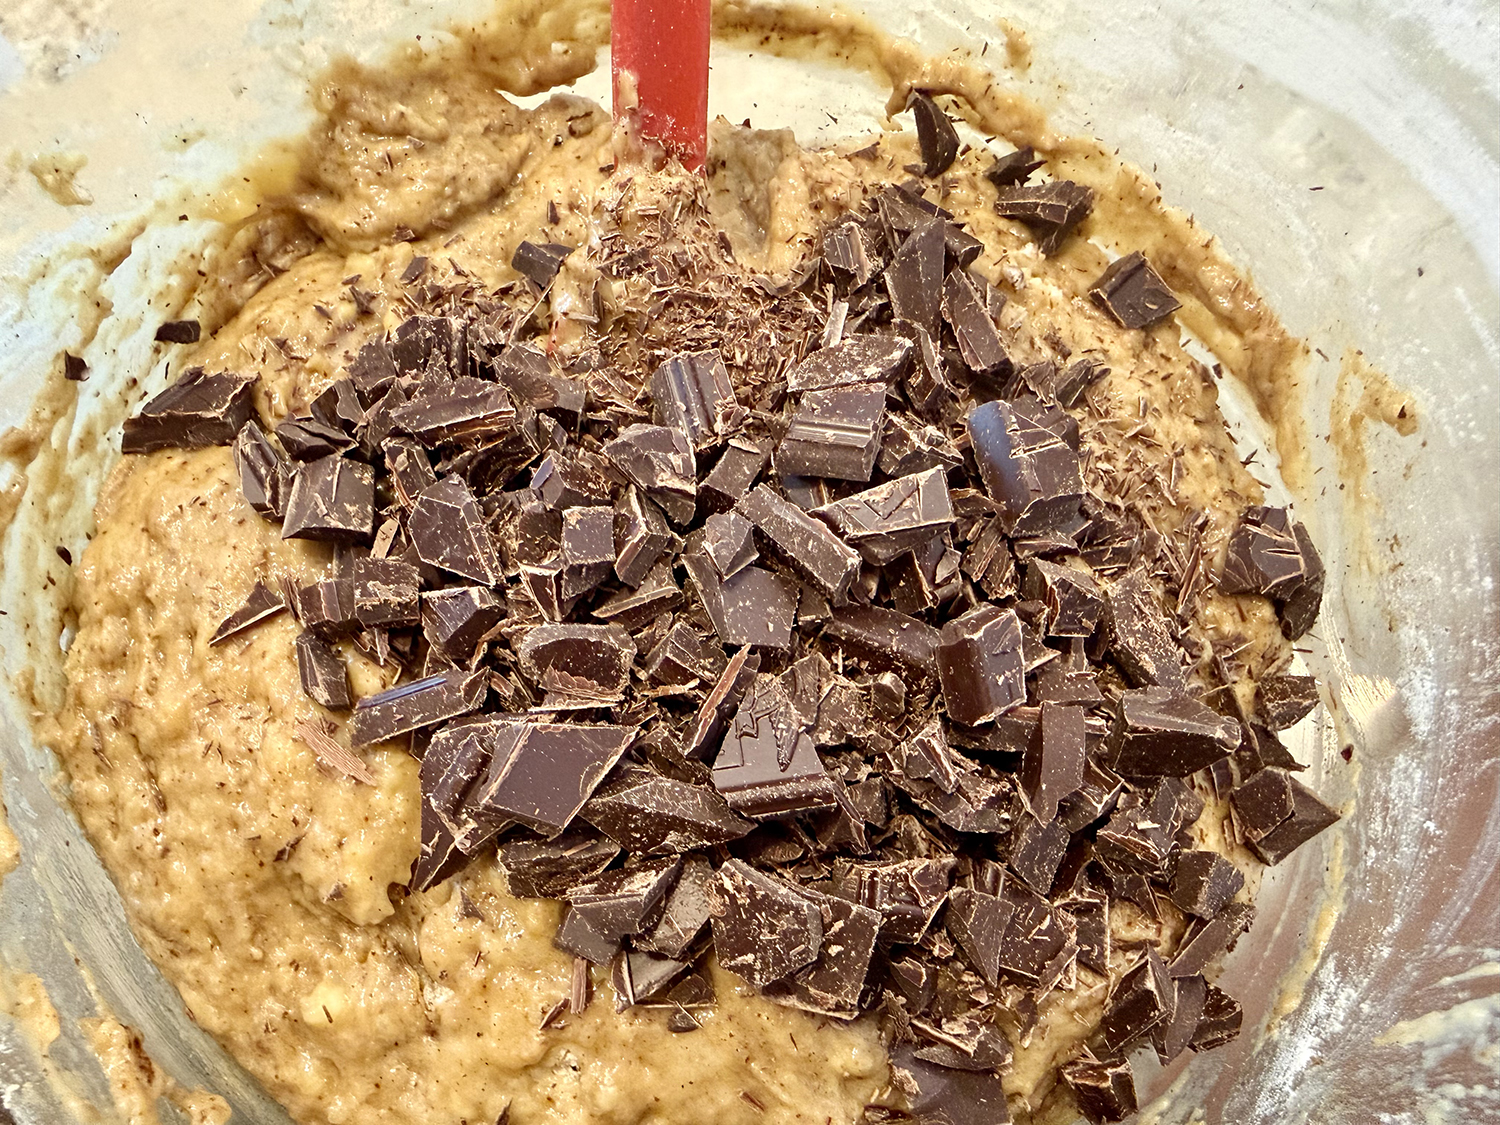
The Ghirardelli chocolate bar was a total of 4 ounces, so I made the executive decision to include the entire amount, 25% more than the recipe called for. No one seemed to mind… 😉 ! When you get around to eating it, try a schmear of ghee on a slice and zap it in the microwave for 20 seconds. Bellissimo!
NOTES: If you’re caffeine-sensitive, look for decaf instant espresso powder, which can be a little harder to find but is available online. The cooled banana bread, without the glaze, can be tightly wrapped and frozen for up to 3 months. Let it thaw at room temperature at least 4 hours or up to overnight before glazing and serving. Alternatively, the bread can be baked and glazed up to a day ahead of time and stored, loosely covered, at room temperature.
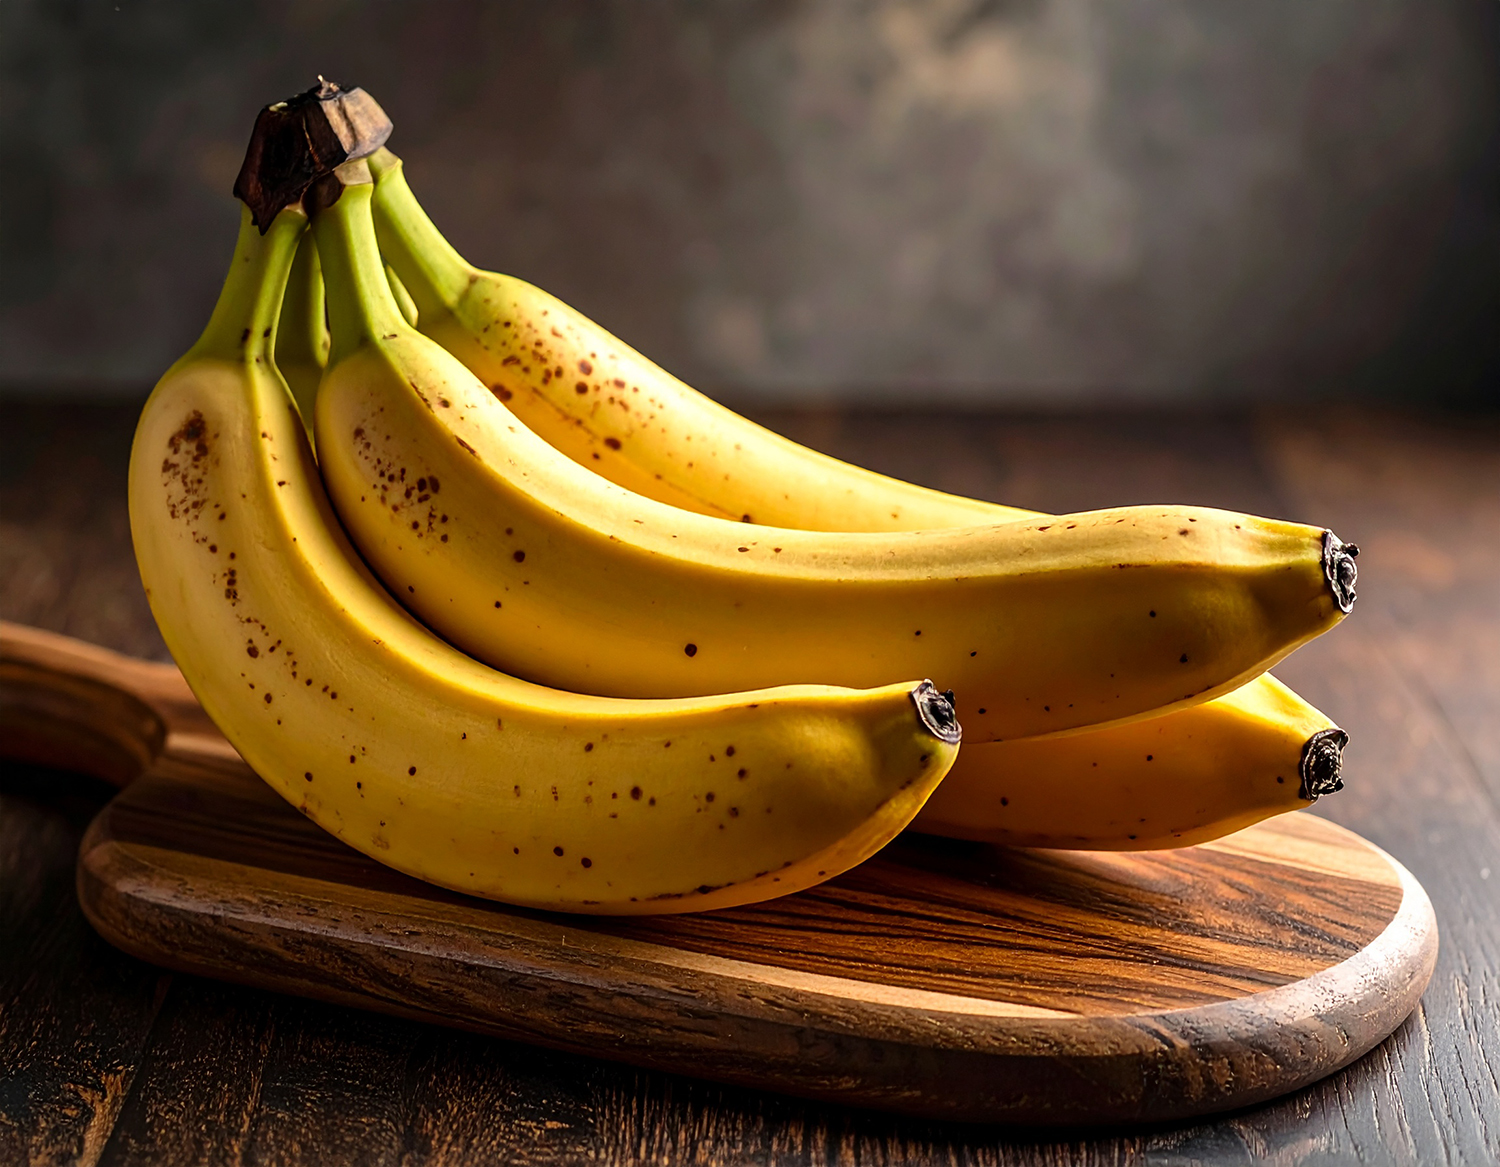
To achieve the best flavor and texture in banana bread, use very ripe bananas by following these points:
- Ripe bananas are sweeter, enhancing the overall flavor of the bread.
- They provide natural moisture, resulting in a softer texture.
- The starches in ripe bananas break down into sugars, improving sweetness.
- Overripe bananas mash easily, making them easier to incorporate into the batter.
- They contribute to a richer banana aroma, elevating the bread’s appeal.
- Using ripe bananas reduces the need for added sugars in the recipe.
Cardamom Coffee Banana Bread
Ingredients
- 3 very ripe large bananas (about 1 lb.)
- ⅔ packed cup light brown sugar
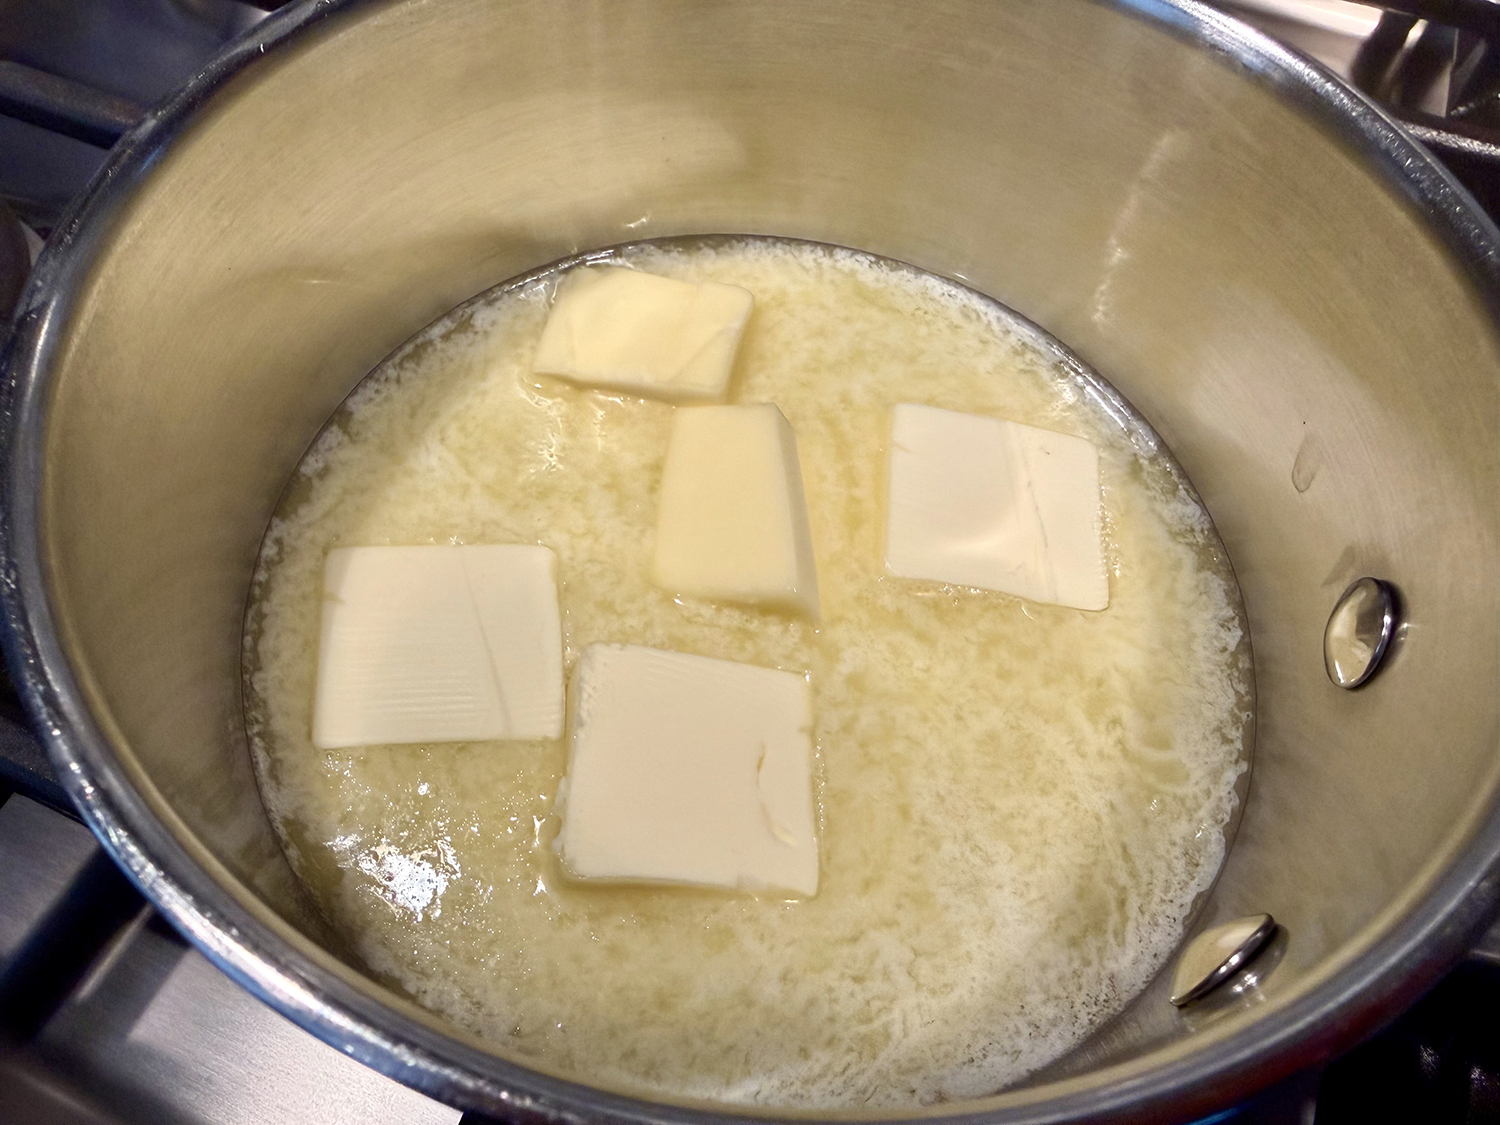
- ½ cup unsalted butter (1 stick), melted and slightly cooled
- ⅓ cup sour cream, OR whole-milk Greek yogurt
- 2 large eggs
- 1 tsp. vanilla extract
- 2 cups all-purpose flour
- 1½ Tbsp. instant espresso powder
- 1 tsp. ground cardamom, preferably freshly ground
- 1 tsp. baking soda
- ½ tsp. kosher salt
- 3 oz. dark (bittersweet) chocolate, chopped (about ½ cup)
For the Coffee Drizzle
- 2 tsp. instant espresso powder
- ⅓ cup unsifted powdered sugar
- 2 tsp. water, OR bourbon
- Pinch kosher salt
Directions
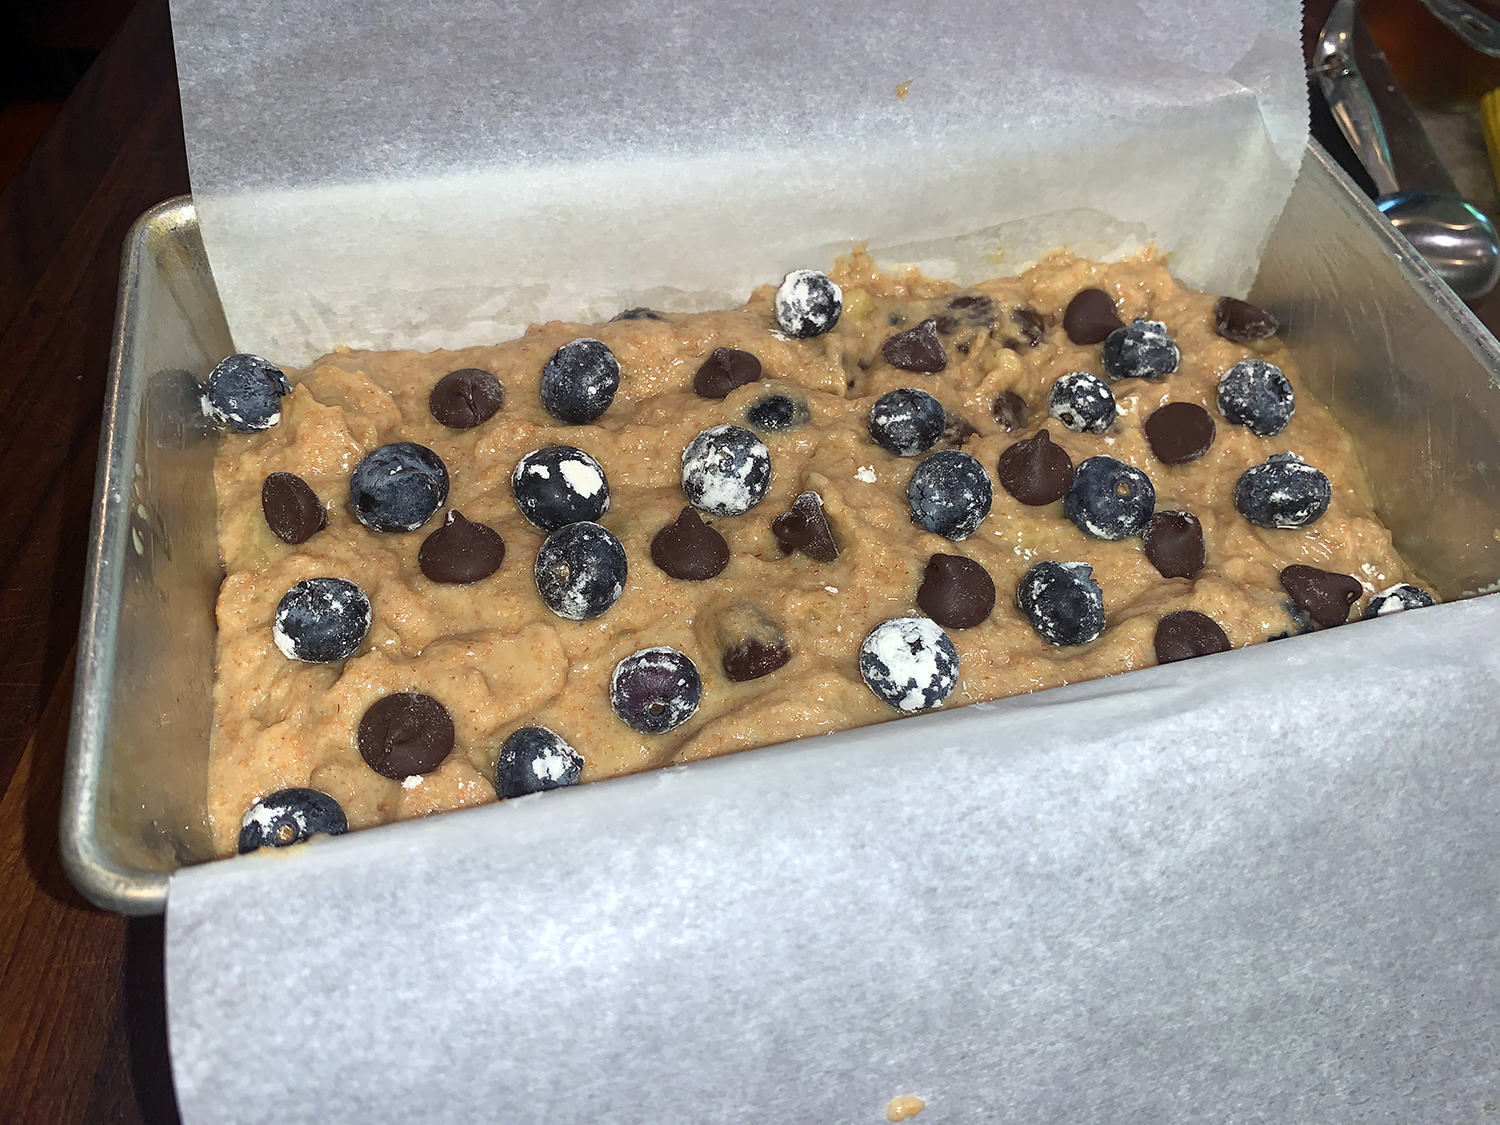
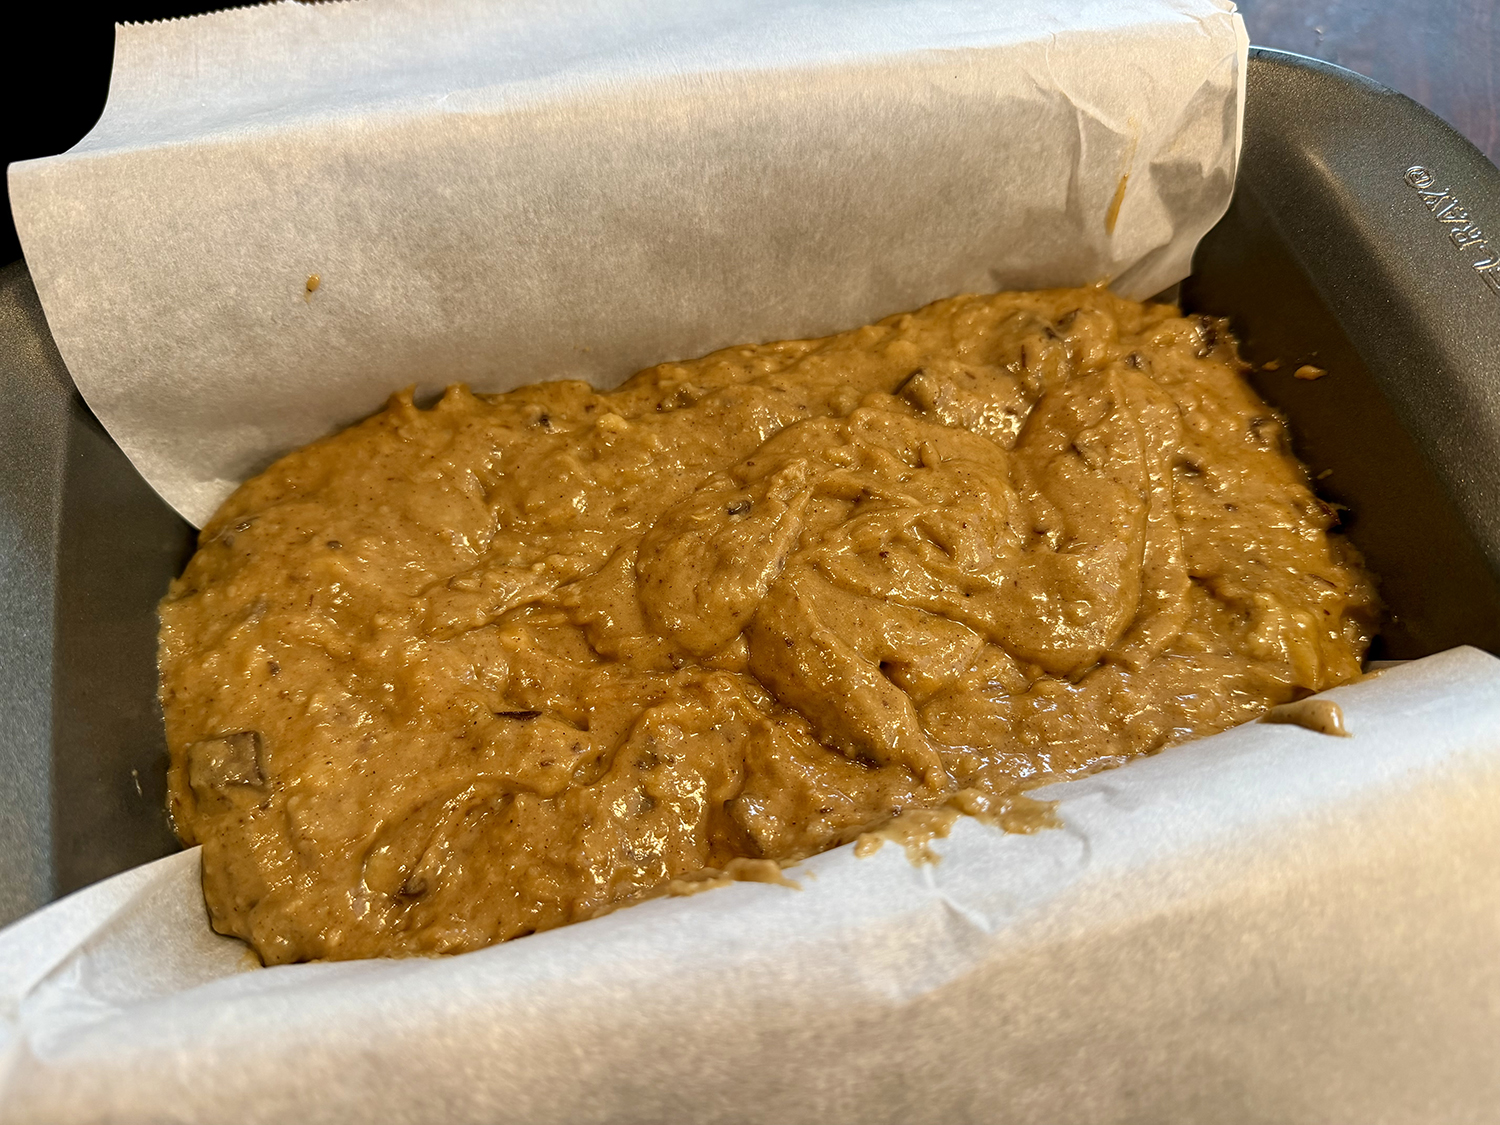
- Heat oven to 350 degrees. Line a 9-by-5-inch loaf pan with parchment paper to form a sling that hangs over the two long sides.
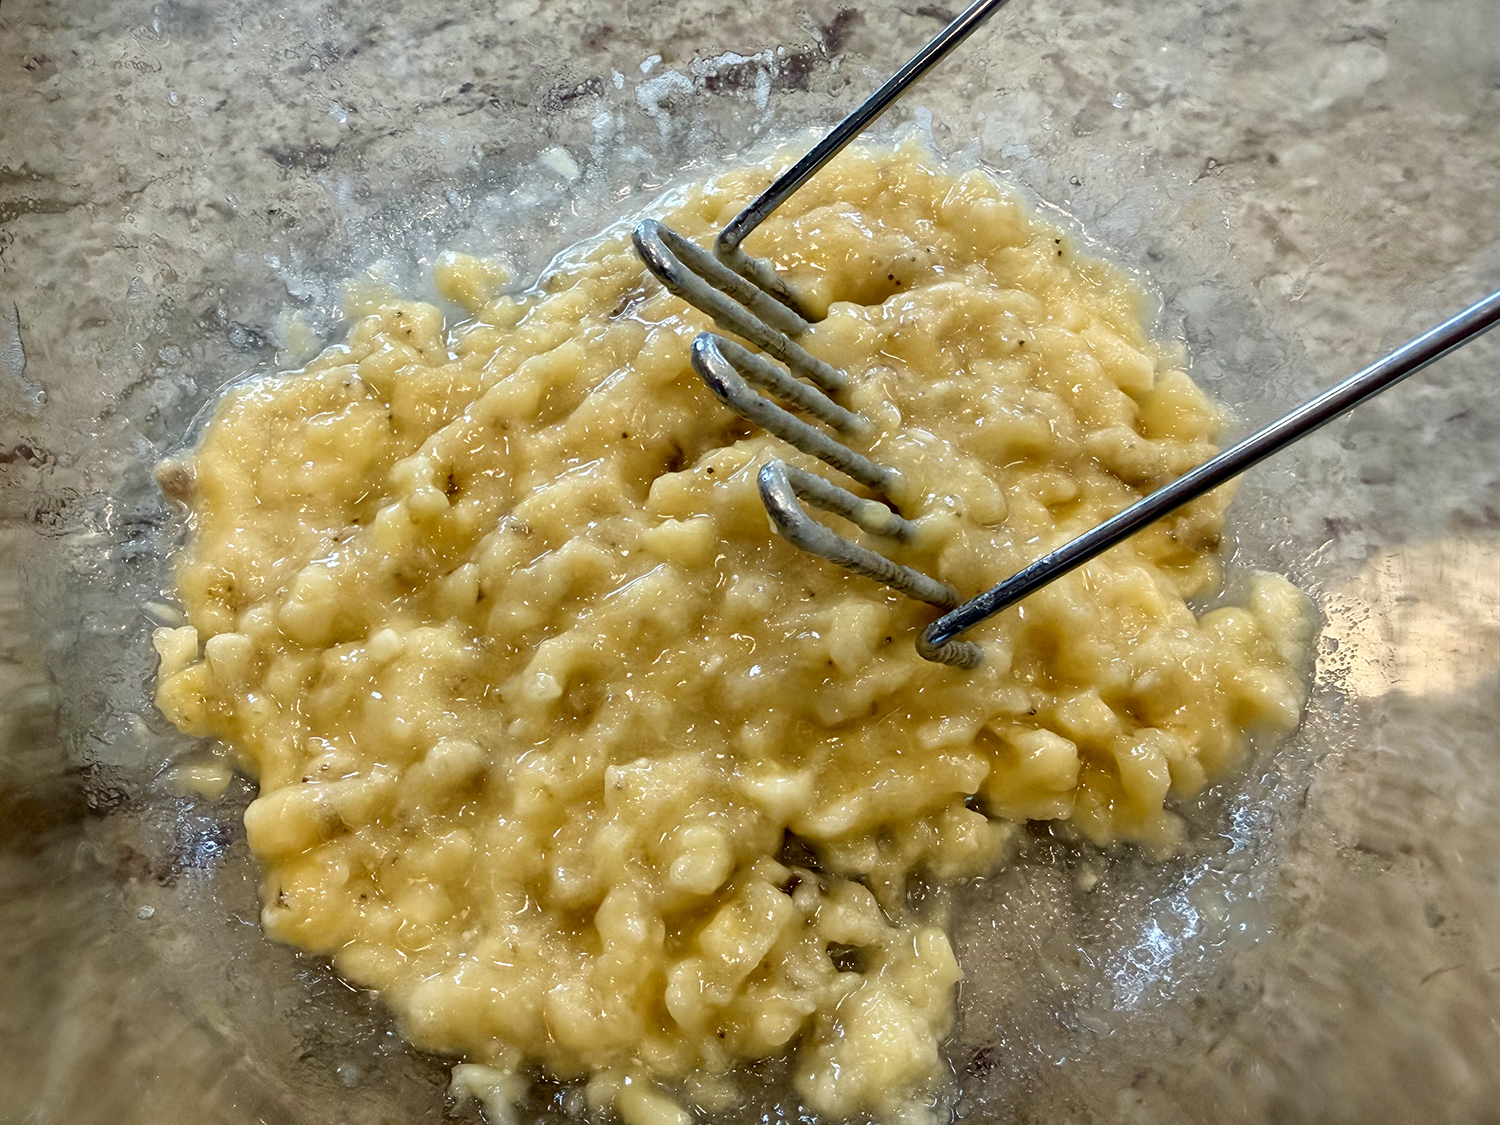
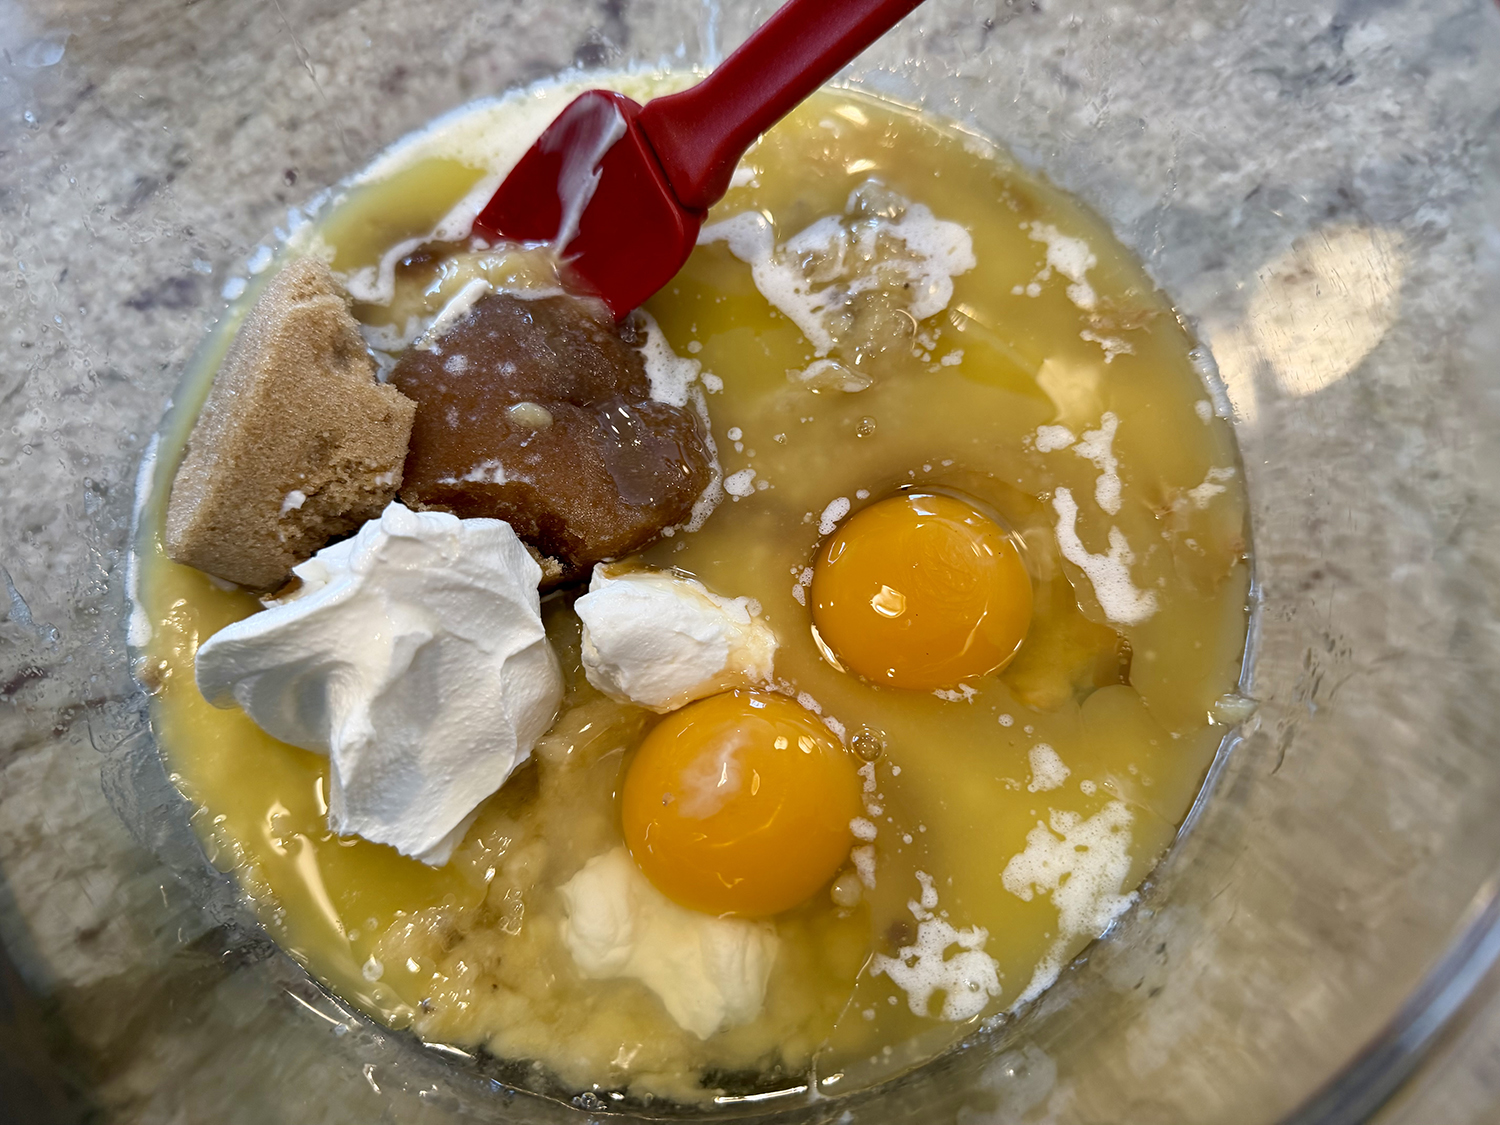
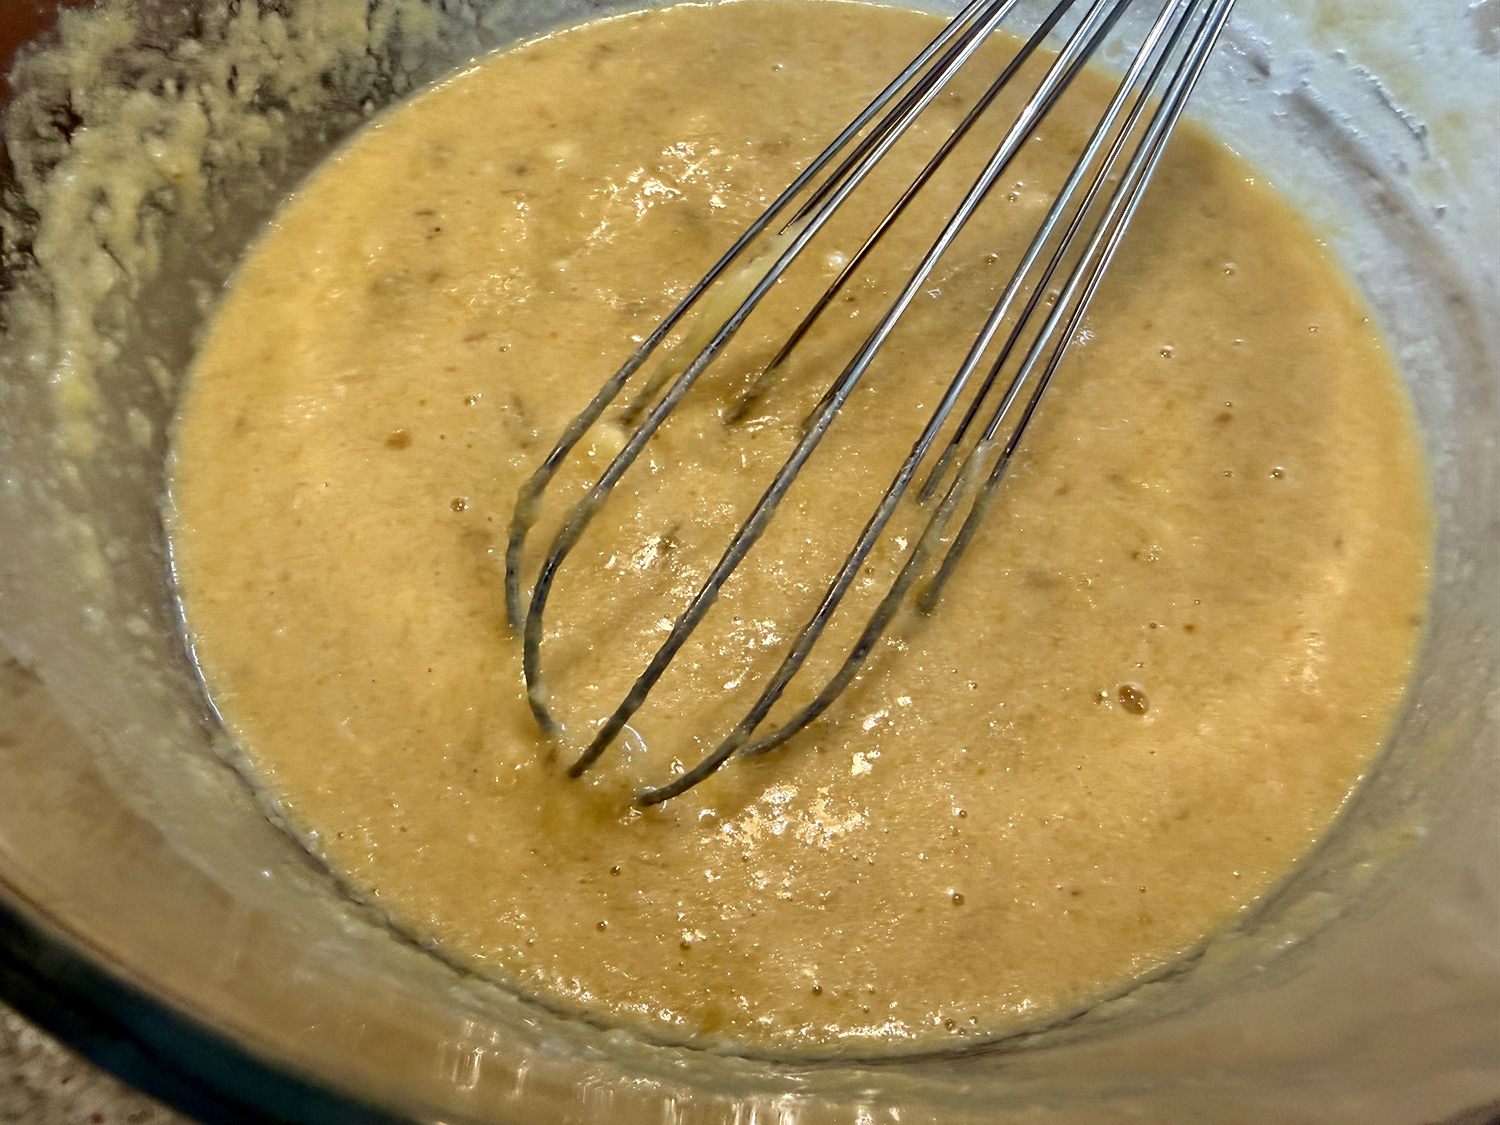
- In a large bowl, mash the bananas with a fork or potato masher until mostly smooth (a few lumps are okay). Add the brown sugar, melted butter, sour cream, eggs and vanilla extract and whisk to combine.
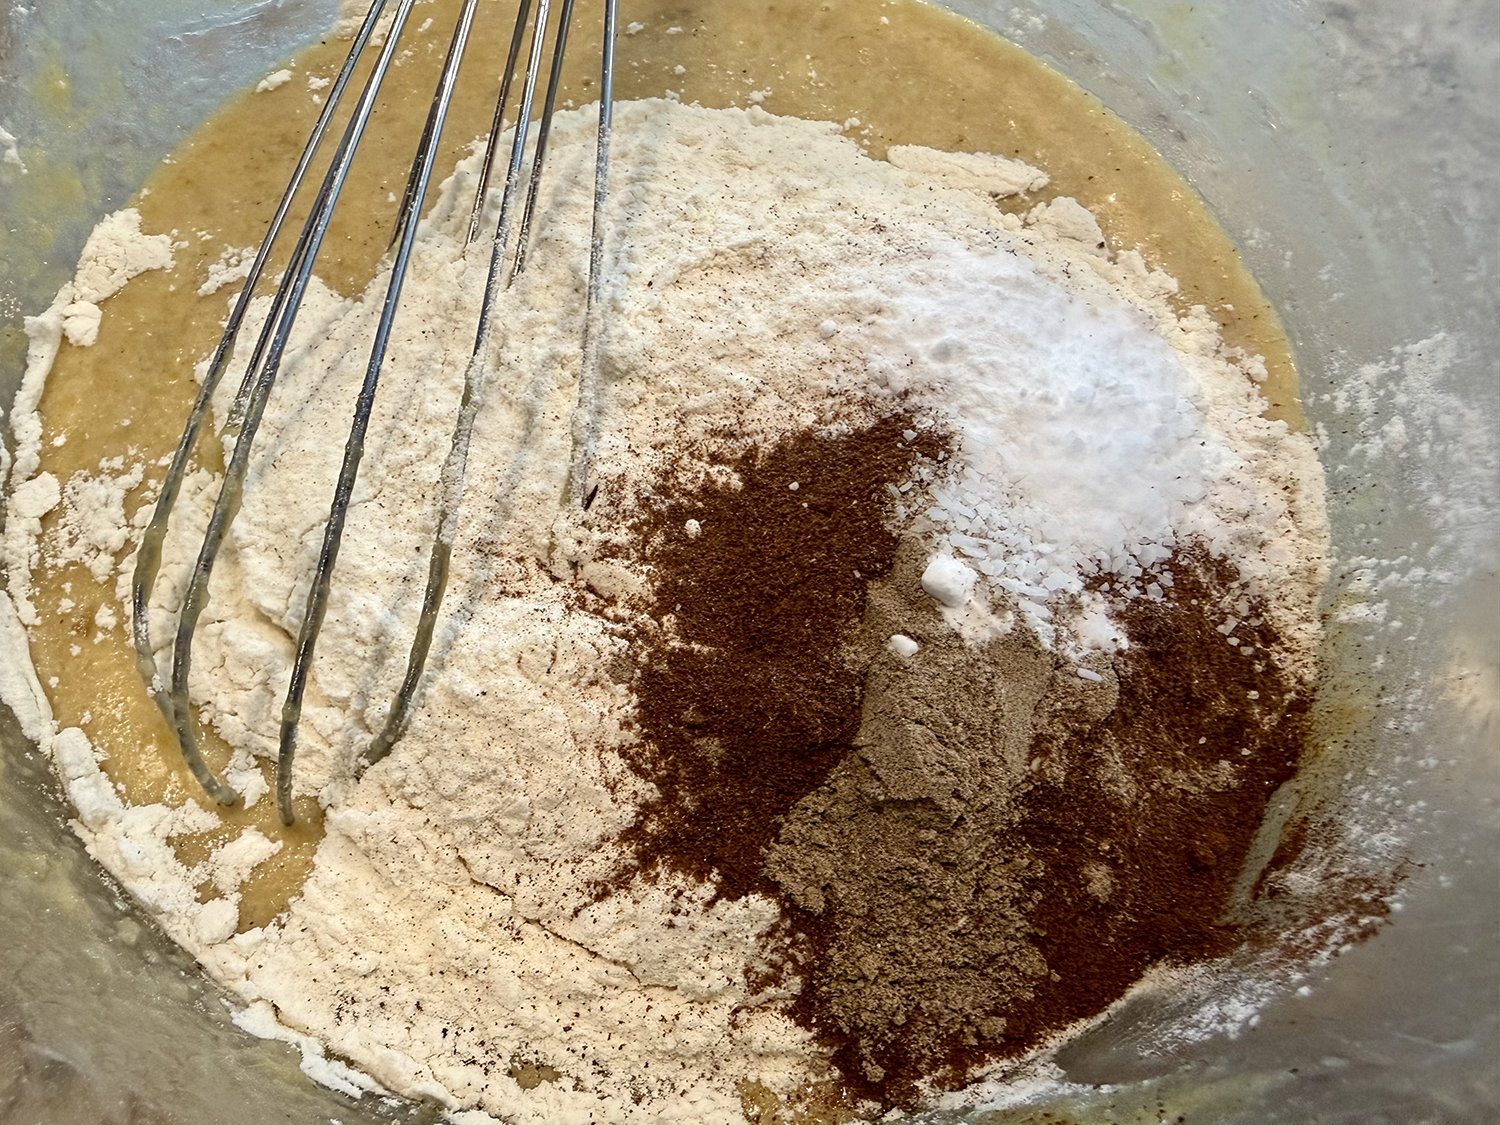
- Add the flour, espresso powder, cardamom, baking soda and salt and stir until just combined; do not overmix. Stir in the chocolate.
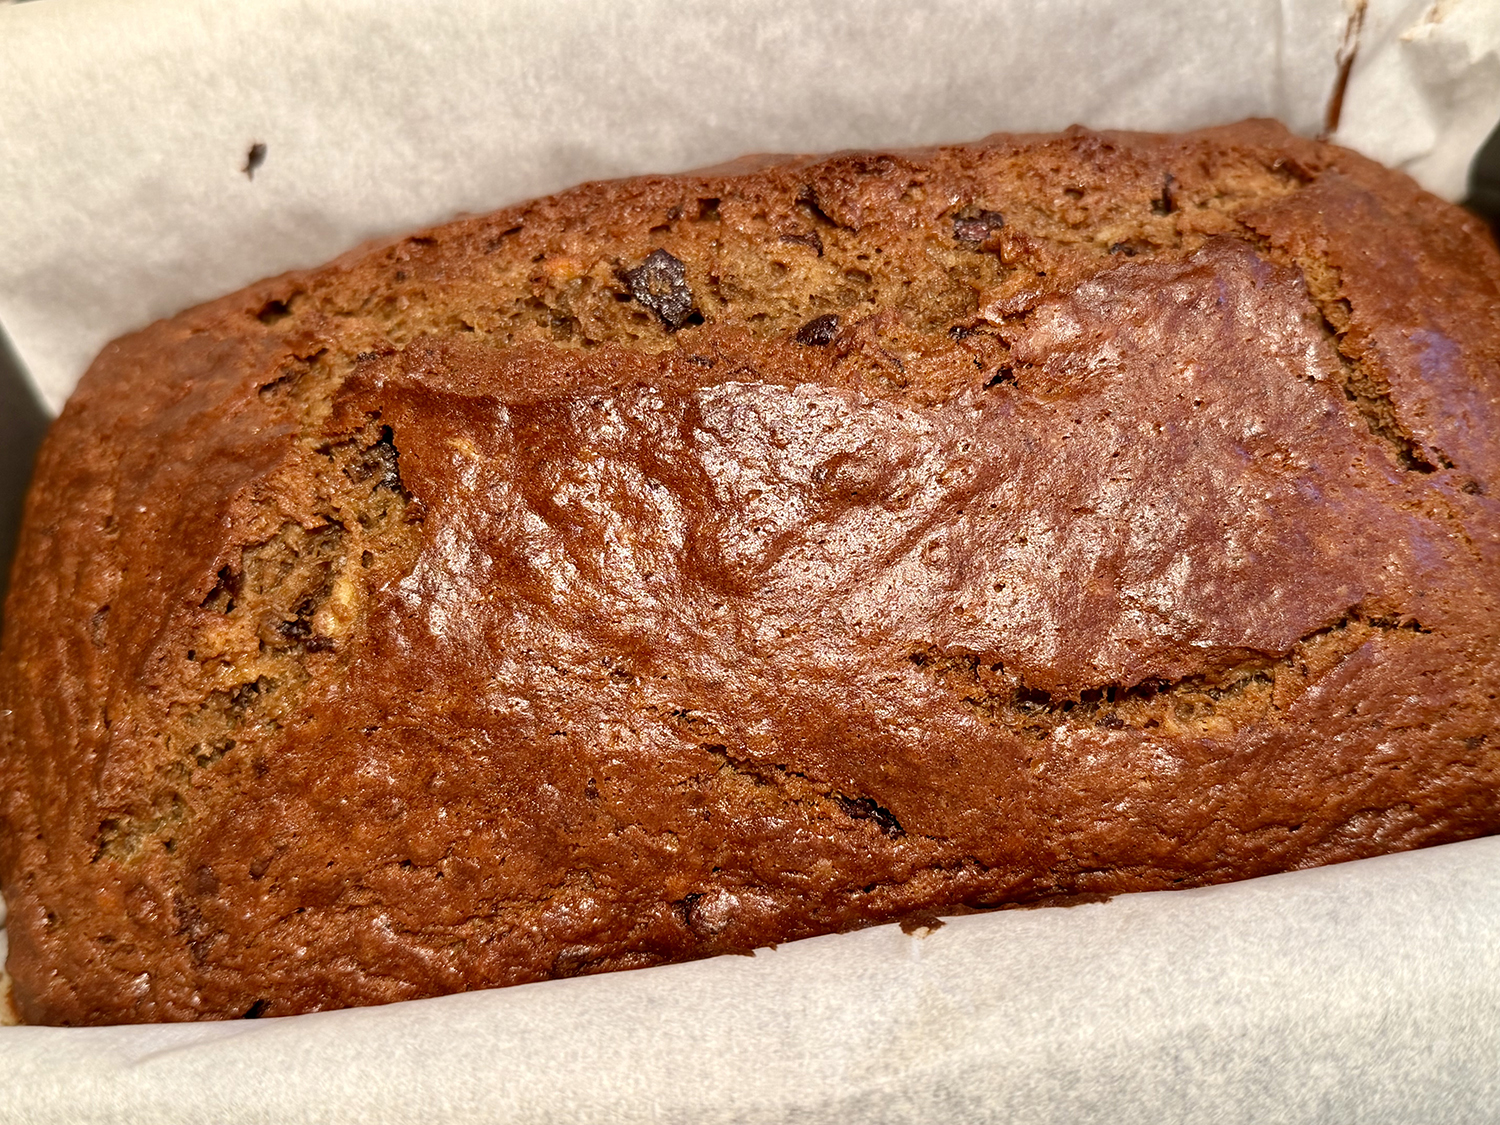
- Transfer the batter to the prepared pan and spread into an even layer. Bake until a toothpick inserted in the center comes out mostly clean with a few moist crumbs attached—start checking after 50 minutes, but it might take a little longer depending on your oven.
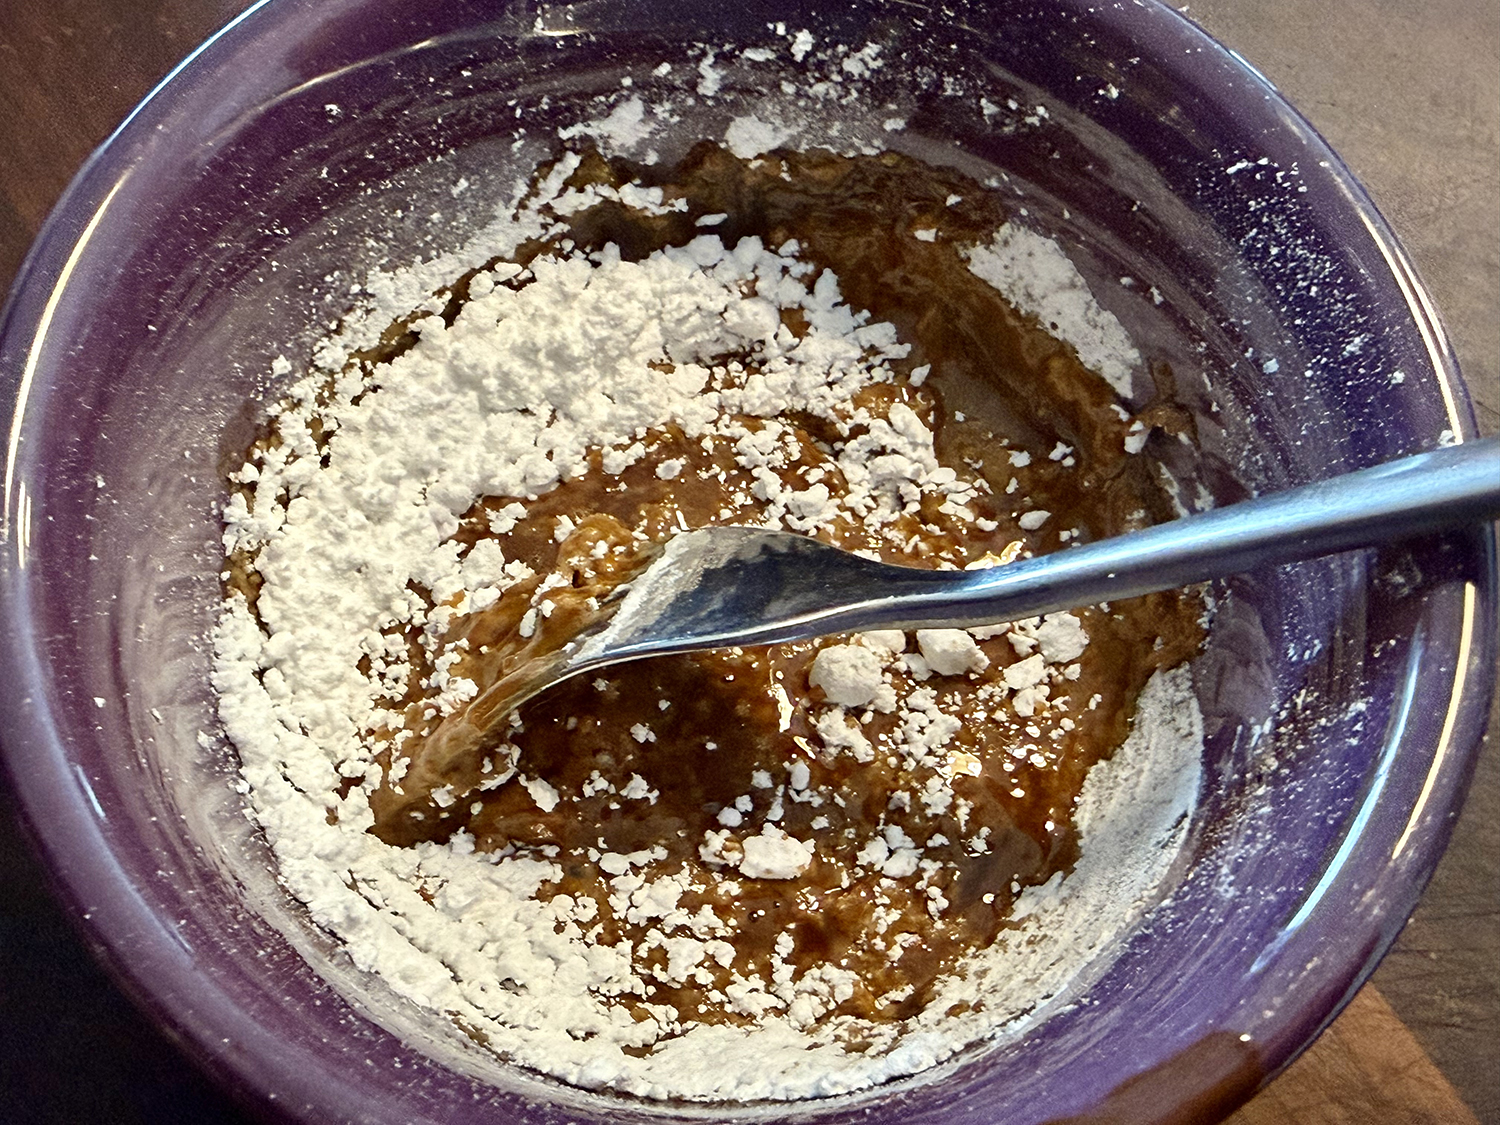
- Let cool for 10 minutes in the pan. Meanwhile, make the coffee drizzle, if using: While the banana bread is cooling, combine espresso powder and 2 teaspoons water (or bourbon) in a small bowl to dissolve. Add the powdered sugar and stir with a fork until smooth.
- Run a knife around the sides of the bread to loosen it then grasp the parchment paper sling and lift the bread out of the pan onto a wire rack. Peel off the parchment paper from the sides (not the bottom) of the bread and drizzle the glaze over the top, if using (any excess will fall onto the peeled-off parchment). Let cool completely before removing the parchment paper from the bottom of the bread and slicing.
Recipe by Sheela Prakash for NYTimes Cooking