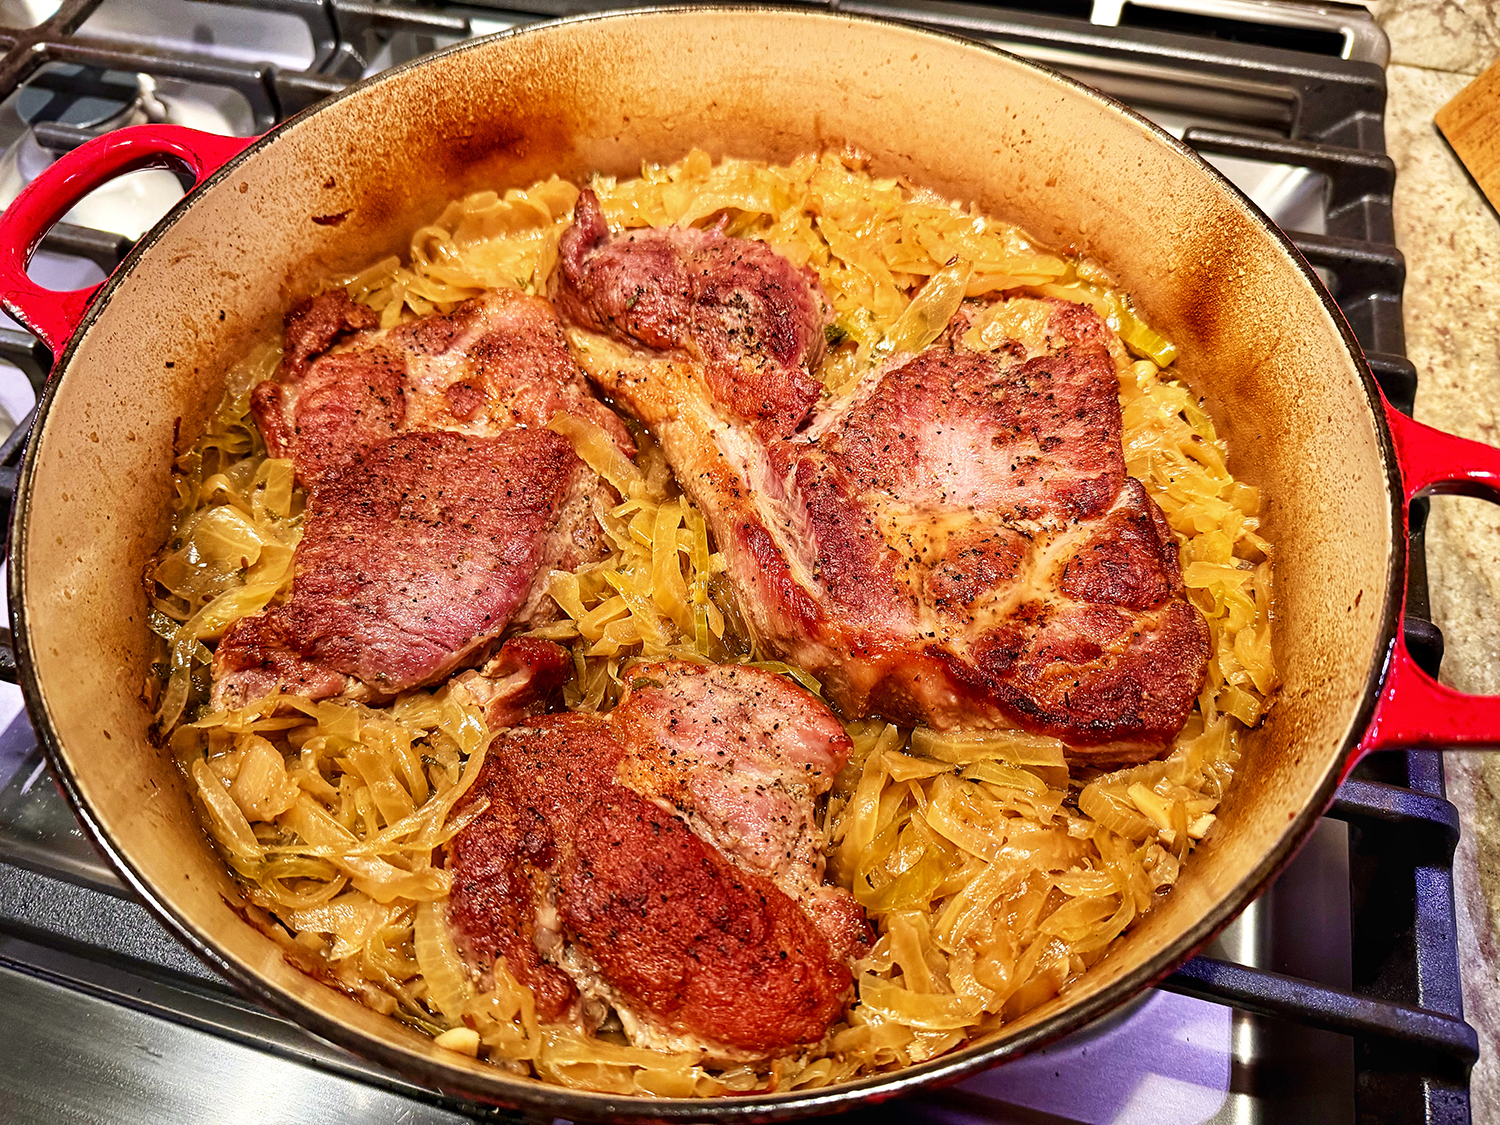
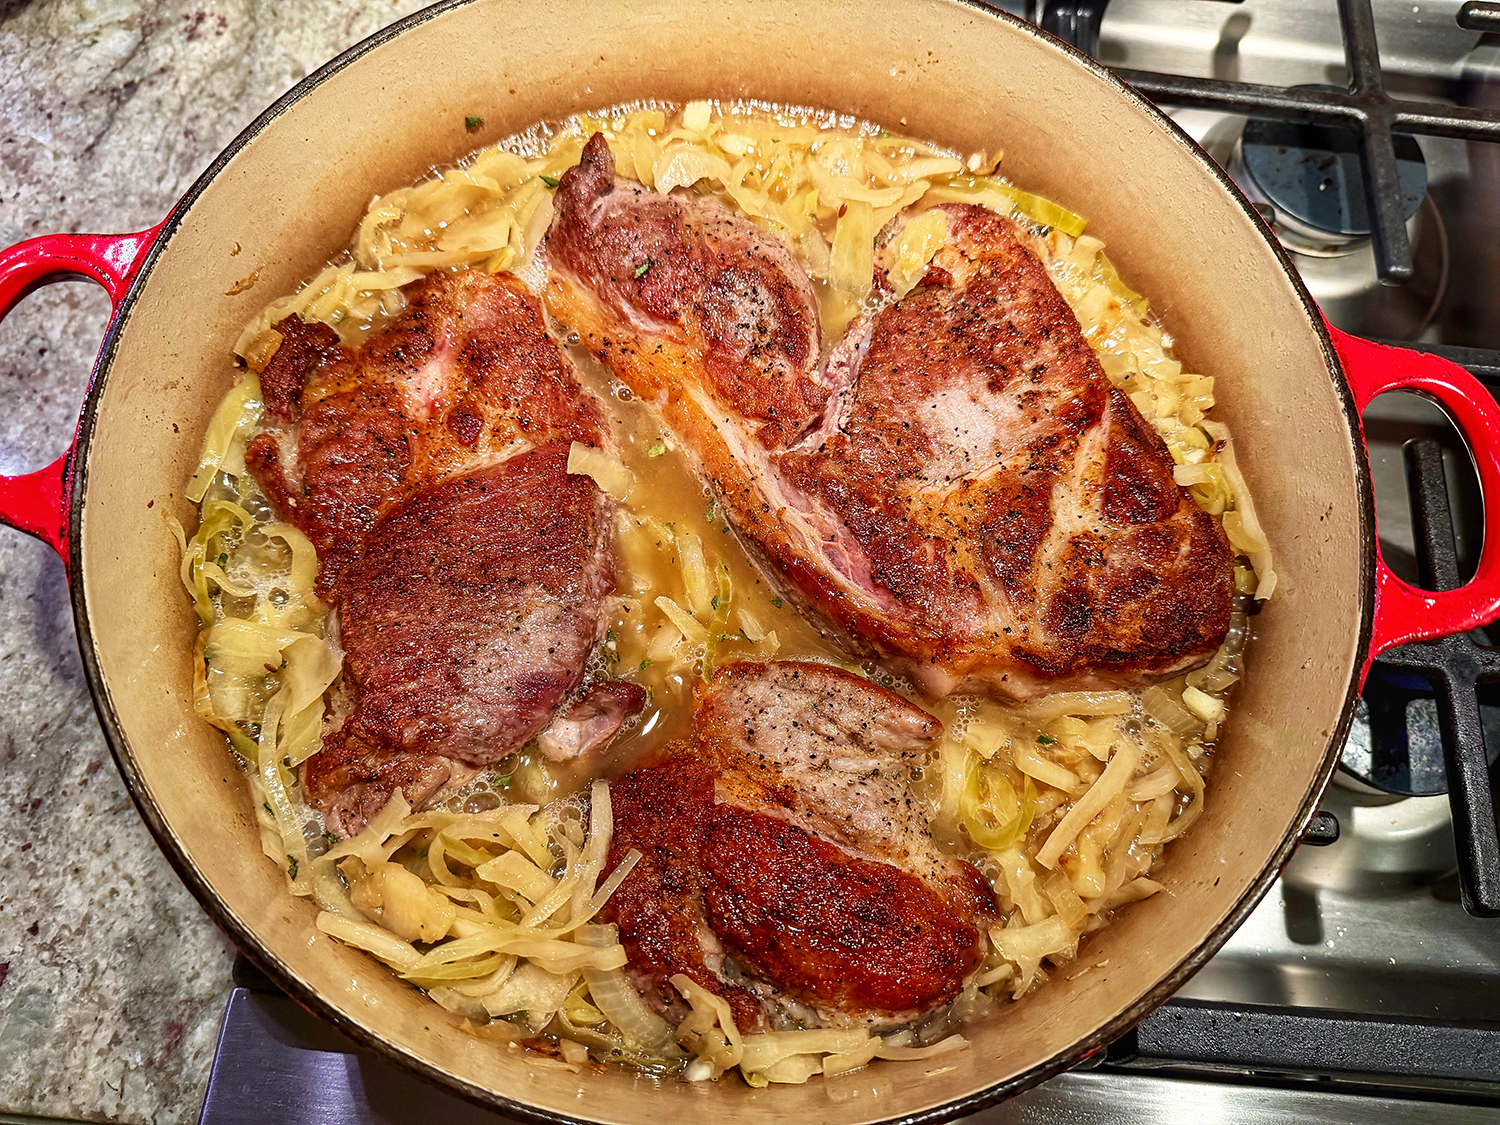
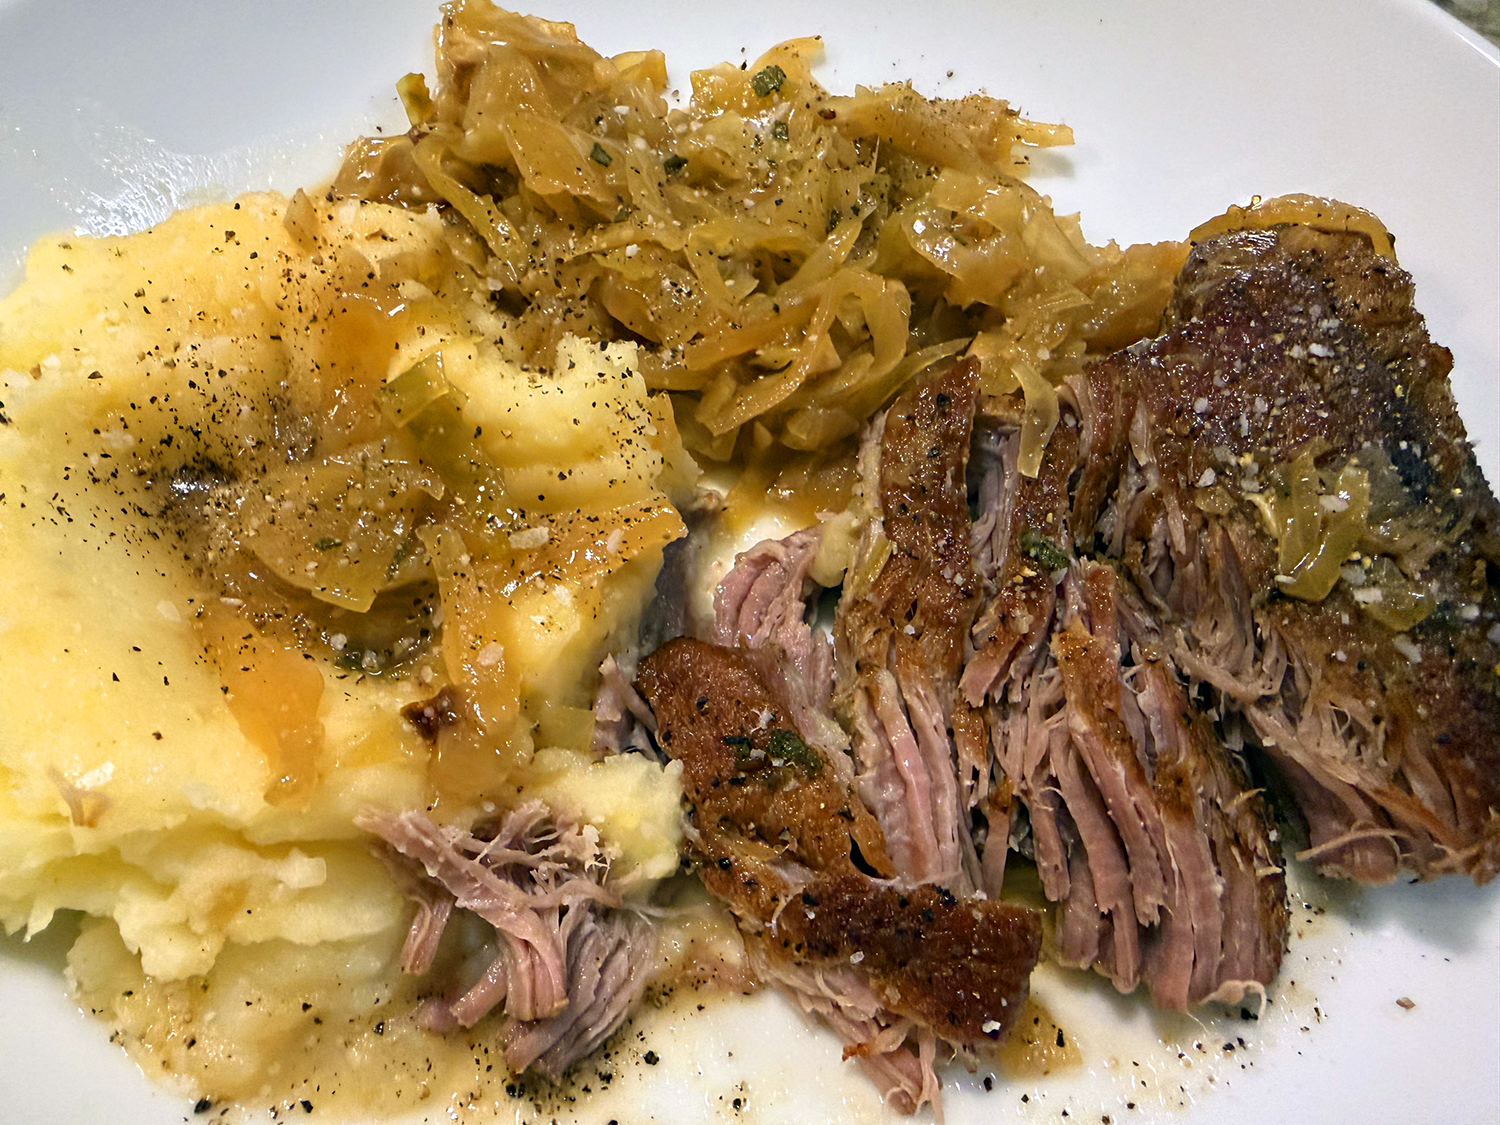
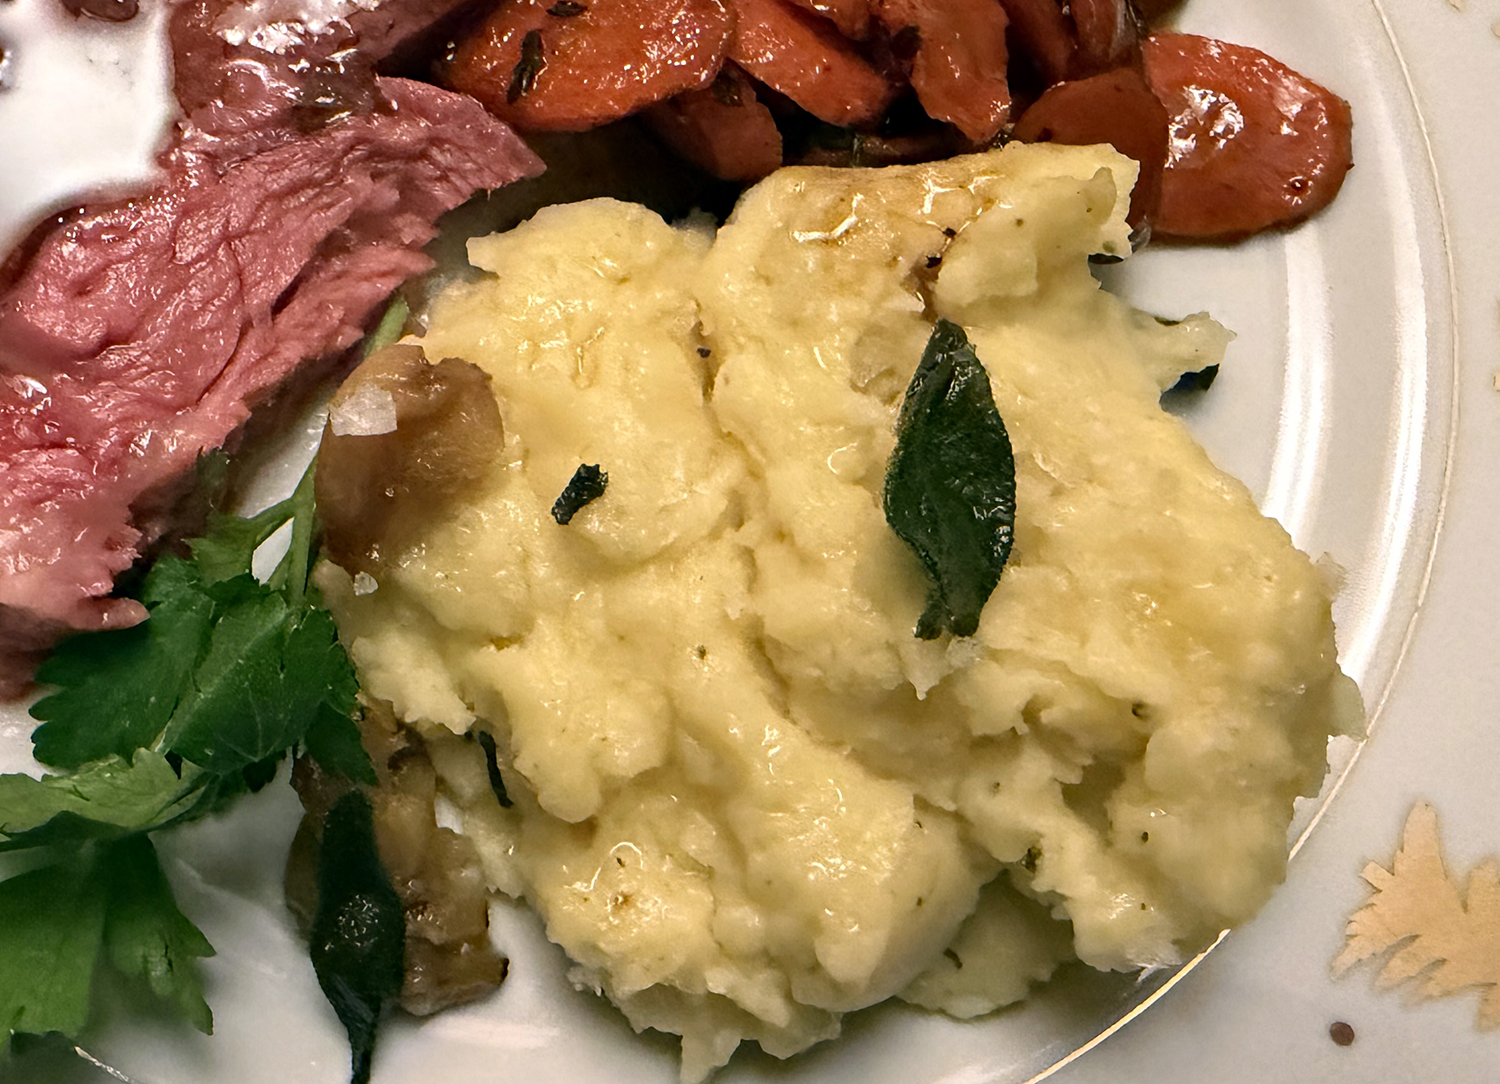
In this Milk Street recipe (that all reviewers rated 5 stars), there is a slow and fast version. Here, we made it using the fast method (with a pressure cooker, not an InstaPot). The final result is fork tender meat with deeply satisfying flavor, all done from start to finish in one pot.
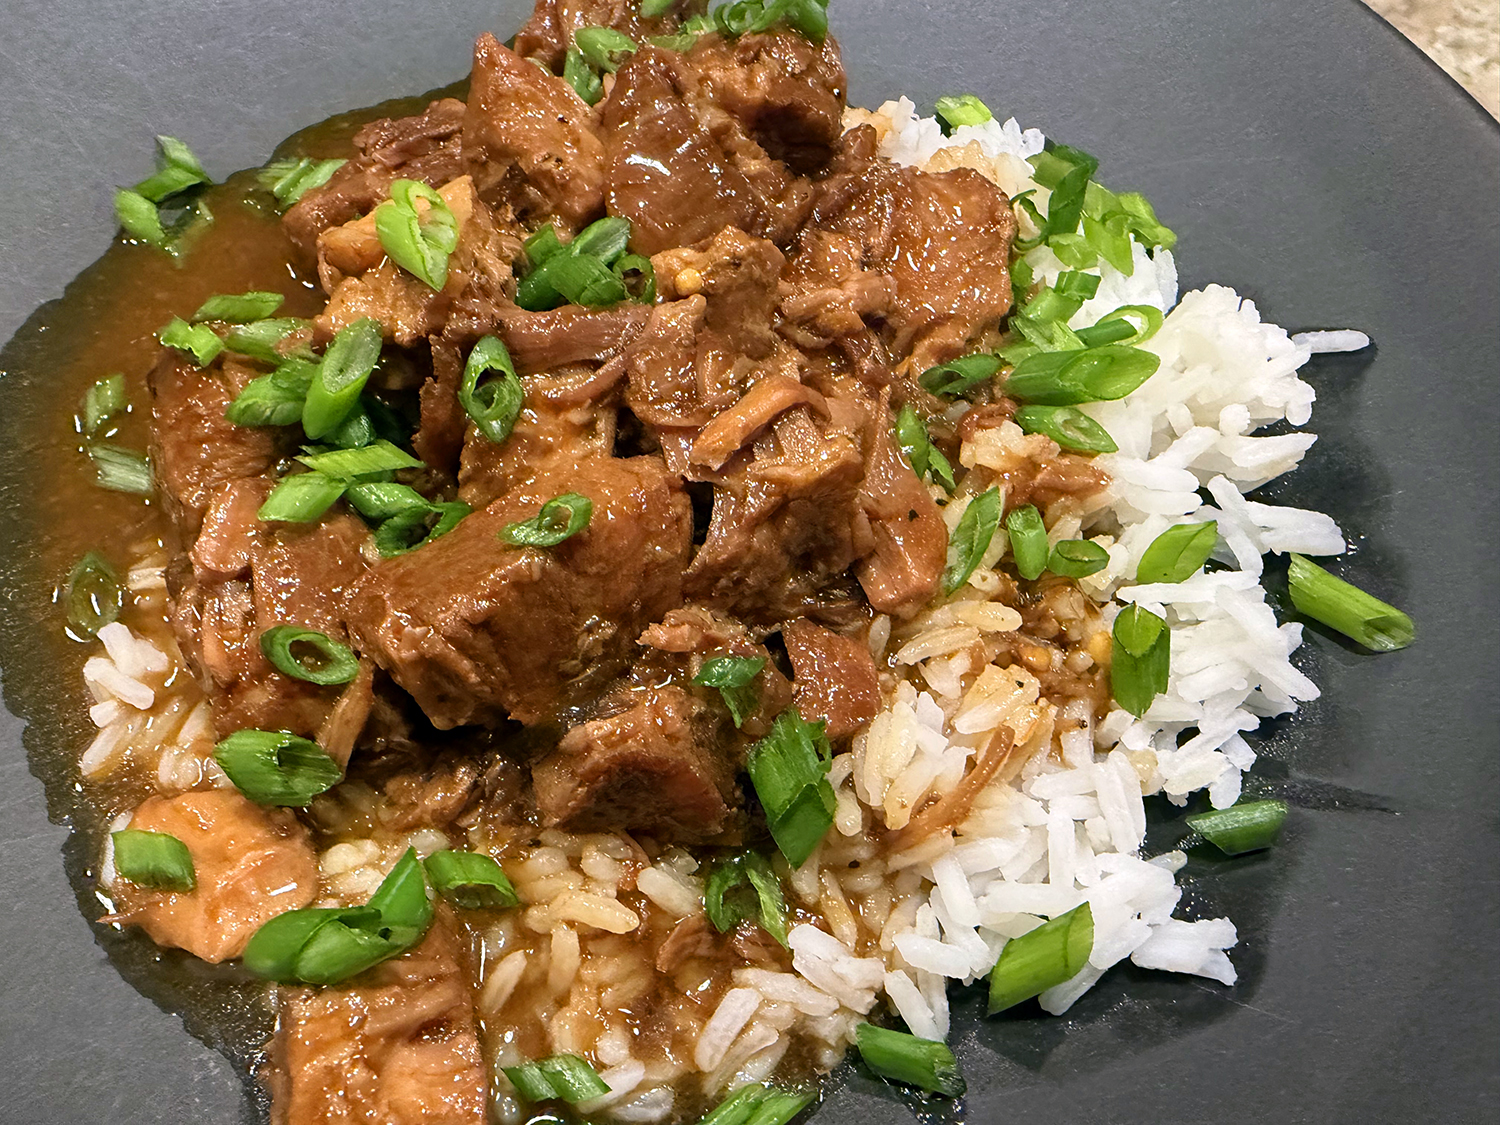
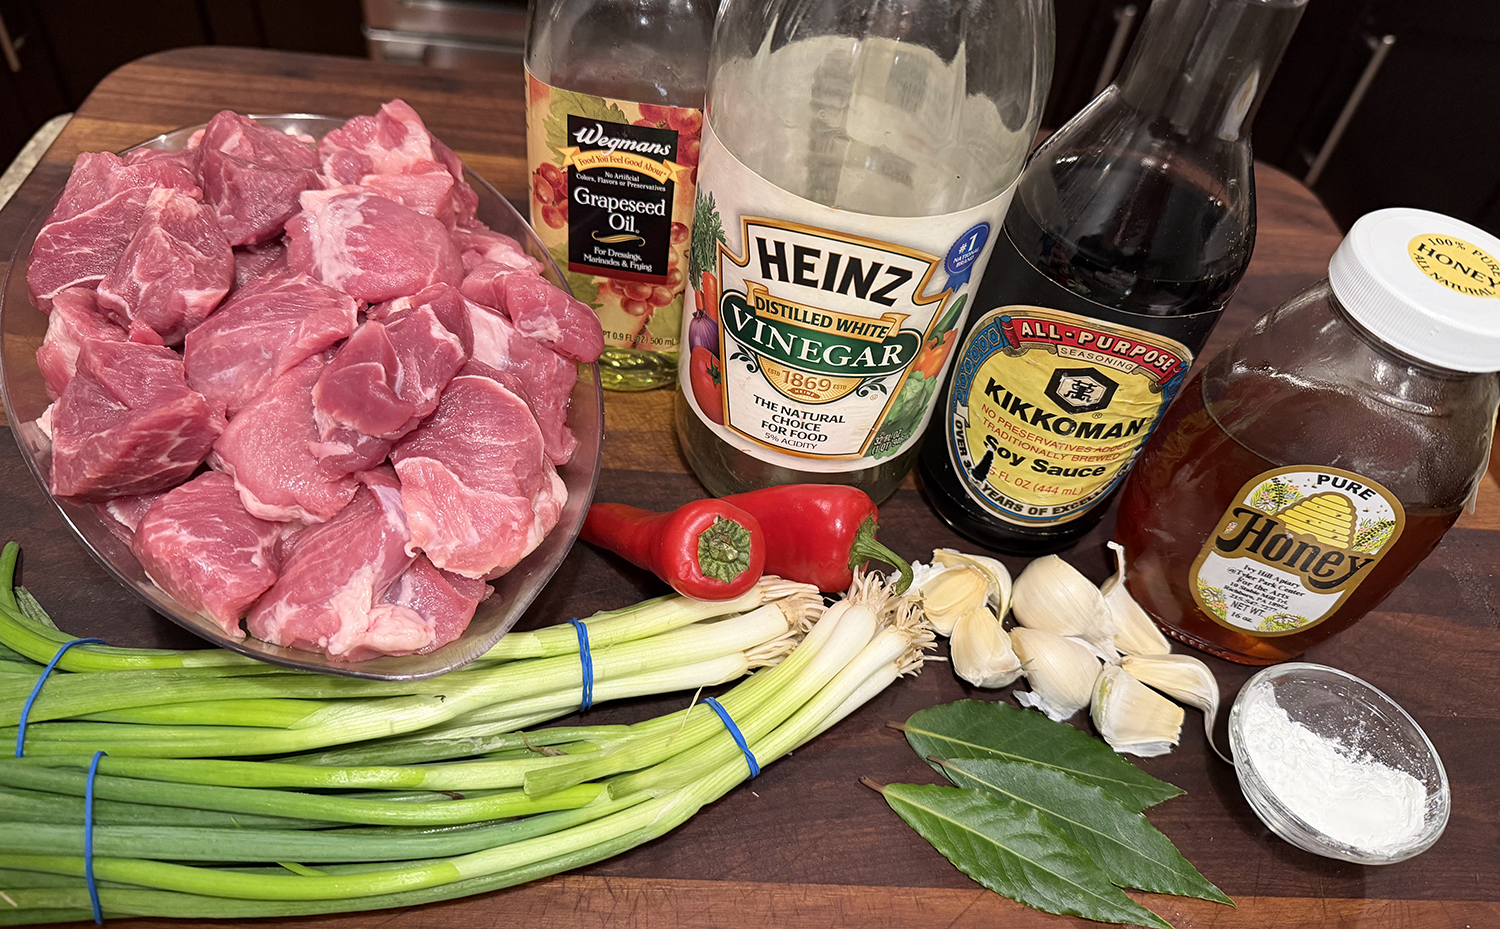
Adobo varies from household to household across the Philippines, with some versions being more sour, others sweeter or with a thicker sauce. It’s considered the unofficial national dish of the Philippines due to its popularity, ease of preparation, and flavorful, comforting taste. The defining flavors are vinegar, garlic, black pepper, bay and salt in some form (often soy sauce). For this version of pork adobo, instead of the oft-used pork belly, boneless shoulder is the meat choice because it is easier to find in supermarkets, but still is rich and flavorful.
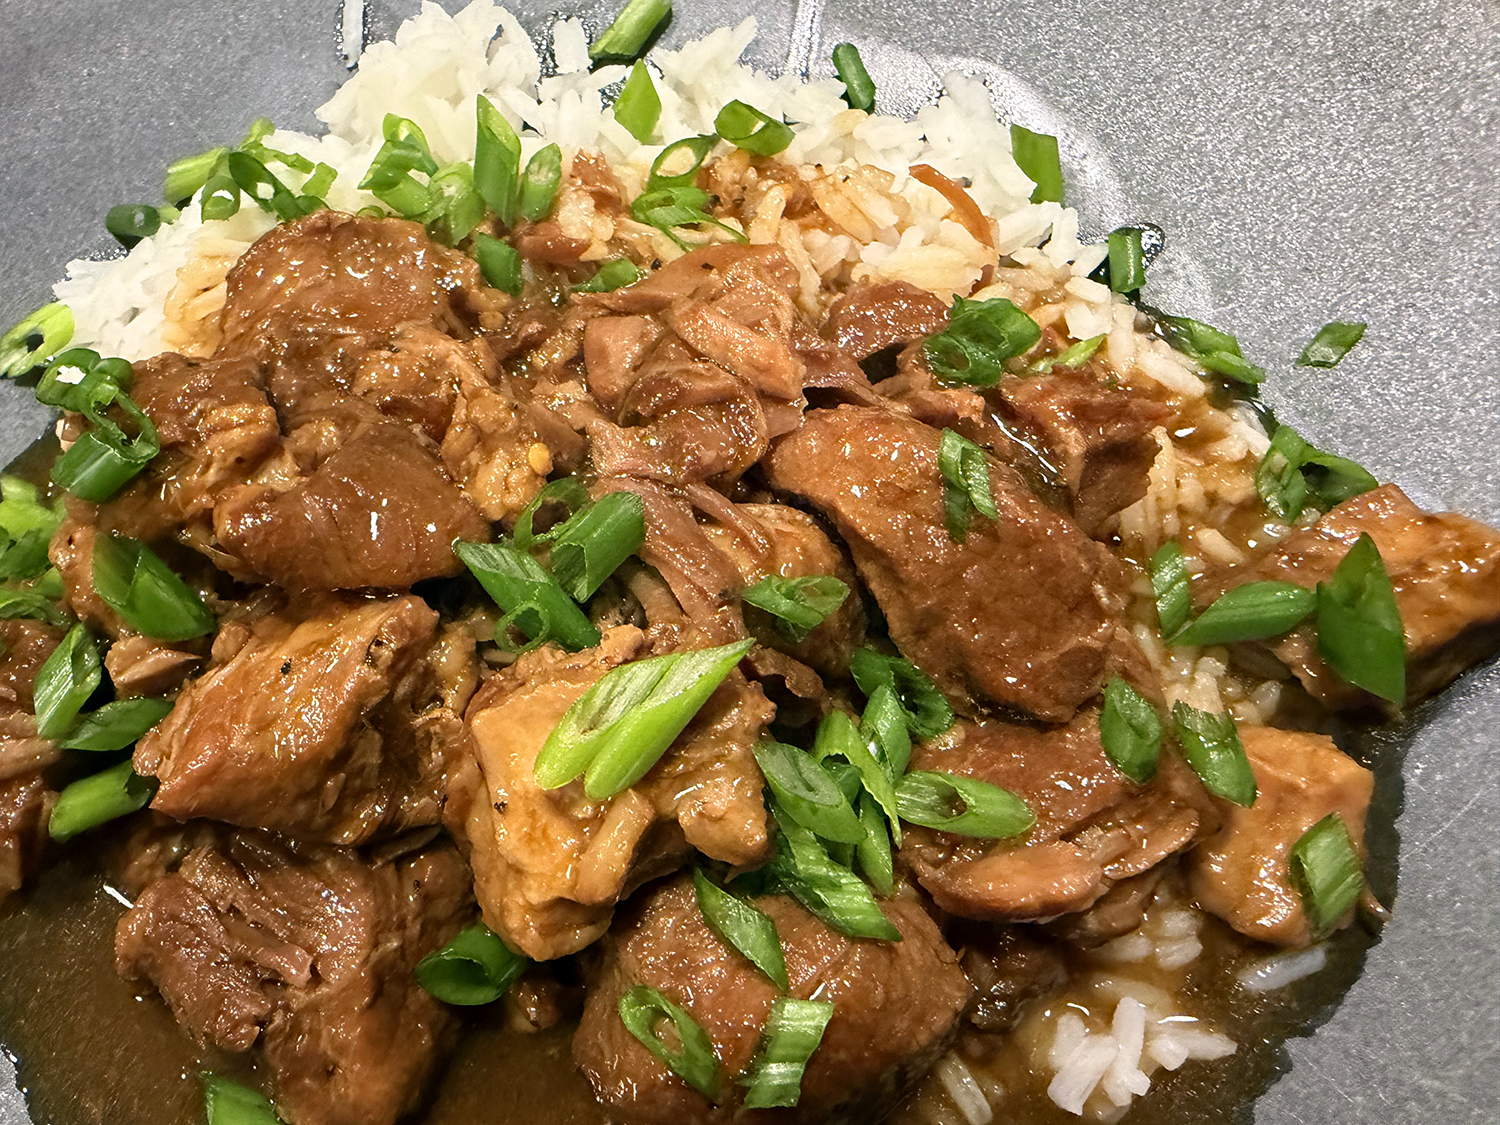
Honey, or any type of sweetener, is an unconventional ingredient in adobo, but is used here to balance the salty and sour flavors in the dish. The serranos give the braise a gentle spiciness; if you prefer, use just one chili or keep both whole. Serve this over rice to soak up the sauce.
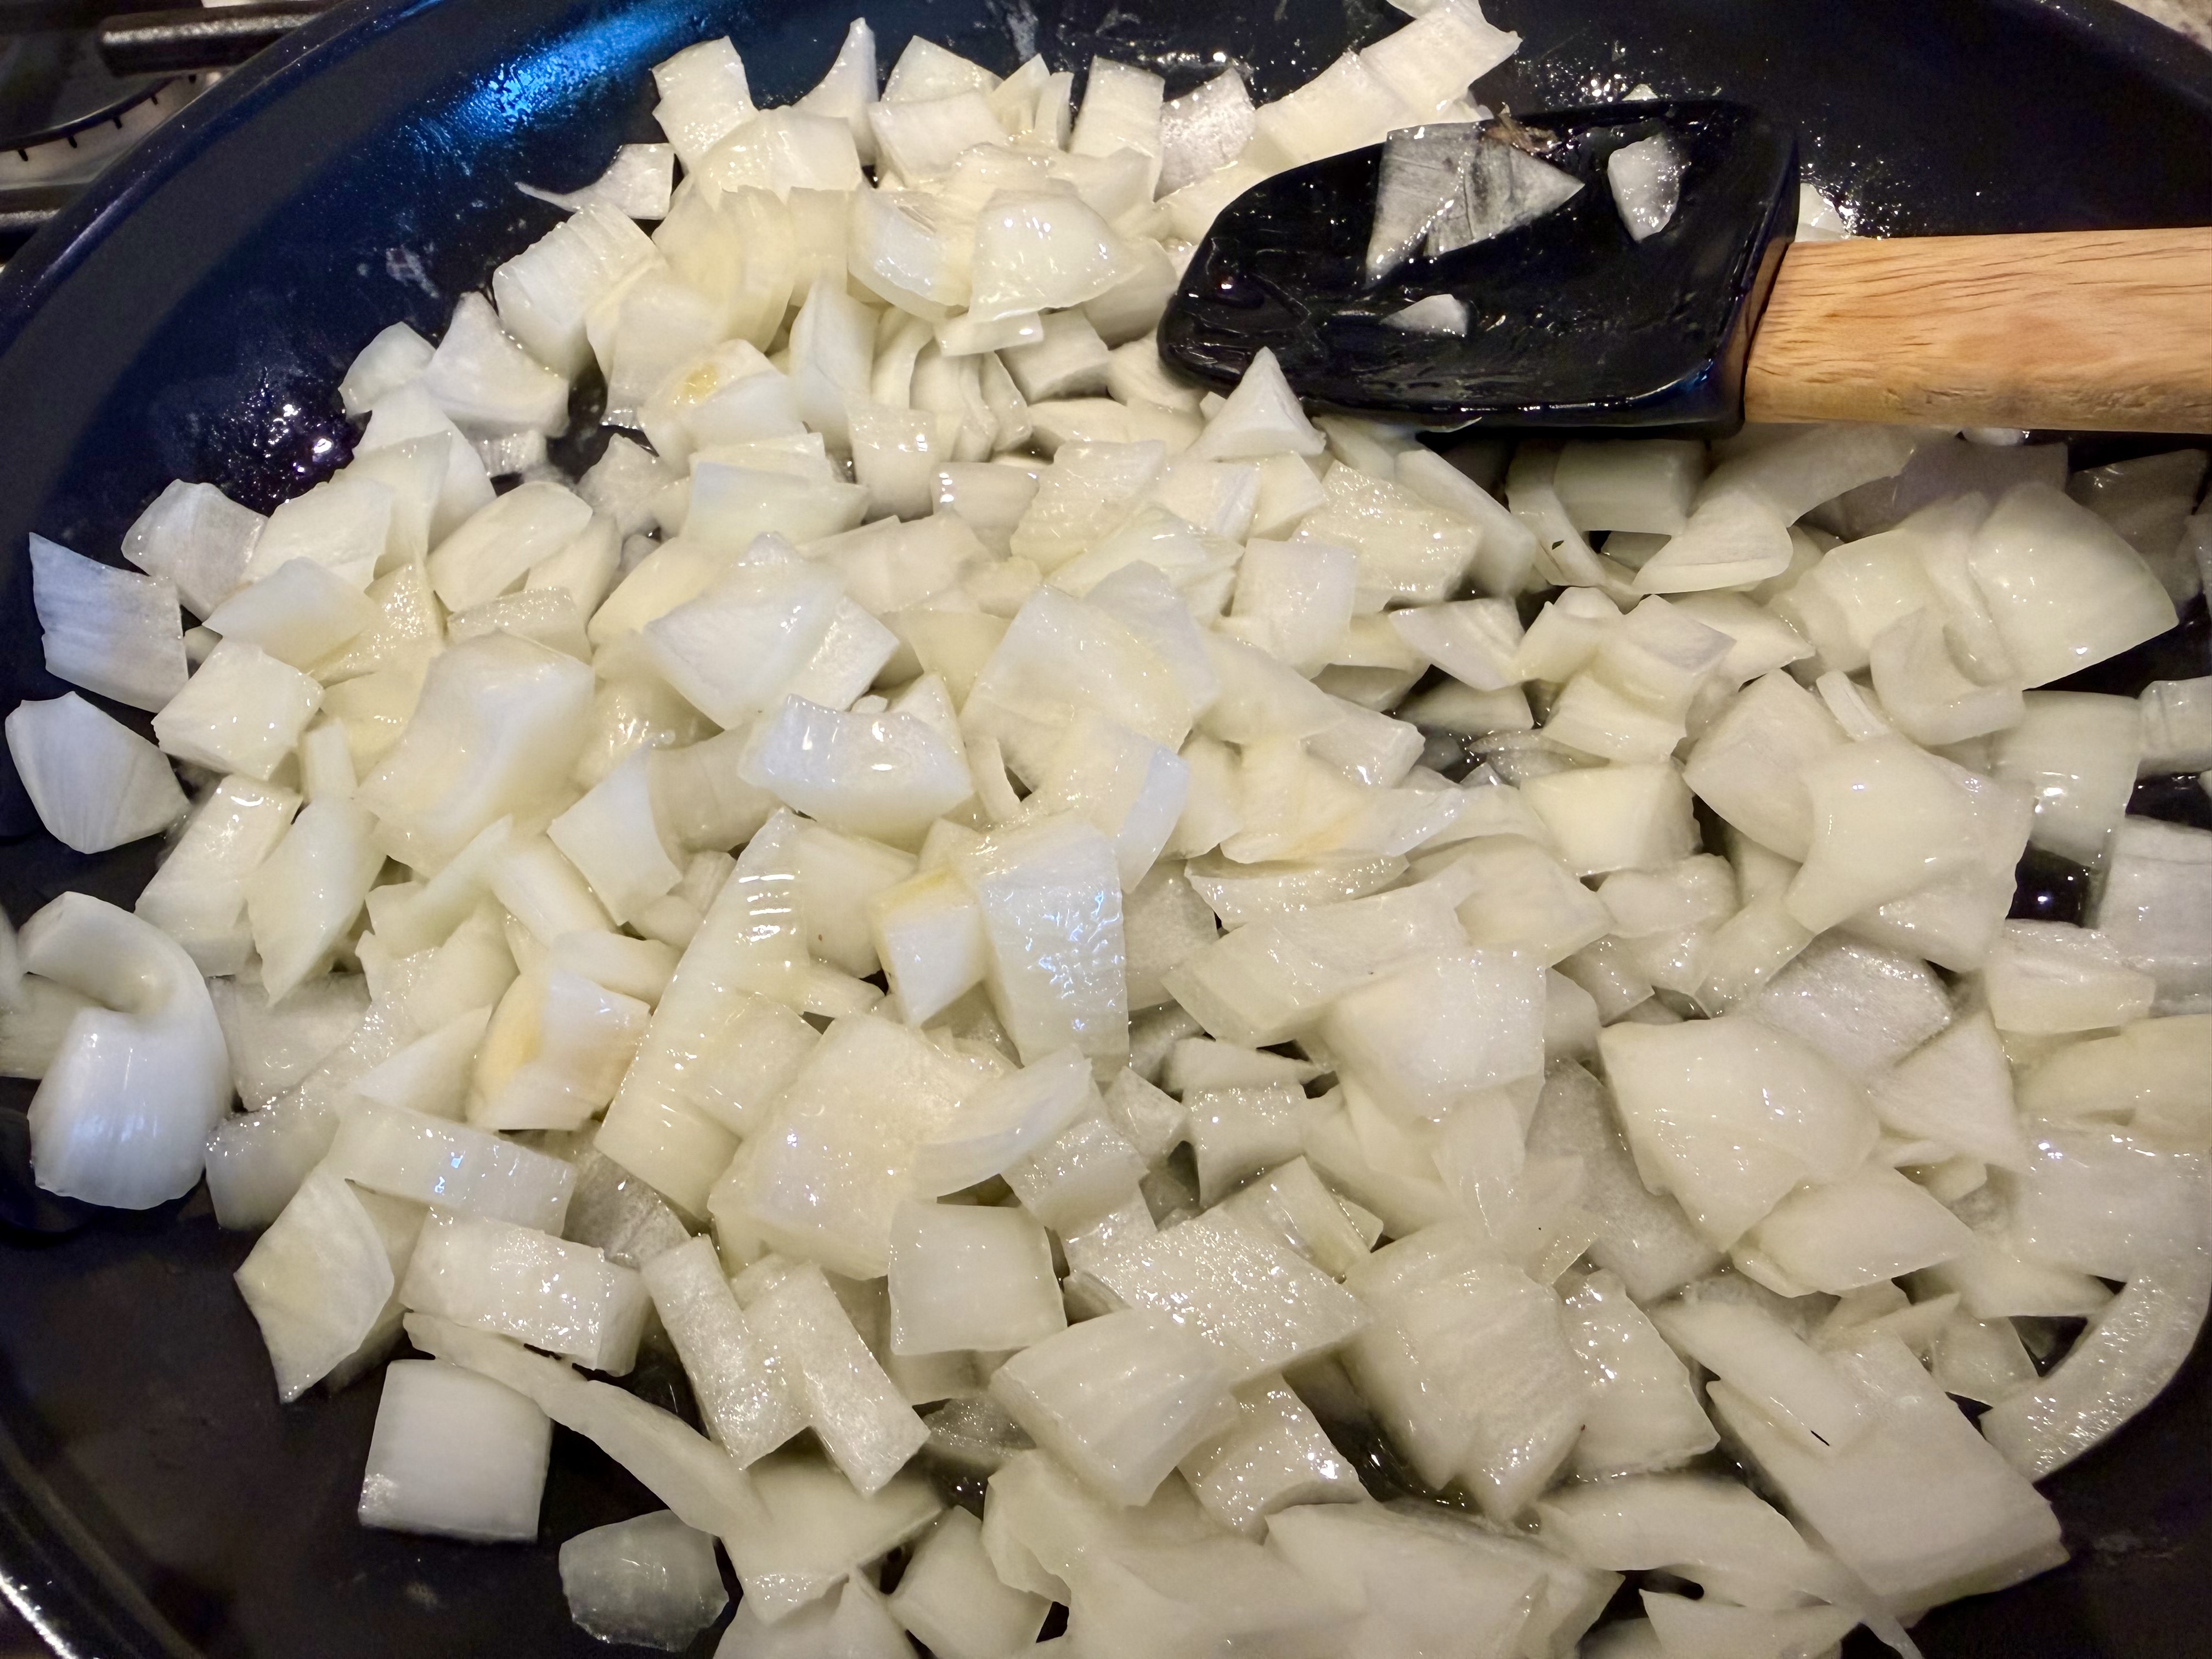
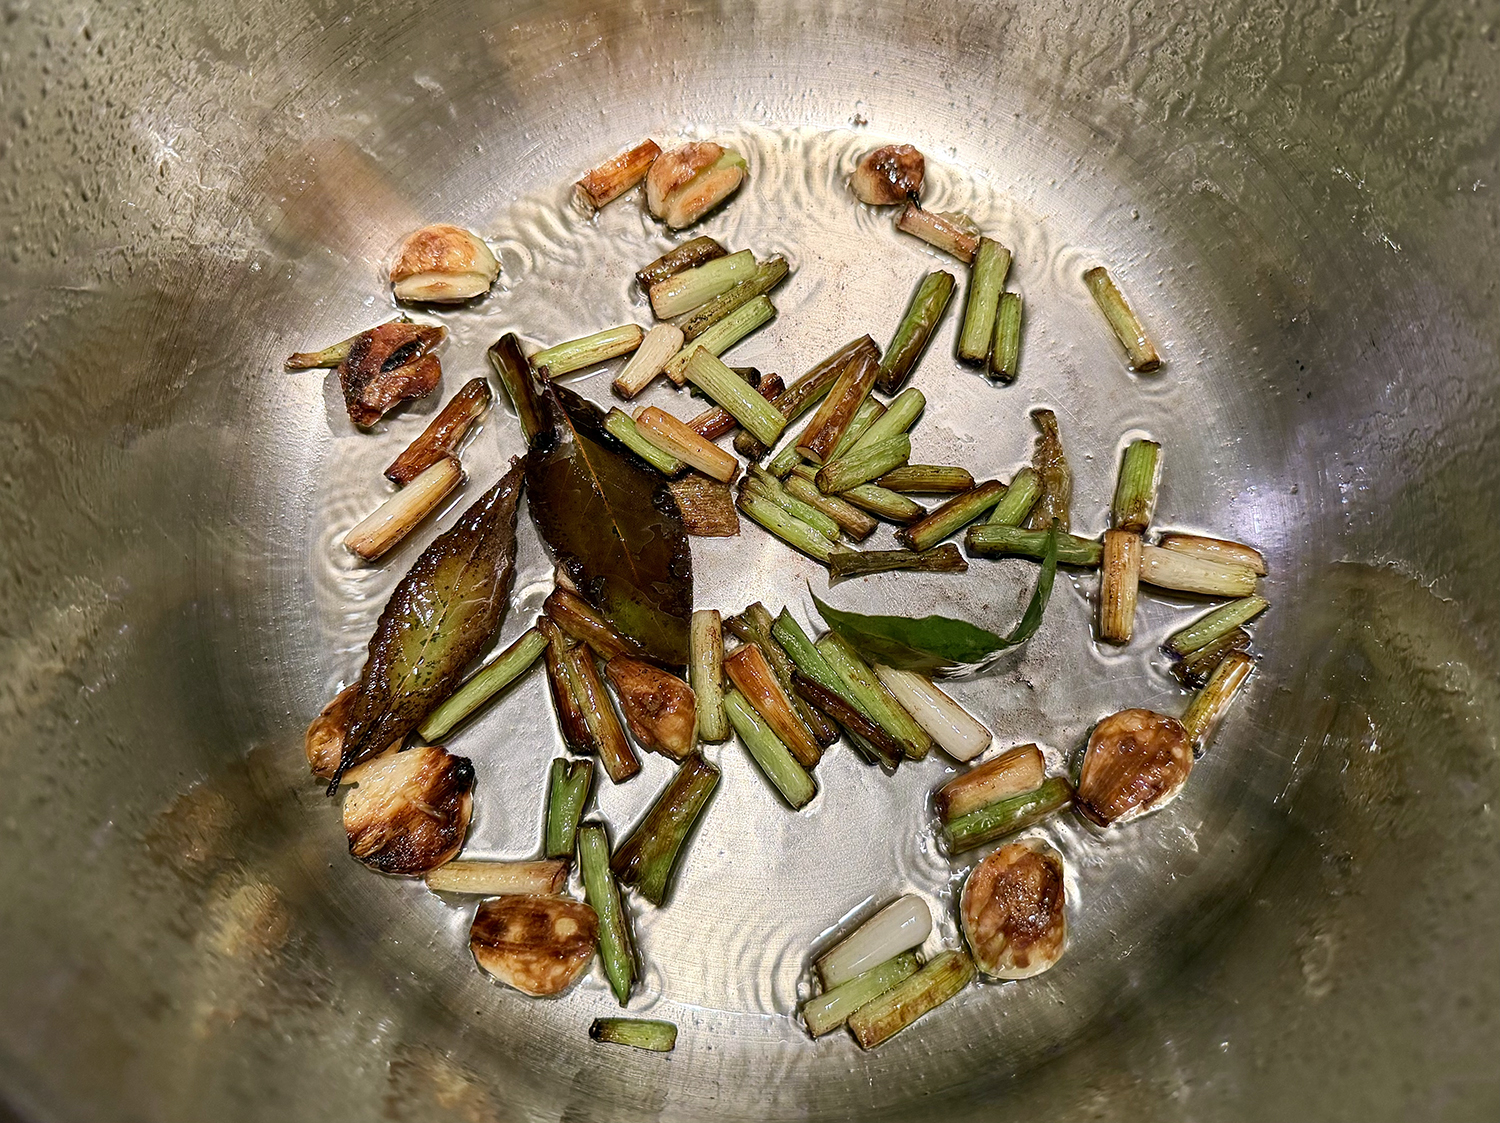
NOTE: When cooking the scallion whites, garlic and bay, don’t over stir; the goal is to develop deep browning, which builds flavor in the dish.
Filipino Pork Adobo
Ingredients
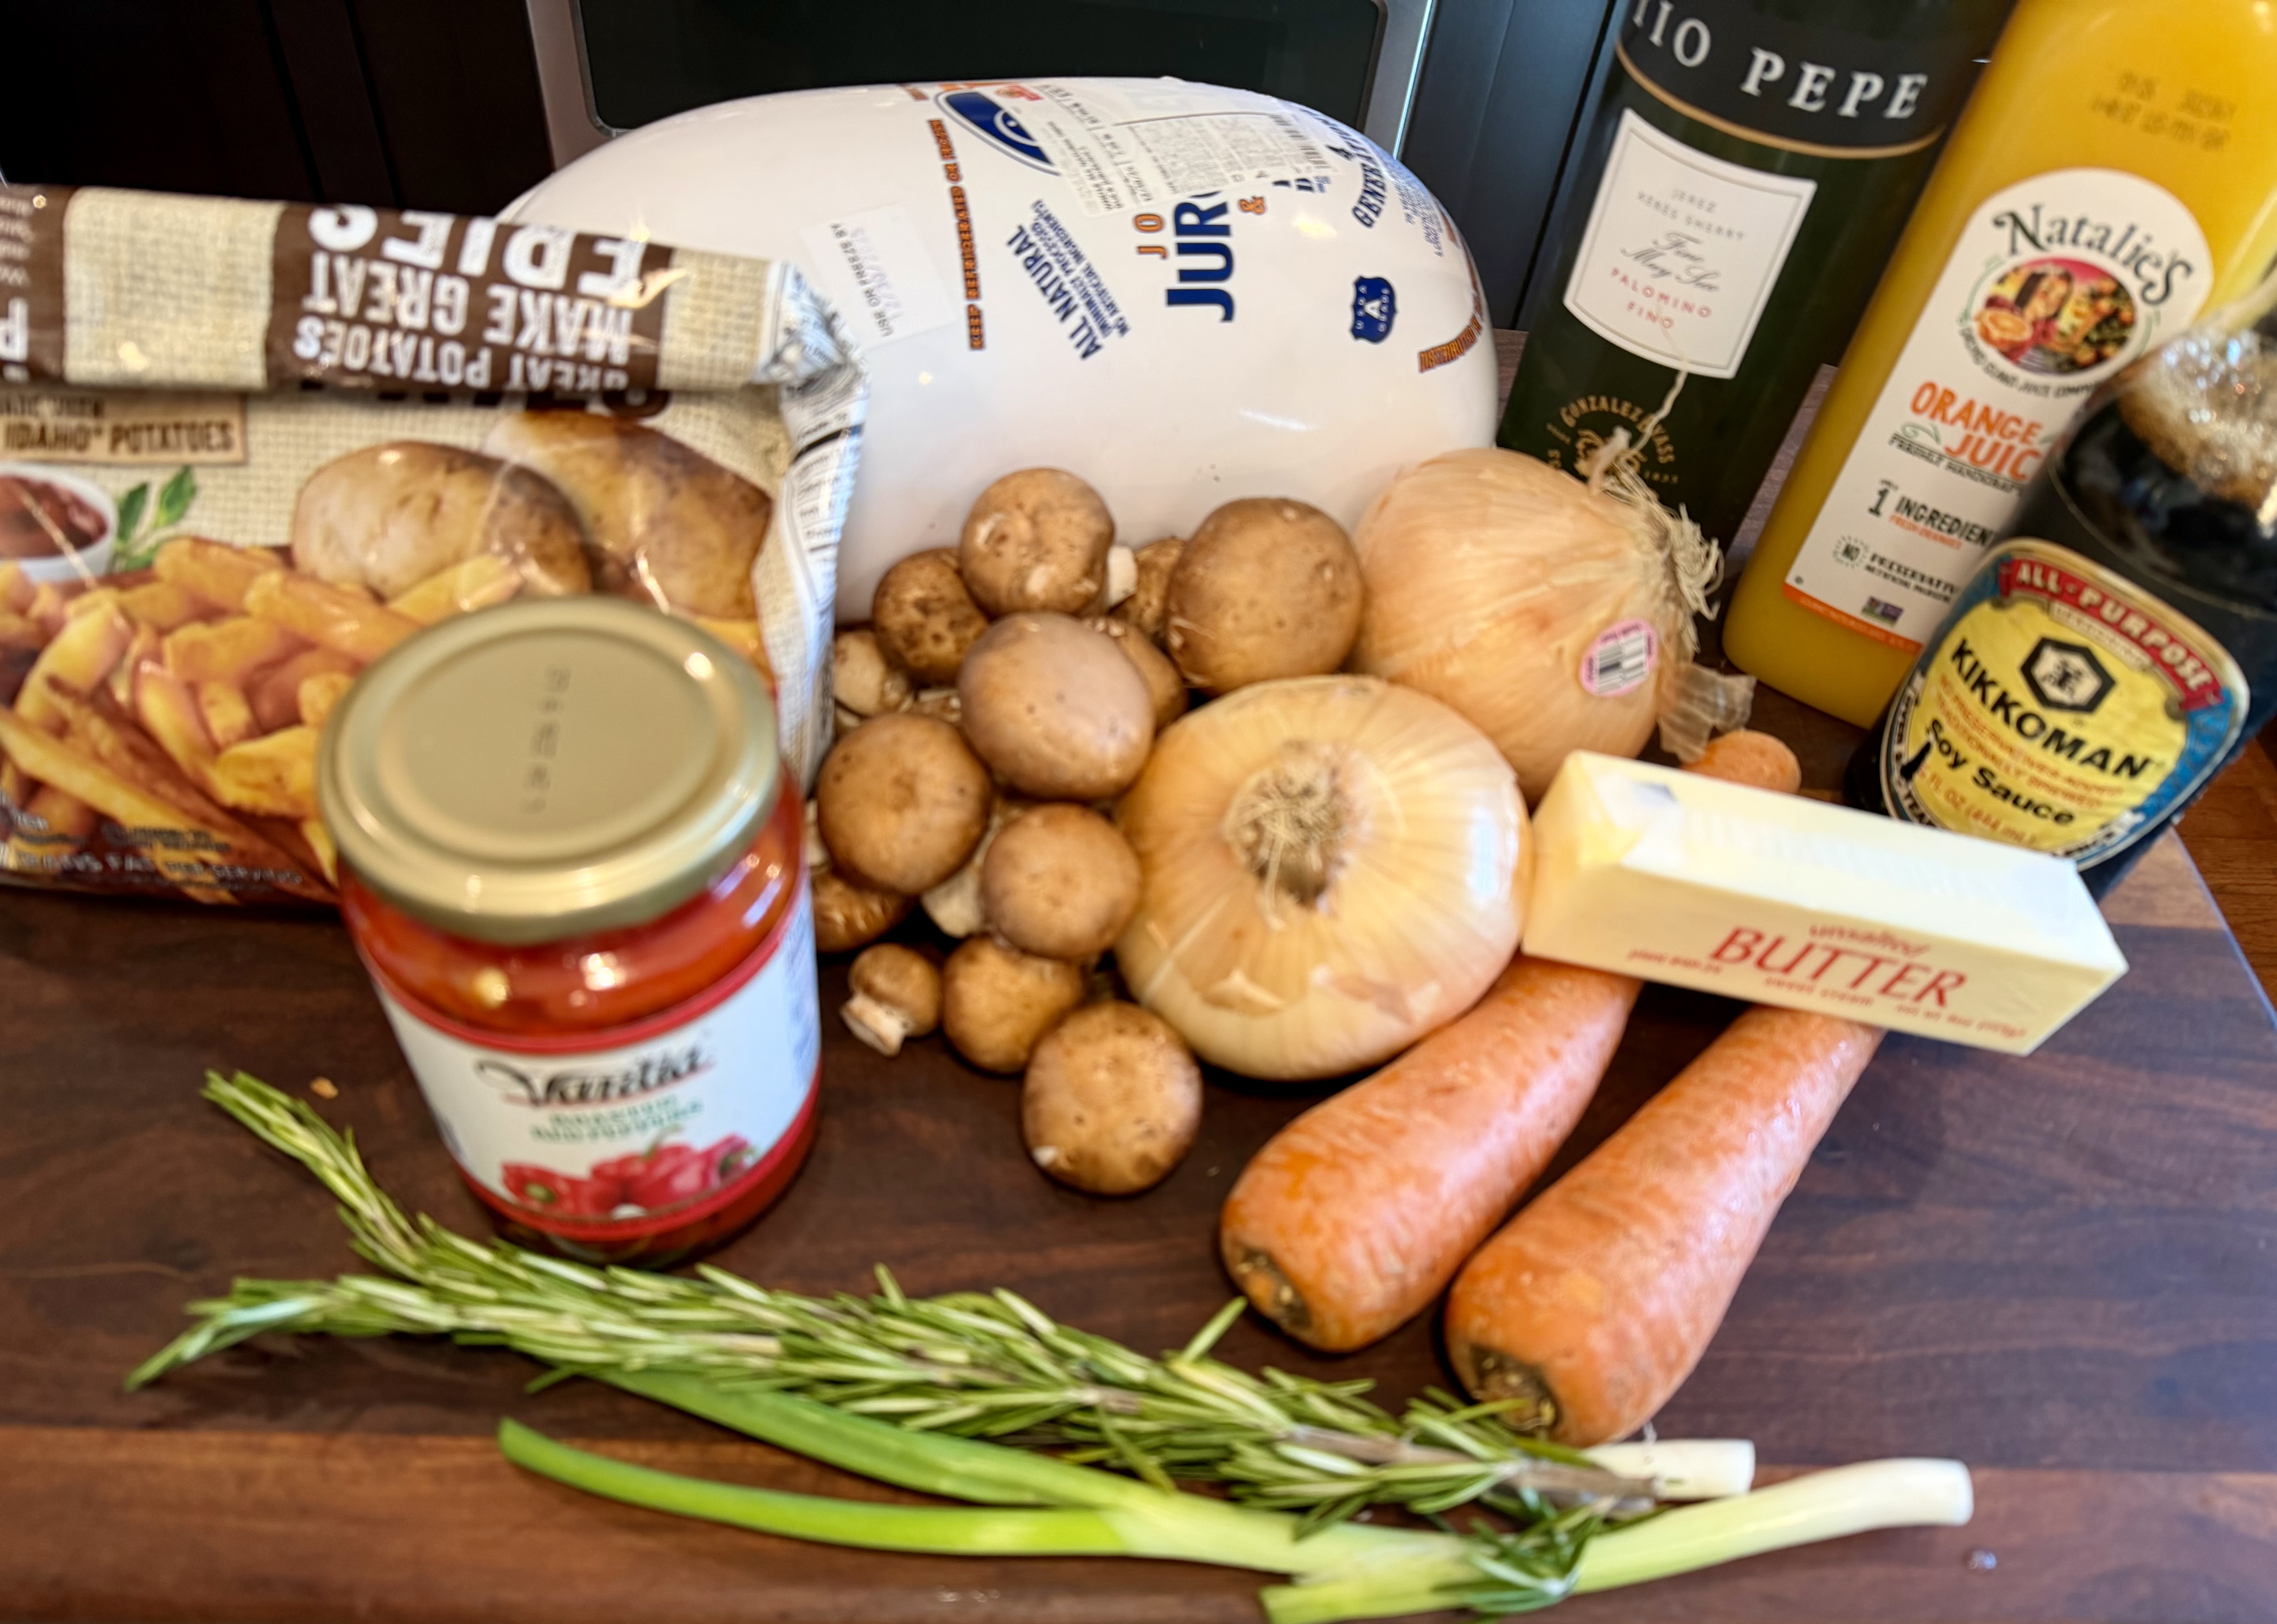
- 2 Tbsp. grapeseed or other neutral oil
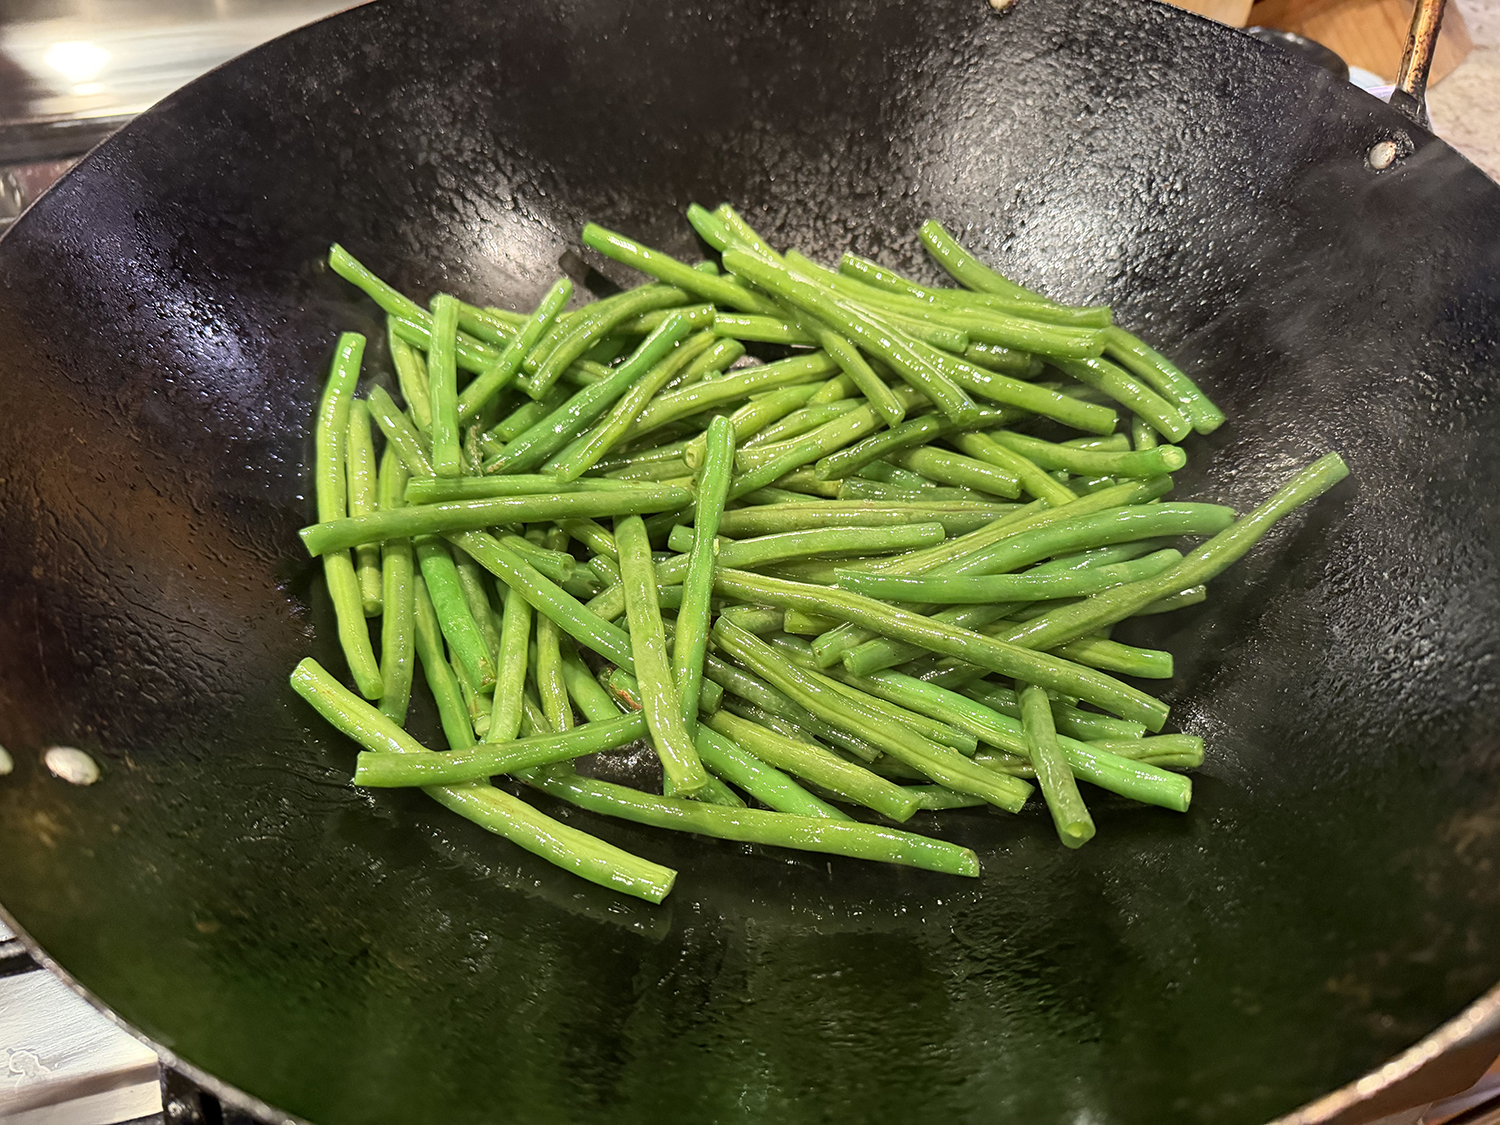
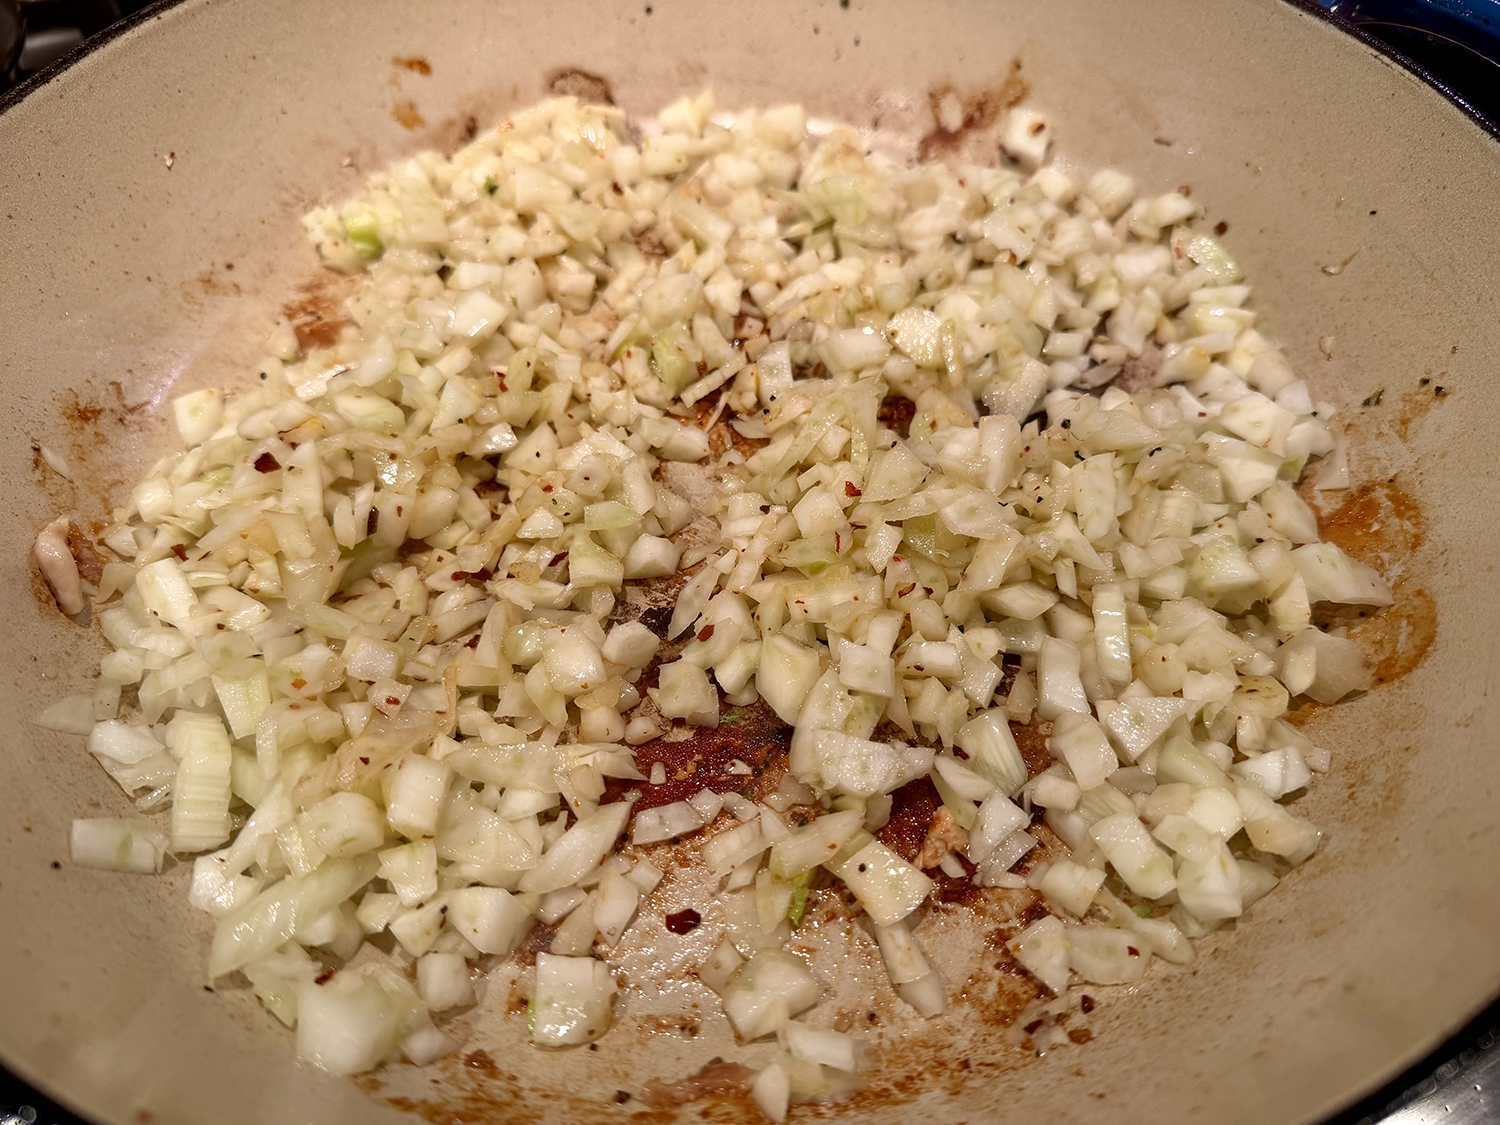
- 2 bunches scallions, white and light green parts cut into 1-inch pieces, green parts thinly sliced, reserved separately
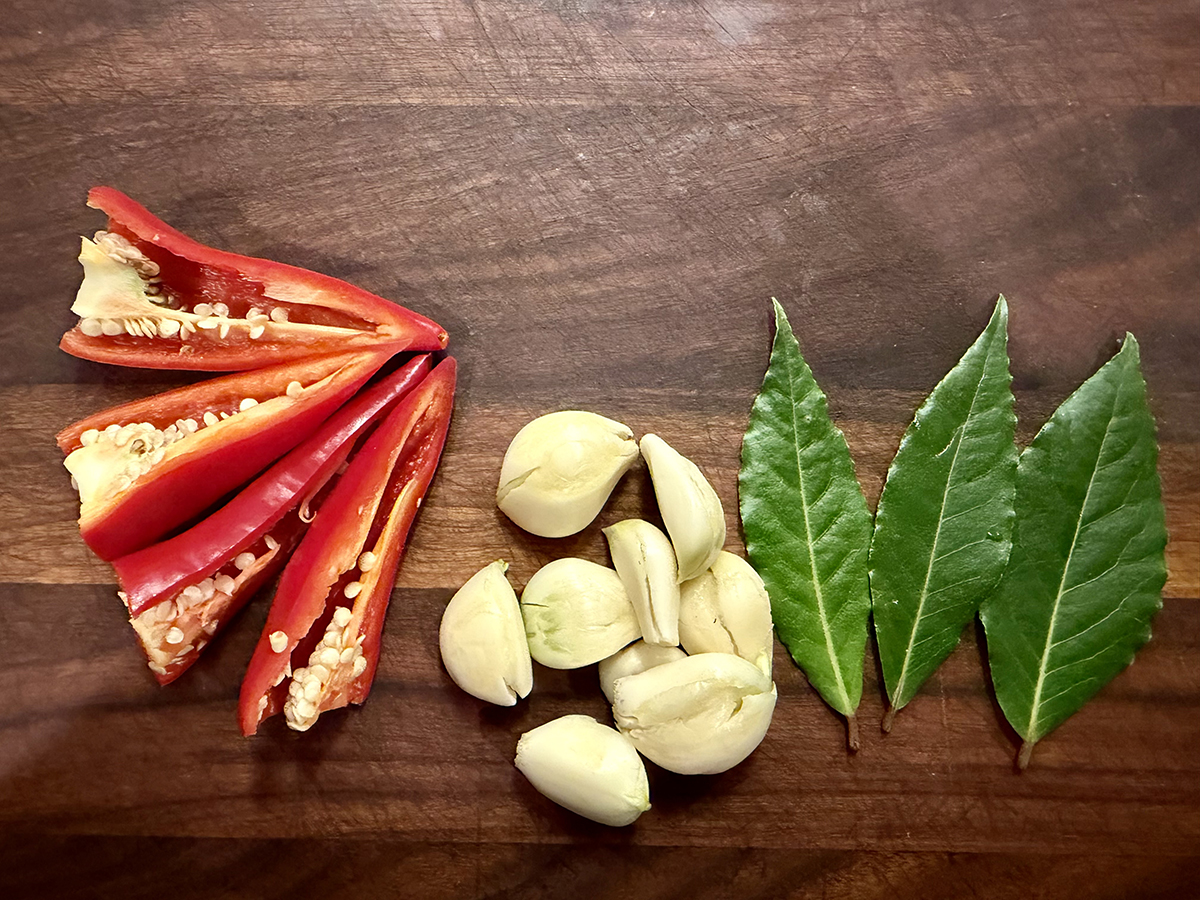
- 8 medium garlic cloves, smashed and peeled
- 3 bay leaves
- ½ cup low-sodium soy sauce
- ¼ cup white vinegar
- 2 Tbsp. honey
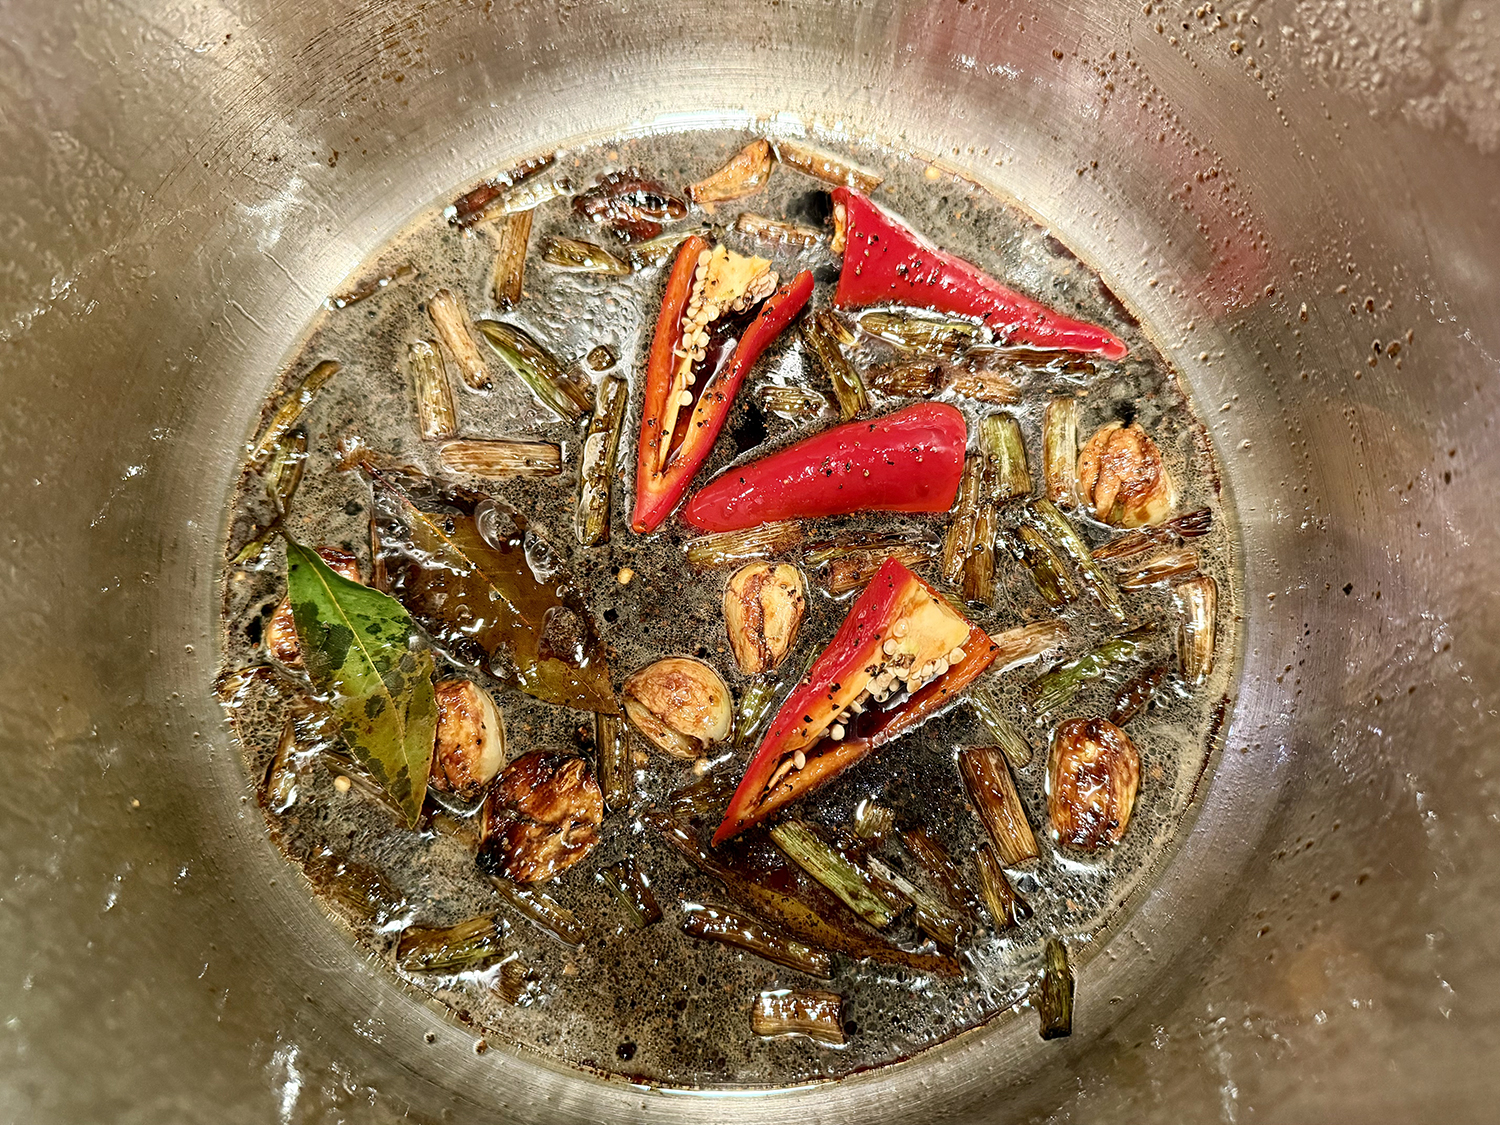
- 2 serrano chilies, stemmed and halved
- Ground black pepper
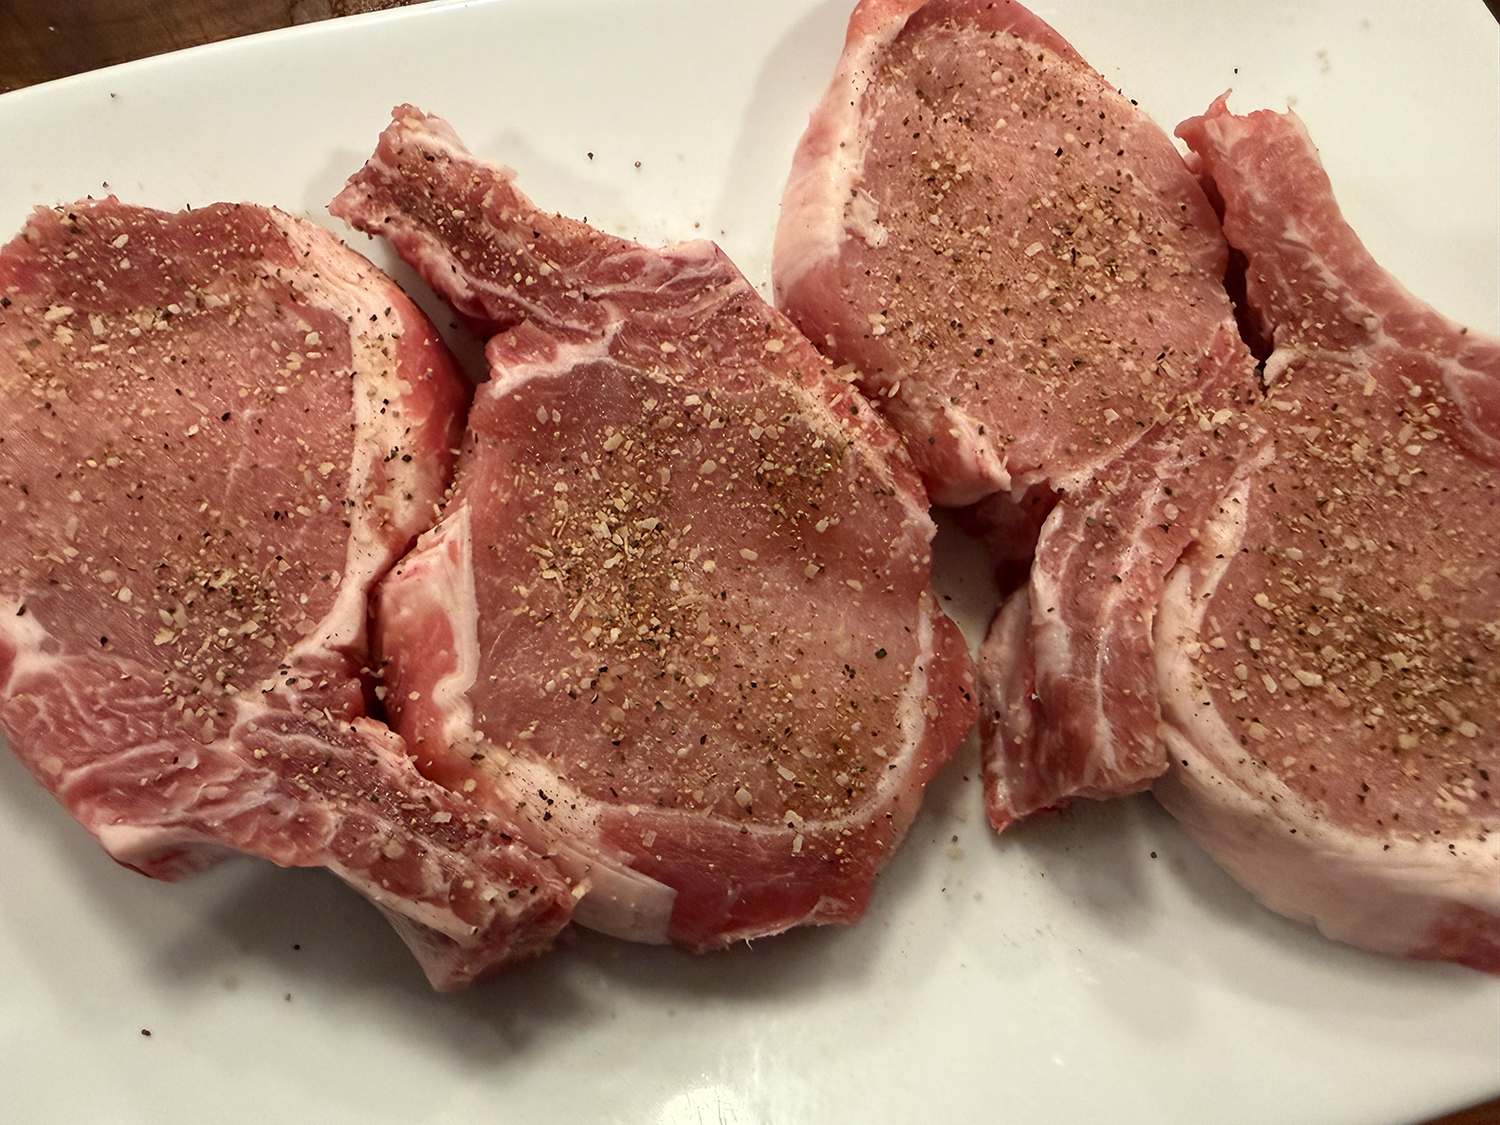
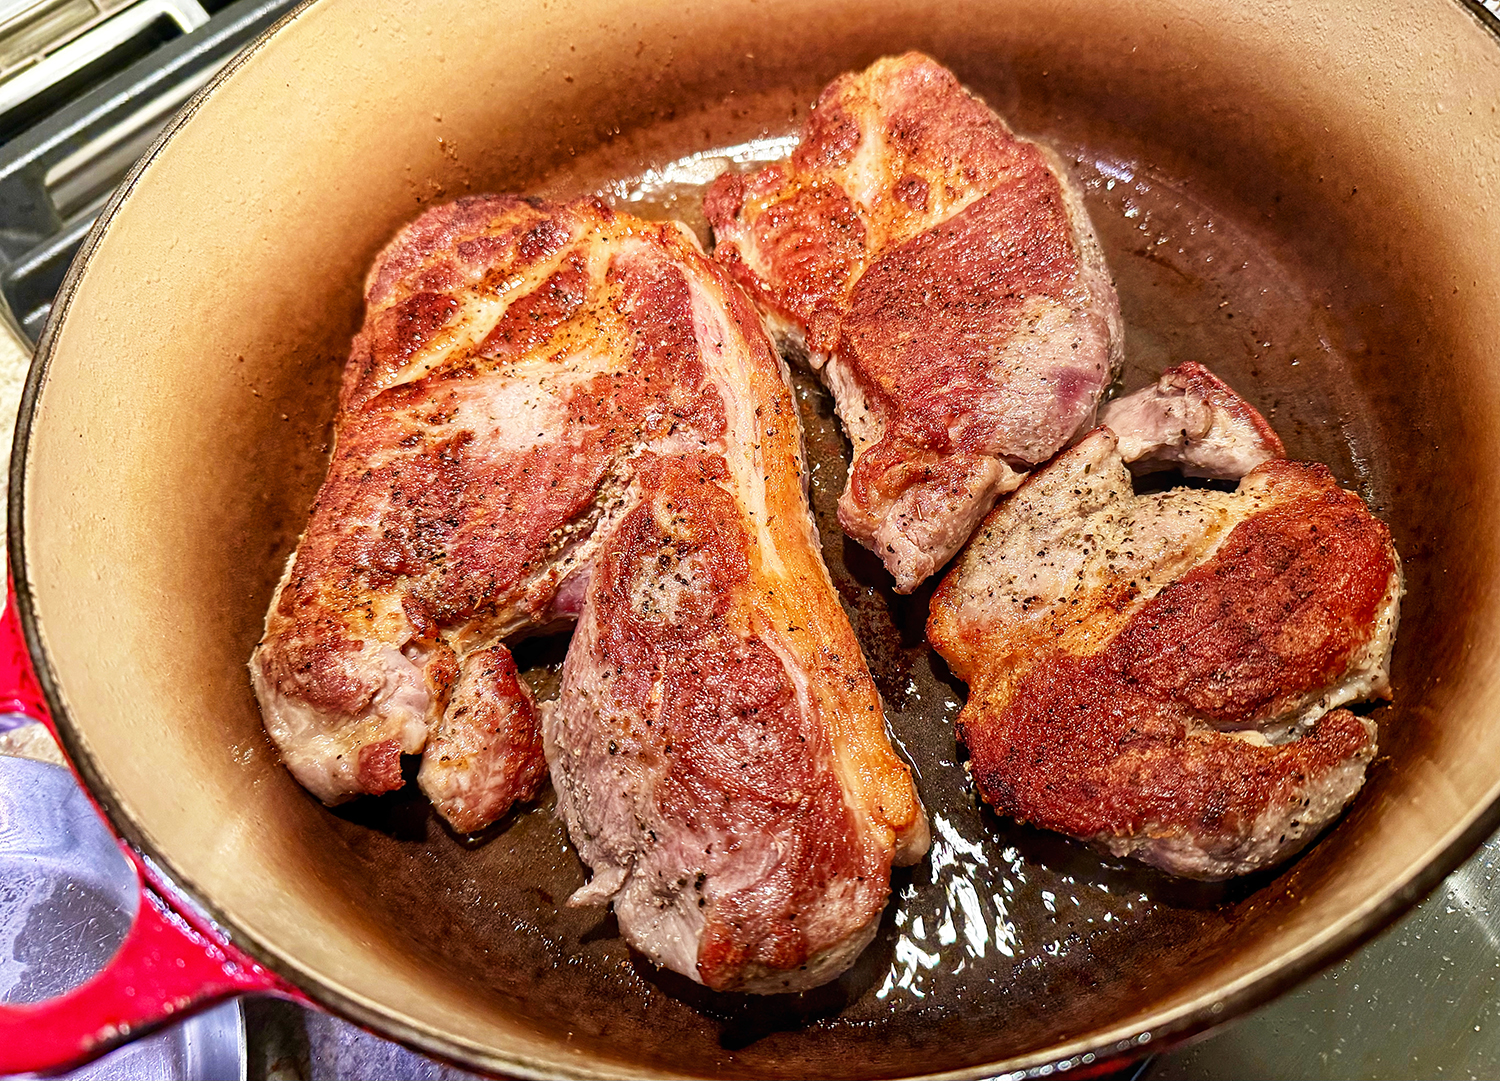
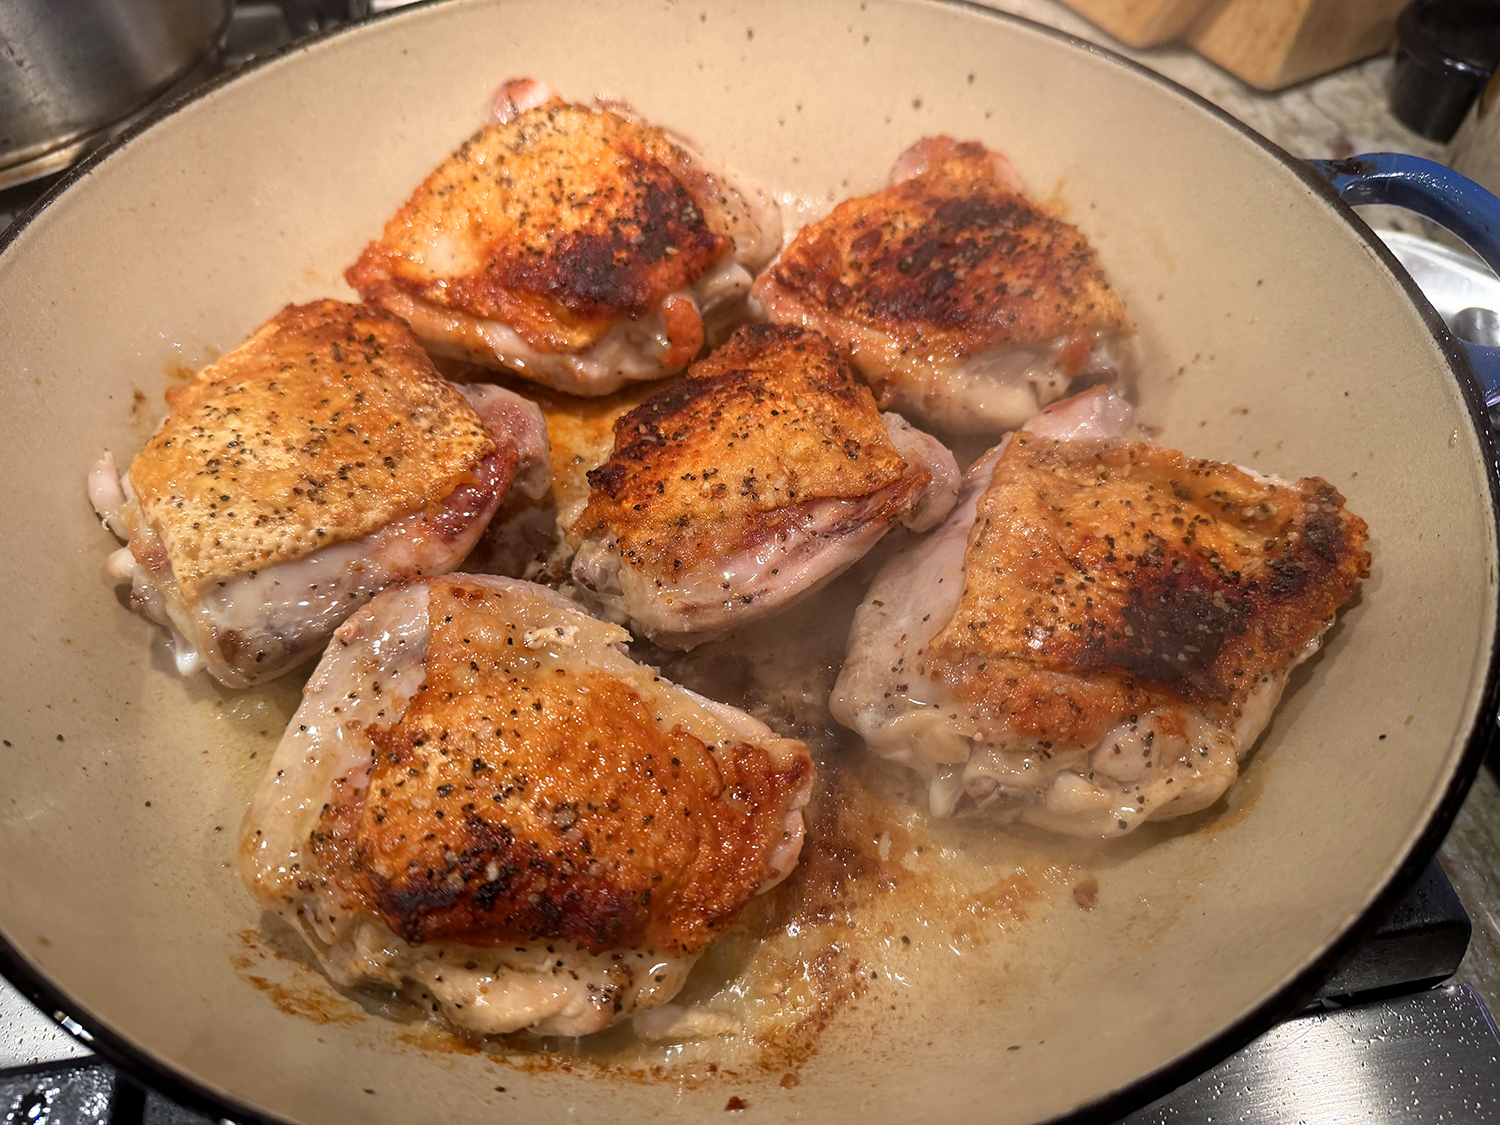
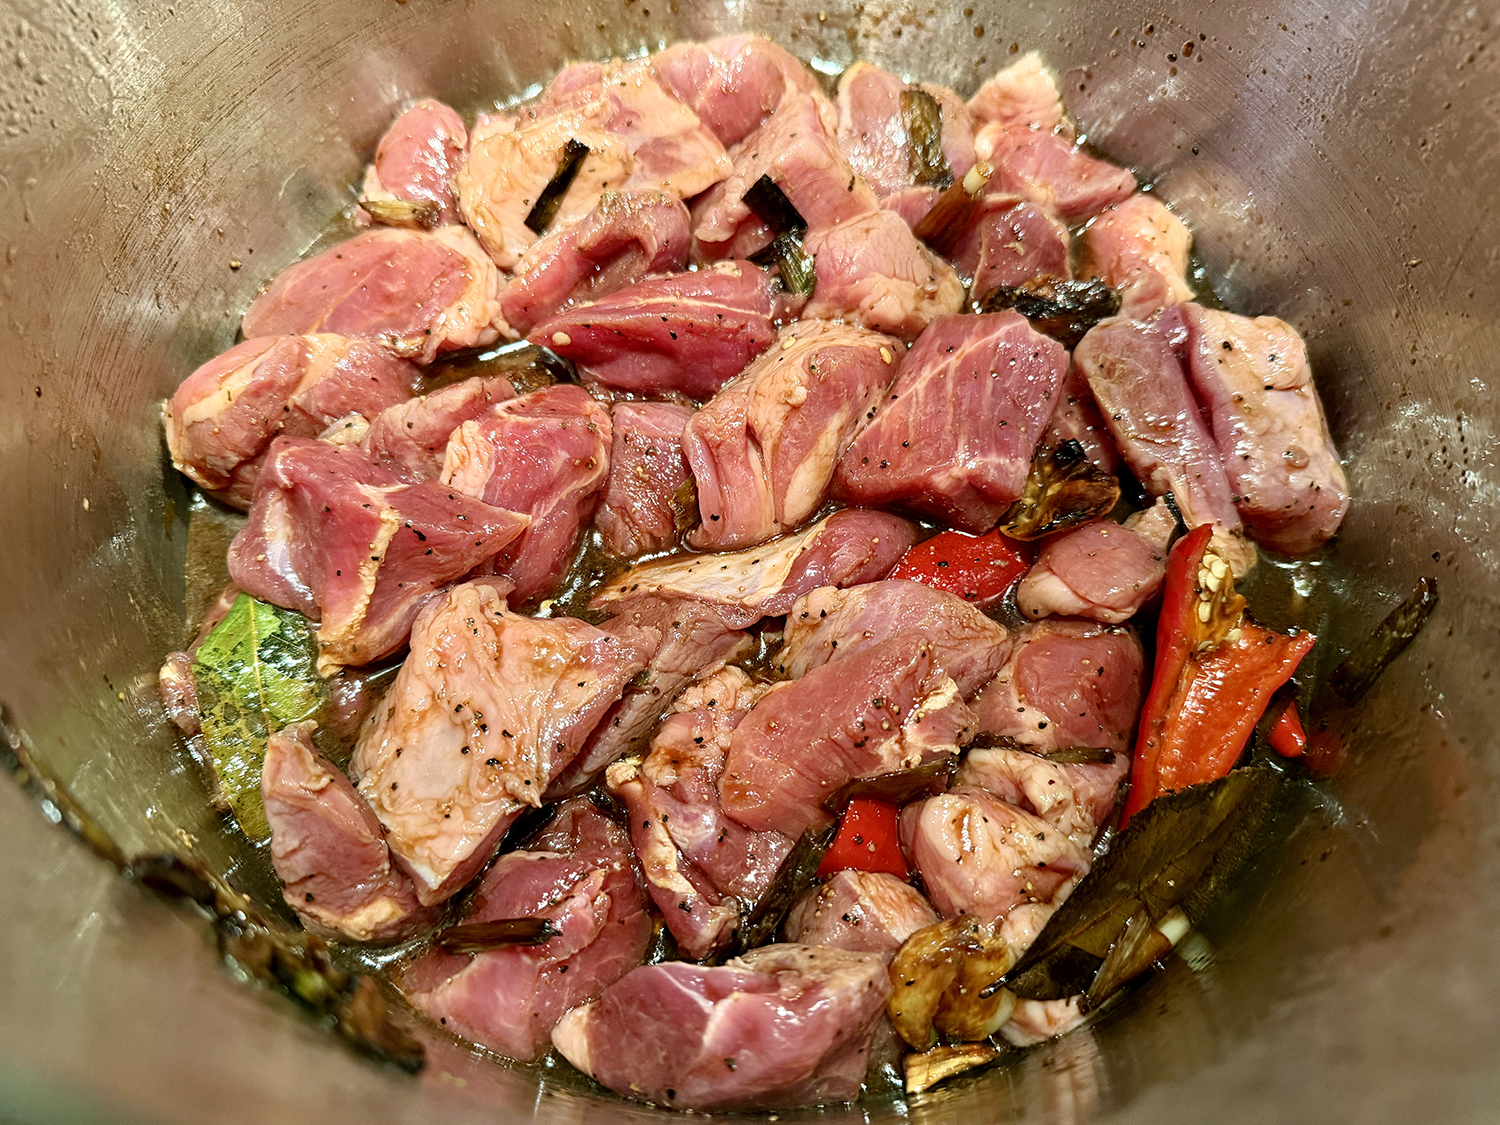
- 3 lbs. boneless pork shoulder, trimmed and cut into 2-inch chunks
- 1 Tbsp. cornstarch
Directions
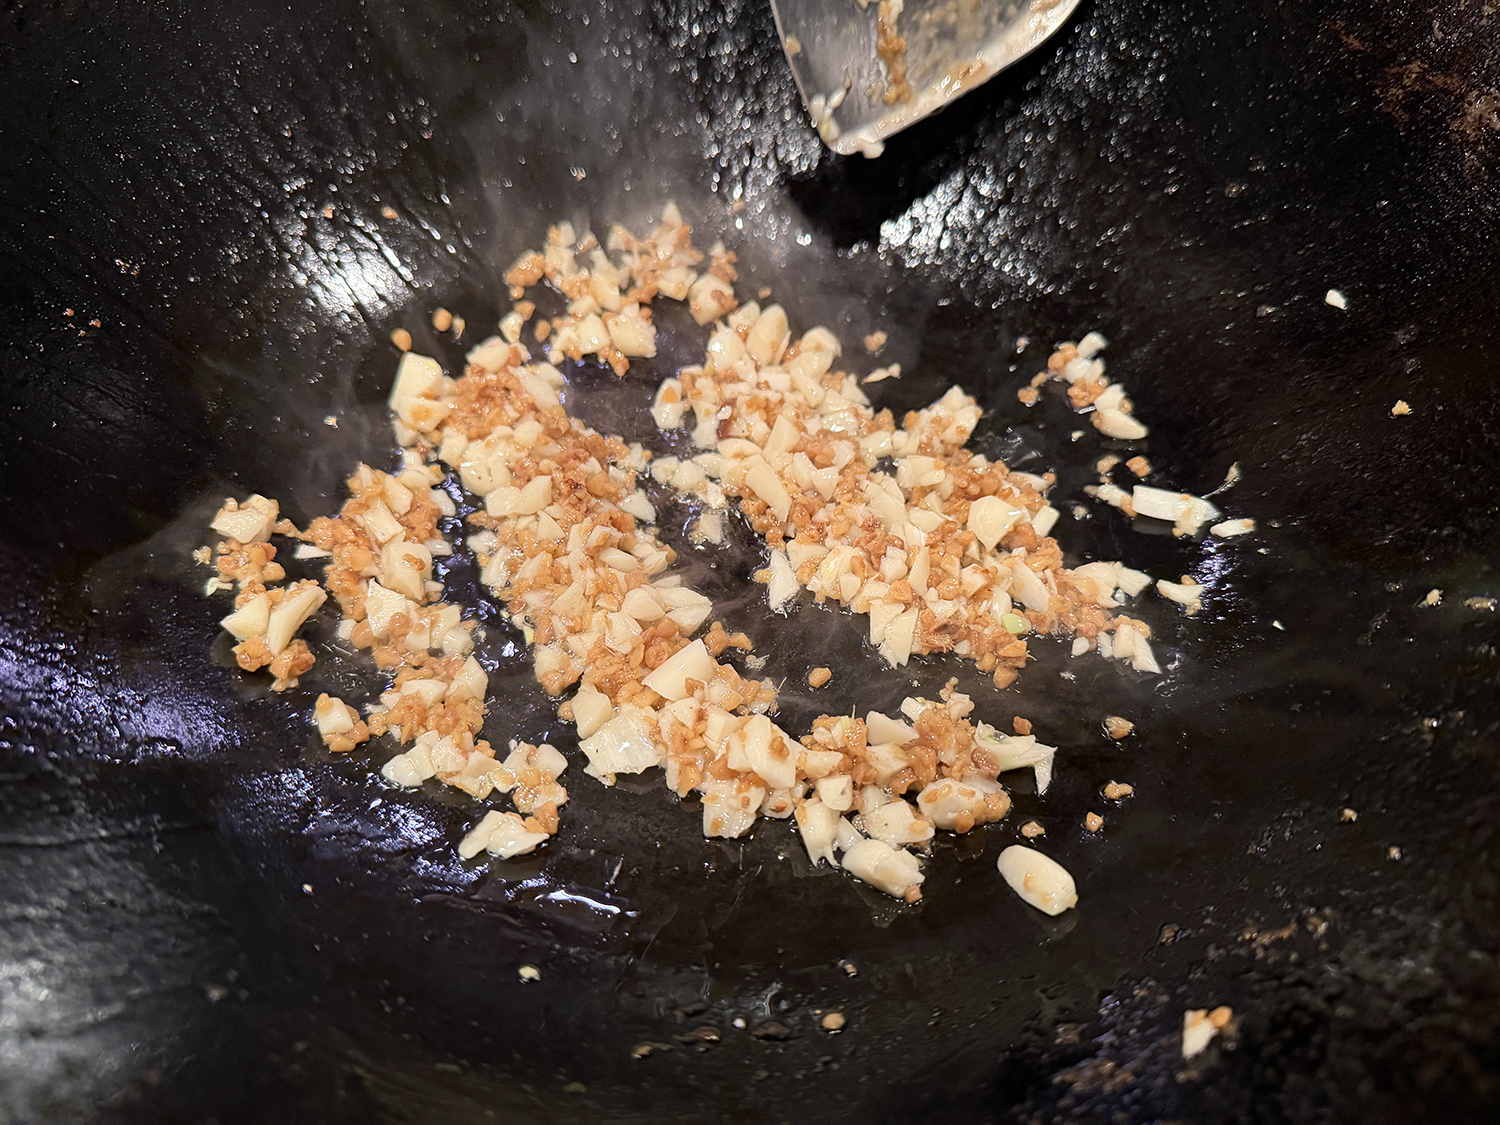
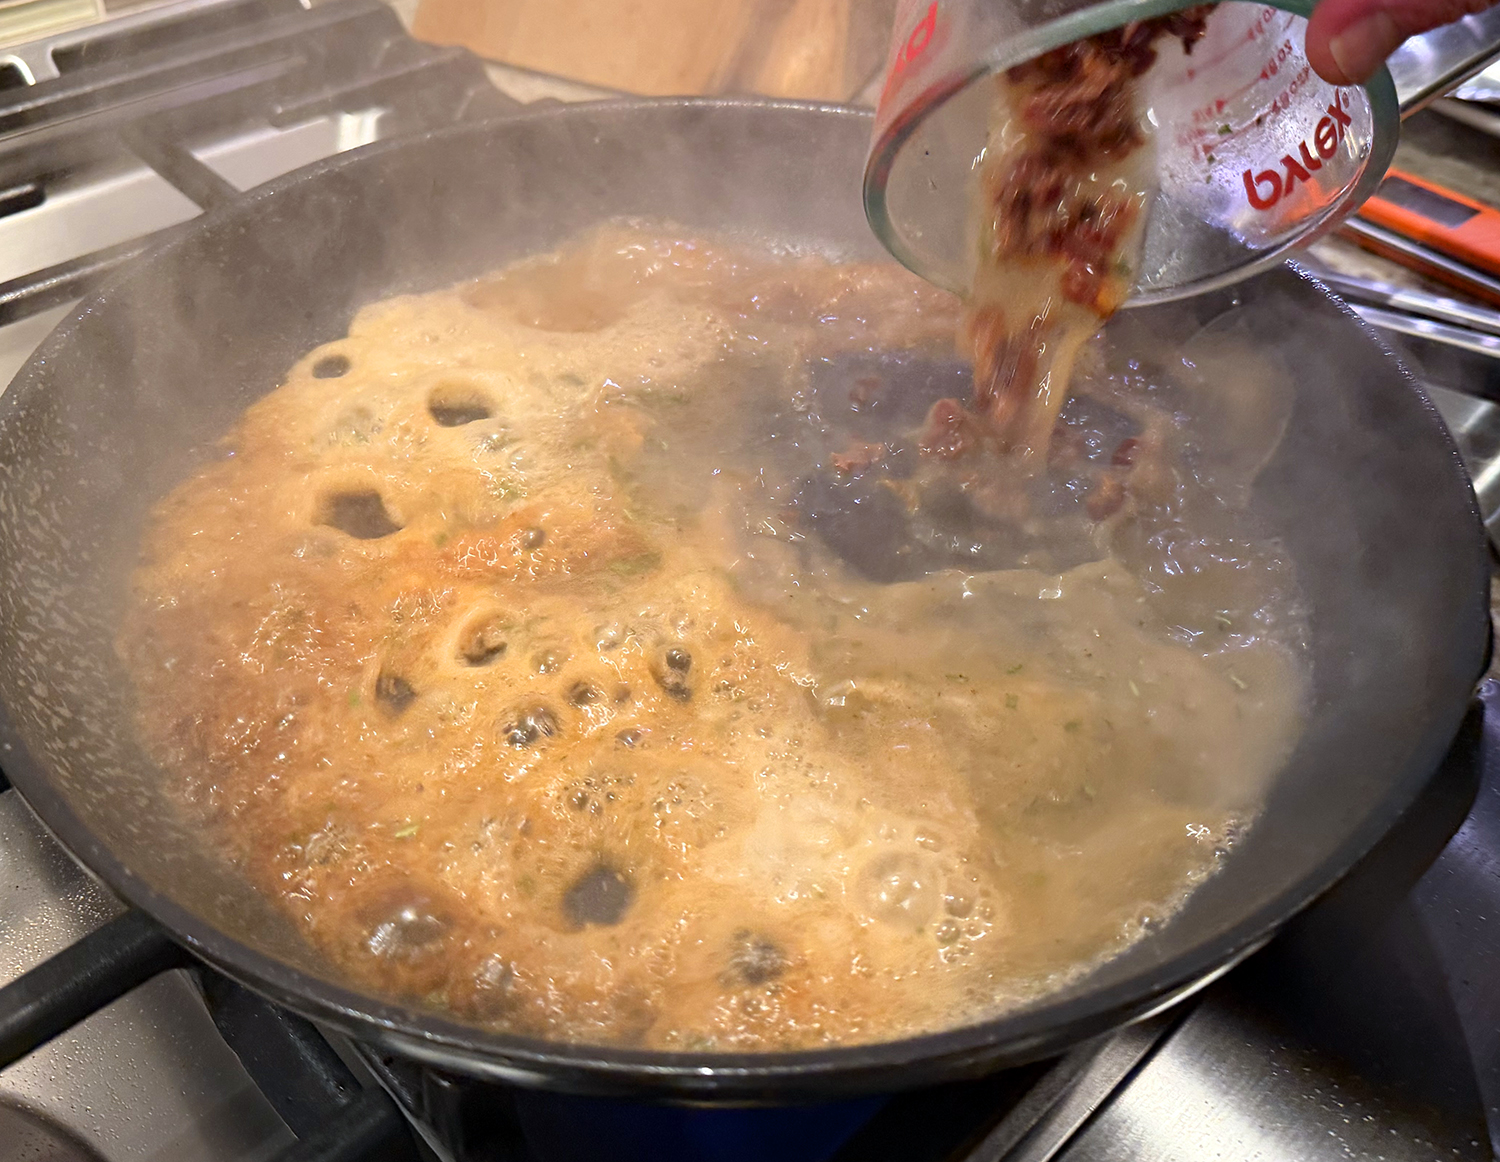
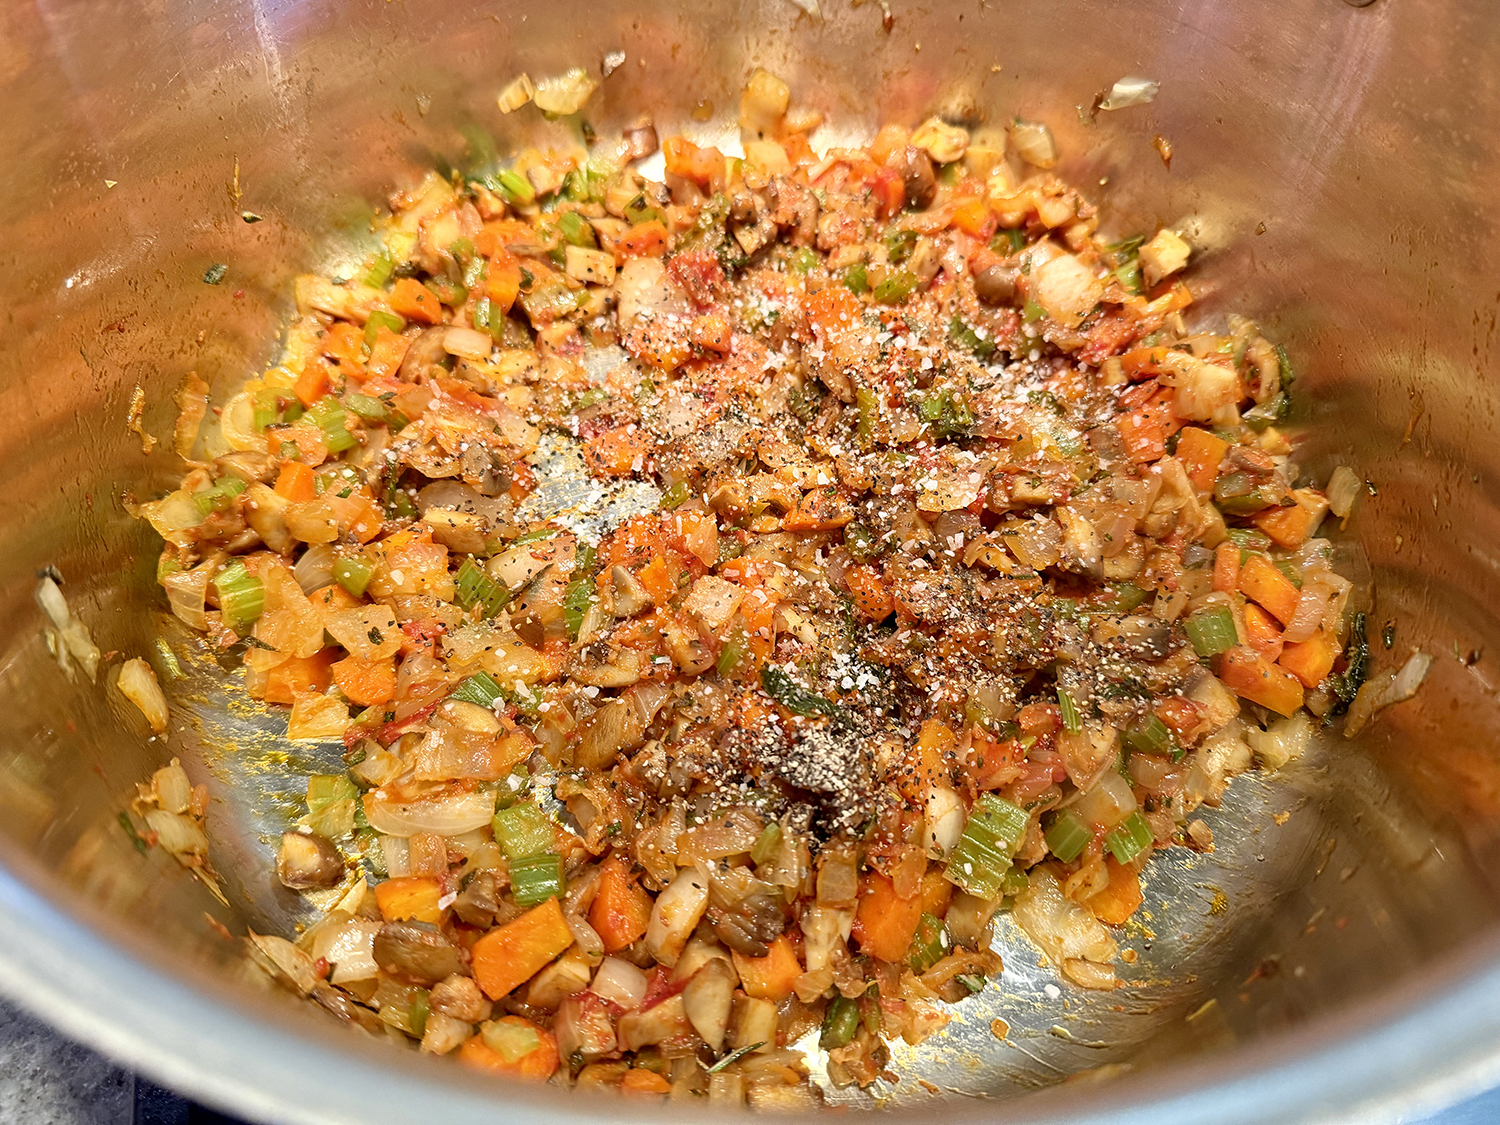
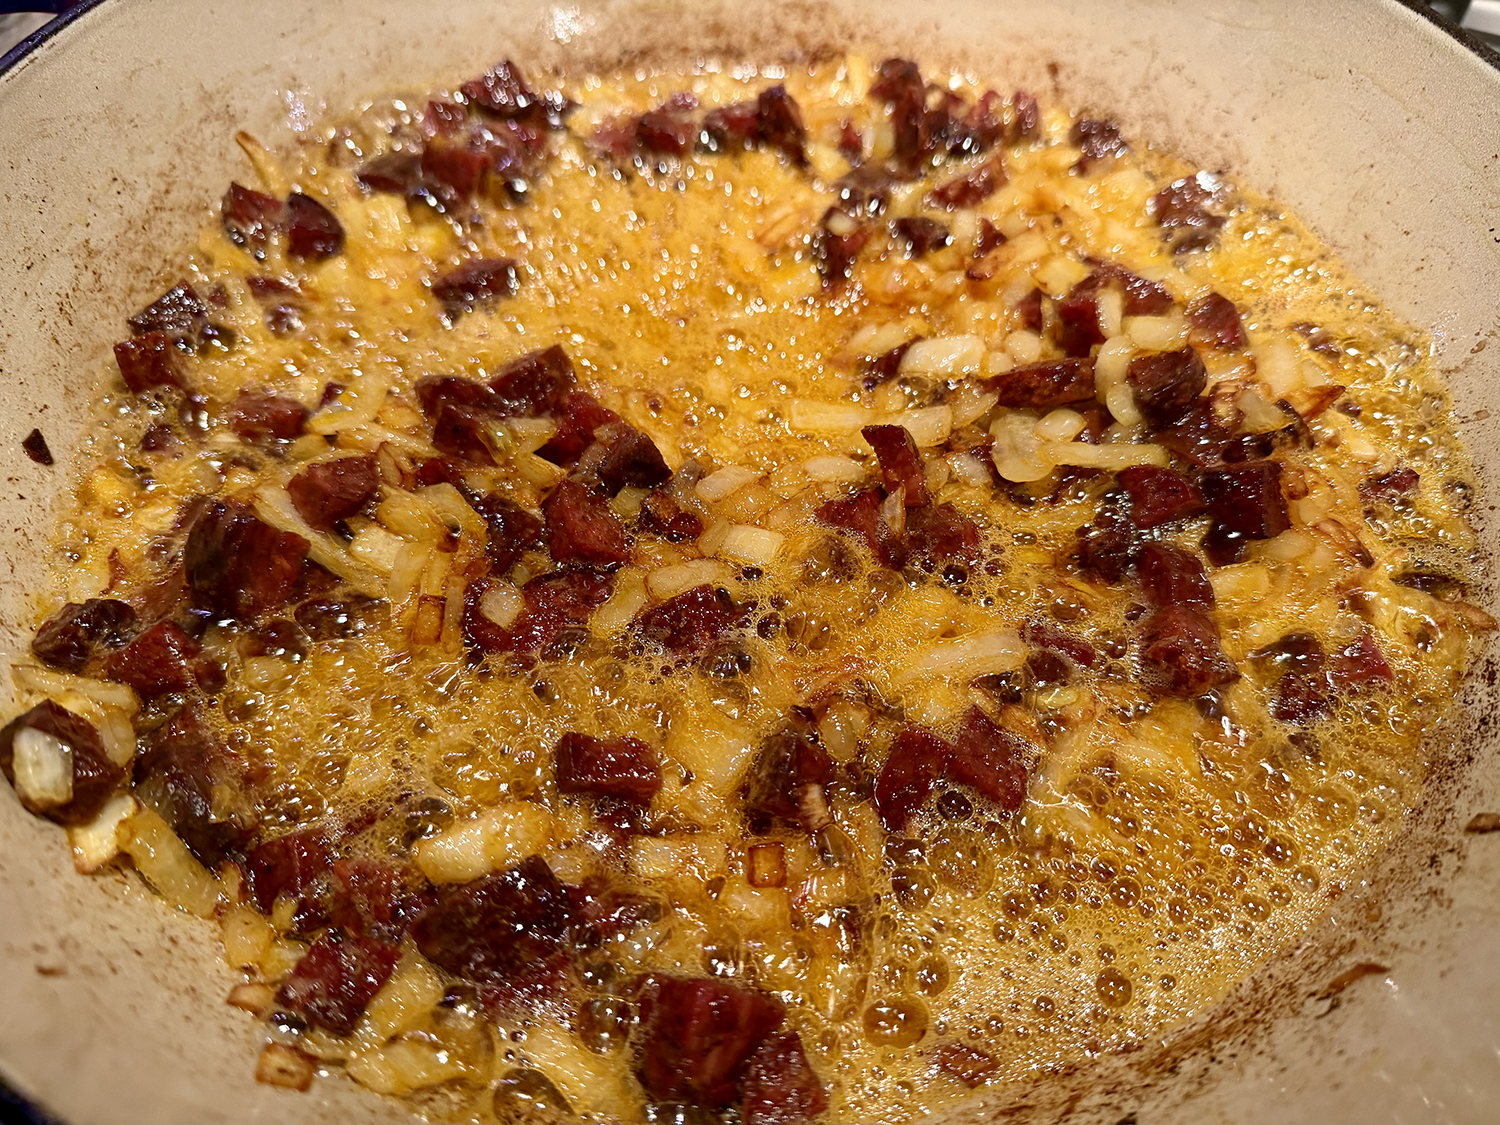
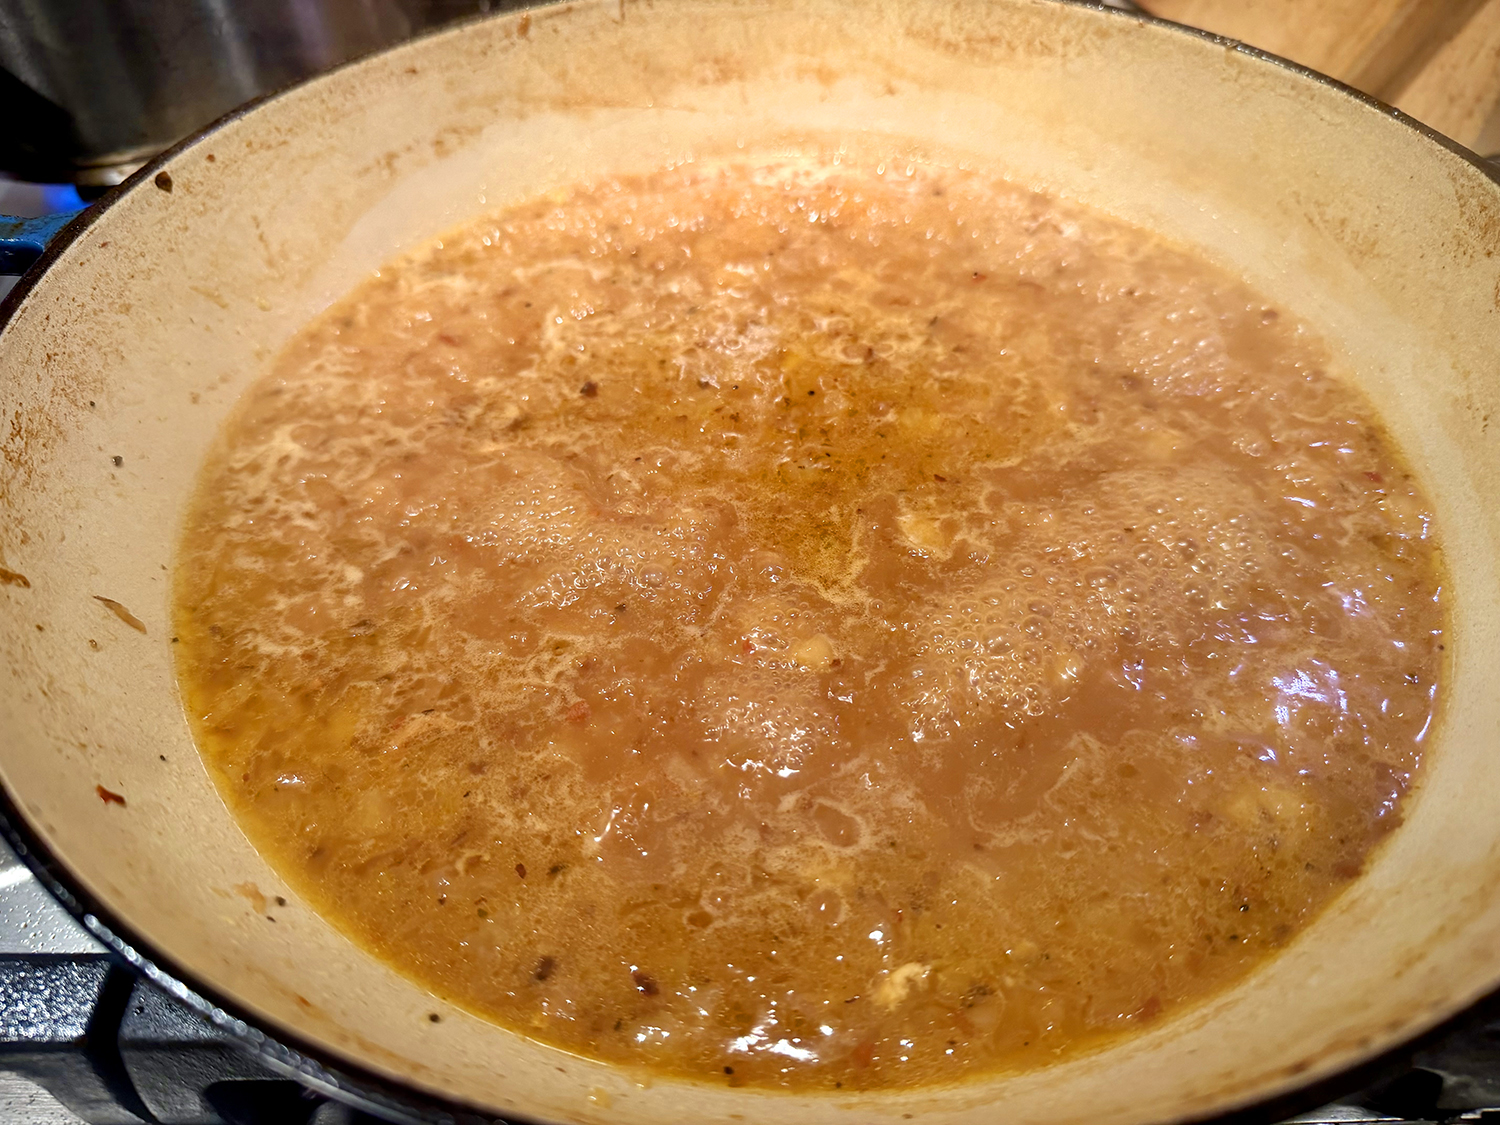
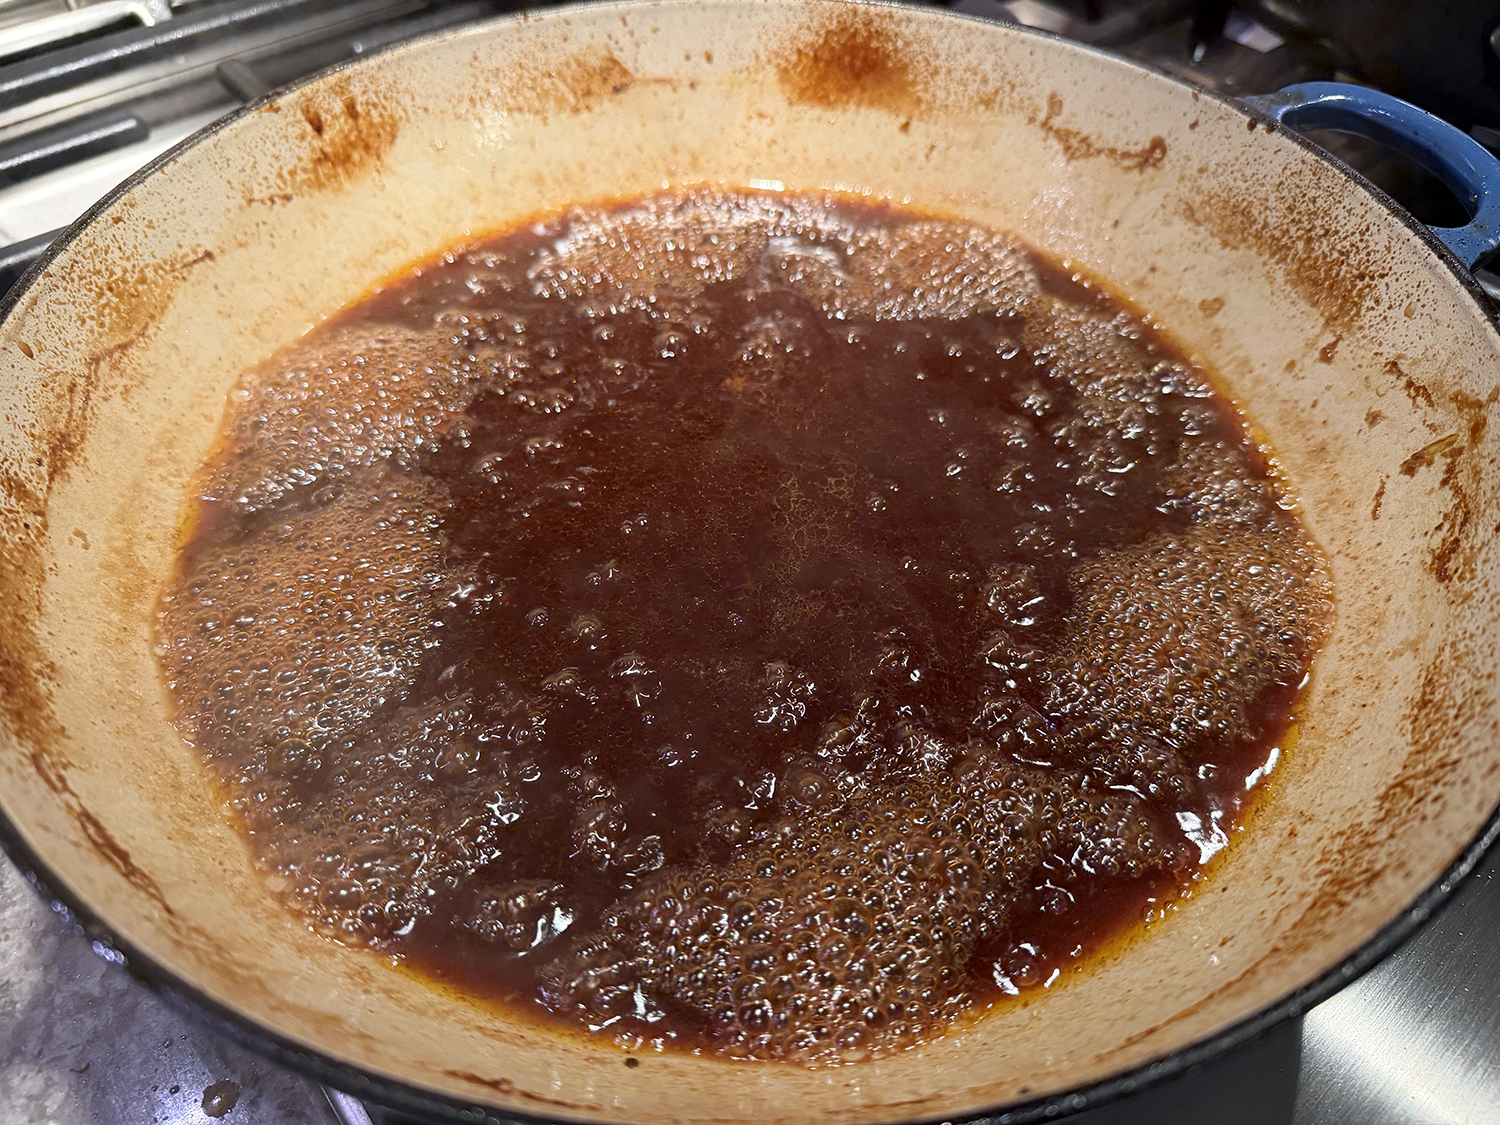
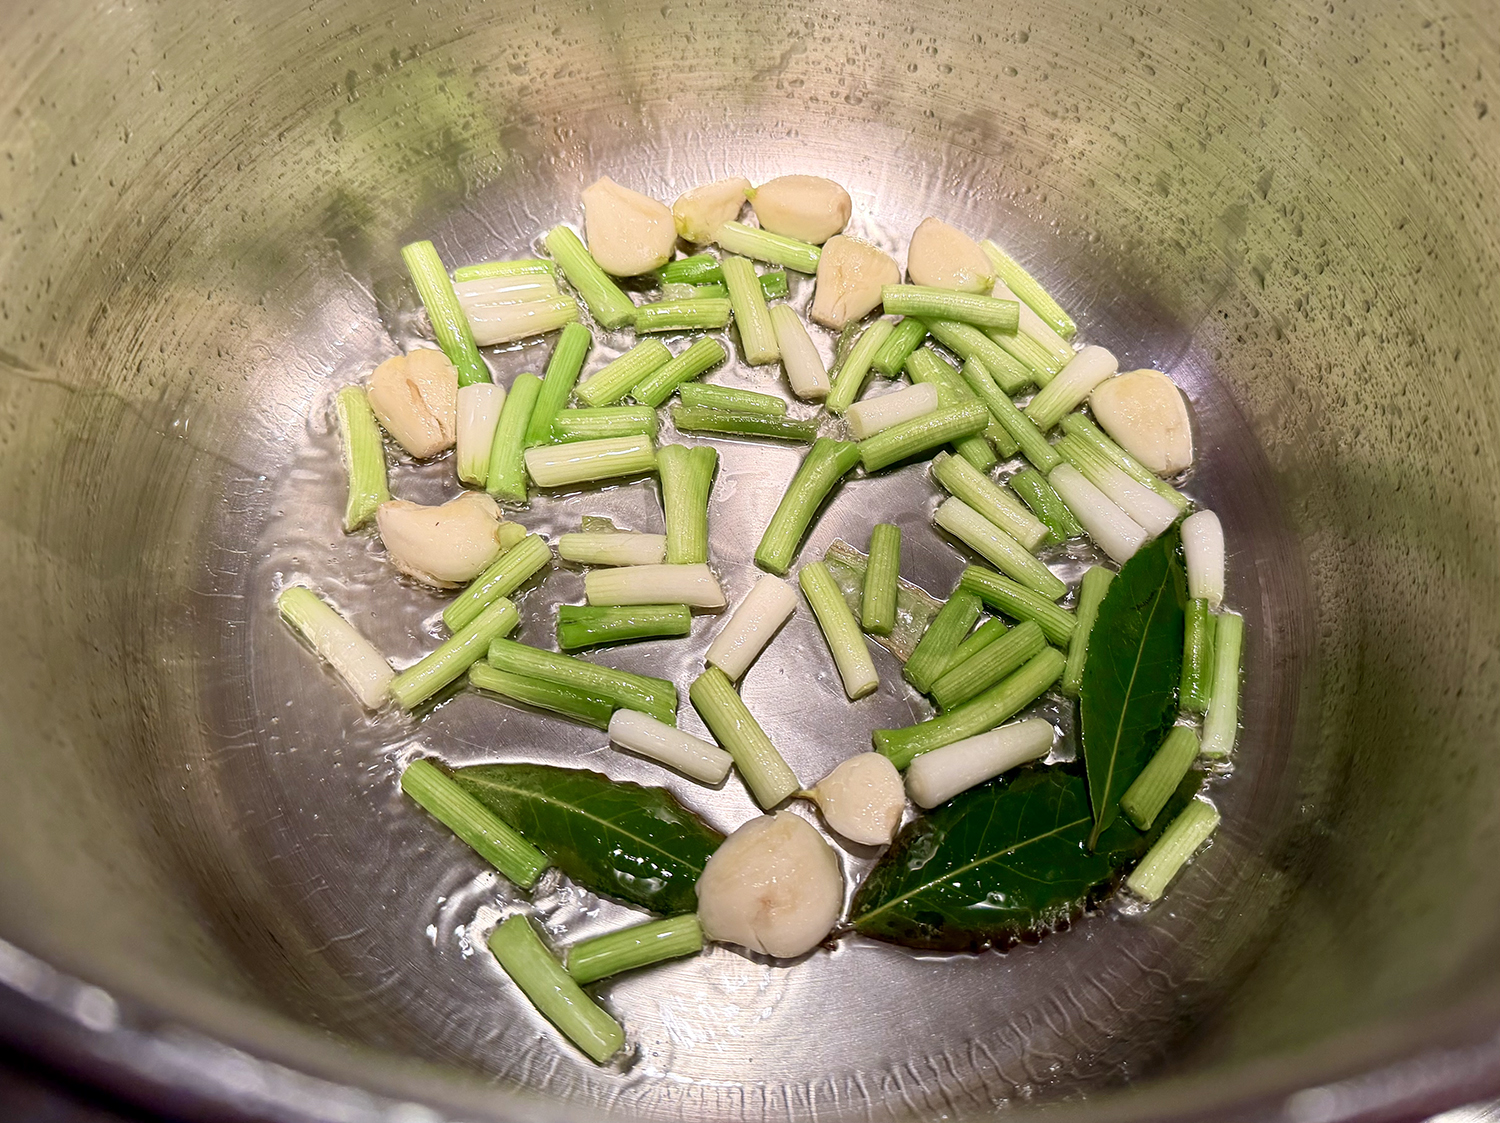
- On a 6-quart Instant Pot, select More/High Sauté. Add the oil and heat until shimmering. Add the scallion whites, garlic and bay, then cook without stirring until golden brown on the bottom, about 4 minutes.
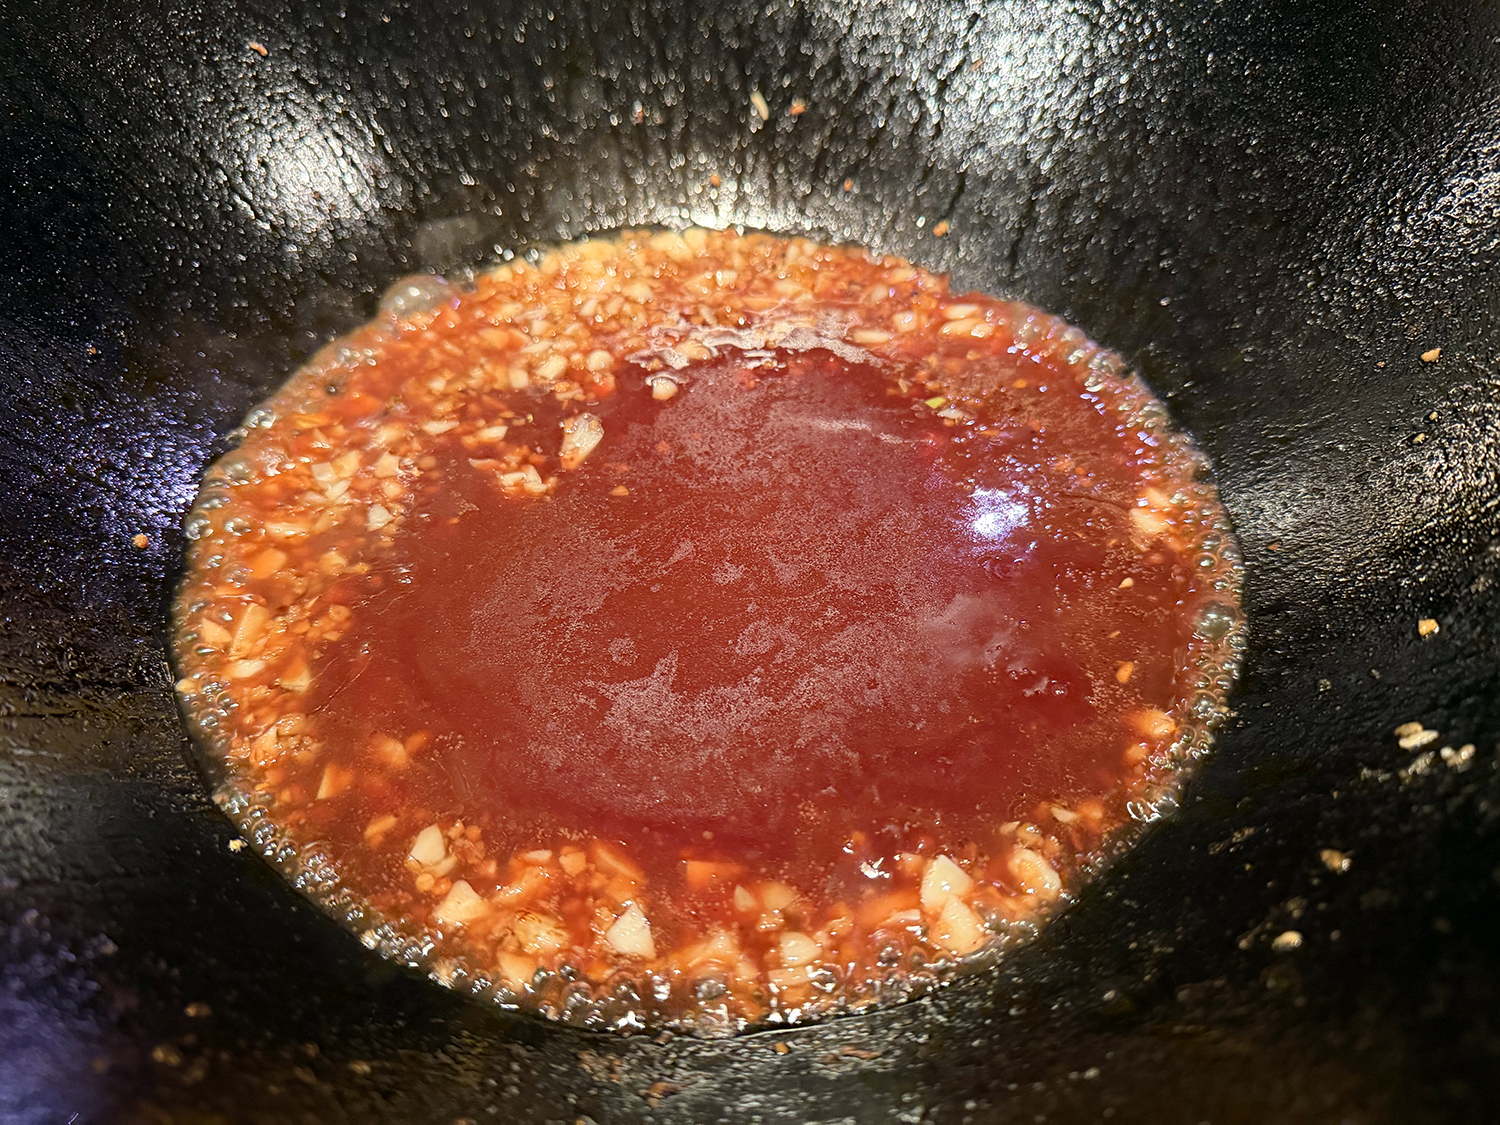
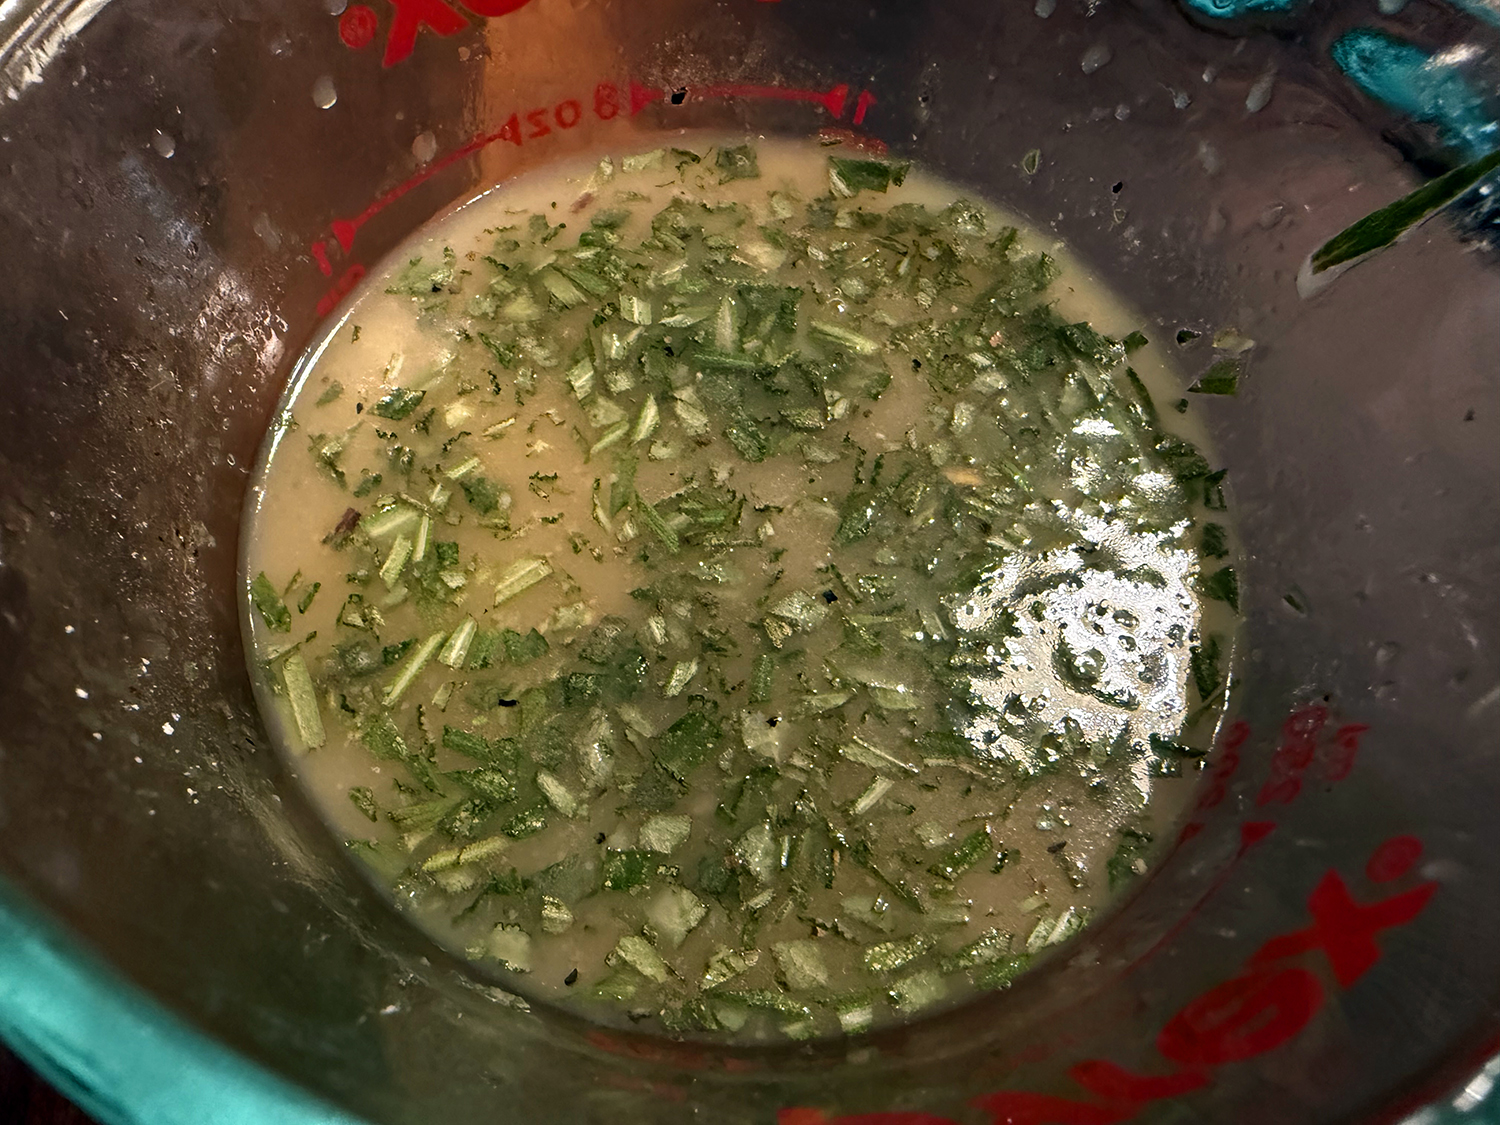
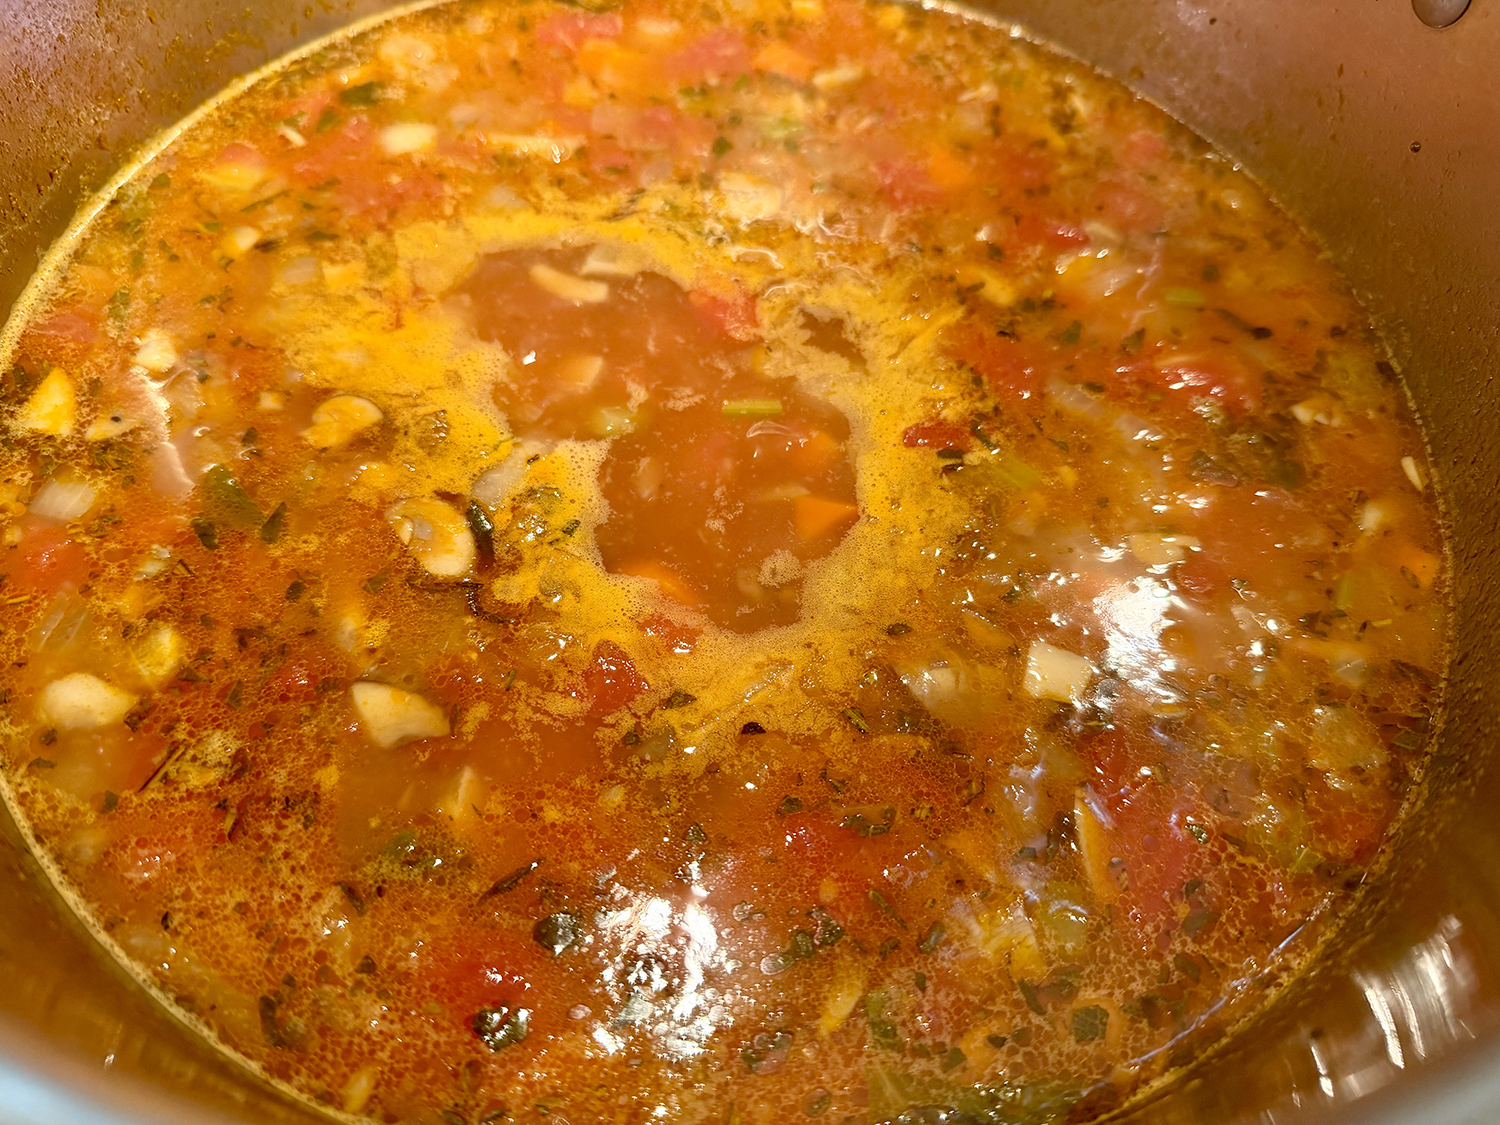
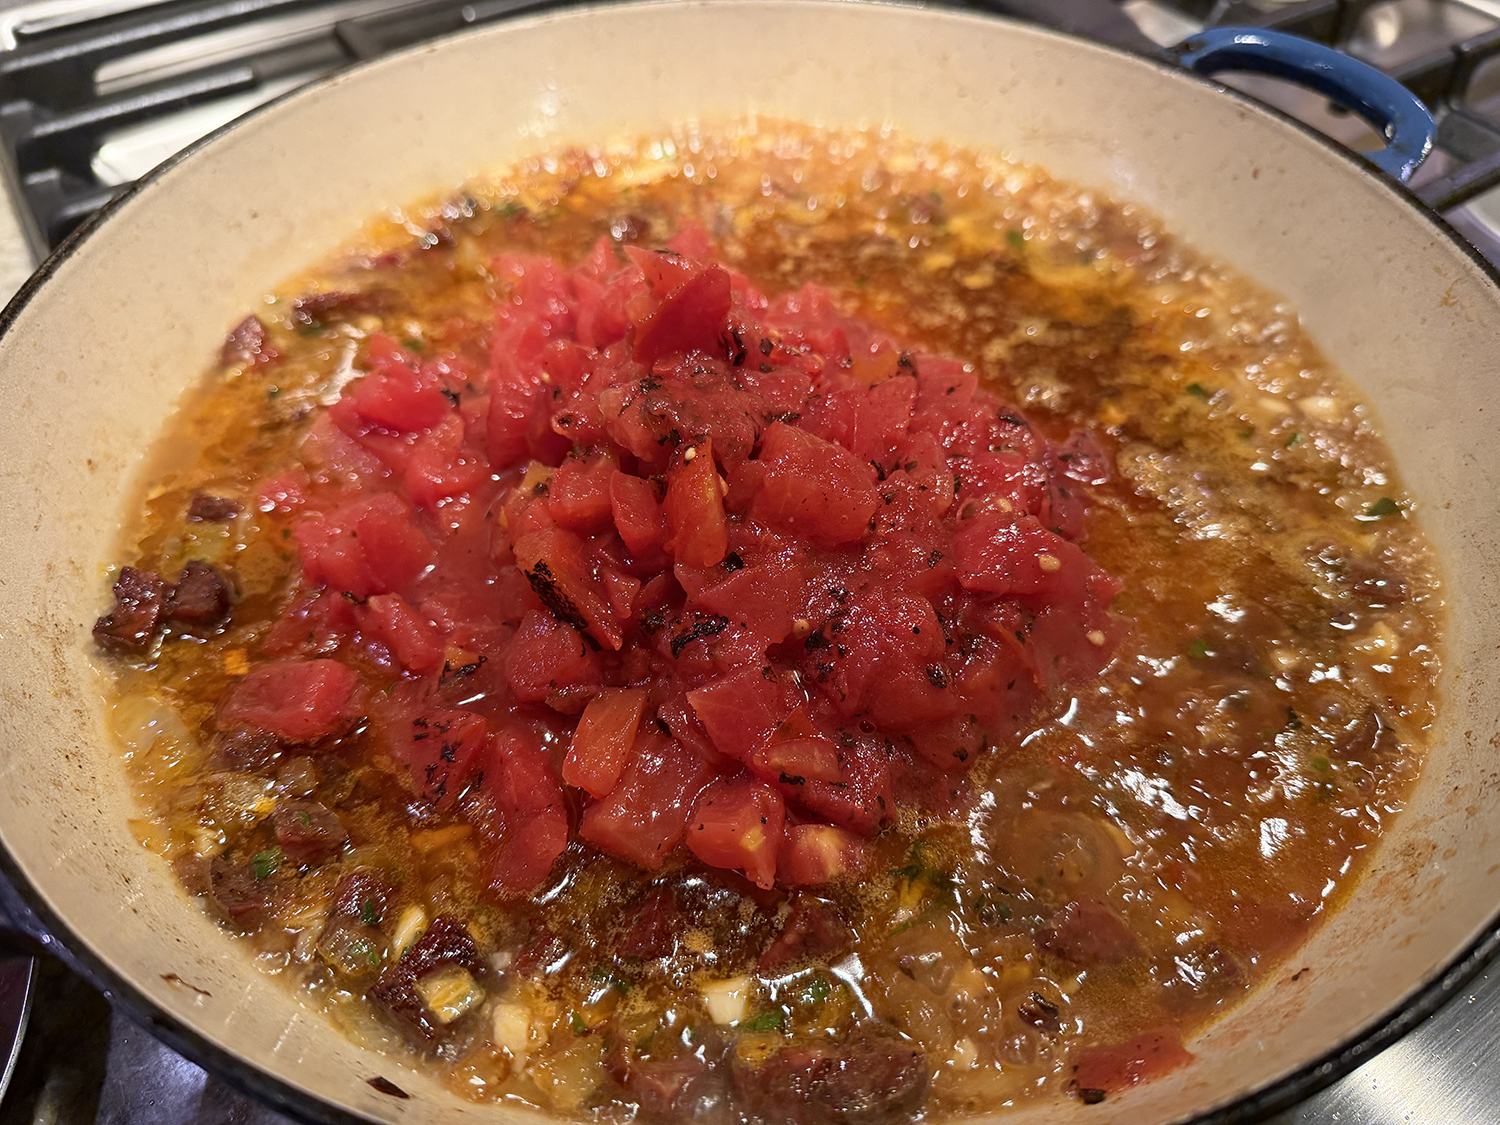
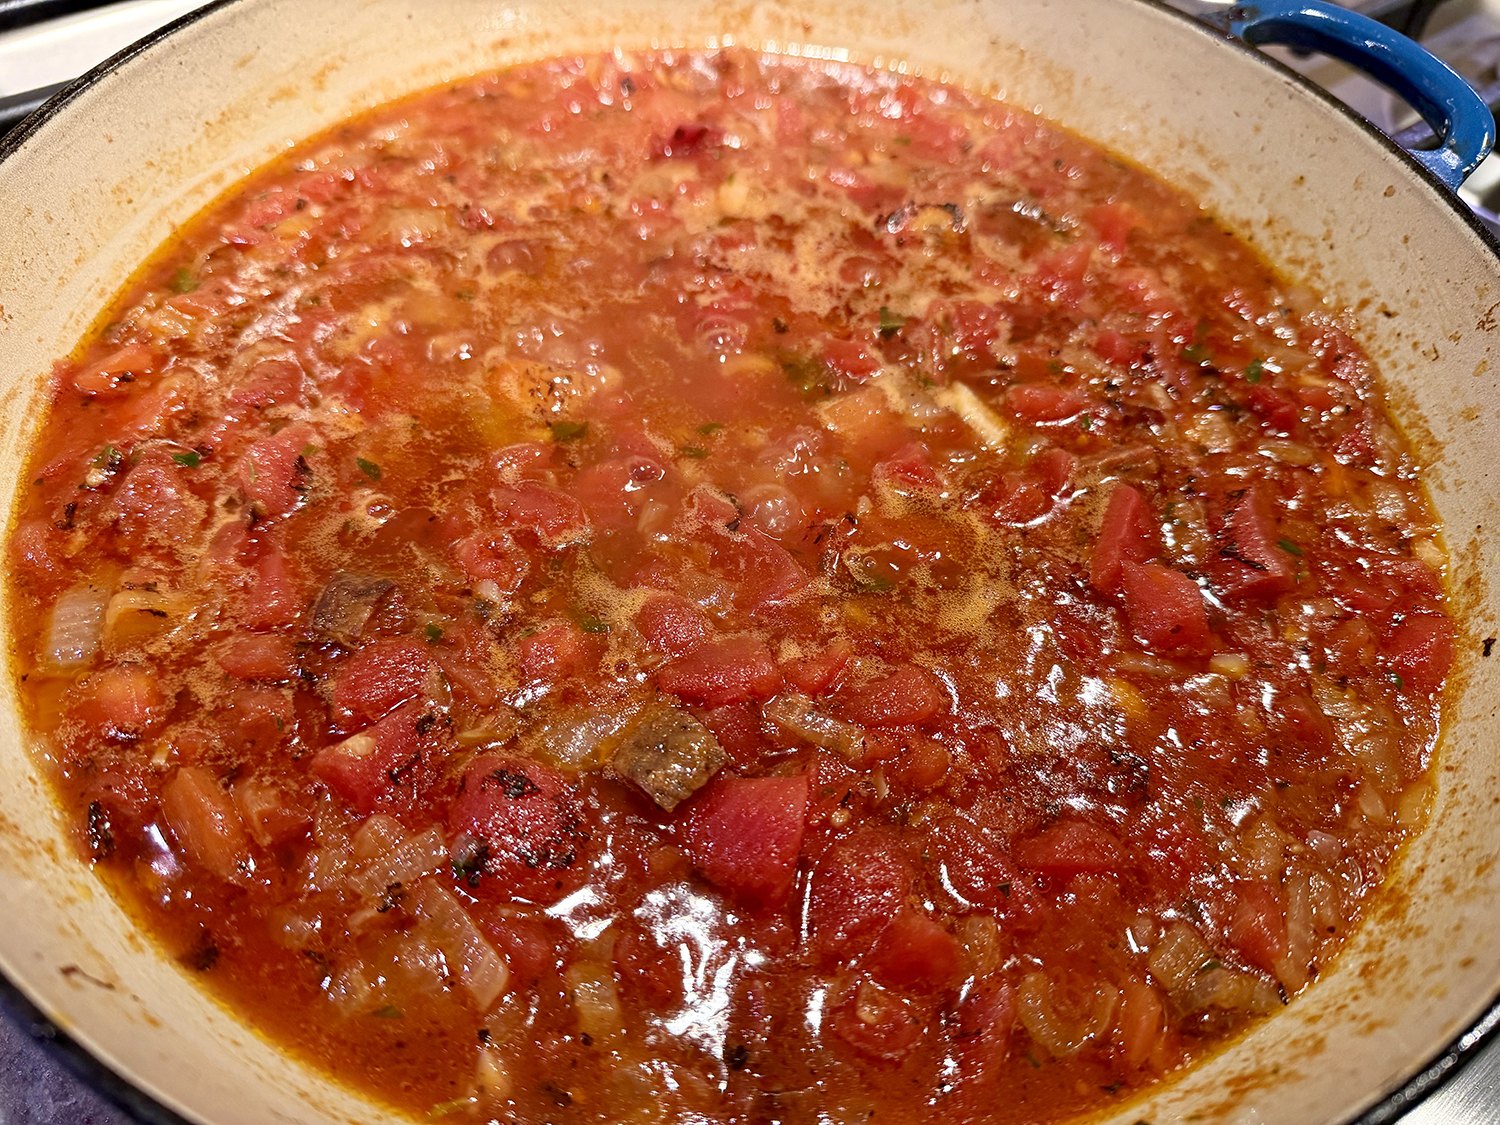
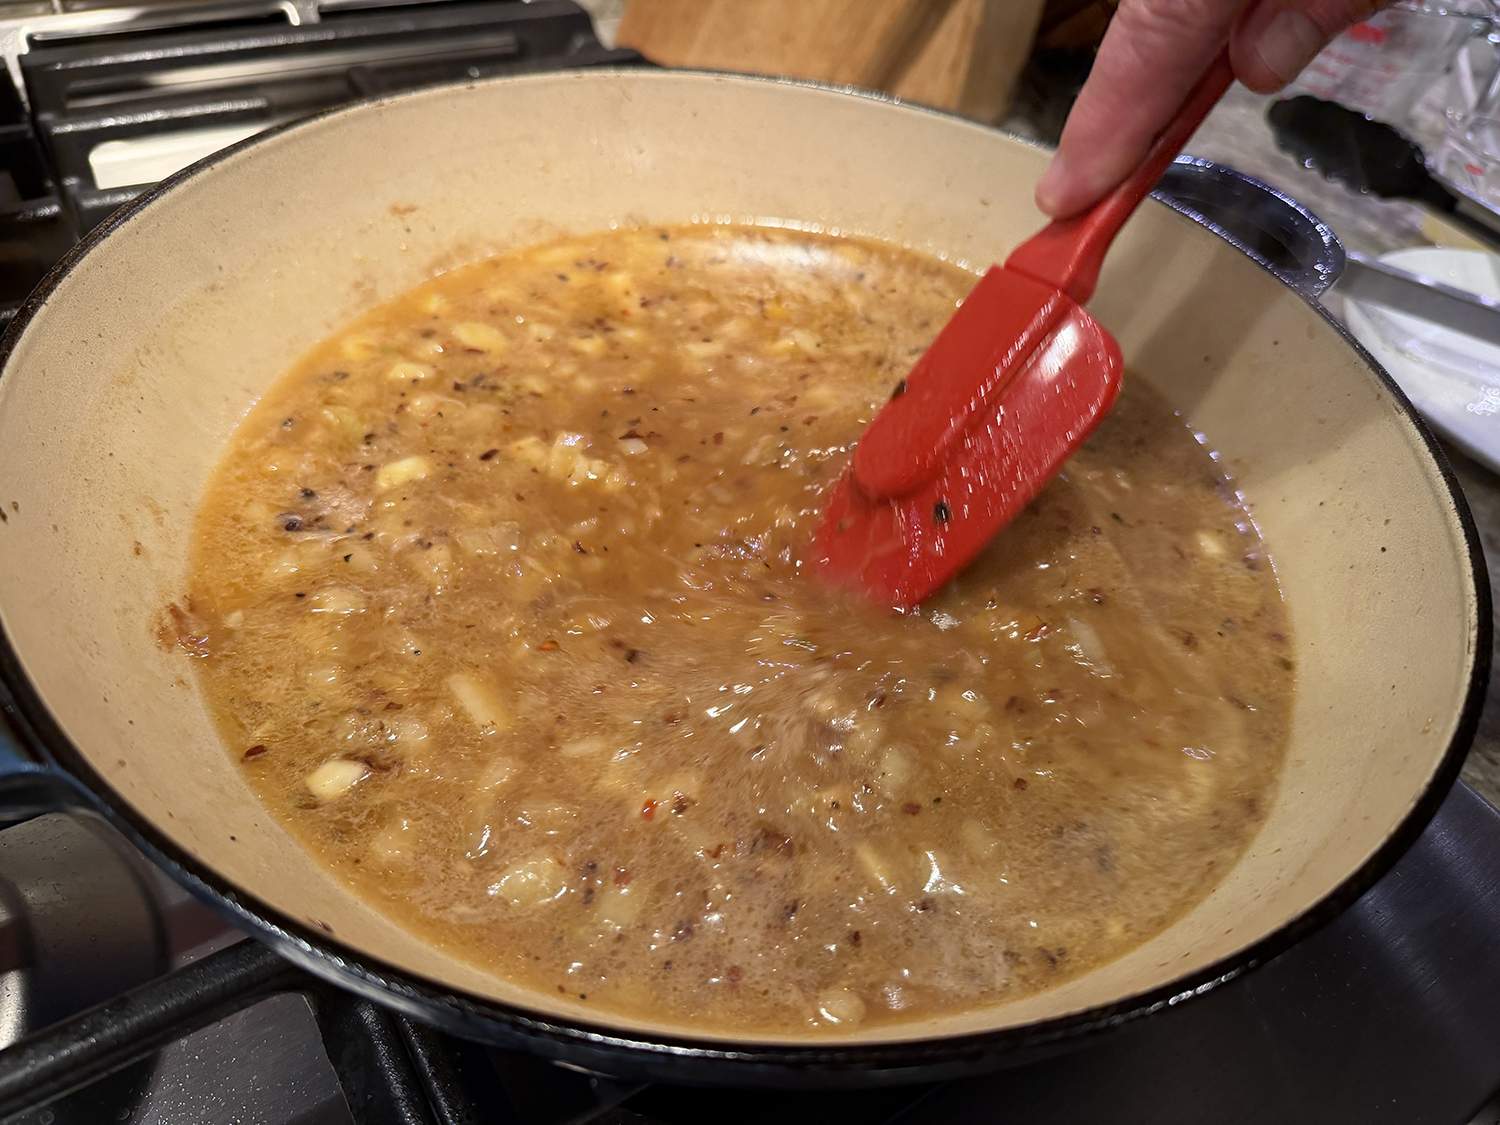
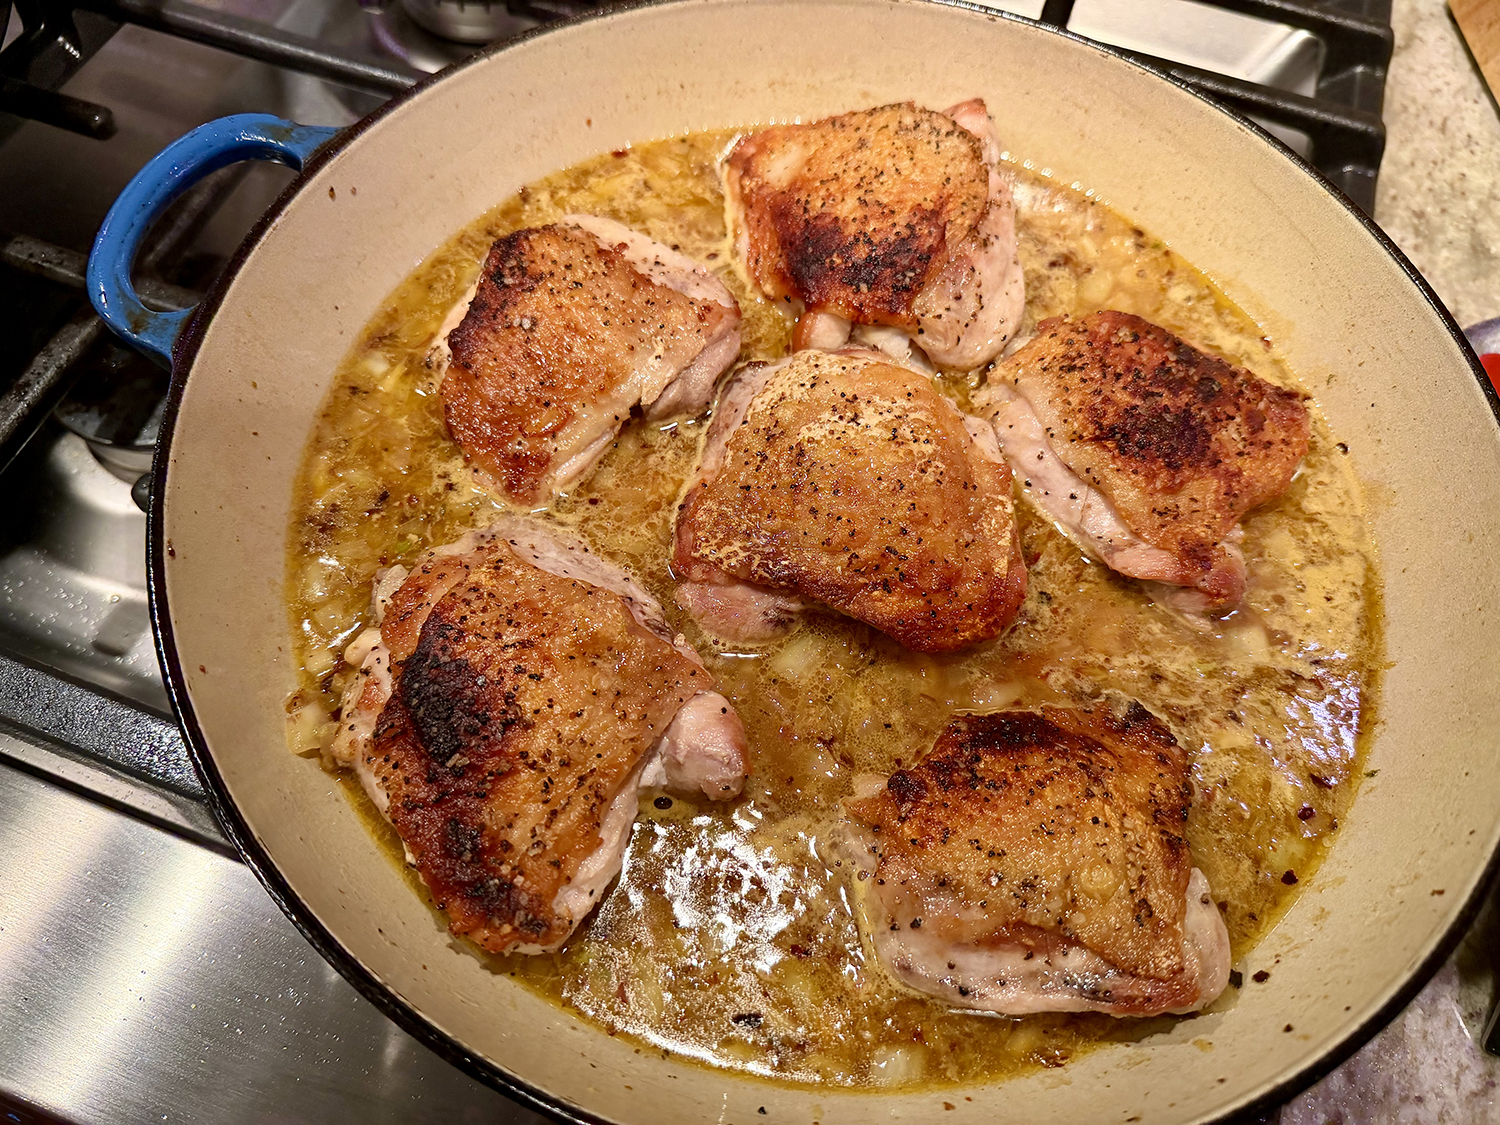
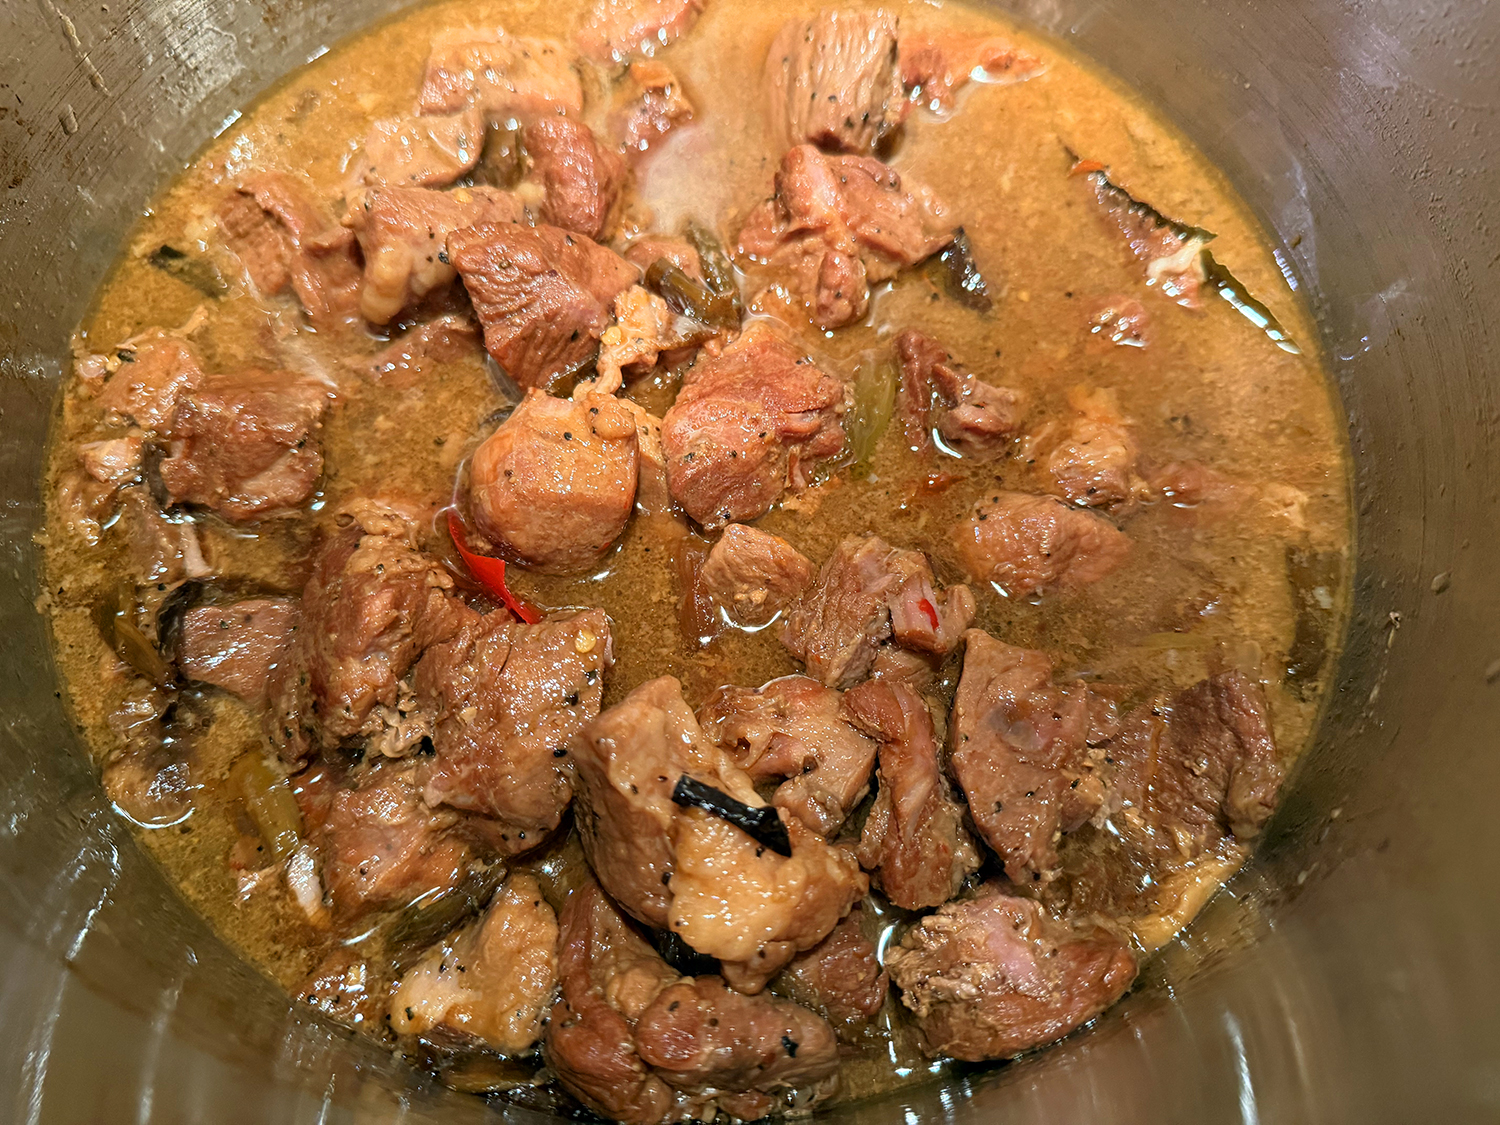
- Stir and continue to cook, stirring only once or twice, until darkly browned, about another 2 minutes. Press Cancel, then stir in the soy, vinegar, honey, serranos and 1 teaspoon pepper, scraping up any browned bits. Add the pork; stir to combine, then distribute in an even layer.
- Lock the lid in place and move the pressure valve to Sealing. Select Pressure Cook or Manual; make sure the pressure level is set to High. Set the cooking time for 30 minutes.
- When pressure cooking is complete, allow the pressure to release naturally for 15 minutes, then release the remaining steam by moving the pressure valve to Venting. Press Cancel, then carefully open the pot.
- Using a large spoon, skim off and discard the fat from the surface of the cooking liquid. Remove and discard the chilies and bay.
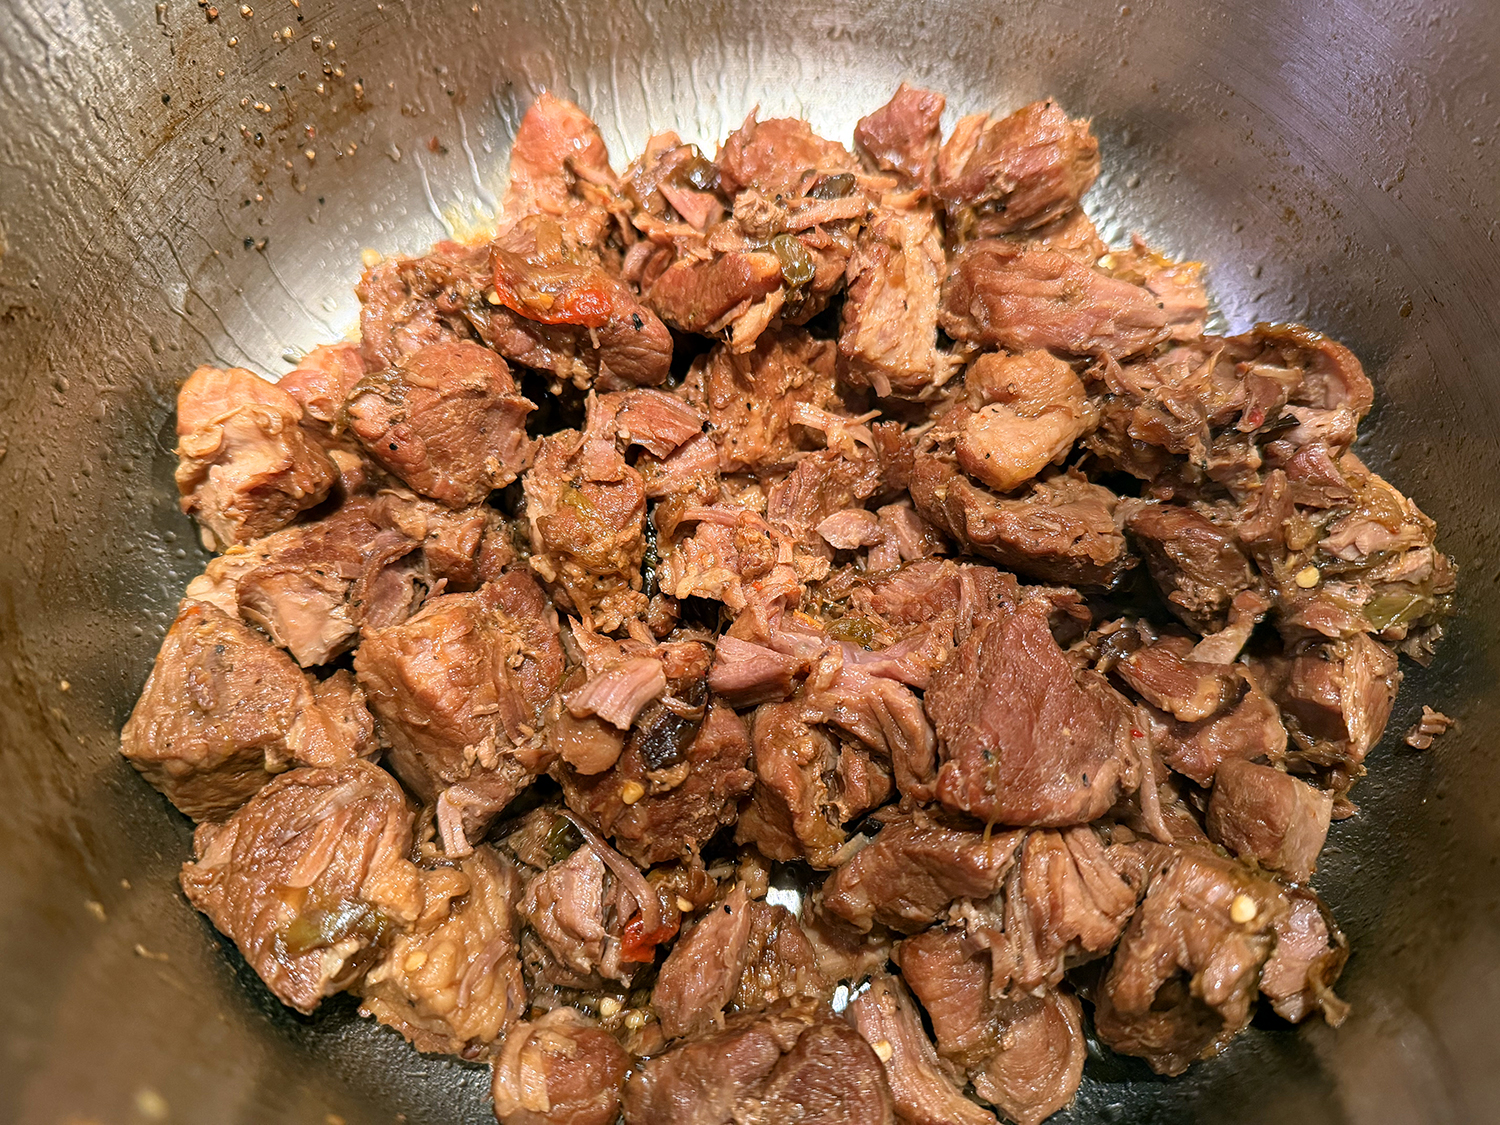
- In a small bowl, whisk the cornstarch with 3 tablespoons of the cooking liquid, then stir into the pot. Select Normal/Medium Sauté and bring to a simmer, stirring constantly, and cook, stirring, until lightly thickened, about 1 minute.
- Press Cancel to turn off the pot. Taste and season with salt and pepper. Serve sprinkled generously with the scallion greens.
Adapted from a recipe from Milk Street