If the thought of meatloaf has you feeling a little meh, then get this version on your short list. Here’s a juicy and flavorful meatloaf made with a mix of mushrooms, beef, miso, soy and Worcestershire sauces for immensely satisfying umami.
The milk-and-egg-soaked breadcrumbs are key for keeping the meat moist and promote tenderness. A sweet and tangy sauce both glazes the top of the meatloaf and is served alongside it. The glaze on the meatloaf deepens in flavor as it bakes, and the sauce reserved for serving is bright and fresh.

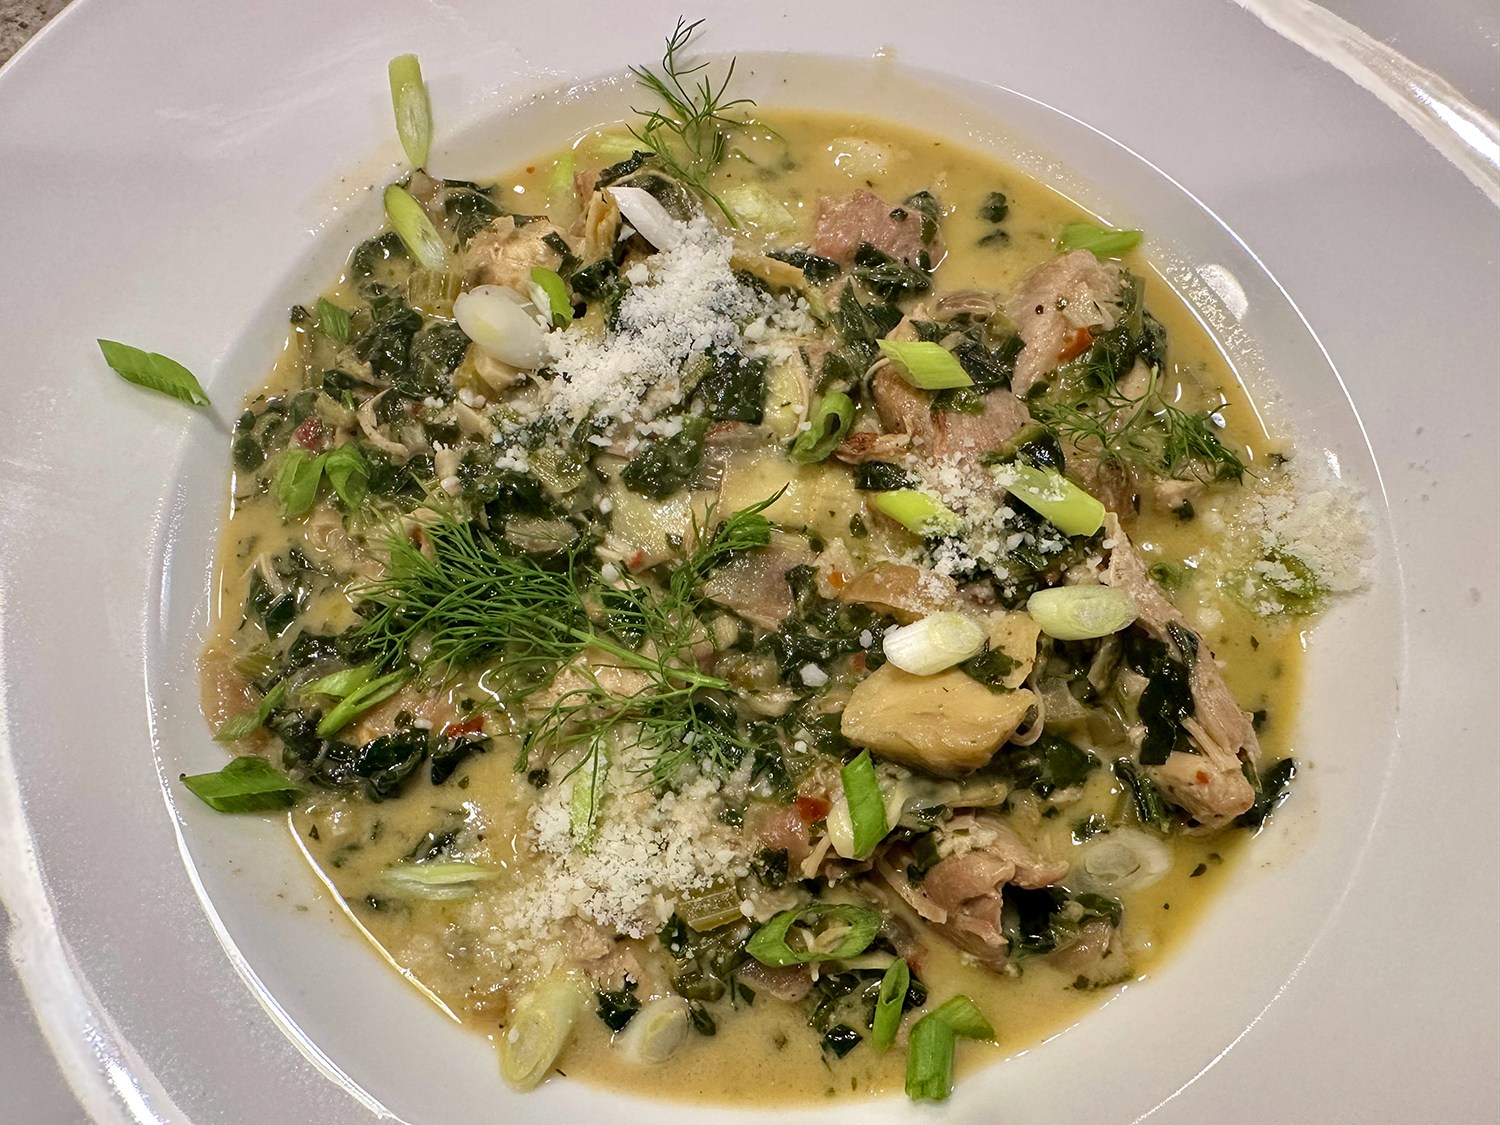
We paired the meatloaf with Go-With-Everything Celery Root Purée. You’ll love the leftovers — try them in a sandwich slathered with sauce. Oh, and we did just that with some leftover slabs, sauce, a slice of provolone on great bread and pan sautéed in a bit of butter. Truly memorable!
Make Ahead: The meatloaf sauce can be stored in an airtight container in the refrigerator for up to five days. The cooled meatloaf can be stored in an airtight container in the refrigerator for up to four days. Reheat slices in the oven, or gently warm in the microwave.
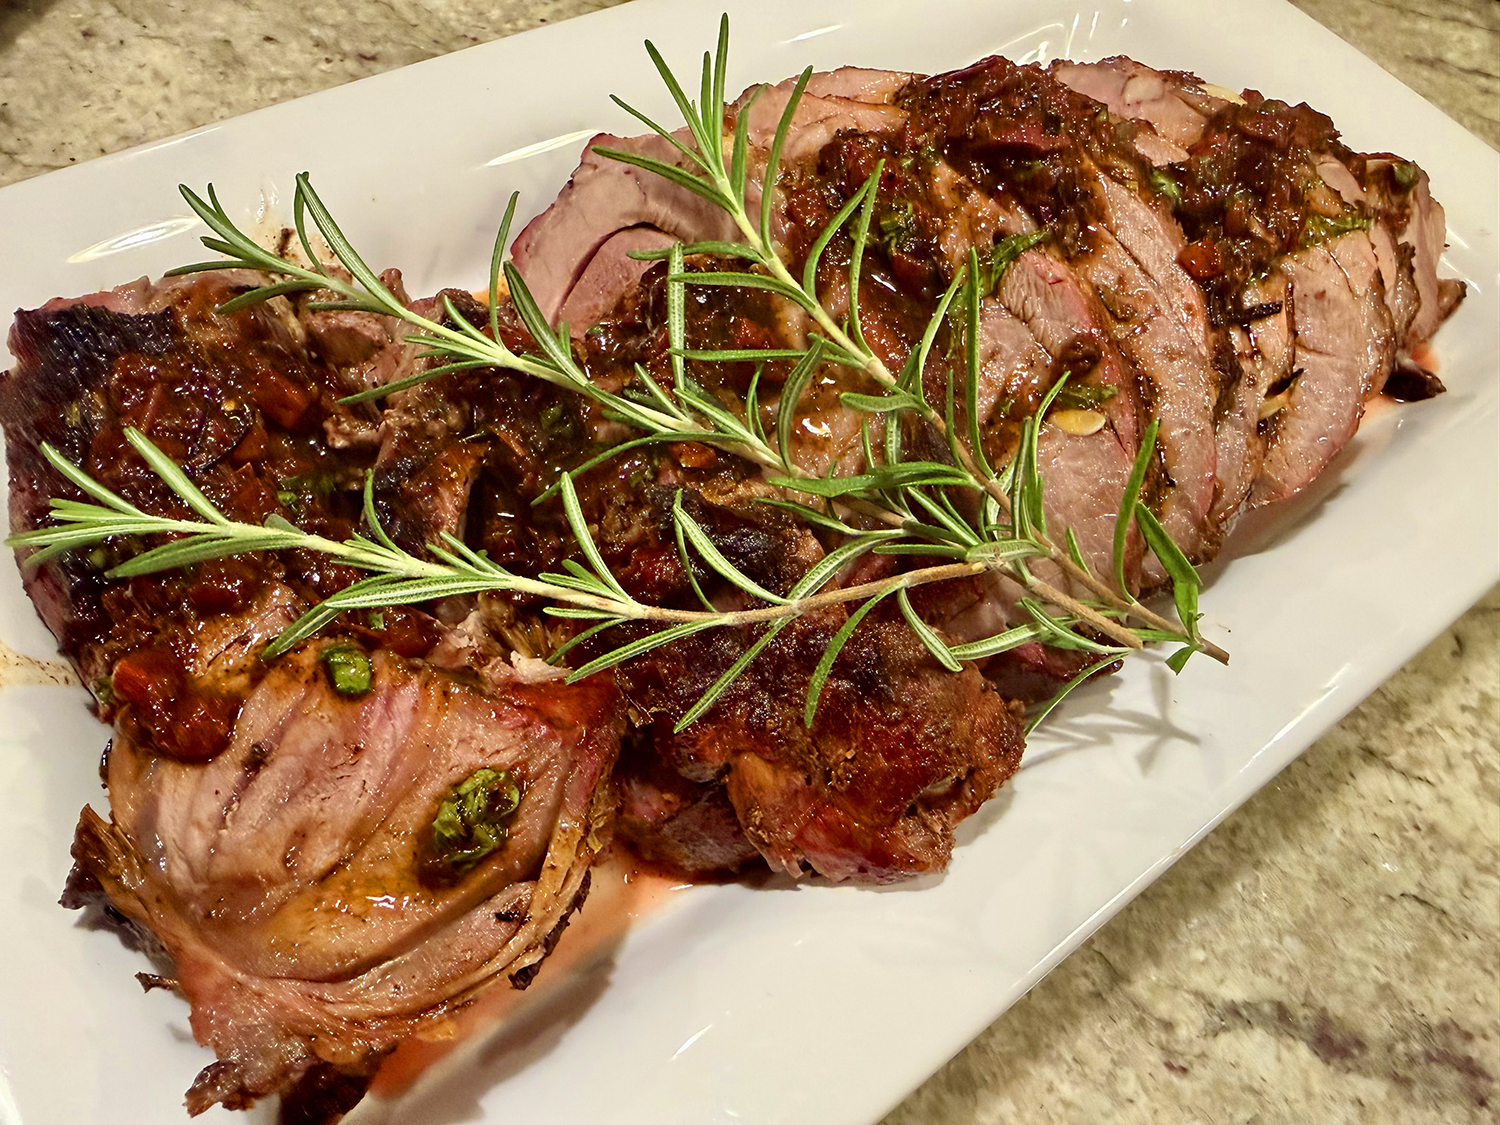
The recipe was adjusted so that more of the tomato-red pepper sauce was added on top of the loaf before baking. You will need to reheat the remaining sauce in a microwave before serving. And a word to the wise, you will be using a LOT of kitchen equipment, just sayin’…

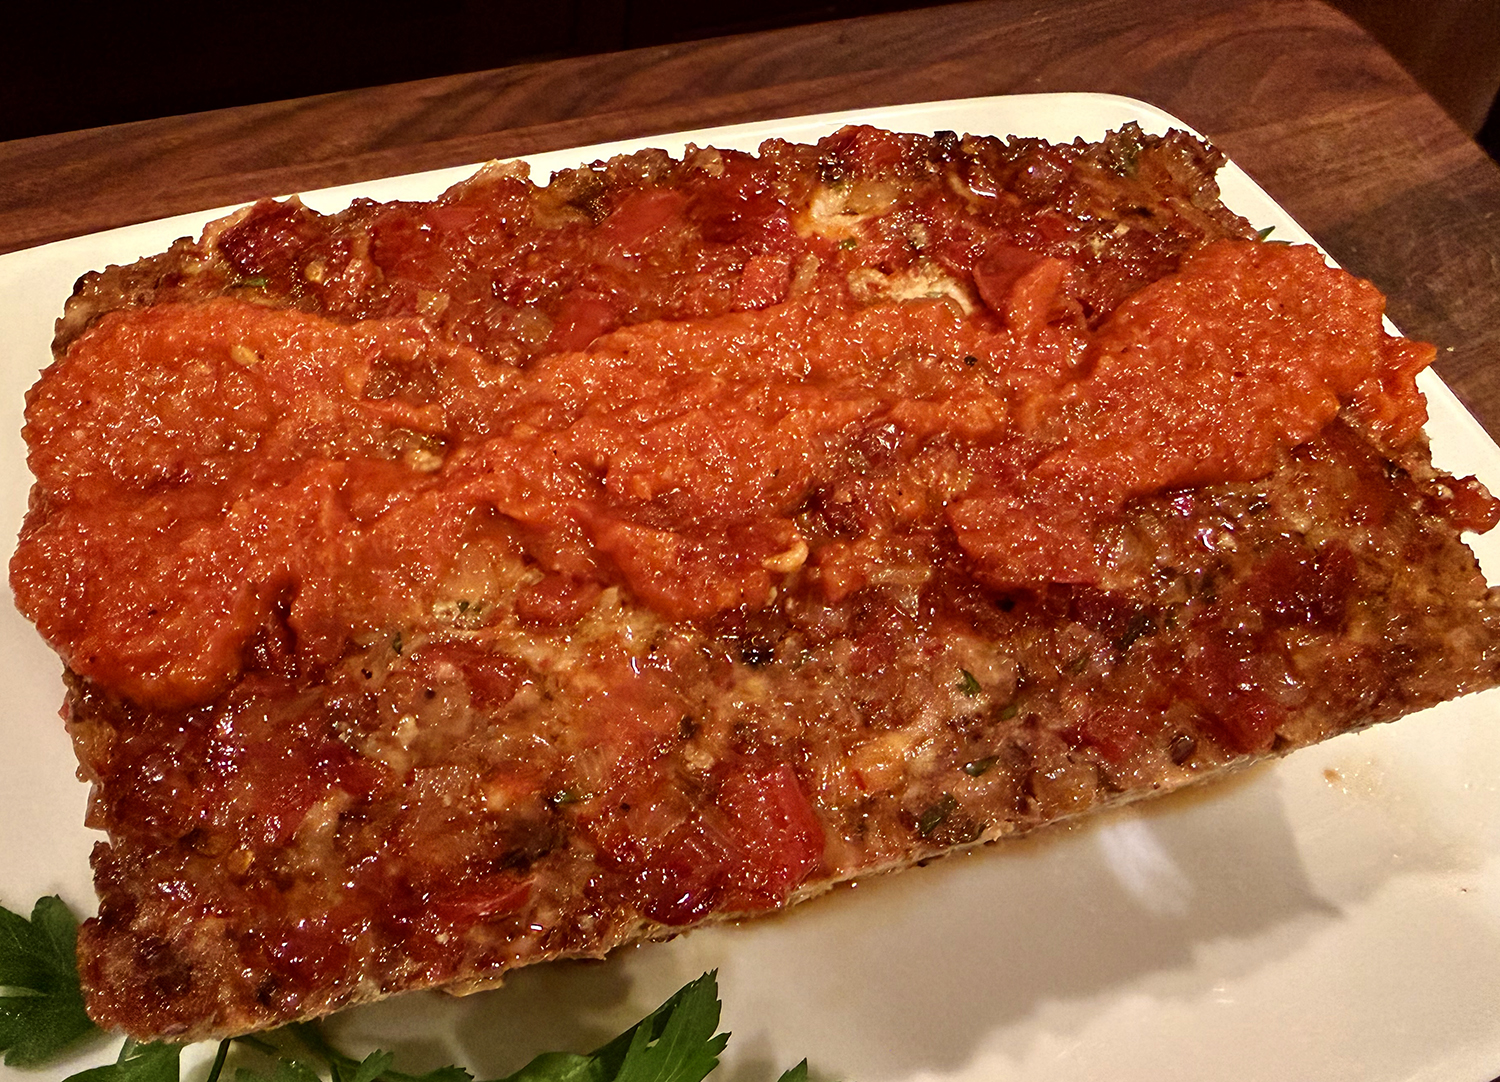
Umami Meatloaf with Red Pepper-Tomato Sauce
Ingredients
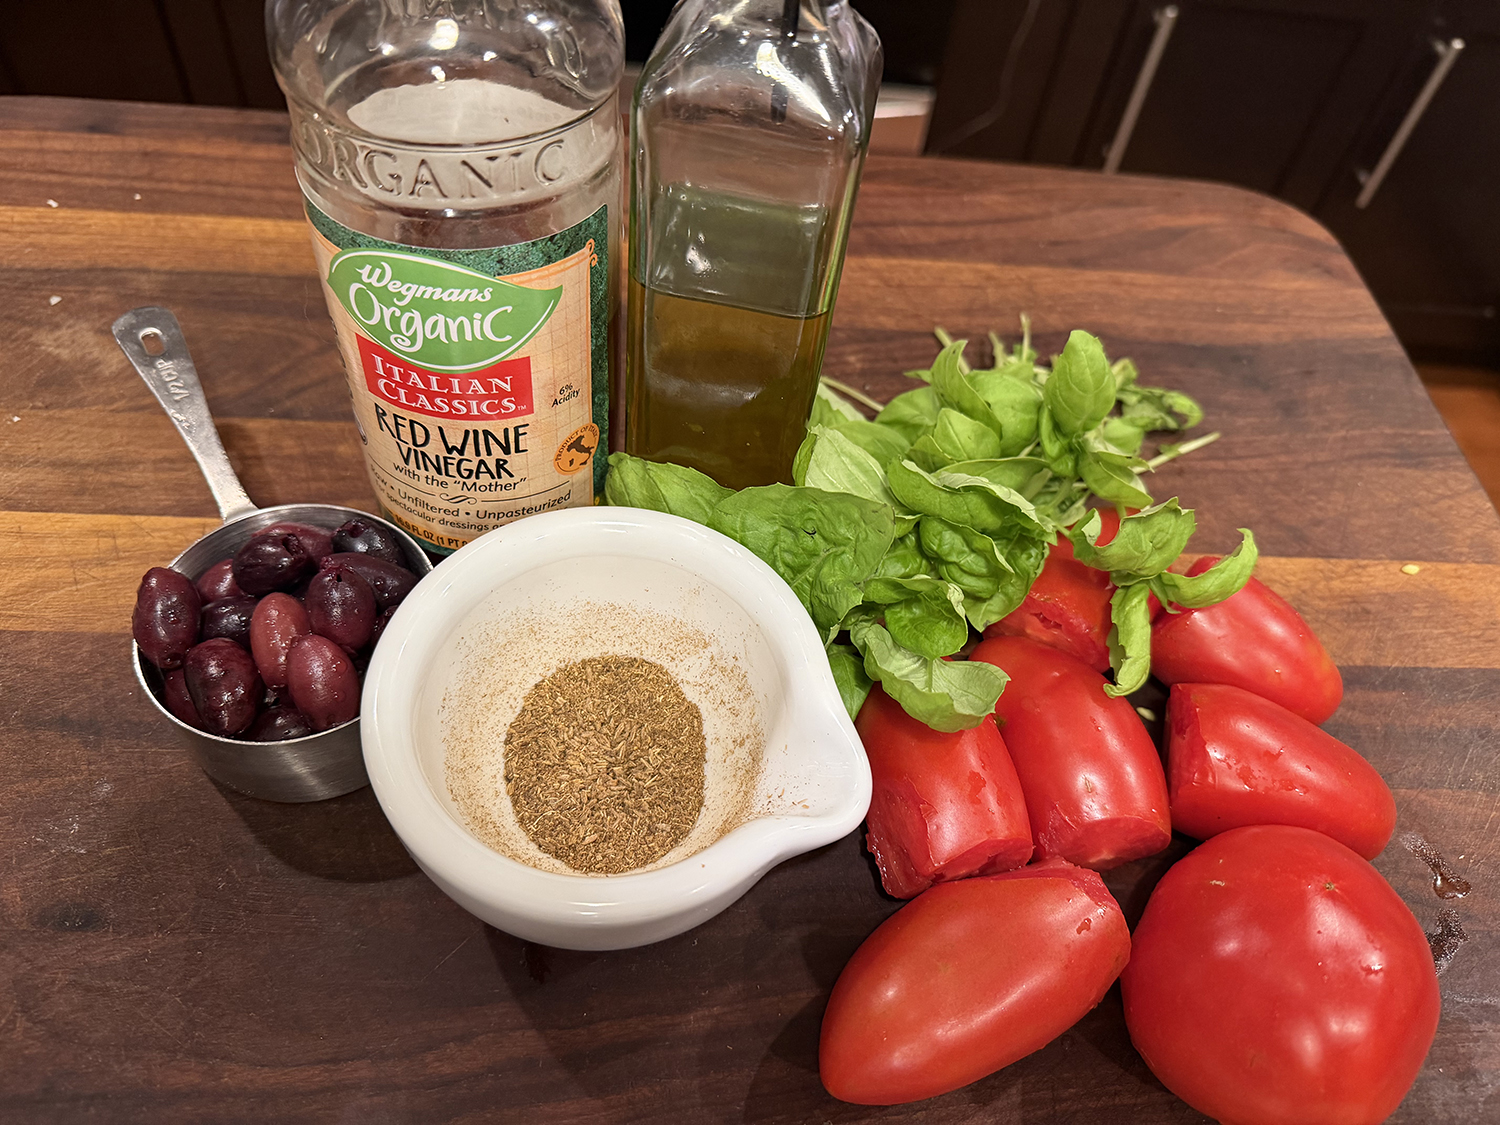
Meatloaf Sauce
- 2 Tbsp. extra-virgin olive oil
- 2 large shallots, chopped (about 3/4 cup)
- 2 cups chopped plum tomatoes (about 4 large tomatoes)
- 1 cup chopped jarred roasted red bell pepper
- 1/4 cup red wine vinegar
- 2 Tbsp. light brown sugar
- 1 tsp. kosher salt
- 6 Tbsp. water
Meatloaf
- 2 lbs. 85% lean ground beef
- 2 tsp. kosher salt, divided
- 2 Tbsp. extra-virgin olive oil
- 1 yellow onion, finely chopped (about 1 cup)
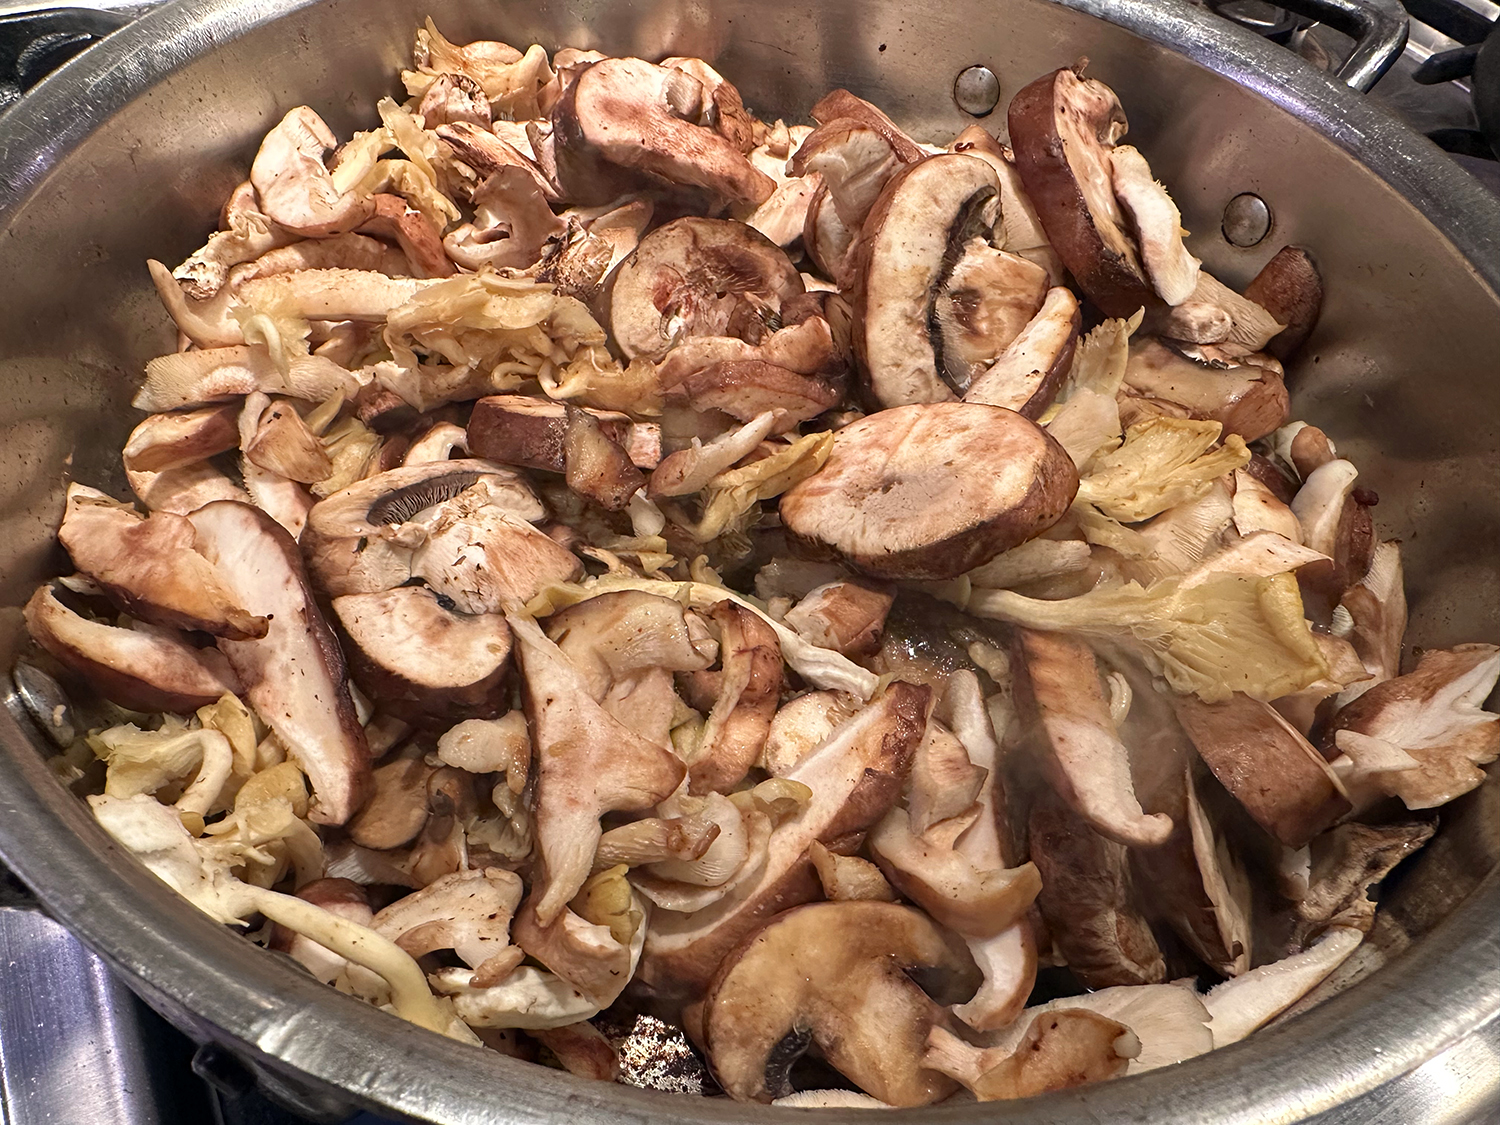
- 3 cups thinly sliced fresh shiitake mushrooms
- 1 Fresno chile, seeded and minced (about 1 Tbsp.)
- 2 Tbsp. Worcestershire sauce
- 1 Tbsp. shoyu or light soy sauce
- 1 Tbsp. white miso
- 1/2 cup whole milk
- 1 large egg
- 1 cup day-old fresh breadcrumbs
- 3/4 tsp. black pepper
- 1/4 cup finely chopped fresh flat-leaf parsley


Directions
The Sauce:
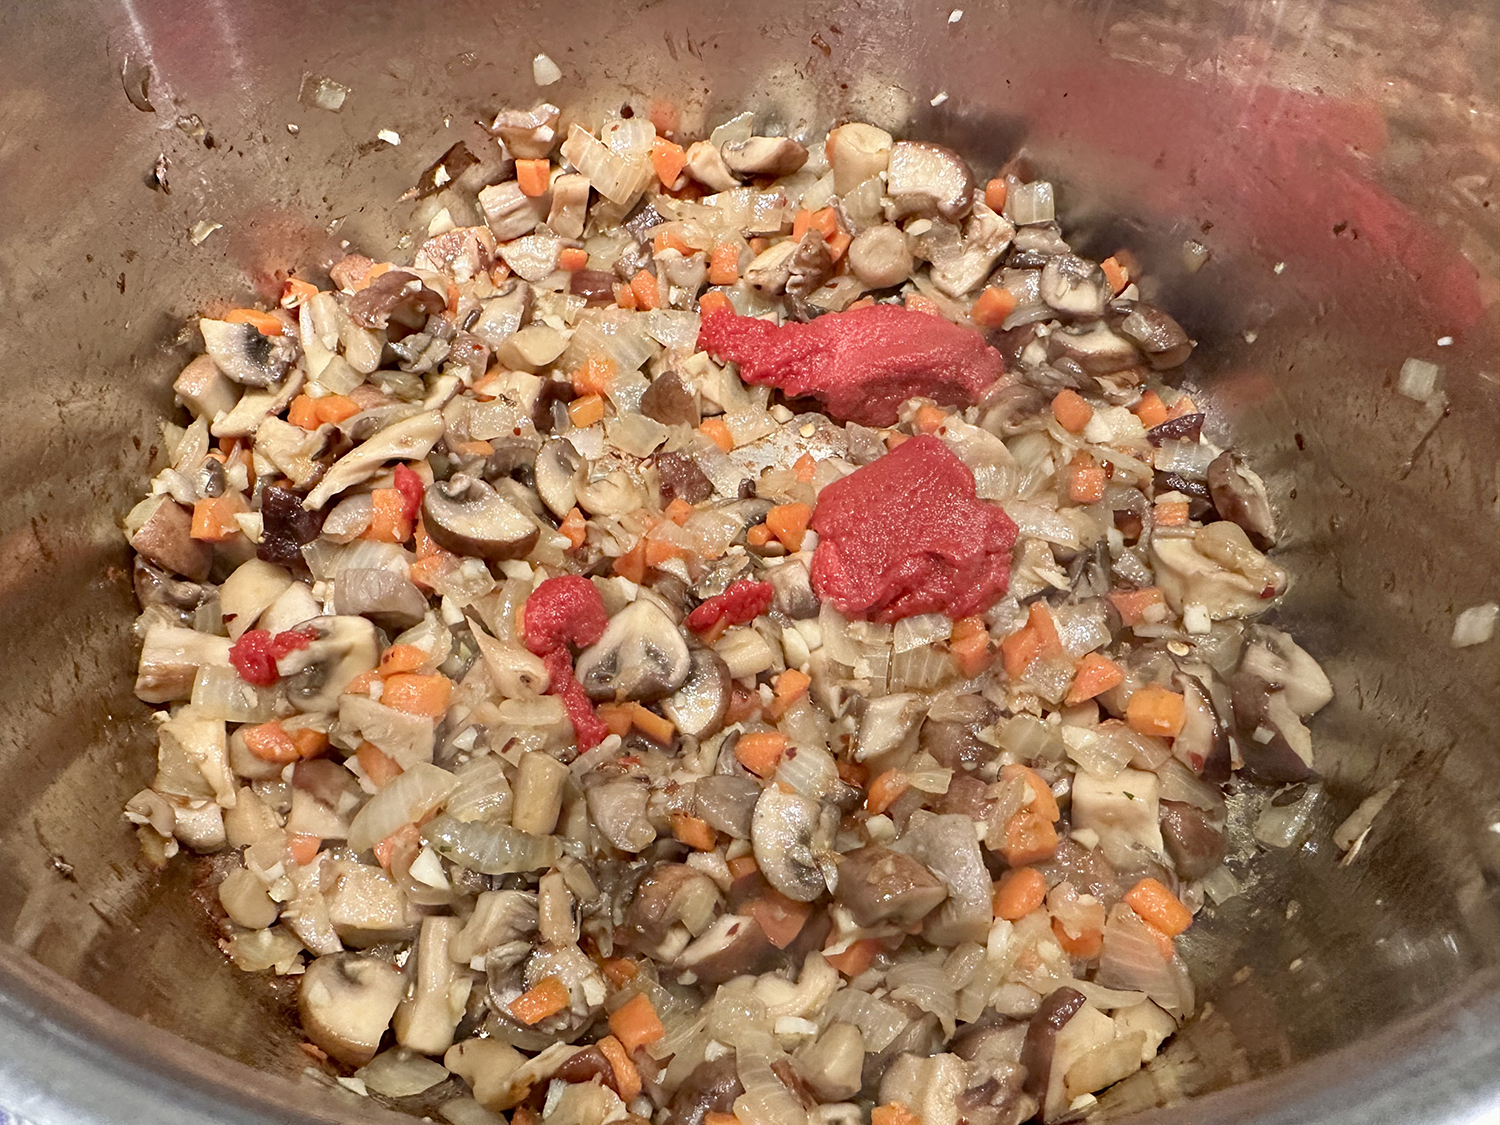
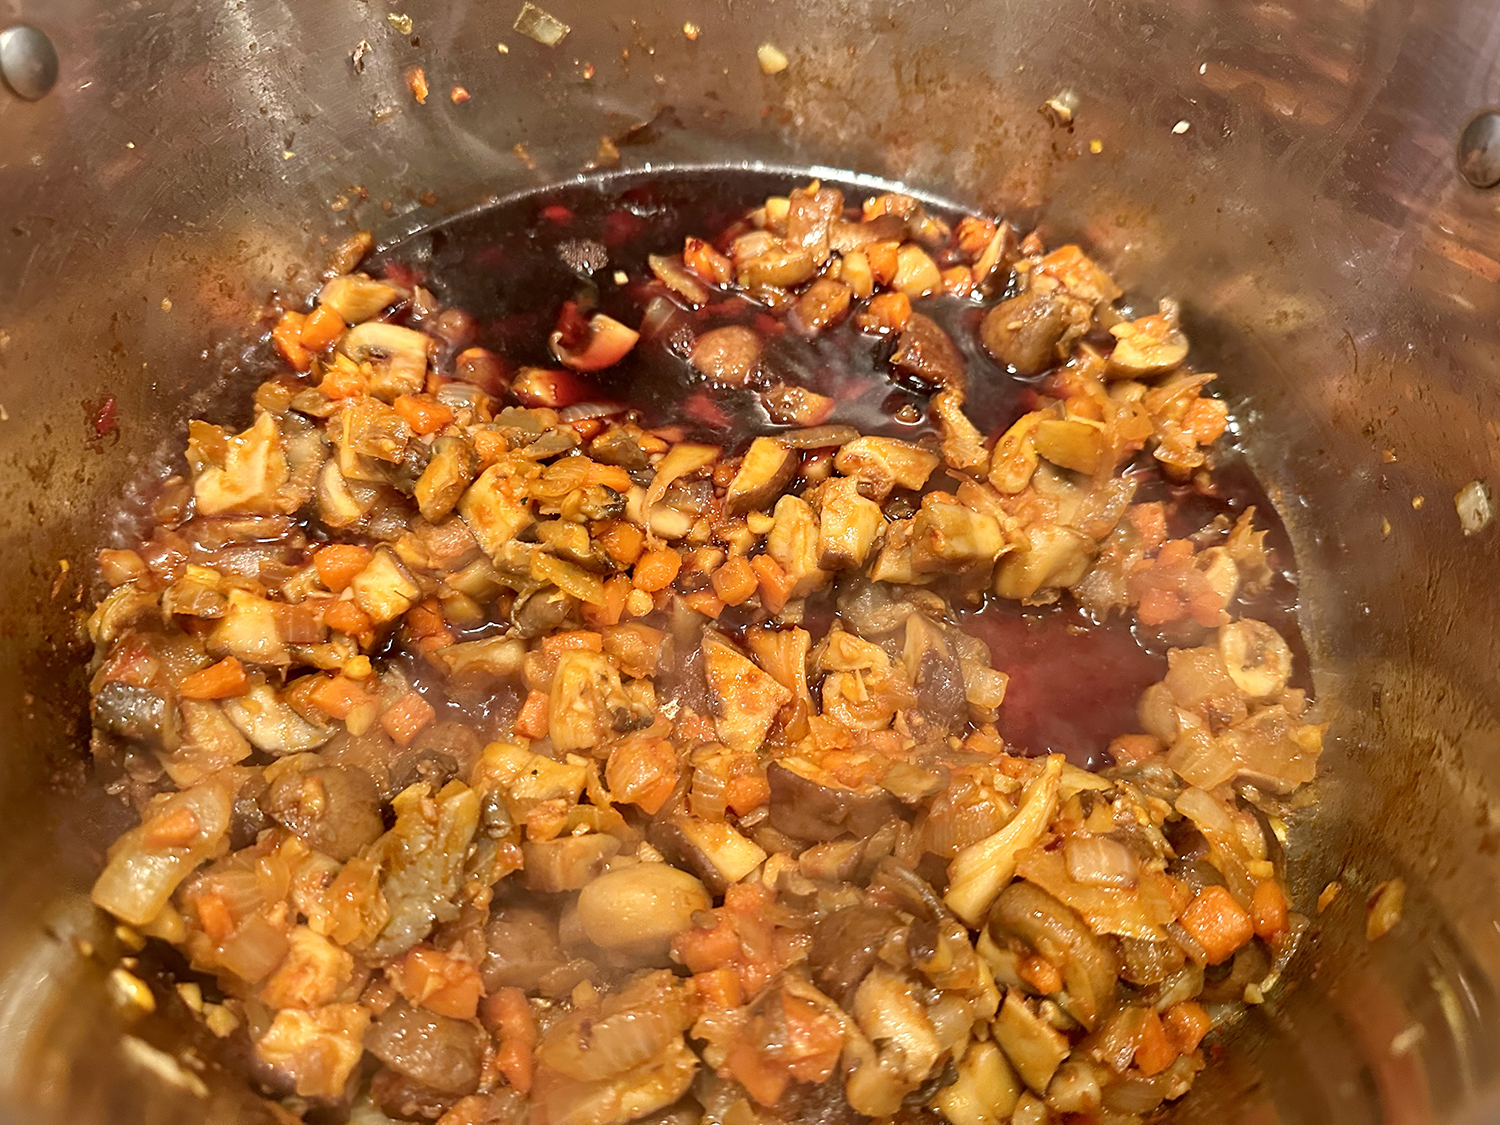
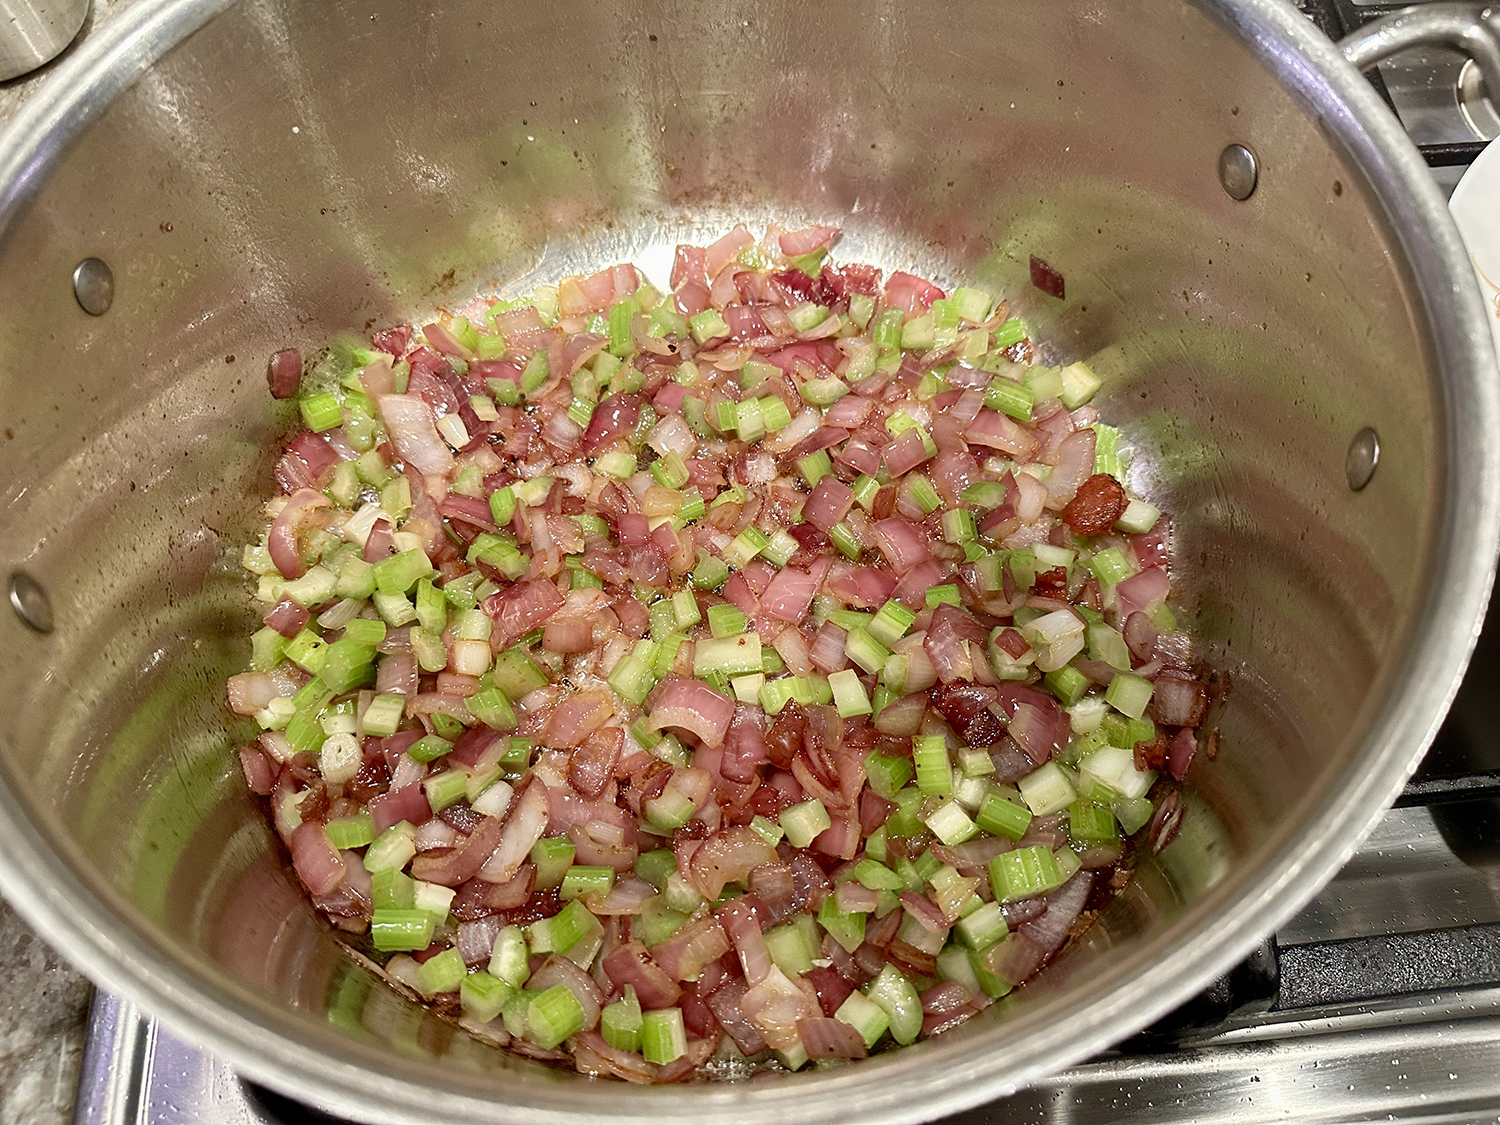
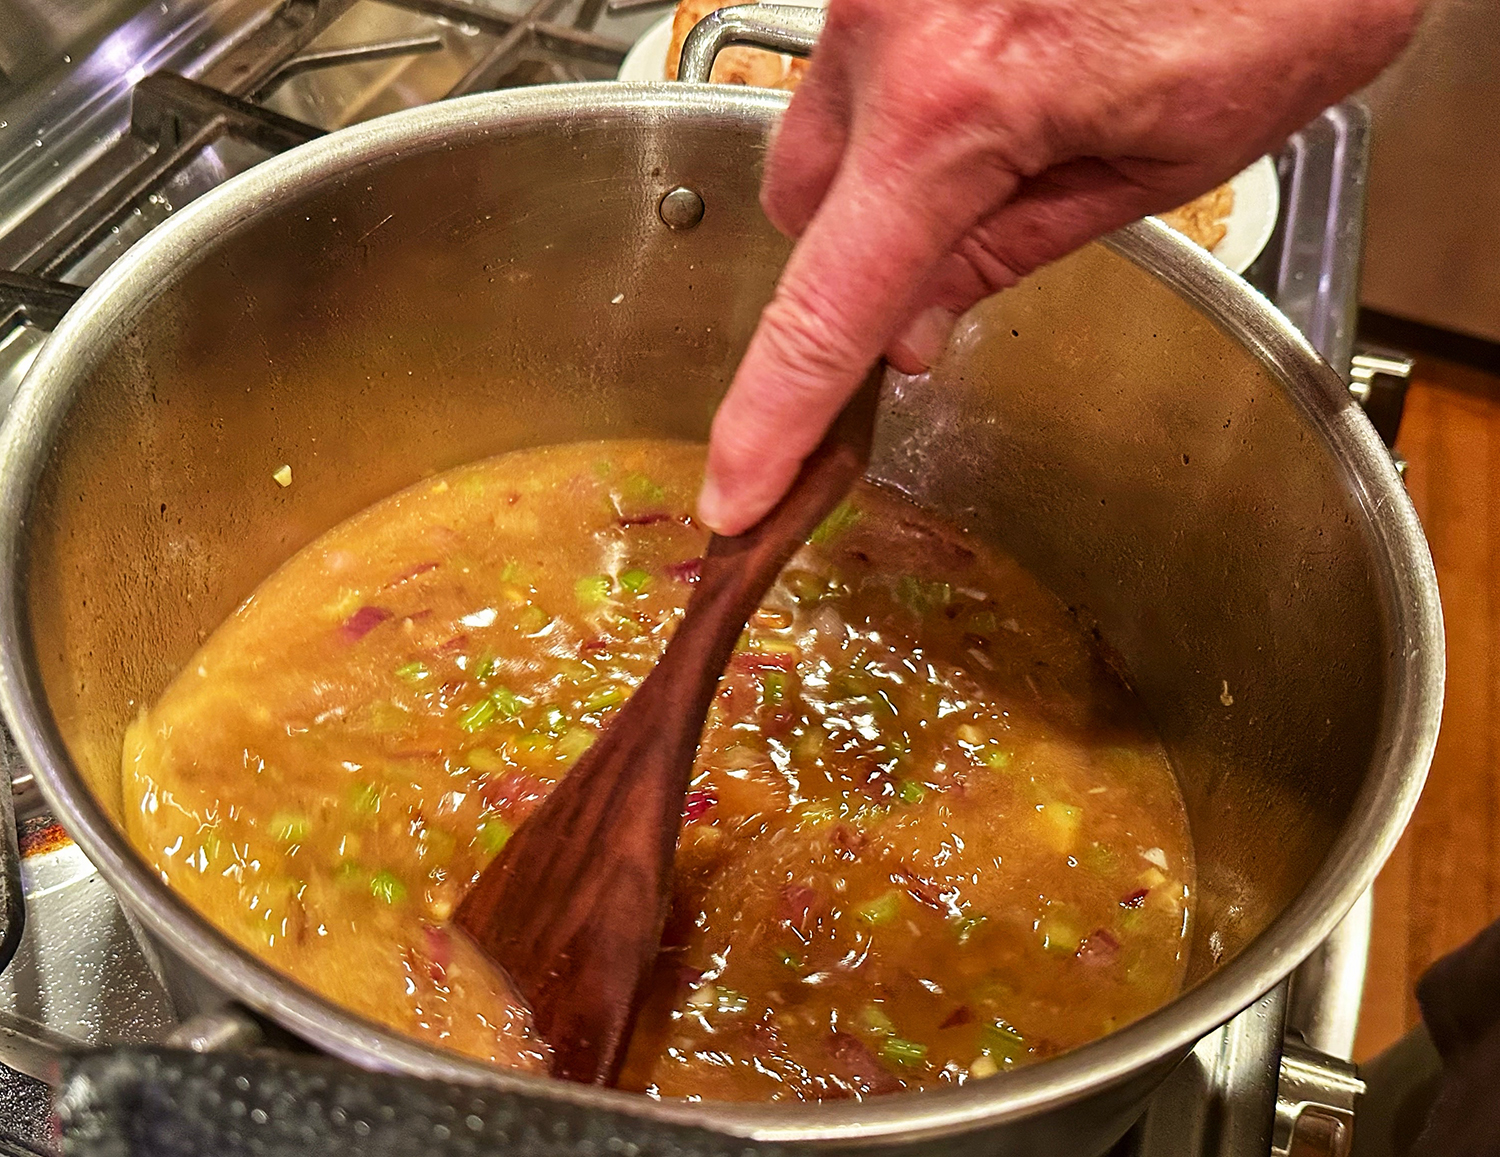
- Heat oil in a medium saucepan over medium. Add shallots; cook, stirring often, until translucent, about 3 minutes. Add tomatoes, peppers, vinegar, sugar, and salt. Cook, stirring often, until tomatoes break up, liquid evaporates, and mixture becomes a deep red paste, 25 to 30 minutes.
- Remove 1/2 cup tomato mixture, and set aside. Transfer remaining mixture to a food processor; add water, 1 to 2 tablespoons at a time and up to 4 to 5 tablespoons total, and pulse to make a thick sauce. (We did not use the entire amount of water.) Transfer sauce to a bowl; if desired, thin further with 1 tablespoon water. Set aside until ready to use.
The Meatloaf:
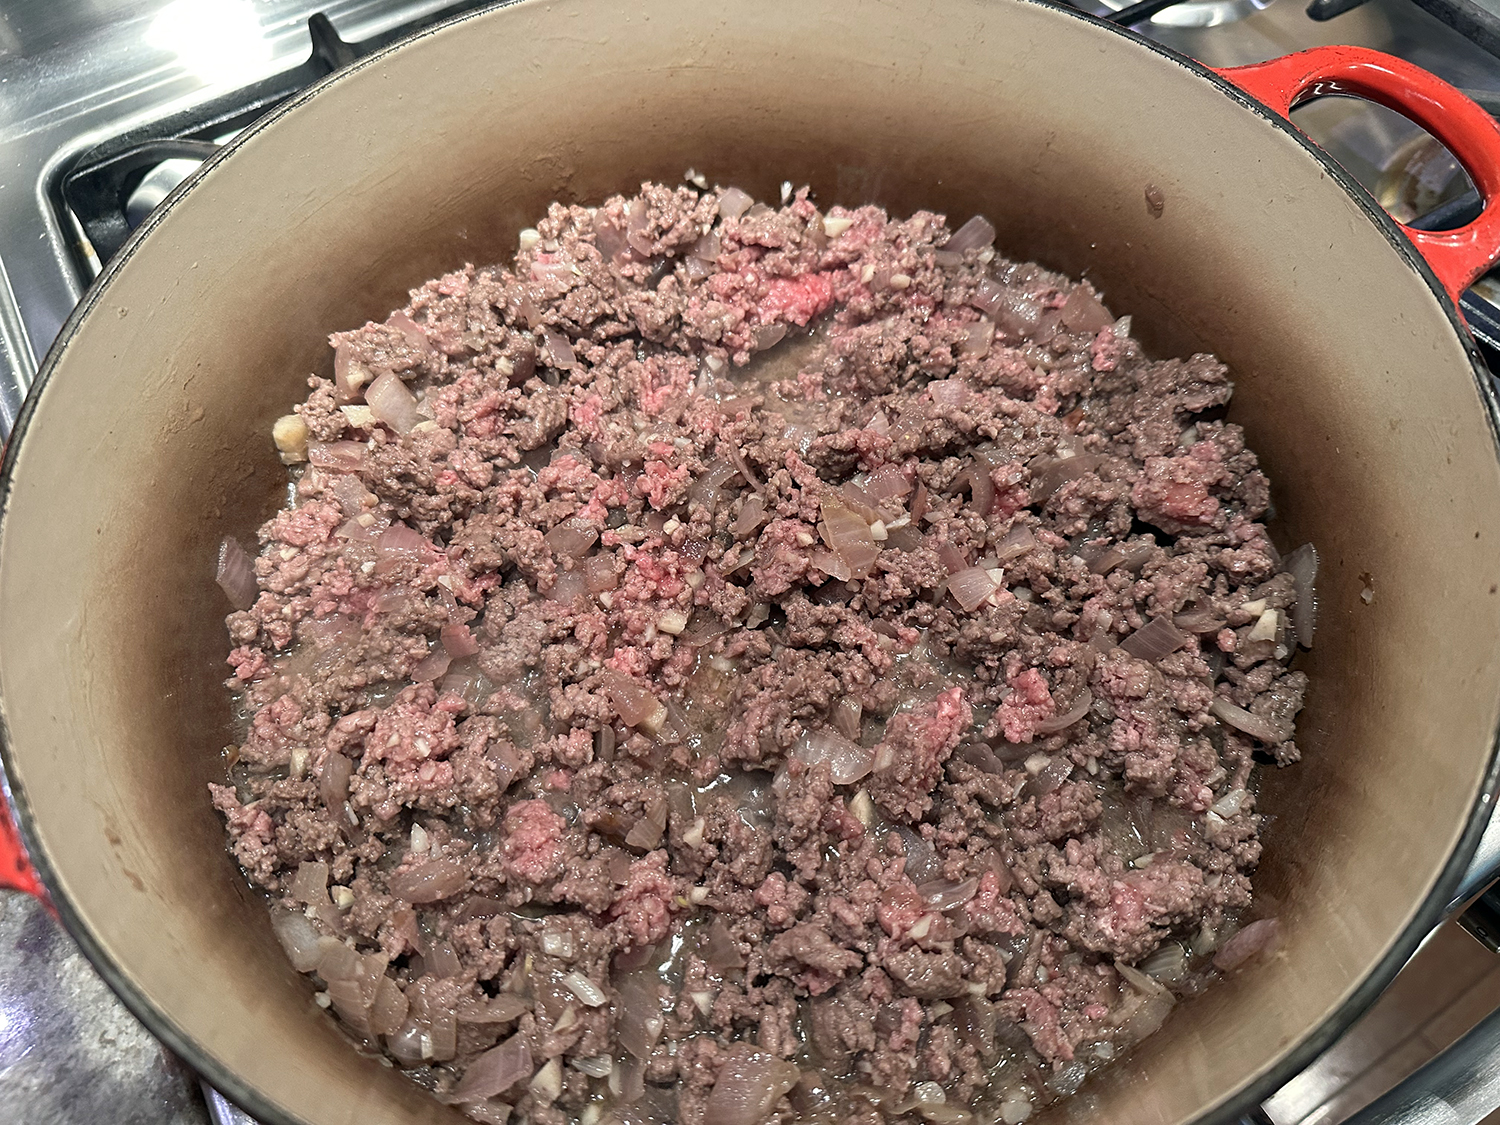
- Place beef in a large bowl, and sprinkle with 1 teaspoon salt. Set aside at room temperature for 30 minutes.
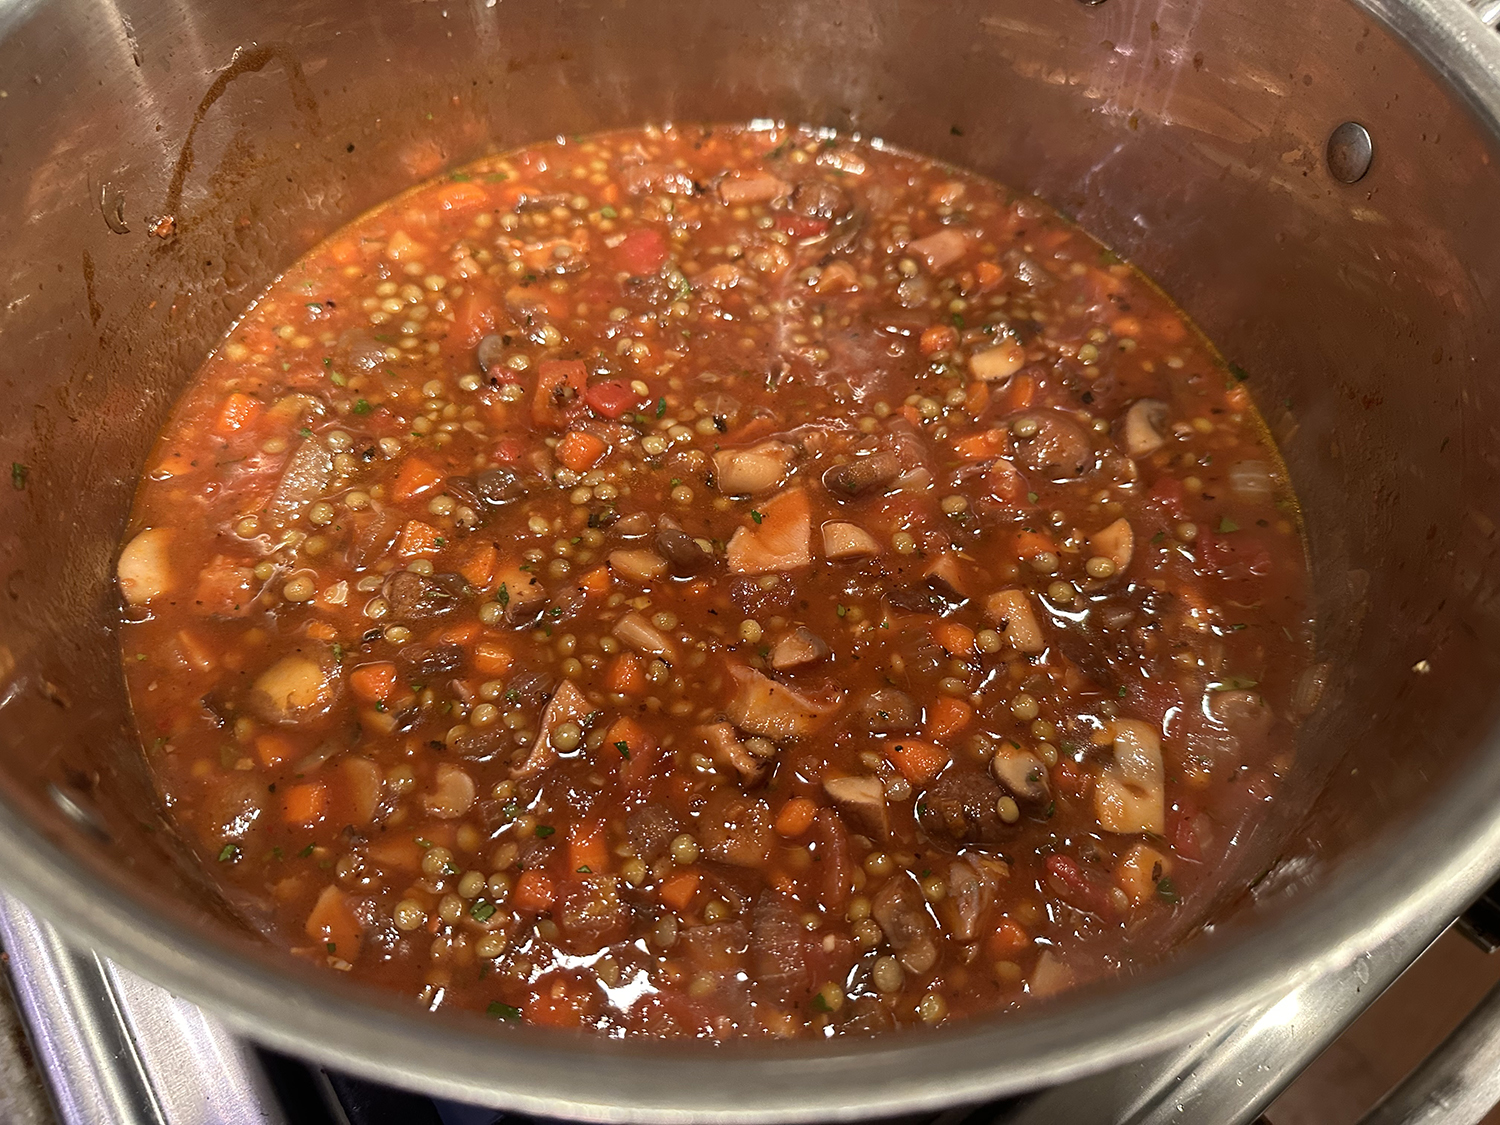
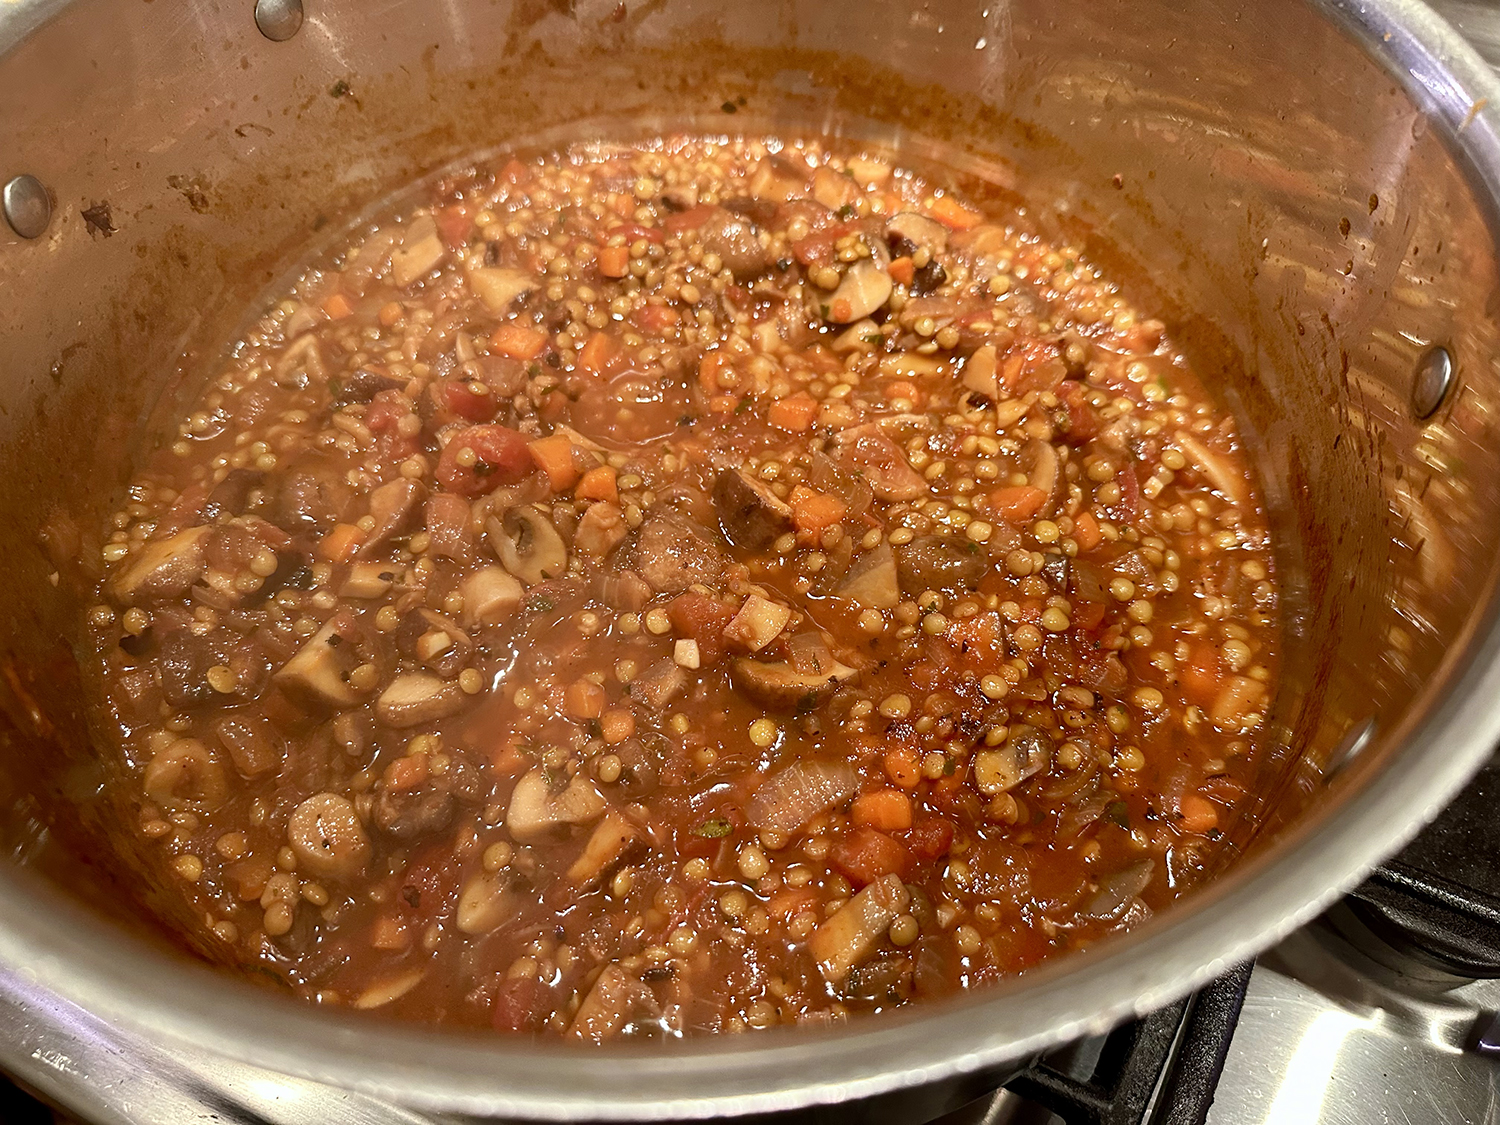
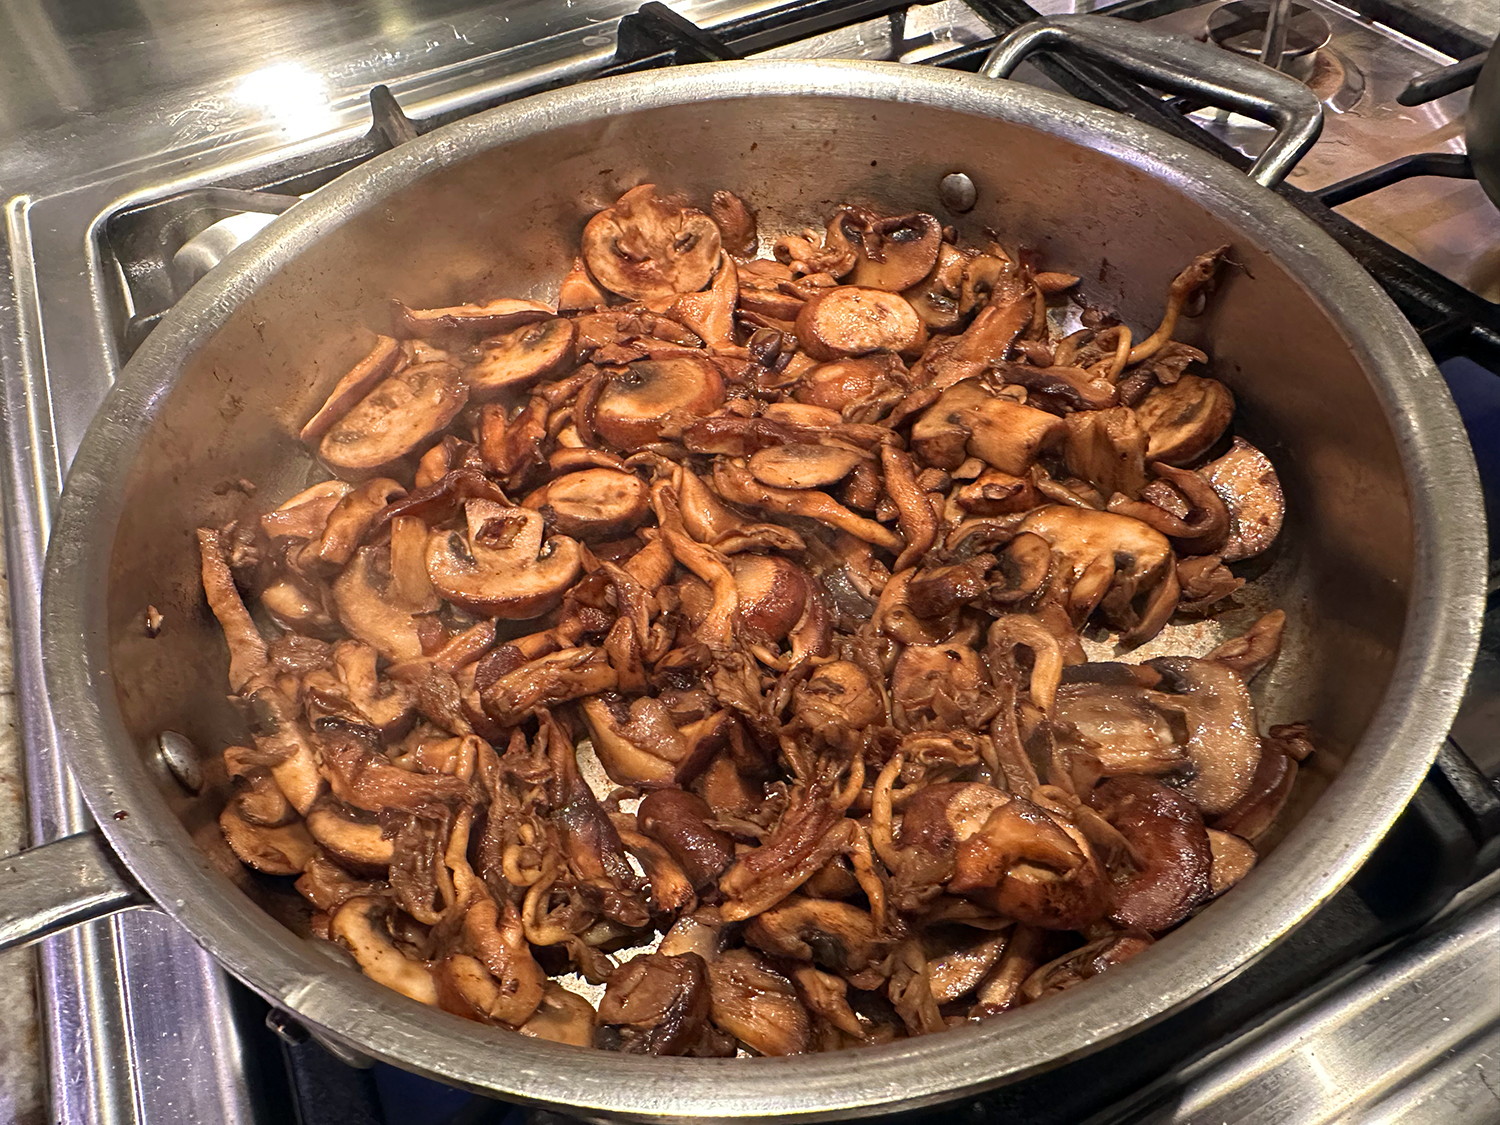
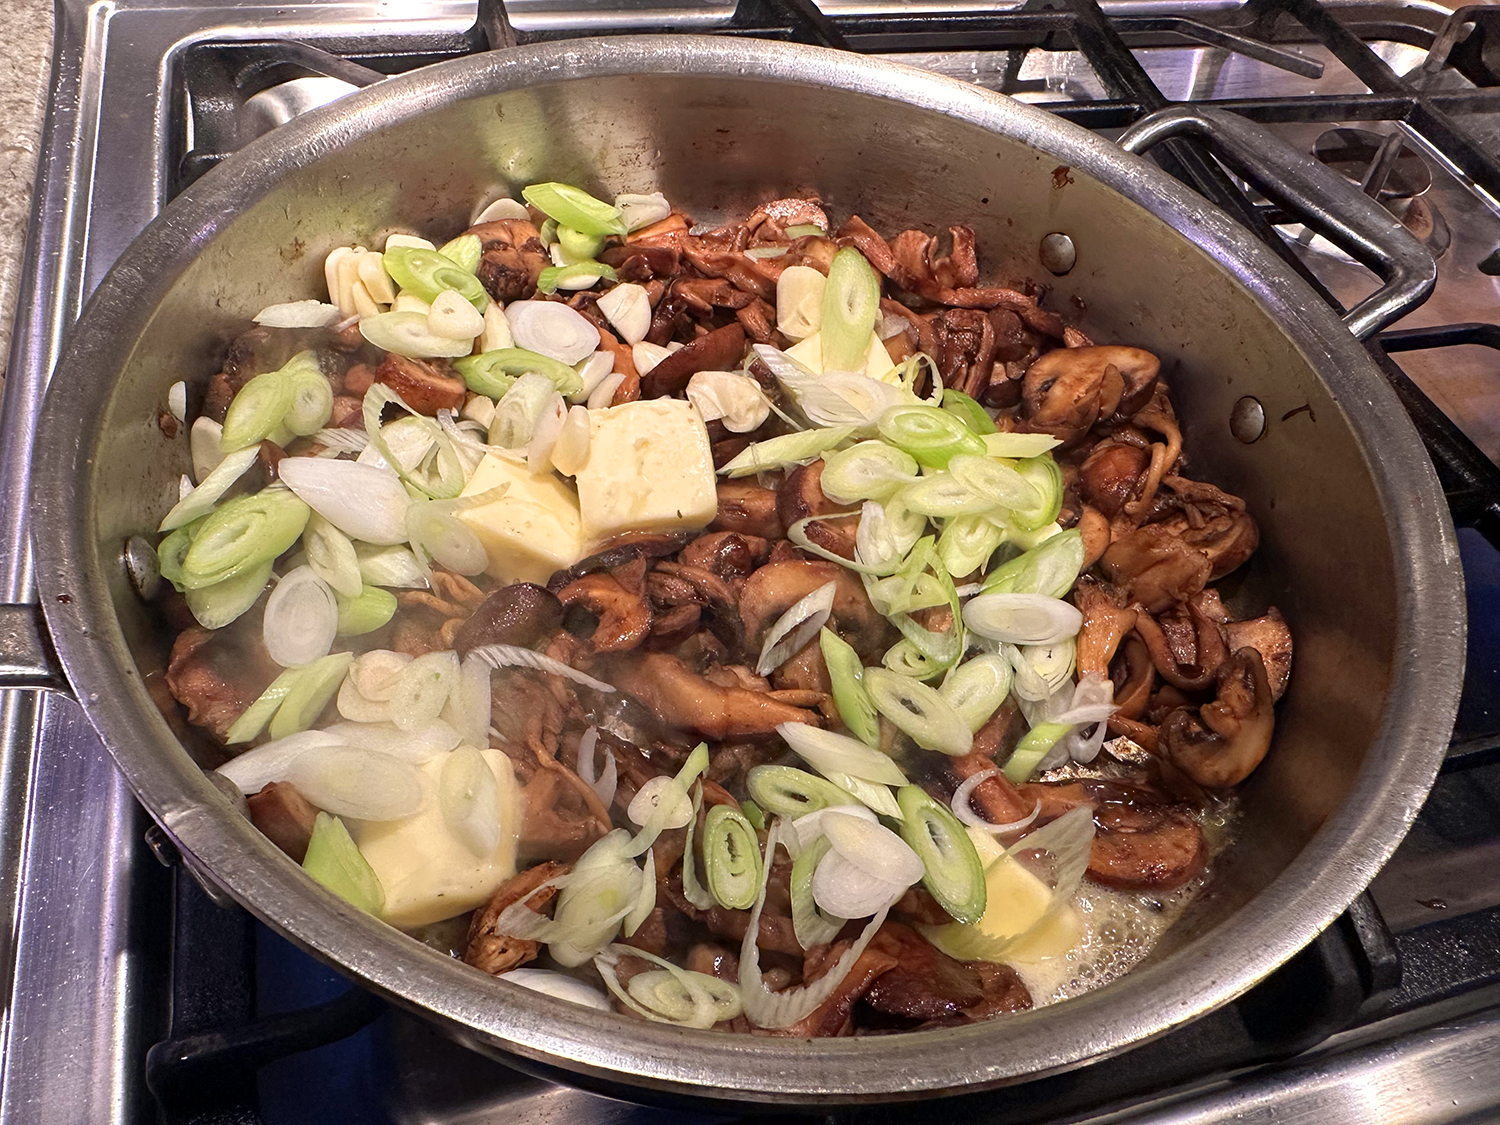
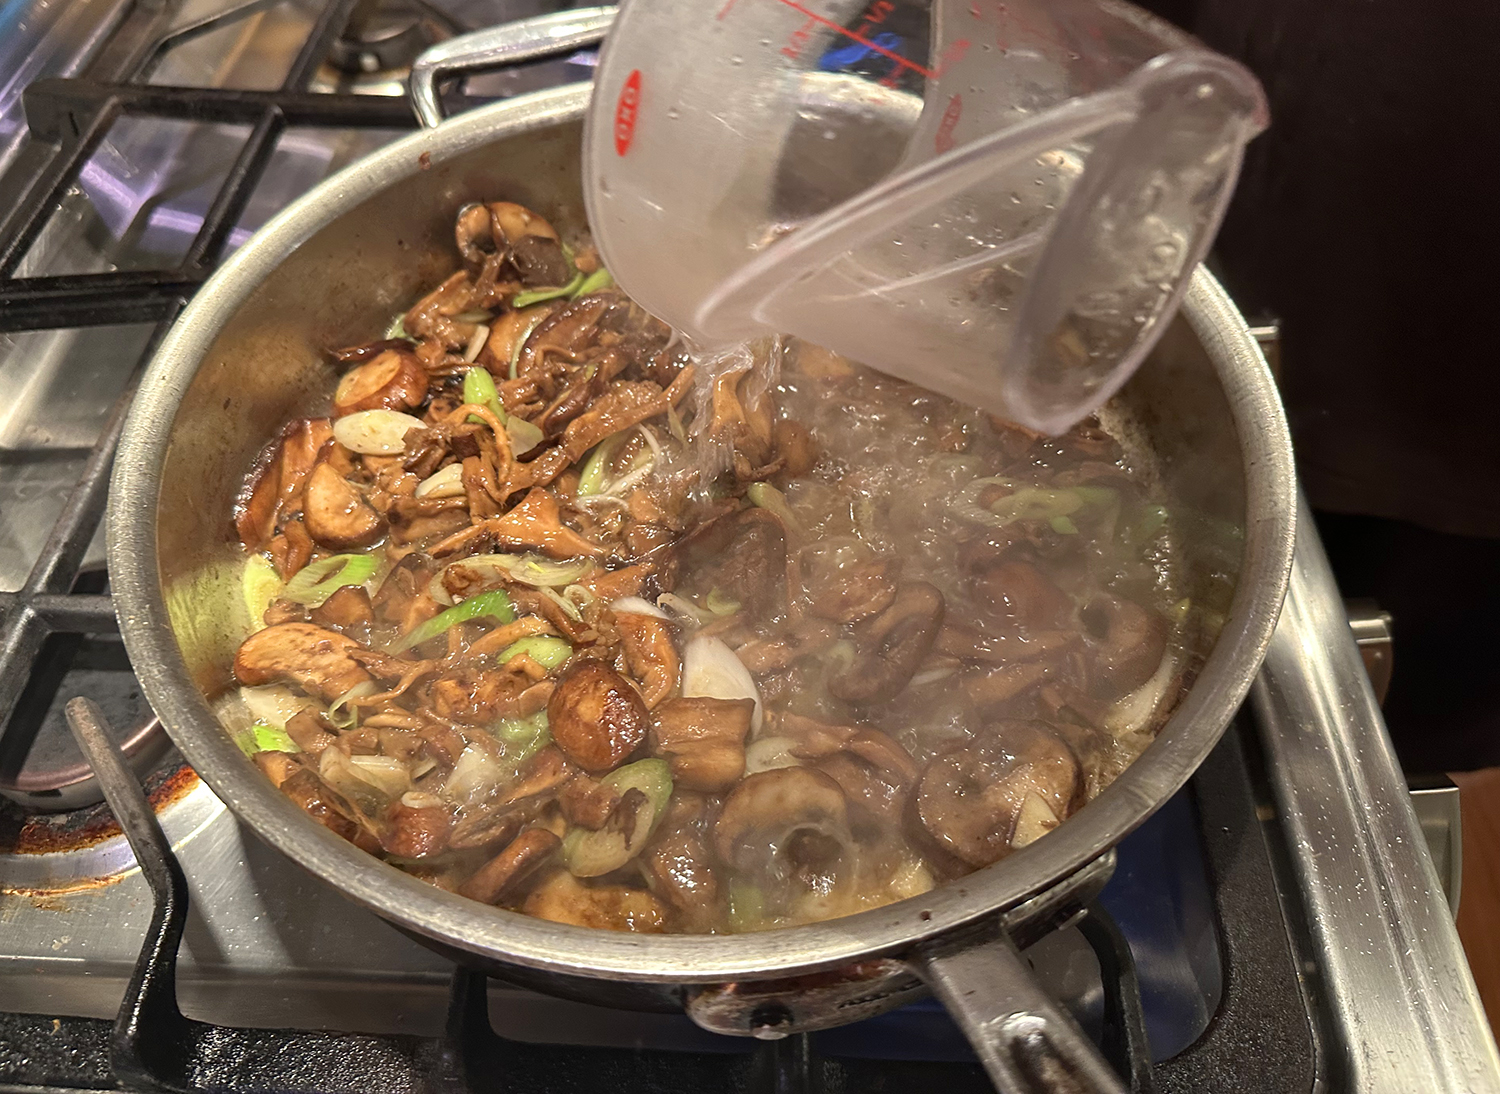
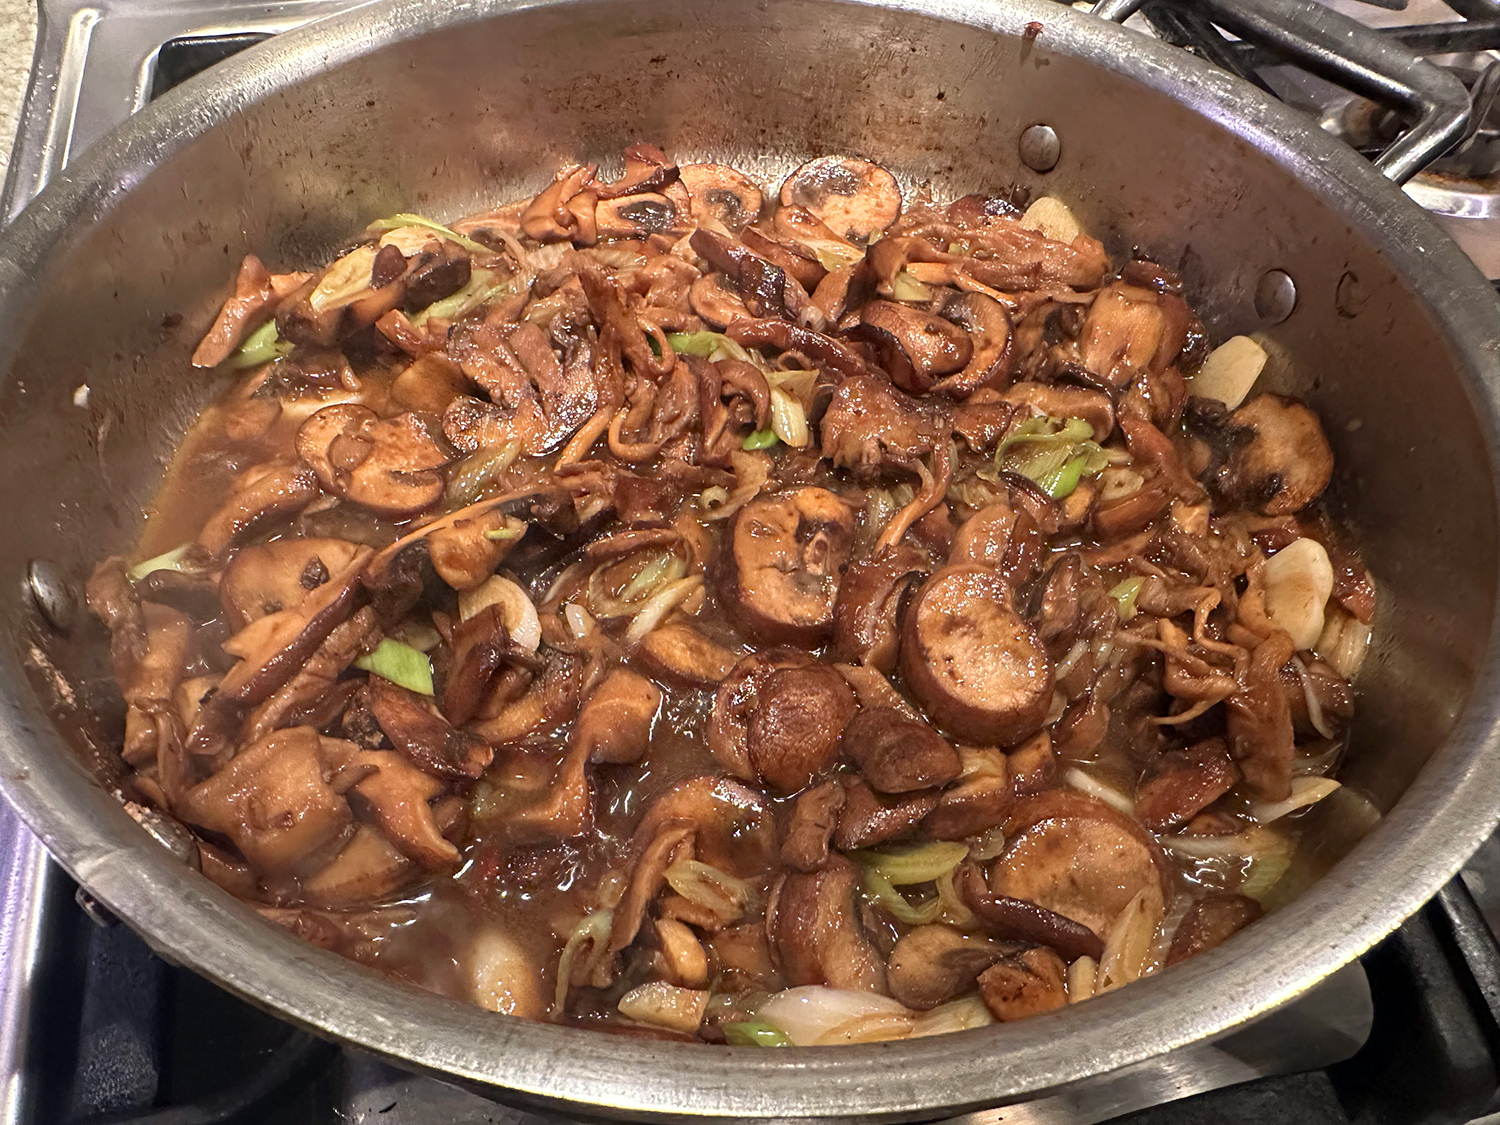
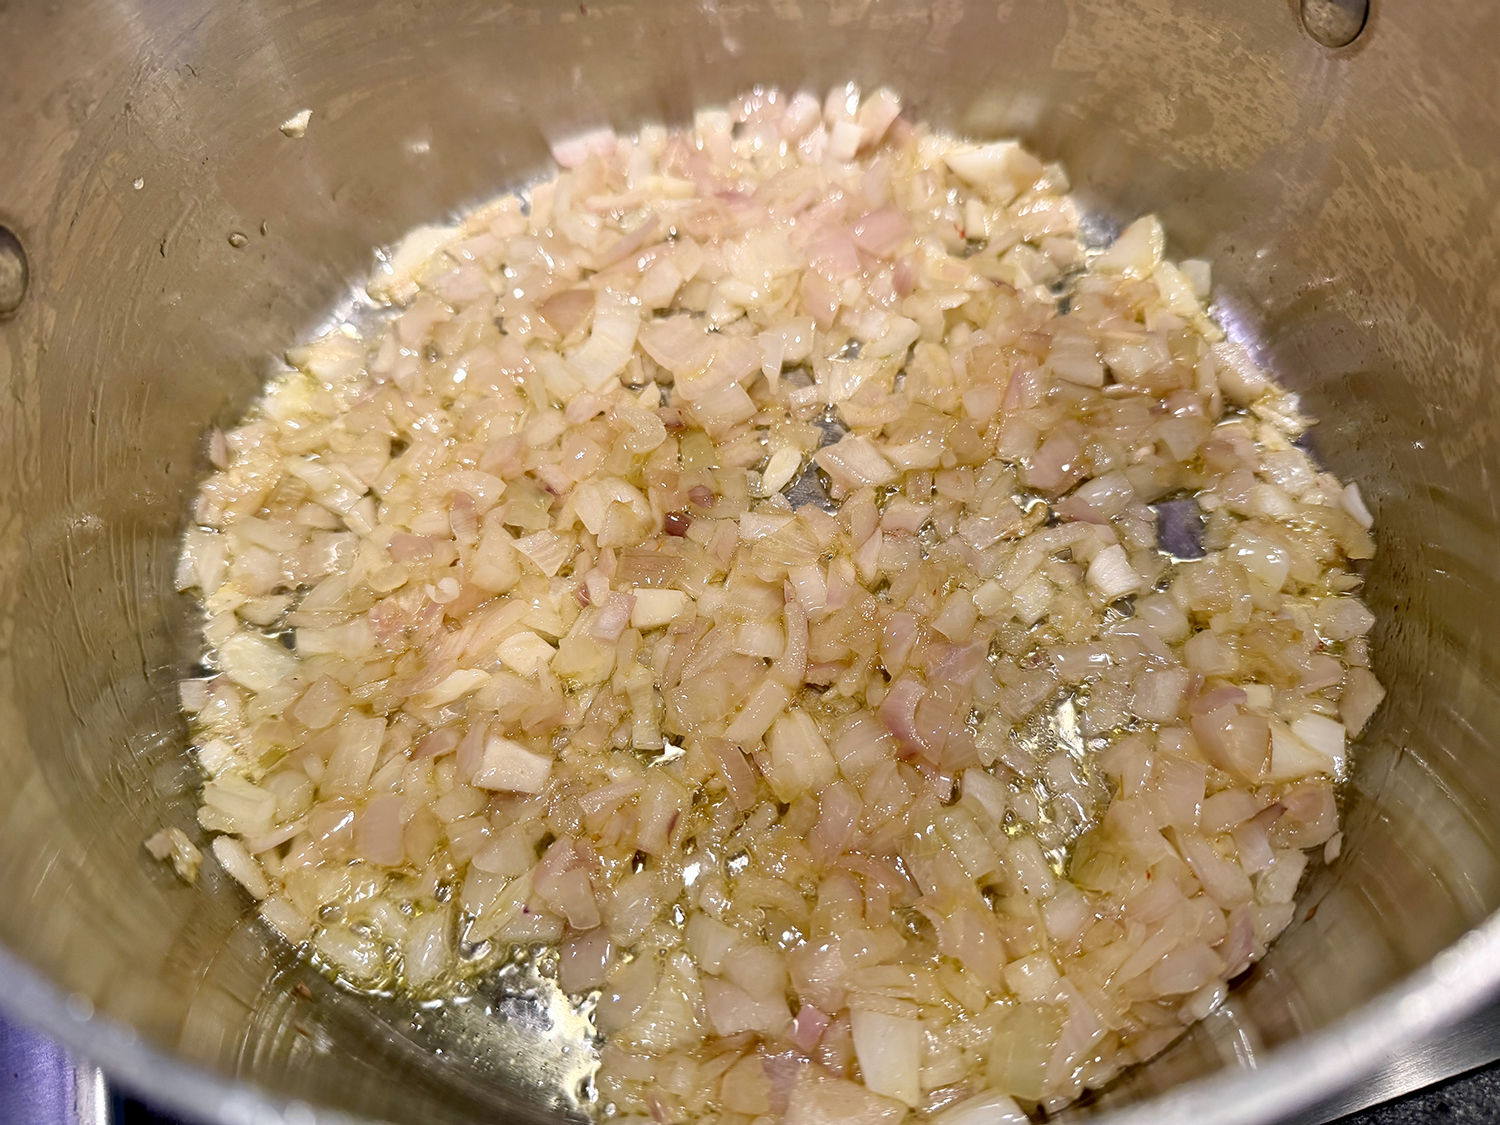
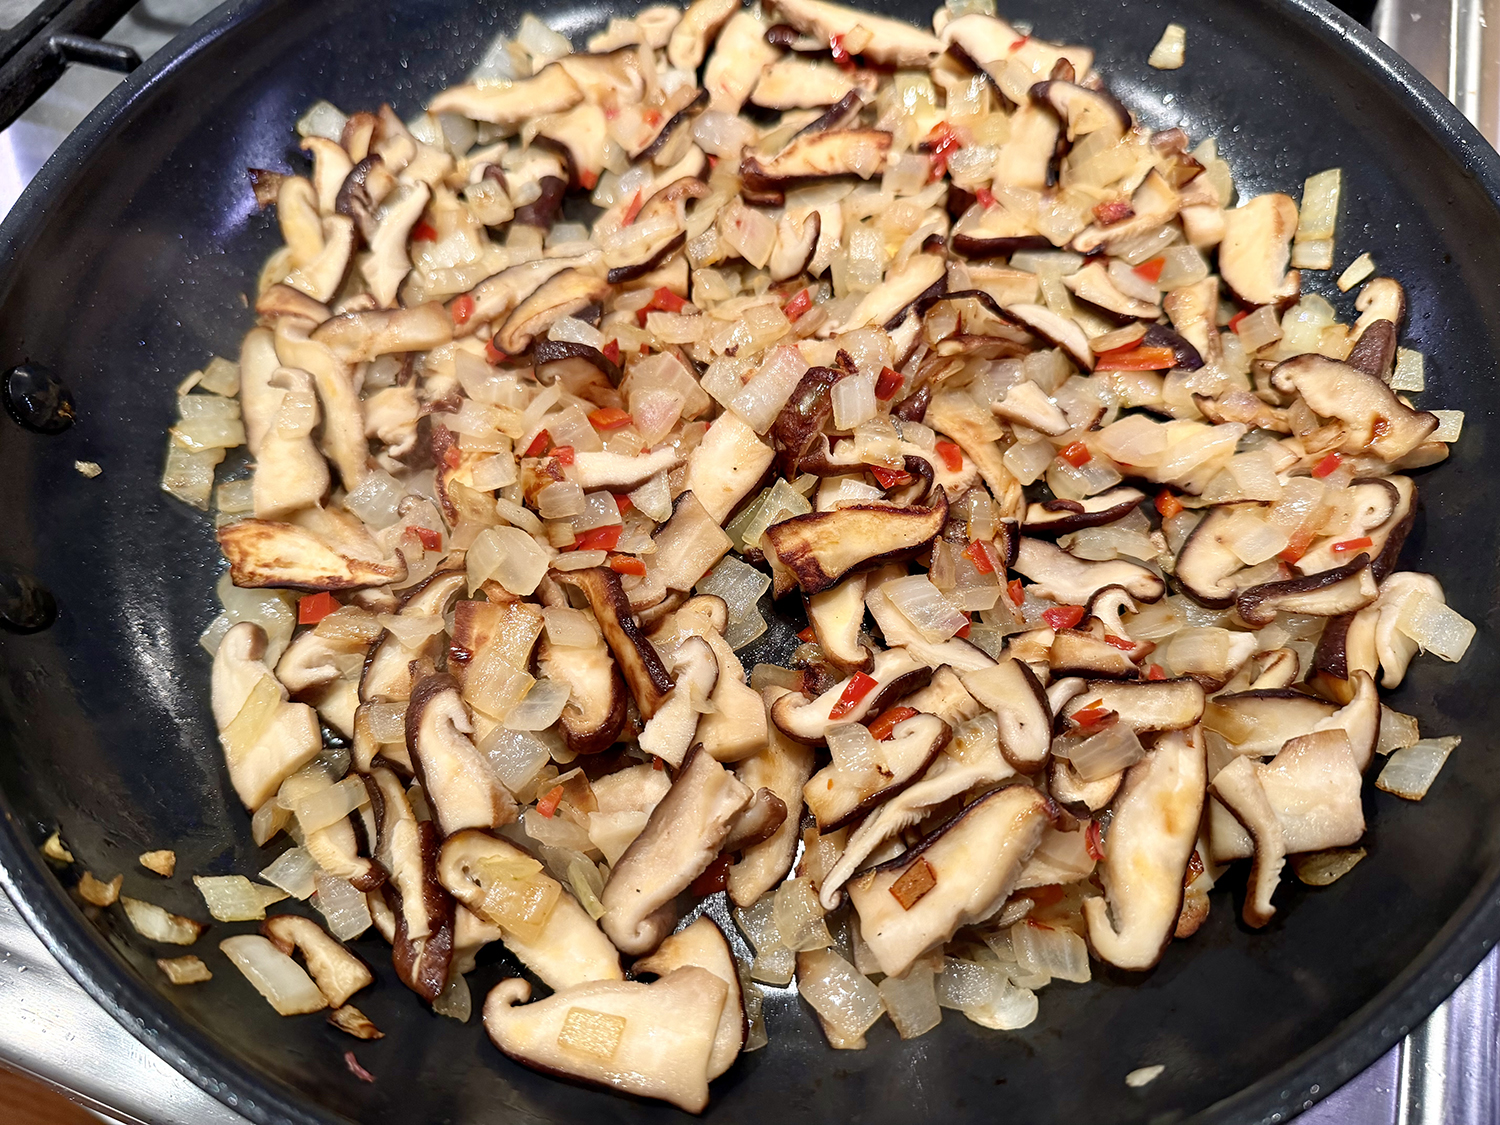
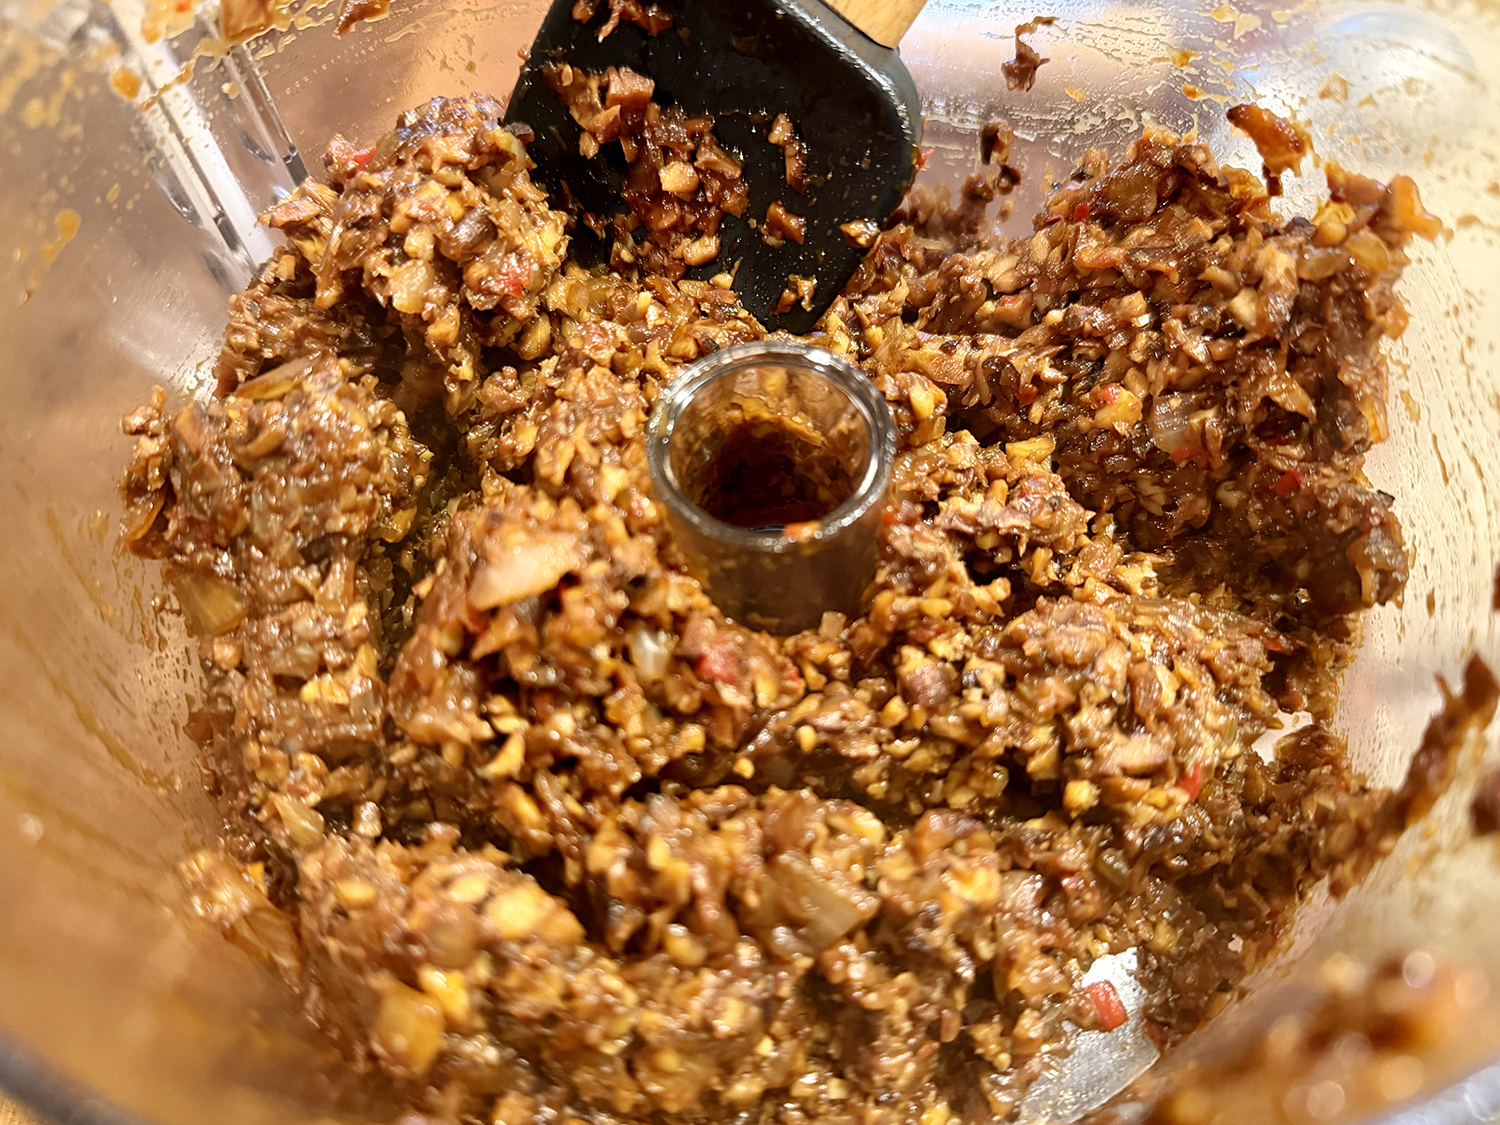
- Preheat oven to 350°F. Heat a large nonstick skillet over medium. Add oil and onion; cook, stirring occasionally, until softened, about 3 minutes. Add mushrooms and chile; cook, stirring often, until mushrooms are tender and golden brown, 15 to 20 minutes. Stir in Worcestershire sauce, shoyu, miso, and remaining 1 teaspoon salt until well combined. Transfer mixture to a food processor; pulse until finely chopped (not pureed), 8 to 10 pulses.
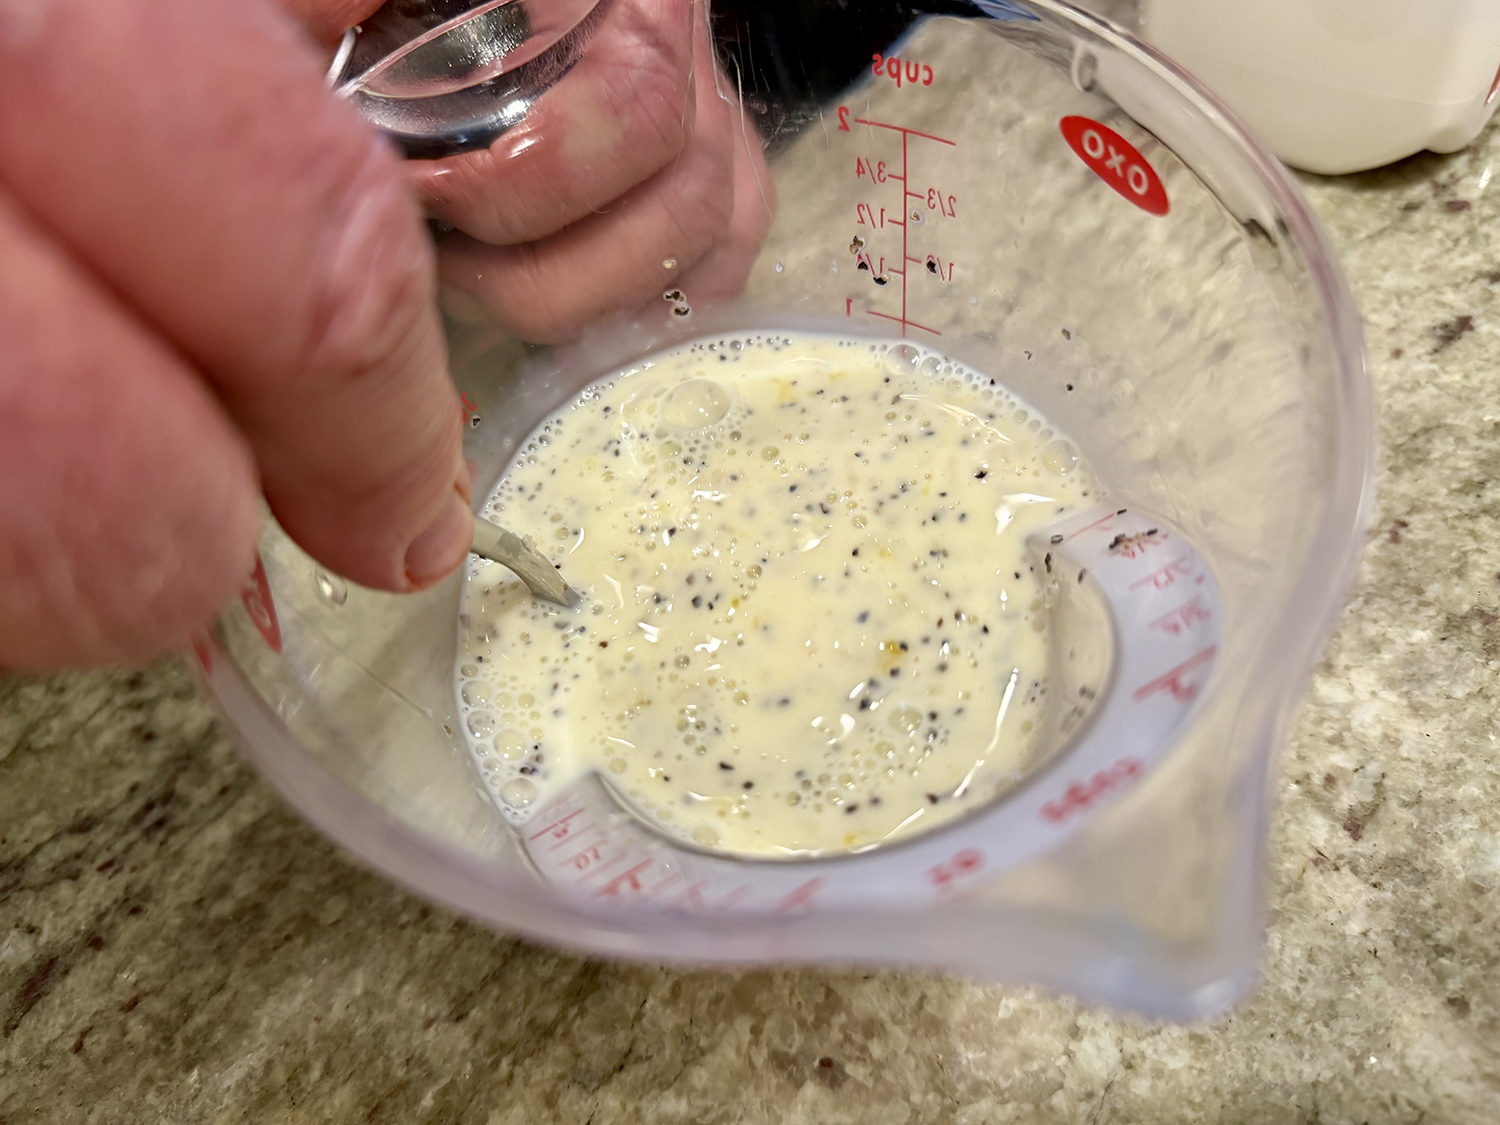
- Whisk together milk and egg in a medium bowl. Stir in breadcrumbs and black pepper. (Mixture will resemble cornbread batter.)
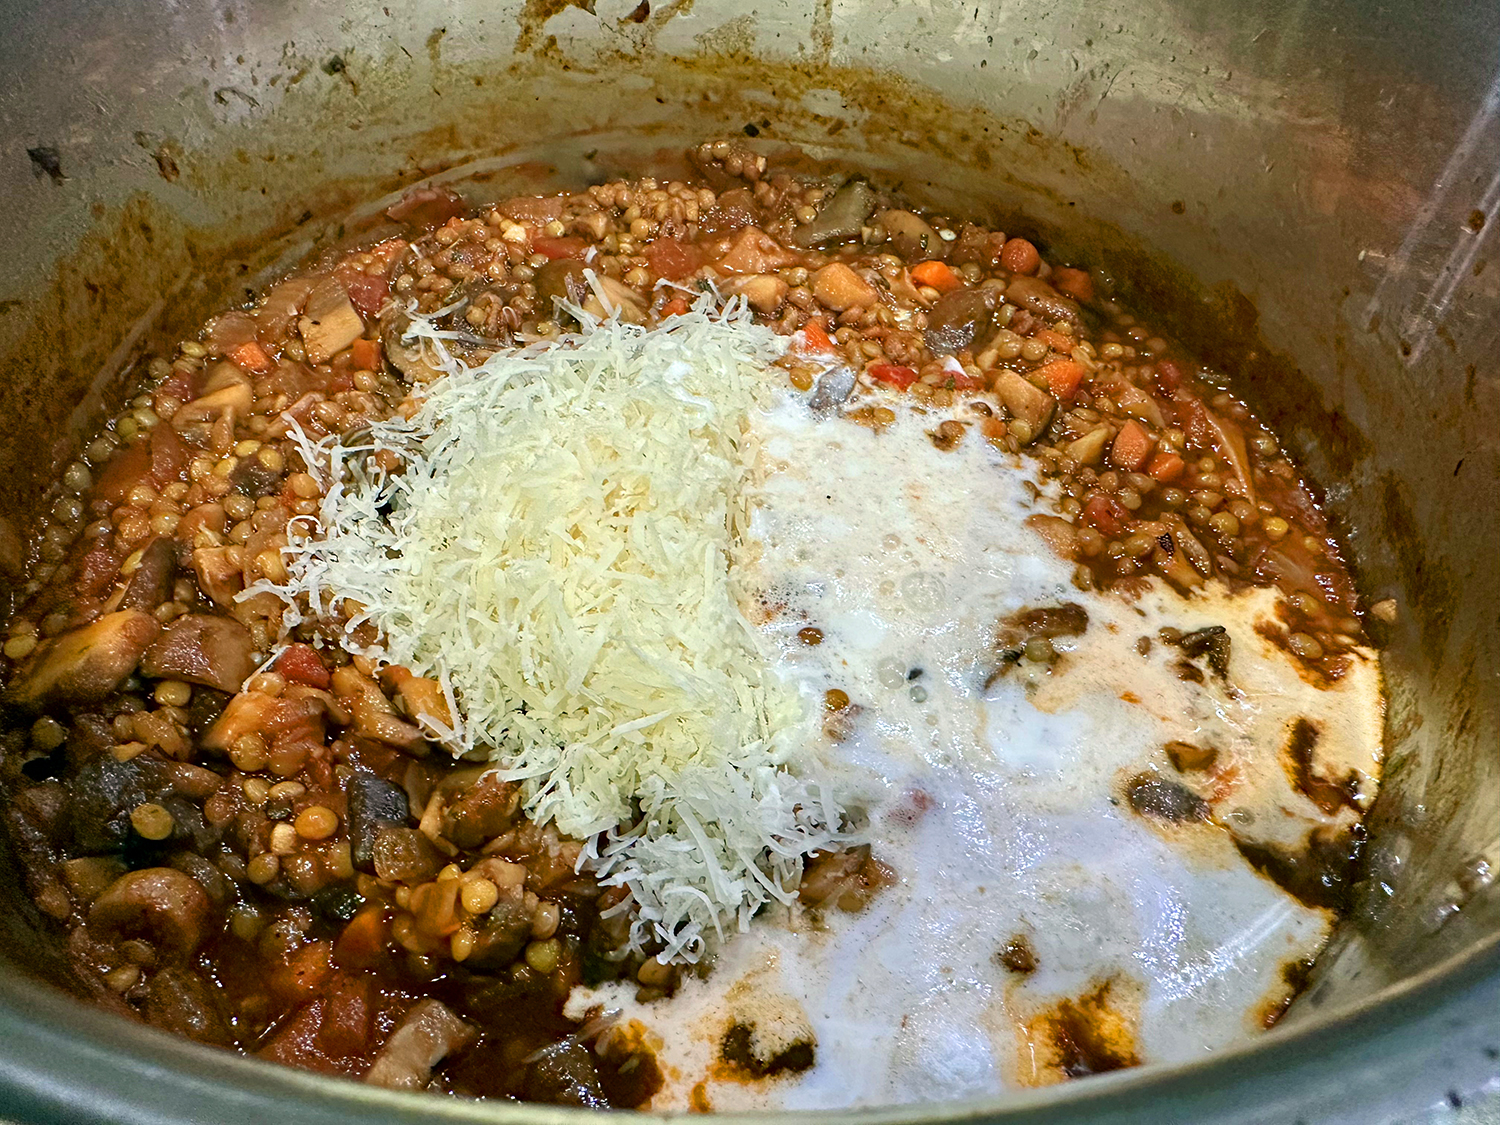
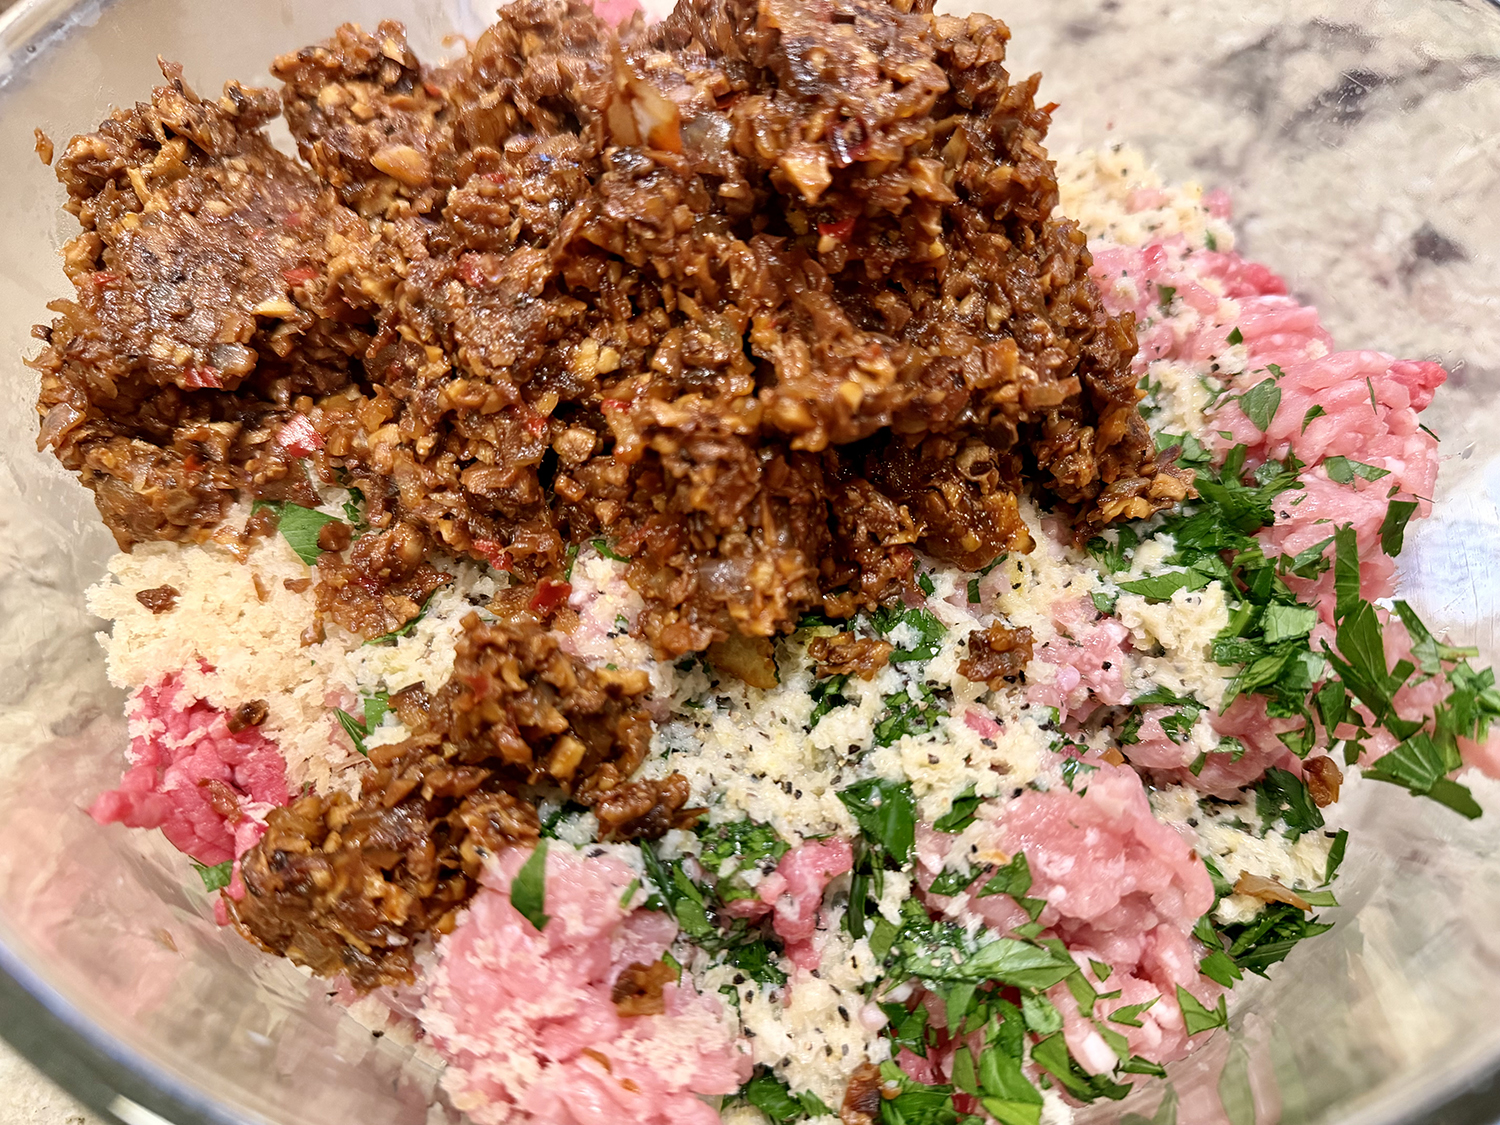
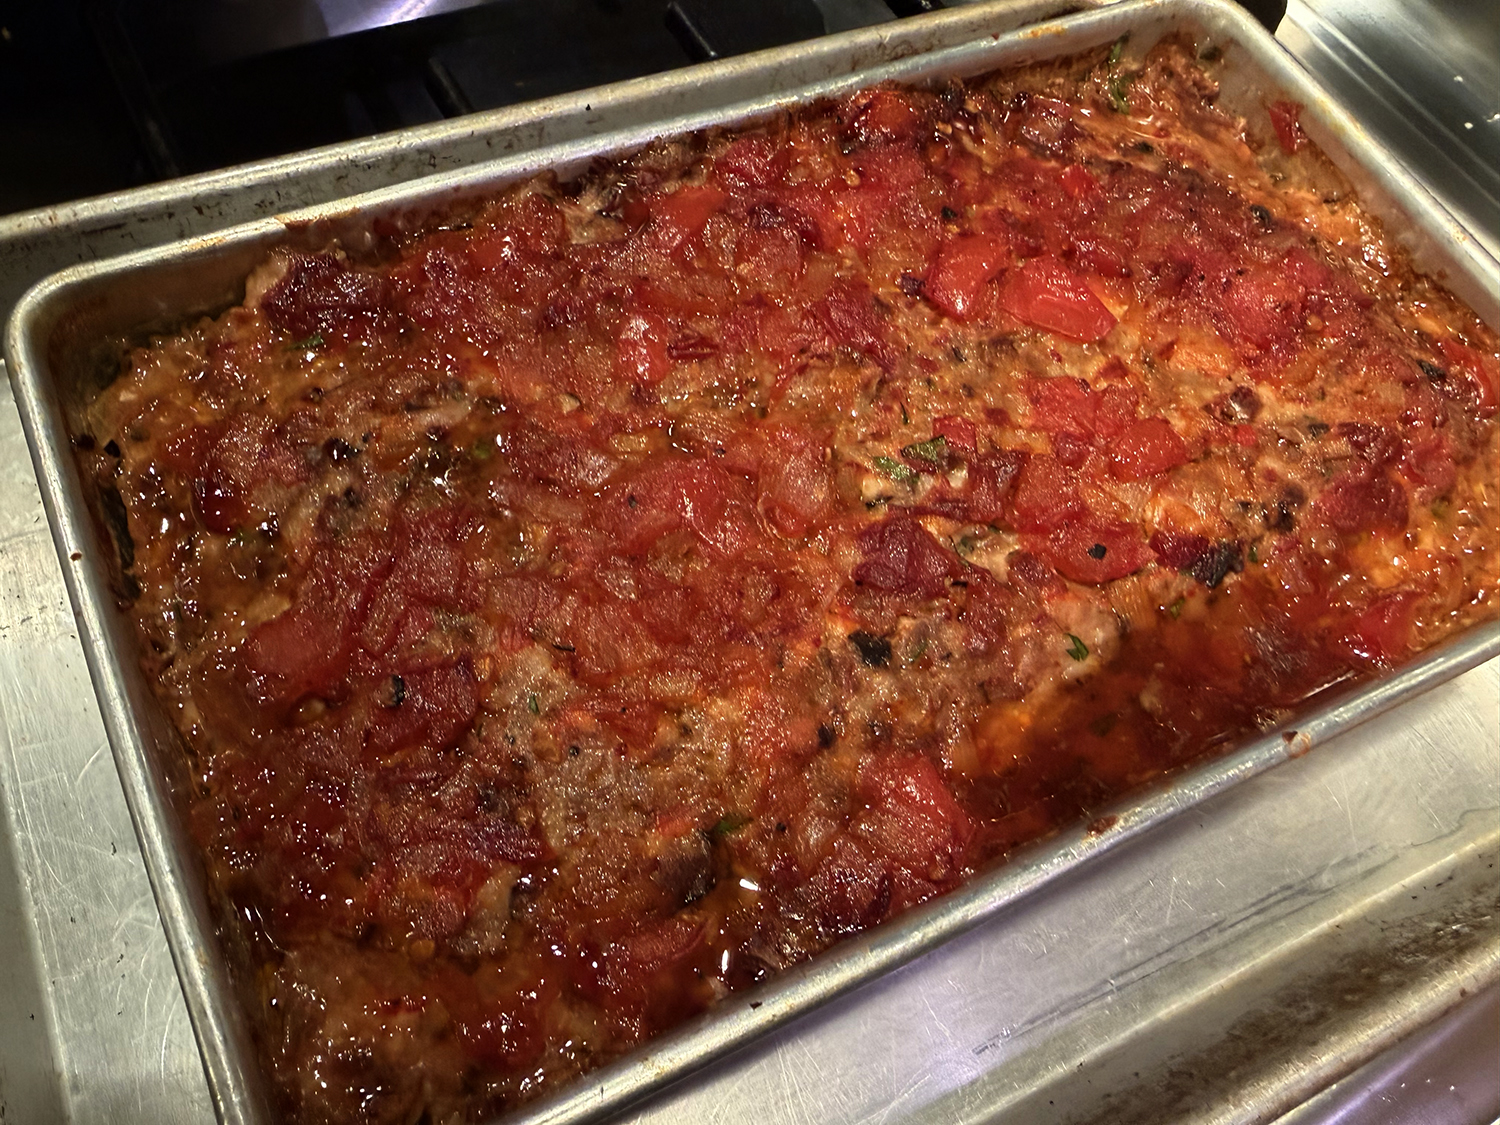
- Add parsley, breadcrumb mixture, and mushroom mixture to beef in large bowl. Using your hands or a rubber spatula, work ingredients into beef until combined. Pack beef mixture into an 8 1/2- x 4 1/2-inch loaf pan. Spread reserved 1/2 cup tomato mixture over top of meatloaf.
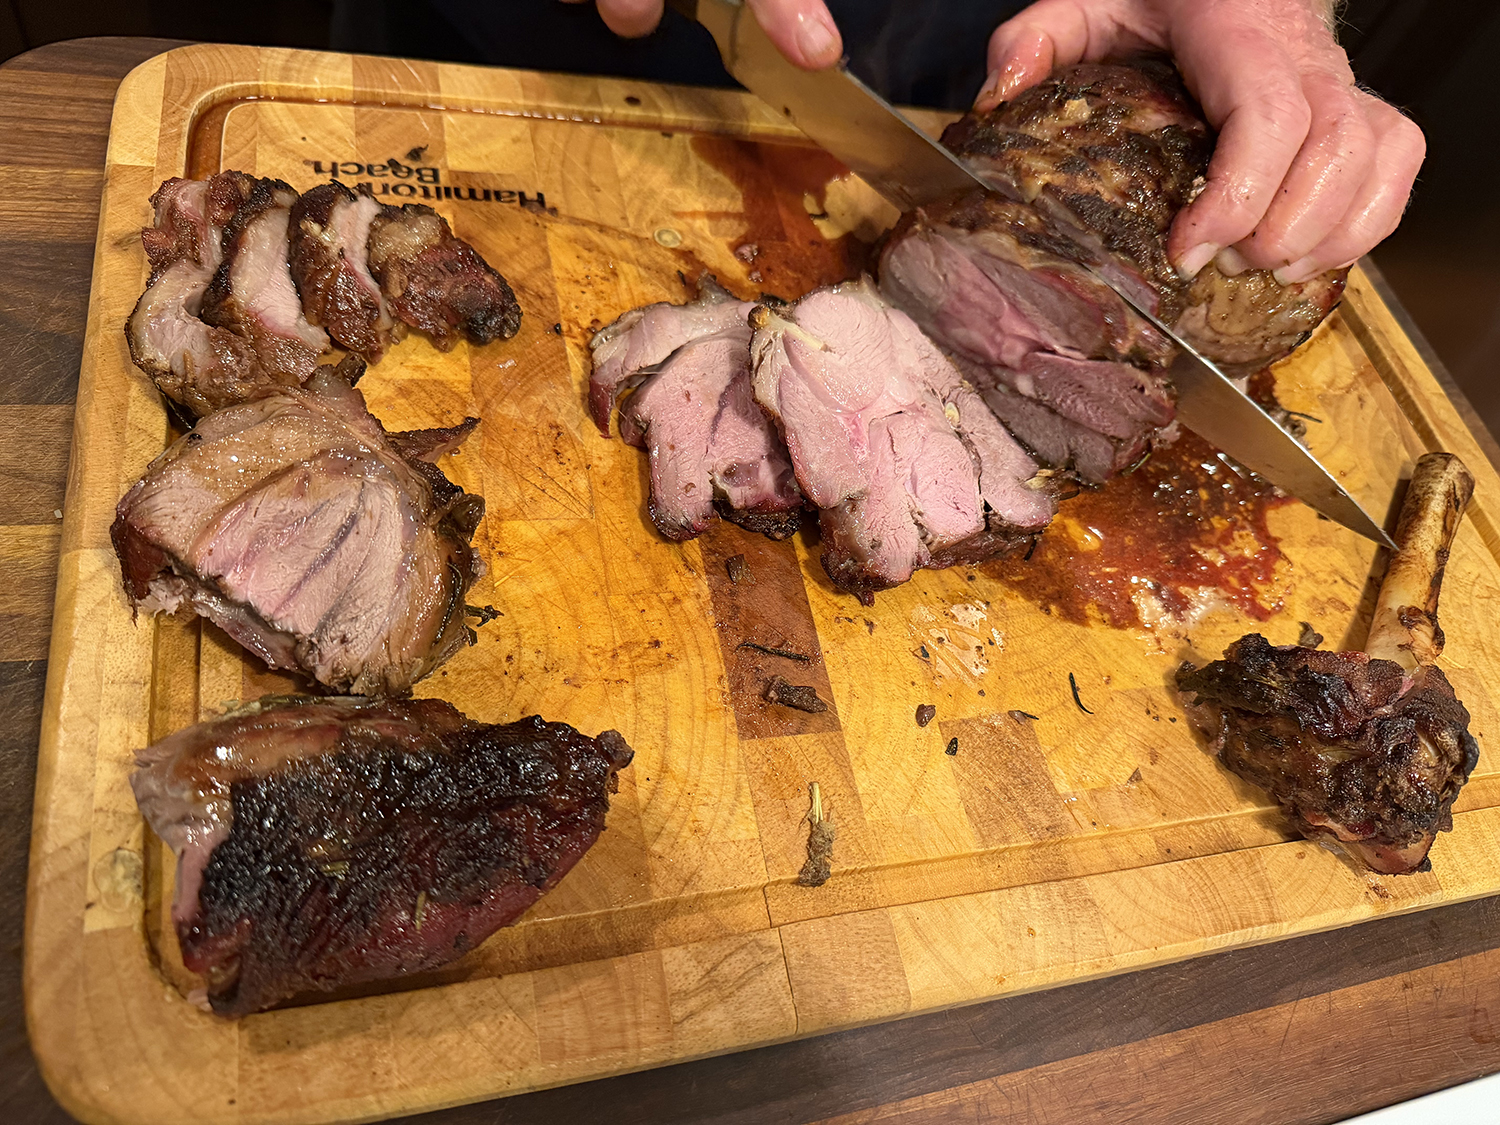
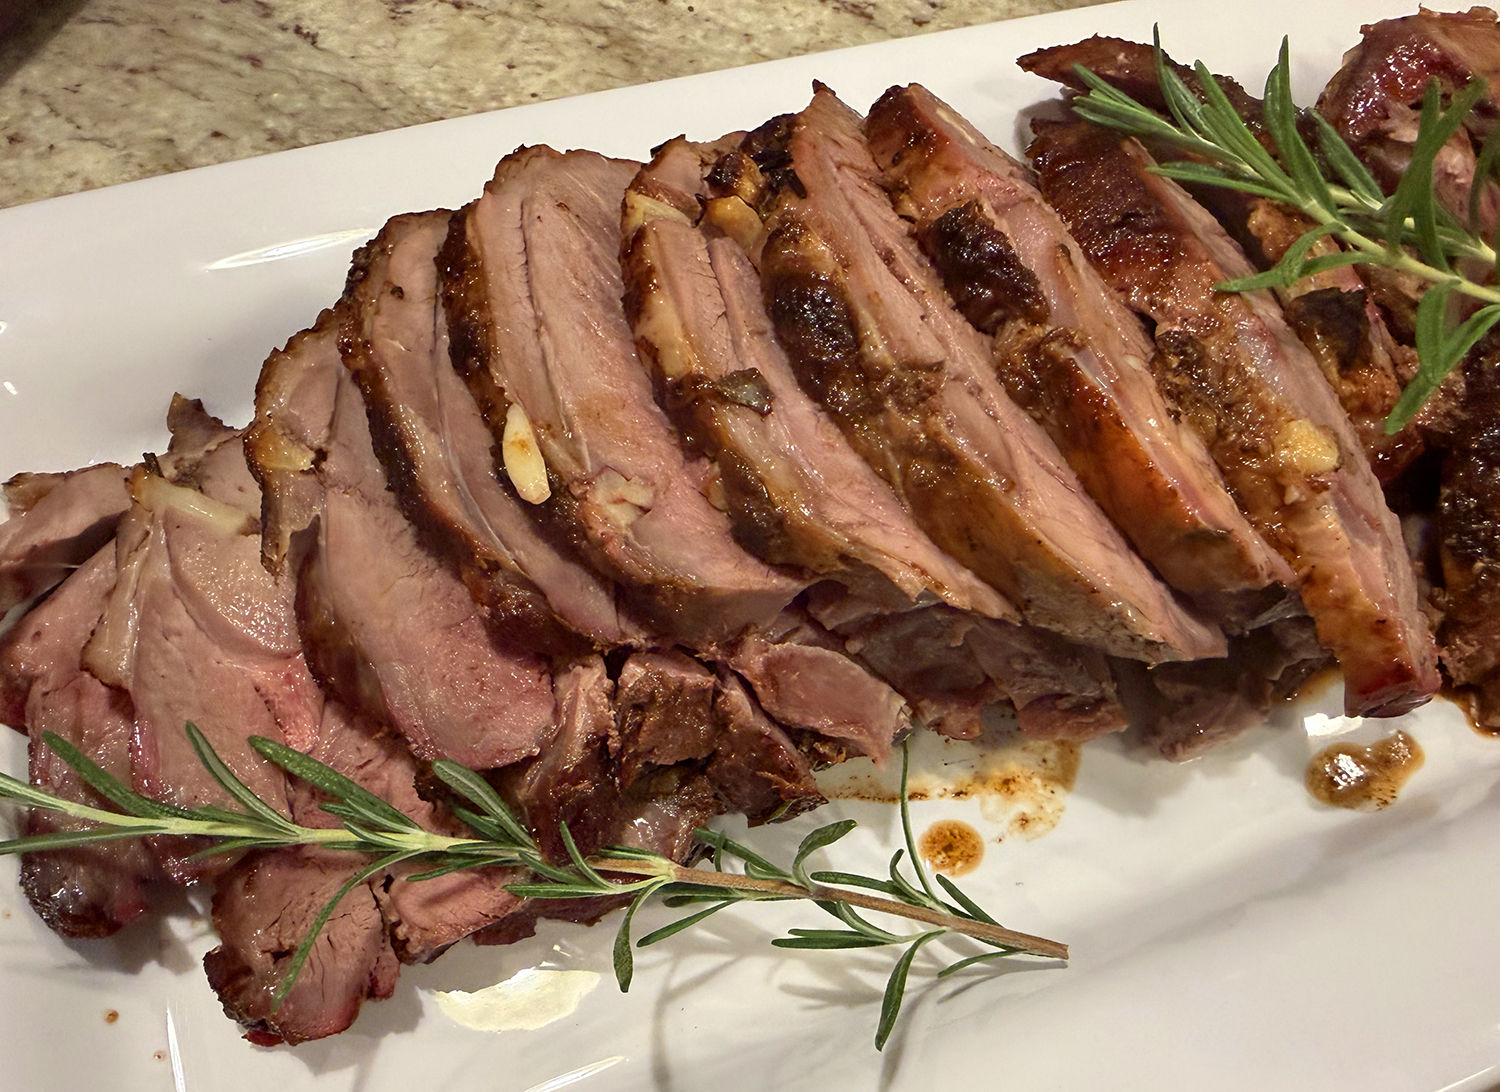
- Bake until an instant-read thermometer inserted into thickest portion of meatloaf registers 160°F, 50 minutes to 1 hour. Let meatloaf rest for about 5 minutes; pour off and discard any liquid. Allow meatloaf to cool for 15 minutes. Cut into 1-inch-thick slices; serve with remaining meatloaf sauce.
Recipe by Hugh Acheson for Food & Wine