Ragù cilentano is a unique dish not well known outside of Italy’s Campania region. The tomato-centric sauce gets its intense flavor and thick, lush consistency from multi-hour cooking with various types of meat—traditionally only small amounts of scraps that melt into and merge with the tomatoes as the ingredients slowly concentrate.
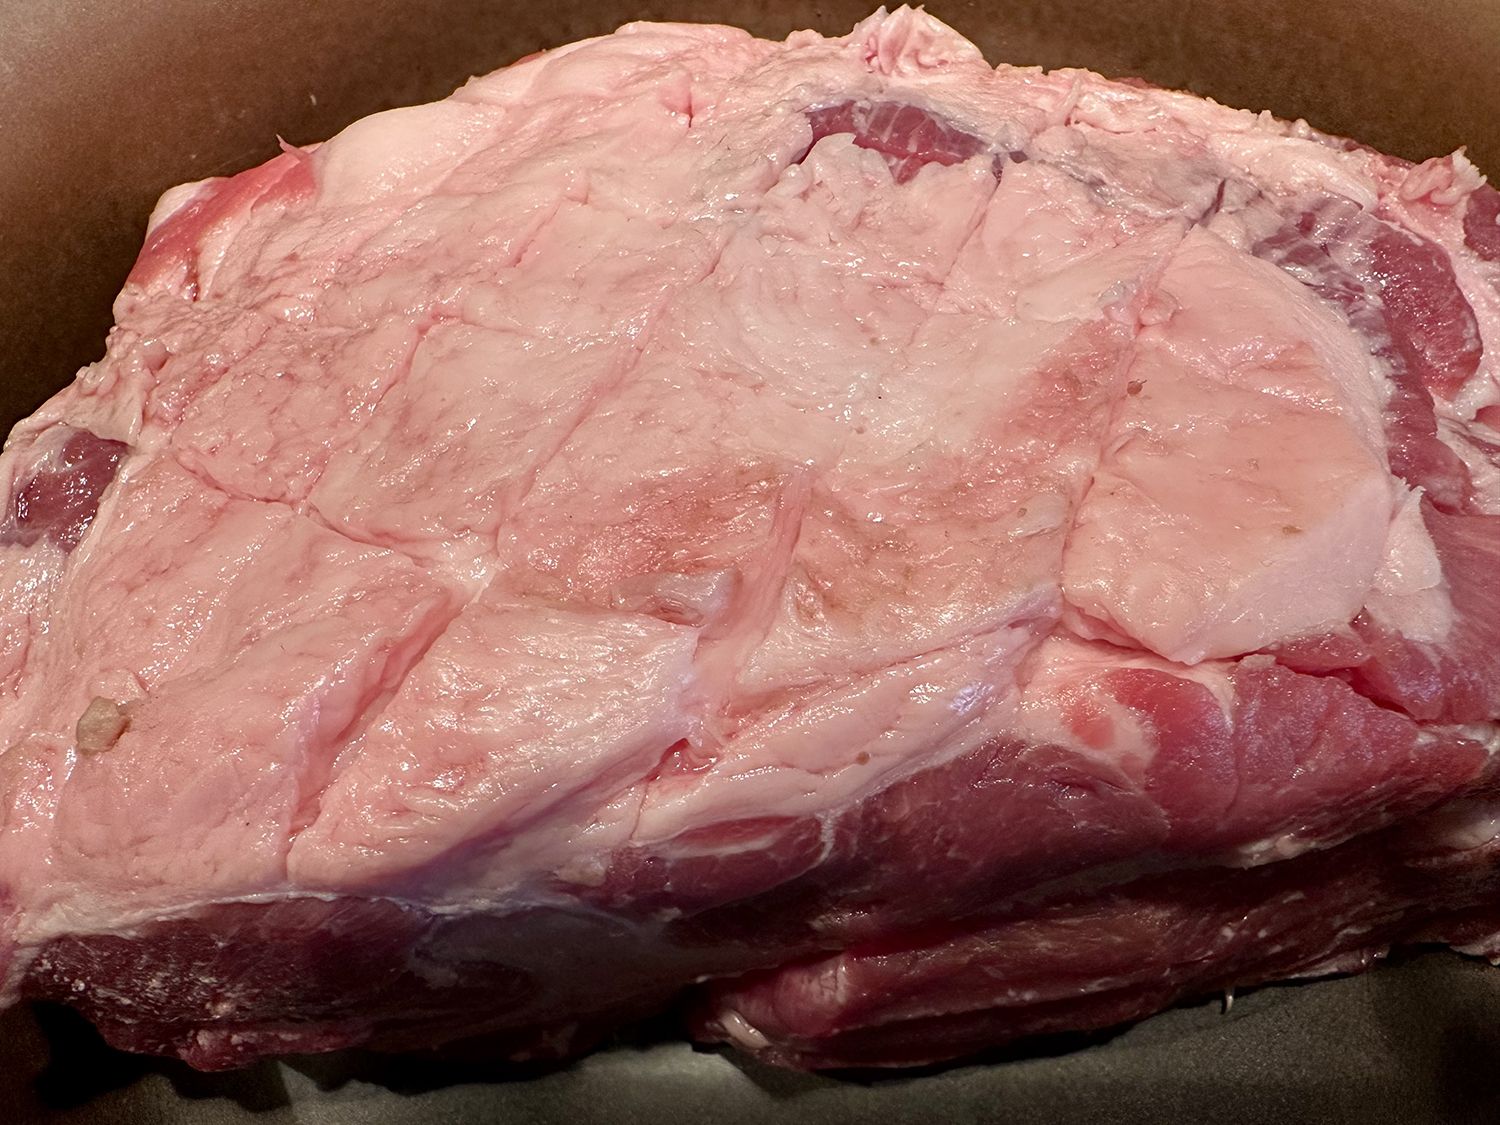
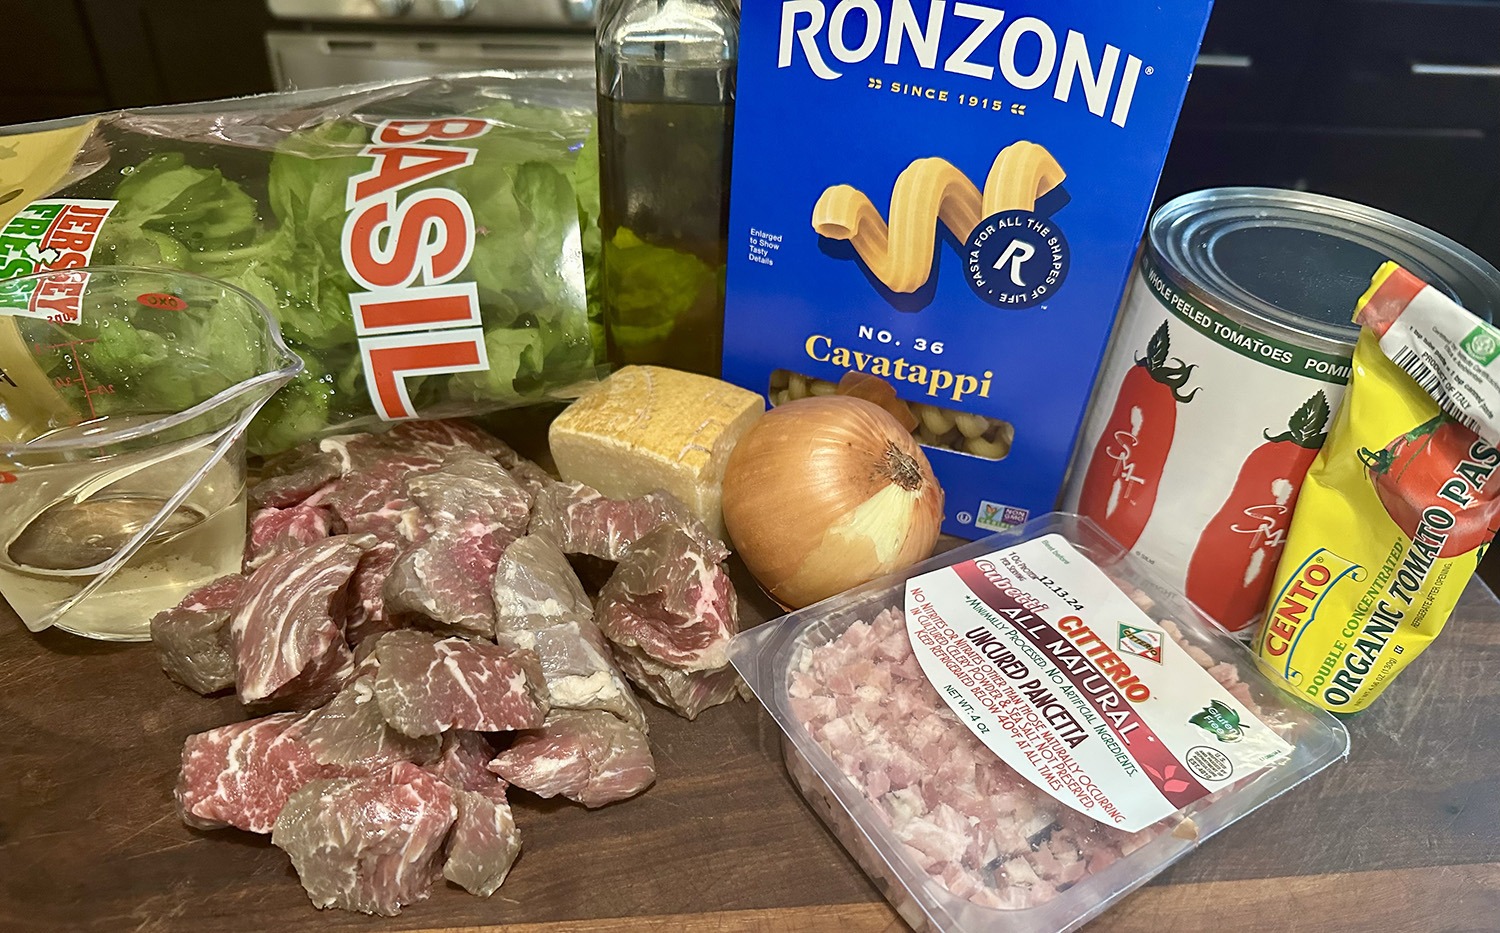
Here, the meats are limited to two: pancetta for its salty, porky flavor and short ribs that lend deep, beefy richness. Tomatoes are also used in two forms: sweet-tart canned whole tomatoes and tomato paste for depth and umami. For convenience as well as steady, even cooking, the sauce is simmered in the oven so no careful monitoring is needed.
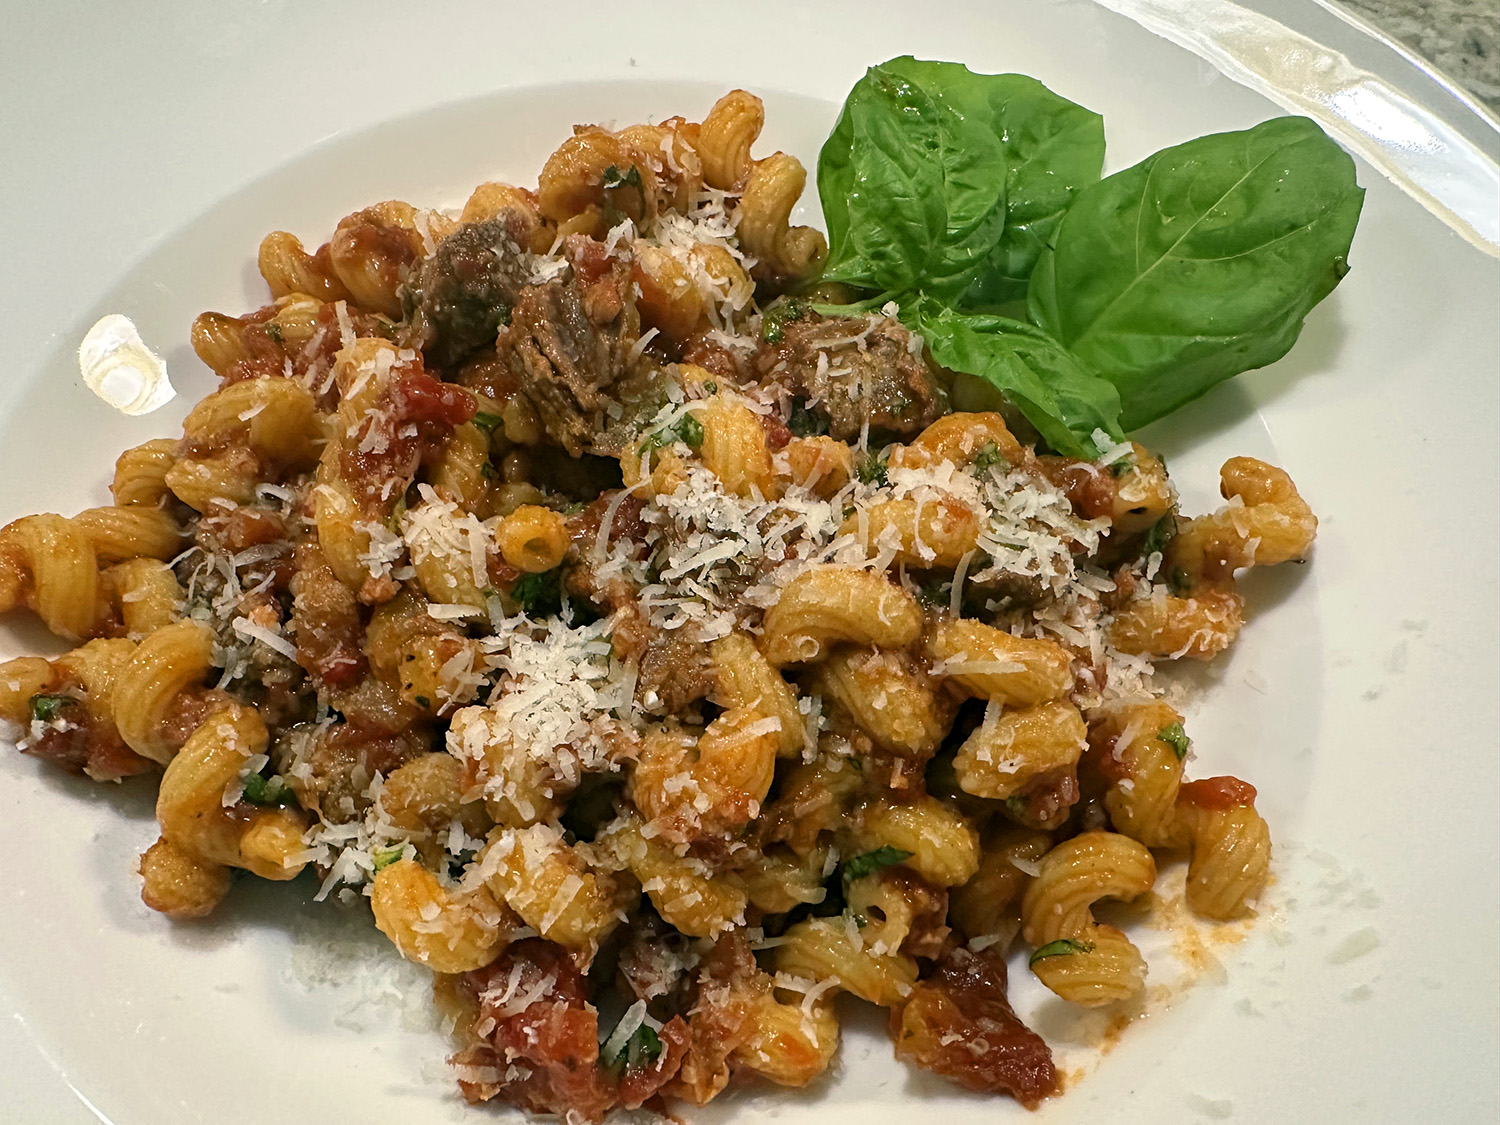
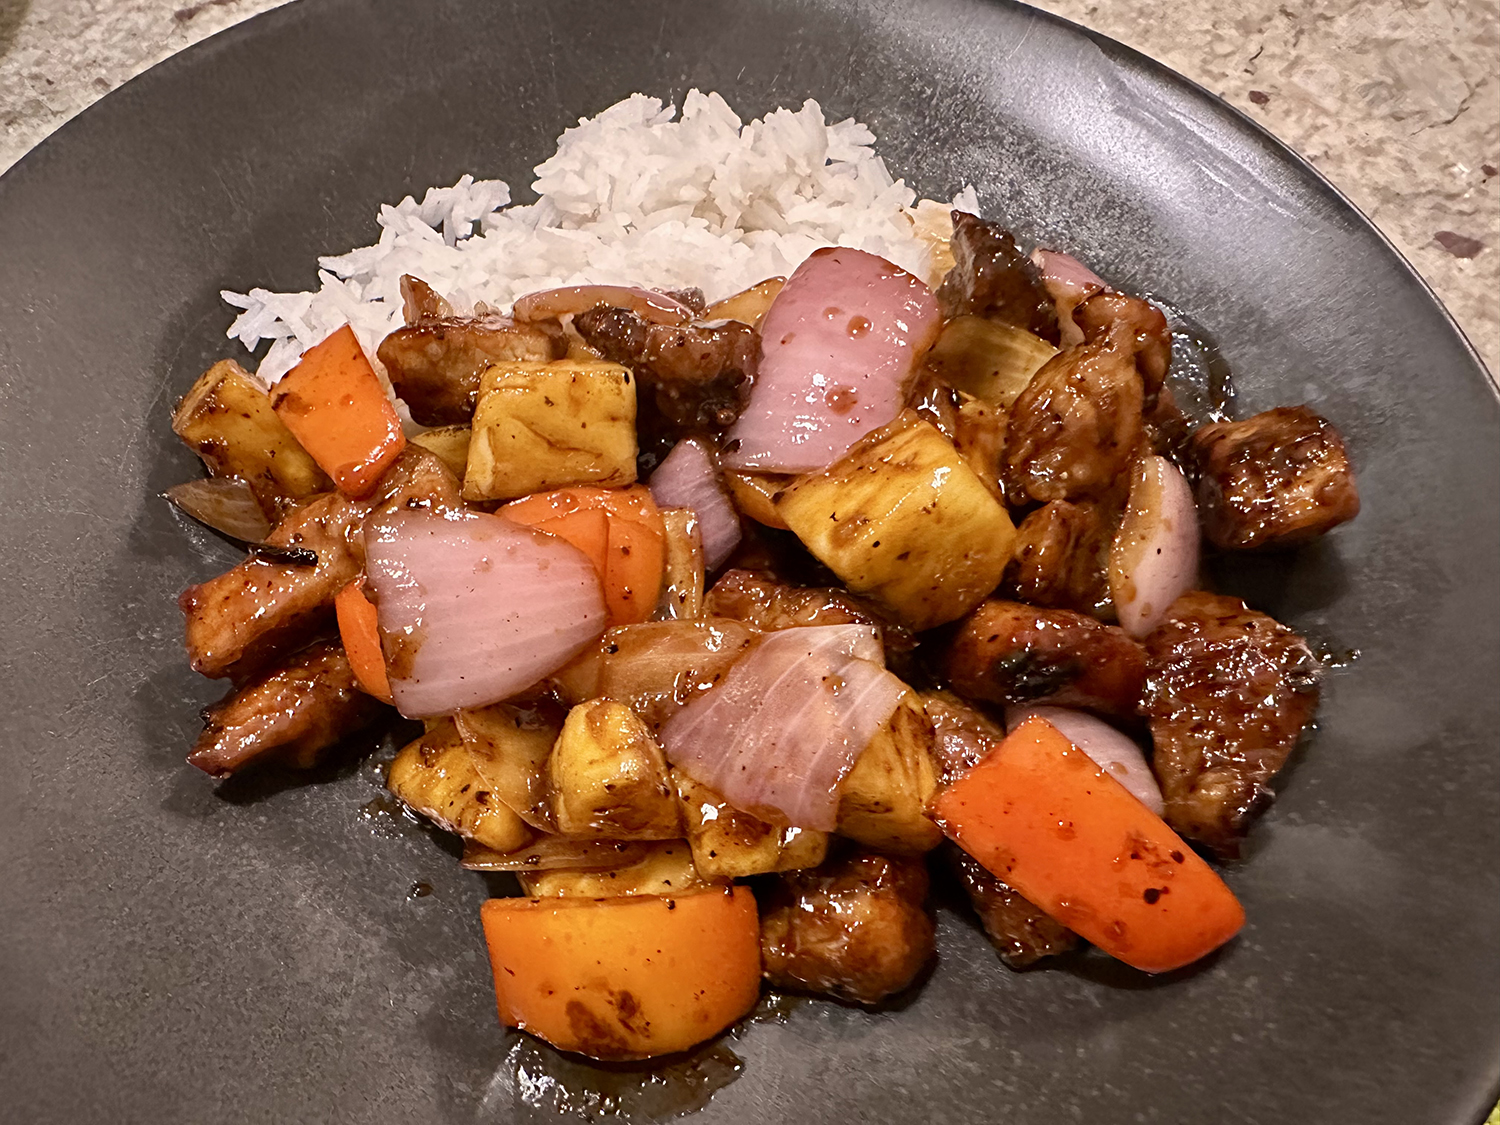
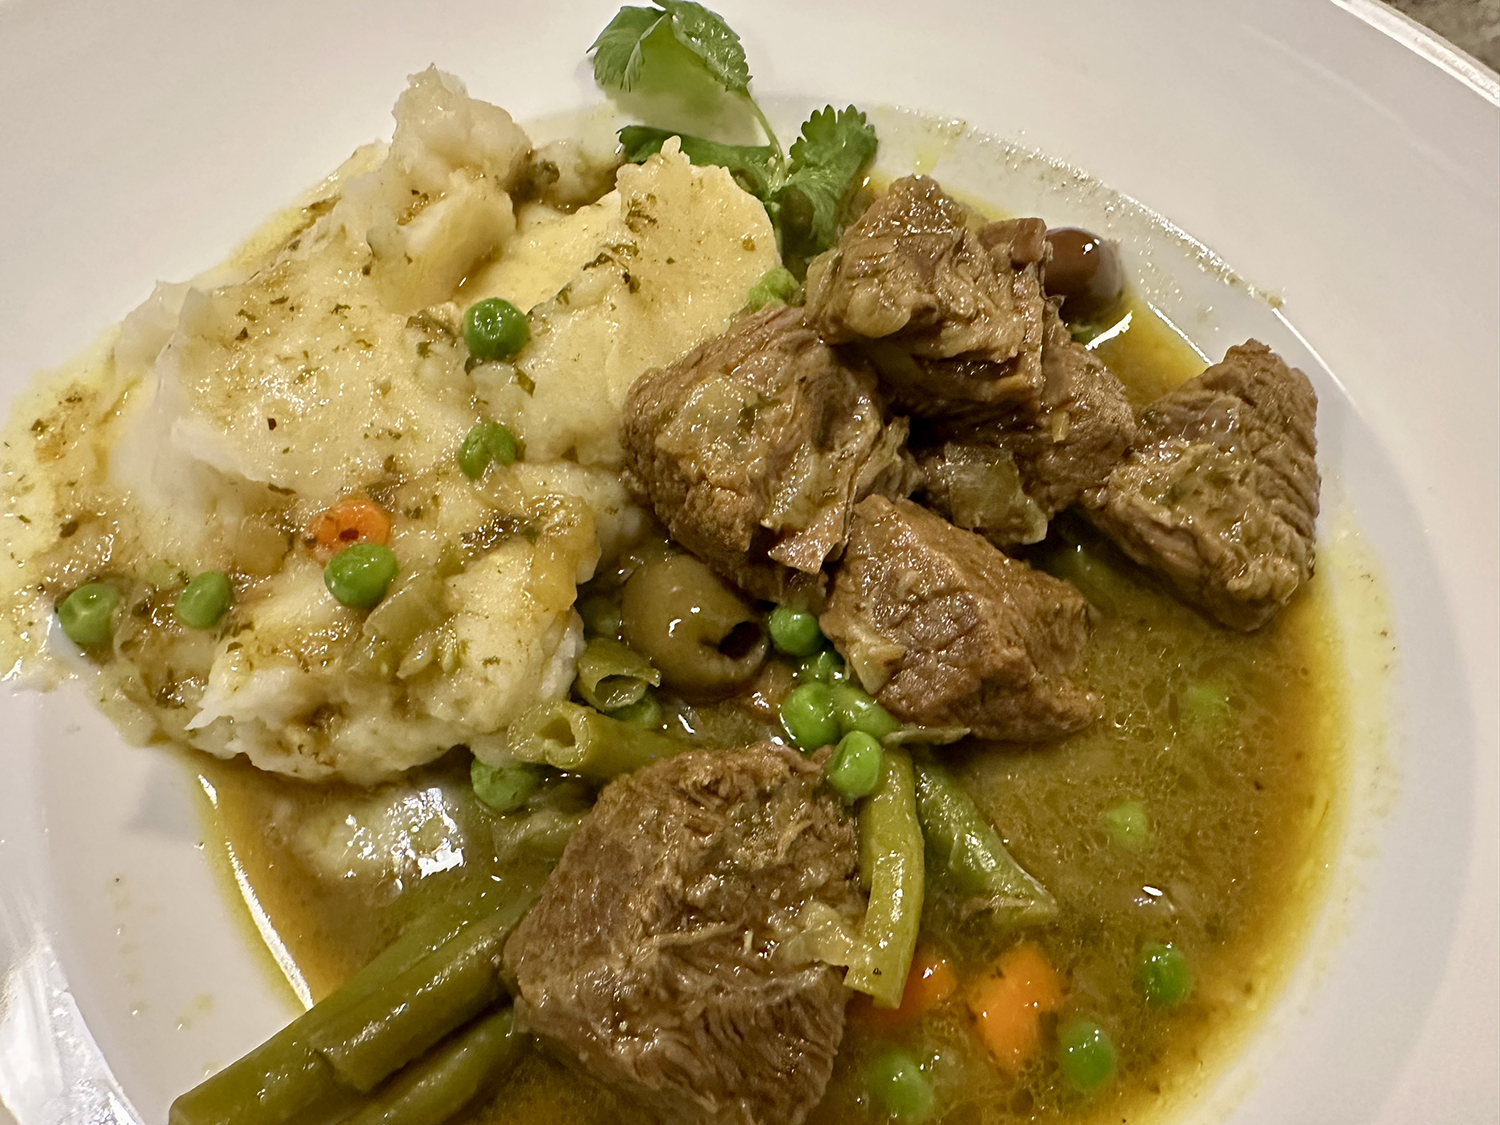
The ragù pairs especially well with sturdy, thick, chewy pasta shapes such as cavatelli or orecchiette (we used cavatappi). The finished sauce can be cooled and stored in an airtight container in the refrigerator for up to five days; rewarm it in a covered saucepan over medium before tossing it with just-cooked pasta.
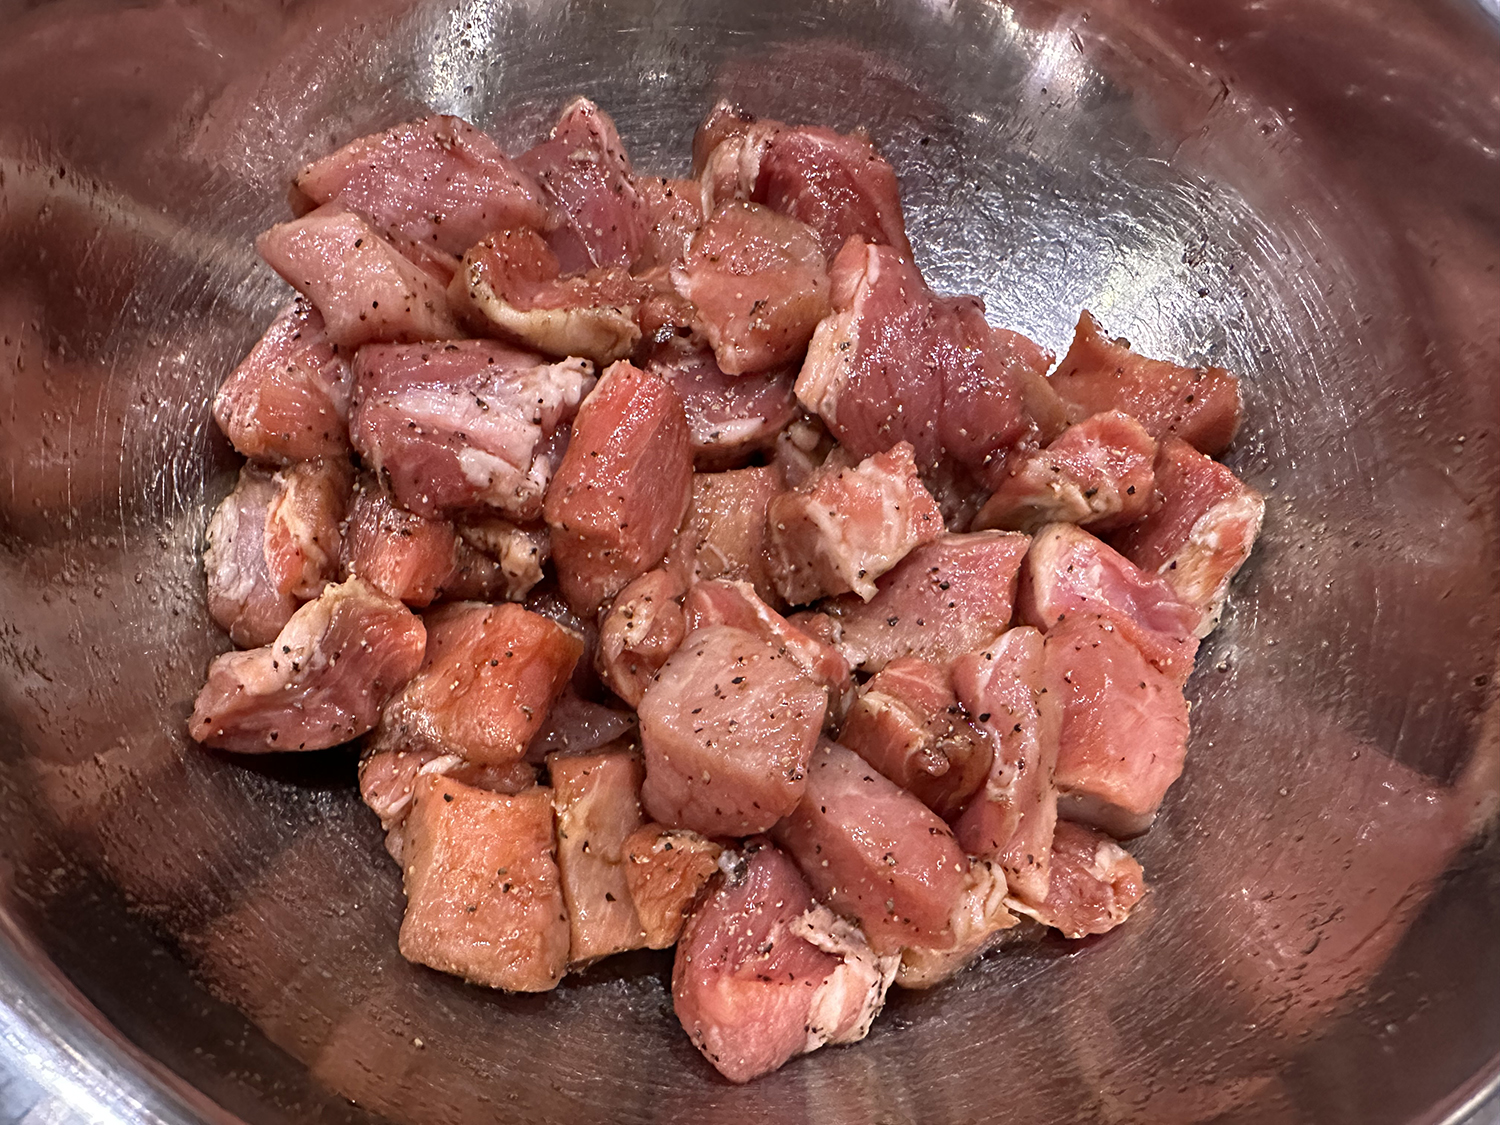
The store was not carrying boneless short ribs on the day we went, so we chose chuck steak (stew meat) and it worked perfectly fine—and we saved a boat load of money with the cheaper cut!
Don’t add more salt and pepper at the start of cooking than the recipe calls for. As the ingredients reduce, the flavors become concentrated. It’s best to adjust seasoning at the very end, after the ragù has been tossed with the pasta. When the sauce is done, don’t skim off all of the fat that rises to the surface; a little fat delivers flavor and pasta-coating silkiness.
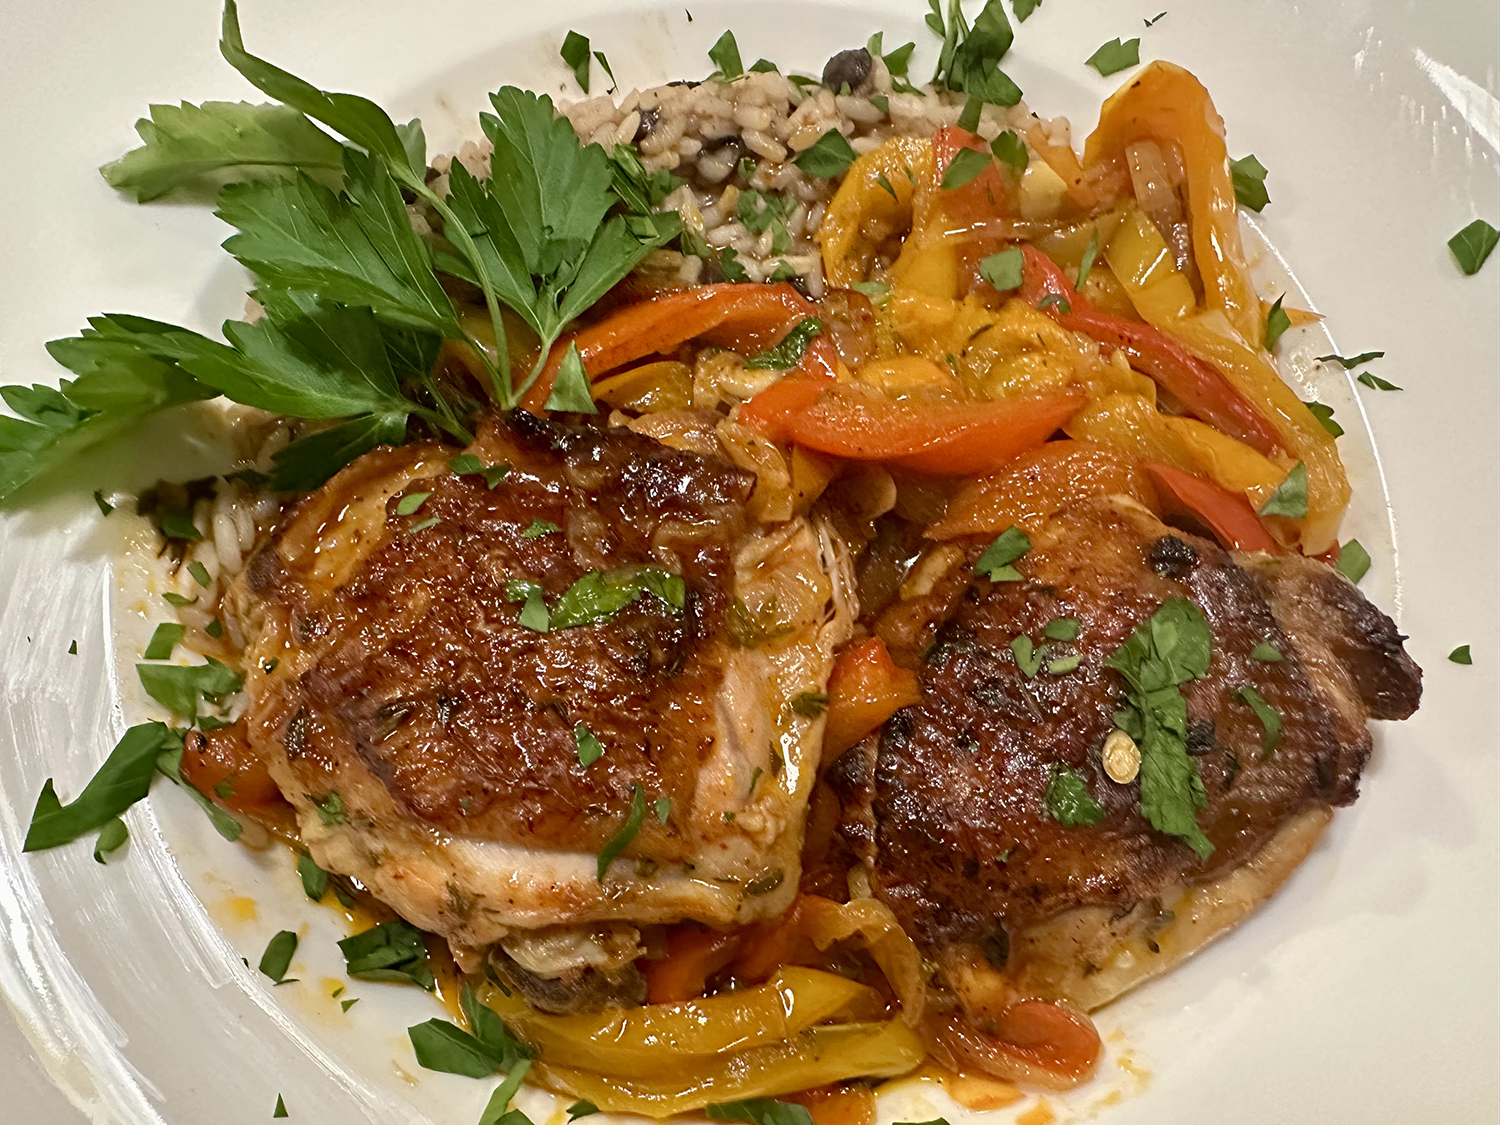
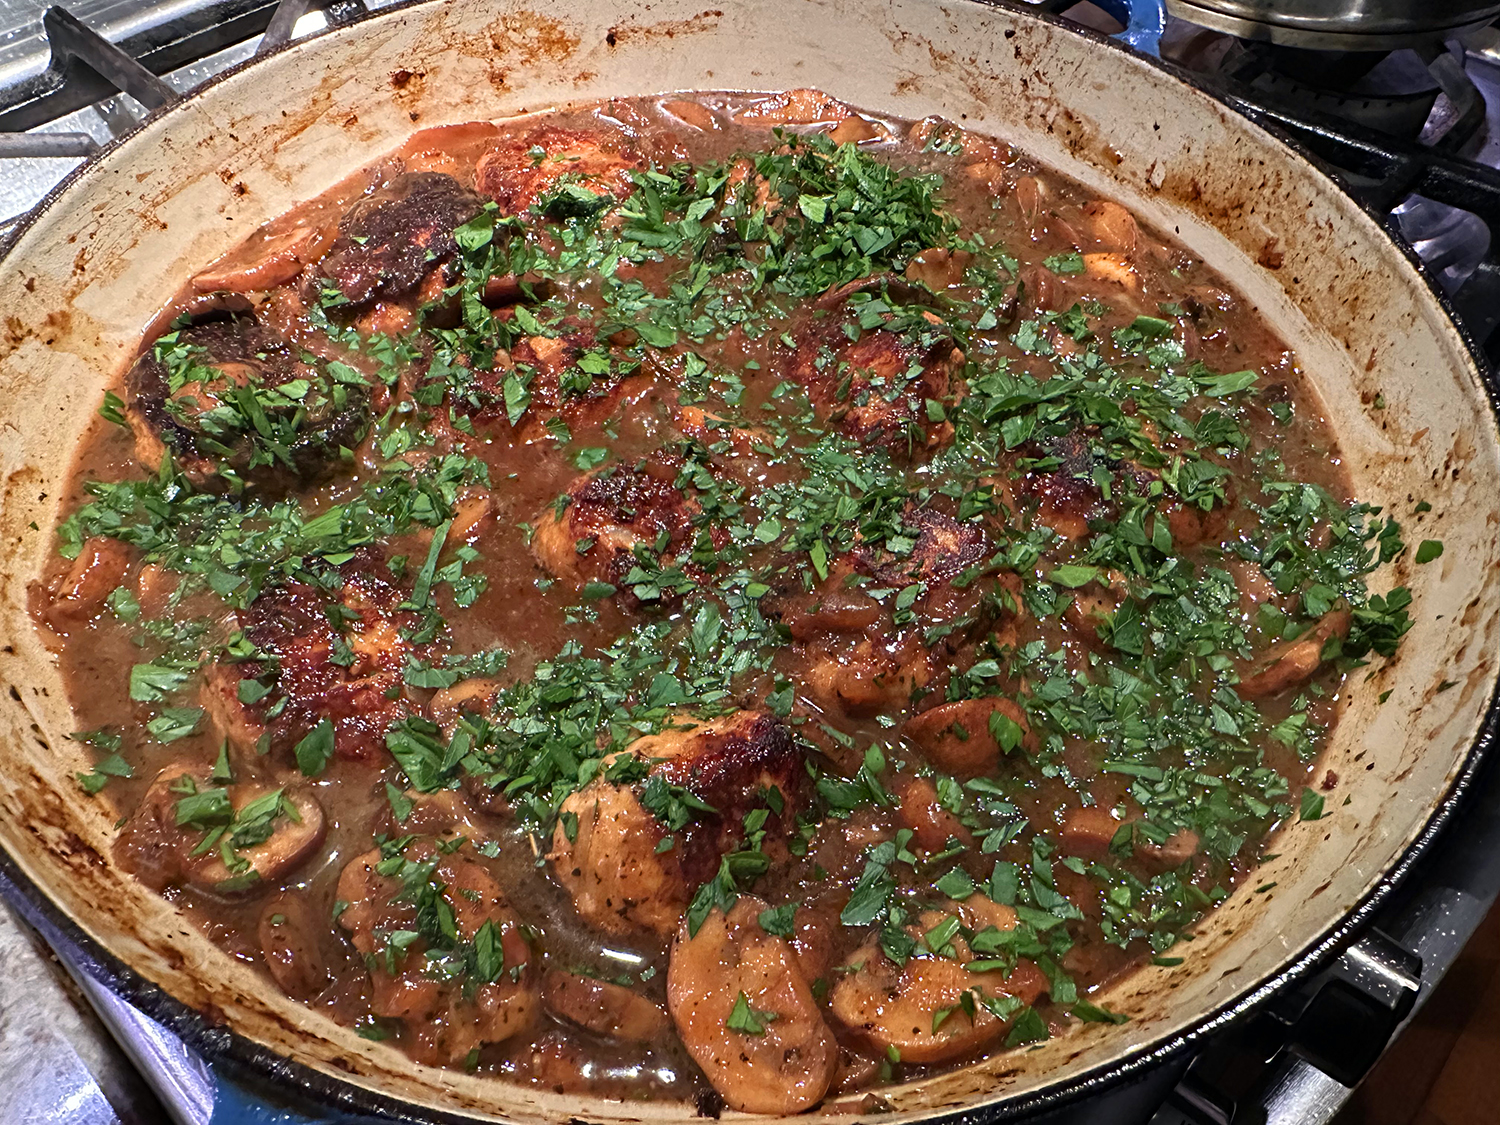
Ragù Cilentano: Slow-Cooked Short Ribs with Pasta
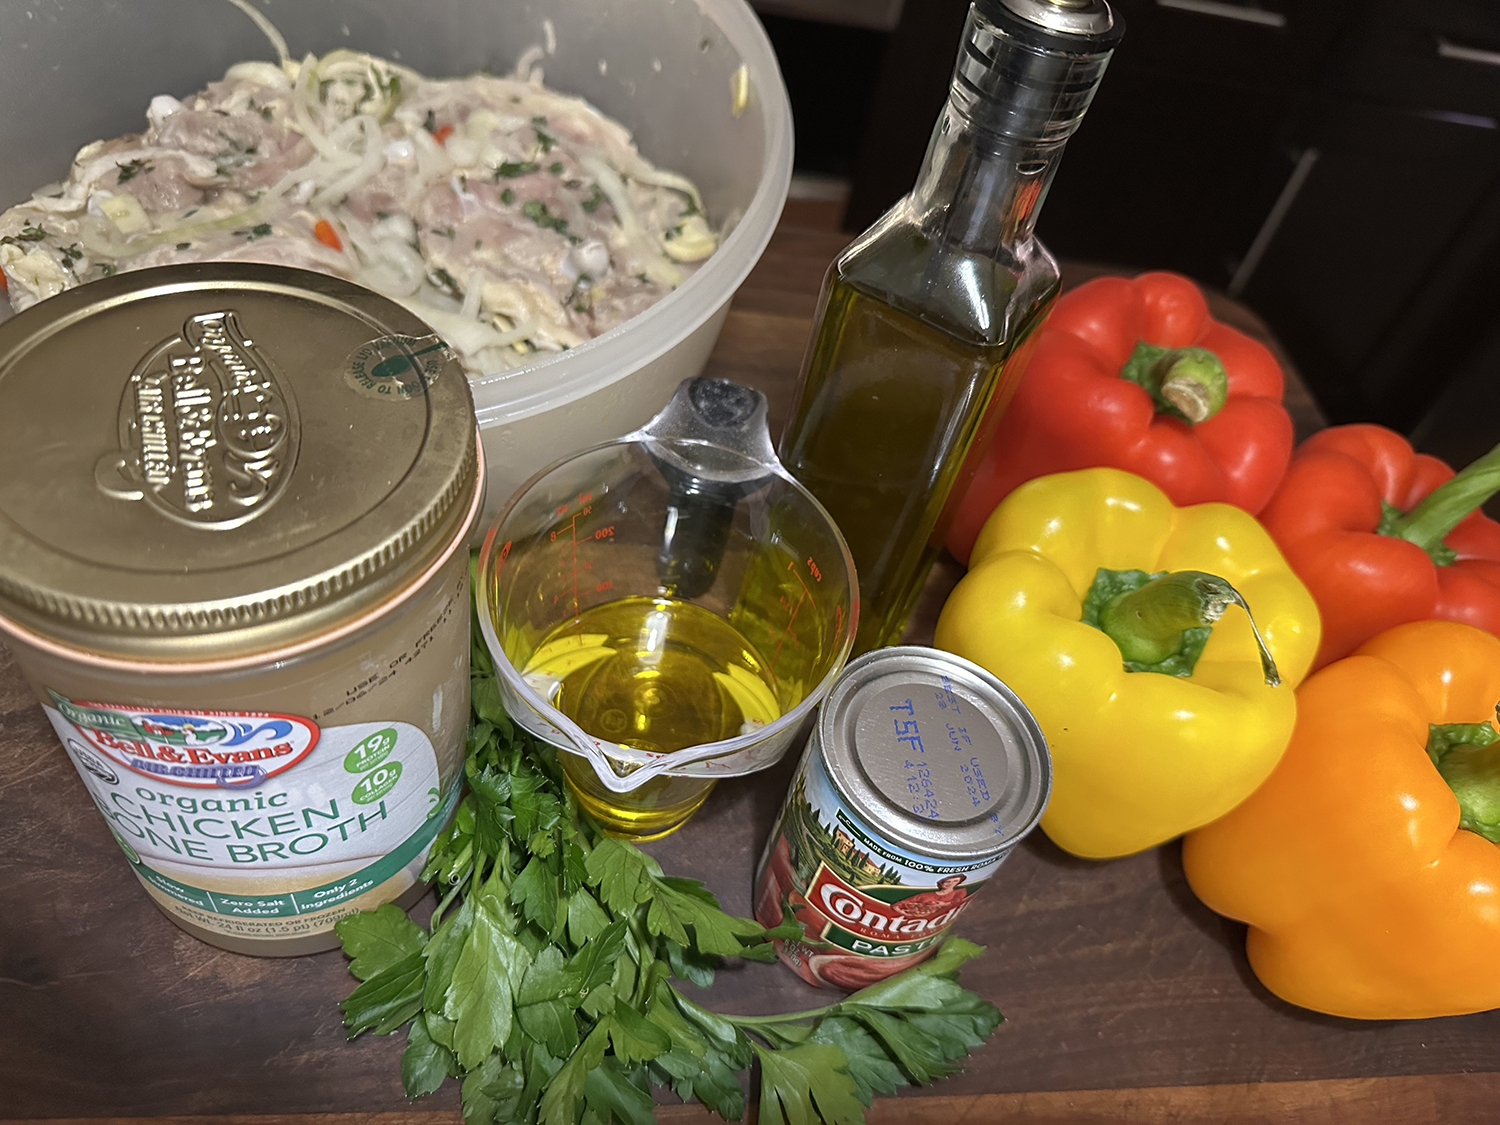
Ingredients
- 1 Tbsp. extra-virgin olive oil
- 4 oz. pancetta, chopped
- 1 medium yellow onion, chopped
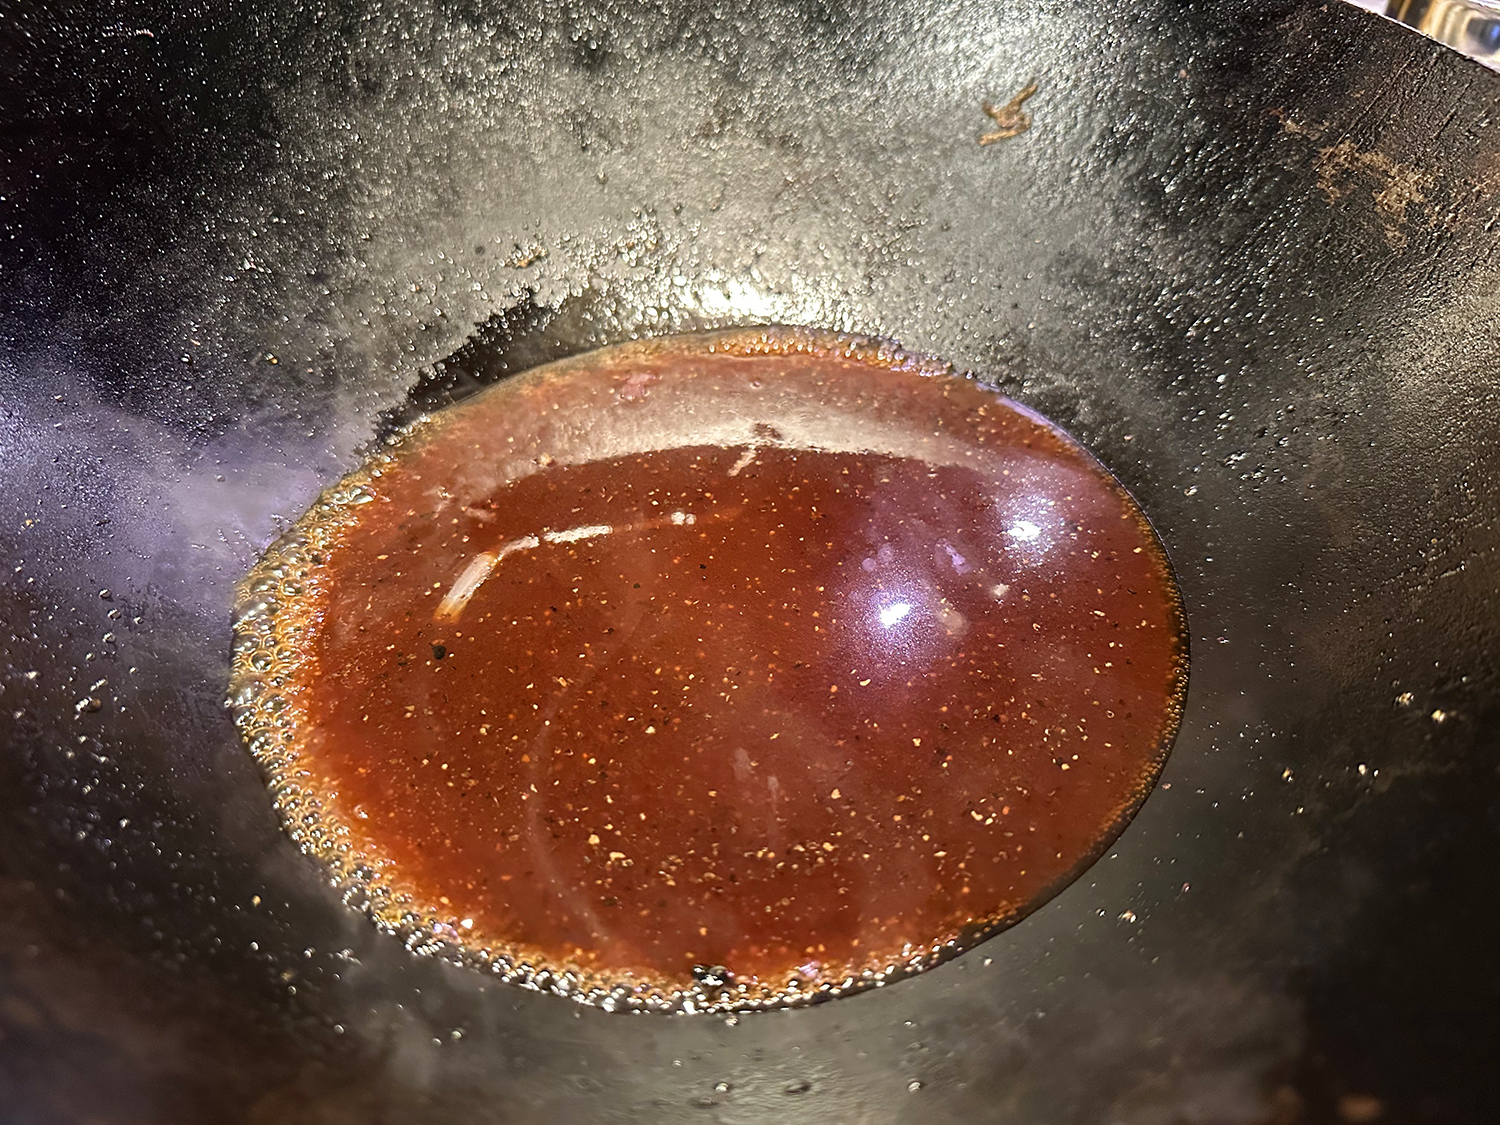
- 3 Tbsp. tomato paste
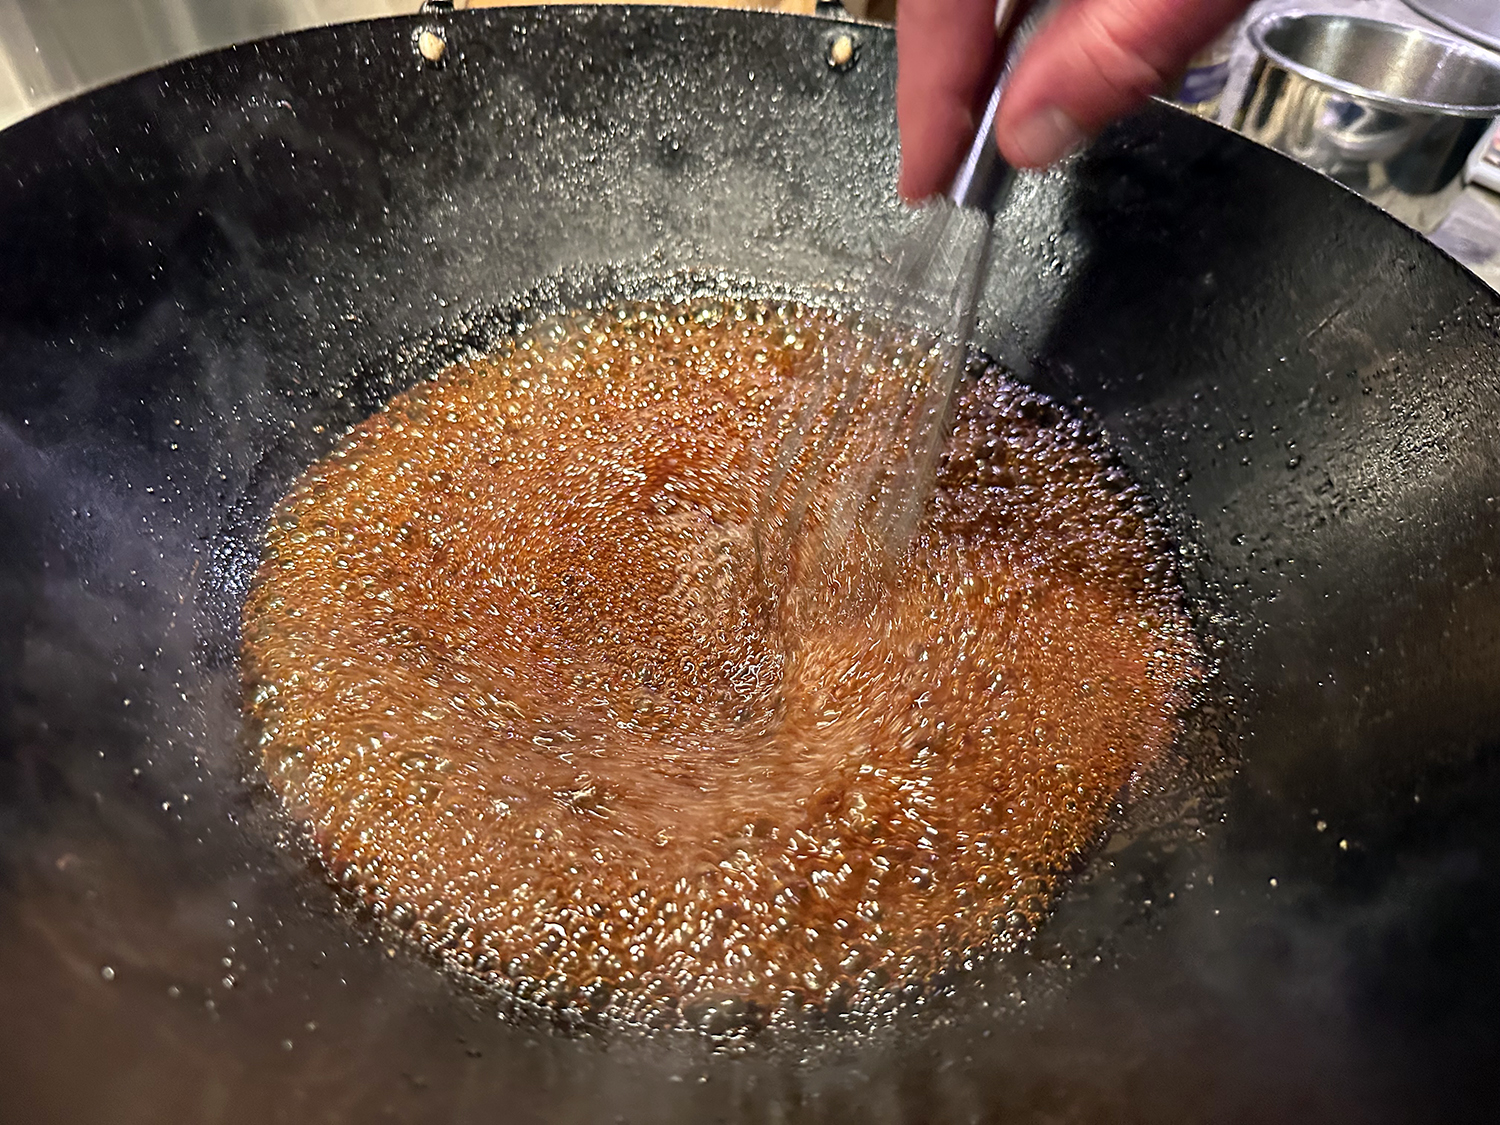
- 1/2 cup dry white wine
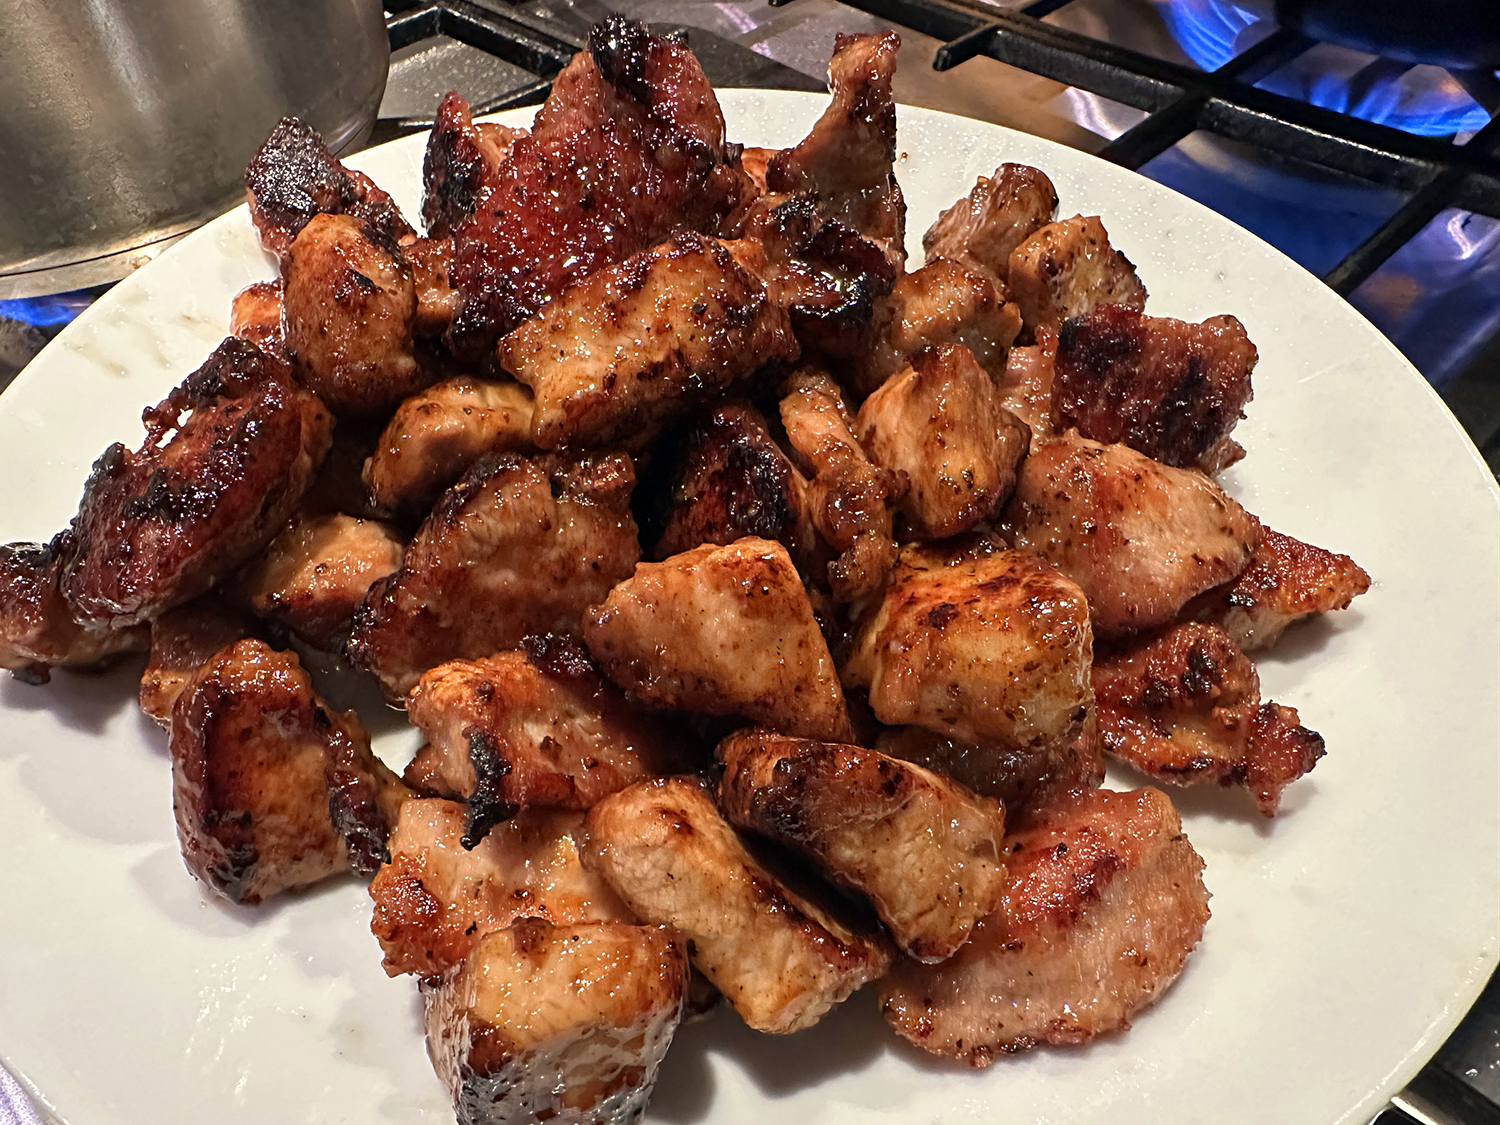
- 1 lb. boneless beef short ribs, cut into 1-inch chunks
- 1 28-oz. can whole peeled tomatoes, crushed by hand
- Kosher salt and ground black pepper
- 1 lb. cavatelli, cavatappi or orecchiette pasta
- 1 oz. Parmesan cheese, finely grated (½ cup), plus more to serve
- 1/2 cup chopped fresh basil


Directions
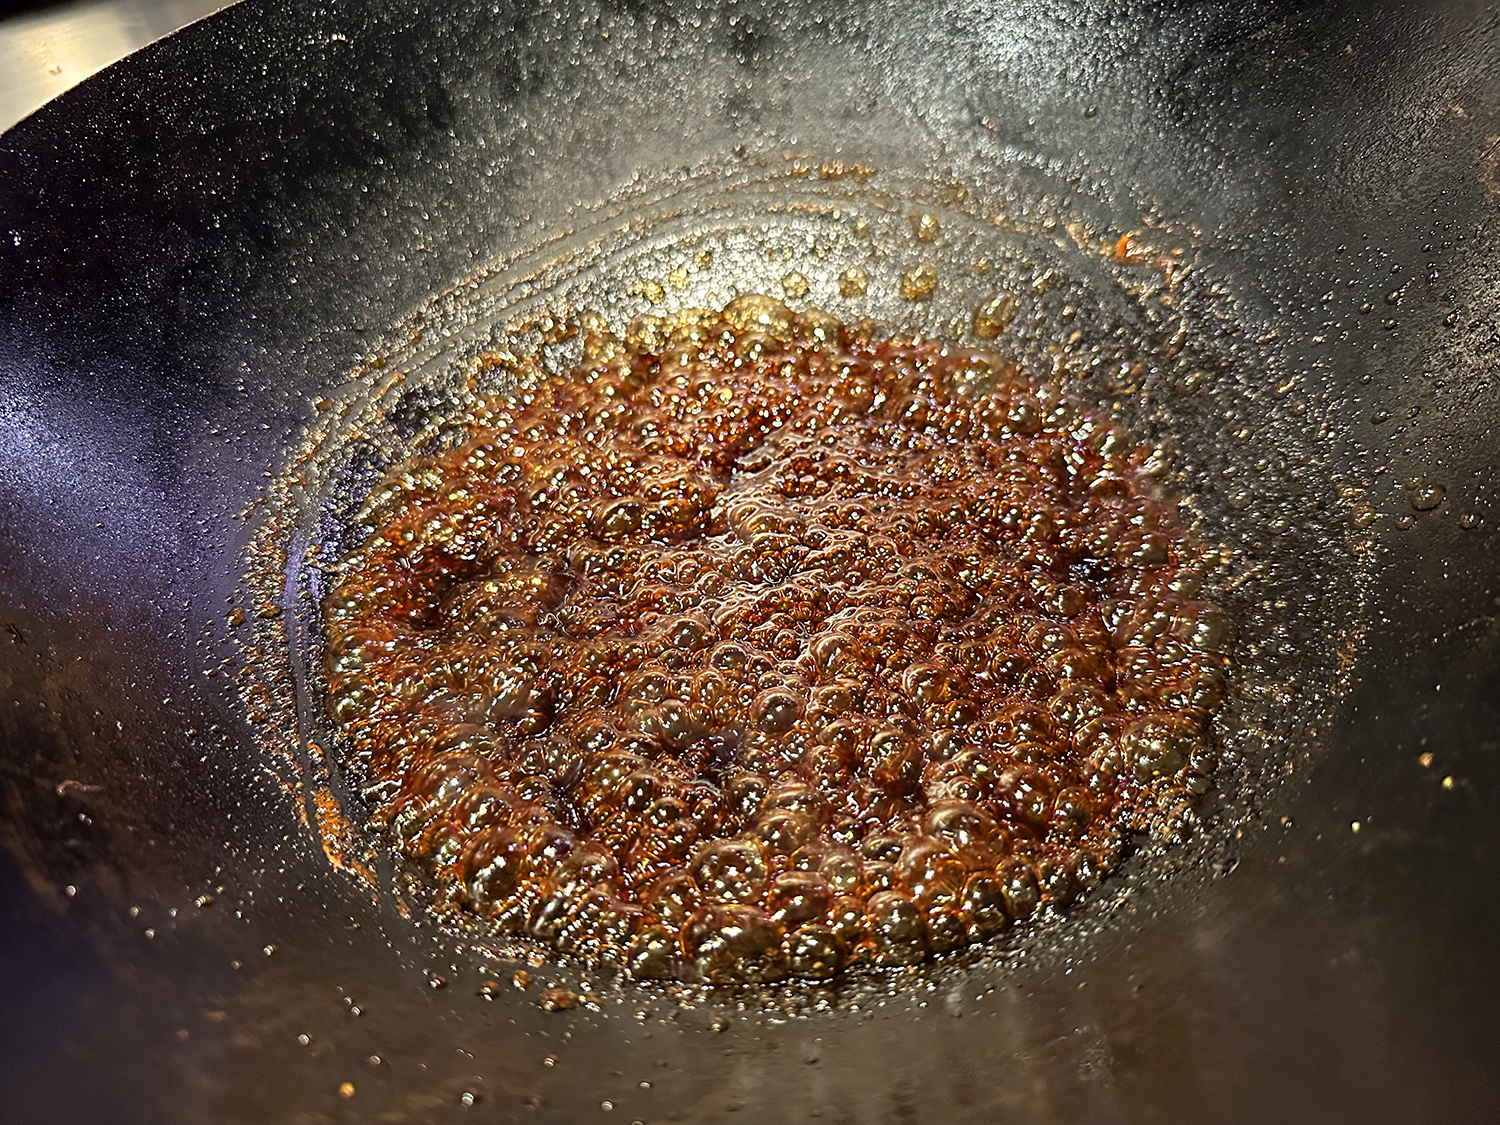
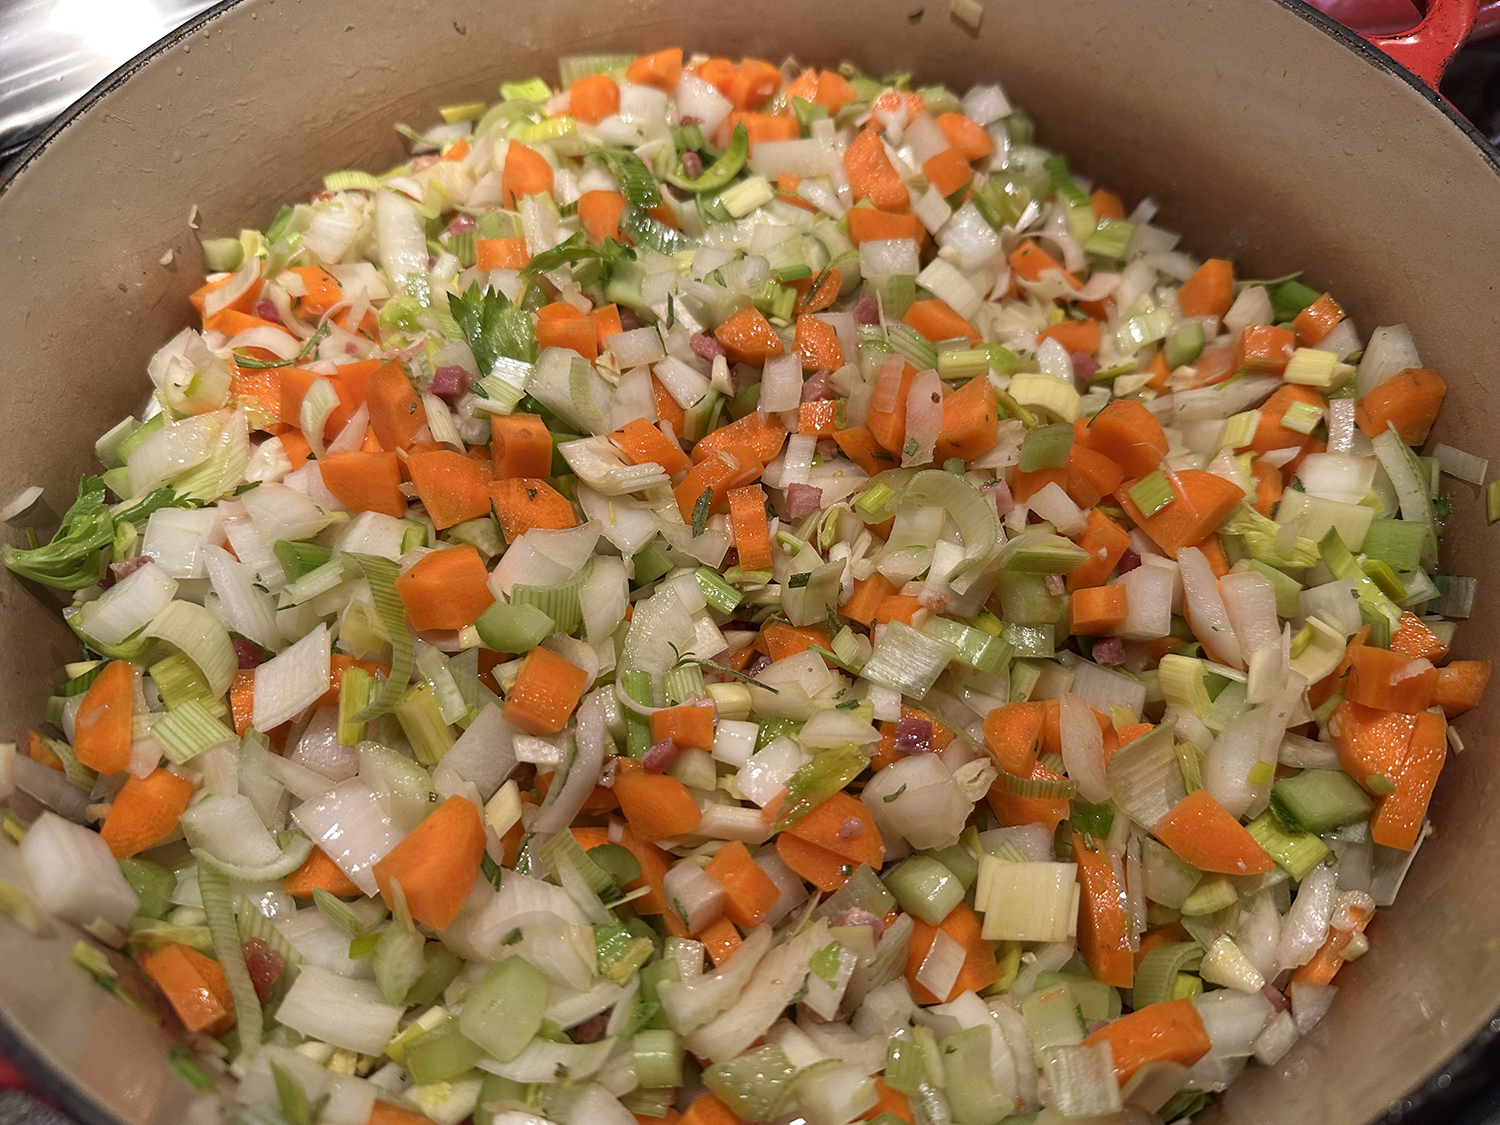
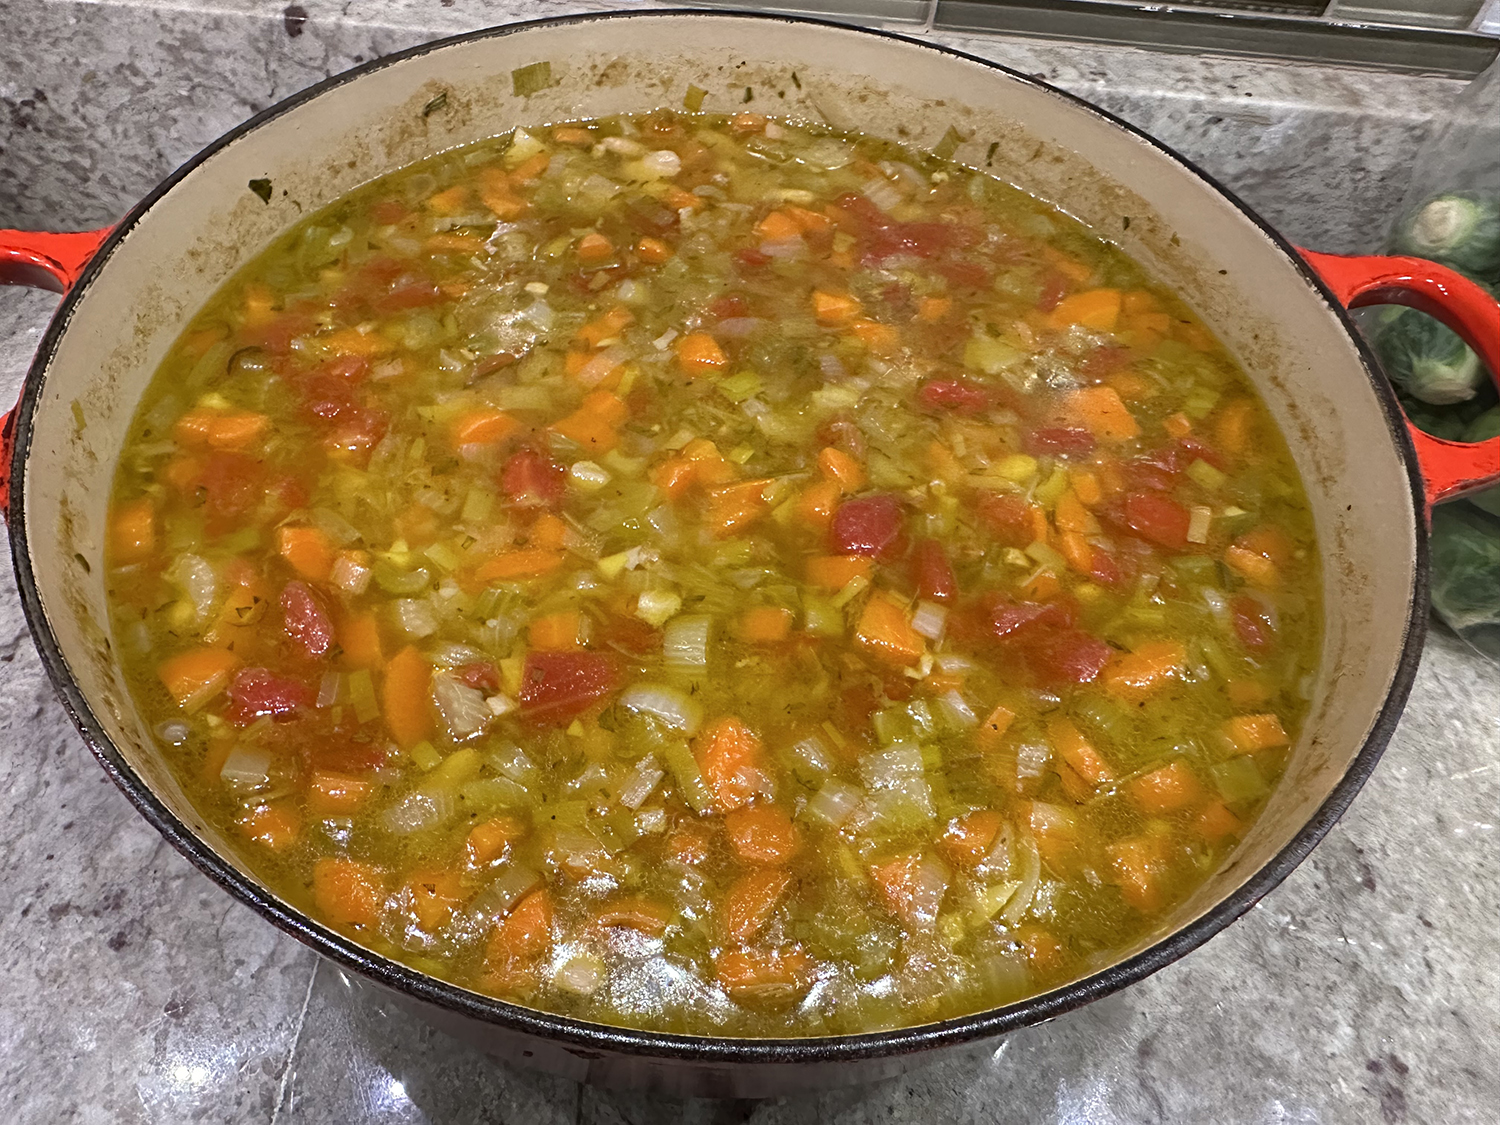
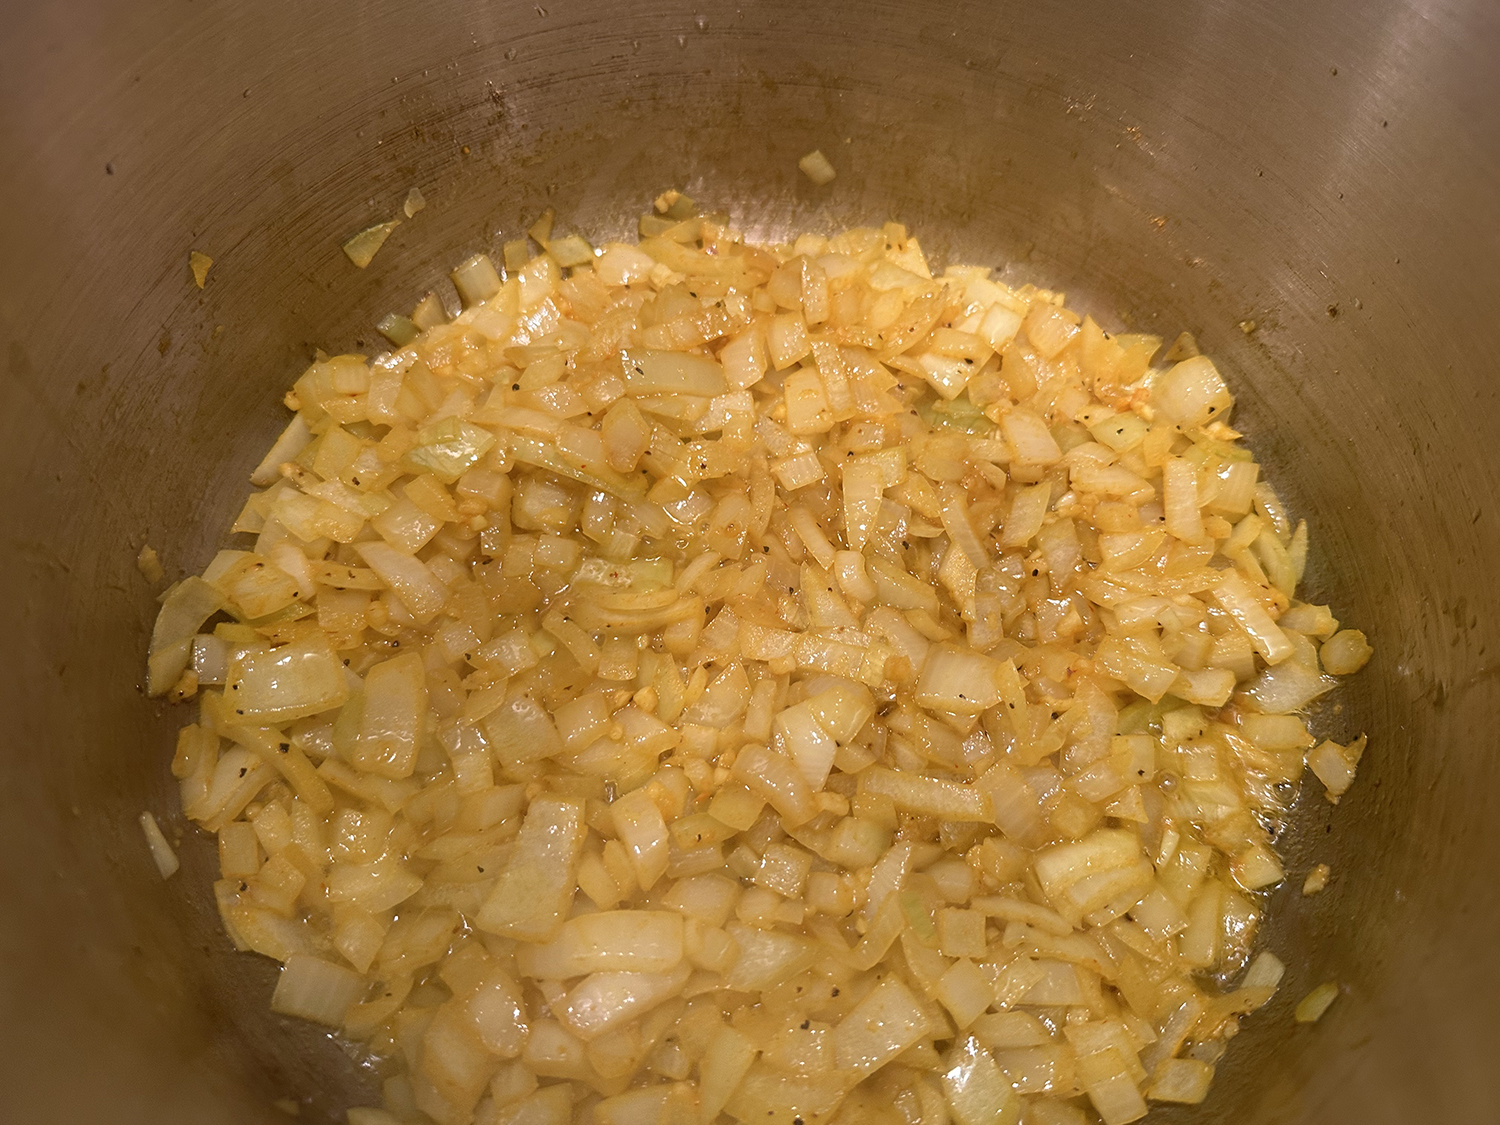
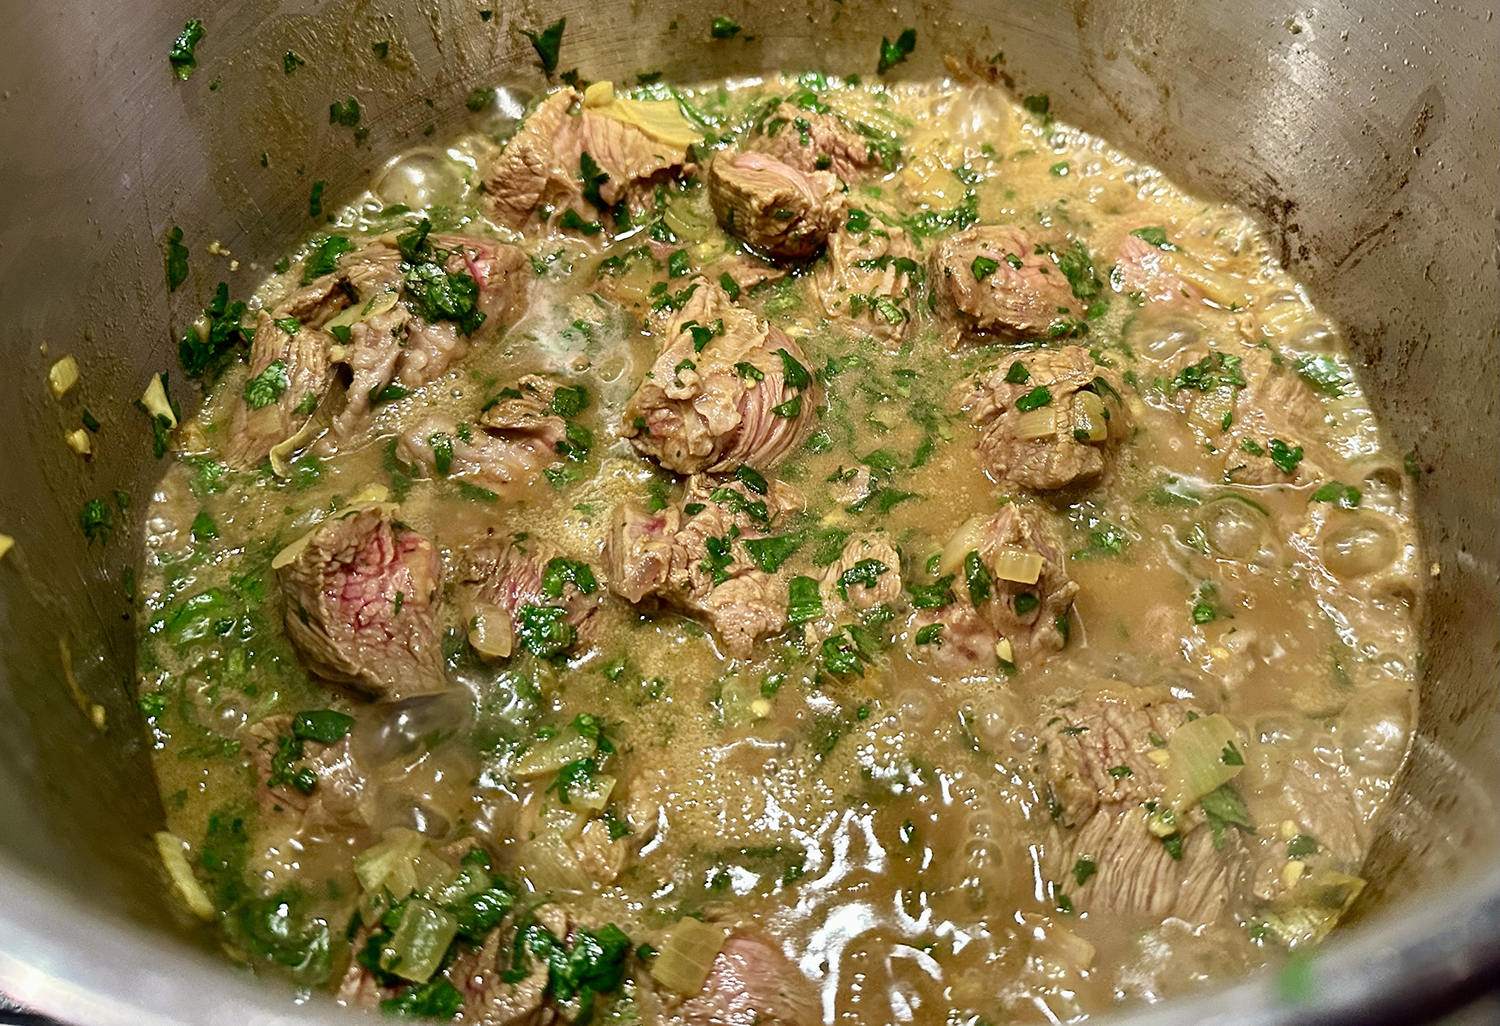
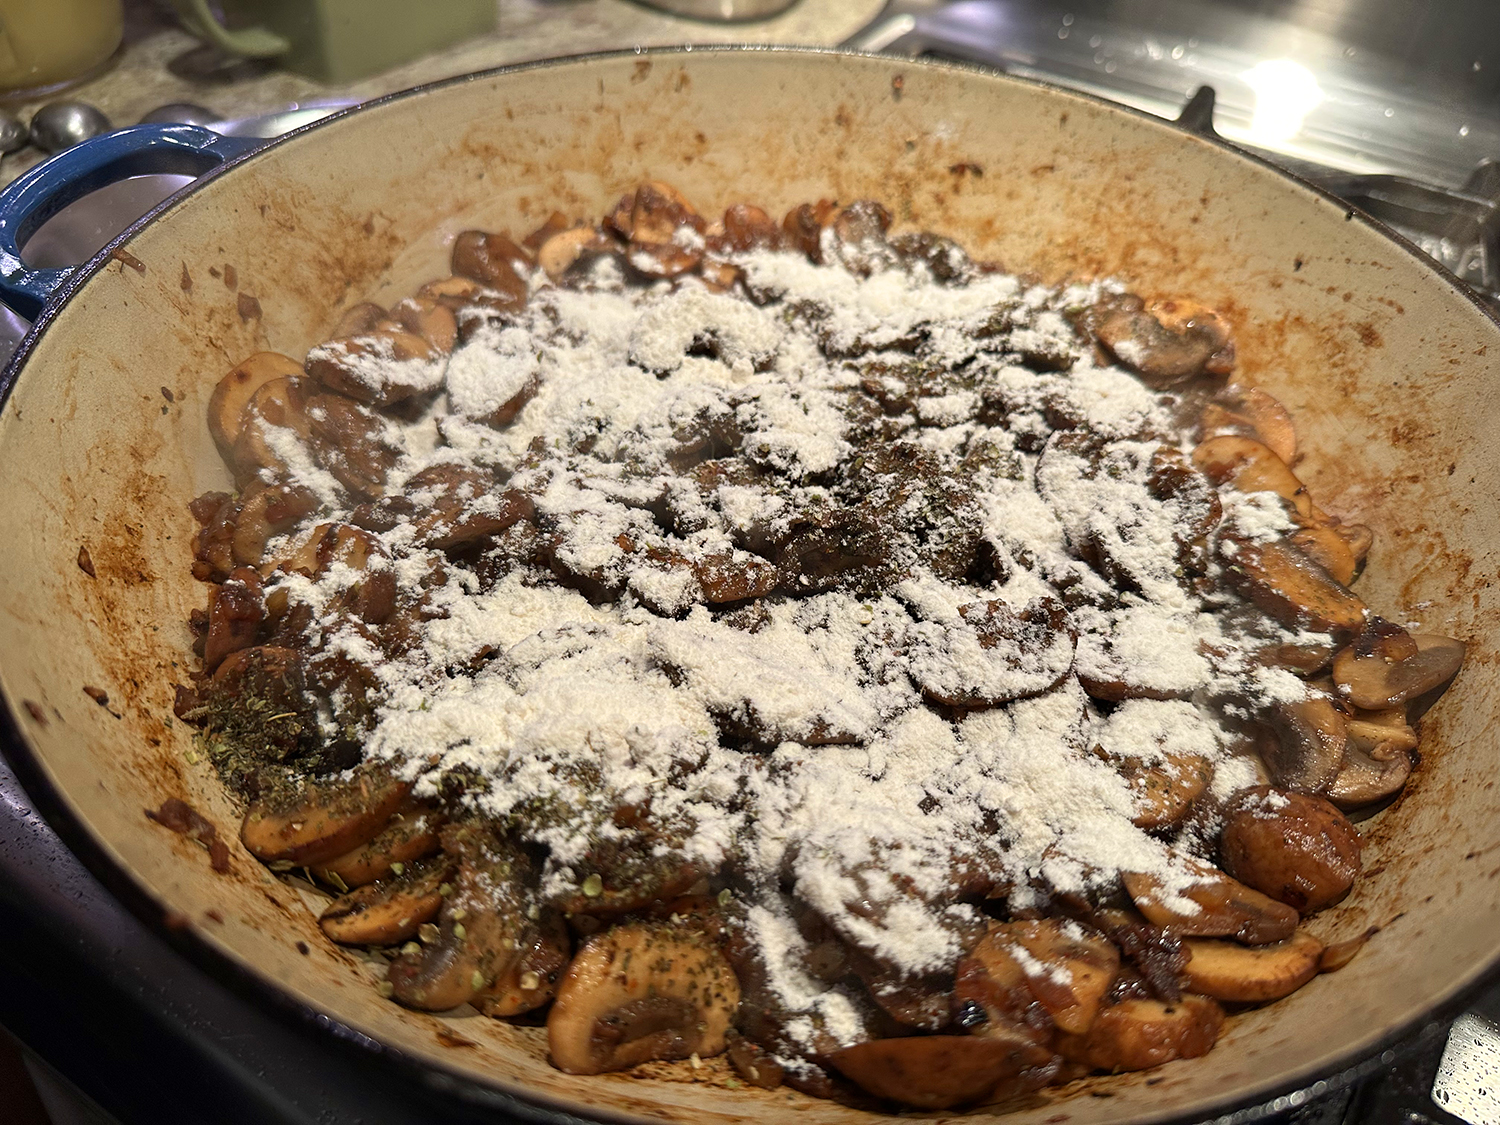
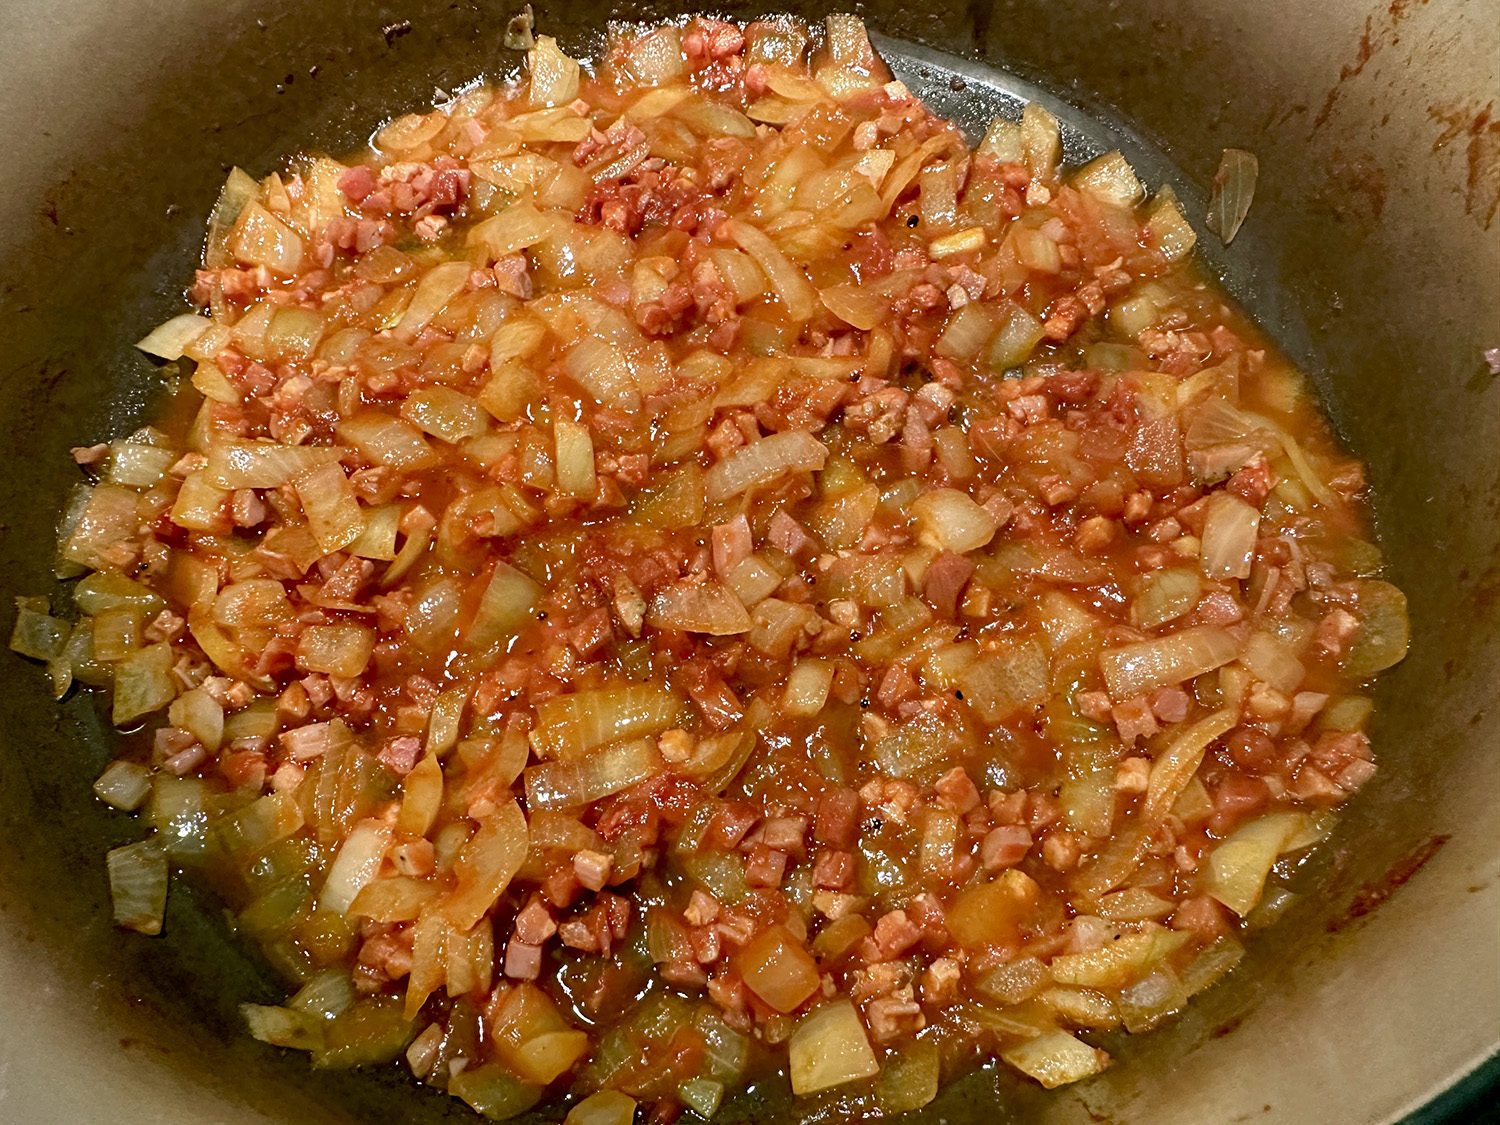
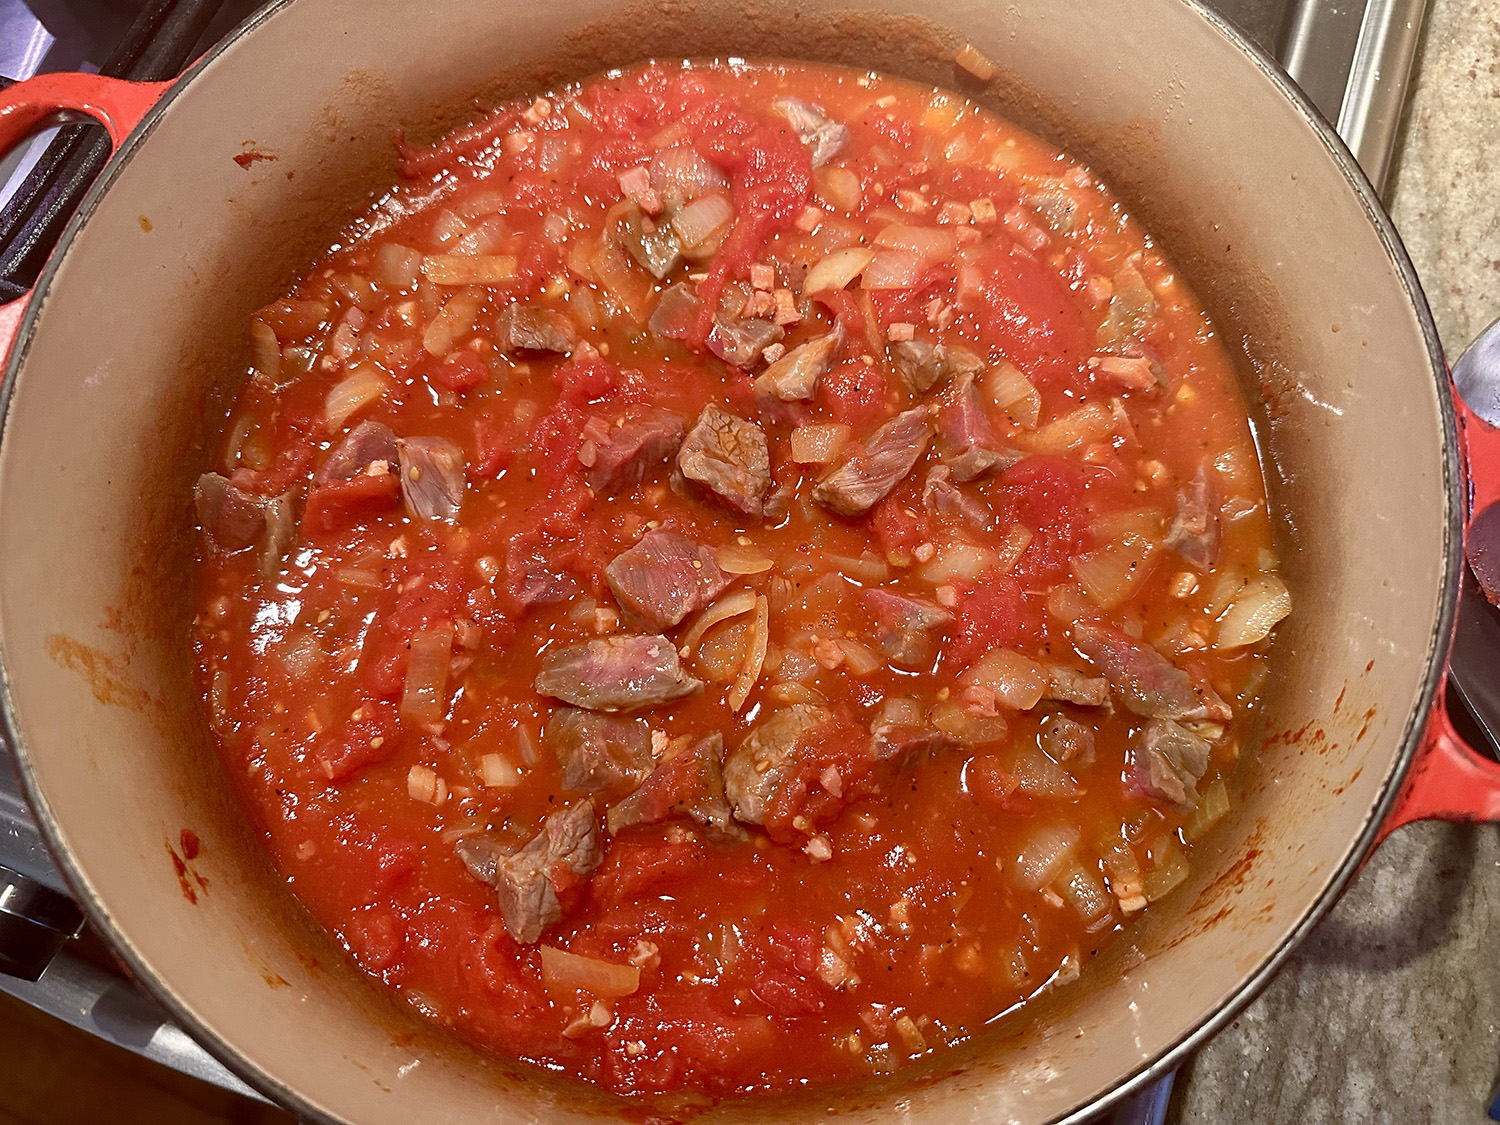
- Heat the oven to 350°F with a rack in the lower-middle position. In a Dutch oven over medium, combine the oil, pancetta and onion. Cook over medium, stirring occasionally, until the onion is lightly browned, 4 to 5 minutes. Add the tomato paste and cook, stirring, until it starts to darken and stick to the bottom of the pot, 1 to 2 minutes. Add the wine and cook, scraping up any browned bits, until reduced by half, about 1 minute. Stir in the beef, tomatoes with juices, ½ cup water, ½ teaspoon each salt and pepper. Bring to a simmer over medium-high, cover, transfer to the oven and cook for 2 hours.
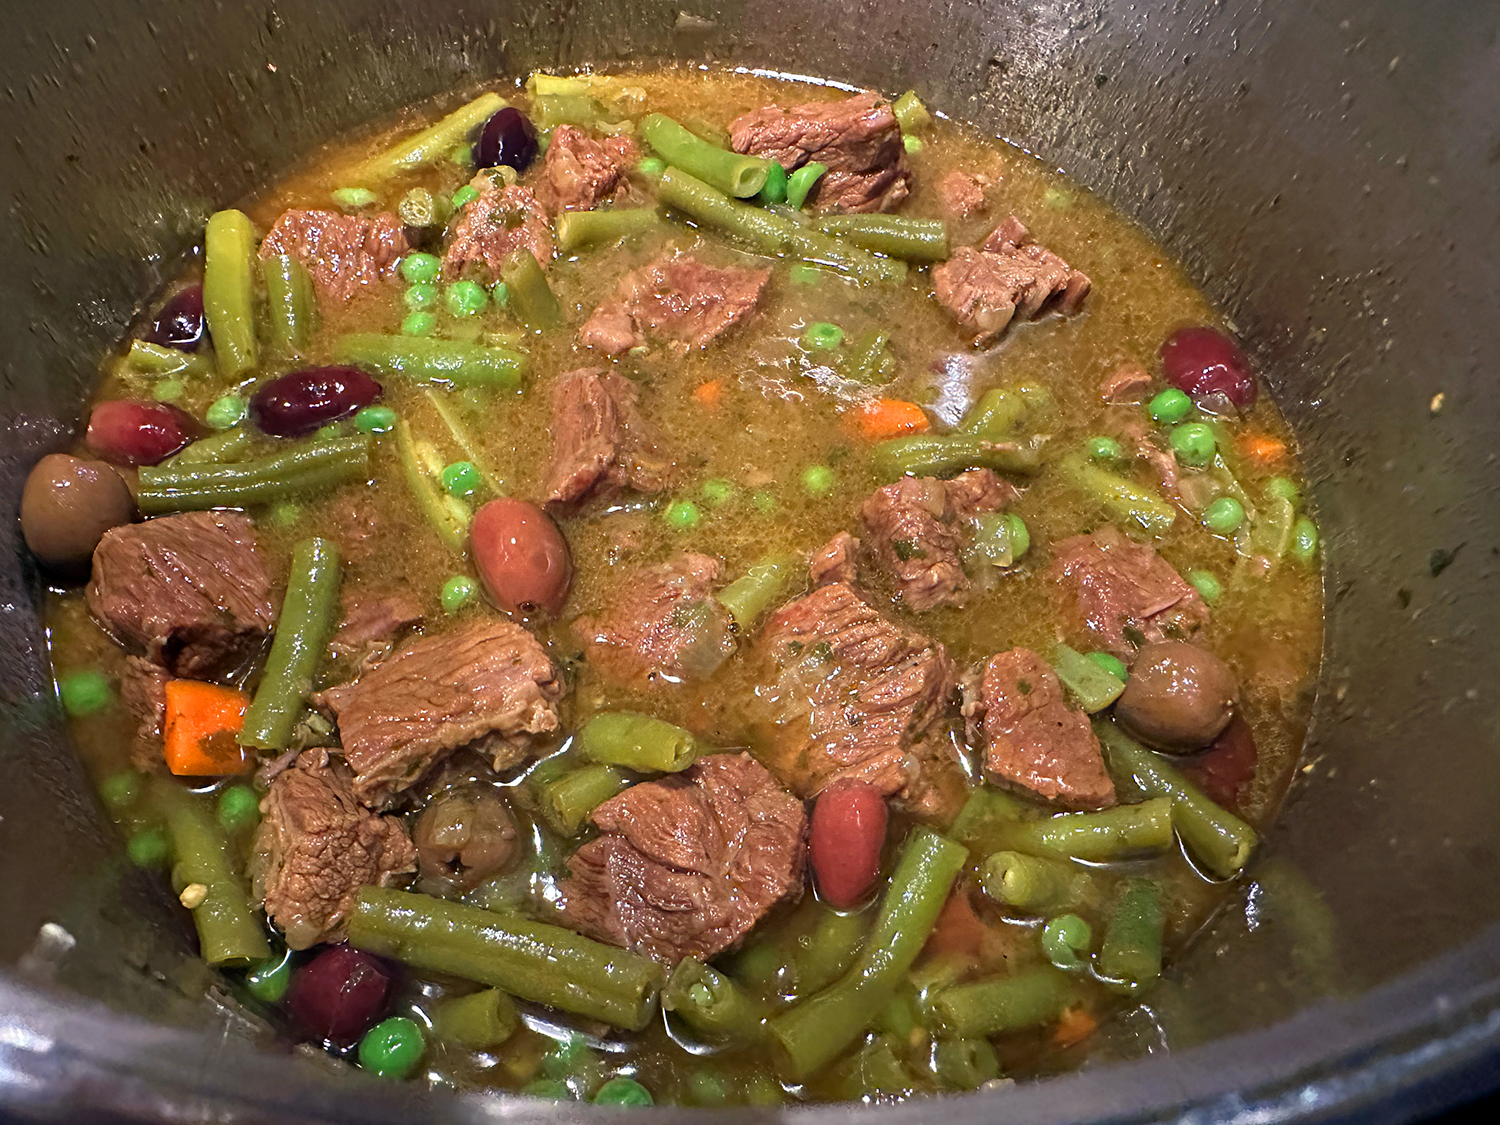
- Remove the pot from the oven, uncover and stir, scraping the sides of the pot. Return to the oven uncovered and cook until a skewer inserted into a piece of beef meets no resistance, about 30 minutes. Remove from the oven. If desired, skim off and discard some of the fat from the surface, but leave some for flavor. Cover to keep warm while you cook the pasta.
- In a large pot, bring 4 quarts water to boil. Add the pasta and 1 tablespoon salt; cook, stirring occasionally, until al dente. Reserve ½ cup of the cooking water, then drain the pasta.
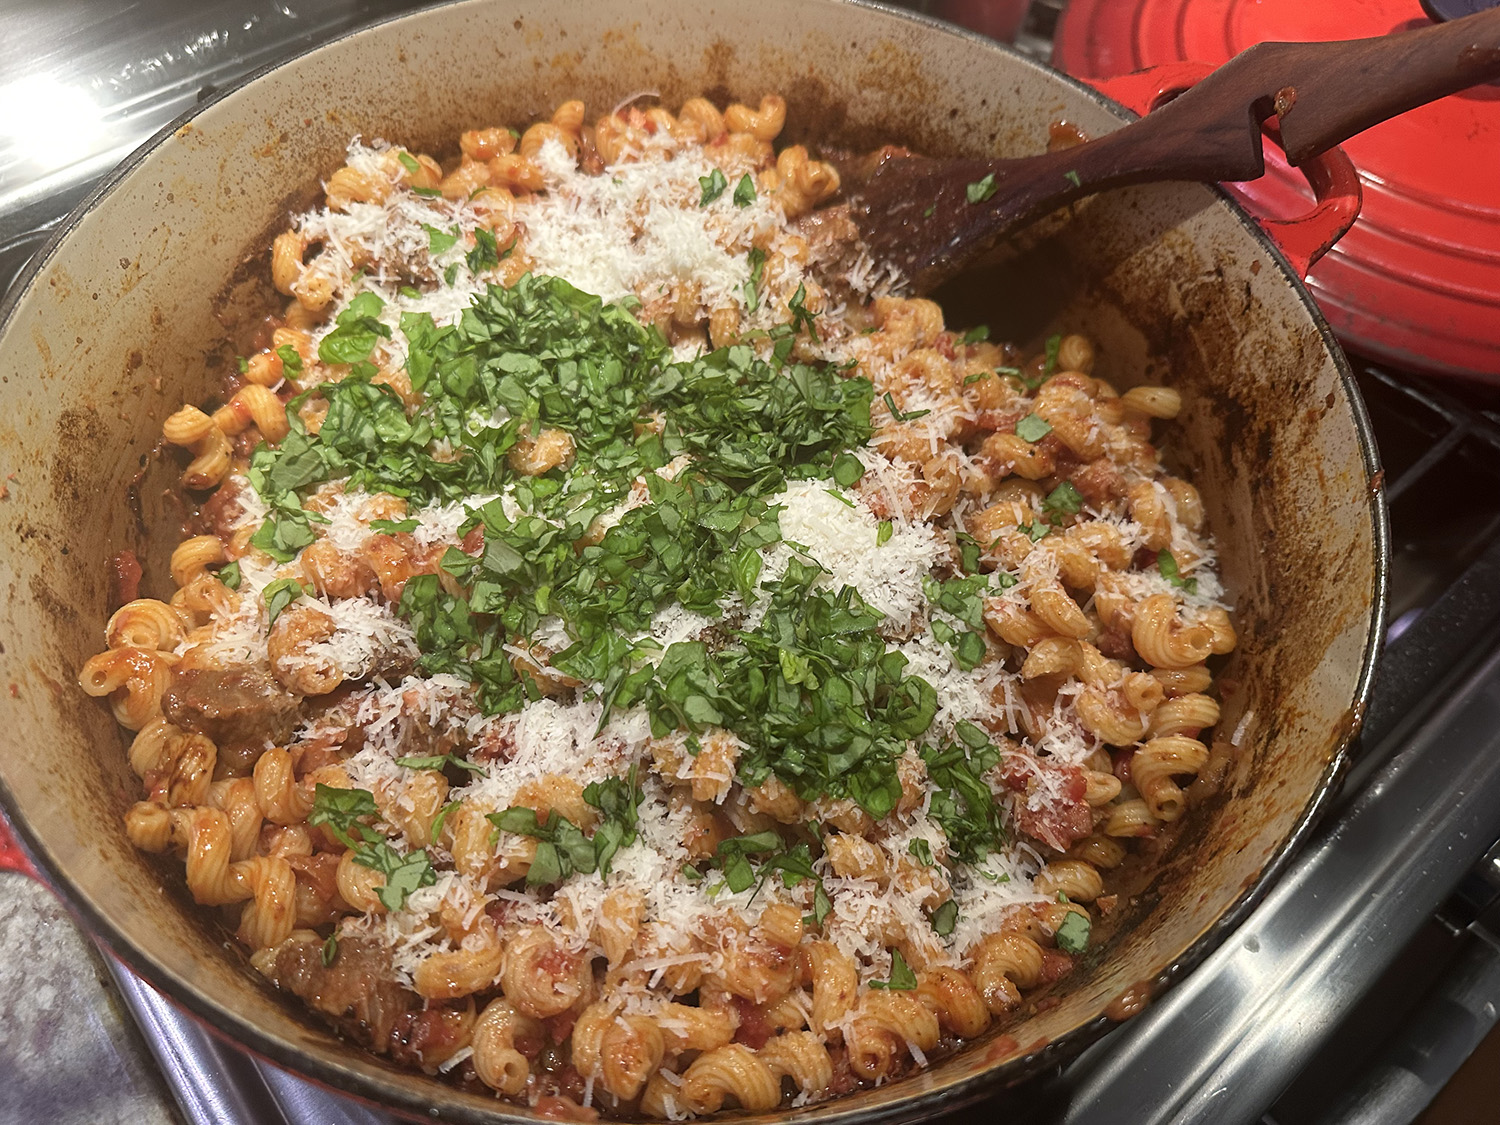
- Add the pasta to the ragù and cook over medium, stirring, until the pasta is well coated in sauce and everything is heated through; if it looks dry, stir in reserved cooking water as needed. Off heat, stir in the basil and cheese, then taste and season with salt and pepper. Serve with additional cheese.
Adapted from a recipe by Rose Hattabaugh for Milk Street