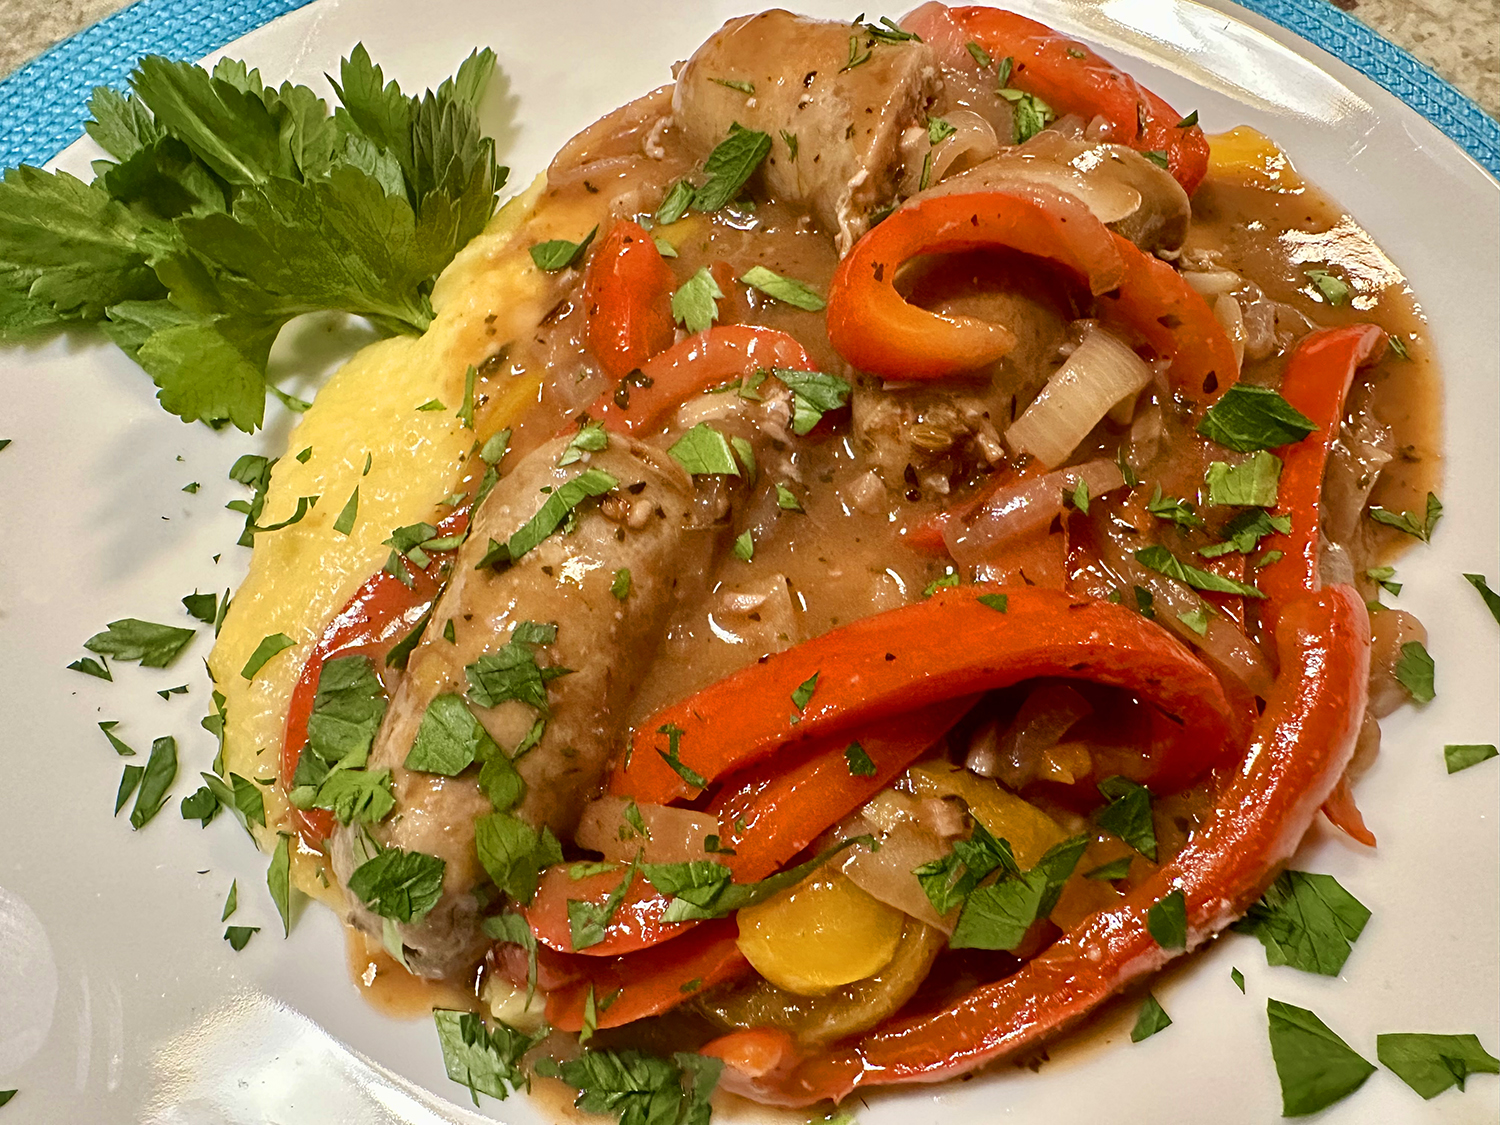
This creamy polenta is a great base for a weeknight meal. Cooking the polenta over the lowest setting limits sticking and eliminates the need for stirring, while a pinch of baking soda speeds up cooking. One of the toppings for serving over the polenta that could be prepared simultaneously is juicy sausage, tender vegetables, and a savory sauce that clings to the polenta.

This recipe was developed with Bob’s Red Mill yellow corn polenta. Coarse-ground grits also work well. Avoid quick-cooking or instant polenta and cornmeal. Either sweet or spicy Italian sausage links work fine. Make the choice depending on the tolerance of the eaters.
Creamy Polenta
POLENTA
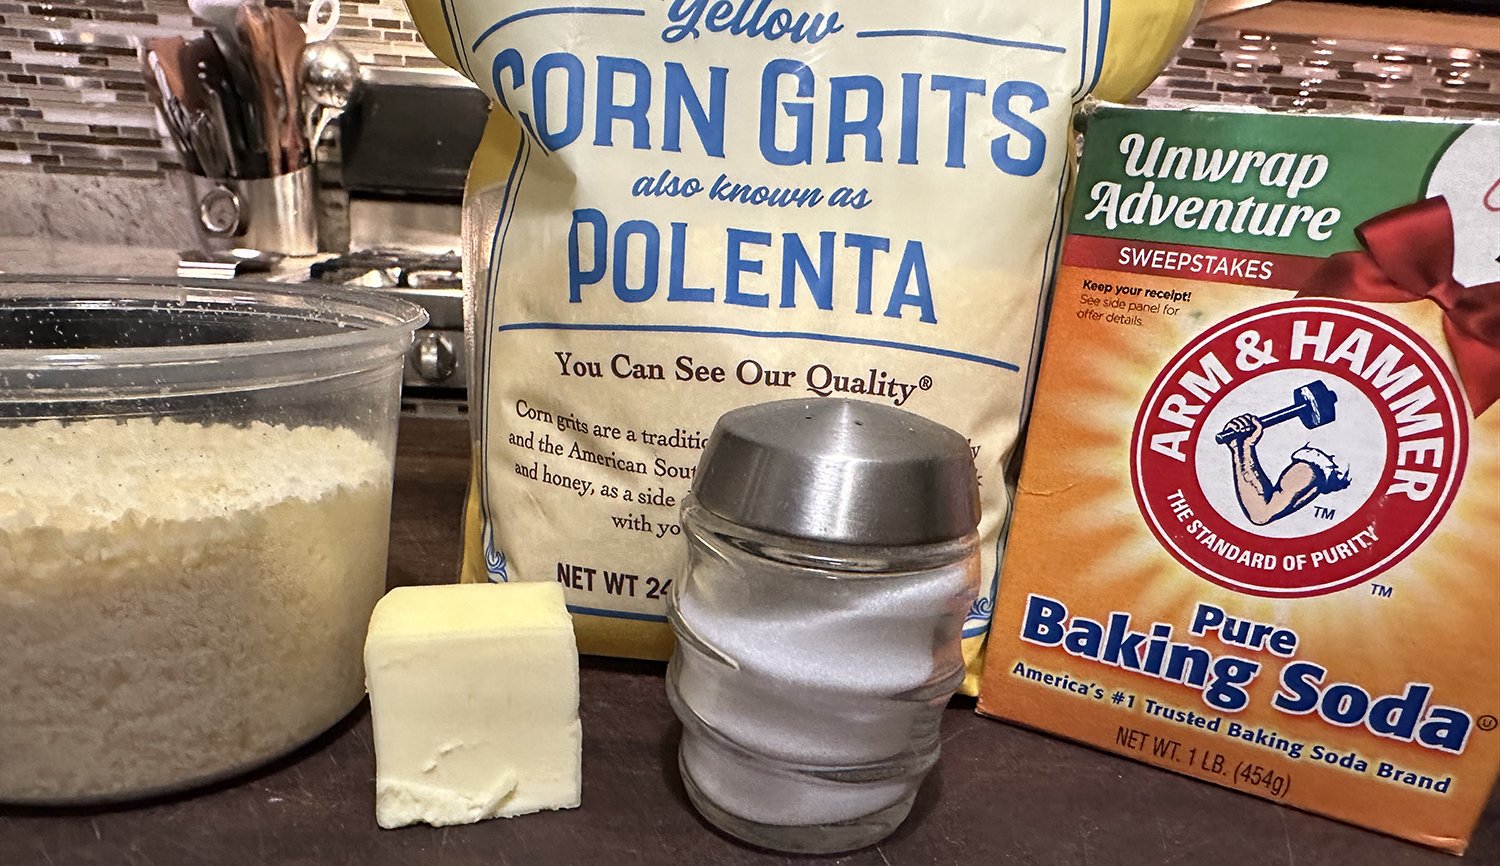
Ingredients
- 4 ½ cups water
- 1 cup coarse-ground polenta
- 1 tsp. table salt
- Pinch baking soda
- 1 Tbsp. unsalted butter
- 1 oz. Parmesan cheese, grated (½ cup)


Directions
- Bring water to boil in medium saucepan over high heat. Whisk in polenta, salt, and baking soda. Bring mixture to boil, stirring frequently. Reduce heat to lowest possible setting, cover and cook for 5 minutes.
- Whisk until smooth, cover, and continue to cook until grains are tender but slightly al dente, about 25 minutes. (The polenta should be loose and barely hold its shape when drizzled from whisk; it will continue to thicken as it cools.)
- Remove from heat, whisk in butter and Parmesan, and season to taste with salt and pepper. Keep covered until ready to serve.
Recipe from Cook’s Illustrated
TOPPINGS
Sausage and Peppers Topping
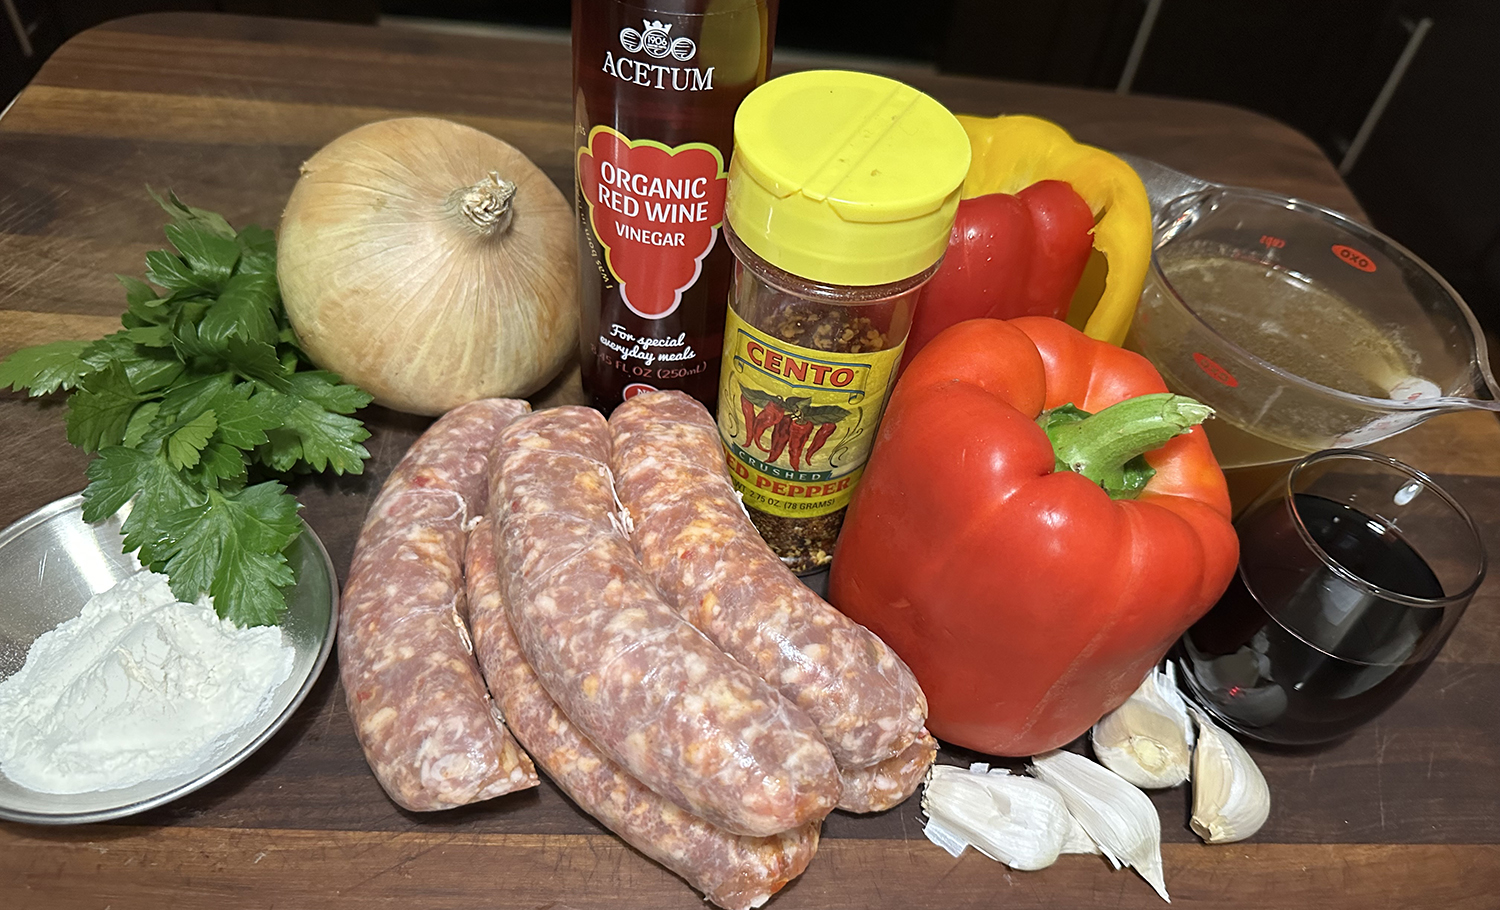
Ingredients
- 1 lb. sweet Italian sausage
- ½ cup water
- 4 garlic cloves, minced
- 1 tsp. dried oregano
- 1/8 tsp. red pepper flakes
- ½ cup dry red wine
- 2 red bell peppers, stemmed, seeded, and sliced thin
- 1 small onion, halved and sliced thin
- ¼ tsp. table salt
- 2 Tbsp. all-purpose flour
- 1 cup chicken broth
- 1 Tbsp. red wine vinegar
- Chopped fresh parsley


Directions
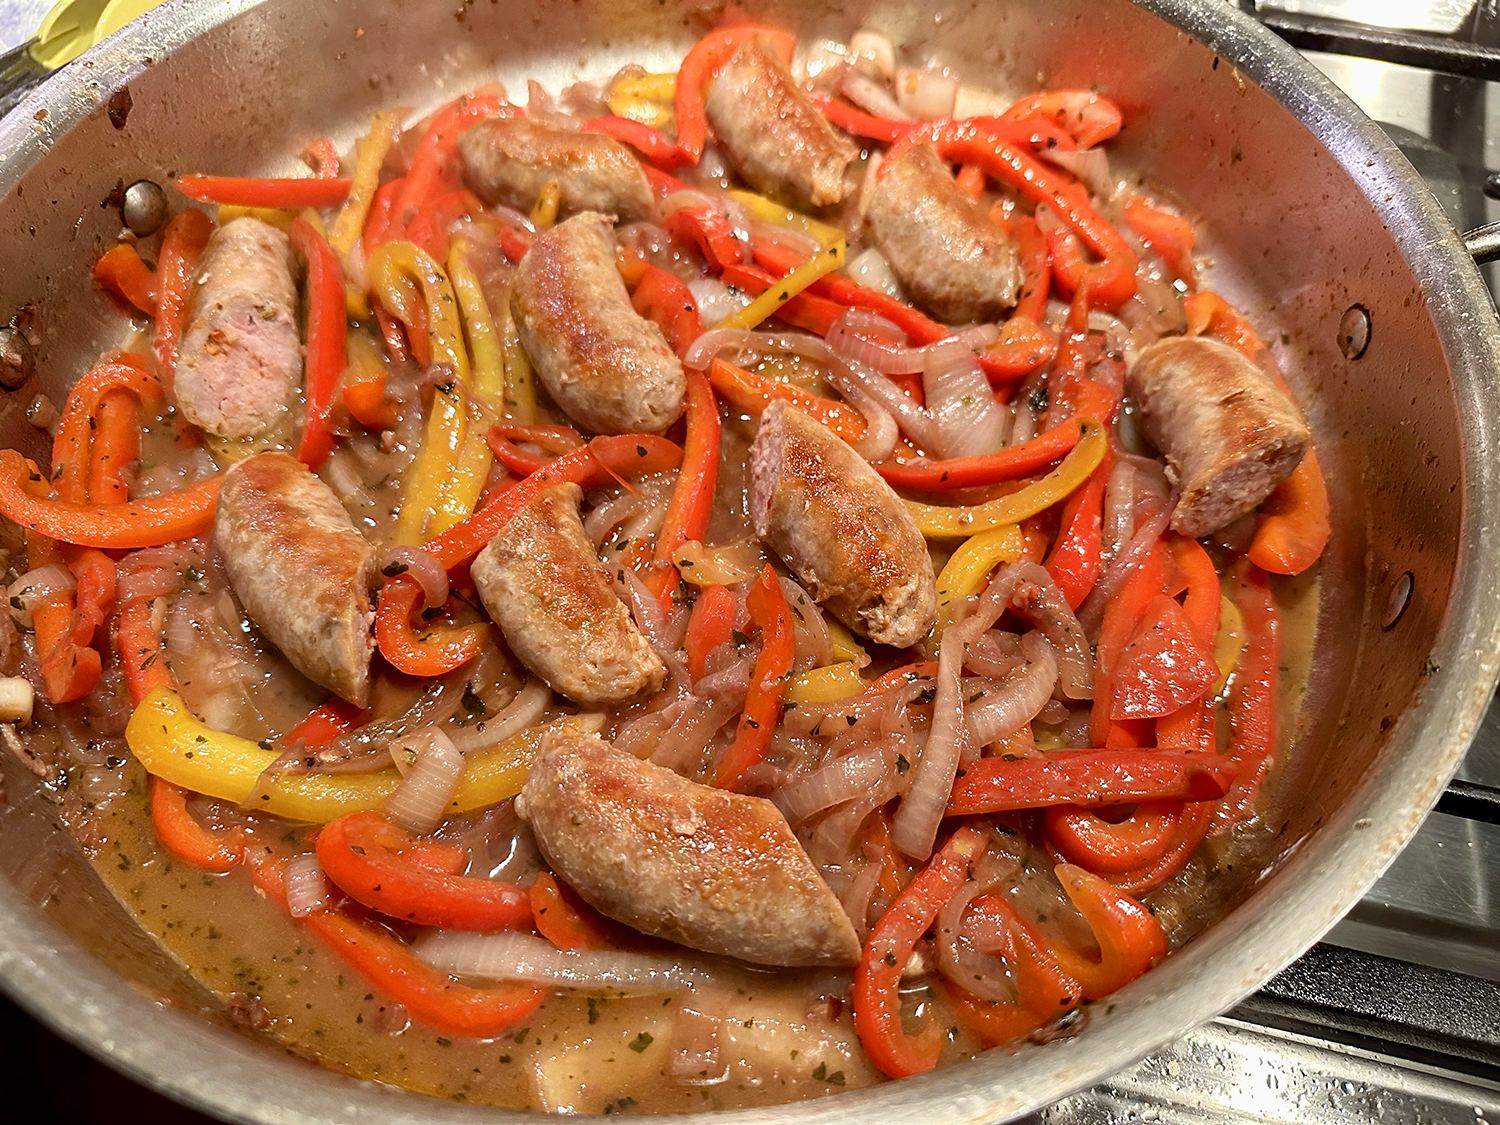
- Bring sausage and water to simmer in 12-inch skillet over medium heat. Cover and cook until sausages register at least 135 degrees, 5 to 7 minutes. (If skillet contents begin to sizzle, add ¼ cup water.)
- Uncover and, using paring knife, pierce each sausage in 8 to 10 spots to release fat and juices. Continue to cook, uncovered, moving sausages as necessary, until dark fond forms on bottom of skillet, 5 to 6 minutes. Transfer sausages to cutting board.
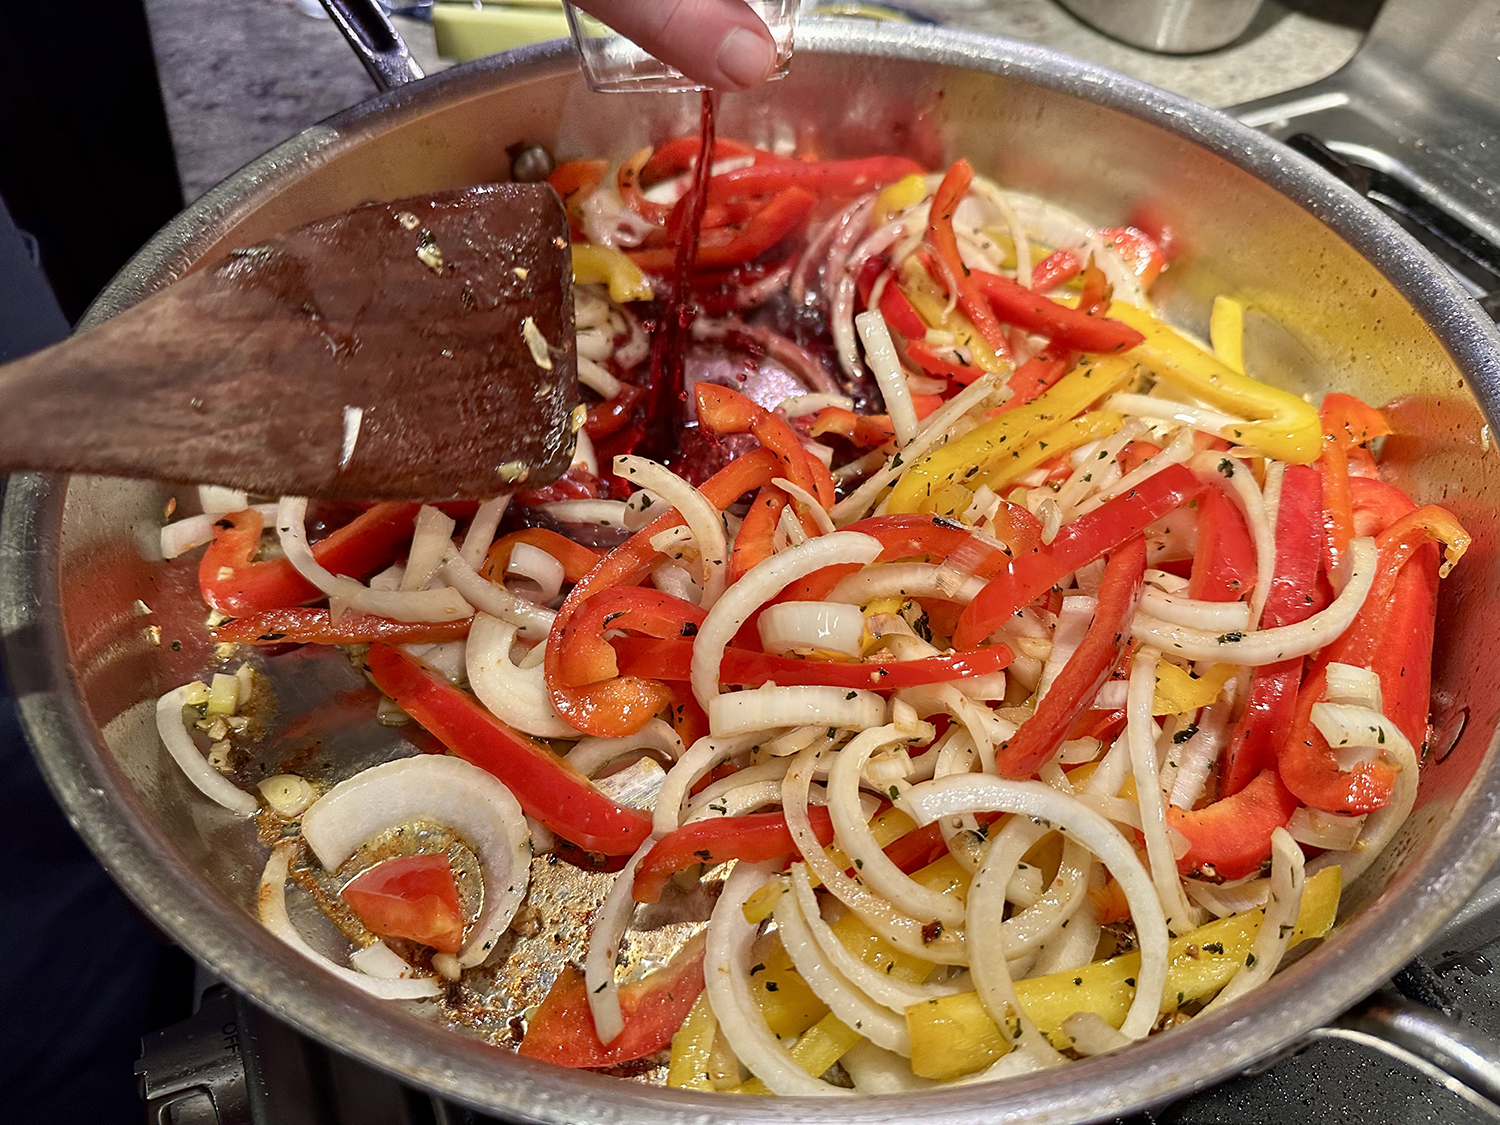
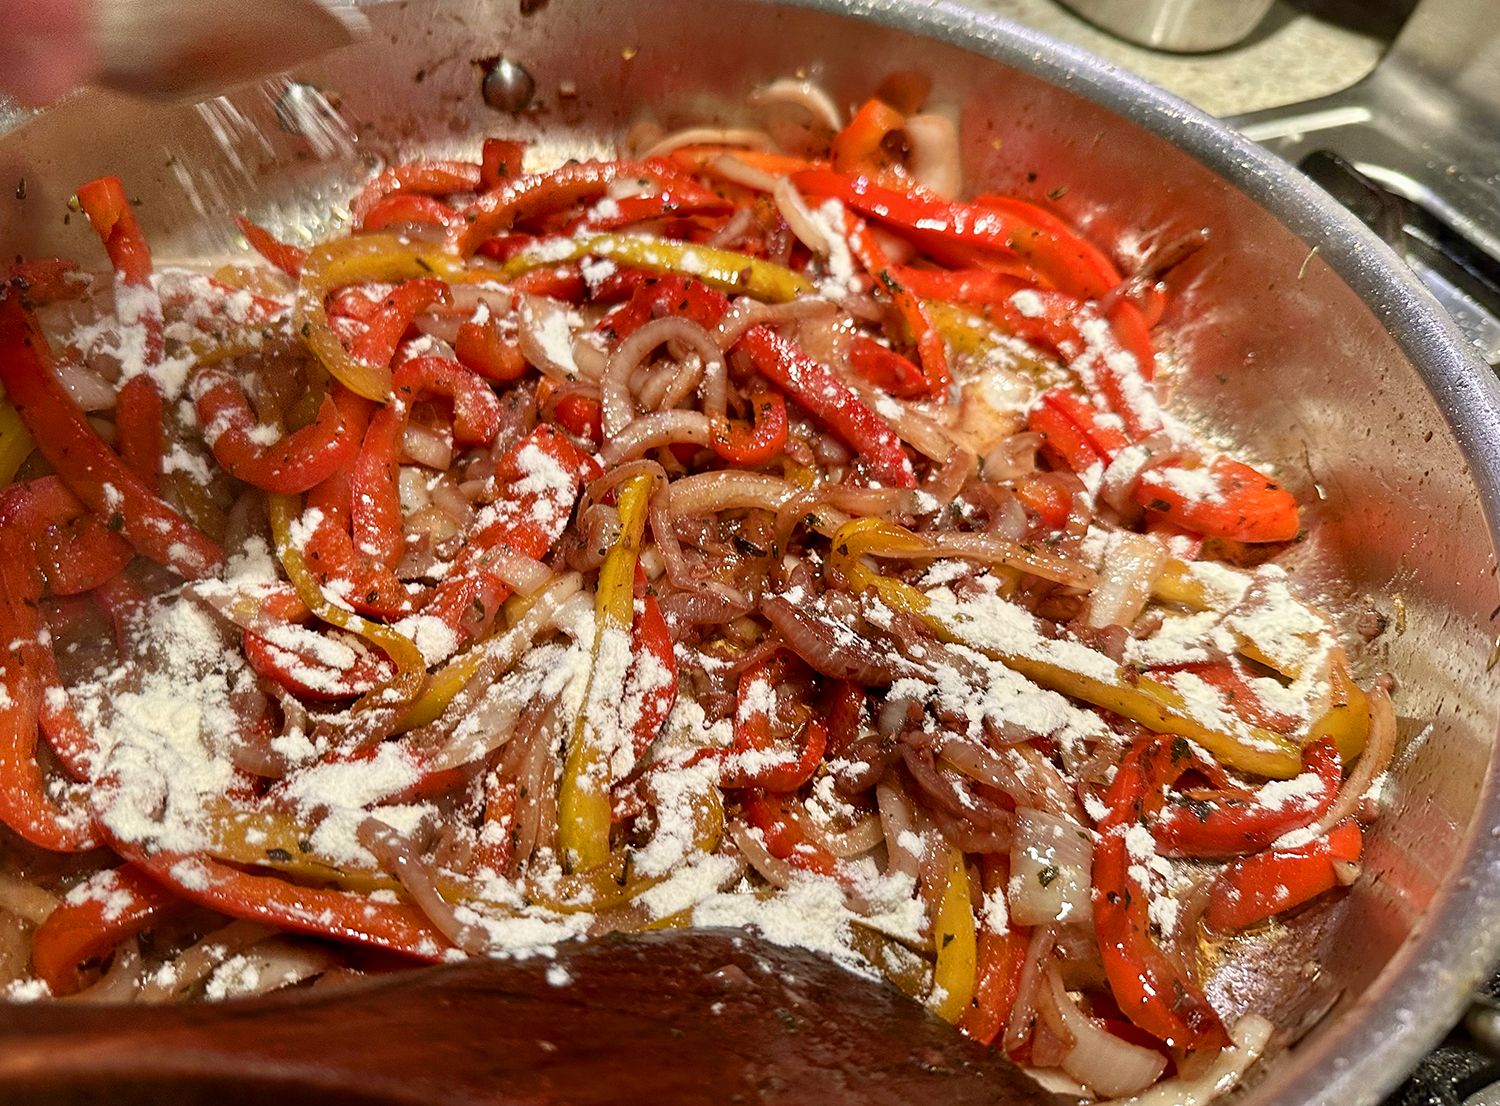
- Add garlic, oregano, and pepper flakes to now-empty skillet and cook, stirring constantly until fragrant, about 30 seconds. Stir in wine, scraping up any browned bits. Add peppers, onion, and salt; increase heat to medium-high, and cook, stirring frequently until vegetables have softened, 6 to 8 minutes. Sprinkle flour evenly over vegetables and stir until no lumps of flour remain. Add chicken broth and bring to boil, stirring constantly. Reduce heat to maintain gentle simmer.
- Slice each sausage in half diagonally. Return sausages to skillet, cover and cook, stirring occasionally, until peppers and onions are tender, 15 to 20 minutes. Stir in vinegar. Season to taste with salt and pepper. Serve over polenta and sprinkle with parsley.
Recipe from Cook’s Illustrated