Tag Archives: garlic

Braised Potatoes with Garlic and Bay Leaves

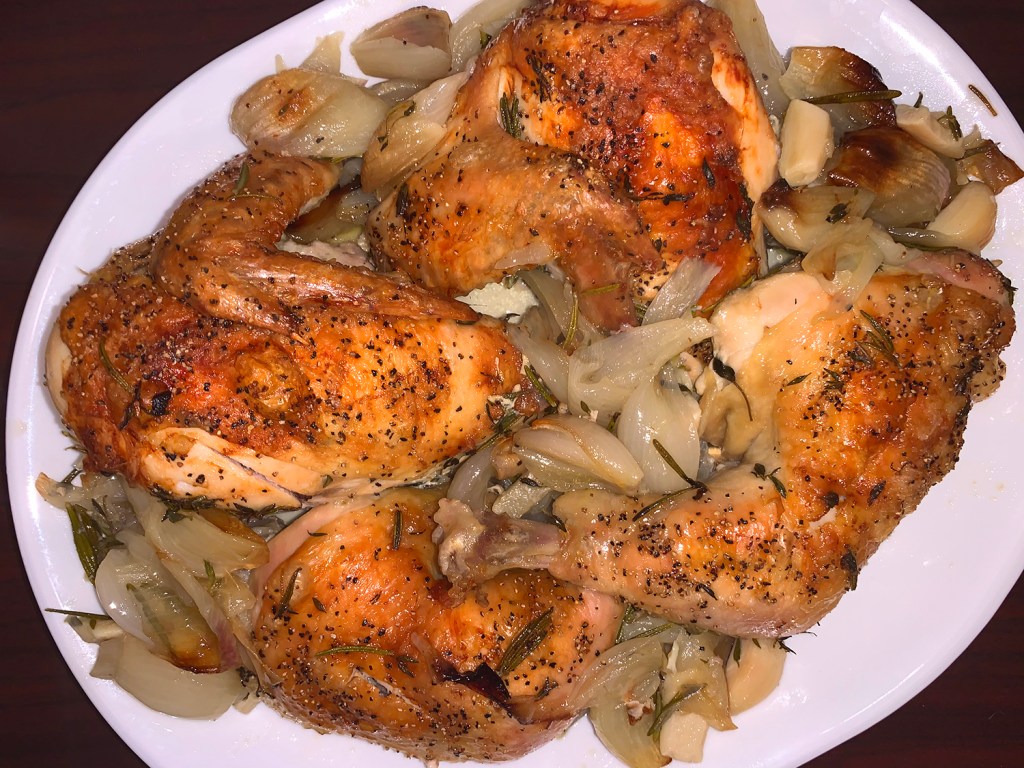
As Chef/author Molly Stevens states “Sharing a meal from one pot, as you often do with a braise, creates a feeling of communality that leads to sharing a congenial meal.”

Molly’s side dish is quite simple, and uses only a handful of ingredients. Place the potatoes to fit snuggly in a single layer in your saucepan. Add enough water or stock to come halfway up the potatoes and add a generous drizzle of olive oil, a few whole cloves of garlic, bay leaves, salt and pepper.

The potatoes are covered and braised gently until tender, then the lid is removed. The heat is cranked up to evaporate the liquid. Then shake the pan back and forth so the spuds roll around and get coated in the garlicky-olive oil glaze that’s forming. And voila! a simple yet tasty side dish. These are a keeper for sure.

Feel free to vary the ingredients by changing the herbs (such as rosemary instead of bay leaves), substitute dry white wine for the water or chicken stock, or butter in place of olive oil.

Braised Potatoes with Garlic and Bay Leaves

  • Servings: 4-6
  • Difficulty: easy
  • Print

Ingredients

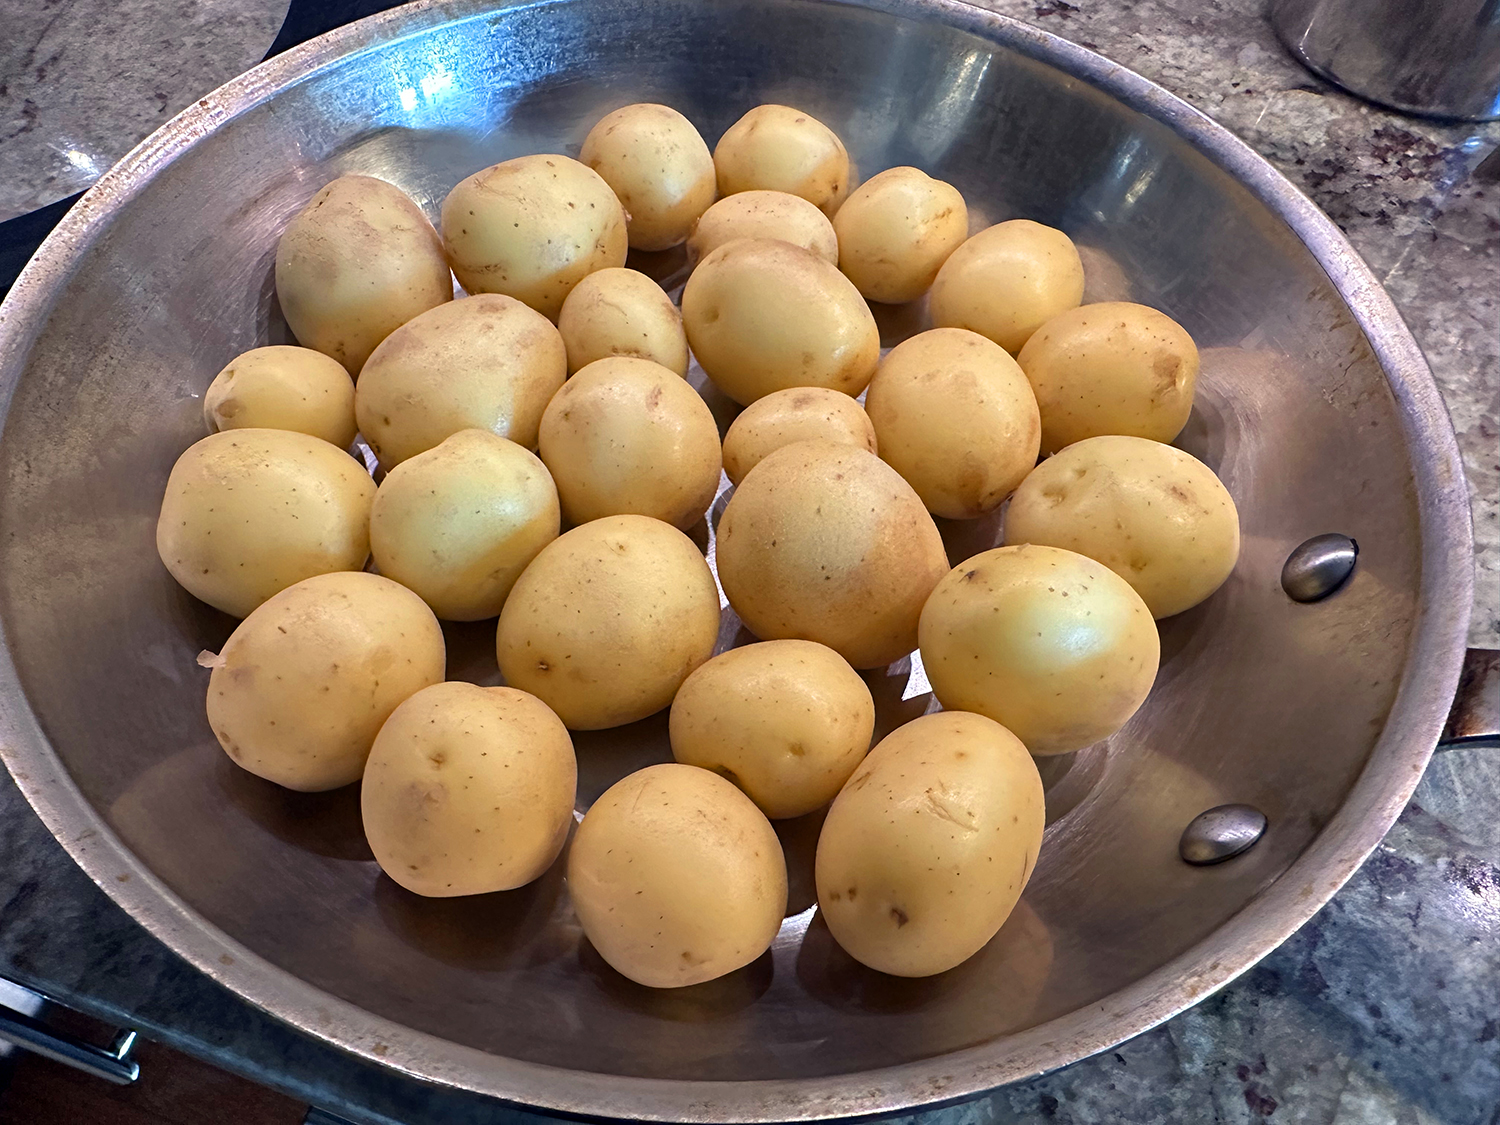
  • 1 ½ lbs. small red or white potatoes, scrubbed
  • 3 Tbsp. Extra Virgin Olive Oil (or Garlic Olive Oil)
  • 1 cup water or chicken stock
  • 2 bay leaves, fresh if possible
  • 2 to 3 garlic cloves, peeled and bruised
  • Coarse salt and freshly ground pepper

Directions

  1. Evaluate the potatoes: If the potatoes are larger than a golf ball, cut them in half. If you are leaving them whole, check to see if they have thick skins by scraping your thumb nail across the skin. If the skin doesn’t tear, remove a strip of skin around the circumference of each potato with a vegetable peeler – this will allow the flavors of the braising liquid to penetrate the potato better. If the skins are relatively thin, leave them intact.
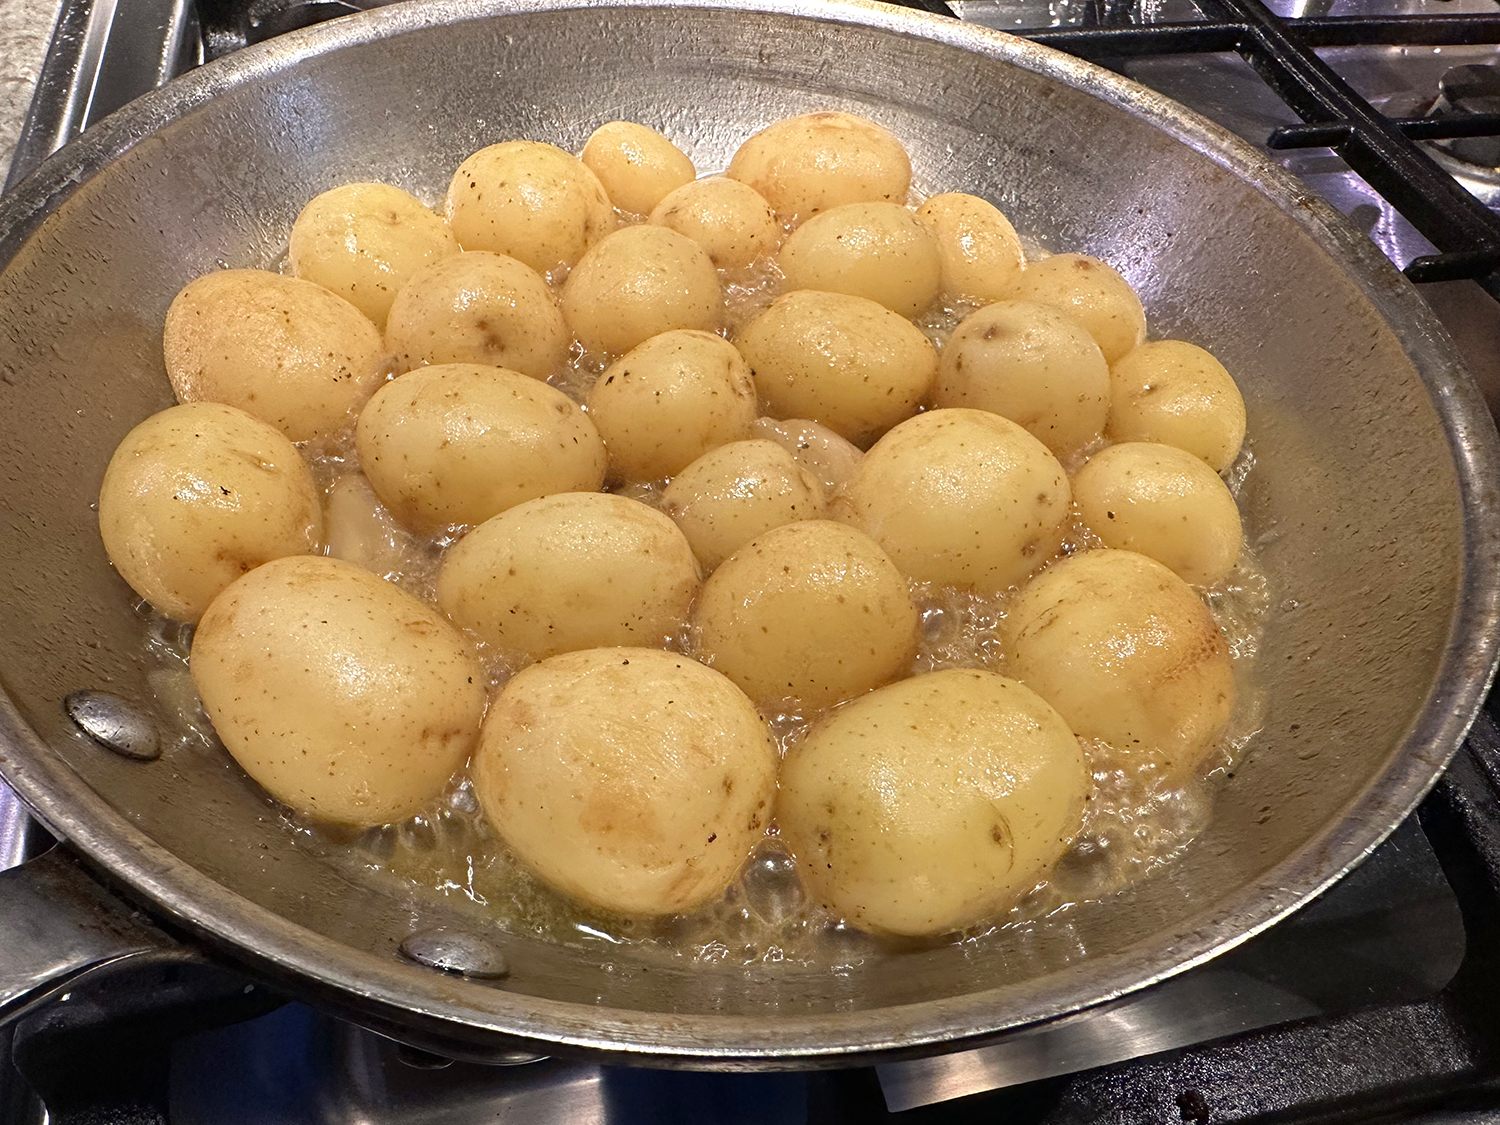
  2. The braise: Place the potatoes in a saucepan large enough to hold them in a snug single layer without crowding Add the olive oil and pour in enough water or stock to come halfway up the sides of the potatoes. Tear the bay leaves in half and add them along with the garlic. Season with salt and pepper. Cover and bring to a simmer over medium heat. When the water is simmering, lower the heat to medium-low so the liquid simmers gently. Braise, lifting the lid and turning the potatoes with a spoon once halfway through, until the potatoes are just tender when pierced with a thin skewer, about 20 minutes.
  3. The finish: Remove the lid, increase the heat to high, and boil, gently shaking the pan back and forth, until the water evaporates and you can hear the oil sizzle, about 5 minutes. The braised garlic cloves will break down and coat the potatoes as you shake them in the pan. Serve hot.

http://www.lynnandruss.com

Recipe by Molly Stevens

Slow-Roasted Pork Shoulder with Fennel, Garlic and Rosemary

Often a pork roast can be dried out when it’s done cooking. But this lovely recipe from Milk Street is extremely simple to make and uses just over a handful of ingredients. The lefotovers were still juicy and full of flavor.

This recipe takes inspiration from porchetta, a Tuscan-style pork roast seasoned with garlic, herbs and spices. A simple fragrant seasoning paste rub is made and the mixture is massaged into shallow cuts in the meat’s fat cap so it clings to the roast.

Roasting meat on a baking sheet, rather than in a roasting pan, promotes better air circulation, accelerating cooking and boosting browning. Use the time while the meat rests to throw together a zingy-fresh parsley-caper sauce that’s a perfect foil to the richness of the meat.

One noted difference that we made was to tie the pork with kitchen twine 3 or 4 times around the girth of the roast. And as ours didn’t have much of a fat cap, we made the cuts directly into the top of the meat. Butter-Roasted Carrots with Za’atar and Pomegranate Molasses, and garlicky mashed potatoes with gravy rounded out the meal.

Slow-Roasted Pork Shoulder with Fennel, Garlic and Rosemary

  • Servings: 6-8
  • Difficulty: easy
  • Print

Ingredients

  • 3 Tbsp. fennel seeds
  • ½ cup extra-virgin olive oil, divided
  • ⅔ cup lightly packed fresh rosemary
  • 9 medium garlic cloves, 8 smashed and peeled, 1 finely grated, reserved separately
  • Kosher salt and ground black pepper
  • 5 lb. boneless pork shoulder roast, untrimmed
  • 2 cups lightly packed fresh, flat-leaf parsley, chopped
  • ¼ cup drained capers, plus 3 Tbsp. caper brine

Directions

  1. Heat the oven to 300°F with a rack in the middle position. In a food processor, process the fennel seeds to a mixture of finely ground and coarsely cracked seeds, about 2 minutes. Add ¼ cup of the oil, the rosemary, smashed garlic cloves, 1 tablespoon salt and 2 teaspoons pepper. Process to form a paste, about 30 seconds, scraping the bowl as needed.
  2. With a knife, score a crosshatch pattern into the surface fat on top of the roast. Using your hands, rub the paste onto all sides of the roast and into the cuts. Place the pork fat side up on a rimmed baking sheet and roast until the center reaches 195°F, about 4 hours. (Ours took 4 1/2 hours to come to temp.)
  3. When the roast is done, tent with foil and let rest for about 15 minutes. Meanwhile, in a small bowl, stir together the remaining ¼ cup oil, grated garlic, parsley, capers and brine and ¼ teaspoon pepper. Transfer the roast to a cutting board. Cut into slices, then transfer to a platter. Serve with the sauce.

http://www.lynnandruss.com

Recipe by Dimitri Demopolous for Milk Street

Garlic Mushroom Pasta

According to chef/author Suzy Karadheh, this is hands-down the BEST mushroom pasta recipe without cream. Rich and velvety with loads of mushrooms, garlic, shallots, a little parmesan, and a lighter silky-smooth sauce.

An easy recipe, it has two main components: the pasta and the mushroom sauce. Once you cook the pasta and sauté the mushrooms, everything will come together with a light sauce in one pan.

A typical pasta with mushrooms usually involves a heavy cream-based sauce that you would likely cook separately and then spoon over the pasta. Making a hearty garlic mushroom pasta without cream or too much butter is fairly simple. The science behind this is using a little of the starchy pasta water.

Walnuts were in the original list of ingredients, but you know how The Hubs detests those little nuggets, claiming they taste like soap. I personally love them, but to keep the peace they went by the wayside. And the dish didn’t seem to suffer without them!

Garlic Mushroom Pasta

  • Servings: 4
  • Difficulty: easy
  • Print

Ingredients

  • 8 oz. dry pasta, such as orecchiette, campanelle or farfalle
  • Kosher salt
  • ⅓ cup extra virgin olive
  • 1 Tbsp. butter
  • 2 shallots, minced
  • 5 garlic cloves, minced
  • 8 oz. cremini mushrooms, sliced
  • 8 oz. white mushrooms, sliced
  • 8 oz. portabella mushrooms, roughly chopped
  • Black pepper
  • 1 tsp. rosemary
  • 3 Tbsp. of tomato paste
  • ¼ cup dry red wine
  • ½ cup of grated Parmigiano-Reggiano
  • ½ cup packed parsley, chopped
  • Red pepper flakes to taste, optional

Directions

  1. Cook the pasta to al dente in boiling salted water according to box instructions. Keep 1 cup of the pasta cooking water then drain the pasta.
  2. In a large skillet, heat the olive and butter over medium-high heat, add the shallots and garlic and cook, tossing regularly for 2 to 3 minutes (manage the heat so that the garlic does not burn).
  3. Add all the mushrooms and toss them around in the pan for a couple of minutes, adding another drizzle of extra virgin olive oil. Season with a good pinch of kosher salt, black pepper and the rosemary. Cook the mushrooms for about 7 to 10 minutes, tossing occasionally, until they turn color and release their juices.
  4. Add the tomato paste, wine and about ½ to ¾ cup of the pasta cooking water. Cook over medium heat for about 4 to 5 minutes (this becomes your mushroom pasta sauce).
  5. Add the cooked pasta to the mushroom sauce. Toss to combine. If needed add a little bit more of the pasta cooking water.
  6. Stir in Parmesan cheese and finish with a sprinkle of parsley and red pepper flakes. Serve immediately.

http://www.lynnandruss.com

Adapted from a recipe by Suzy Karadheh

Jammy Grape Tomatoes

Lots of grape and/or cherry tomatoes? A great way to use them up before they go bad is to roast them with garlic and olive oil. All you need are tomatoes, olive oil and garlic cloves. However, we happen to have some organic garlic scapes on hand and decided to chop them up and add to the mix. Jammy describes the way these tomatoes collapse, thicken and sweeten when they’re roasted in the oven.

While exact measurements don’t make much of a difference, I sliced up just over a pound of multi-colored grape tomatoes, peeled and smashed about a head of garlic cloves, and chopped 6 garlic scapes. Then arranged in a single layer on a large rimmed baking sheet, tossed with about 1/4 cup of good olive oil and sprinkled with salt and pepper. The pan went into a preheated 325° oven for 30 minutes, then tossed everything with a spatula and spread back into an even layer. After another 30 minutes in the oven, the pan was removed.

Let cool completely. You can store in an airtight container for up to five days in the refrigerator, or use immediately as a spread on crusty bread, tossed with cooked pasta, or use as an accompaniment to fish, steak or chicken.

As a special treat, we spread some on thick focaccia slices, topped with shredded parm and put under the broiler for several minutes, then topped with a chiffonade of fresh basil from our garden. In a word, divine!

Roasted Broccoli and Olives

If you want an easy, yet different side dish, try this unique combination. The original recipe is listed below, although I made a few changes such as using pitted olives. I mean, who wants to stop after every bite and fish pits out of your mouth, especially in front of others! This allowed me to cut them in half before roasting.

With only two of us at the dinner table, I scaled back some on the amount of broccoli because it wouldn’t all fit on the baking sheet in one layer, and it just seemed excessive for the both of us.

Then when it comes to smashing the garlic together with the salt, it’s just easier with a mortar and pestle, if you happen to have one.

Roasted Broccoli and Olives

  • Servings: 6-8
  • Difficulty: easy
  • Print

Ingredients

  • 6 cloves garlic, peeled and gently crushed
  • 1 tsp. kosher salt, divided
  • ¼ cup extra-virgin olive oil, plus more for drizzling 
  • 2 ¼ – 2.5 lbs. broccoli, washed, drained, and patted dry
  • ½ cup mixed unpitted olives
  • Flaked sea salt
  • ½ lemon

Directions

  1. Preheat oven to 425ºF. Line a 15x10x1-inch baking pan with a silicone baking mat or parchment; set aside.
  2. In a small bowl combine garlic and 1/2 tsp. of the kosher salt. Using the back of a spoon, muddle garlic and salt until garlic begins to release its oil. (Or use a mortar and pestle like I did.) Let stand 5 to 10 minutes. Stir in olive oil. Set aside.
  3. Trim broccoli stems; cut stalks lengthwise into halves and/or quarters. Place in prepared baking pan. Pour garlic oil and olives over; toss well. Sprinkle with remaining 1/2 tsp. kosher salt. Roast 20 to 25 minutes, tossing occasionally, until tender but al dente. Transfer to a serving dish.
  4. To serve, sprinkle with flaked sea salt; drizzle with additional olive oil. Squeeze lemon juice over.

http://www.lynnandruss.com

Adapted from a recipe by Scott Peacock for Better Homes & Gardens

When Baked Chicken is What You Crave.

On vacation in Hilton Head in mid-September, and with plans to check out as many restaurants as the schedule would allow, we also anticipated dining in, at least a few evenings. The Hubs and I drove down with good friend Merry Sue (owner of the time share) which sported a modern, fully-equipped kitchen. As her guests, we promised to make dinner a couple of nights, although we had no pre-planned menus. (But we did intentionally schlepp down a few good knives 🙂 )

Lots of Shallots

It was unanimous that chicken be the star of dinner this particular night, so The Hubs began his search on several of our recipe faves and found this perfect gem, Baked Chicken with Herbs, Garlic & Shallots, on FineCooking.com. Because it consisted of few ingredients, a good thing when on vacation, and was simple in employment, the recipe fit our criteria to a tee.

Merry Sue and Lynn on the condo balcony.

For some strange reason the local supermarket carried only four whole chickens, so I bought the smallest at just over 4 1/2 pounds—which in hind sight worked out well because we all ADORED the finished dish, plus had leftovers for a tasty chicken salad for lunch the next day! This recipe is so easy to modify to your liking with different herbs, extra garlic, small onions, etc. If you prefer white or dark meat only, you could also substitute bone-in, skin-on split breasts or thighs.

I believe this will easily become a staple of our weeknight dinner repertoire. Vary the herbs as you like, but stick to the hardy ones—thyme, rosemary, sage, and oregano. They’ll roast without burning and have a stronger flavor.

Without a lot of staples at our disposal, we opted to go for a packaged rice dish and a simple side salad (the grape tomatoes we transported from our garden at home) to complete the meal. When we make this delicious dish again, I think we’ll go ahead and make the pan sauce to pair with some garlicky mashed potatoes to accompany the baked chicken. Mmmm-mm good!

Baked Chicken with Herbs, Garlic and Shallots

  • Servings: 4
  • Difficulty: easy
  • Print

Ingredients

  • 1 chicken (3-1/2 to 4 lb.), cut into quarters
  • 3 Tbs. unsalted butter
  • 6 medium shallots, cut in half and peeled
  • 8 large garlic cloves, peeled
  • Leaves stripped from 10 sprigs fresh thyme
  • Leaves stripped from 8 sprigs fresh rosemary
  • 1-1/2 tsp. coarse salt
  • Freshly ground black pepper

Directions

  1. Heat the oven to 425°F. Rinse the chicken and pat it dry with paper towels. Cut away any excess fat and tuck the wings behind each breast.
  2. Put the butter into a large, shallow baking pan (a 10-1/2×15-1/2-inch Pyrex pan is ideal for this). Put the pan into the oven while it’s heating. When the butter is melted (about 10 minutes), remove the pan and set it on a heatproof surface or on a couple of potholders. Add the shallots, garlic, thyme, and rosemary, and swirl the pan to coat the ingredients in the butter.
  3. Dredge the chicken, skin side down, in the butter and herb mixture, and arrange, skin side up, in the pan. Sprinkle the chicken generously with the salt and pepper. Bake until the chicken is browned and cooked through, 50 to 60 minutes. Serve with the shallots and garlic along with a drizzle of the pan drippings.

http://www.lynnandruss.com

Adapted from a recipe by Abigail Johnson Dodge from Fine Cooking