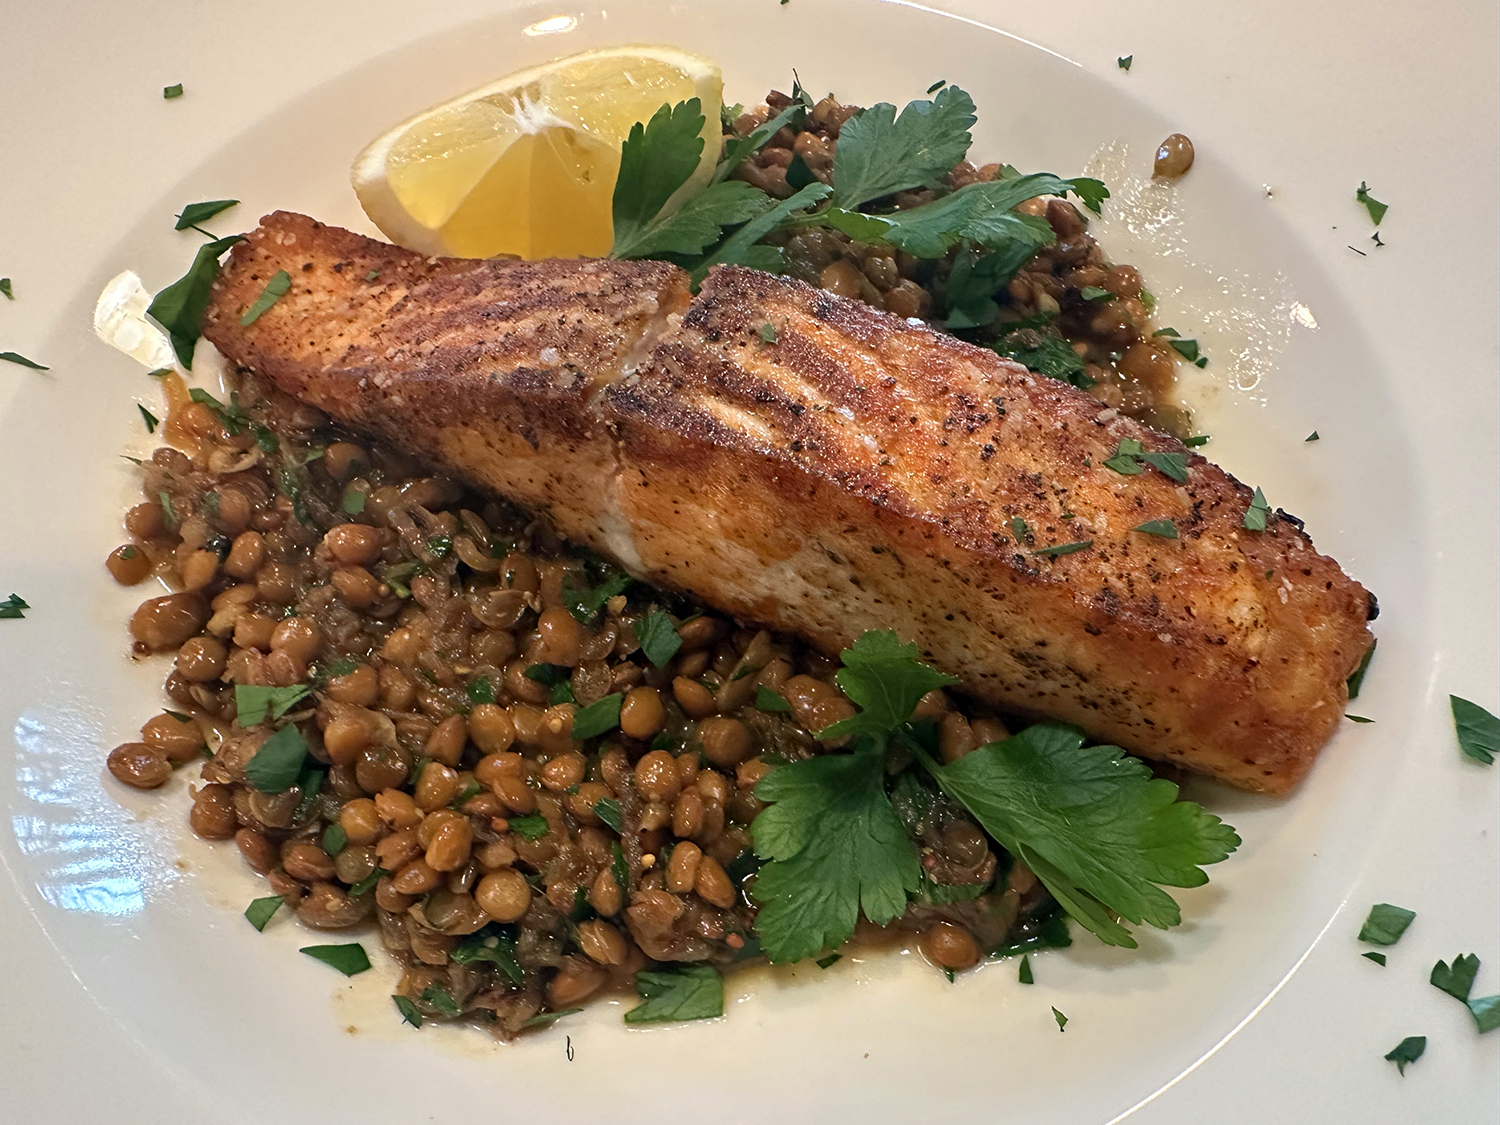
Salmon and lentils is an absolutely classic French pairing. In this simple, satisfying one-pot dinner for two that plays off the famous coupling, crispy salmon is served in a broth of lentils flavored with caramelized shallots and mustard.
Using one skillet for the entire recipe allows the caramelized shallots to play double duty, imparting their sweet flavor to both the salmon and the lentils. The salmon rests while the canned lentils are quickly cooked with vegetable broth, herbs, and mustard, so that the whole dish is ready without wasting a minute.

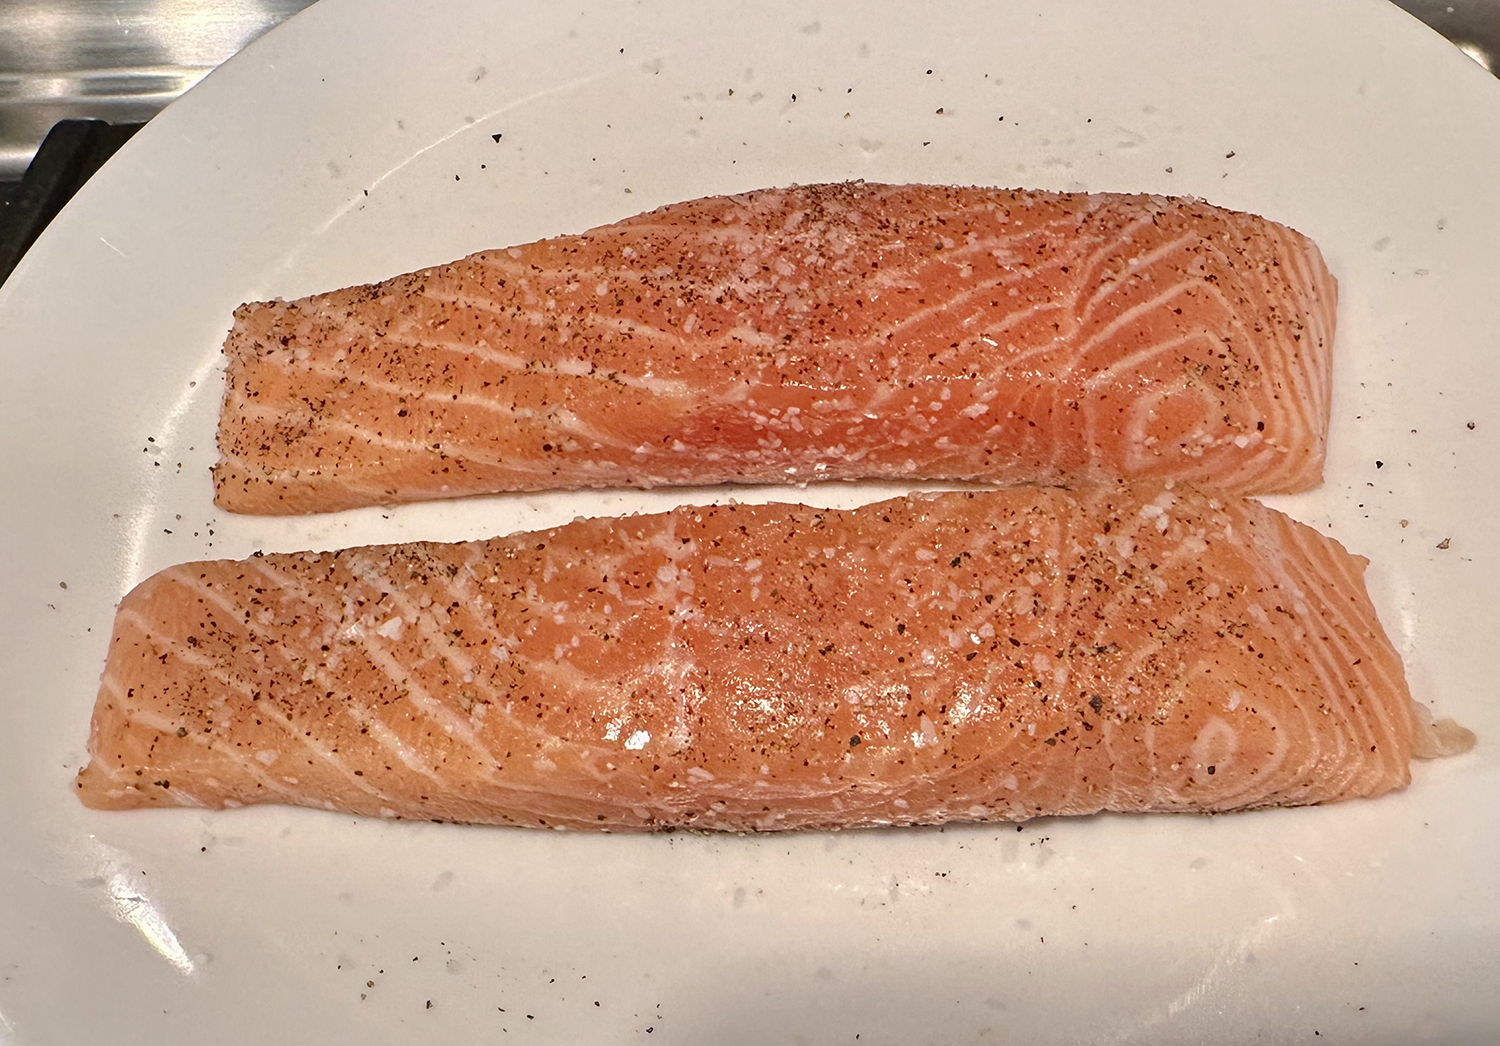
Mistakingly, we bought salmon filets without the skin, but it ended up being a positive error. I personally do not like to eat salmon skin and the fish got just as crispy without it. When making this dish again in the future, we will again purchase salmon filets without the skin. That choice is up yo you…
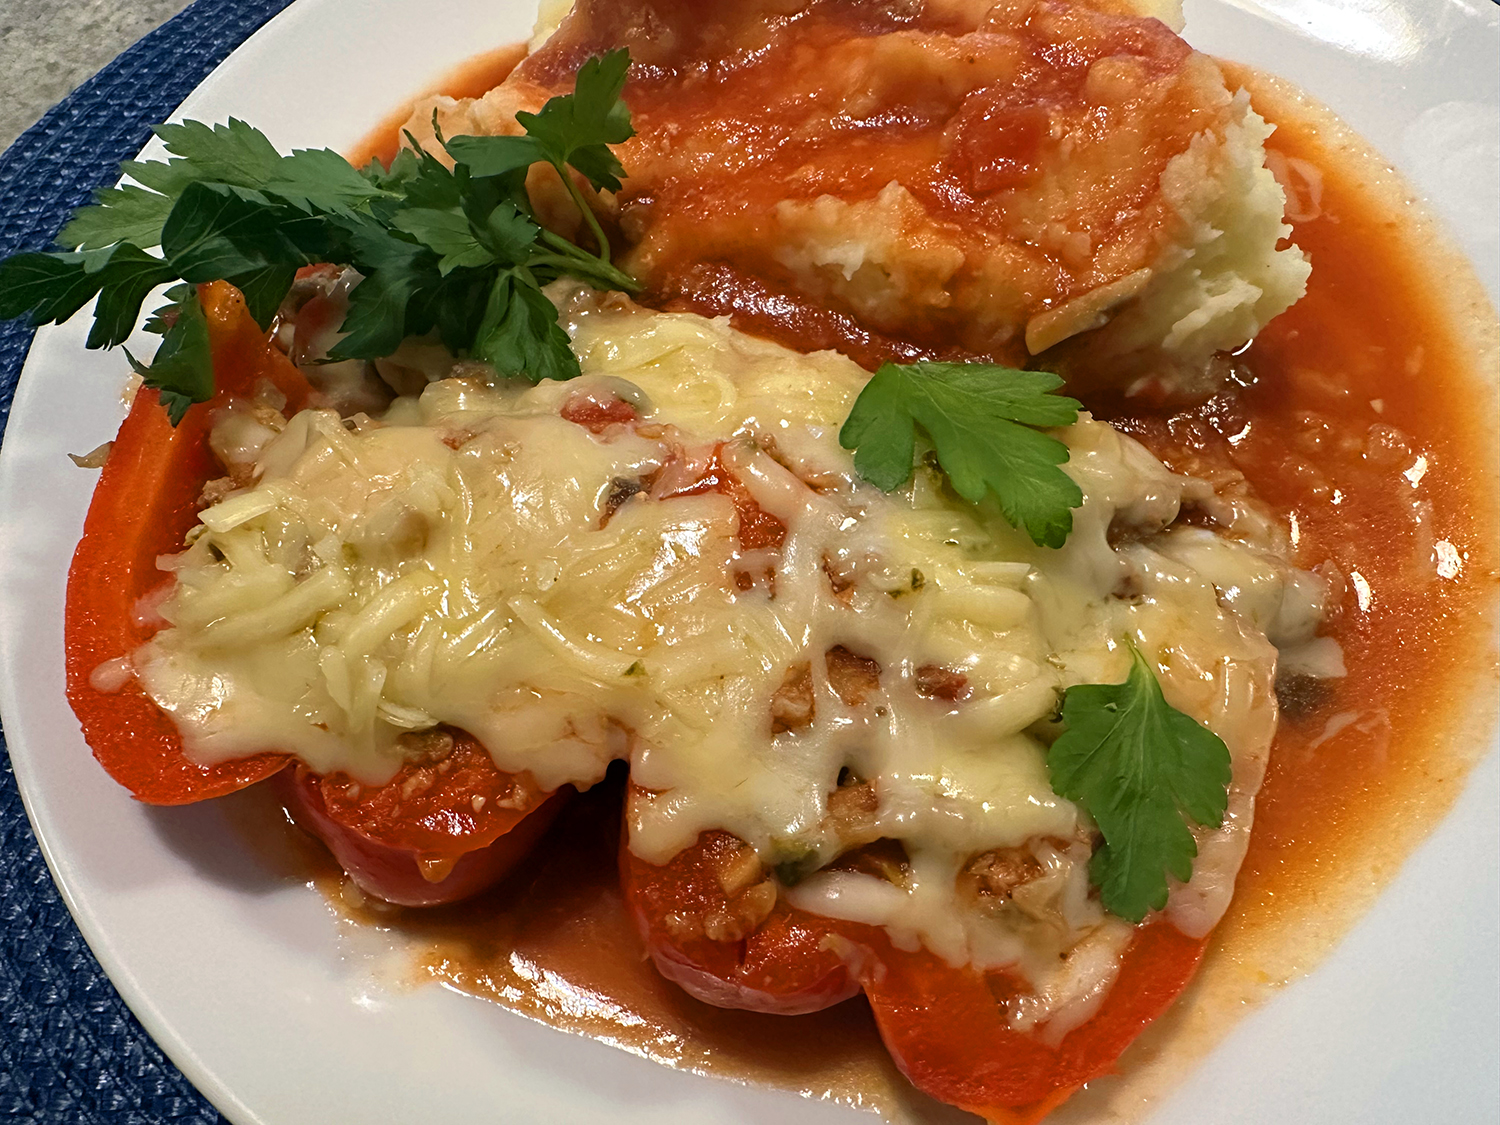
In the end, the meal was super simple and super-tasty!
One-Skillet Crispy Salmon with Mustardy Lentils
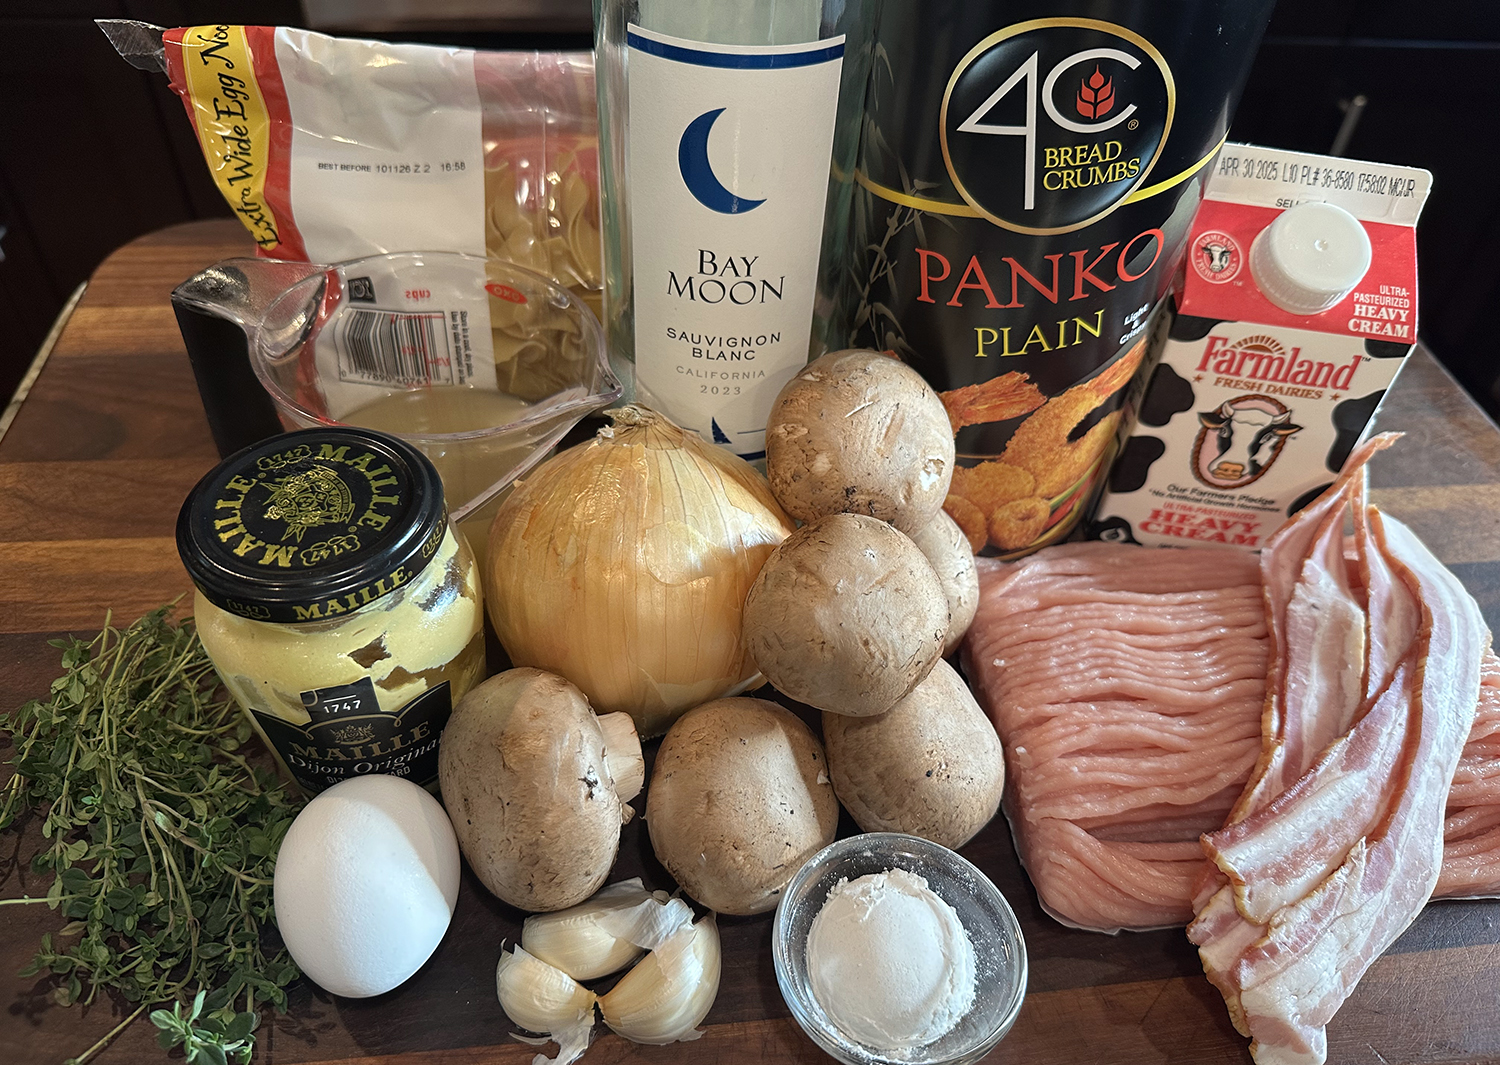
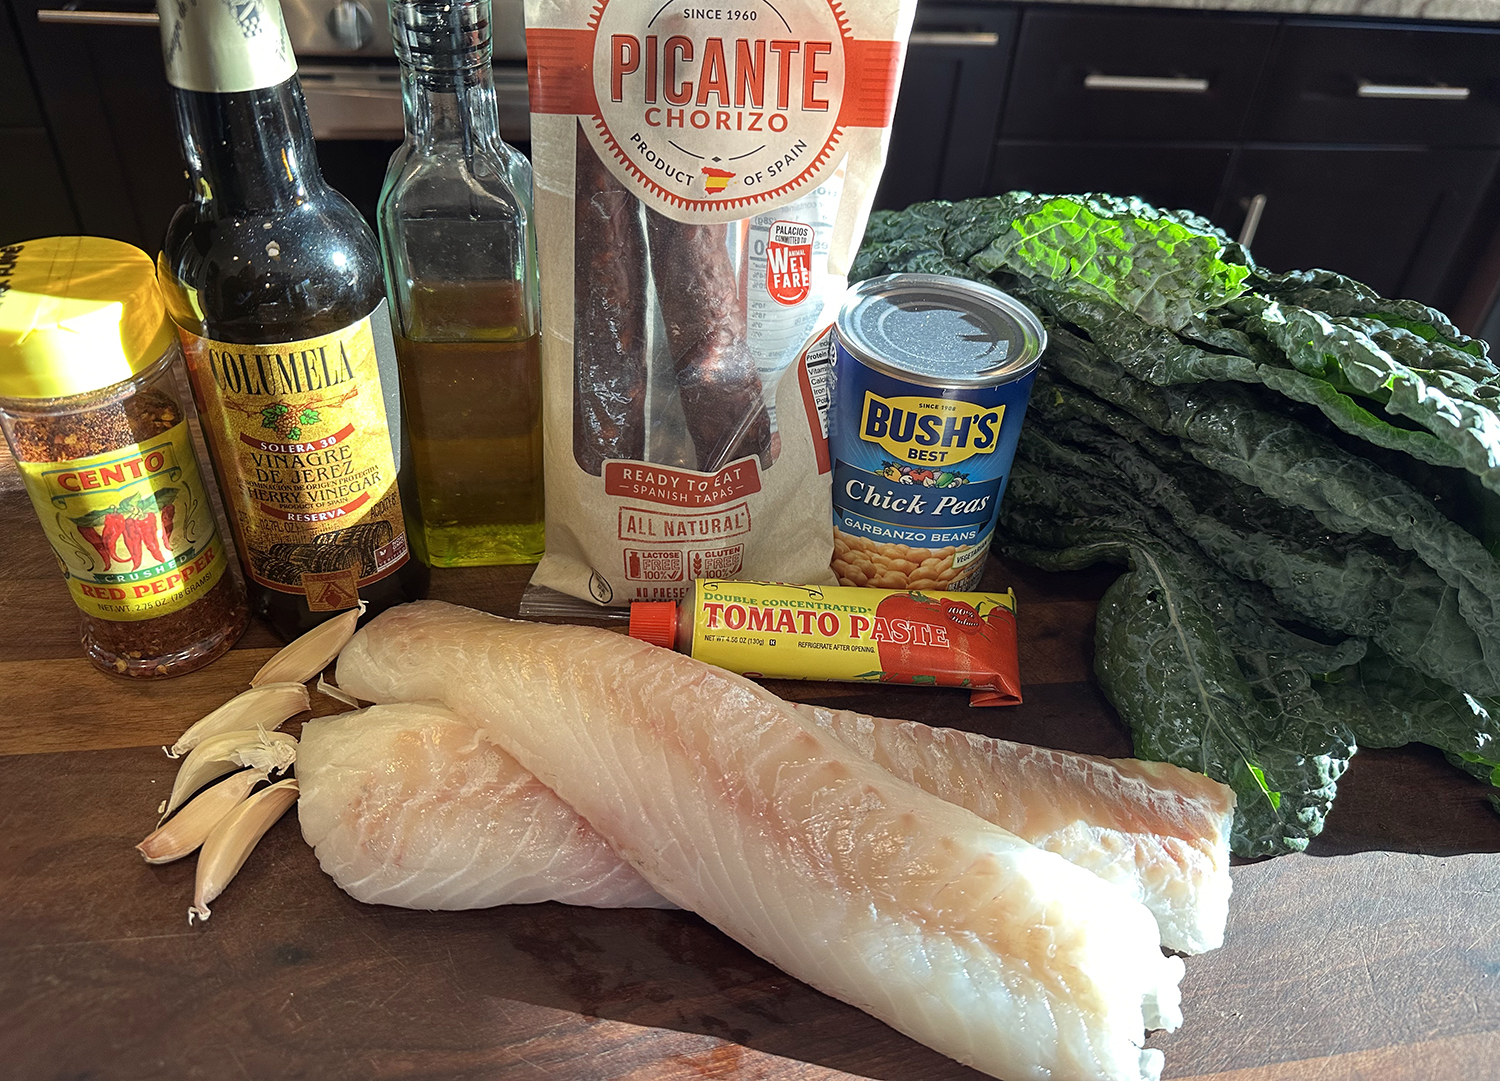
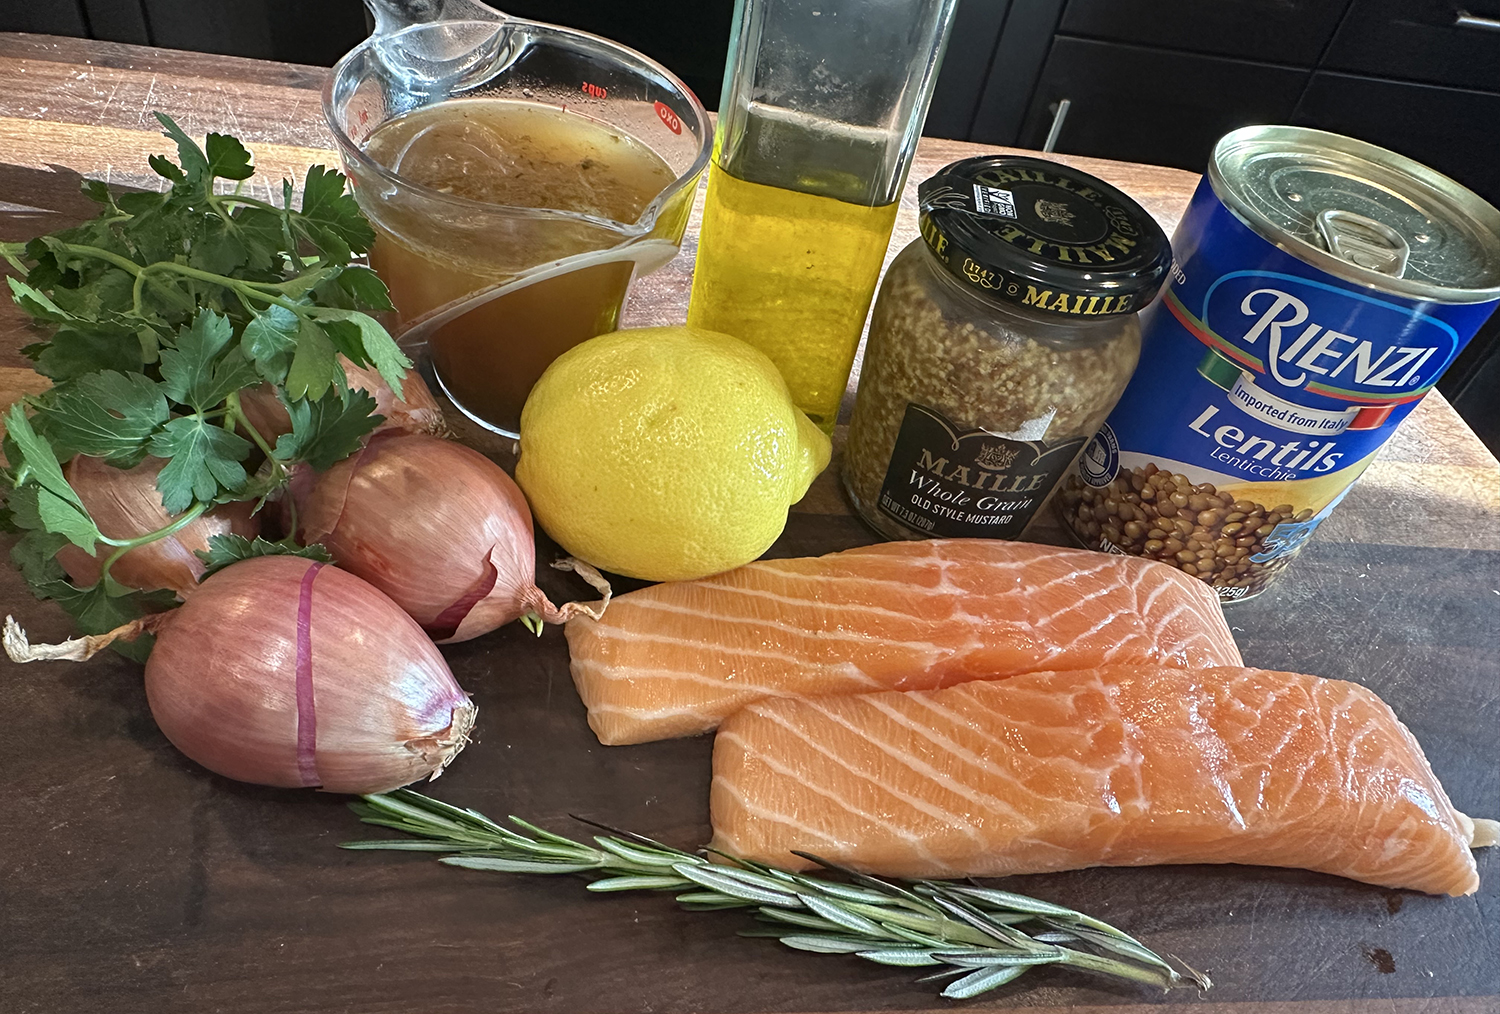
Ingredients
- 2 Tbsp. extra-virgin olive oil, divided, plus more for serving
- 4 medium shallots, thinly sliced (about 1/2 cup)
- Kosher salt and freshly ground black pepper
- 2 6-oz. salmon filets, skin on (or not, depending on your preference)
- 1 14.5-oz. can Puy lentils, drained and rinsed
- 3 sprigs thyme or 1 sprig rosemary
- 1 cup vegetable or chicken stock, preferably homemade
- 1 Tbsp. whole-grain mustard
- 1 Tbsp. chopped flat-leaf parsley
- 1 tsp. fresh lemon juice


Directions
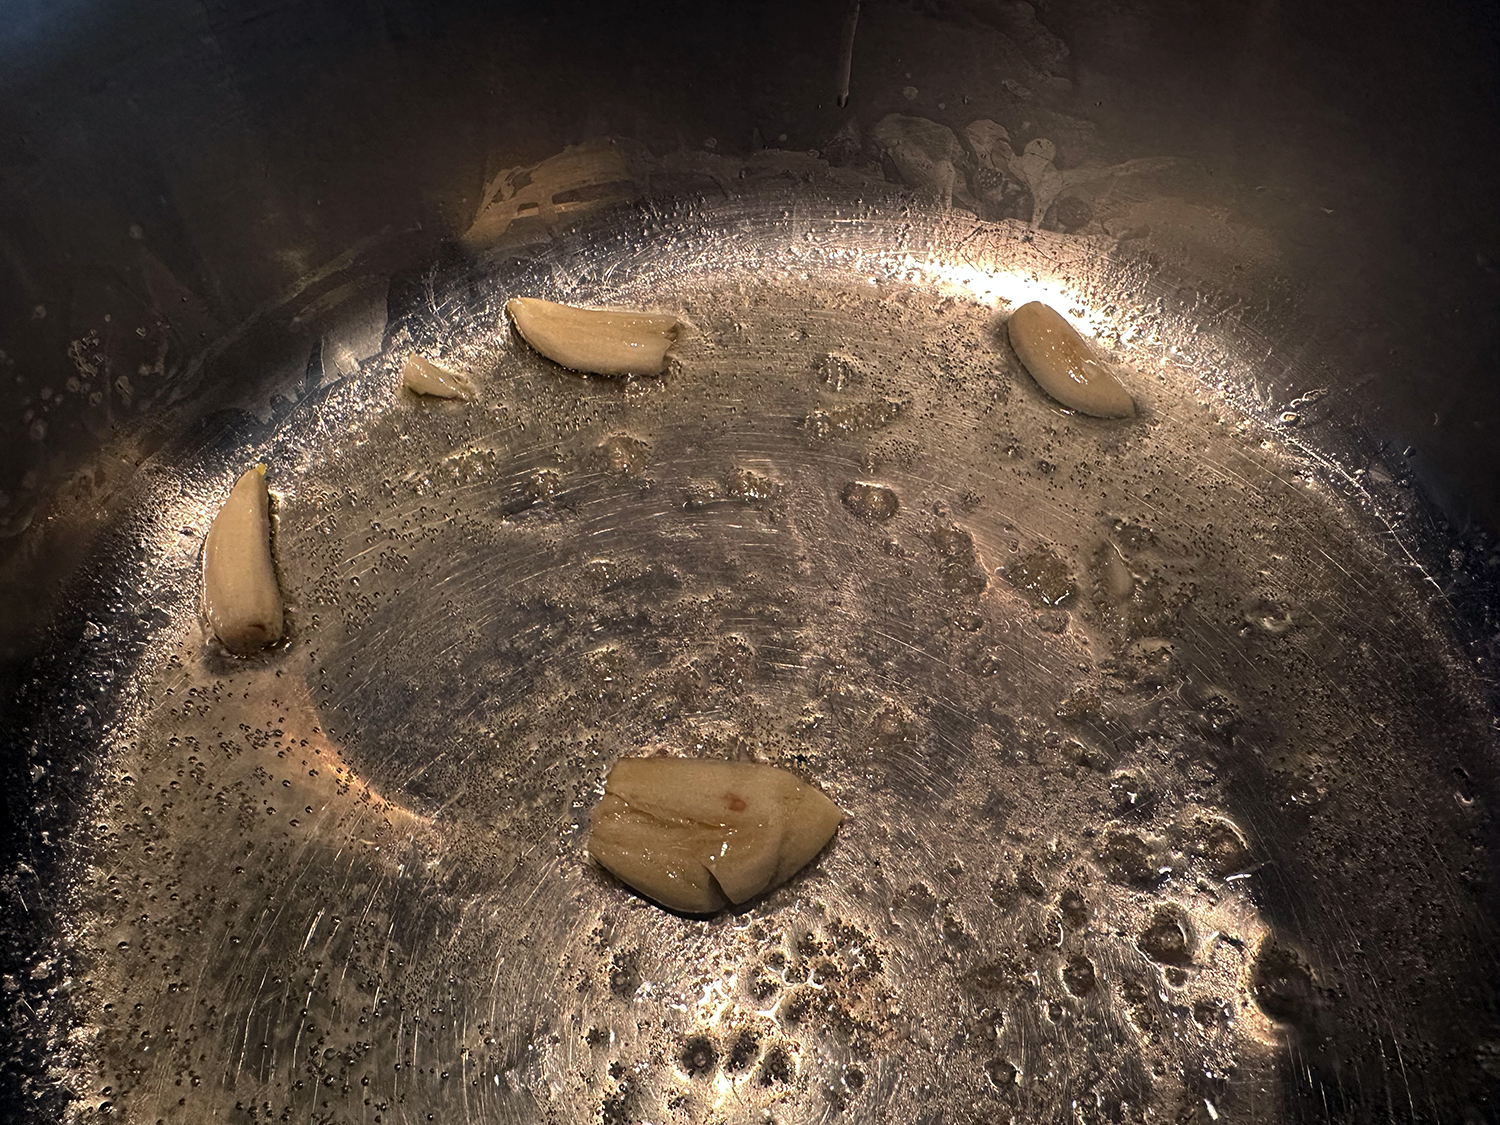
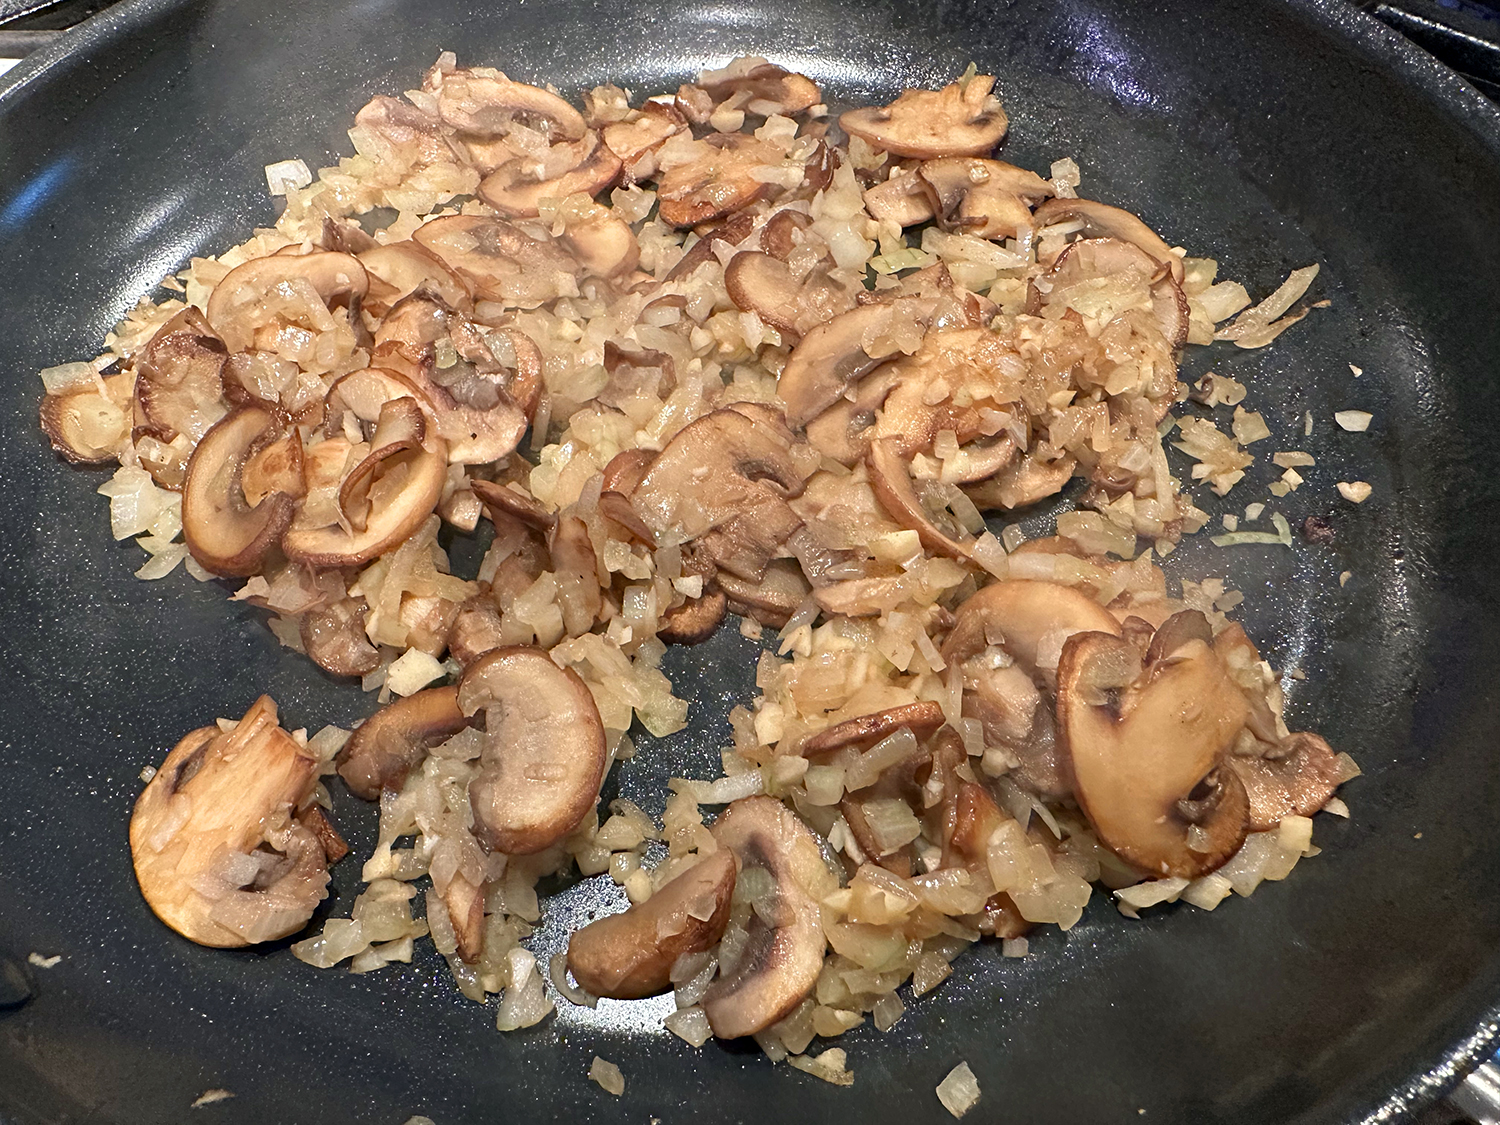
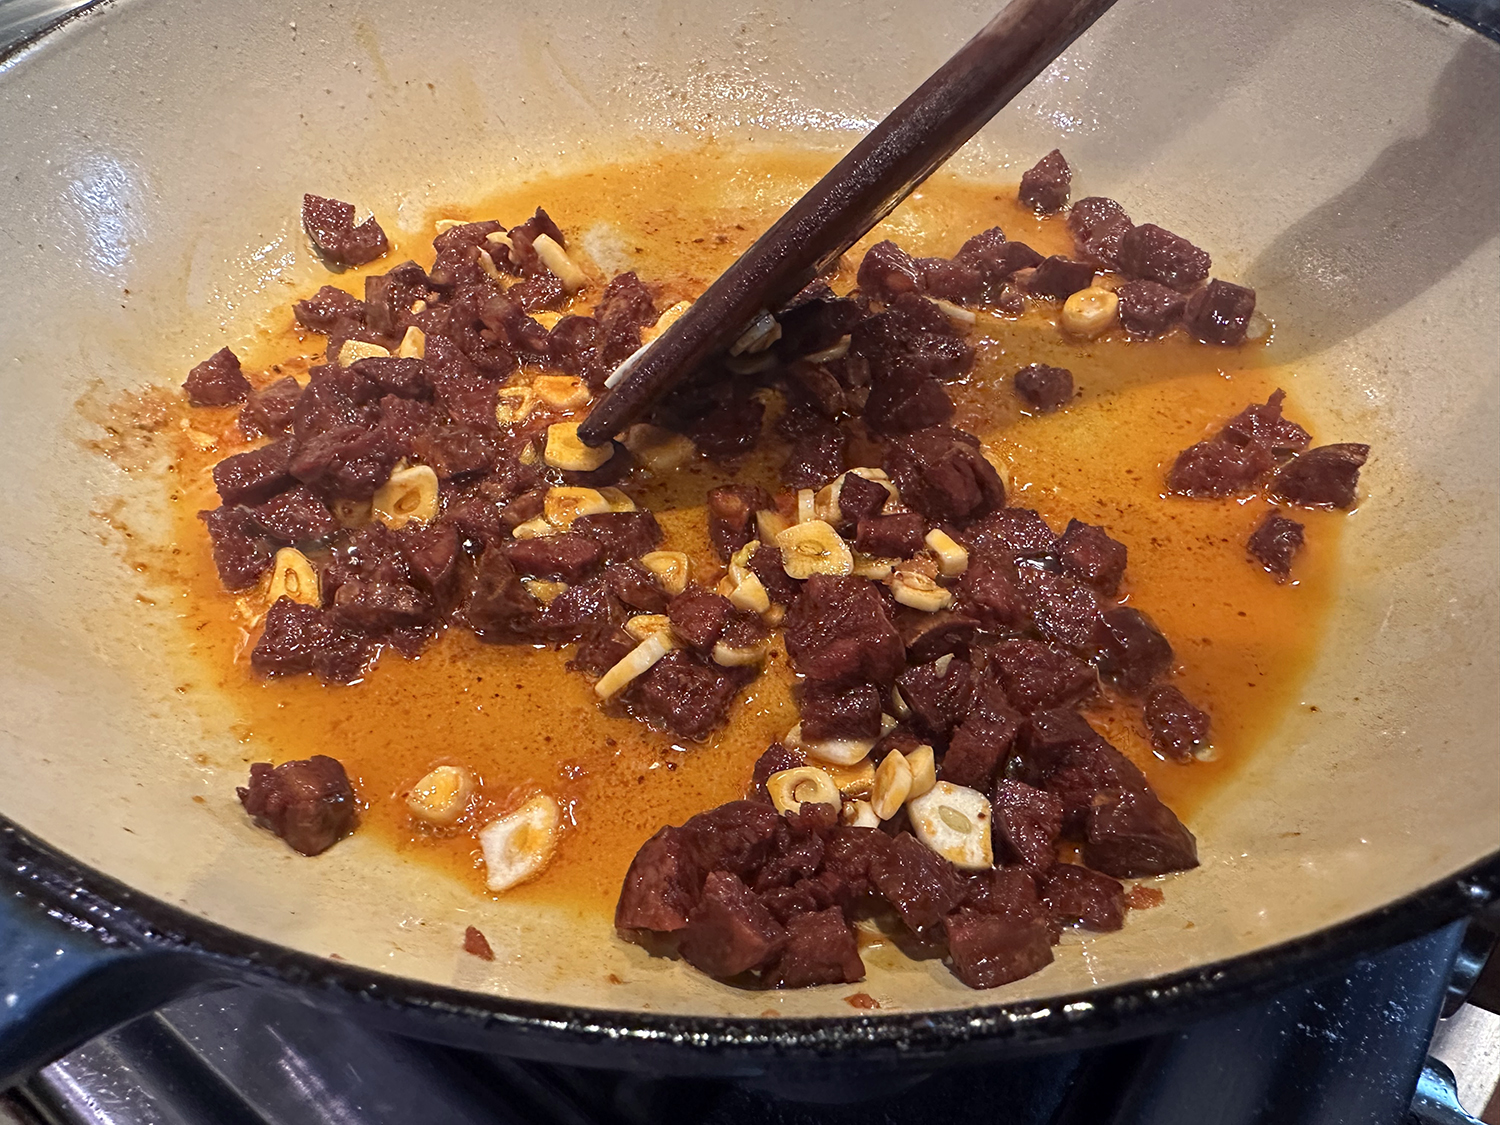
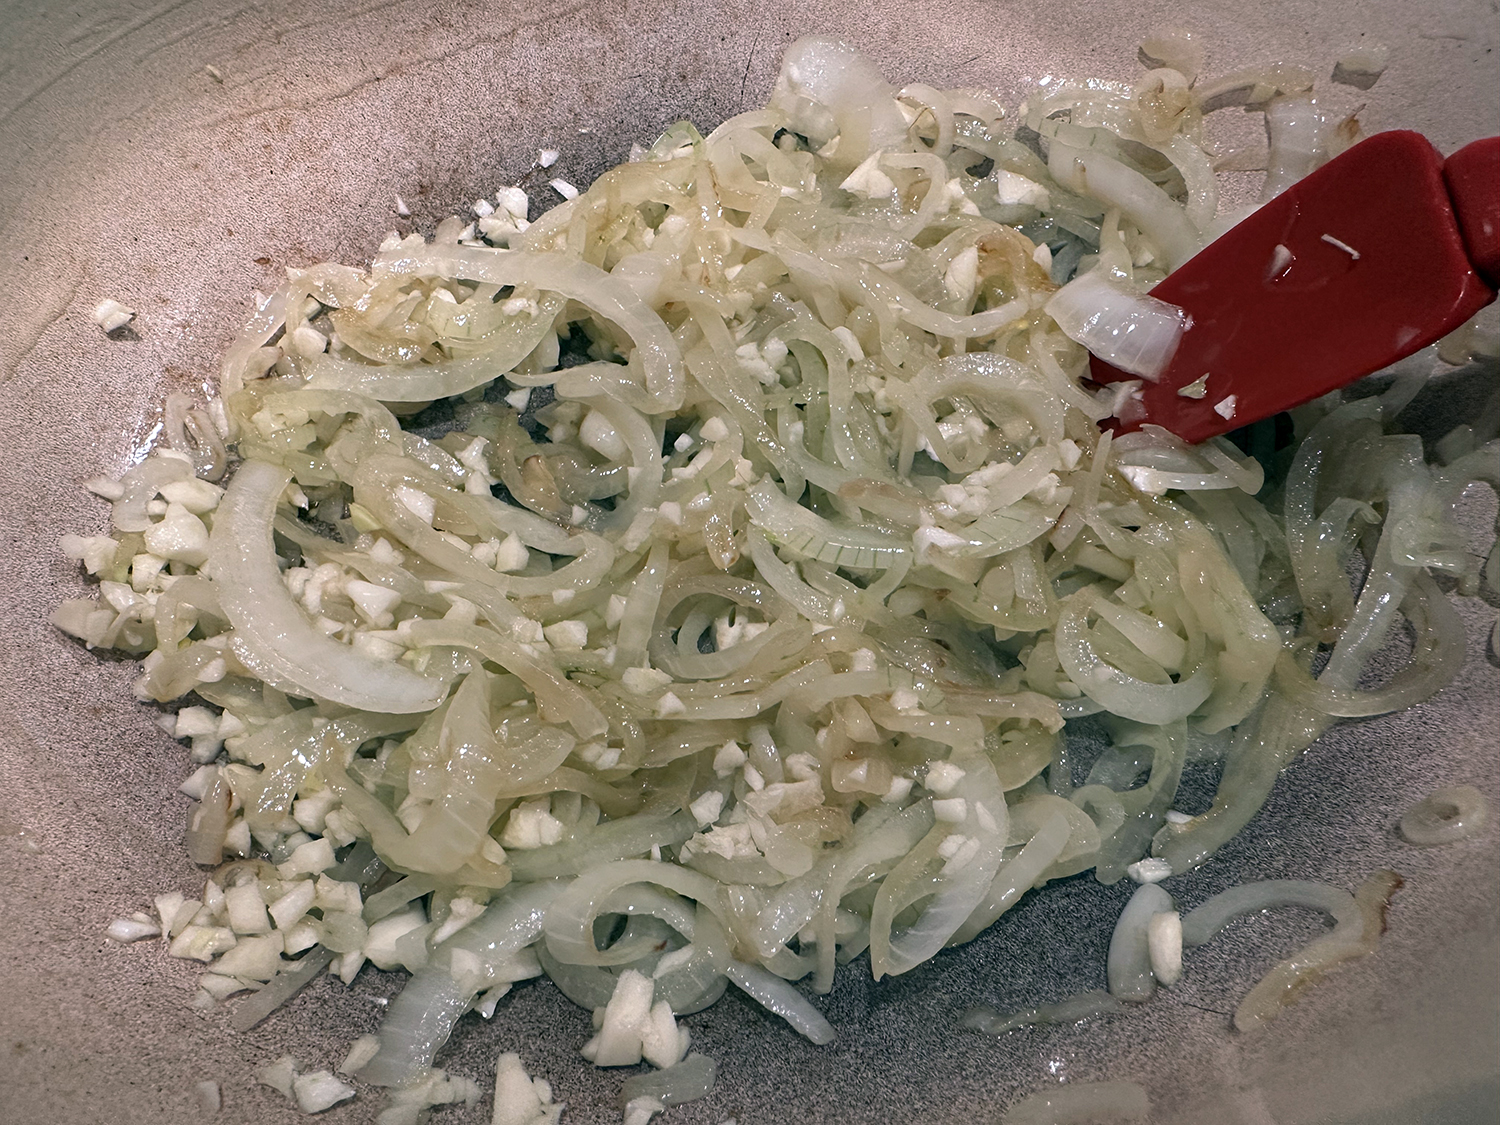
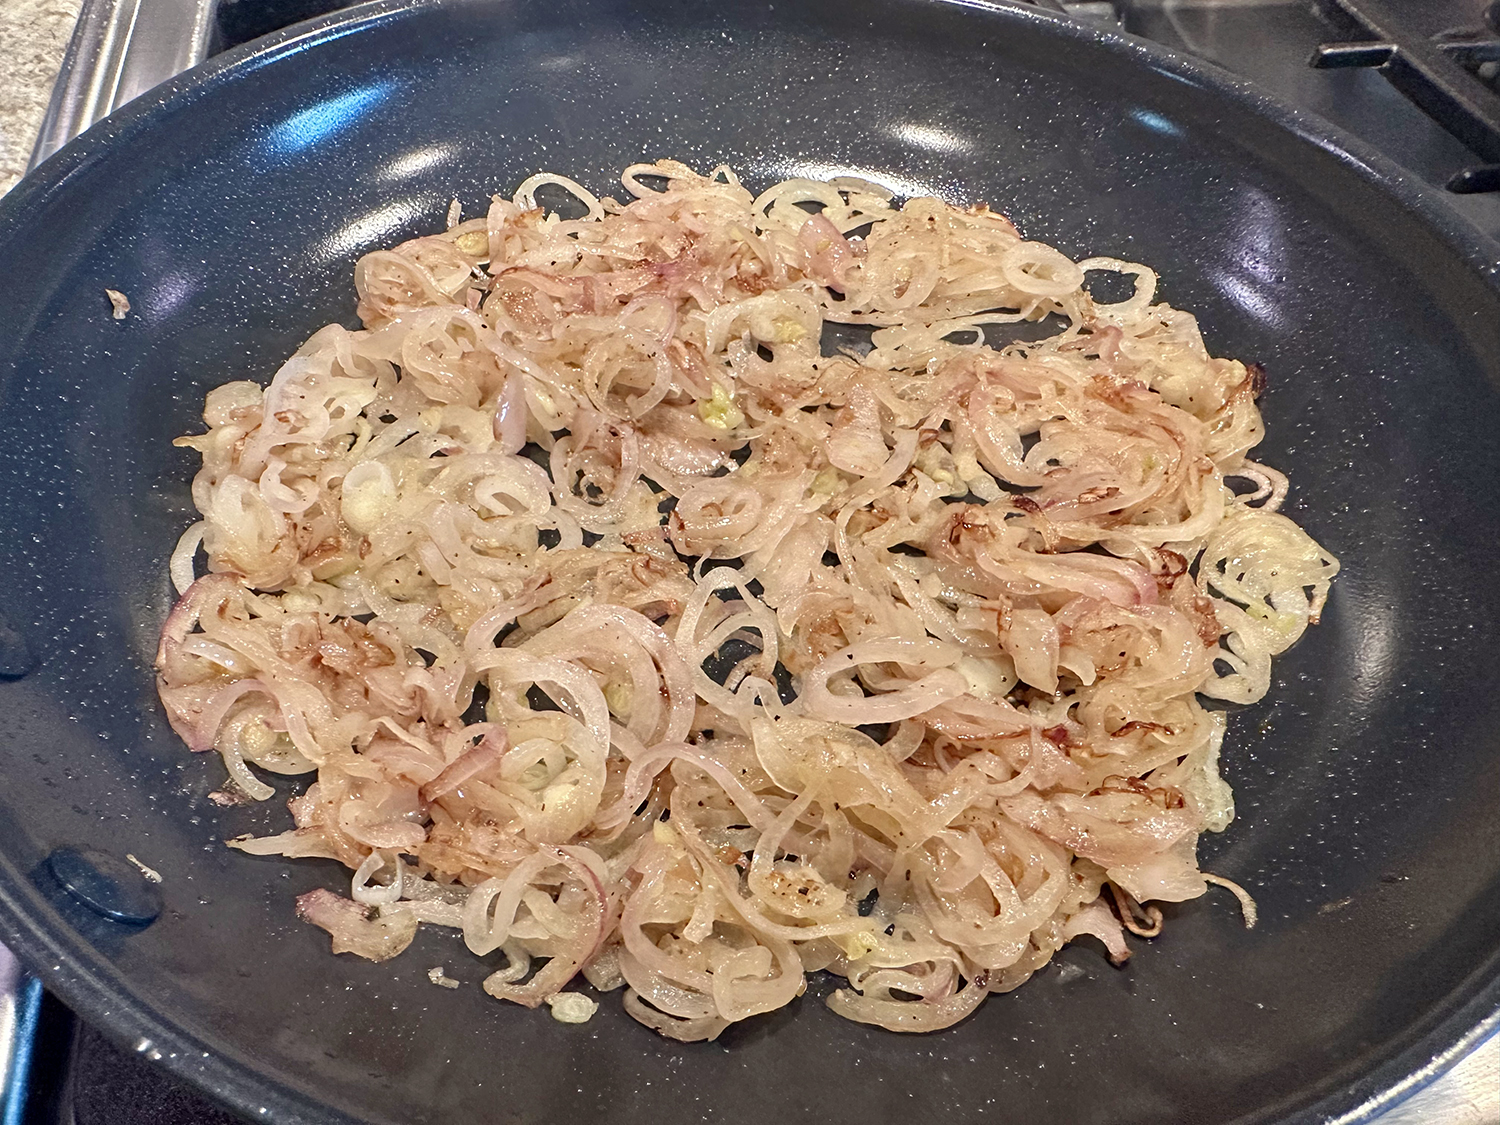
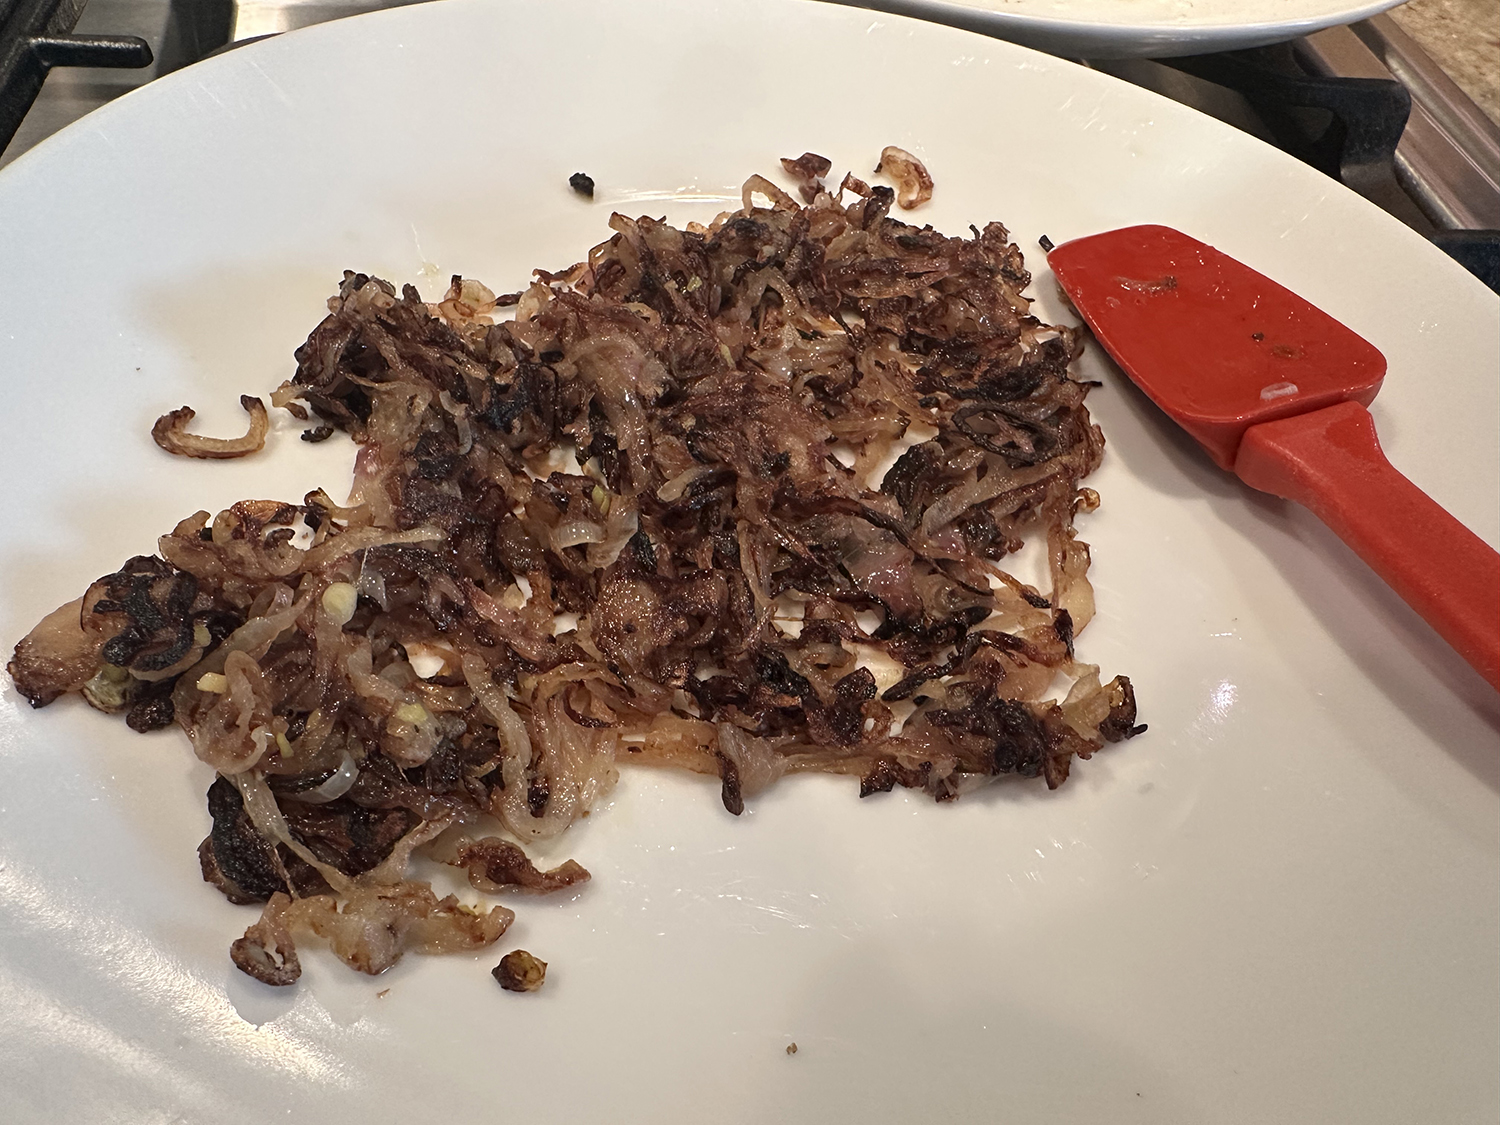
- In a medium nonstick skillet, heat 1 tablespoon of olive oil over medium heat until shimmering. Add shallots and cook, stirring frequently, until very soft and browned, about 15 minutes; lower the heat if necessary to prevent burning. Season to taste with salt and pepper and set caramelized shallots aside. Wipe out skillet.
- Press salmon filets between paper towels to dry surfaces thoroughly. Season on all sides with salt and pepper. Heat remaining 1 tablespoon in the skillet over medium-high heat until shimmering. Add salmon filets skin side-down. Immediately reduce heat to medium-low. Cook, pressing gently on back of filets to ensure good contact with skin, until skin is rendered and crisp, about 6 minutes. If skin shows resistance when attempting to lift with a spatula, allow it to continue to cook until it lifts easily. Flip salmon and cook on second side until a thermometer inserted into the thickest part registers 120°F for medium rare or 130°F for medium, about 1 minute longer. Transfer salmon to a paper towel-lined plate and allow to rest.
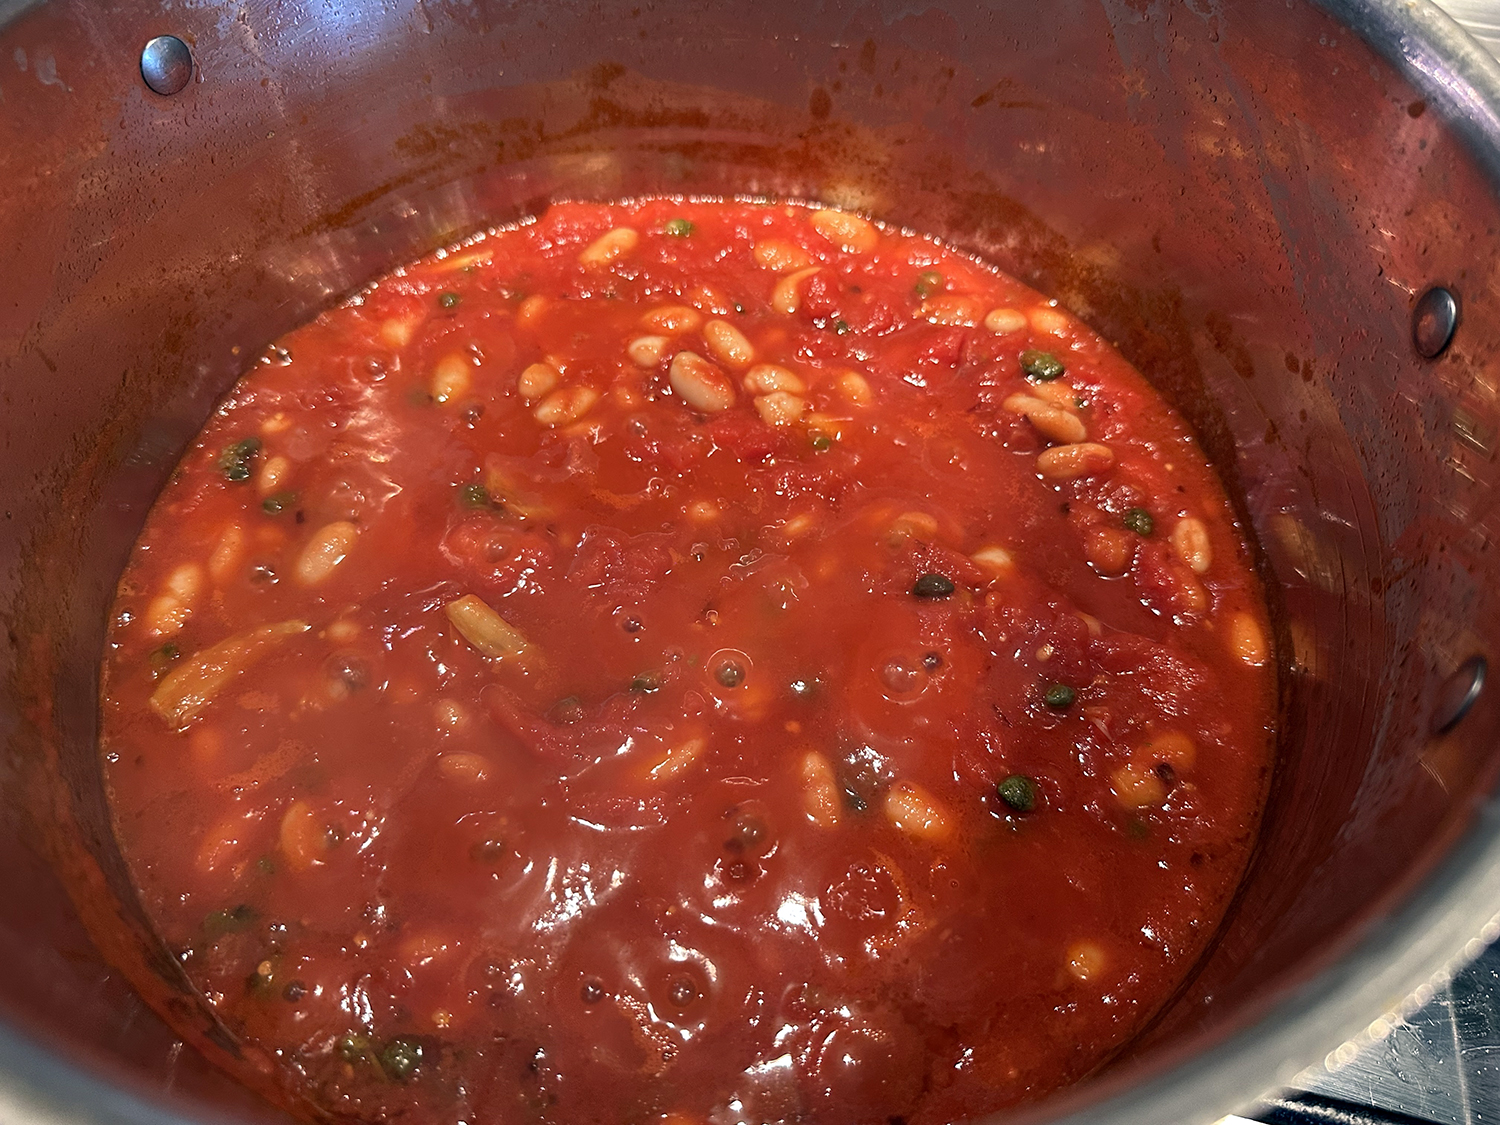
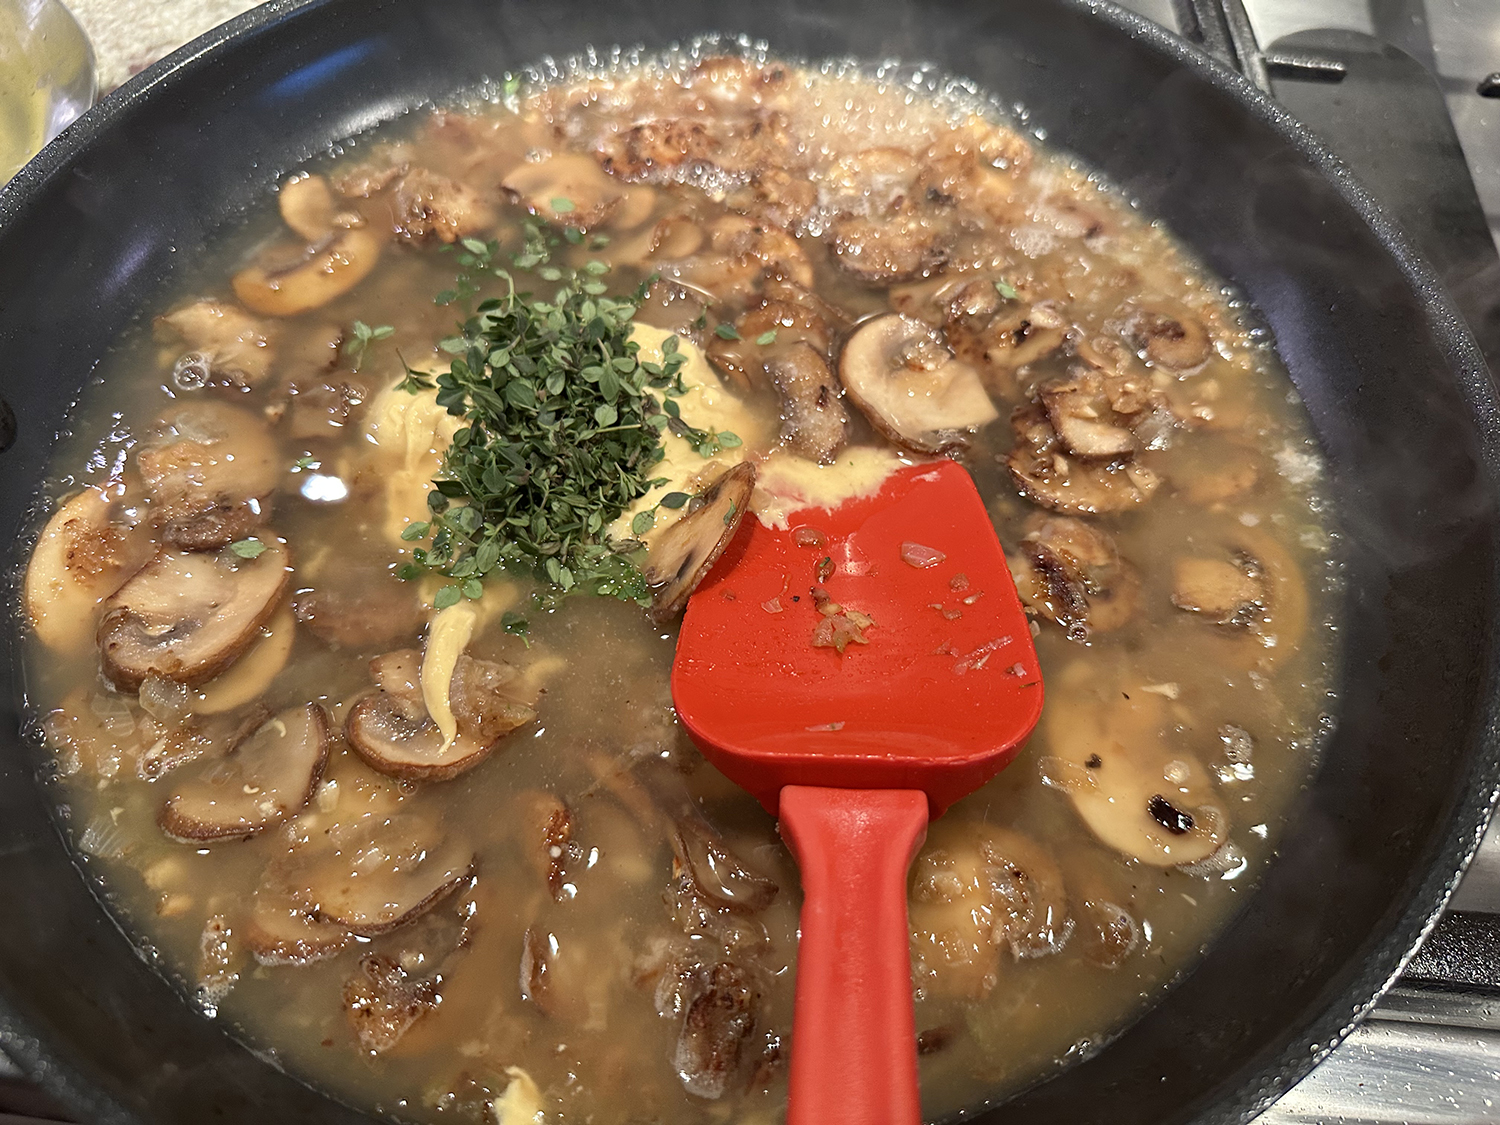
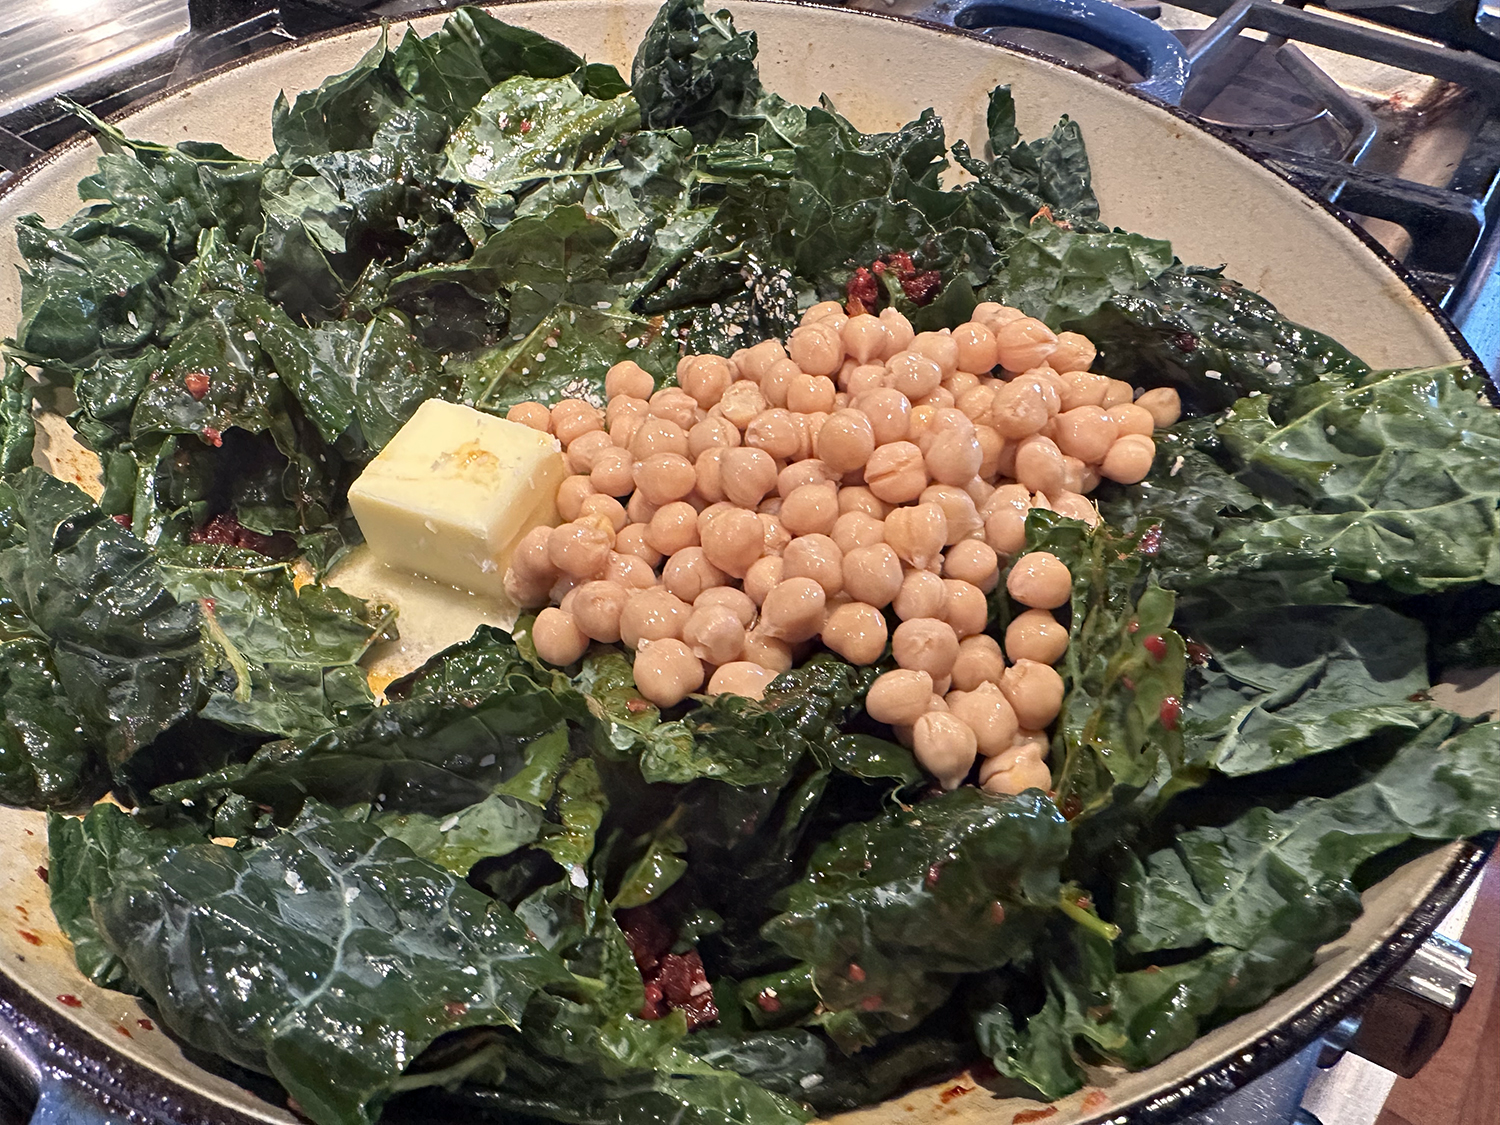
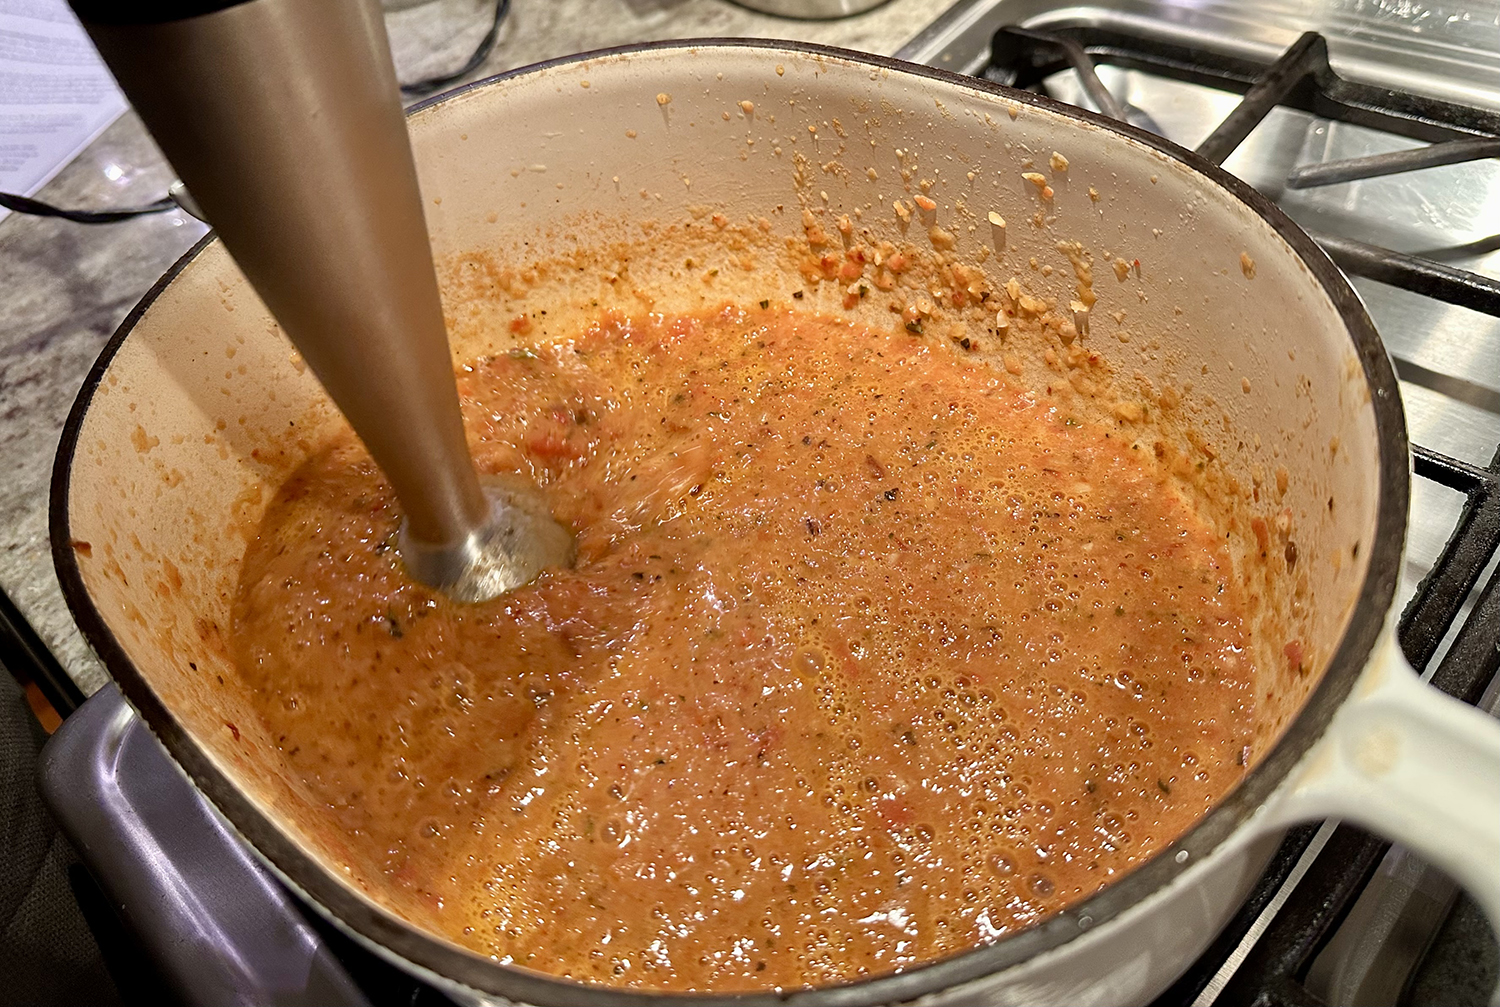
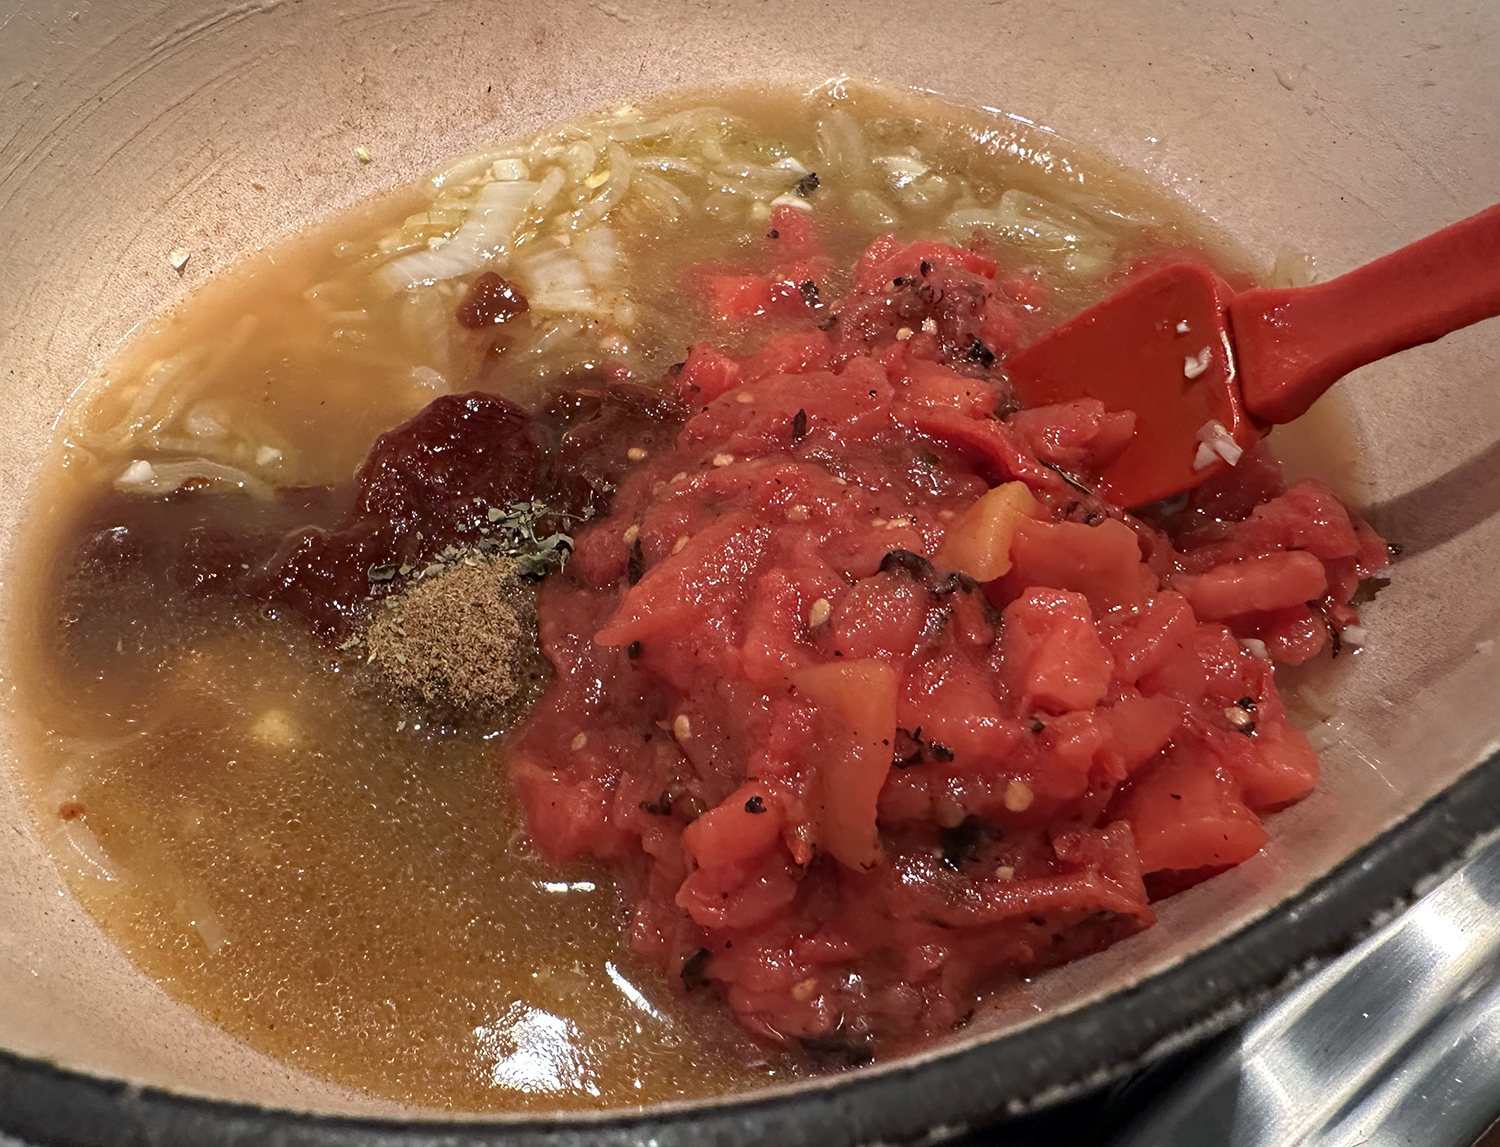
- Add lentils, thyme or rosemary, broth, whole grain mustard, and caramelized shallots to the skillet and bring to a boil. Reduce heat to medium and simmer until the broth has reduced by about half, about 5 minutes. Remove from the heat and stir in parsley and lemon juice. Season to taste with salt and pepper. Spoon the lentils onto plates, set the salmon on top, drizzle with more olive oil, and serve immediately.
Adapted from a recipe from Serious Eats