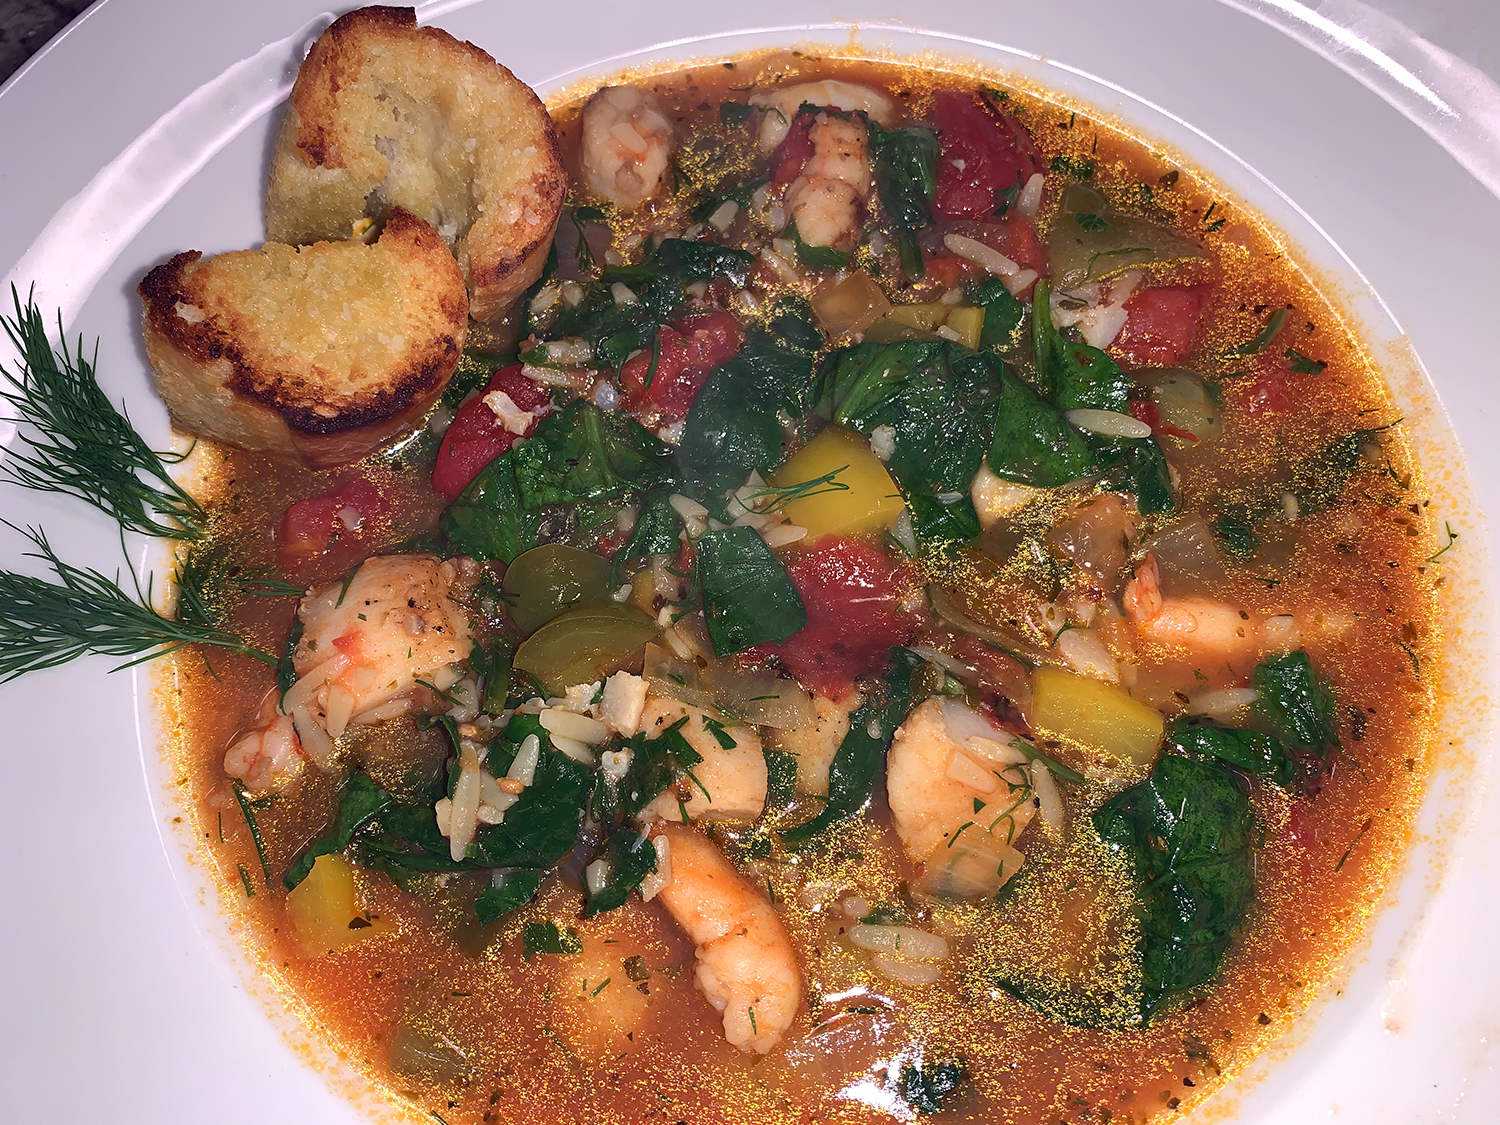
In just over an hours time, you can enjoy this lovely, nutrient-packed Mediterranean soup. We substituted 8 ounces of cod for a half pound of the shrimp, giving us a trio of seafood. Typically, we would use our own homemade shellfish stock, but since we were plum out, we incorporated a mix of bottled clam juice and boxed seafood broth.
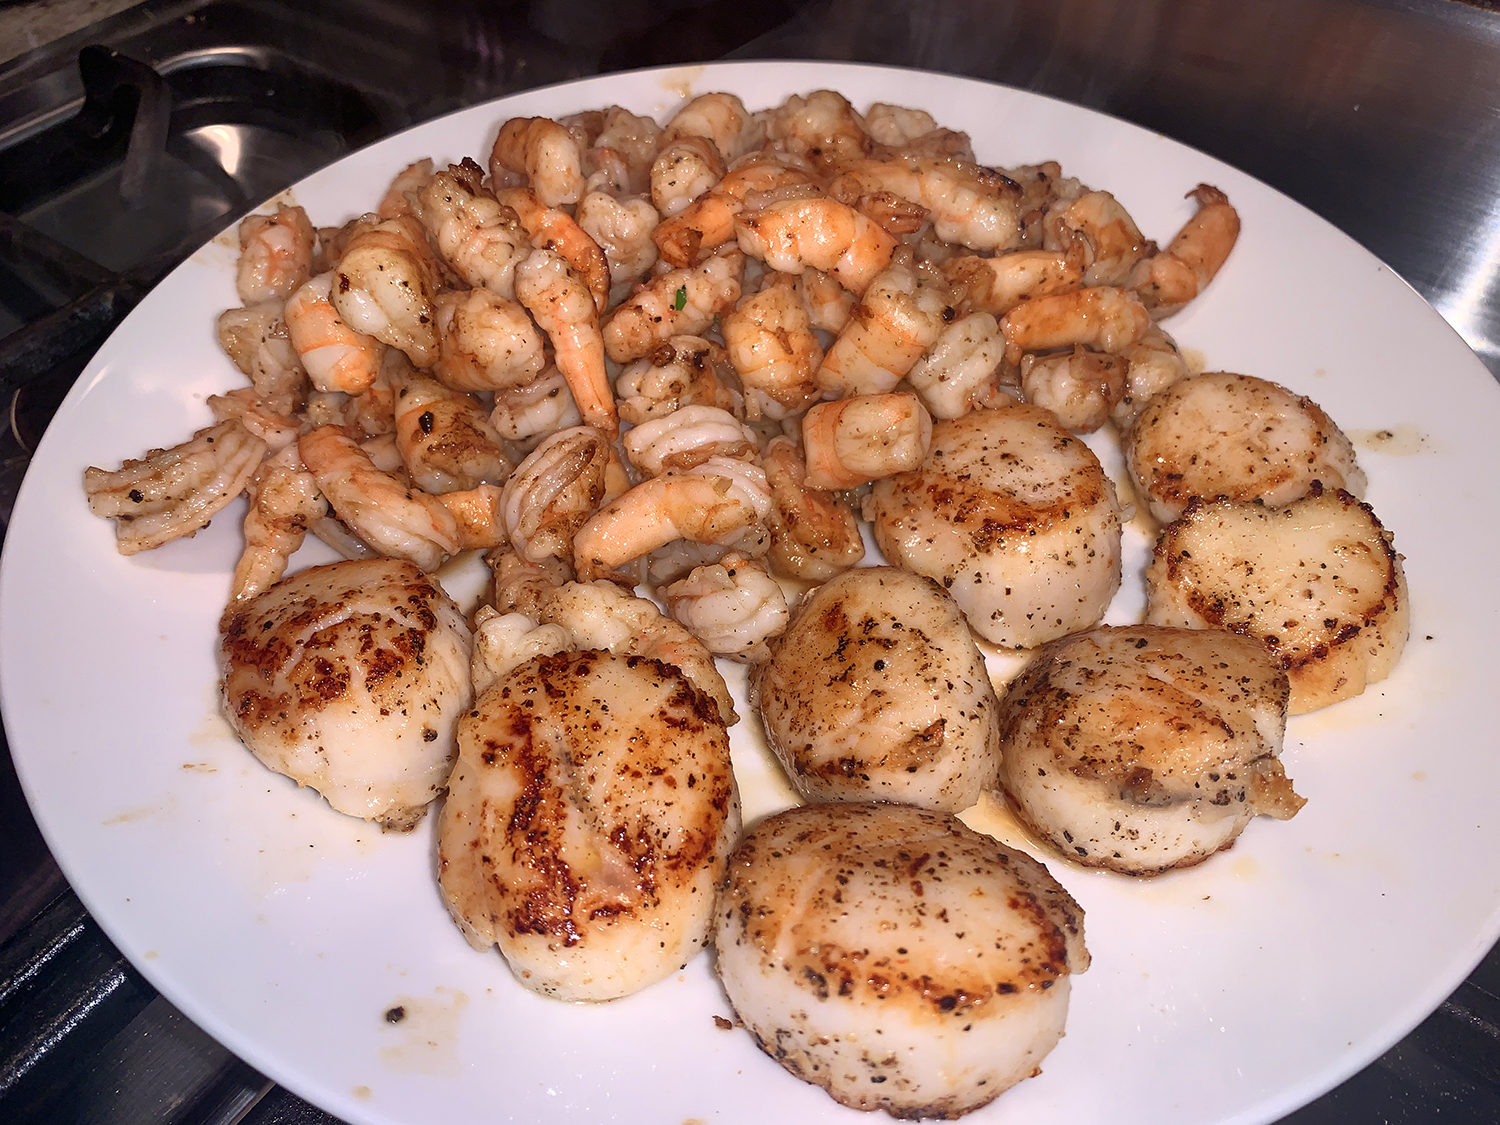
First, you’ll give the scallops a quick sear in a hot pan. Next, you’ll sear your shrimp in the same pan for about 2 minutes, you want to see some pink but don’t worry about fully cooking it yet. Remember, you will be adding the seafood to the hot soup later, so don’t overcook the shrimp. In addition to the aromatics and fresh herbs, fresh lemon juice is the perfect finishing touch.
The original recipe indicated that it would take 35 minutes from prep through to finished soup. Unless you are a samurai chef, it’s not possible. It took me at least 35 minutes just to do the prep alone. Plus, more time was needed for the liquid to return to a boil in a couple of instances. So plan on a minimum of about 70 minutes.
We served ours with toasted garlic bread nuggets and a side salad.

Mediterranean Shrimp and Scallop Soup
Ingredients
- 8 oz. sea scallops
- Salt and black pepper
- Extra virgin olive oil
- 1 lb. shrimp, peeled and deveined, cut in 3 pieces each
- 8 oz. cod, cut into 1-inch chunks
- 1 green bell pepper, cored, chopped
- 1 red or yellow bell pepper, cored, chopped
- 1 medium yellow onion, chopped
- 6 garlic cloves, peeled, minced
- 3 Tbsp. tomato paste
- 1 Tbsp. dried oregano, divided
- 3 8-oz. bottles clam juice
- 1 qt. seafood broth
- 2 15-oz cans diced tomato
- 1 cup orzo pasta
- 6 oz. baby spinach
- 1 cup chopped fresh parsley leaves
- 1 cup chopped fresh dill, stems removed
- 1 lemon, juice of
- Crushed red pepper flakes, optional


Directions
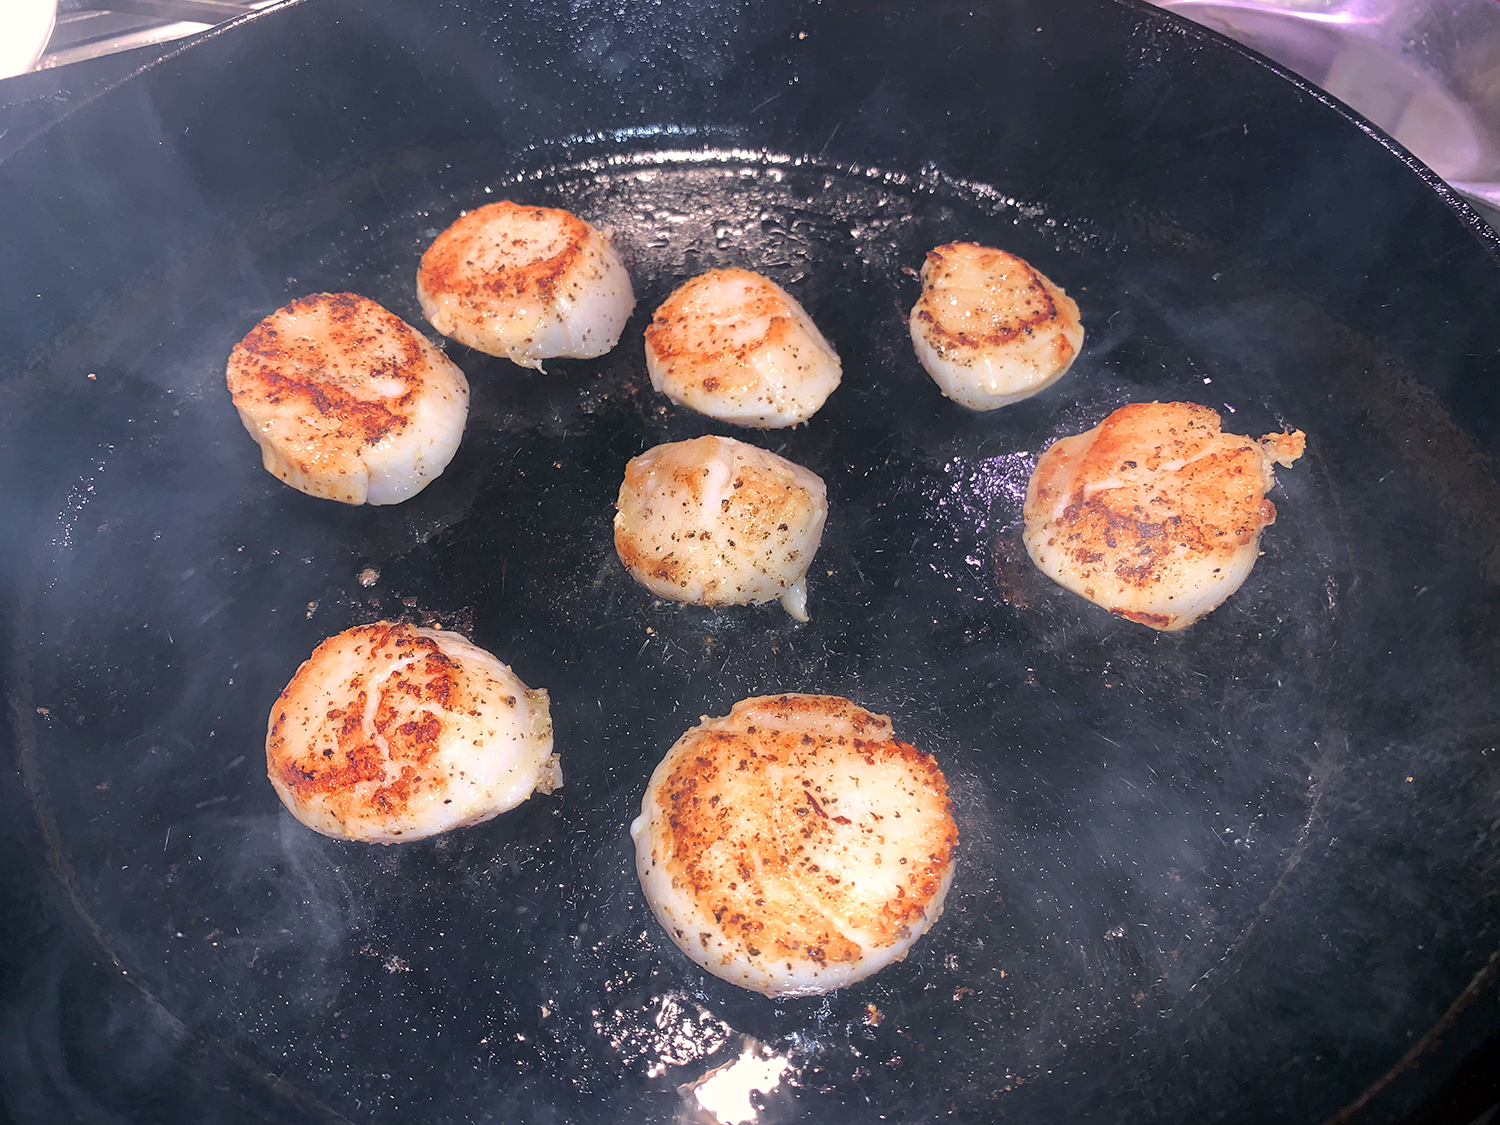
- If using scallops, pat them dry and season with salt and pepper.
- In a cast iron skillet, heat 1 tablespoon olive oil over medium-high heat until shimmering. Gently add the sea scallops. Sear for about 1 ½ minutes on each side. Scallops should form a golden brown crust. Sprinkle a large pinch of dried oregano. Quarter each scallop and transfer to a dish and set aside for now.
- To the same cast iron skillet, add a little more extra virgin olive oil if needed. Again heat over medium-high until shimmering but not smoking. Add the shrimp; sear for about 2 minutes on both sides. You want to see some pink, but don’t worry about fully cooking it (you will finish cooking it in the soup.) Remove from the heat and sprinkle a generous pinch of dried oregano.
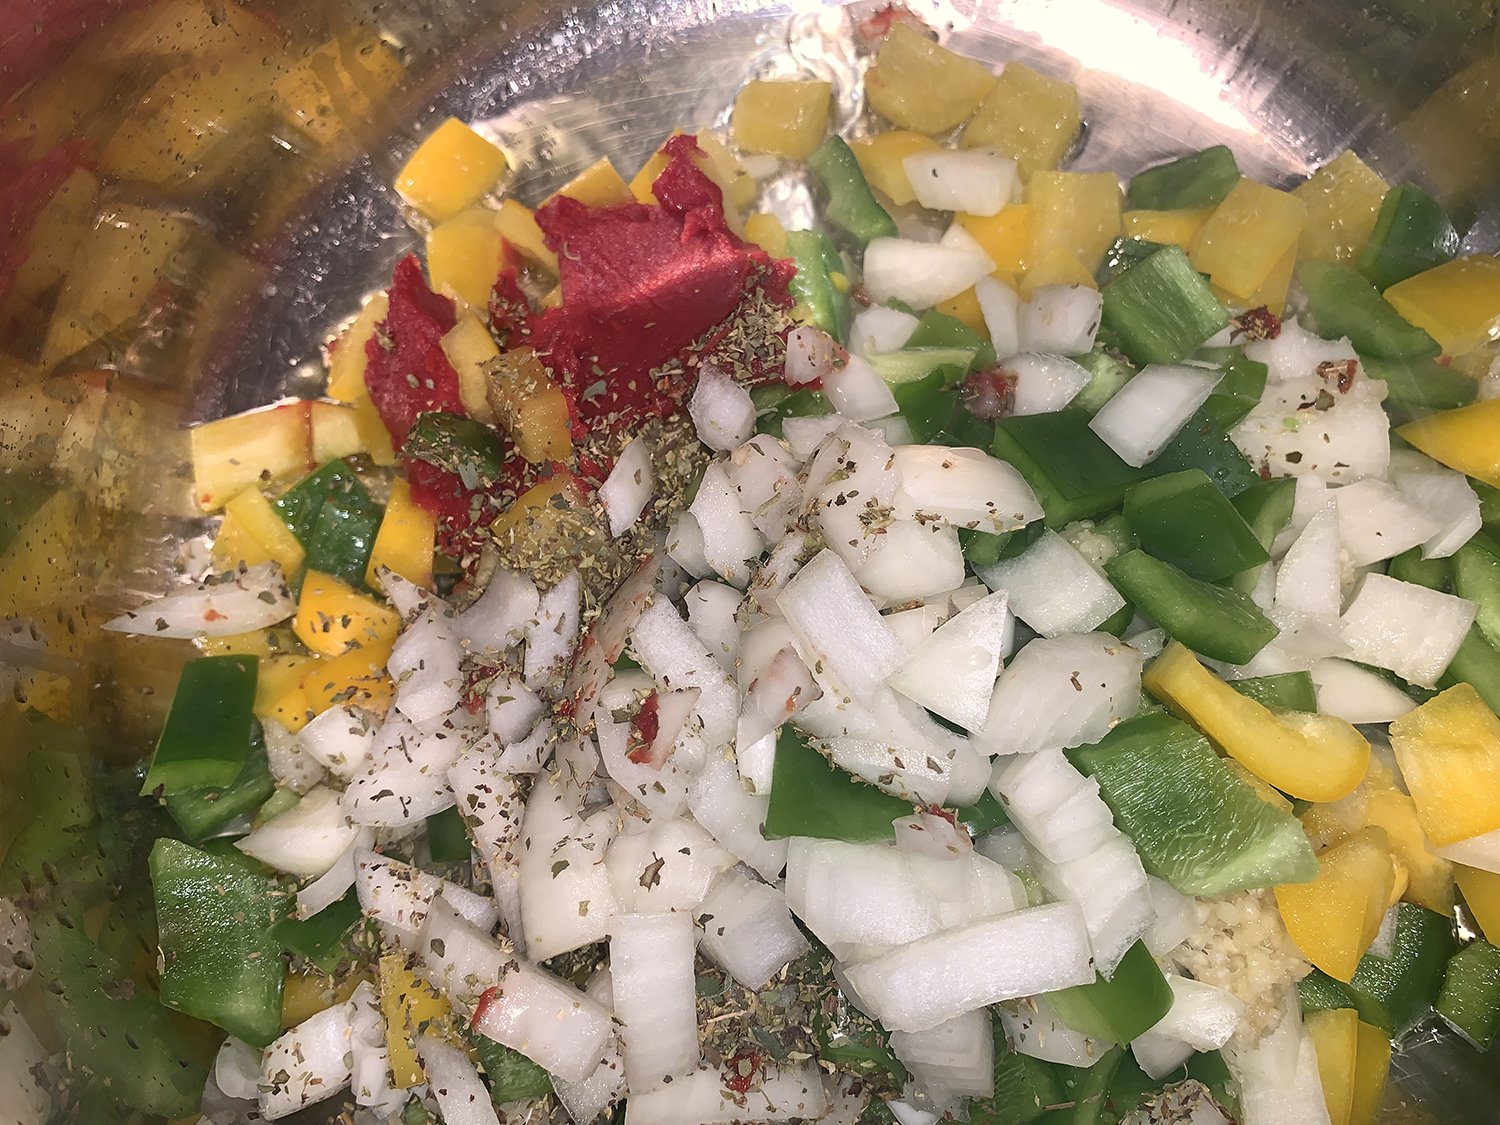
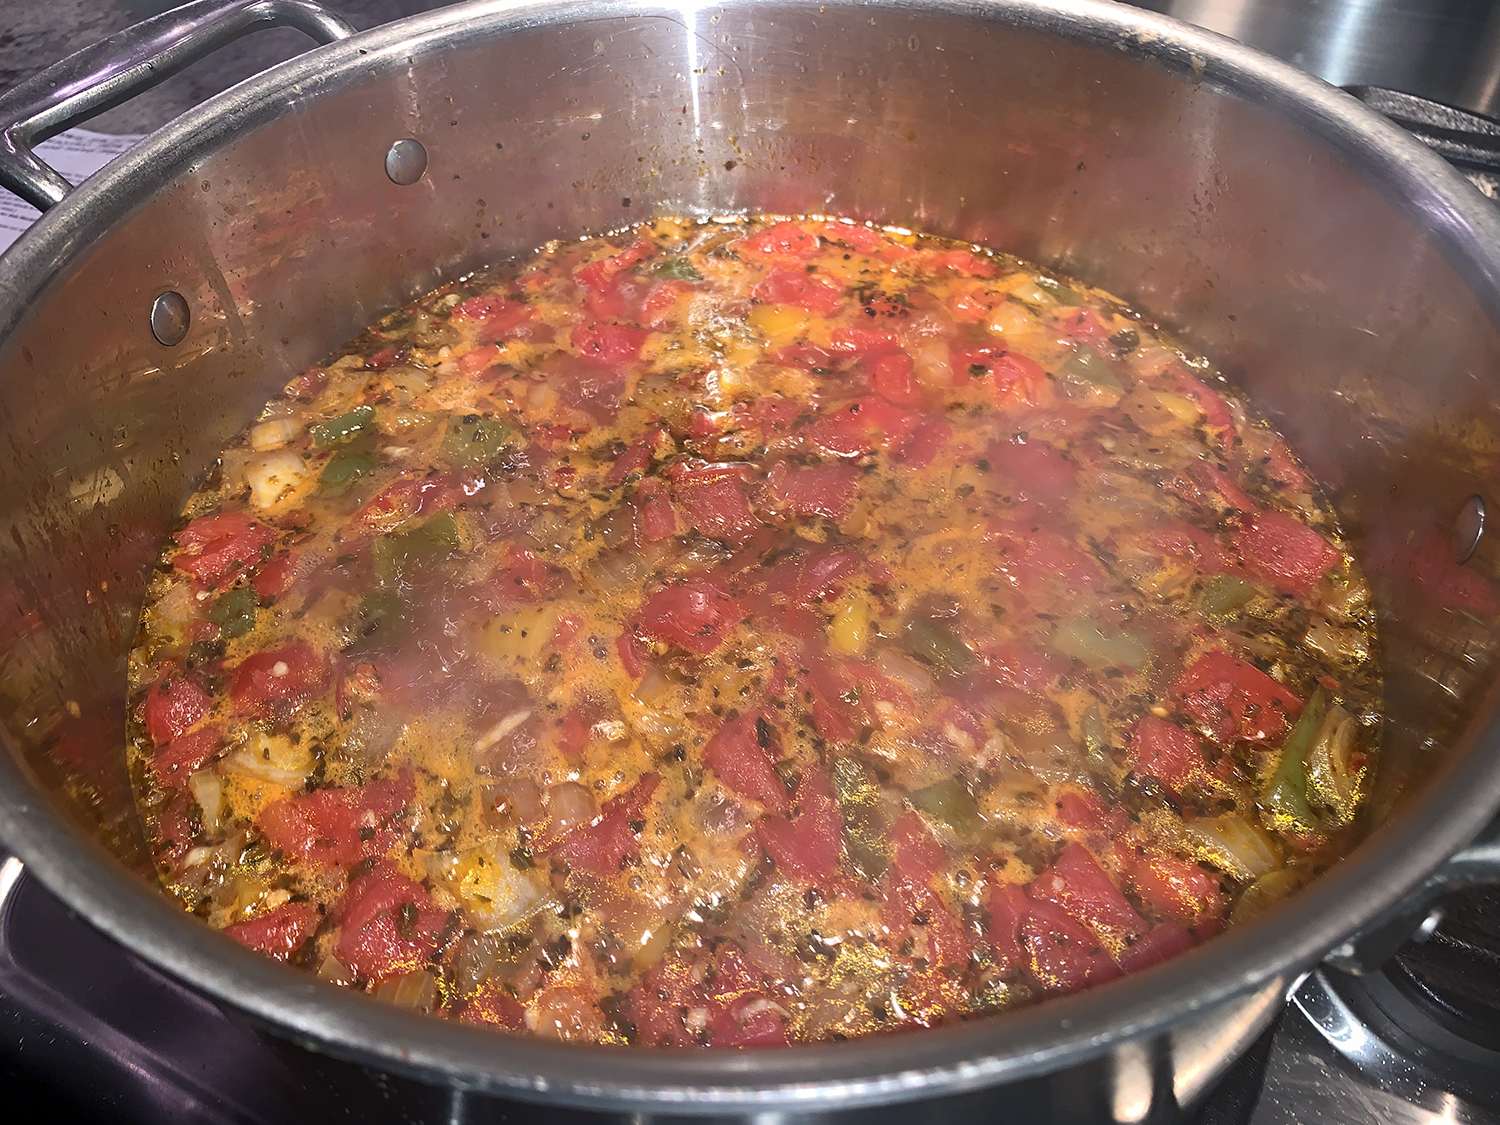
- In a medium heavy cooking pot, heat 1 tablespoon extra virgin olive oil on medium-high. Add the chopped peppers, onions, garlic, tomato paste, salt and the remaining dried oregano. Cook for 5 minutes, stirring occasionally.
- Add the seafood broth and clam juice and bring to a boil. Add the diced tomatoes. Cook on medium-high for 3-5 more minutes.
- When the liquid returns to a boil, add the orzo pasta. Turn heat down to medium and cook for 8 minutes until orzo is tender. Add the cod about 4 minutes after you stir in the orzo.
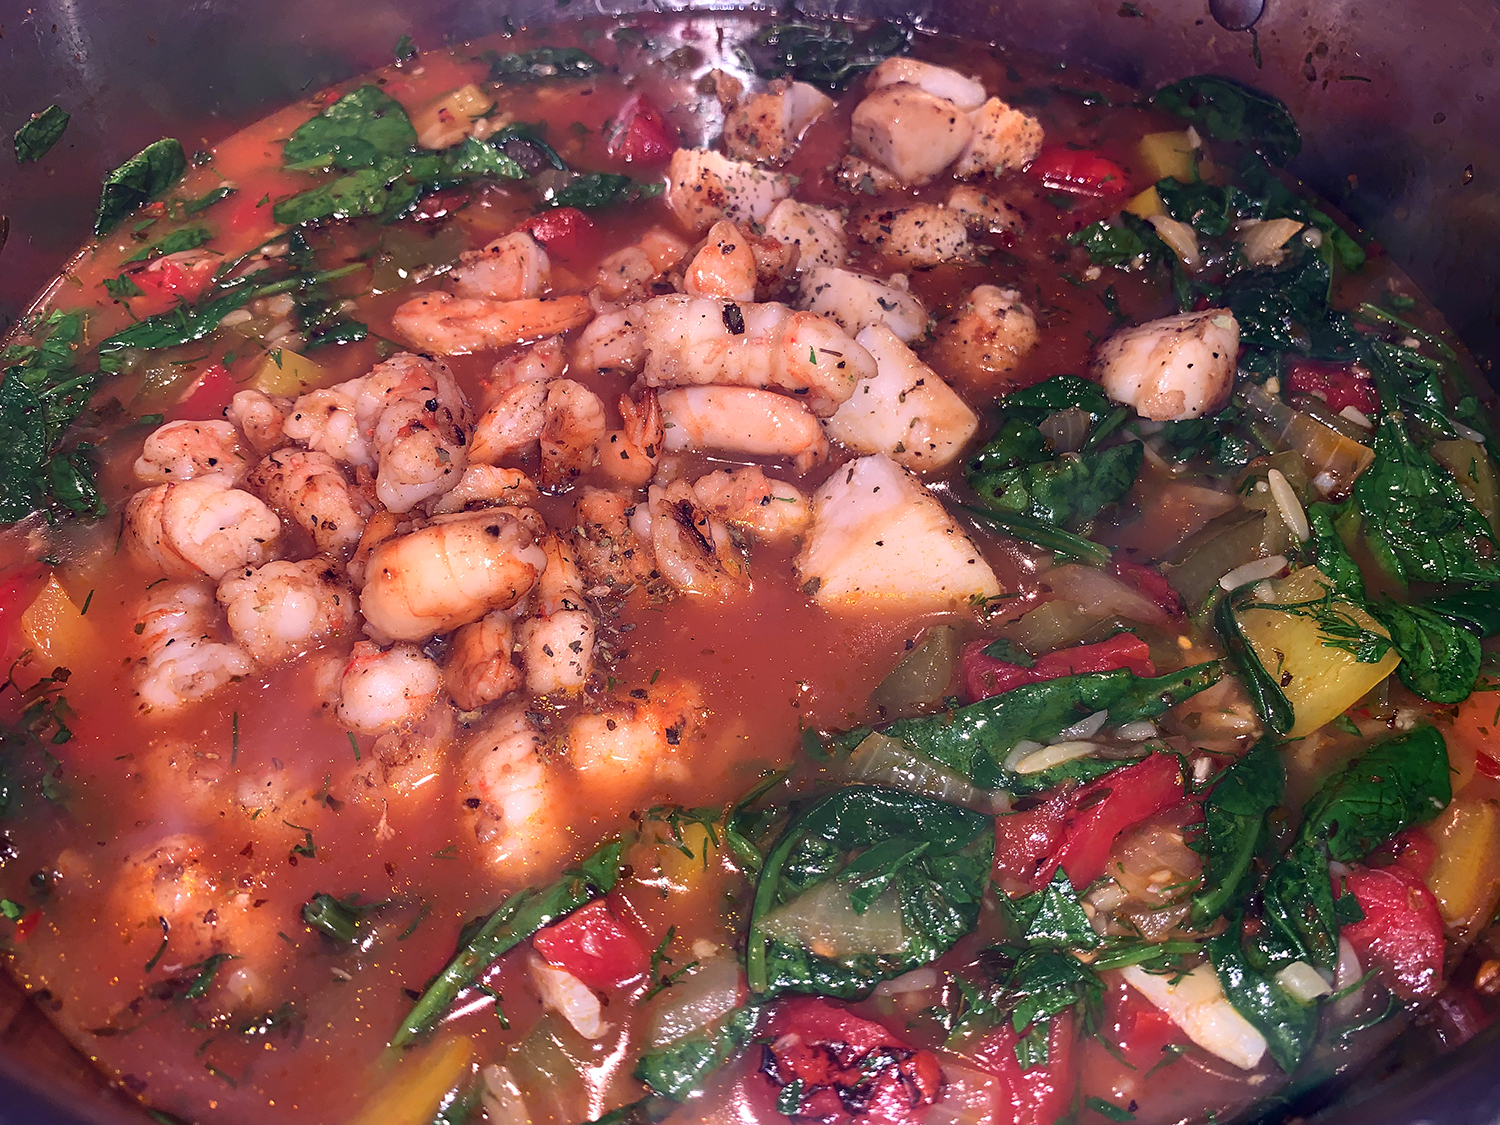
- Stir in the baby spinach, parsley, dill, and lemon juice.
- Finally, stir in the scallops and shrimp to warm through (about 1 to 2 minutes.) Taste and adjust seasoning to your liking. Add crushed red pepper flakes for some heat, if you like. Serve with your favorite crusty bread.
Adapted from a recipe by Suzy Karadsheh