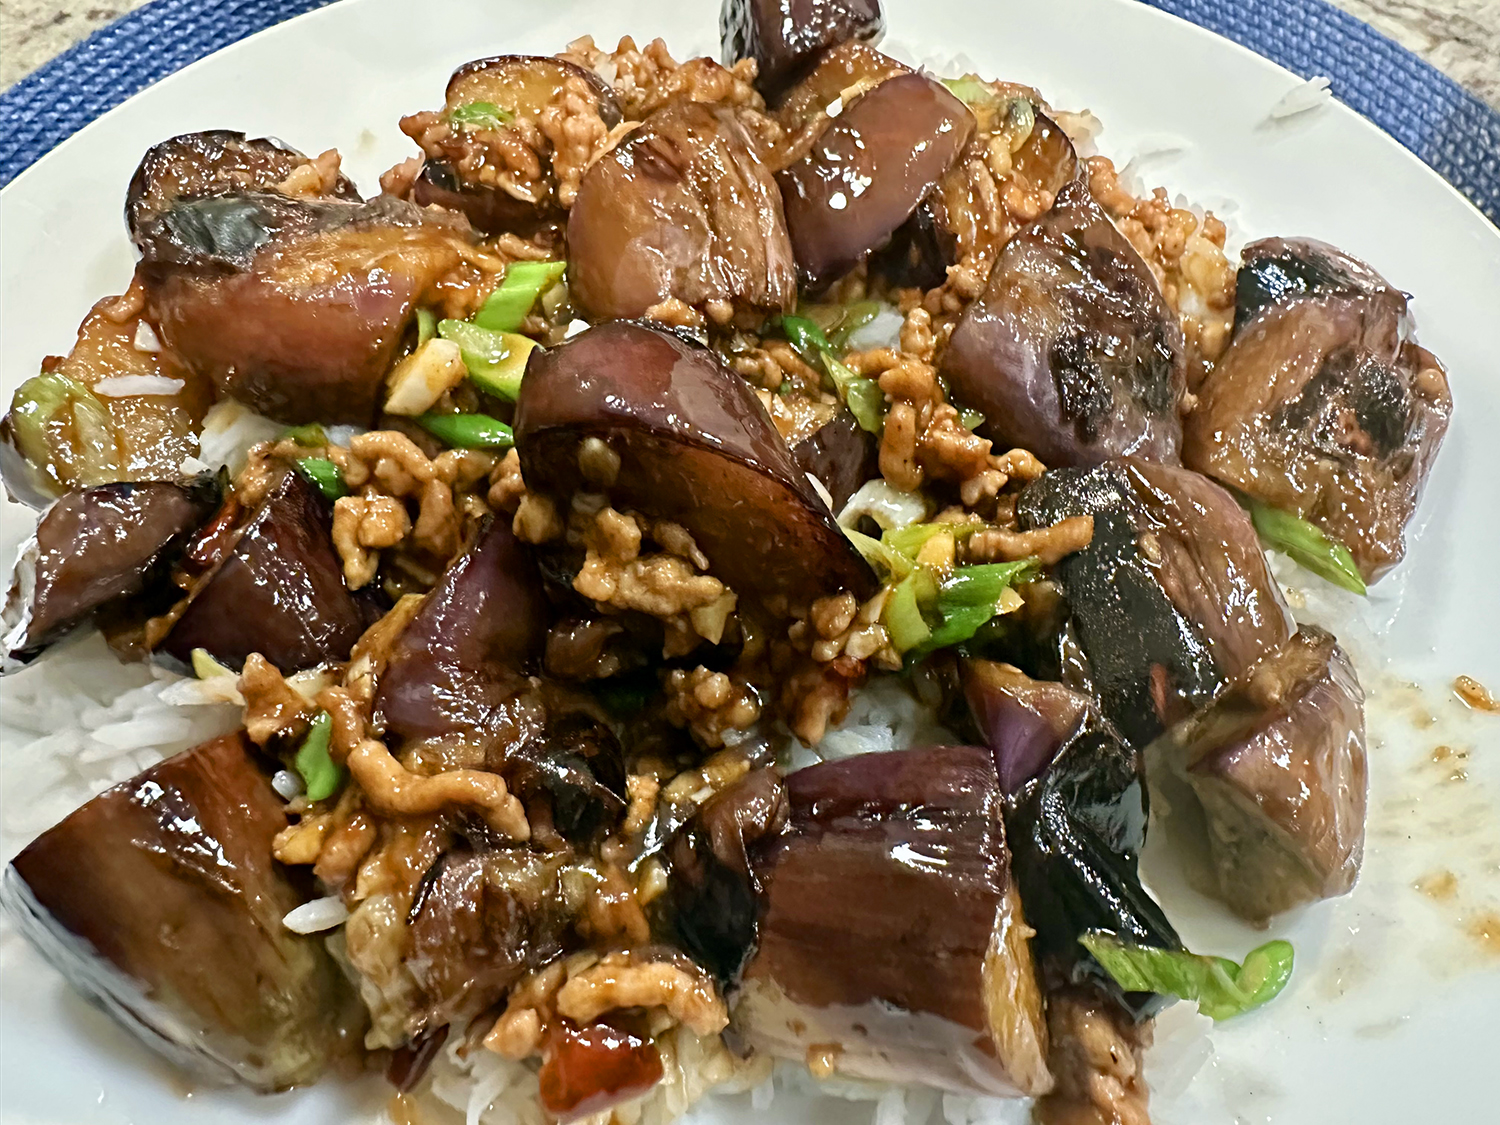
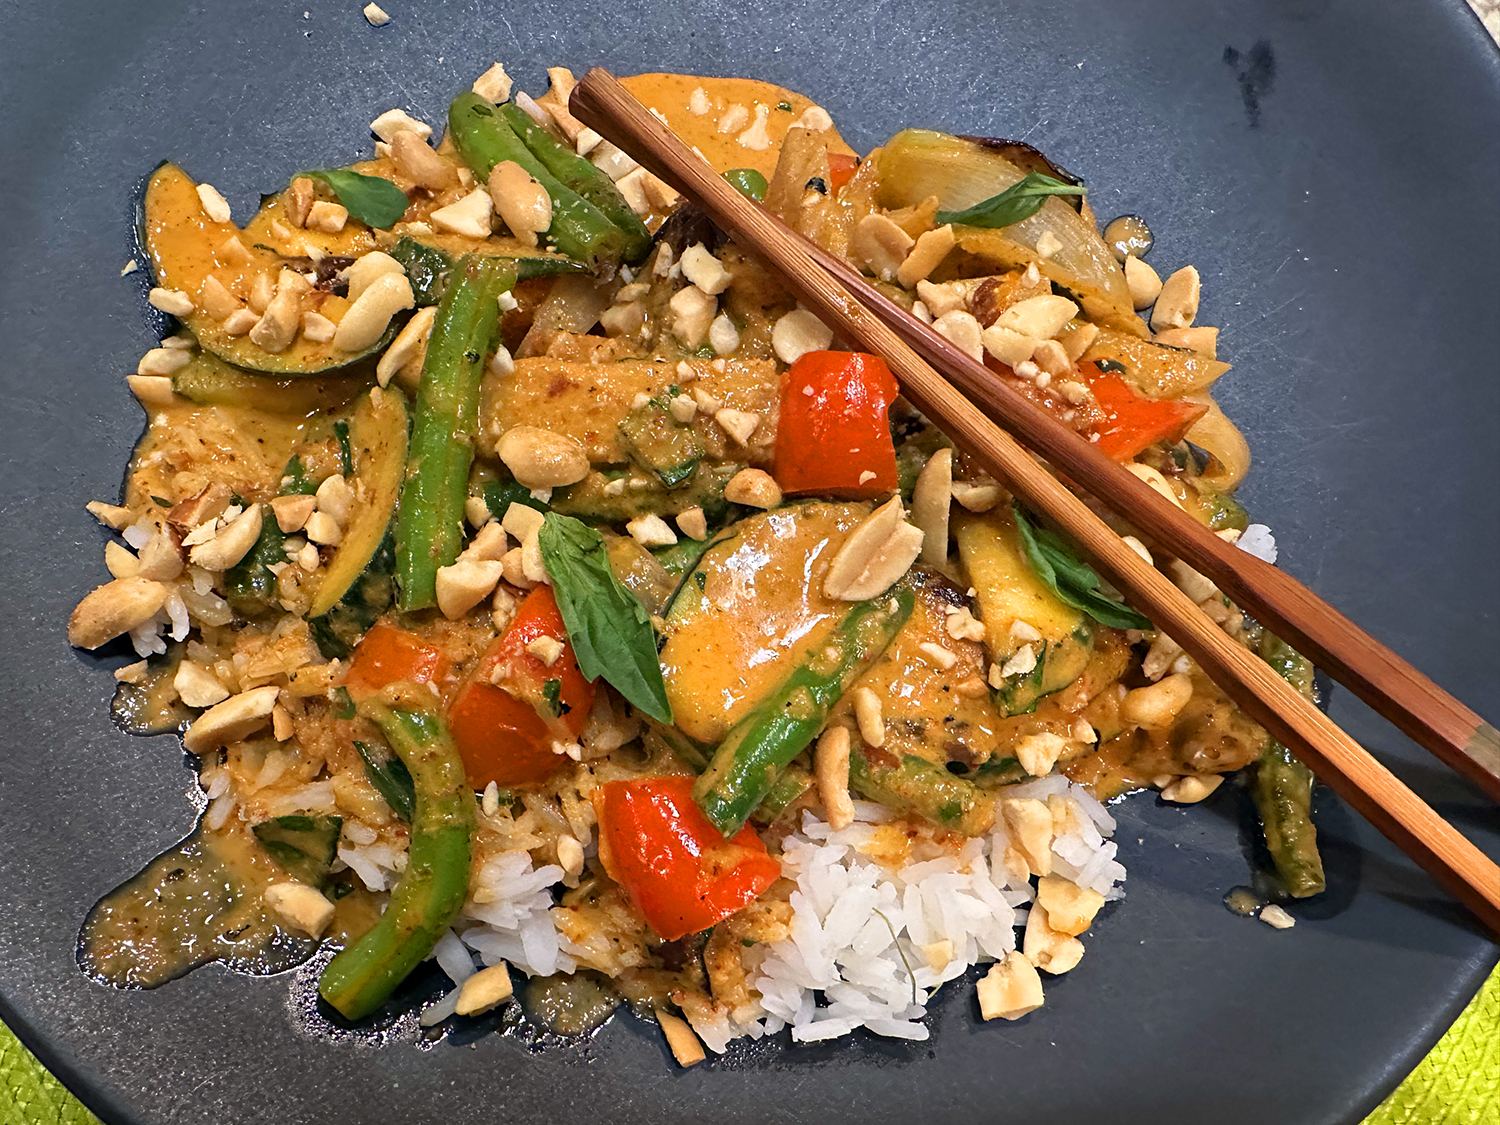
This colorful, aromatic Thai Vegetable Curry recipe may be vegetarian, but it doesn’t skimp on flavor. Creamy coconut milk and Thai red curry paste create the perfect base for tender eggplant, crisp vegetables, and fragrant Thai basil.
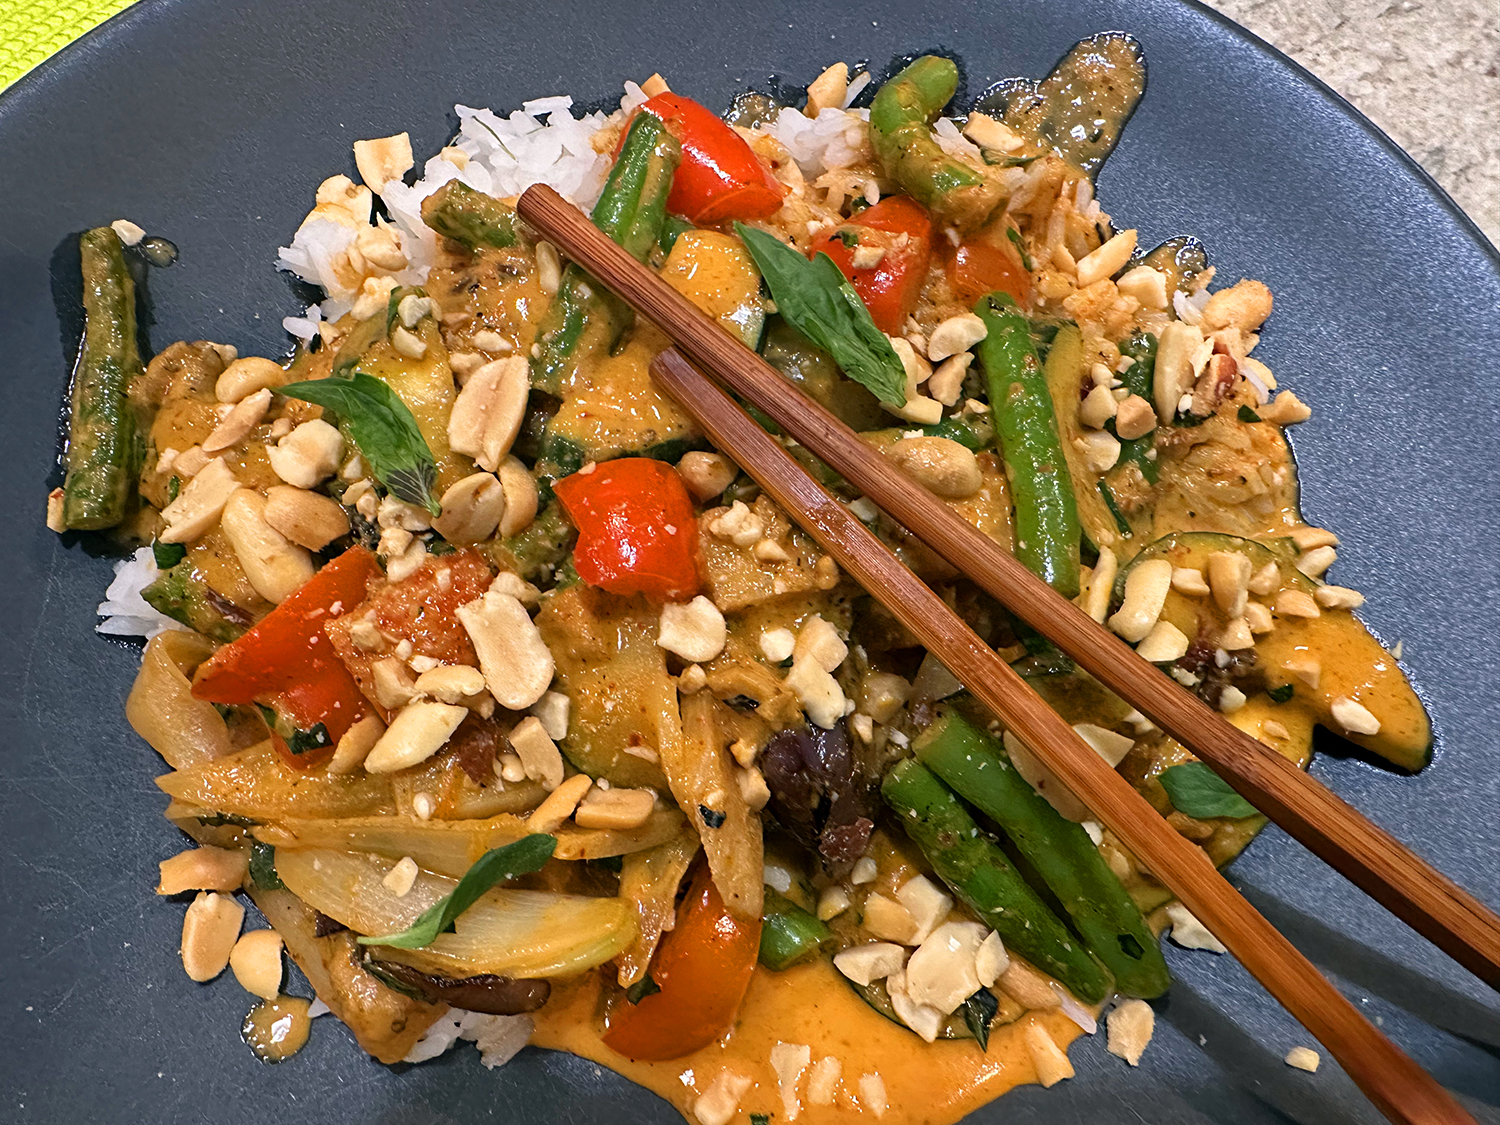
The beauty of this dish is its versatility. You can easily adjust the spice level by using less curry paste, and the vegetables can be swapped based on what you have in your fridge. We made some minor adjustments, but followed the recipe pretty closely otherwise. And it definitely has a kick to it, so cut back on the red curry paste if you have a more “delicate” palate.
Our Asian Mart was carrying Taiwan Basil as opposed to the Thai variety so we used that. And using just half of a red bell pepper? C’mon, that’s just silly, so we incorporated the entire pepper. We loved it!

Thai Vegetable Curry
Ingredients
- 3 Tbsp. neutral oil (such as vegetable, canola, or avocado oil)
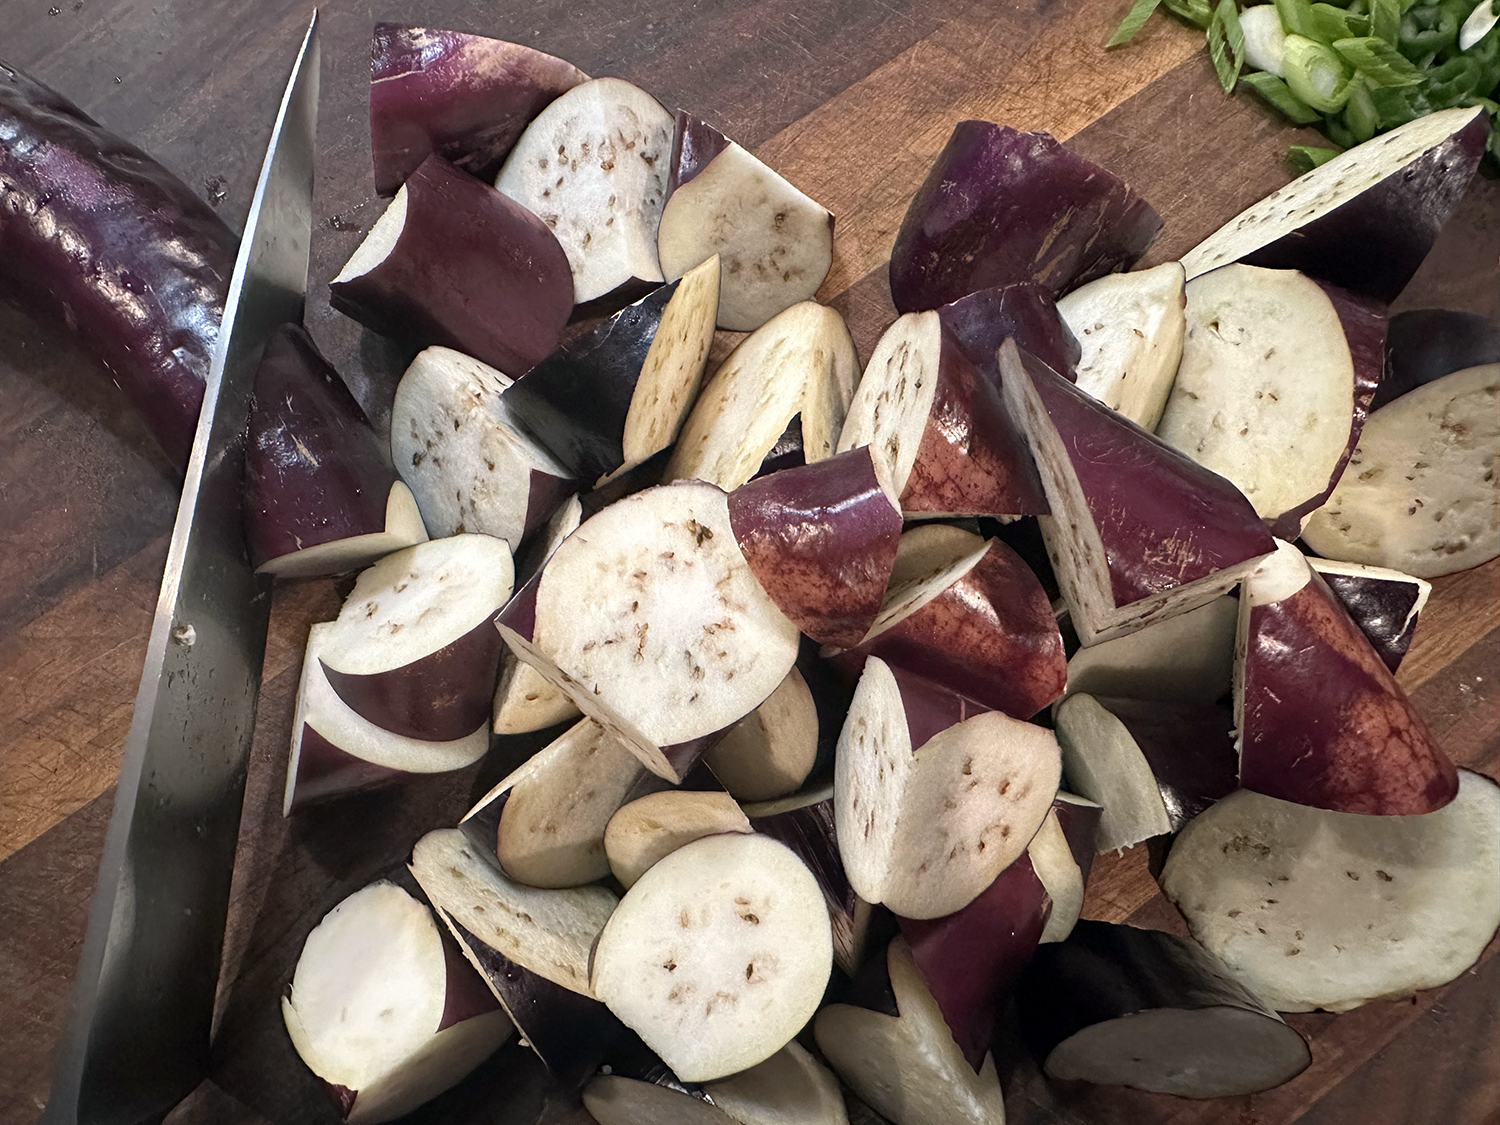
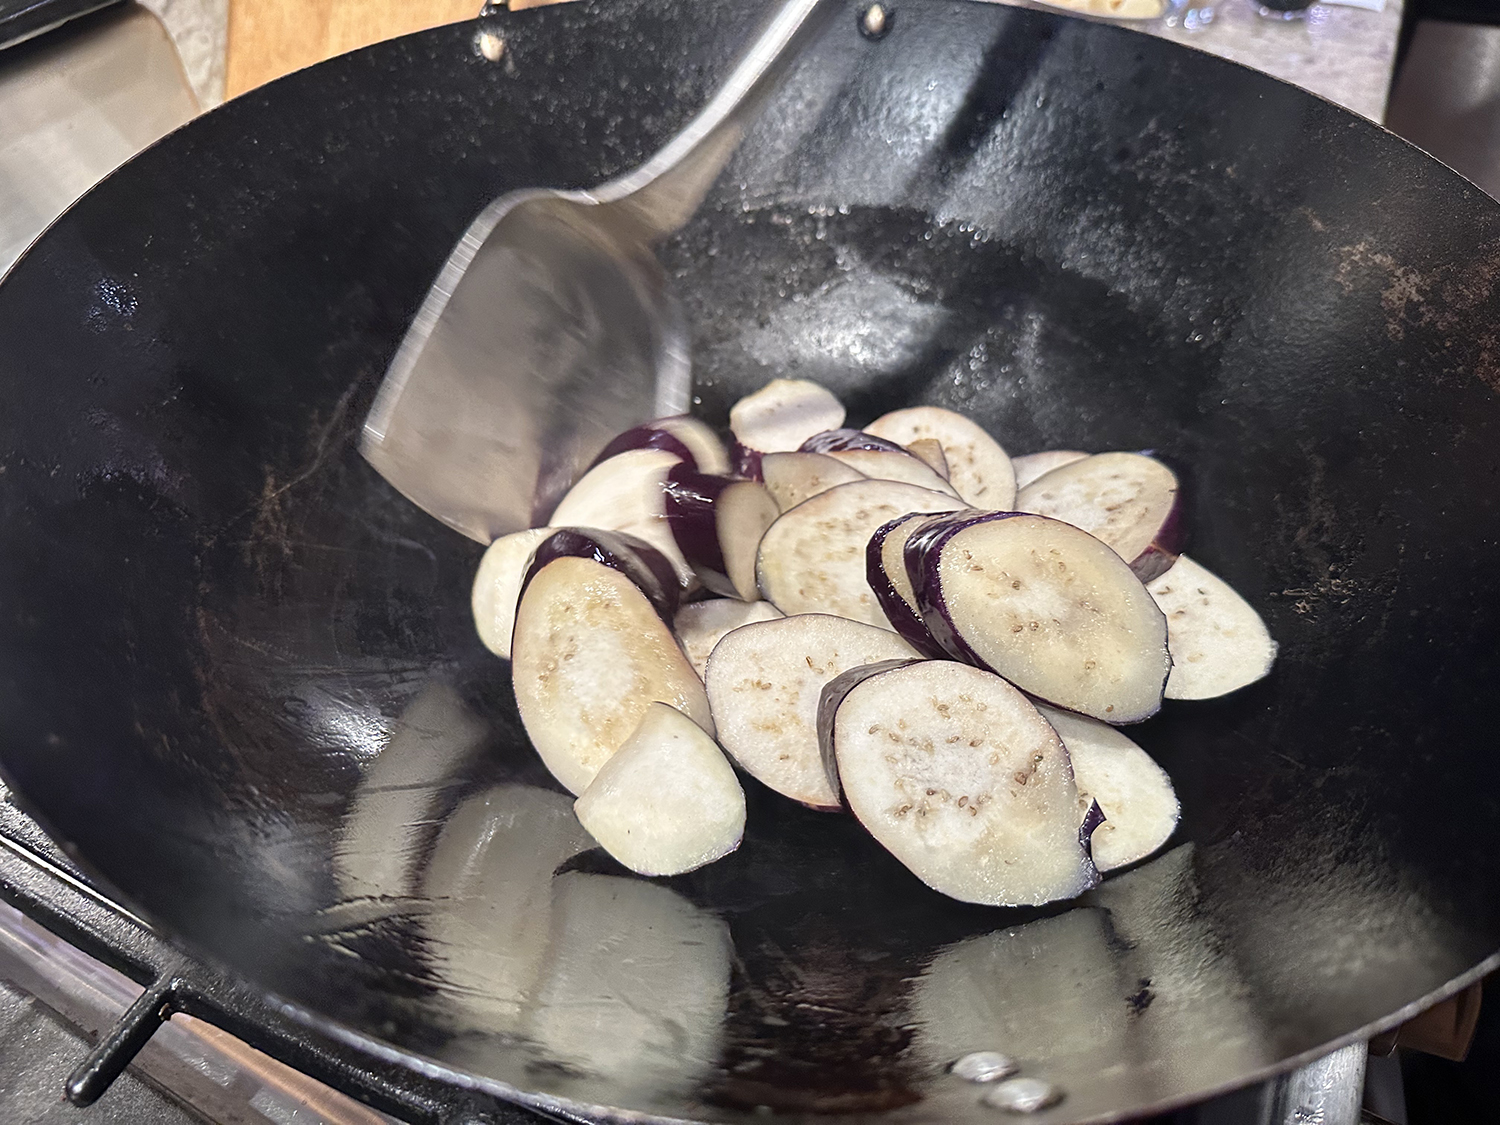
- 1 Chinese eggplant, sliced on an angle into ½-inch/1cm thick slices
- 2 cloves garlic, minced
- 2 slices ginger, peeled and minced
- 4 oz. Thai red curry paste
- 2 tsp. brown sugar (or palm sugar)
- 1 small onion, cut into small wedges, root end removed
- 1 red bell pepper, seeded and chopped into 3⁄4″ chunks
- 1 zucchini, halved lengthwise, and sliced on an angle
- 6 oz. green beans, ends trimmed, and cut in half crosswise
- 5 oz. bamboo shoots, drained
- 2 tsp. vegan fish sauce or soy sauce
- 13.5 oz. coconut milk
- ½ cup Thai basil leaves
- ¼ cup roasted peanuts, chopped, optional


Directions
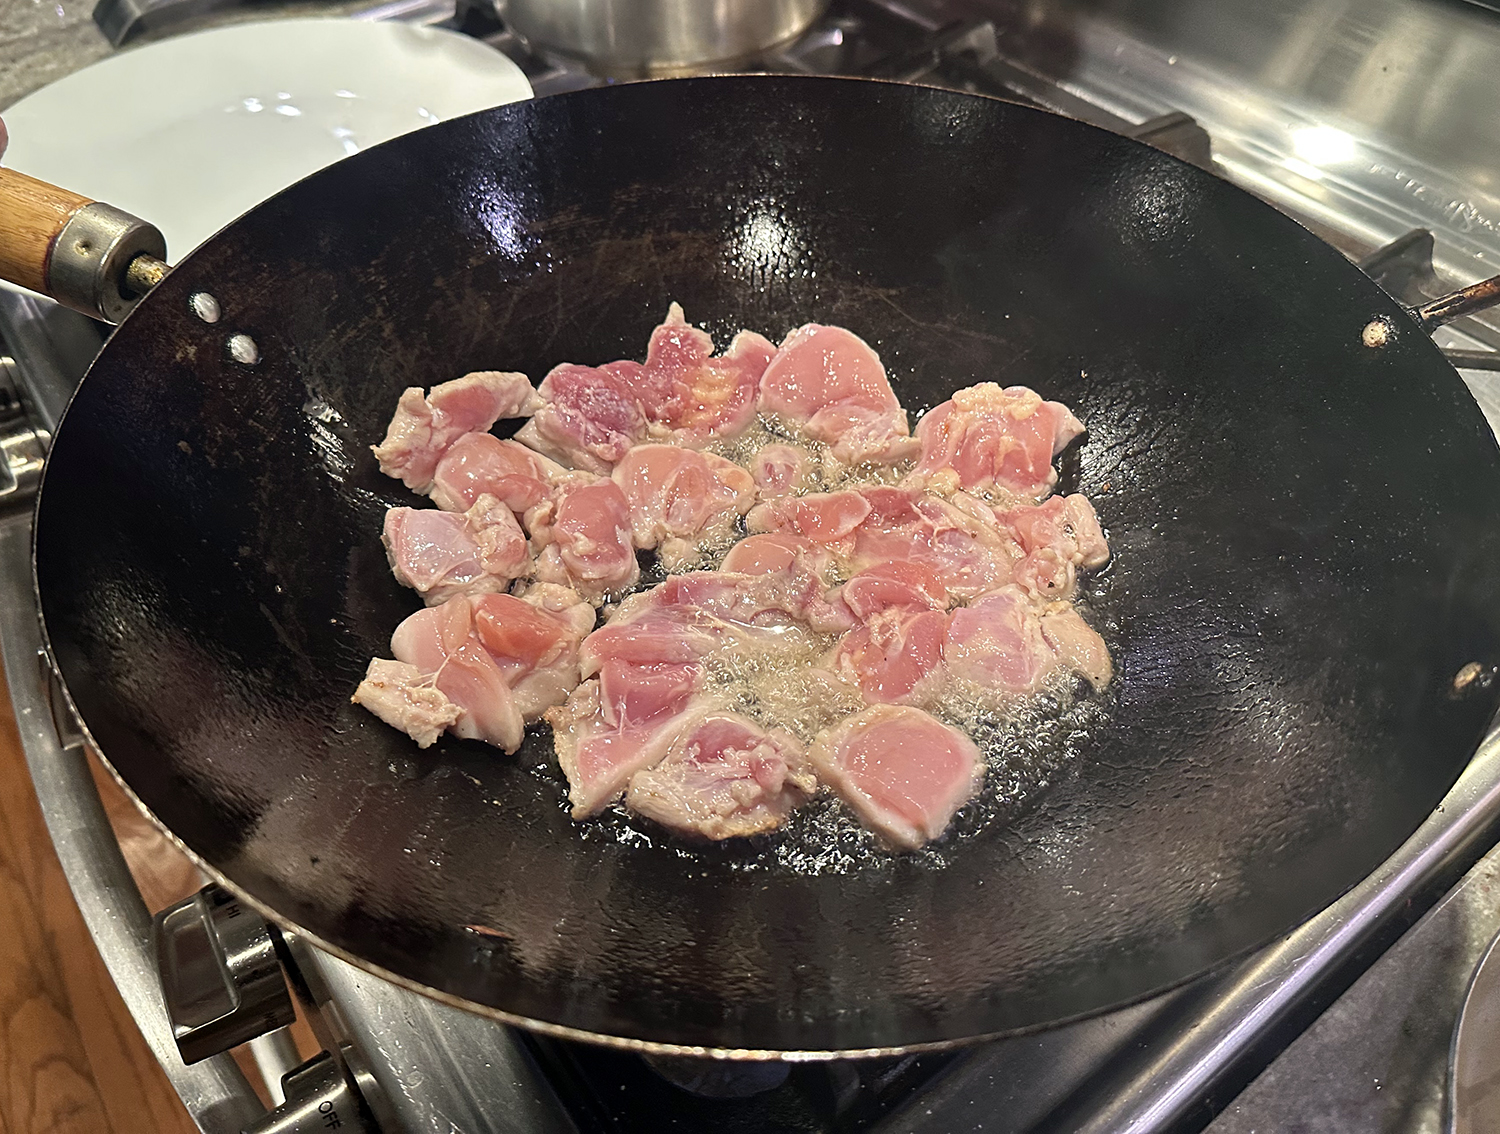
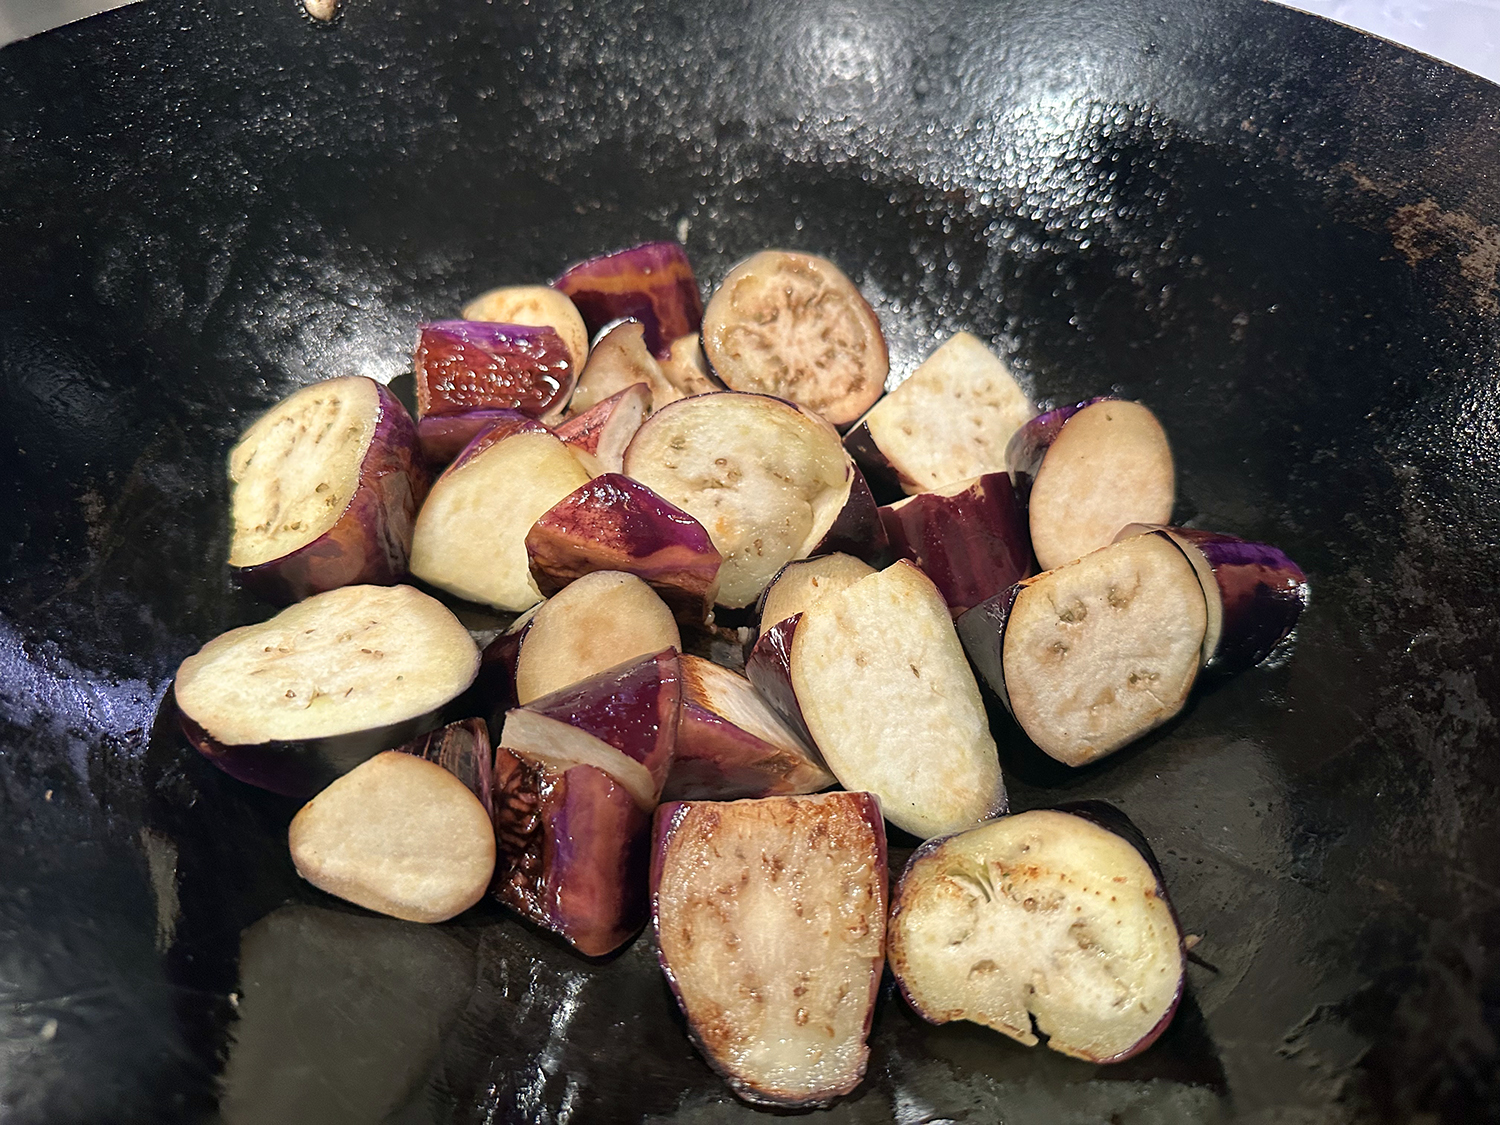
- Heat a wok or large cast iron/carbon steel skillet over medium-high heat until it just starts to smoke. Add 2 tablespoons of oil, and spread it around to coat. Add the eggplant, and stir-fry for about 7 minutes, until the eggplant is lightly browned and tender. Drizzle in a little more oil during this process if the eggplant looks dry, and try to keep it in one layer so it sears on all sides. Transfer the eggplant to a dish and set aside.
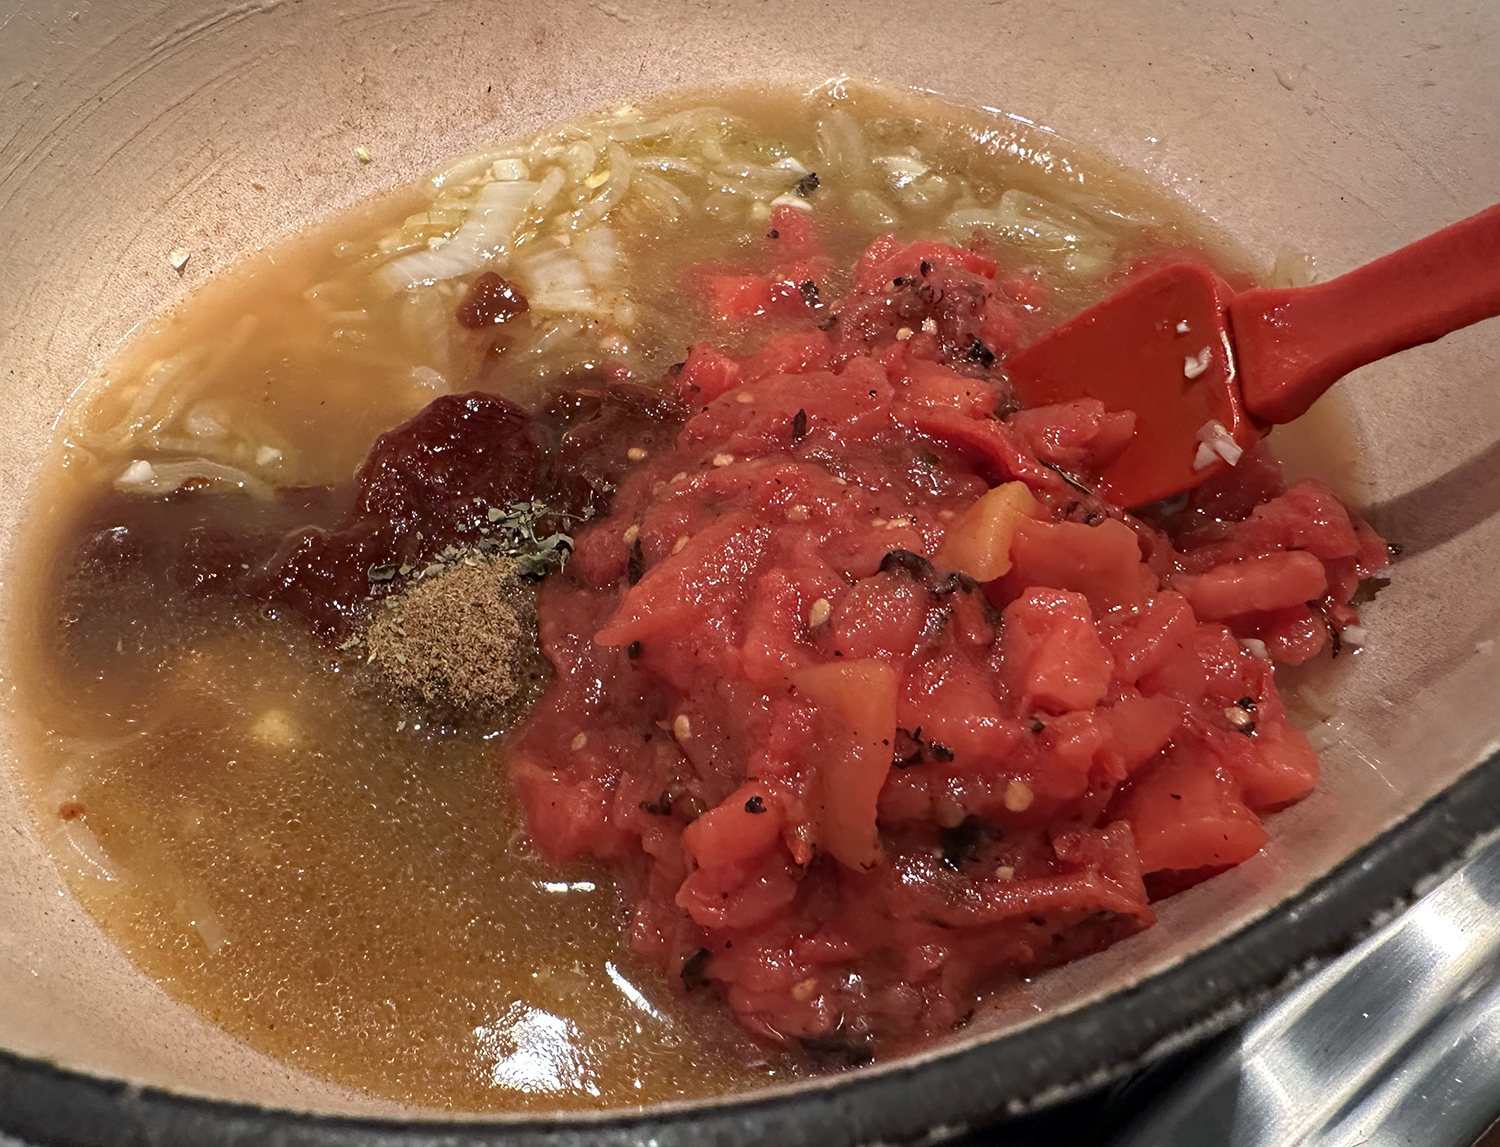
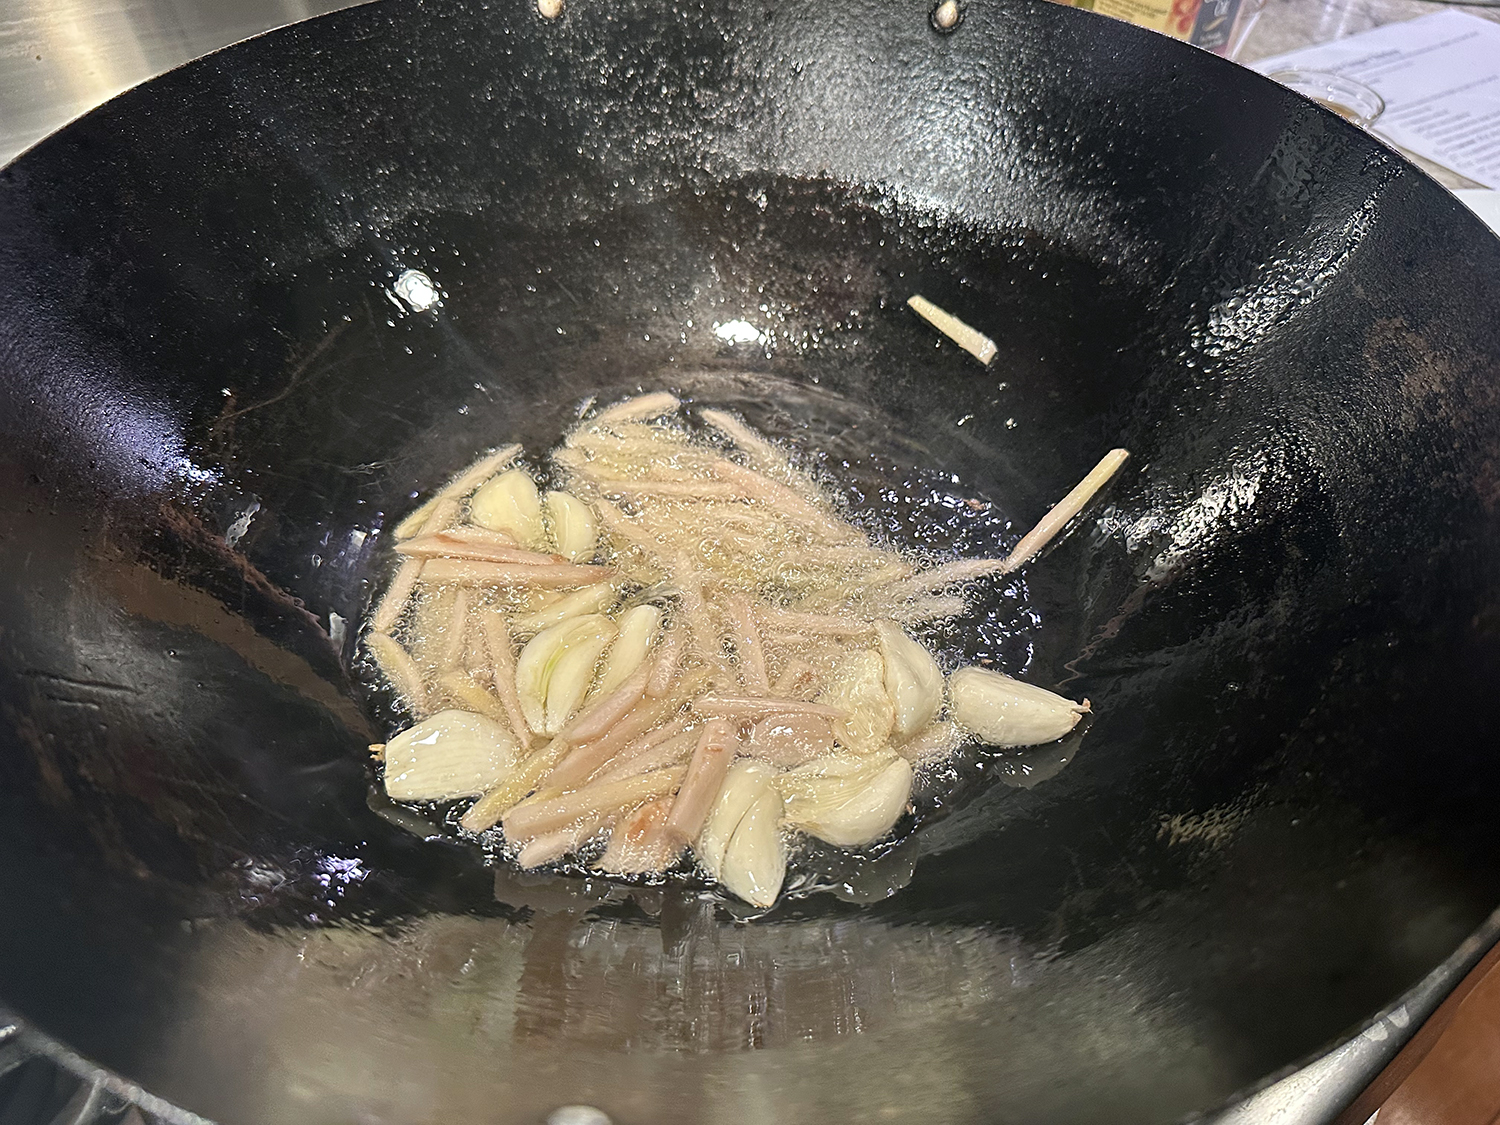
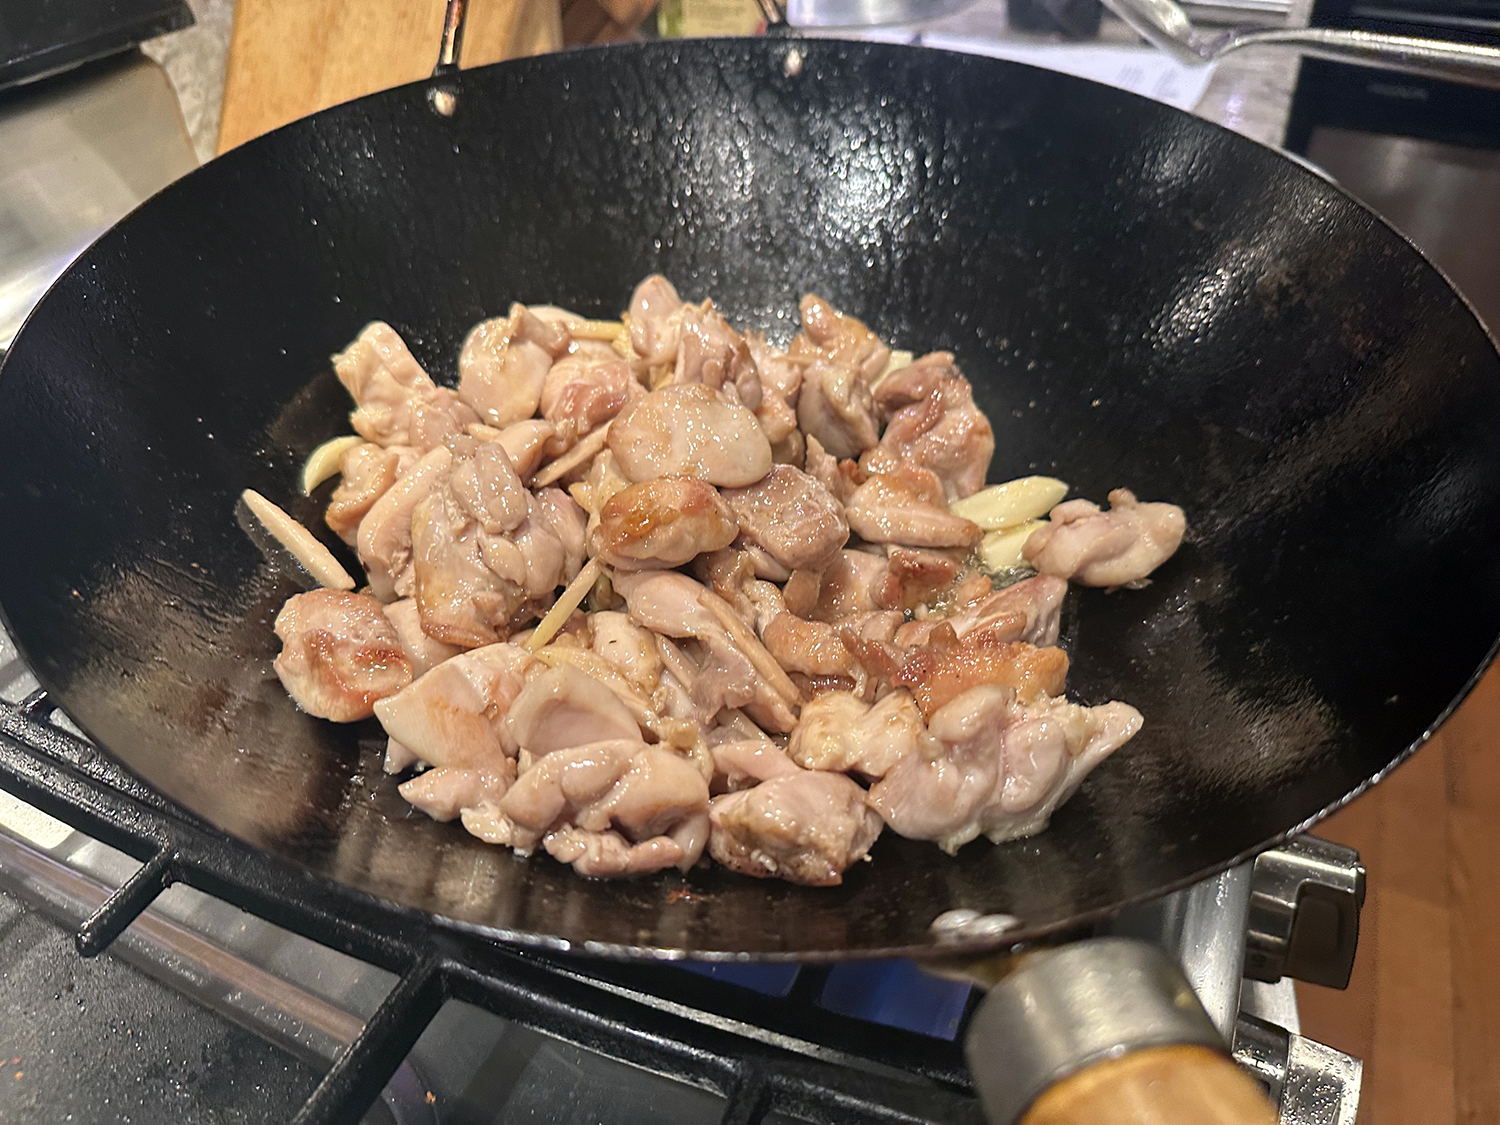
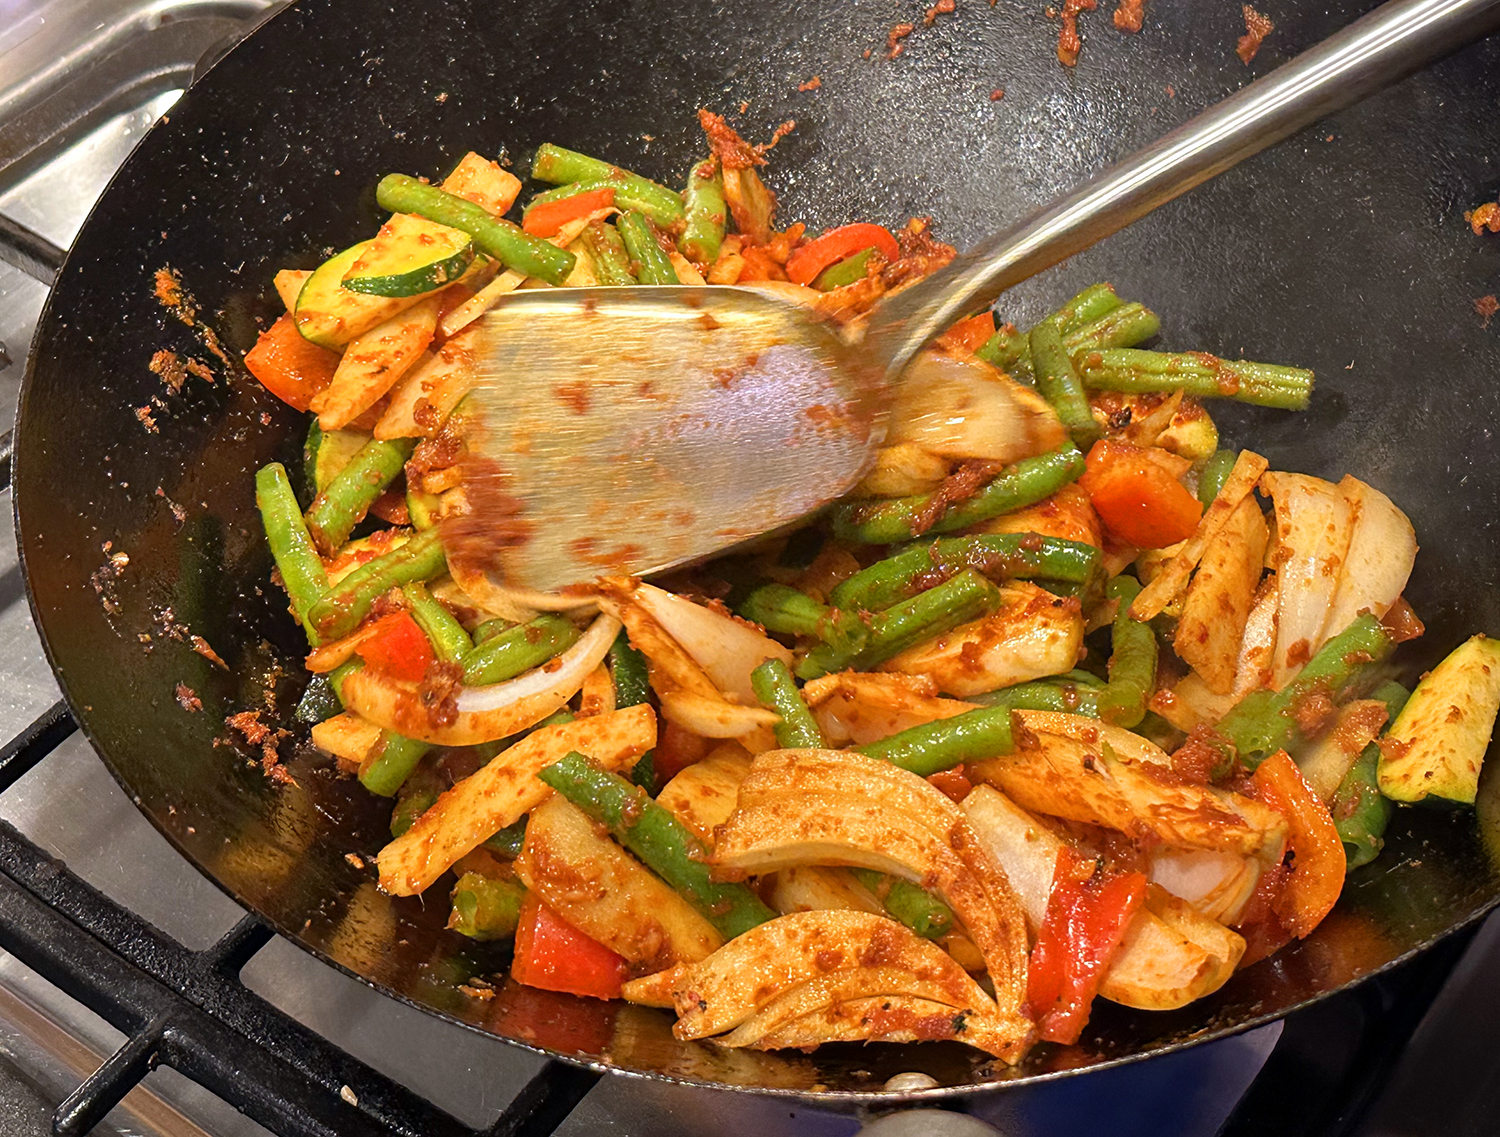
- Over medium-low heat, add the remaining 1 tablespoon oil to the pan, along with the garlic and ginger, and fry for 1 minute until fragrant. Increase the heat to medium-high, add the curry paste, and fry for another minute. Stir in the sugar.
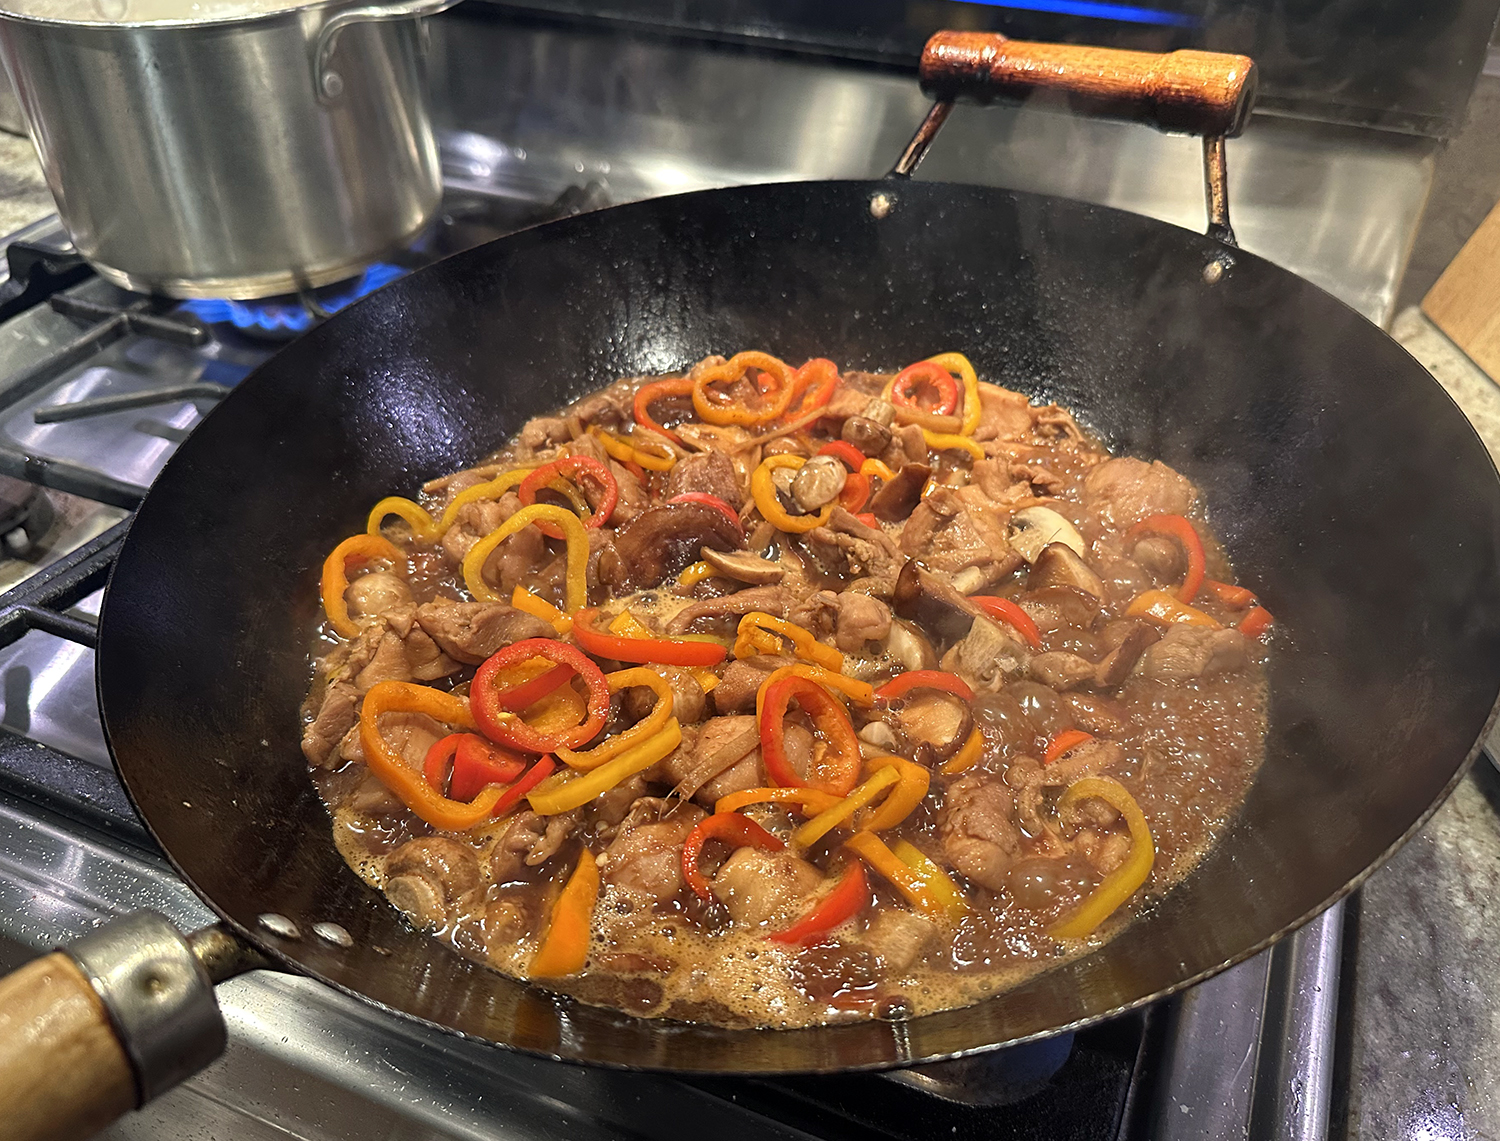
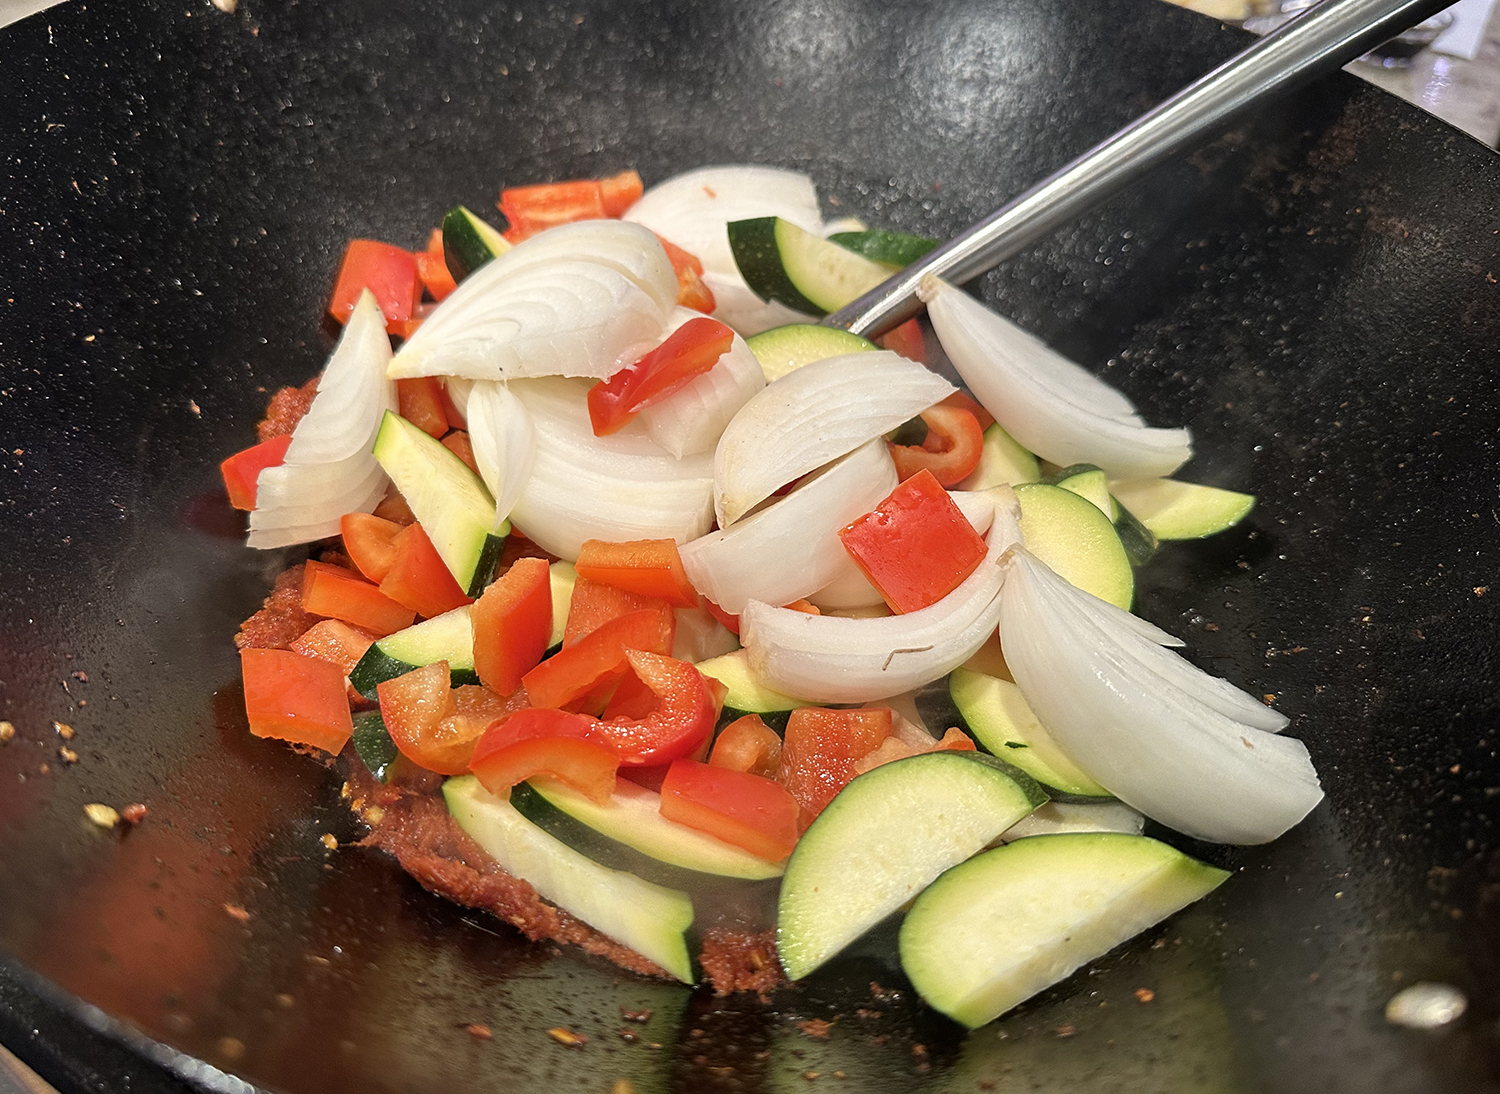
- Add the onion, bell pepper, zucchini, green beans, bamboo shoots, and vegan fish sauce (or soy sauce/regular fish sauce), and fry for 3 minutes, until the vegetables begin to get tender. Then reduce the heat to medium, and add the coconut milk and eggplant. Bring to a simmer. (From this point on, keep the curry at a simmer. Avoid boiling it too vigorously, or the coconut milk may split.)
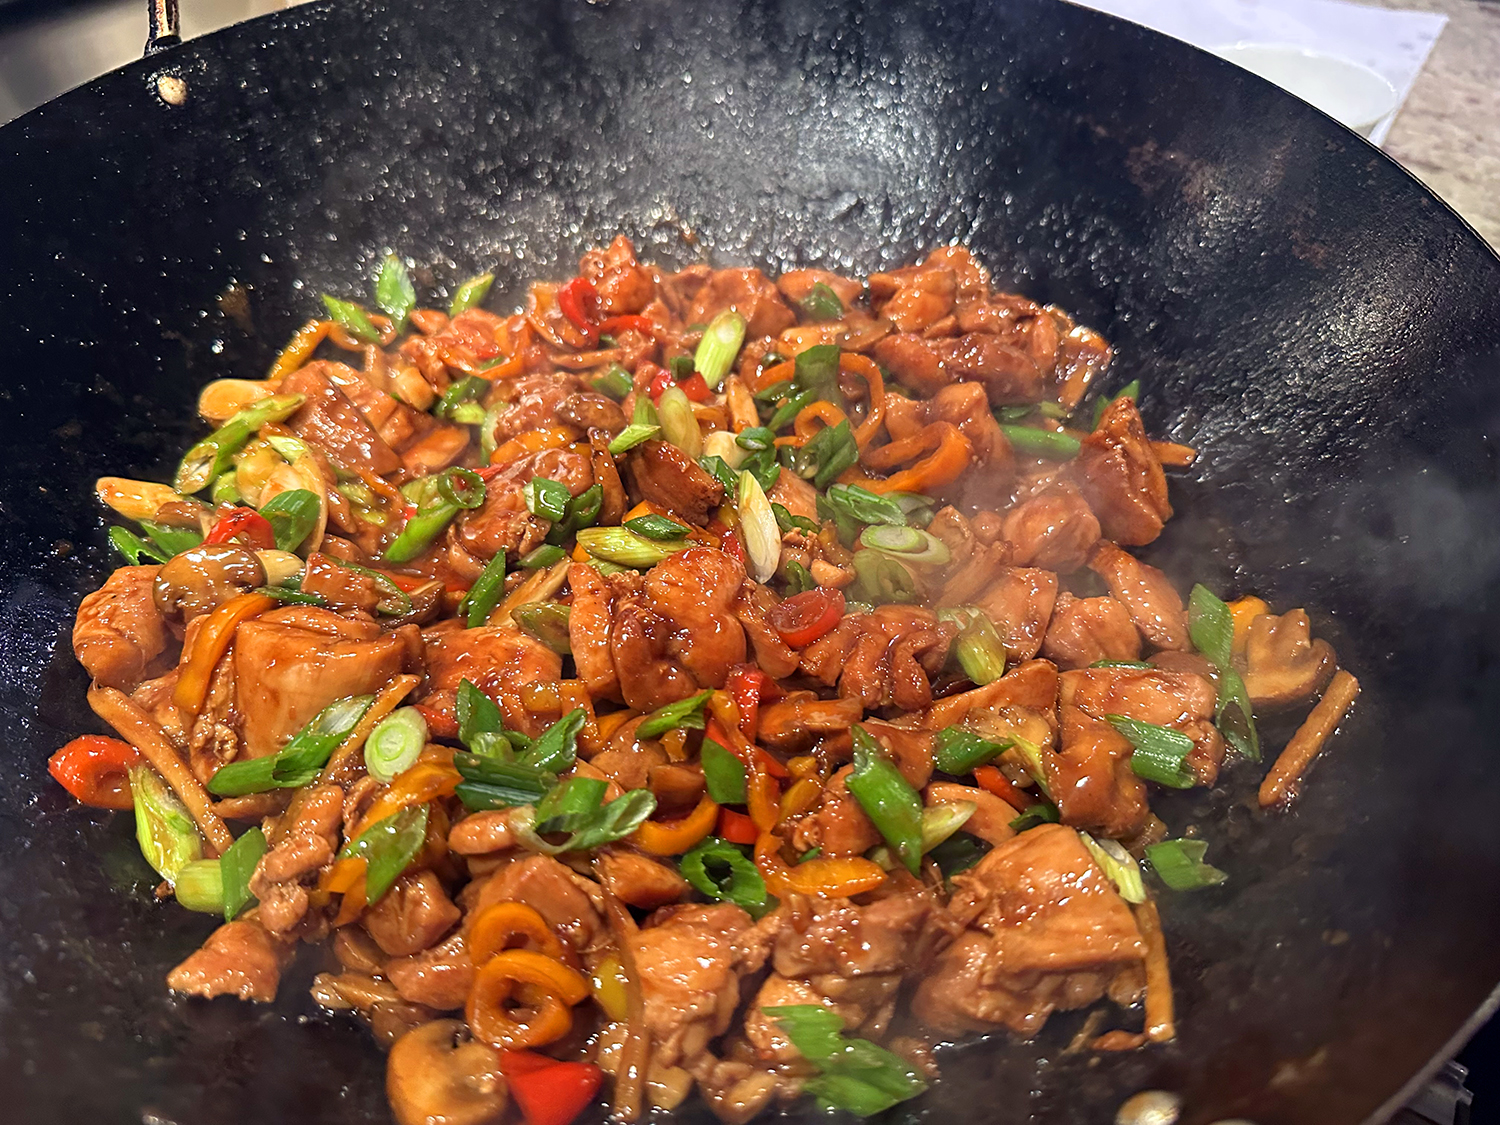
- Simmer for 4 minutes, or until the vegetables are crisp-tender. Stir in the Thai basil until wilted. Garnish with chopped peanuts if desired, and serve over steamed rice.
Adapted from a recipe courtesy of The Woks of Life